I’m just beginning to mess around with WordPress, and I’m not quite sure, but for now, let’s organize the finished work of the past in a posted article. Let’s arrange it on the fixed page as it accumulates. The second piece is the Centurion of the Australian Army. It is built from February to March 2007.
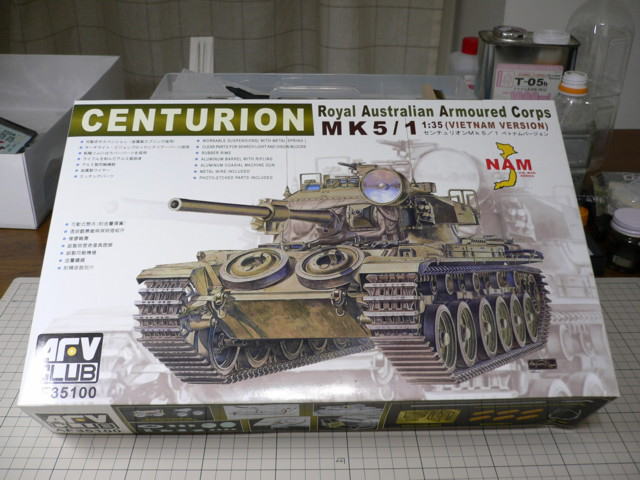 This time, Centurion tank in the Australian Army. Australia dispatched one infantry regiment, one armored regiment, and one missile destroyer to Vietnam, and the number of totals was about 7,700 people.
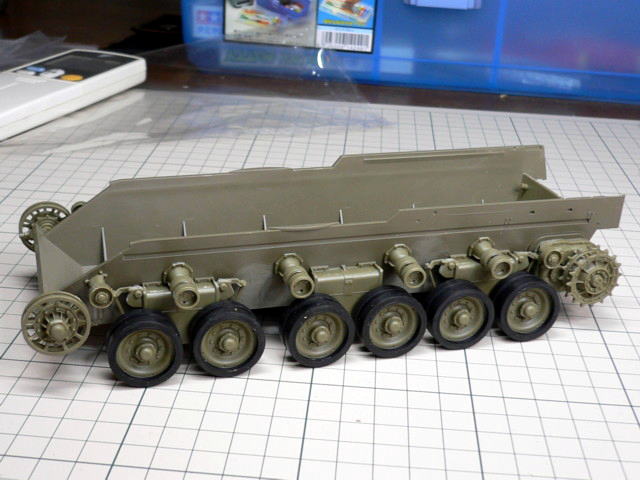 The lower side of the body assembly. These rubber tires were attached to the road wheels with glue. Because the R3 parts had not fit straight, I sliced and adjusted them in length with the cutter. The upper idler wheels were not well fixed tightly, so I poured glue and instant adhesive by force, and now strength is enough. The joint of parts is excellent as a whole. (2007/02/17)
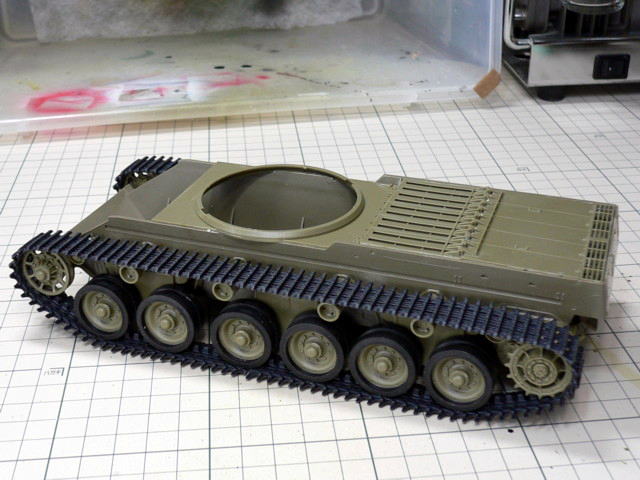 The belt-type caterpillar of the kit attachment was installed. I feel it is enough quality, though a movable caterpillar is put on the market as an option. It was not effective to use plastic adhesive, but good adhesion by using instant adhesive. Many parts were attached to the Back of the body, which confused me. But after a jointed upper armor plate, the inside is not seen well and all right. The chassis seemed very good when the caterpillar was installed. (2007/02/24)
 The body’s lower side assembly was completed, though it is unsightly after the glue. The front side of the body might be equipped with a spare trank roller and caterpillar, and defense power was increased a little. (2007/02/26)
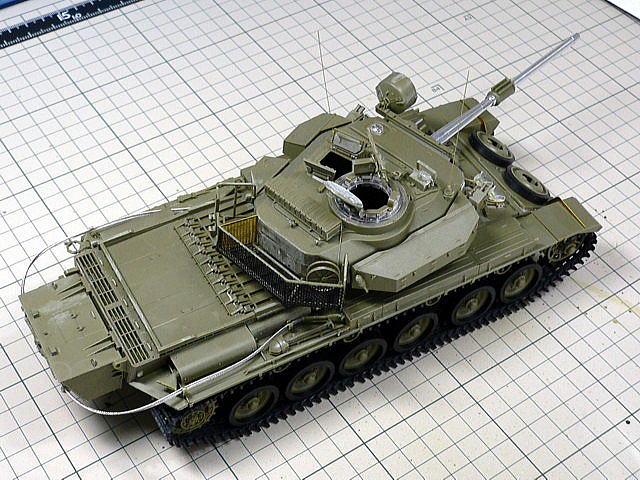
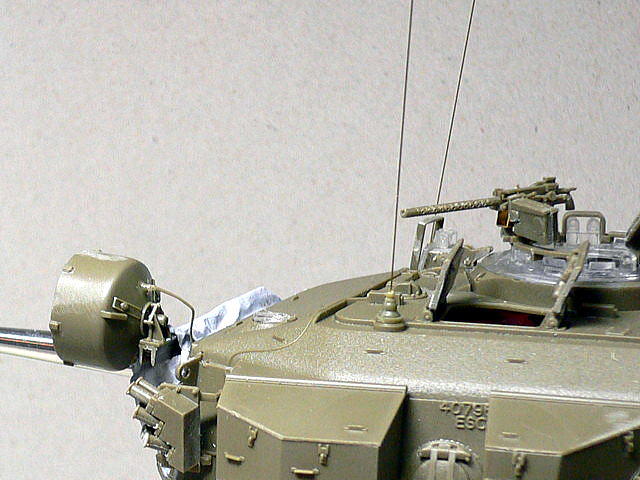
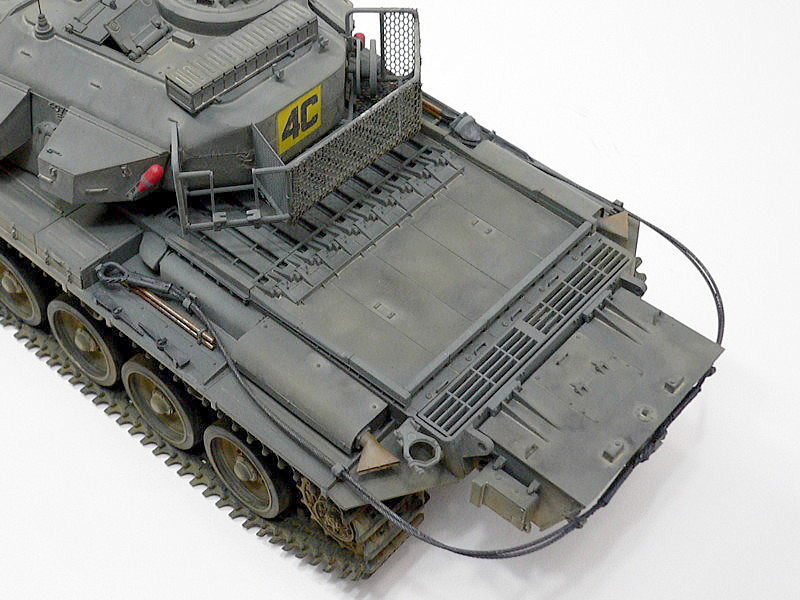
 Because the wire of the kit attachment was hard and had difficulty handling, I substituted it with stainless wire. It might have been better if the sagging condition had been changed with a right and left wire cable before the assembly. The attachment of the wire cable was difficult. The wire of the kit attachment should have been annealed. I lost one knob in the engine room and made it in the brass line.
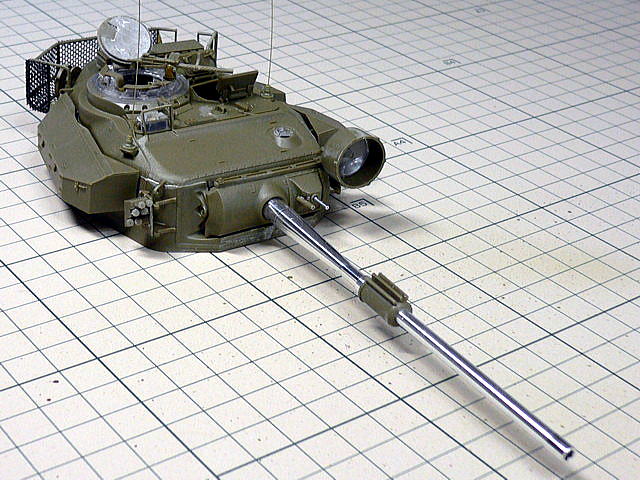 The metal barrel of 20-pound artillery seems quite reliable. Because space had been caused when smoke ejector parts were installed, I filled the space for use patty. (2007/03/03)
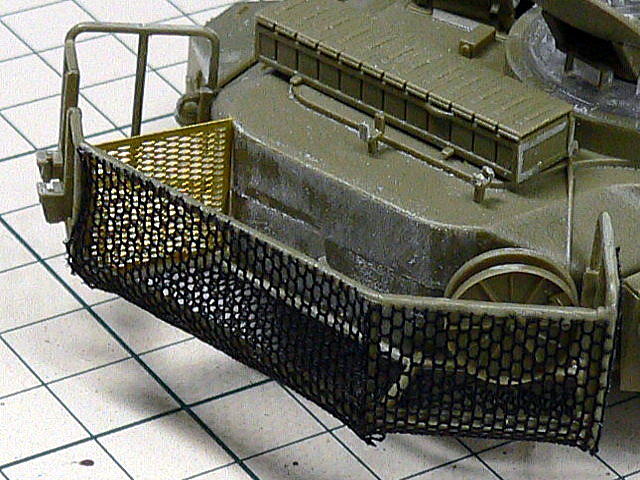 The cloth mesh is used for a back rack; it seems real. (2007/03/03)
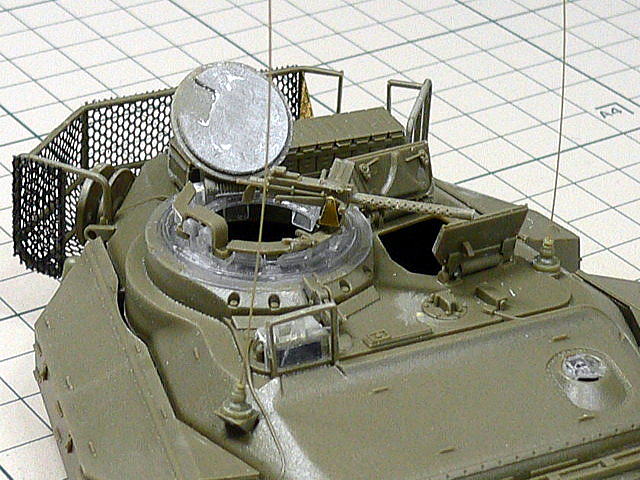 All hatches were made of movable type by using a thin brass line. It is because the tank soldier might board this tank later. Typing out, the pin mark on the Back of the hatch was all removed. The clear parts of this kit were too elastic, and materials like the vinyl were. (2007/03/03)
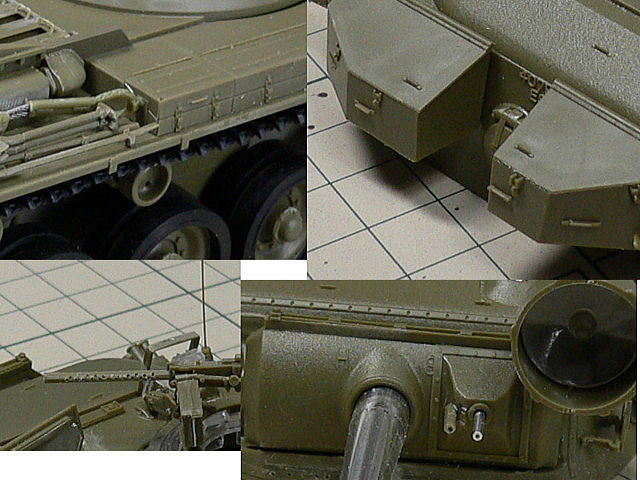 Molding the toolbox of this kit is sculptured in detail. The cooling cavity of the barrel of the mount machine gun was opened by the drill and emphasized. The appearance was improved.
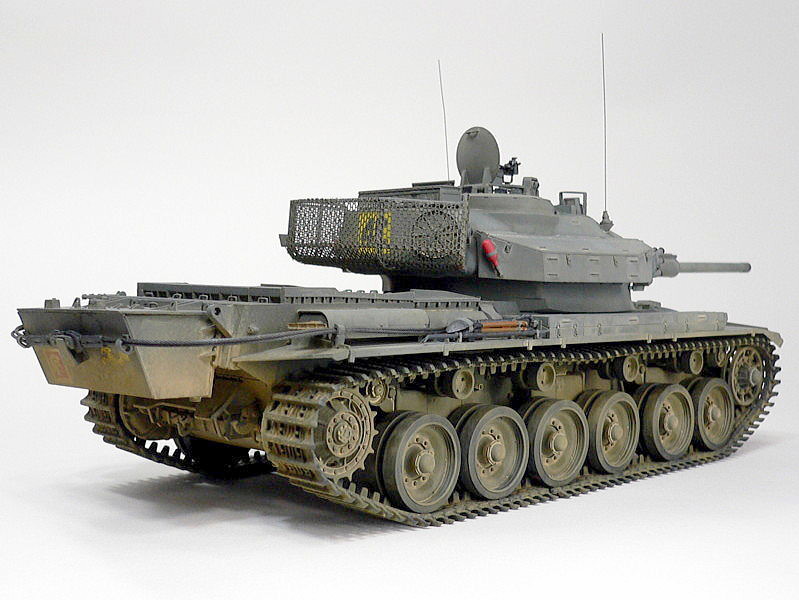
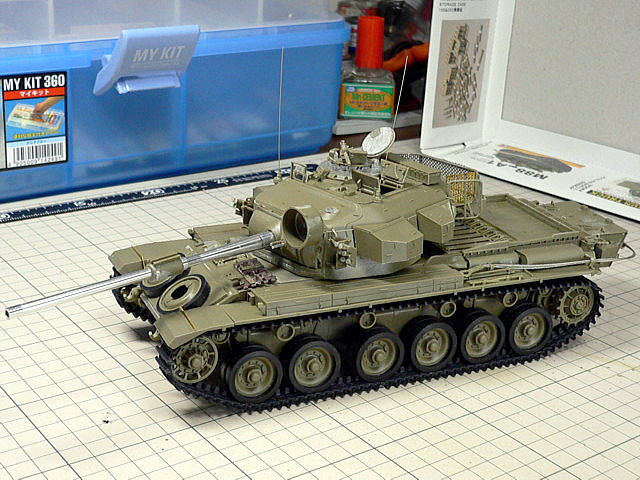 At last, it shaped. It will be necessary to renew the antenna; it is too thin and unsteady. After the glue mark on the surface is cleared away, I can do a basic painting. The proportion is quite good-looking. It’s a violent image without a side skirt.
 Tanks had piled up the ammunition case of the machine gun, the jerrican, etc., in the actual combat. Well, it will be good this time for the practice of painting. By the way, a big box in the Back is the extra armor of the fuel tank. I threw out one or two AFV club kits on the way, though an accomplishment in old times. It’s my first-time completing the AFV Club kit.
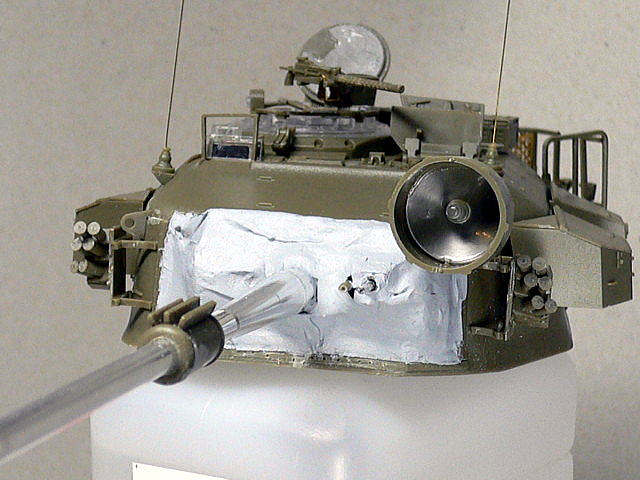 I expressed the canvas cover on the front side to contain the melting patty on the tissue. I wrinkled the canvas cover to shape. It seems to be real after painting.
 I made an antenna using the brass line of 0.2mm because the extending runner had no strength. I also added the power supply code that had come out from the Back of the searchlight by the extending runner. Parting lines of the smoke discharger were noticeable; I had to remove them later…
(2007/03/04)
 Base painting completed with olive drab. Taking a picture with too much light, but the model is darker. It would be my pleasure if you could see my finished work on Centurion Tank. (2007/03/10)
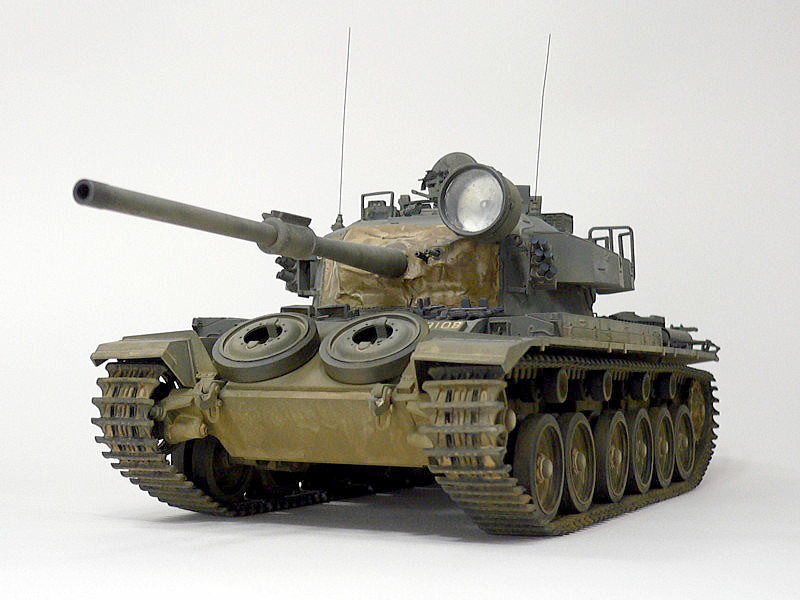 At last, I completed the Centurion tank. Because the image of the Vietnam war was a mud bath, I made the chassis exaggeratedly dirty weathering.
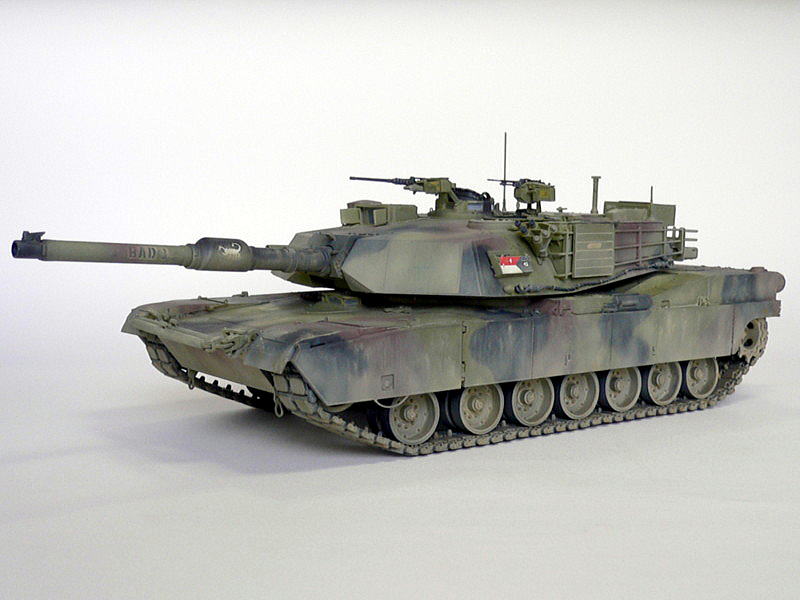
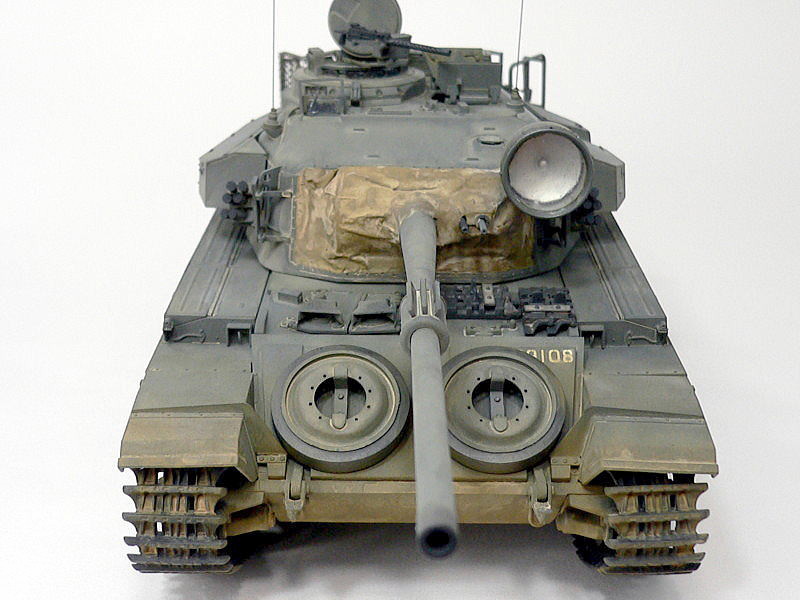
 A great 20-pound gun gives a massive image. The searchlight was installed in preparation for the enemy’s (North Vietnamese army) night attack. Because this Centurion has a reserve fuel tank in the Back, the total length is almost the same as Abrams.
 I distorted a left fender a little. The washing technique easily leaves spots on the armor’s surface, which isn’t easy to clean. It might go well by controlling the timing of wiping off and the flow condition of the paints. I suppose it’s a risky technique for me…
 Shot from Back. The red fire extinguisher stands out, and I think it is a good accent. I airbrushed it to look dirty on the lower side of the body, making the gradation mud and dust. I should have hung the wire rope downside more.
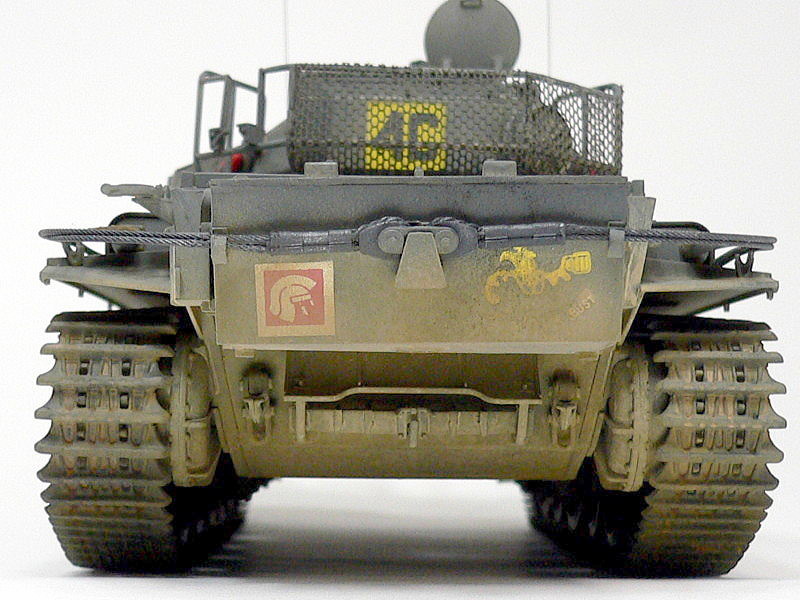 Marking was in the kit, and it is one of the Australian Army’s first armor regiment C company in 1971. The mark on the left has been distorted. It’s hard to re-adjust after sticking by the mark softer. The decal on the right was shattered when I dipped it in water. I set them straight on the body, like solving a puzzle.
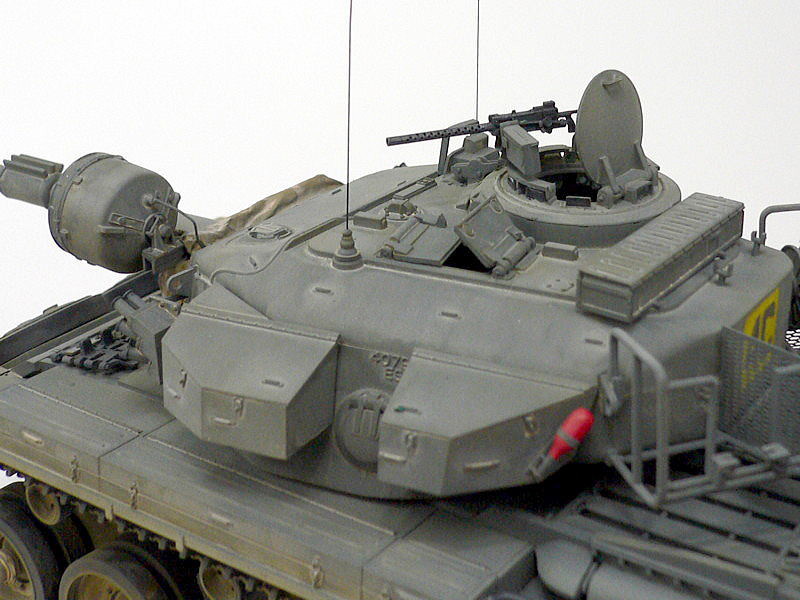 I use the mini drill to make many holes in the machine gun barrel for more detail. I can’t close the commander’s hatch, which I made movable because the machine gun interferes with it. I forgot to remove the typing-out pin marks on the machine-gun ammunition box.
 I painted the pickaxe handle and others in brown, and after that, I finished in the clear mixed orange. It’s a little shiny, and I brushed it half gloss. It wasn’t easy to make a reality painting wood parts. It’s not easy painting wood shafts after they are assembled.
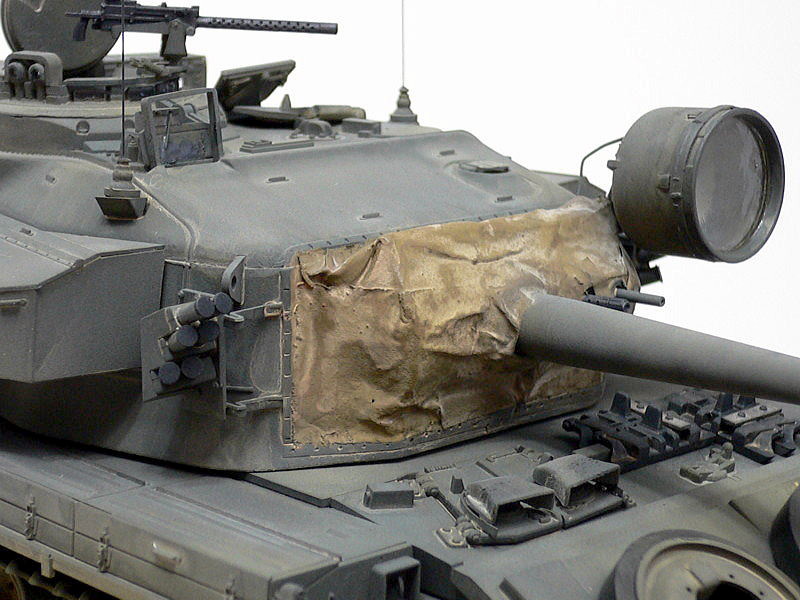 I made the canvas on a turret made from the melting patty on the tissue. It began to melt quickly when I washed it with the enamel thinner on the searchlight and the periscope of the driver’s seat made of transparent parts. The periscope cover has become notched. It might be a vinyl chloride material because it is softer than usual plastic parts. Because parts of the searchlight had become tattered, I flattened it and painted it clear to fix.
 I misunderstood the parting lines on the exhaust muffler as the natural line. When finishing it up, I noticed some parting lines remained on the body. I painted the shade on the Back of the body because it’s monotonous.
 I made the chassis dirty with washing and dry brushing like mud. So I did not do metallic on the caterpillar.
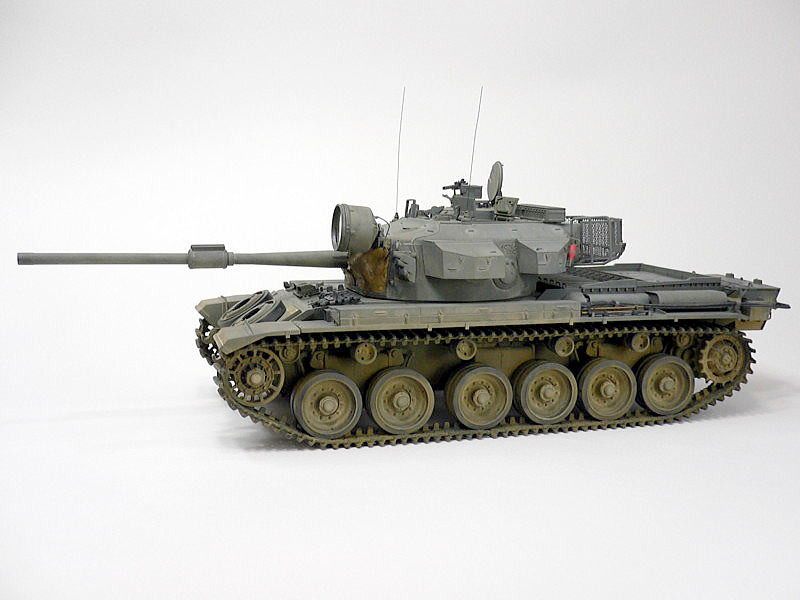
 The shot of the turret to the left. It has a good atmosphere, like a real tank, though I did not do the chipping.
(2007/03/18)

I am interested in models of tanks, airplanes, ships, military figures, I build them little by little when I feel like it. I am also interested in the history of war. My starting is Tamiya’s Military Miniature series in elementary school.
From elementary school through university students repeatedly suspend and restart my modeling, it’s about 25 years of this hobby’s history.
From February 2007 I was quietly doing a site called “Miniature-Arcadia”. It is being transferred to this blog with the same name from December 2016. My update pace is uneven, but please come to see me here occasionally.