It is a Matilda tank built from March through July 2013.
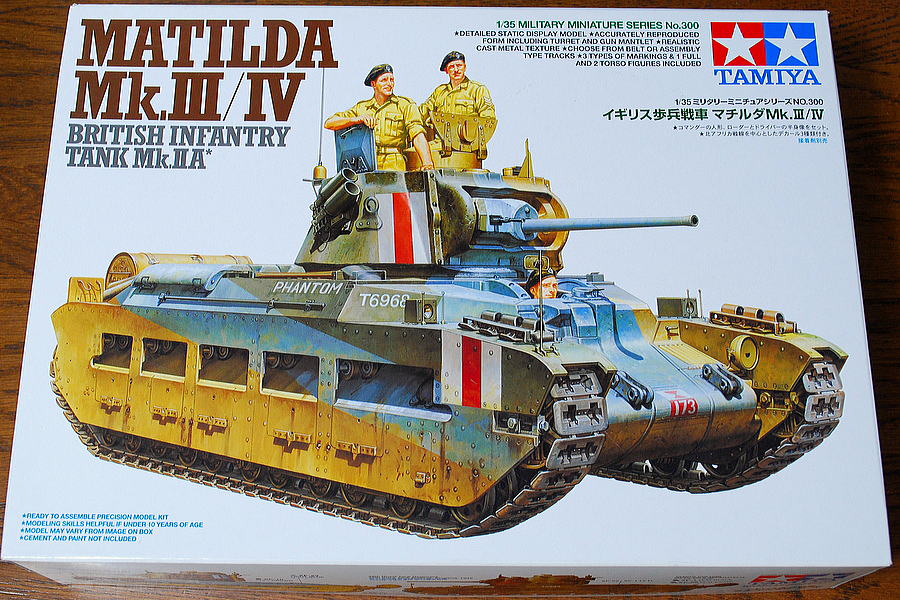 This time, I chose MM300, Matilda, released many years ago. Now the latest MM series number is 328. Among tank model fans in Japan, It’s strong attention what was the No.300 kit. Seemingly, the former Tamiya Matilda is somewhat broader than an actual vehicle from the chassis of the motor inclusion model.
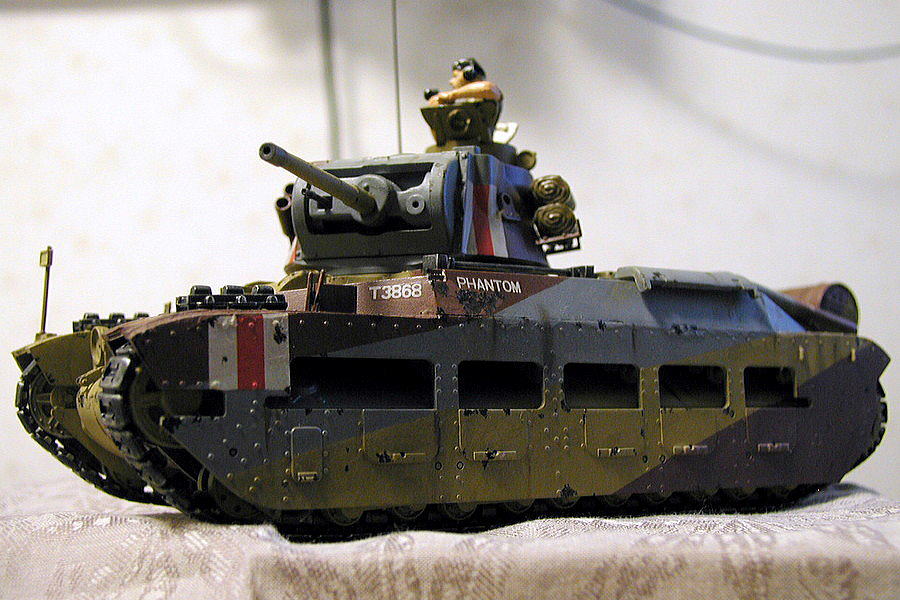 I found the photos of a Matilda tank’s previous work around 1998.
(10-March-2013)
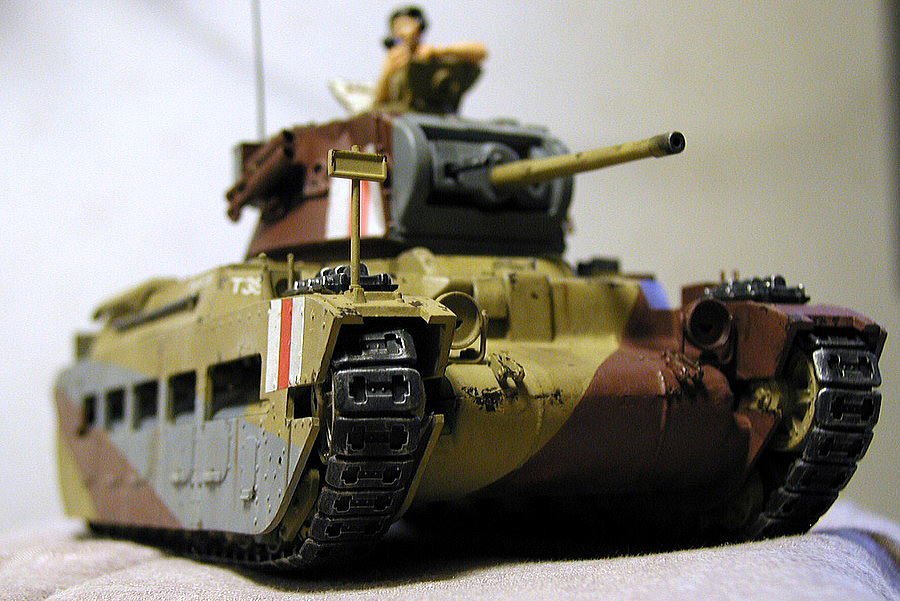 The old Matilda kit has thinned in a fender and side armor. You can see the left caterpillar is shifted a little. I had too strong tension for the rubber caterpillar, and the roller broke from the root.
(10-March-2013)
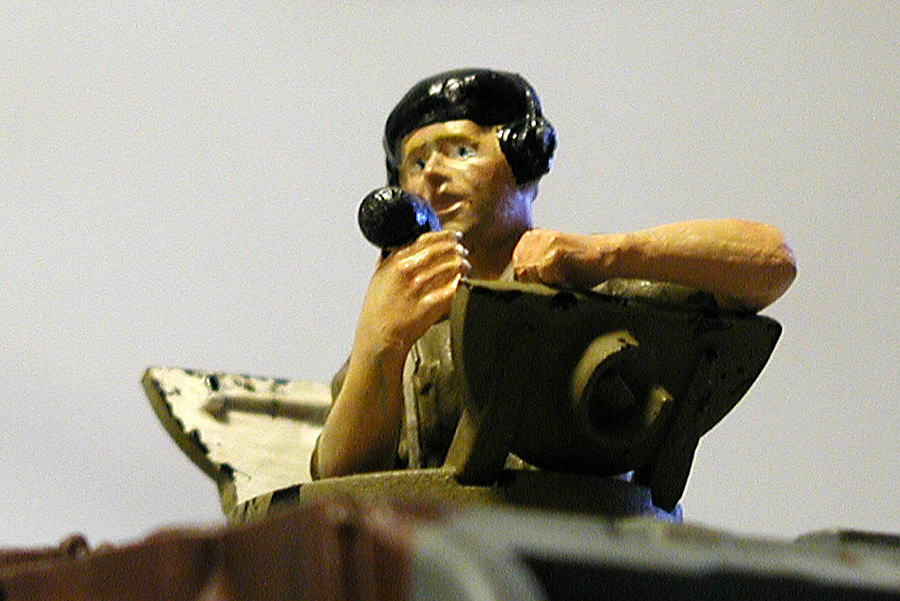 The figure is shining… I should have airbrushed in mat clear. This time, I had the headset of Hornet, and I intend to use this set for more detail.
(10-March-2013)
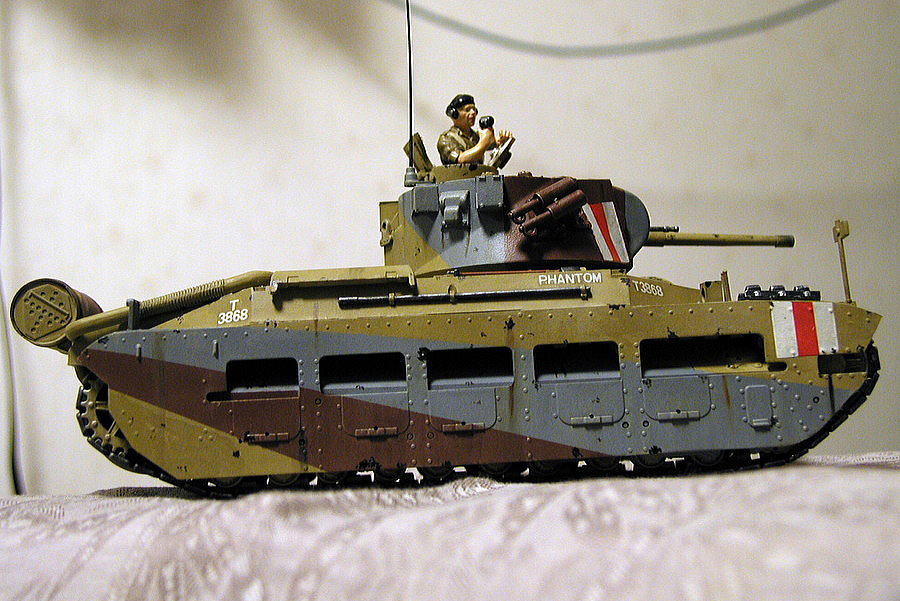 This camouflage painting is not bad; I remember that cutting and attaching the masking tape for paint is not the usual tank model working and is complex. It was 15 years ago.
(10-March-2013)
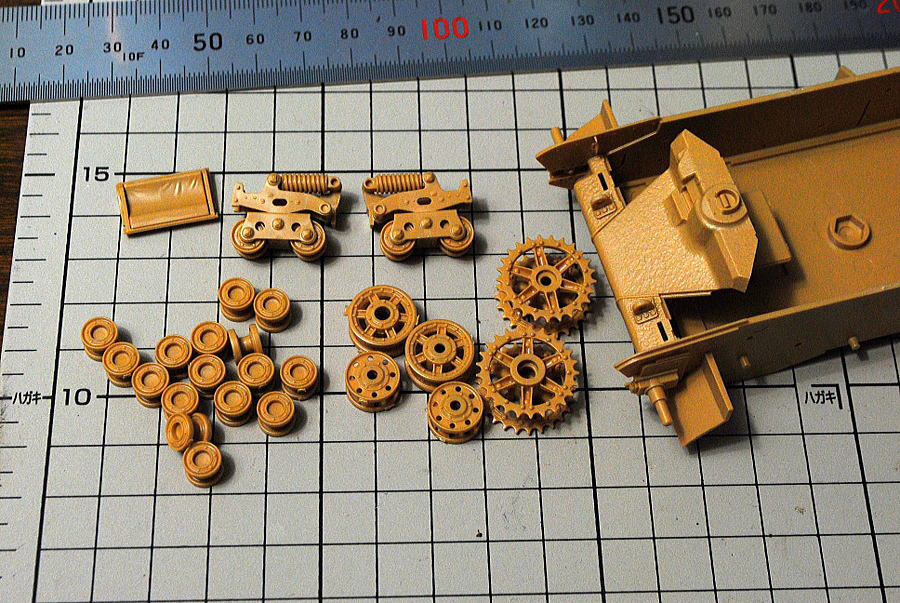 There are small wheels that take assembly time.
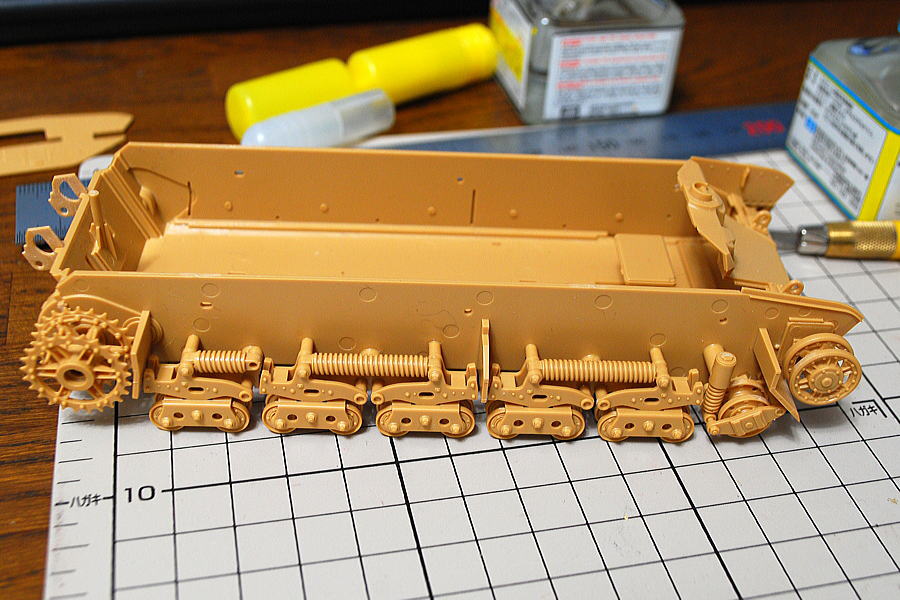 These parts are almost covered after a side skirt is attached.
 I am trying to attach the rubber caterpillar. It seems like no problem. There’s no slack; although an upper part is a form of not looking heavy caterpillar, it’s not a visible part. We can choose plastic parts and rubber parts according to your taste.
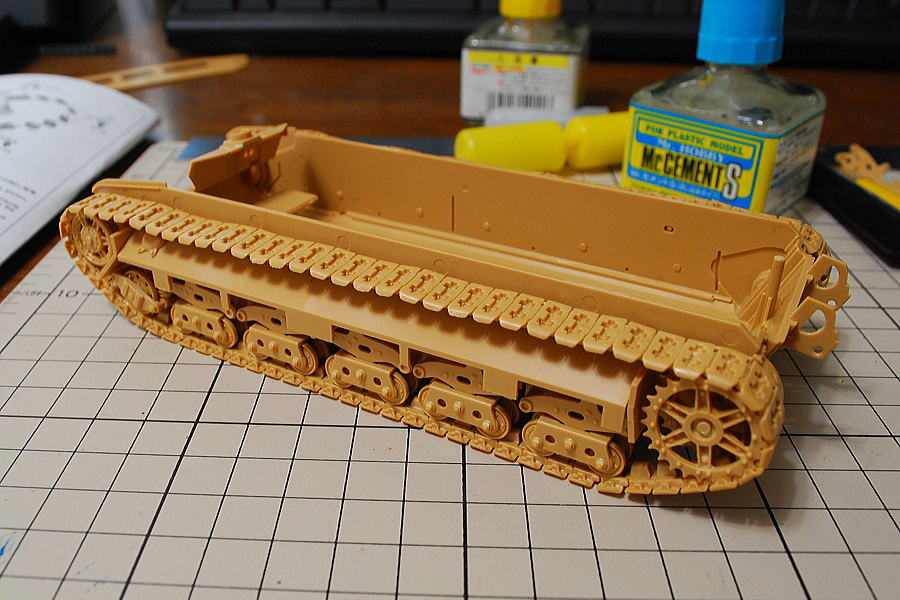 I choose the plastic part for easy adherence to the paint.
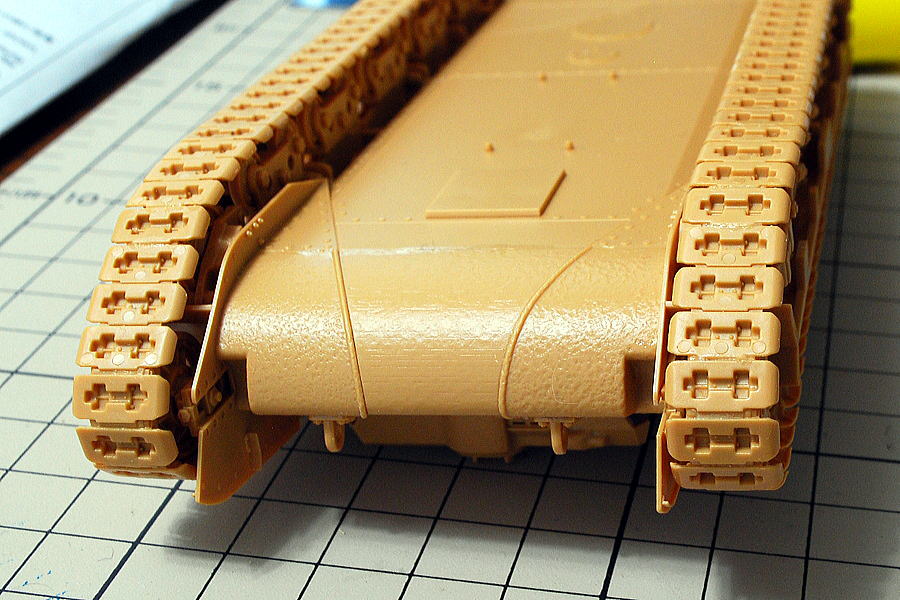 Carefully looking, there are many injection marks on the caterpillar. Deleting them before painting only the front and visible rear parts is better.
(12-March-2013)
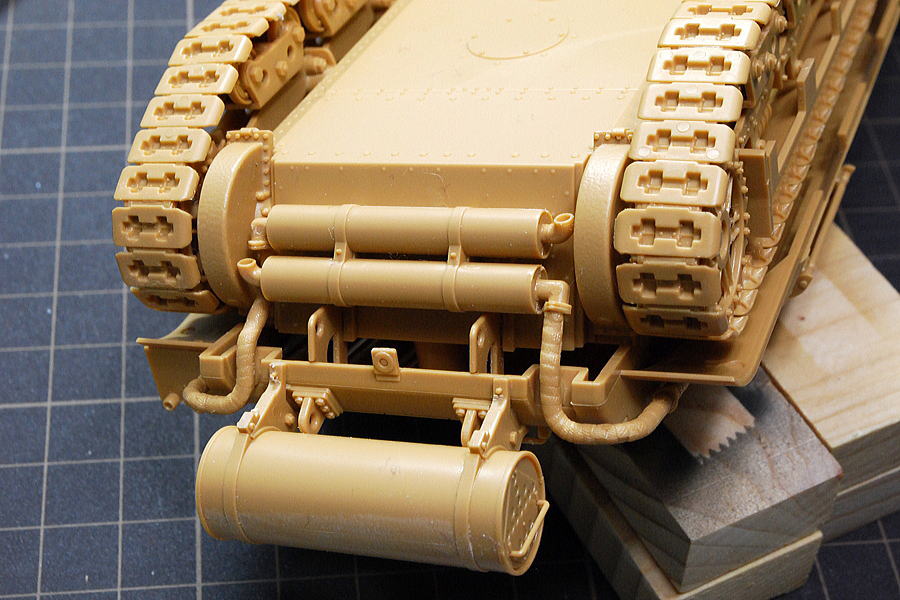 I suppose the muffler and piping are the most difficult parts of this assembly. There is a possibility of mistaking adjusting the parts on either side unless reading the instruction manual carefully in advance. I mistook them.
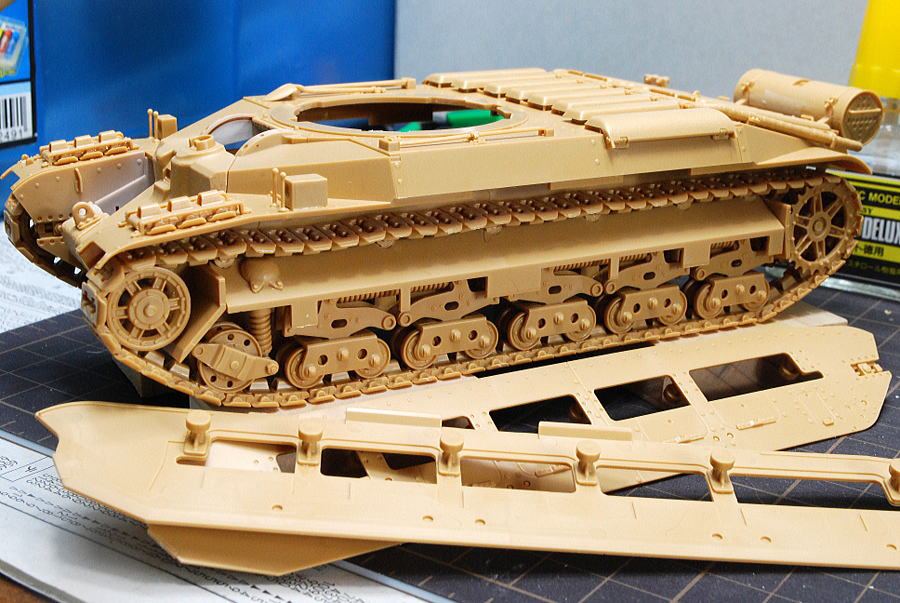 Since I could not see the inside of the side armor after this process, I kept one shot. Only the area visible through the driver’s seat, I airbrushed the inside in matt white.
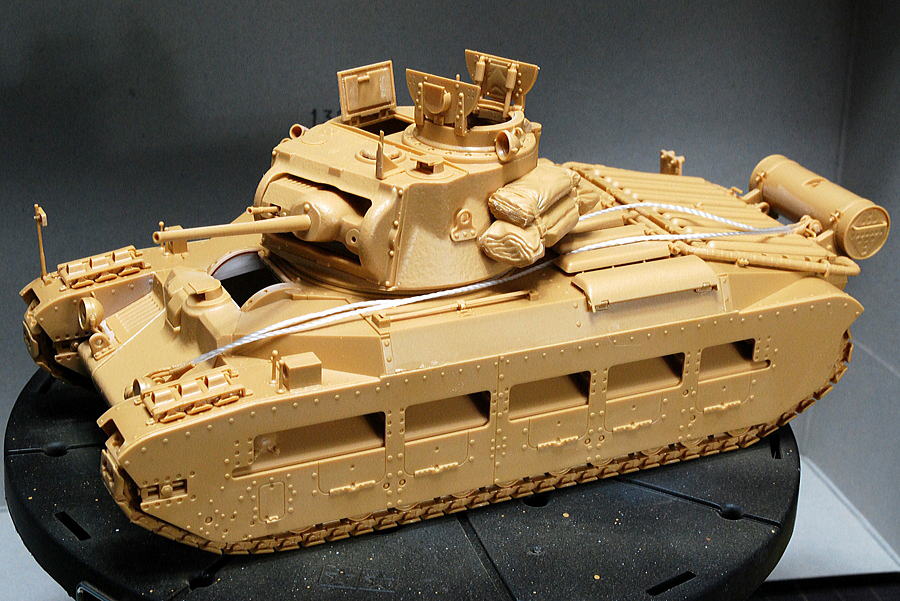 Assembly completed. Many parts, especially on the turret, affect a good precision feeling. Truly, it’s easy to assemble as usual Tamiya quality; I think this kit can be called a masterpiece.
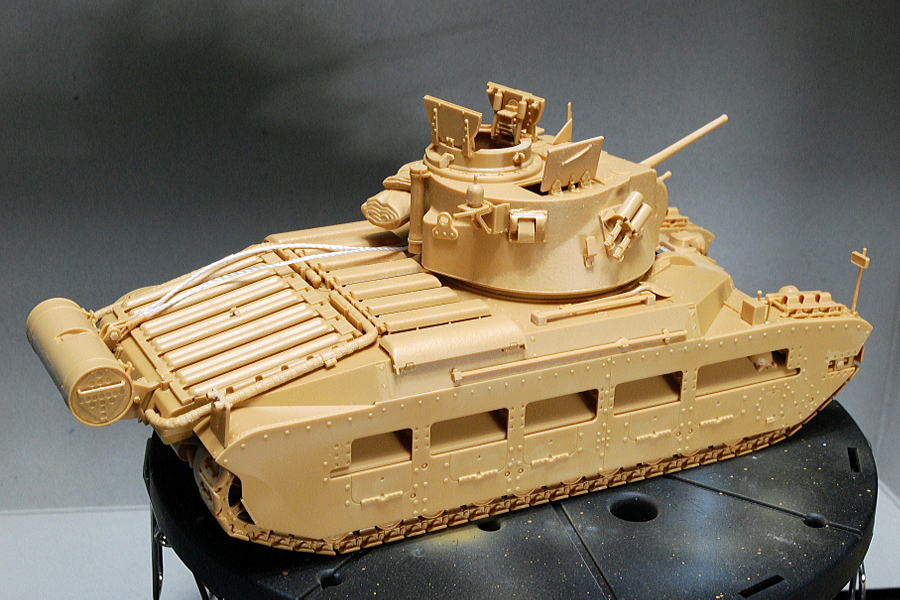 The photo from the back. The smoke guns’ detail is quite good.
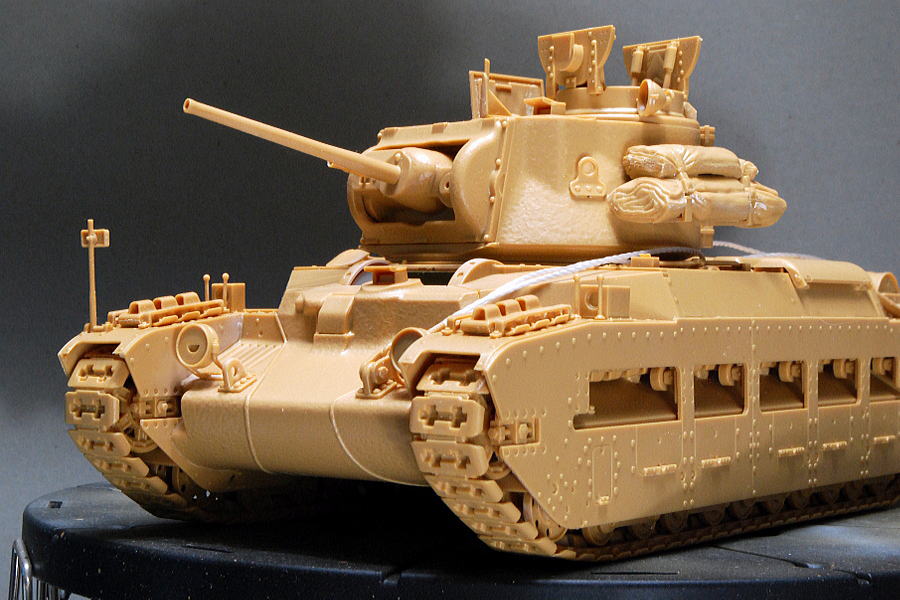 A gun turret should have been moved up and down, but it couldn’t. Adhesives were poured too much accidentally, and it has been fixed. However, I wanted the gun angle a slight degree parallel to the ground. I couldn’t adjust it since it pastes up quite firmly, and there was fear of breakage. Maybe I can say the angle means “highly motivating for battles” hmmm…
(17-March-2013)
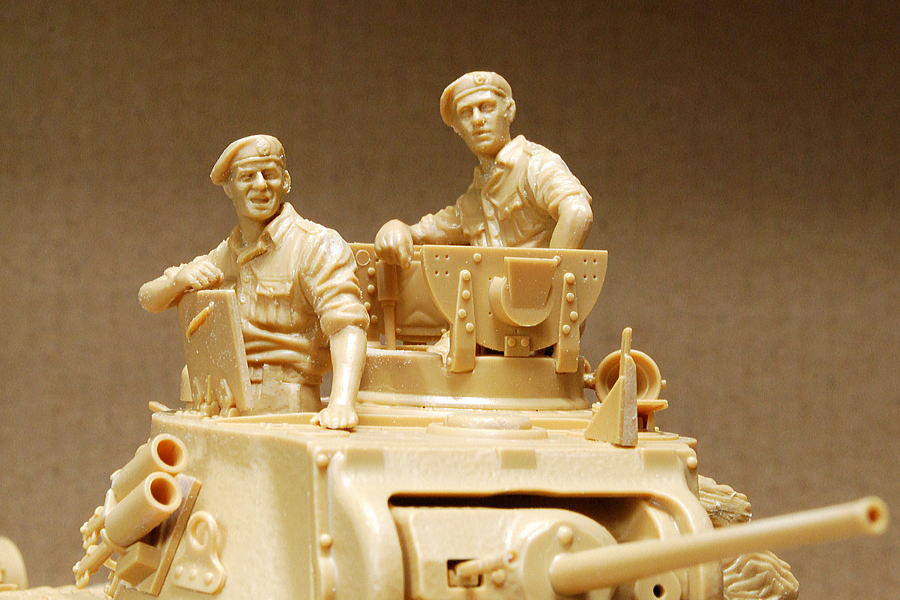 I thought to replace the original heads with resin heads, but the expression of the attached figures was excellent, so I decided to use them. They have a perfect expressions.
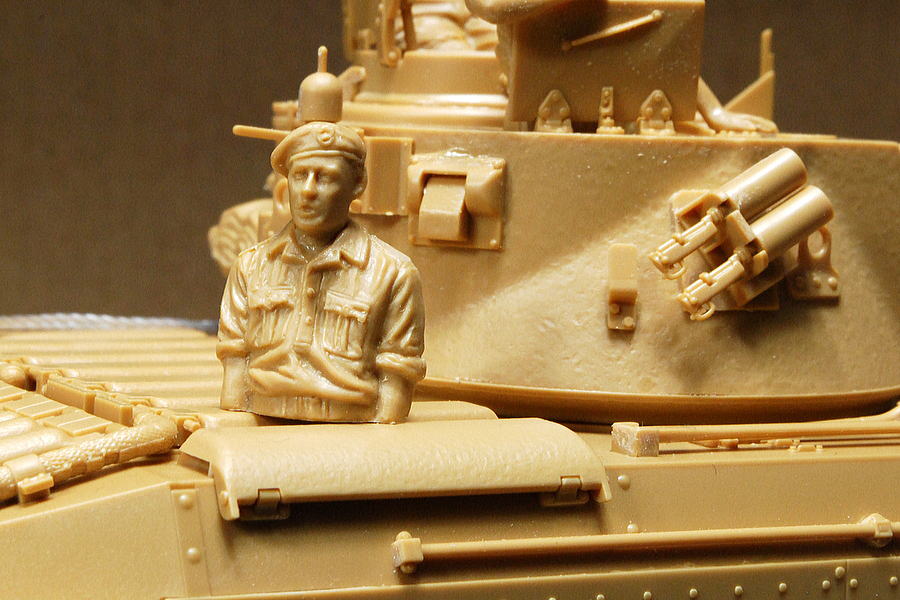 Only this driver’s head is probably visible after all, which is an excellent detail, especially the mark of a beret.
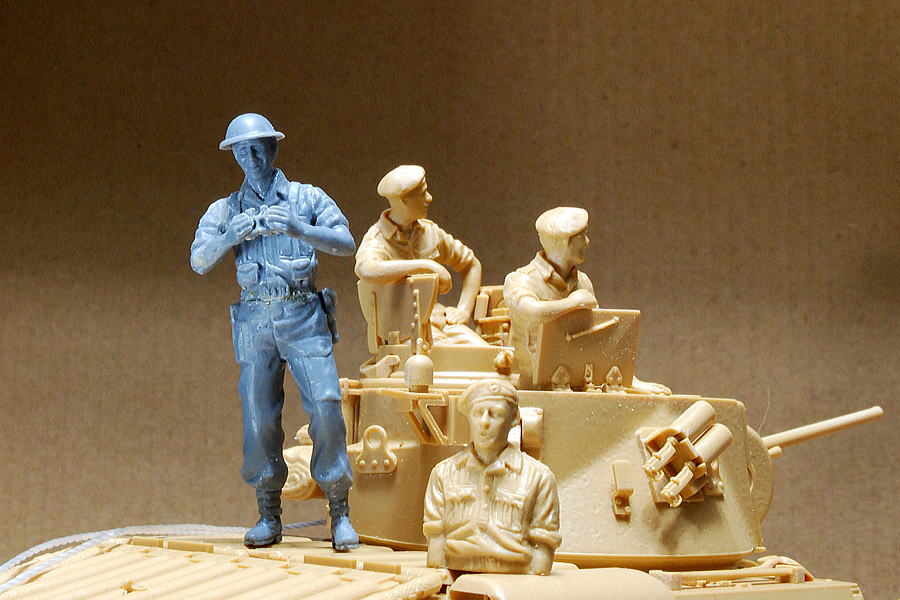 I attached the infantry soldier additionally with the binoculars, which were not made when I made a 2-pound anti-tank gun. This Vulcan kit figure is good, but the binoculars are not well molded. I thought it was from other kits, but there are a few excessive parts of binoculars. There are many extra parts for helmets, guns, knives, and bags. I used the Vulcan kit, including binoculars, after all. I was using a drill to detail up the lens pars.
(19-March-2013)
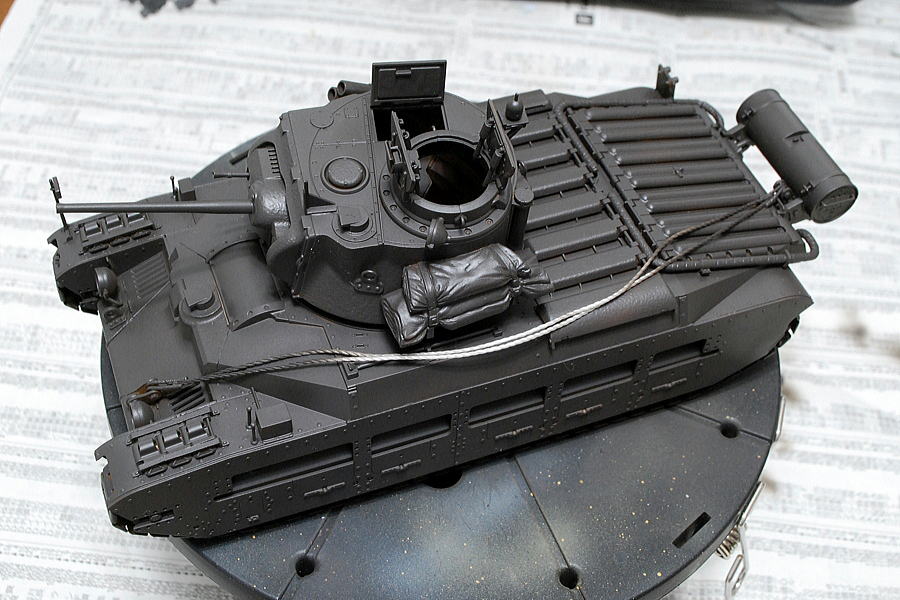 Blowing the first coat in mixed tire black and mahogany.
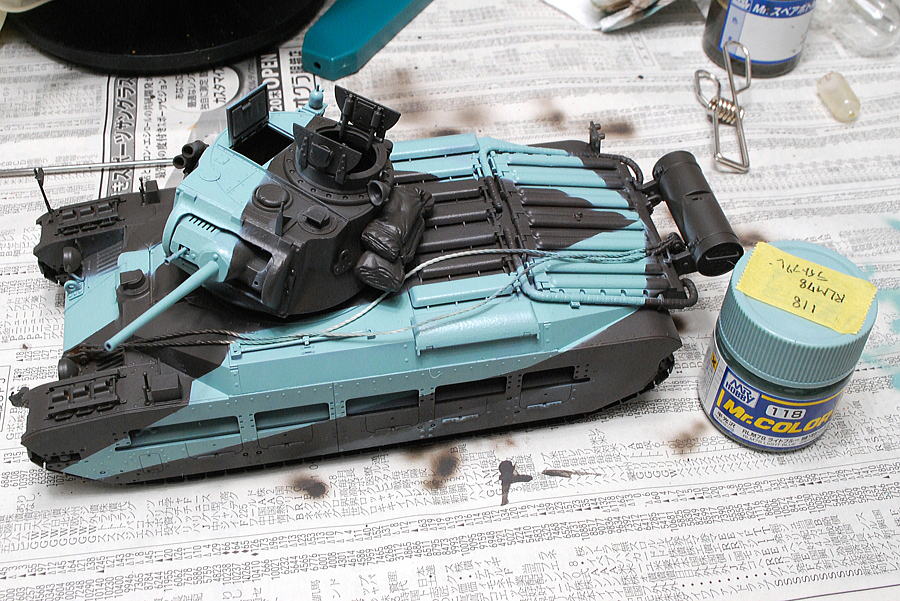
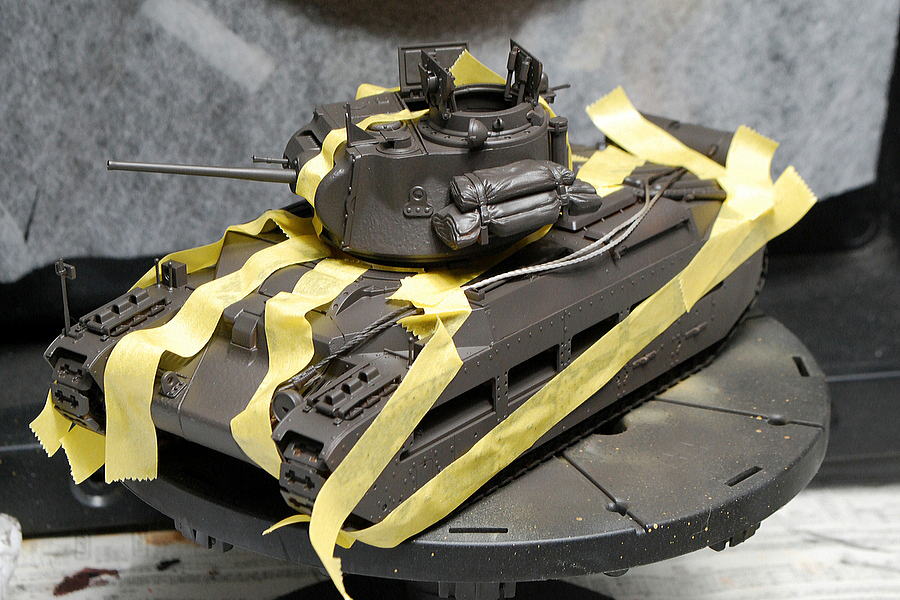 I am preparing for the next masking step. I decided to paint the first color light blue; it’s the highest brightness and is easy to recover.
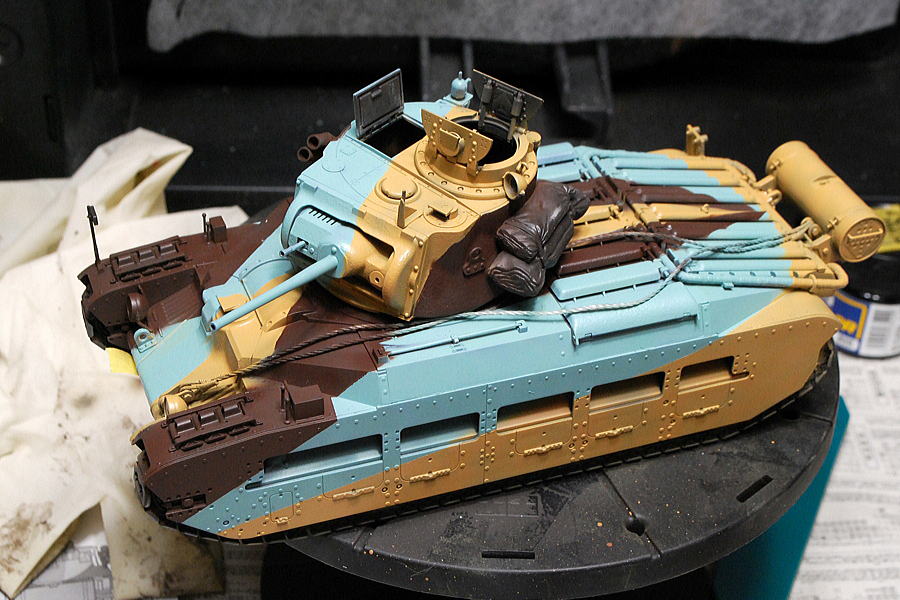 Roughly I completed the three-color camouflage. 3rd color is mahogany. Straight-line camouflage and masking are complex workings.
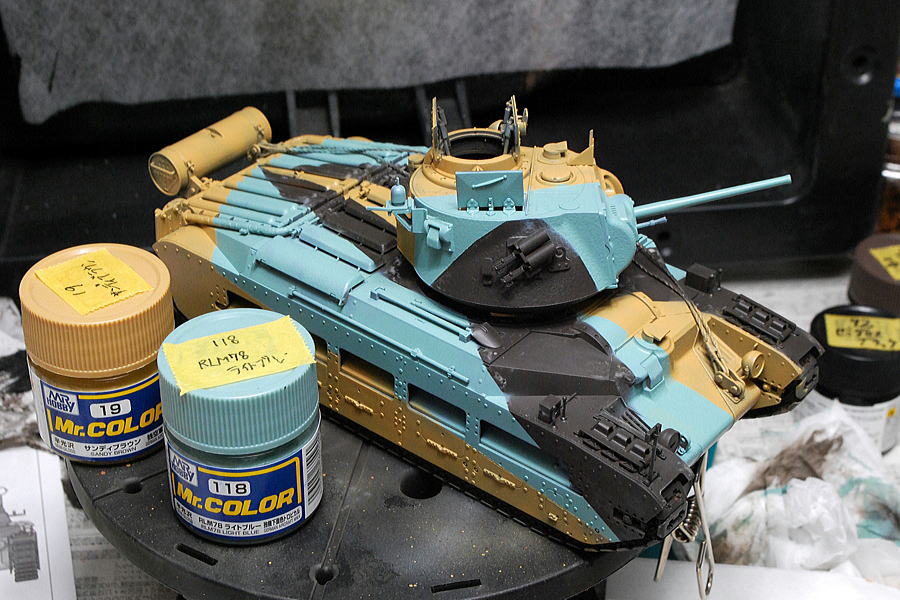 Same as the upper shot with the color bottles.
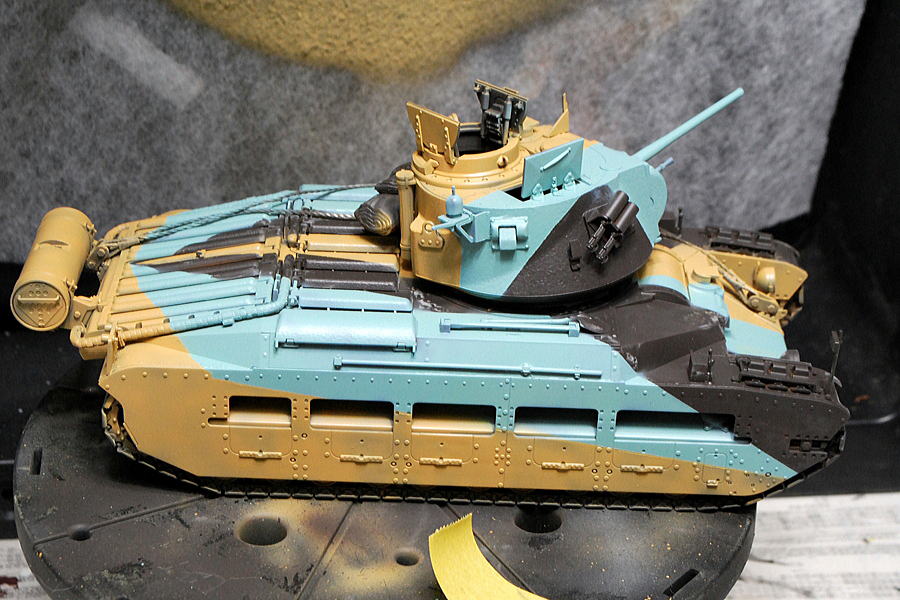 Finished the second color, sandy brown. Becoming Matilda-like looking.
(02-May-2013)
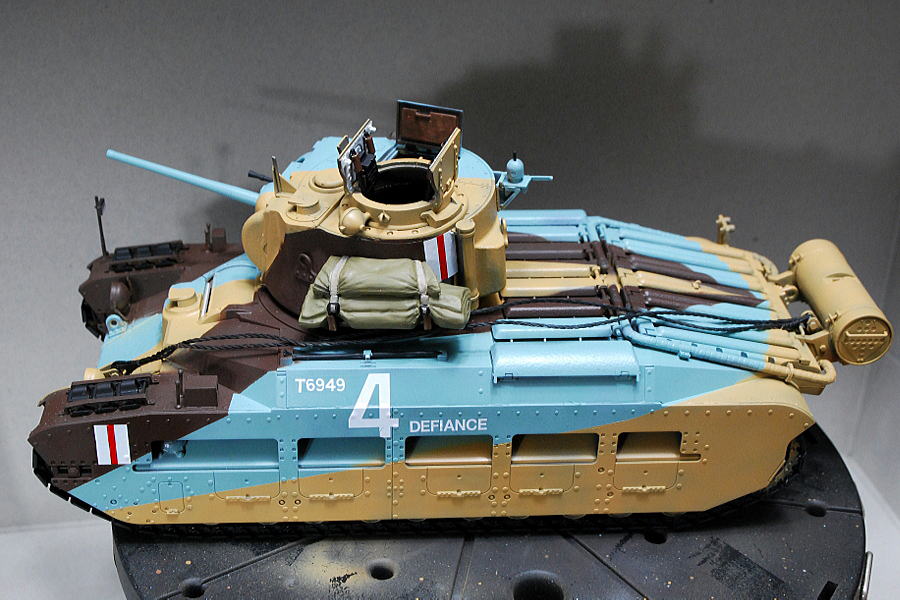 I’ve been busy with the business for a while, but I have time for modeling this weekend. I pasted some of the decals and completed the primary paint.
(15-July-2013)
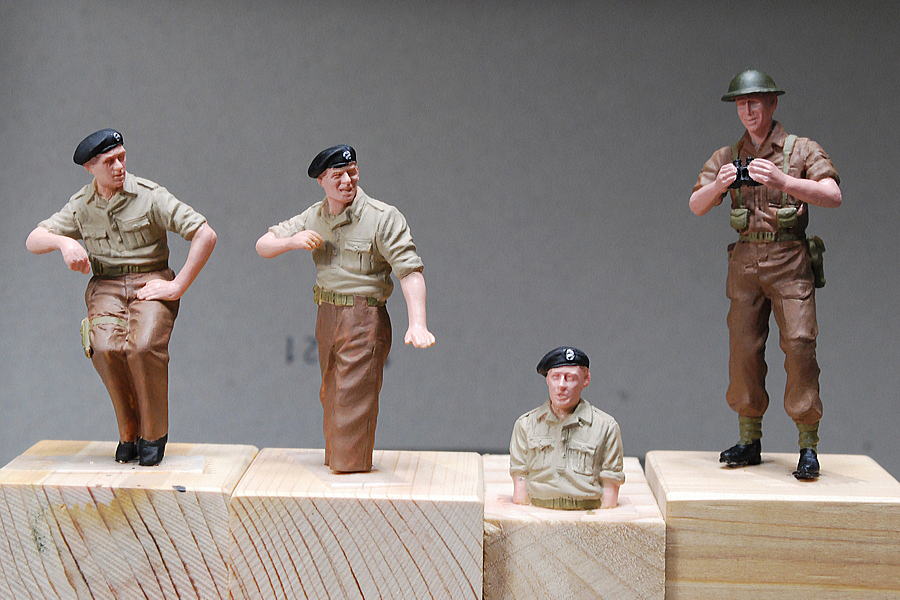 The tank crew and infantry’s basic painting was completed.
(15-July-2013)
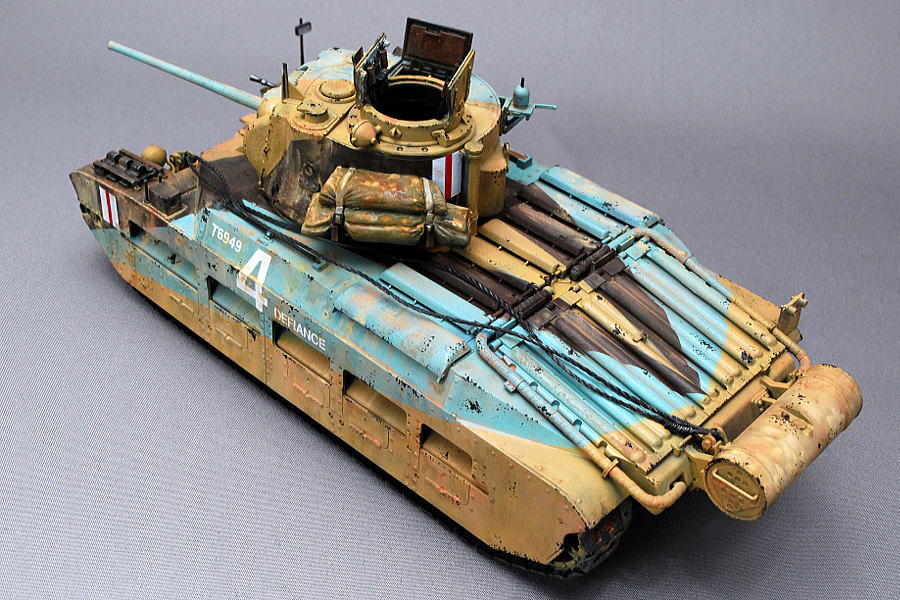
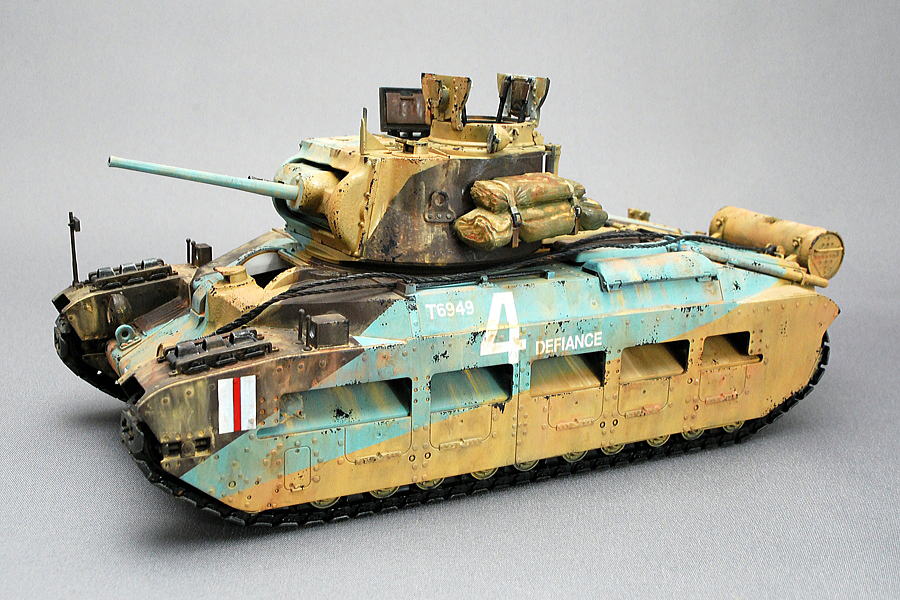 Matilda, who has been making since the beginning of March, was completed. It took a lot of time since there were four soldiers.
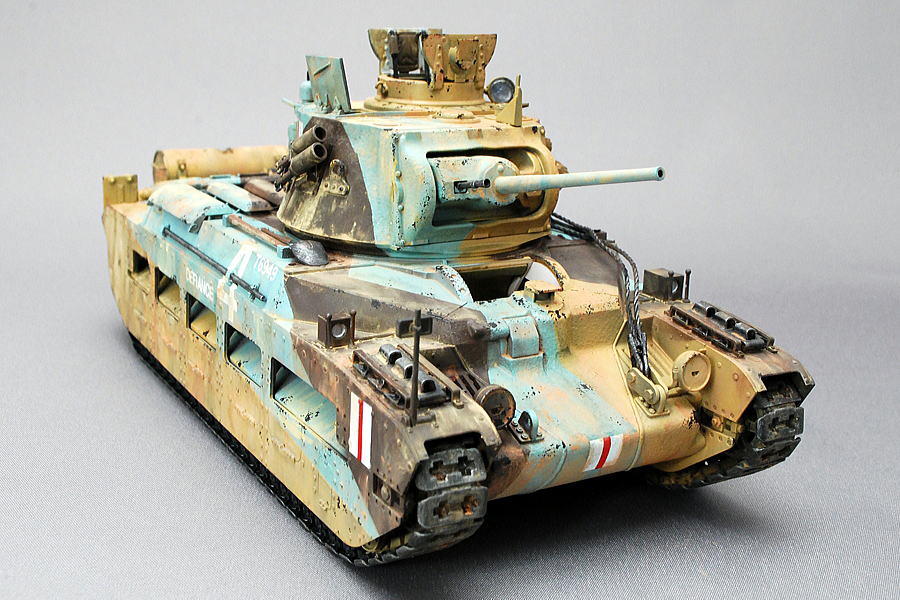 It’s a famous battle with the 88mm German Anti-aircraft gun at Halfaya Pass. The vehicle was active in the North African front line from 1941 to 1942. Although speed was slow, robustness, such as a maximum of 75mm of the front armoring, were the features the German army was afflicted with.
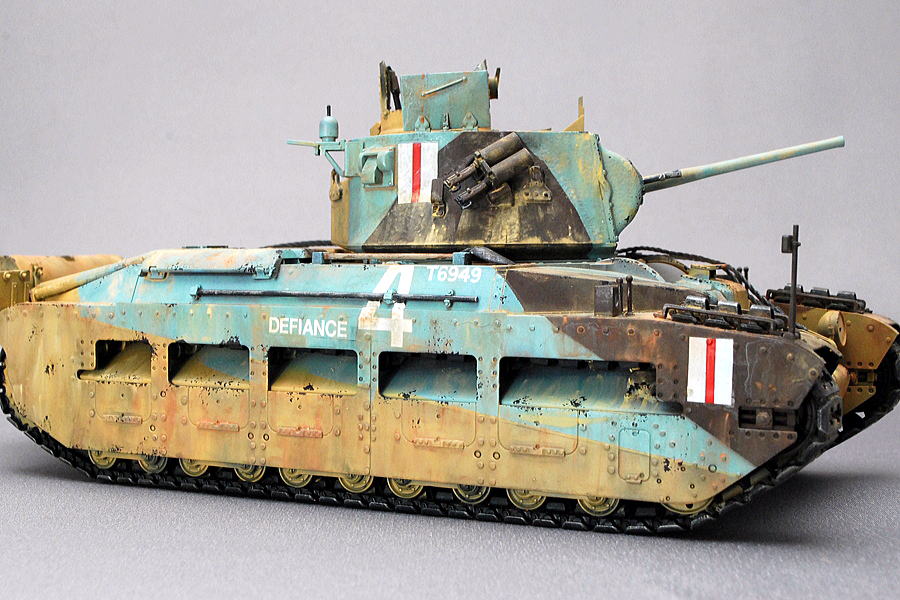 Matilda has monotonous images with both sides of the armor not flat because of many bolts, etc.
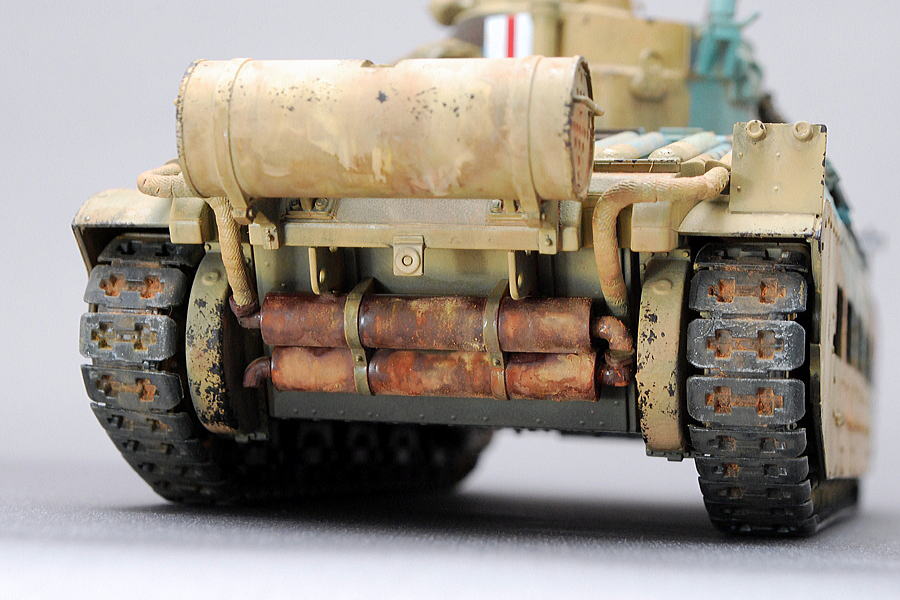 I intended to draw mud and rust moderately on the rear side.
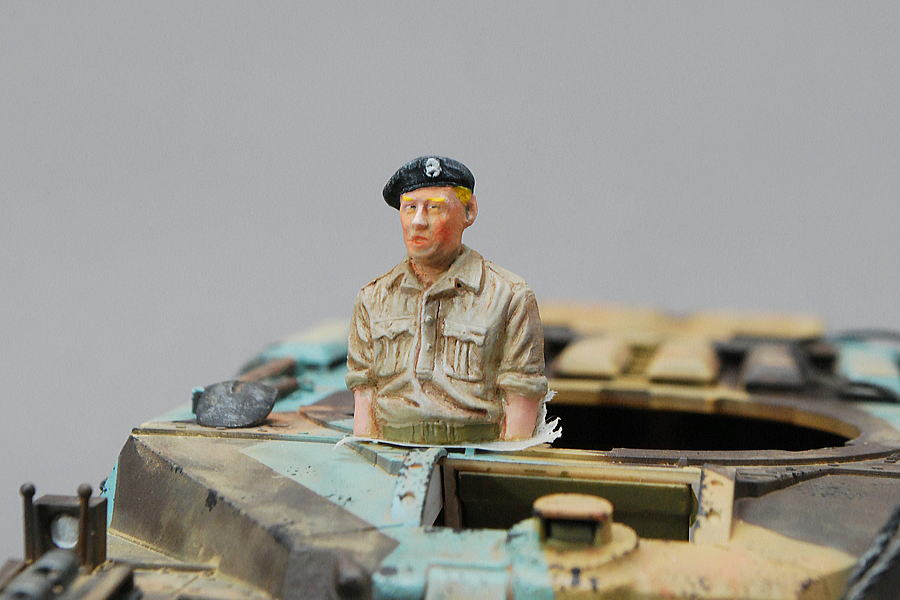 It’s a commemorative photo before storing a driver in a cockpit. He has blond hair. It seems that he said, “Hmmm… It’s too hot and cannot bear.”
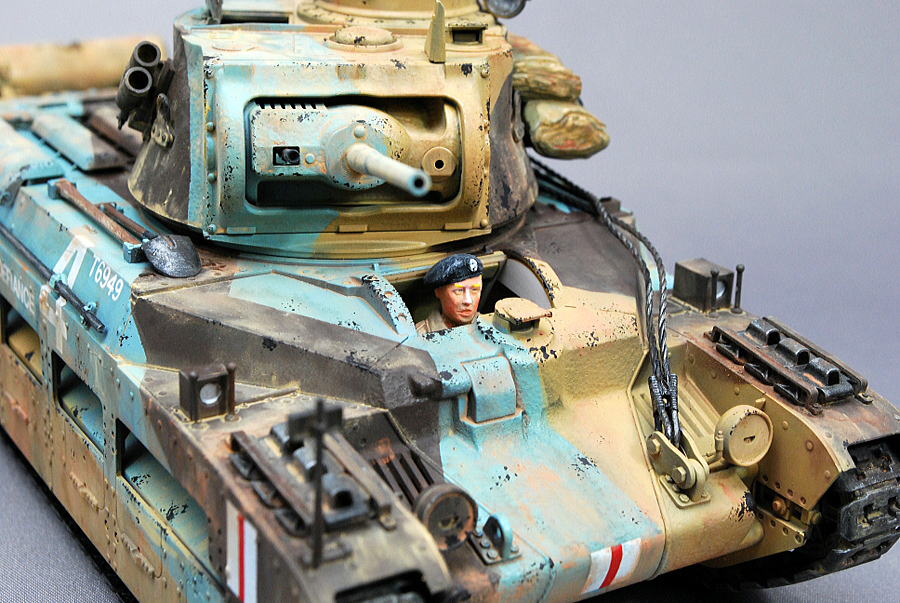 Although we can see only the driver’s head, the atmosphere changed very well.
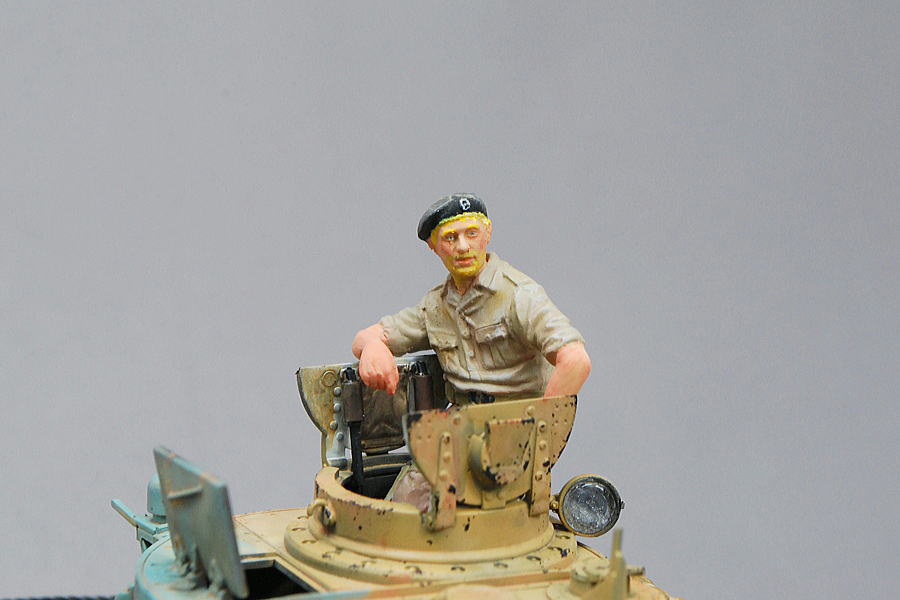 I set up a commander here; he has blond hair, too. I drew a pupil with blue.
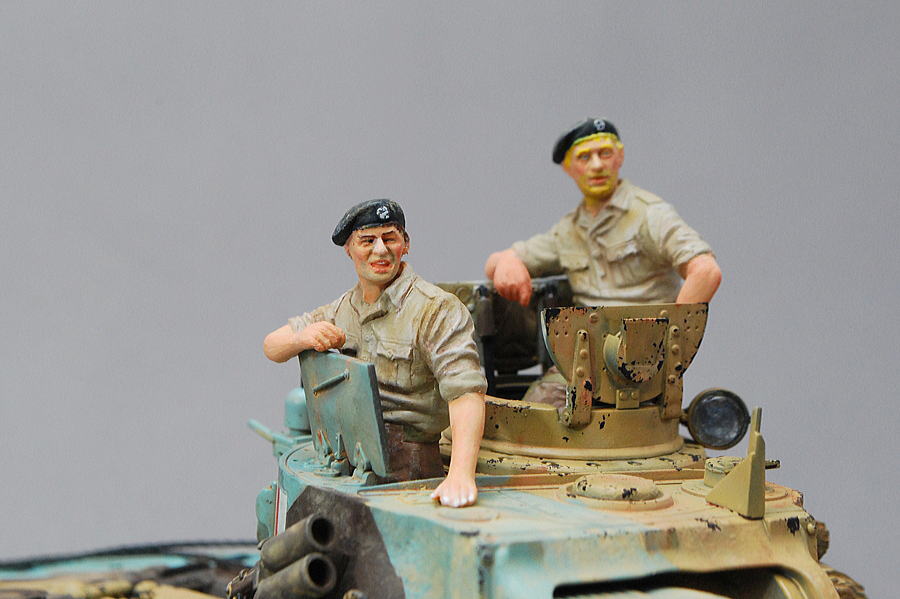 The loader is narrowing eyes; I only drew a dark line traced on the eyelid. In case we see it zoom up and it’s not quite satisfactory, but a lower photo, Distance lends enchantment to the view (faces).
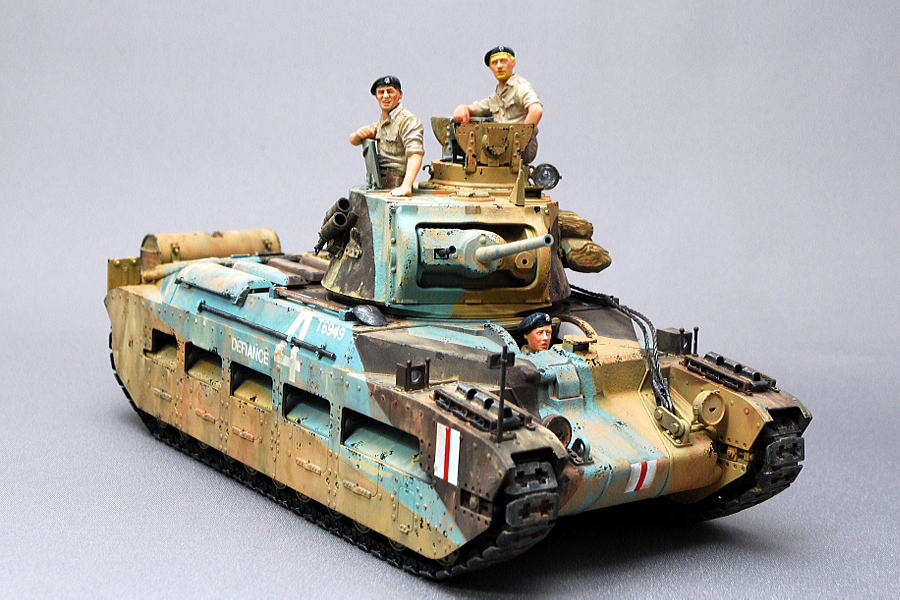 A commemorative photo like the box art. Figure posing is excellent.
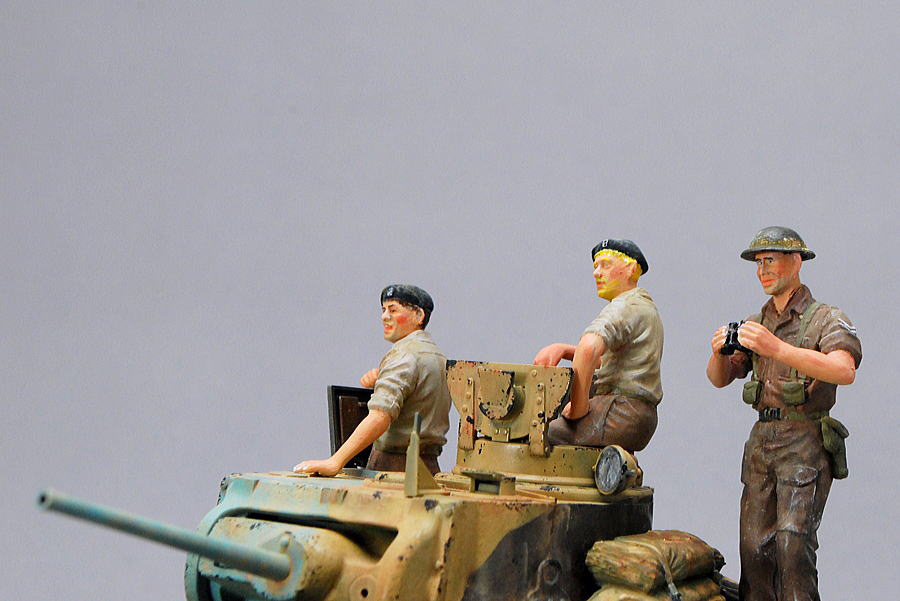 I suppose the British Army infantry soldier molding differs from the Matilda kit figure. Maybe a molder’s style affects some changes. The nature of the wrinkles of uniform, Tamiya’s better.
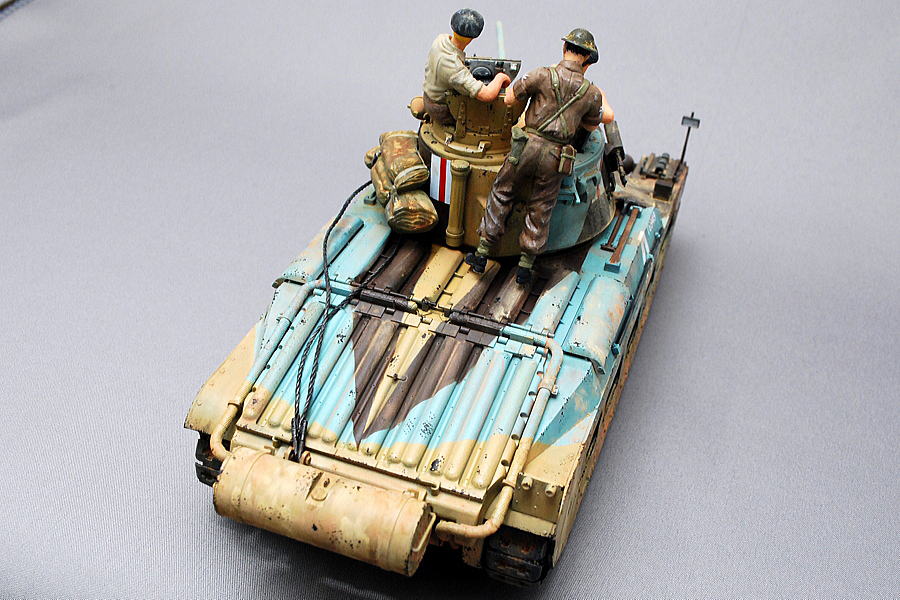 Shot from back. Light blue blended camouflage is beautiful, although the vehicle is soiled thoroughly.
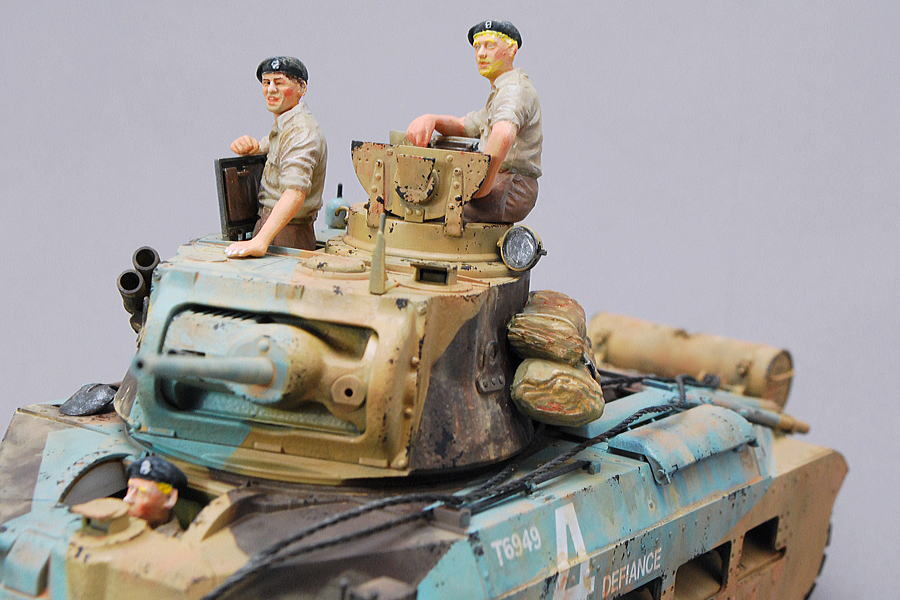 Since the transparent part was not contained in the kit, I the light beside a hatch was made by myself. I was feeling bright touch when the transparent part shone.
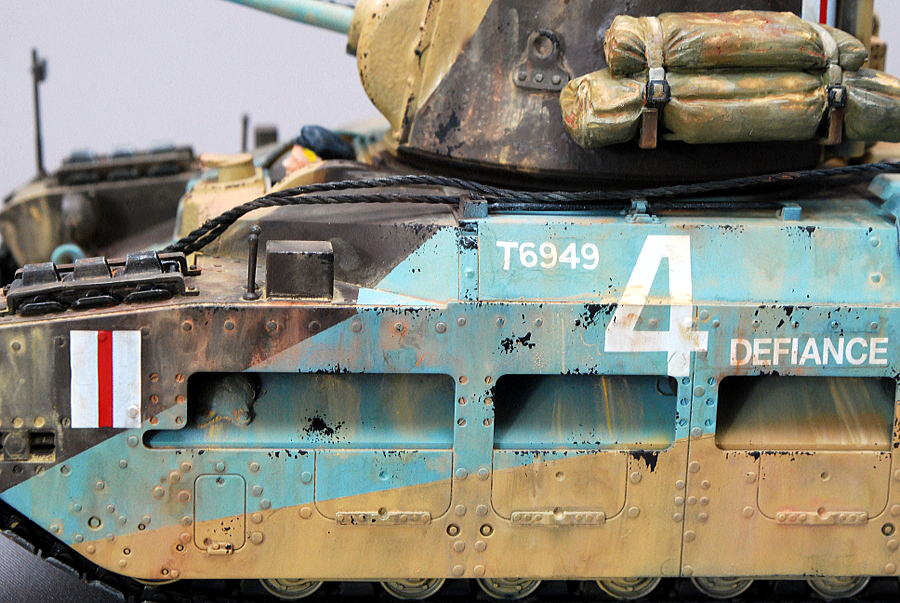 The washing effect made the irregular expression on the surface. But I need more detailed work; It’s a little rough.
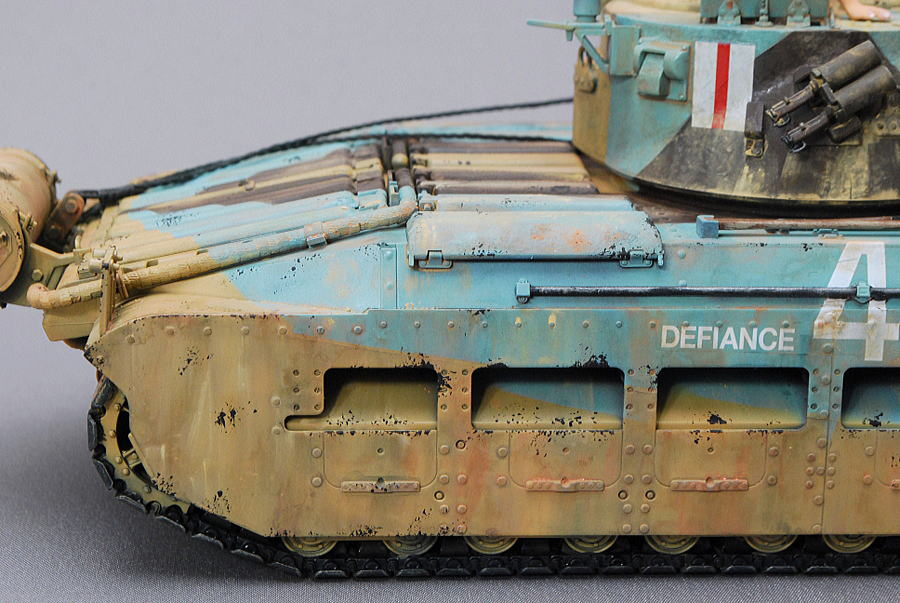 On someplace, I made chipping and real rust-looking. I could control the decal’s shining with a flat base blended color.
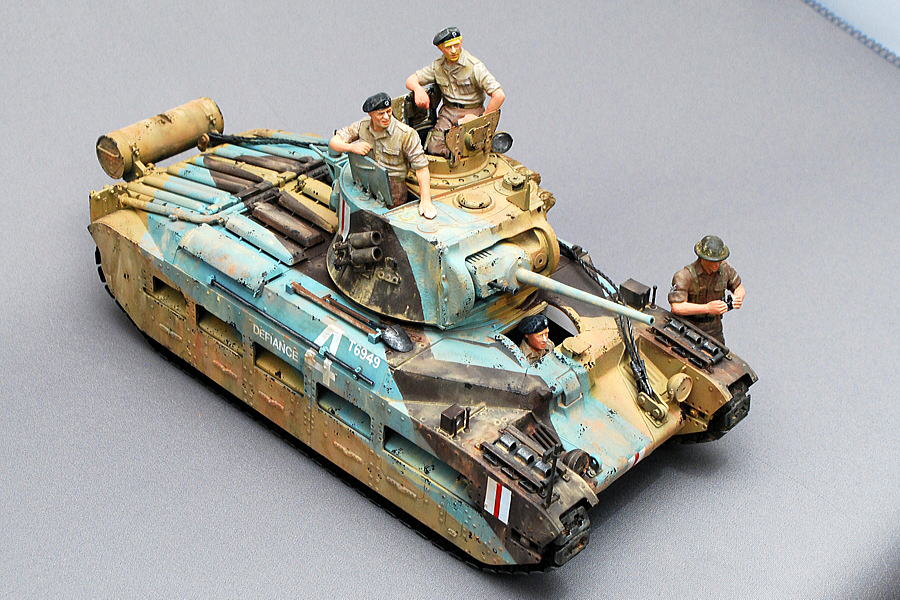 This marking is the 32nd Army Tank Brigade, Libya, 1941.
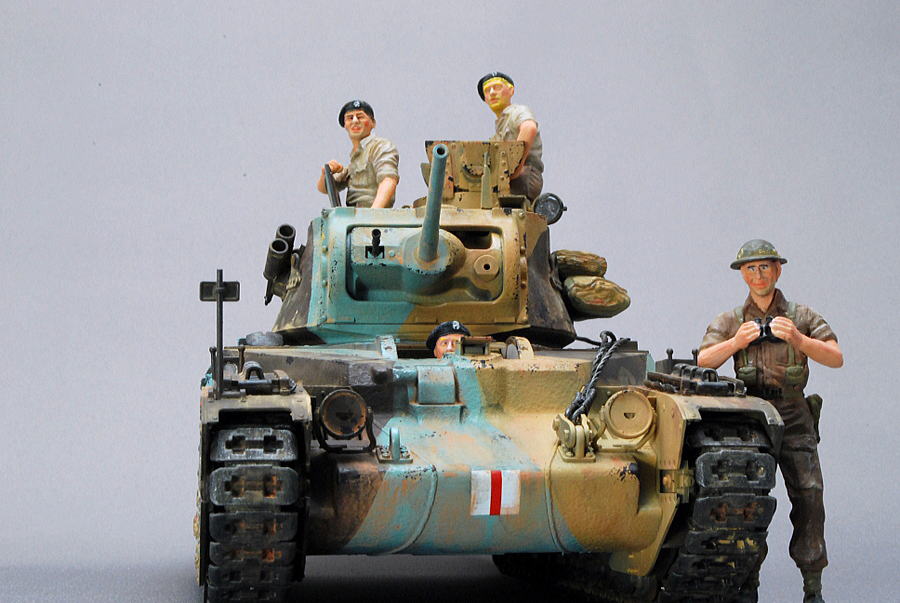 I love Matilda. It seems that the Matilda tank is famous; I think the reason is a massive feeling and strong even if its size is compact. Tamiya’s kit is precise and easy to assemble, which is excellent. The only infantry soldier is looking into the camera and smiling…
(20-July-2013)



コメント