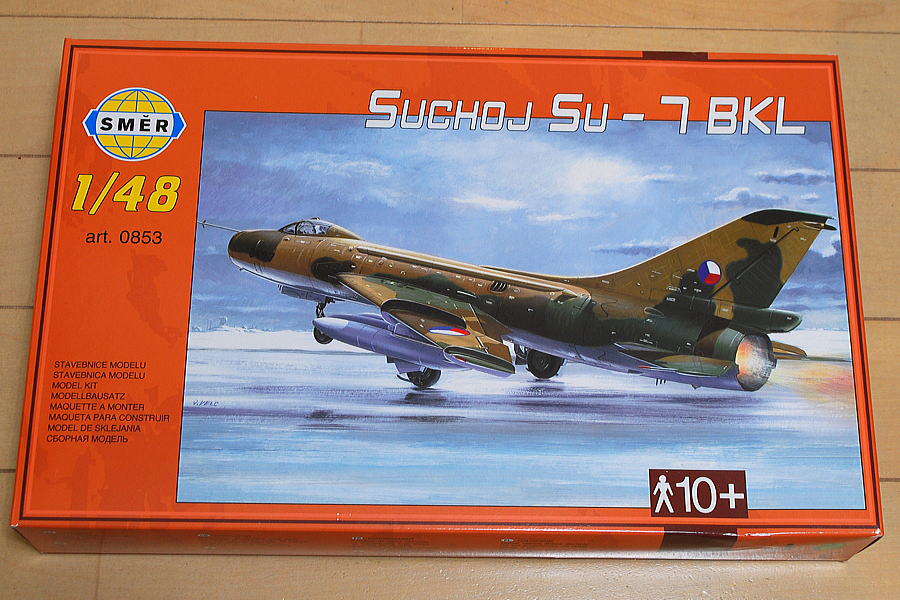
 Because I usually make only a kit by Tamiya and Hasegawa, this kit is tough. I wonder if it’s an easier class in the kit of Eastern European manufacturers? The Su-7 original mold of the SMER is KP, Kopro; it’s also from the original OEZ. It is worth challenging once.
Well, the assembly is begun around this summer, and it wasn’t easy, and I was given up on the way. I’m making the F-100, and the coolness of the silver body stimulates me; now, I am trying this Su-7 again. A painting example of the Polish Air Force is silver, so I suppose to choose it.
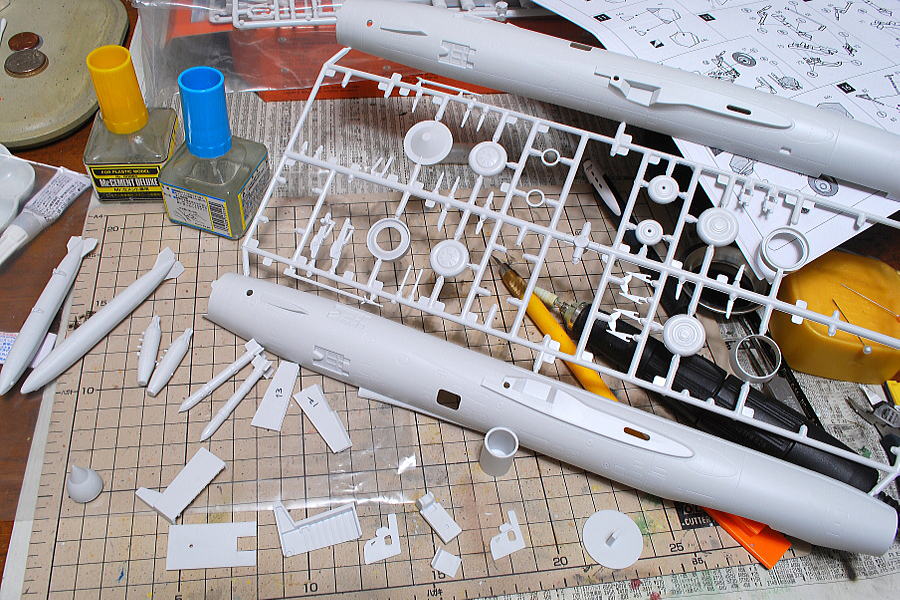 The total length of the fuselage is quite large. About 35cm. I assembled the cockpit and weapon set as it seems not to seem such complex parts. Plastic is very soft.
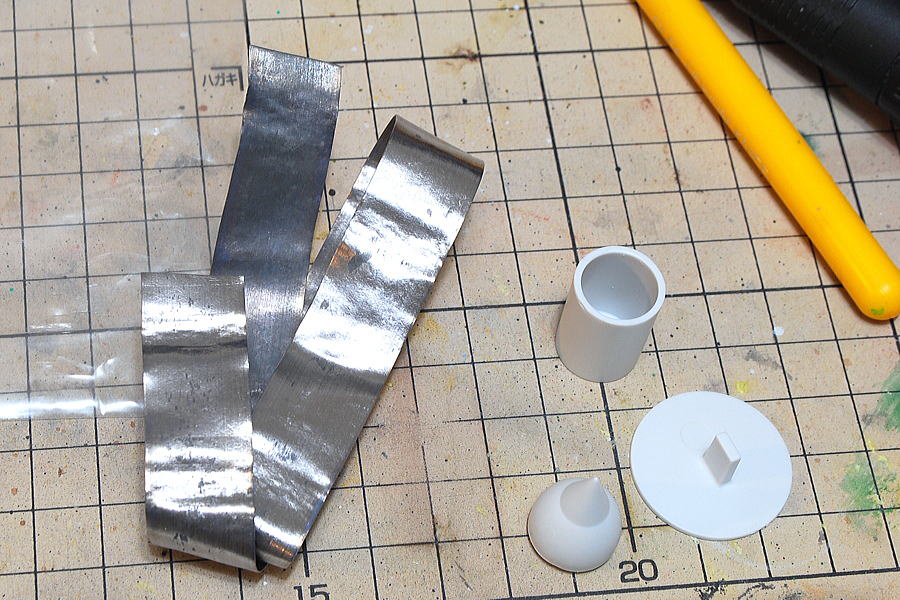 Storing the plate weight to the front ensures the back doesn’t fall to the ground. The recommendation is 10g. I packed it with 15g. It sounds a bit rattle-rattle in the corn now. I should have used the instant adhesive or epoxy putty.
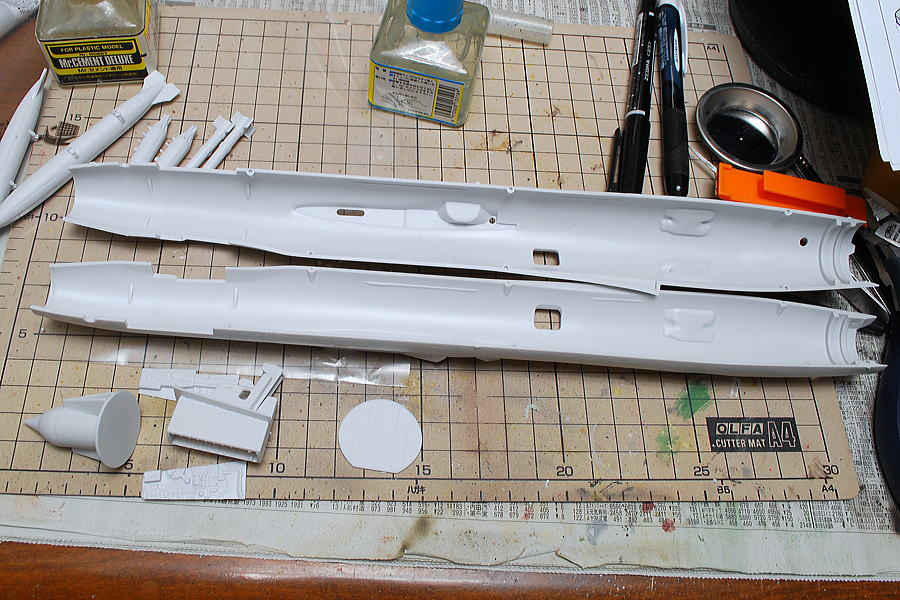 I had an impression that it’s hard to assemble around this process. But, still, I’m making it in comfort while singing.
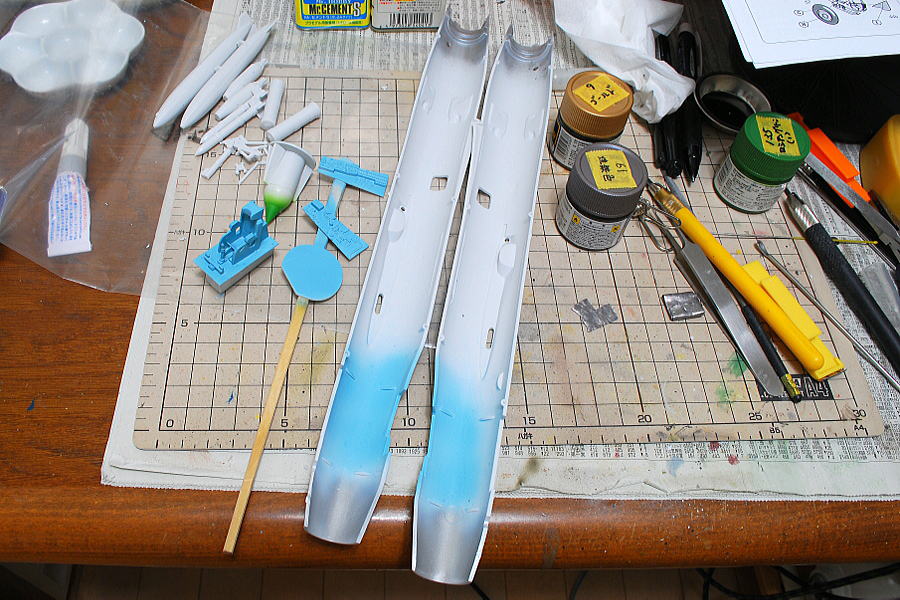 SMER’s painting instruction indicates only the numbers of Humbrol enamel. I selected Mr. Color No.74 air superiority blue for the cockpit, and the top of the Su-7 is Russian green No.135 based on my sense and actual airplane photographs.
(15-December-2015)
 I recently went on a hot spring trip with my wife at Nishi-Izu Heda Onsen (hot spring), staying at the seaside view hotel “ISABA.” I think it’s a kind of luxury Japanese-style hotel. There was a small hot spring in each room. Also, there were four chartered private hot springs. The view of the sea from the room was particular. Breakfast and dinner were elaborating ideas and were delicious seafood and beef in Japan. Anyway, the general Japanese love hot springs.
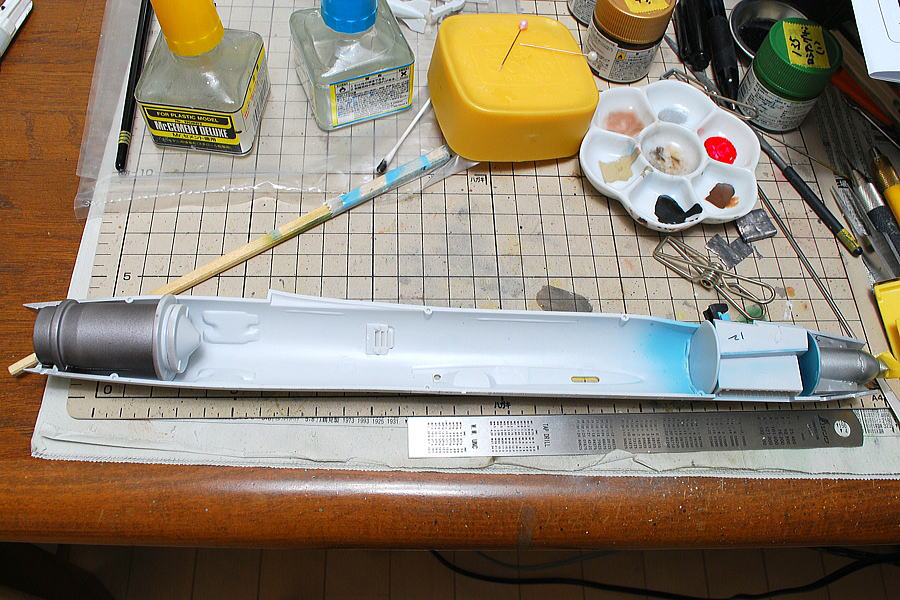
This Sukhoi is in progress. The fixed positions of some parts are challenging to decide, and the cockpit building in the fuselage needs carefulness. The parts of the jet engine have lousy precision. I wonder if the main wing and the body joint are OK or not…
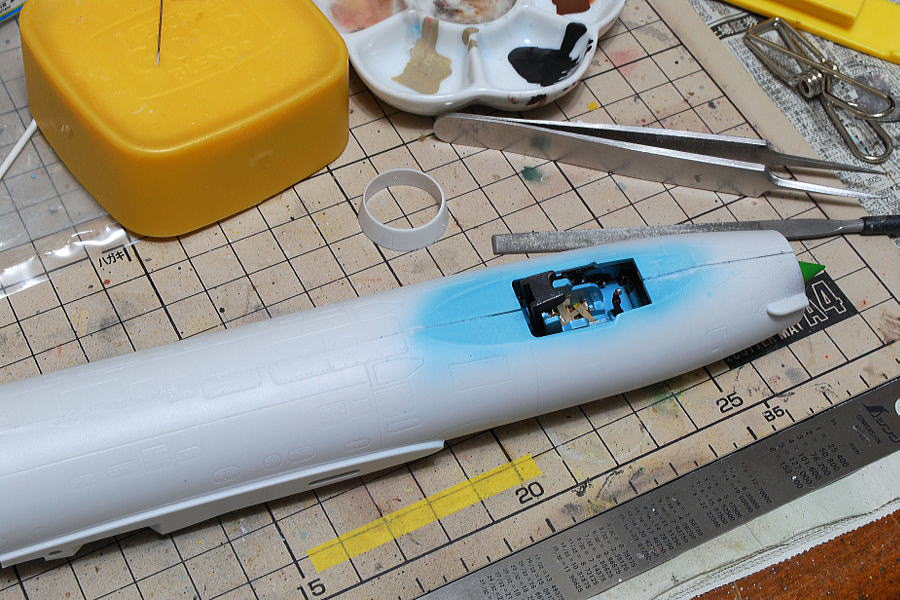 It isn’t easy to look at the actual plane’s inside cockpit. I drew small parts as best possible, and the seatbelt was by myself. There is a gap between the right and left. The parts of the third party have a better result, like the F-100 I built last time. I think that it is better than nothing.
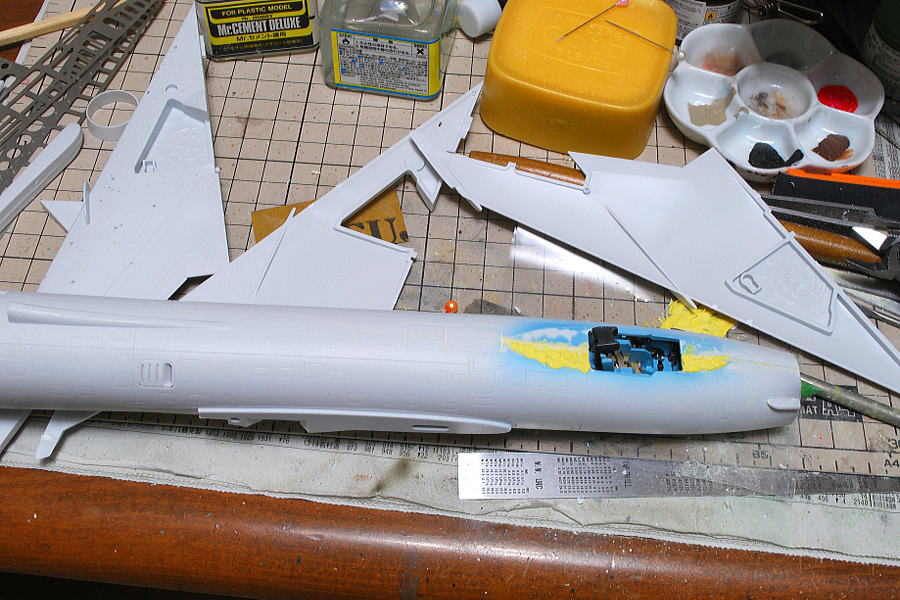 Now filling the gap and fair the surface with polyester putty. I want to make the rough shape soon.
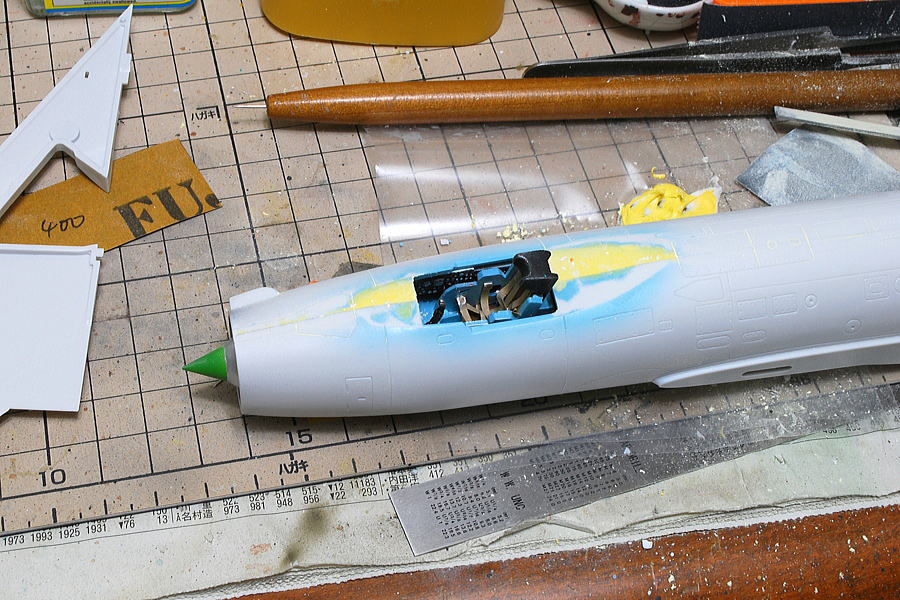 The detail of the cockpit is an excellent mold. I assembled it with caution, but a lot of problems occurred. I was worried about whether the inner panel fit inside the body. There seems to be little risk in assembling the inner parts one by one more carefully than in the cockpit parts building together all at once, like this instruction.
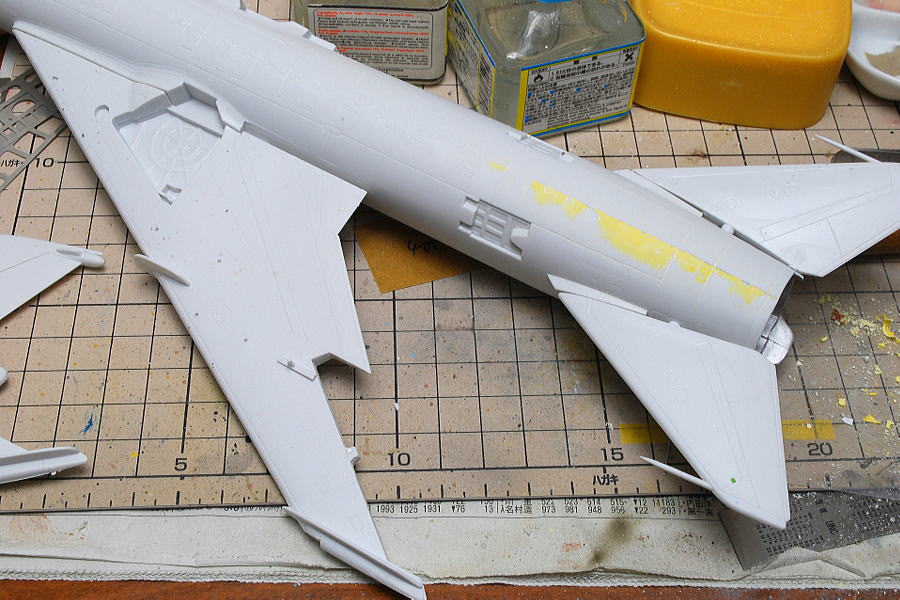 I was at a loss for a while without knowing how the landing gear attached to the body. And it’s on the back burner. Even if the left and right are made in reverse, it’s mostly the same. There are many significant gaps here and there; did I make a mistake?
(24-December-2015)
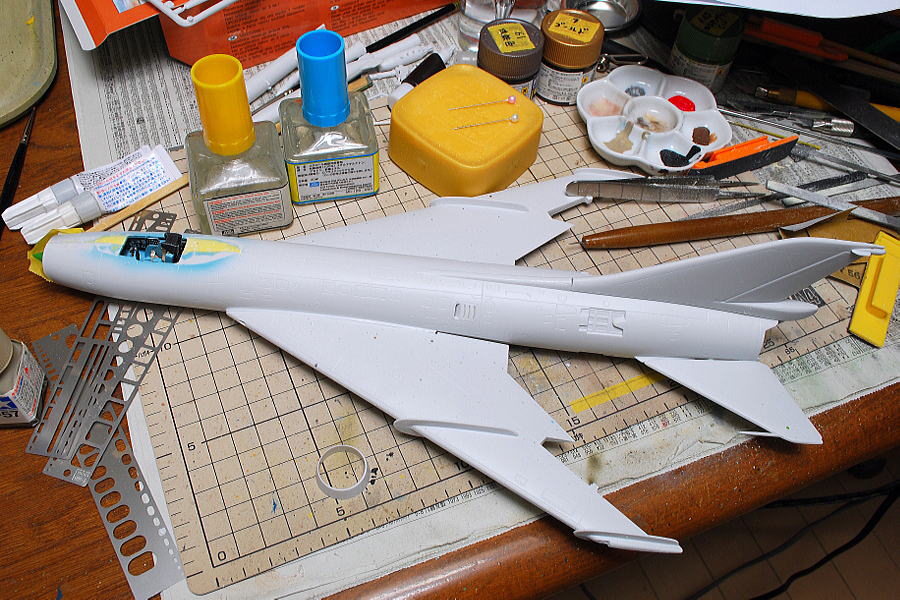 When I was going to eat fried chicken at KFC with my wife for Christmas, they only delivered the party barrel on that day. There is a lot in the very front that is not sold when I want to eat it. There is quite a tricky thing. Therefore, I have eaten because it was open commonly today. I assembled it roughly, as in this photo.
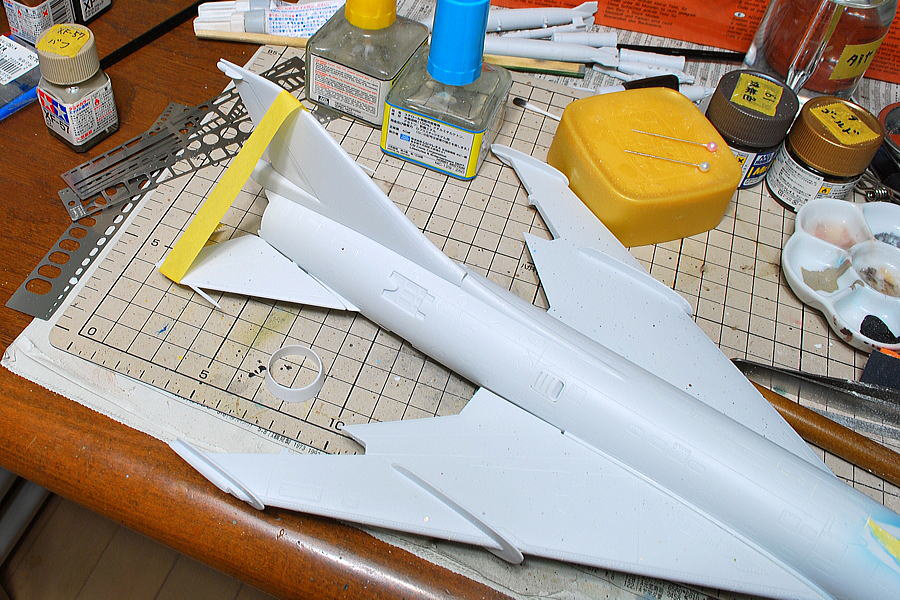 To the best position, the tailplane is fixed with masking tape.
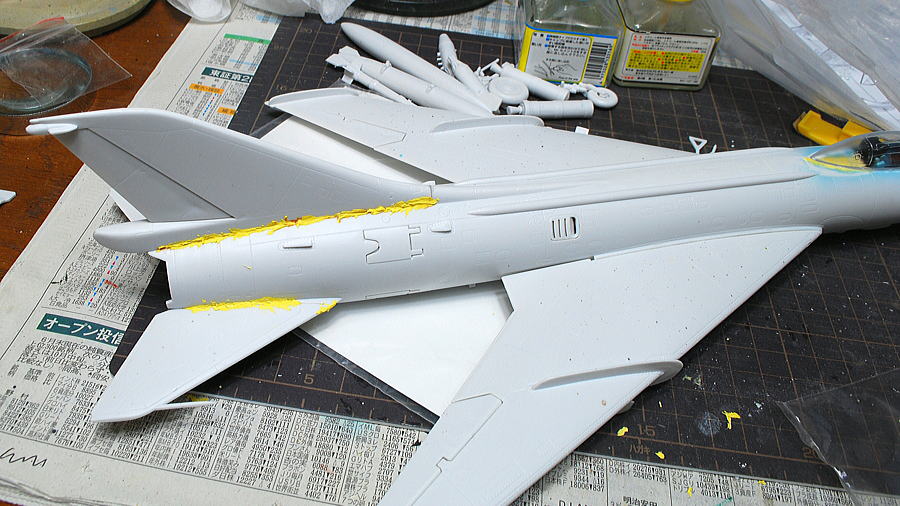 A worrisome gap is being filled with putty. I’m not worried about a gap more gradually.
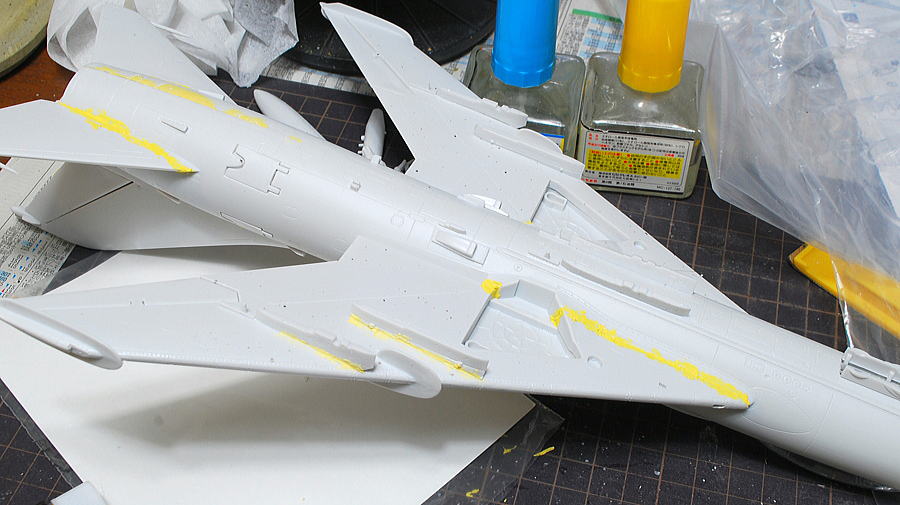 Because a gap occurs at the joint of the main wing, the tail assembly, a vertical tail, and every connection part, including the pylon, I entirely use polyester putty and light indurating putty and bury many gaps.
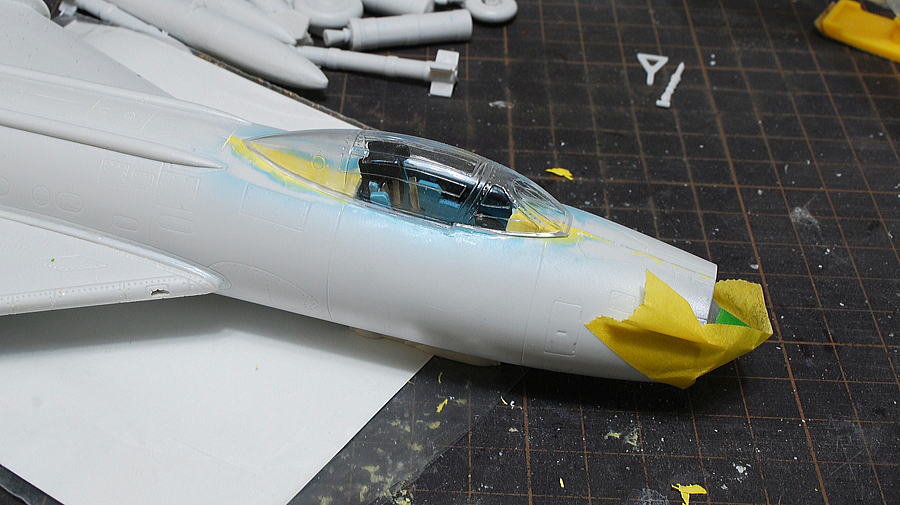 A cockpit and a body fit fairly. Still about 0.5 mm of a gap, so fitting is raised temporarily with light indurating putty. I hope the fitting will be good until the end.
(28-December-2015)
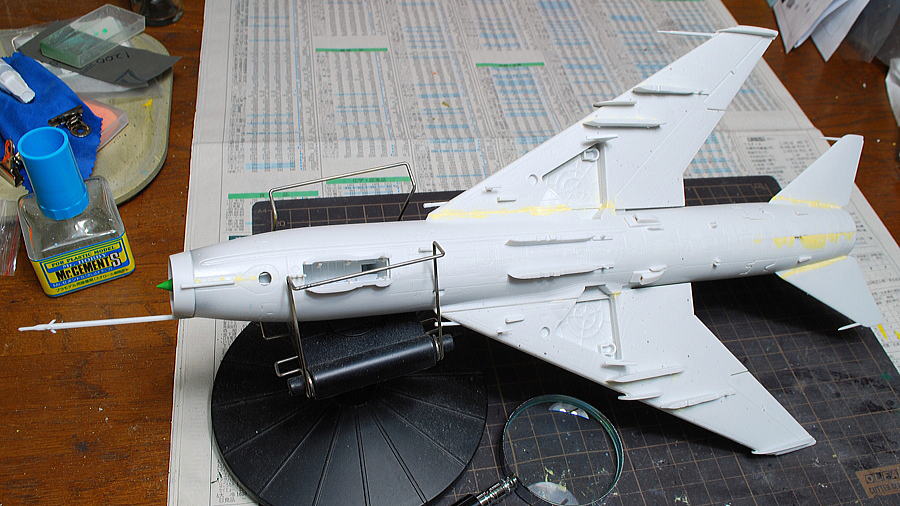 I am attaching small parts of the body in various ways. There are many small parts on the body’s undersurface.
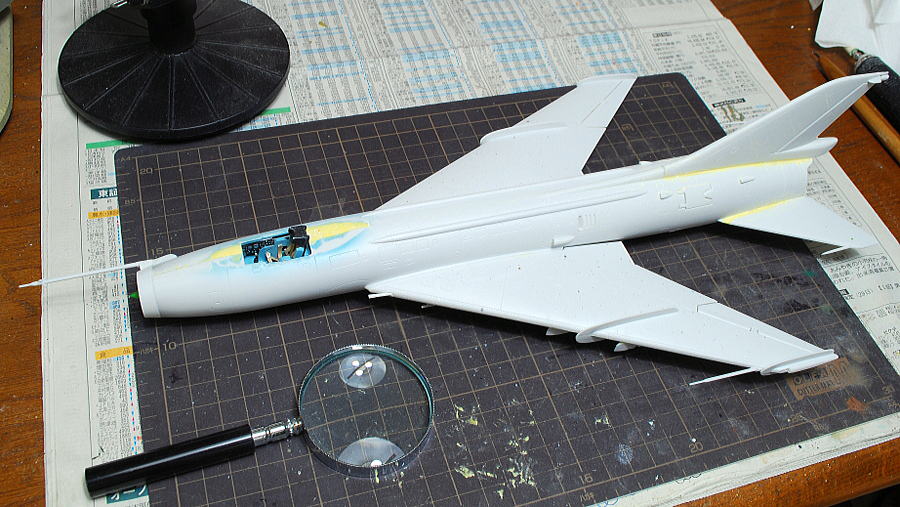 It is equipped with a 30mm machine gun x 2 at the root of the main wing. There were some small parts on the top surface. I attached them.
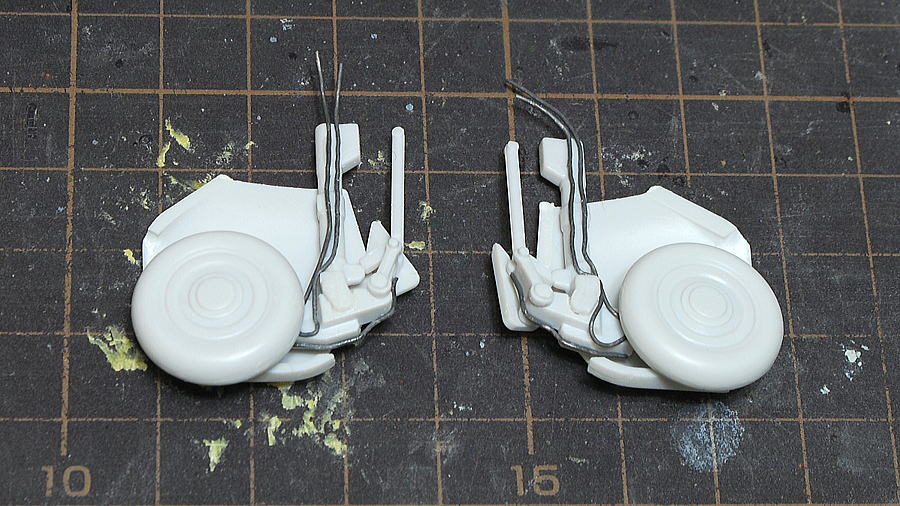 I attached the tube-formed metal wire for the brake pipes to the landing gear. But, in the structure of Su-7, I think almost invisible when I finished.
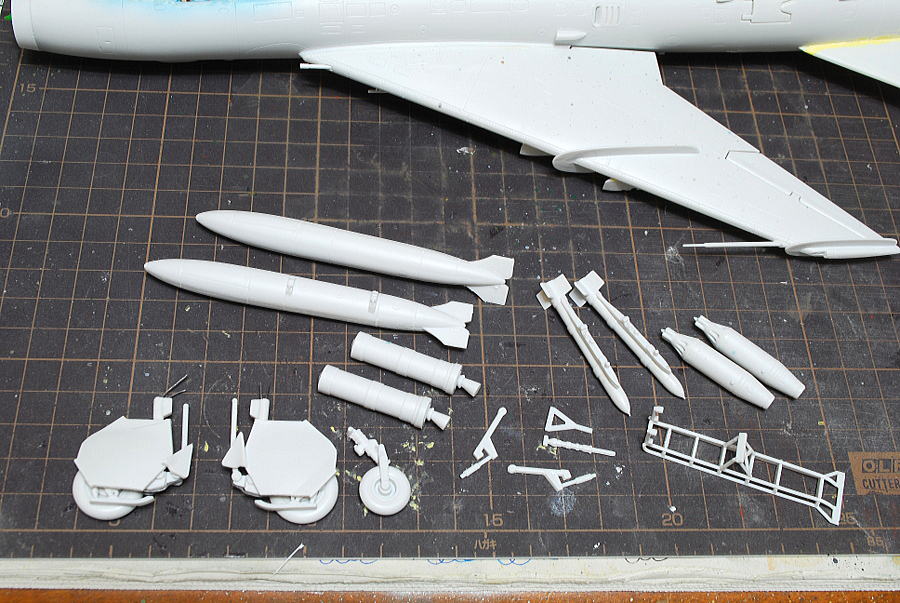 The belly tanks, UB-16 57mm rocket launcher, and other accessories are completed.
(04-January-2016)
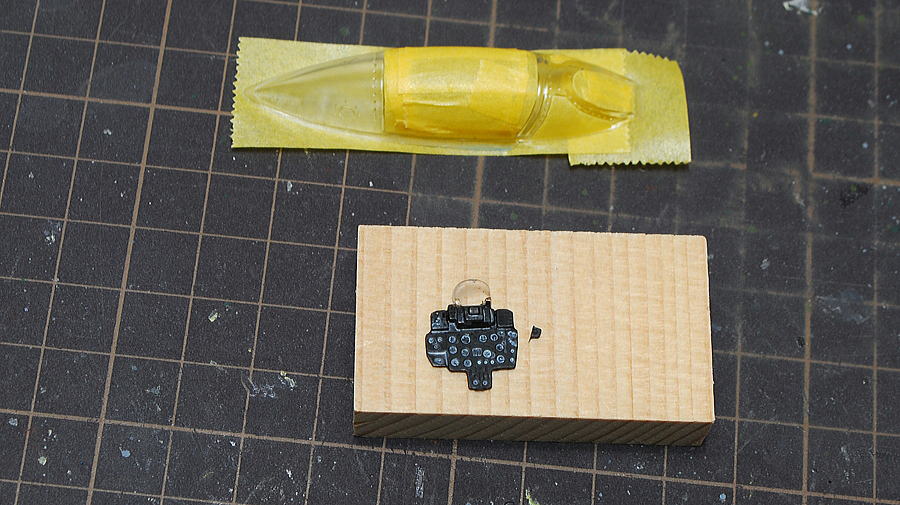 Because the cockpit panel did not fit well, I cut it partly and adjusted it. The mold is good.
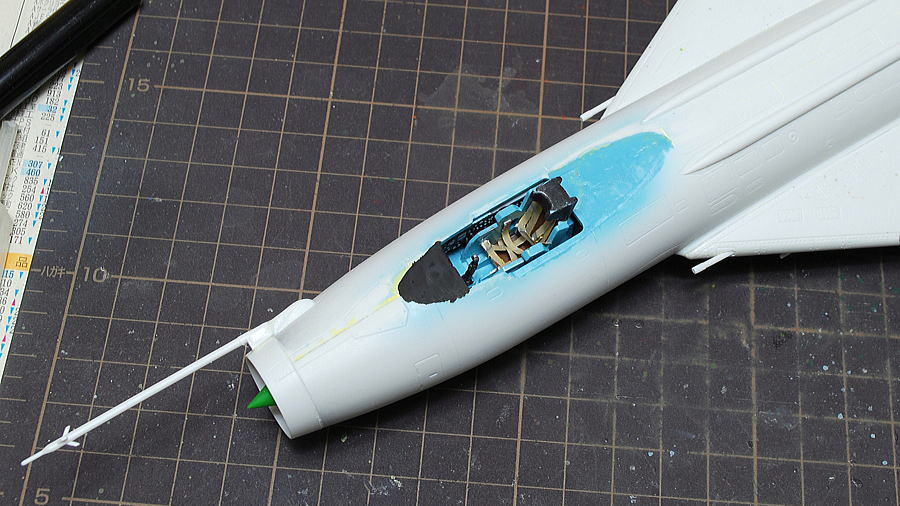 I repainted the cockpit inside.
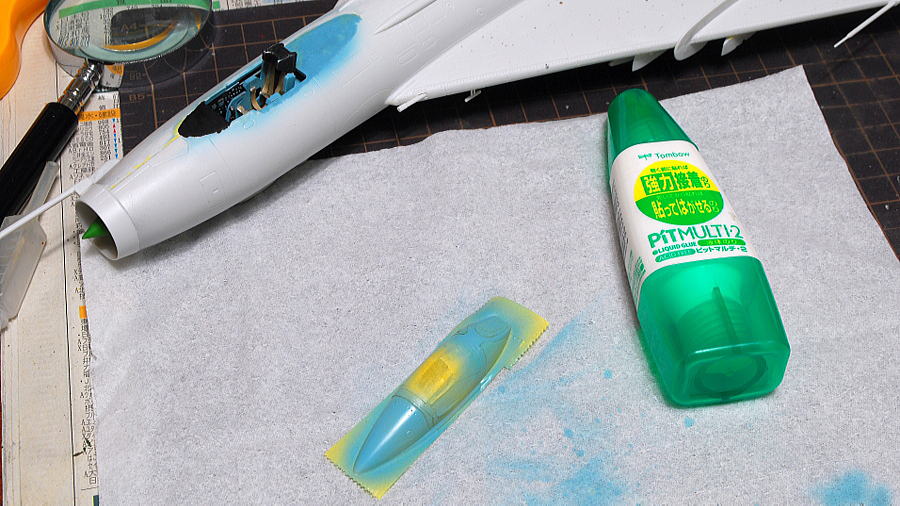 A cockpit frame was painted in the inside color. I try to use the Pitmulti regardless of the previous failure. This glue is convenient for temporary attaching when it is jointed after drying.
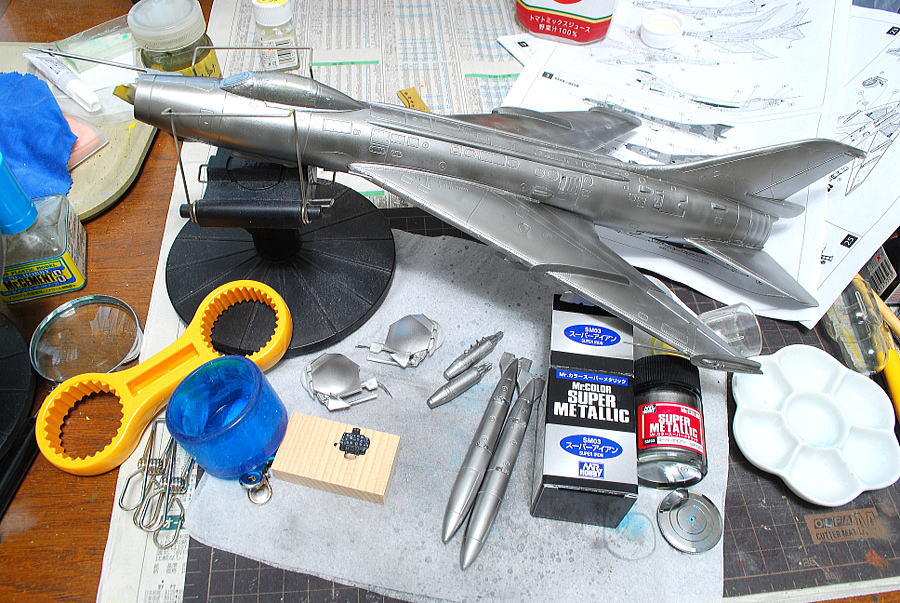 I used Mr. color, a super metallic super iron. It is a somewhat dignified impression than Super Stainless steel. Yes, … that as you see, I forgot the installment of the cockpit panel. The adhesion of the canopy was temporary, and I was saved.
(06-January-2016)
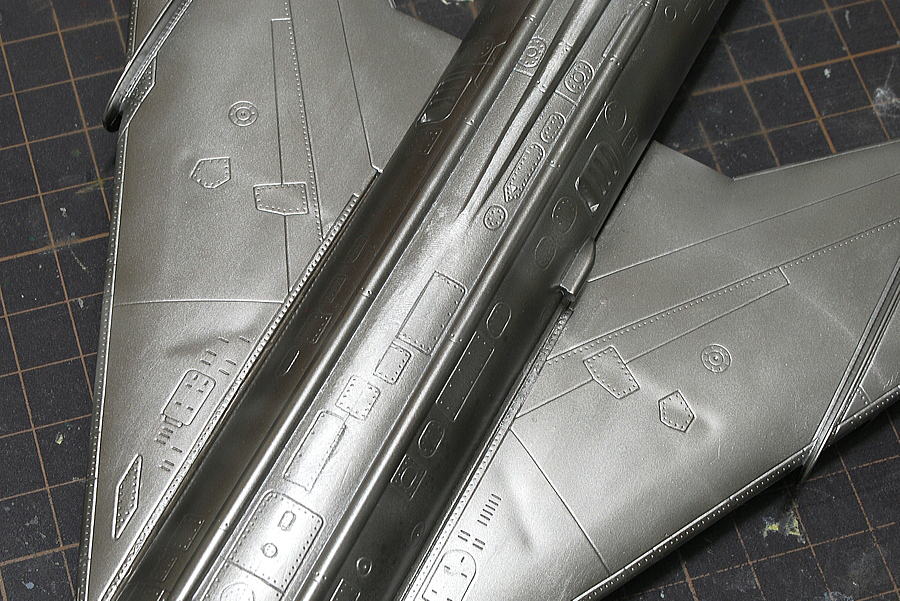 These are the sink marks of the landing gear hangar effect of the top surface that I pretended not to notice intentionally so far. After blowing silver, as I expected, these marks stand out more. I make modifications as far as I can do it.
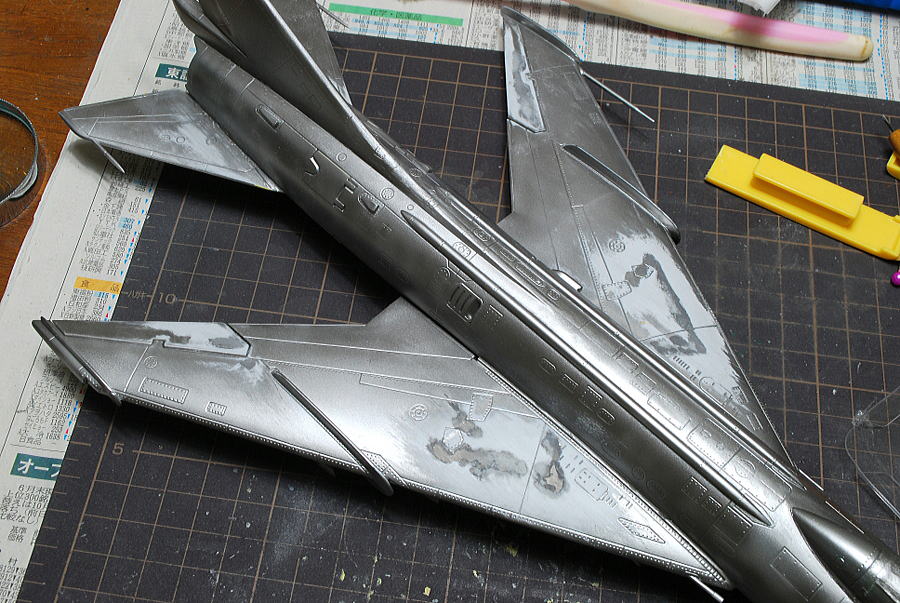 I piled the putty and filed it, and the other points were also adjusted simultaneously. Oh, I should have worked properly from the beginning.
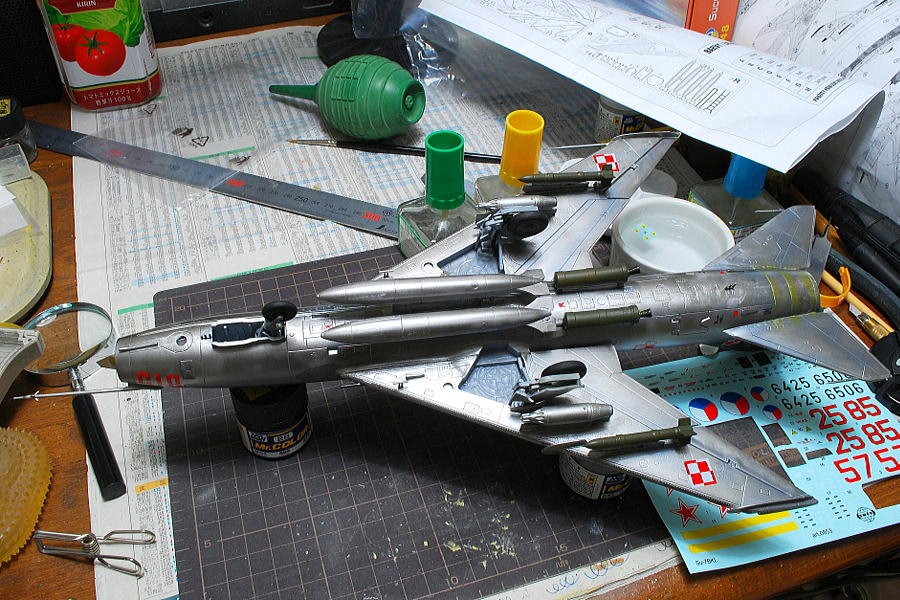 The decals attached to the kit are thin, soft, and delicate. The color is good and fits the body. I think white is a little thin.
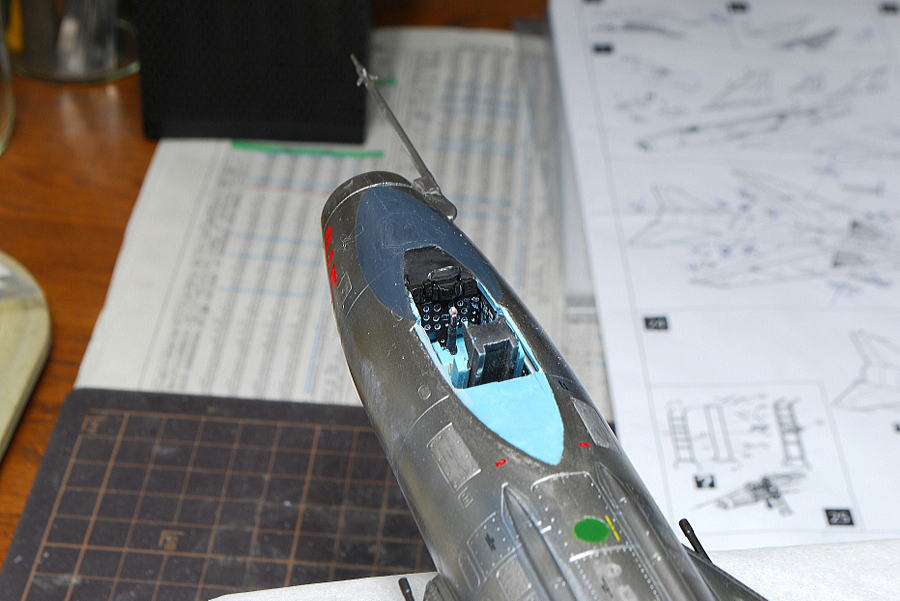 The forgotten front panel is built into the cockpit, and I was relieved.
(08-January-2015)
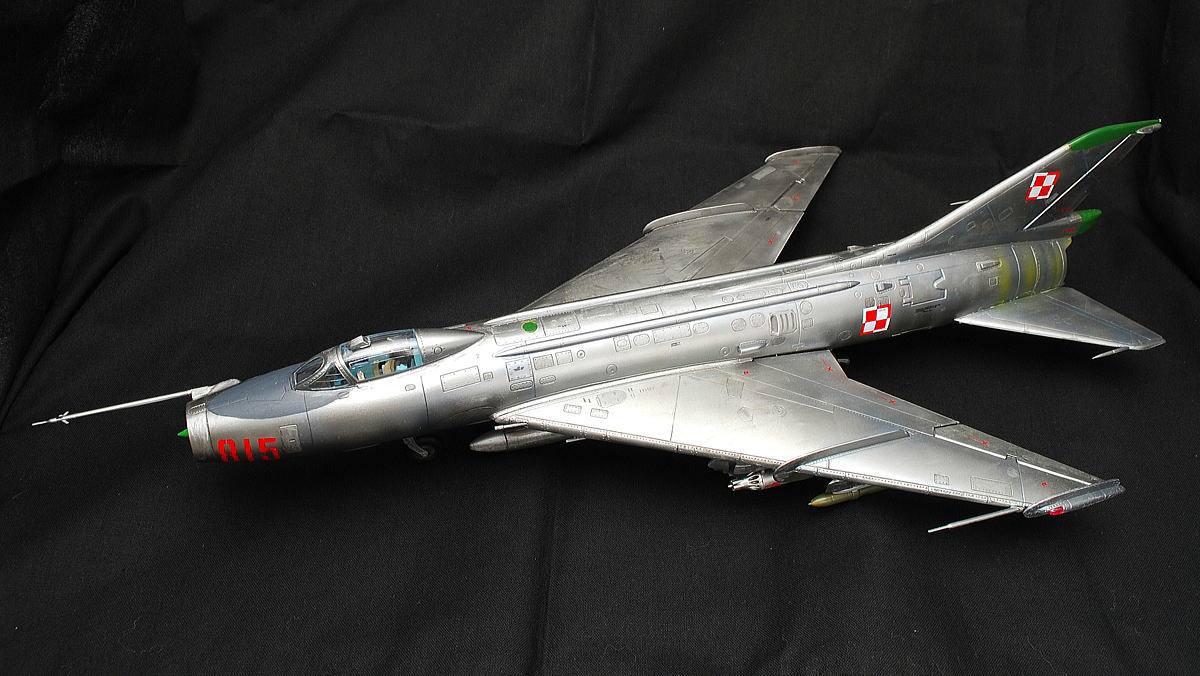 The rival is F-100 which I made the other day. Sukhoi Su-7, in Russian Cy-7, is a strike fighter of the former Soviet Union produced at the end of the 1950s. The pencil-shaped straight-line body is similar to F-104.
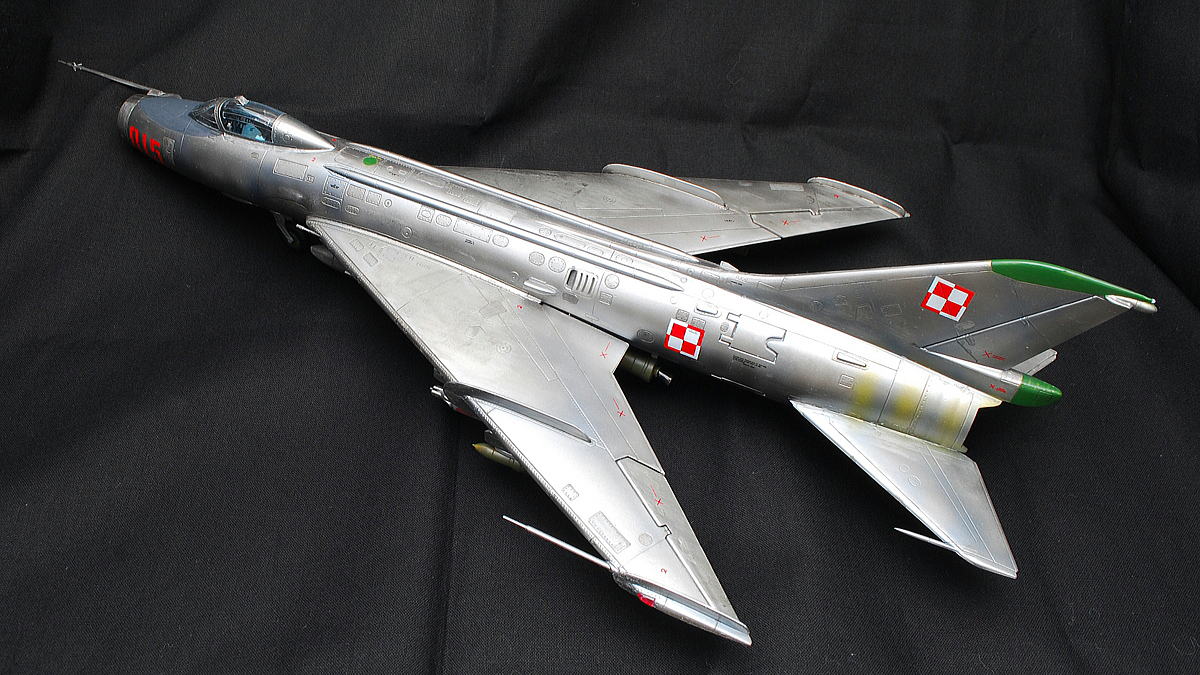 The bomb loading capability was low and had high fuel consumption by low speed, but the mobility and stability at a low altitude seem to have been good.
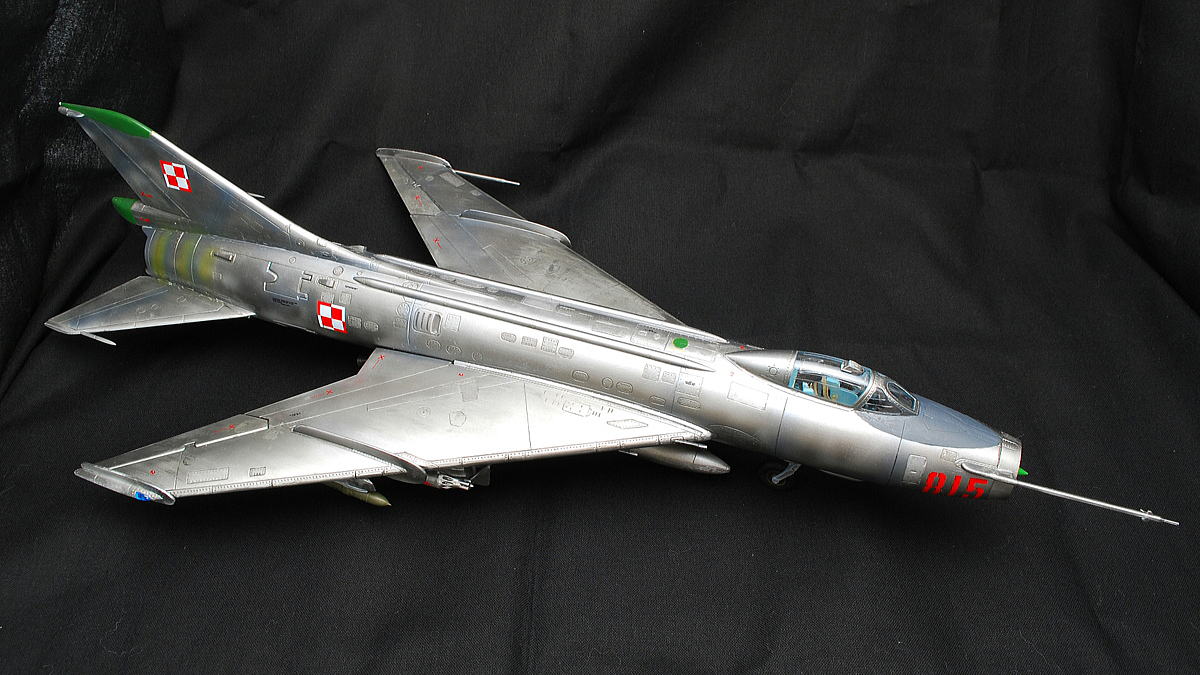 It was a problematic assembling kit. My target changed to “Anyway, complete this kit” from “let’s make it neatly” halfway.
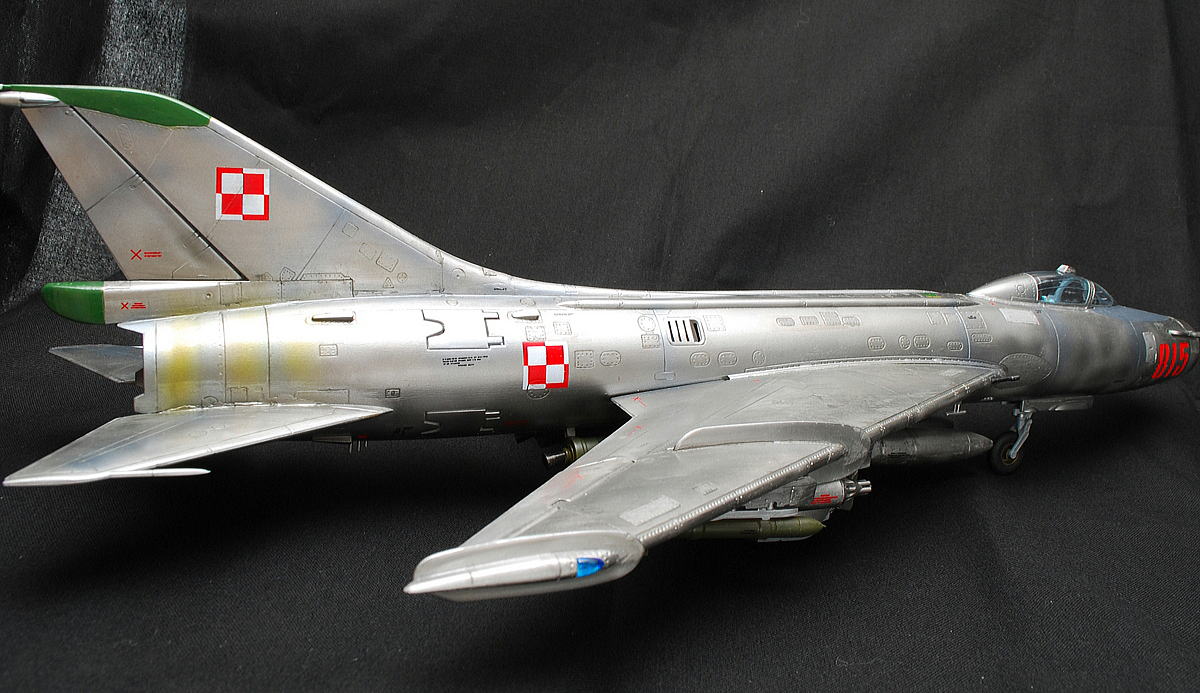 There are so many small decals it’s hard to stick them all. I think their appearance improved when I put them on the silver body.
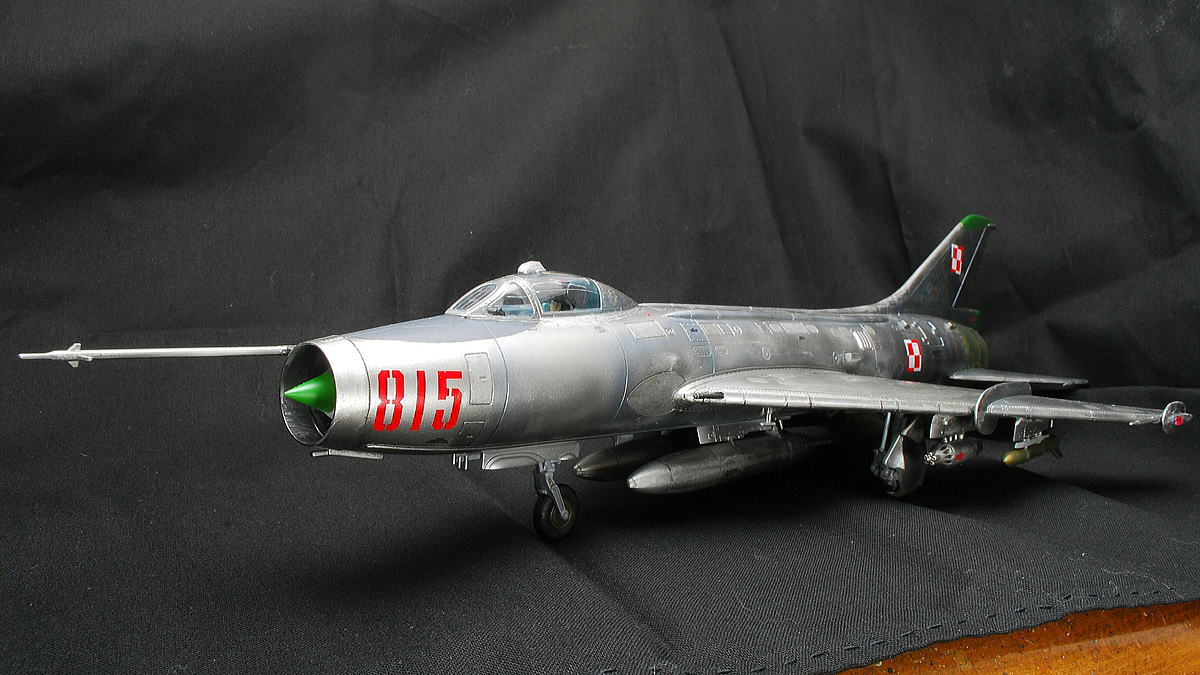 I remember the trouble time of the first stage white scattered parts group when it was completed.
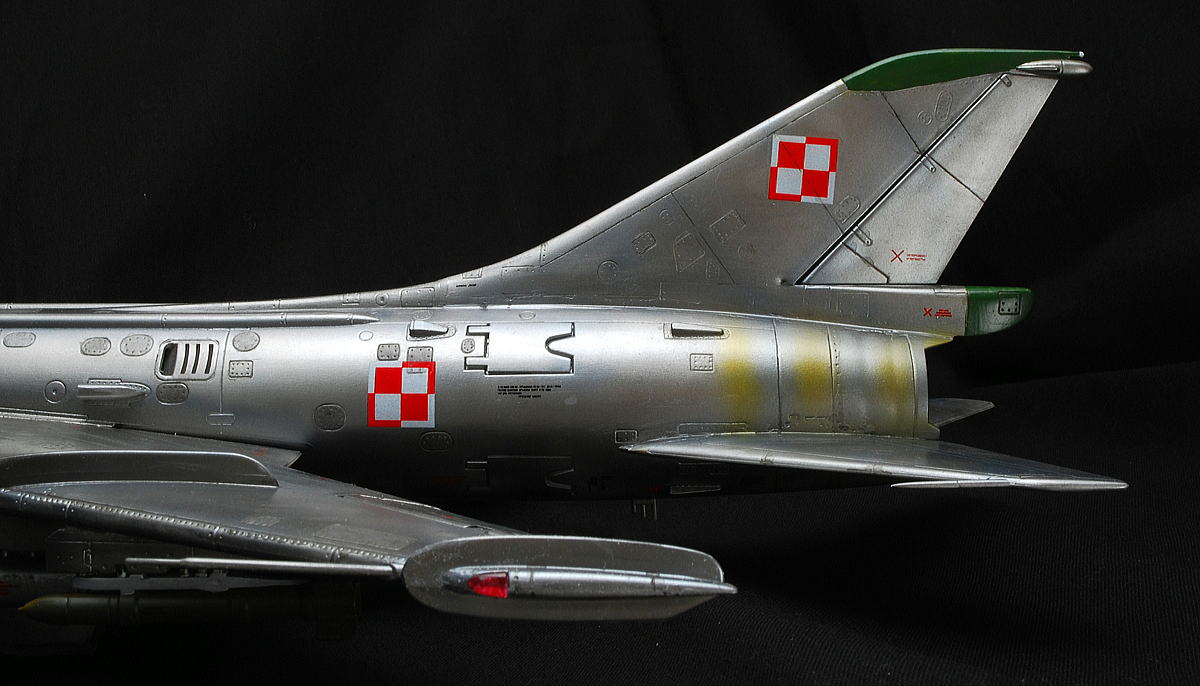 After inking, the glossy body was slightly toned down, and it looked like the aircraft operated.
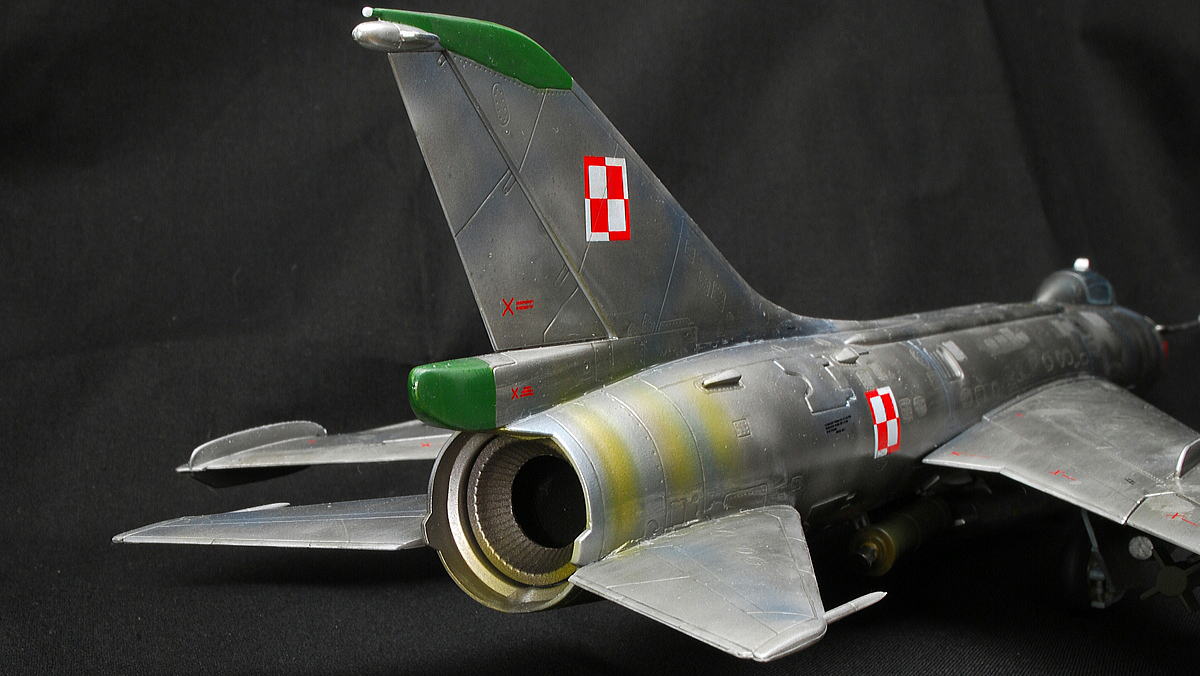 I wondered whether the outside of the jet engine nozzle was burnt by heat and discolored some metal plates.
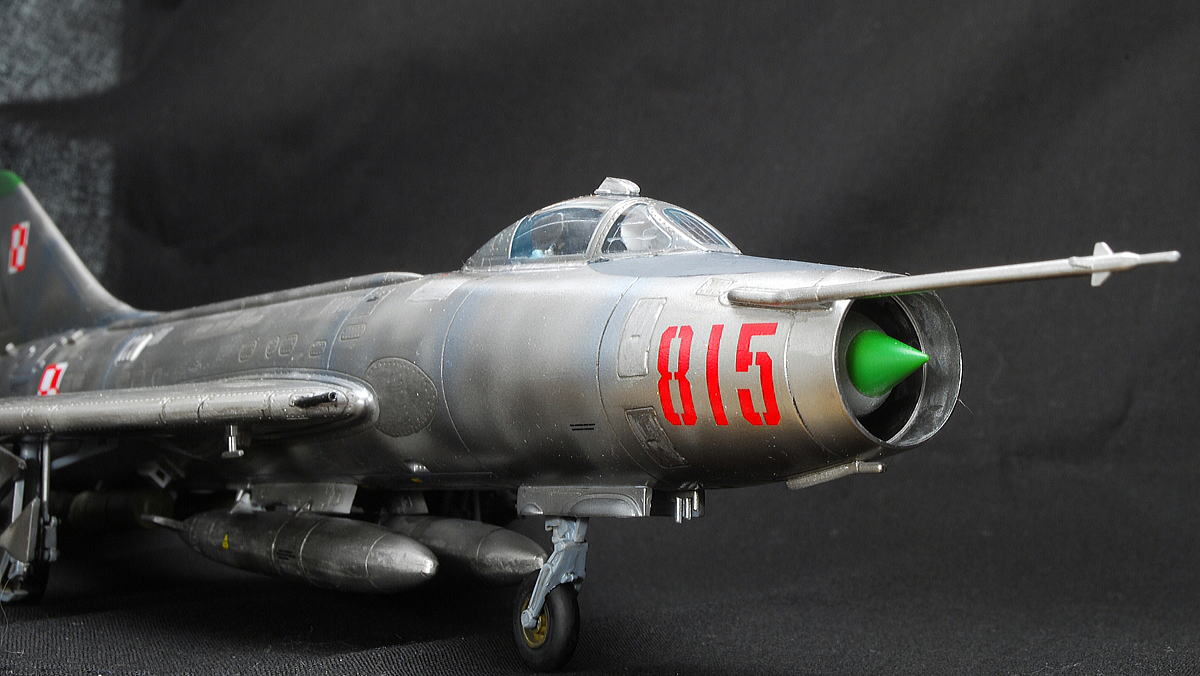 Picture-taking is difficult for one with a slender fuselage like a warship.
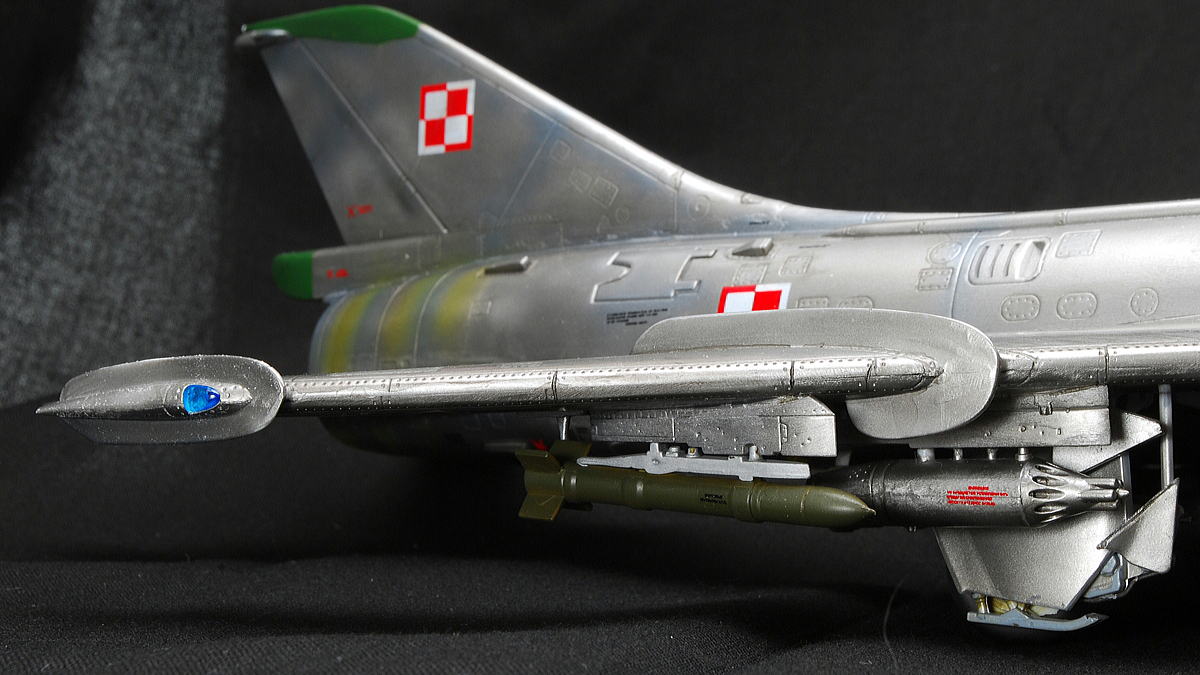 Su-7 BKL has landing gear that can be used in rough terrain airports. Next to the wheel, there are shock absorbers like a sled.
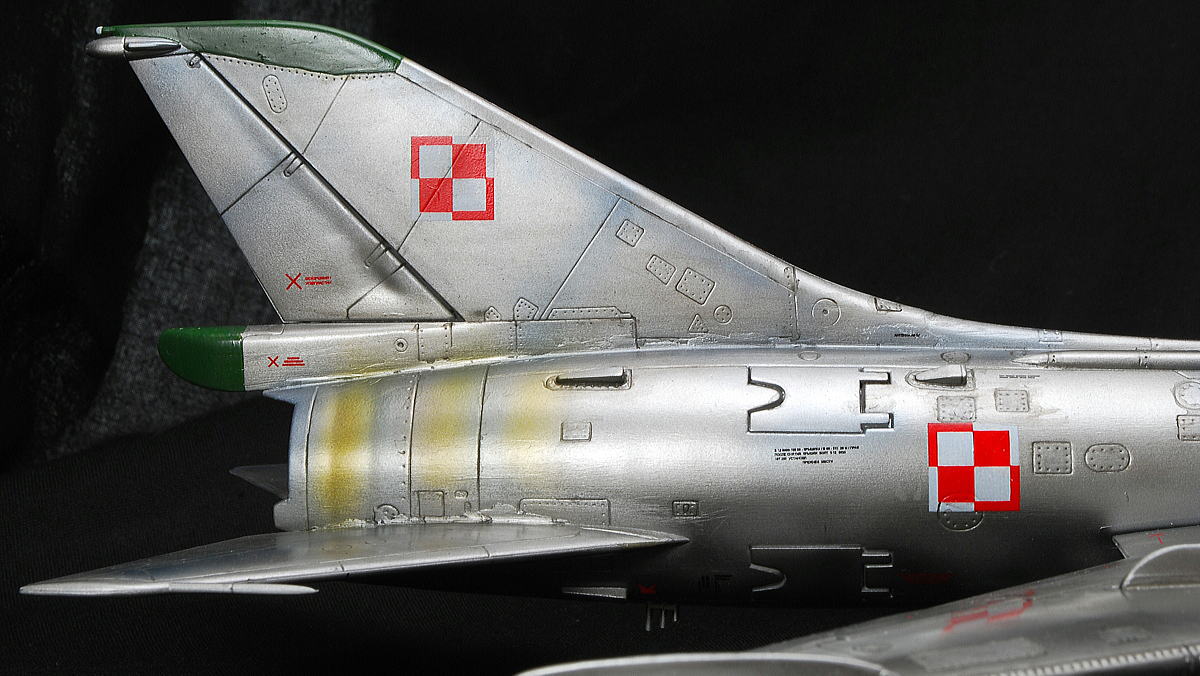 It was corrected with putty, but completion is rough. I have to work more carefully.
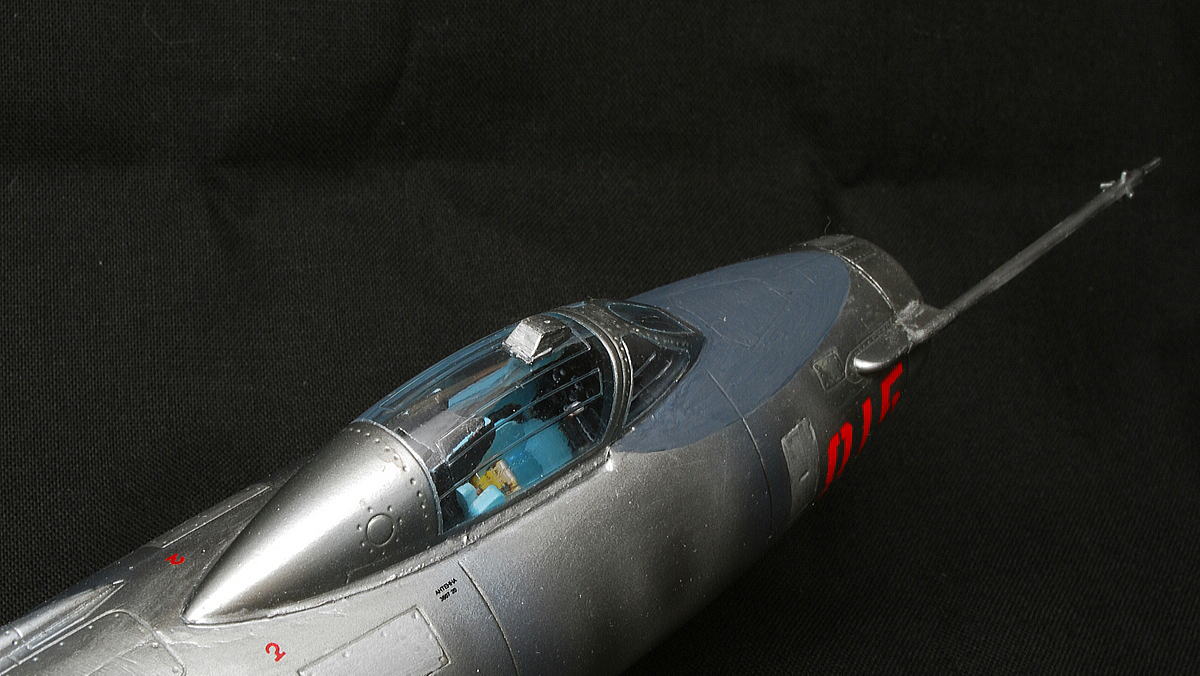 The painting of reflective prevention of dark gray in front of the cockpit is a subtle curved line, so the free-hand brush drawing was complex. I noticed Tamiya released the masking tape to the curved surface. I wish the manufacturer had made such a part with a decal. Maybe I had better have a curve ruler for future work. I’ll prepare it later.
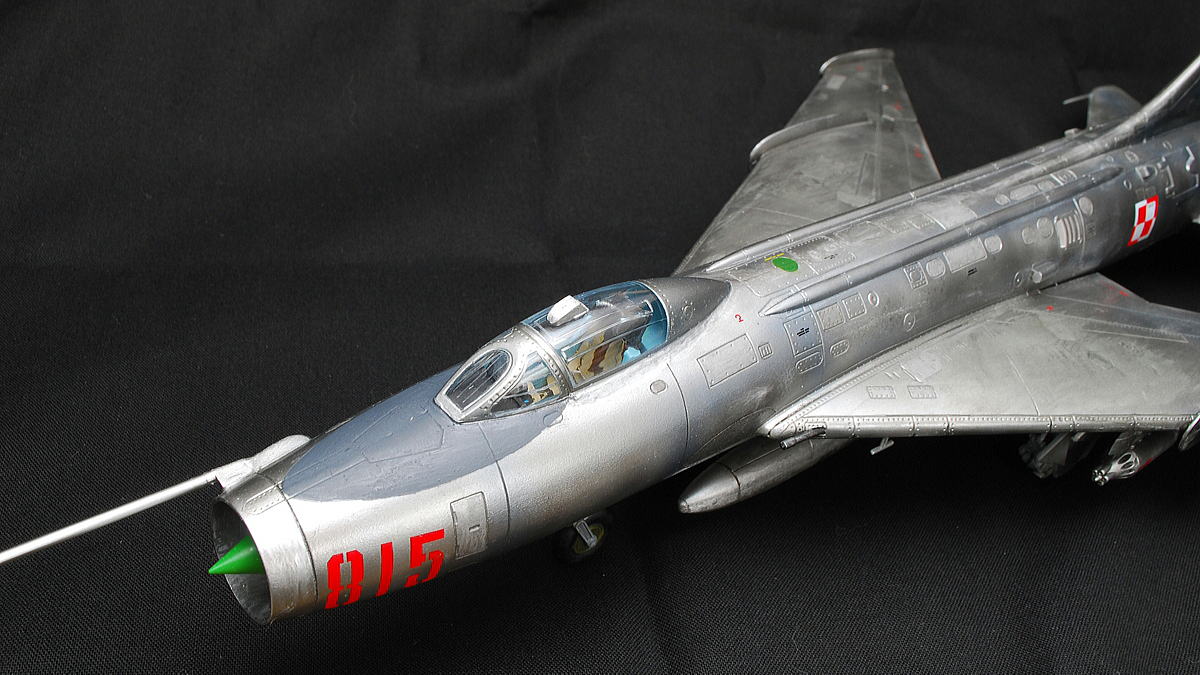 It is good that the canopy and fuselage joints are tight, but it looks welded and nasty looking. Well, I could keep the clarity of the canopy this time, so it was good.
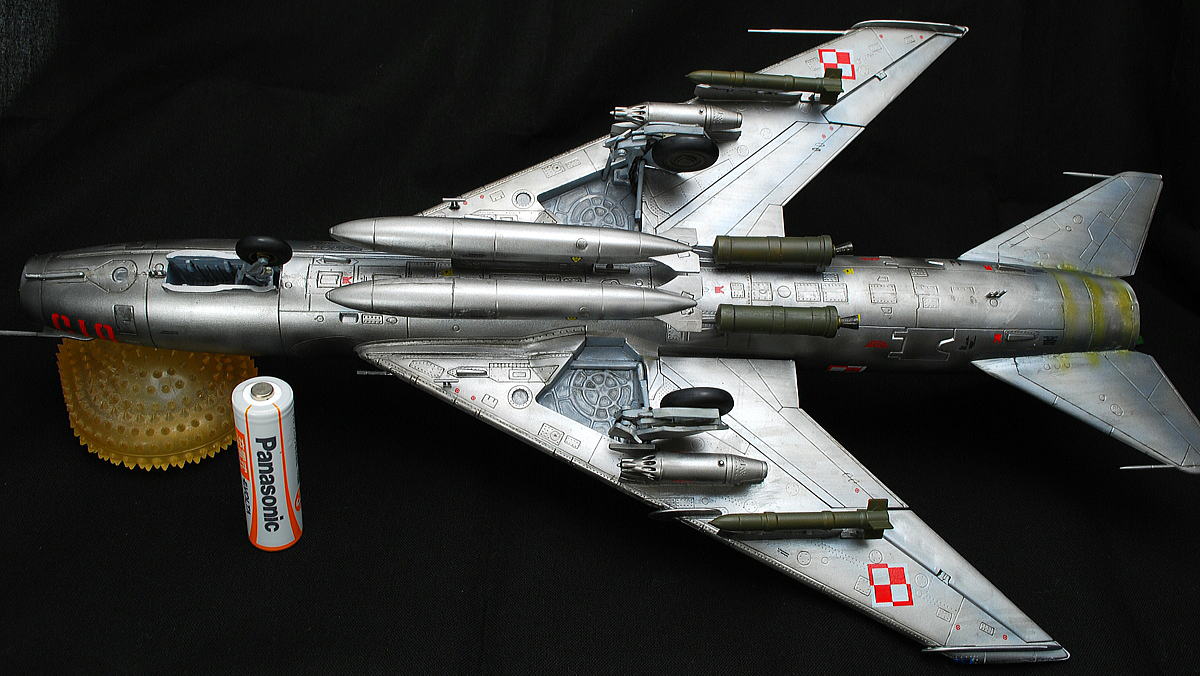 Because the landing gear pole of the nose did not fit well, I poured the superglue and ordinary bond and fixed it by a height that looked good. Possibly I had overlooked a manual somewhere.
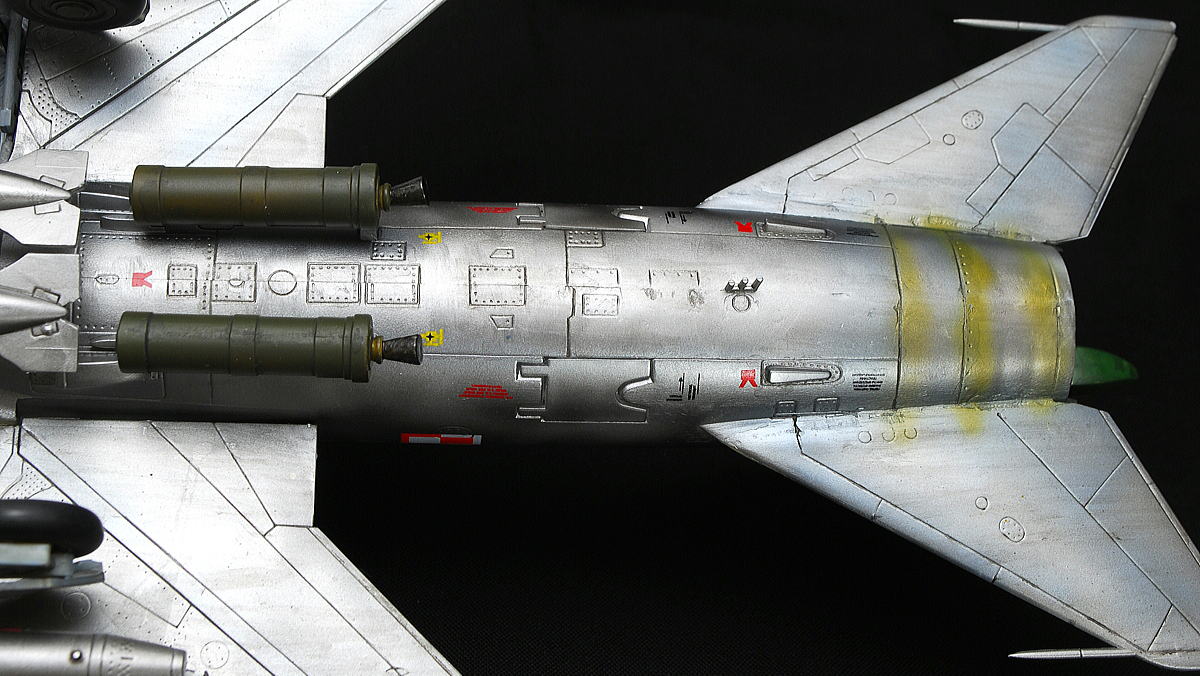 Many small decals on the underside.
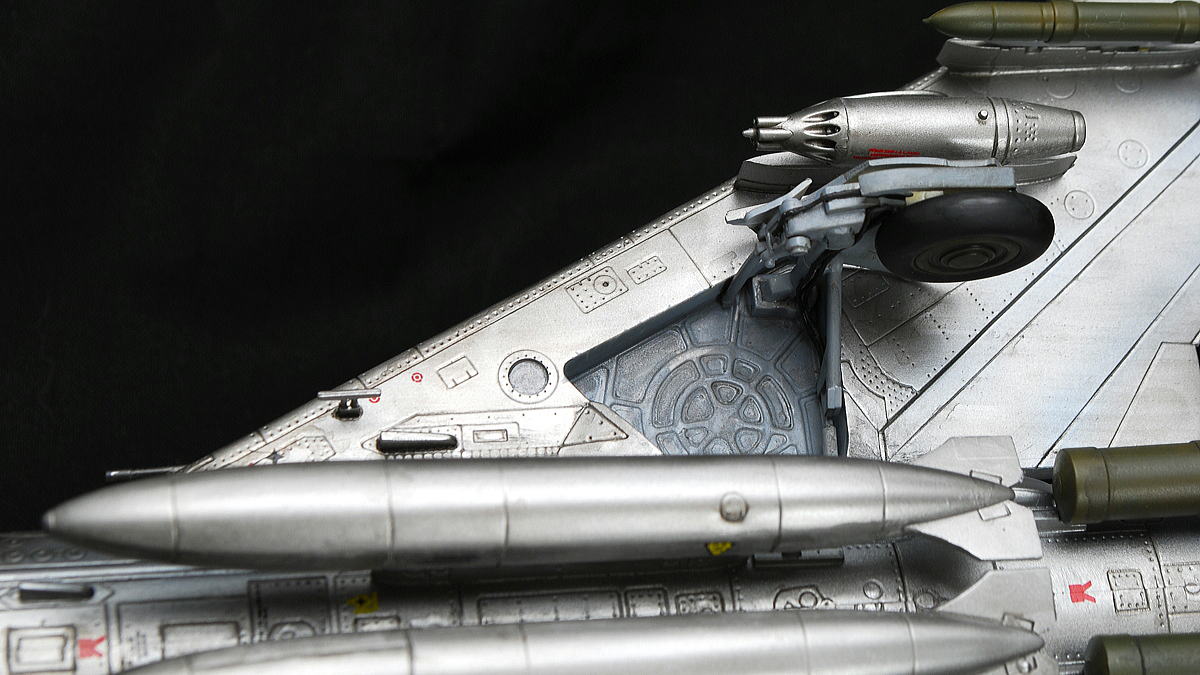 The clear parts are being used here and there.
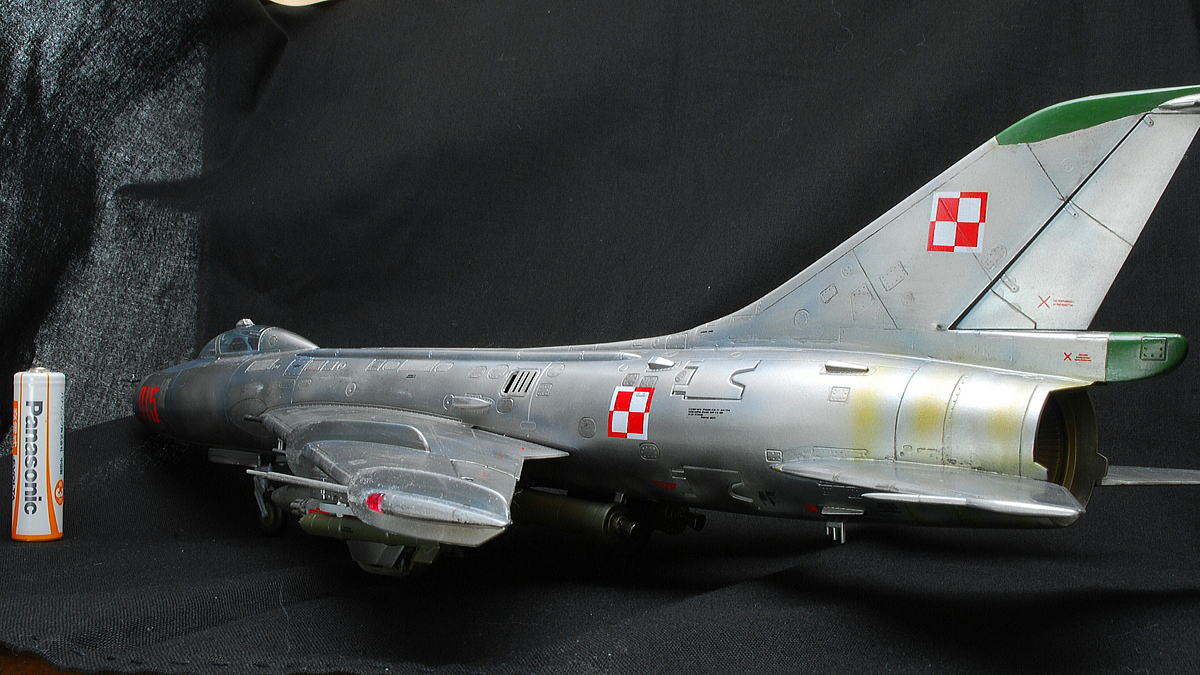 The rear falls when Su-7 has not installed a weight in the front part. I put weight generously this time.
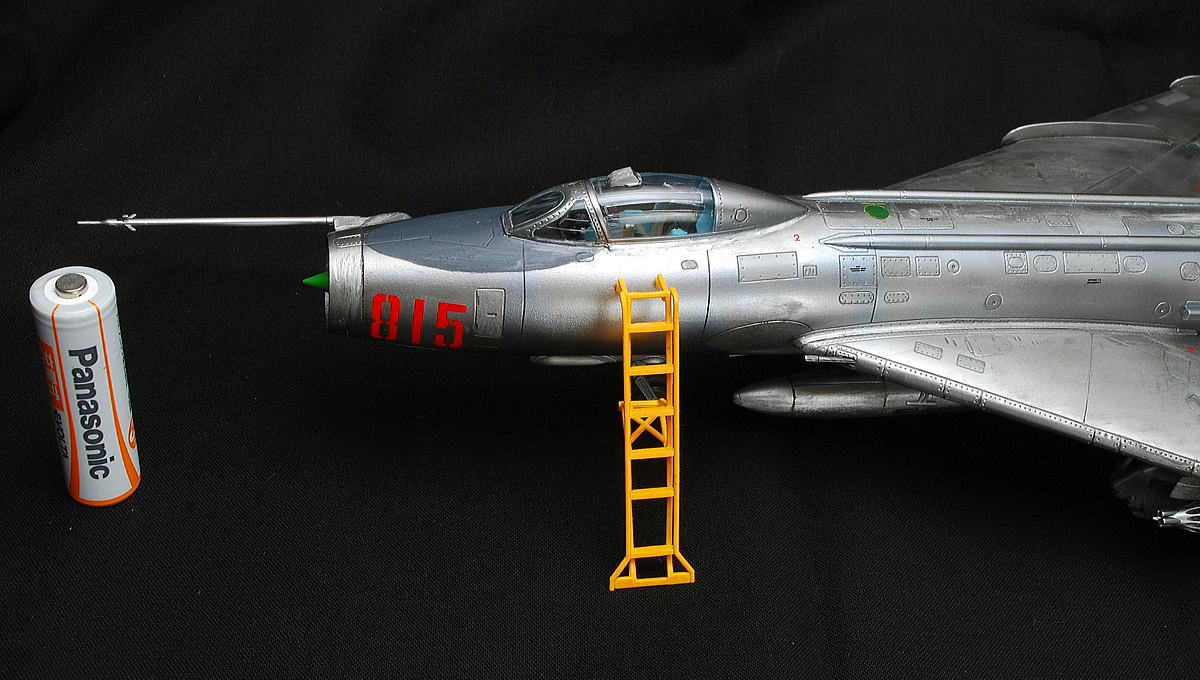 I painted the ladder orange and displayed it together.
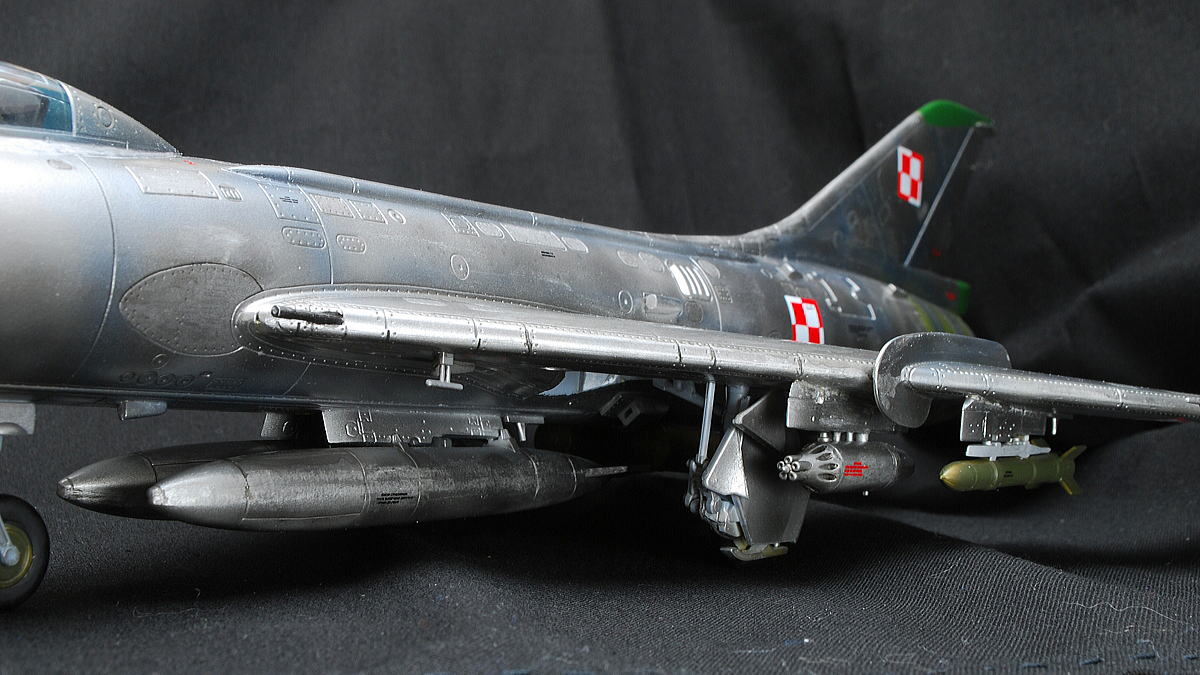 The loading equipment is a Belly tank, UB-16 57mm rocket launcher, and it looks like air-to-air missiles outward, or is it a bomb?
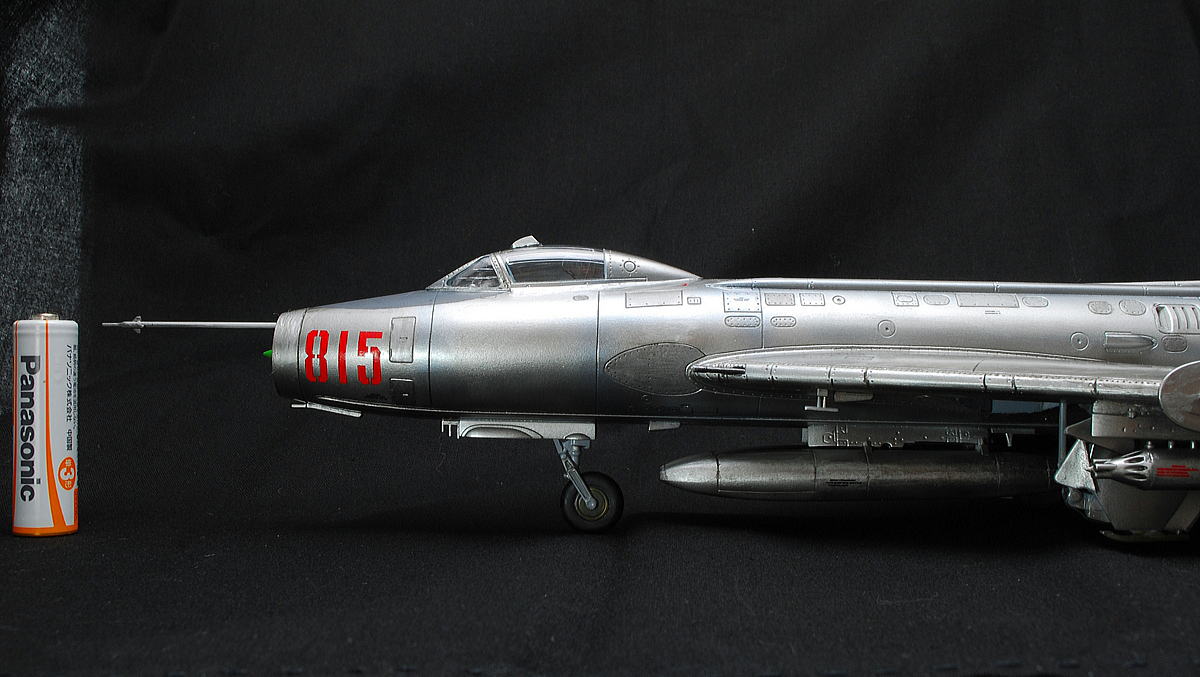 Compared to the price when I bought it in the summer, it falls very much now. Isn’t it trendy? When it is made, it’s an incredible body.
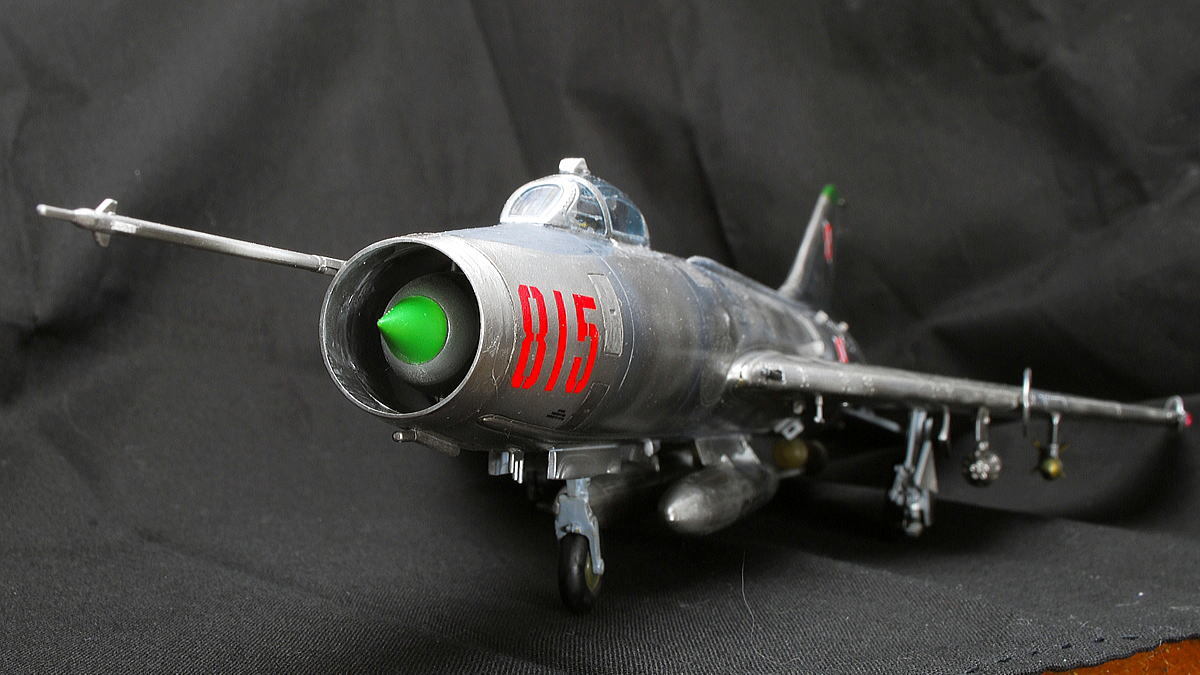 This 1/48 scale Su-7 looks as powerful as the F-100 I built before. It looks perfect when I see it at a distance of around 50cm since the roughness can seldom be seen… I completed this level because serviceable parts are damaged even if it works more. Well, we also have a box of SU-17 of SMER in my hand. I will withhold it for the time being.
(10-January-2016)


コメント
Great job! Only small remark, on the right side you have rotated checkerboard.
Oops! Thank you for telling me. I will be careful next time I make a Polish plane.