
Once I start using a WordPress blog, it’s easier to manage than the previous home page. I forced the contents into the table on the last page, and transfer is a little troublesome. My TYPE97 light armored car was built from March to April of 2007.
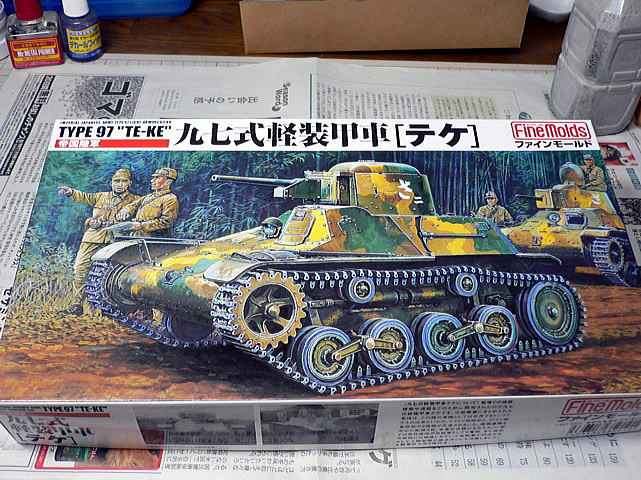 I suddenly came to want a small tank model and bought it from a model shop on my way home. It is the first time to make a tank of Finemolds and the first time to make the Japanese Imperial Army tank.
(2007/3/20)
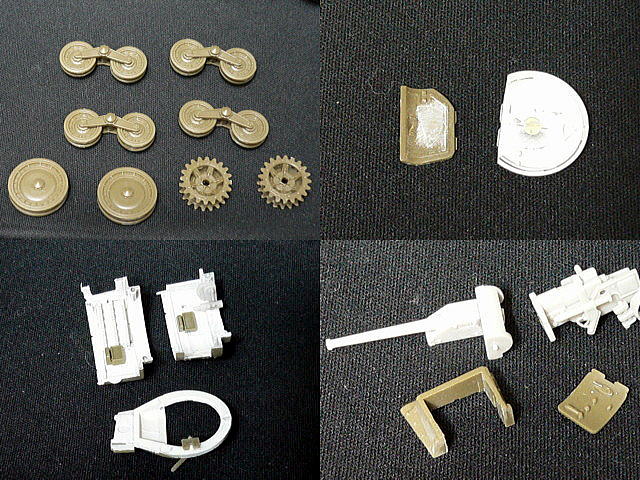
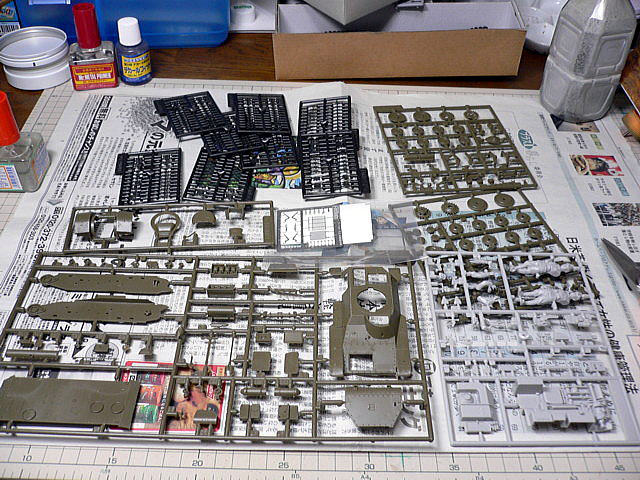 There are many parts, though it is a tiny tank. It seems to be some internal parts, and it is the smallest connected caterpillar I have ever seen. The Imperial Army figure is attached, and the atmosphere is quite good. It’s similar to Japanese people.
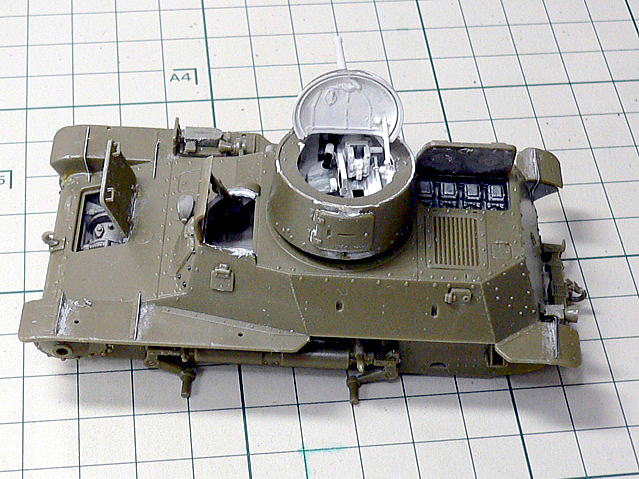
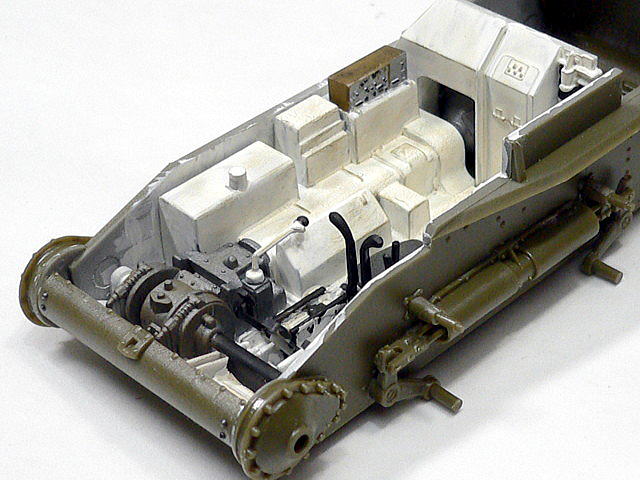 I reproduced the inside of this tank. The engine was painted black and lightly dry brushed in brown. The interior is painted in white and dry brushed in khaki and brown because it’s not pure white in the car in the actual combat situation. It is a wireless radio that you can see in the interior. An old wireless radio in Japan had a wooden panel, so I painted it brown and black. It’s slightly visible, so simple work I did.
 I planned to open the upper right hatch and bury the typing-out pin mark on the other side with the optical patty.
(2007/4/1)
 I made a mistake in the installation position of the jack stand, and it interfered with the horn. So I had no choice but to install the jack reverse to avoid interference. The instruction manual recommends making detailed improvements to attach rivets. Rivet parts were attached to the runner of the caterpillar, and I connected about 20 pins. Because I found the space in the joint of parts, I buried it with the patty.
(2007/4/7)
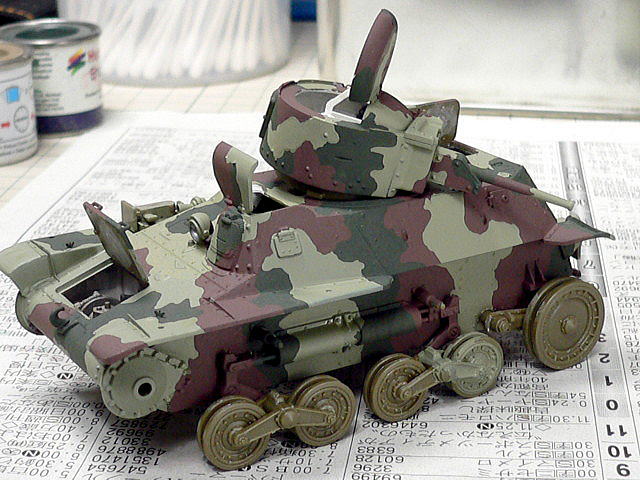 The assembling instruction recommended I paint at this stage, and I followed this advice. It is a step before adding yellow lines. All painting steps were brushed this time because many hatches were open, and it was a small vehicle.
(2007/4/10)
I noticed later that I had thought one of the colors mixed blue with the mahogany but mistook it to mix blue with buff, and after all, the colors became bright green. I have never painted Japanese tanks so I couldn’t notice an odd feeling.
(2007/4/13)
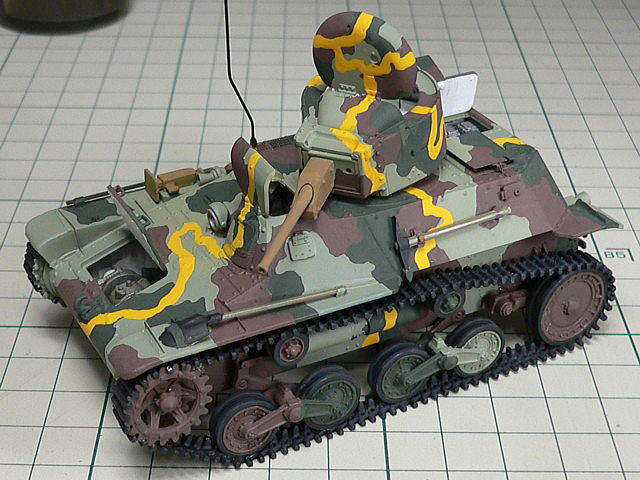 The caterpillar assembly was detailed with micro parts, and I had hard work. Especially the right side is slacked too much. I wrote a yellow line peculiar to the Imperial Army, and assembly and basic painting were almost completed.
(2007/4/14)
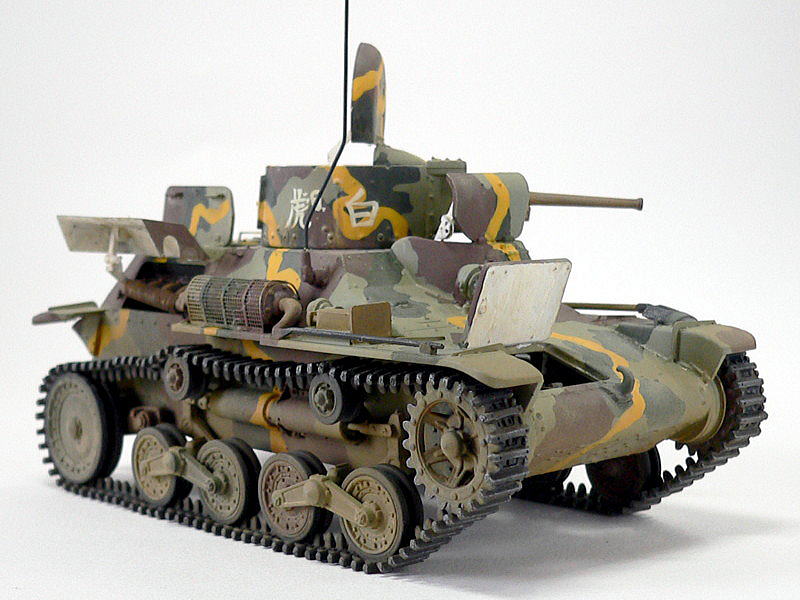
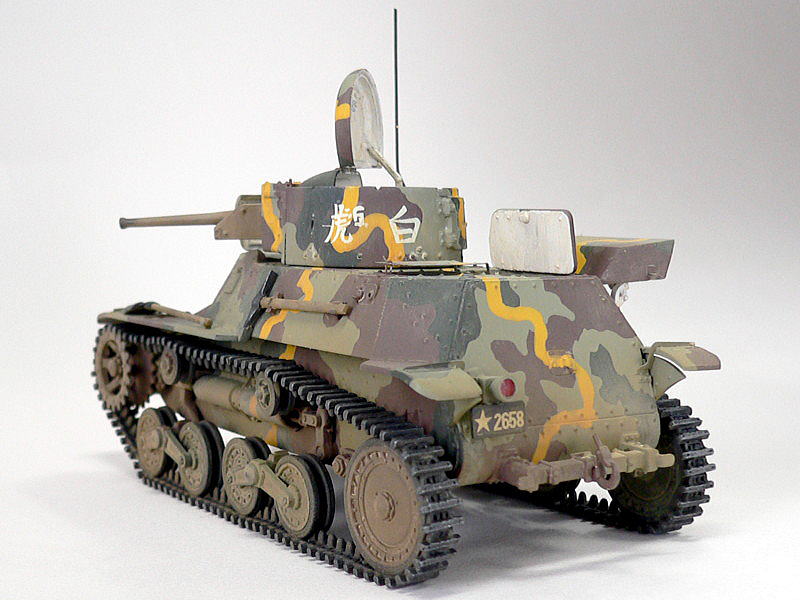
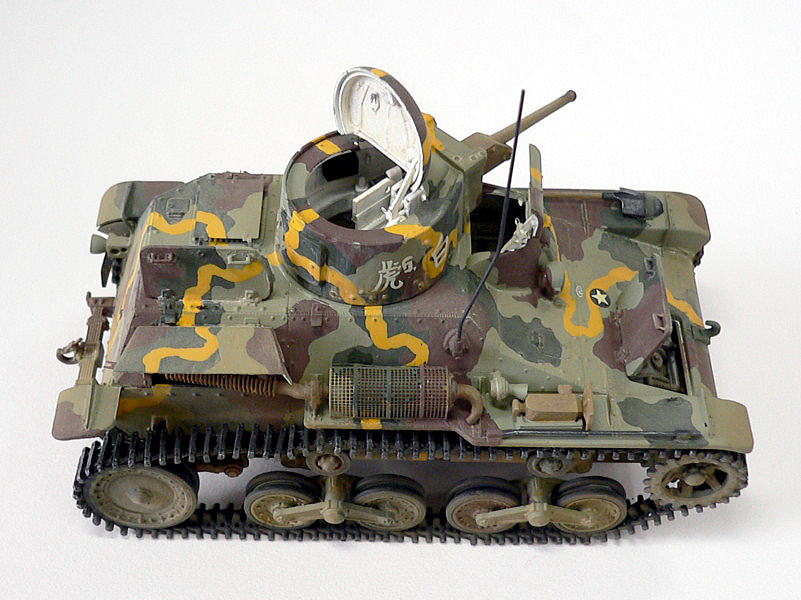
 This Japanese Imperial Army tank is tiny, only 10cm in total length. It is to ride double because of the small size. However, this light tank had a worldwide top-class performance in this class at that time.
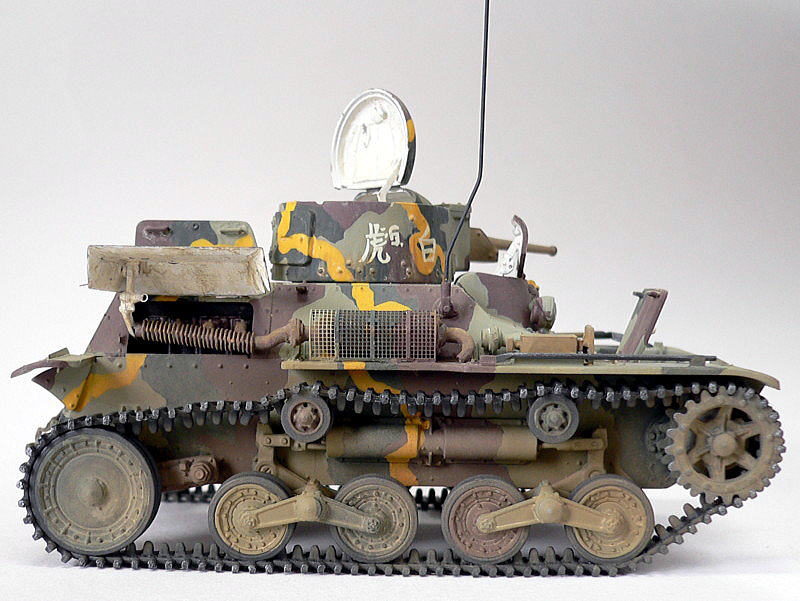
 The inside was painted in white this time, though, whether the back of the hatch in the engine room and the gear room was white or not. The antenna in the brass line was 0.5mm though in the assembly description was 0.7mm. I felt 0.7mm was too. It is too thick. I considerably refrained from the weathering this time.
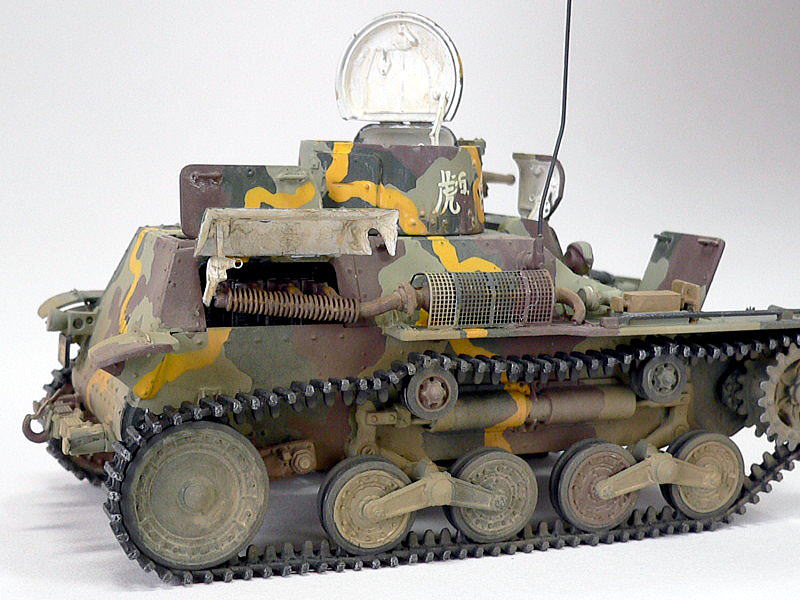 The mesh of a nest of the muffler cover was able to be made pleasantly with the photo photo-etched parts of the kit attachment. The jack is on opposite sides, front and back though I wrote it in the making report. Was the jack made of wood? Did the Imperial Army lack resources too much?
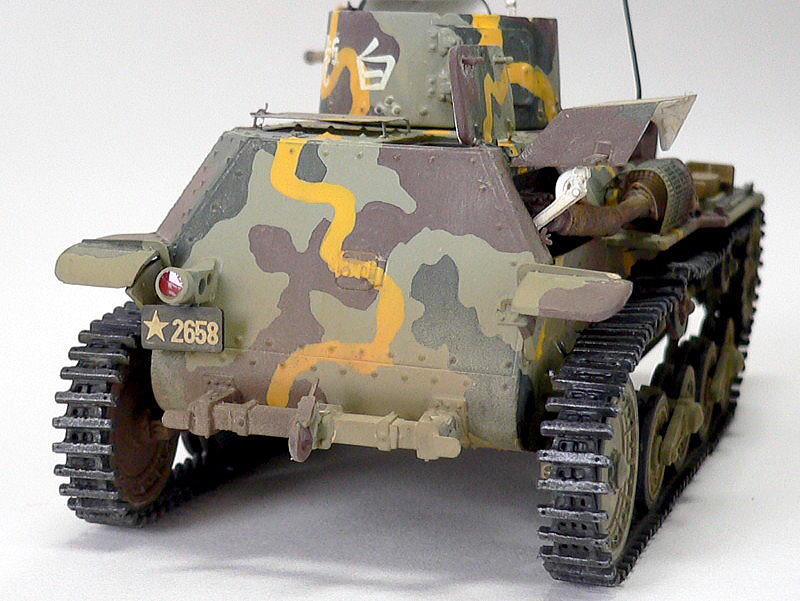 I used clear epoxy glue for the tail lamp. The assembly of the right caterpillar was not fit well and was unnatural.
 Marking is the third company, second search regiment at the Burma front in December 1944. “White tiger” is quite a beautiful marking. The decals stuck without trouble, and I wore them over the matte coat. The glossy shine was removed well.
 The engine parts were painted in gunmetal and dry-brushed in red-brown. Yellow lines camouflage is peculiar for Japanese Imperial Army Tanks.
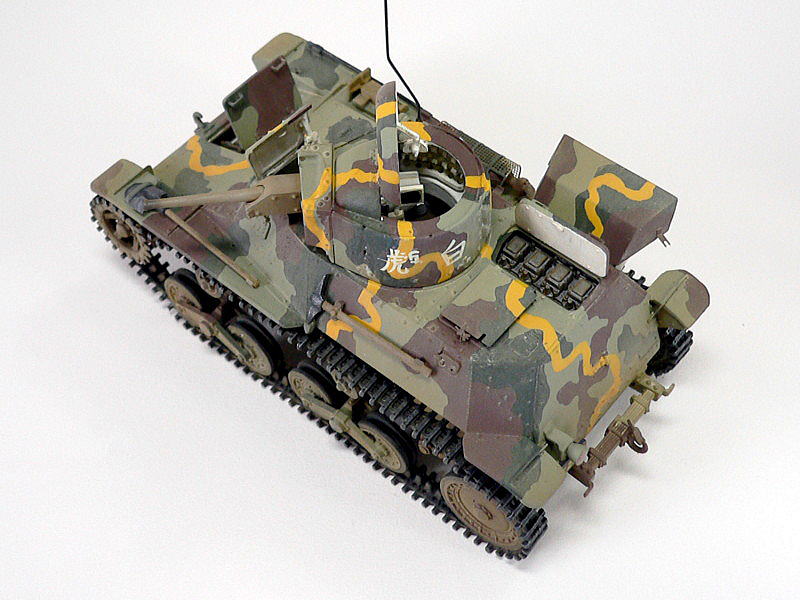
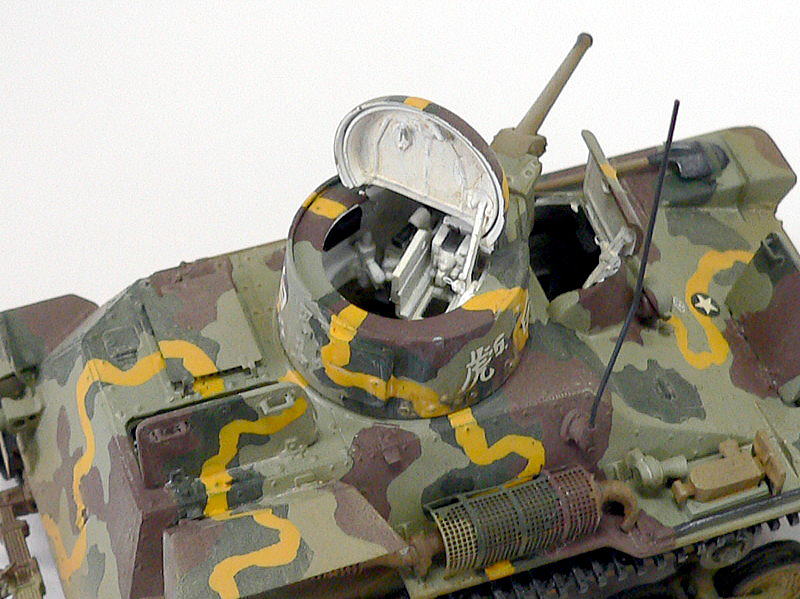 You can see well the inside of the turret, but under part is hard to look into the interior.
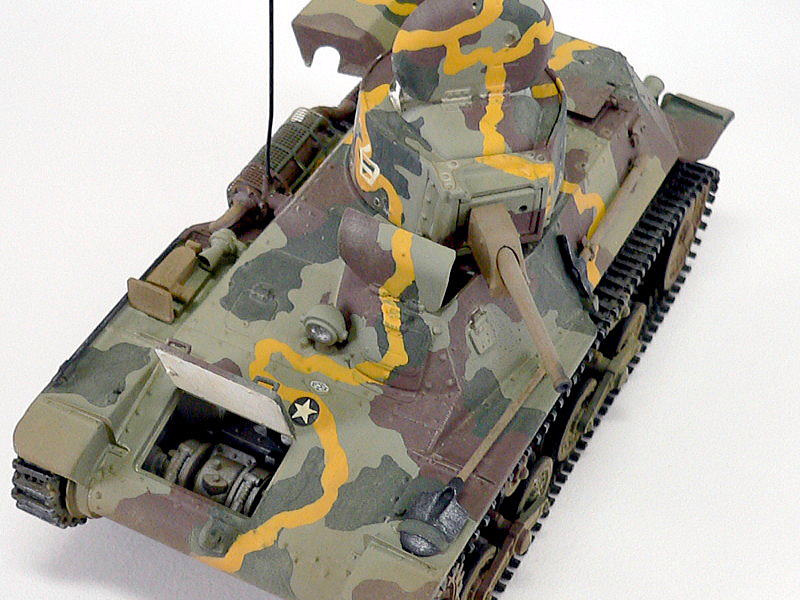 The turret didn’t turn to the front in this assembly at the end because I remained open all the hatches. I used the clear epoxy glue to the front headlights and got a feeling of glass. Making the tank inside, I understood the crew’s feelings at that hard time.
 Tiny joint caterpillar parts make this model real but too small for assembling smartly. It was such a difficult mission…
 After finishing this model, I felt the artisan spirit strength of this vehicle by this manufacturer named Finemolds. The instruction manual explains the TYPE 97 TE-KE story, including battle history, machine performance, and development. This model made me leave an excellent impression, though it was a tiny tank model.
(2007/04/17)


コメント