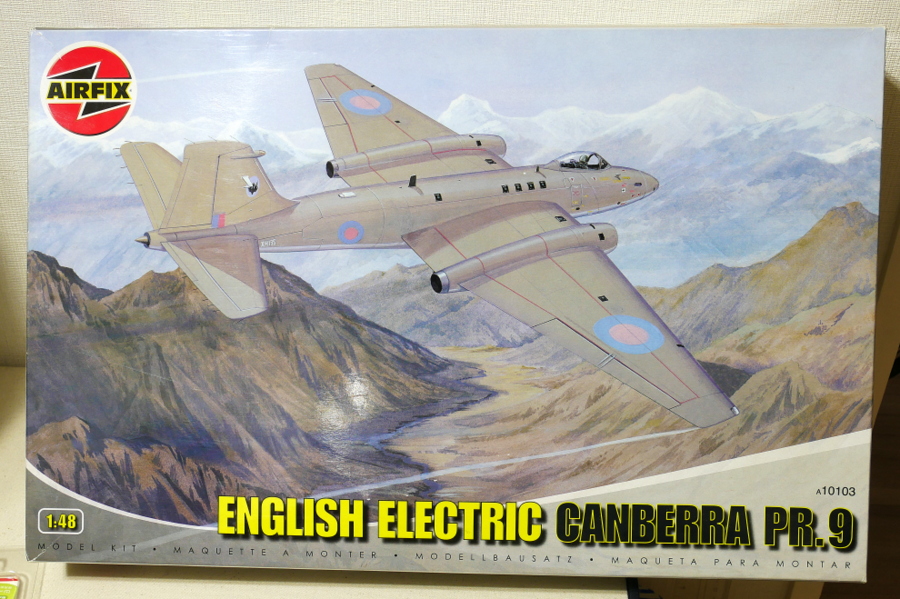
 Happy New Year!! I’ll challenge the 1/48 scale big kit of Airfix English Electric Canberra. It is said to be a masterpiece of military jet aircraft immediately after the end of WWII. It may not be so popular in Japan, or too few people make it because of the big size. Many examples can be seen overseas, but Google Search does not have many hits in Japan.
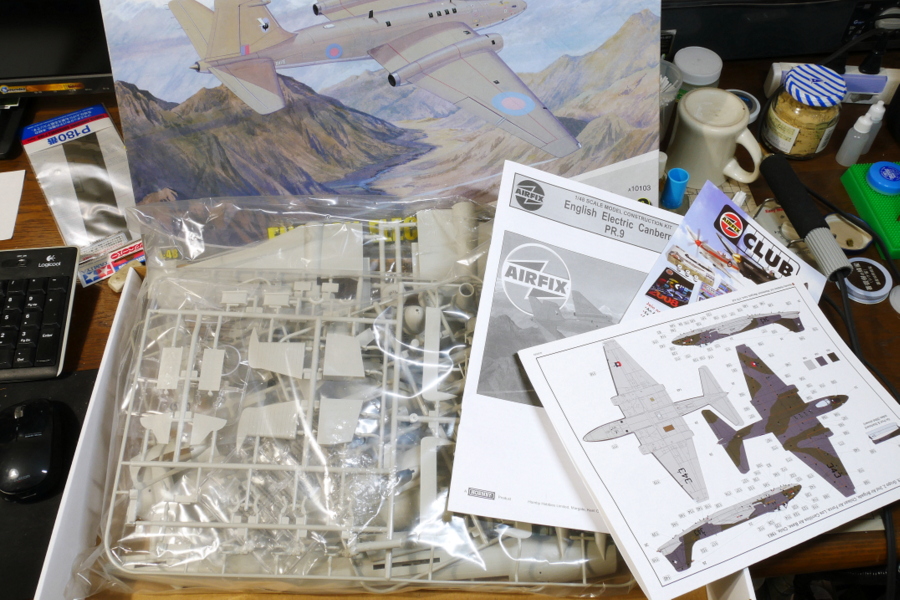 It is like this when opening the box.
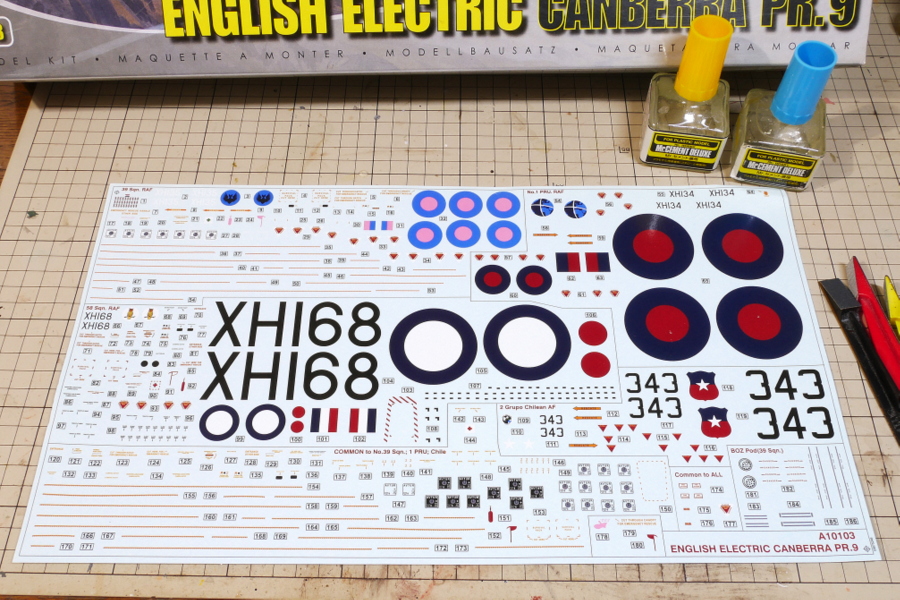 We can choose from around four types of decals.
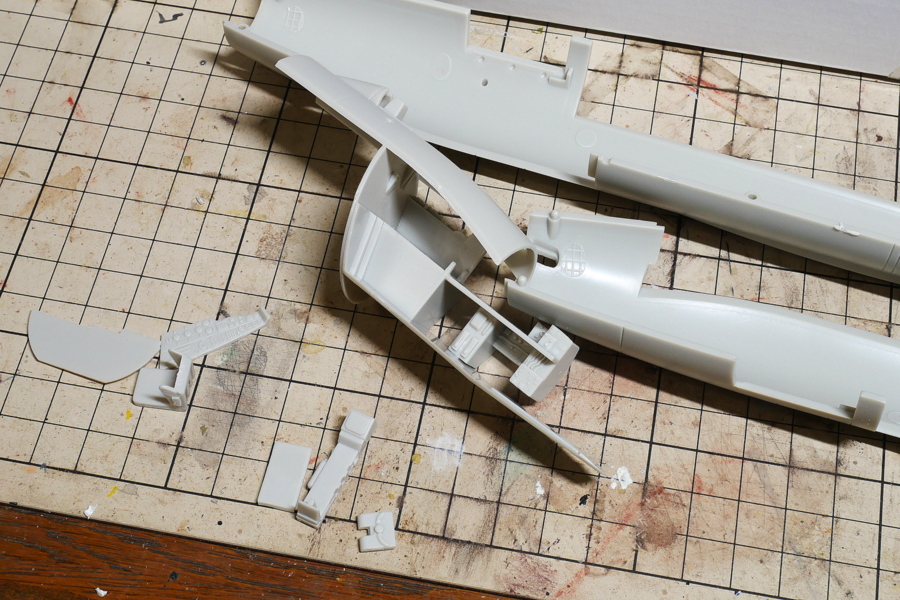 This Canberra cockpit has two seats in parallel, but there are steps, and the cockpit is one step higher. The control stick is not a stick type like a so-called fighter aircraft, but rather one that grabs with both hands, commonly seen in passenger aircraft.
(01-January-2019)
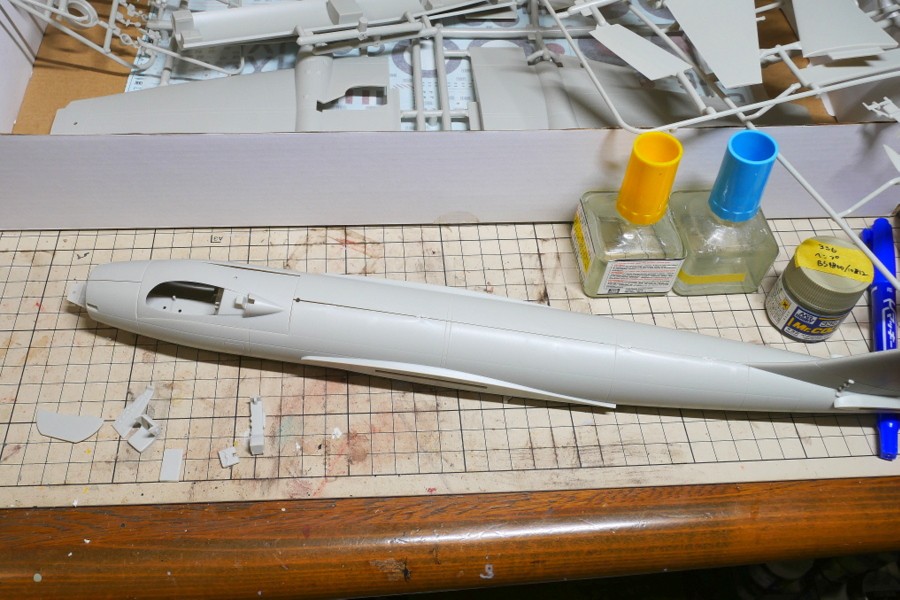 Immediately after the start of the assembly. The combination of the cockpit and the fuselage occurred a lot of space. I’m worried about it…
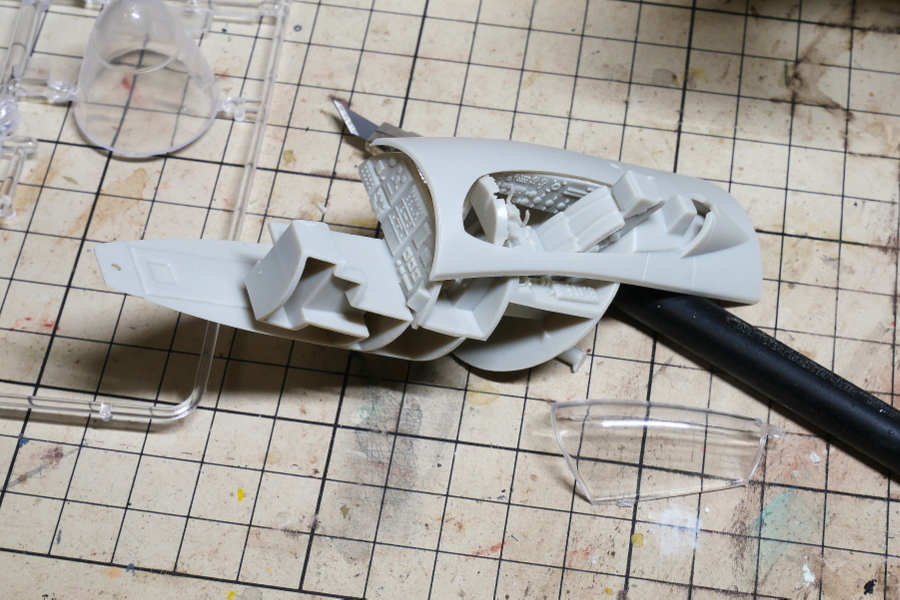 Perhaps it is better to check if the canopy closes appropriately now. I also need to confirm the figure in the cockpit. The seat’s height is severe. It may have misplaced the upper part of the fuselage. Depending on the mounting position of small antenna-like parts, two kinds of upper fuselage parts are selected. I think it would be okay if I blocked the small hole.
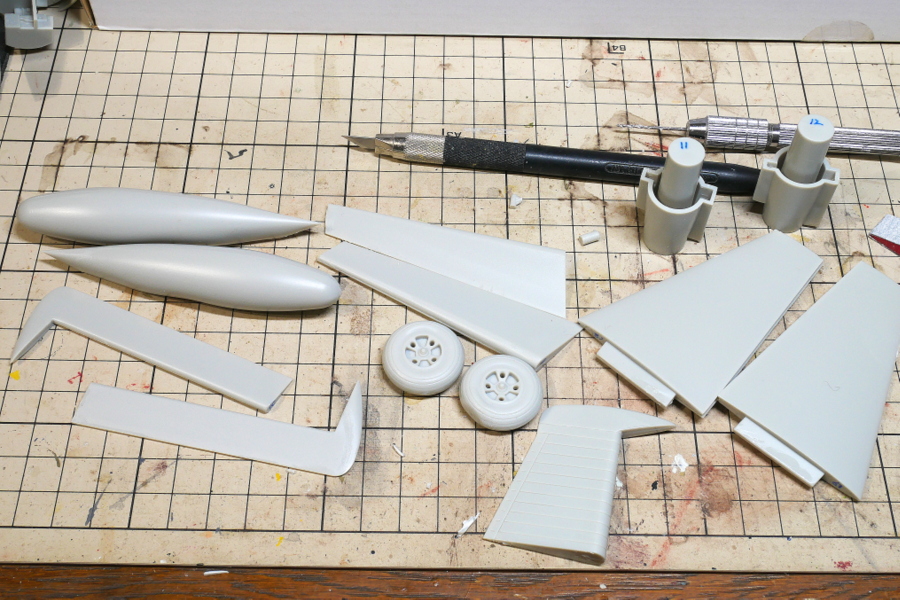 Because it was stagnant around the cockpit work, I assembled other parts to be bonded together. Of course, all big sizes.
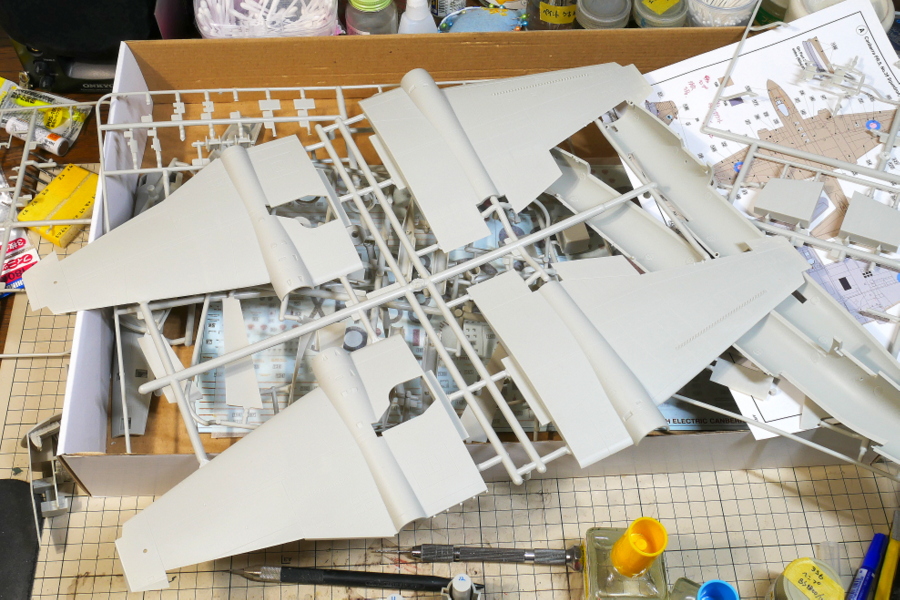 These are significant wing parts.
(03-January-2019)
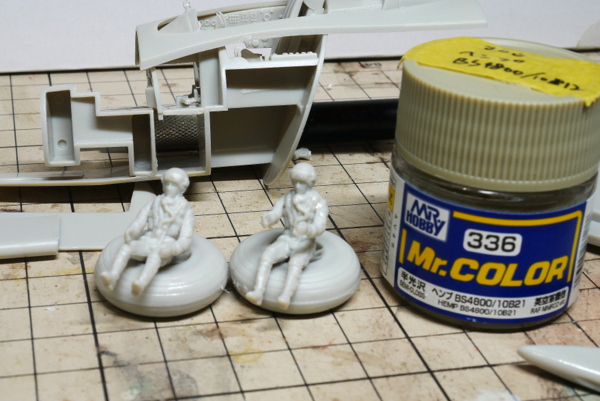 Two crew members were assembled. The focus has shifted.
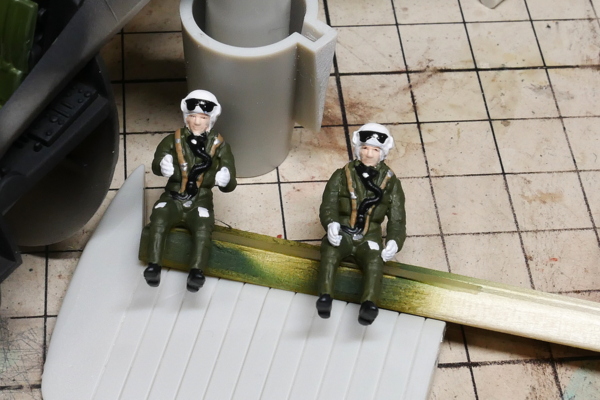 It will be useless, even if I paint the other operator finely. Because it is not seen at all when set in the cockpit.
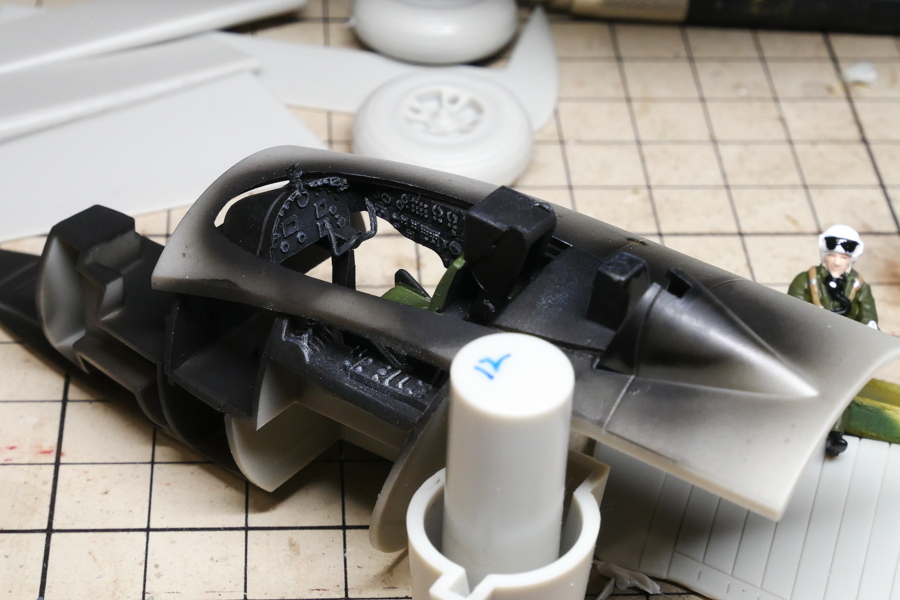 The Canberra cockpit is black. Because the control stick is also black, I wonder if I don’t have to paint too much.
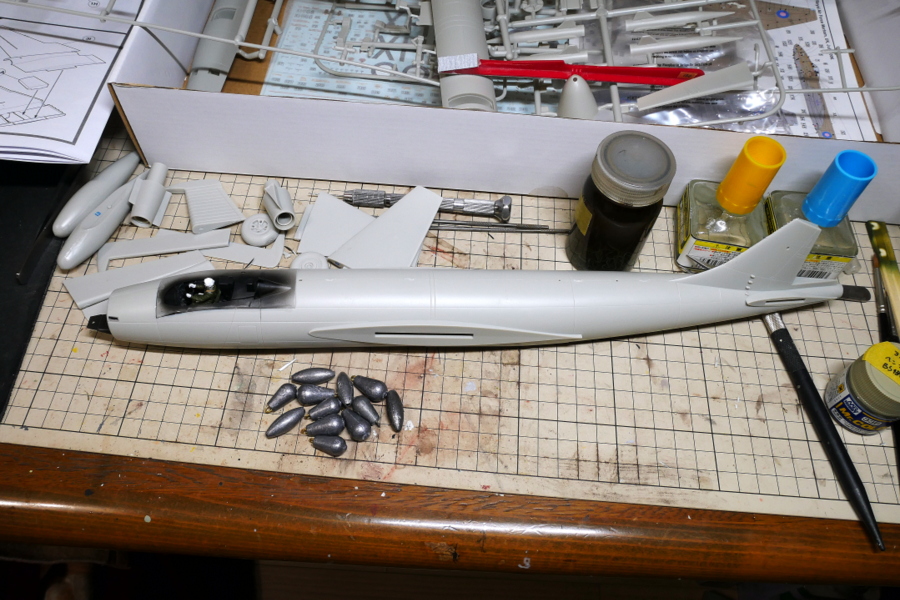 I got a lot of fishing weights and measured them. A weight of 100g is specified. Since the landing gear parts are thick, no reinforced work will be needed if I attach them firmly.
(05-January-2019)
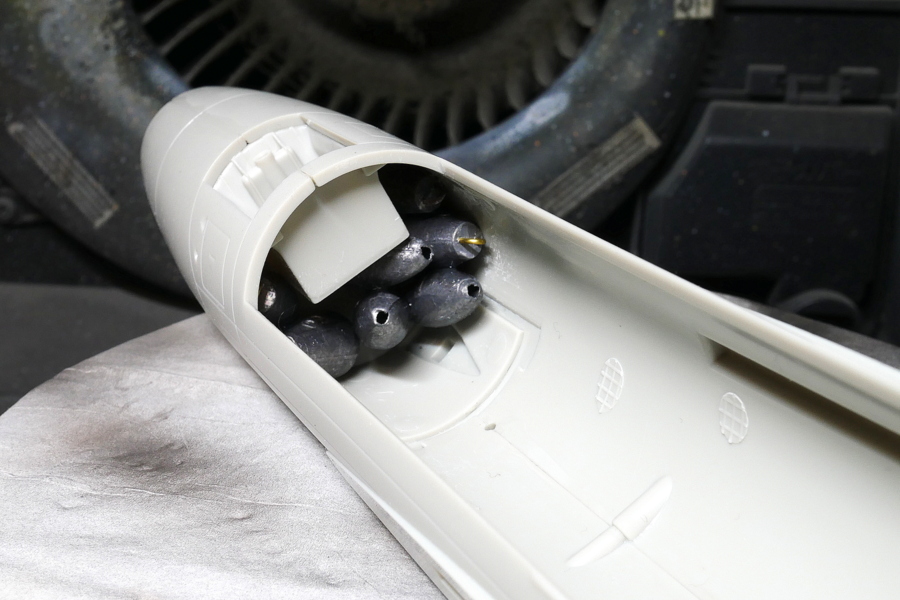 I’m packing as much weight as possible.
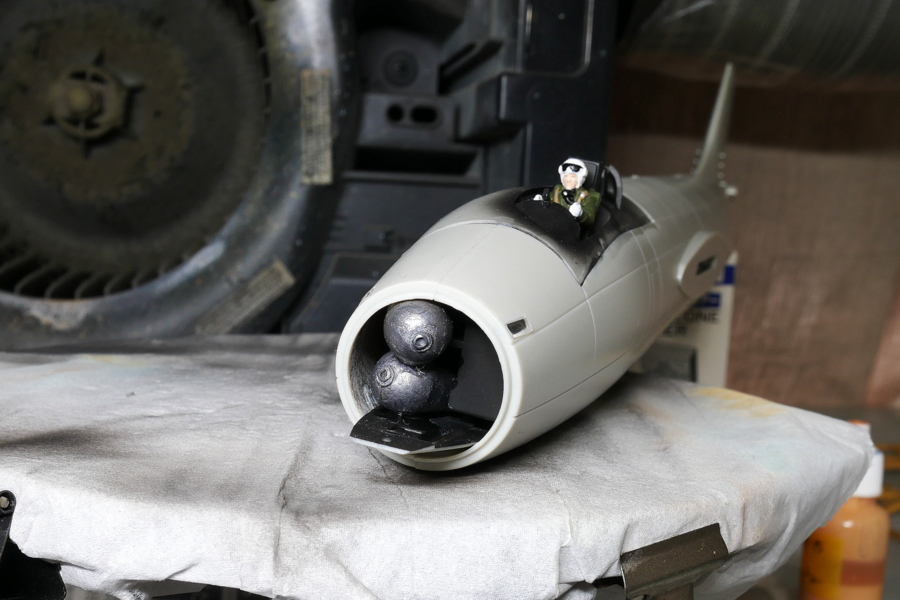 I set the weight also in the forefront. I cannot consider the location of the crew. But I set the operator next to the cockpit.
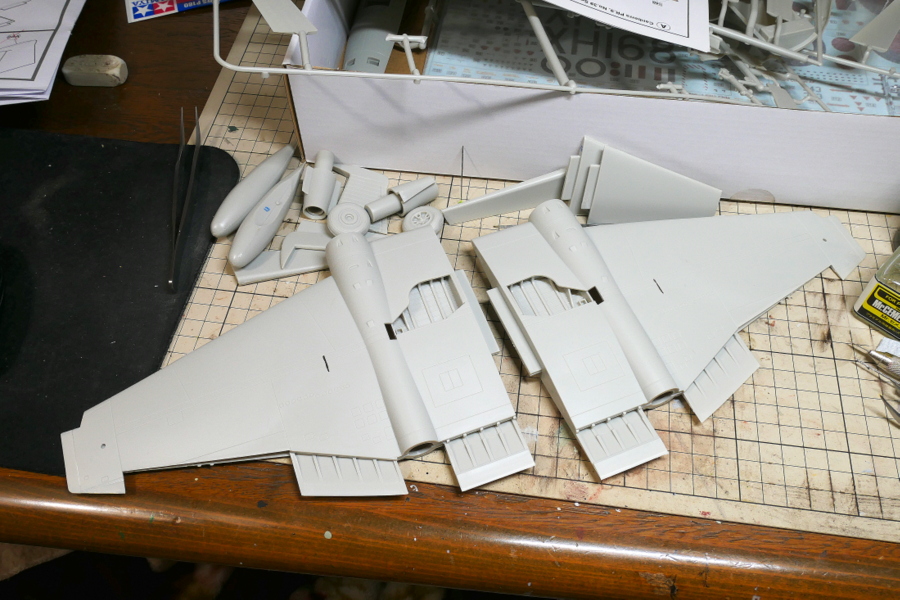 It is like a ray, so it is a giant wing-like Manta.
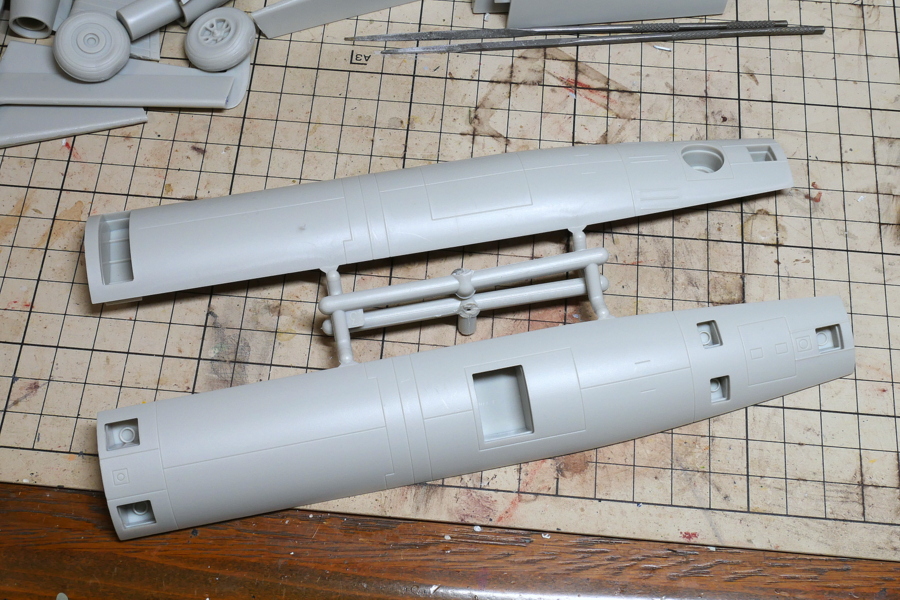 It is a reconnaissance aircraft, and there is a place to put the camera on the underside of the fuselage, so it seems you can choose parts from two types of camera arrangement. I chose the part big clear camera window in the middle.
(07-January-2019)
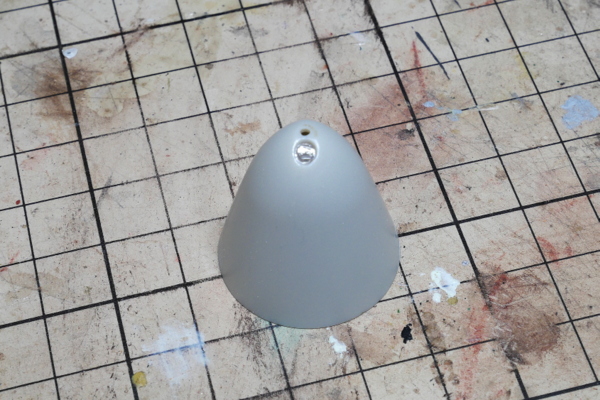 The small clear parts of the nose were too small and never fitted.
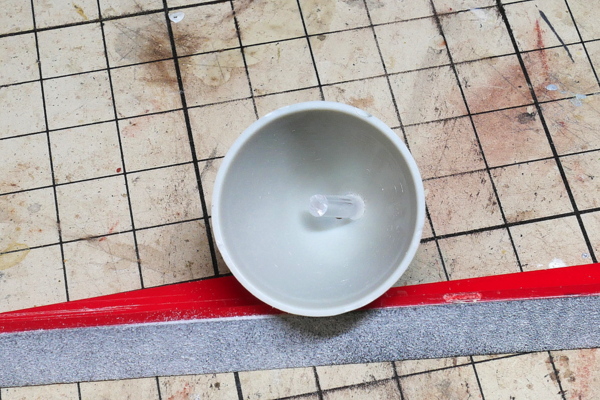 So I shaped the clear parts runner and inserted it from behind. It is bonded like this.
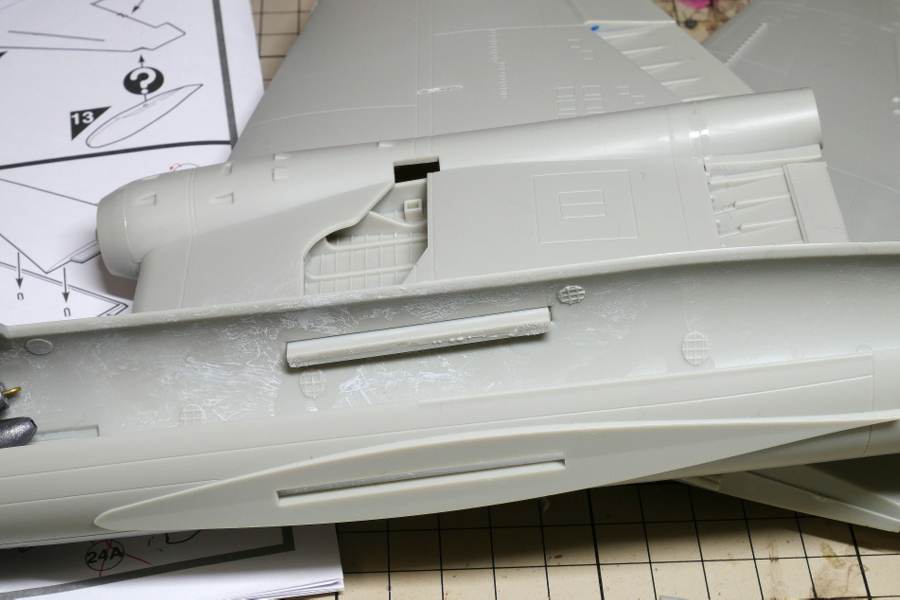 I fixed the main wing and the fuselage to use superglue in addition.
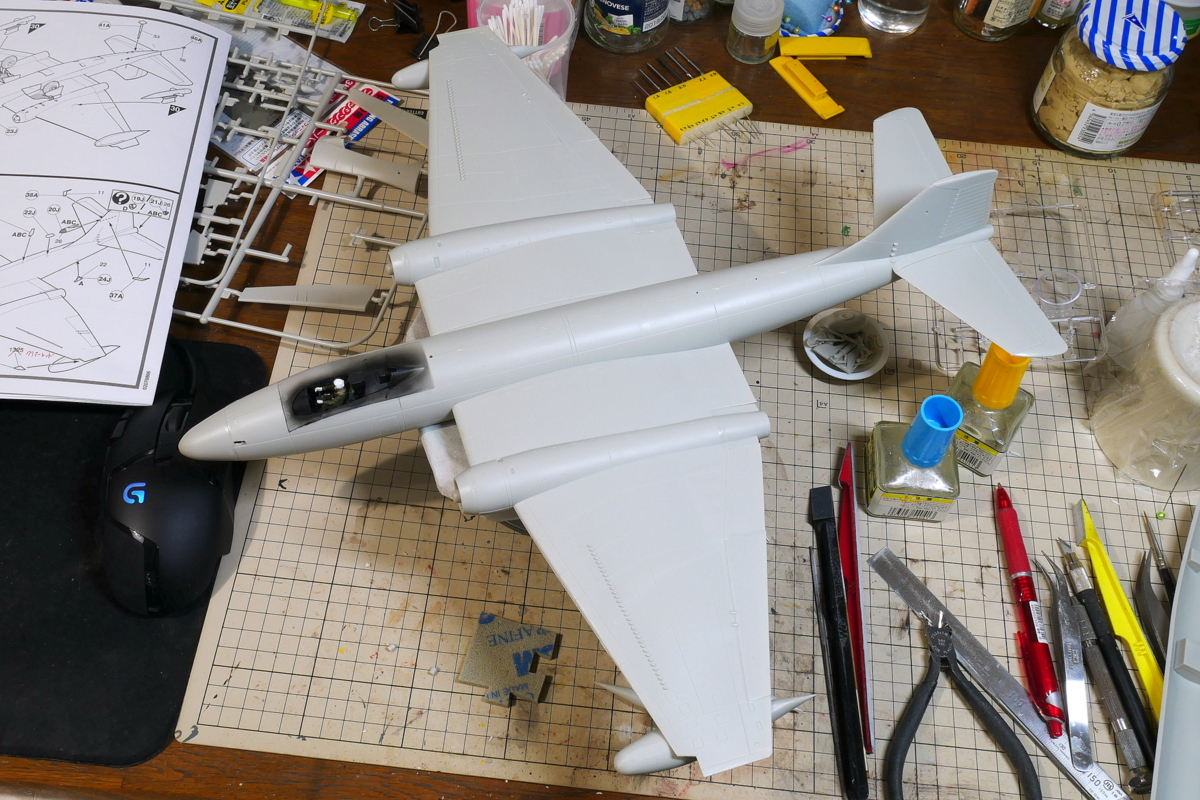 It was a rough shape at last. I feel weight heavy. I must be careful not only to hold the edges. It seems to be broken if I apply weights to unnecessary parts.
(09-January-2019)
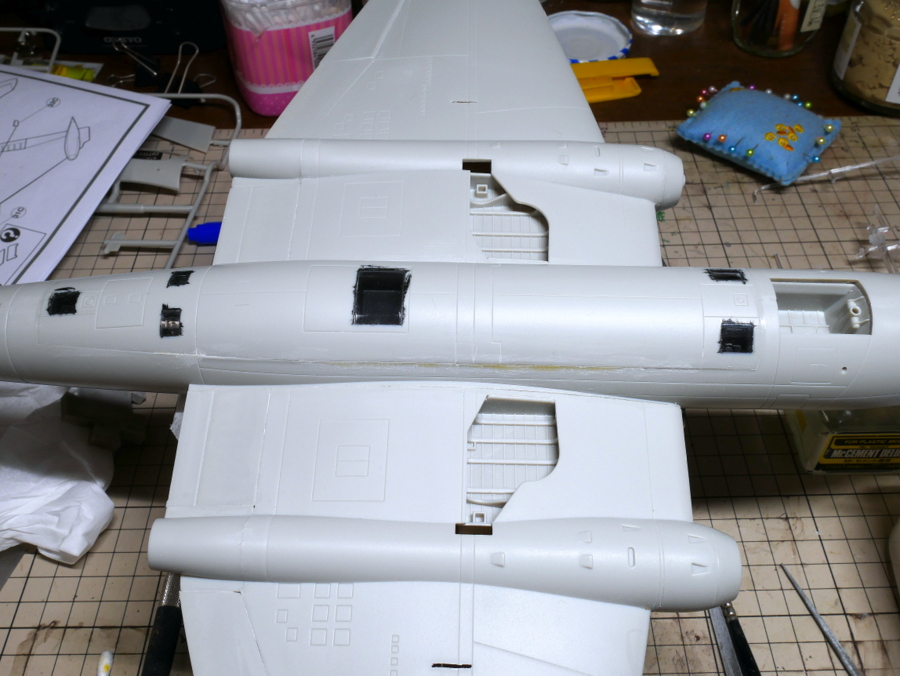 The inside of the box containing the camera is painted matte black, and a clear cover is put on it. Parts on the underside of this aircraft, pre-adhesion trials, are pretty much fitted, but after a large wing has been installed, a step and gap occur. It was somewhat troublesome to scrape or to fill with putty.
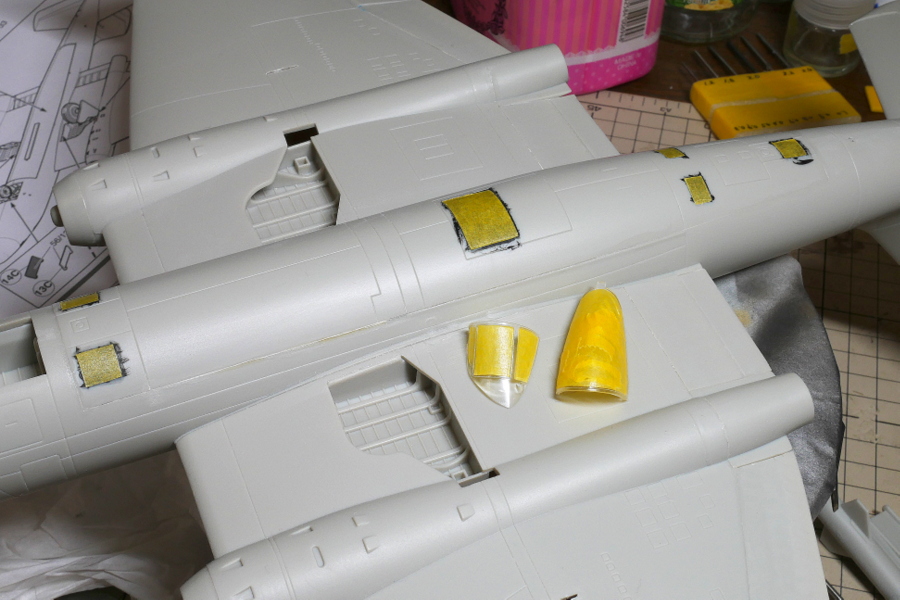 I’m now masking small parts while suppressing the feeling I would like to get into the painting process quickly.
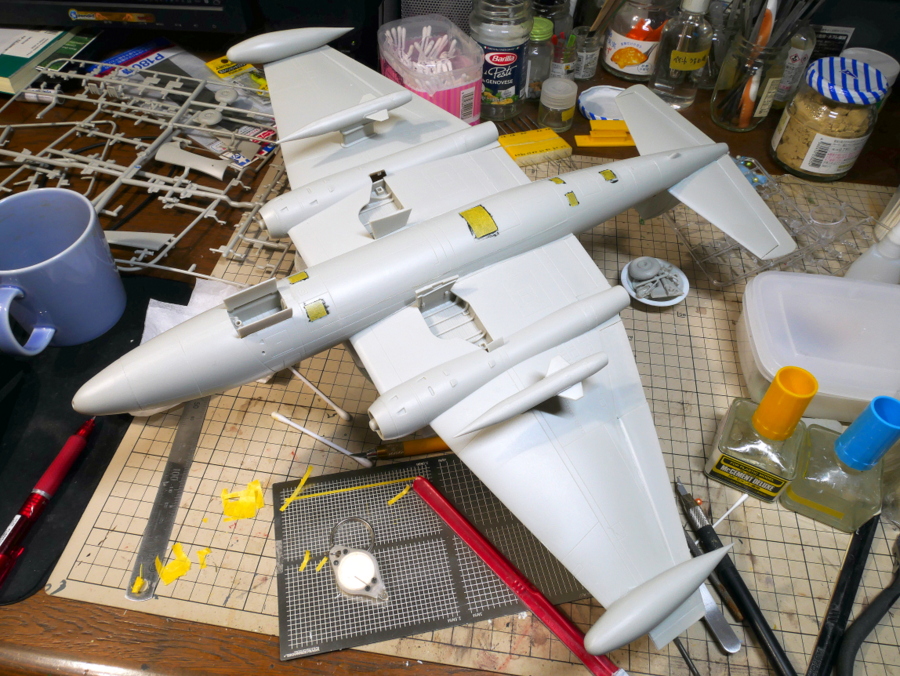 It seems almost completed assembly, but unexpectedly it is still necessary to bond delicate parts to the upper and lower surfaces.
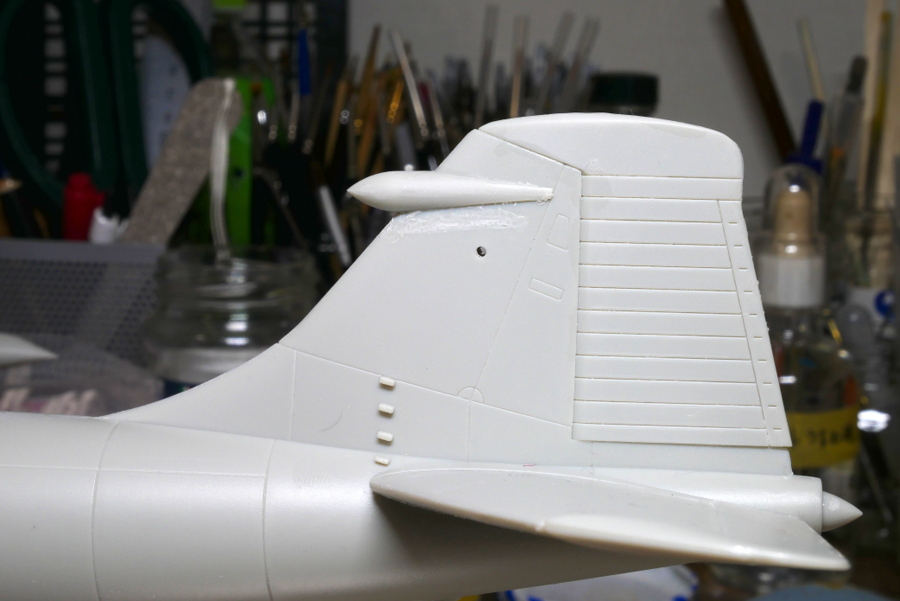 Ohhh! I failed to attach the small part of the vertical tail. Radar? When I glued it to the first, I felt it was too much lower position. The vertical tail has become dirty after correcting the part at this position.
(11-January-2019)
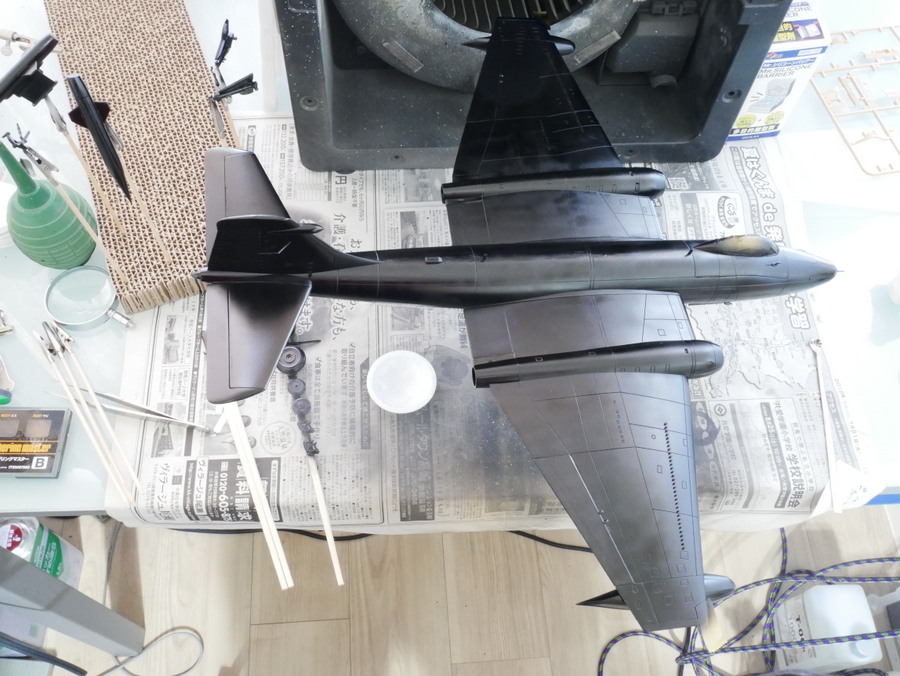 I was once painted with gloss black. A large kit takes much time, even with a nozzle of 0.3 mm. I should have used 0.5 mm. Rather than the size of the aircraft, it is probably why airbrush painting is challenging, as it has a larger wing area.
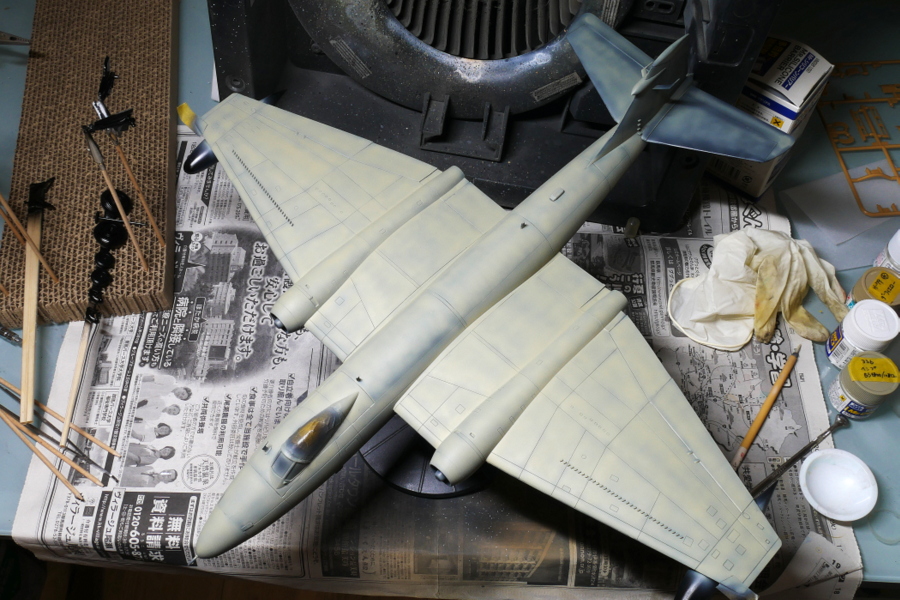 Graduation painting in progress. I opened the window in winter, and the airbrush painting was very cold. It takes time because the aircraft is big. Even if blowing evenly, does it not change so much? The aircraft color is Mr. Color #336 Hemp. Only the color number of Airfix is Humbrol color. I choose a color that looks good to convert from Humbrol by myself.
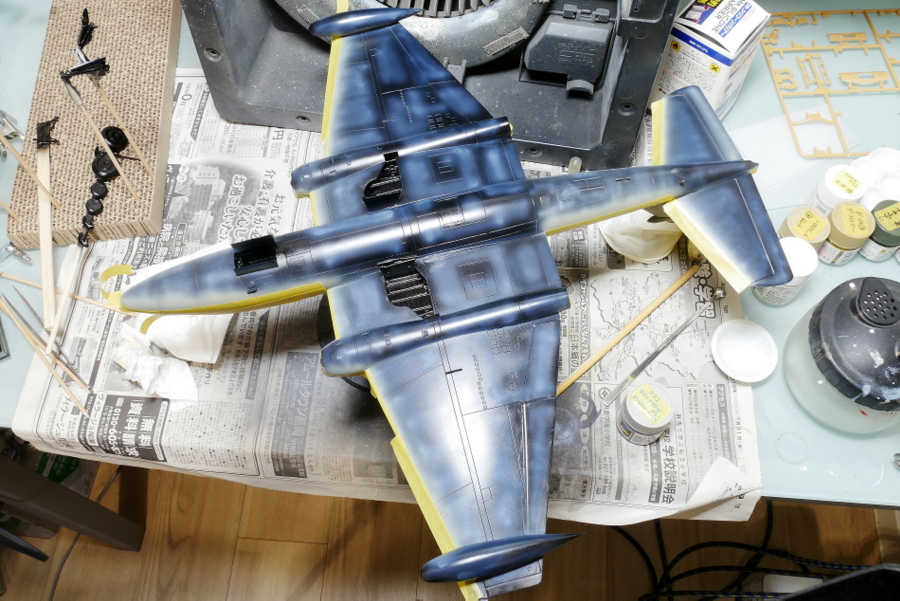 I masked only the part where the paint did not reach the upper surface. I think there is no problem because the pressure of the airbrush is not so high.
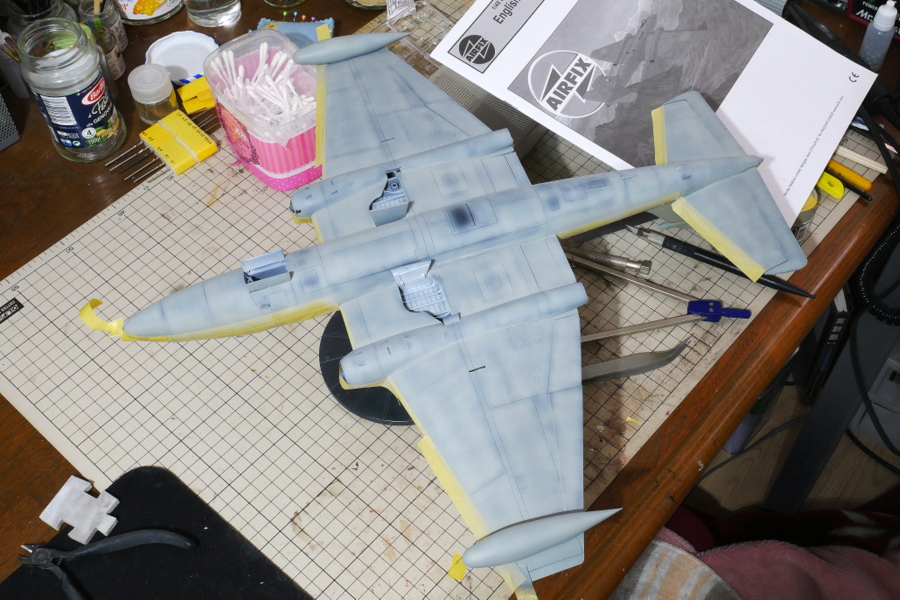 A fuselage underside is satin light aircraft gray of Mr. Color #332. The landing gear and inside the compartment are white this time.
(14-January-2019)
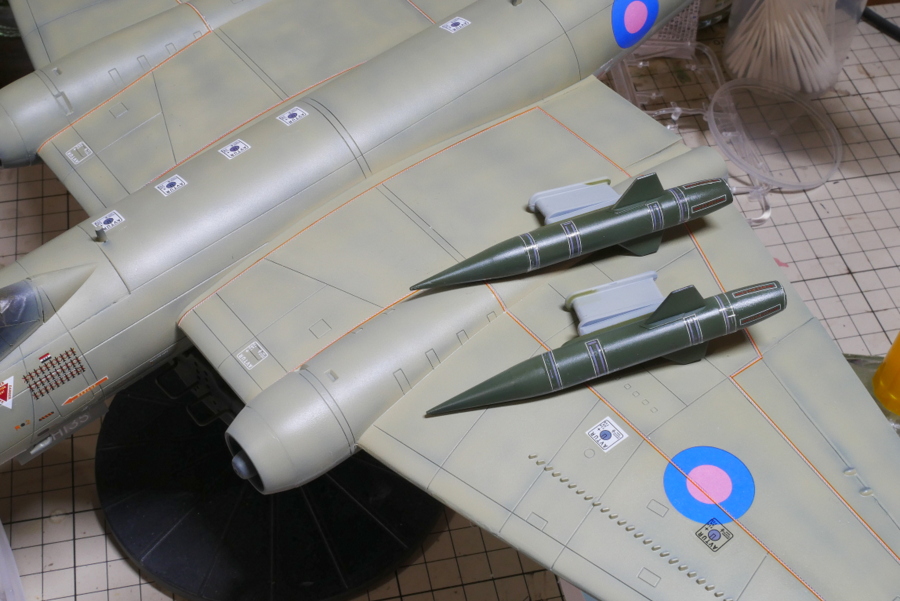 There are plenty of decals. Some decals are not completely adhered to, and a need for improvement.
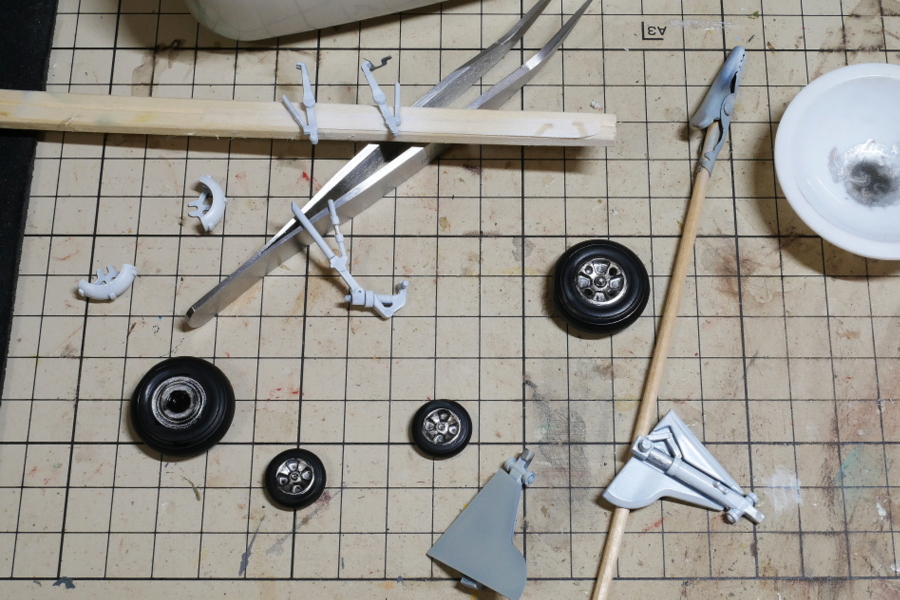 I’m getting bored, so I would like to have another kit… I cannot reach the goal without assembling these landing gears.
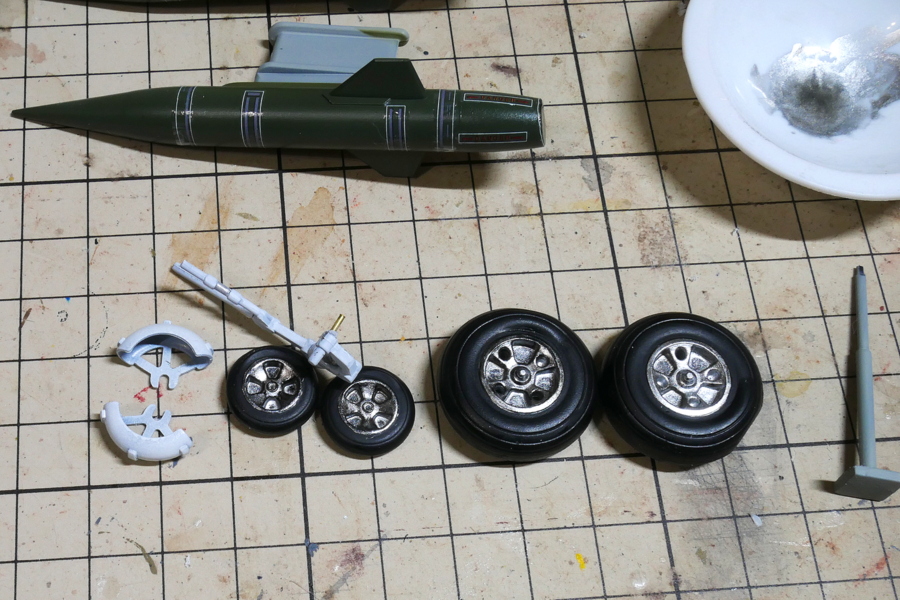 Because the tire connection part of the nose landing gear is strange and seems unlikely to keep weight, it was reinforced with a metal wire. The landing gear under the main wing is sufficient in strength, but the adhesion part of the wheel is not a good fit. Adhesion of the tire and the shaft should be a metal wire or massive use of superglue. It is necessary to have strength anyway.
(16-January-2019)
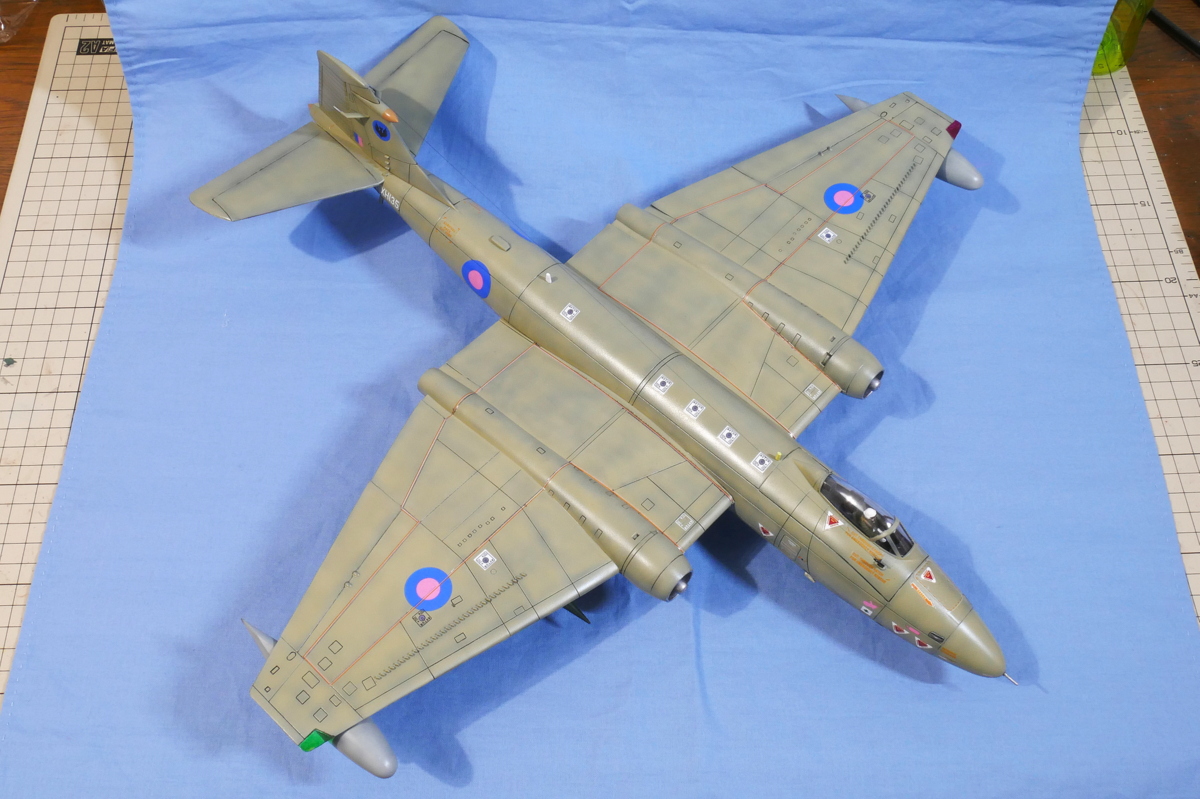
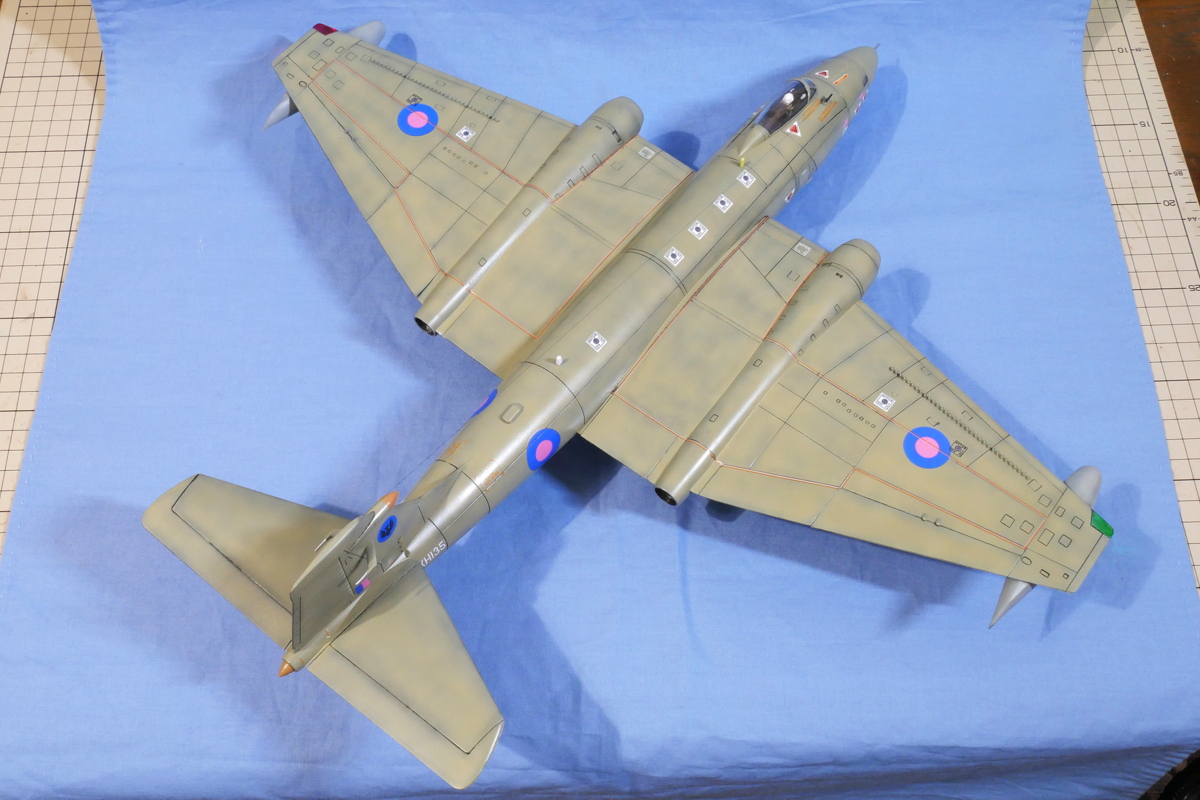 E. E. Canberra is a jet bomber developed by English Electric in the UK. It was a high-performance aircraft, the main bomber, and it was also used as a reconnaissance and practice aircraft. It was also used in the United States and Australia. The first flight was in 1949, and the Royal Air Force had been operating until 2006.
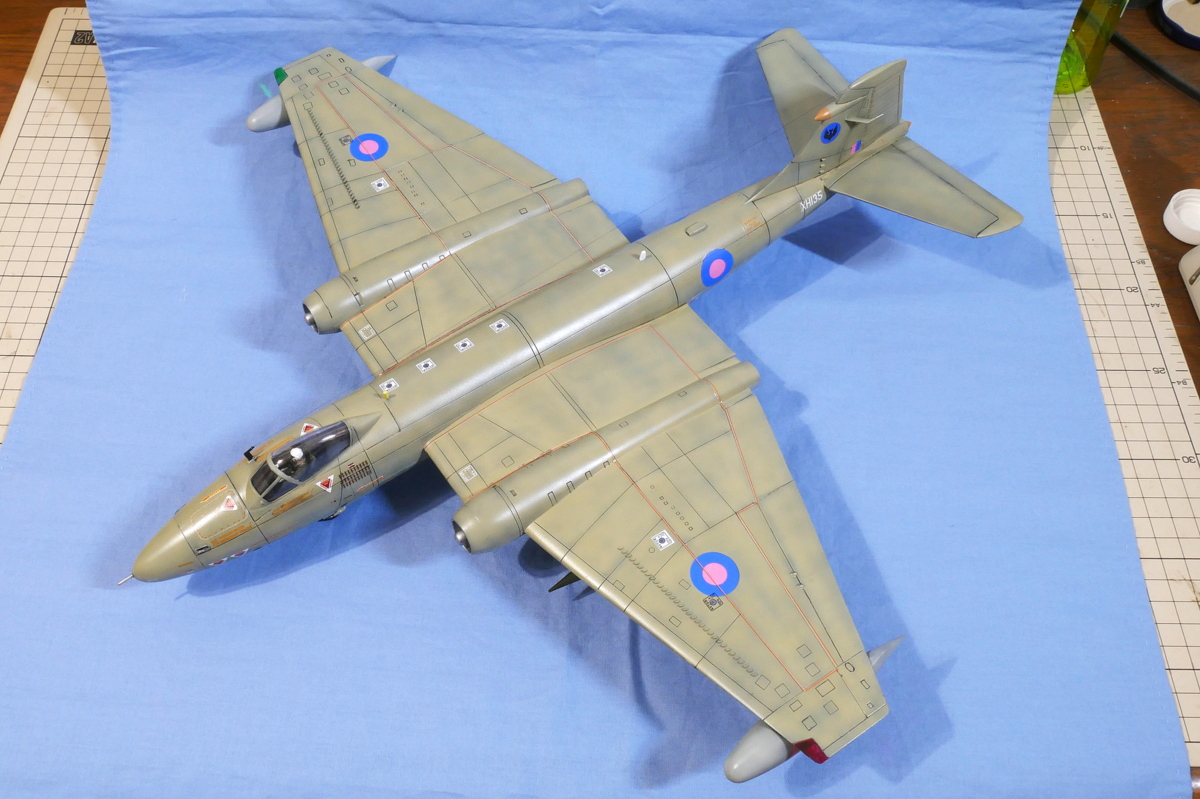
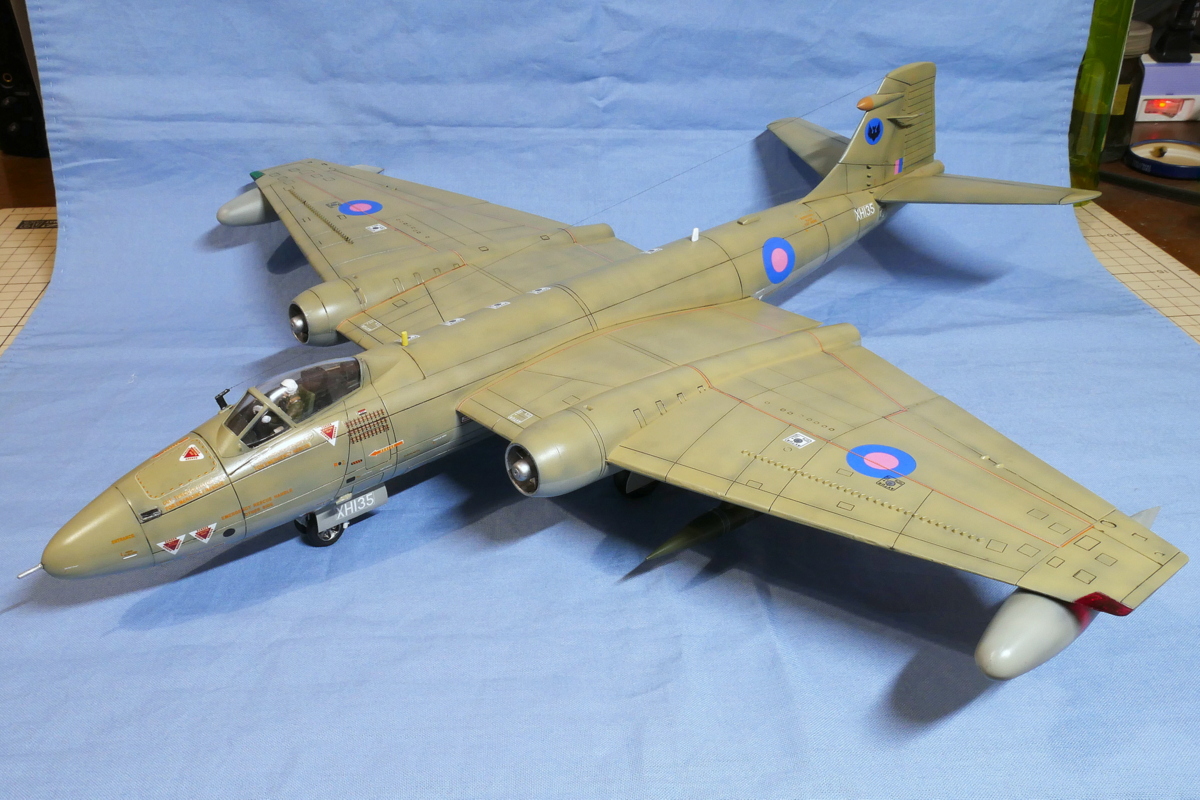 Canberra PR.9 was a reconnaissance aircraft and participated in the real war in the 1991 Gulf War, the 2001 invasion of Afghanistan, and the 2003 Iraq war. Amazingly, it has been around 50 years since development and is still active. It seems that 23 units of PR 9 were produced in all.
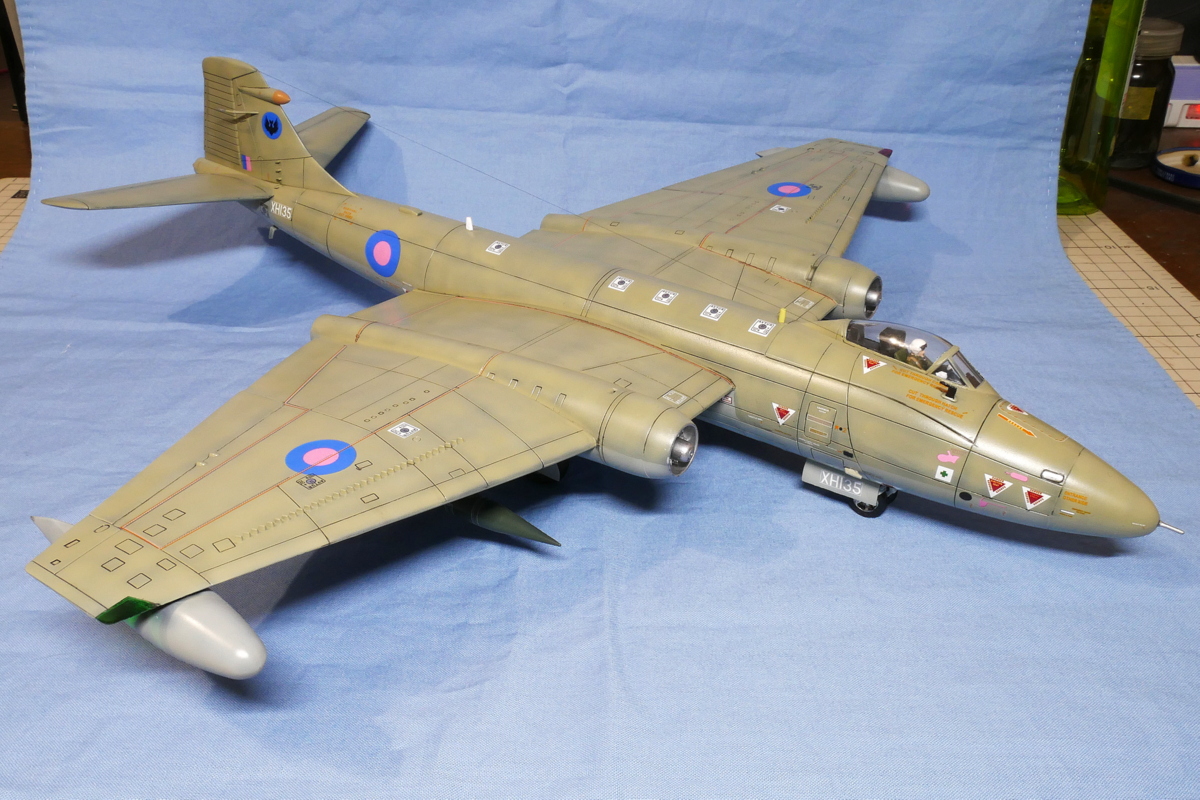
 Although not this aircraft type, the bomber type was engaged in bombing missions, such as an armed uprising for Malaysia’s independence and the Suez Canal Crisis. The PR9 type remained as a real warfare unit to the end.
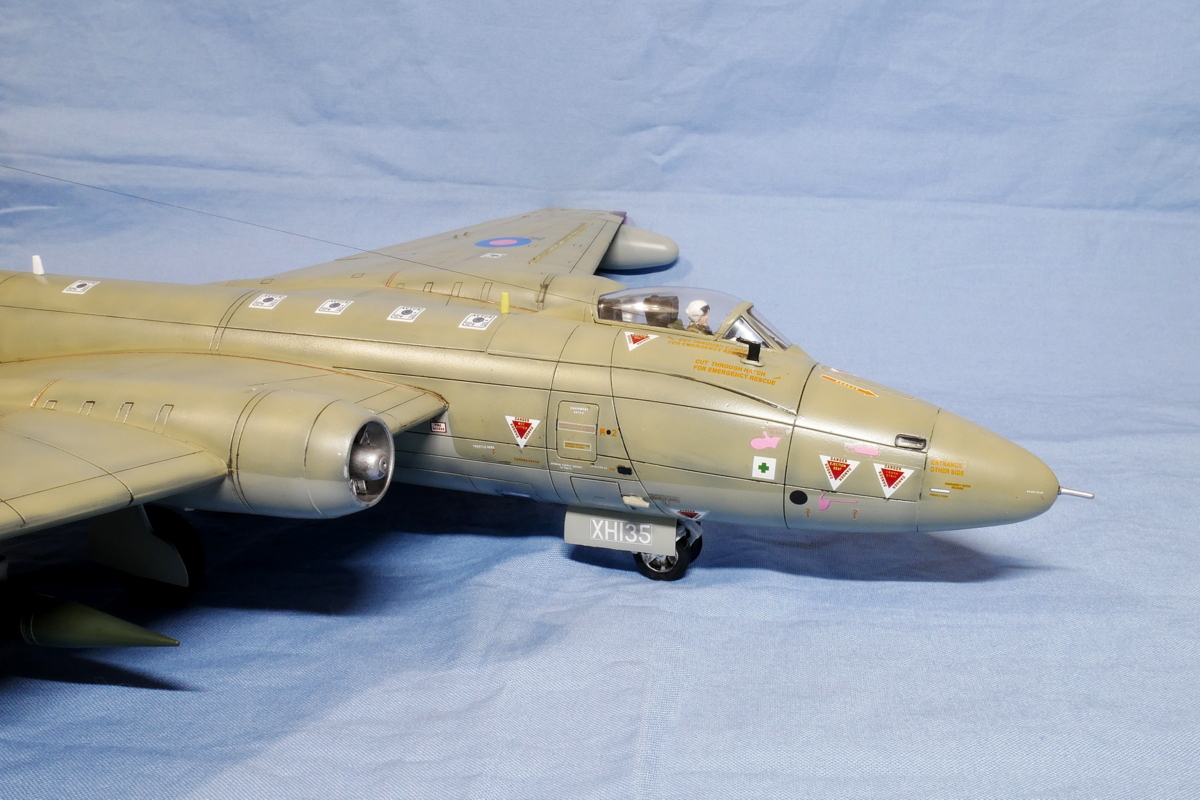
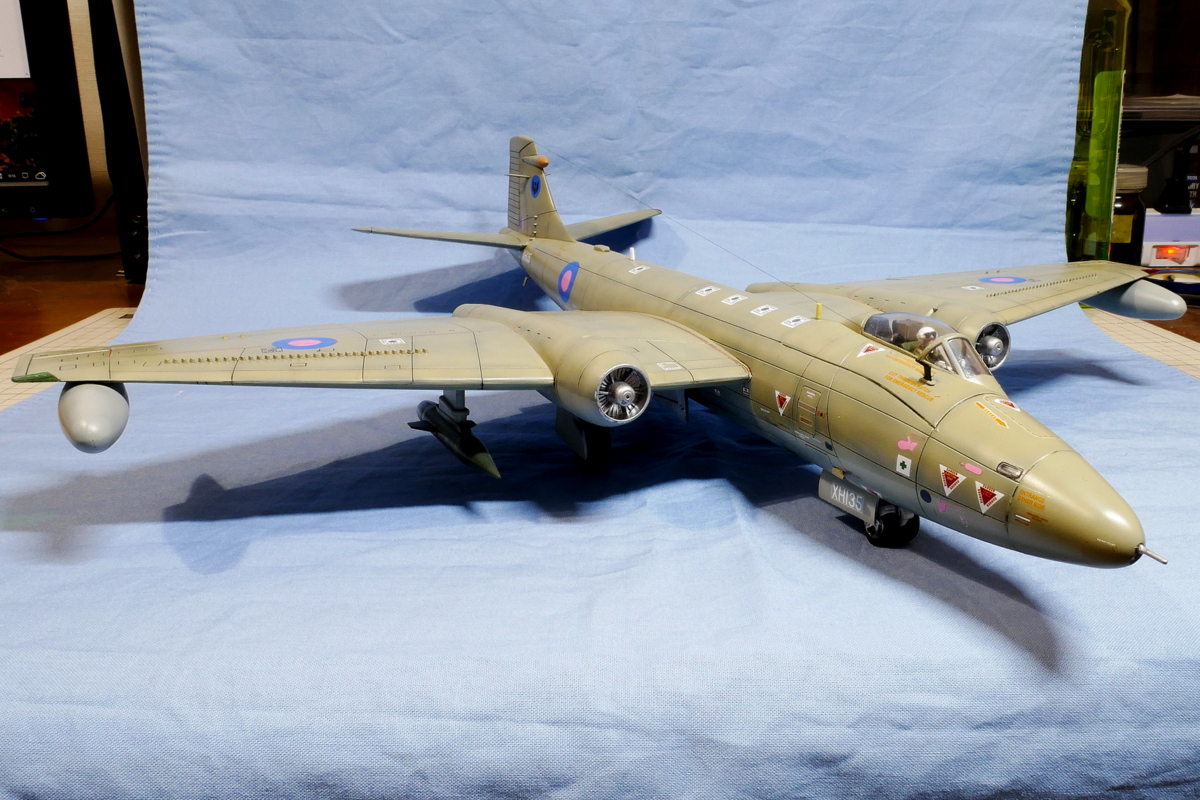
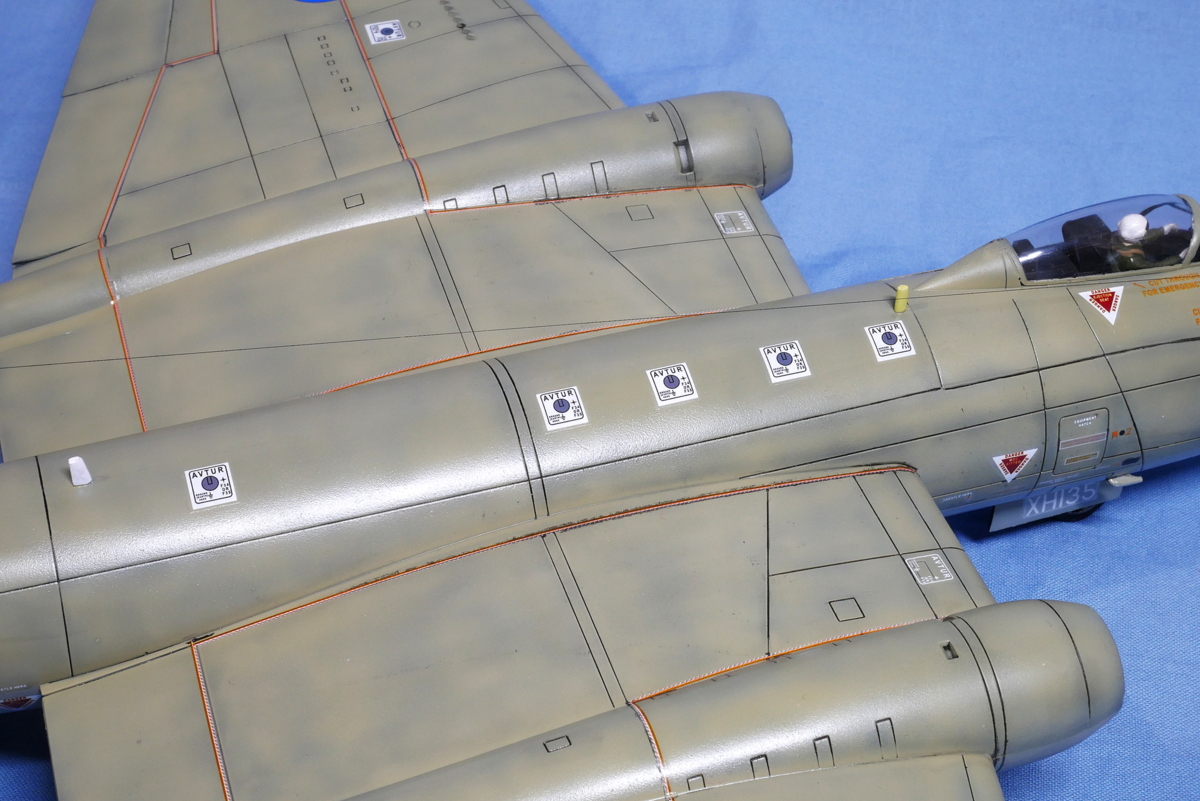 Marking is the Canberra PR.9, No.39 Squadron, Royal Air Force Marham, UK, July 2006. Although the marking is the aircraft of 2006, I suppose it’s almost the same marking as the Gulf War or the Iraq War. The hemp painting on the top matched the Middle East.
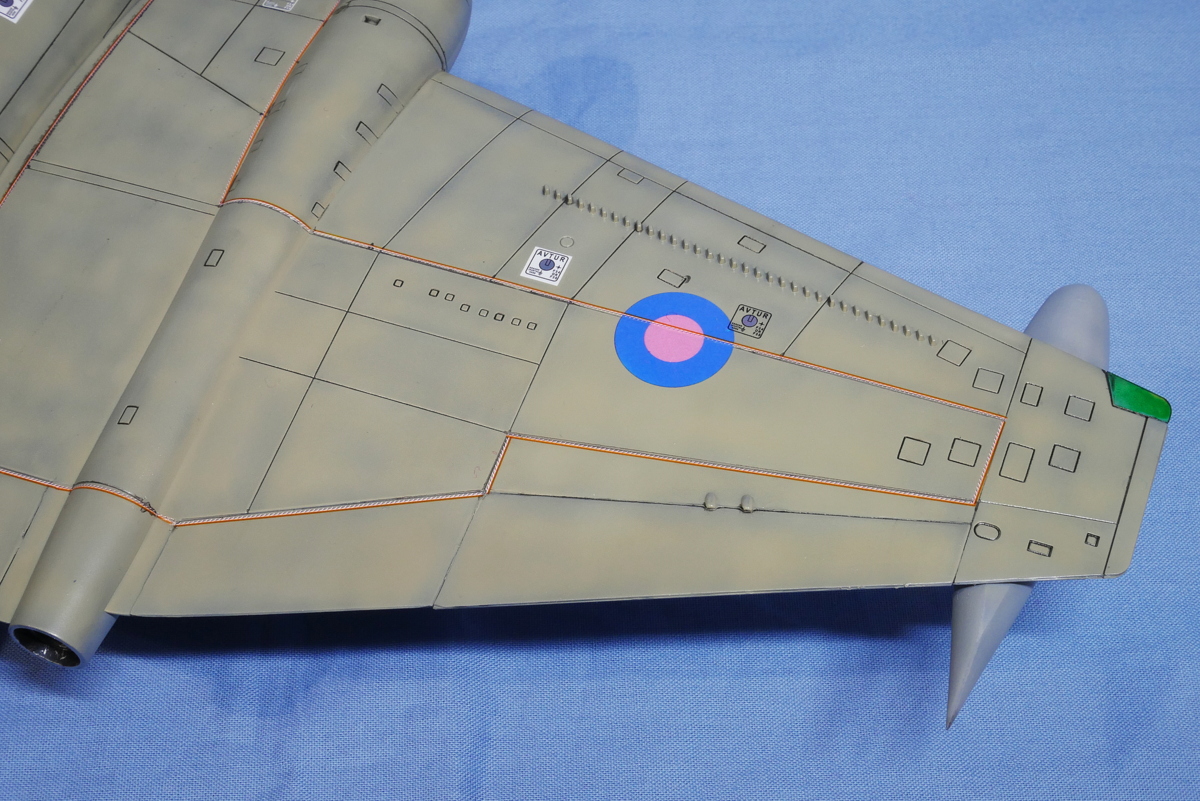
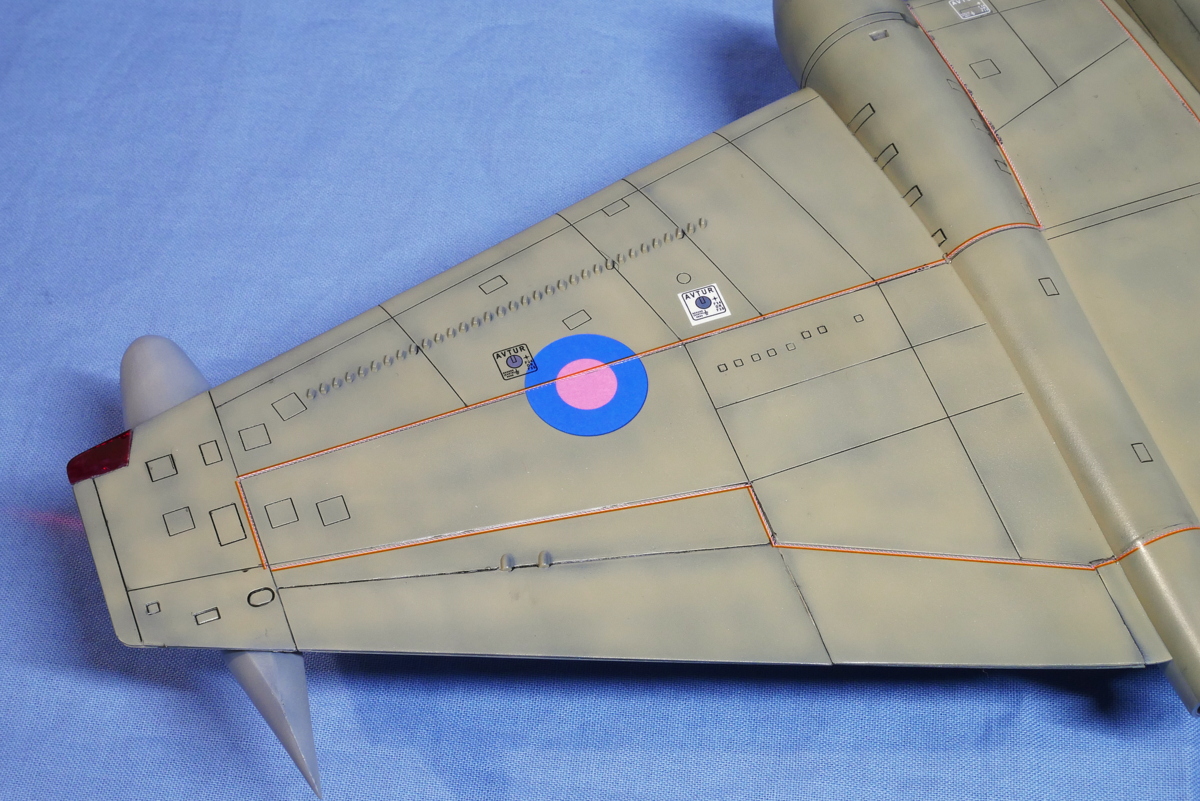 The decal in this kit was good coloring and was very thin, so I thought it was pretty delicate. It is a surprisingly strong decal. Even if I use a powerful mark softer to fit it to a dent, it takes time to become soft.
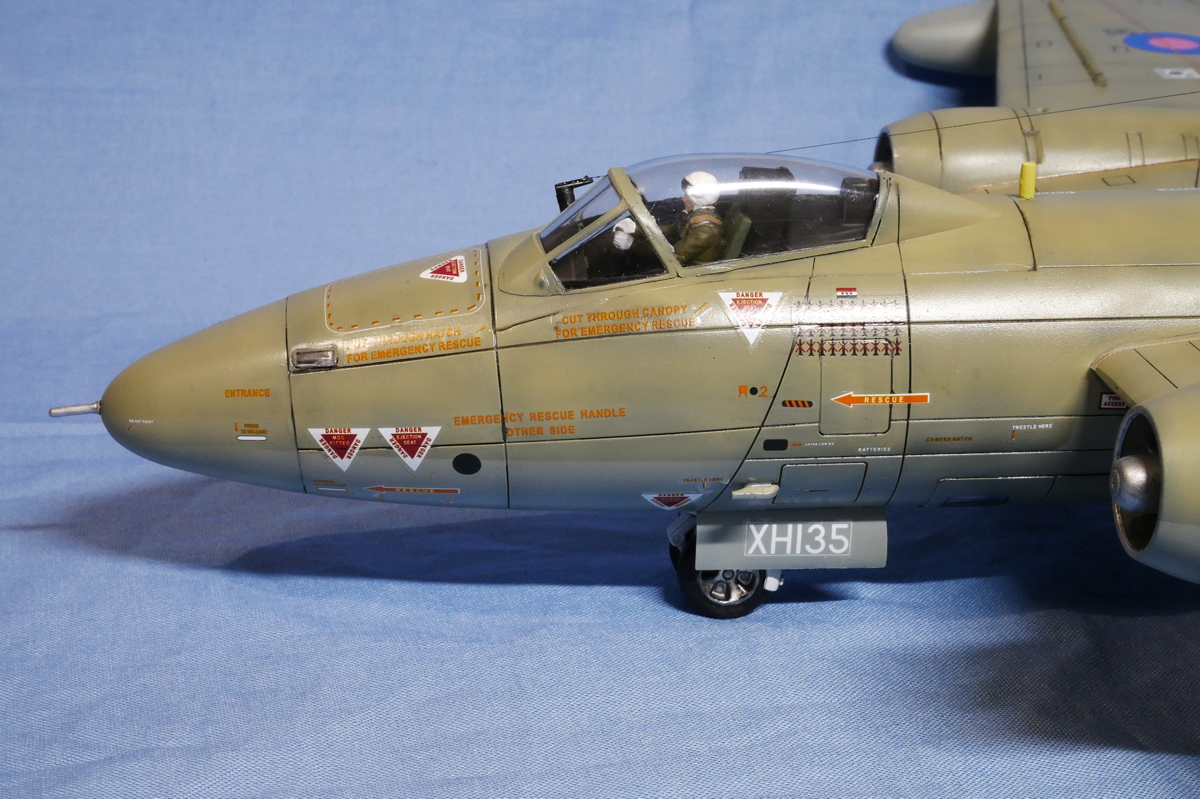
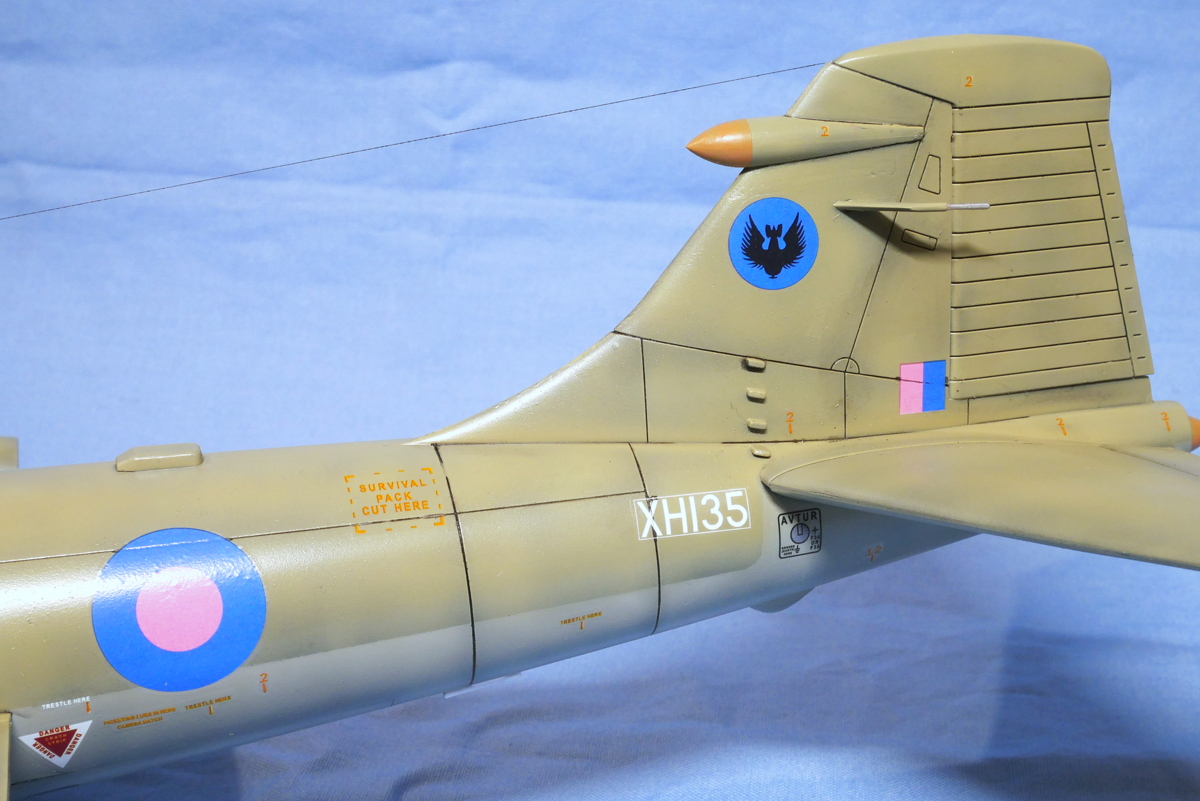 I stretched the antenna wire from the canopy side to the vertical tail wing. I am glad that I could keep the tension of this wire.
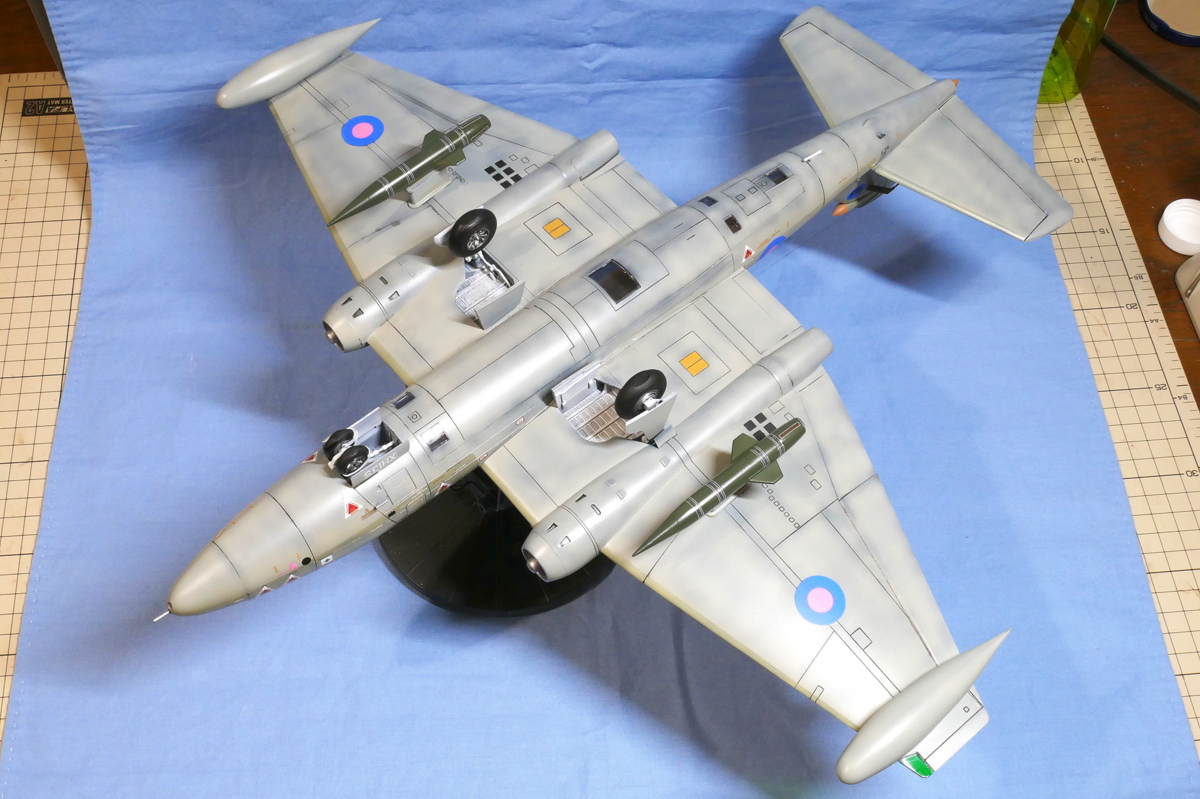 Under the main wings are equipped with a BOZ pod. It’s a chaff and flare dispenser pod. For reference, Chaff is a thing that spreads fine metal pieces in the air to obstruct the tracking of radar-guided missiles. Flare is a device that shoots a lot of ignition products that emit light and infrared rays in the air as a defense against infrared-guided missiles that track heat sources such as engine exhaust. Both are equipped to protect themselves from enemy missiles. Somehow this pod is dark green.
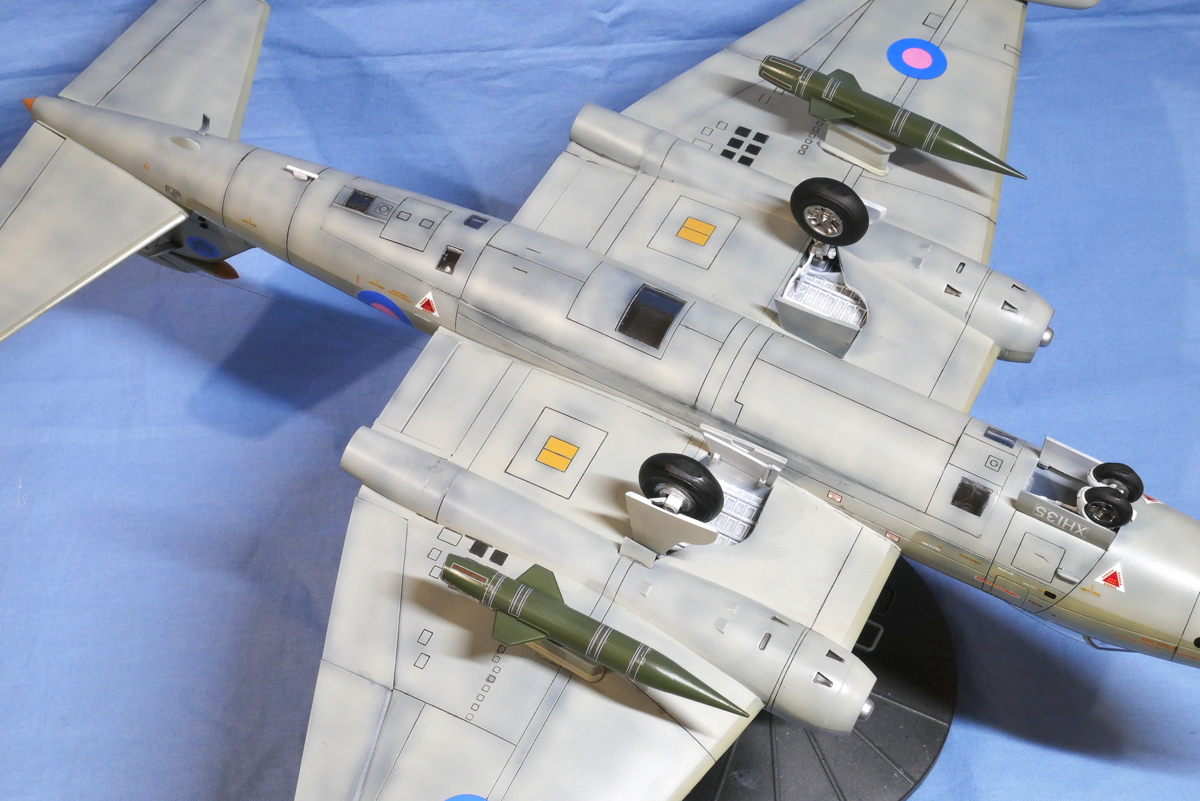
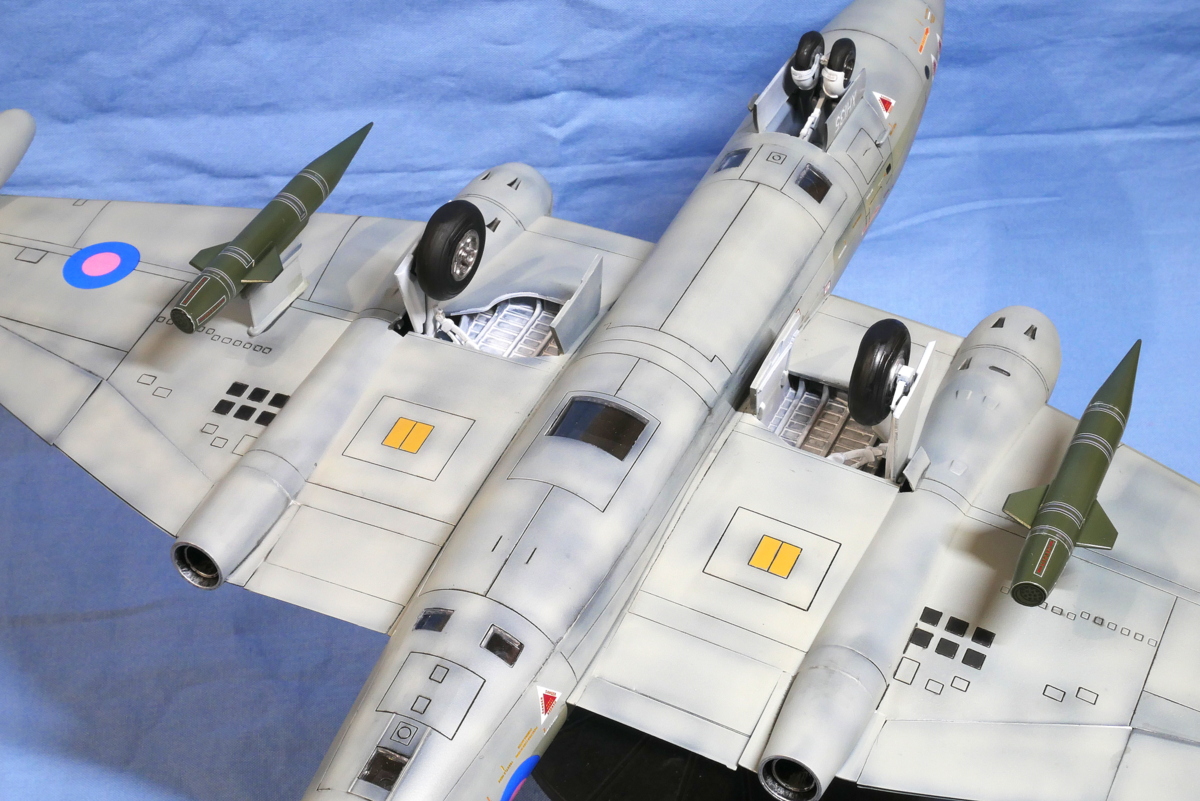 This pod was instructed to attach only to the aircraft of the marking of 2006. It is like modern military aircraft equipment.
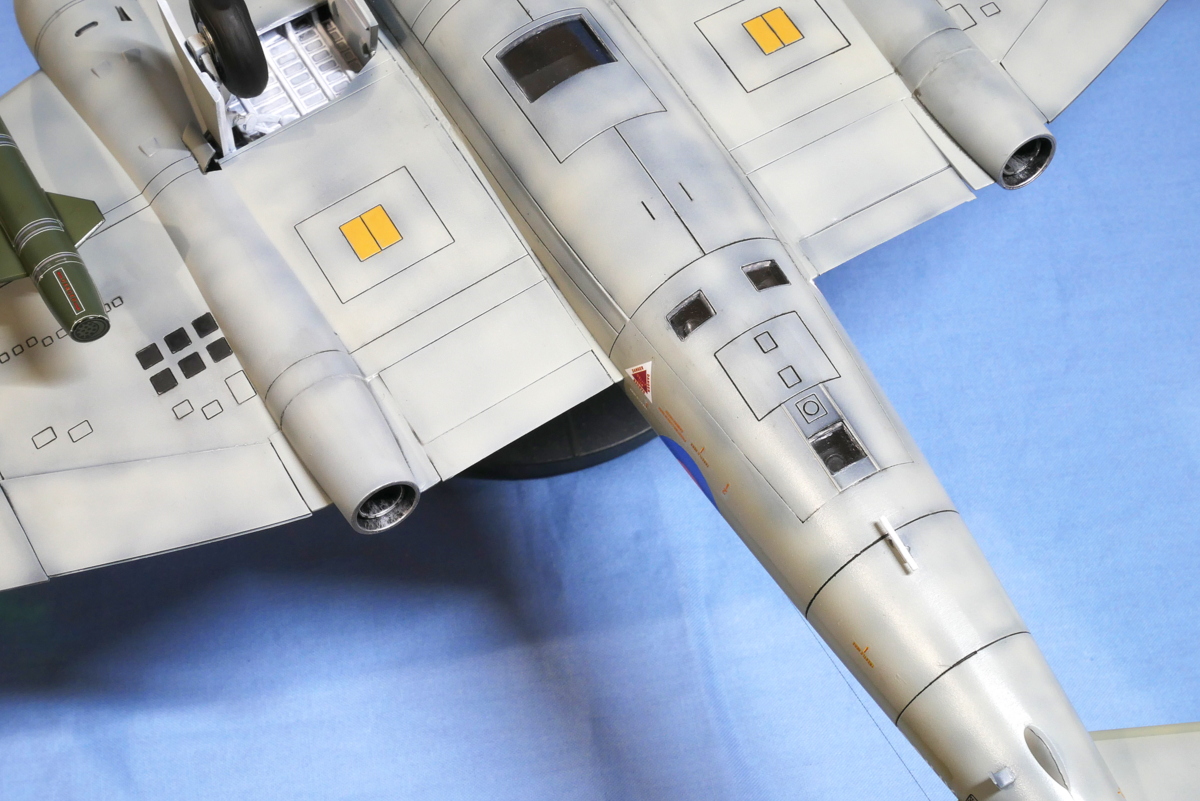
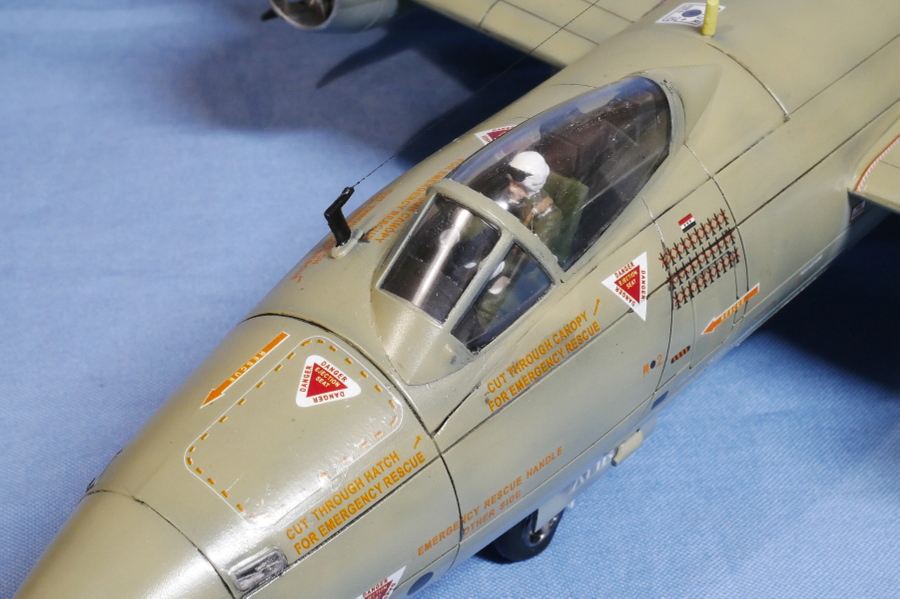
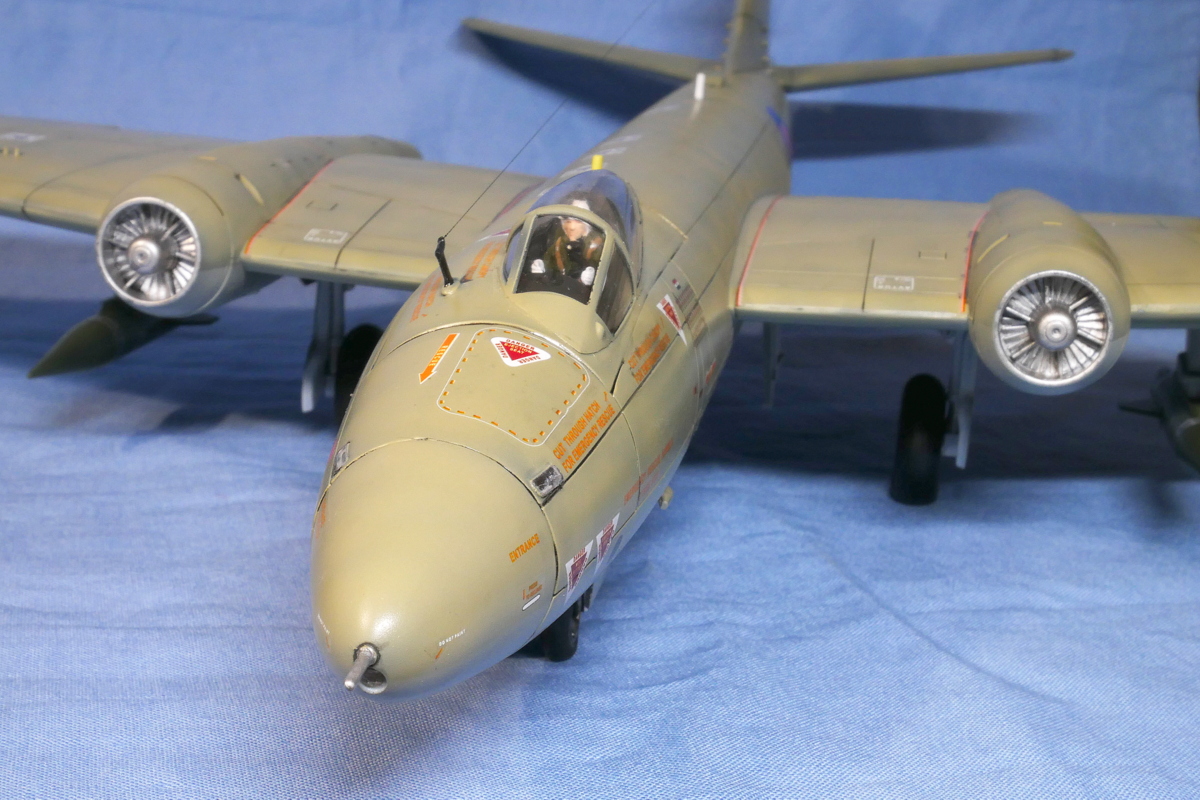
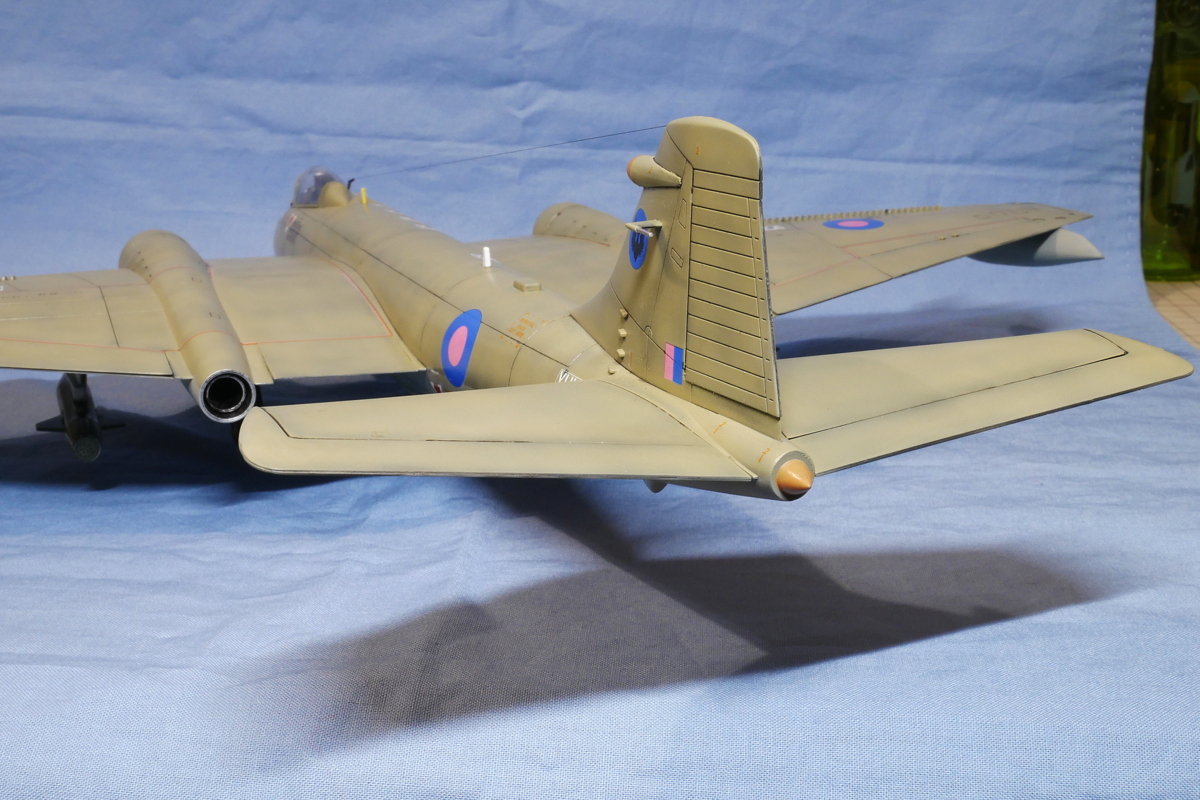
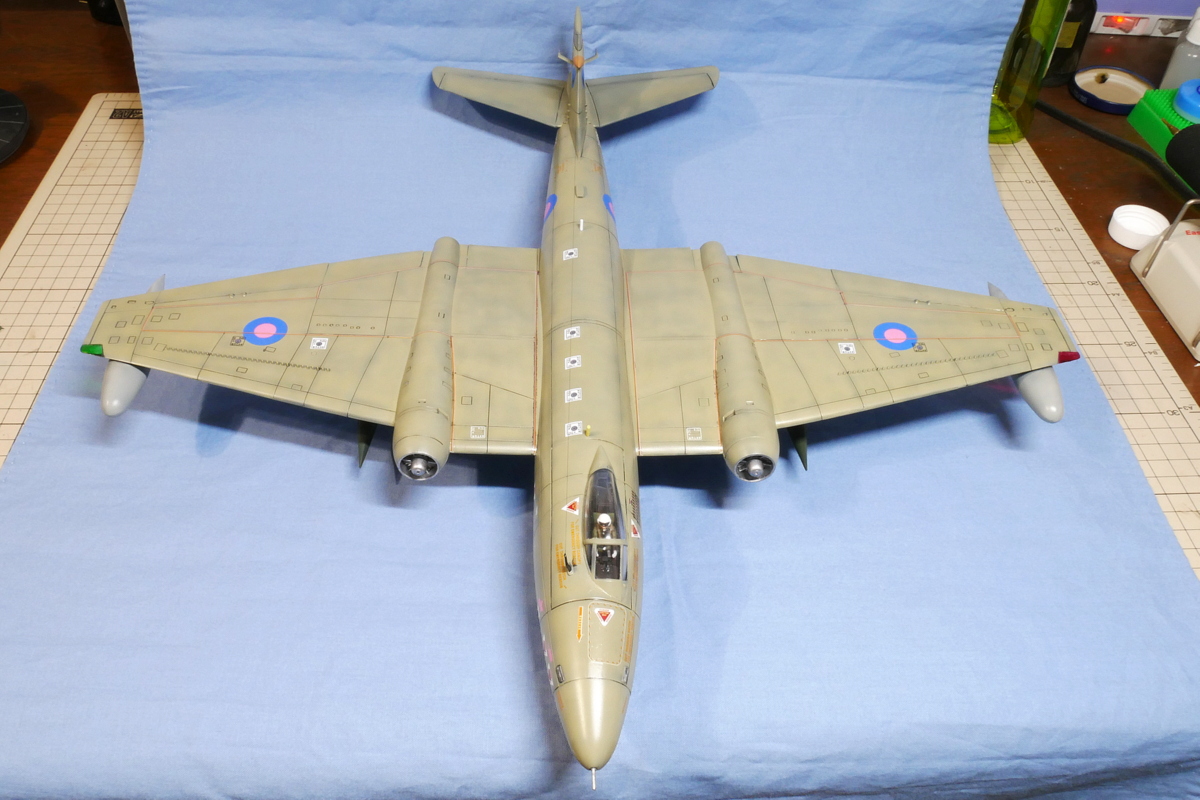 The aircraft color is hemp on the top and light gray on the bottom. Both colors are very similar. It is a shade that blends well into the desert as it was engaged in a strategy in the Middle East. The nationality mark is a low-visibility painting. The size is also small.
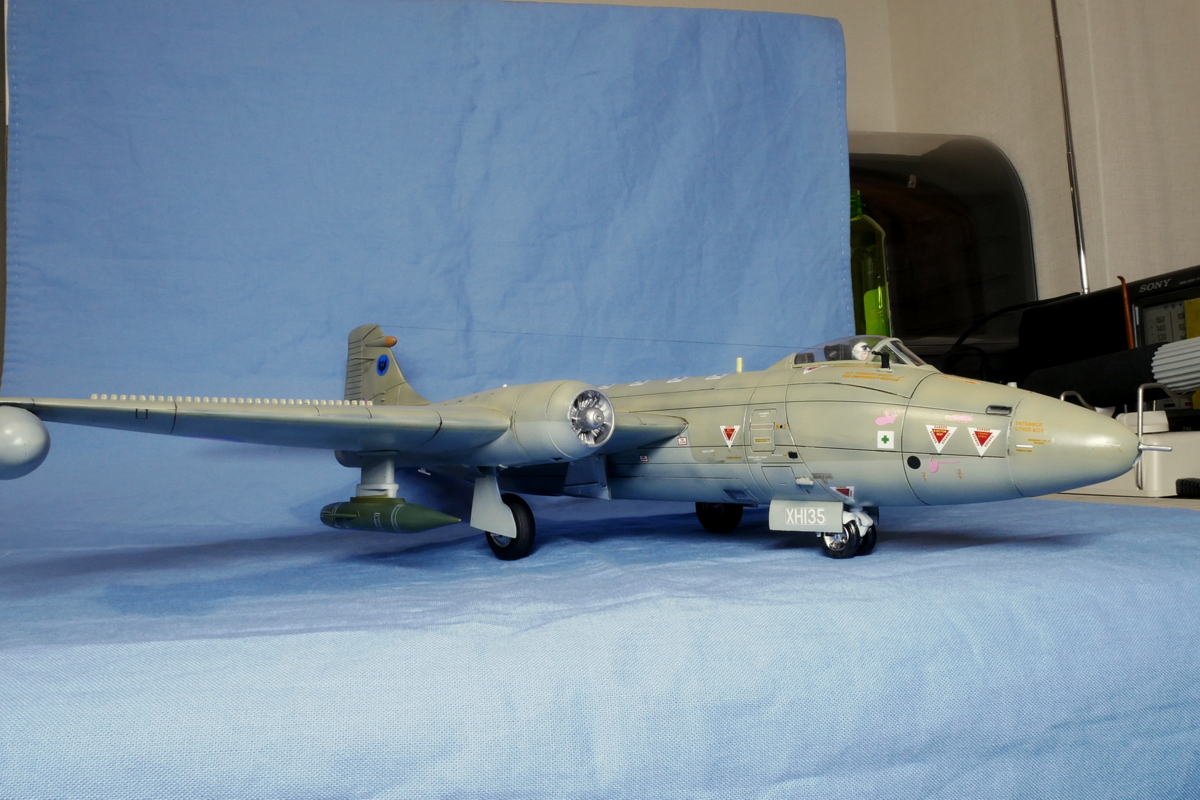
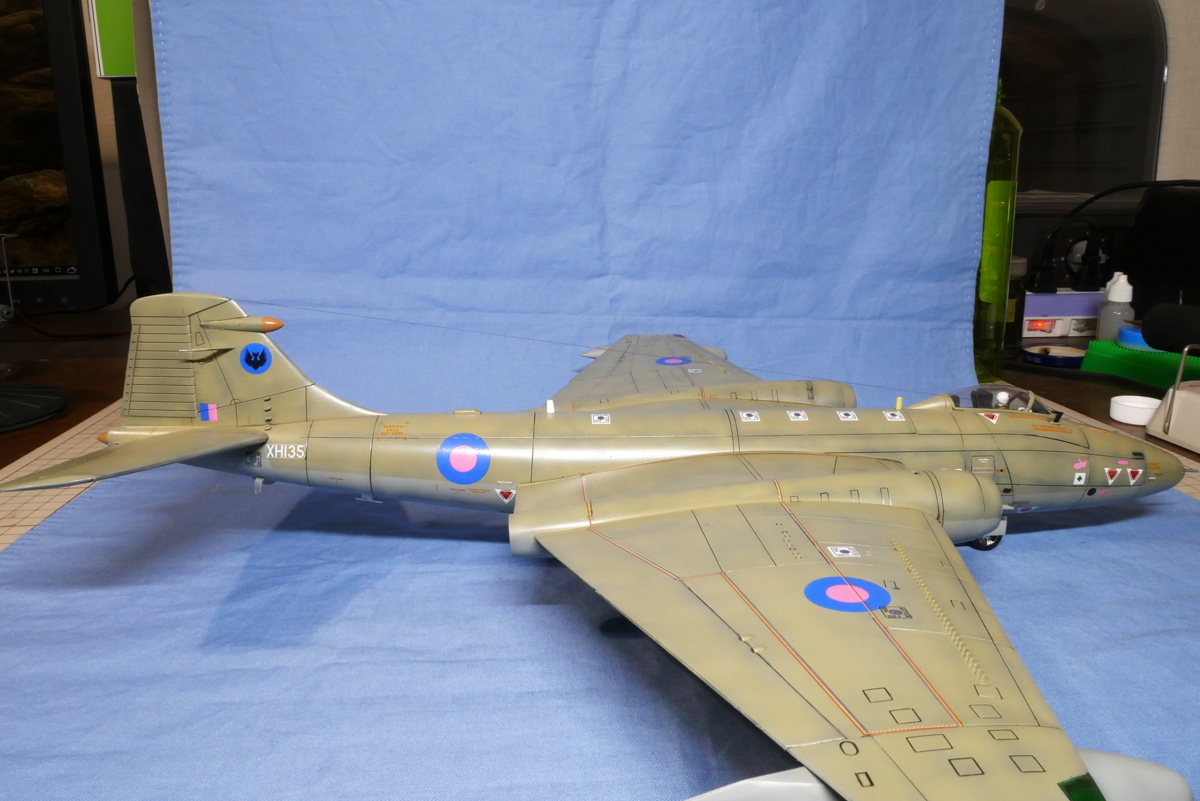 I painted too quickly, neglected the surface treatment, and had difficulty inking later. The finish quality was sloppy.
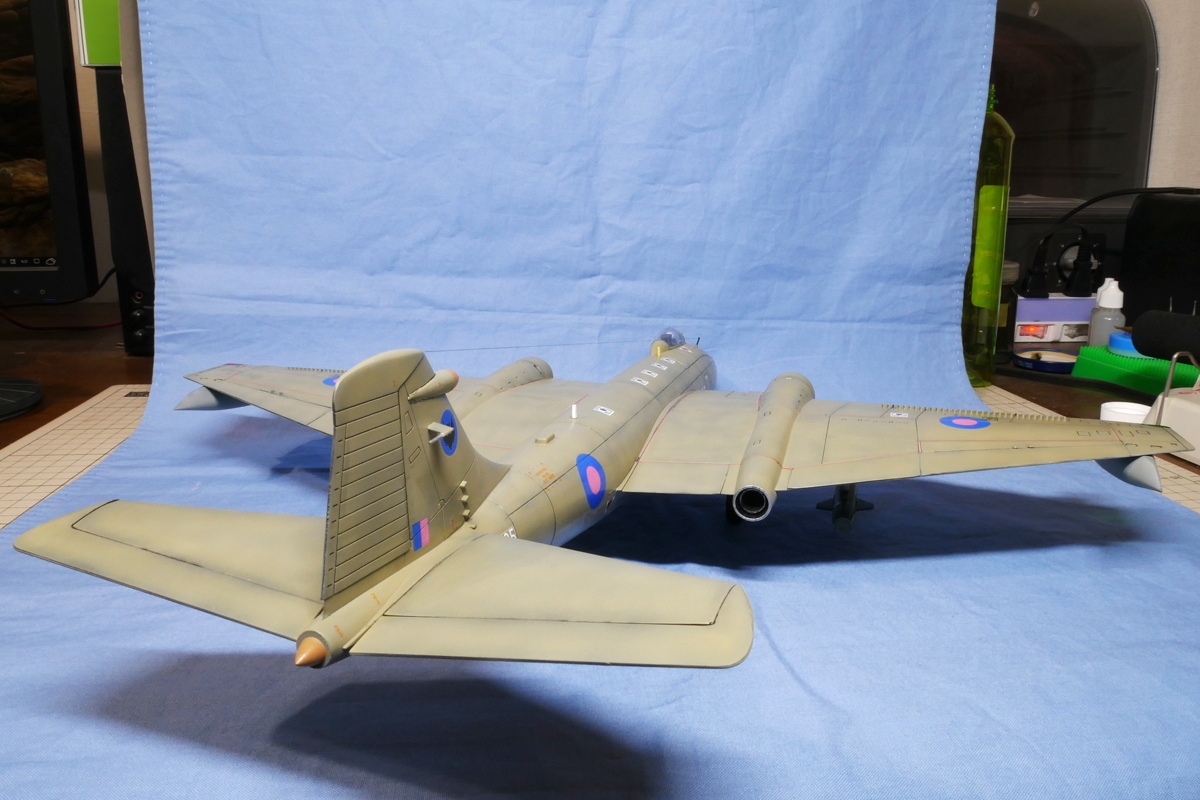
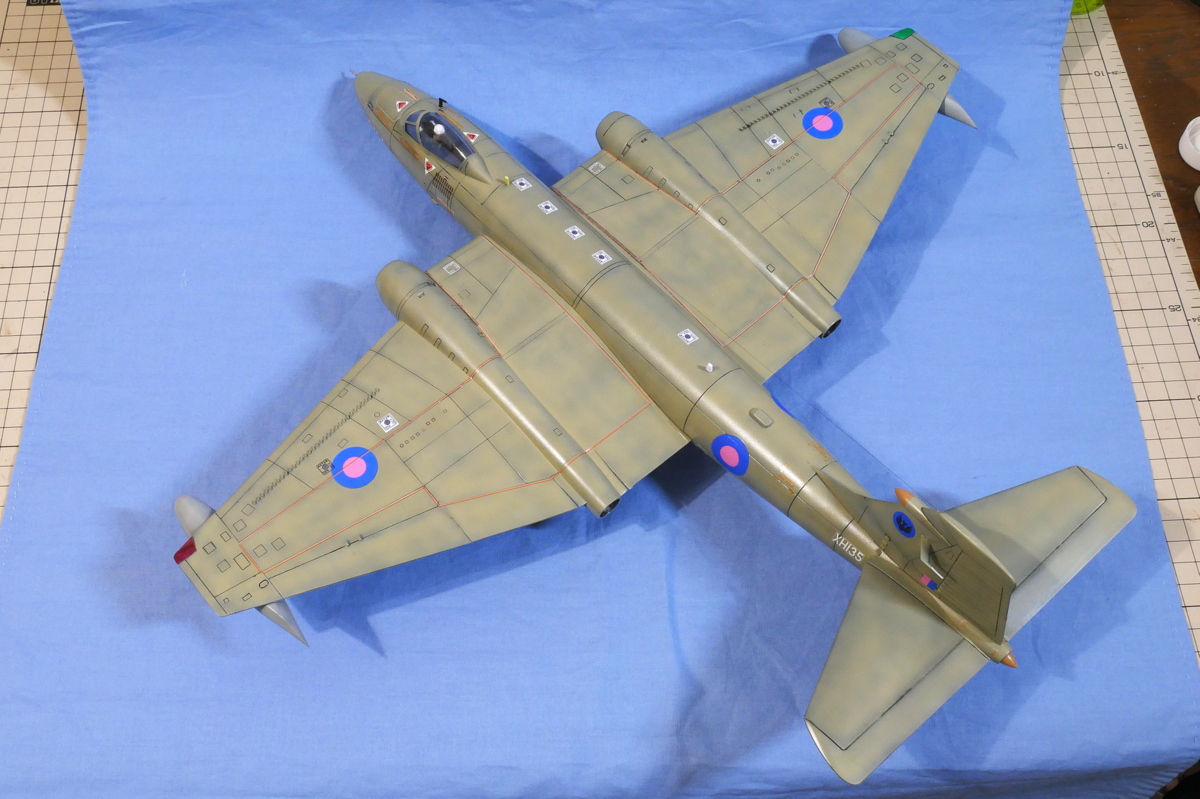 I might have been out of concentration on the way. Big-size plastic models are hard but exciting. It was completed somehow. Many fishing weights are in the fuselage, which is quite heavy work.
(18-January-2019)


コメント
Great stuff! I remember building a Matchbox 1 / 72 scale version when I was a kid. Didn´t realise that these planes were in operation as late as 2006.
Thank you for your comment! I was surprised that it was so big 1/48 scale when I made it. The 1/72 scale was just right. It is surprising that Canberra played an important role in the Gulf War. It seems that the Matchbox kit is sold at Revell now. It is highly evaluated. The kit you made might be an older one. Merry Christmas!