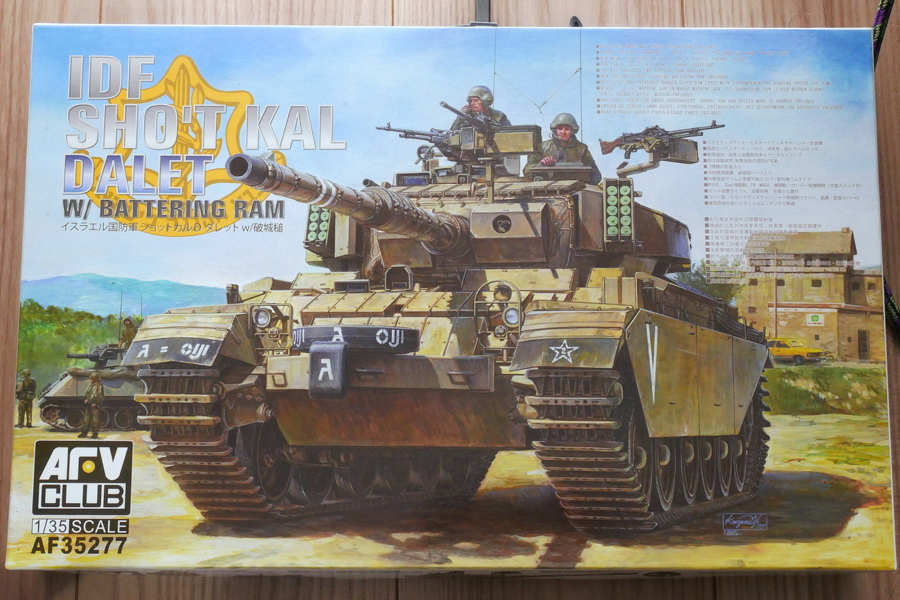
I will try to make an AFV Club Israel Defense Forces Sho’t Kal D Dalet. I’m painting an airplane plastic model, but the paint is out, and it’s so hot that I don’t want to go out to buy it, so I ended up with a different plastic pile. The kit I intend to make this time is also quite large in volume. When completed, it’s about the same size as an ordinary modern tank and slightly larger than the WWII AFV, though it seems to have too many parts. The box is packed and quite heavy.
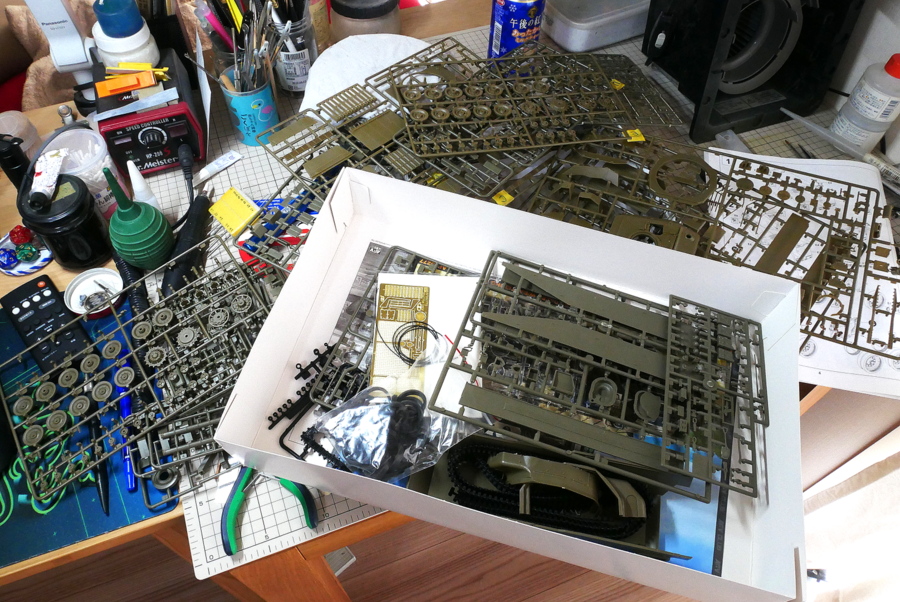
AFV Club kits have long been characterized by plastic parts reproducing even the finest details. There are many small parts at the rear of the tank, and it is hard to assemble the parts. Therefore, the precision seems to improve. I worked part way through trying to write the alphabet in large letters on the runners, and I stopped halfway through because I hated how many runners there were.
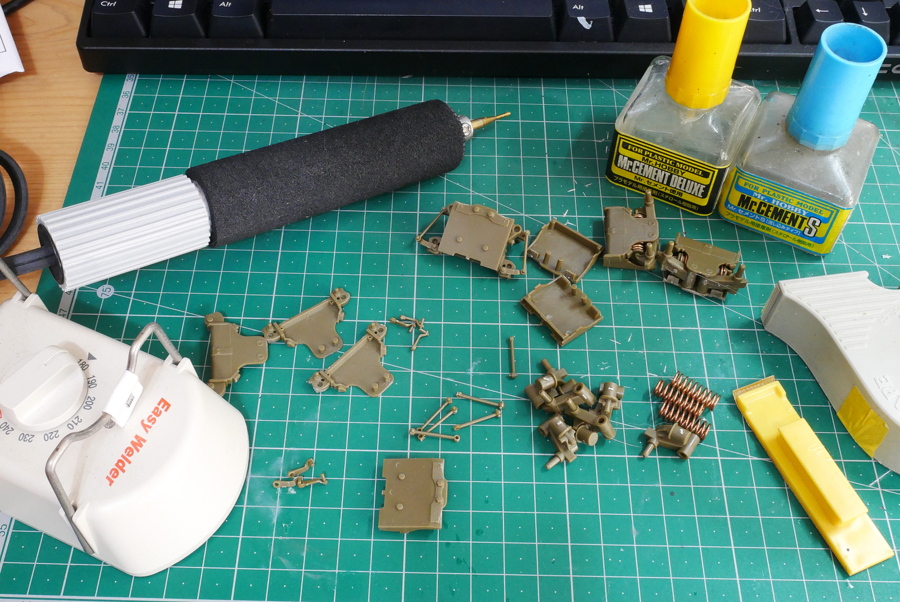
Melt and fasten parts with heat to some assemblies. It has a metal spring in it that seems to have a little bit of movement. I used a heat pen for melting, which was very easy. I bought This model tool about five years ago because it was rare, and after using it a few times, I never used it. It was a familiar pattern for modelers. I want to make better use of it because I buy several kinds of bits on the tip.
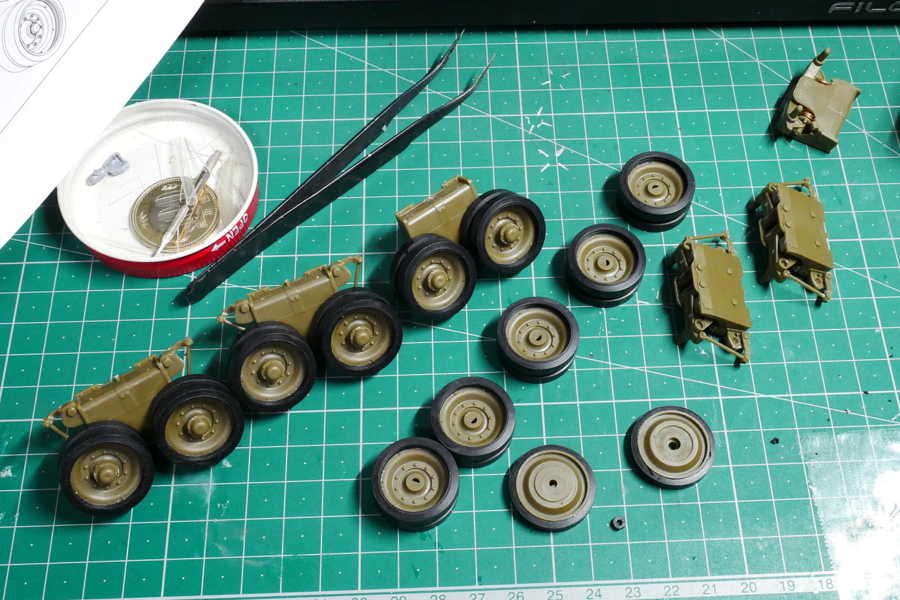
There are two types of suspension shapes, and the place to glue them is fixed, so I have to be careful not to make a mistake.
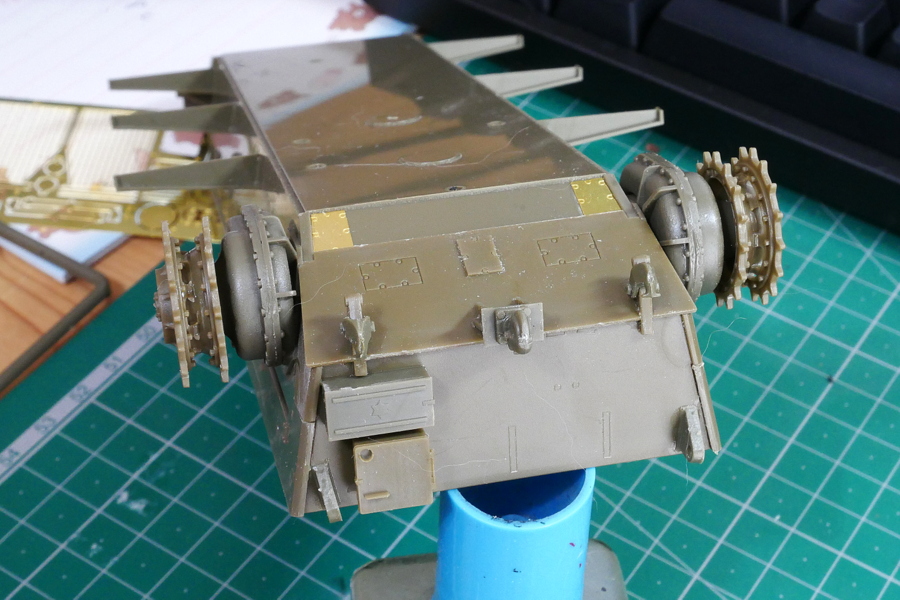
The rear of the vehicle is being assembled. Various parts are expected to come here as well. Etched parts that do not seem to contribute to the detail are used in poorly understood parts, and it is assembled according to the instructions, although it does not make sense.
When I do military plastic models, recently, there are more kits from countries involved in the conflict, even if I pick up the ones I’ve been holding. Not to mention the Soviet Union and Russia, many Western weapons are used on Ukraine’s front line. Israel has also been volatile with Iran recently. Iran’s nuclear bomb development is on the verge of completion and is a dangerous zone. Taiwan could have an emergency at any time. Or rather, if I were Xi Jinping, I would think I would attack now. I judge that the United States has no energy left to support Taiwan now and that the Kishida government in Japan is also weak.
(2023/07/07)
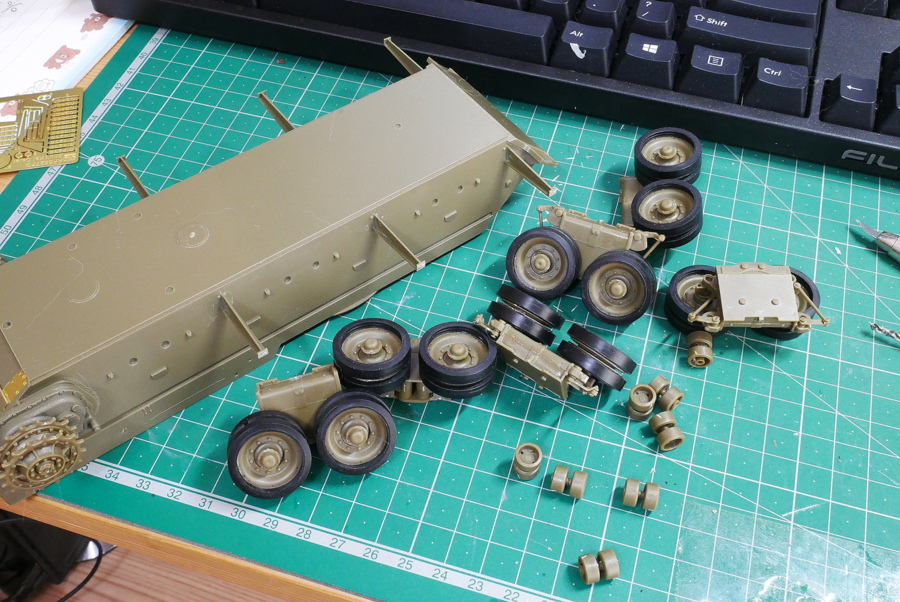
Side armor posts are glued together. I think it would be easier later if I corrected the subtle misalignment to match the side armor properly.
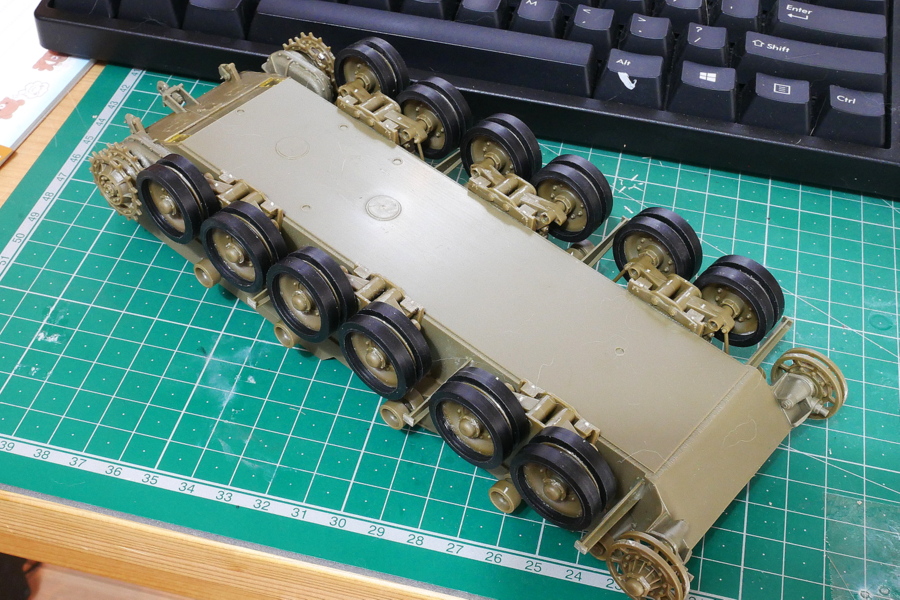
Well, it’s annoying that rubber parts separate these tire parts. The chassis is finally assembled. Up to this point, the building has had no particular problem.
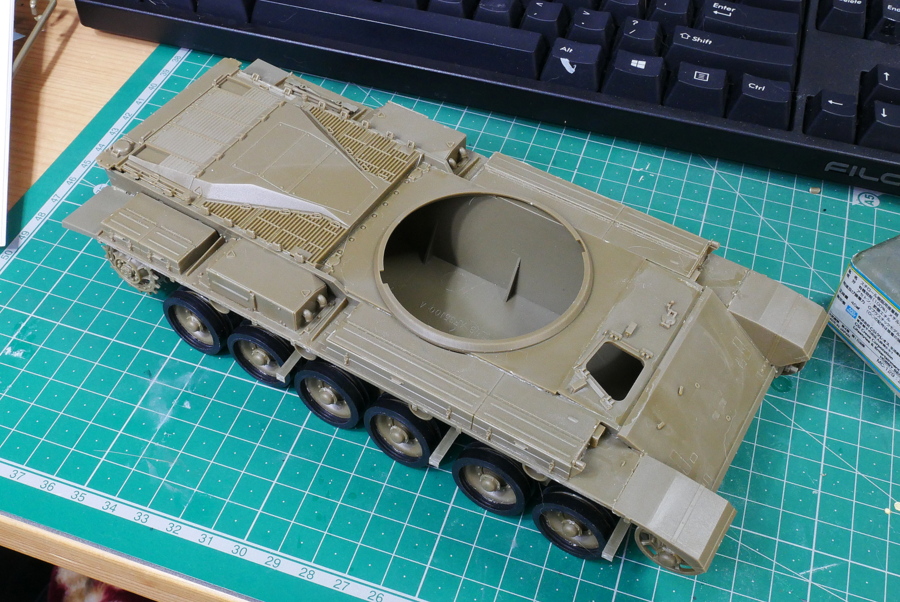
So many things look like toolboxes on the body part, especially on the top of the fenders.
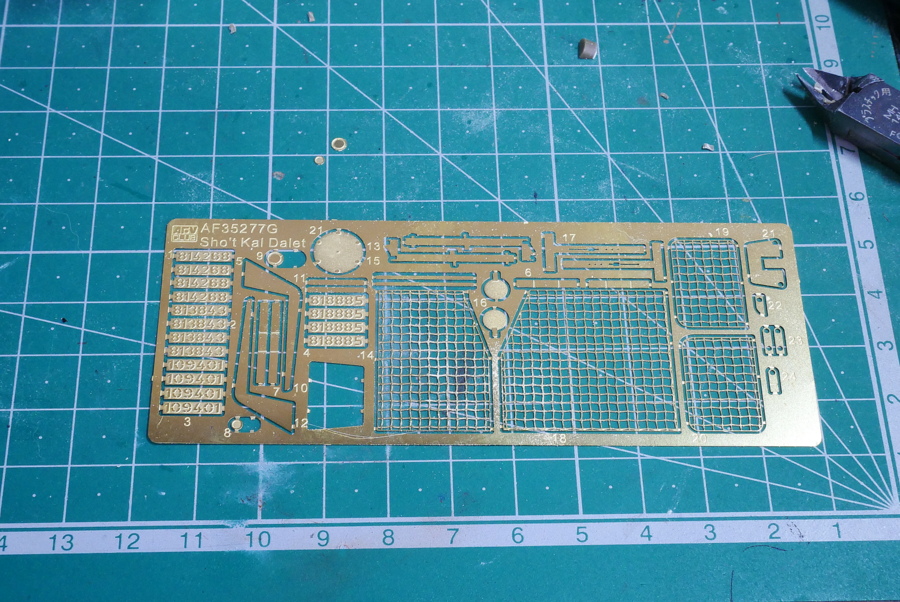
AFV Club kits use plastic parts for the finest possible detail, so there are fewer etched parts. Most of them seem to be baskets at the back of the turret.
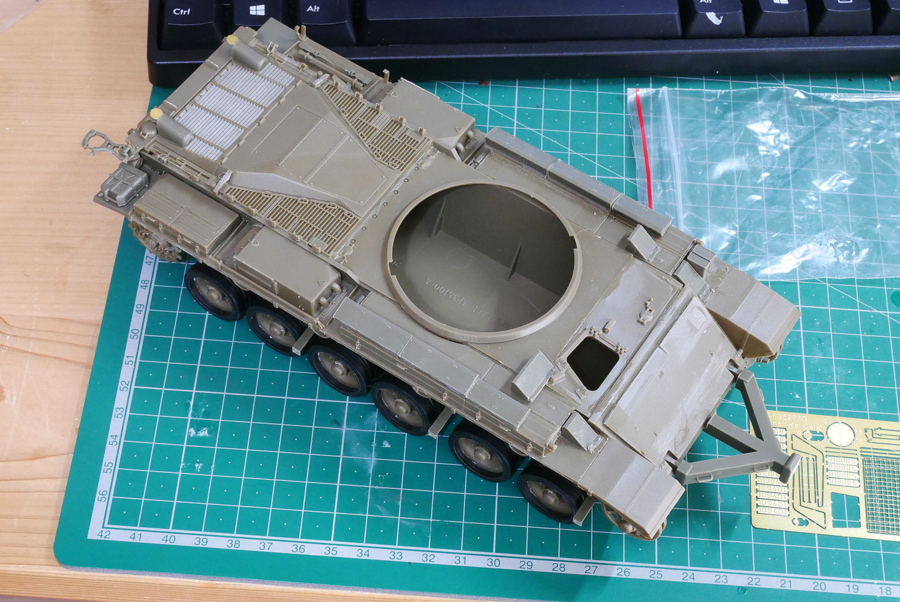
The chassis assembly is completed 70% by attaching a distinctive demolition implement to this kit. But I haven’t worn belted tracks and side skirts yet, so I may have a long way to go. This kit has a lot of parts. Moreover, it is a little stressful because many parts are hard to find where to attach.
(2023/07/09)
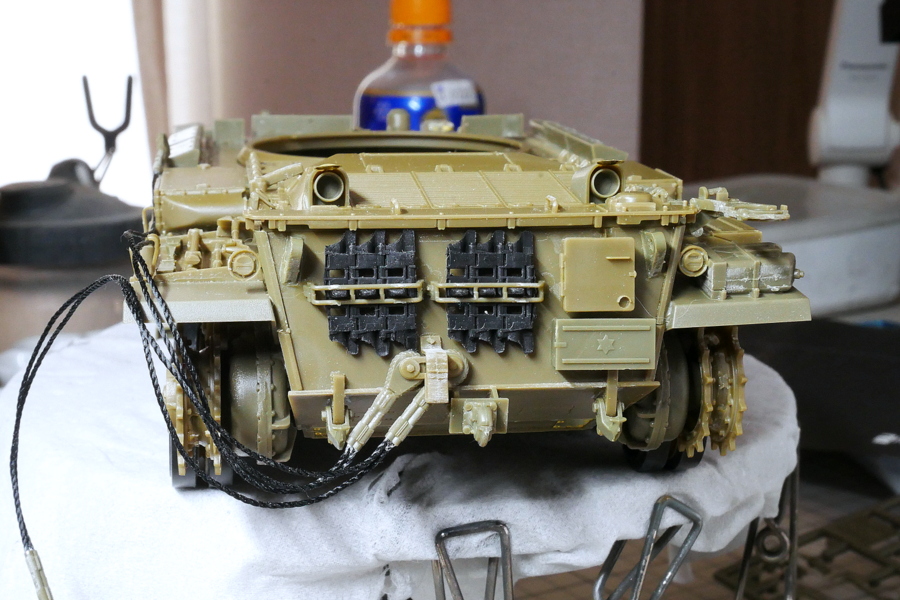 There are no spare track parts for ShotKal! What is that? I don’t think this is an oversight on my side. I couldn’t help what I didn’t have, and I bought it over ten years ago. Don’t tell me they fell into a trap to get me to buy a pair of separately sold connected tracks. But there are too many parts, and I don’t feel very angry even if it’s not in. I feel a little dazed. I usually write the alphabet of the runners on a large sheet of masking tape, which makes it easier to find the parts during assembly, and this time there were too many detailed runners, and I got sick of it halfway through.
The rubber track was detached for three frames on each side. It doesn’t matter where the side skirts hide when they’re not long enough. If you really can’t help it, you may have the option of buying a separate part of the connecting tracks that will also improve the details of the track. I had quite a few spare T-62 pieces I made the other day, like using it in a slapstick way. I guess it feels strange. Unless you’re a tank fanatic, you might not recognize it at first glance. I could cut and paste parts on an ad-hoc basis in this area, so I thought there would be no problem.
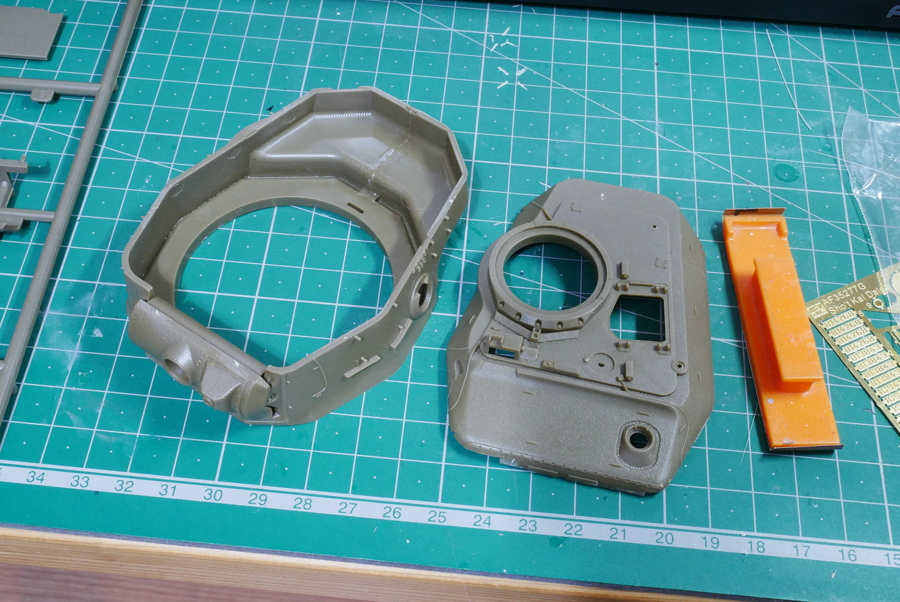
It is a basic part of a turret. Looking at it this much, it is simple, but after this, there will be various processes and parts bonding, and eventually, it seems that it will be like putting the parts on a large scale.
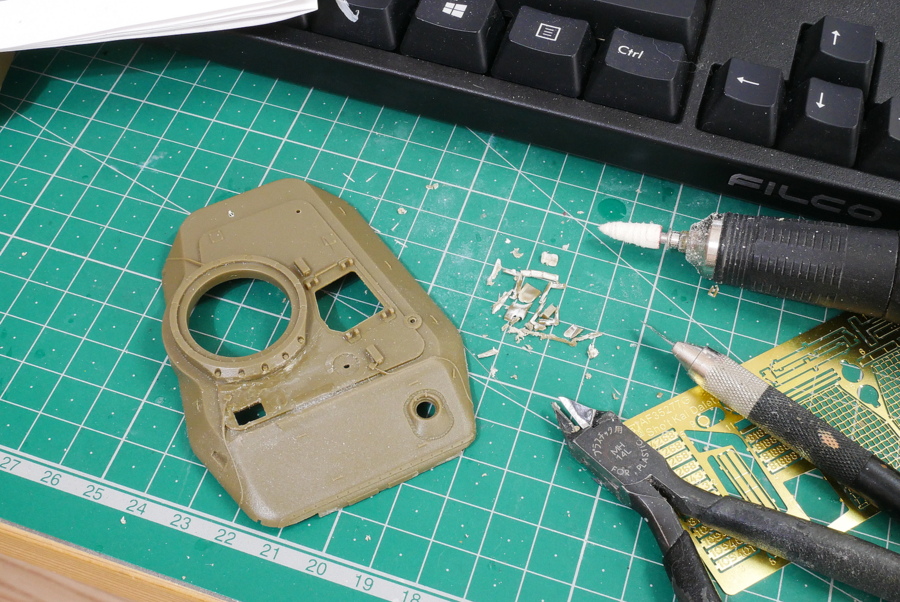
Finally, the turret is assembled. There were instructions to shave off a fairly large bump on the top, a periscope or something, and the area around it. This kind of work is troublesome.
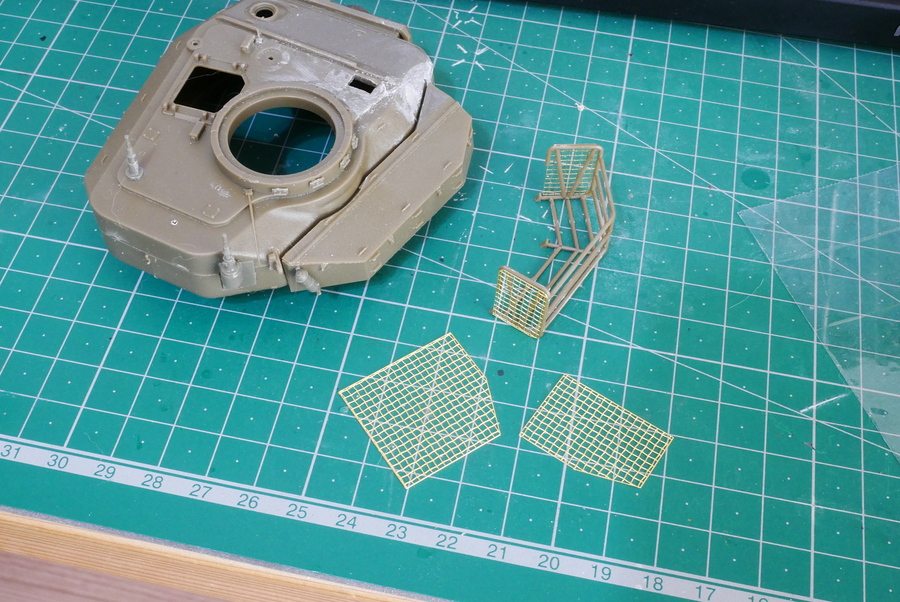
I’m making etched parts for the basket attached to the back of the turret. These large parts that change their appearance are processed and very interesting.
(2023/07/20)
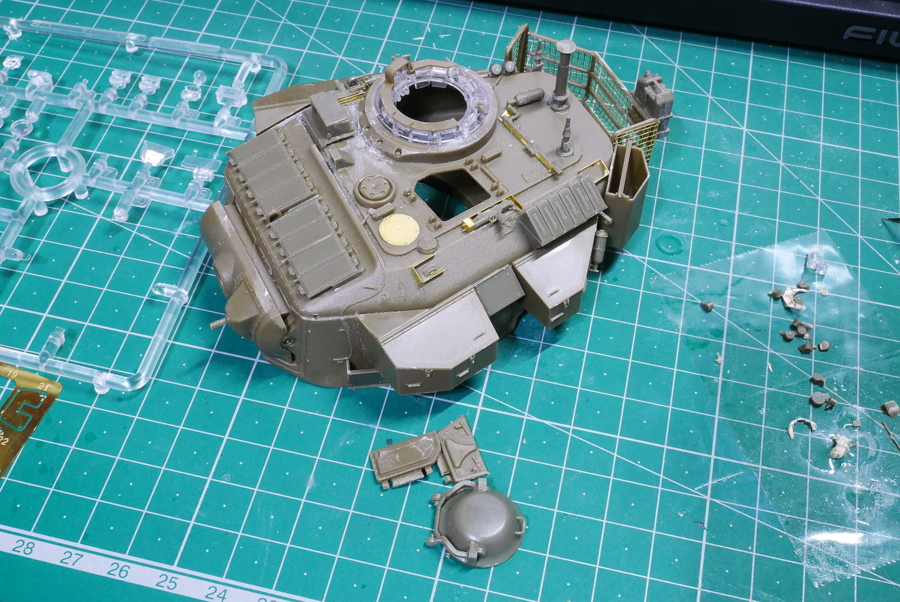
I’m attaching clear parts, composite armor, etc. There are all sorts of parts, like a basket on the back, a toolbox on the side, and spare ammunition for the loaded machine gun.
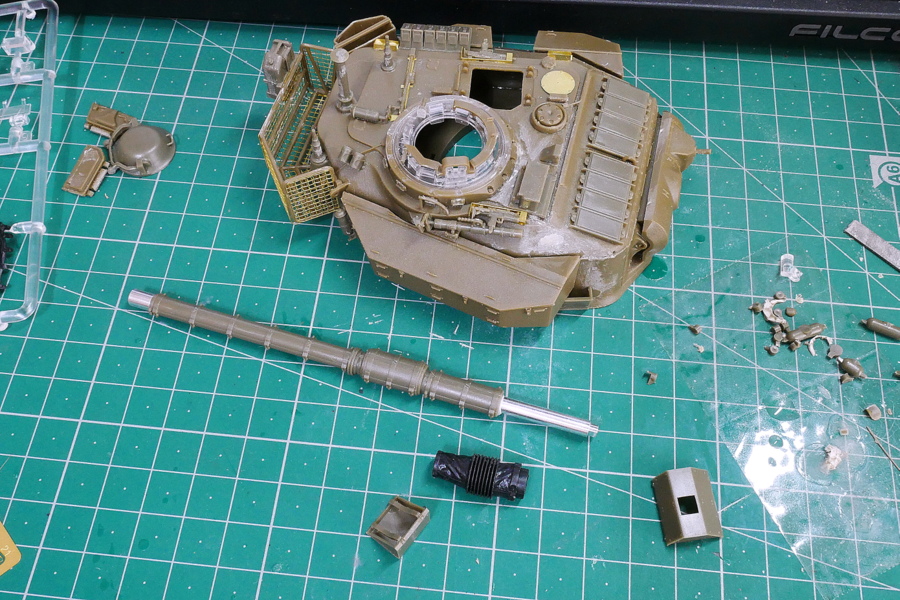
The base of the gun barrel was so messy with parts that it seemed to interfere with something, so I started building it. Its structure is unusual, with metal parts only at the root and tip. Moreover, the metal part at the base is covered with rubber parts in the end, which is puzzling because it is not thought to increase the strength.
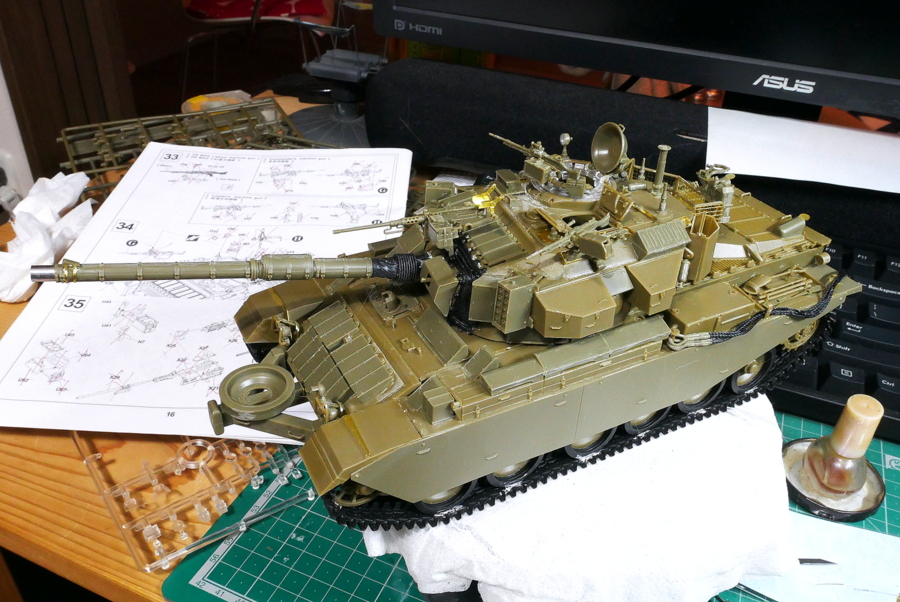
It’s challenging work with all the small parts, but after all, the main gun is powerful when assembled. Compared to the Centurion, the turret and chassis are bulky, with various additional arms and equipment, making it very cool.
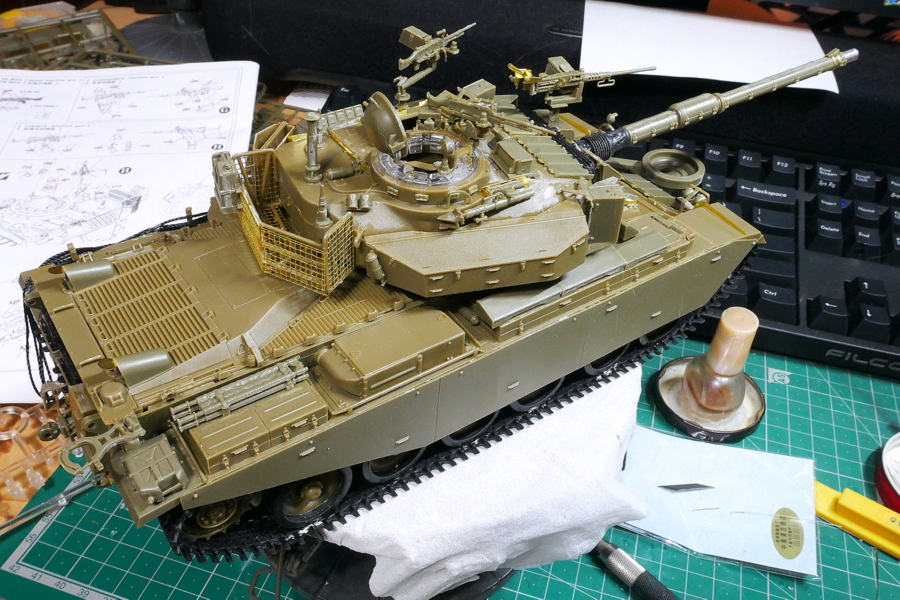
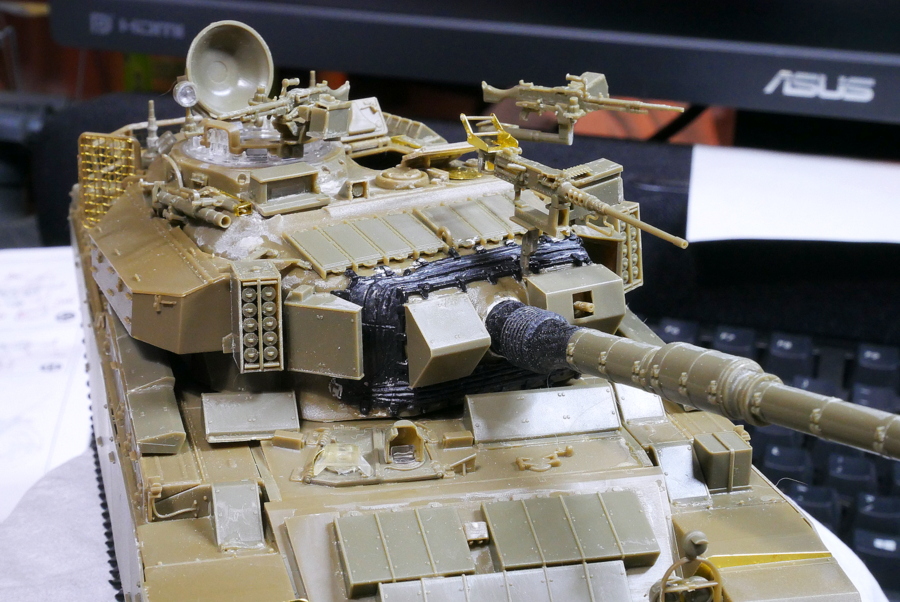
The side armor is thin and very good. The gun barrel is fitted with a rubber canvas cover at the base, sacrificing movement up and down. Will it work? I don’t think applying too much force would be a good idea.
(2023/07/22)
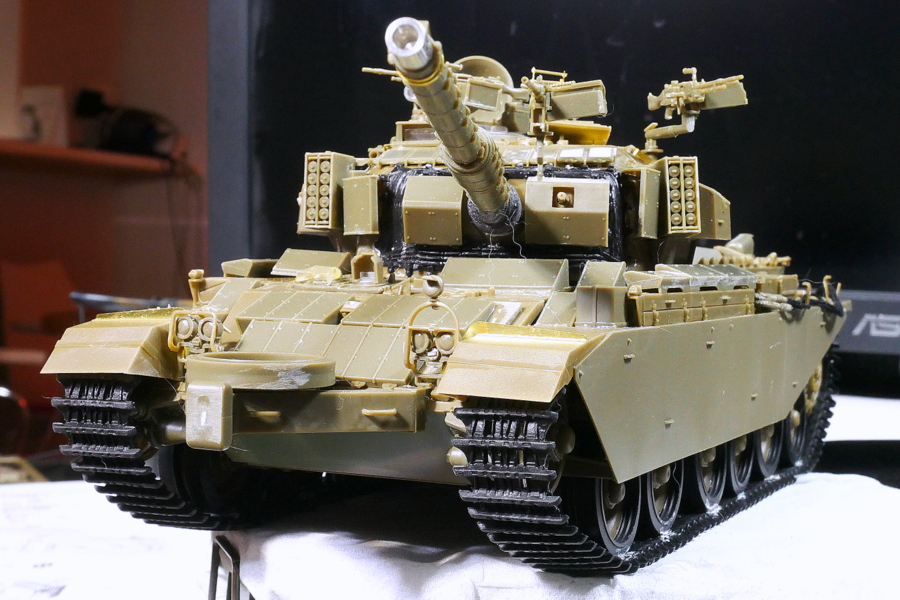
The turret and tank front are fitted with a lot of compound armor, and the tank has a lot of onboard equipment and machine guns, so there is a sense of density.
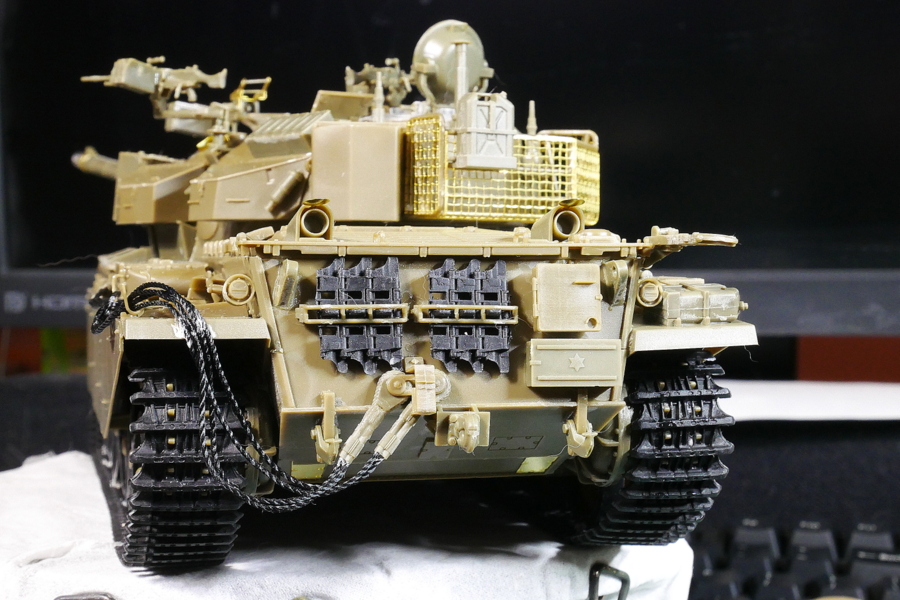
At first glance, even belted tracks have enough detail to compare fairly well with plastic articulated ones.
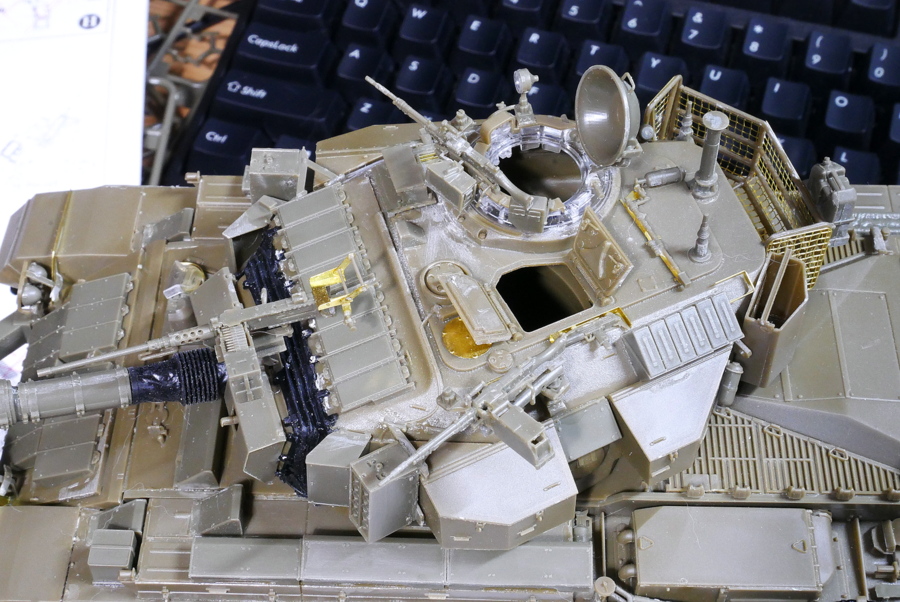
The turret has three machine guns. I can see the coaxial muzzle on the left side of the gun barrel, which carries many small arms. Moreover, the machine gun directly above the main gun was probably controlled remotely from inside the tank.
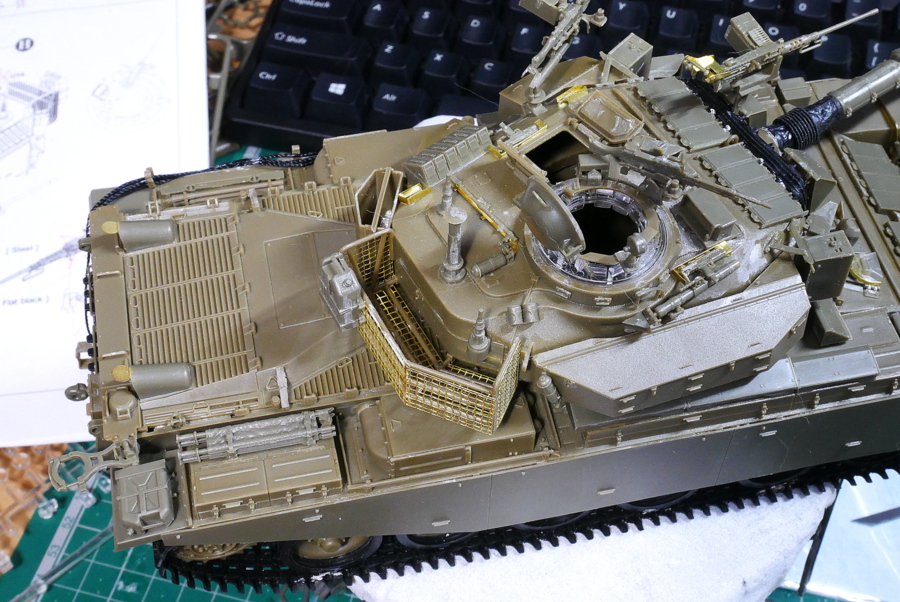
A model tank rarely has so many parts that I don’t know where to hold it. I enjoyed the assembly enough.
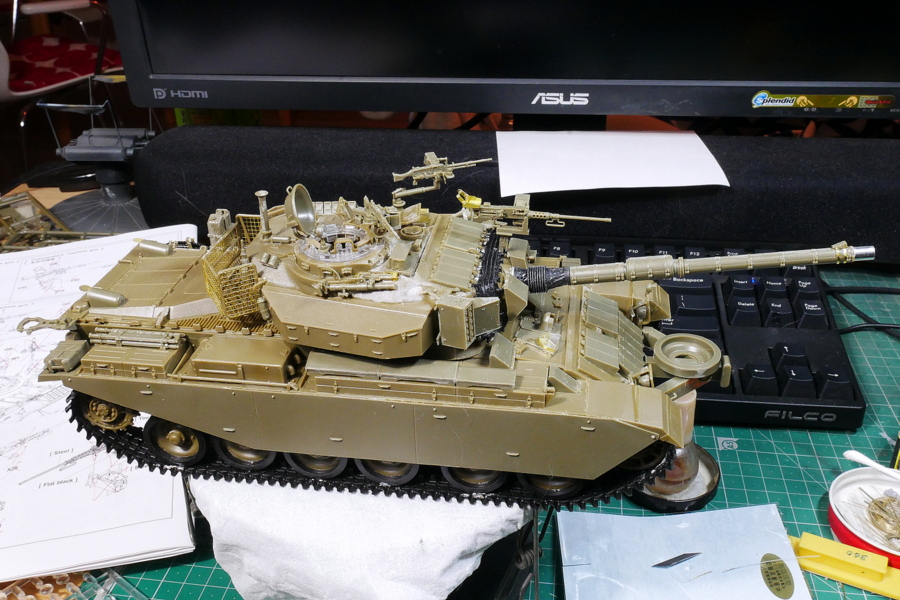
It looks terrific with the extra wheels on top of the dalet.
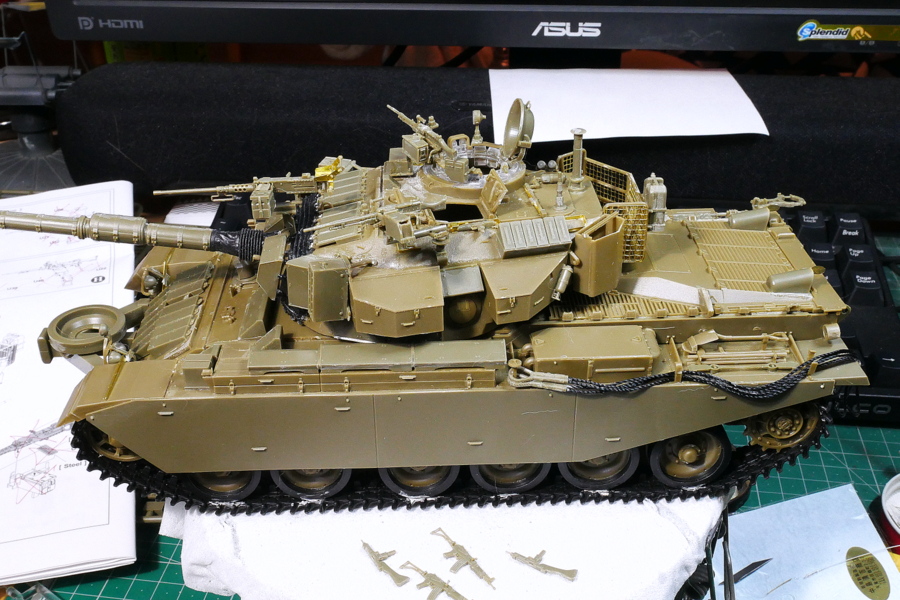
This kit has many parts and runners, and many parts are chipped, punctured, and filled. It’s a kit that requires skill and patience. There were some parts misstatements here and there, so I could decide for myself and move on. Many parts are hard to figure out where to put them. However, the instructions follow that area very closely. Some of this is unavoidable because they initially added parts to the Centurion kit, and the Israeli military vehicles have been improved through a similar process. It takes shape when it takes time.
(2023/07/24)
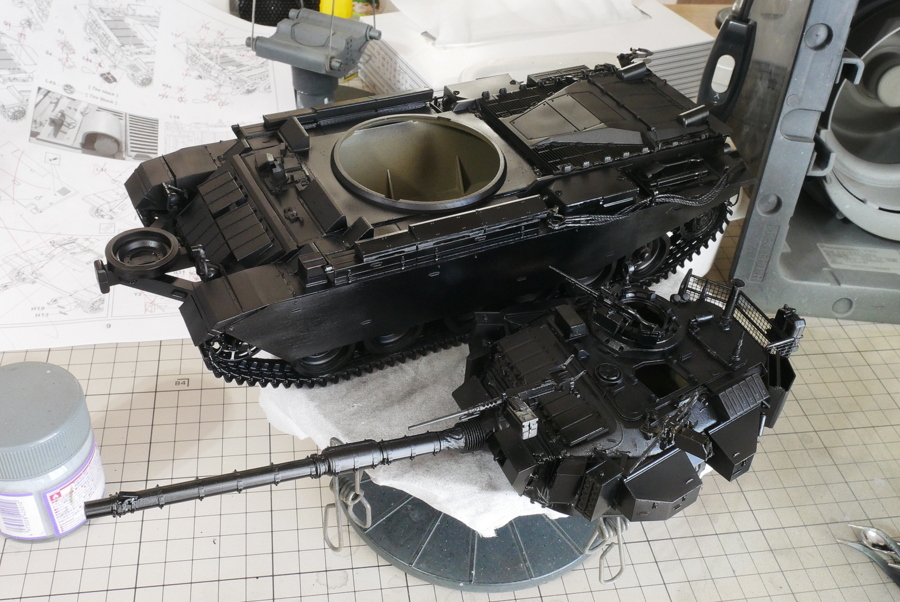
There are many metal and rubber parts, so I sprayed metal primer just in case. Wouldn’t it work for rubber? After that, I used black primer anyway. There are a lot of complicated parts so it can be a shadow effect.
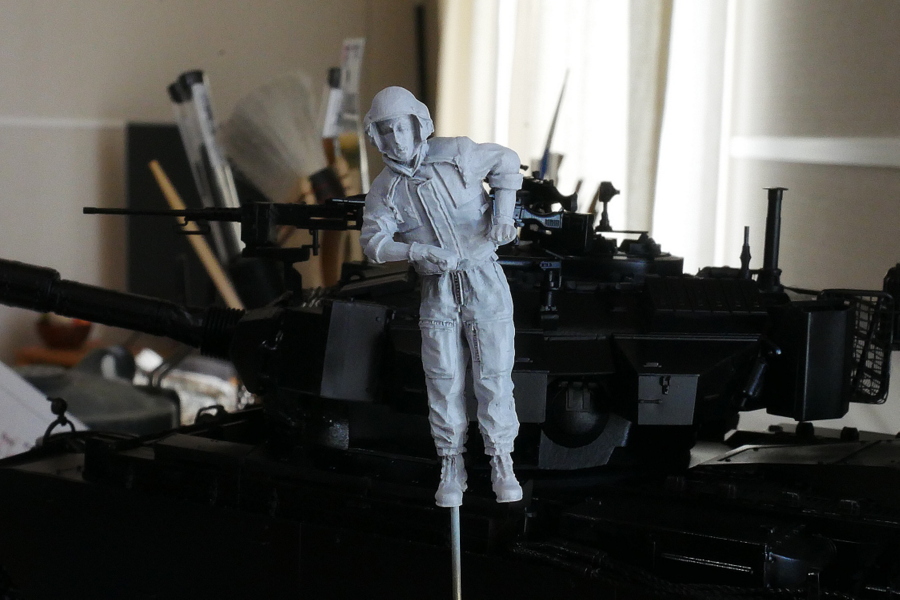
I try to put an IDF tank crew during the conflict in Lebanon in the 1980s. This figure, head, is also available in a round version from an earlier era for a Super Sherman. It was a Valkyrie kit and was a bit expensive, even on sale.
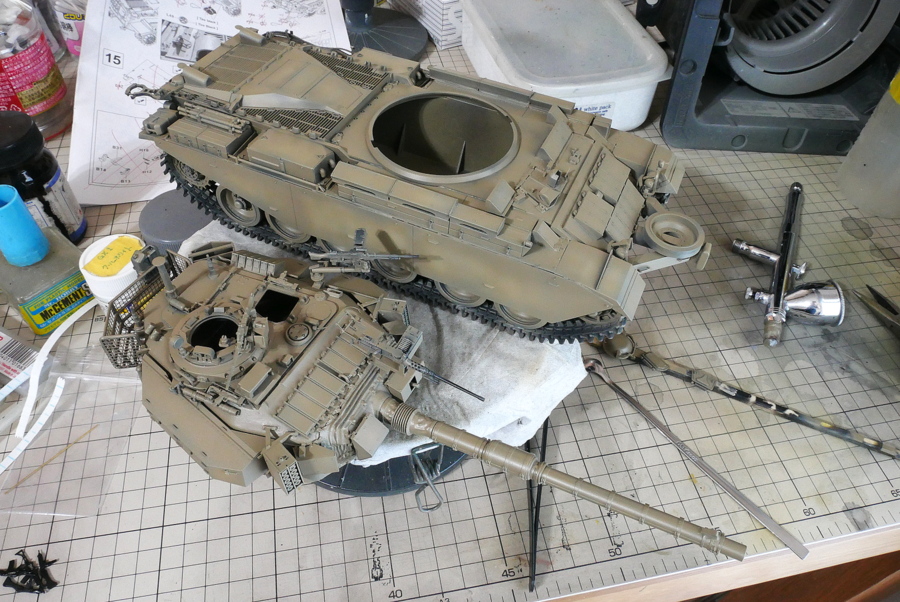
It’s finally time that Mr. Color IDF Gray, which I bought a long time ago, comes in useful. I have three colors on hand, but I wonder if IDF Gray 2 is better now. The label says Golan Heights and is suitable for vehicles until about 1981. Anyway, this color has a nice Israeli tank feeling.
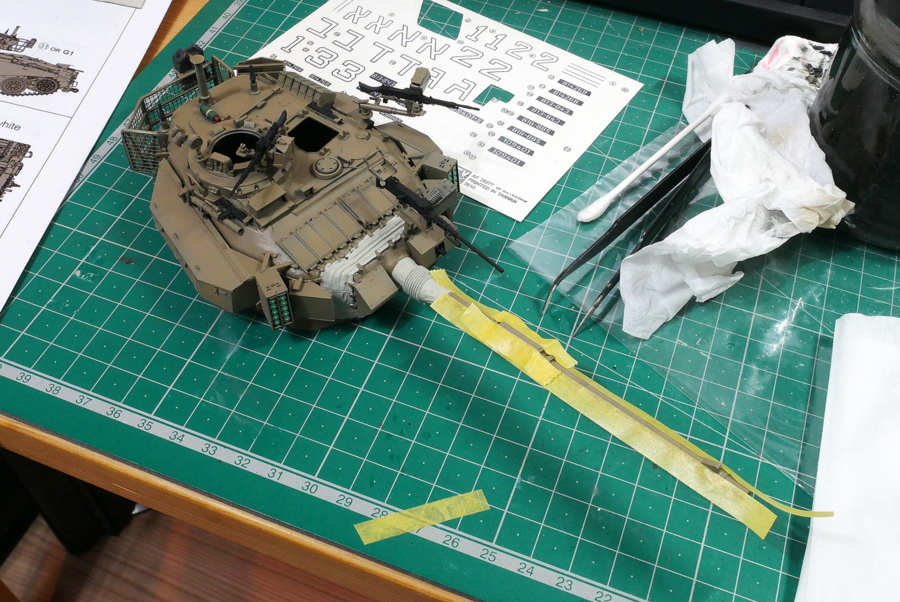
The white line of the main gun looks the most troublesome to paint. For some reason, it didn’t have all this decal. I’m masking it as I have no choice.
(2023/07/27)
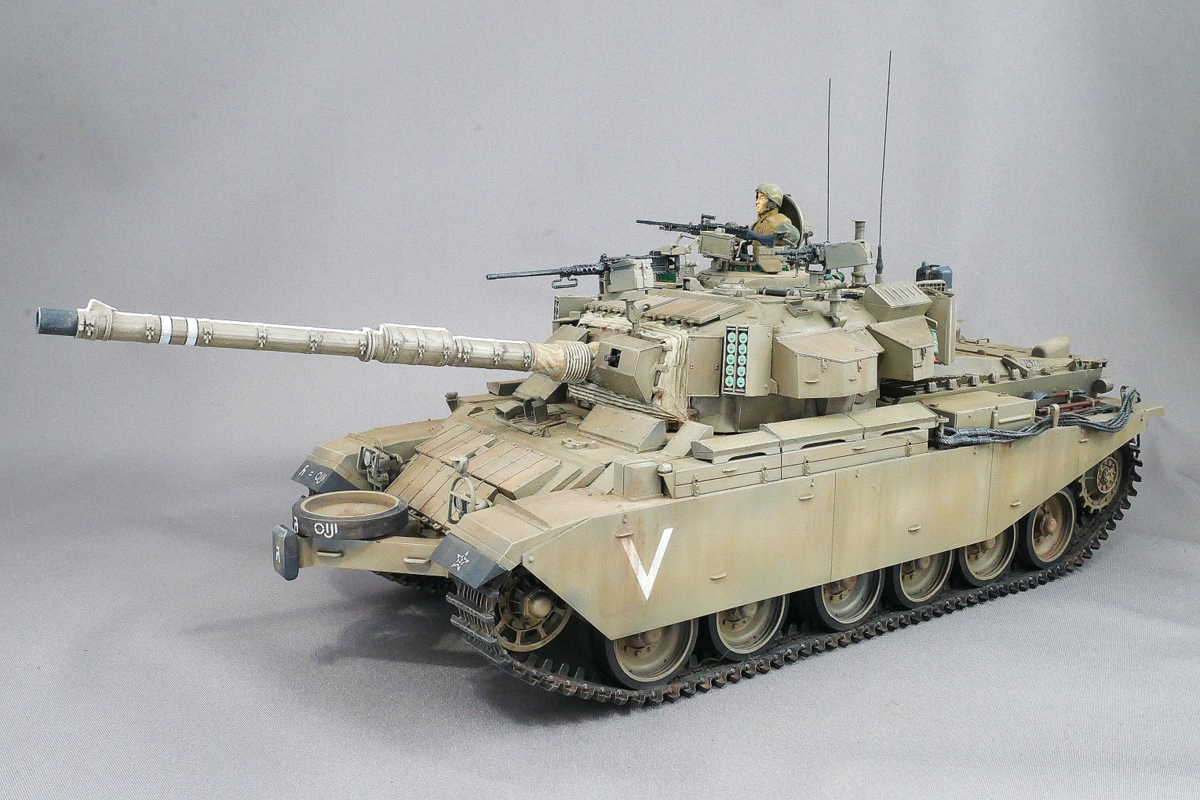
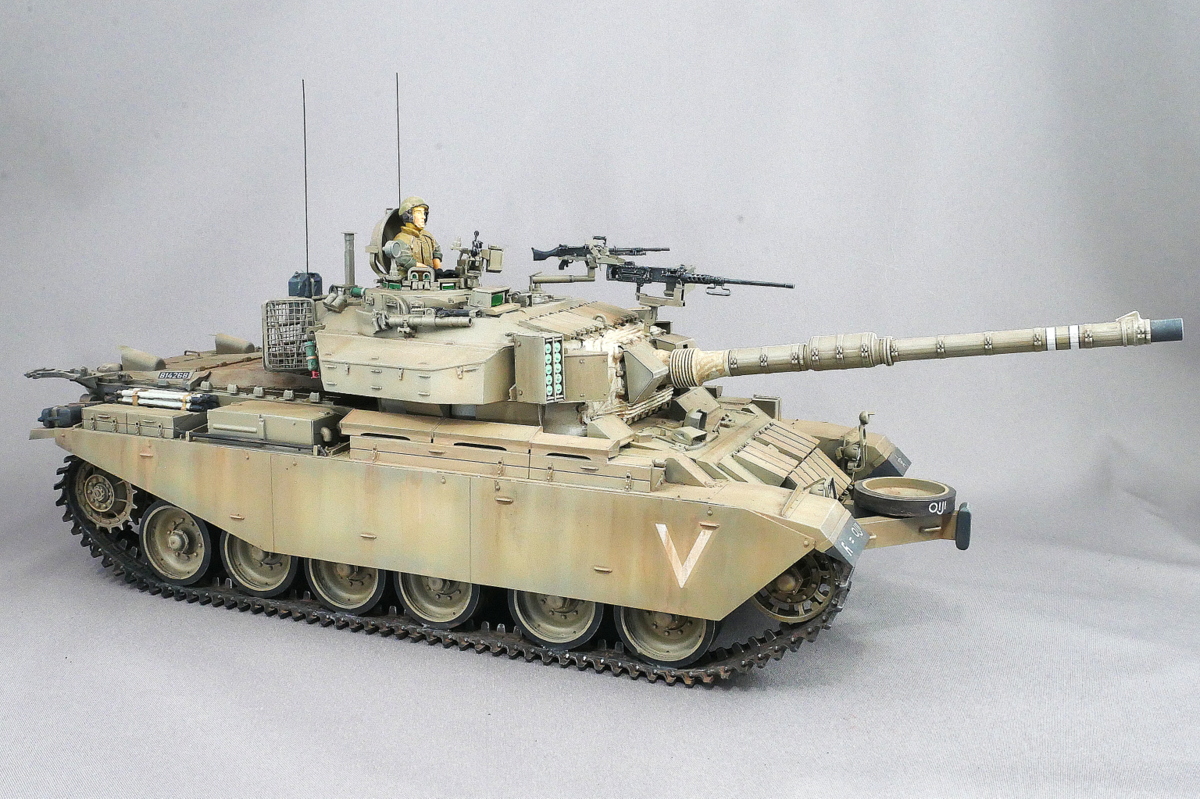
The IDF Sho’t Kal Dalet is finally completed. The main guns, engines, transmissions, and fire control equipment (FCS) of the British Centurion tanks have been converted to suit the performance of the Israeli homeland defense. It seems completely different from the original.
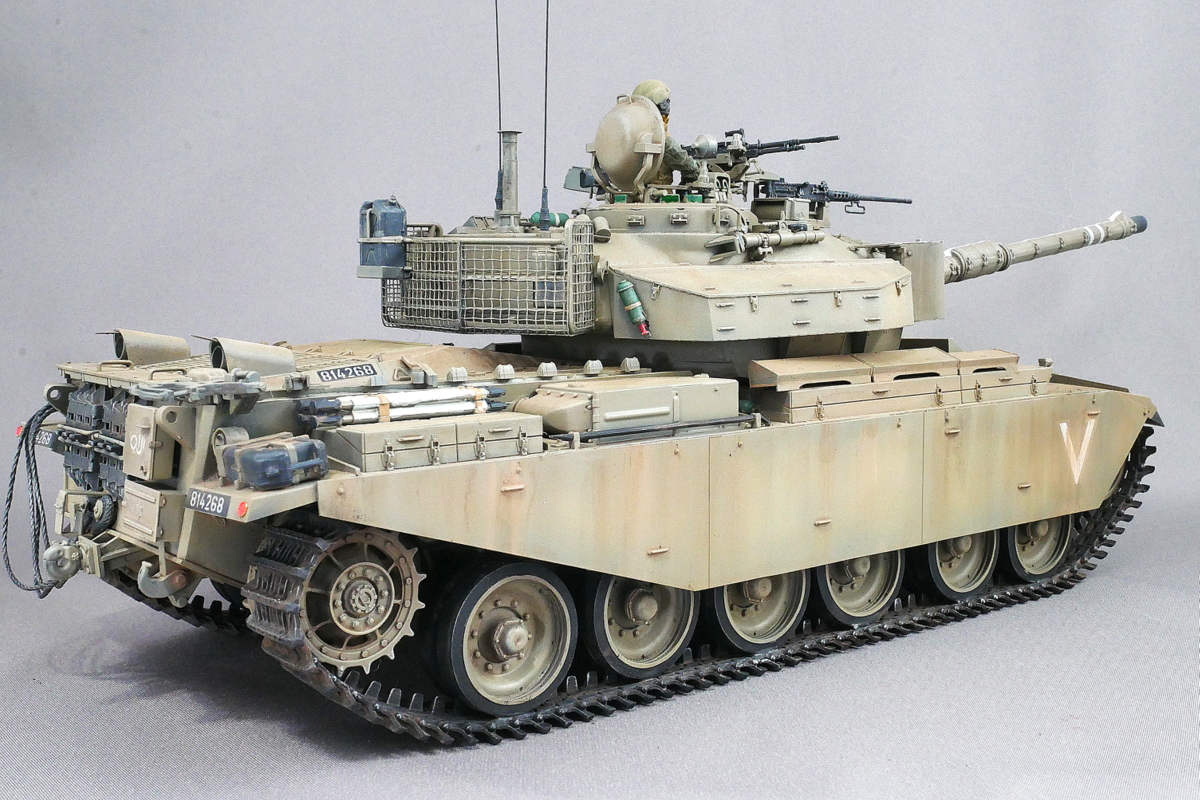
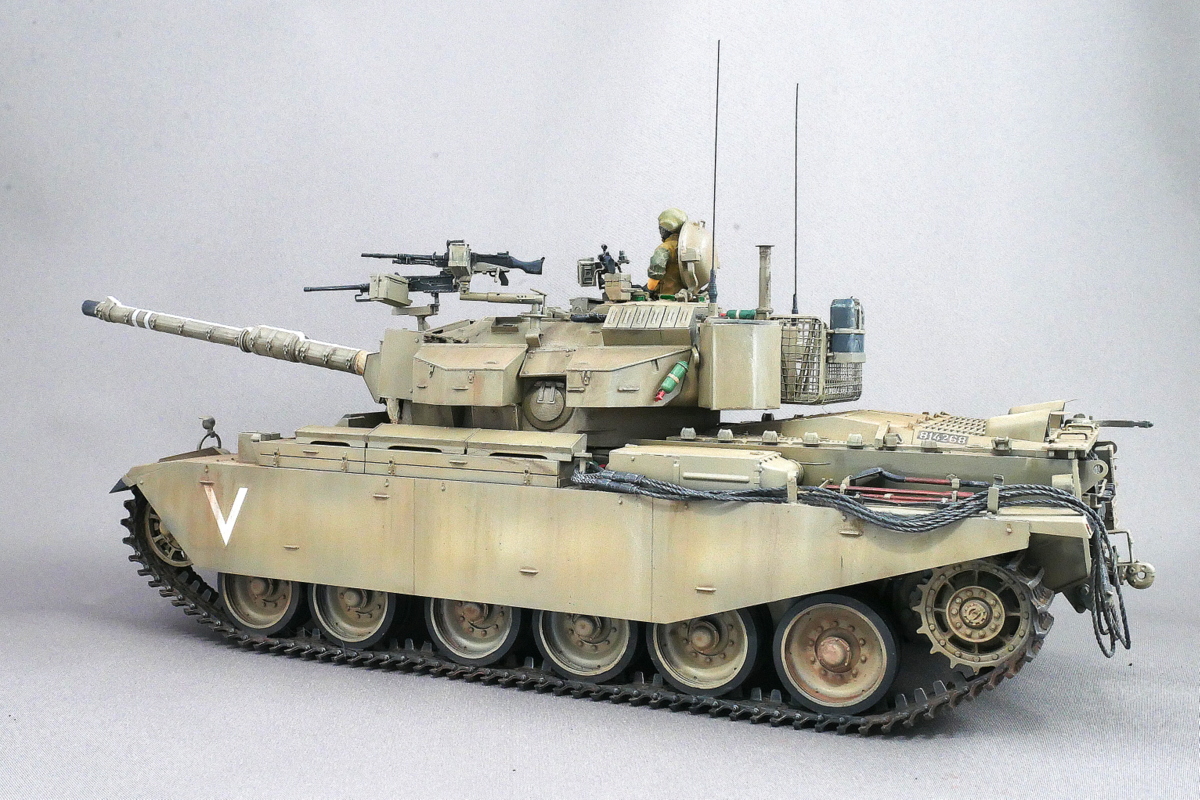
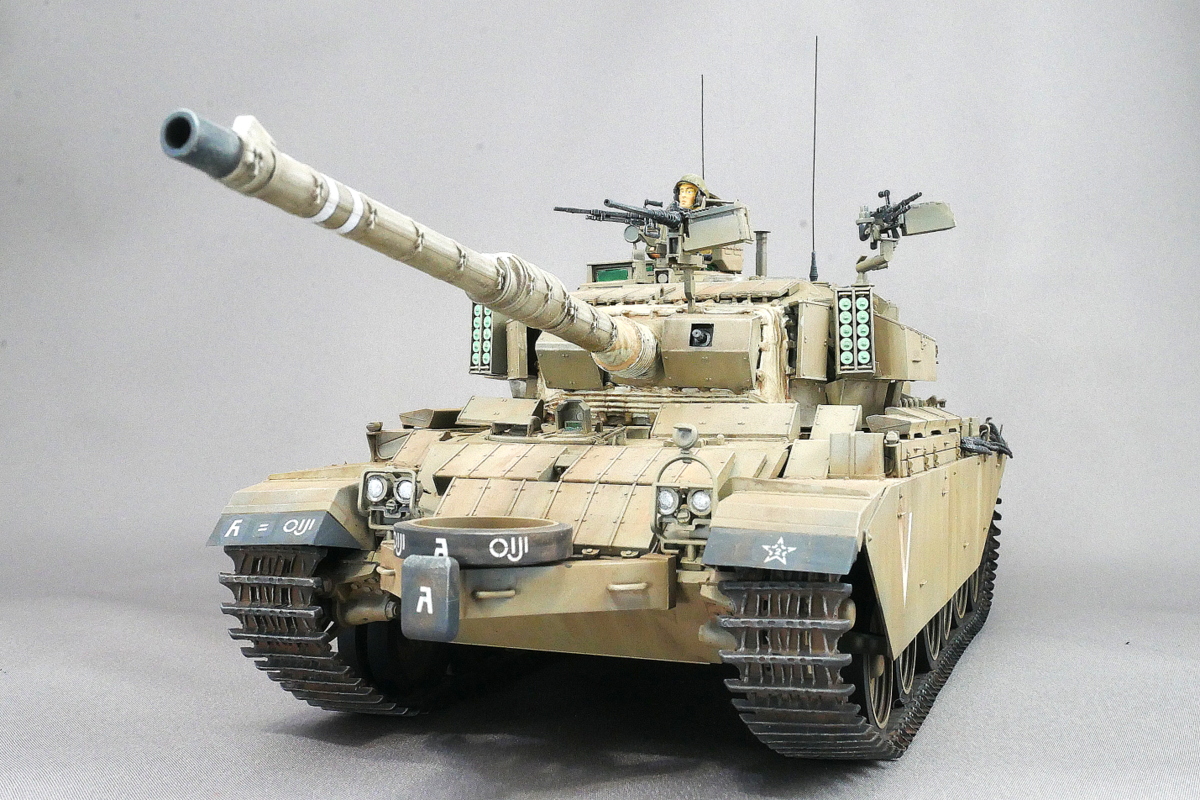
After the country was founded, the Israeli military greatly improved tank performance, including modifying the Shermans. This meant more firepower and armor were limited, so they used more than 1,000 Centurions from the UK as their next-generation tanks. The renovated Centurion is called Sho’t. “Sho’t” means “whip” or “divine punishment” in Hebrew. Still, the direct origin comes from the sound of a whip in the Old Testament, and Kal is an abbreviation for the engine manufacturer Continental.
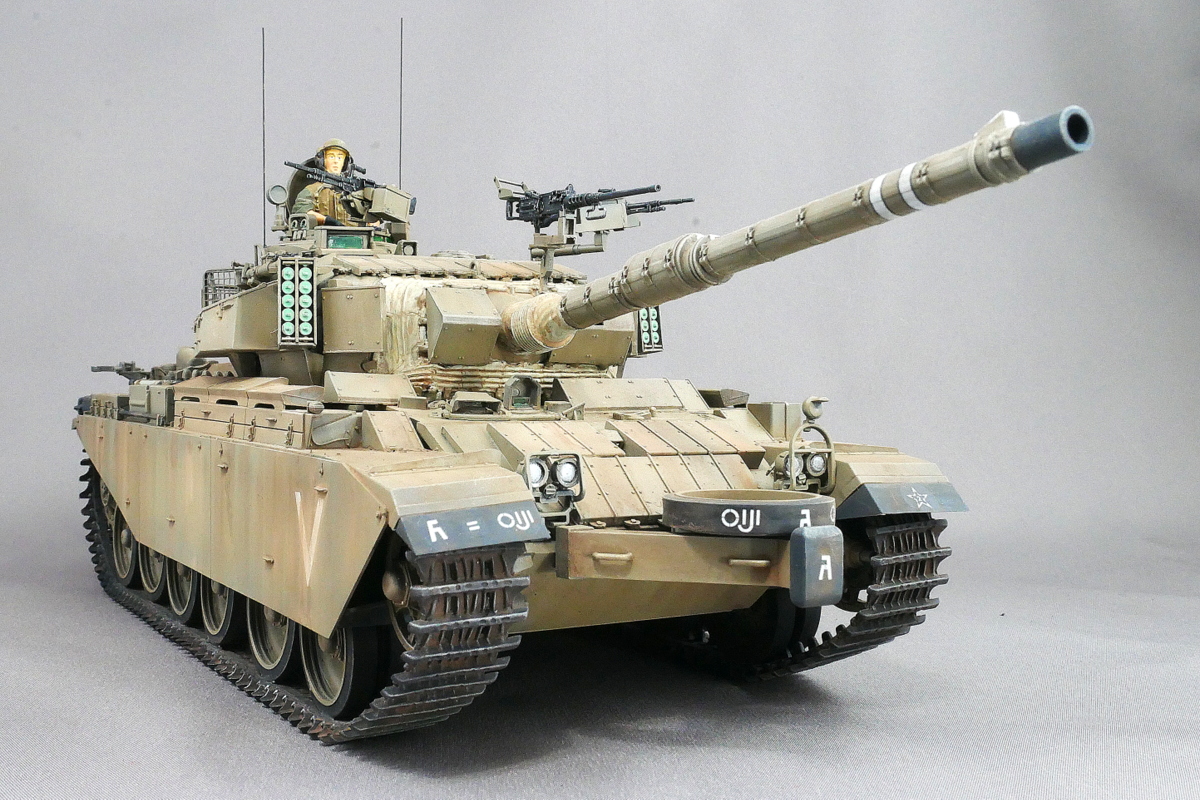
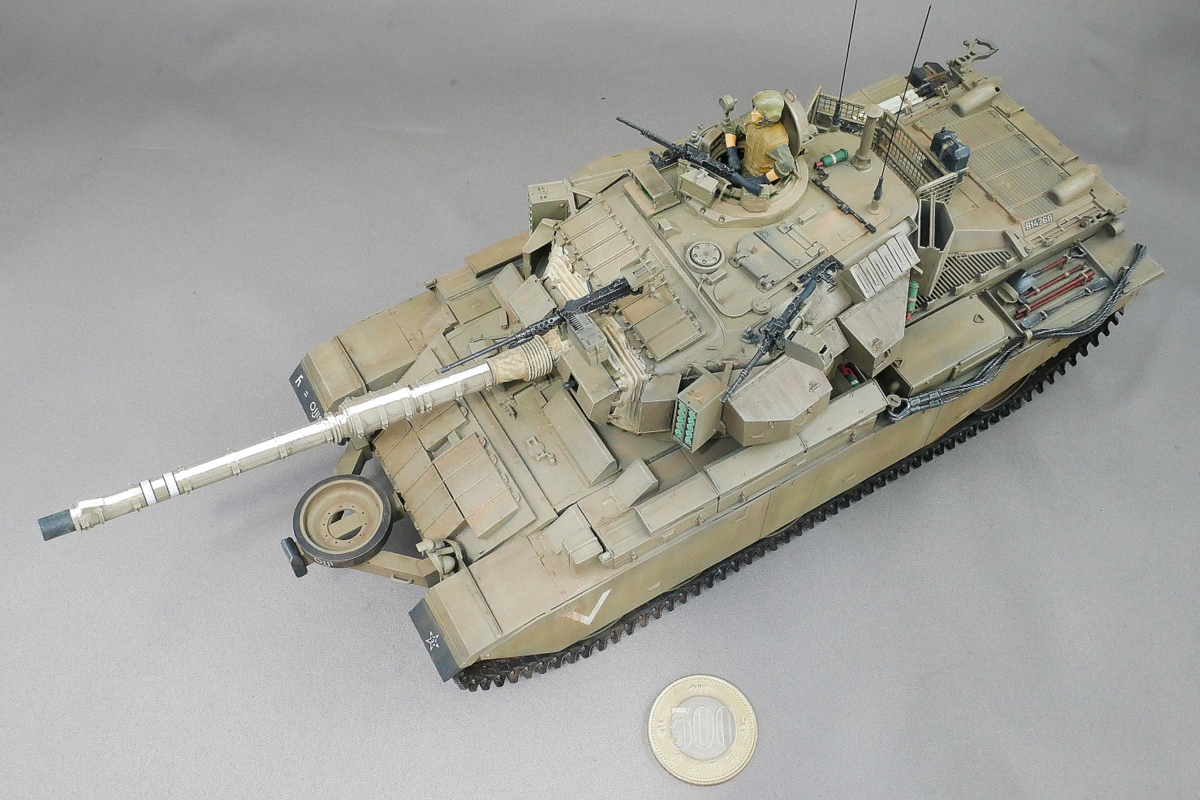
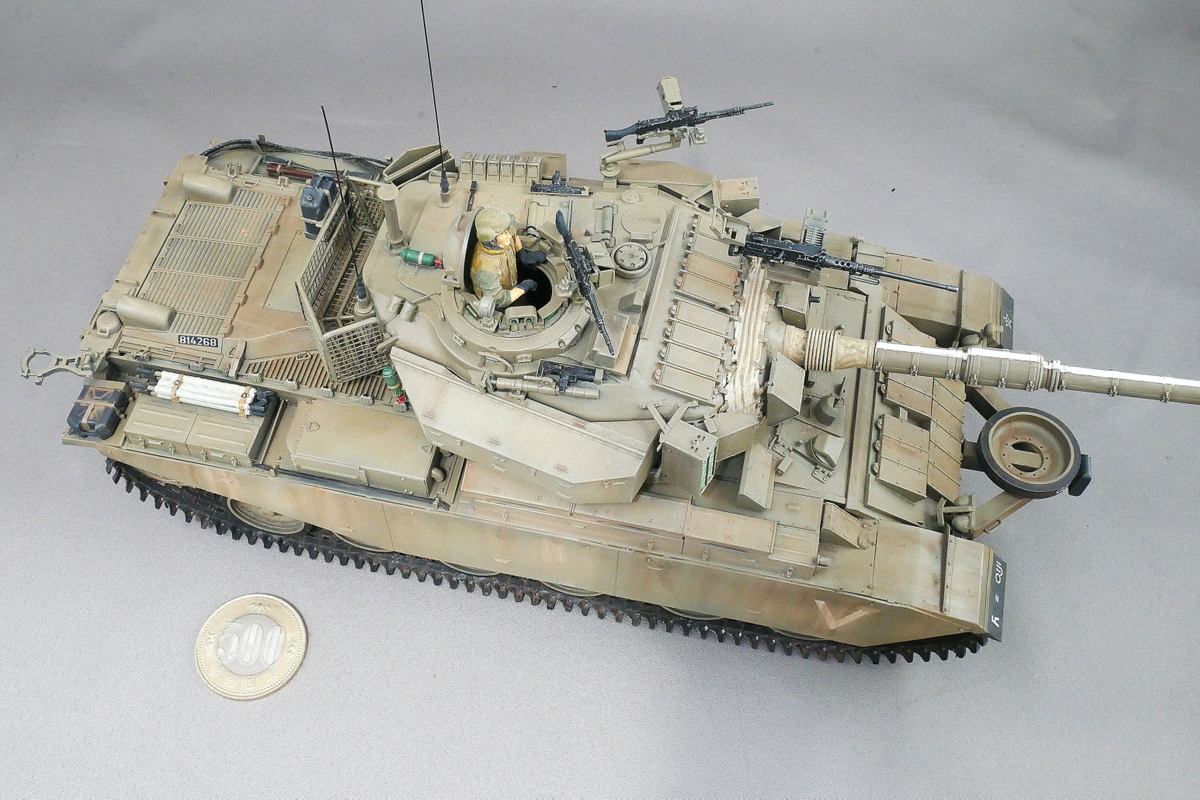
This kit is called the Sho’t Kal Dalet because it is the D-type of these improvements. This is the fourth stage in which the Israel Defense Forces have improved the Centurion tank with their technology, which means that the barrel has been improved, and a battering ram for urban warfare has been added to the front of the tank.
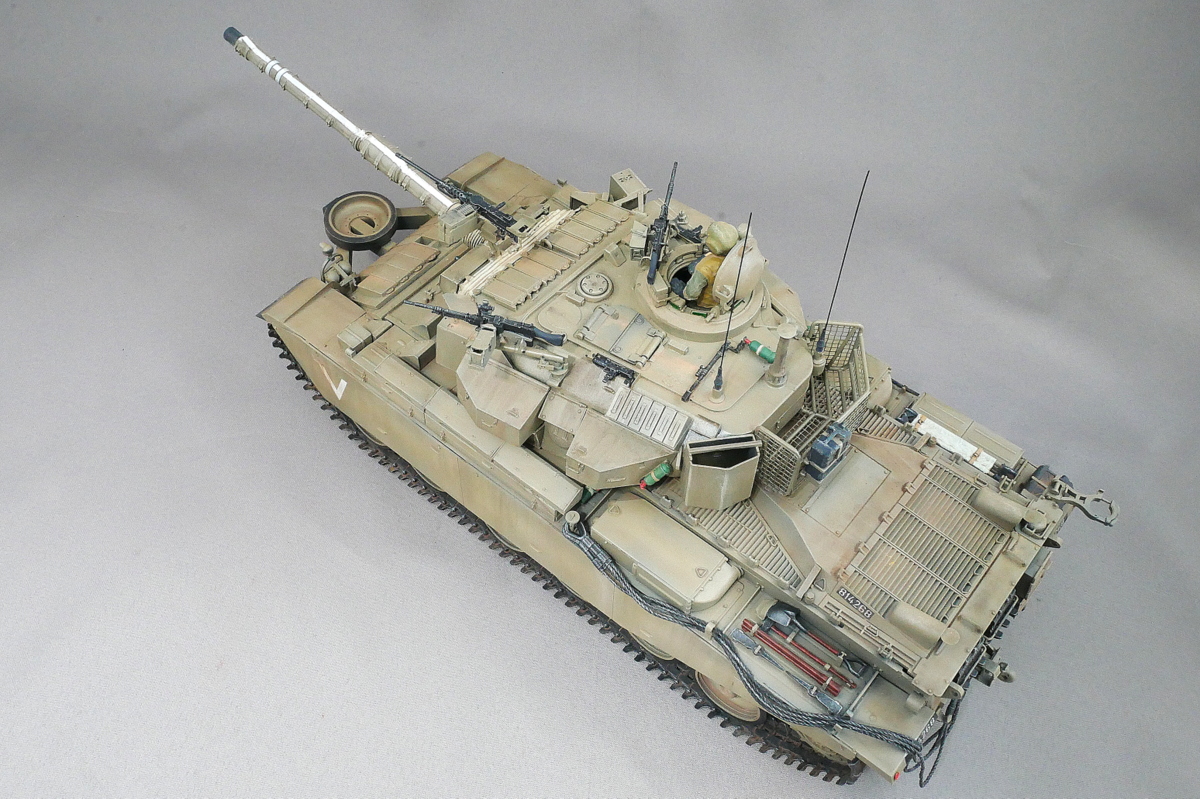
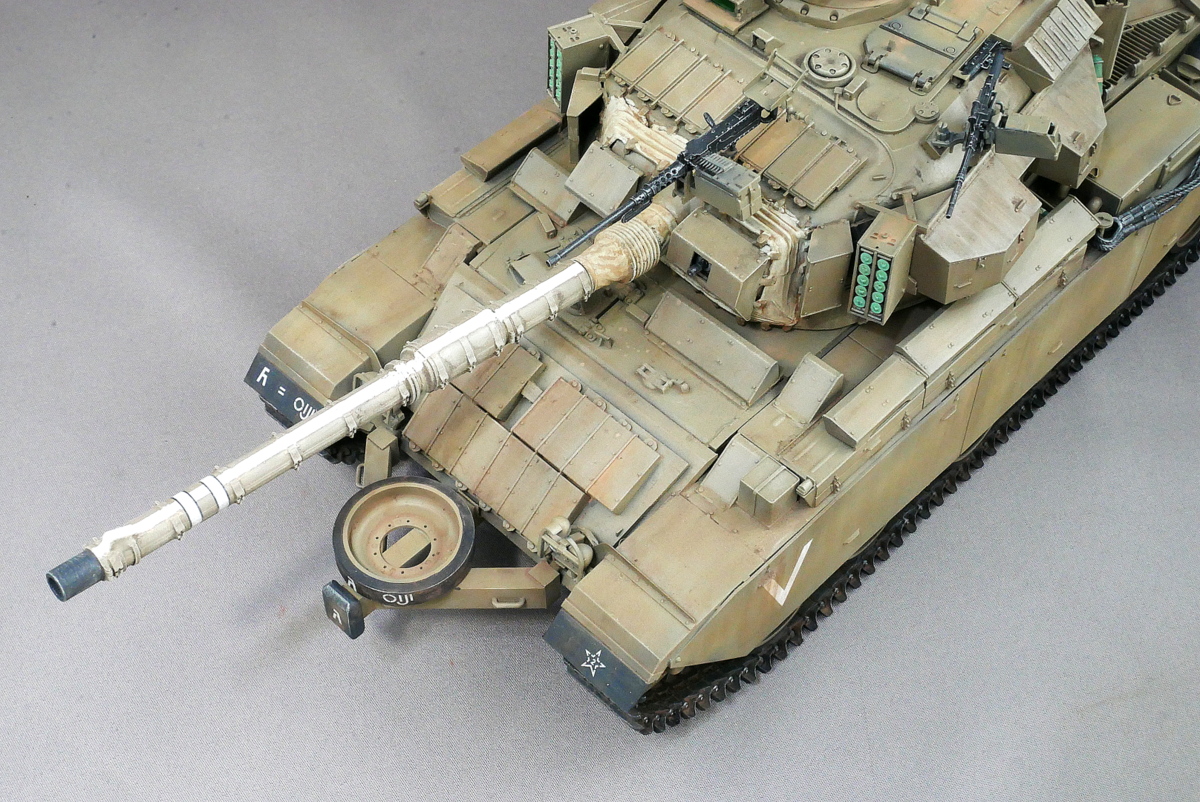
Renovations began around 1984 and were in active service until the late 1980s. There was an unusual movie called “Lebanon,” about the civil war in Lebanon in 1982, which showed only scenes from inside a tank, which seems to be the Sho’t. As for the body color, I used Mr. Color IDF Gray 2, but this one was supposed to be used until about 1981. It might be a little out of date. Maybe I should have gotten a little greener. Sho’t Kal has also been improved in many ways, and depending on the form, the time and equipment vary, making it complicated. The primary purpose is to make it enjoyable, but if possible, I want to make it based on the correct historical research. I don’t have a lot of documents on hand, so it’s hard to look into them in detail.
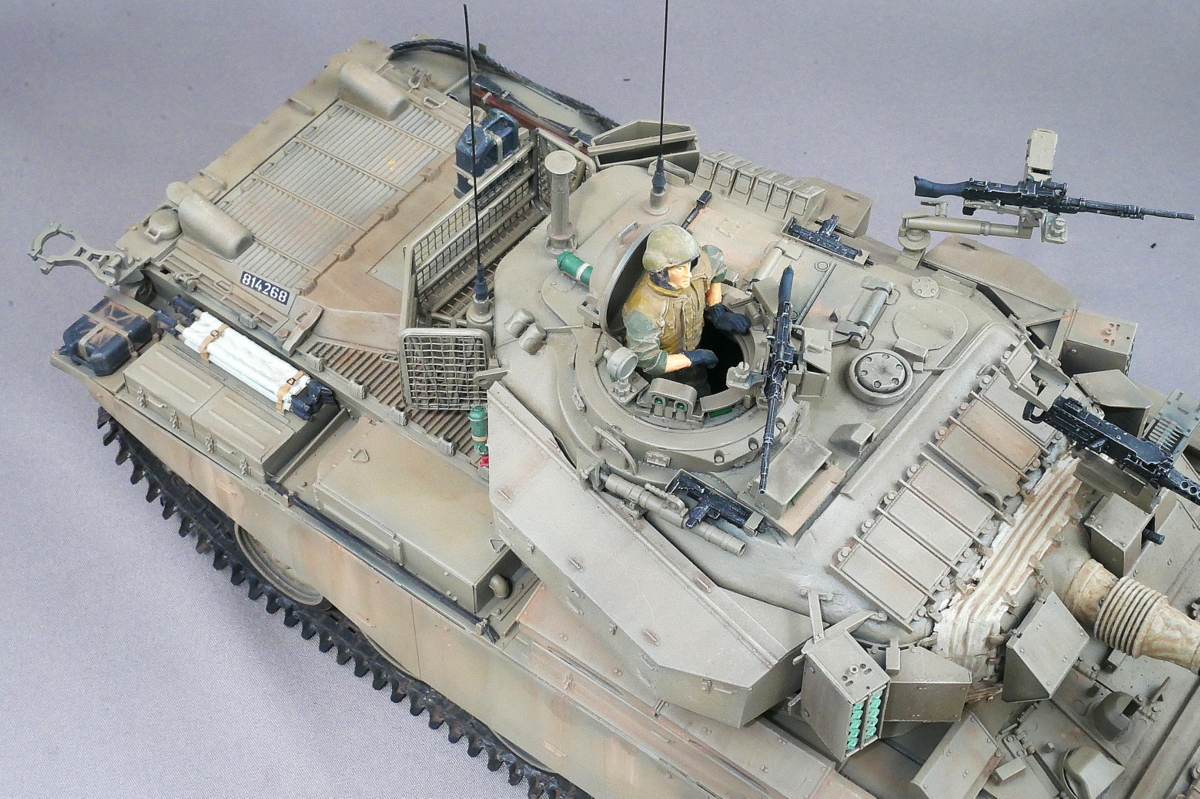
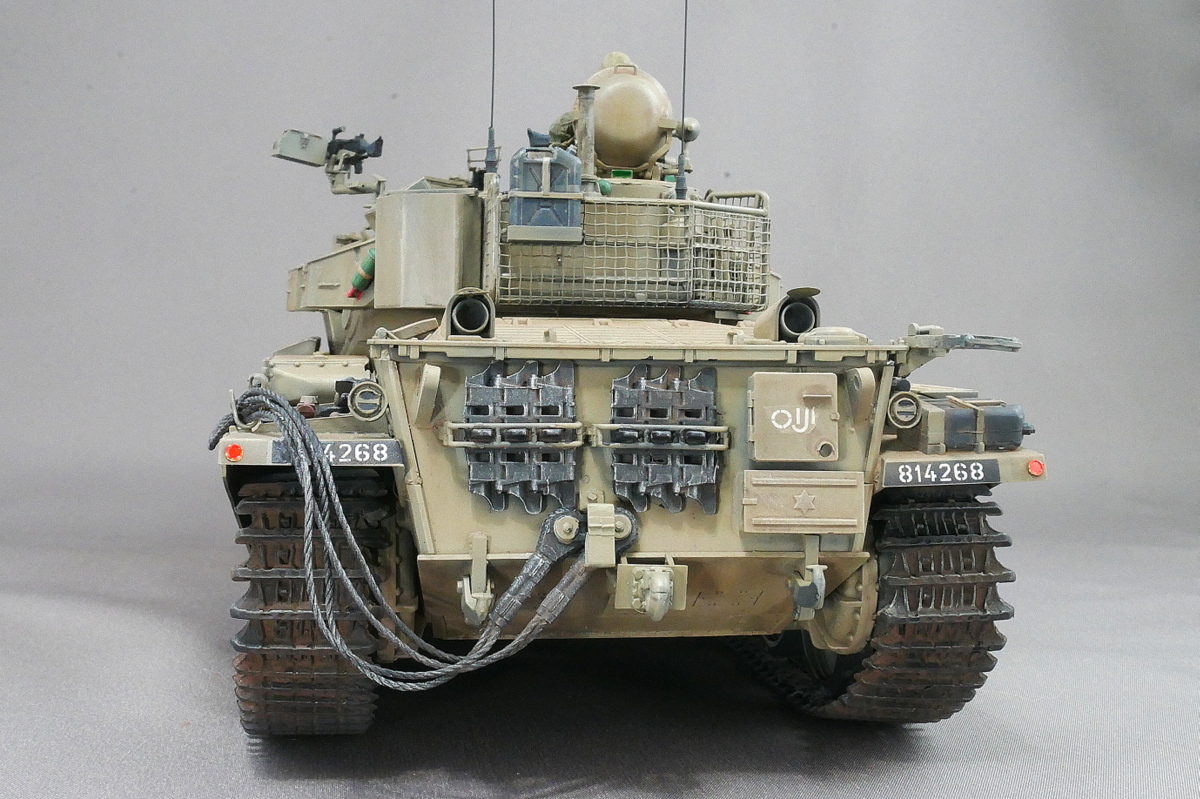
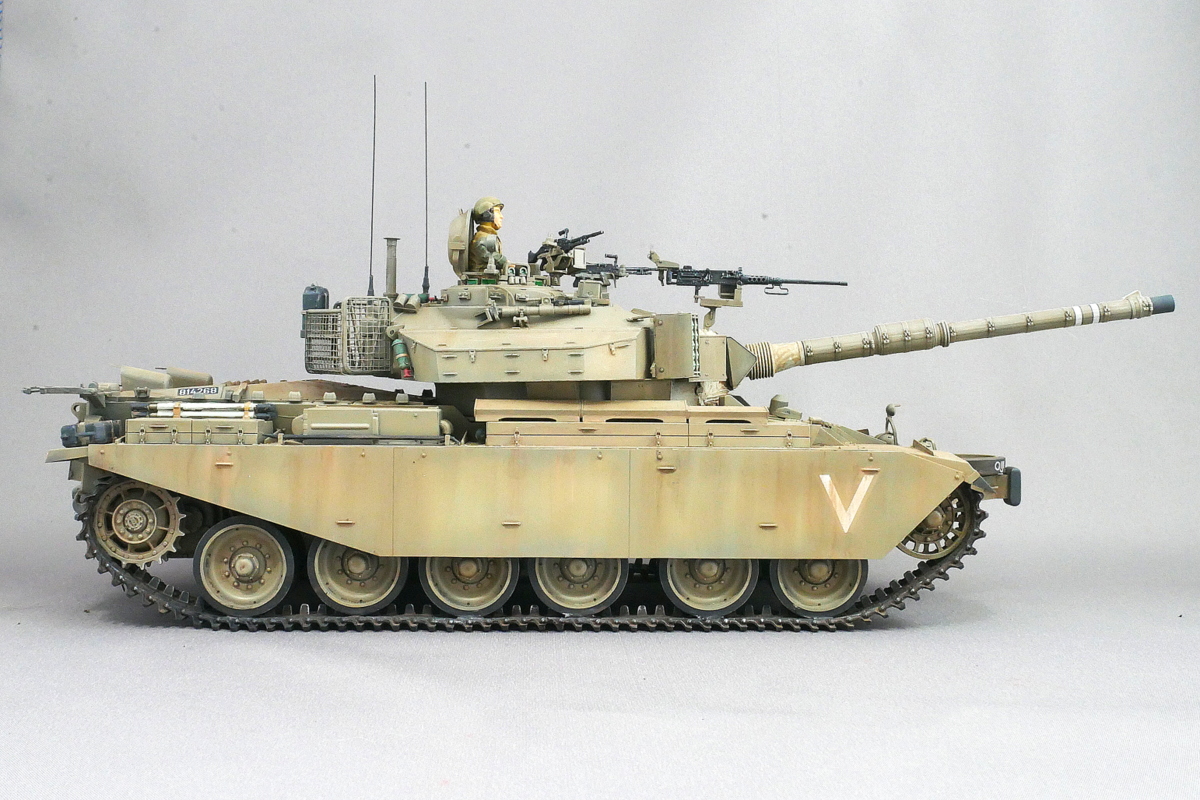
Type D, the Dalet, appeared in 1984 after the Lebanese War. This tank operated with the regular army until 1992 when a fully modern Merkava tank replaced it, and Sho’t Kal was also used to train armored forces until 2002.
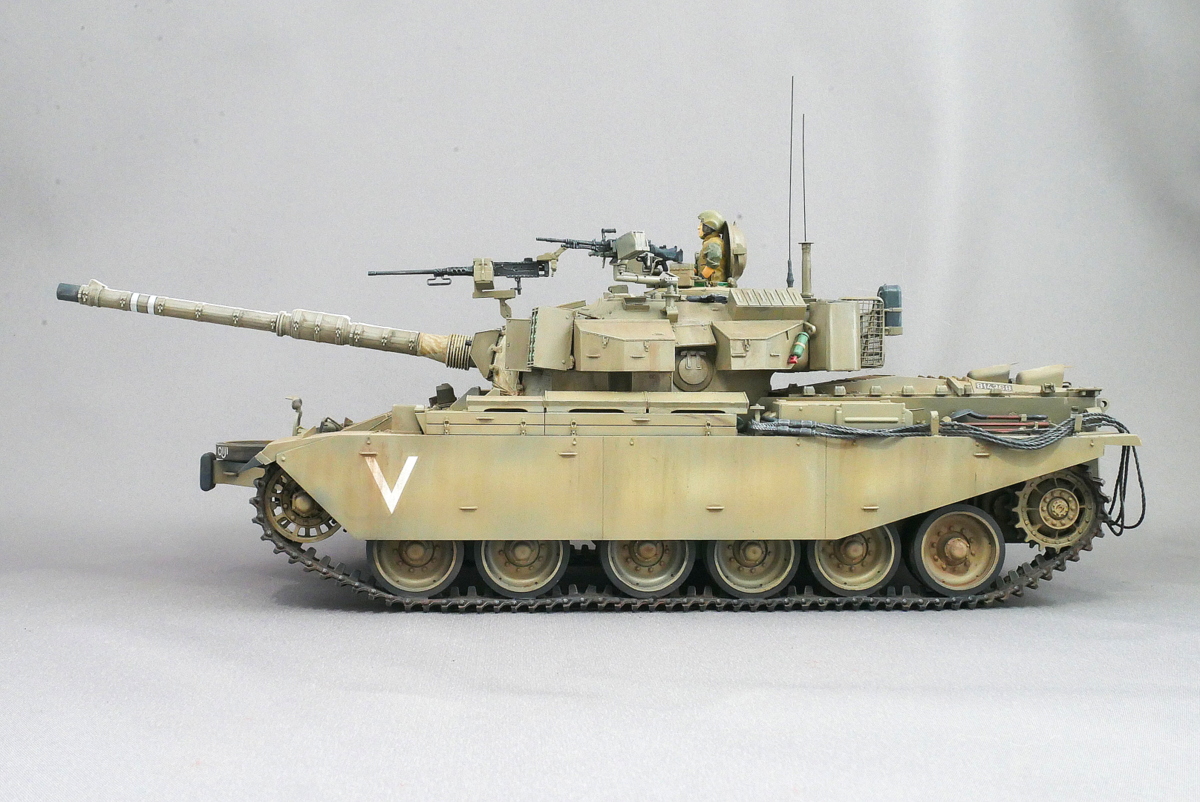
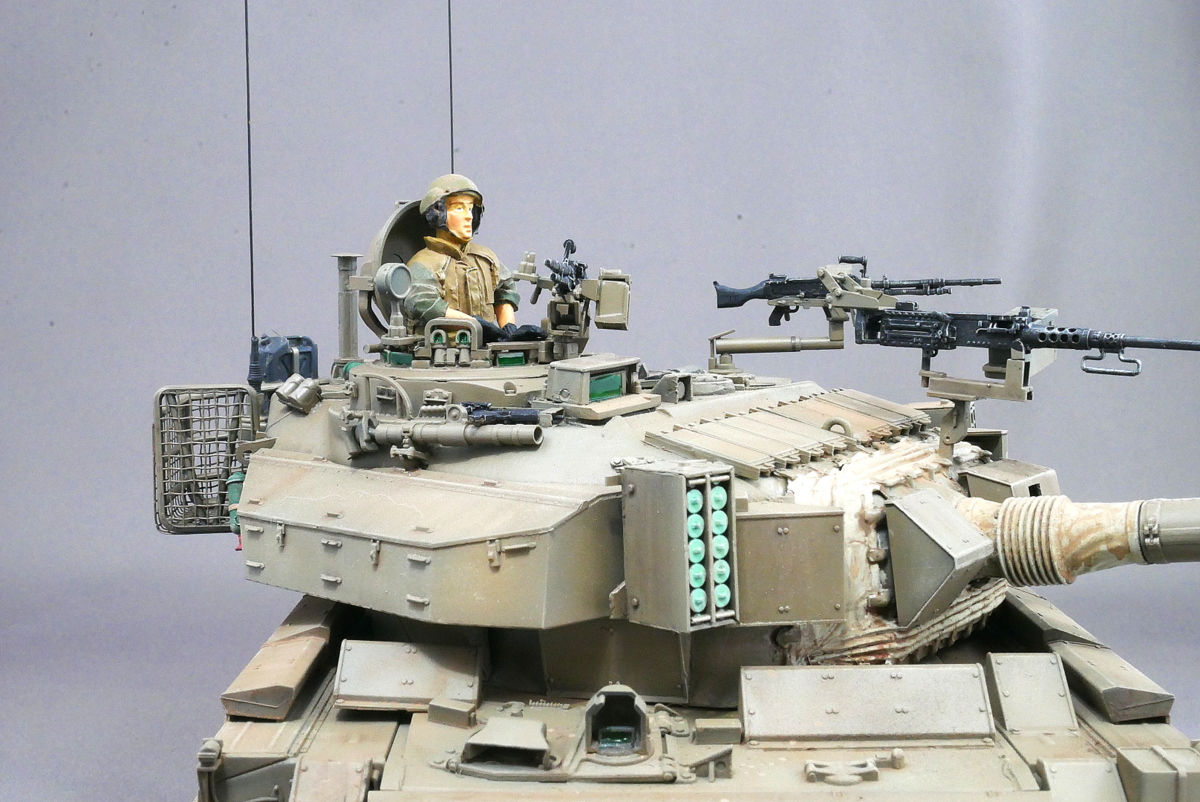
So what’s important is that I was wondering what kind of figure the helmet of an Israeli tank soldier would fit and if a standard type with protruding ears would probably fit.
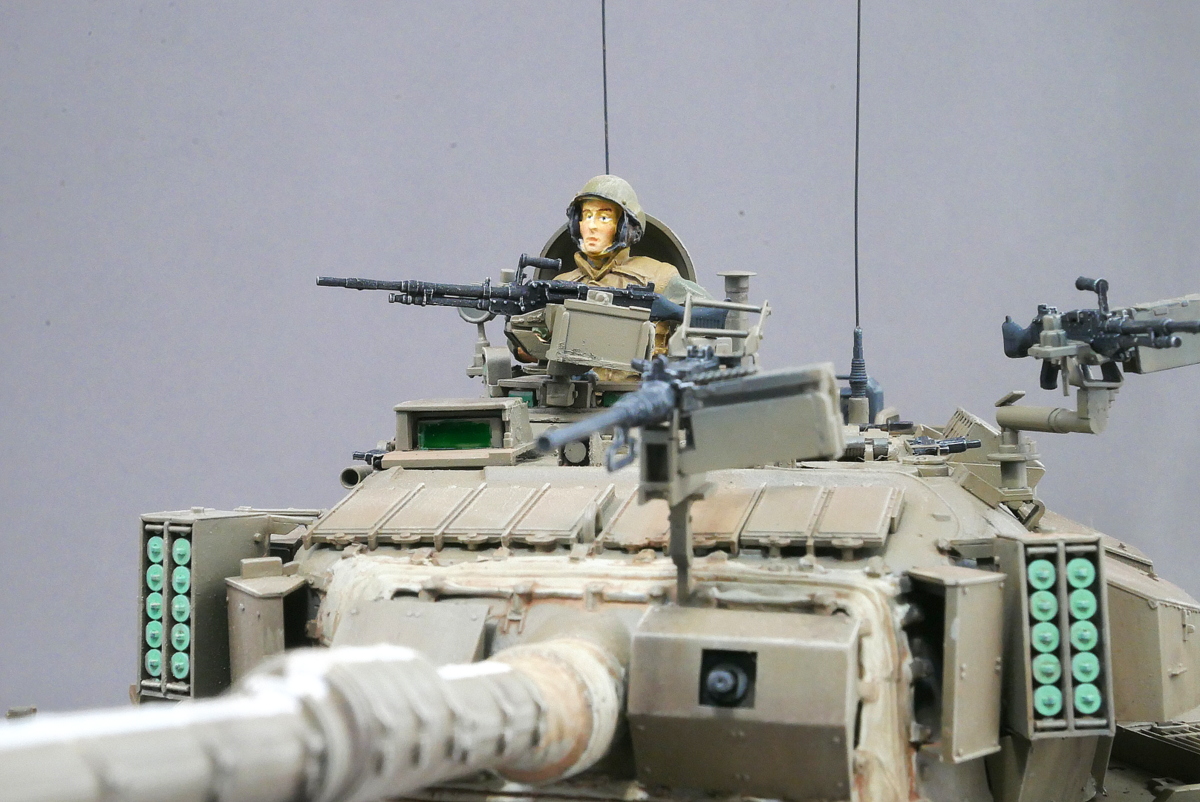
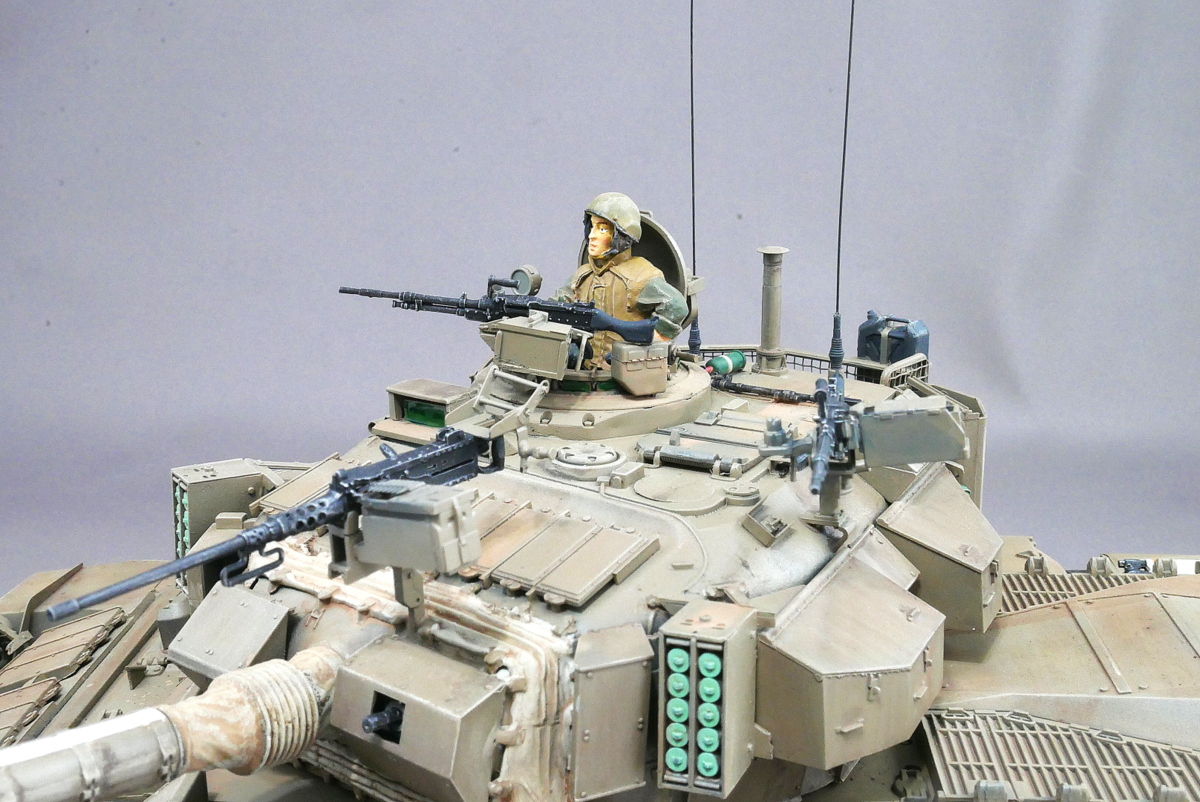
When I put a figure on it, I can feel the size of a Sho’t Kal Dalet. As expected, many of the modern tanks are large. That’s more than one size larger than Tiger I.
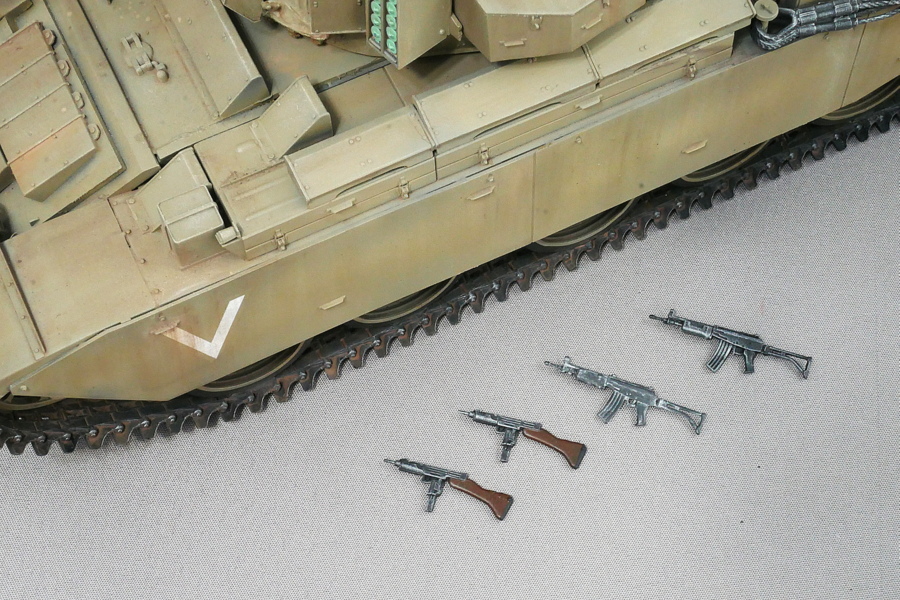
In addition, there were various firearms in it, so I painted them together. Two early Uzi with a wooden stock and two IMI Galil infantry rifles. It might be good for accessories if it’s placed on the tank.
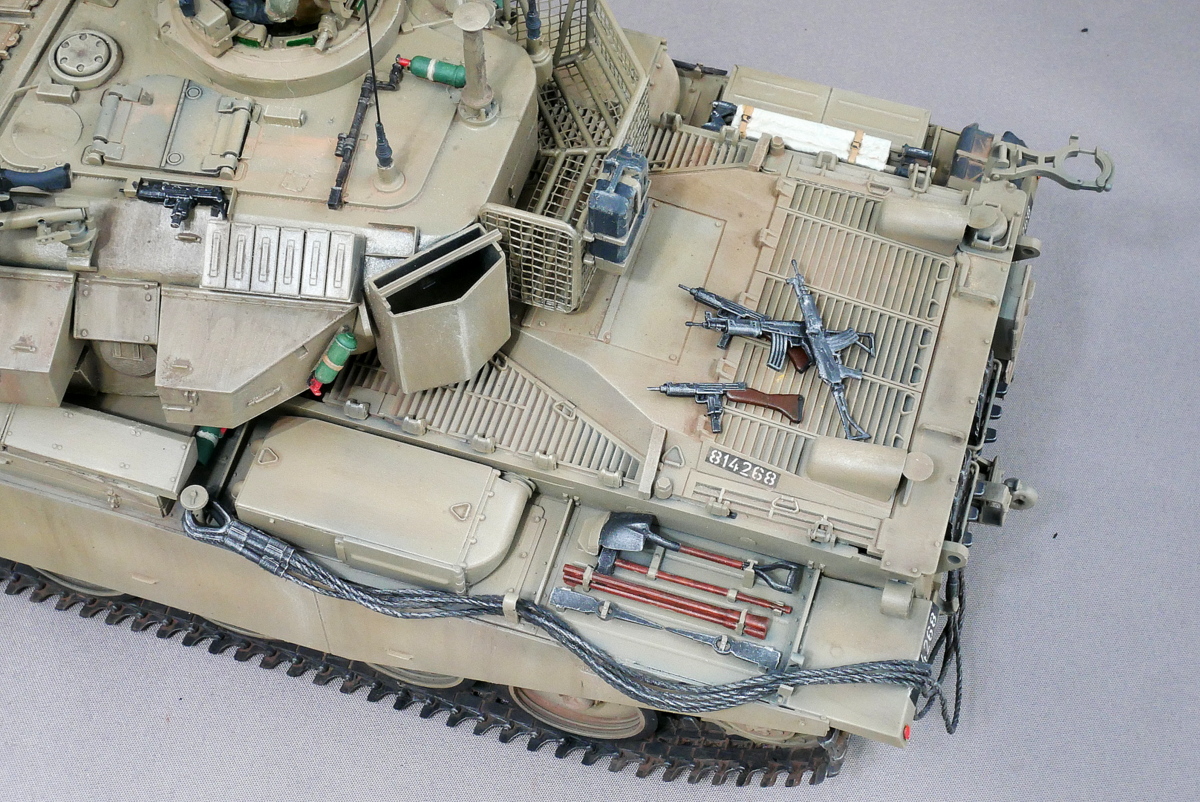

I attached a metal wire antenna that is slightly shorter to make it a little more compact when decorating.
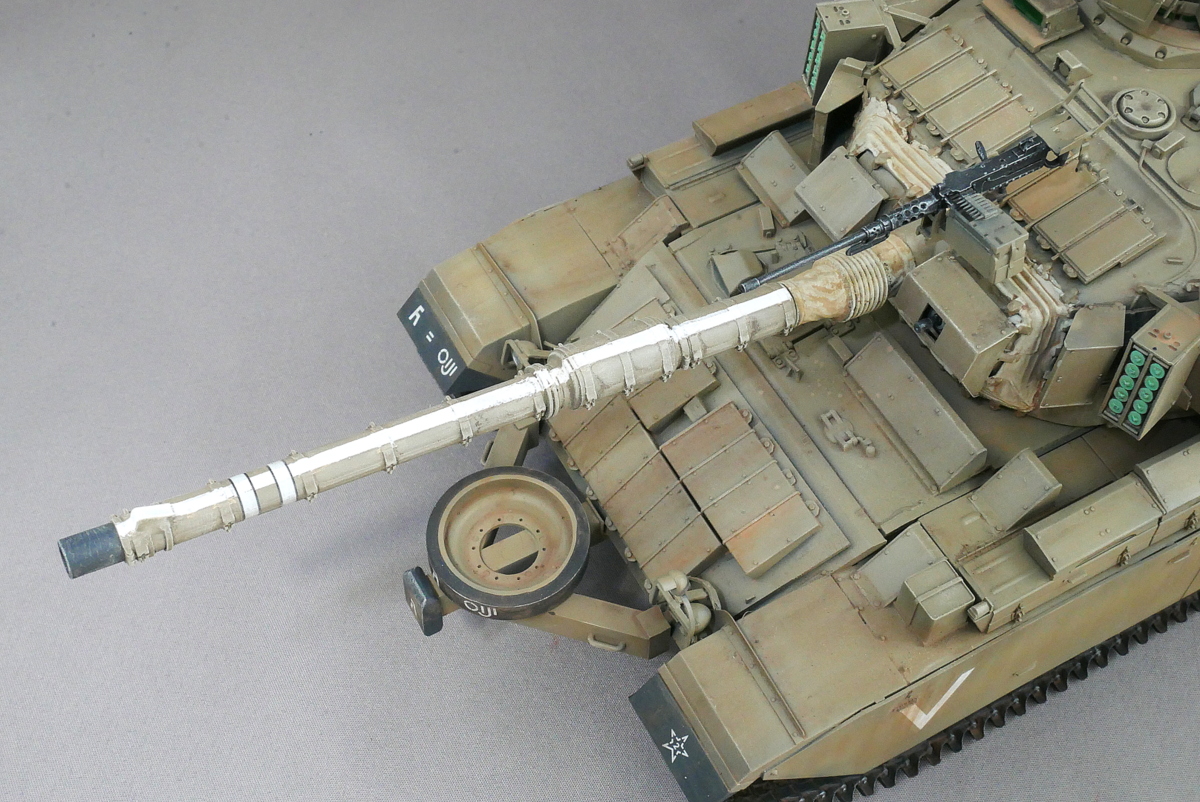
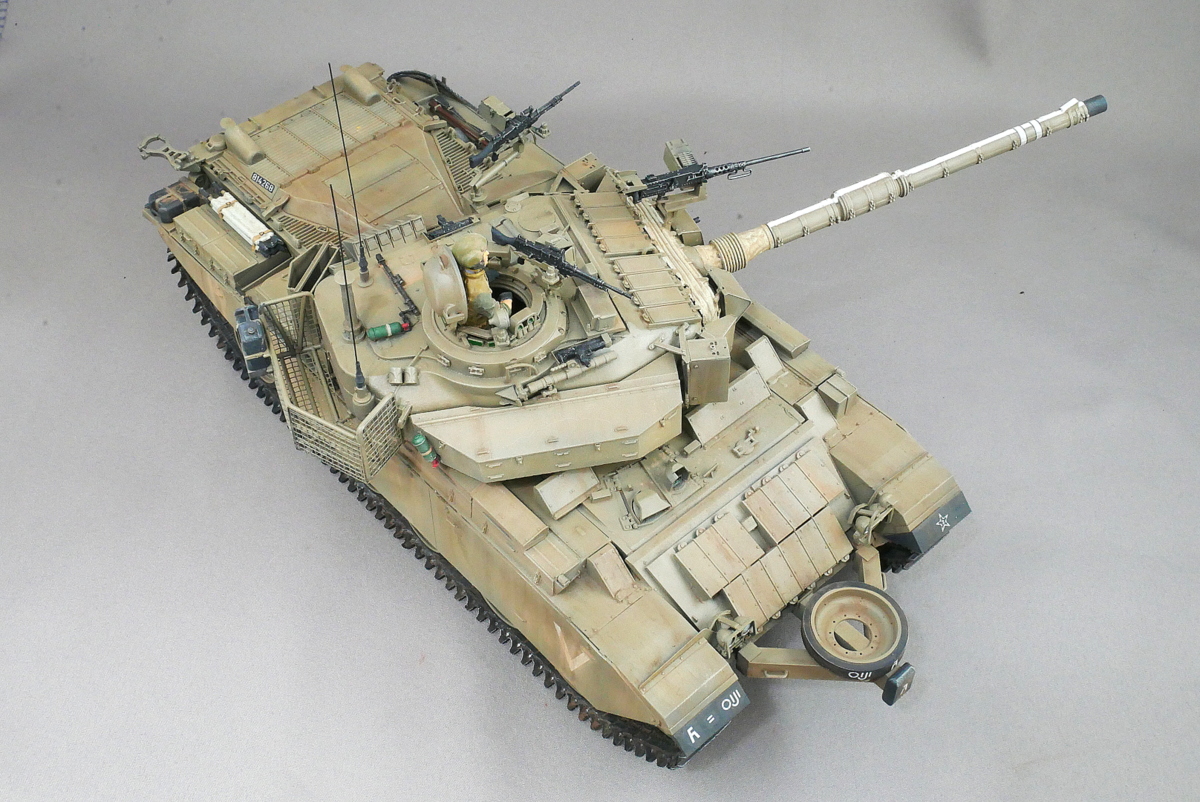
IDF gray, a single color, would be quite plain. This color will likely blend well into the background in Middle Eastern desert areas.
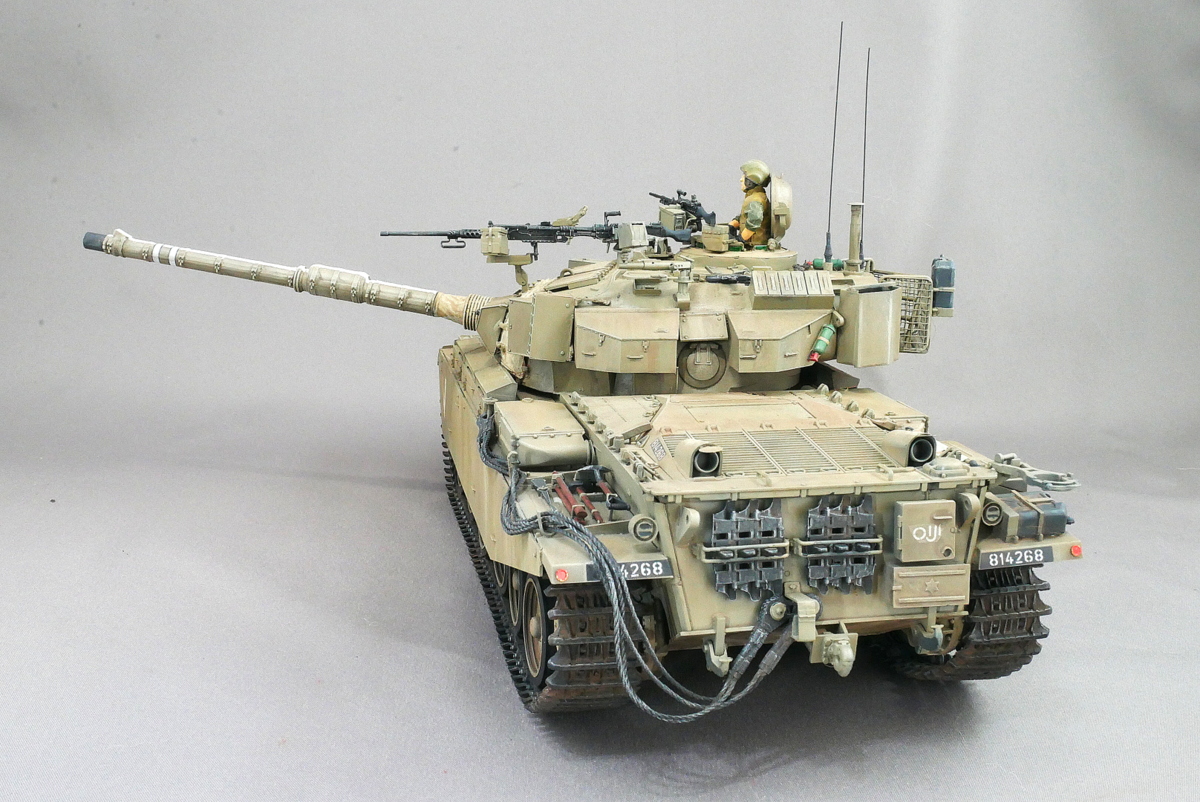
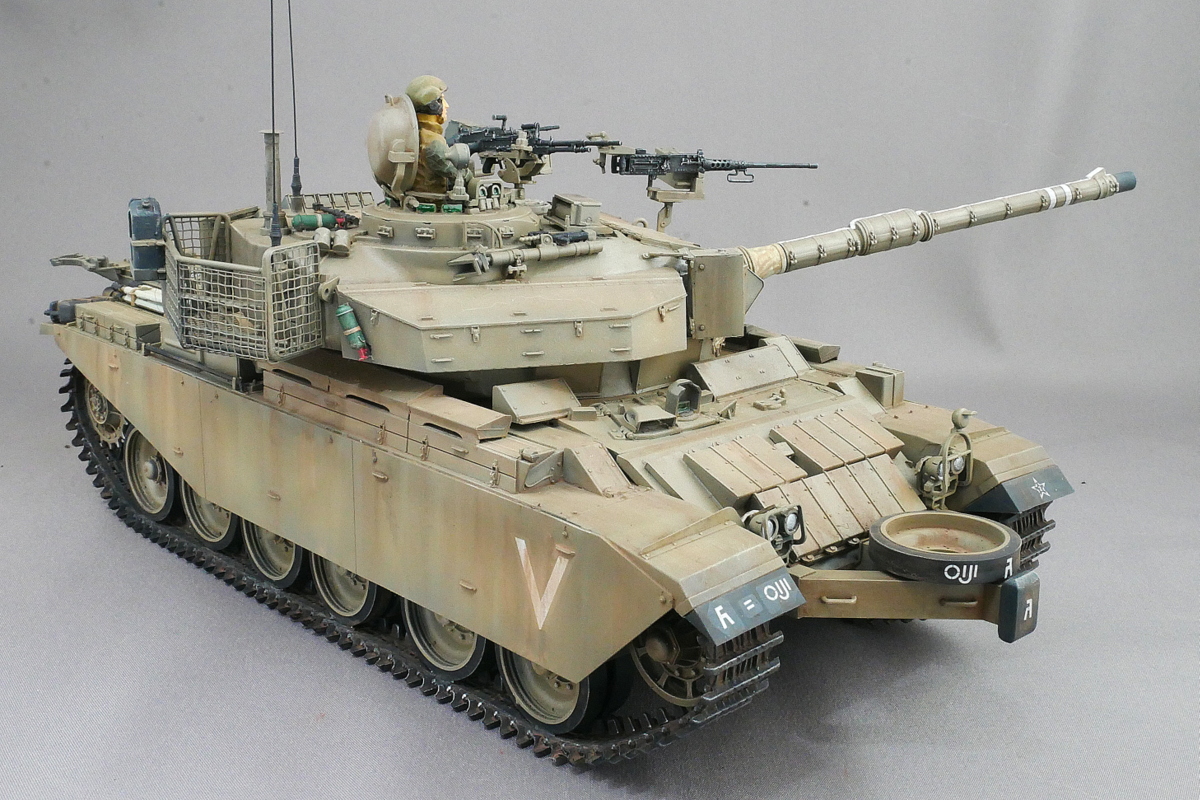
It took a lot of work because there were so many parts, but I’m glad I managed to finish it. Compared to the original Centurion, it seems to have evolved into a tank with a rather complex configuration. I think this kit is still on the market, so if you’re interested, why not make one?
(2023/08/01)
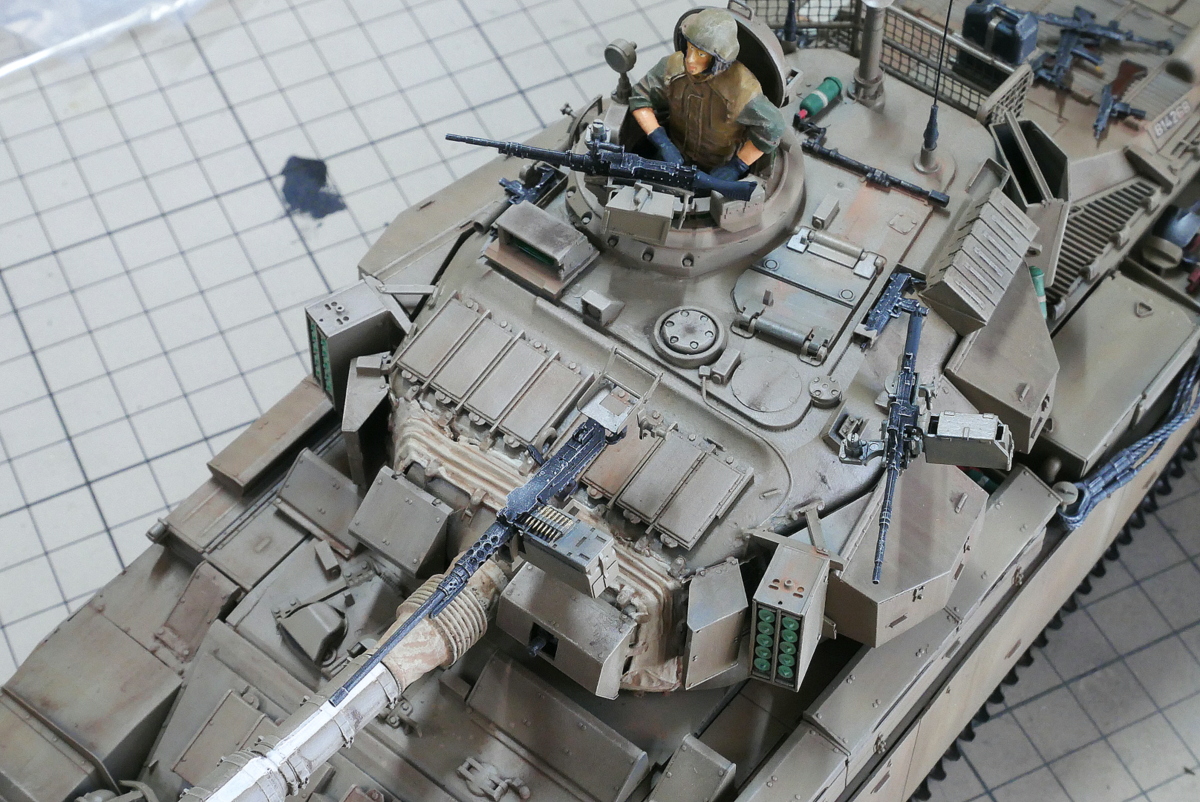
I just noticed that I forgot to paint the bullet belt of the machine gun above the main gun, so I painted it in gold. This tank has quite a lot of detailed paint, so that I may have forgotten something else. The Israeli army, which has a lot of combat experience, probably has a lot of equipment on the outside of the tank.
(2023/08/06)


コメント