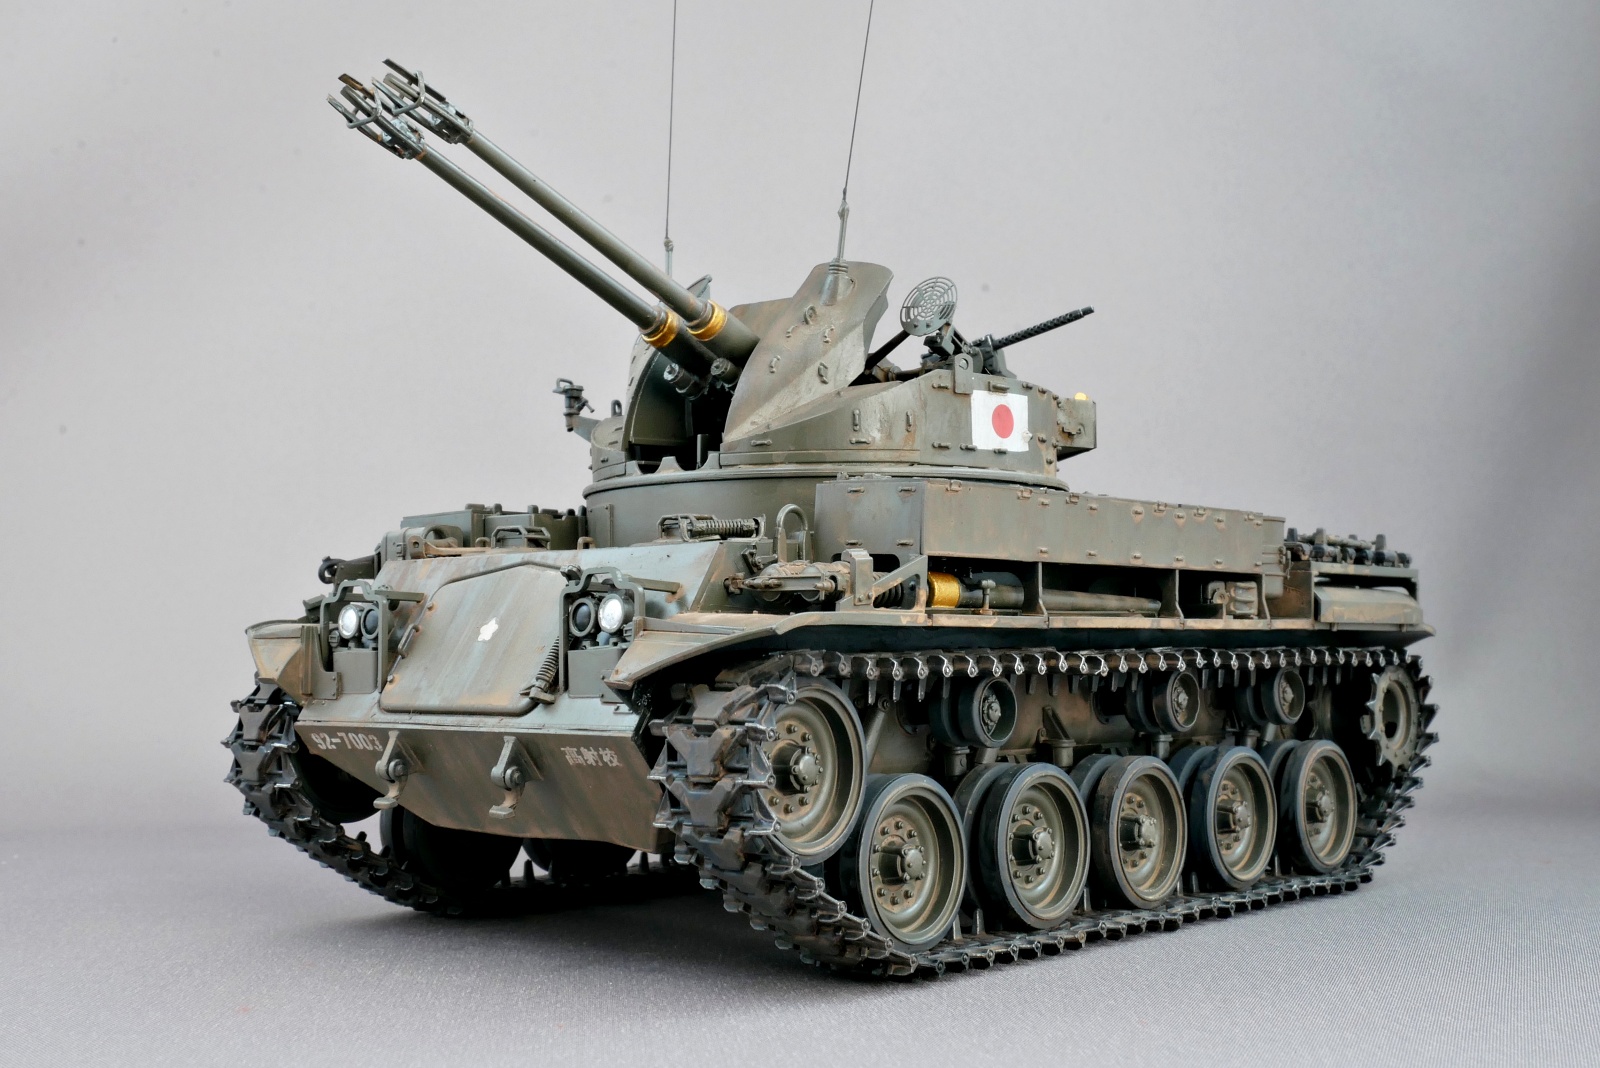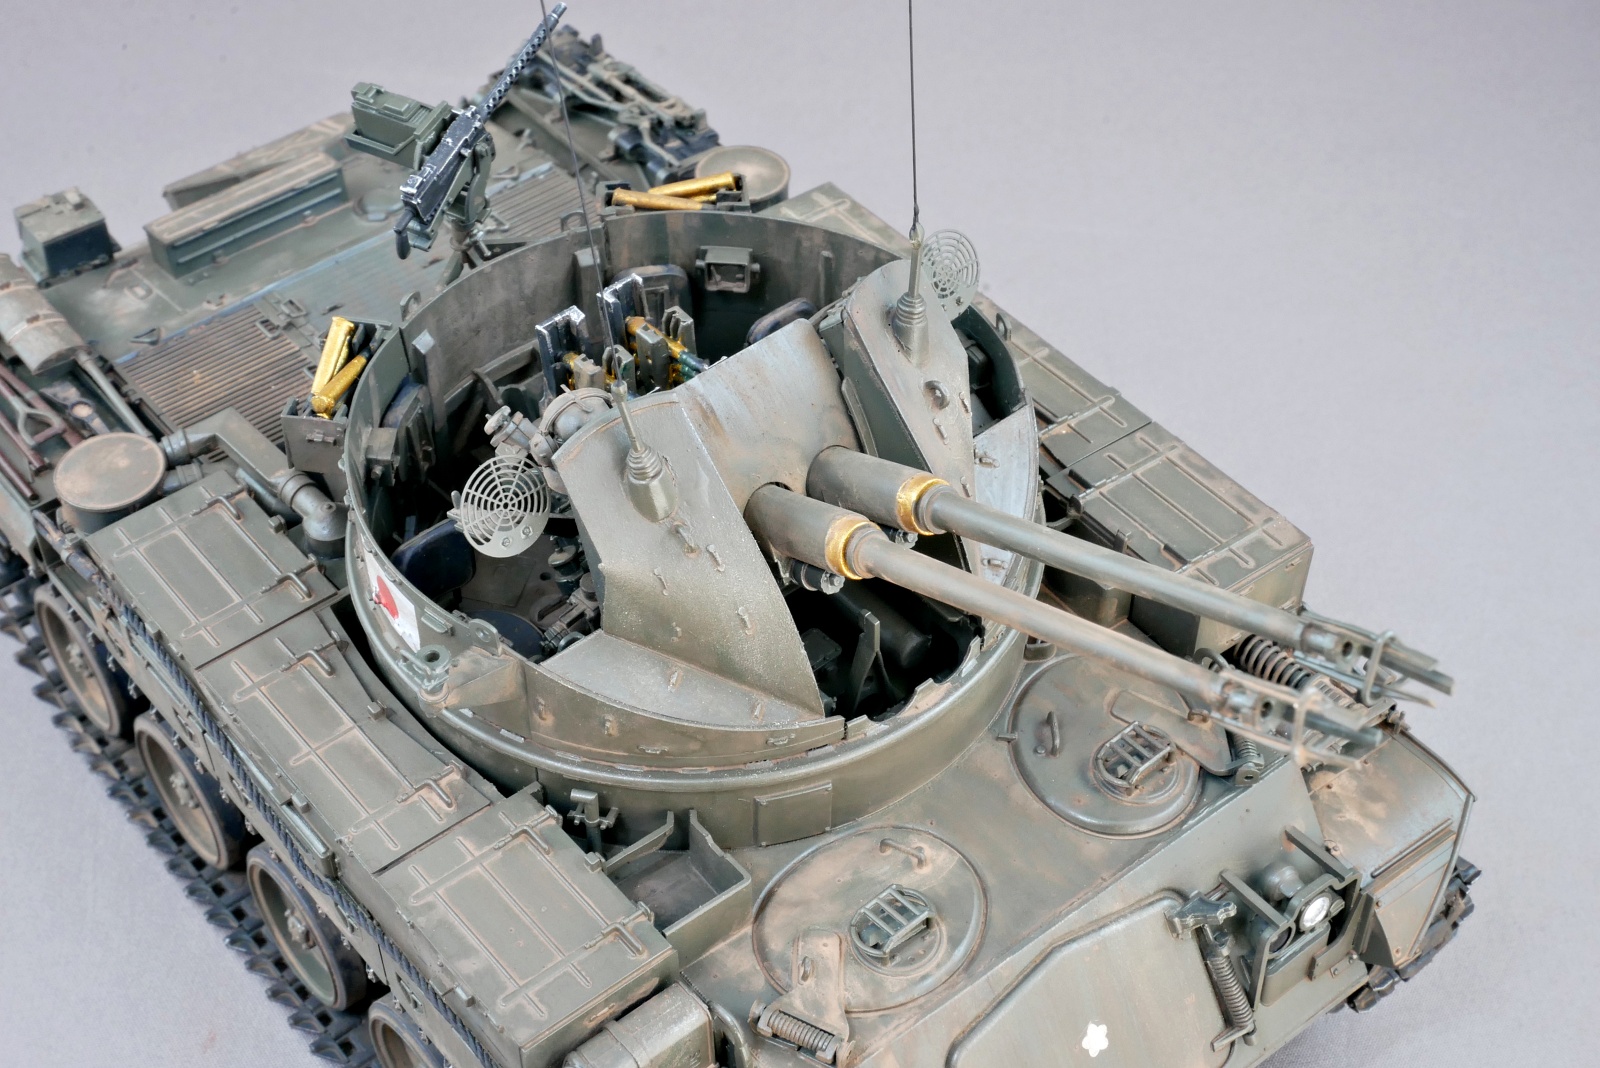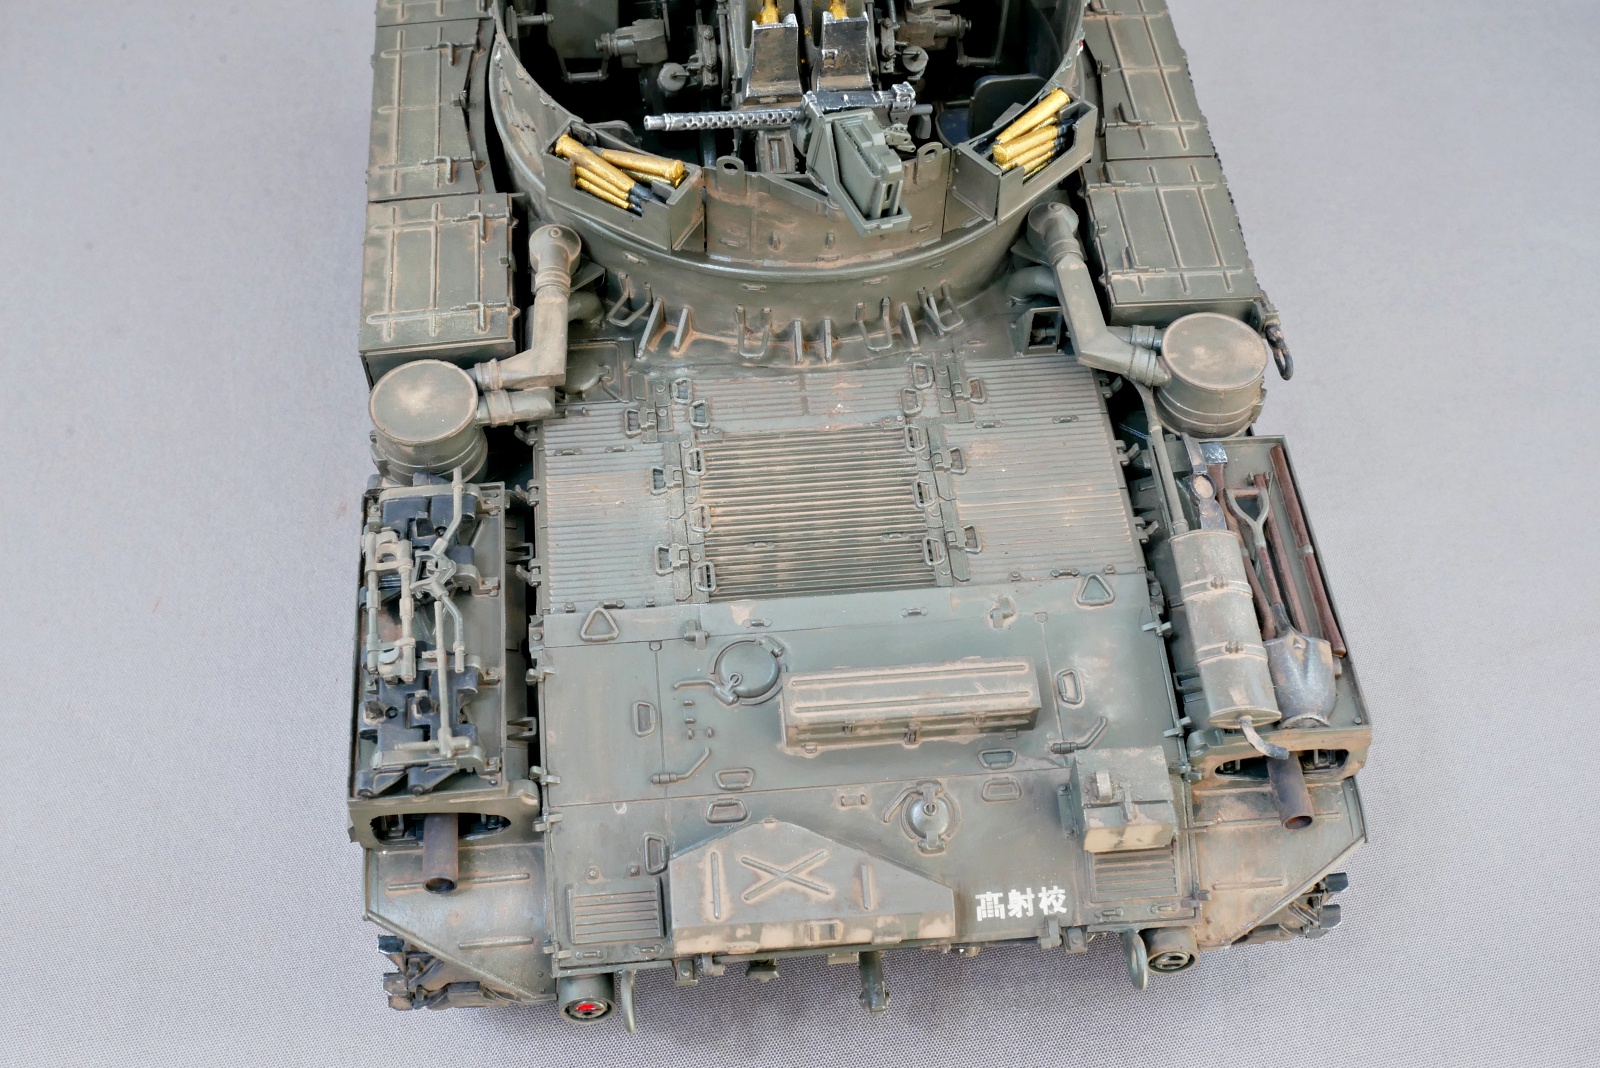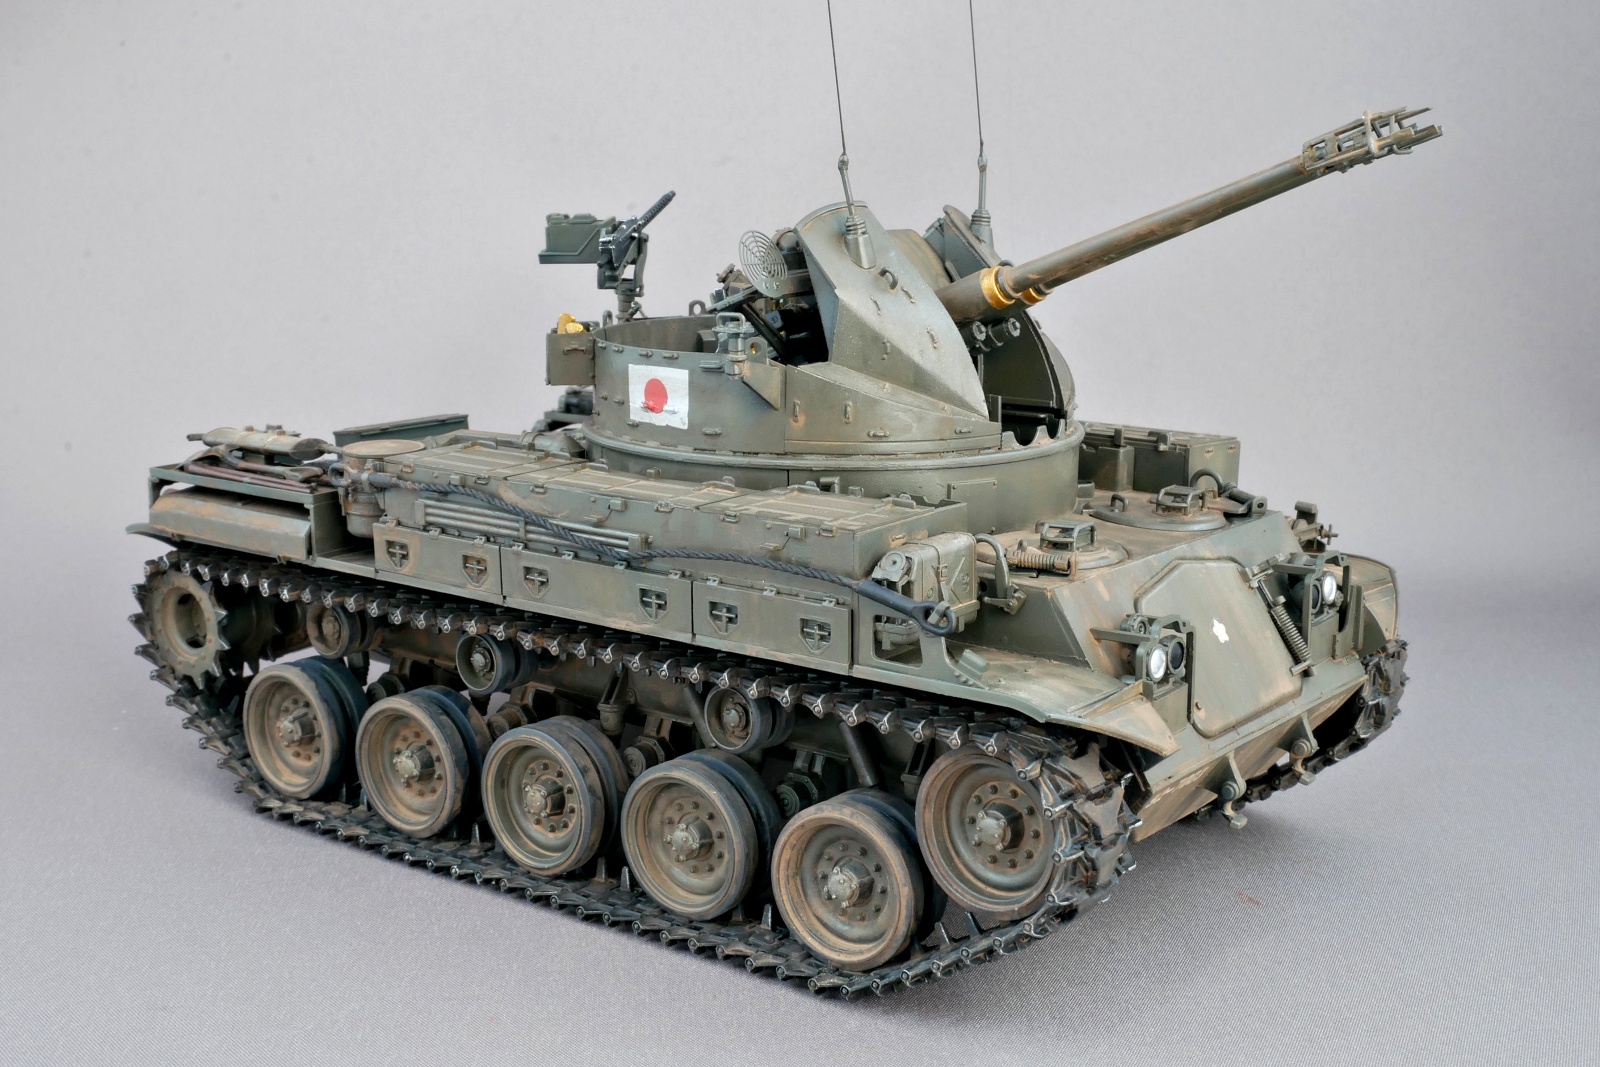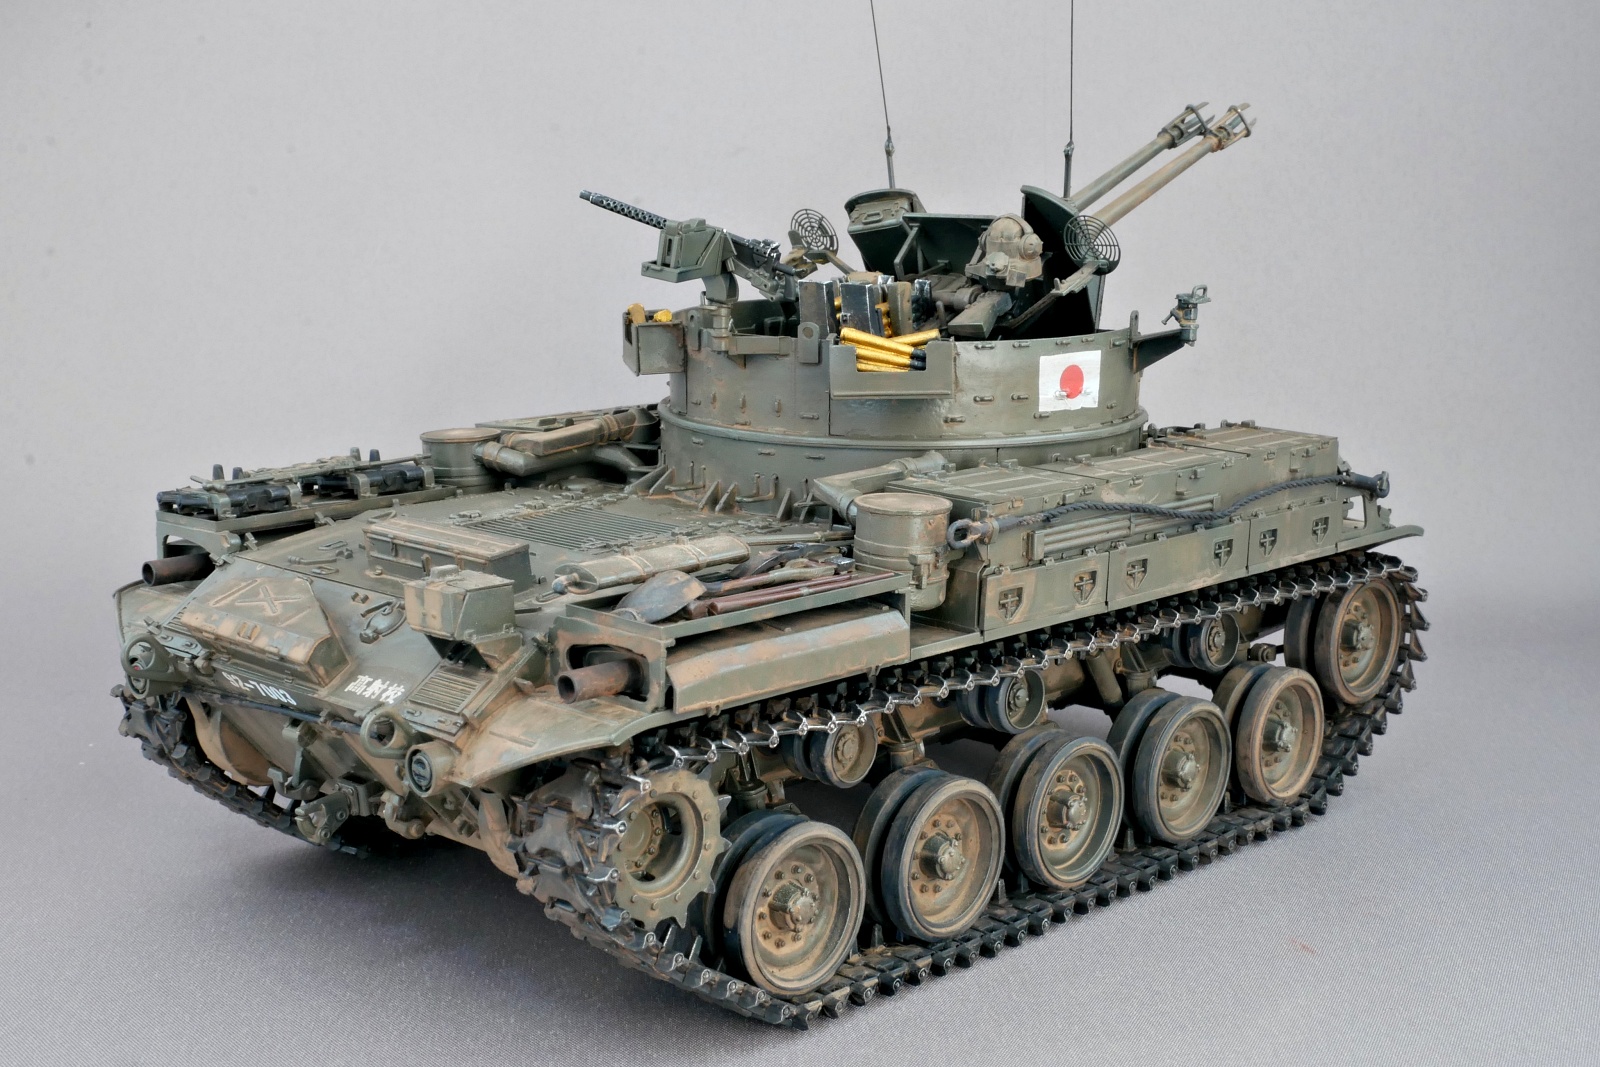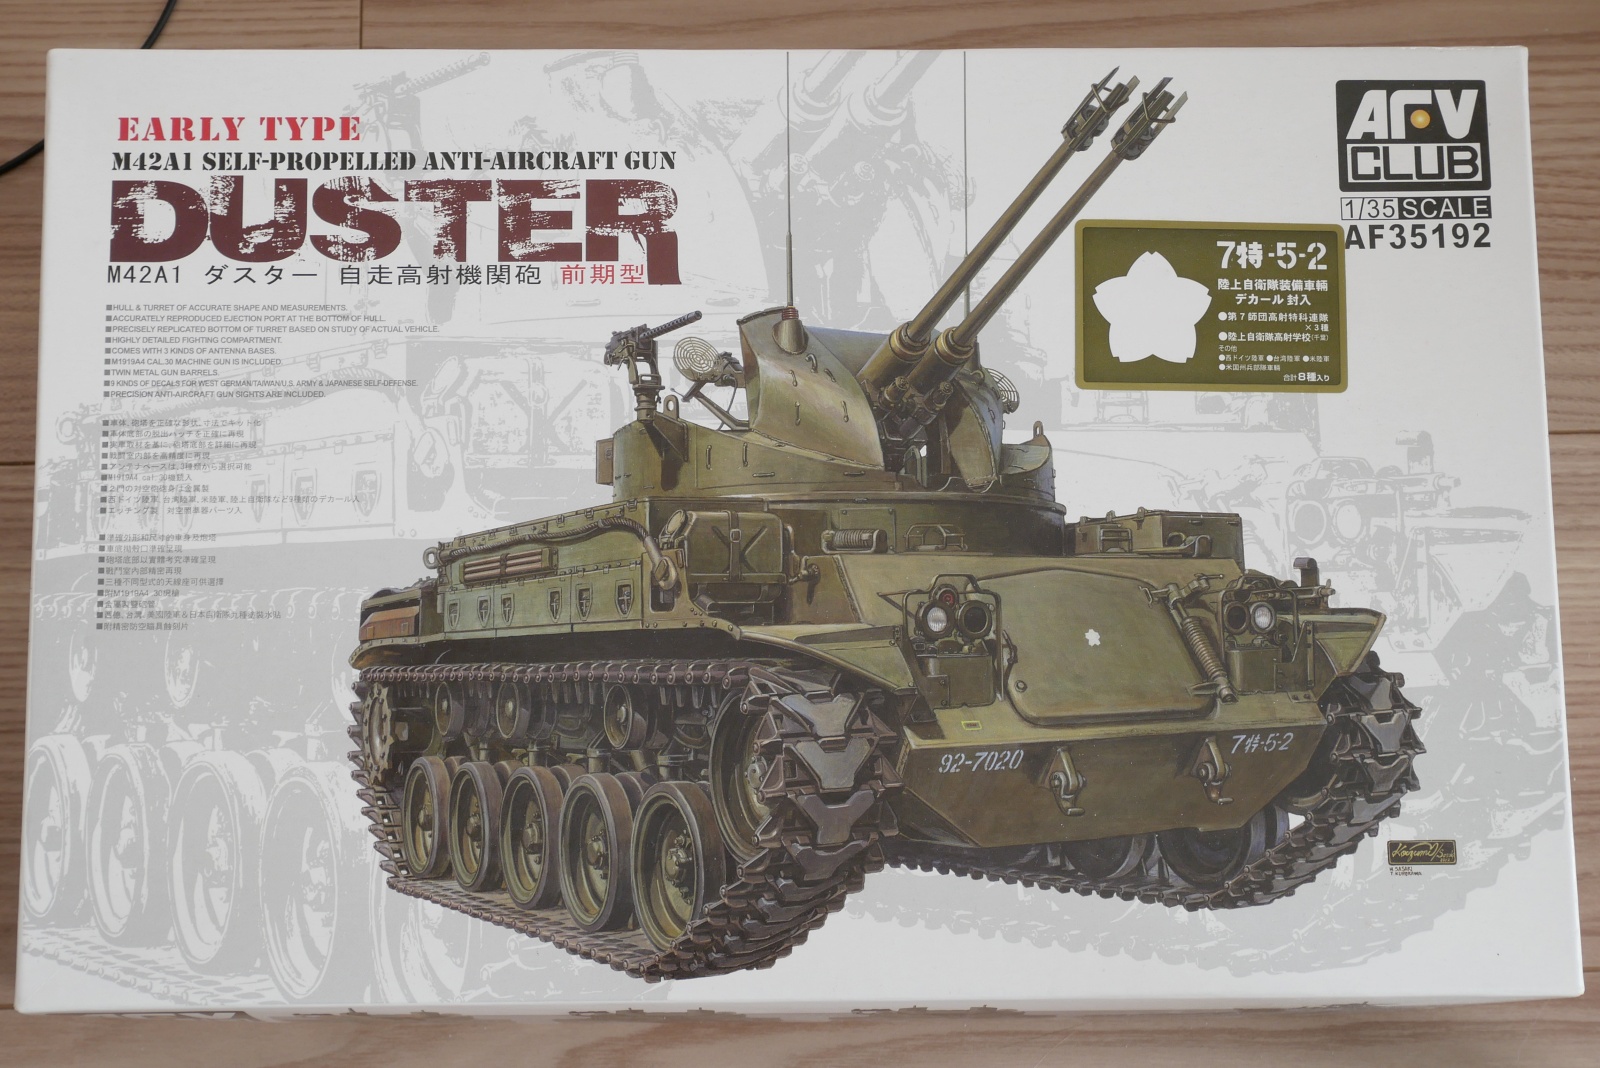
This is the AFV Club Duster self-propelled anti-aircraft gun. I’m going to make this. Compared to Tamiya’s kits, the number of parts and precision are quite large, and once completed, it will be an excellent kit. I made Tamiya’s Duster when I was in elementary school, so I think the kit is probably more than 45 years old. I can’t remember right now if it was a remote with a cord attached to the battery. I remember it was renewed and became a display model, and it was about 30 years ago. Anyway, AFV Club Duster looks amazing.
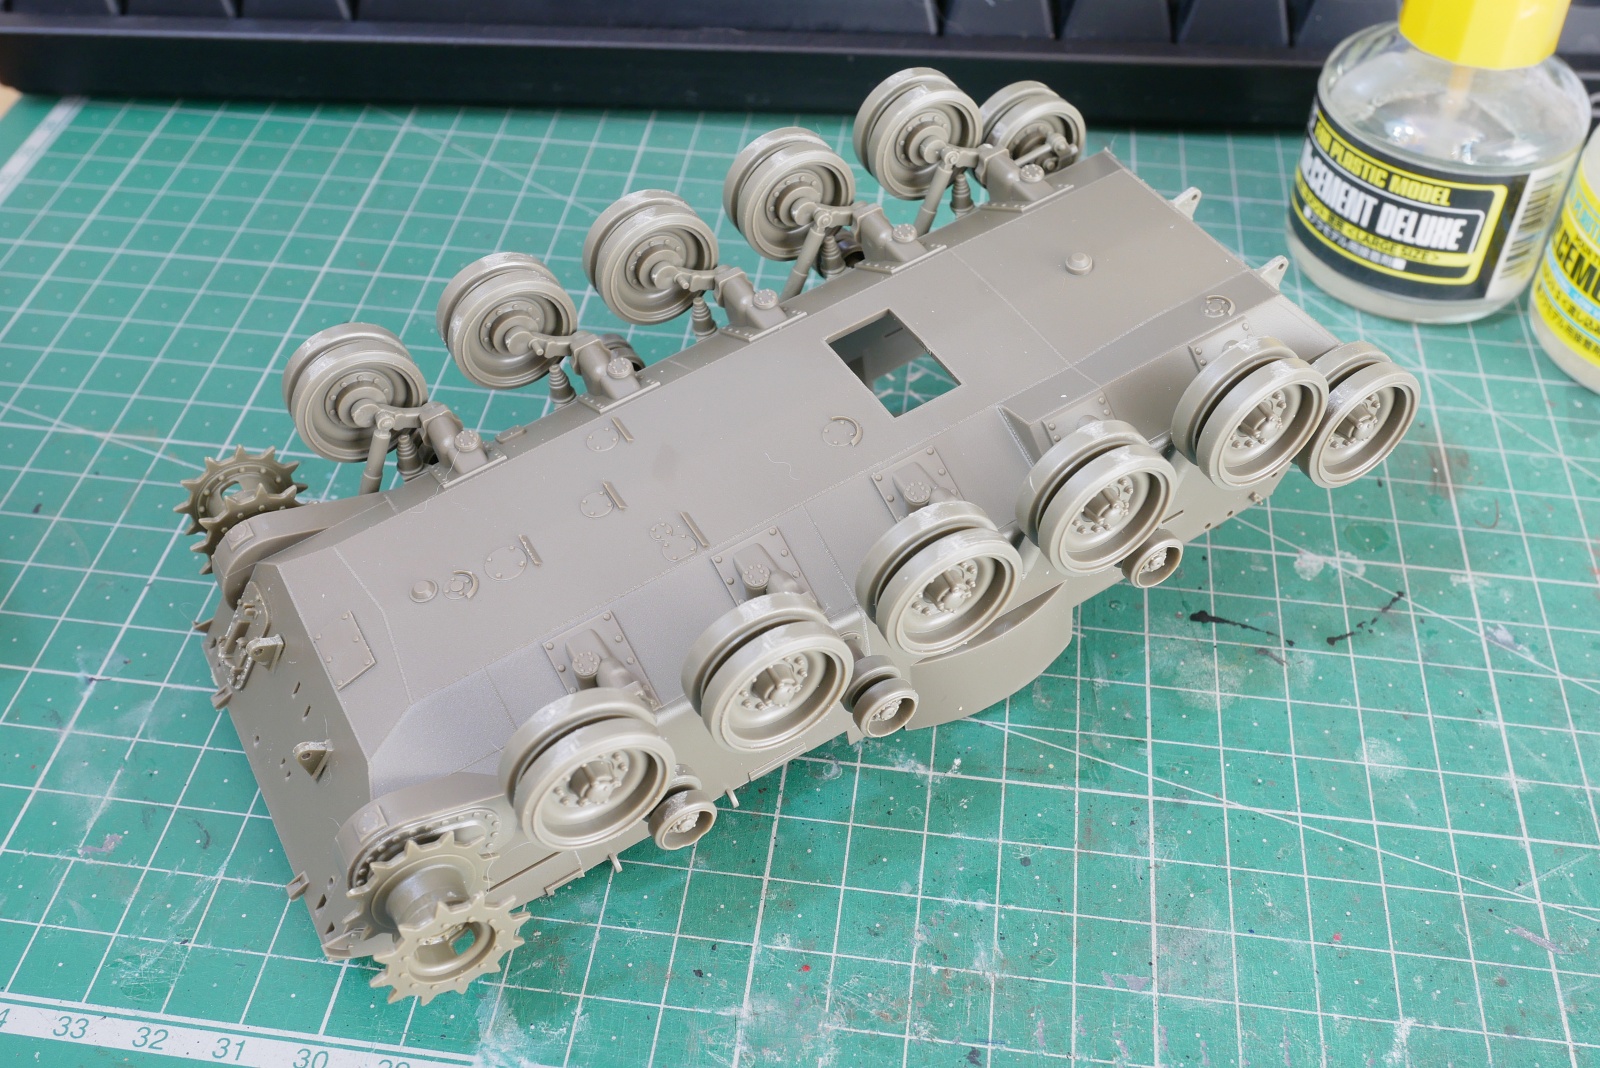
I have experience in making this type of track for Walker Bulldog, and I feel that the making is progressing smoothly. The parts match well.

What’s changed? I wonder if I attached the rear part of the AFV and glued the turret base inside.
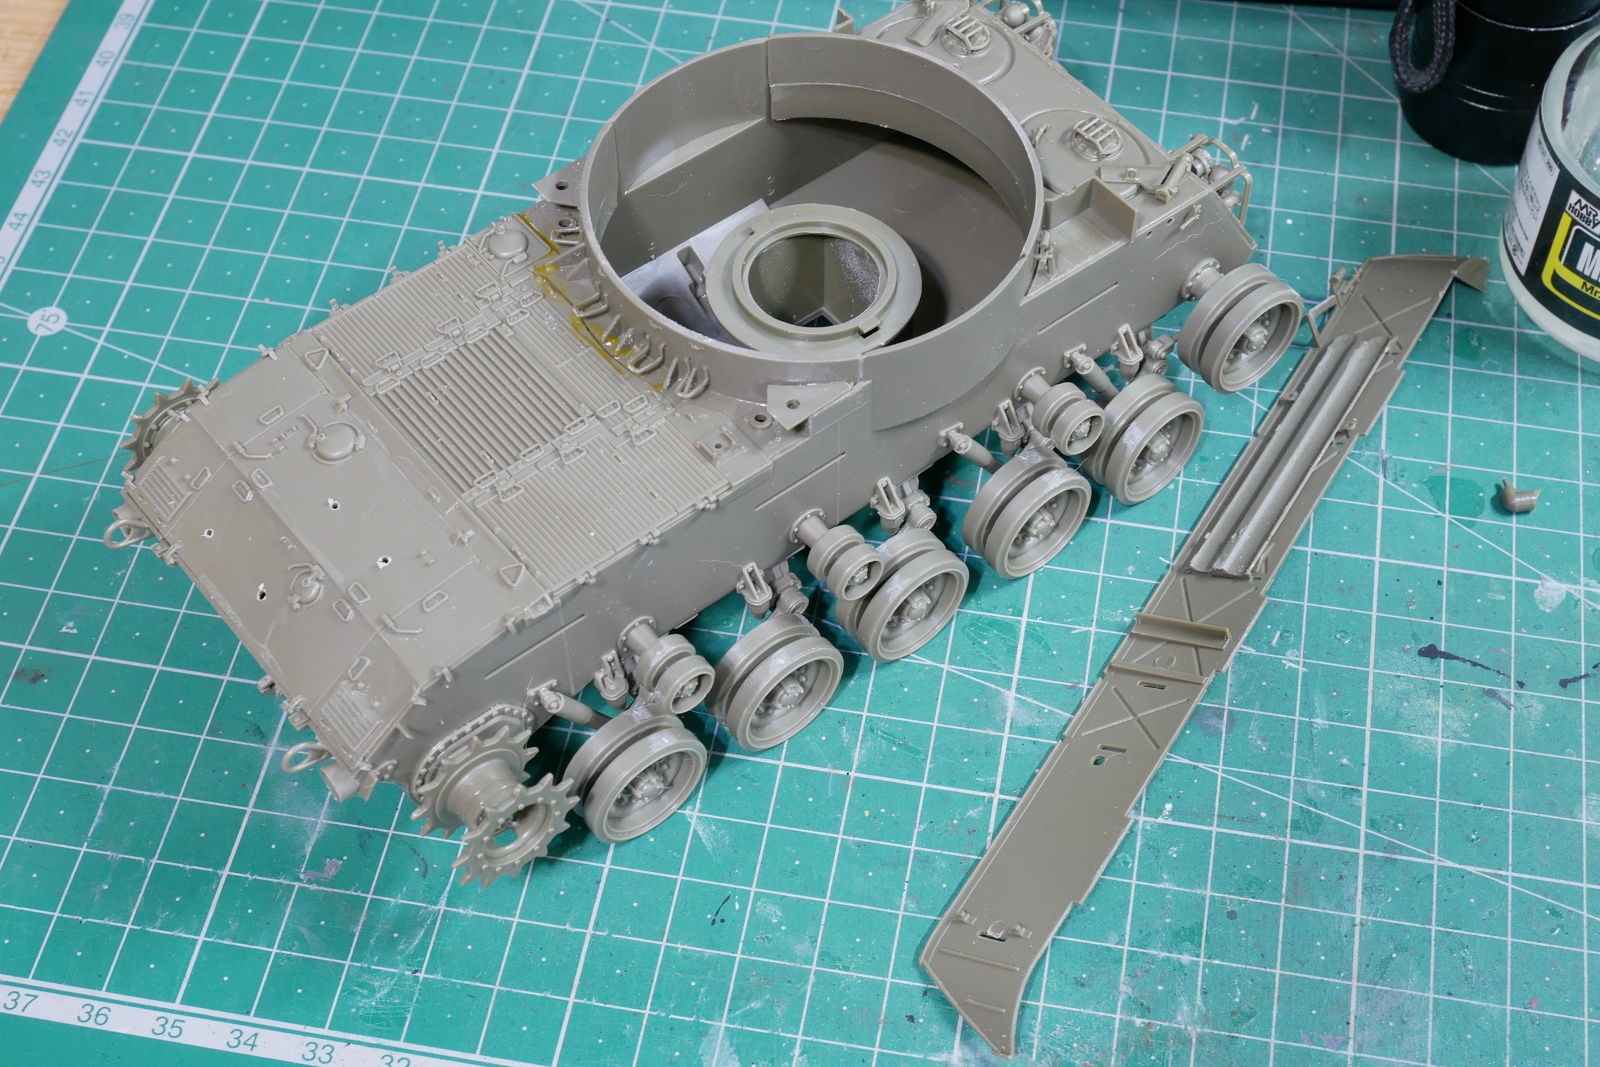
I also attached the top of the AFV to the chassis, made various holes, and attached the turret base. I cover the gaps with putty.
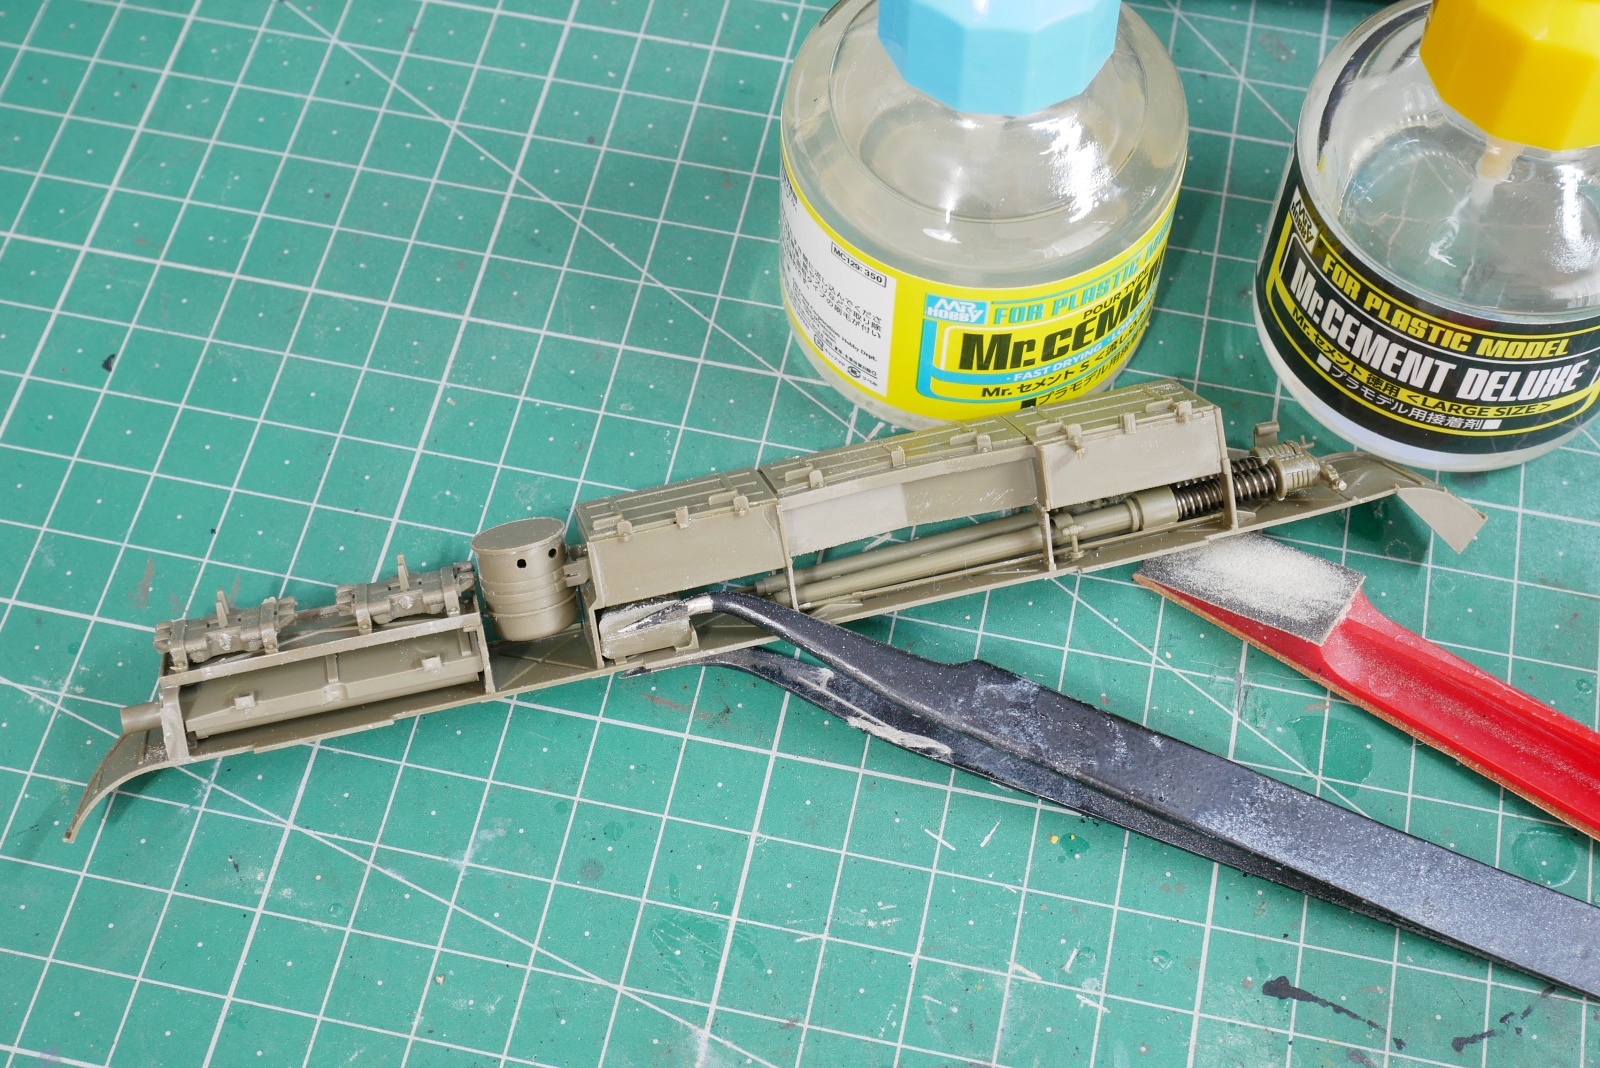
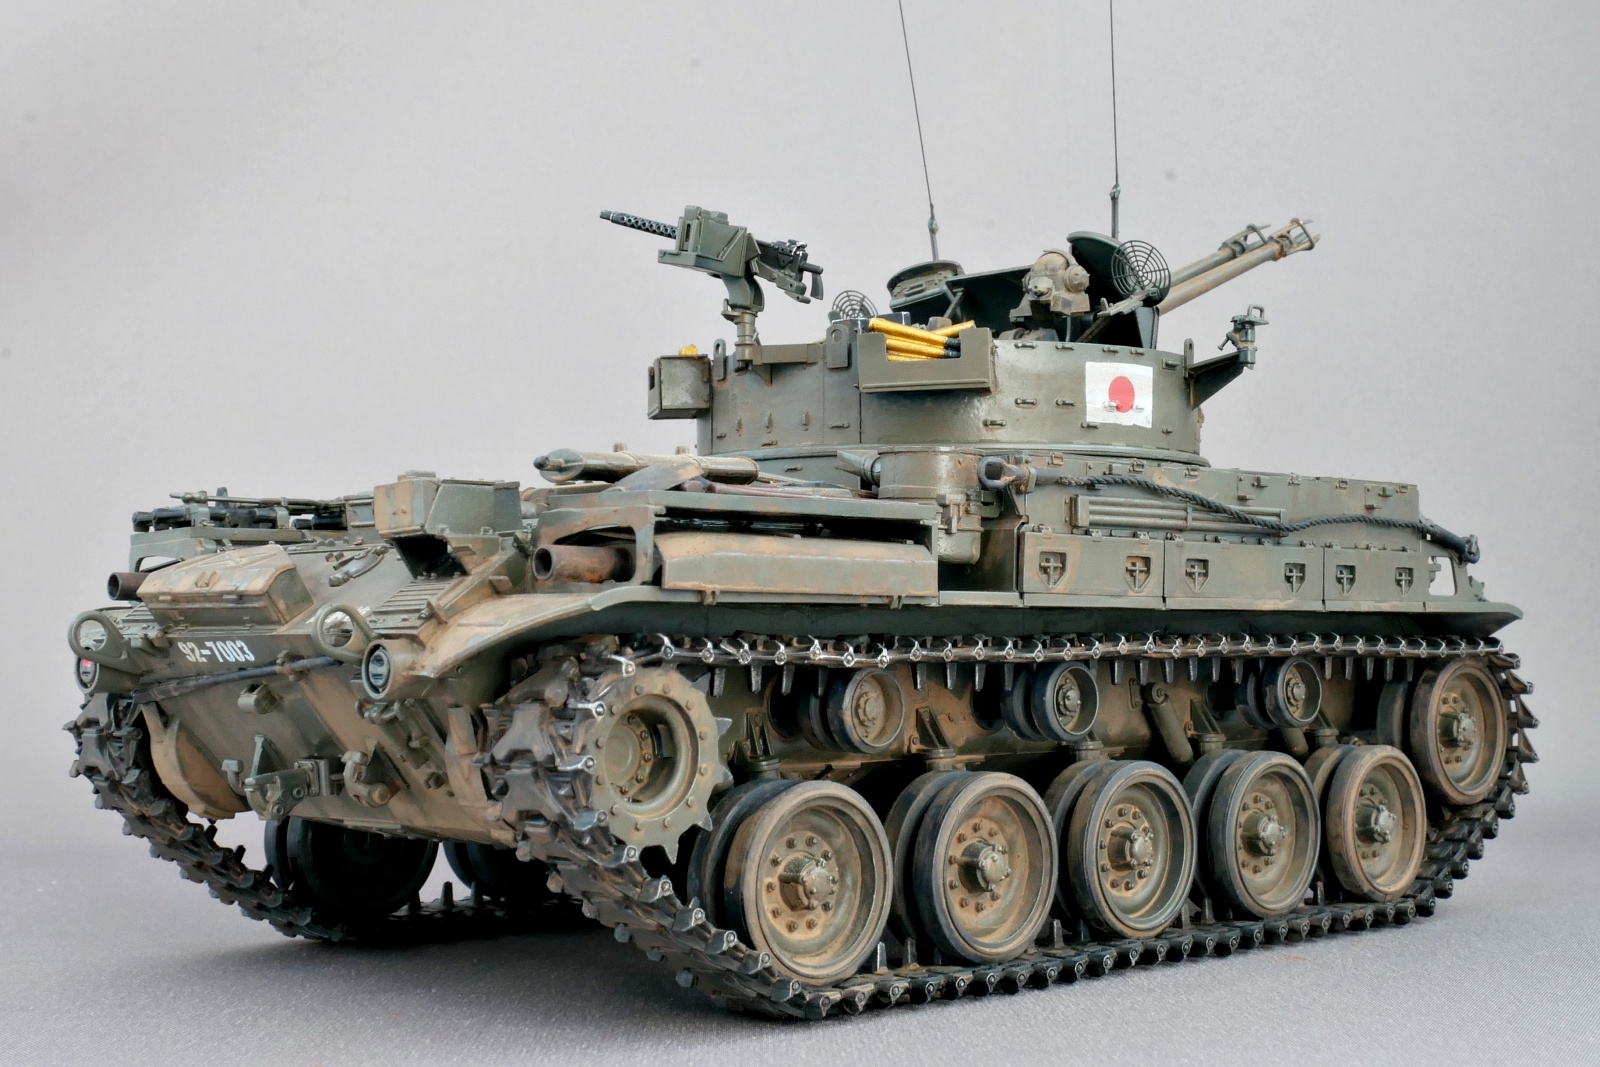
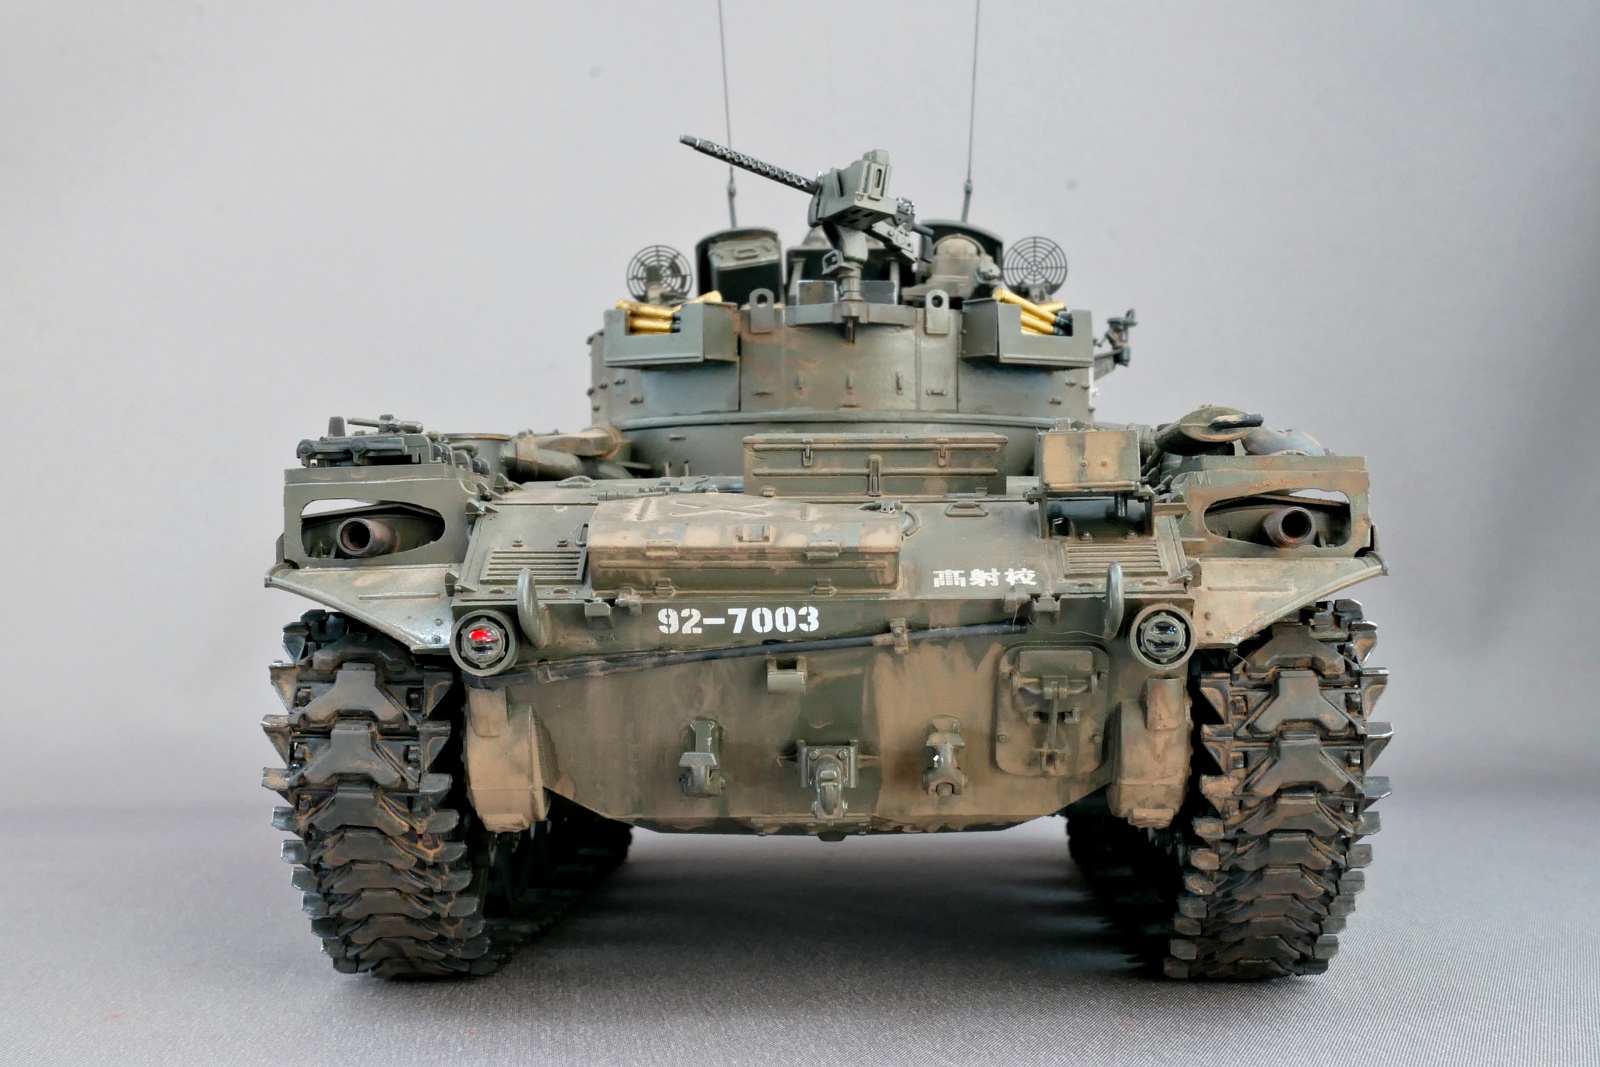
The spare barrels of the anti-aircraft guns are stored in such a space. If it has a spring, is the structure of the actual guns like this? It’s a very powerful spring. In addition, spare caterpillars and tool boxes are stacked on the fender.
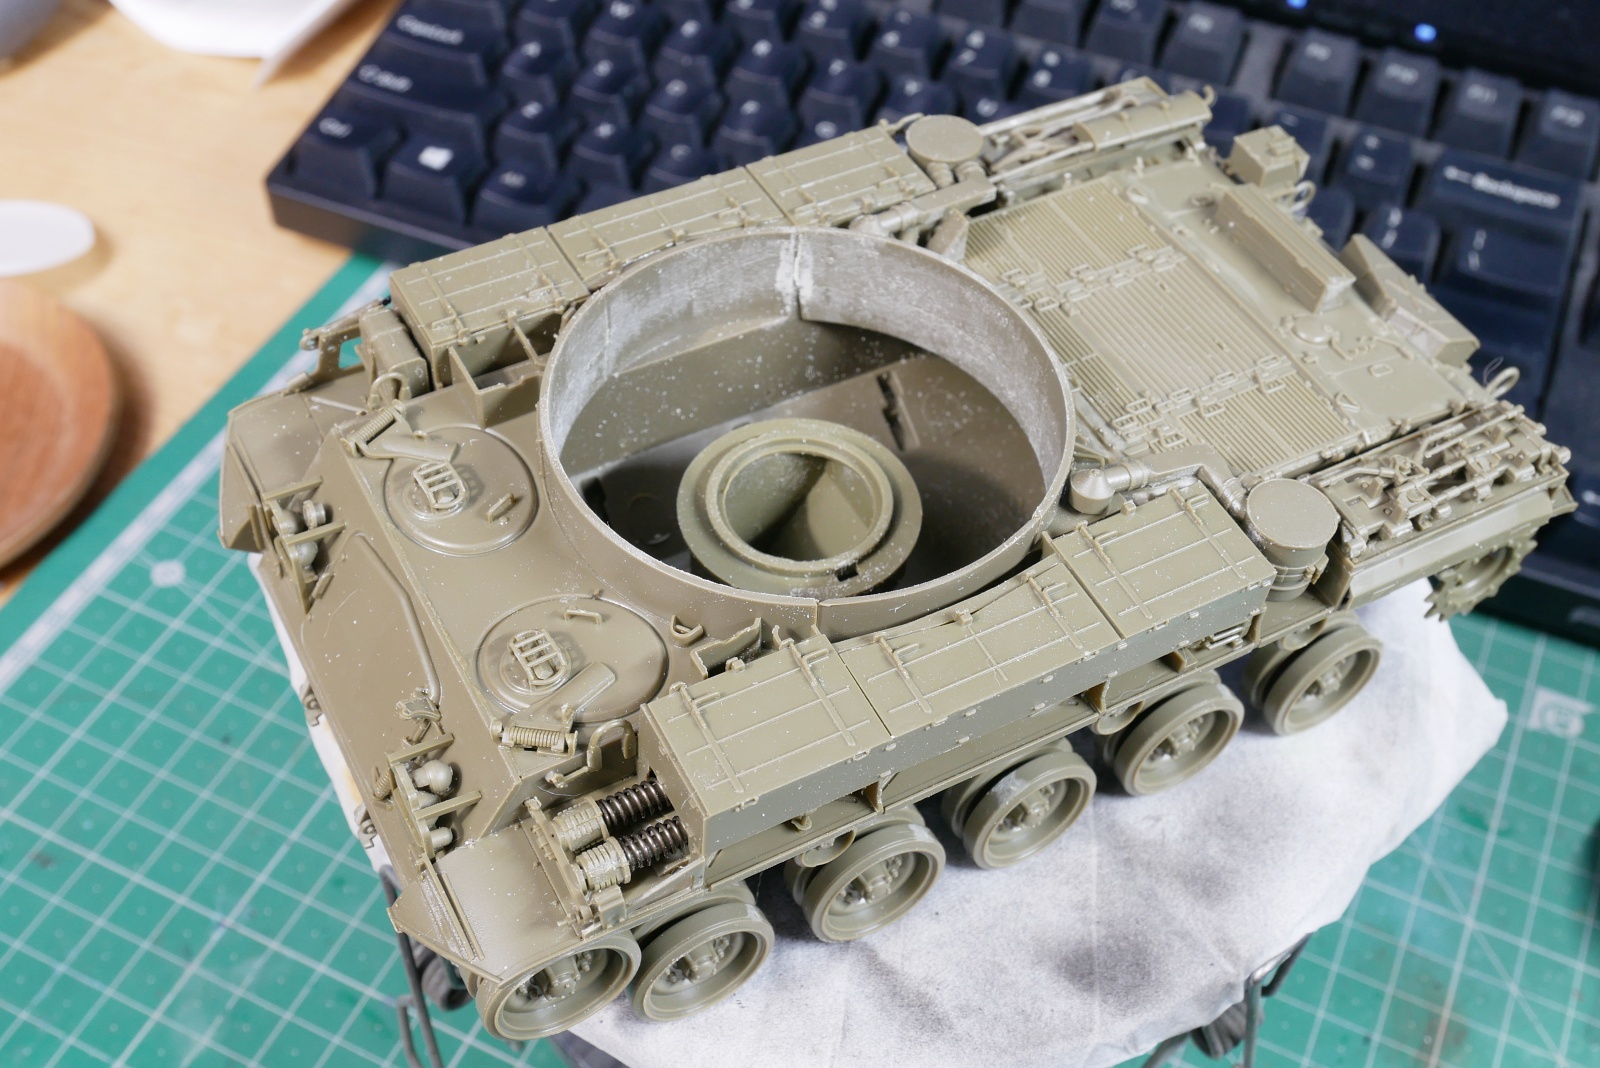
It’s probably to put the turret on from the top and make it bite the nail inside to turn it, but I can’t do it. It’s too tight to fit the turret. I smoothed the inside with a motor tool so that I could enter from above, but it is difficult to fit and rotate. I think it will be possible to mount it well by cutting the turret side. It seems better not to touch the turret carelessly once it is pushed in. Since there are many fine parts, it may cause damage.
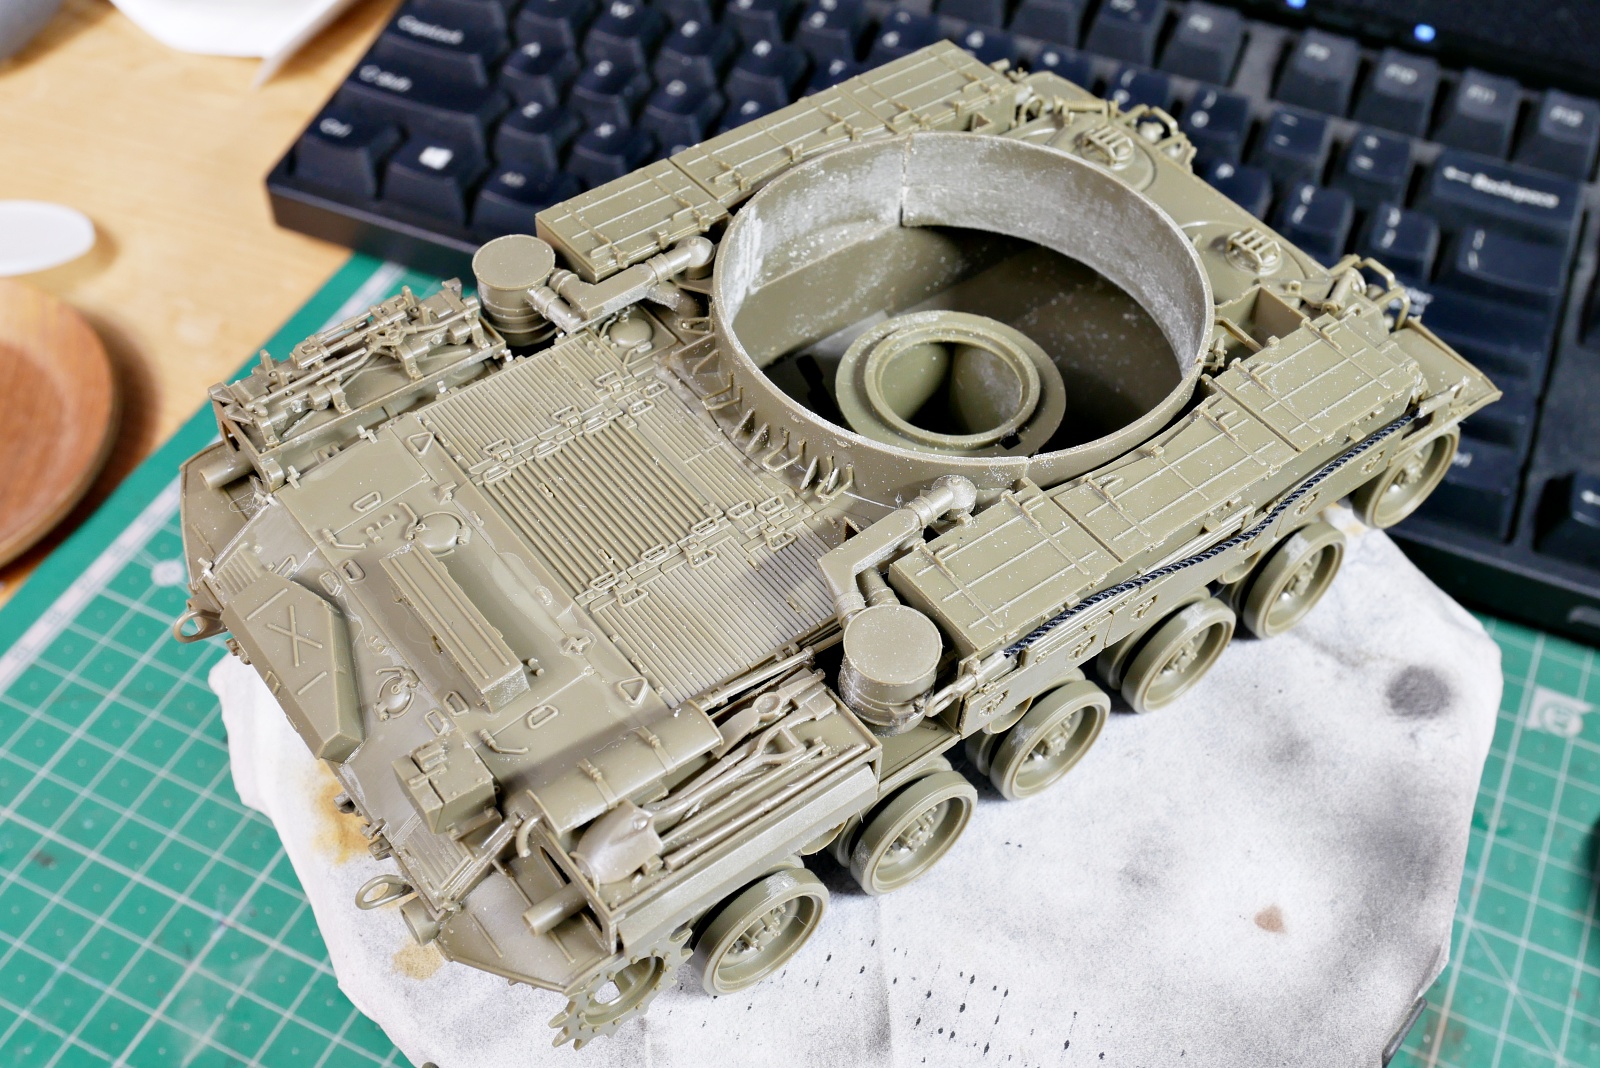
The body is finished. It has many parts and a dense body. It looks like there won’t be much paint separation, so it won’t be so hard to paint.
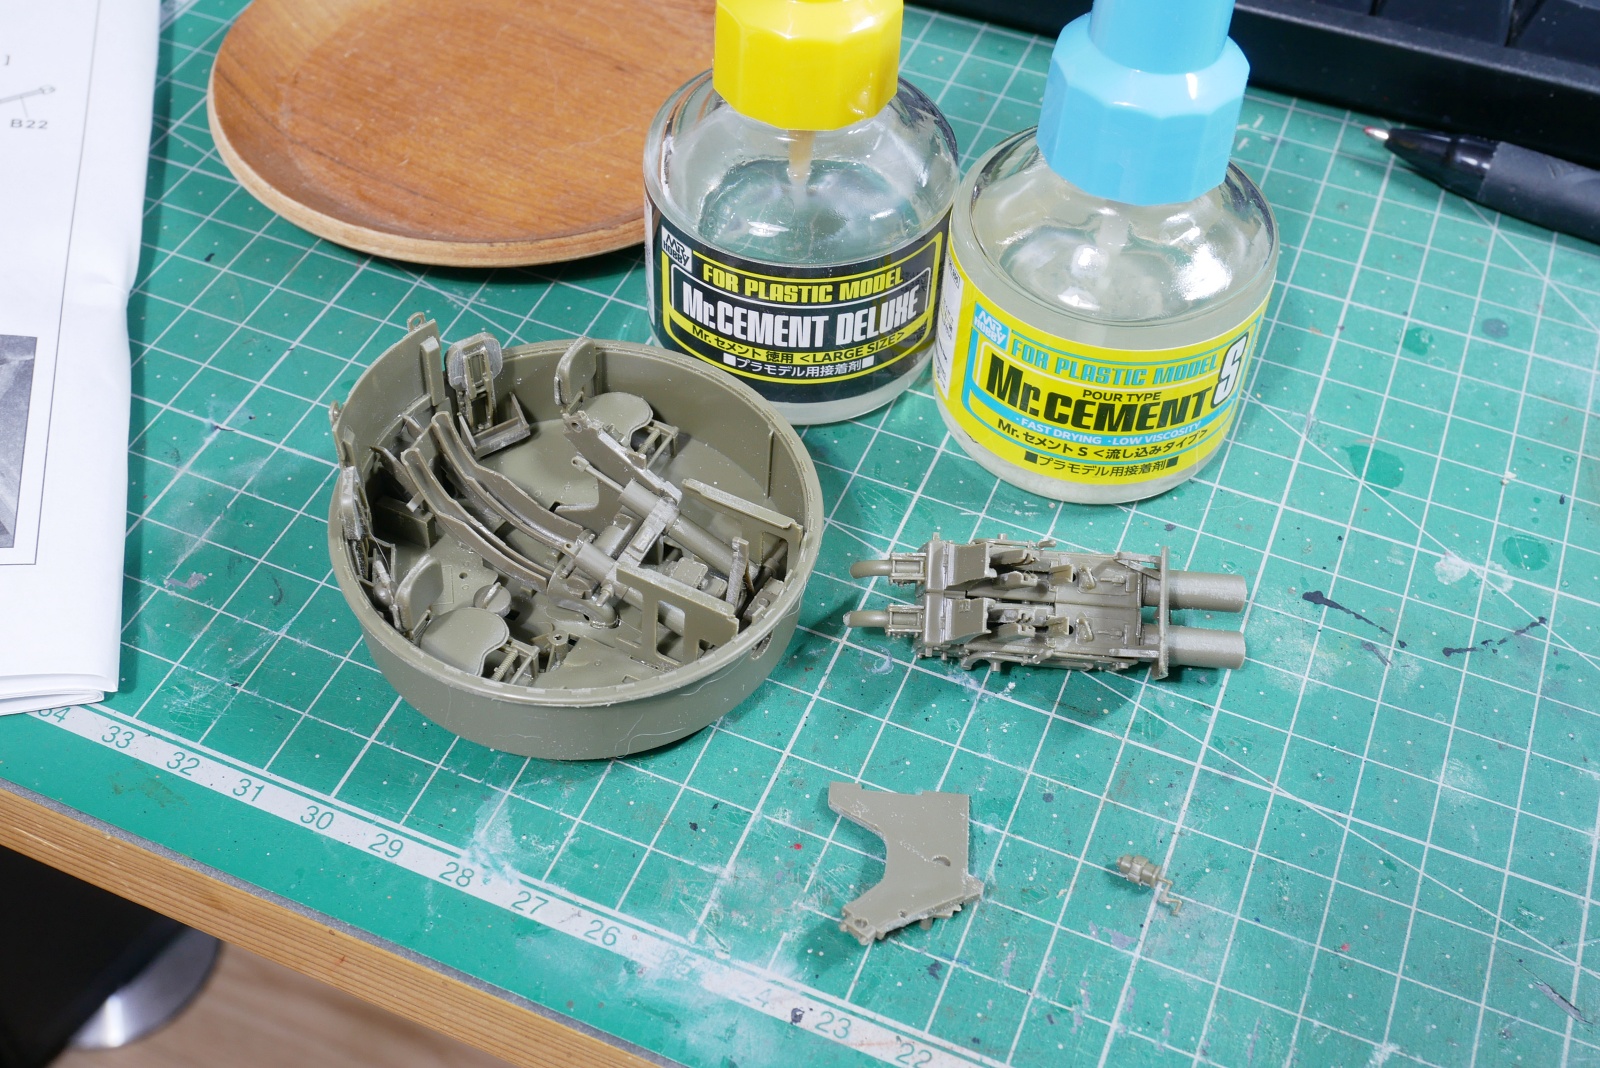
The turret is difficult to assemble. I don’t understand where and how they fit together to form the whole shape, so I can’t quite grasp the relationship between the parts. At this point, I am very worried about whether it will work well.
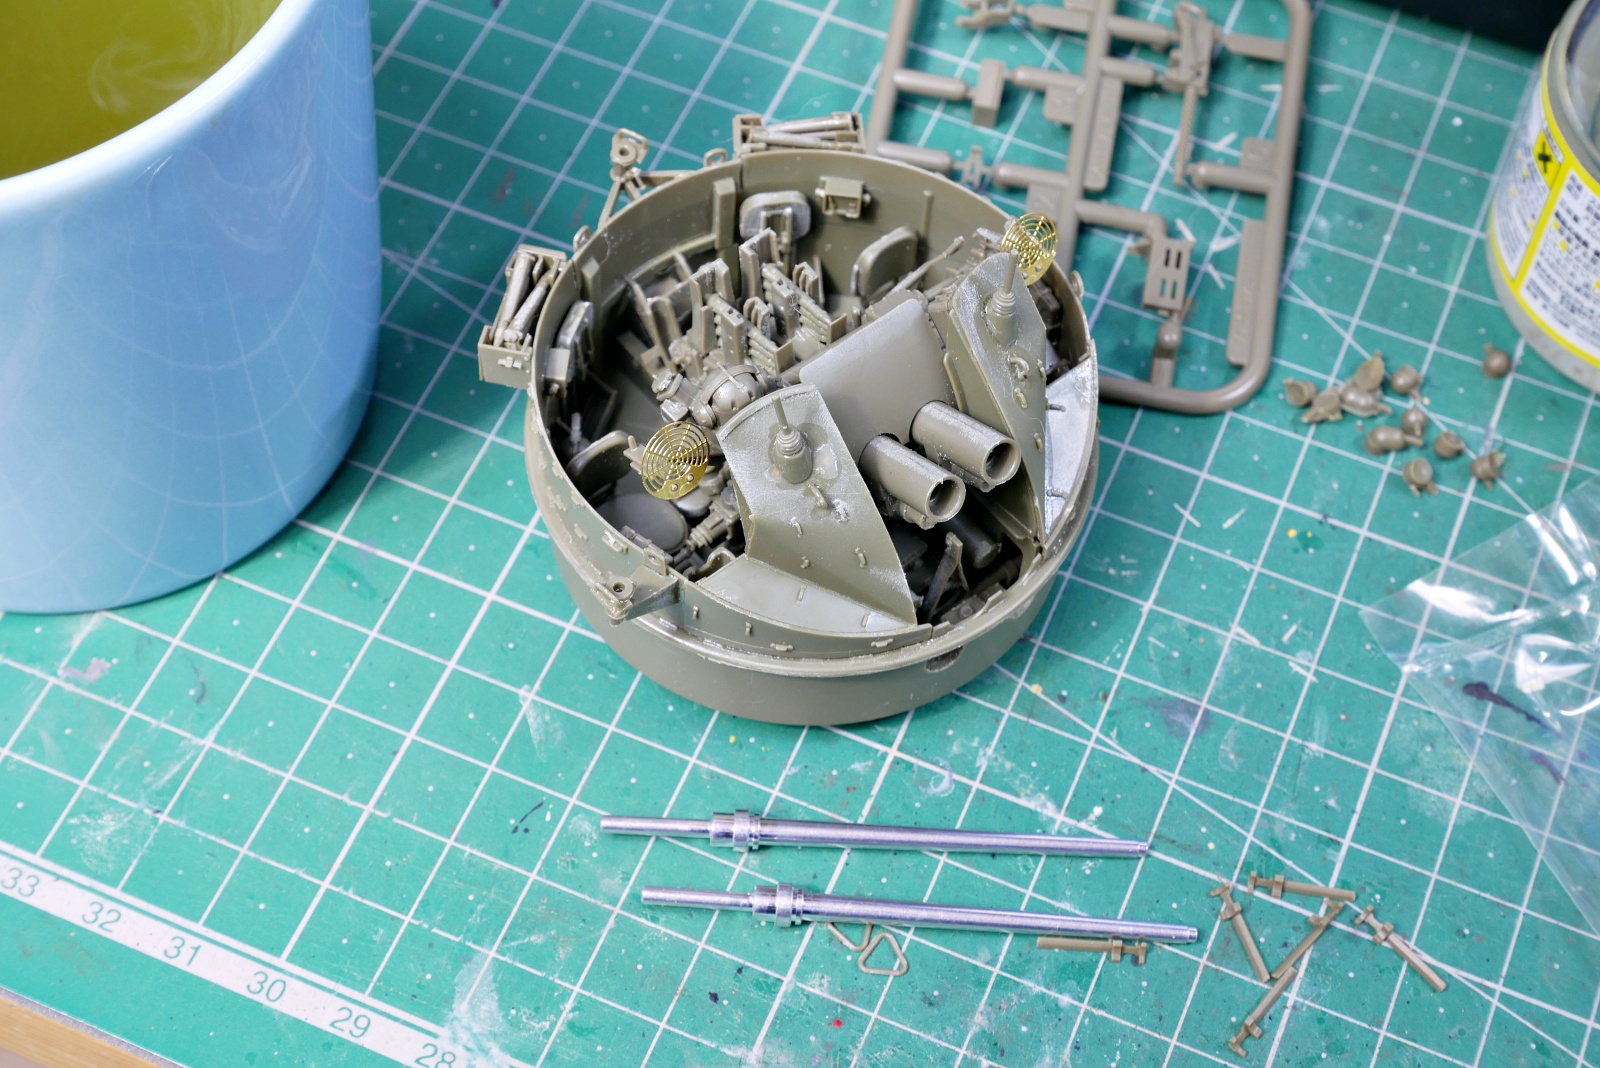
The shape is almost similar to the finished form. I think the aluminum gun barrel is highly valued. The AFV Club, which doesn’t use many etched parts, replaces the round part of the aiming sight with a metal one, so it must be in serious mode. I put a lot of spare ammo on it and it gradually became more realistic.
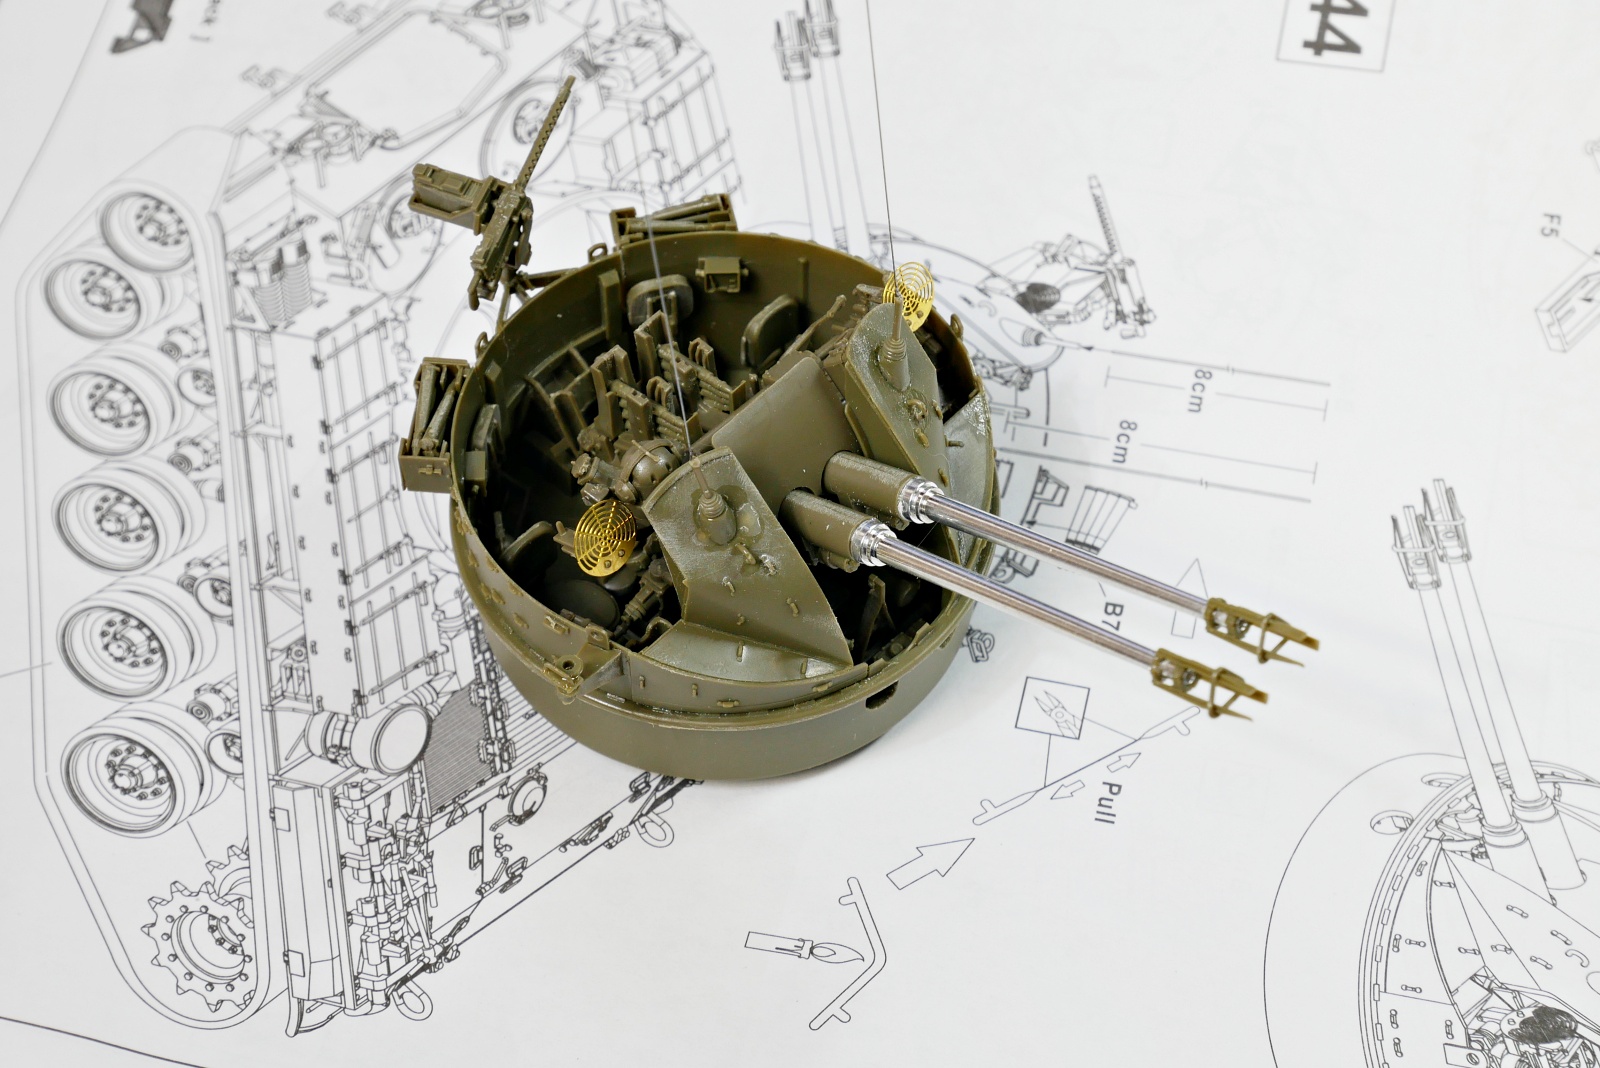
The turret is finally completed. I had a hard time. I managed to figure out how to position the parts and put them together, but moving them around might damage the delicate parts, so I fixed them at my favorite angle. That way, I think there is less risk of damage when it is displayed.
(2024/11/30)
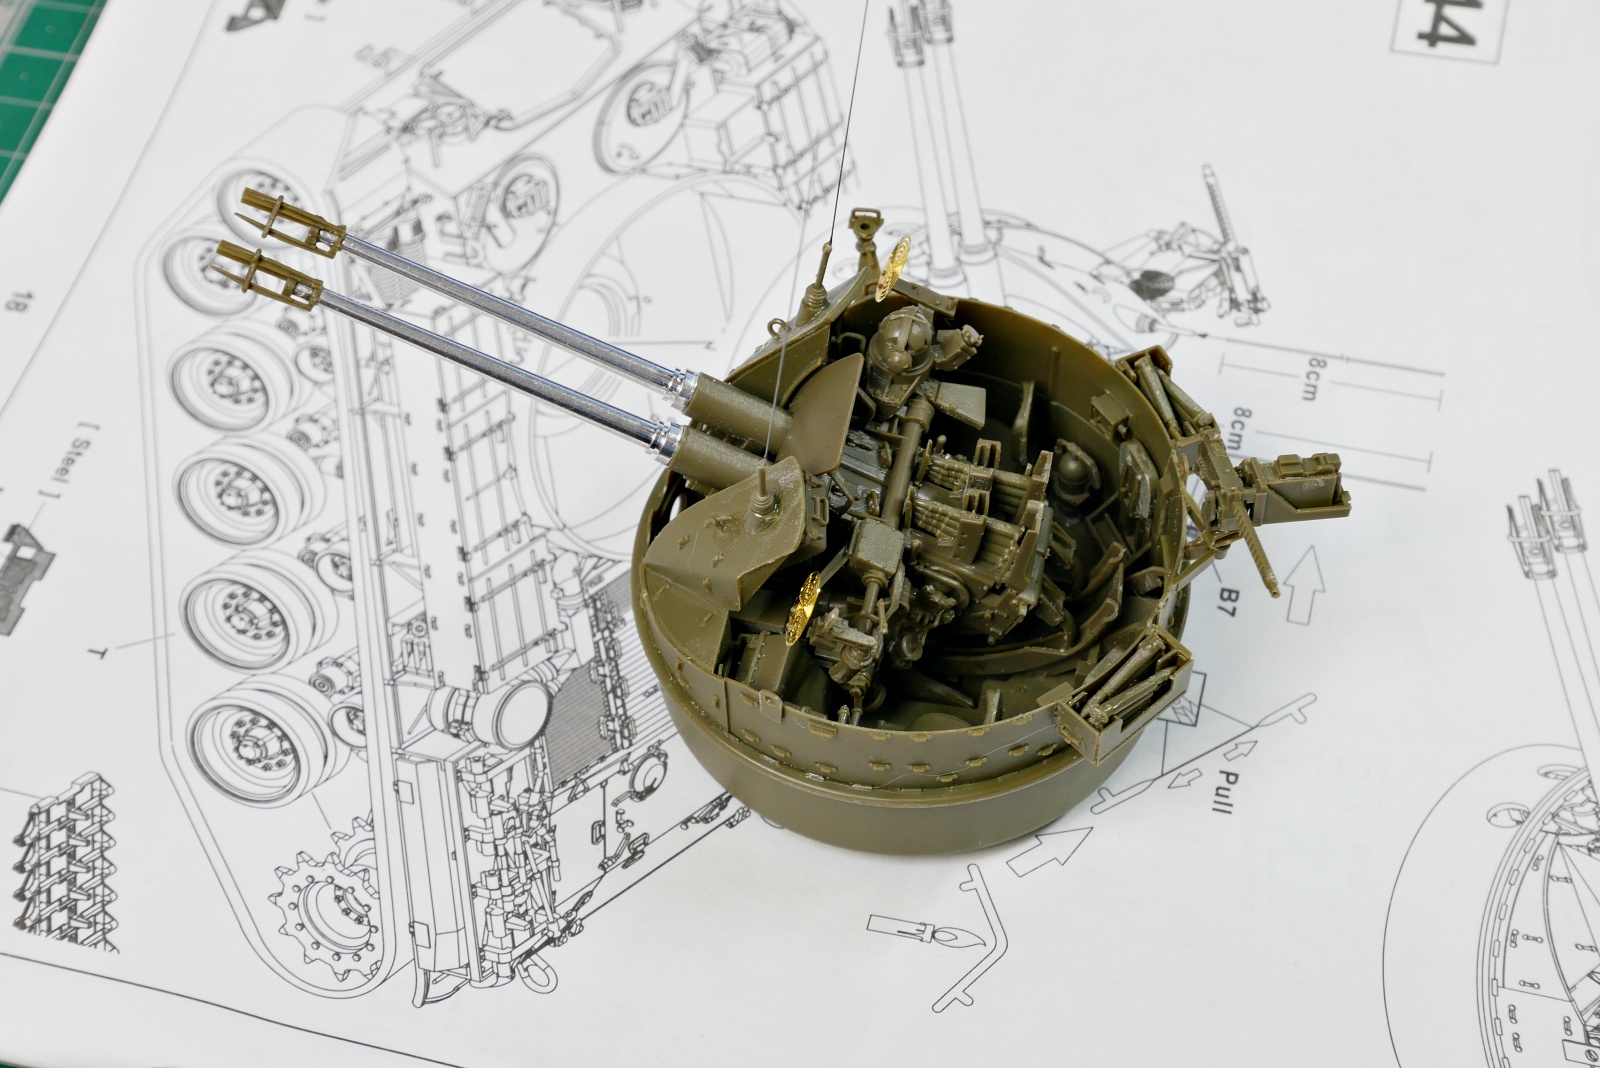
I was thinking of putting a Finemolds Self-Defense Force figure on it, but it won’t fit. I don’t think it’s appropriate if it’s only a standing figure, so I guess I’ll complete it with only a vehicle this time.
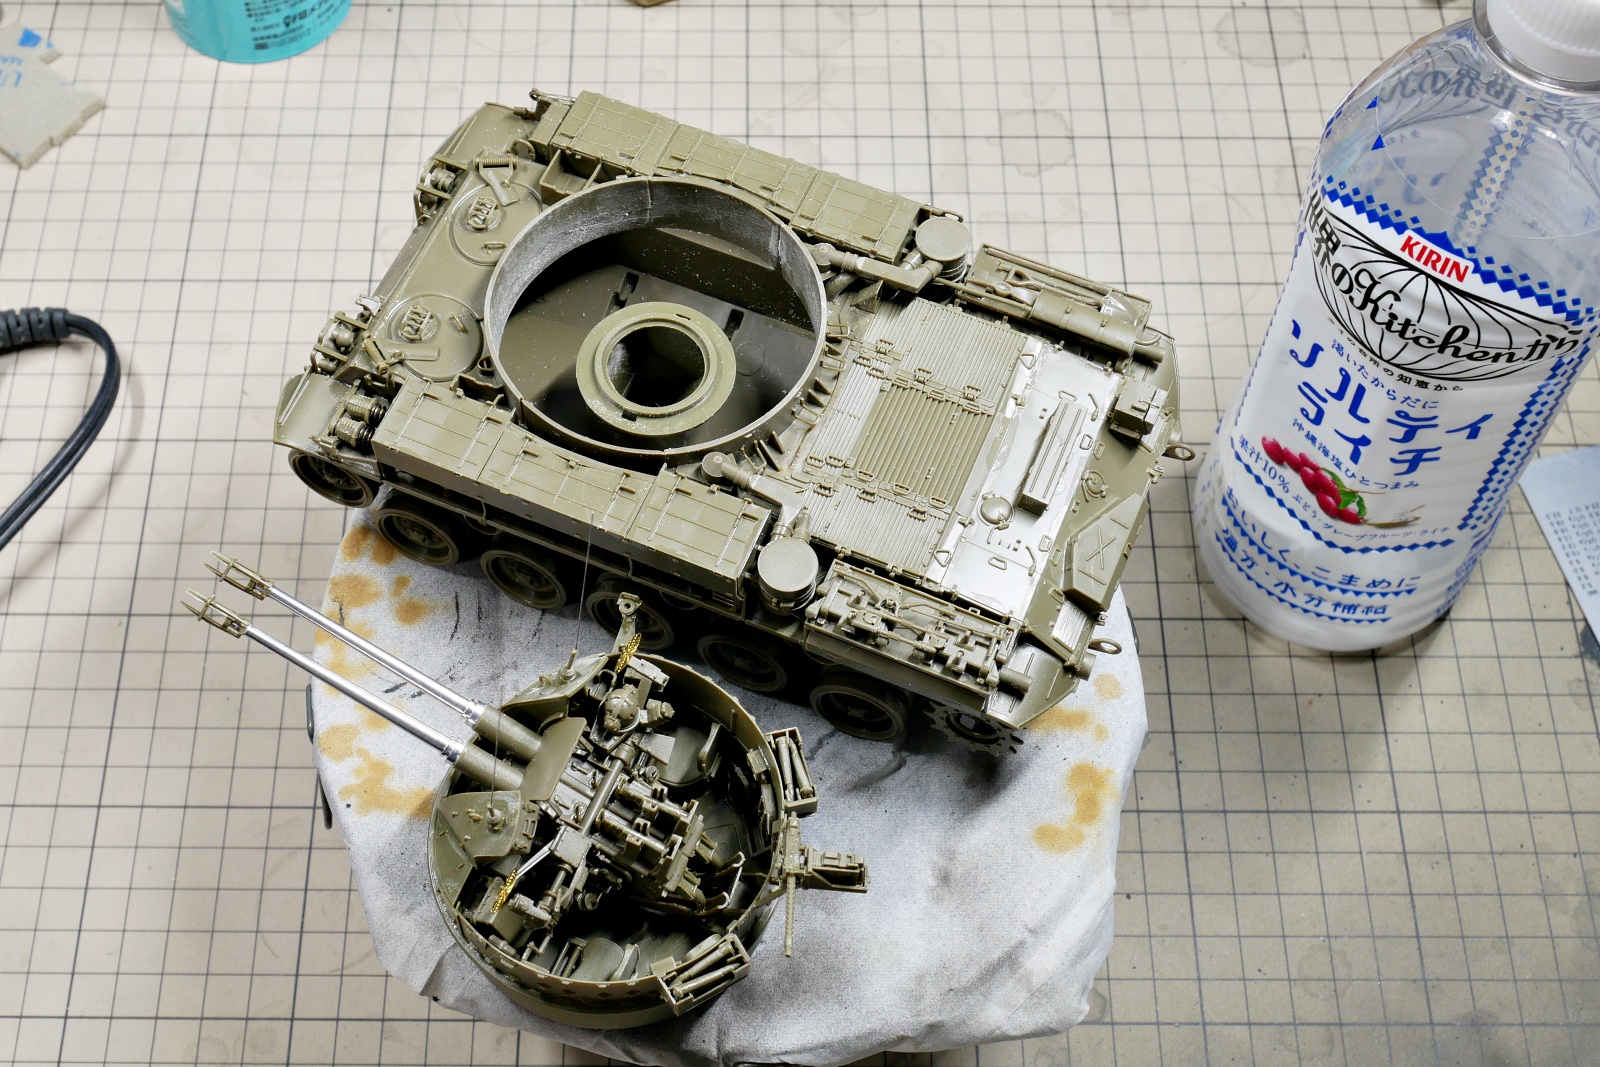
Well, the assembly is finished except for the winding of the tracks. The turret part took more time than I thought.
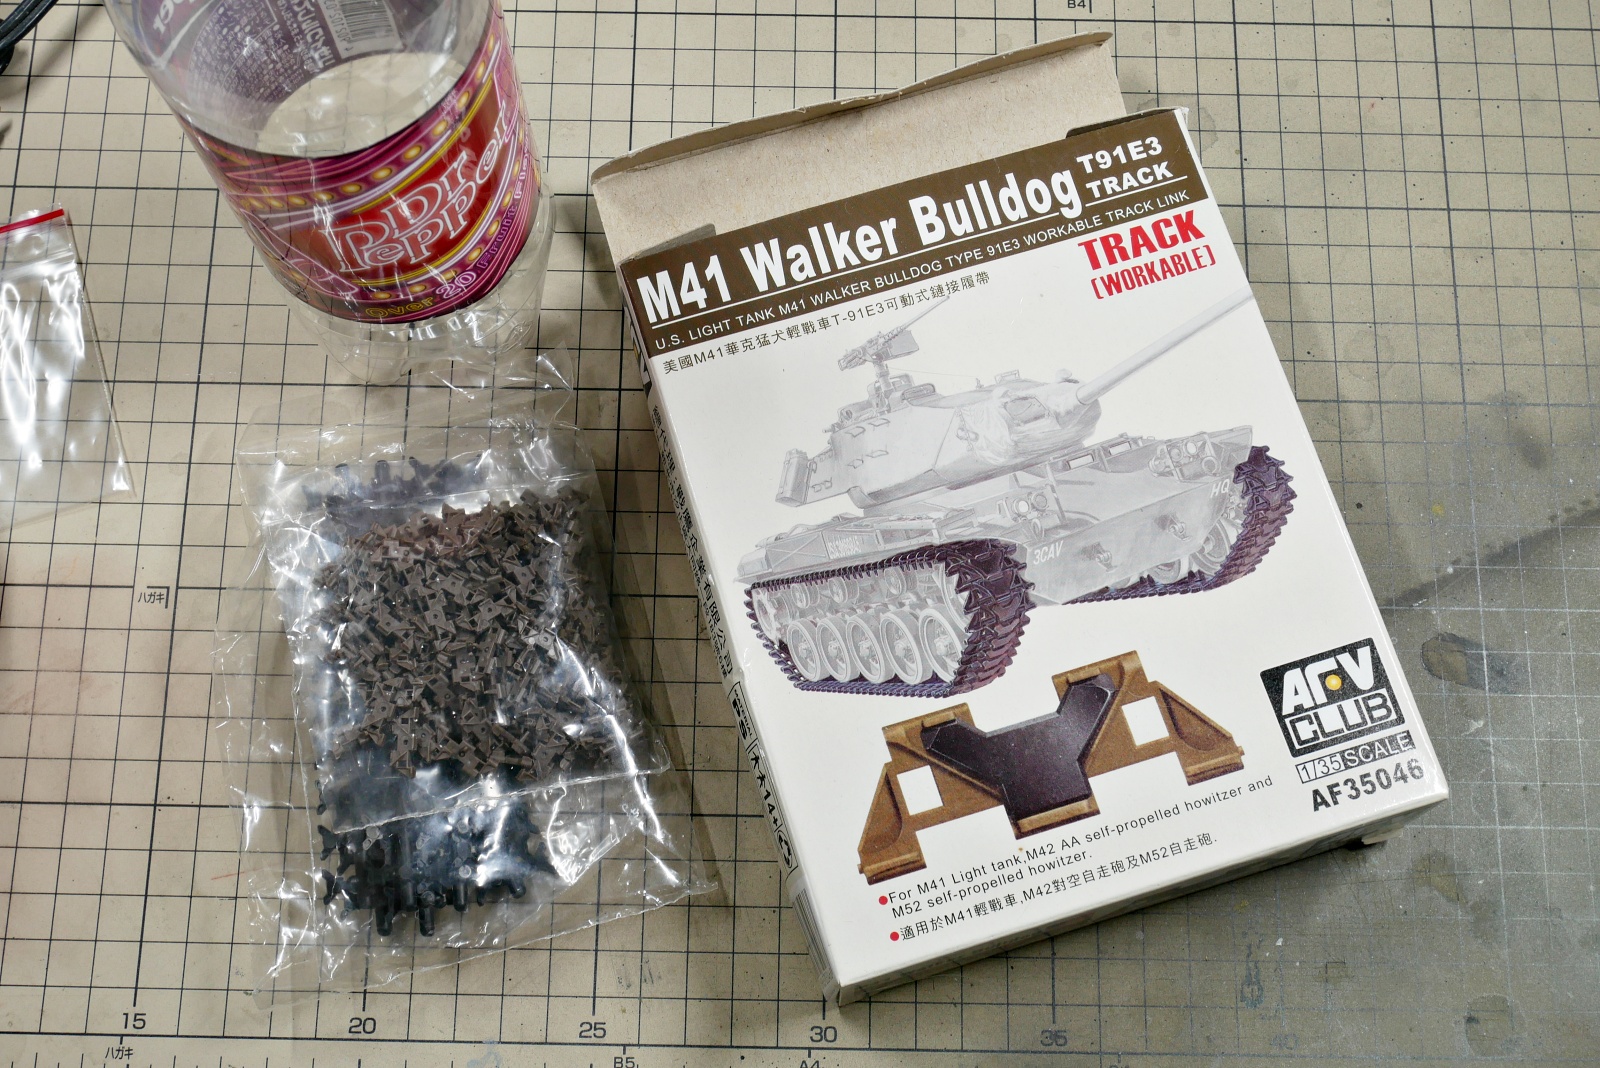
I will try to use the separately sold connecting type tracks. The belt type tracks included in the kit has a sharp mold, so I don’t think it’s a bad part. By chance, when I bought the kit a long time ago, I was very motivated and bought the connecting track as a set, so if I don’t use it here, it will be a dead stock.
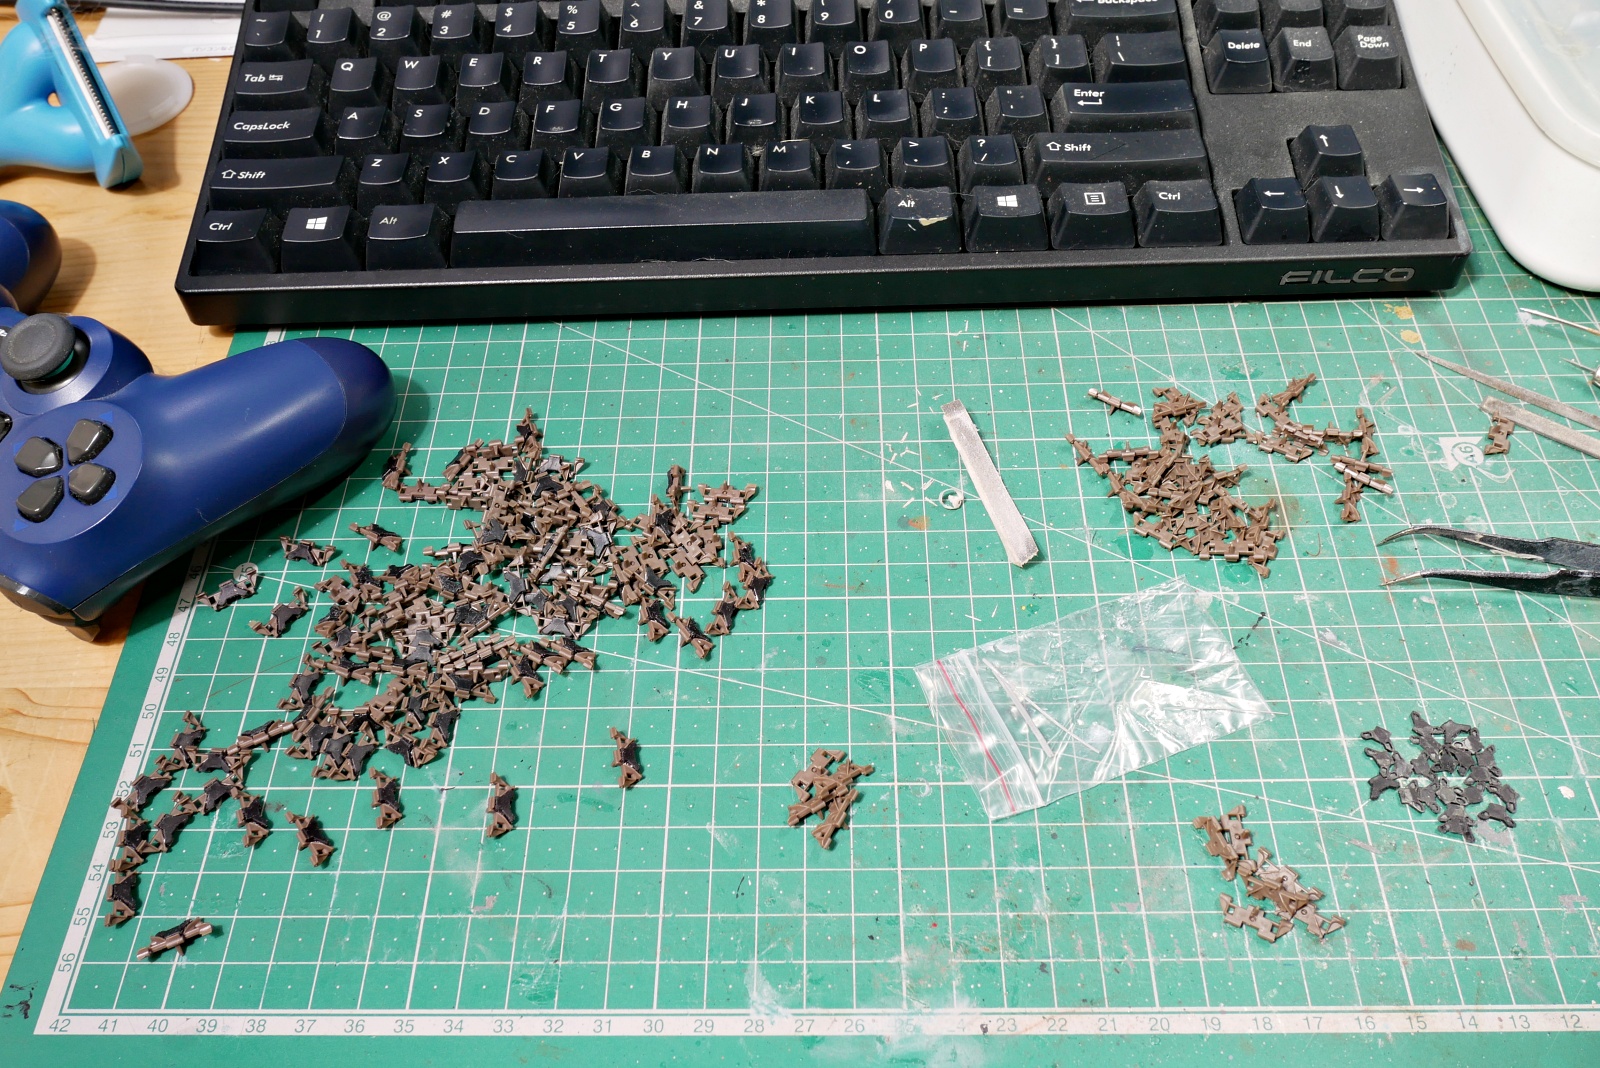
When rubber parts are attached to each frame of the connecting track, parts that do not fit properly due to burrs on the back of the rubber are shaved with a motor tool. This is a lot of work. I wonder if I did this when I built a Walker Bulldog before.
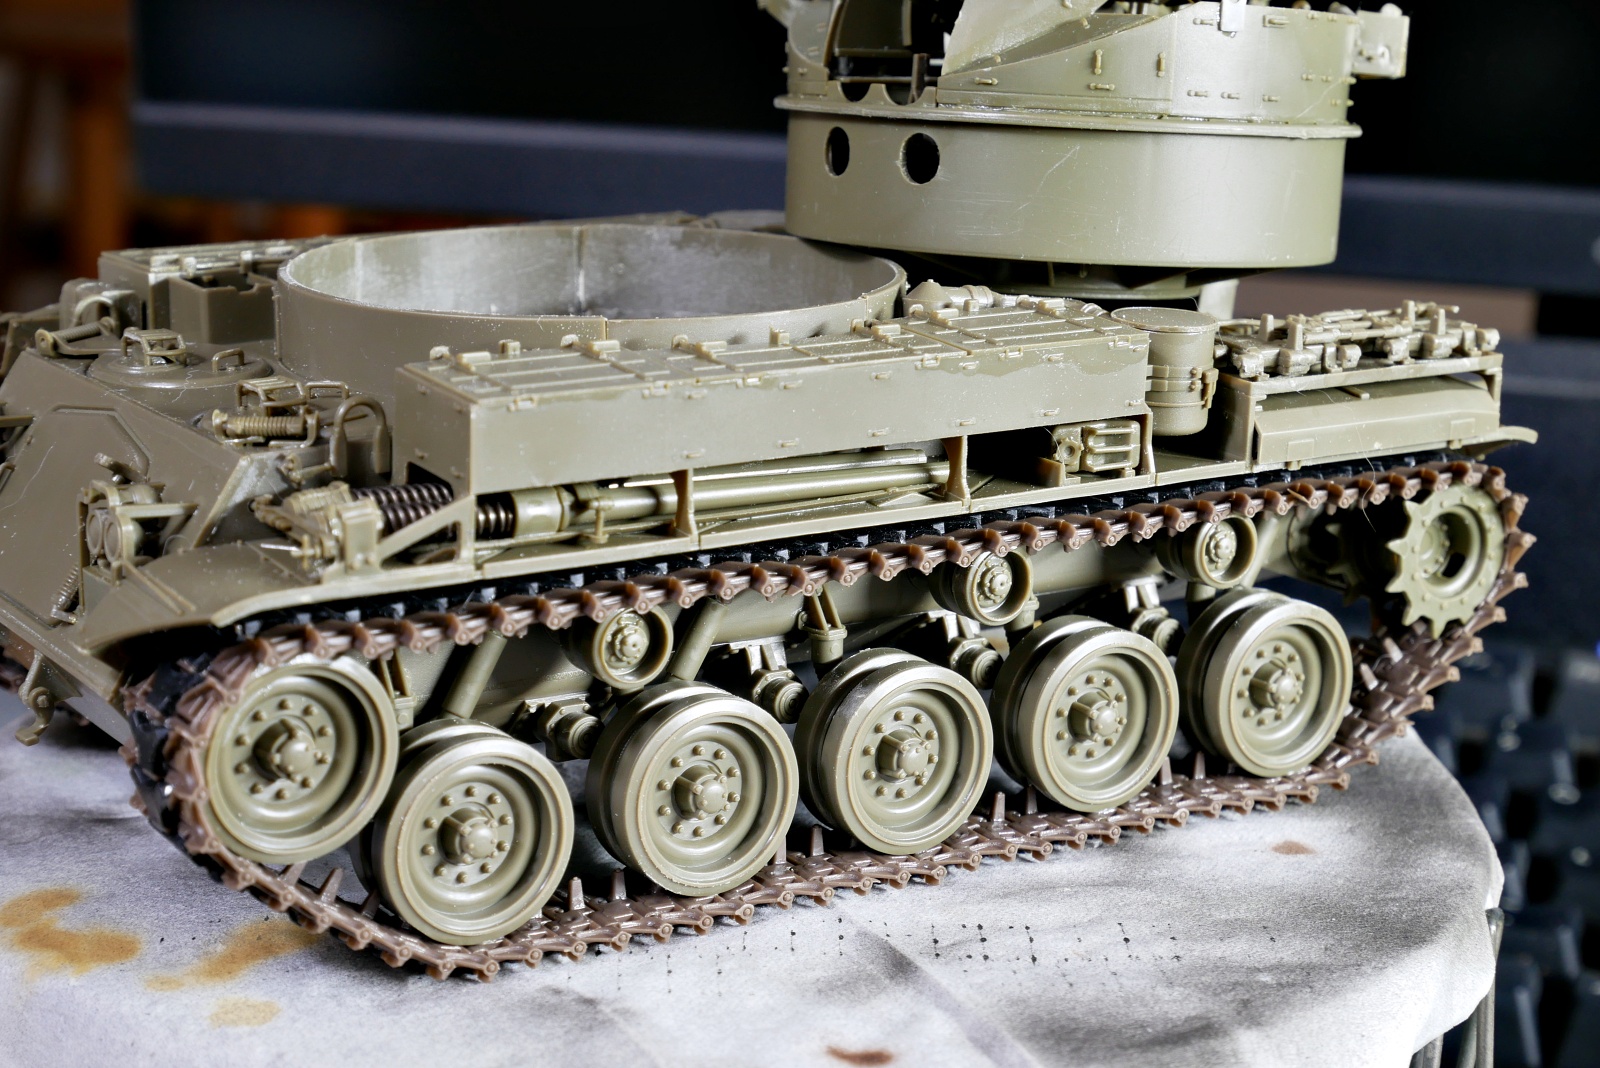
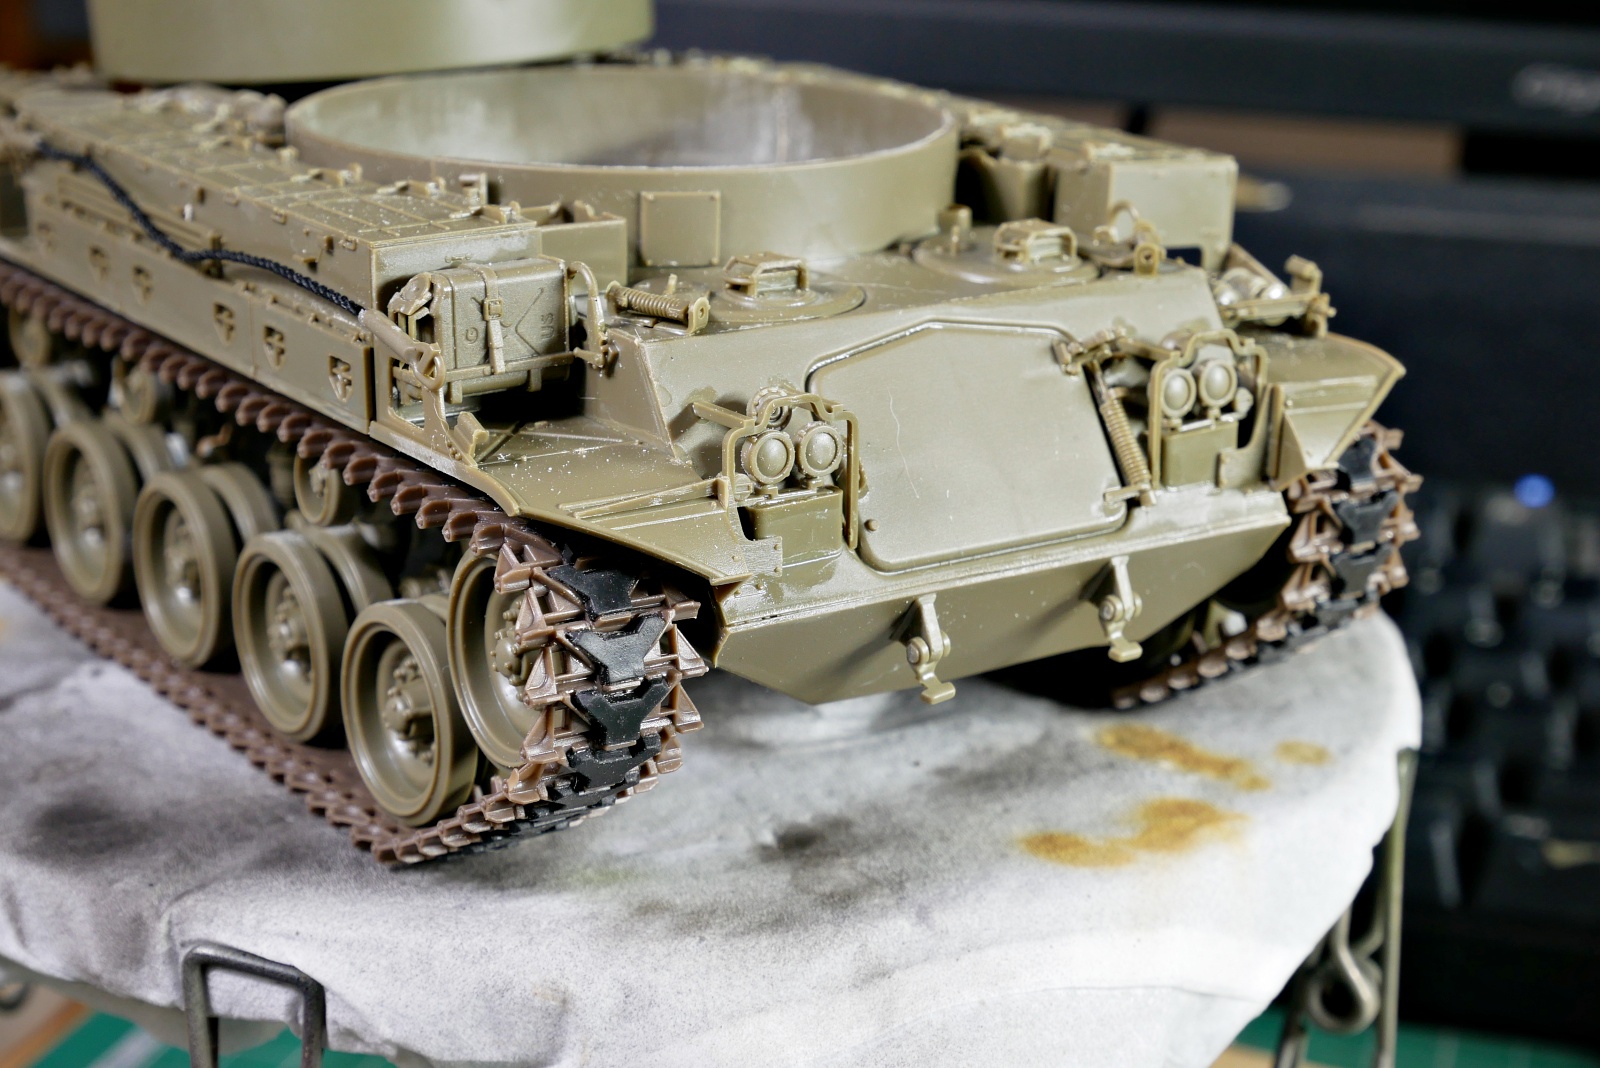
I think U.S. tanks have almost no slack in their tracks, and the ones around the upper rolling wheels are almost straight. Anyway, this track is well-made. Assembly is hard, though.
There are many tiny plastic parts in the AFV Club kit instead of the etched parts. I feel depressed during the assembly process. No matter how many parts I cut off, it doesn’t decrease, or I wonder when it will end. That’s not to say it’s not fun, but it’s more interesting if it becomes a little more smooth. Do those people enjoy making Tamiya?
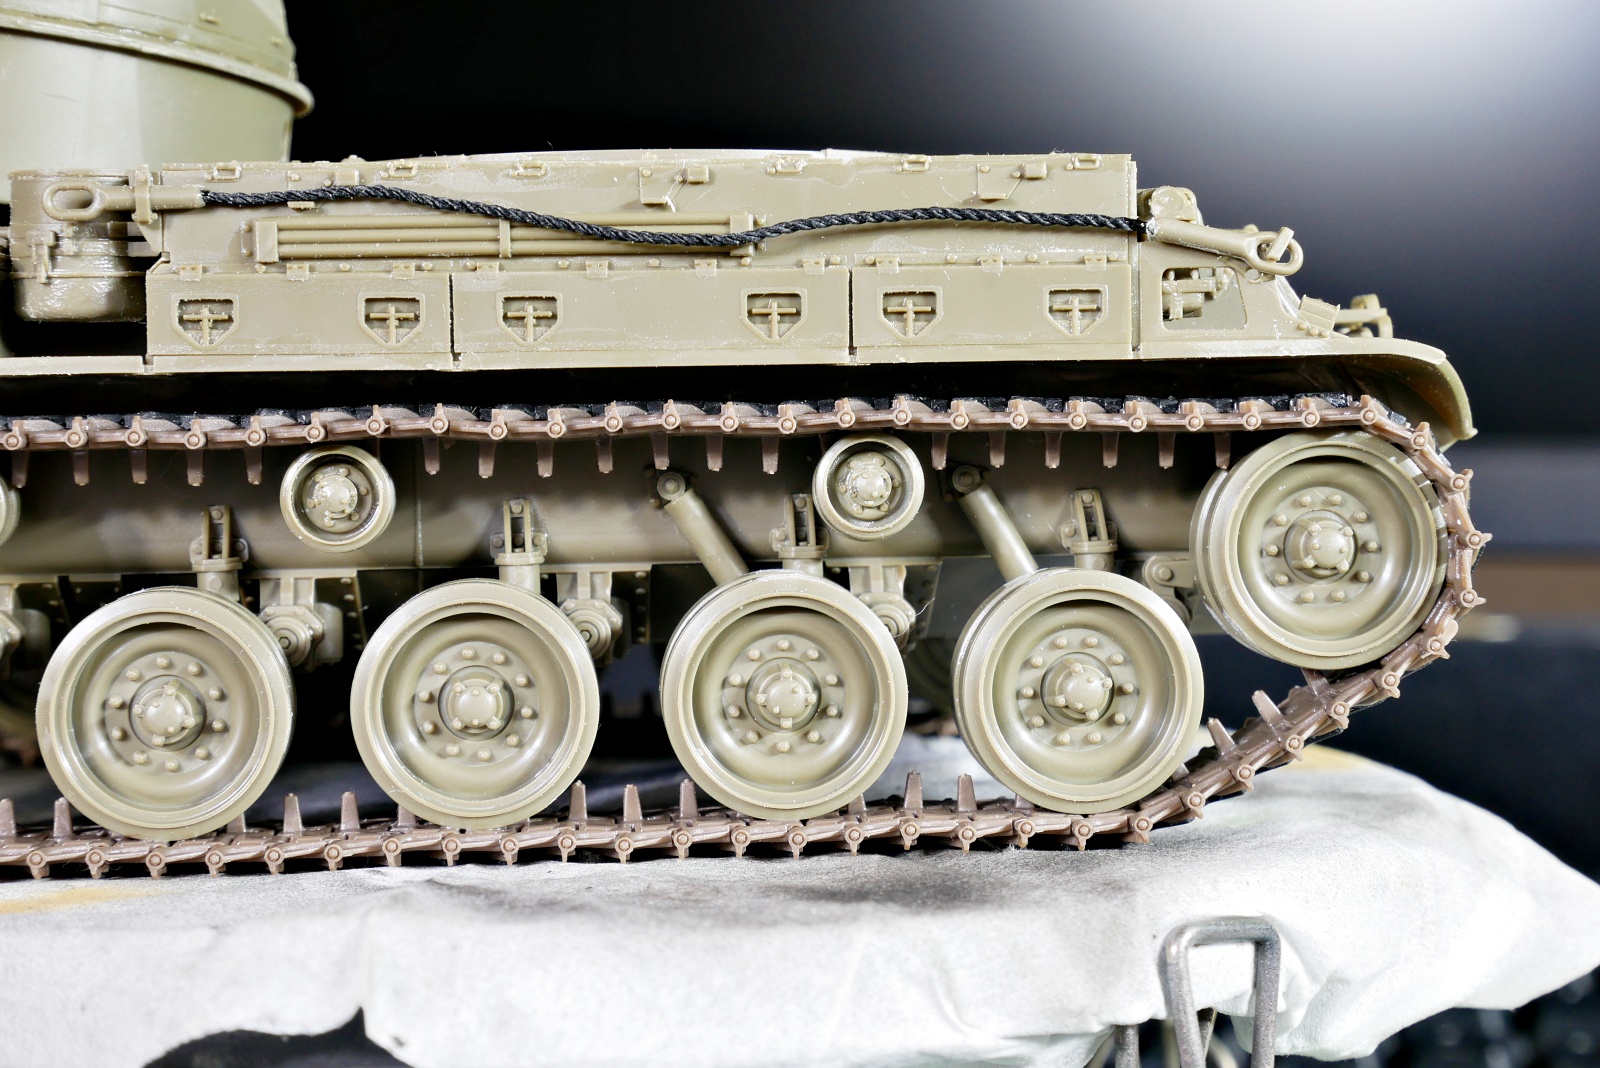
There were some mistakes and omissions in the part numbers in the assembly manual, so it took time to examine various runners in detail.

When I wrapped the tracks, it looked realistic and nice, so I took many photos.
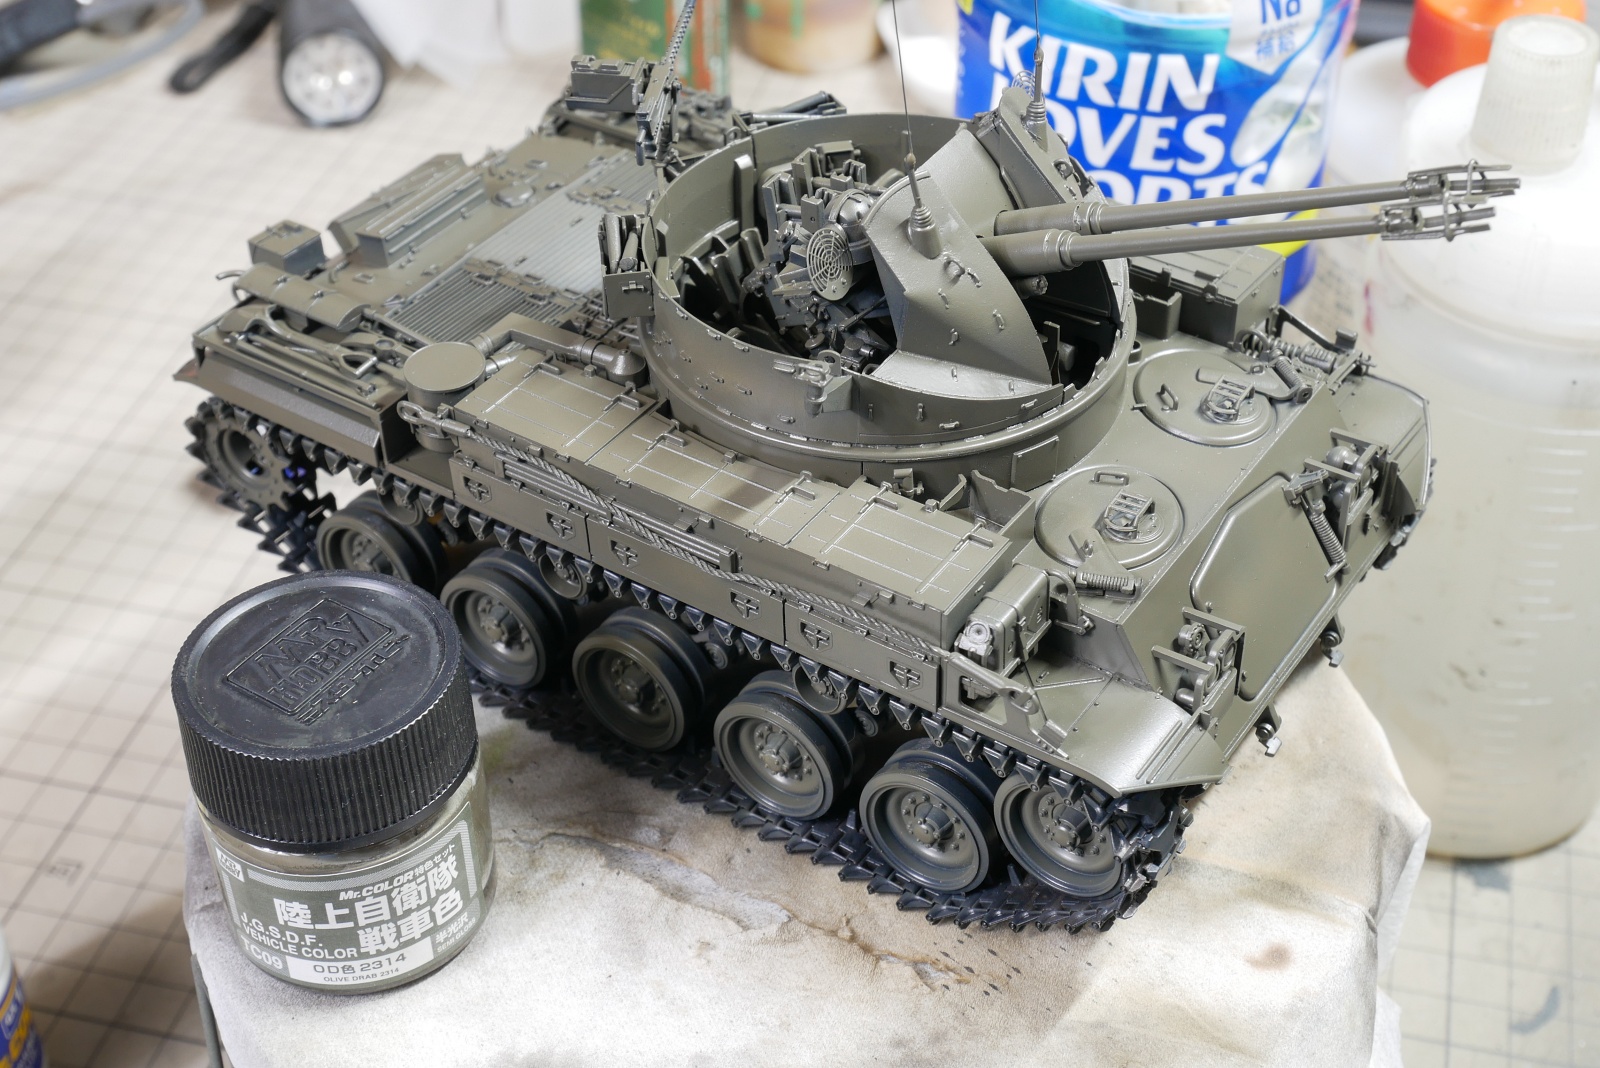
After undercoating it with black, I painted it with Cleos Ground Self-Defense Force tank color OD color 2314.
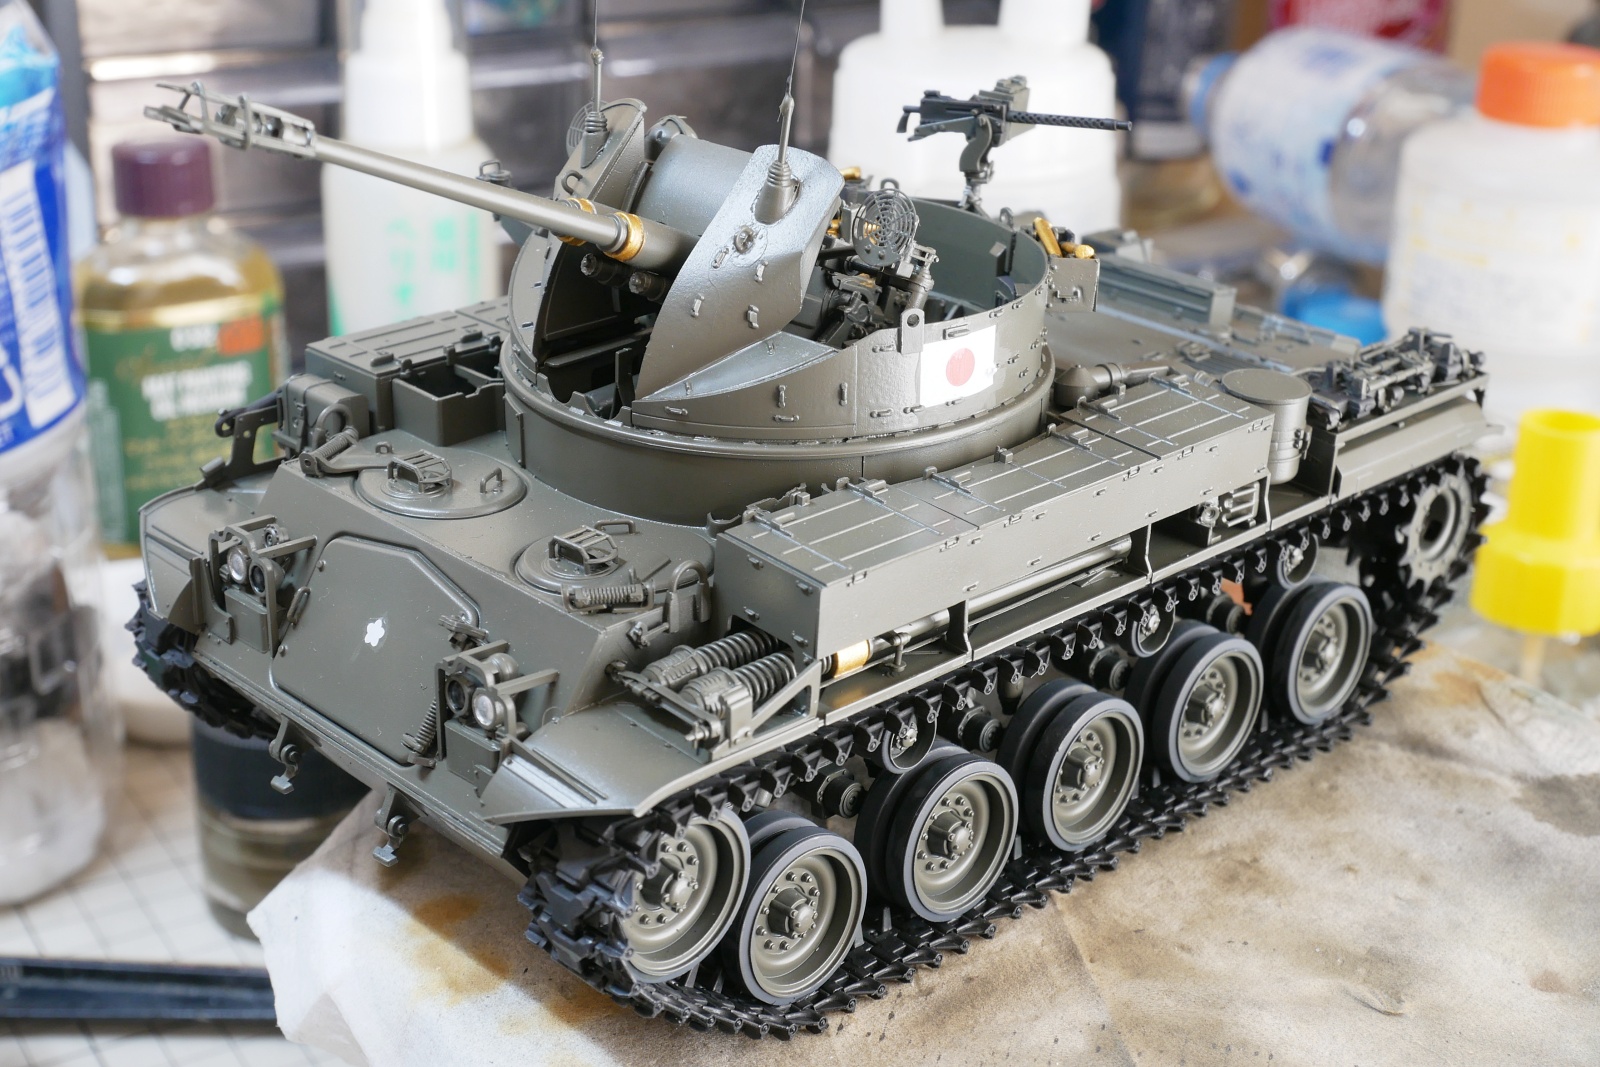
I’m attaching decals and brushing small parts.
(2024/12/06)
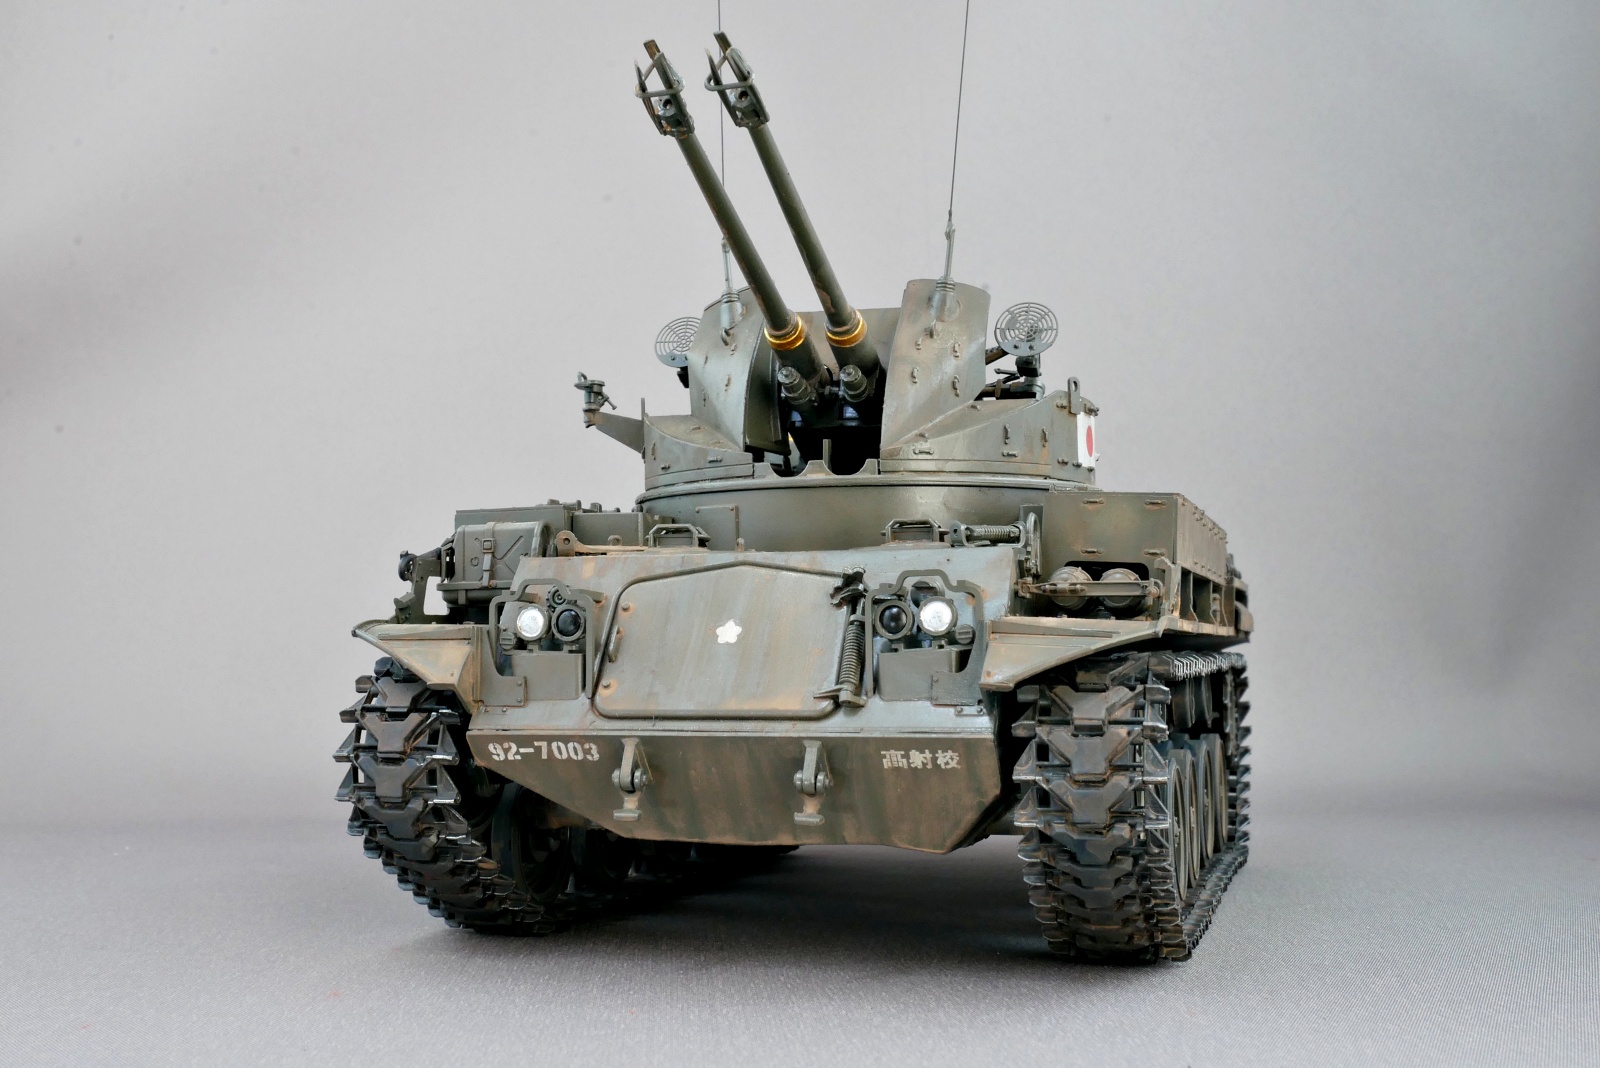
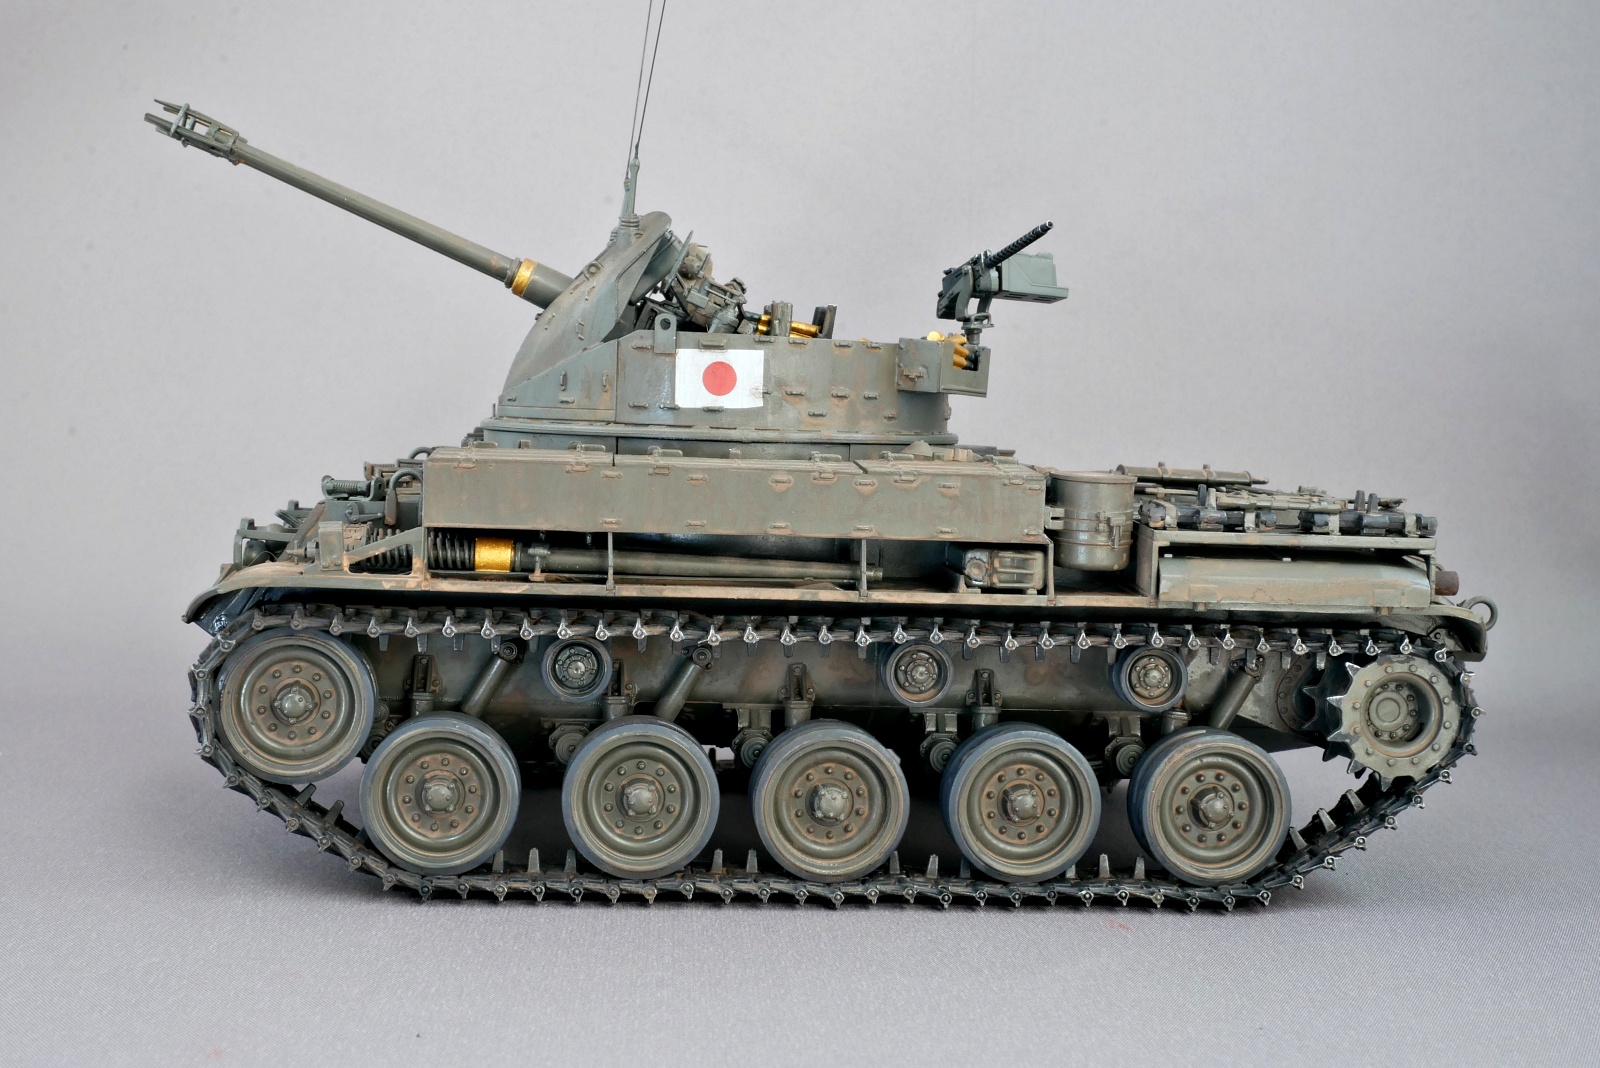
The M42 Anti-Aircraft Gun Duster is now complete. This time, I chose the Japan Ground Self-Defense Force vehicles as they are marking. In addition, decals have been prepared so that citizens who have feelings for each country, such as the U.S. Army, the Taiwanese Army, and the West German Army, can make them with their own vehicles.
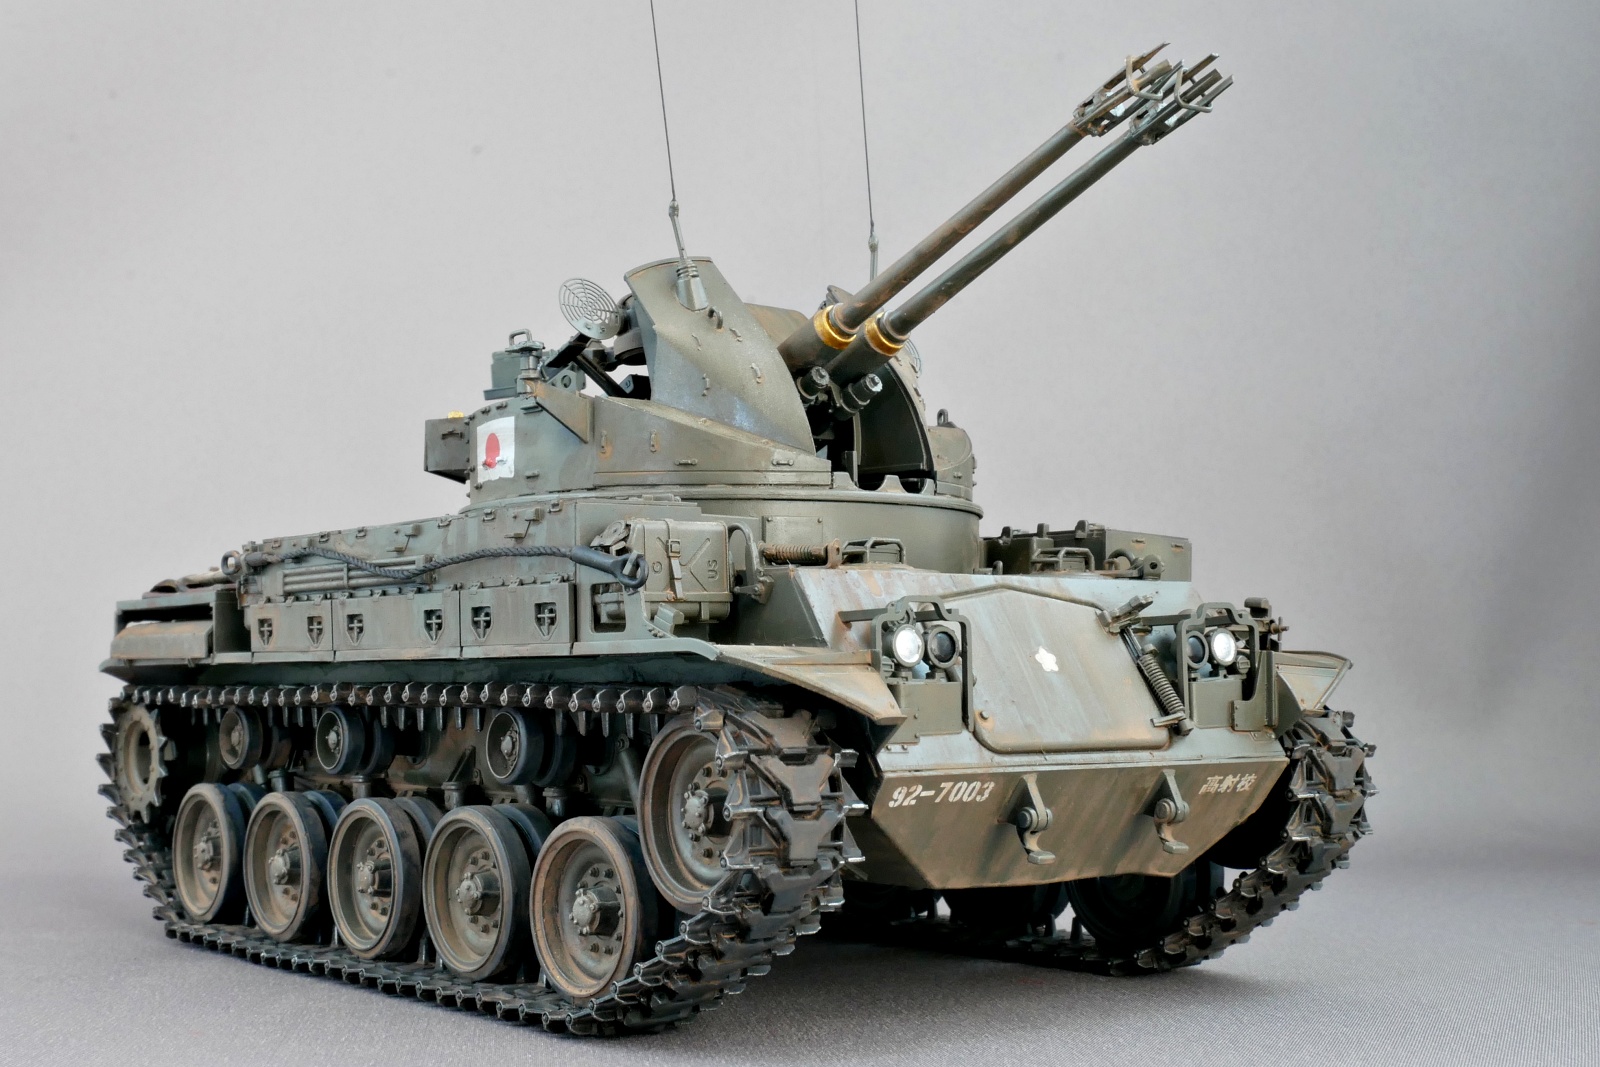
This time, it is a vehicle of the base in Chiba prefecture where the anti-aircraft training school of the Ground Self-Defense Force is located, and the period is 70’s. The description says only Chiba Prefecture, but it must be Shimoshizu Garrison in Chiba City. I also wanted to make it as a vehicle of the Seventh Division, but I wonder if the one with the Japanese flag as the nationality mark is a vehicle of the anti-aircraft school. However, many of the kit descriptions are not reliable, so we can put them up as we like.
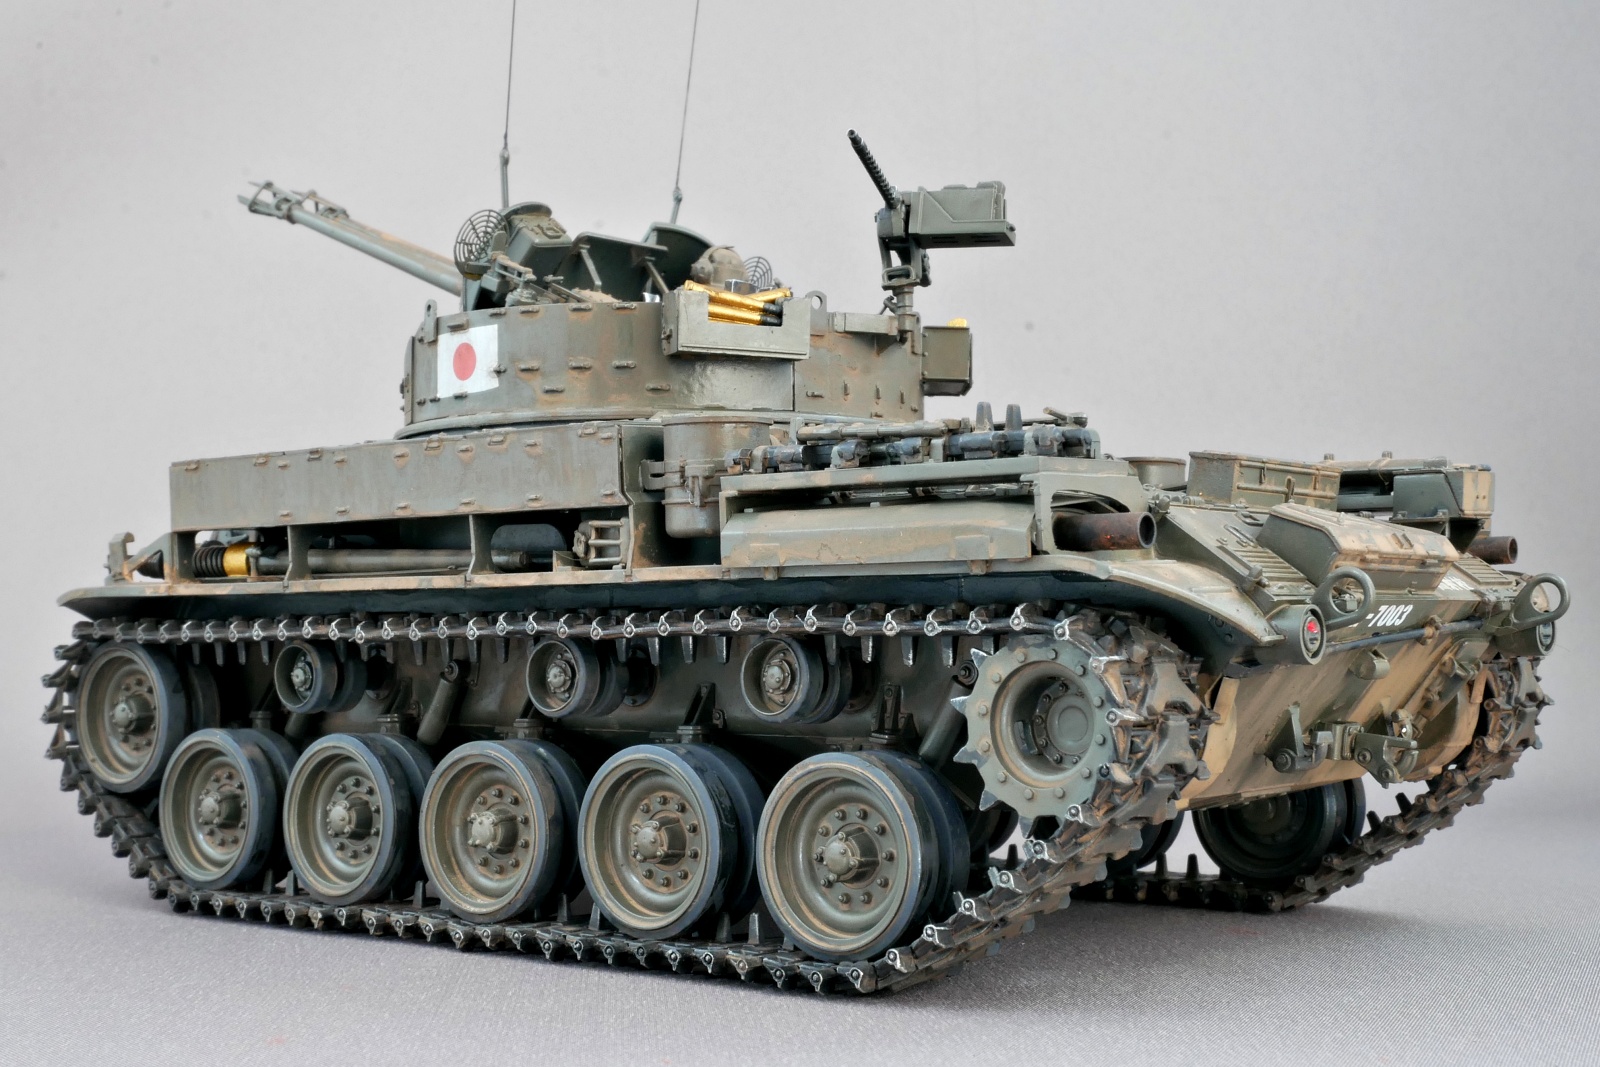
I used the separately sold connecting footwear from AFV Club this time, so it was good that the footwear felt sturdy.
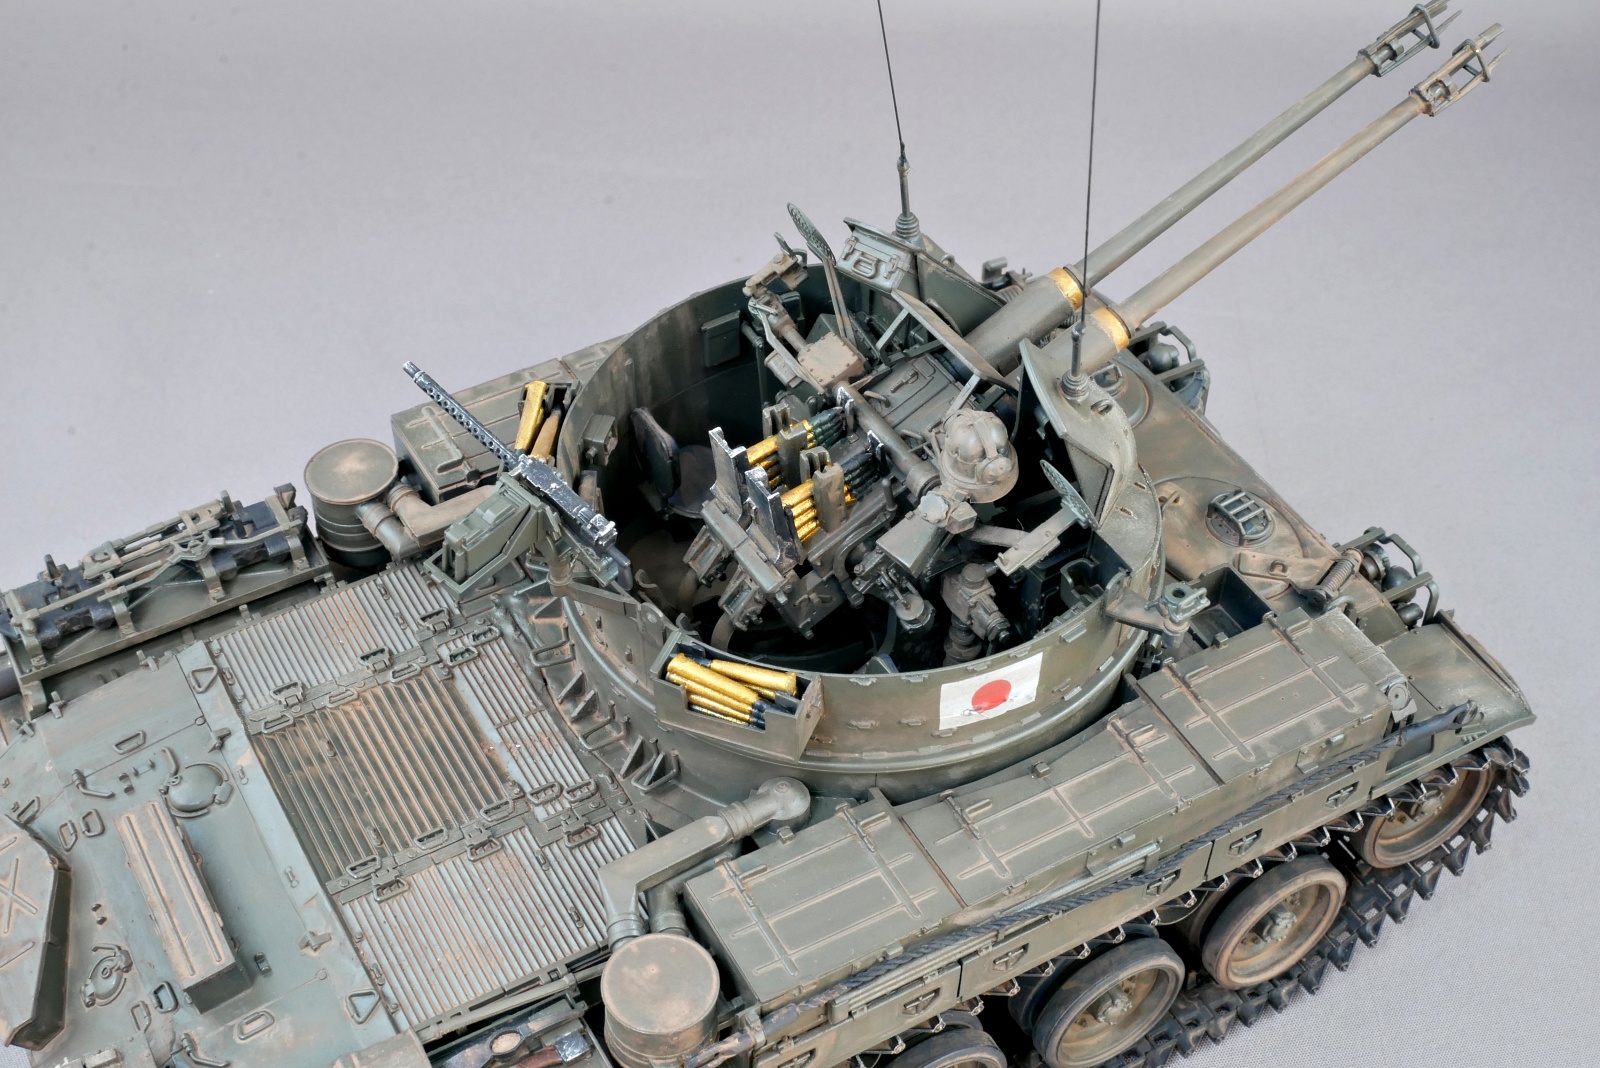
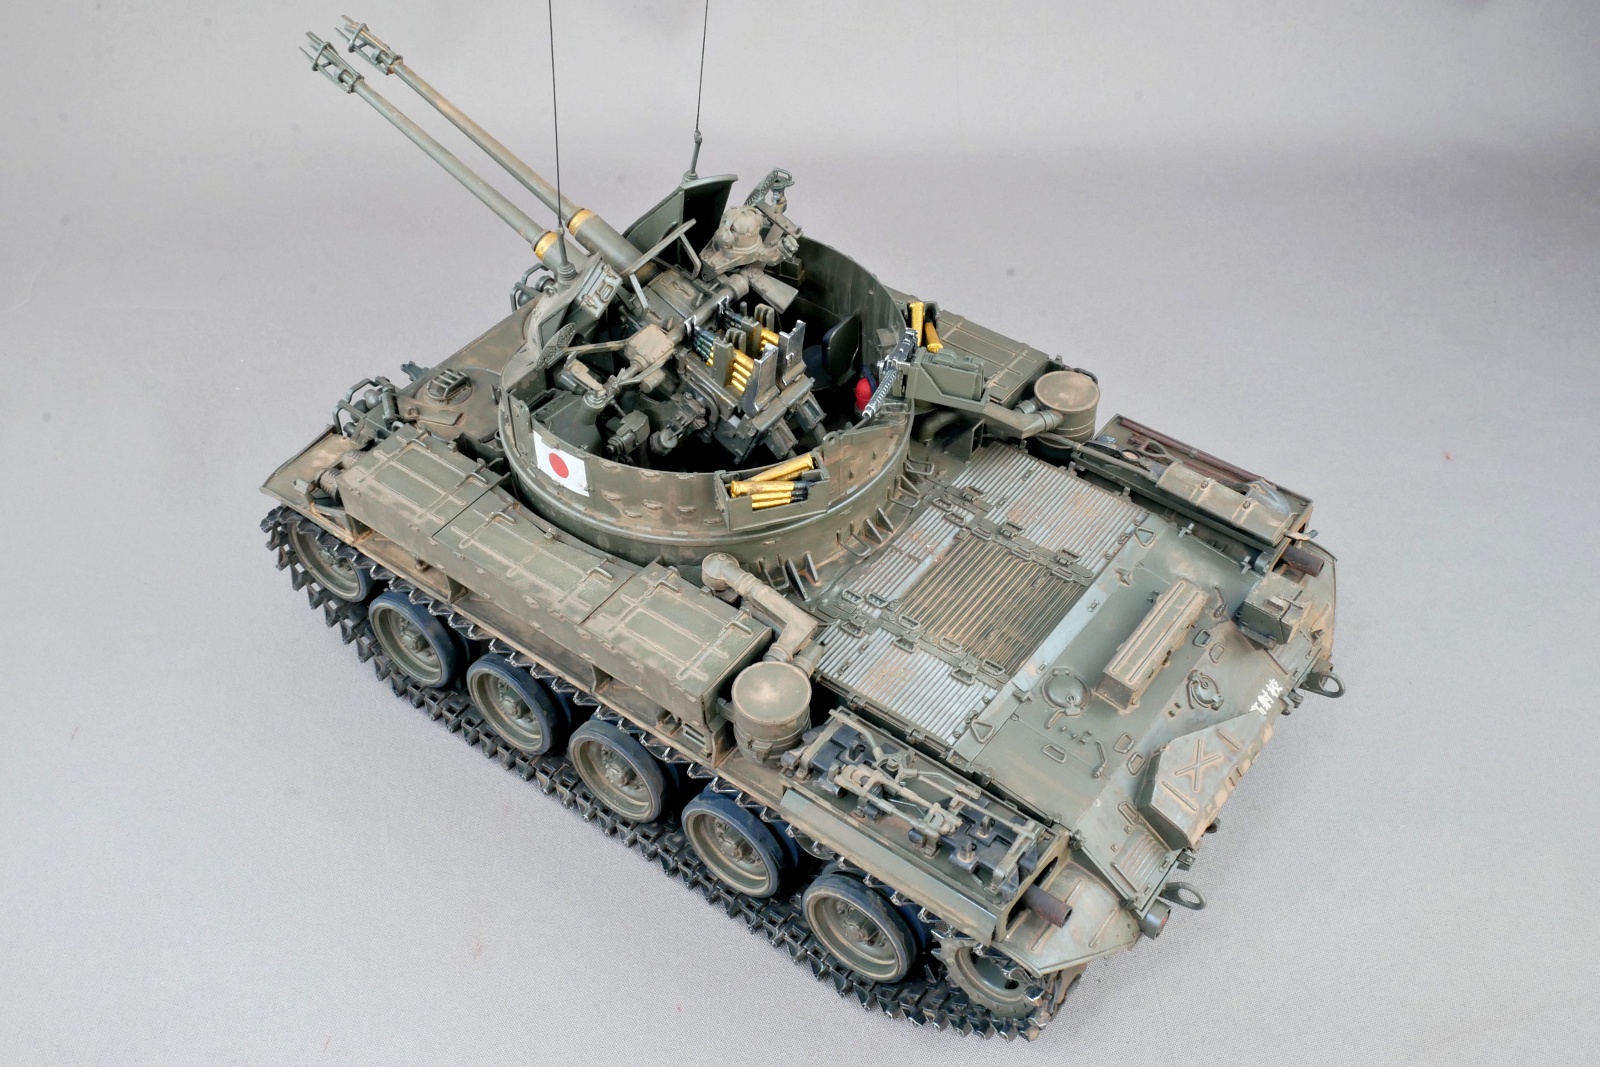
The turret seems to have a gunner, a aiming man and 2 other loaders, so 4 people are operating in such a narrow open-top turret. It’s quite tight. They always stay together in a small space, so if they are directly hit, 4 people will be killed or injured and the damage will be big. They may be camouflaged with camouflage nets. By the way, there are 6 crew members. If one is a vehicle driver, what is the other? Maybe a firing commander.

They were deployed to the Vietnam War in the early 1960s, but they were active in defense of strongholds and escorting transport units rather than in anti-aircraft missions. It would look cool if it was made with the use of the U.S. Army, and lined up with the infantry during the Vietnam War. Because it is a 40 mm machine gun, it is very powerful even in a ground attack. Compared to the familiar German 37 mm anti-tank artillery from WWII era, 2 machine guns with greater firepower were mounted. Even at this time, the evolution of weapons is amazing. Not long after World War II.
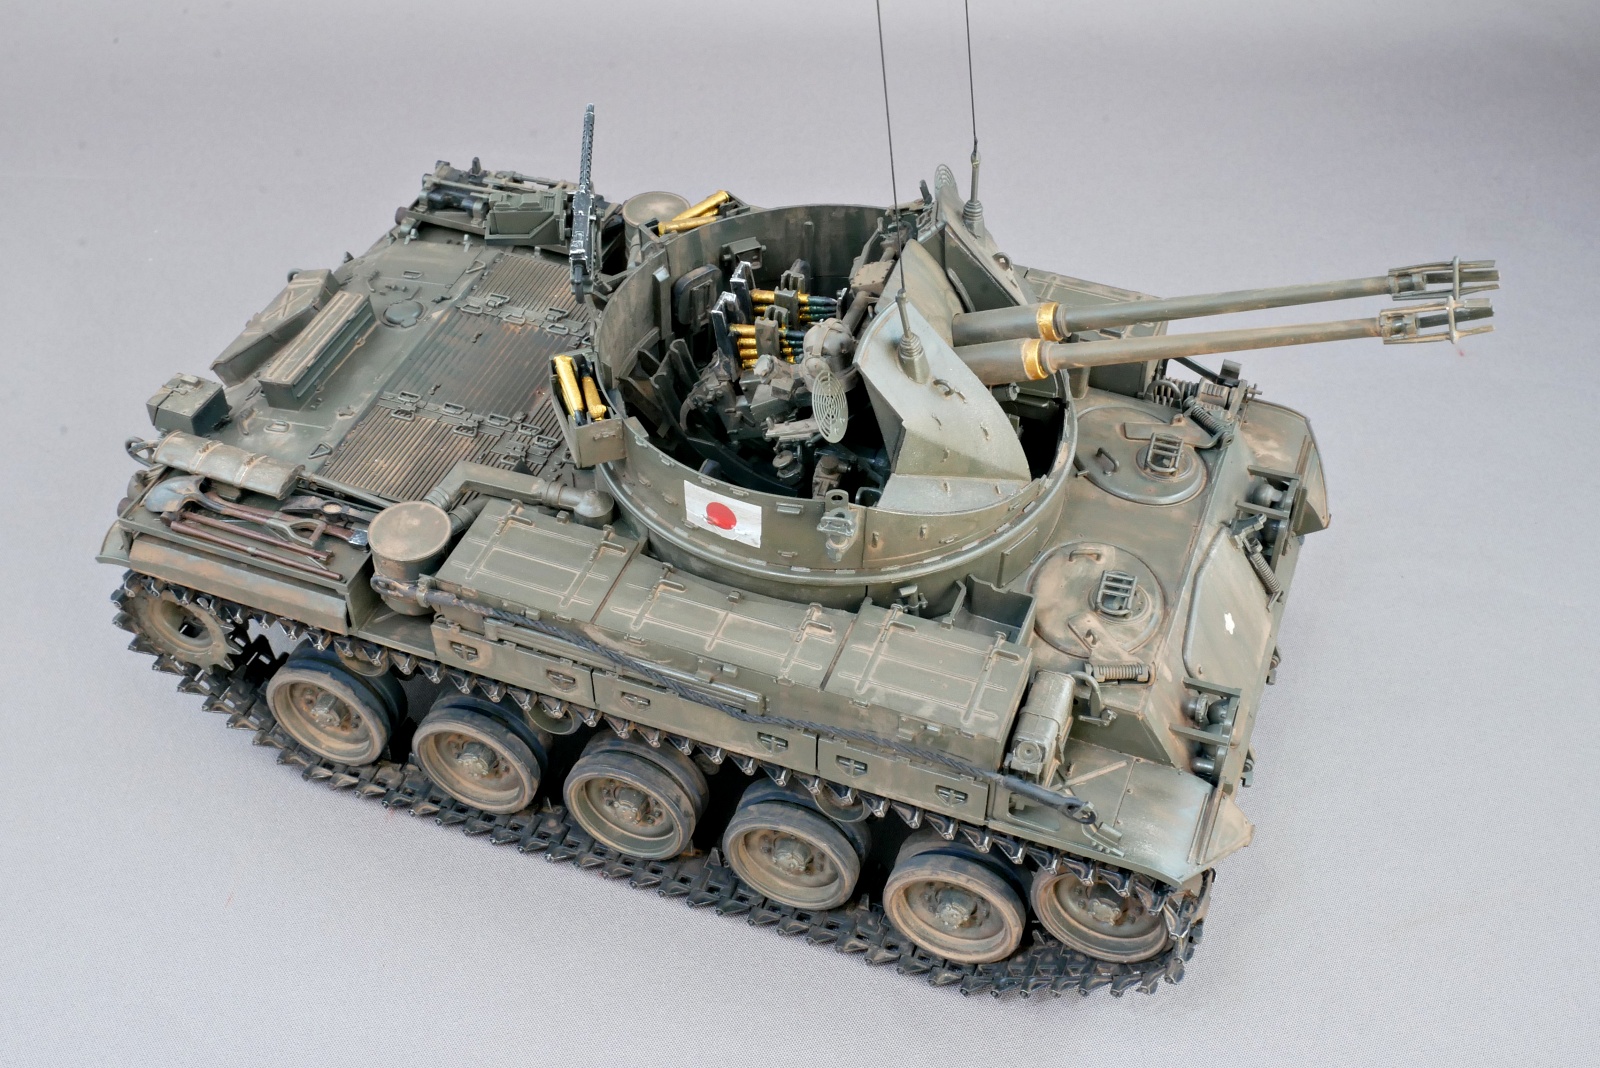
The brass color stands out because many shells are stocked in the turret. The warhead was painted black or olive drab to look like it.
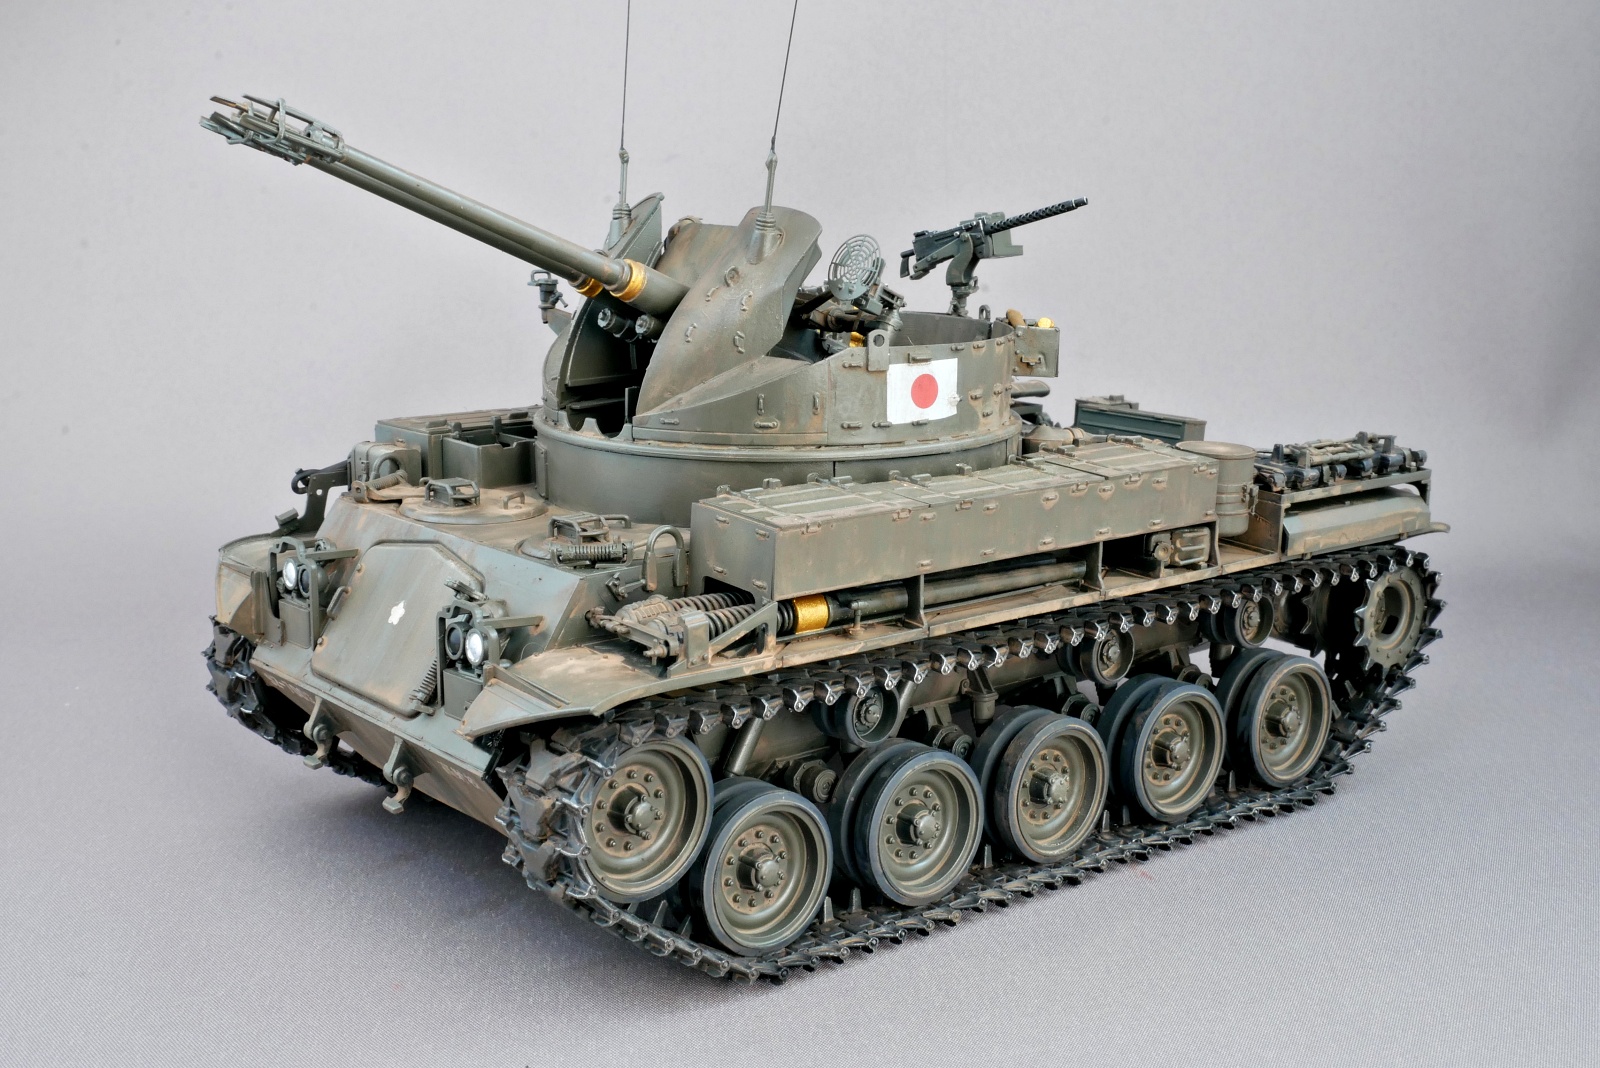
I washed it at the end of the painting and used it with a little rain drop expression. Since it is completed by itself, it might be better not to make too much dirty.
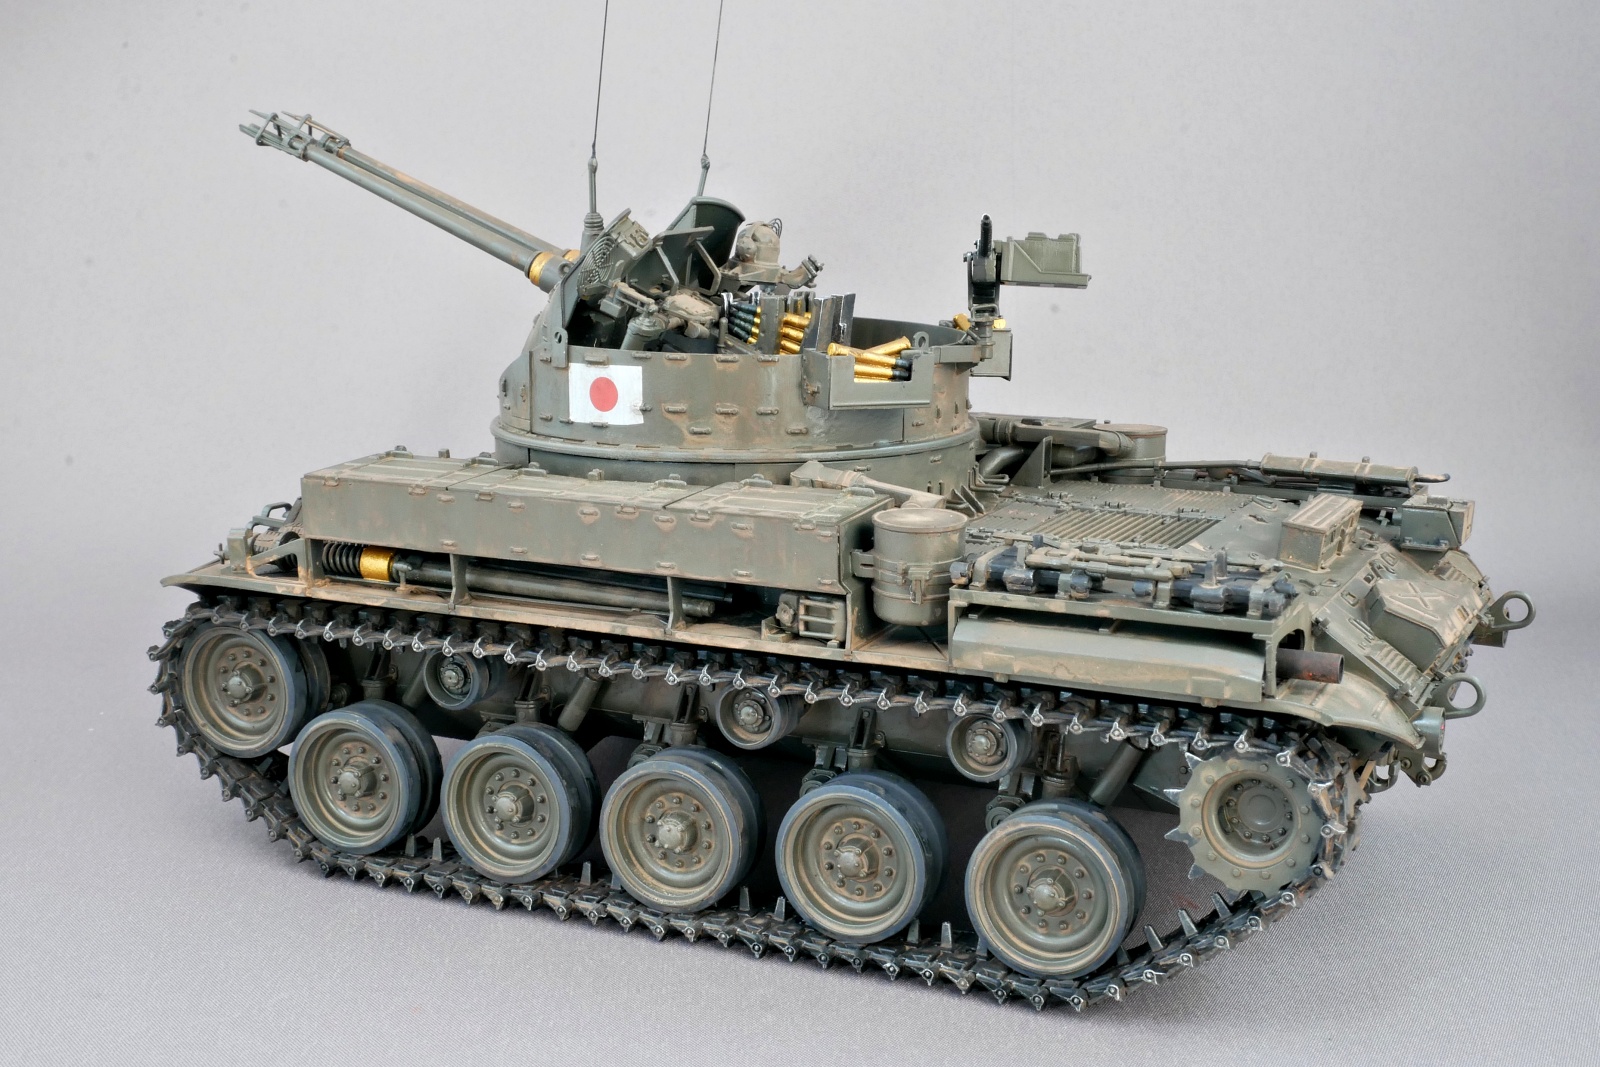
In this kit, the compact turret took more time to assemble than the body. I think the belt type footwear that comes with the kit is very good. This time I replaced it with a connecting type, so it was rather hard to assemble it.
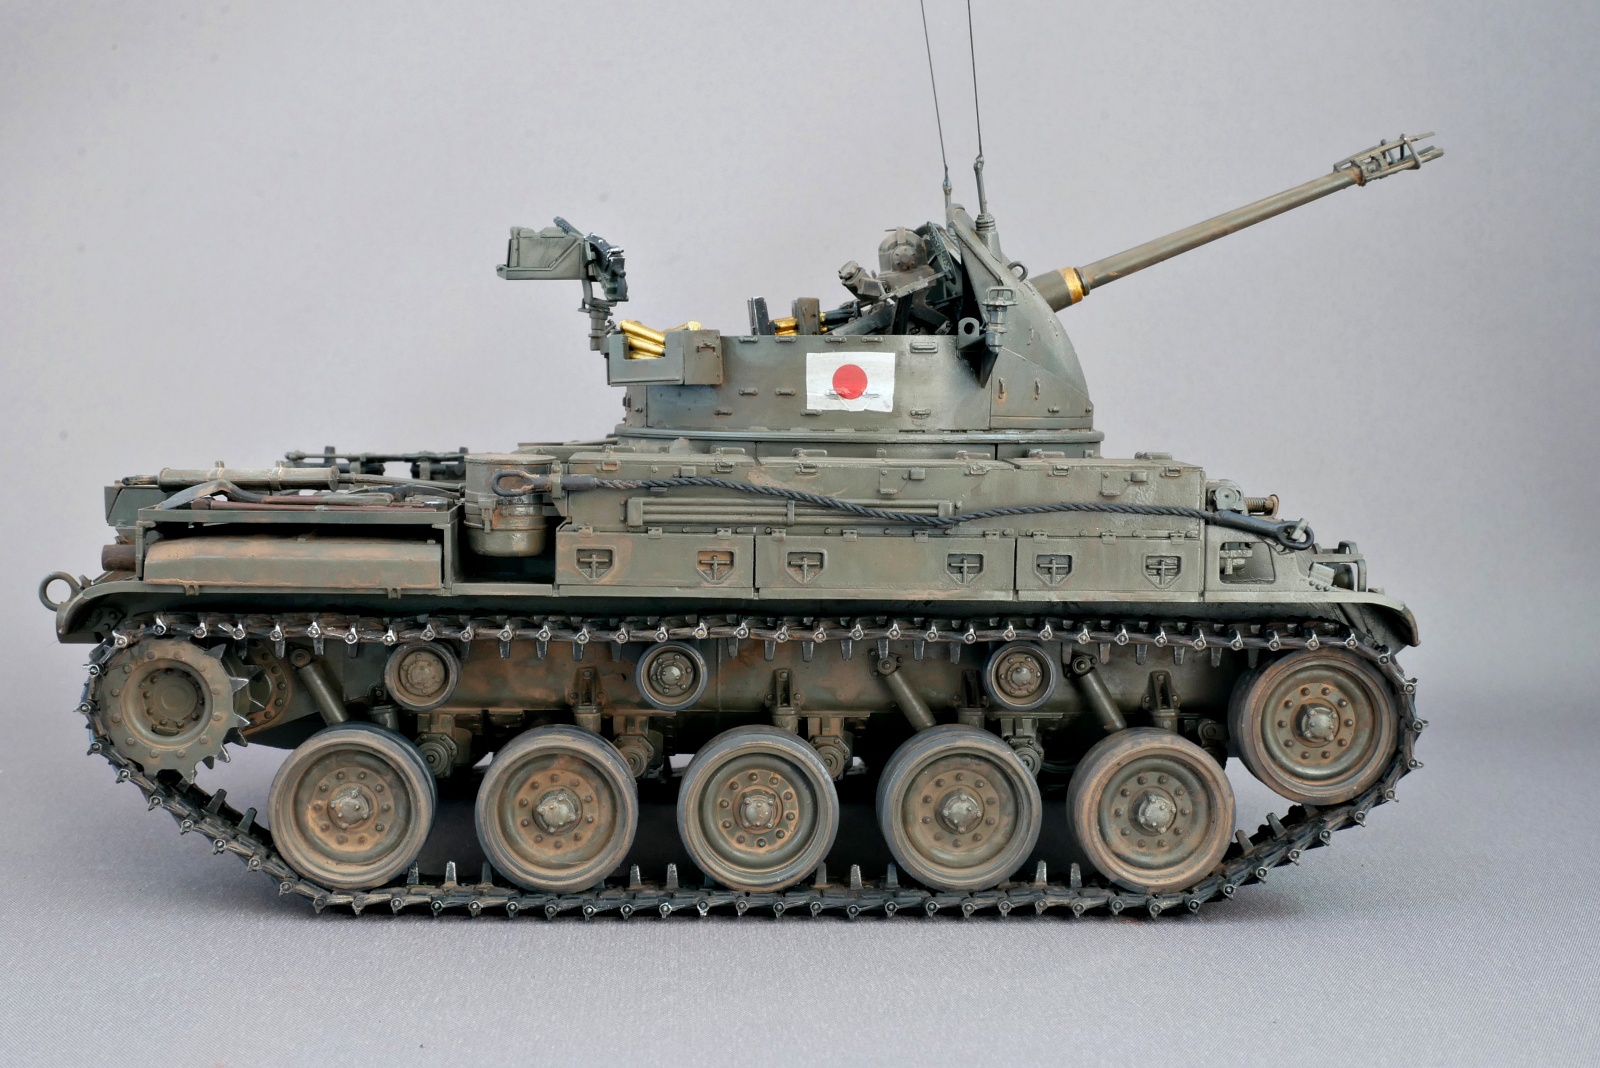
It is quite rare to make a Japan Ground Self-Defense Force vehicle outside of Finemolds and Tamiya. Come to think of it, there were some Pit-road kits with Trumpeter inside. Maybe I don’t think I have them. I have a stock of Bronco Chaffee and I would like to try it next time because it can be made for the Self-Defense Forces.
(2024/12/10)

