It is an antitank gun of the British army. I made it from May 2012 to December 2012.
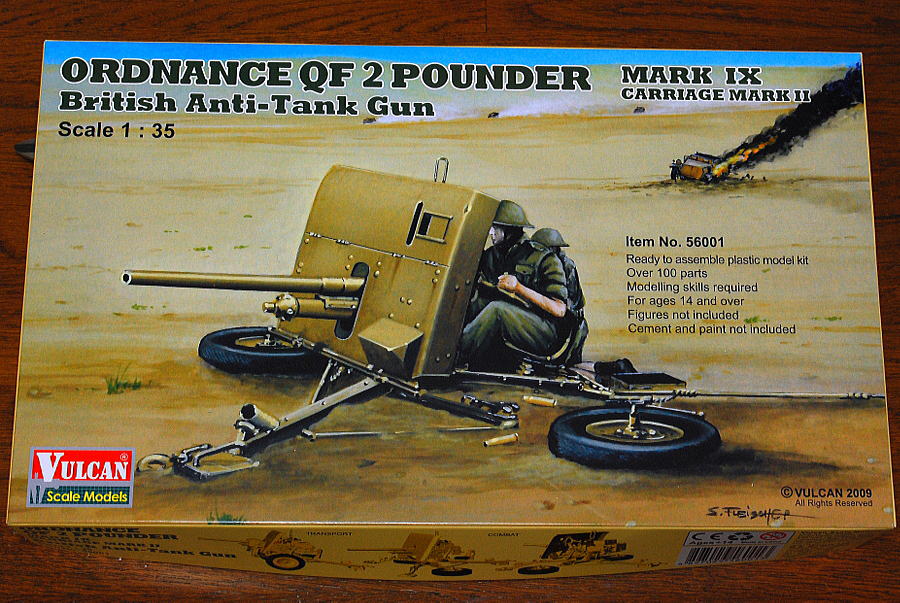 Trying to assemble Ordnance 2 pounder, it seems so easy. Vulcan Scale Models is a new emerging manufacturer located in Hong Kong. I wonder why they selected this pretty minor item for the first product. Box art of combat position looks cool.
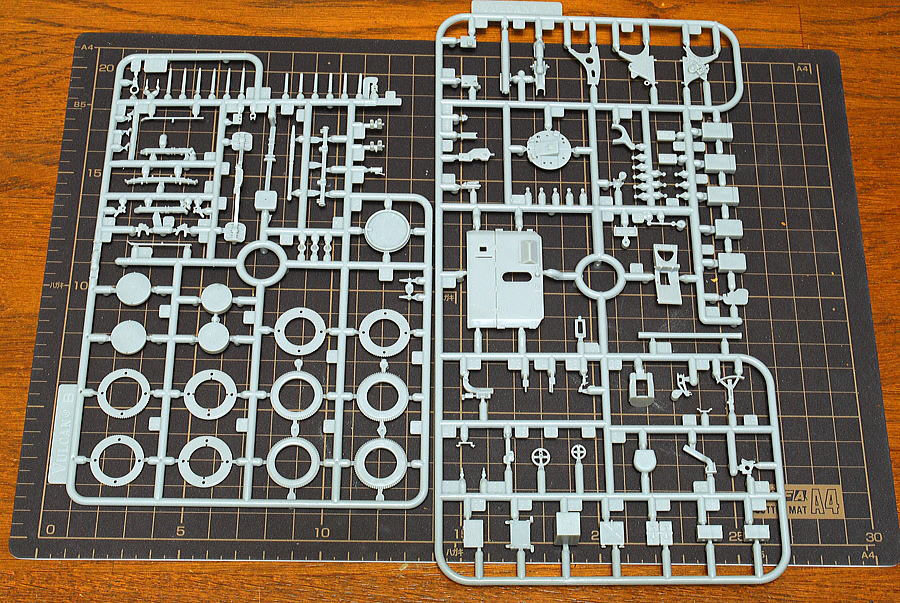 Anti-tank cannon is simple; there are fewer parts composition than tanks or half trucks. Some of the shell boxes have sink marks, but I think these are easily fixed by putty. Overall, they are well-molded for the first product.
(29-May-2012)
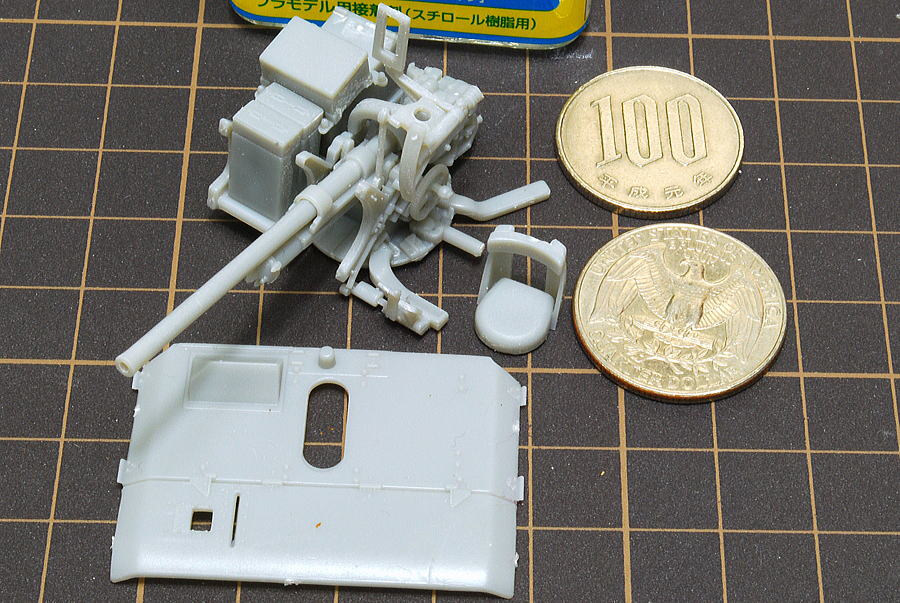 I had to do a holiday working for account closing, but I assembled it a little anyway. Please compare the US dollar quarter coin and one hundred Japanese Yen coin for size comparison. Oh, I will have to work tomorrow, too, sigh…
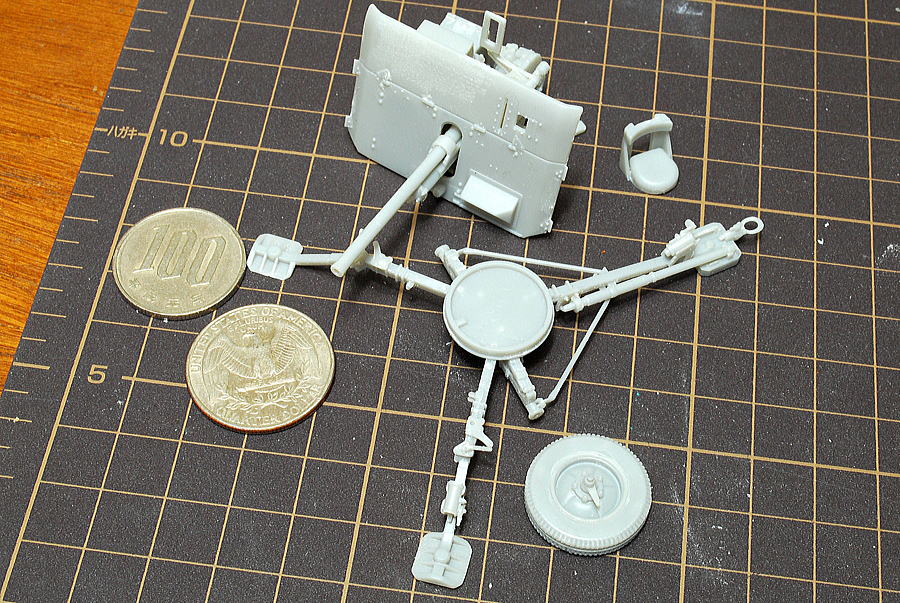 Attached is a large cannon shield and stand. Tires are divided into thin-layered parts, and I need to care not too much glue using; it spoils detailed tire mold. Remain apart the gunner’s chair for fitting figures later.
(2-June-2012)
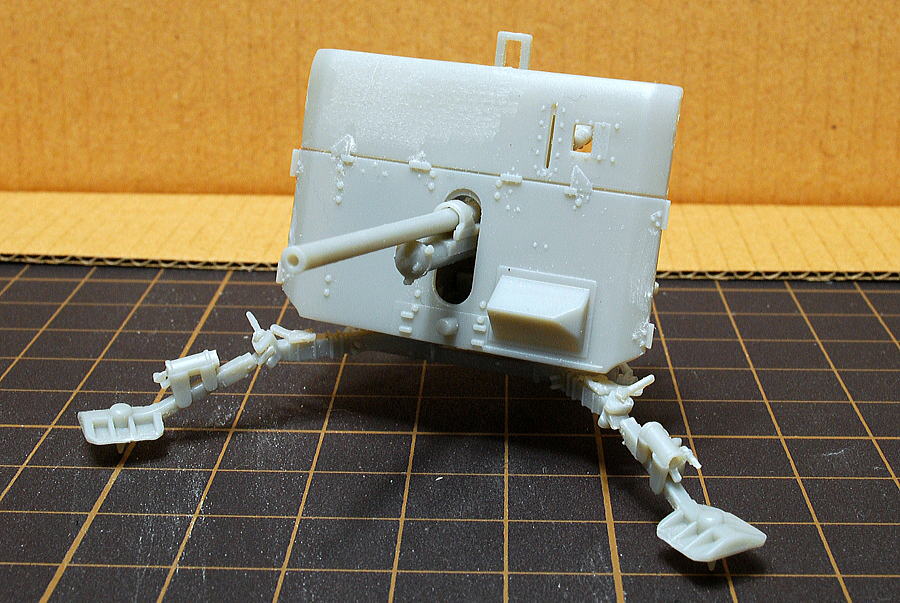 Assembly was almost completed. The foot of the artillery carriage is equipped with sharp metal fittings such as fixed embedded in the ground. It is not so much strong when viewed from the front. I’m a generation that became familiar with robot animation; I feel like it’s starting to walk at any moment.
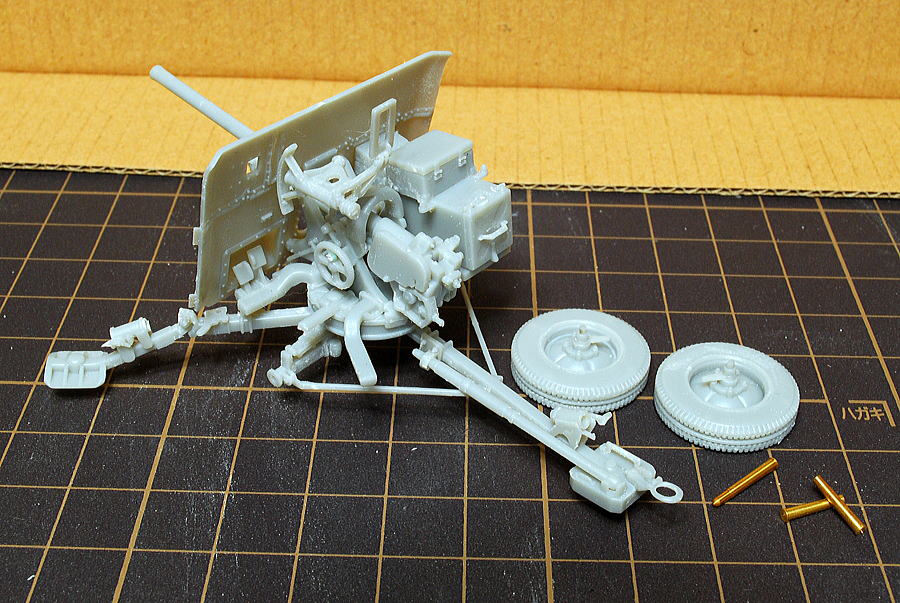 This model expresses a complex mechanism for a fairly reasonable number of parts.
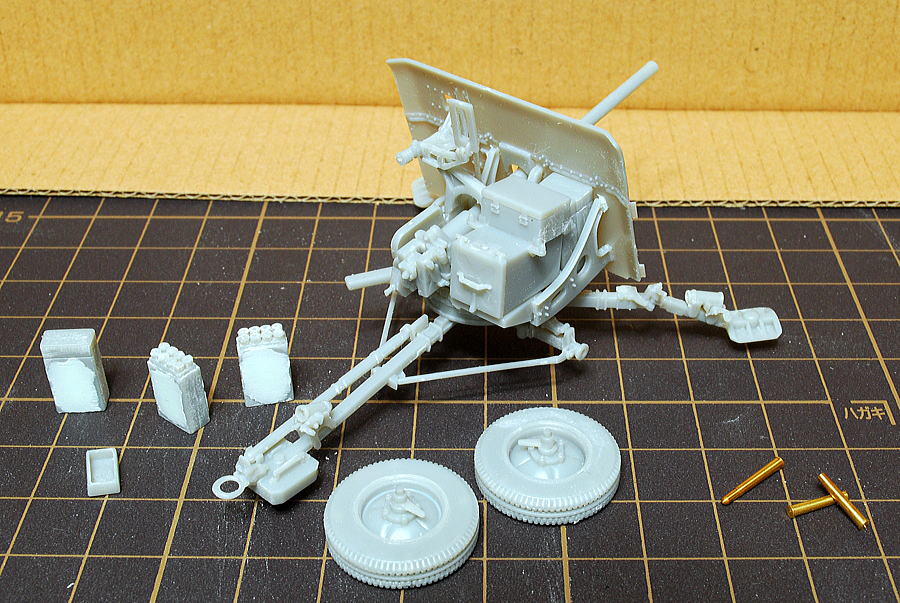 I amended a big sink mark of shell boxes with epoxy putty. Some of the ammunition parts’ bottoms are flat; I made a dent in the middle. Brass shells were provided by the figure kit as follows. This is good! Cause I have not touched too much this kind of metal shell.
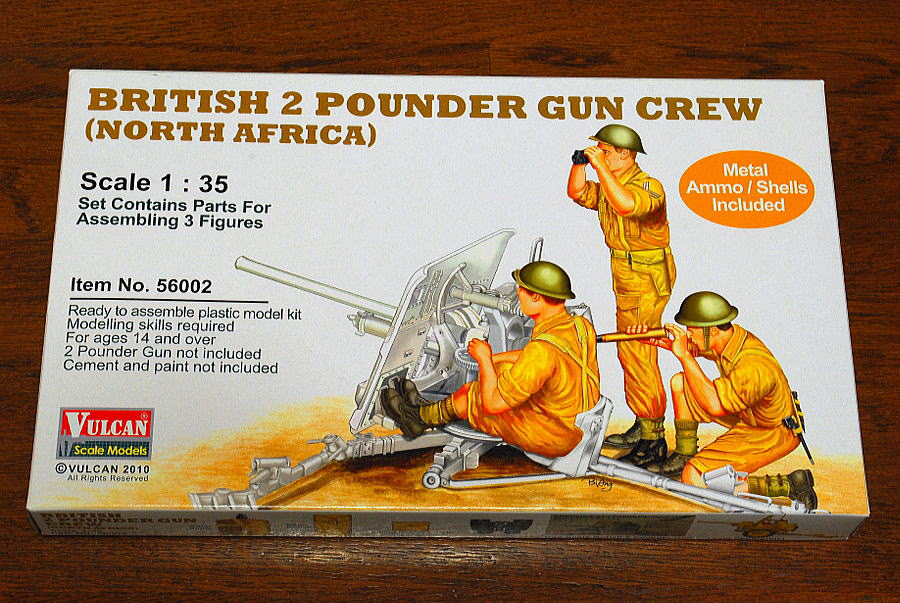 Vulcan releases artillery set for Ordnance 2 Pounder. I keep standing soldier for a future occasion and others for this time.
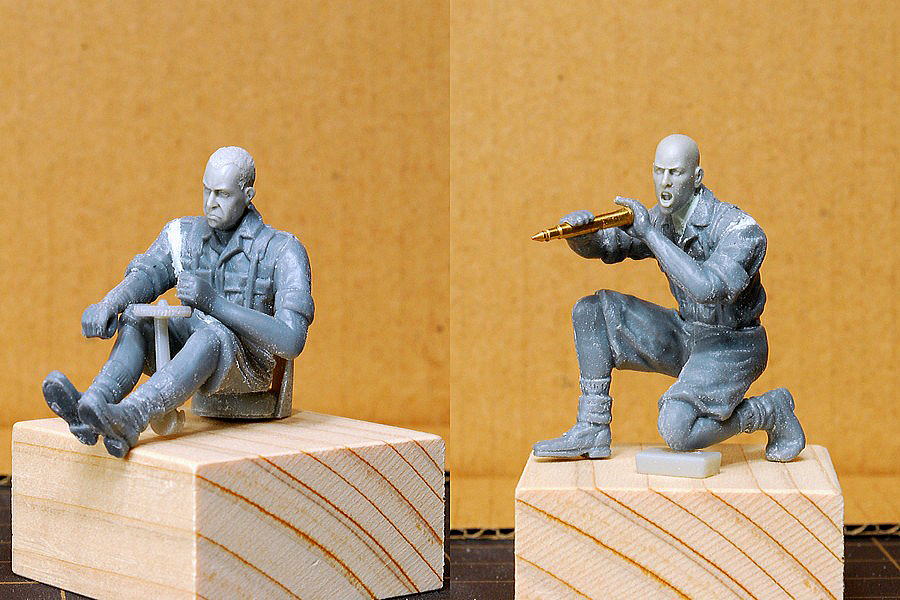 The left artillery crew is operating cannon. The right-hand hold the wheel, and the left operates the wheel. Right, and left foot needs to be fitted with pedals. To be precise, adjustment is required. Just standing the tank crew on the back engine panel is much easier. The right is fighting spirited soldiers loading ammunition. I needed microscopic adjustment for both hands. Both heads are changed to Hornet resin parts. I love the Hornet figures lineup; I would like to have the collection of all headsets…
The Vulcan model’s face mold is also reasonable compared to other injection kits.
(12-June-2012)
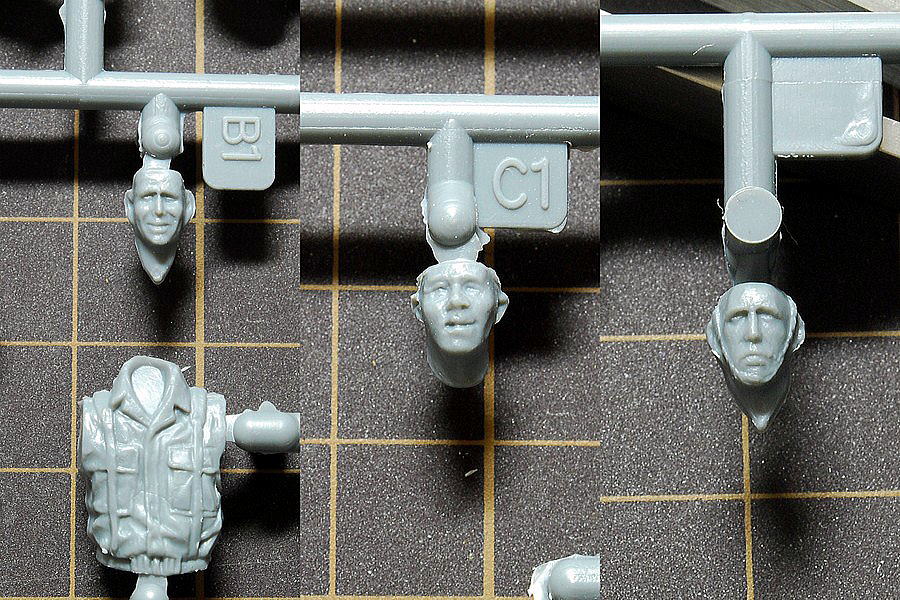 Original three faces. The middle one will be much better after you carve to add a little more mold. However, it’s a tricky part.
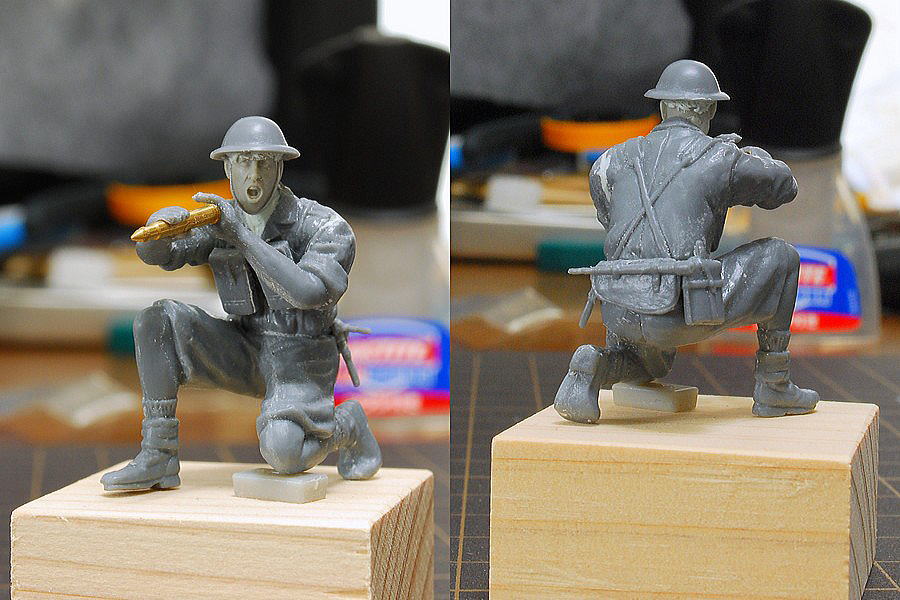 Wearing a helmet and equipment, attach the chip strap. It’s a very long face. He arranged his hair with epoxy putty to finish up.
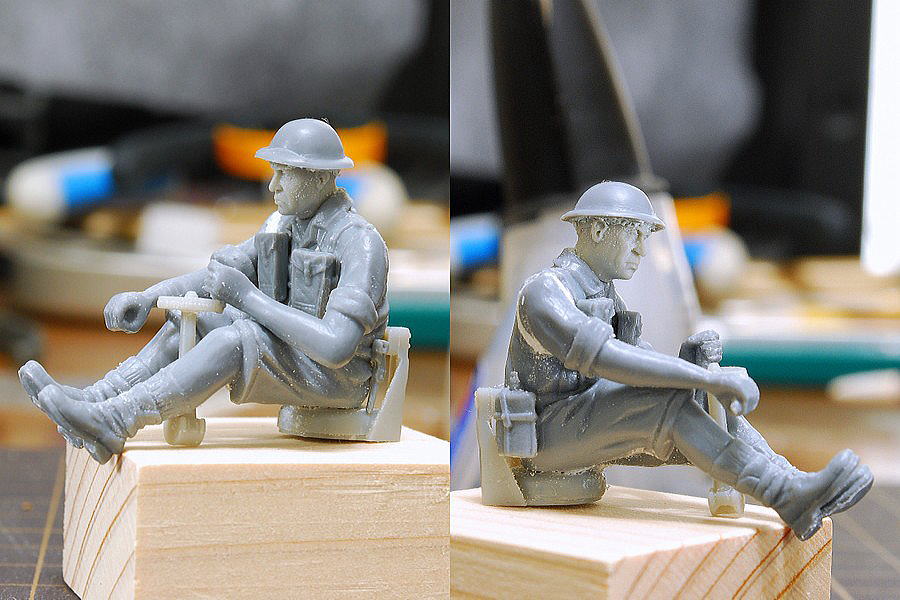 The short hair crew is now a little bushy hair. I should have dropped the dust before taking pictures. Anyway, overall good feeling.
(17-June-2012)
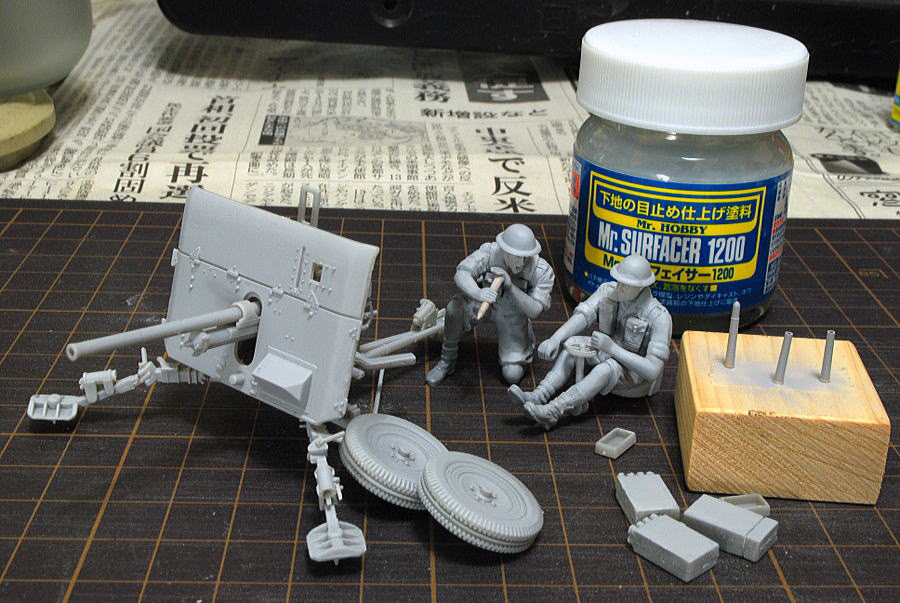 I blew surfacer before primary color paint. Metal parts and resin heads are coated thinly with a metal primer to have a sturdy painted surface.
(30-October-2012)
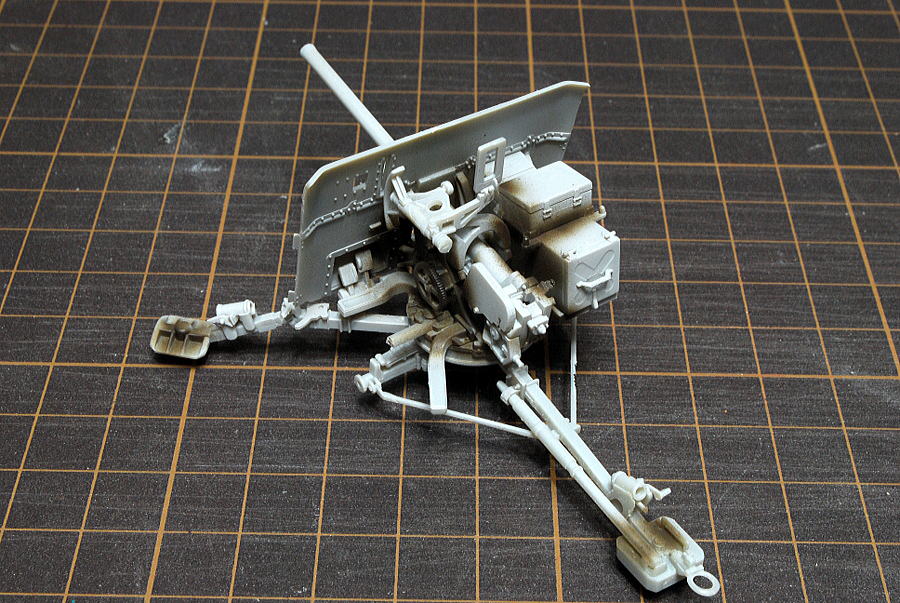 On the back of the antitank cannon, there is hard-to-reach airbrush paint. I blew the darker color in advance.
(6-November-2012)
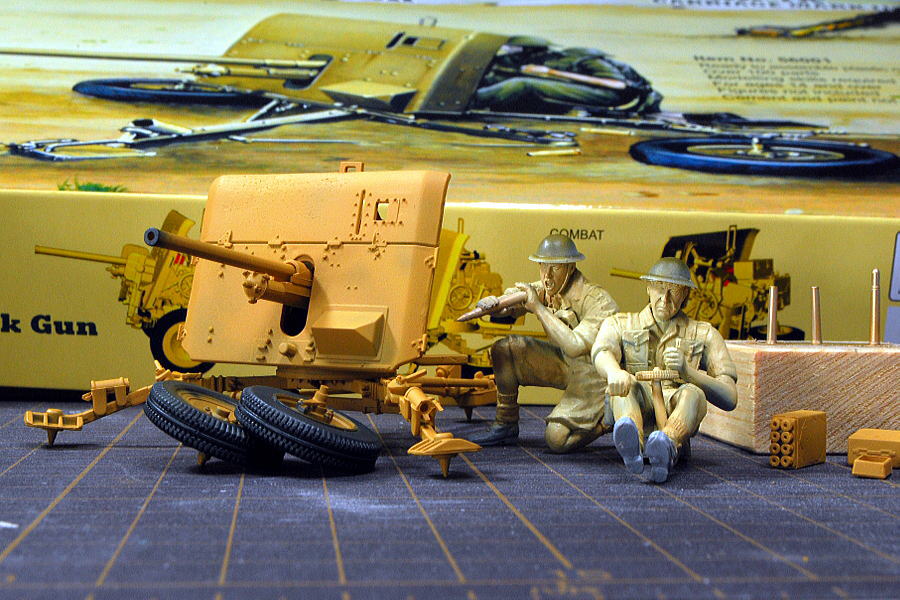 In my image, the primary color of the British Army located in North Africa is somewhat reddish than dark yellow. I added white and wooden brown with the primary color dark yellow. It seems the box art color is dark yellow.
Regarding figures, I painted Mr.Hobby’s fresh, and it’s too whitish. Considering they are fighting in North Africa, skin color should be slightly more tanned.
(6-November-2012)
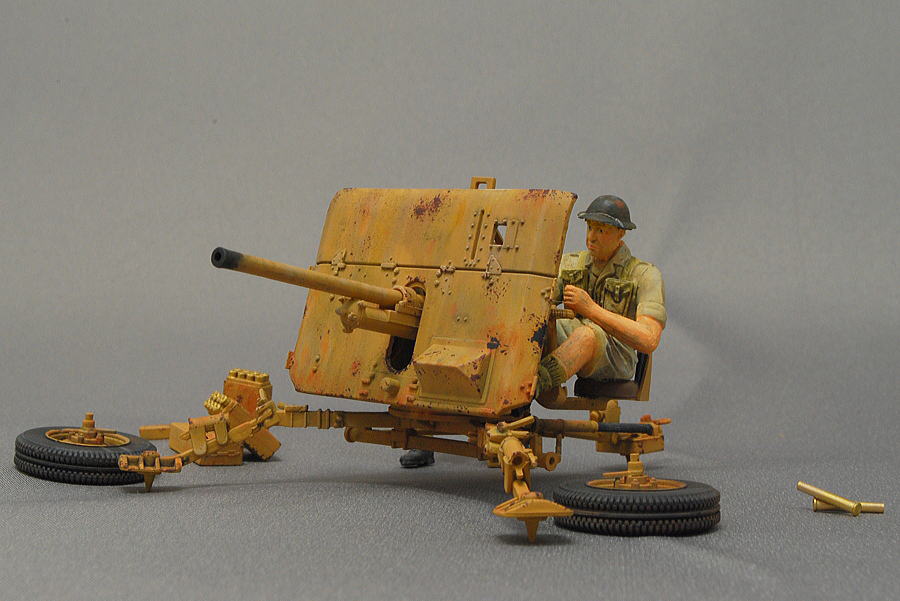 2-pound British antitank gun was completed. This is a 40mm caliber. Its designation is from the weight of the bullet, 2 lbs(roughly about 1kg). This was active in North Africa and Europe in the first half of WWII.
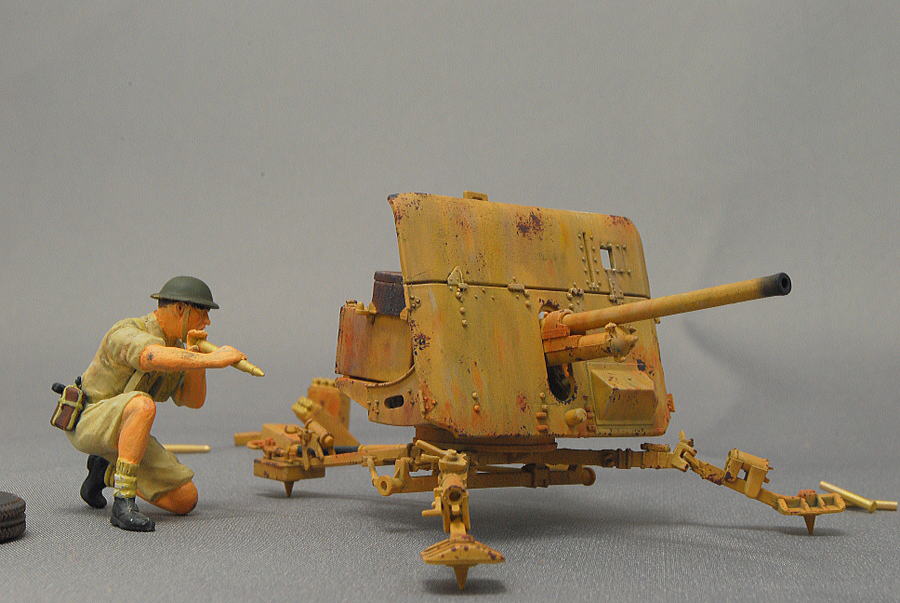 I was shocked that the parting line left in the assembly stage came out doing dry-brushing. I should have been more careful about finishing.
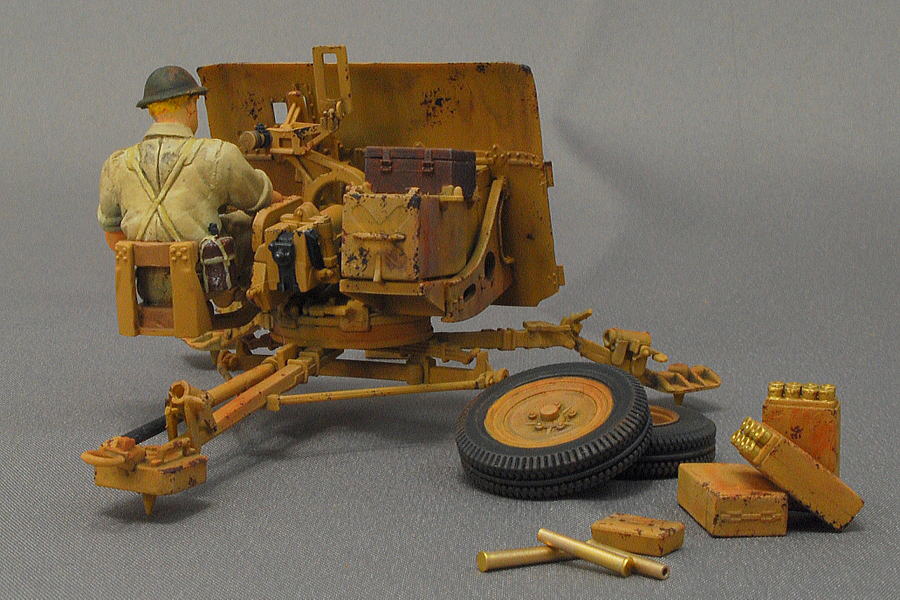 I’ve tried the dust effect with the pastel, but this time I blew matte clear later to try to fix the microparticles. The powder color changed, but it is no longer attached to my finger. In conclusion, pastel work should be the final stage after controlling gloss and matte.
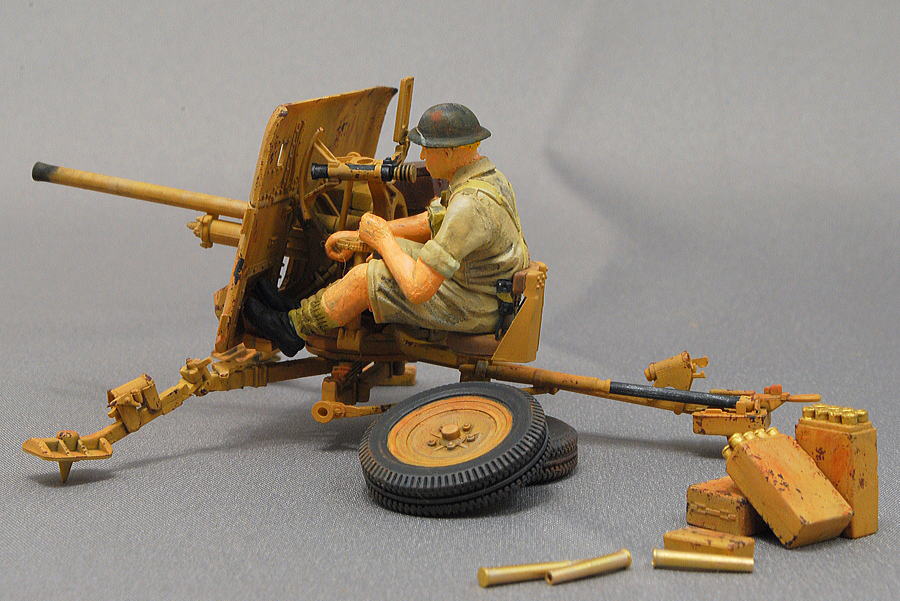 I should have adjusted slightly to the Creos hobby color of skin airbrushing because it was too whitish in North Africa. In the end, I drew primary paint with Tamiya’s enamel skin color and painted the contrast in oil a contrast with the fresh oil from the paintbrush of Tamiya’s enamel. Honestly, in the beginning, trying to paint from the first to finish the only oil painting did not work well…
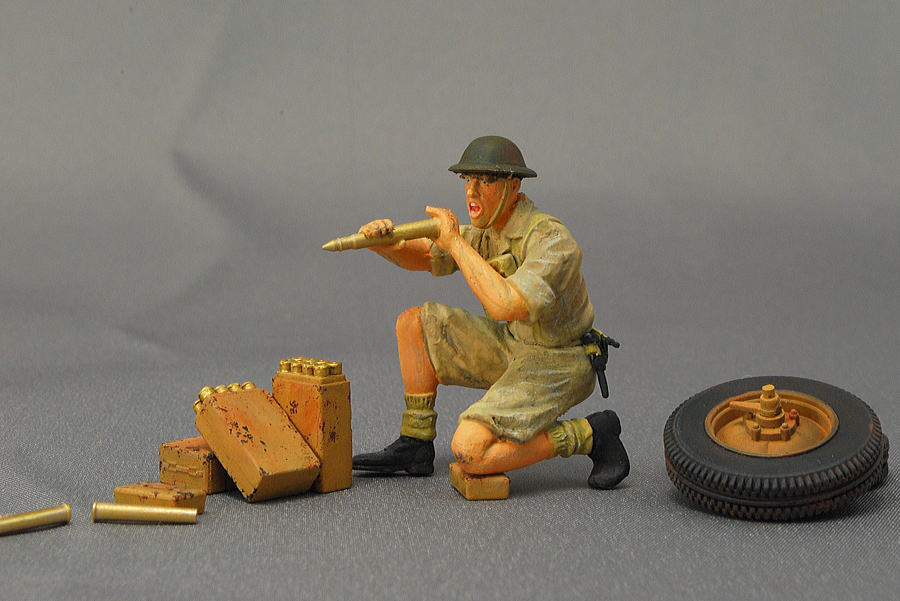 Ummmm… It is just a jaw-dropping figure. It was more full of fighting spirit face before painting. It isn’t easy to decide white eye and pupil are balanced. Maybe going with the gallant eyes and eyebrows lifted is better.
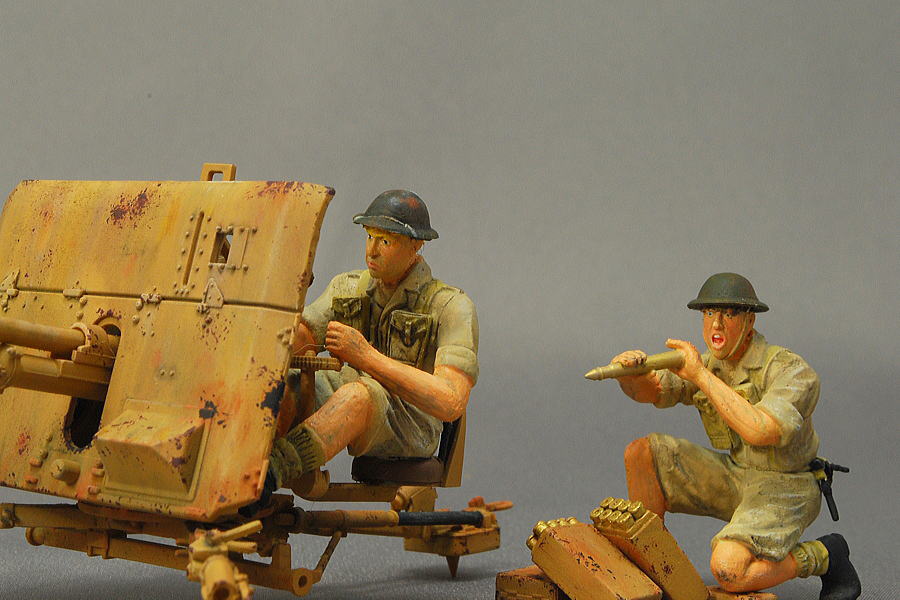 Uncle gunner had a broken neck. I dropped him on the floor during my painting. I had to find this missing neck crawling around on the floor.
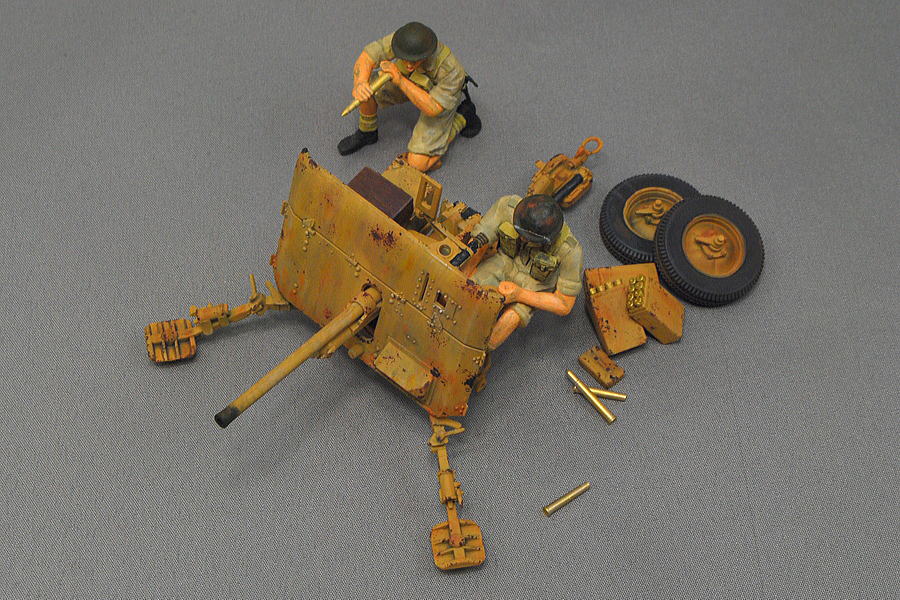 I feel it’s a good sense of reality in this layout.
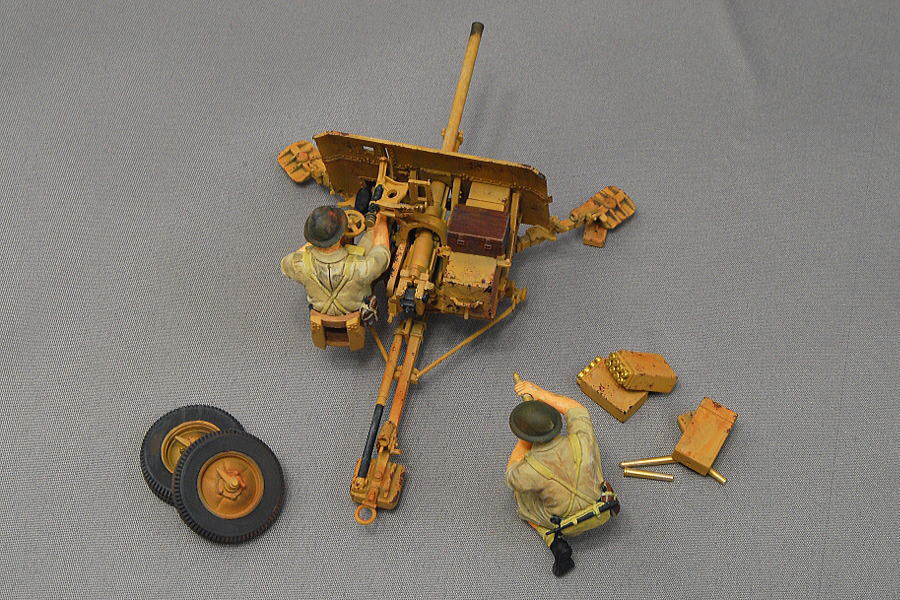 The plastic became brittle while washing, mount legs two parts were broken. It takes time to fix to use plastic adhesive; instant adhesive is very weak against impact. Watching from this distance is the most natural; the failure point is not much prominent.
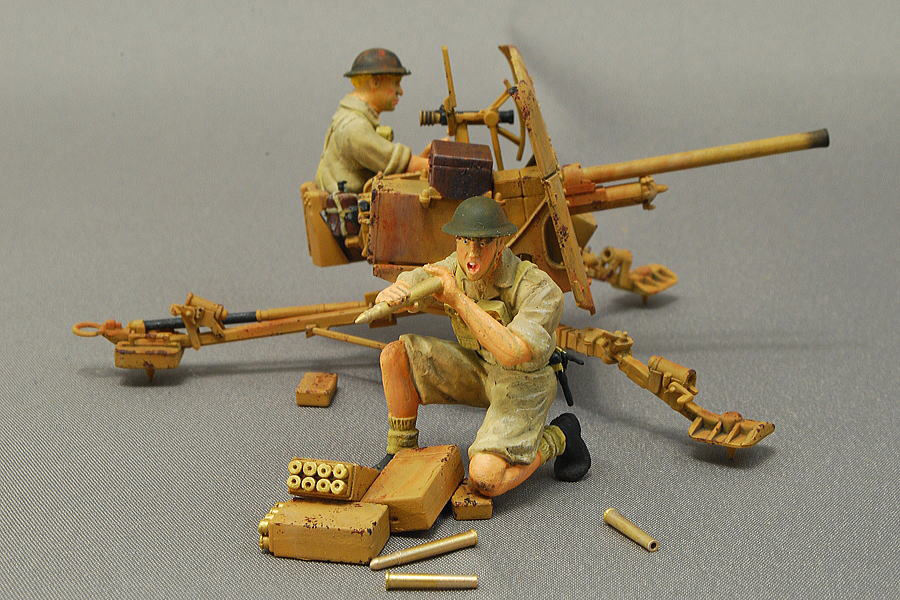 Well, it’s getting colder and colder. In my painting works, my pet rabbit, Netherland Dwarf, began the season of replacement of hair, with lots of hairs scattered in my room… I adhered to the skin’s surface while painting in oil.
(10-November-2012)


コメント