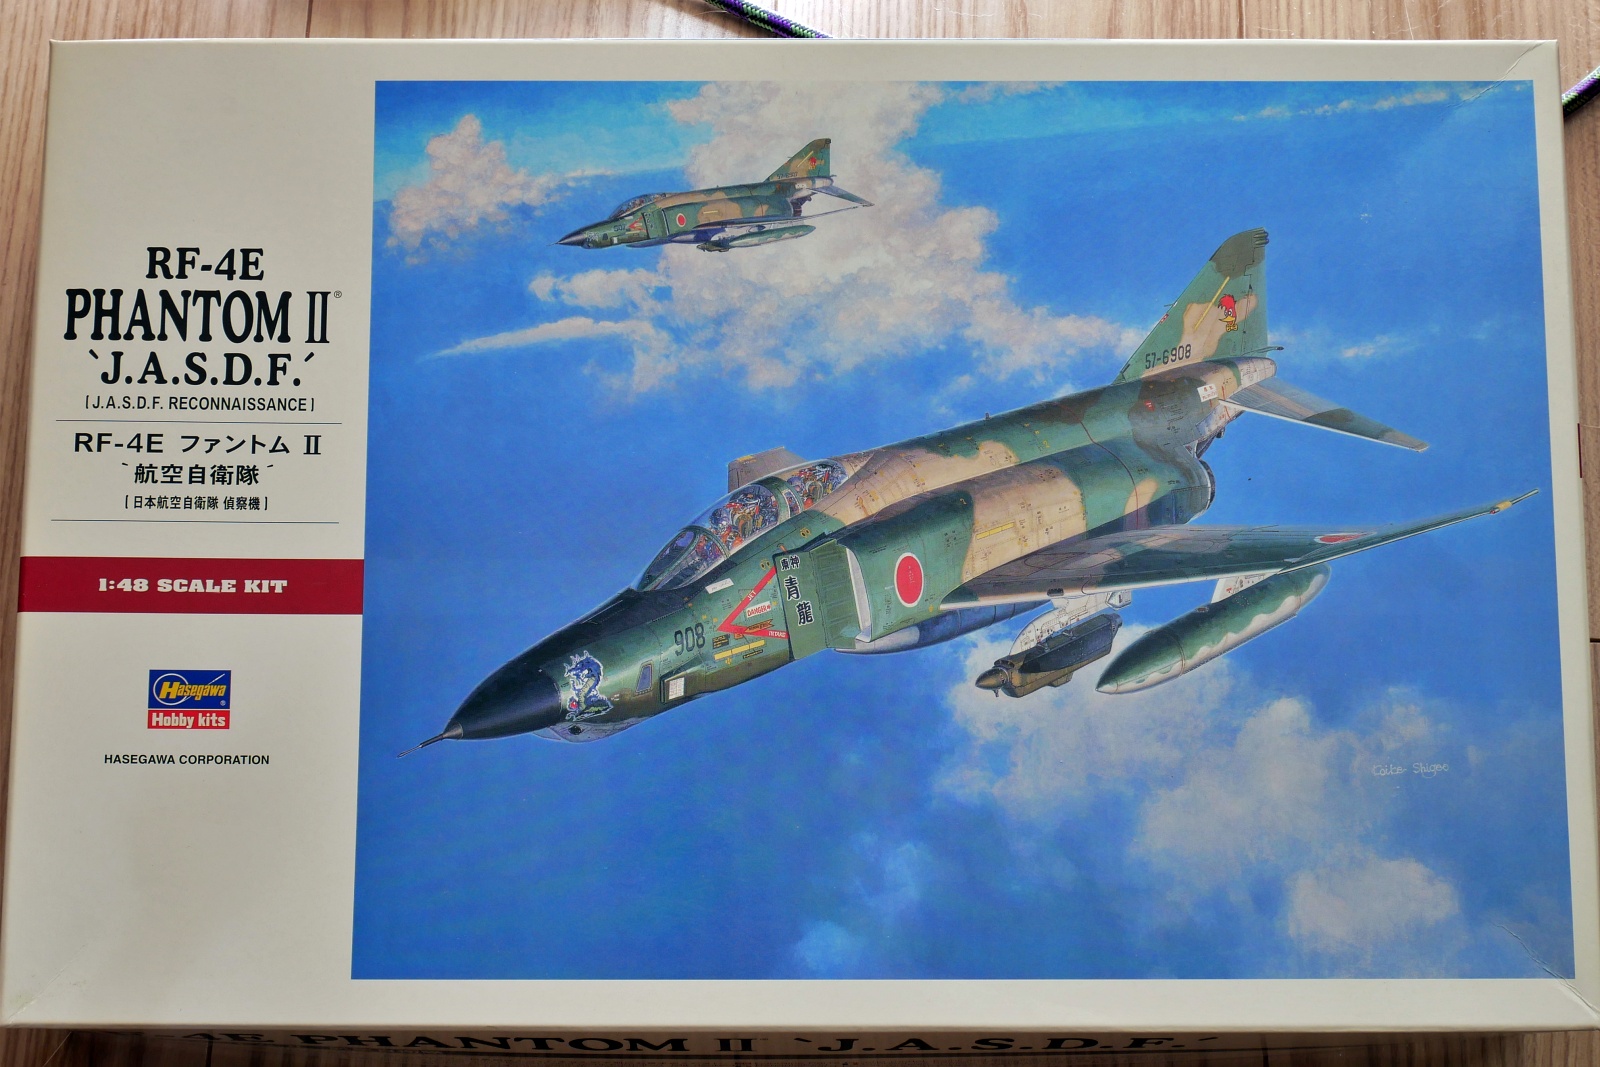
I will try to build the RF-4E Phantom II, a reconnaissance aircraft of the Japan Air Self-Defense Force. It was stacked for a long time, and along the way, missile parts were taken away for various kits, and the box was opened and closed several times. I have made several Phantoms in the past, so I have a little experience, but how is it? I think the camouflage pattern of this box painting is cool. The color is slightly different, but it looks like a US Air Force aircraft during the Vietnam War.
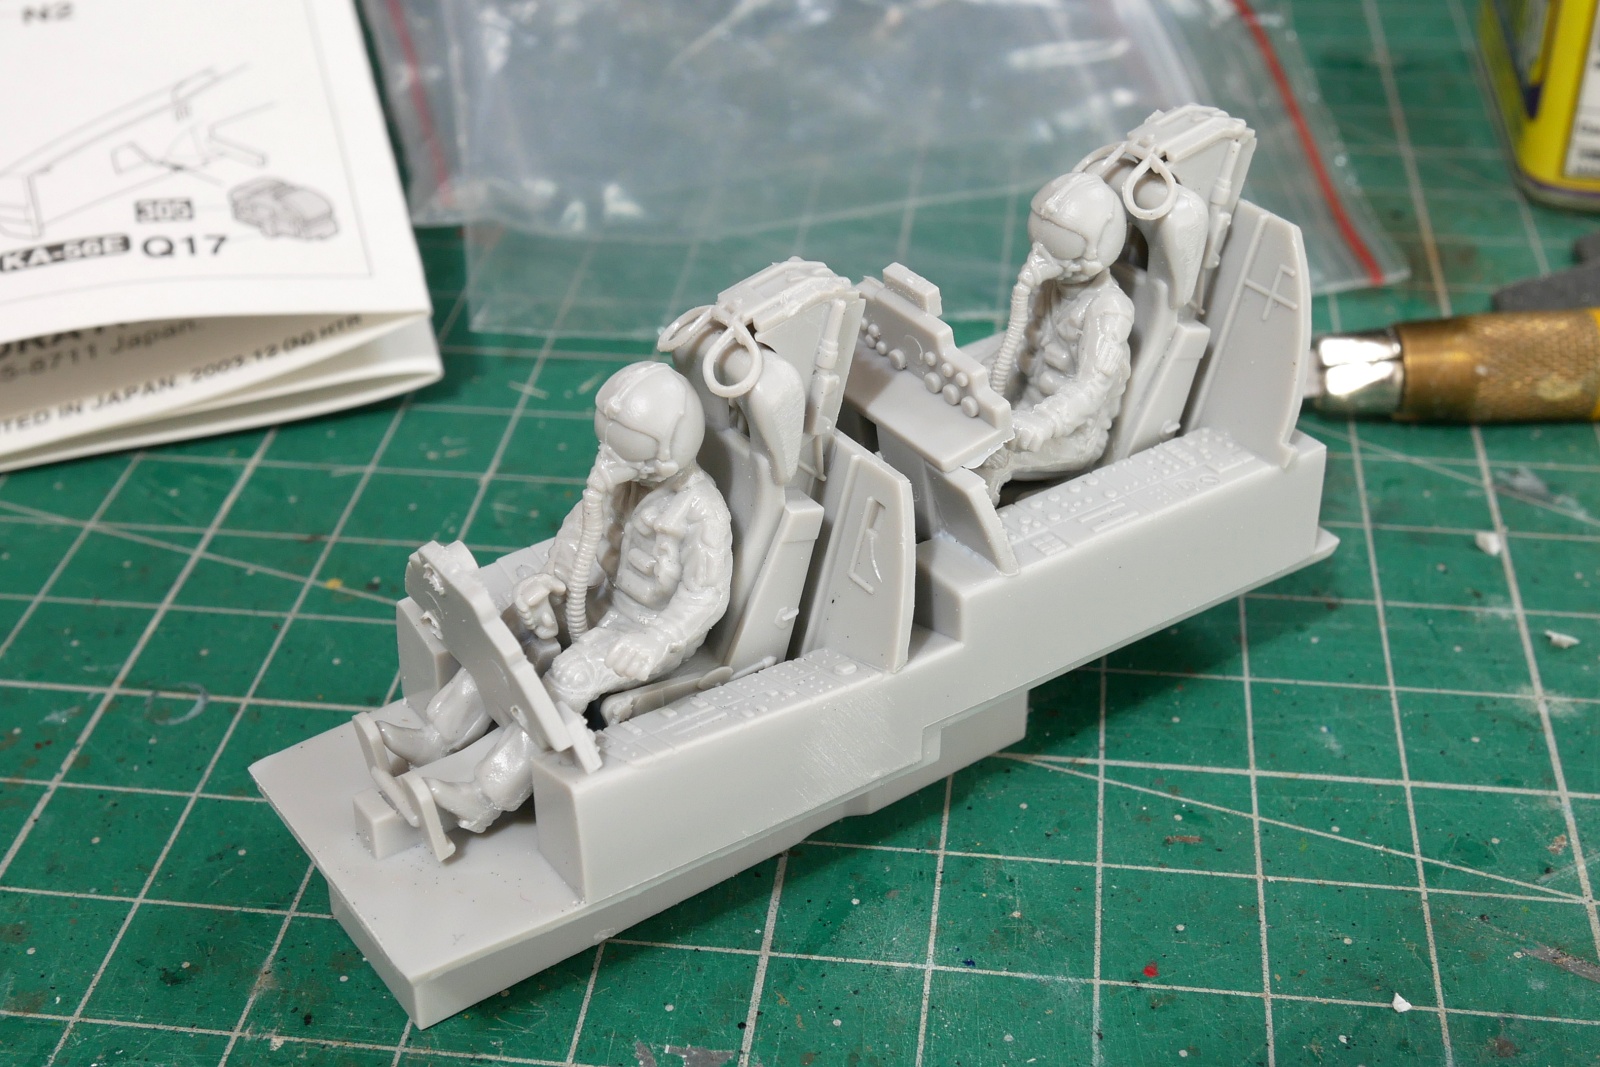
For a while in the past, I didn’t put any figures on a plane, but this kit came with two figures, so I put them on. Maybe the orange flight suit caught my eye.
This kit has a good mold, but it doesn’t have a panel decal. The fine panel has become white. Maybe I should revise it a little more. The canopy will be closed so I don’t think it will show much detail inside.
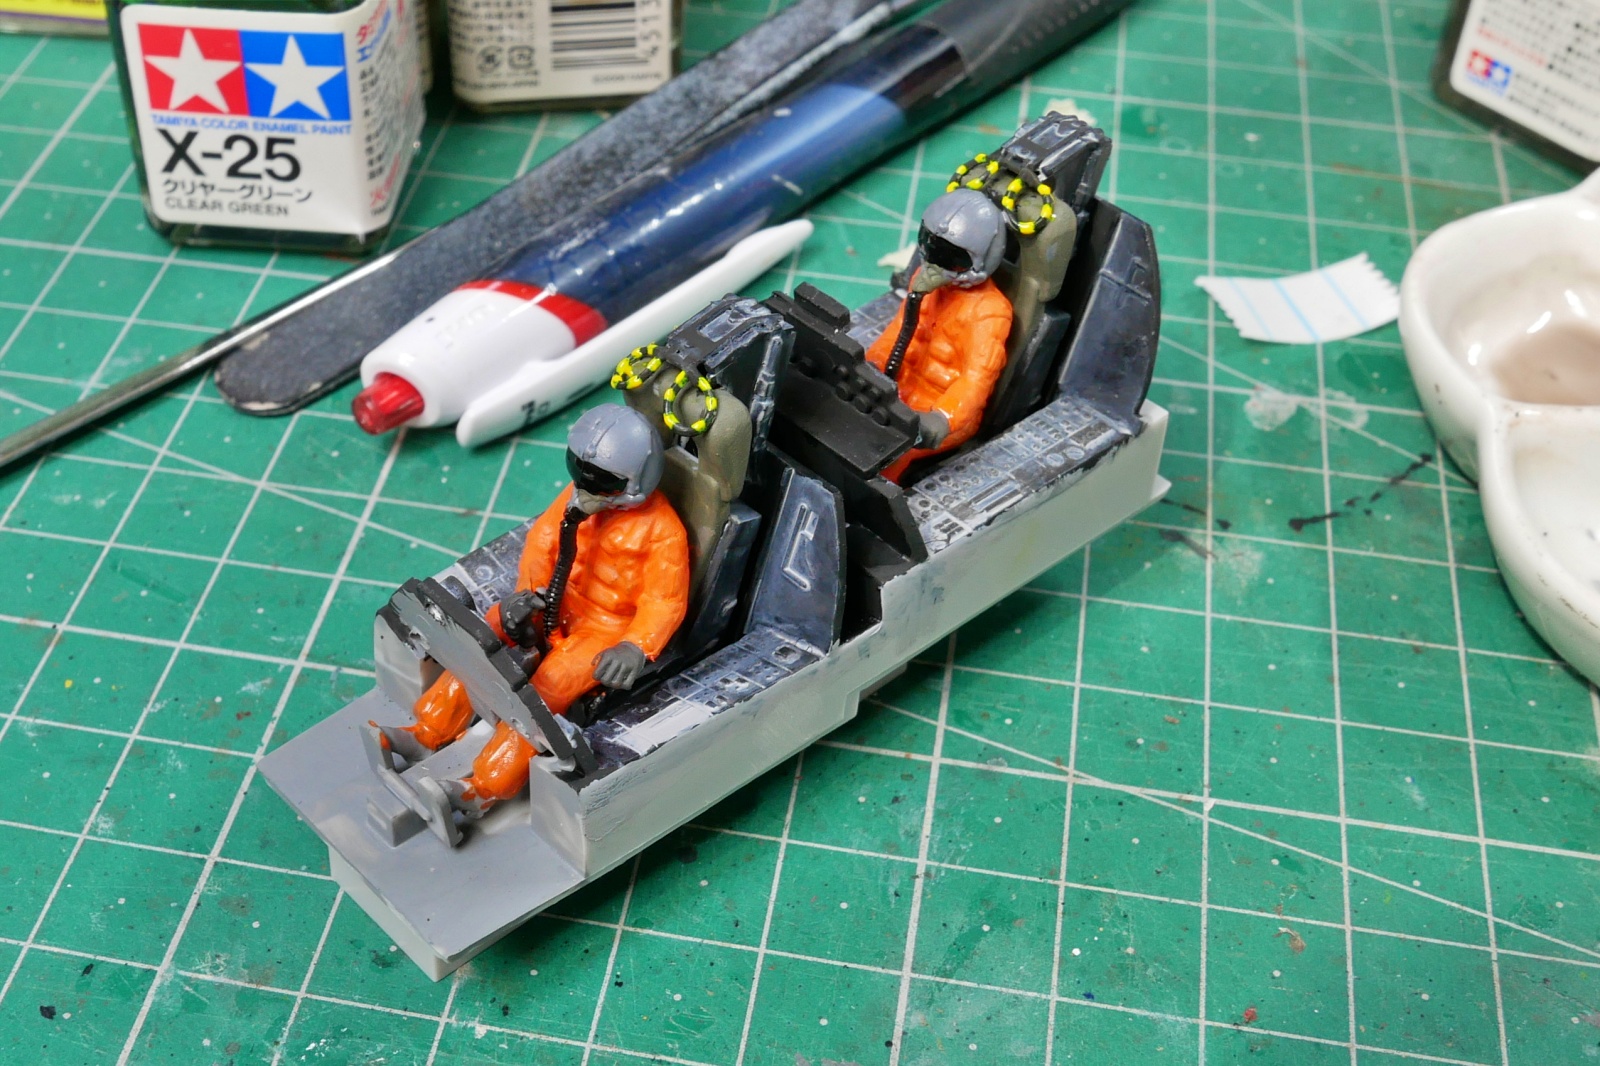
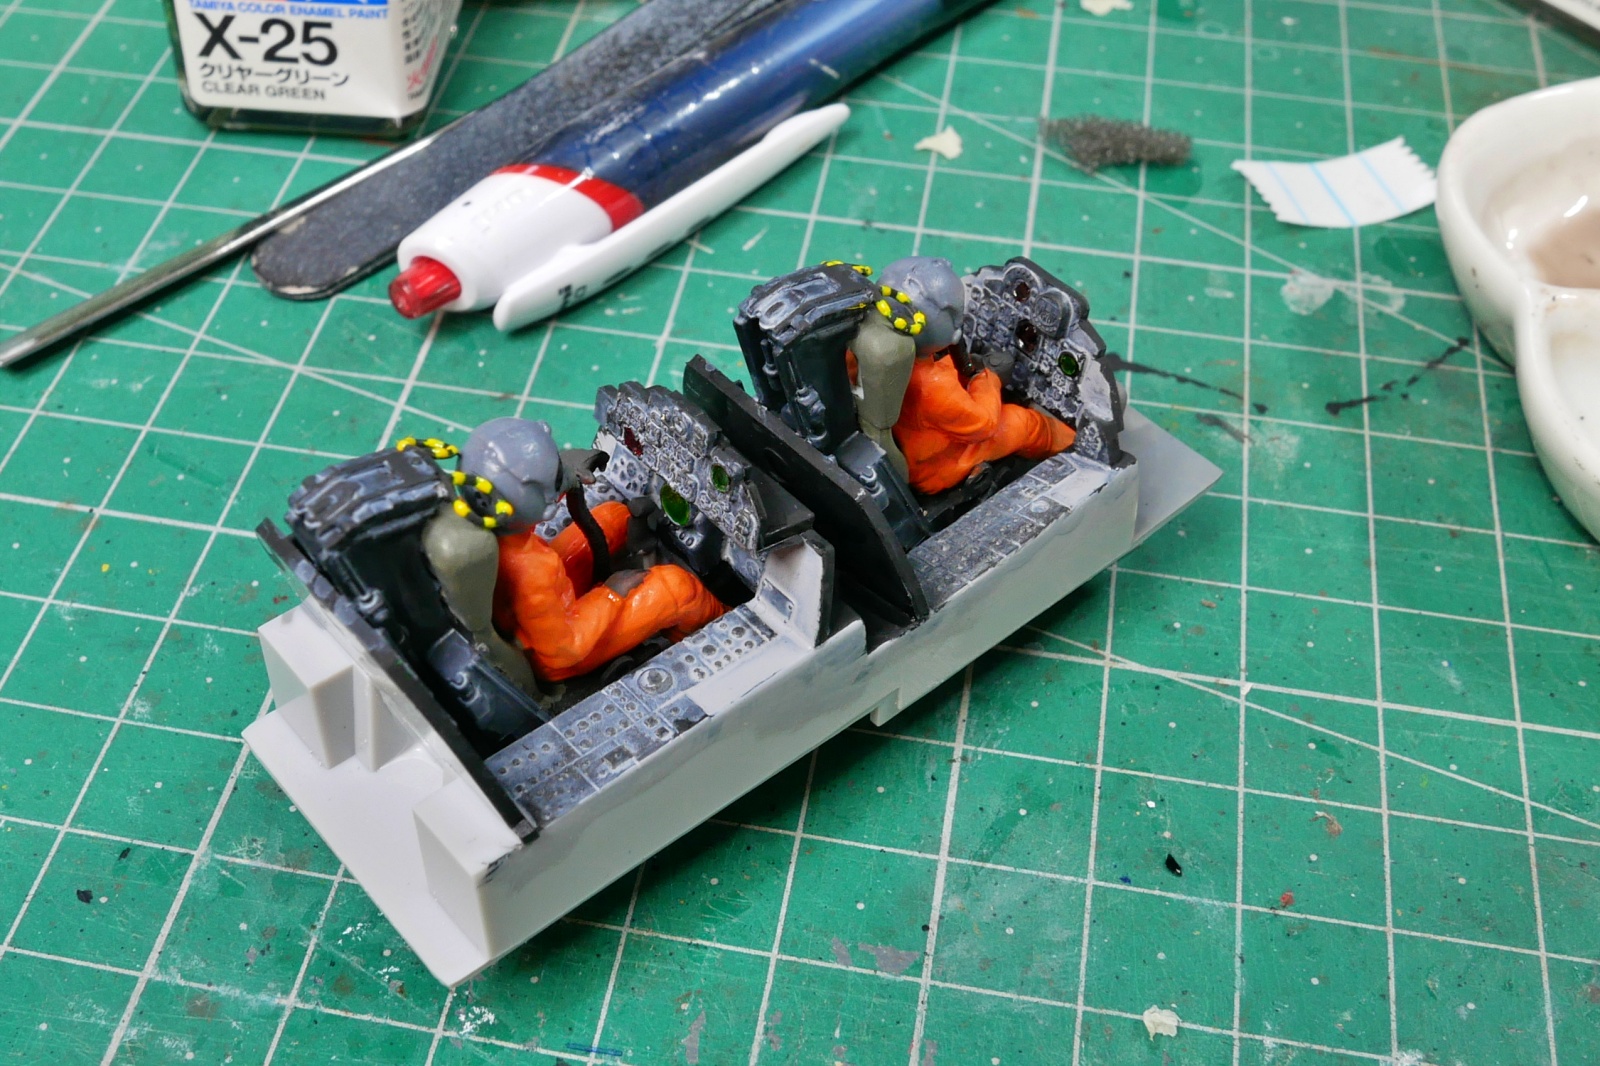
The pilot suit of the Japan Self-Defense Forces a while ago was orange. With this, even if we make a forced landing, it will stand out from a distance. I guess they don’t care about visibility because they can be found by GPS transmitters these days.
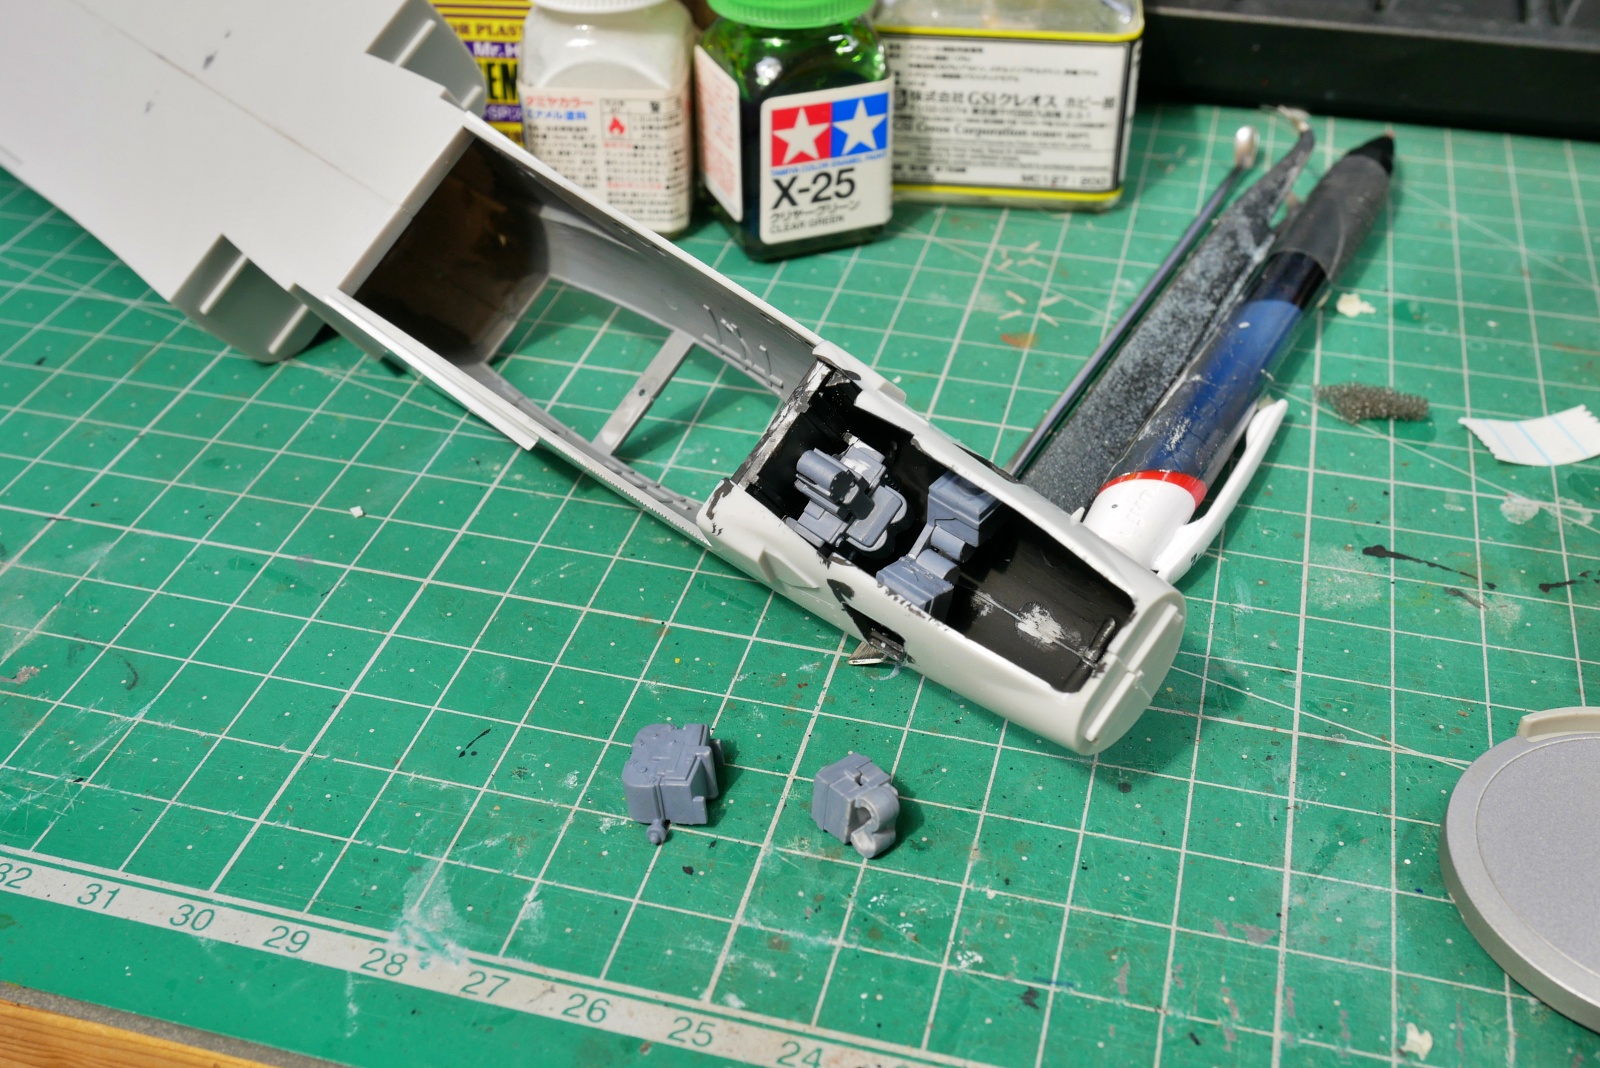
Is there a reconnaissance camera or film case on the nose? It’s kind of hard to prepare various things. In addition, this kit is easy to assemble because the cockpit is fitted from the bottom after attaching the left and right sides of the fuselage. But it’s kind of misaligned… the bonding. About 0.5 mm. And, I don’t know where to put the cockpit and how the parts fit well, so I will install it after checking the balance with other parts. I made a Hasegawa phantom before, but I don’t know if it was like this. I’ve already forgotten. And I put a little weight in the radome of the model.
(2024/09/08)
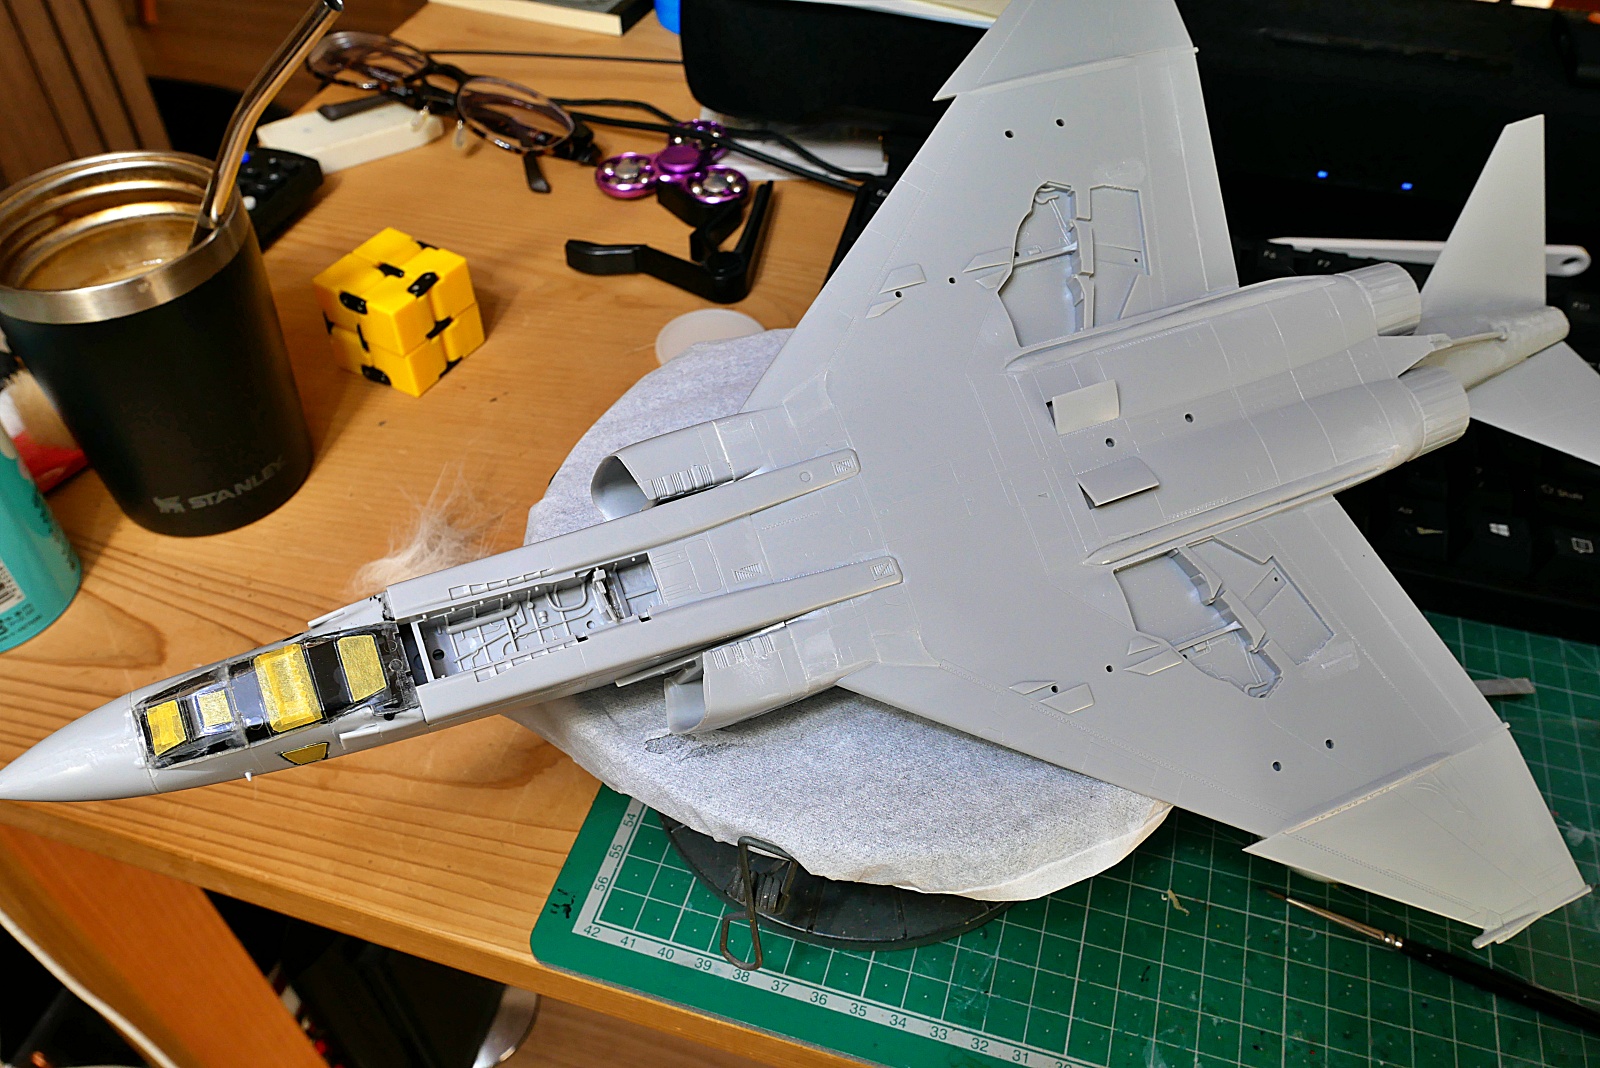
The window is masked by fitting the clear part of the camera storage part. I felt that the carving of the panel line of the whole fuselage was shallow, so I re-carved it a little.
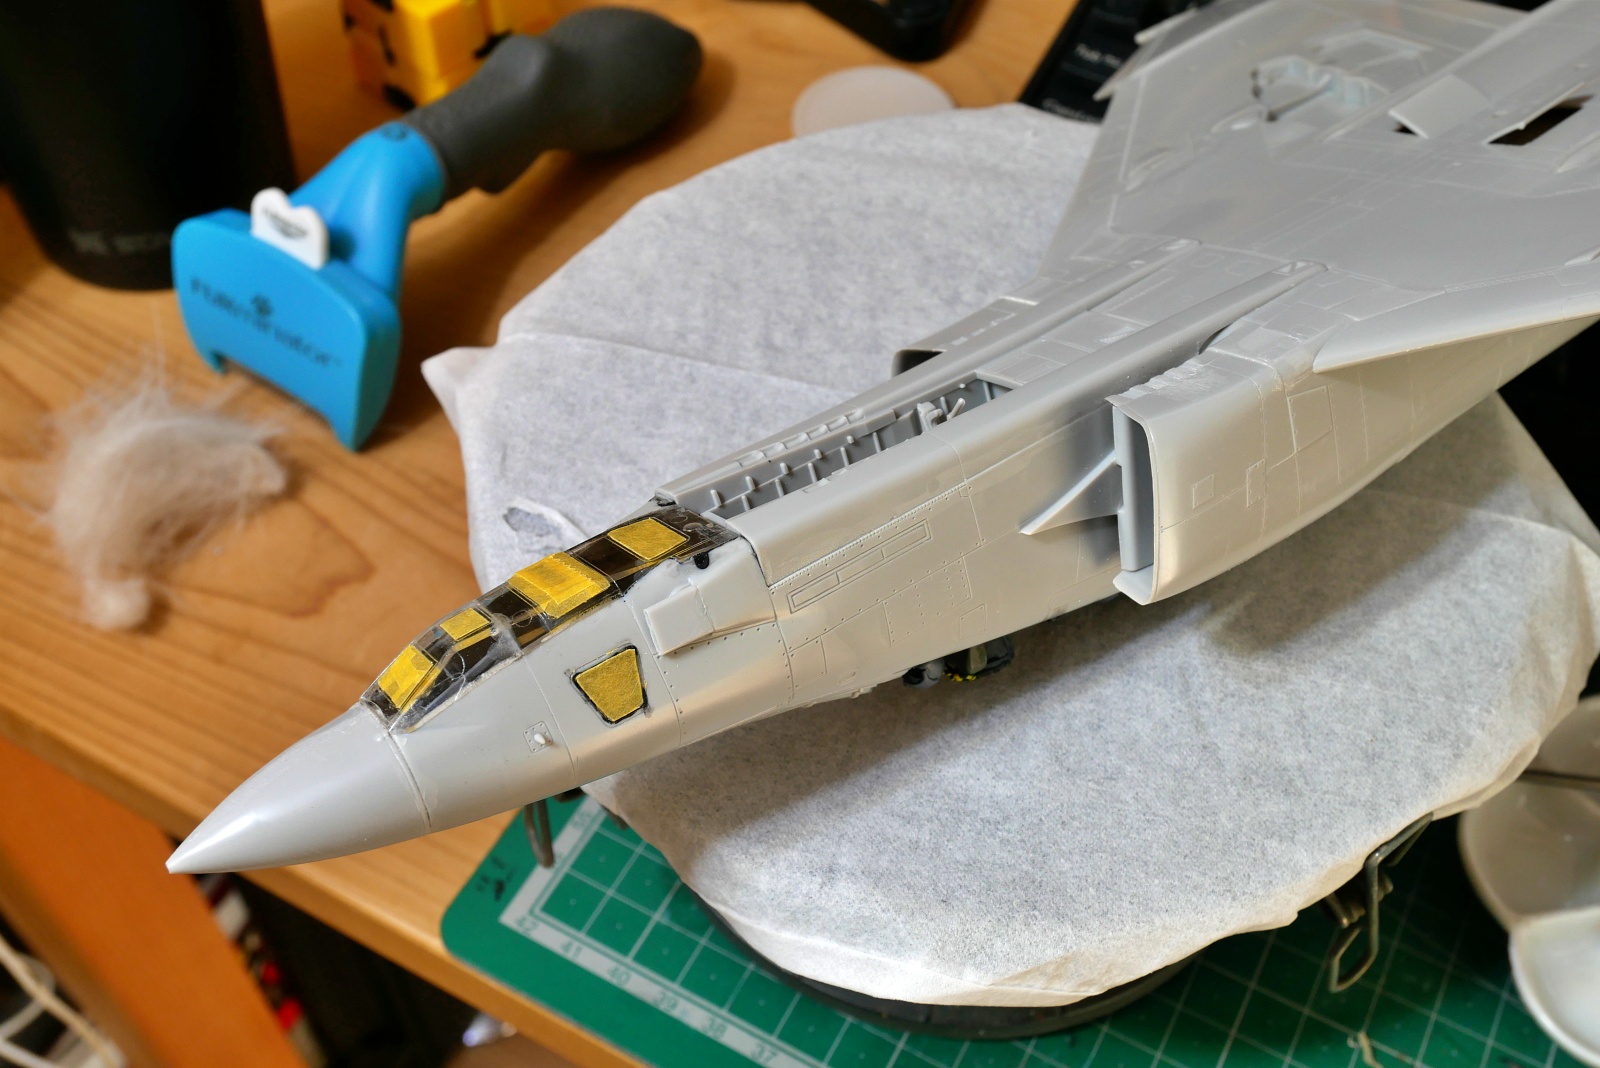
There is a large part in the air intake area, but there is an instruction to attach it after painting. It’s a big part, but I didn’t glue it yet.
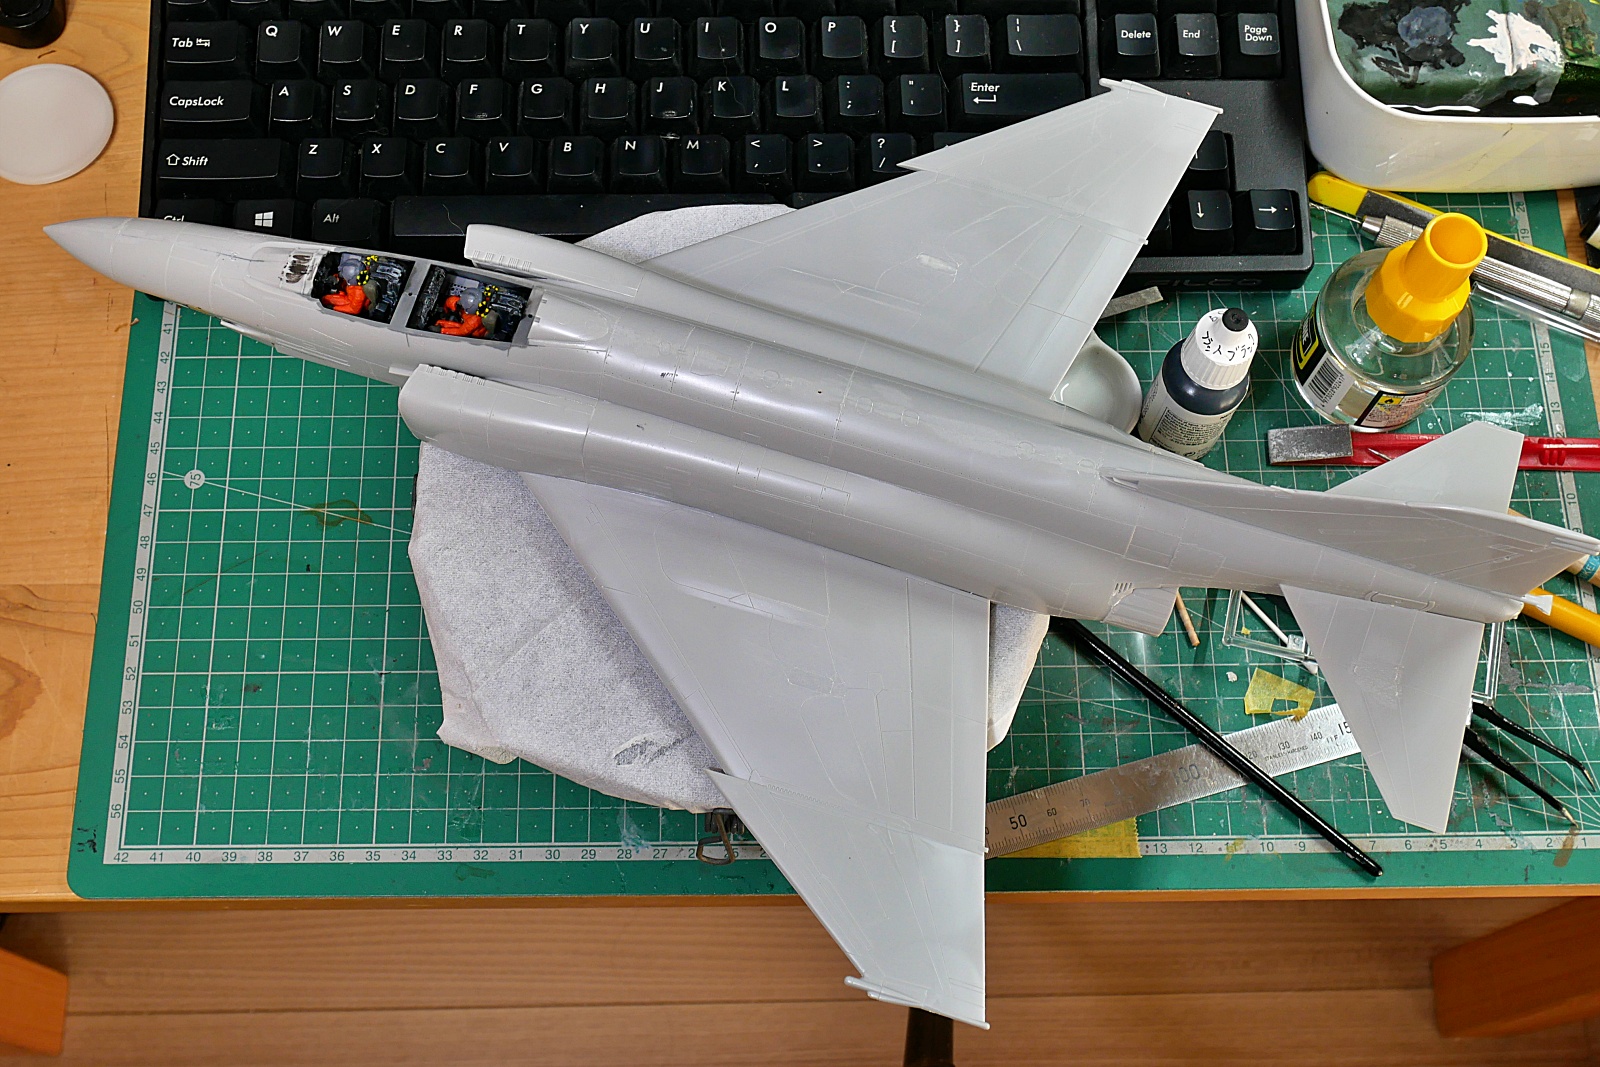
The shape is almost completed. This time, there are a lot of processes such as shaving off various parts and replacing with different parts to make it into a reconnaissance plane.
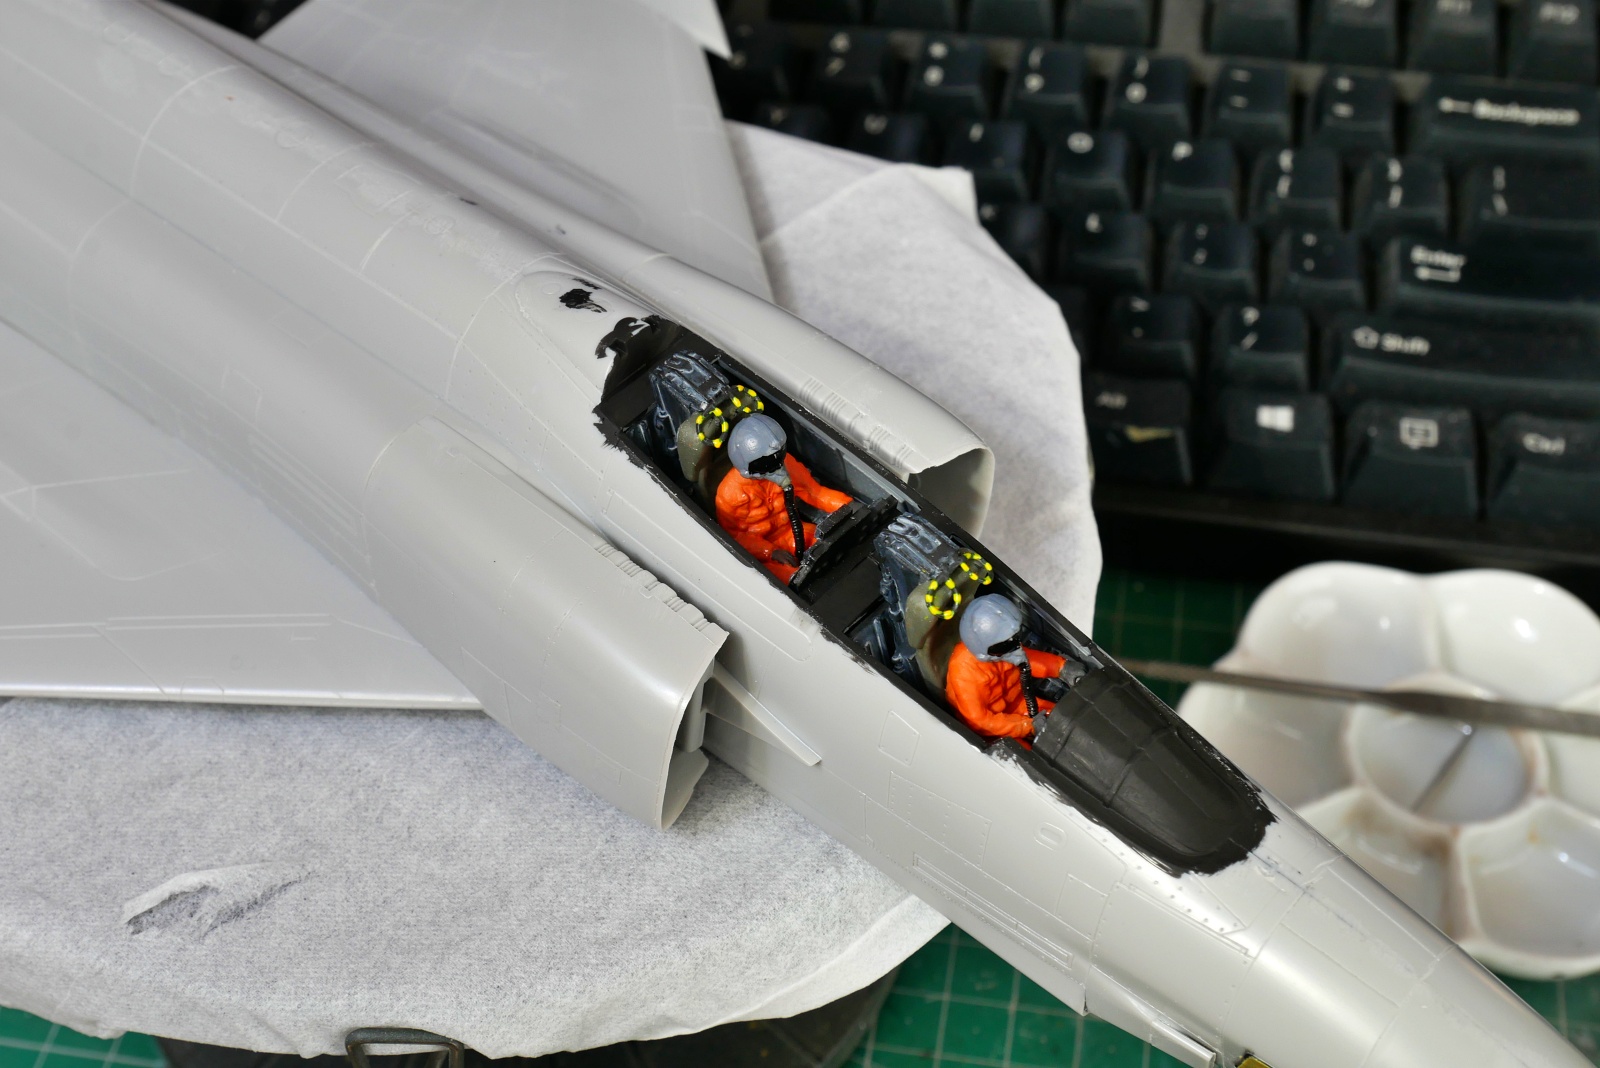
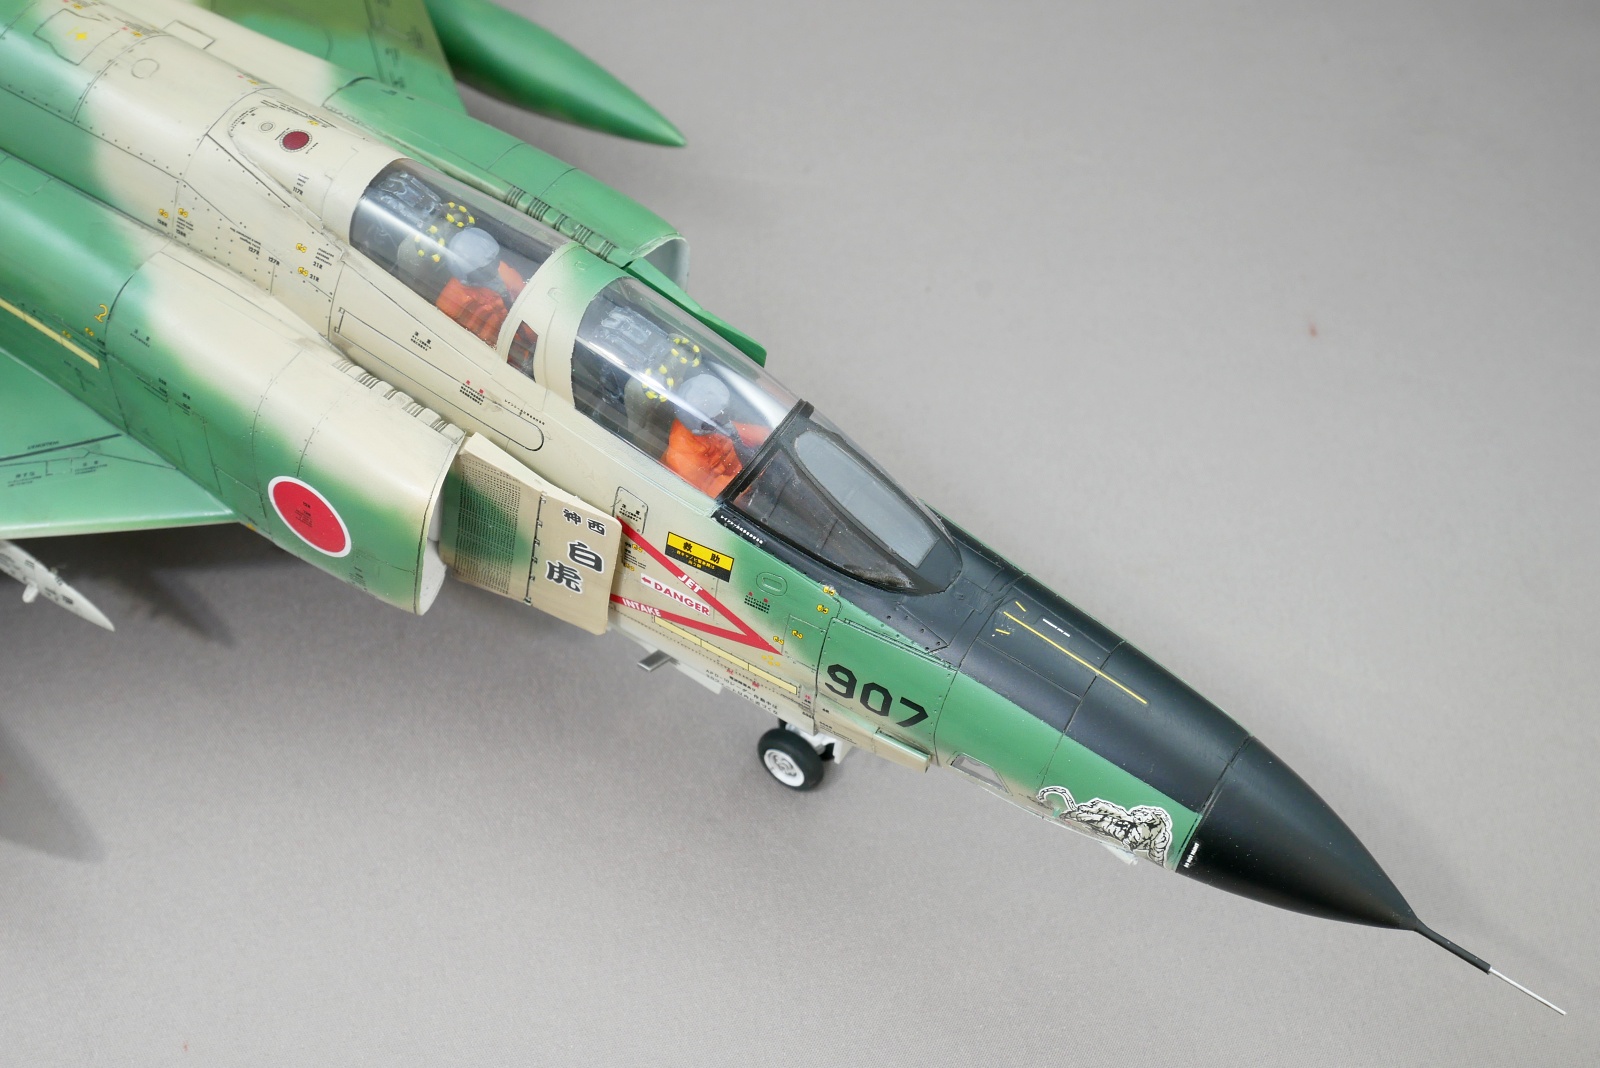
For now, there are 2 pilots sitting. It’s kind of nice when bright colors like orange and yellow are placed. I didn’t paint the seat belt dark green, but I actually glued it to the canopy. I can’t peel the canopy anymore… Let’s just say it’s before putting it on… But they’re wearing oxygen masks.
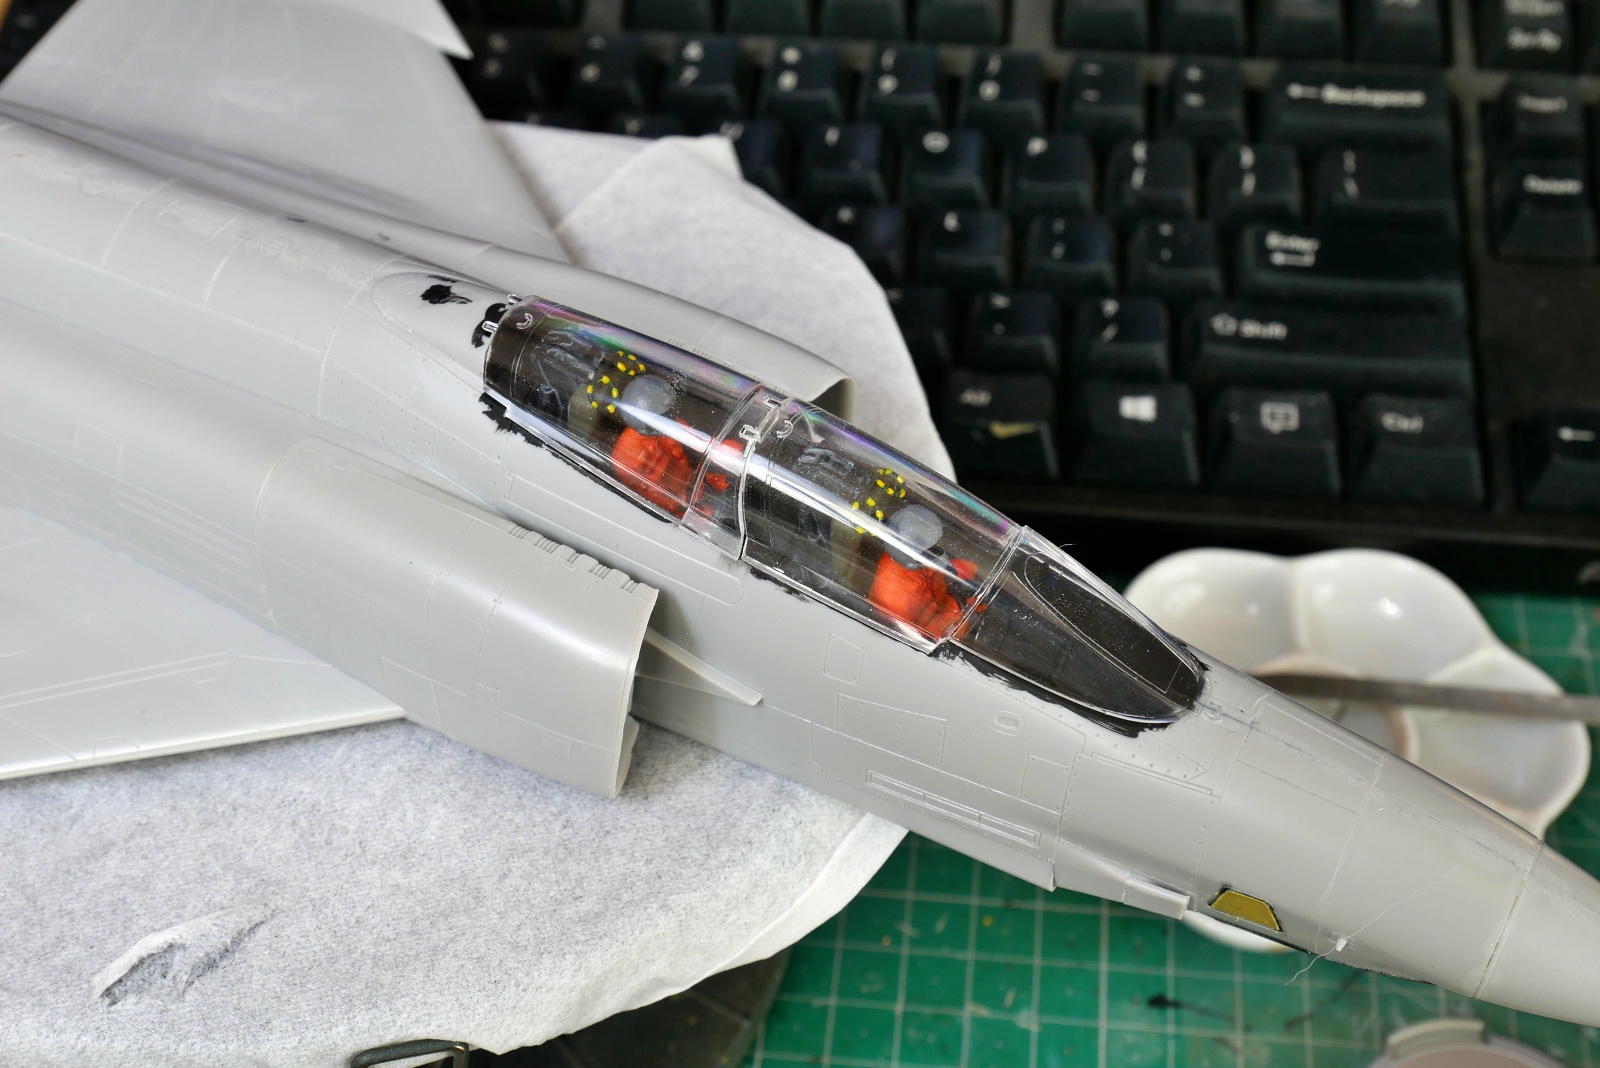
The canopy is divided into 4 parts, so I thought the fitting was loose, but it fit very well.
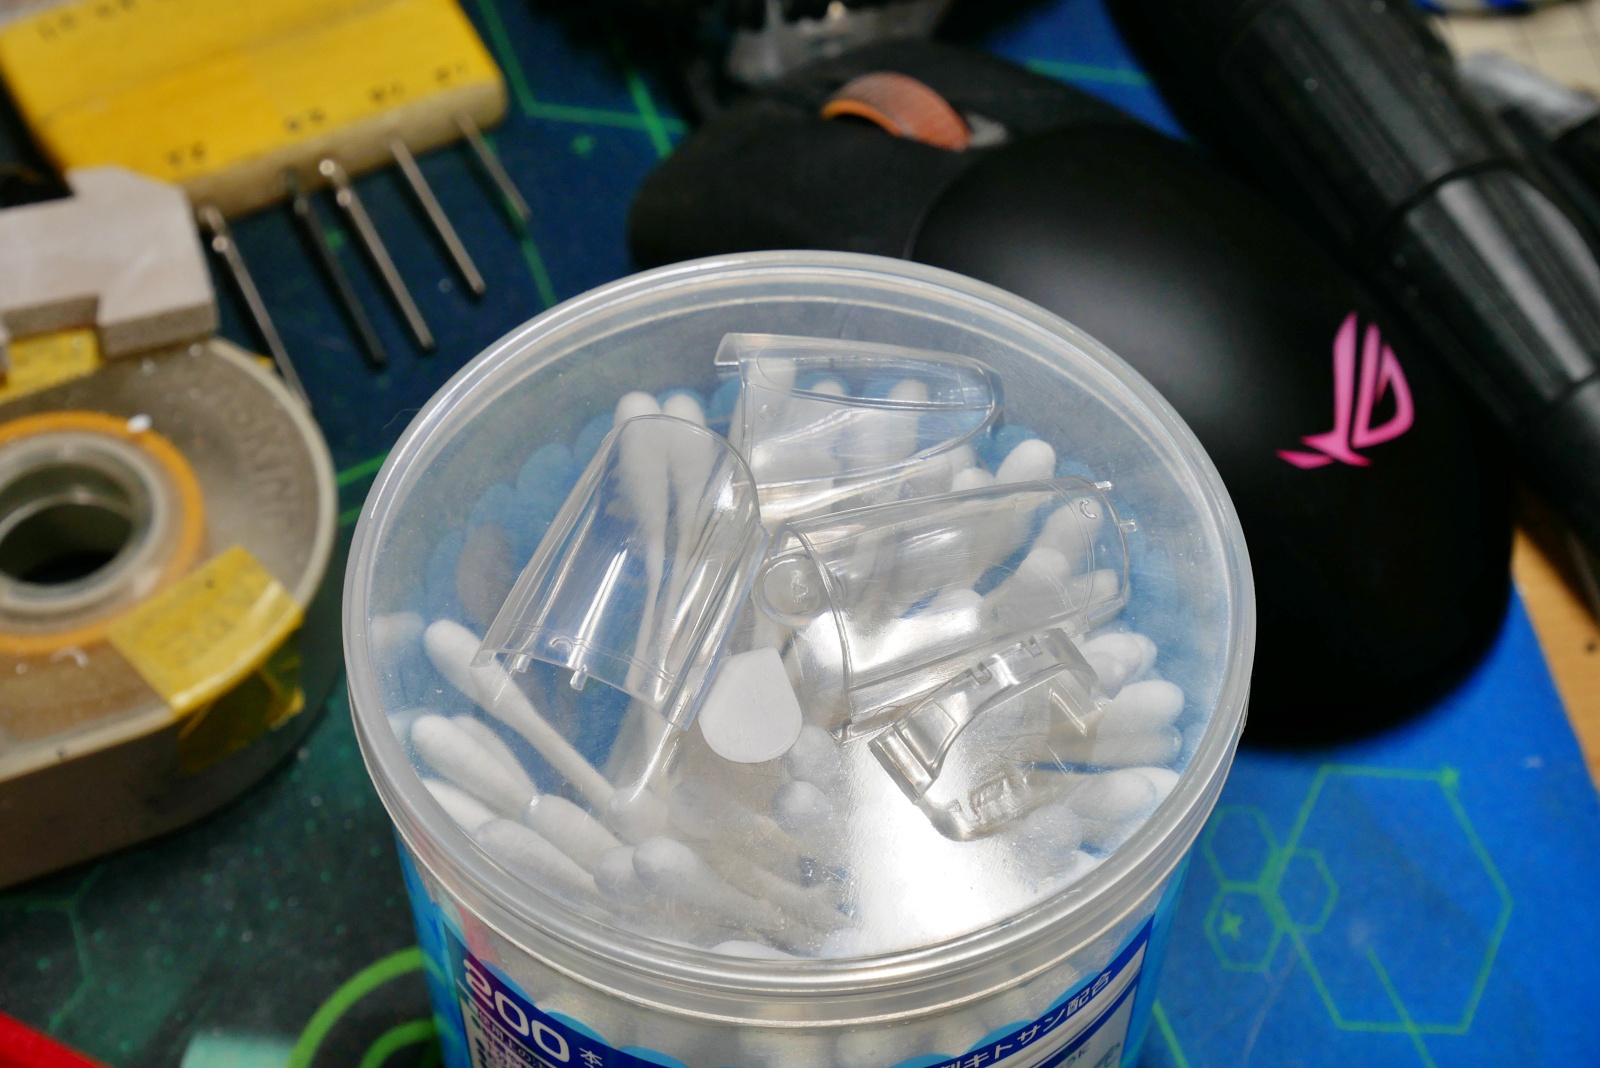
I tried polishing it with a compound, but I wonder if it’s not so clean. The scratch is gone.
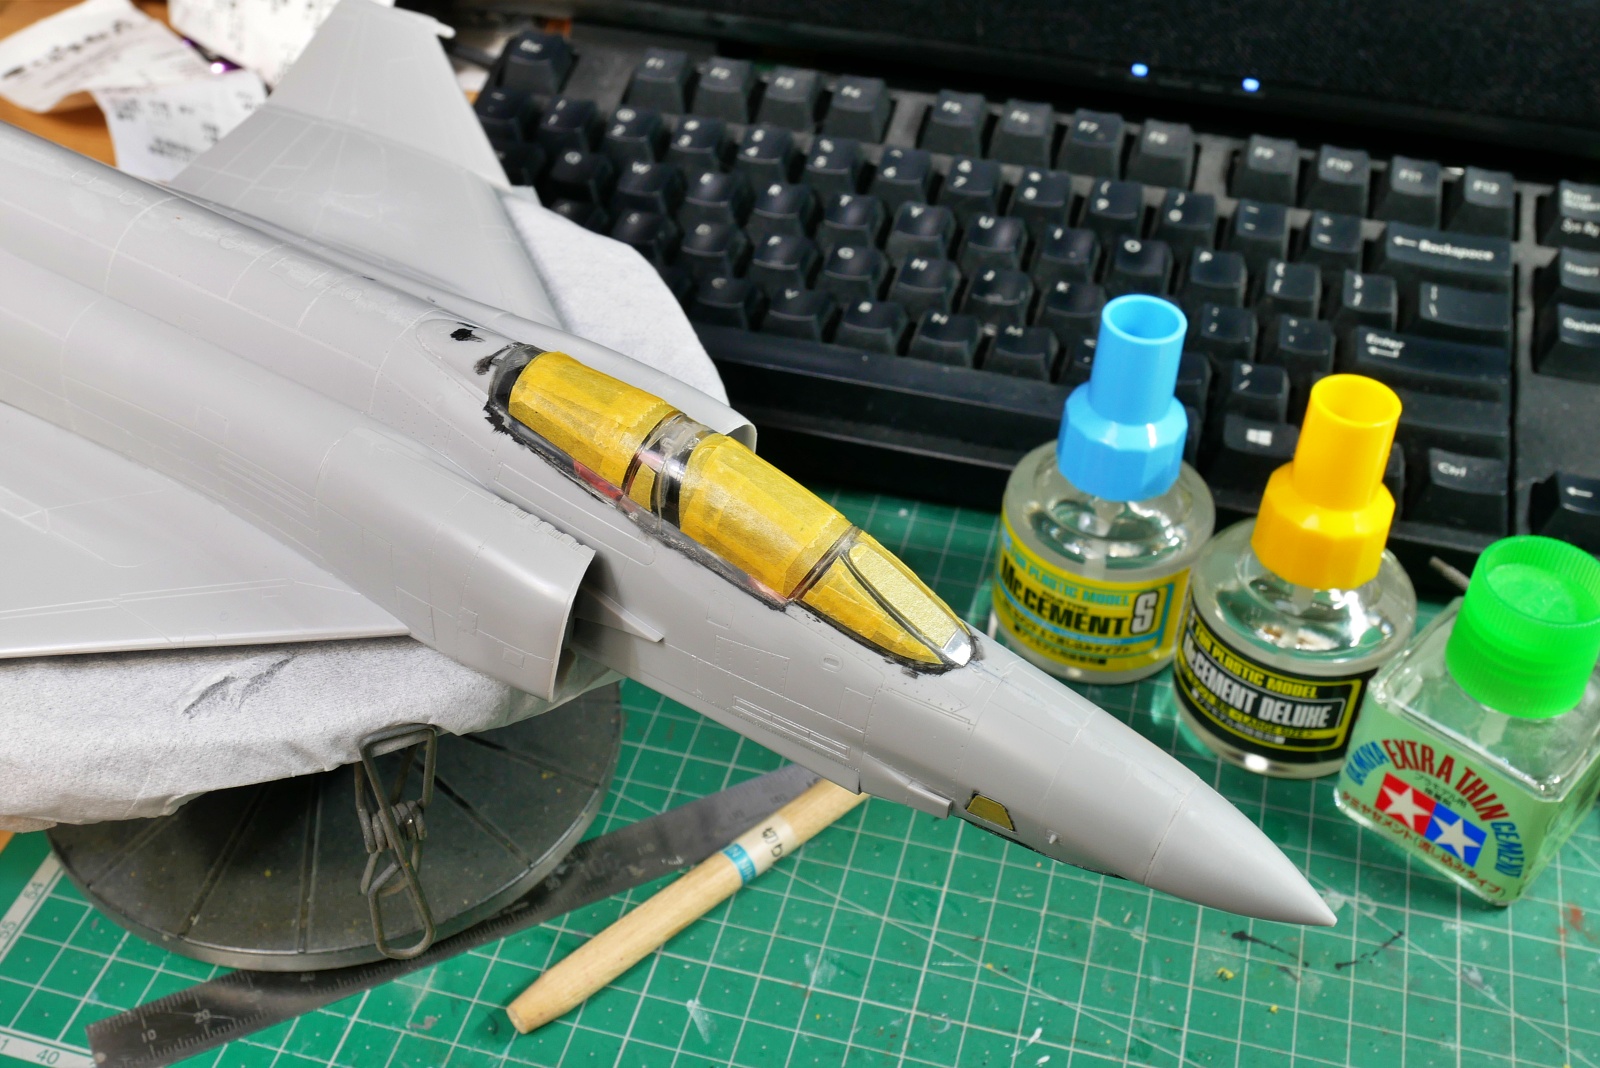
The other day, I noticed that Creos glue became a round bottle, so I bought it. It would be hard to find a good reason to just raise the price, so they changed the shape of the bottle. Even if the price is raised, it would be better if they increased the capacity a little. When I was cleaning up, I found Tamiya glue that I bought a long time ago, and I also have Cleos square bottle. What am I doing?
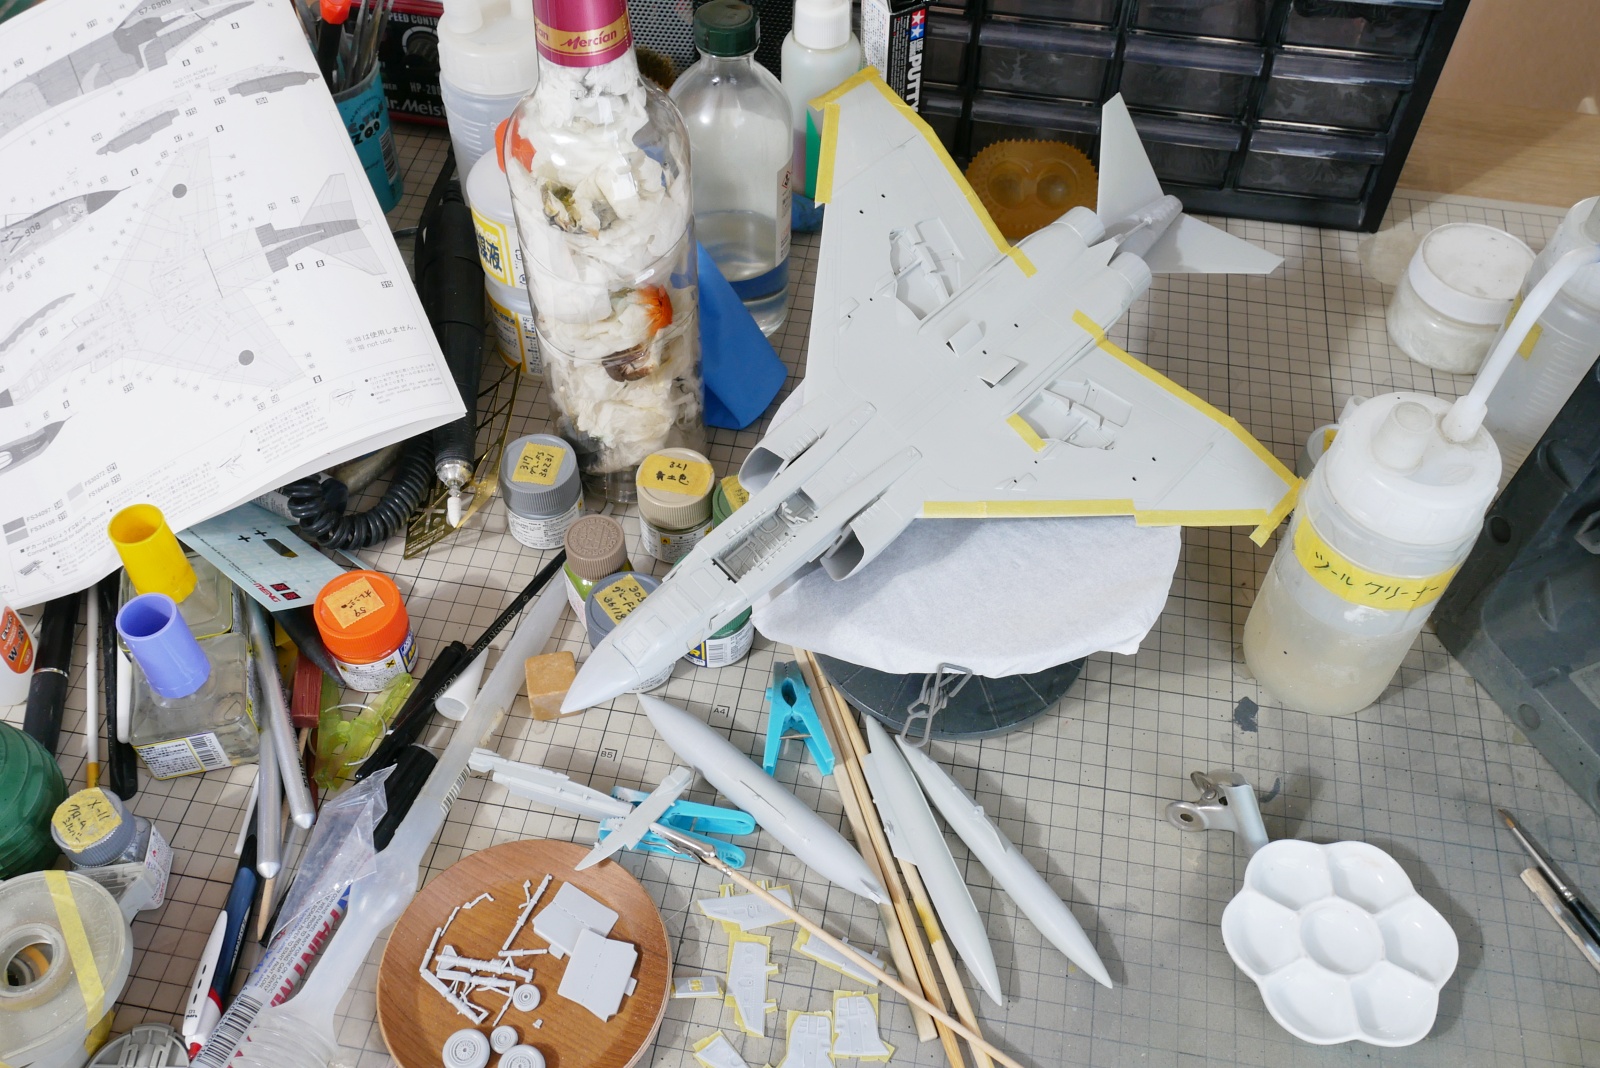
I was going to stop painting until it cools down, but the heat is still severe even in the middle of September and it seems like it will continue forever, so I decided to air brush paint. First, I am masking to paint light gray and white on the underside of the aircraft. But I should have painted silver first.
(2024/09/12)
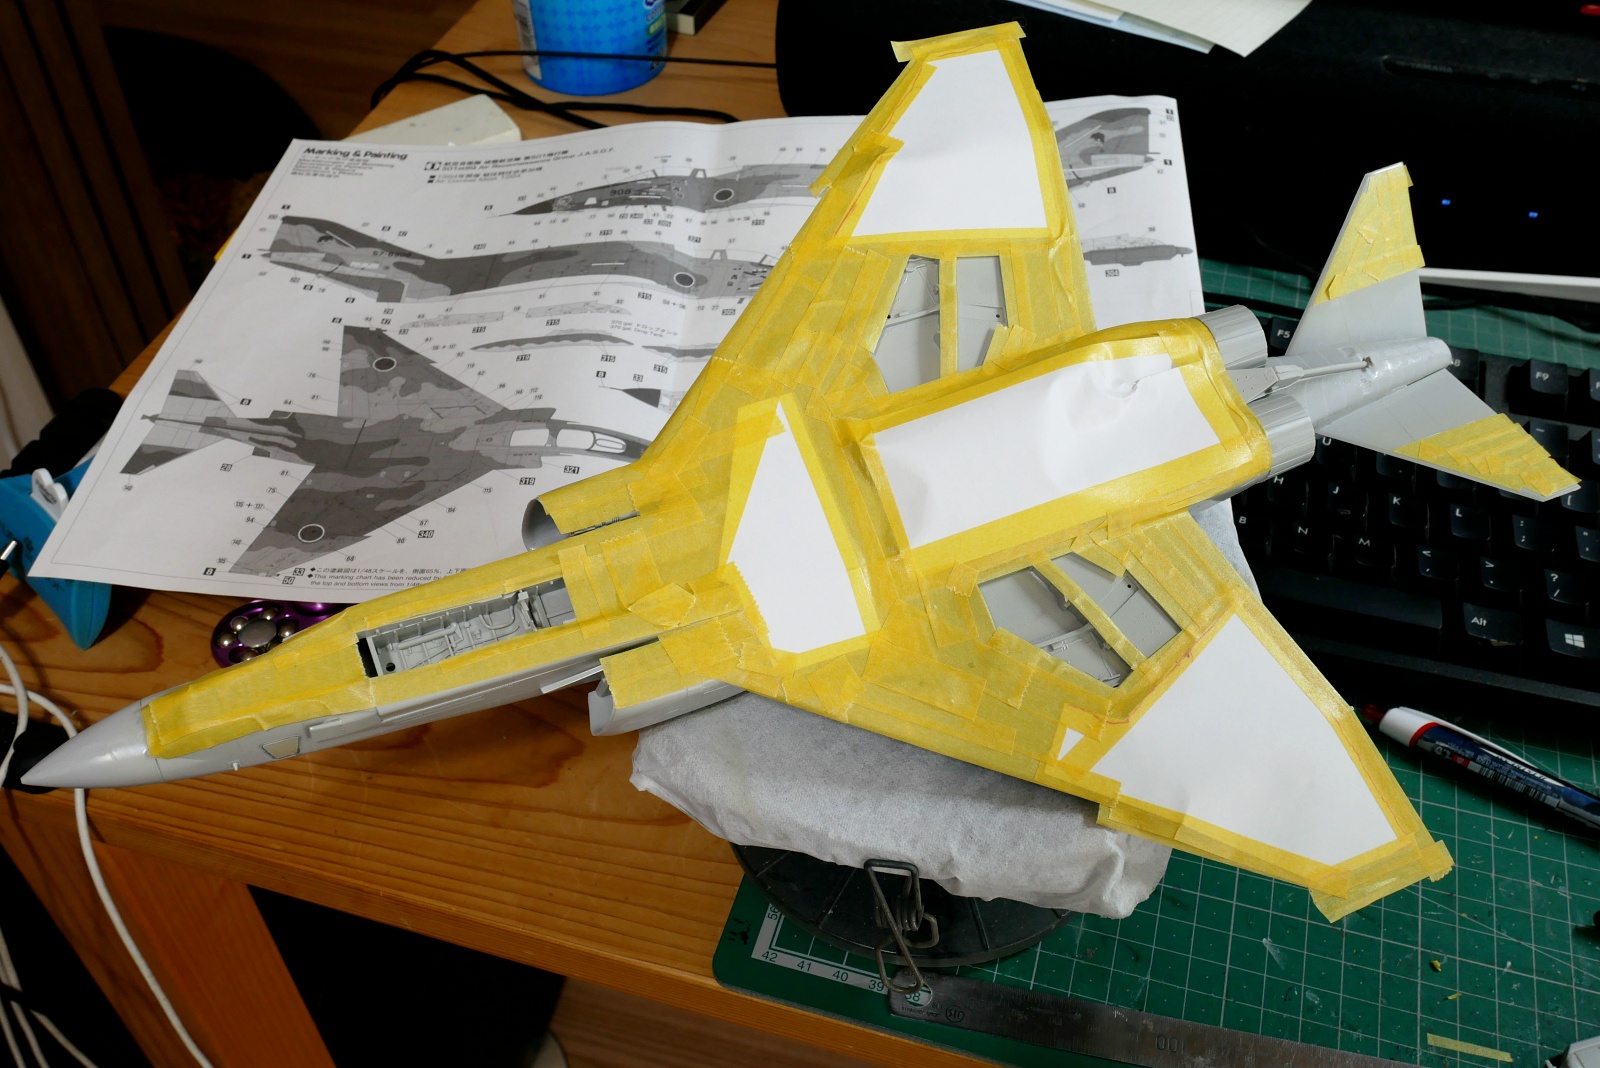
I did masking work more seriously than usual. Was an F4 this big? The work is quite hard. I thought if I blow tricolor camouflage with an airbrush, it will be completed soon, but there are quite many areas to separate paint.
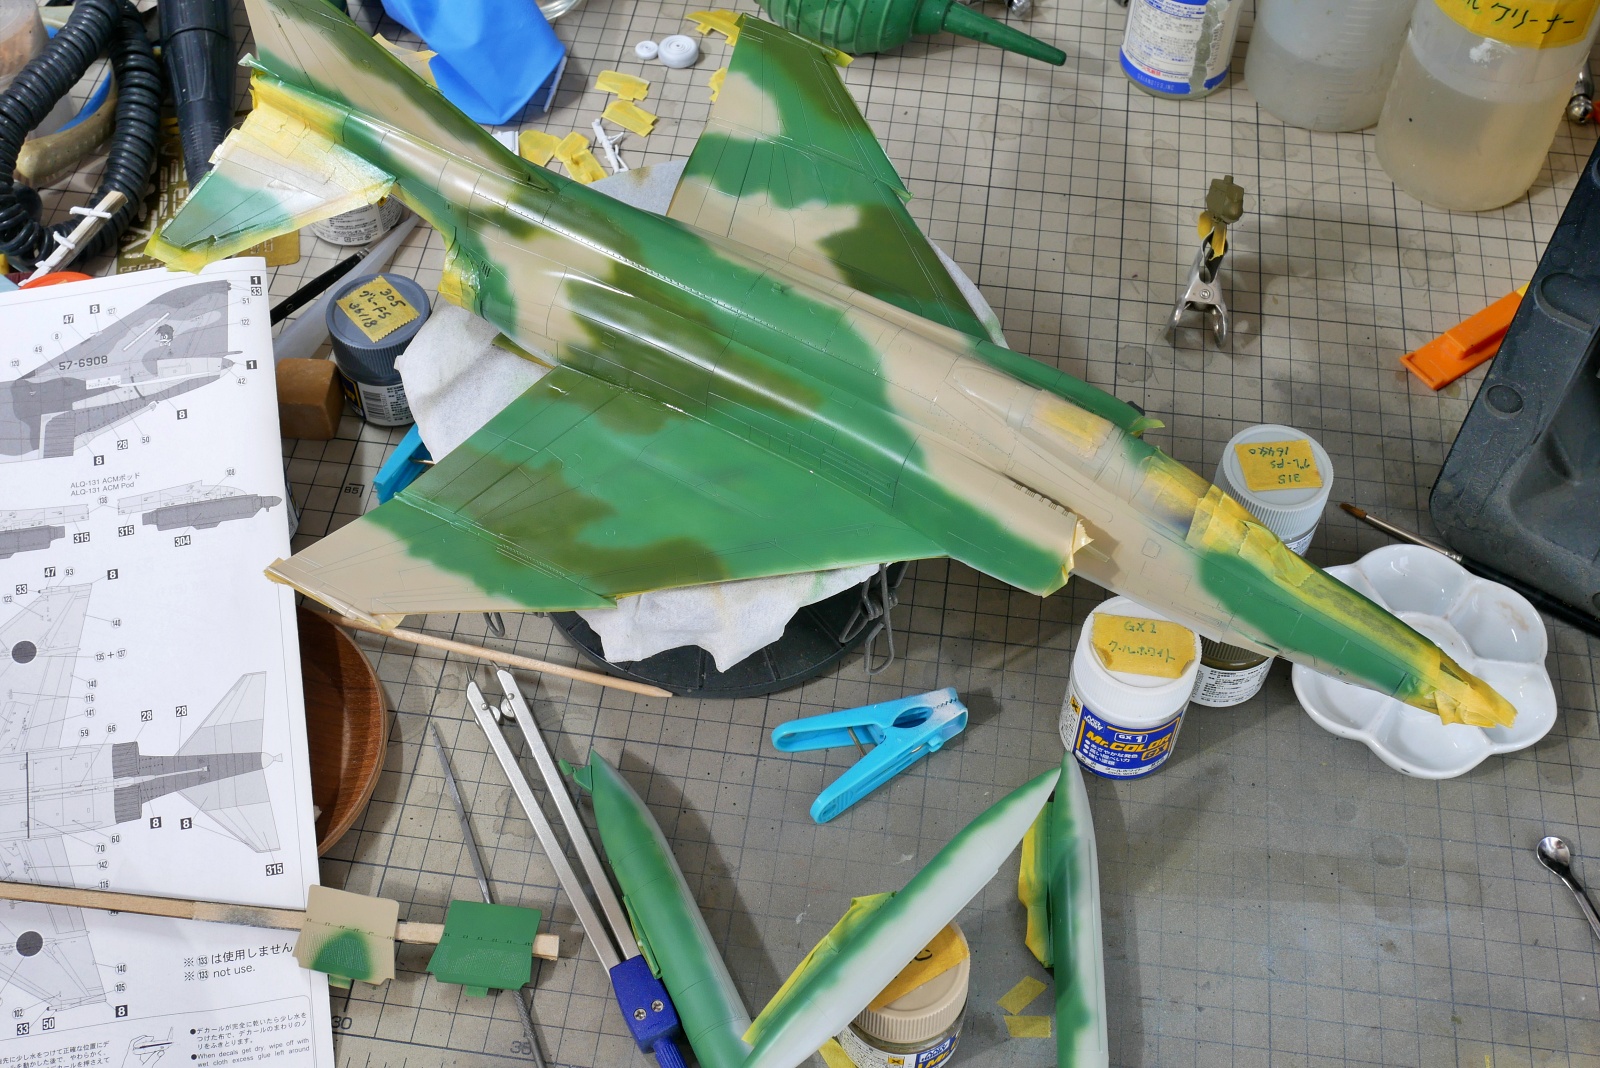
This time, the border of the color is airbrushed with the blurring as short as possible. The boundary between the bottom and top of the fuselage is also masked, but I made it a little blurry afterwards. I think it’s like that when I see the actual airplane. There are so many decals, so I blew it clear coating before that.
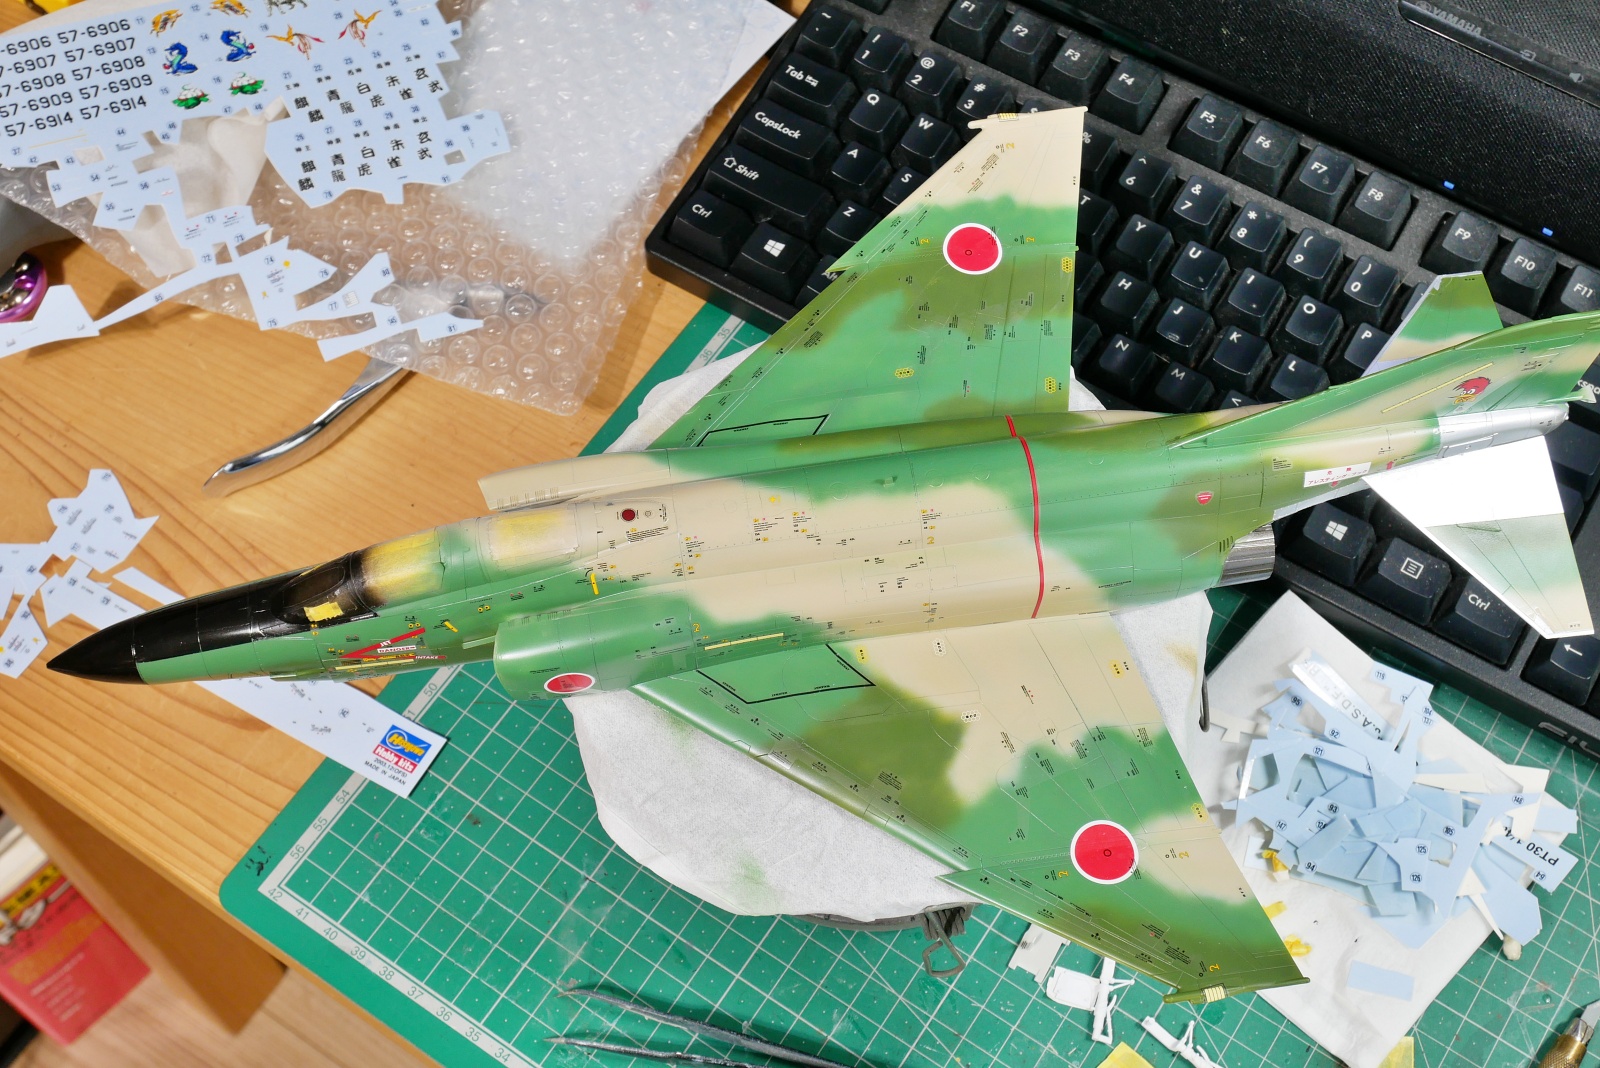
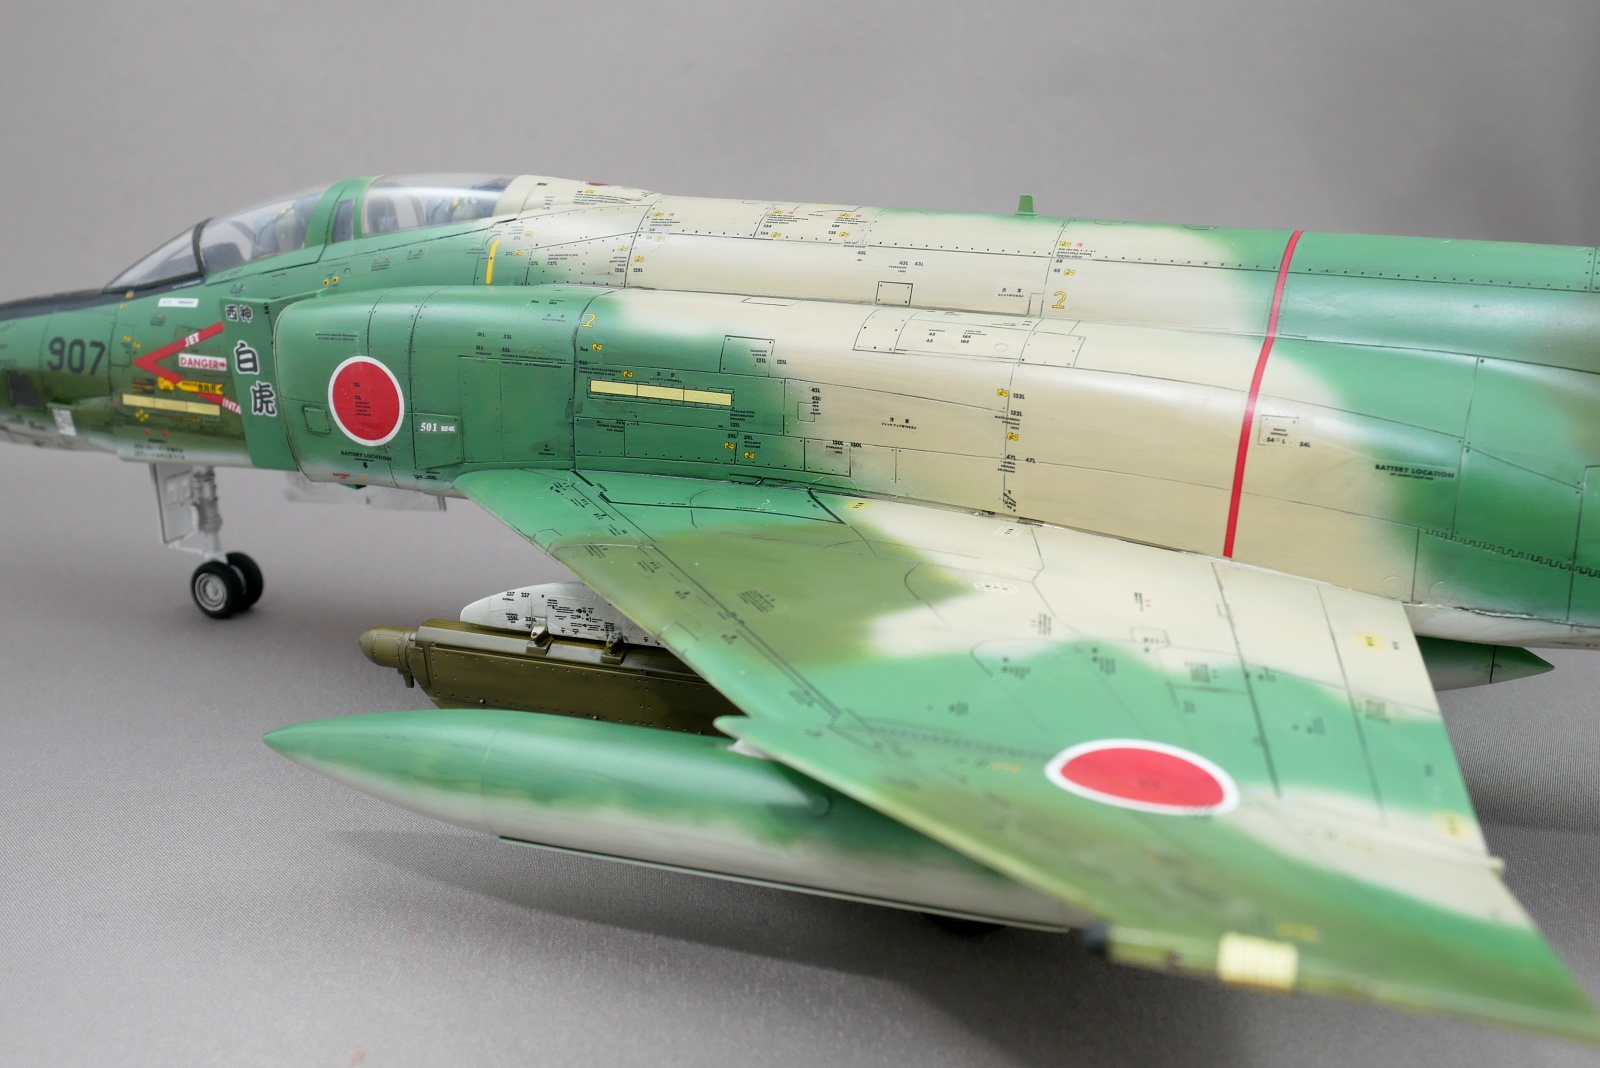
This kit is very careful about decals. It’s too many, rather than too particular. After attaching the decal, it looks much better. I felt that it was hard even though the caution mark was put together to some extent. Usually, when I make AFV, I only attach a few decals a little, and I felt that this kit has a lot of decals. If you cut and paste the clear part to the limit, the labor will be multiplied, but it will look better. I cannot do it. I wonder if other Phantoms of Hasegawa have such caution marks.
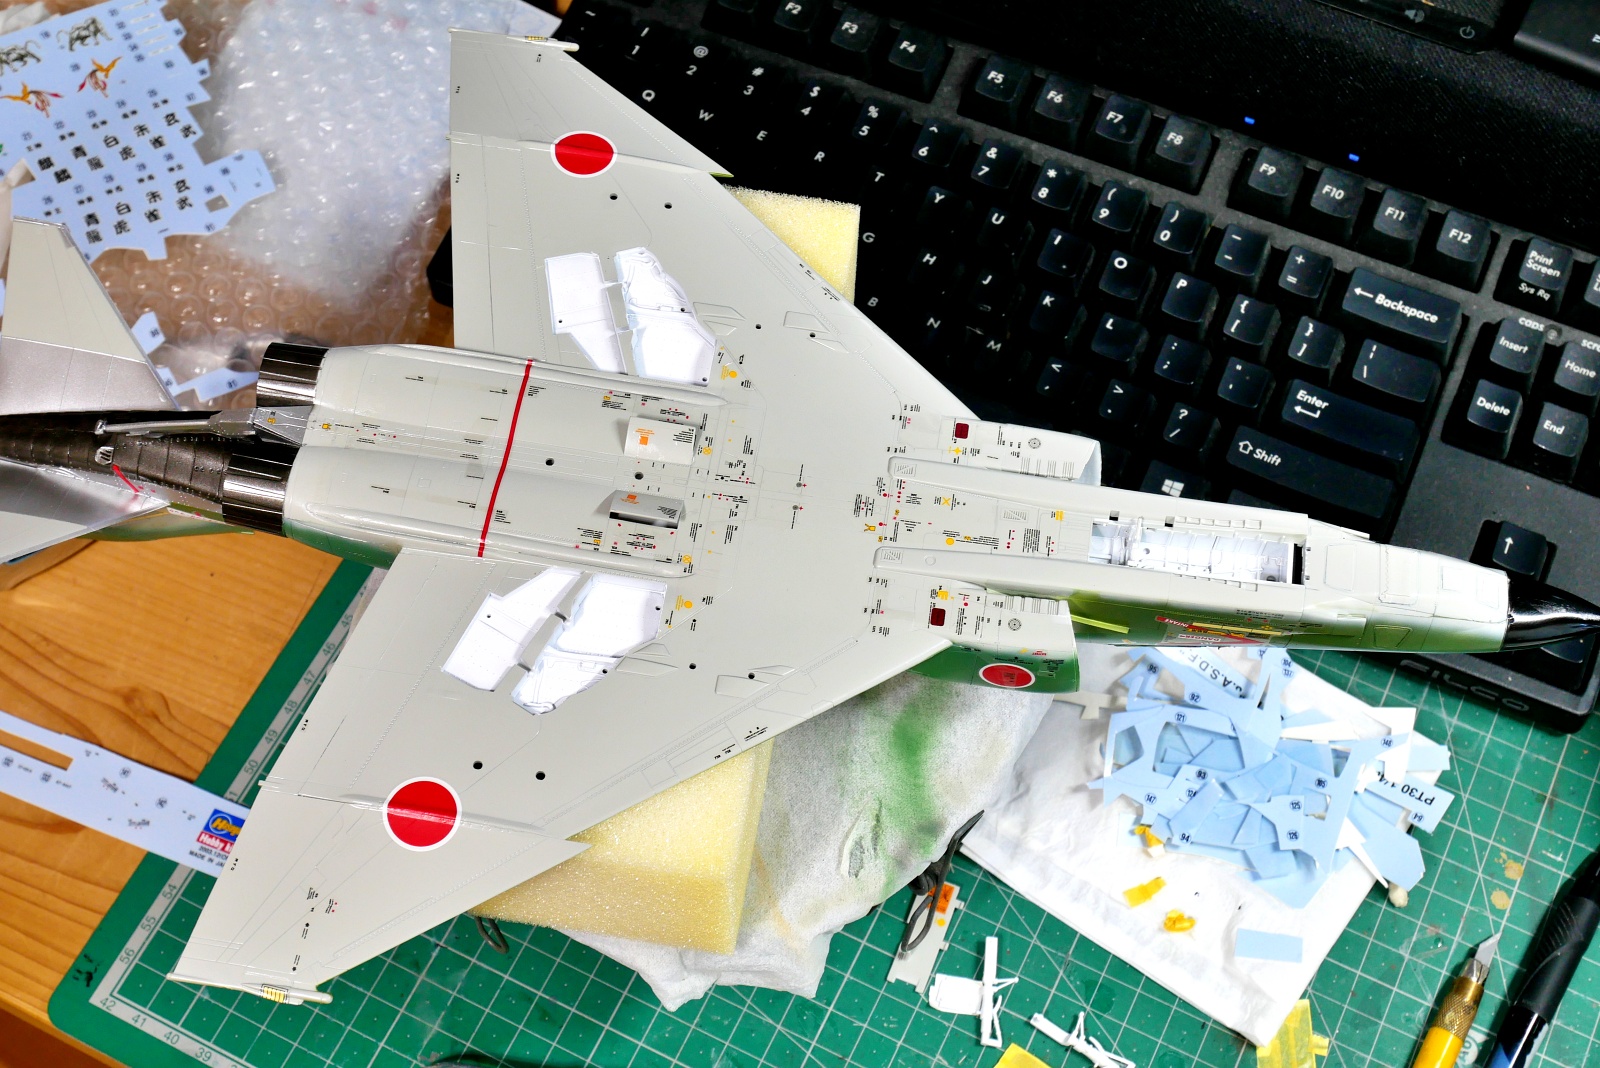
When I put the decal on the underside of the aircraft, I put it on two sponges and put it there. I often use the one on the wire of the Tamiya paint stand, but it is still more stable because the body is bigger.
(2024/09/17)
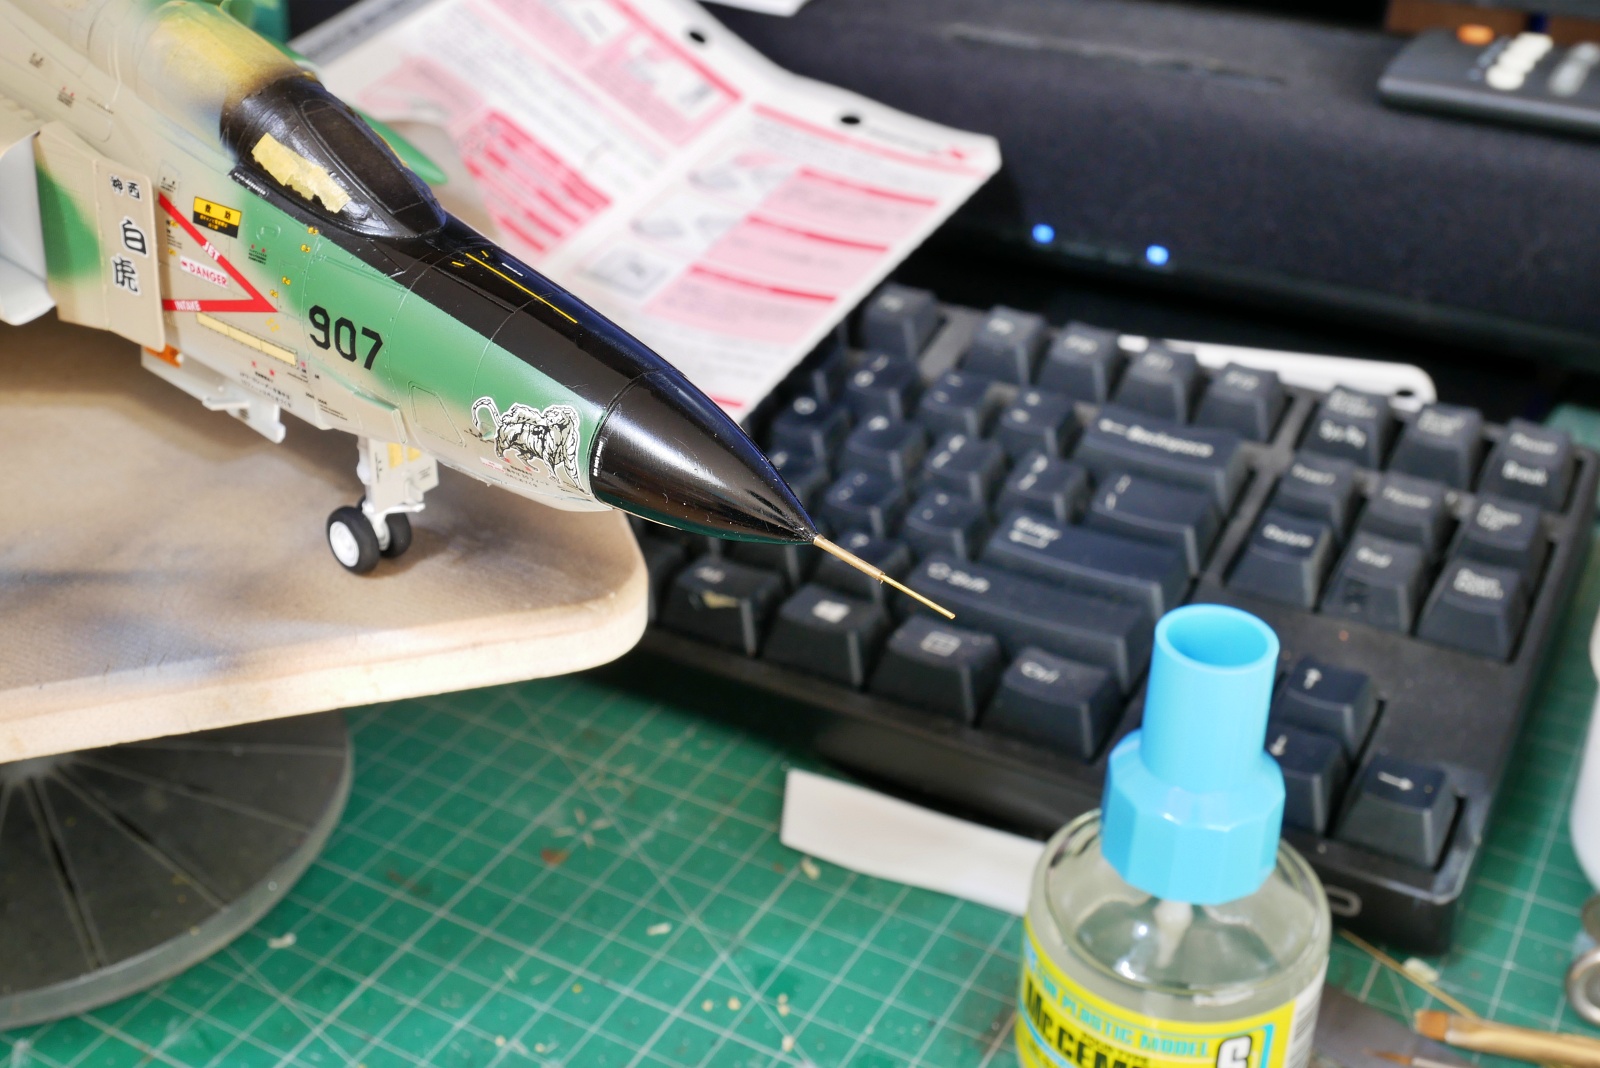
The pitot tube at the tip was remade with brass pipe. It will increase the strength and mold a little better.
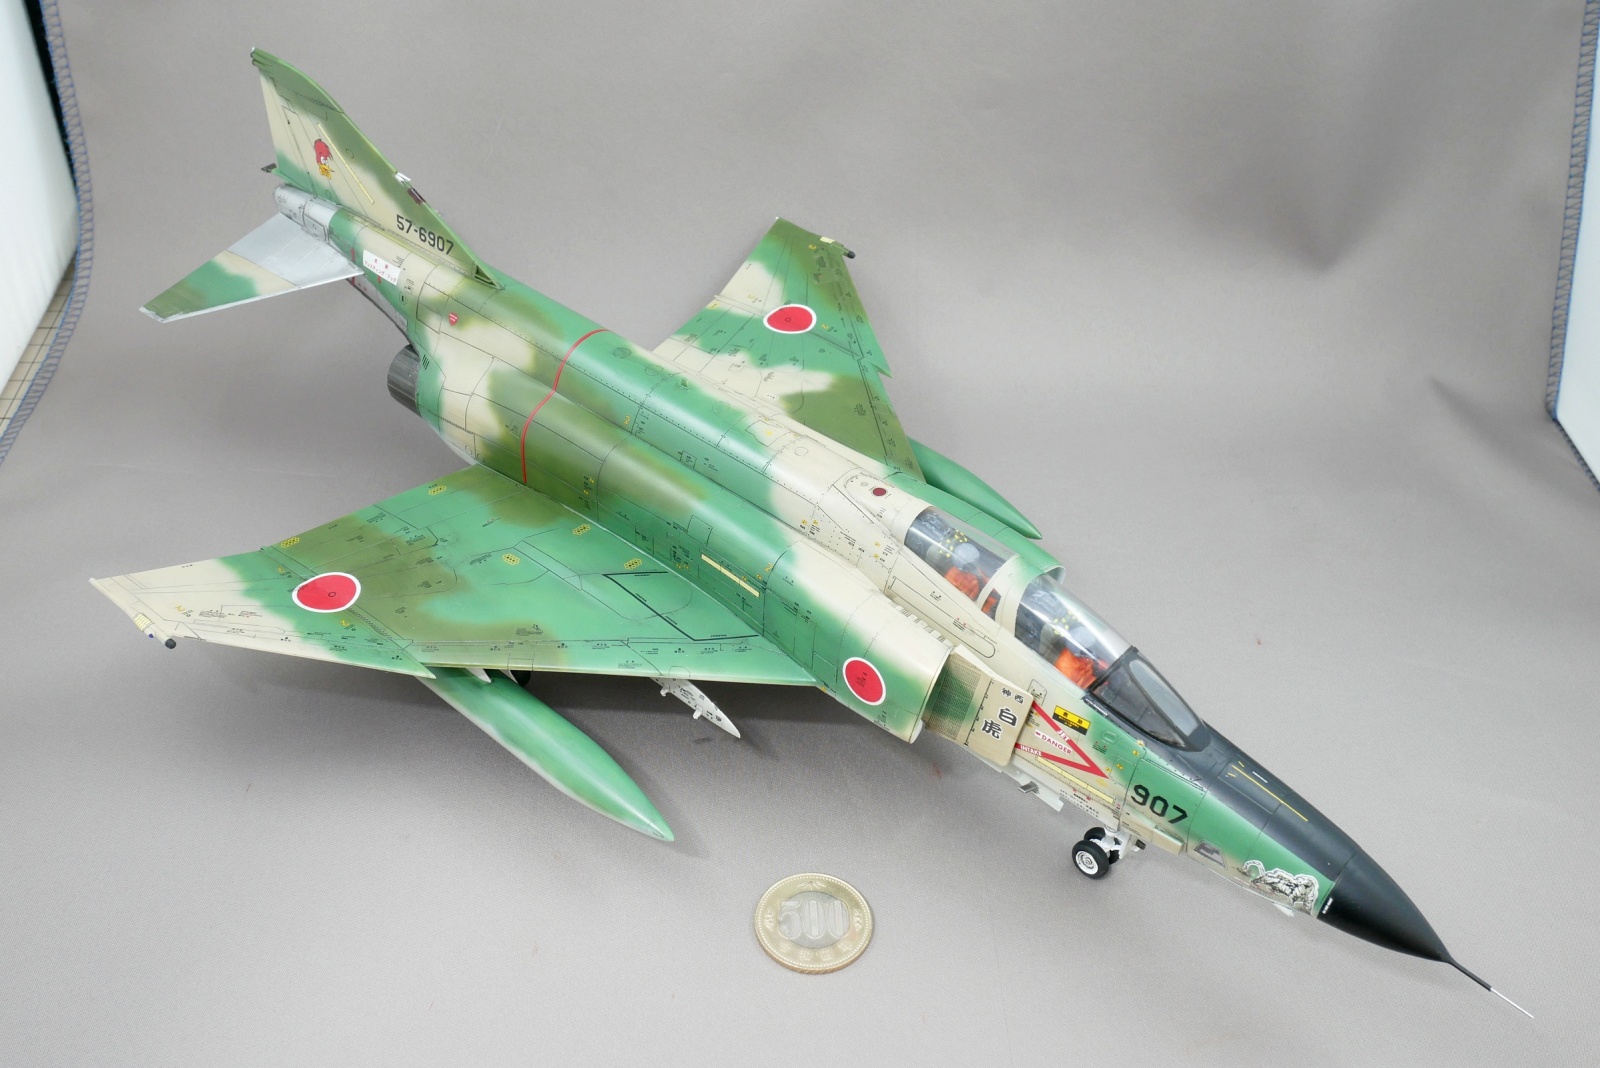
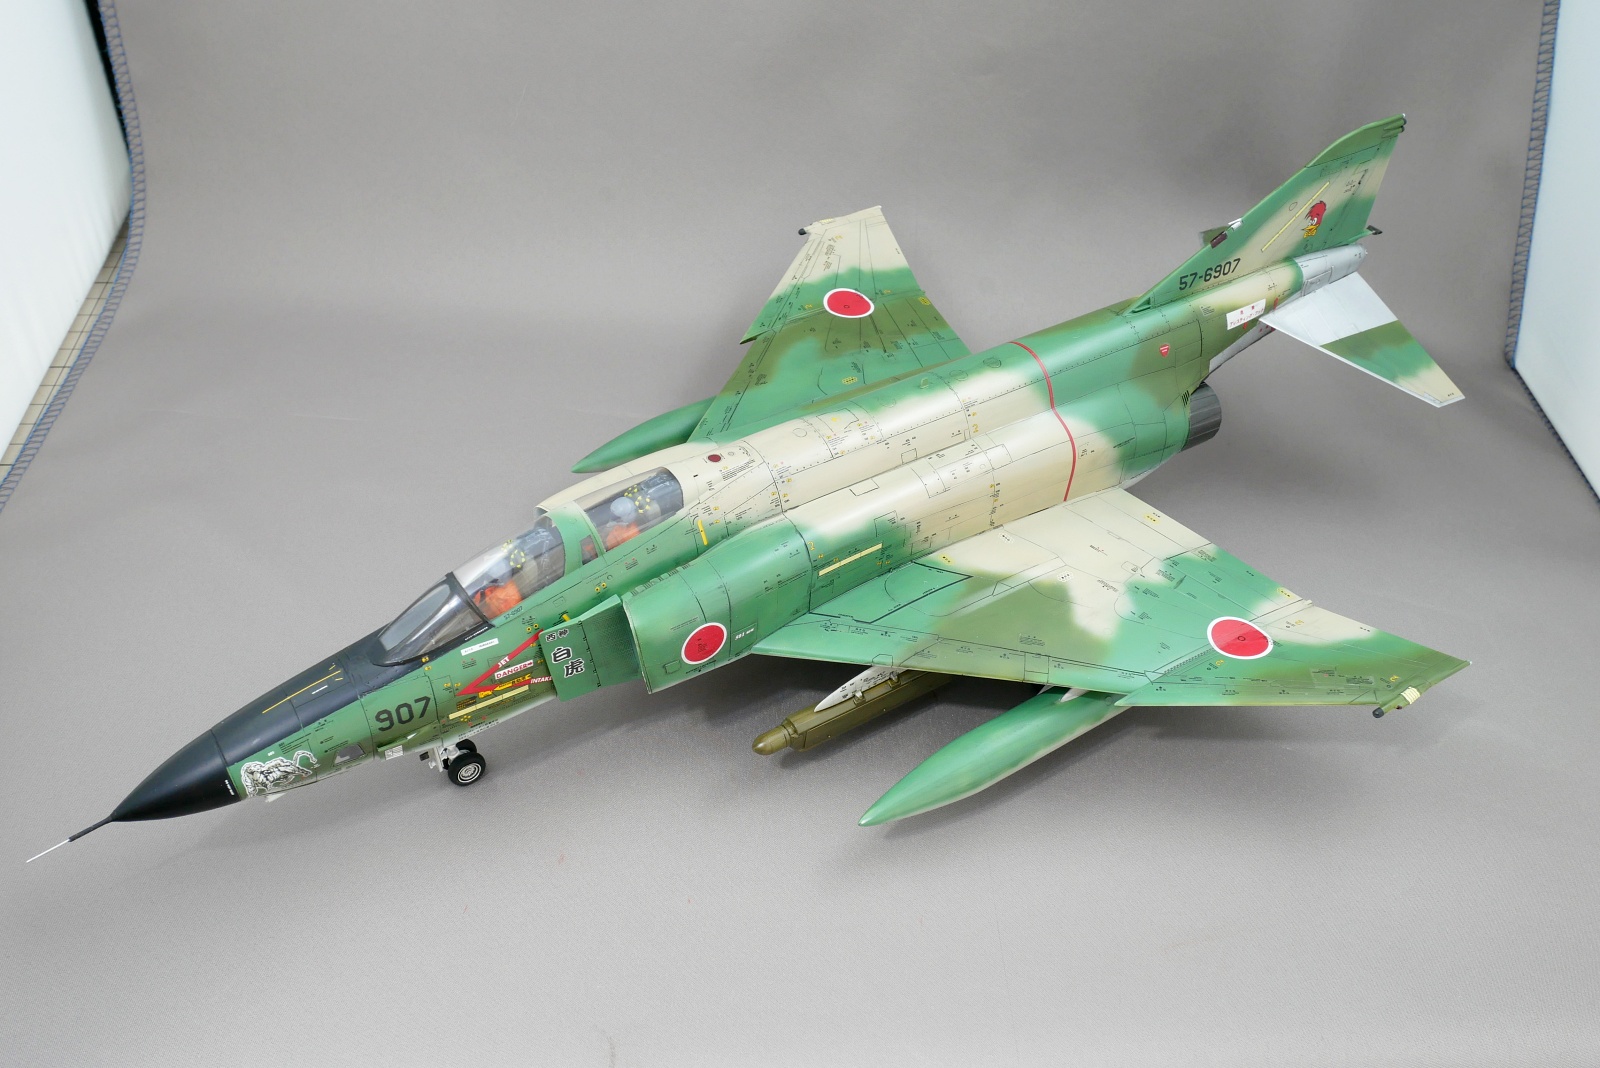
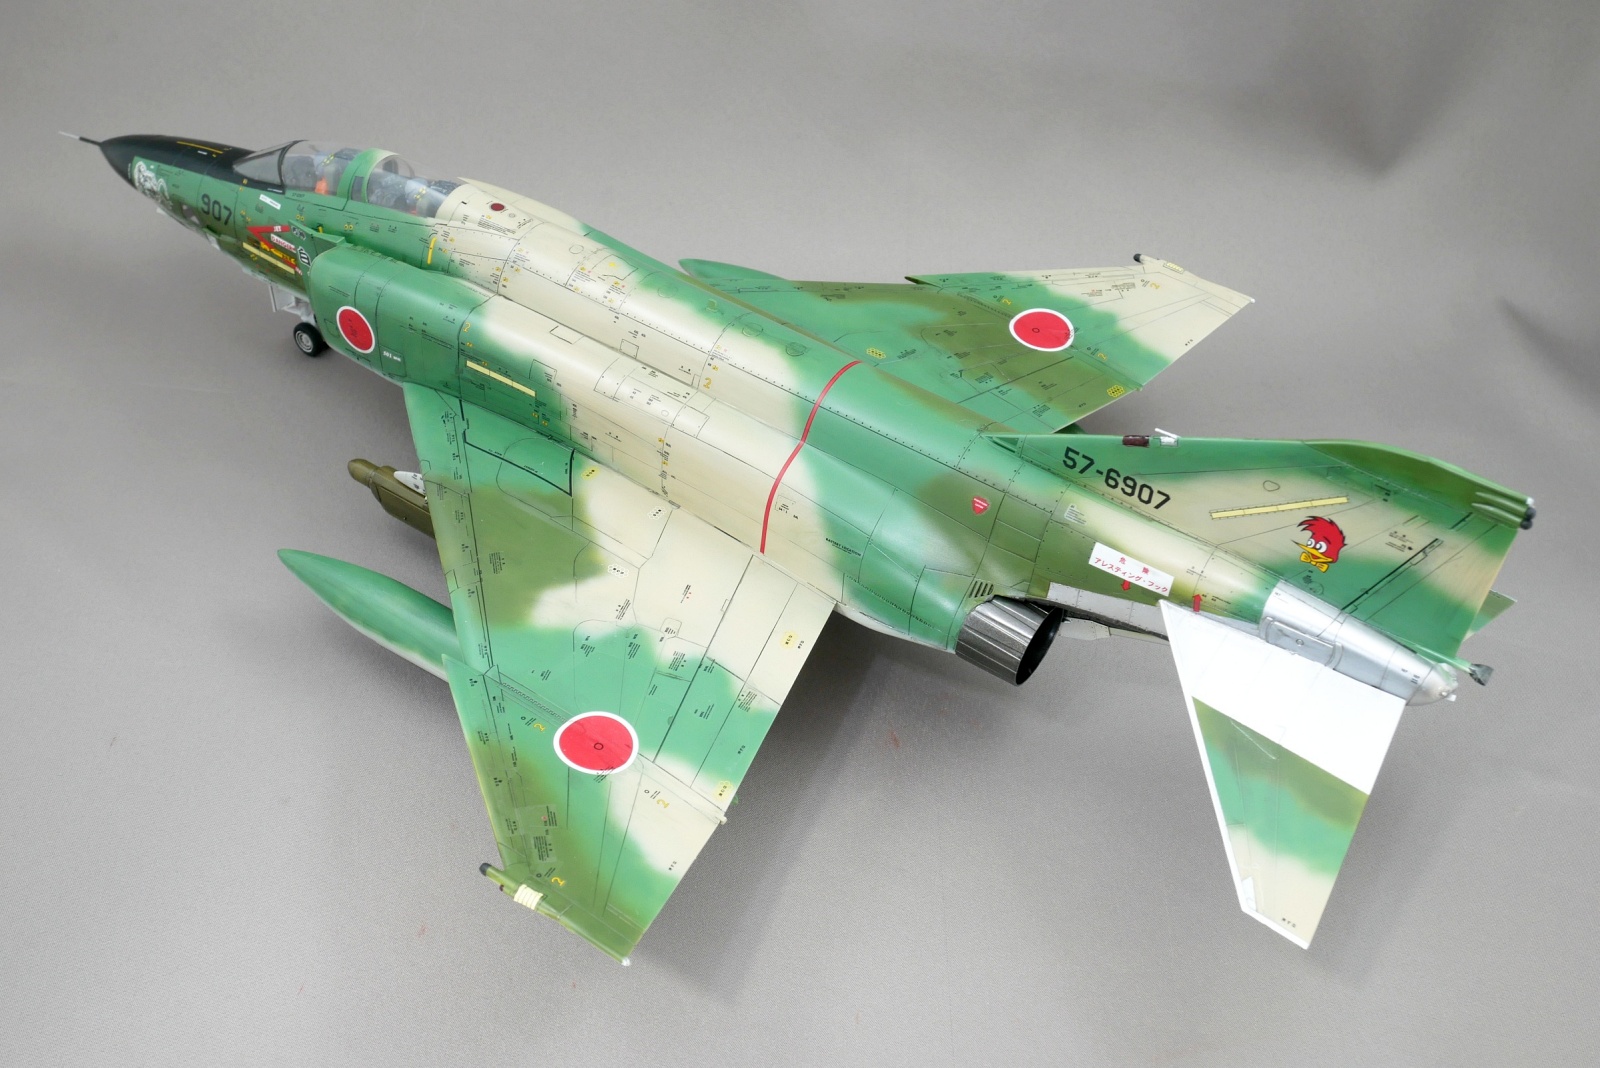
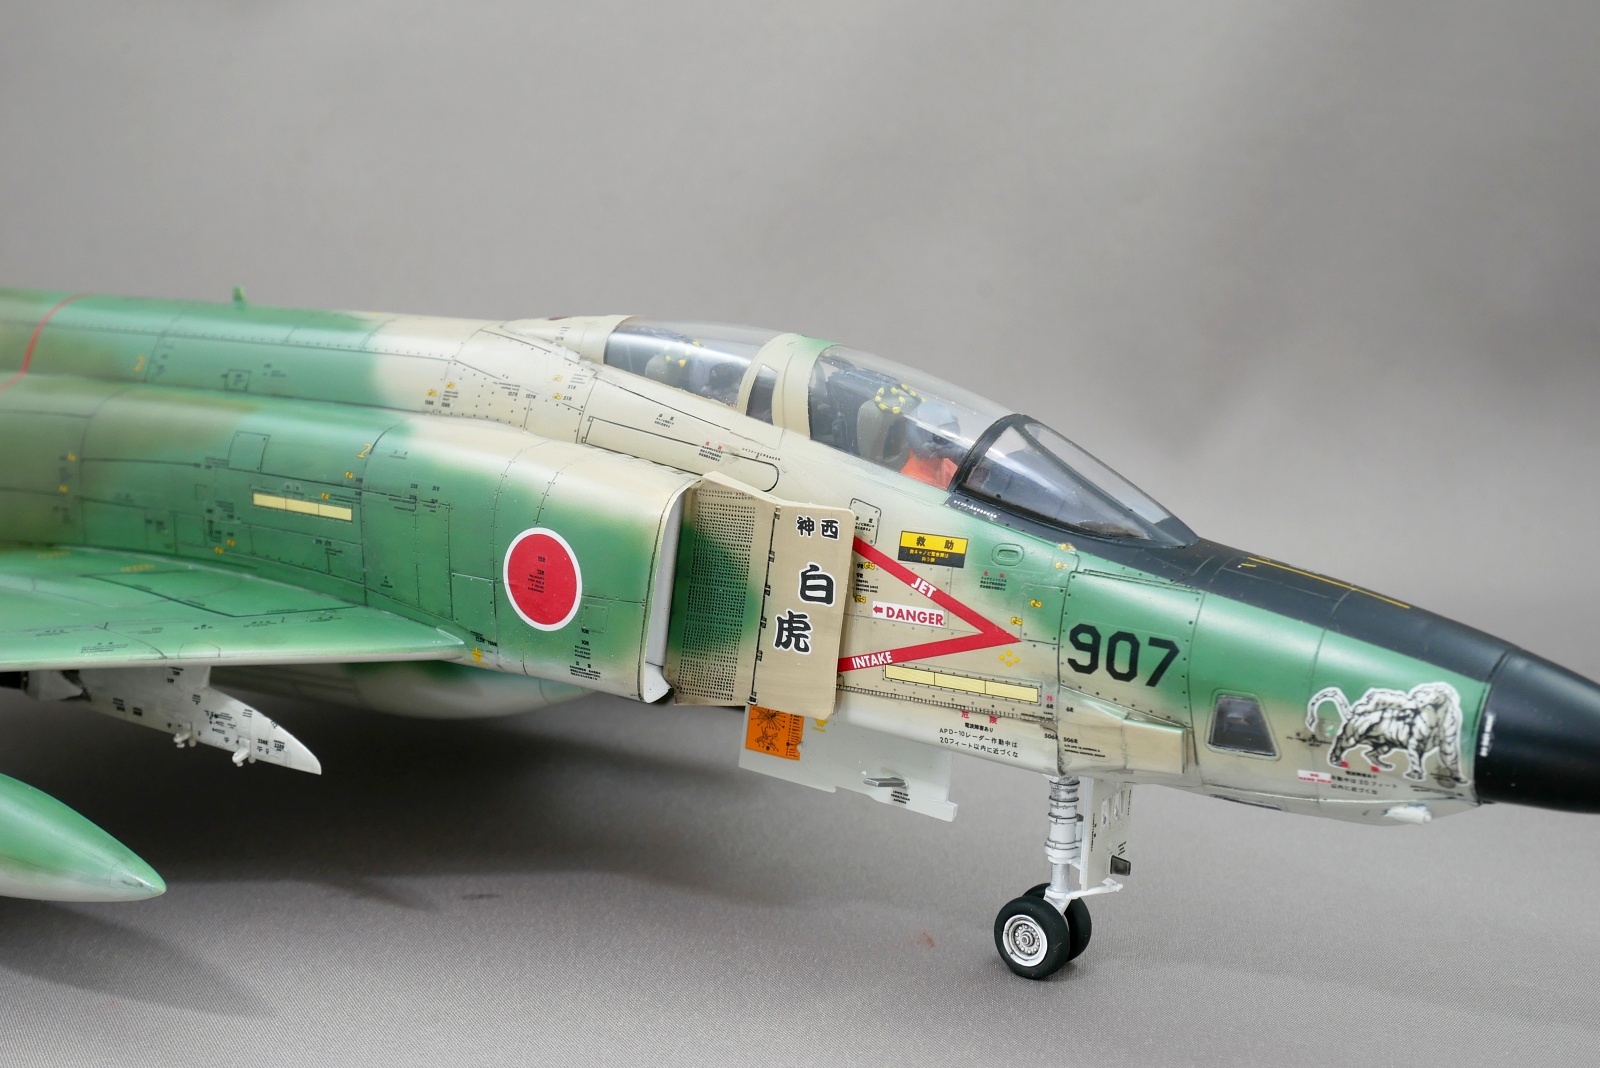
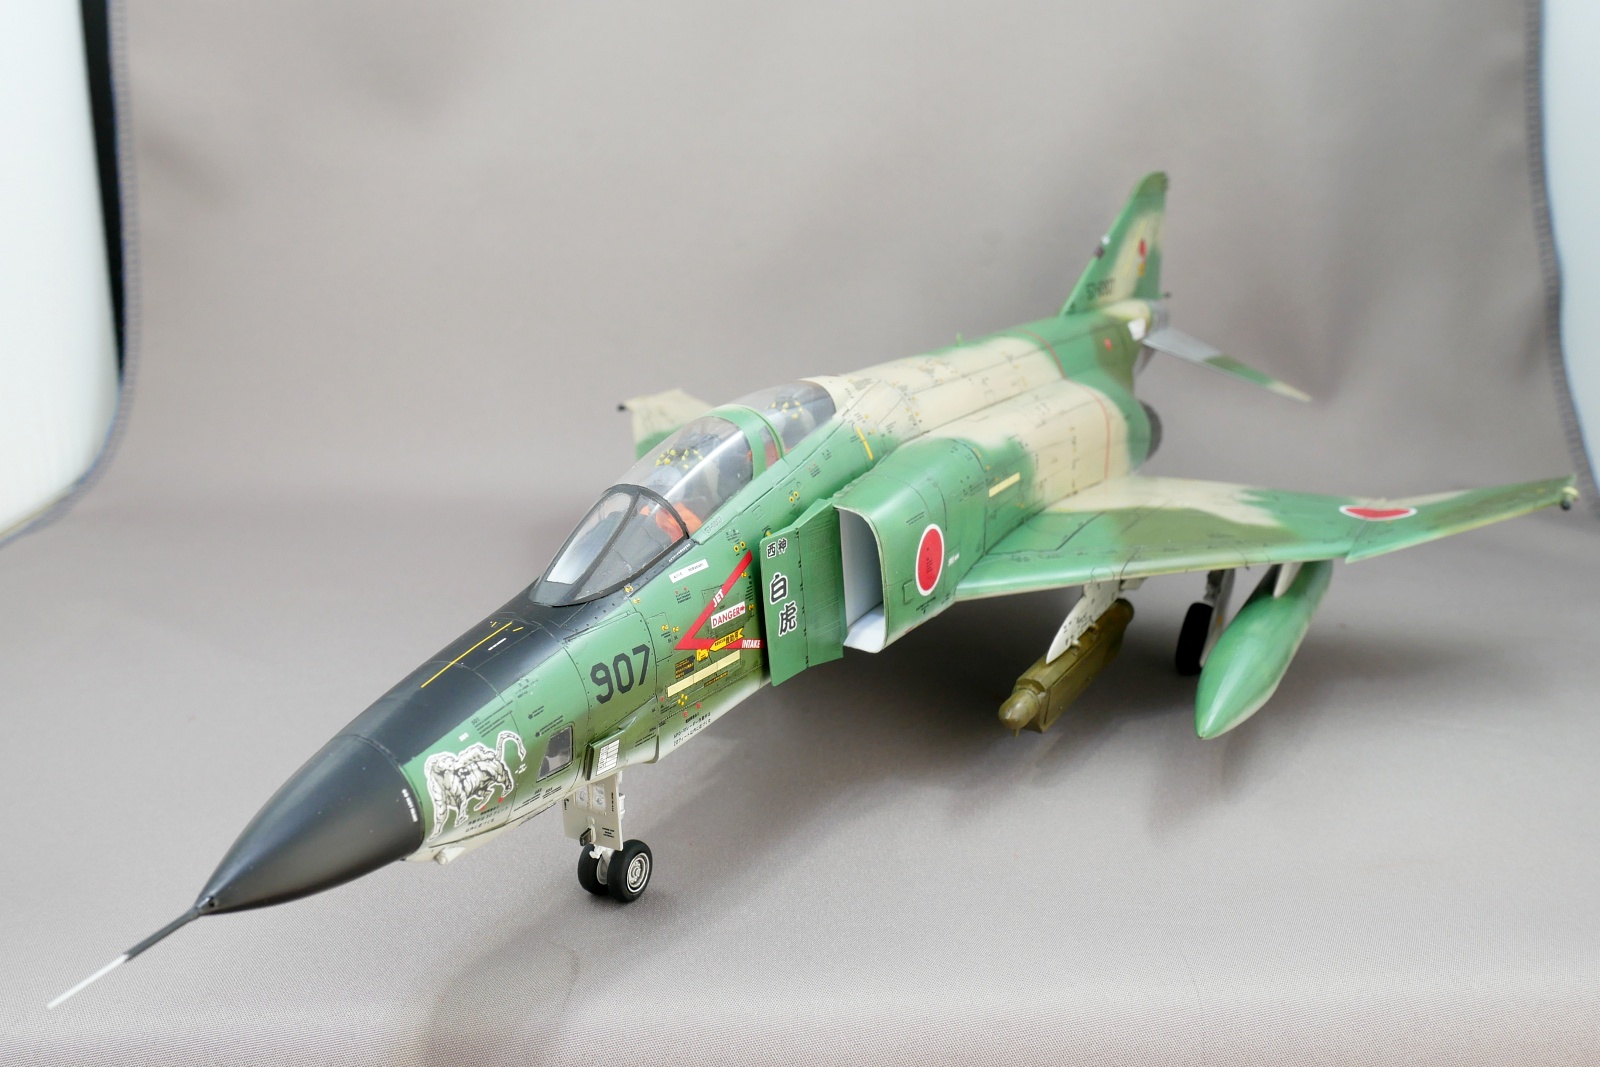
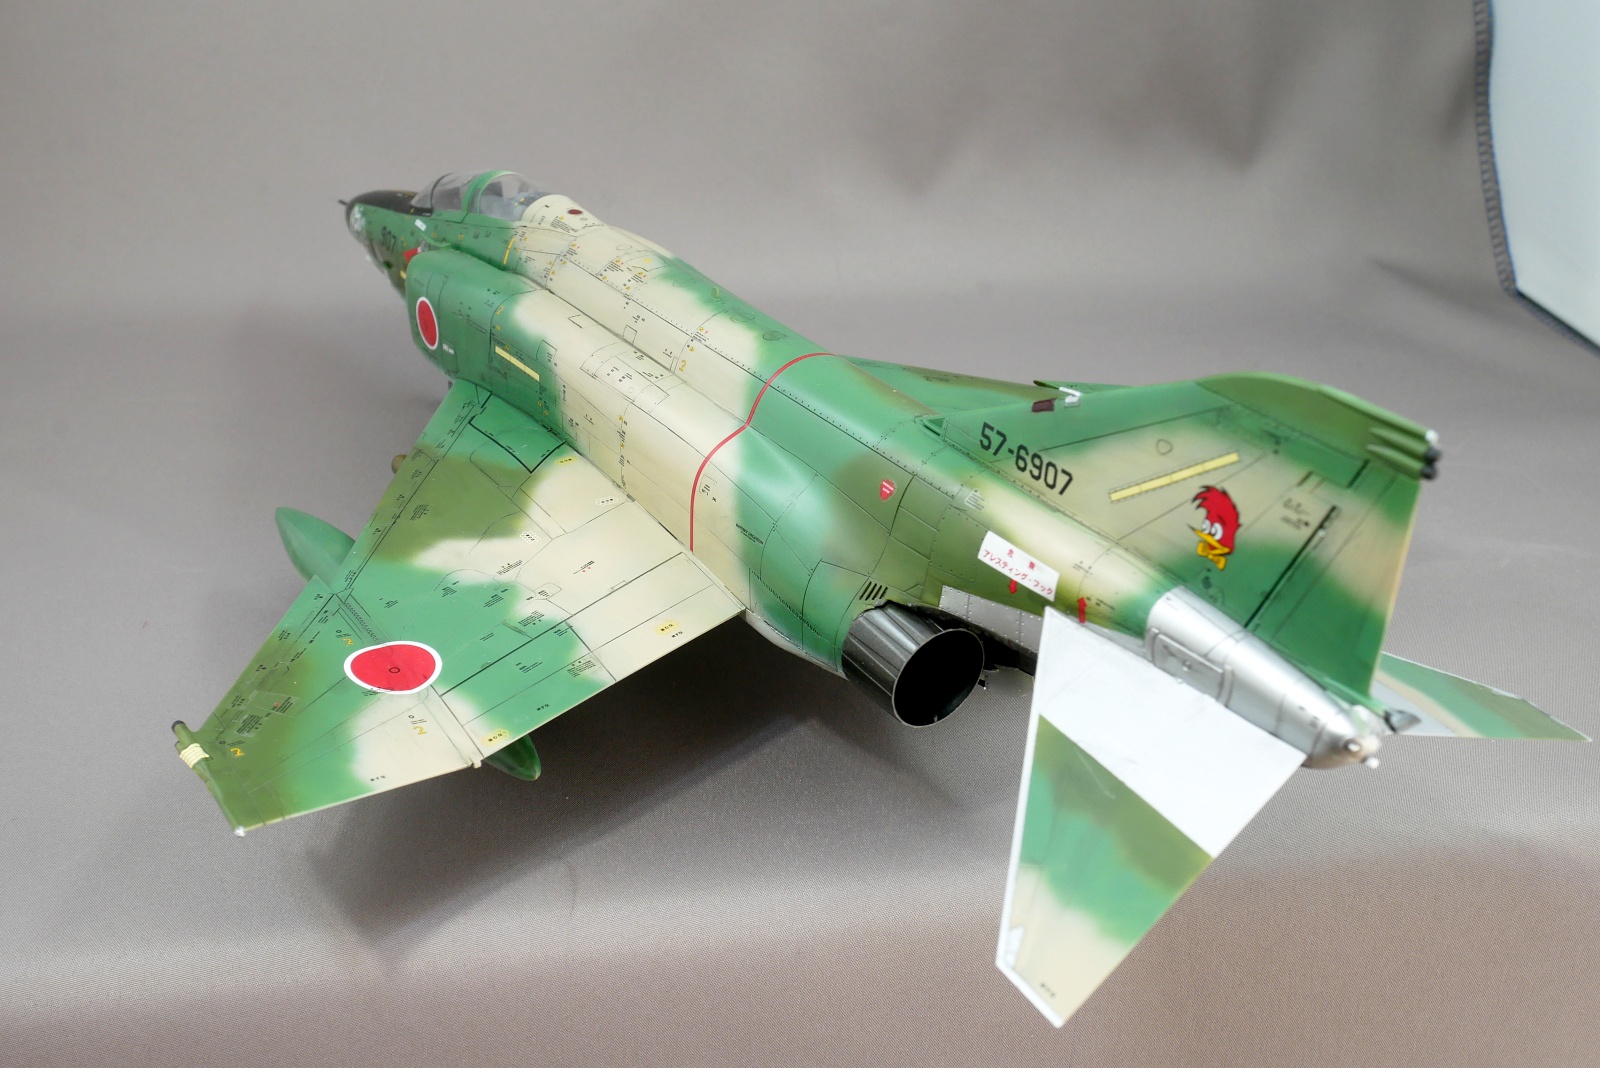
The RF-4E Phantom reconnaissance aircraft is complete. Green three-color camouflage paint. Recently, China has become active in the Okinawa area, and some aircraft were changed to ocean camouflage in consideration of activities at sea.
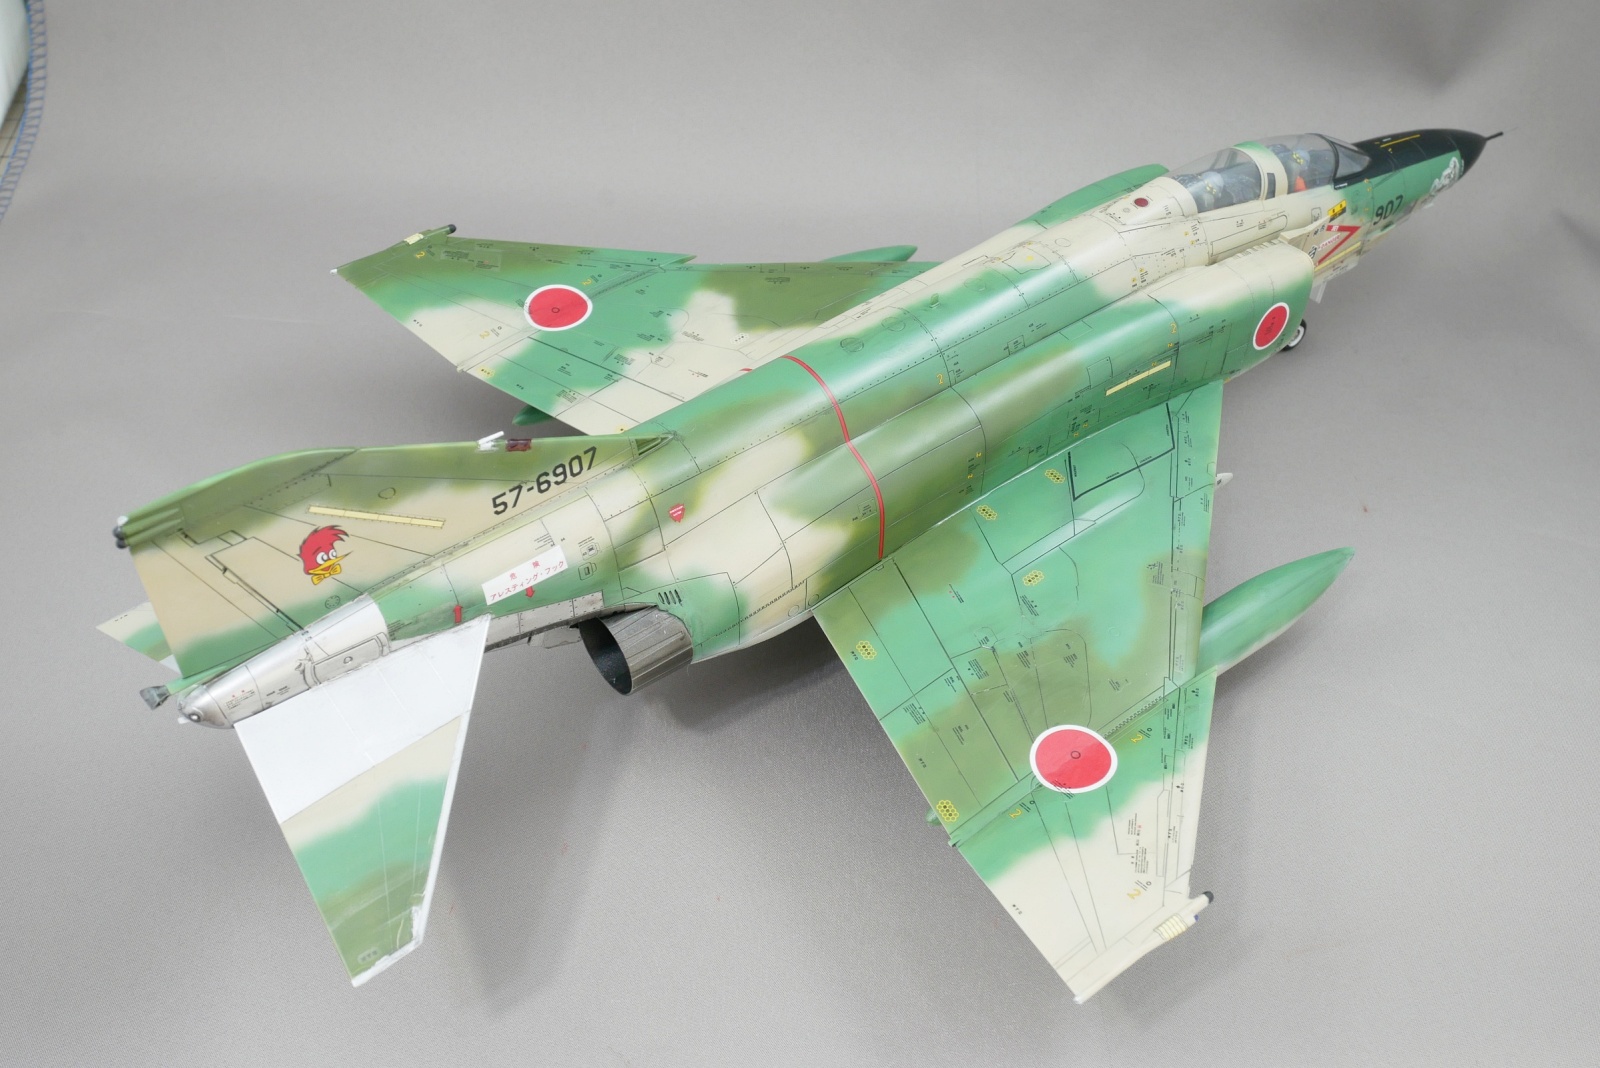
The RF-4E was all retired in March 2020. It was introduced in 1974, so it was on duty for 45 years. I wonder if unmanned aircraft will be the main reconnaissance mission these days.
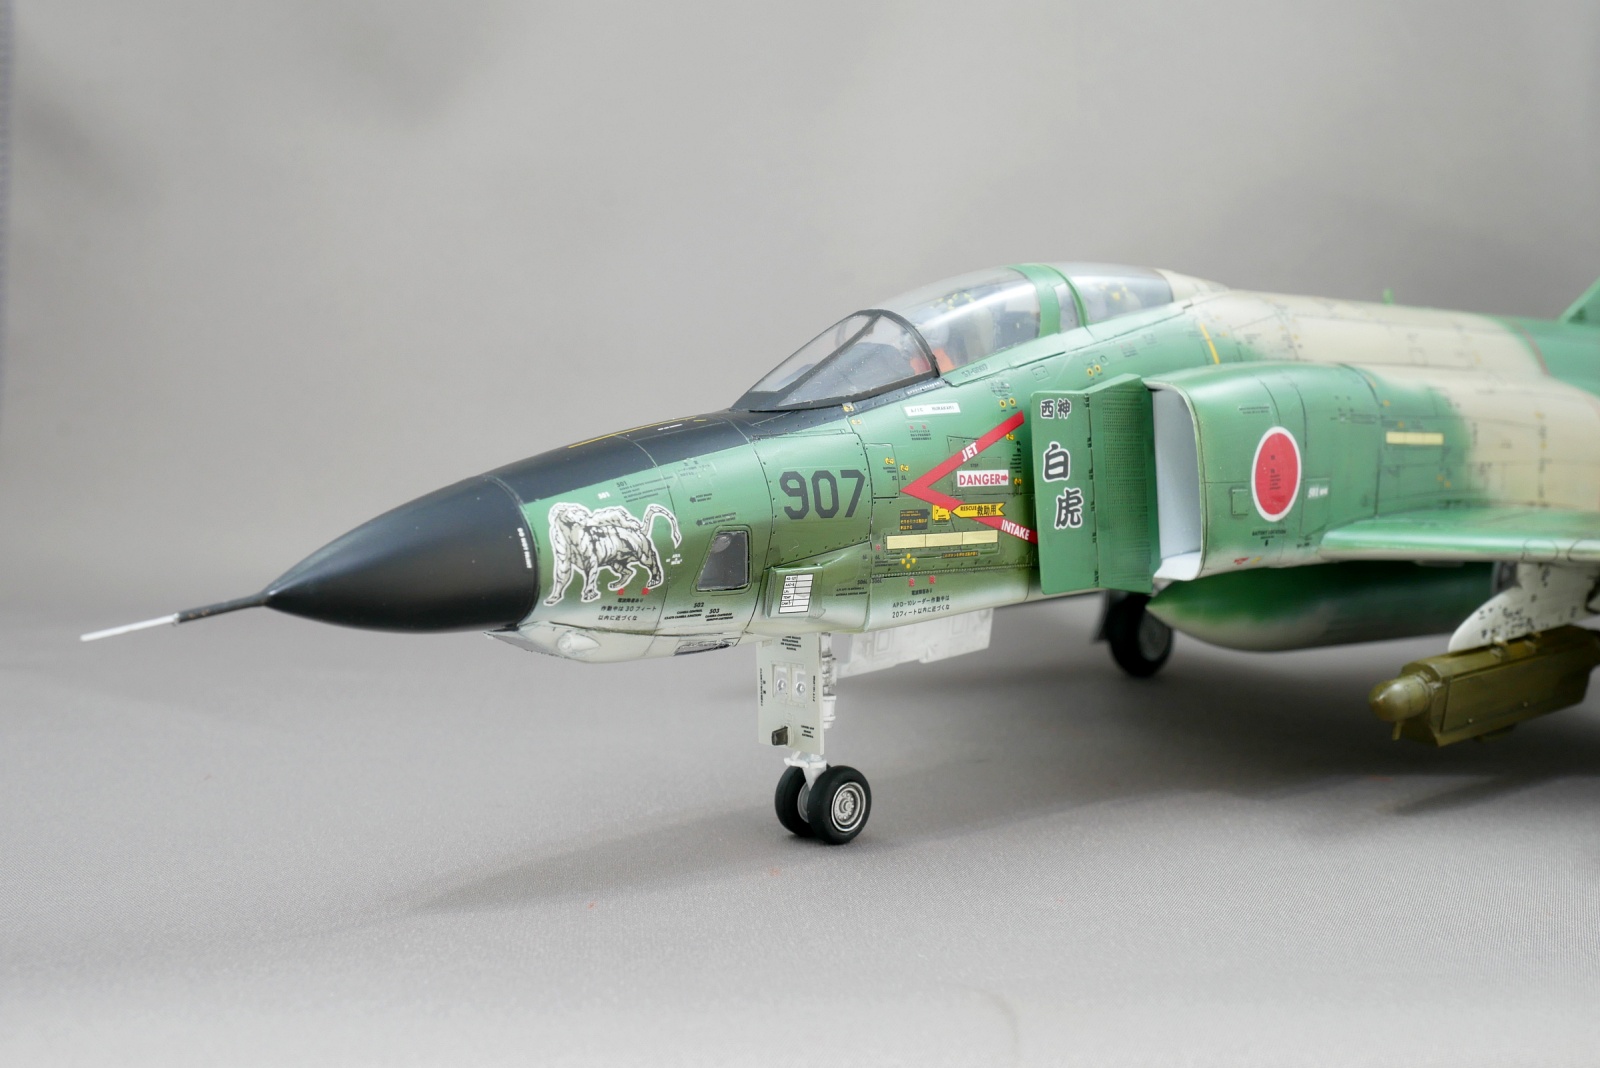
The Marking is an aircraft that participated in the 1994 Warfare Competition in the 501 Squadron of the Reconnaissance Air Wing of the Japan Air Self-Defense Force. I chose white tiger markings for the illustration.
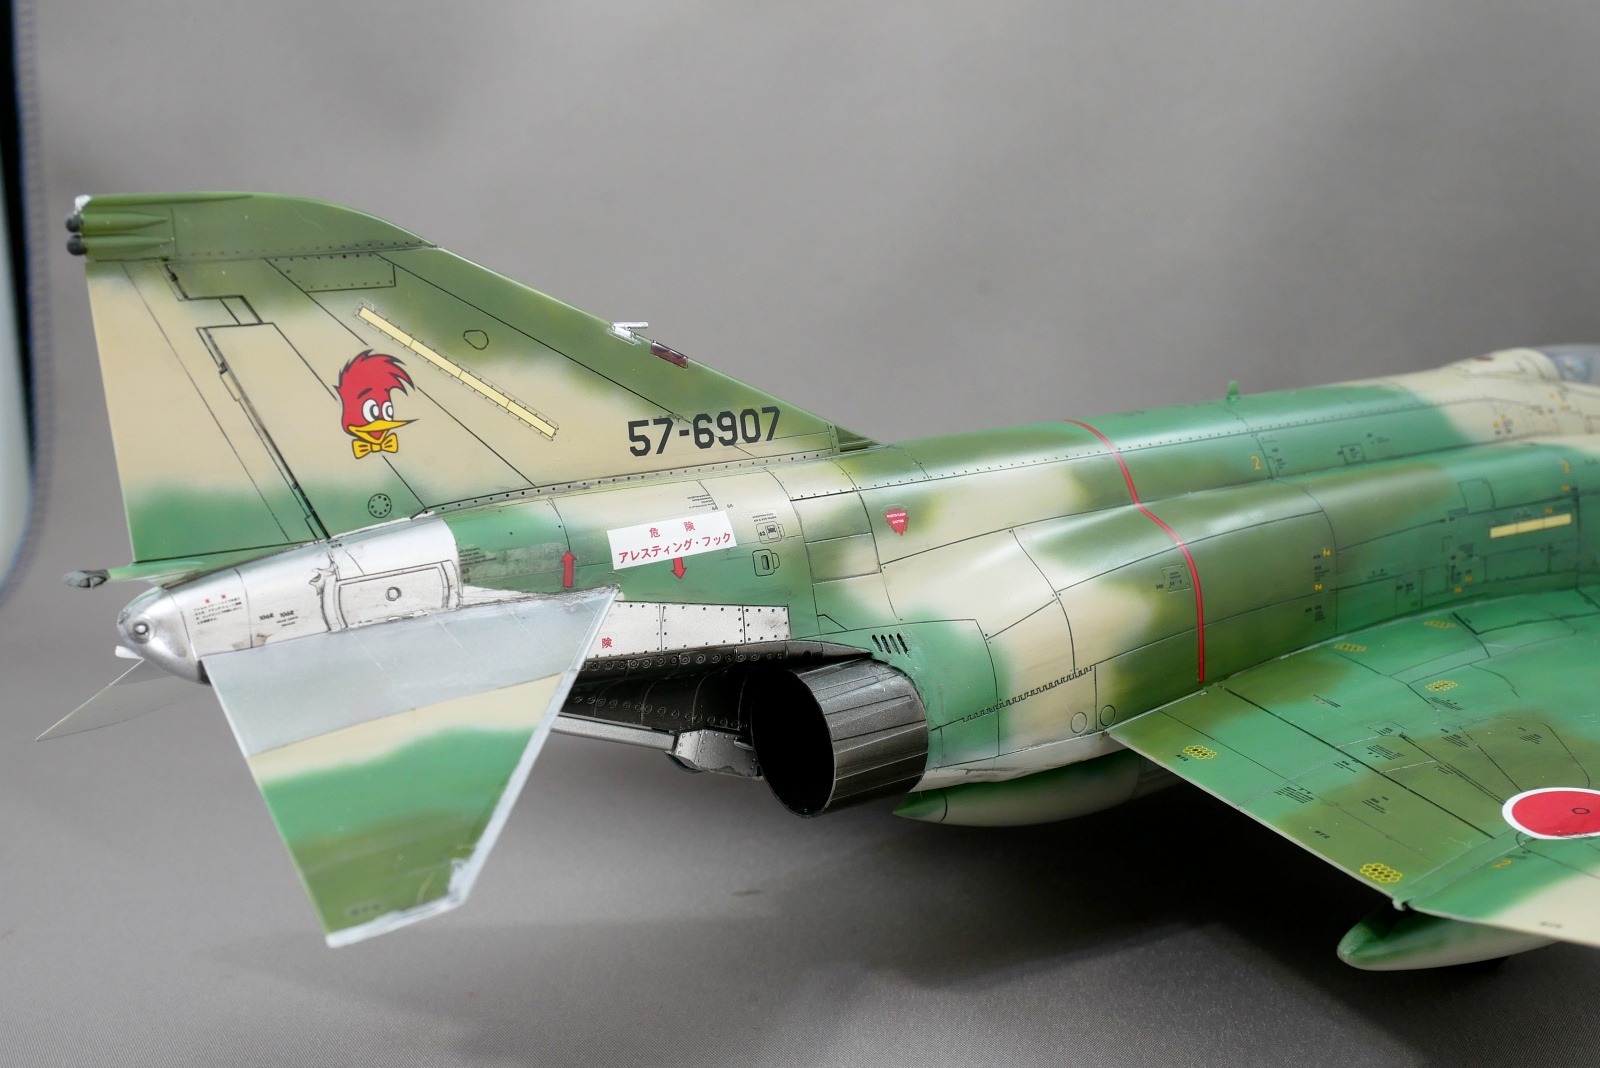
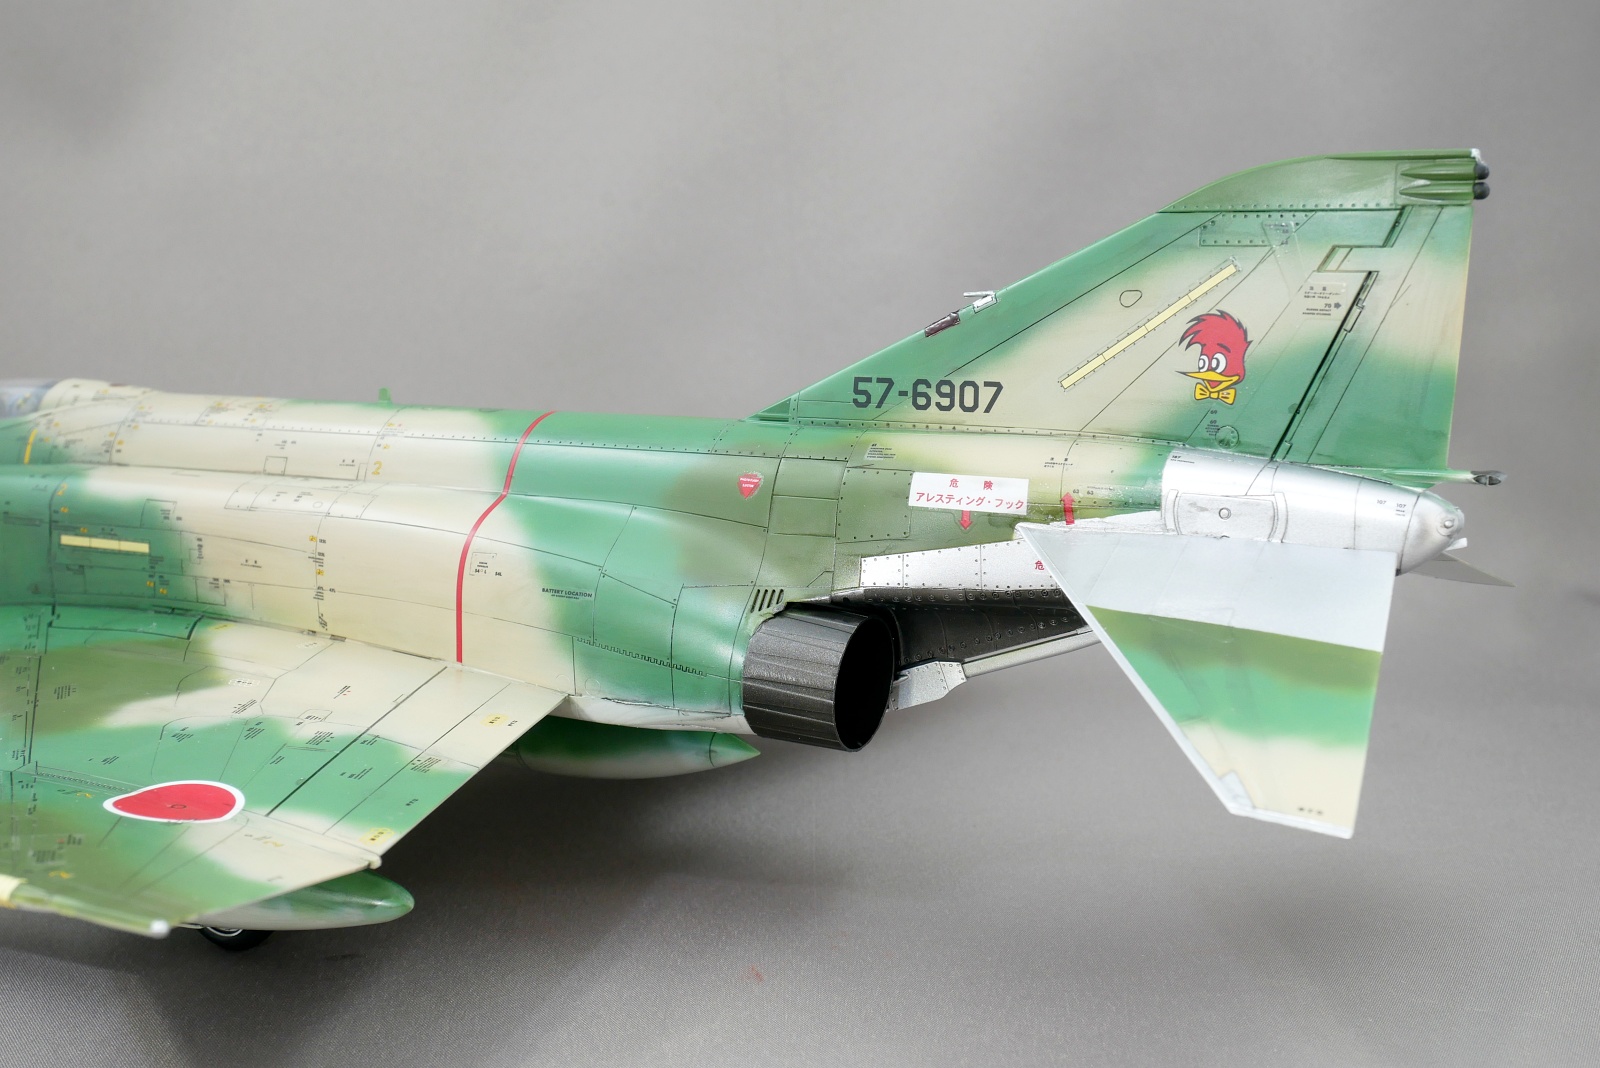
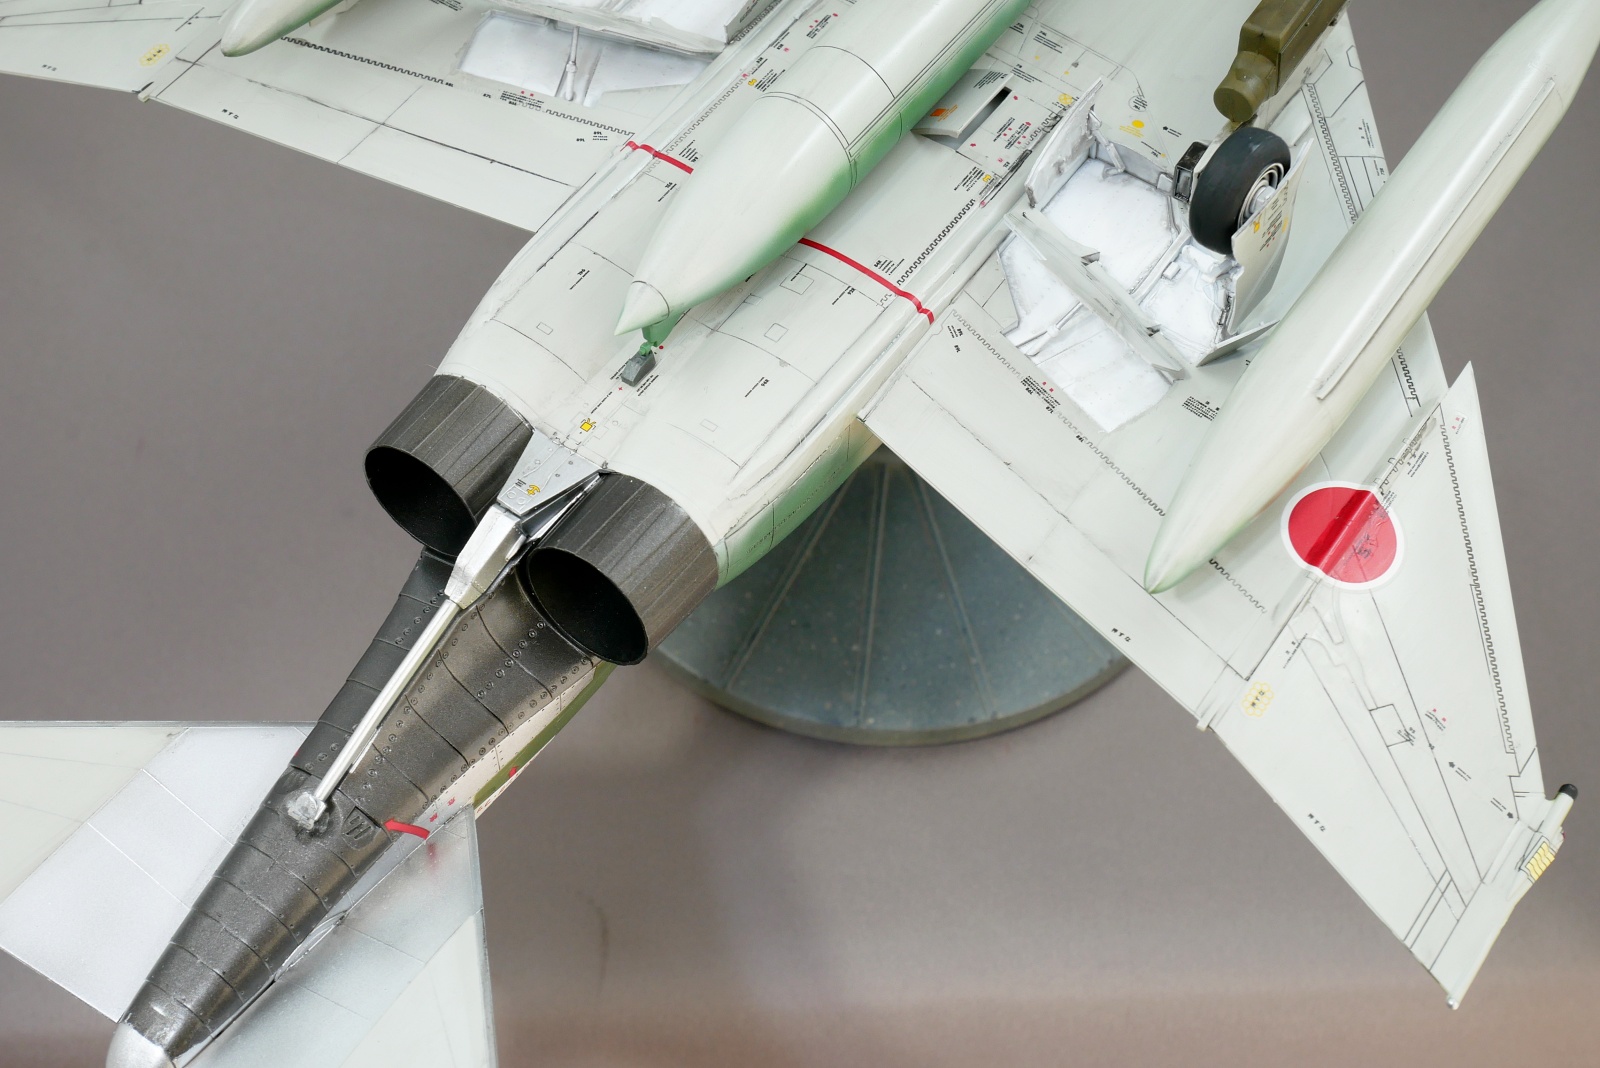
There were a lot of different colors of silver and black-iron in the rear part of the aircraft and other details.
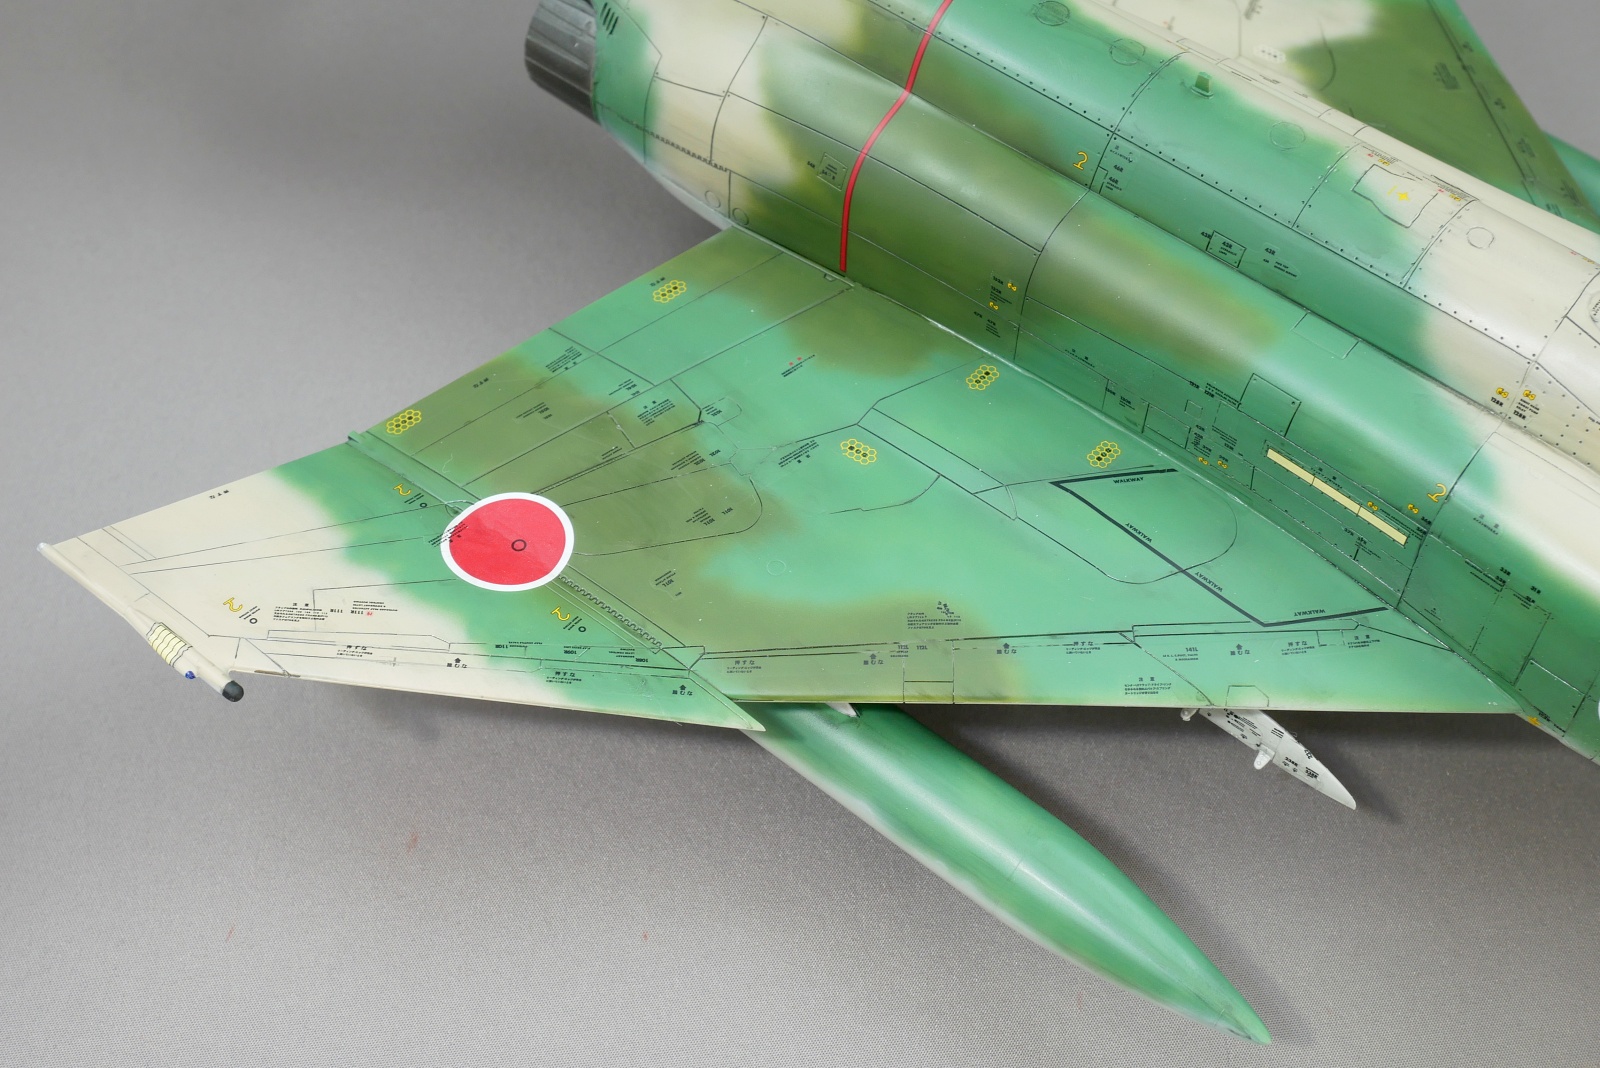
No matter which color is used as the base, the decal can be seen clearly, so it looks like fine details are reproduced.
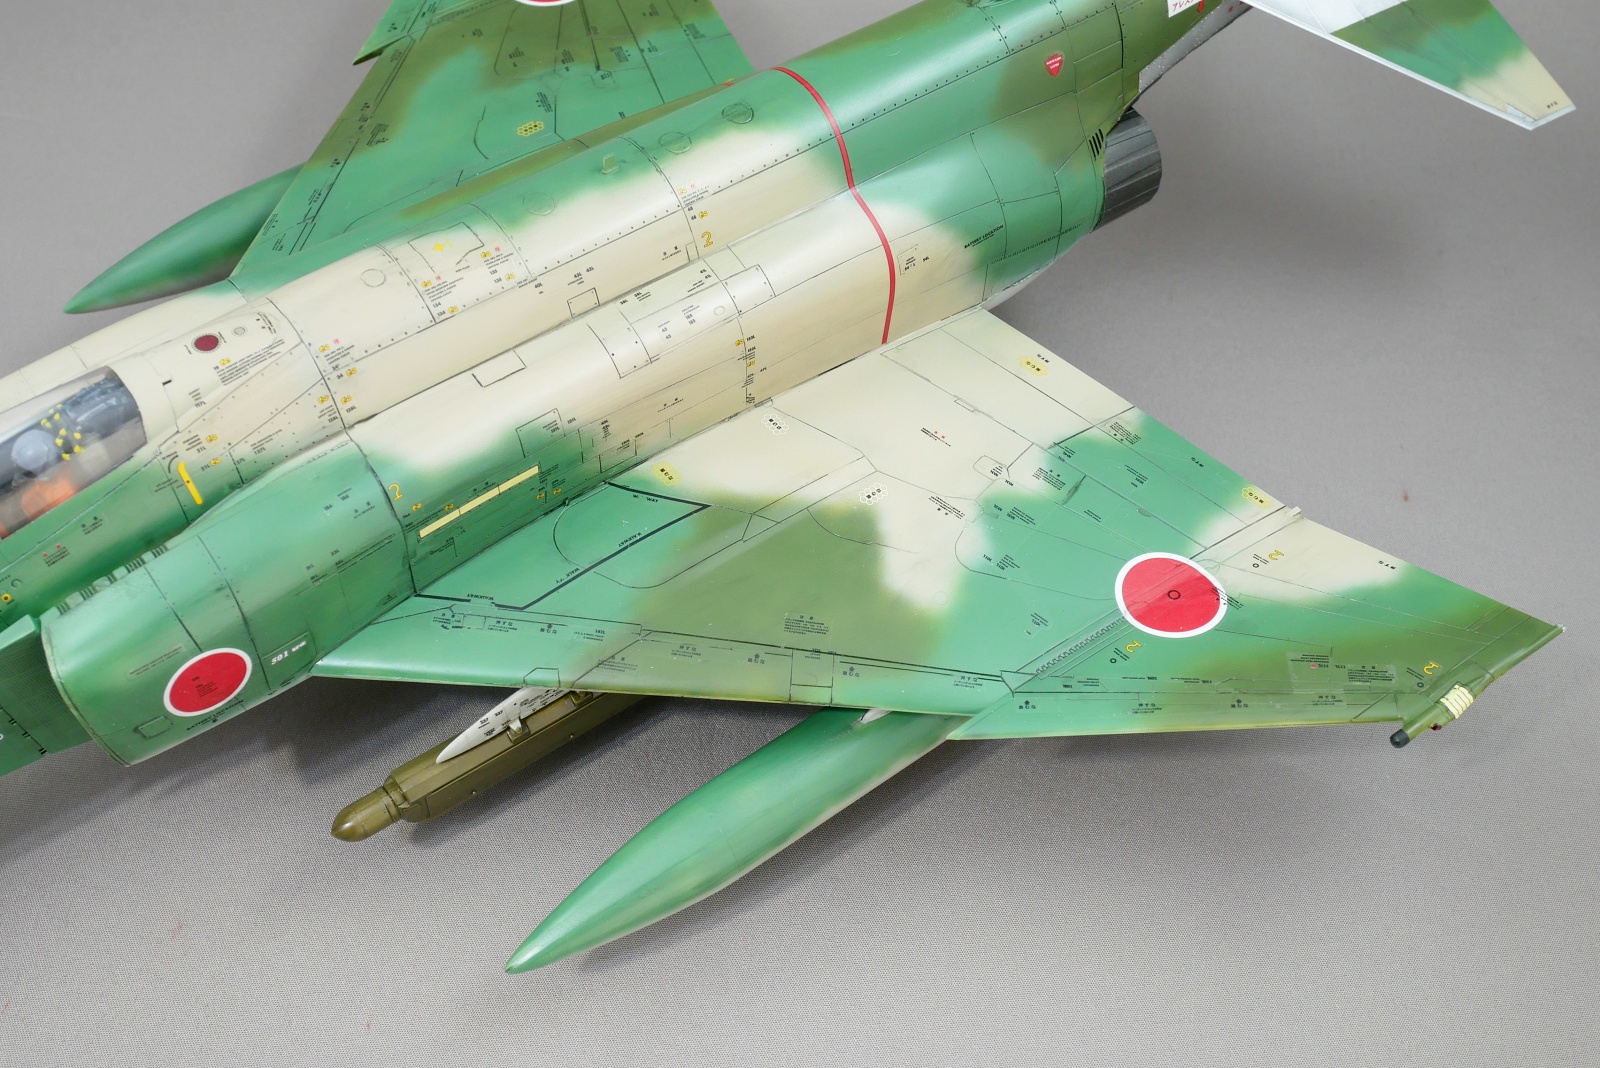
This aircraft has three extra tanks, so it can handle long reconnaissance missions.
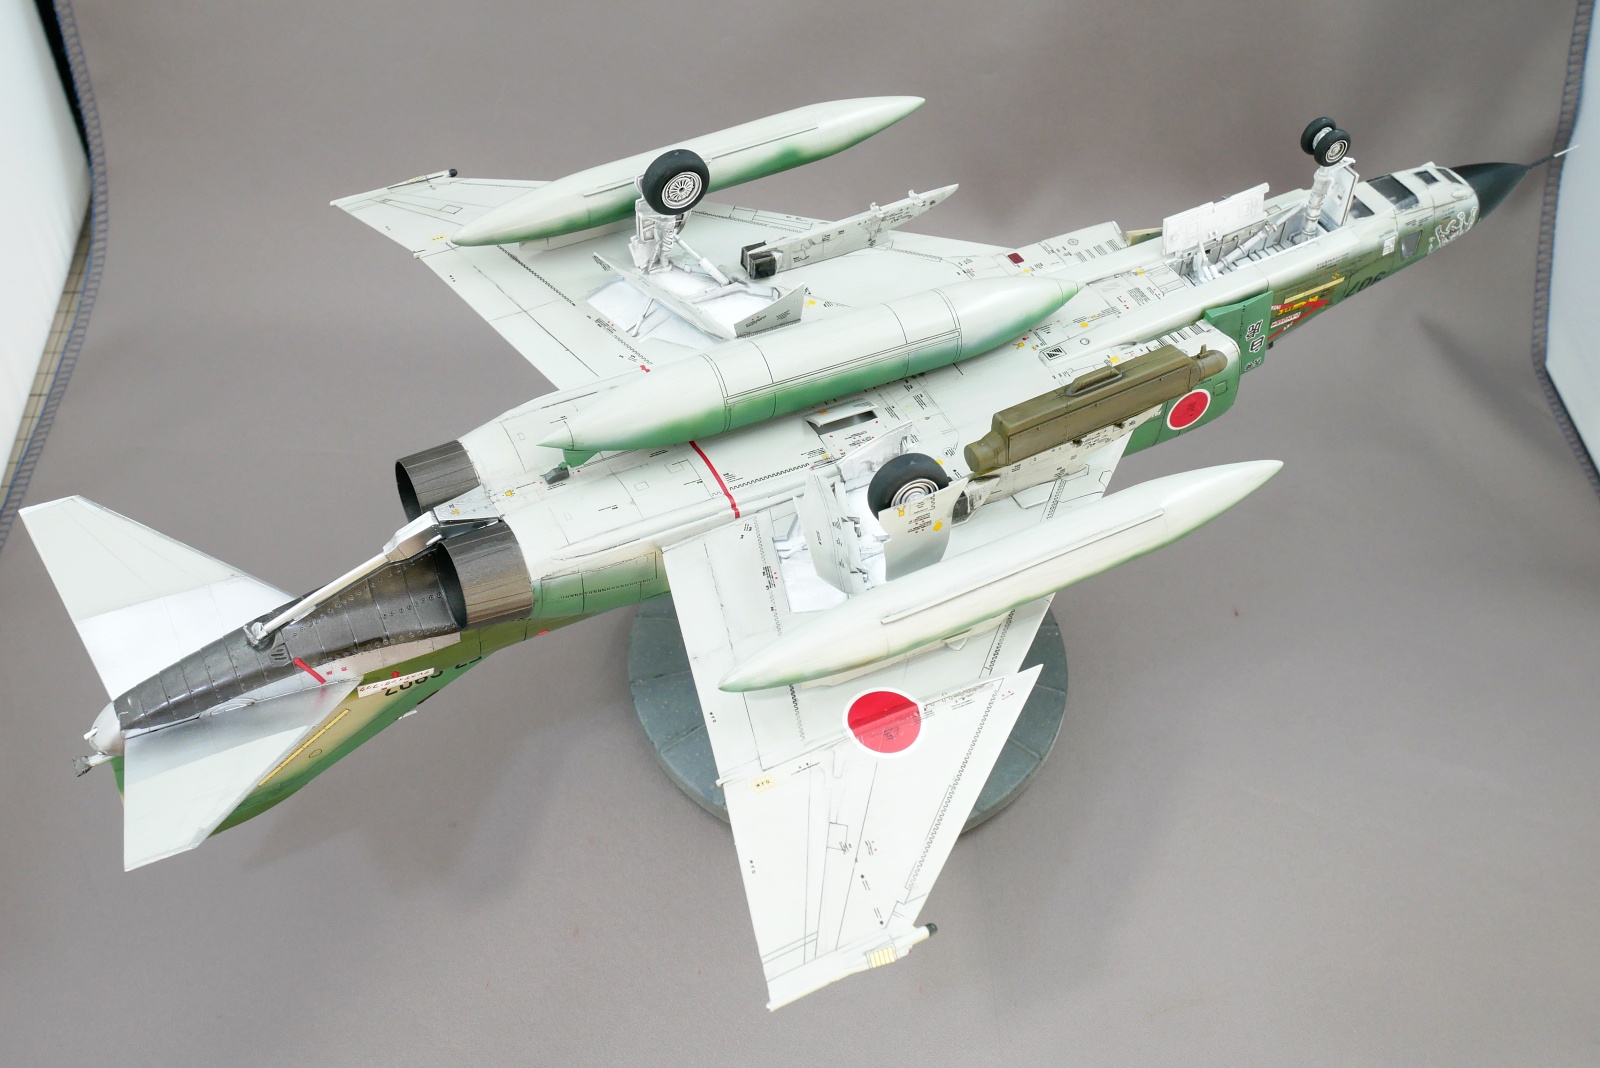
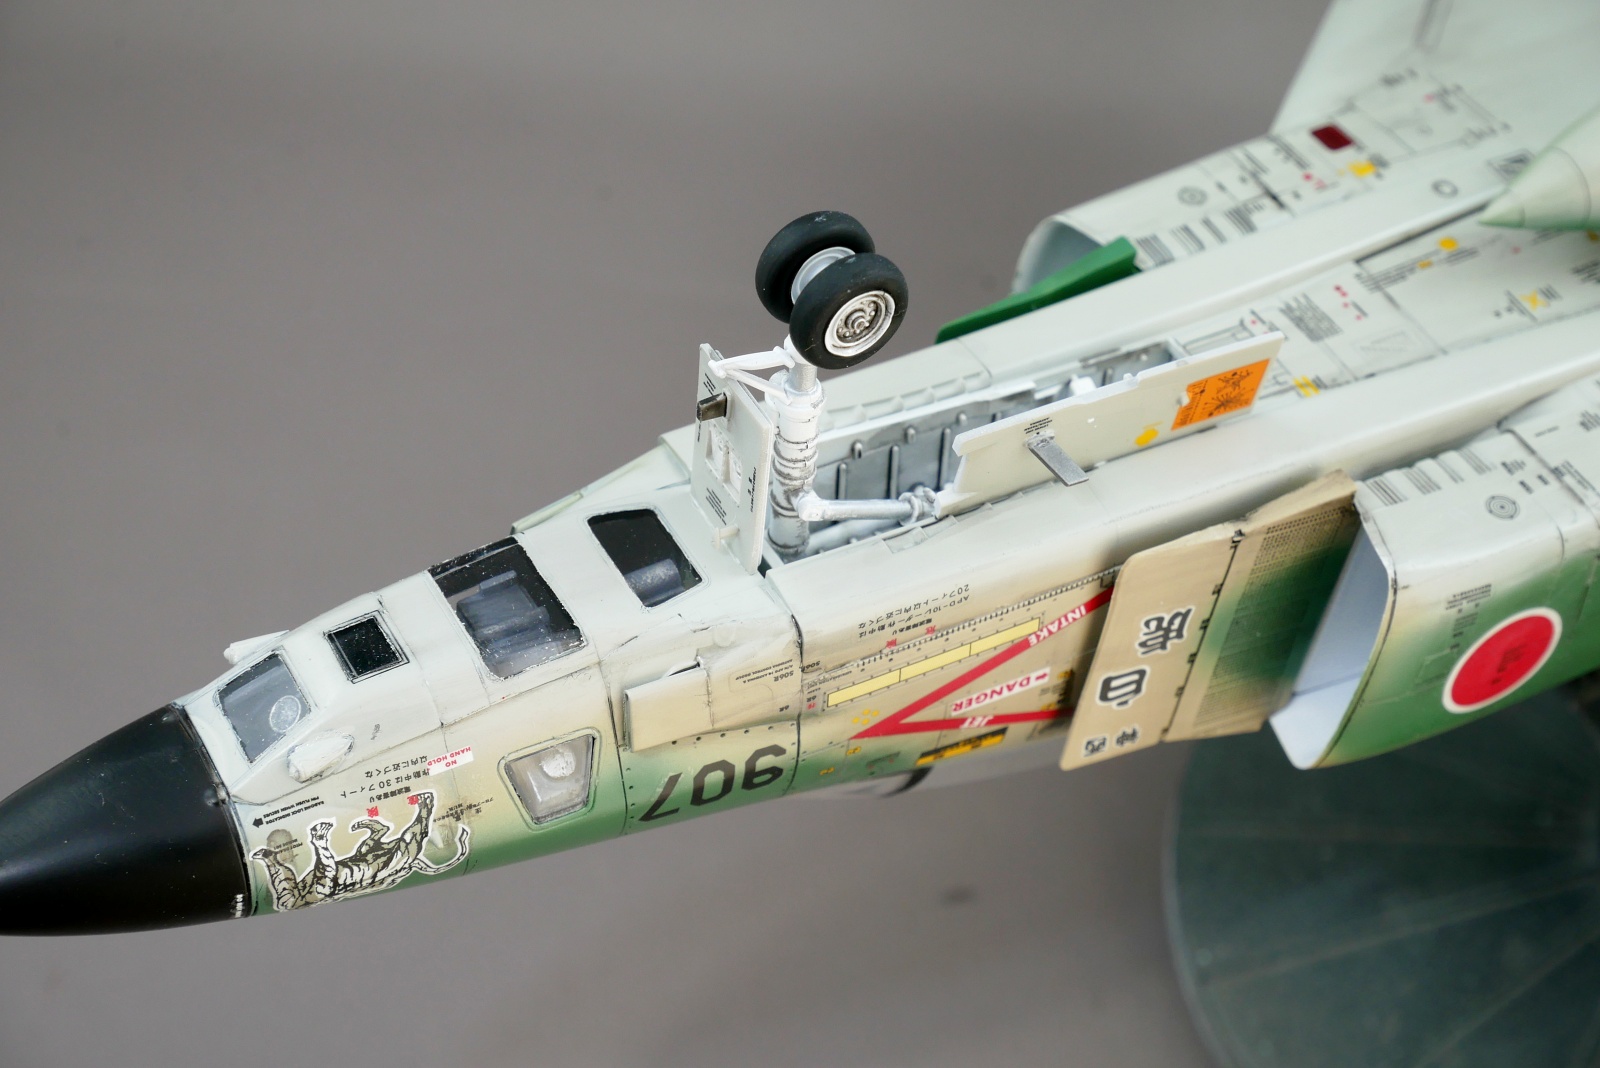
In this kit, there are many fine landing gear covers, so I decided to glue them after painting because I thought it would be difficult to do masking after gluing them all. As for the camouflage painting of the fuel tank, it is difficult to paint the upper part after bonding, so we attach it after painting.
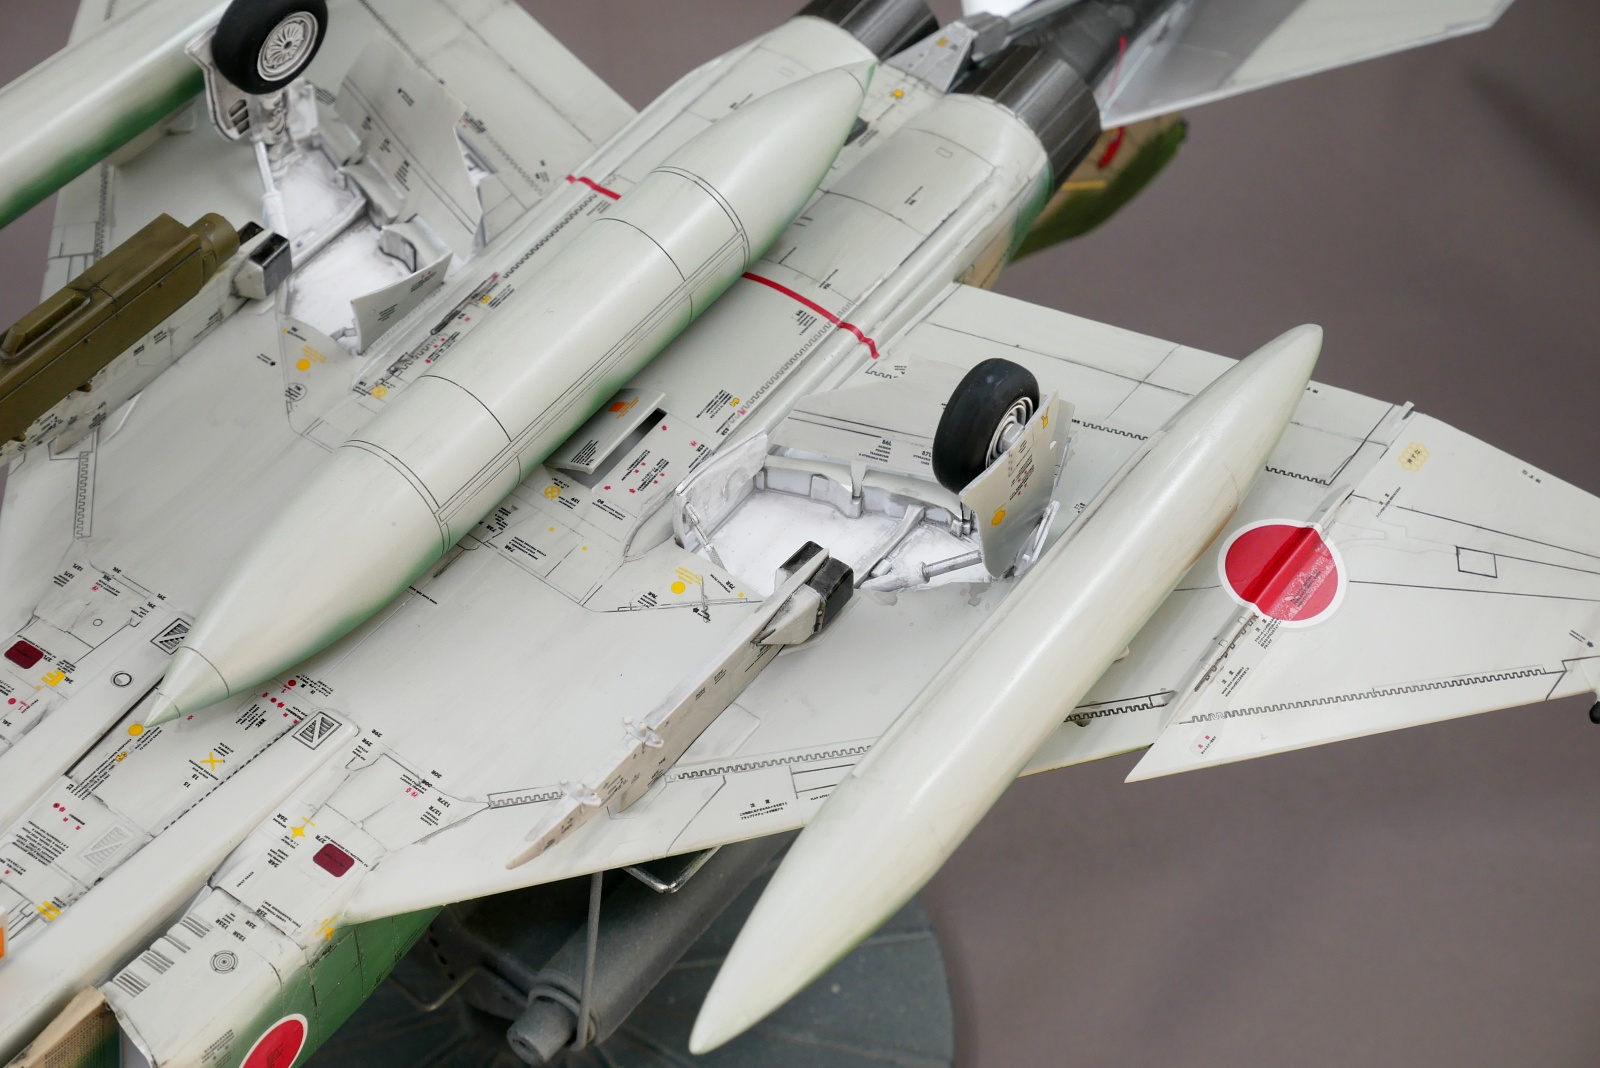
Some parts such as the fuel tank and horizontal stabilizer are convex-molded. I wonder if it contains old parts because it has been sold for a long time. While many kits from overseas manufacturers are out of product and hard to find once they are sold, I admire the fact that Hasegawa kits have been in stable supply for quite a long time.
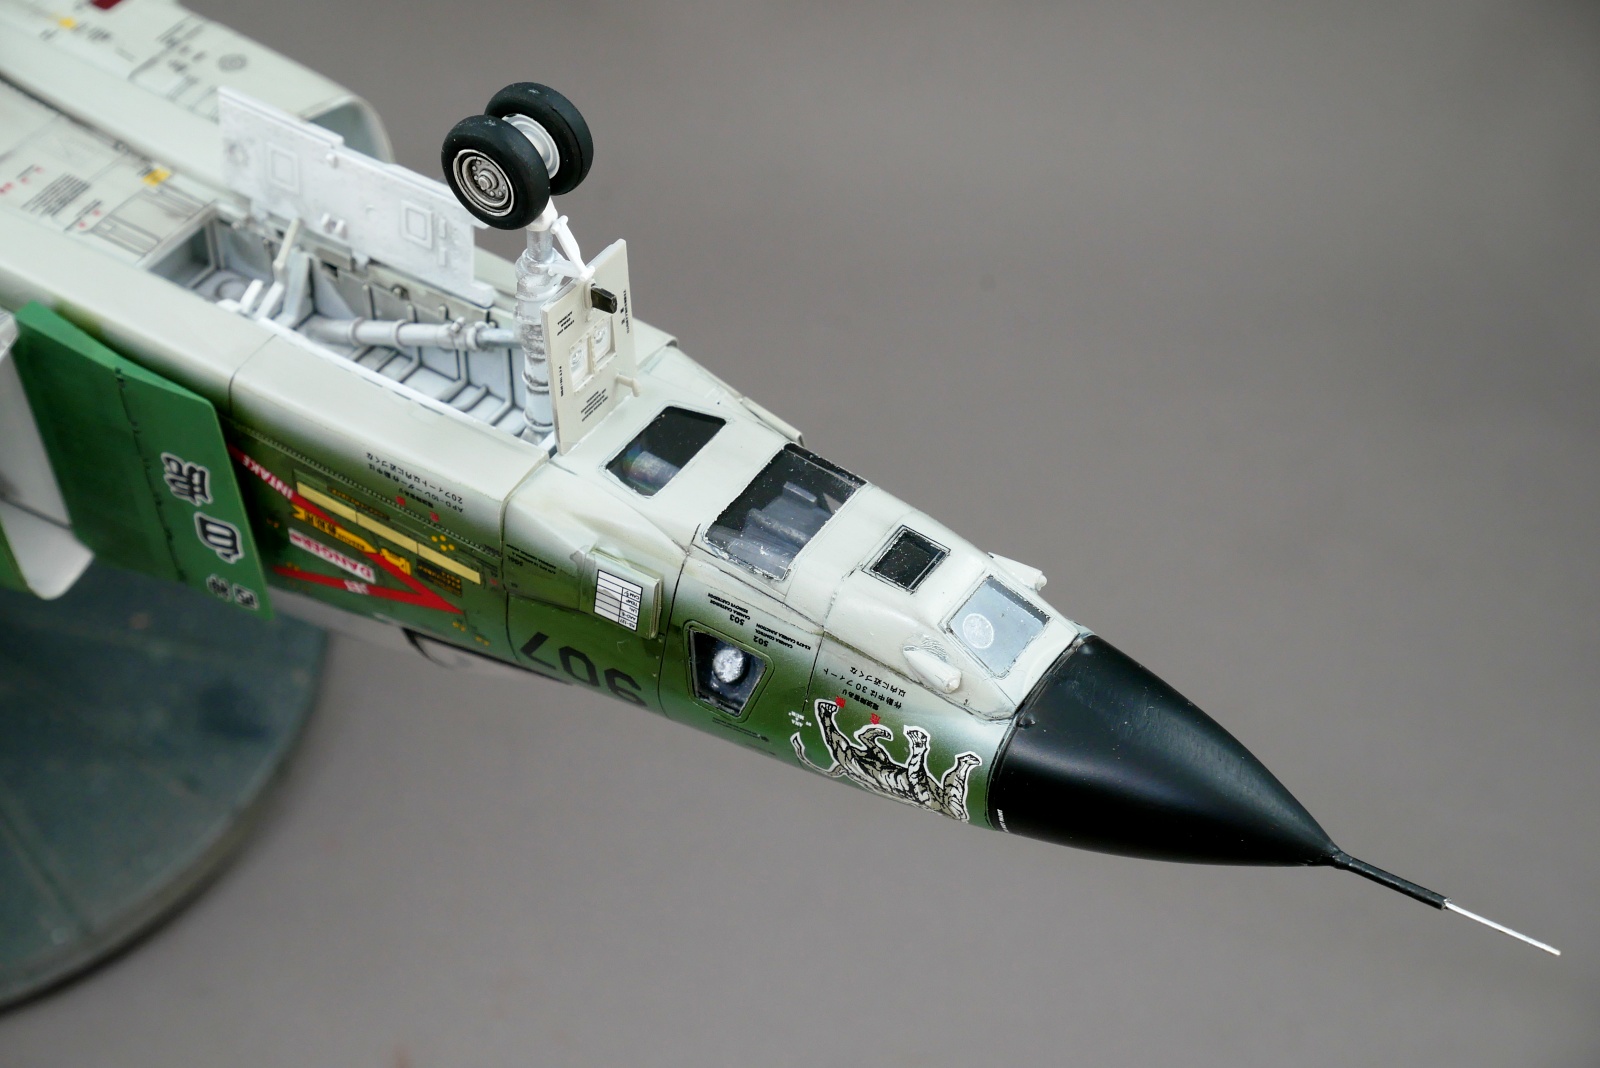
According to the manual, the RF-4E is equipped with various optical reconnaissance cameras, including a forward reconnaissance camera, a low altitude panoramic camera, a high altitude panoramic camera, a side reconnaissance radar, and an infrared reconnaissance device.
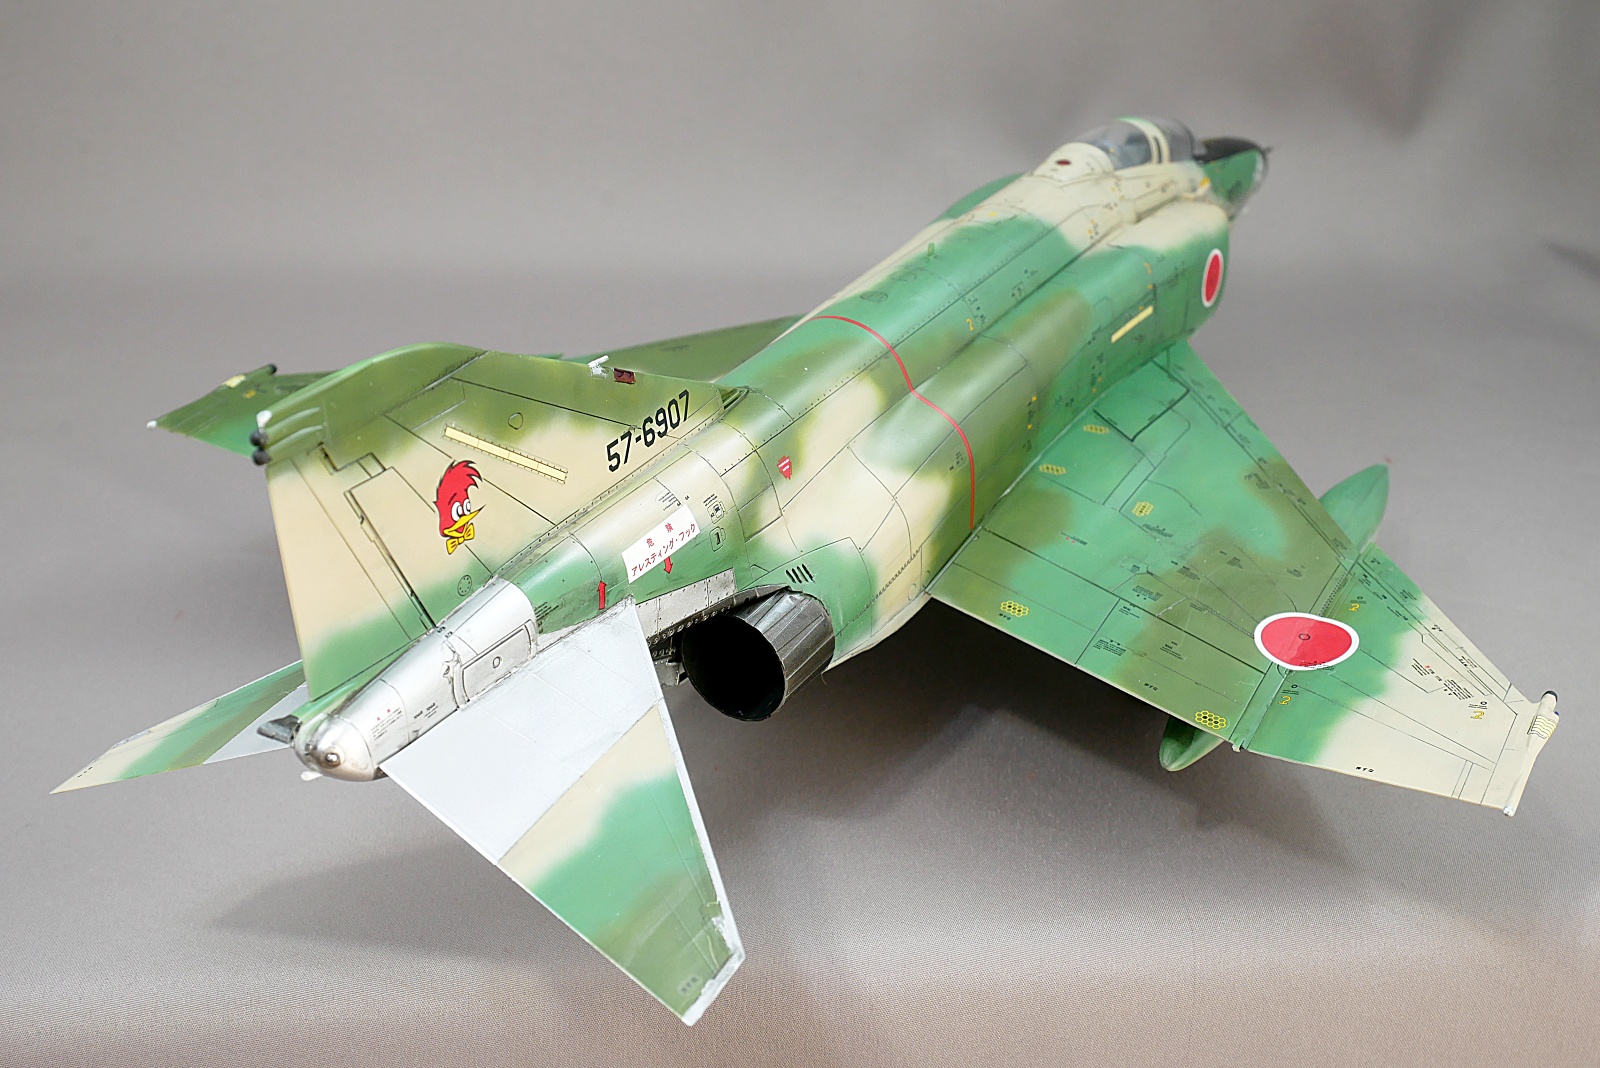
There were a lot of processes and it was surprisingly hard, but I managed to complete it. Even for the same 1/48 scale jet, the number of decals varies greatly depending on the manufacturer and kit. The reconnaissance plane with many clear windows on the nose is also cool. I painted it so we could see the cameras and measuring instruments inside. I like the color of this tricolor camouflage.
(2024/09/21)



コメント