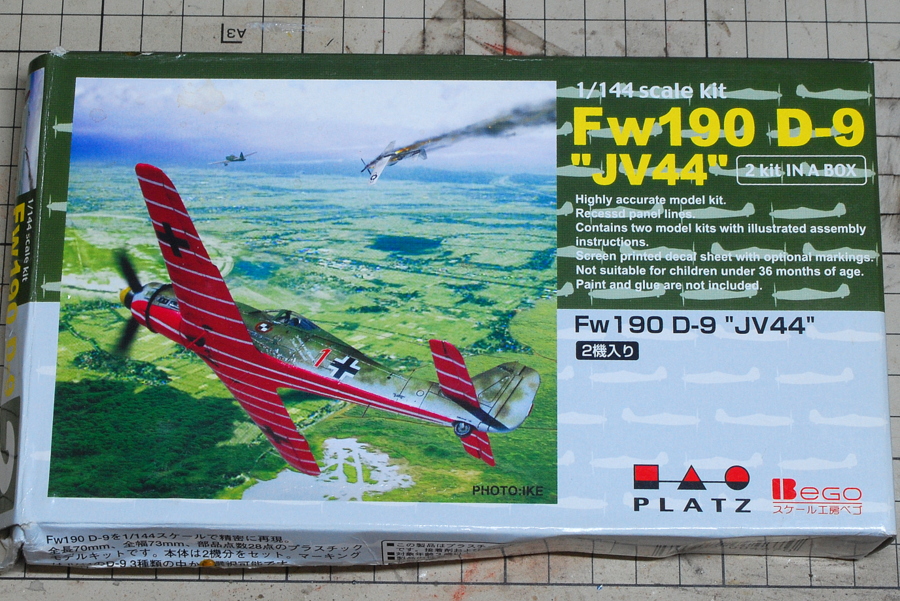
 I had forgotten when I bought this old aircraft kit. It is a German fighter of a 1/144 scale plastic model. There is a logo of Scale Workshop Bego, and this mark reminds me of Kubel Wagen. The box is pretty crushed.
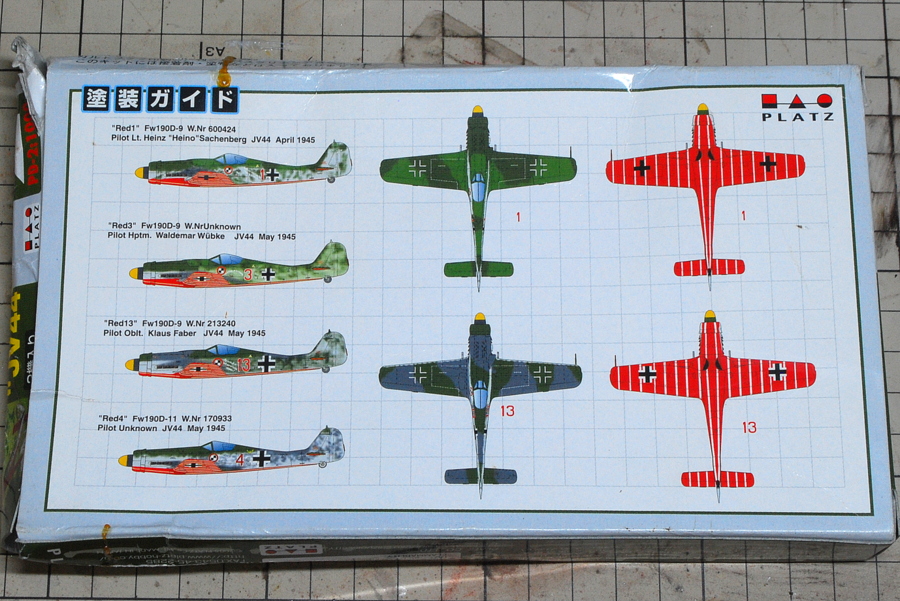 The back of the box is a painting guide.
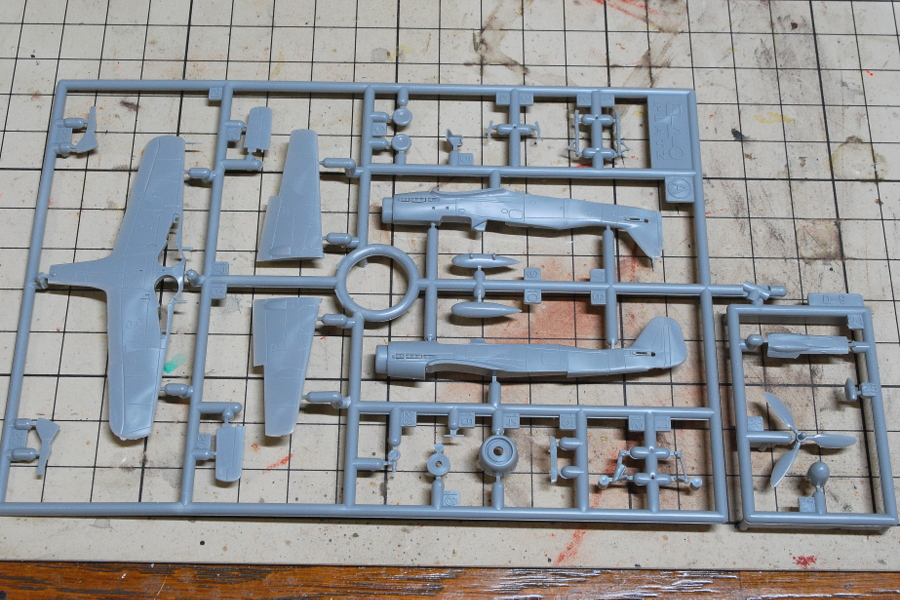 One runner for one plane, tiny parts. Two of the same runners are in the box.
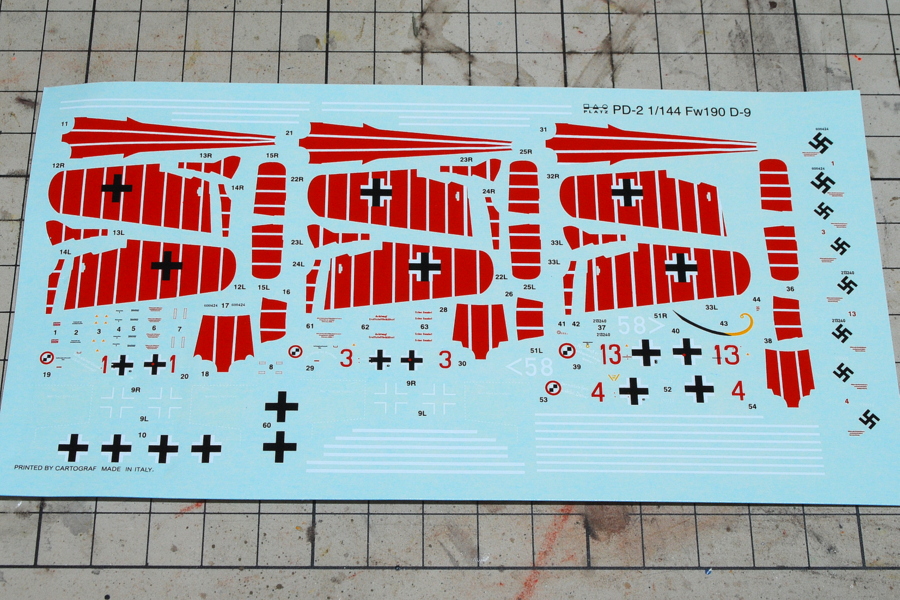 I was surprised by the Cartograf decals that cover the entire lower surface of the aircraft. The color is terrific, and no deterioration of the decal is seen. I wonder if it will be finished just with decals?
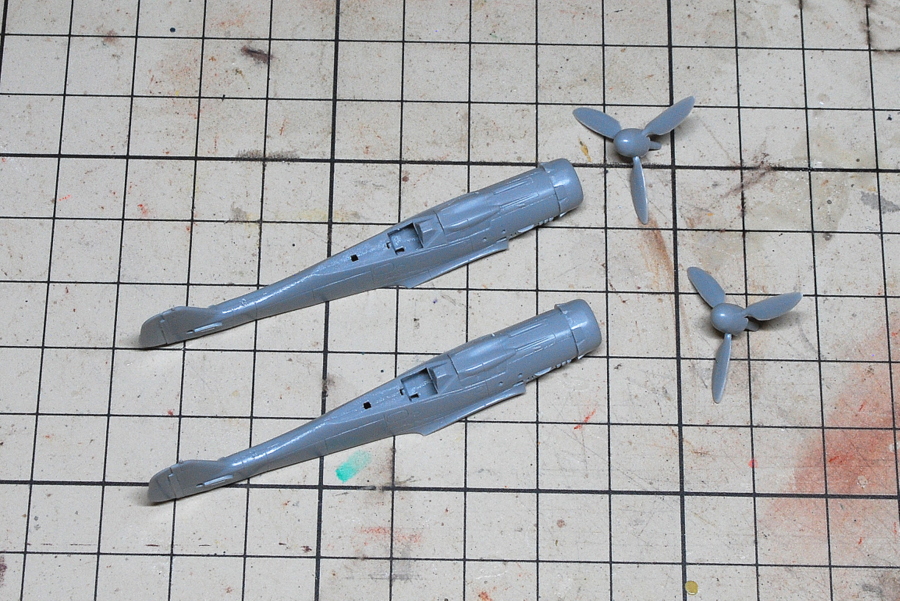 I work on two planes at the same time. It is boring work like the household handicraft industry when this becomes about ten planes.
(24-August-2018)
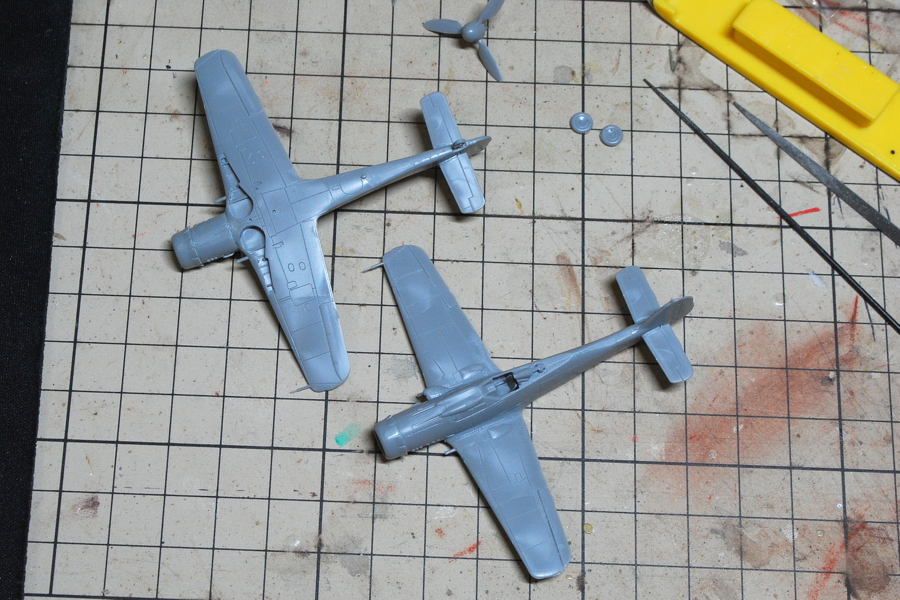 The line carving of the panel line is delicate. I think it’s by no means inferior to the quality of the Sweet kit.
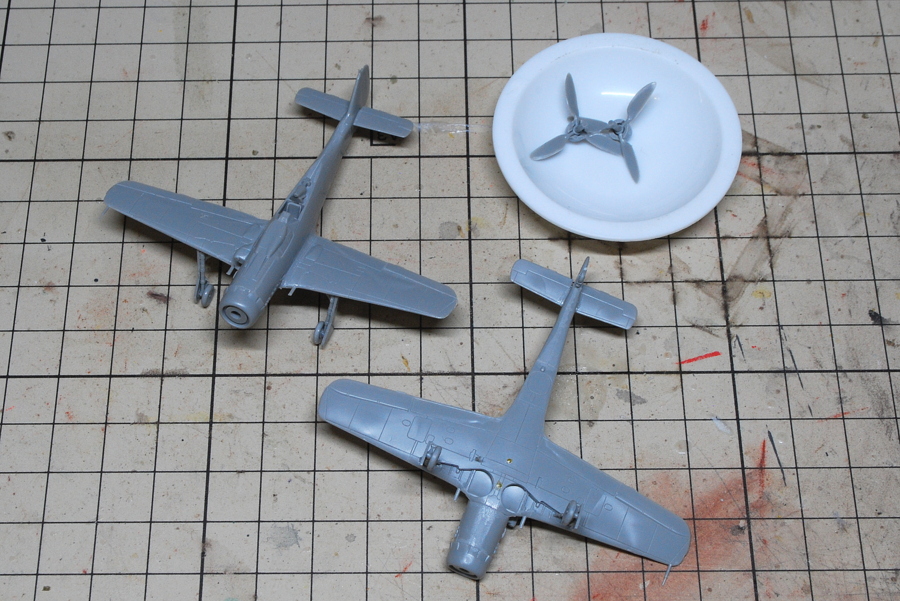 The positioning of the landing gear is delicate and complicated. I will not decide forever. The instruction book has a front and side reference, and it is helpful.
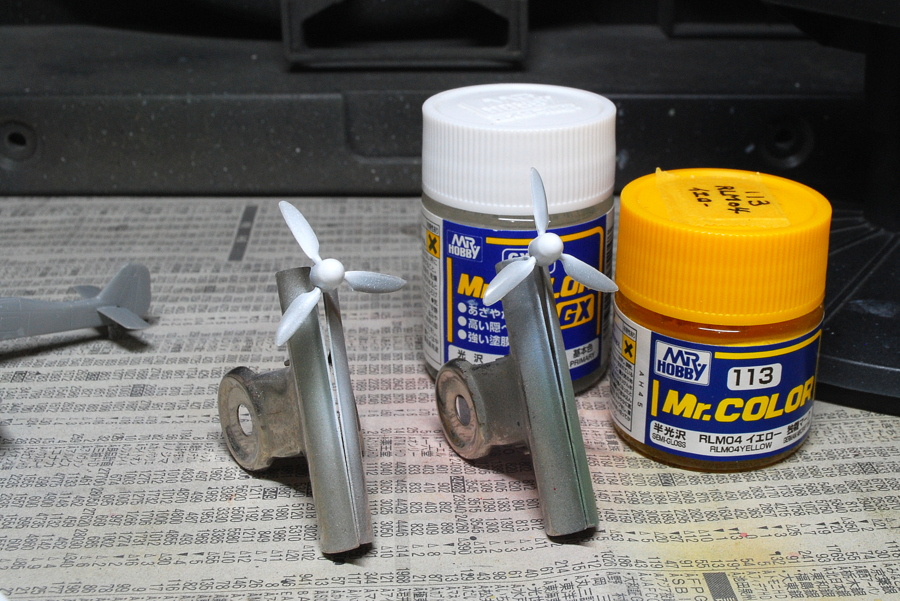 I painted the propeller spinner white before the yellow painting.
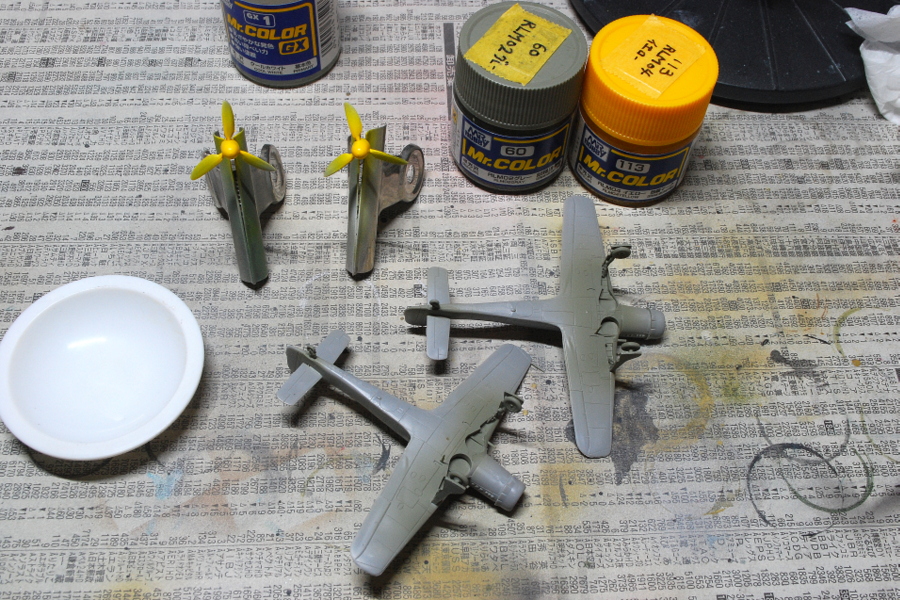 The paint finishes in a moment, but airbrush cleaning during color change takes more time.
(26-August-2018)
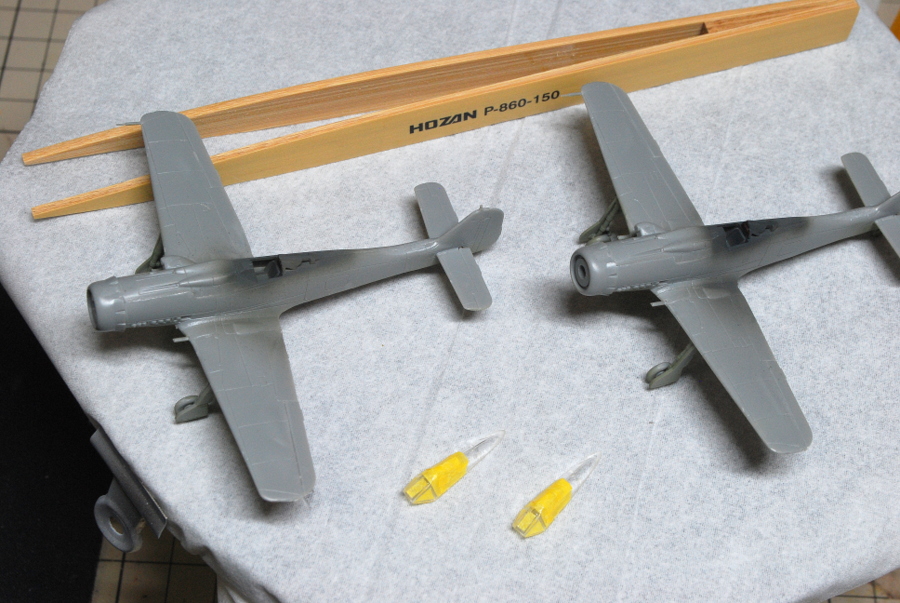 Painting inside the cockpit and masking the canopy…
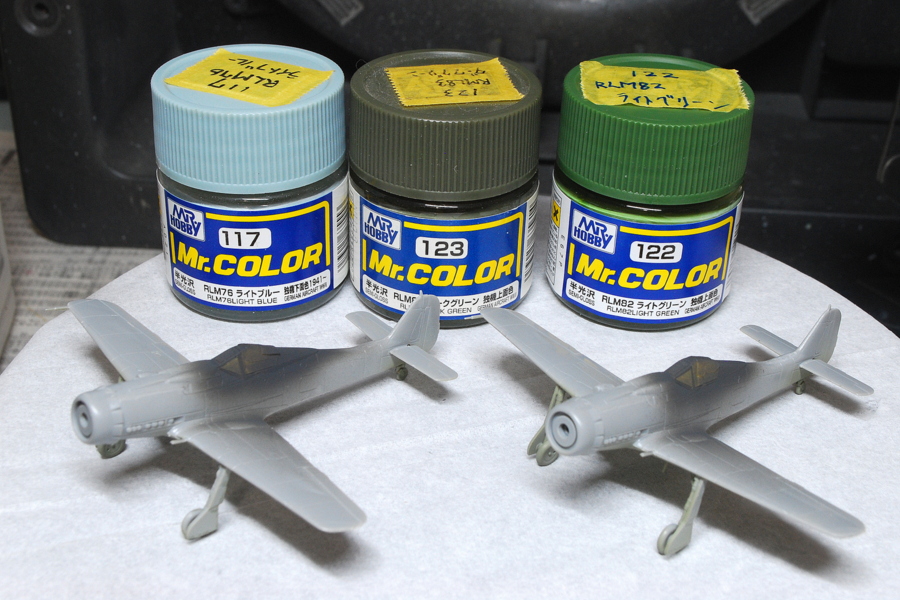 The basic painting of Foche-Wulf Fw190D used RML76 light gray, RLM83 dark green, and RLM02 light green.
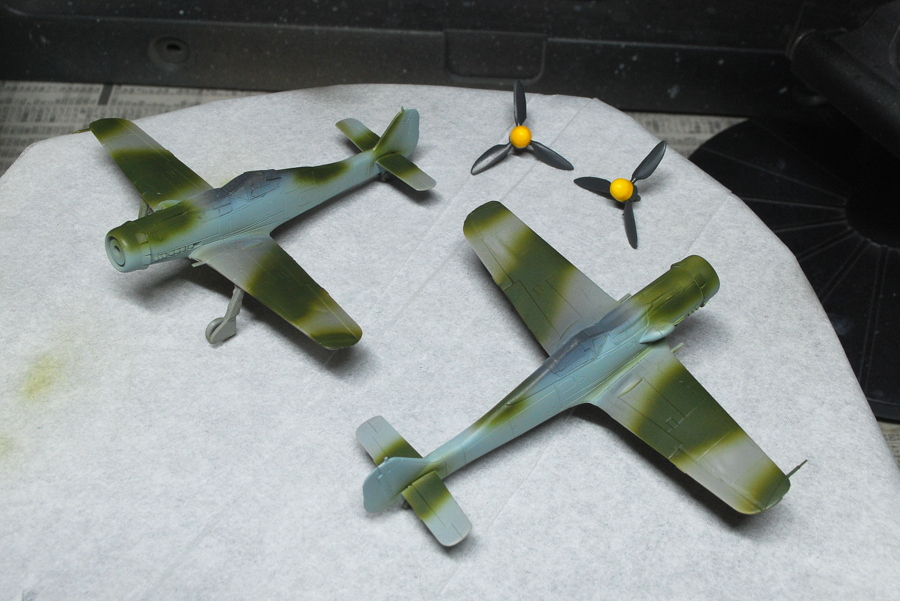 Even small aircraft can be painted with an airbrush, but it is painful. How to finish the color boundaries is a personal preference. Some people like clear boundaries, while others have vague ones.
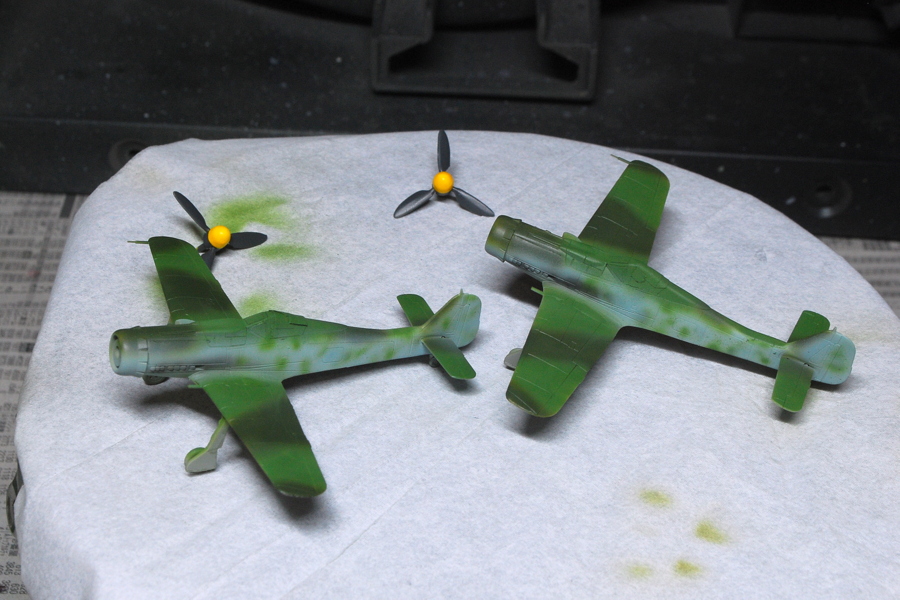 Dark green camouflage on the side of the aircraft is very difficult. The airbrush blowing of camouflage paint was too tiny spotting, and there was an impossibility. Will it work better to paint with blurring with a brush?
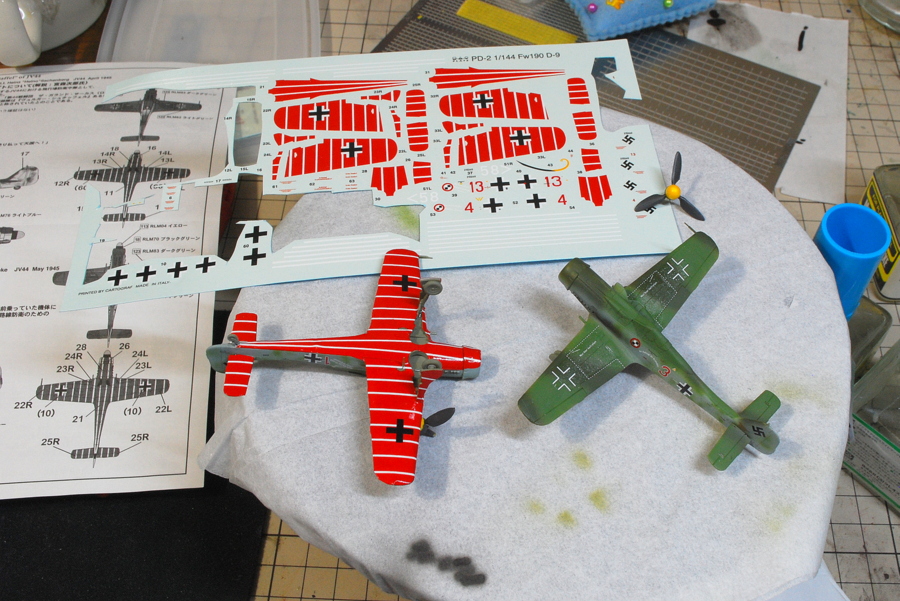 It is pretty challenging to handle all the lower parts of the aircraft by decal pasting. There are probably many points to retouch with the brush. Anyway, it is pretty interesting to work. I wonder if there are three airplane decals as a reserve for failure. It is an excellent service for spare decals.
(28-August-2018)
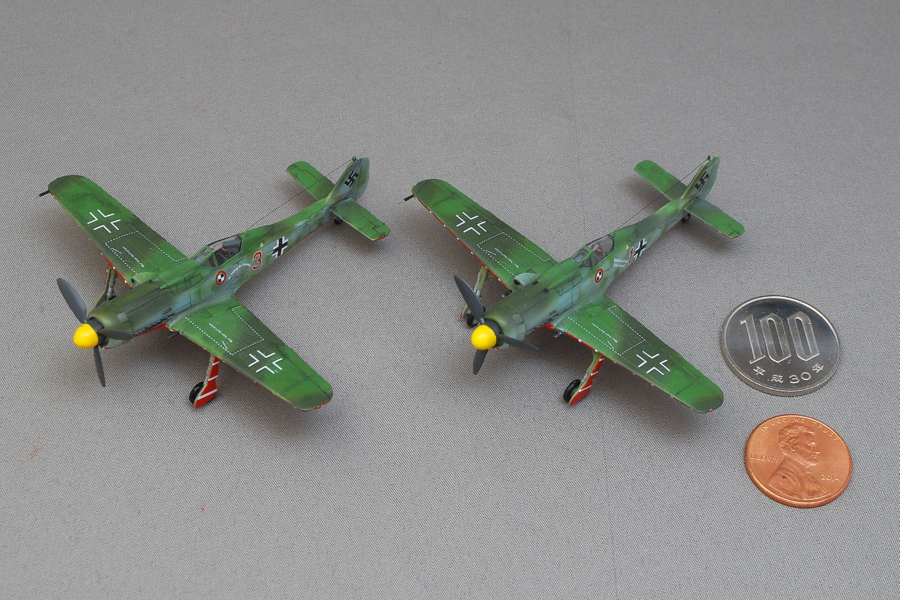
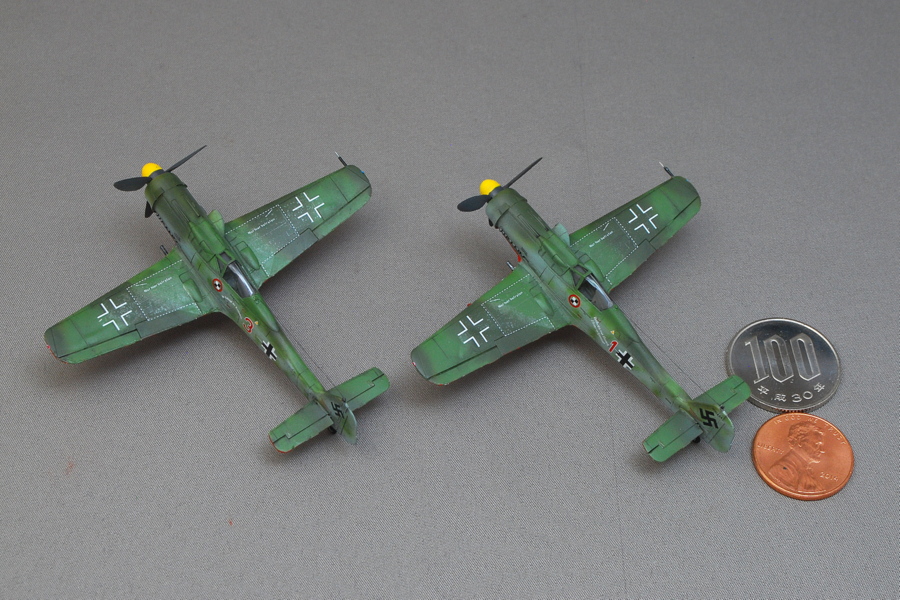 Both fighters were completed. The fighter number is different, but it is almost the same coloring. It is the so-called “long-nosed Dora.”
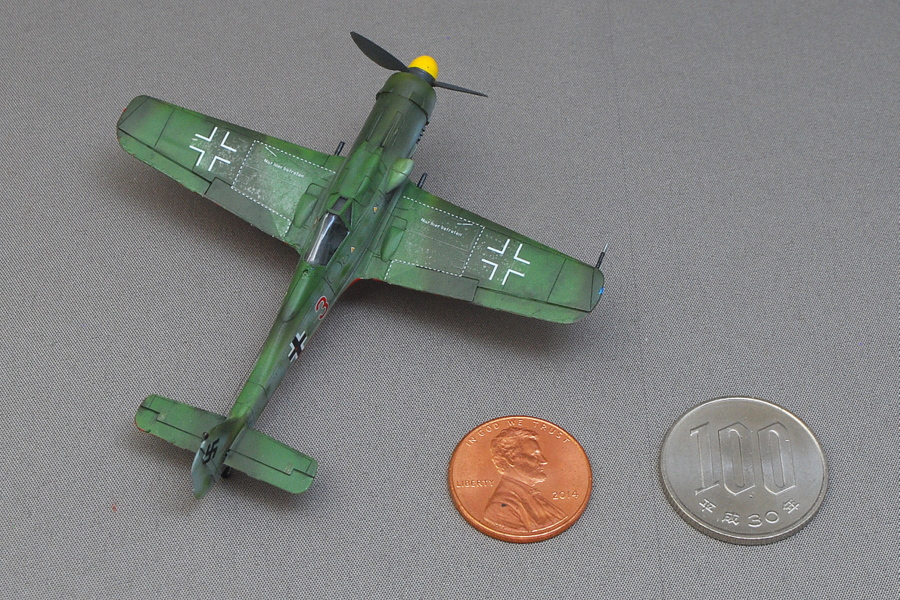
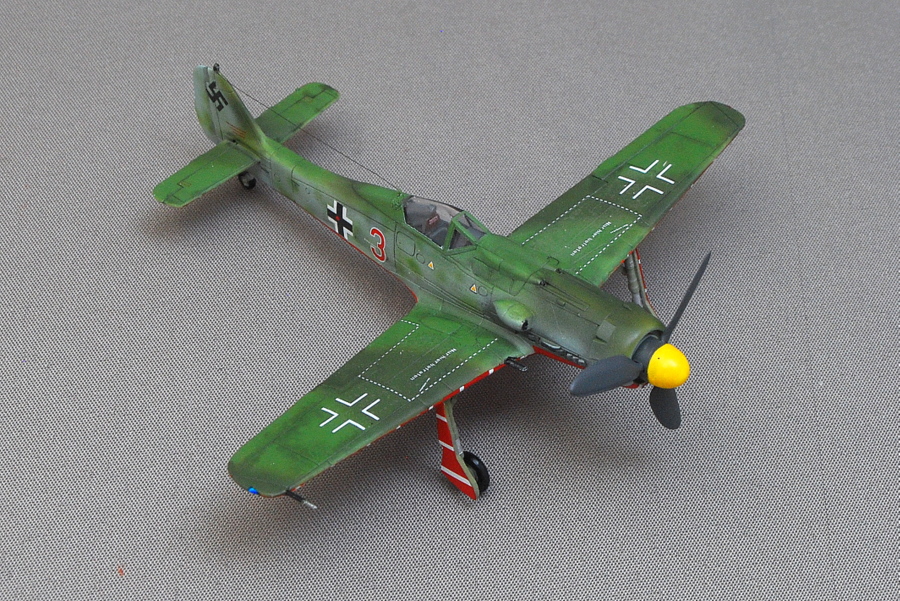 The Fw190 D-9 replaced an engine and improved steep climbing performance, suitable for an air defense mission. It was mass-produced in the summer of 1944 and performed defense of the main facilities.
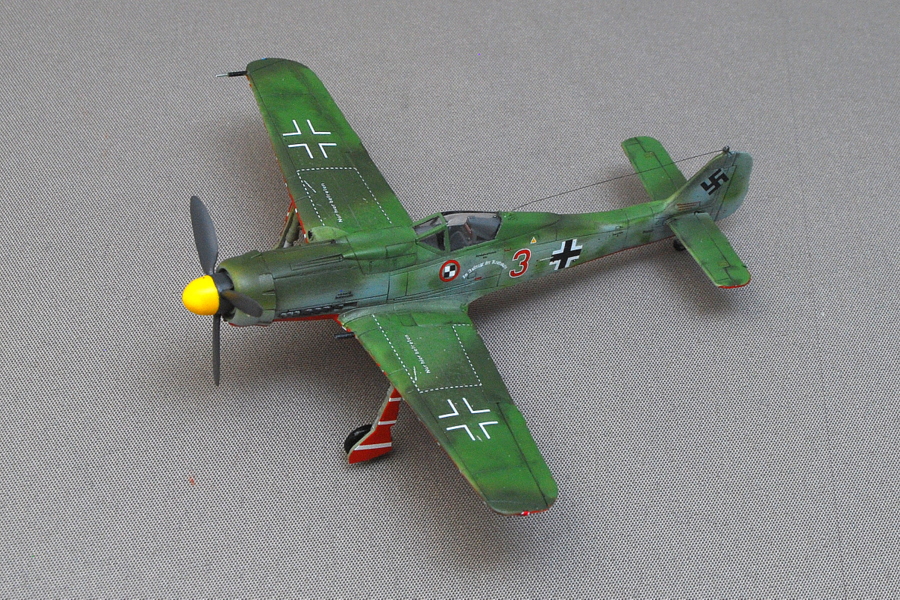 Because the Me262 jet fighter which started the operation got unprotected at takeoff and landing, they also carried out its support mission. If you think about it, all planes are defenseless at takeoff and landing. That would mean that the most advanced jet fighter had been given attention to German air defense.
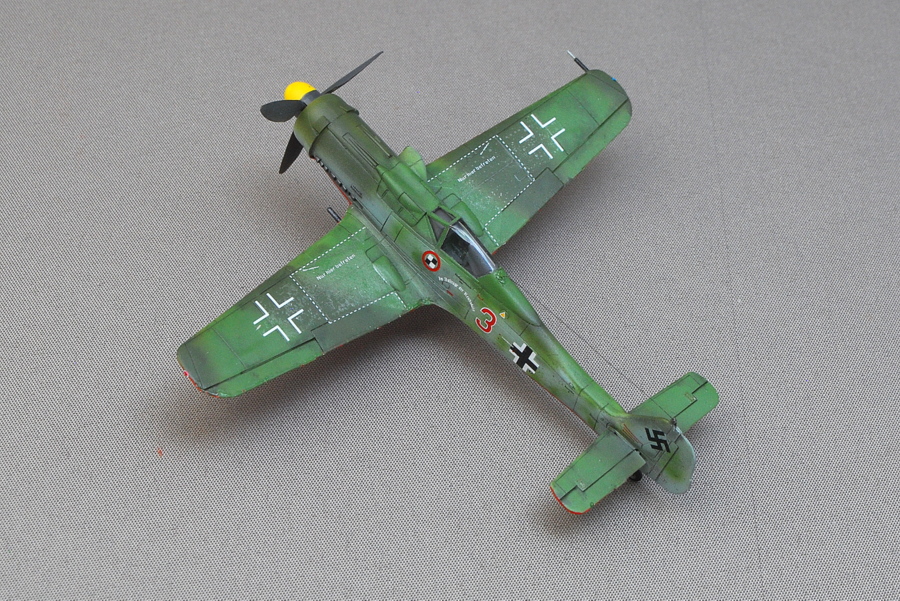
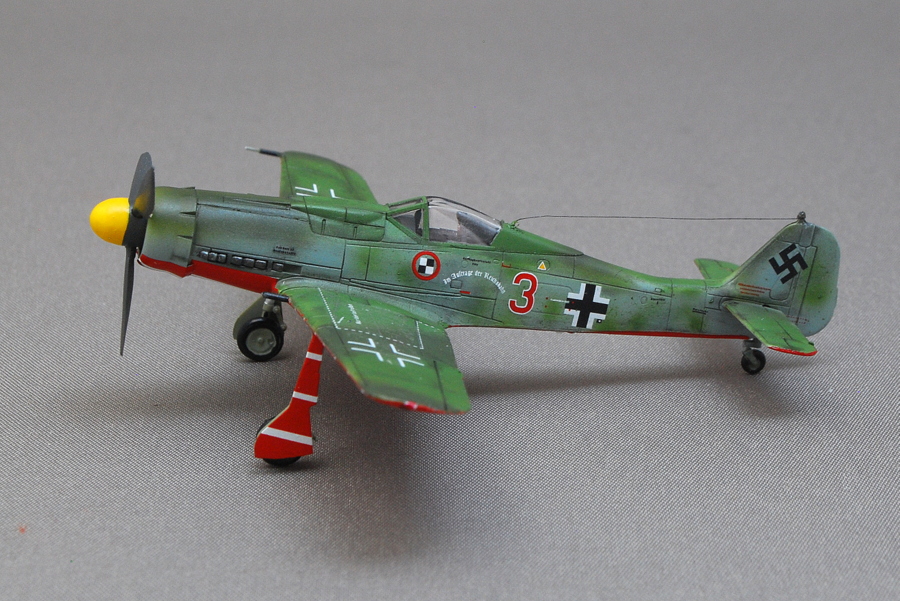 The marking is JV44, “Red 3” Captain Waldemar Wübke, May 1945. With the slogan written in the little character on the side of the fuselage, it is said that “Im Auftrage der Reichsbahn” written by “By order of the National Railways,” and it is ironic that there were many grounds sweeping attacks for railroad line defense. I wonder the ground attacks are a dangerous task.
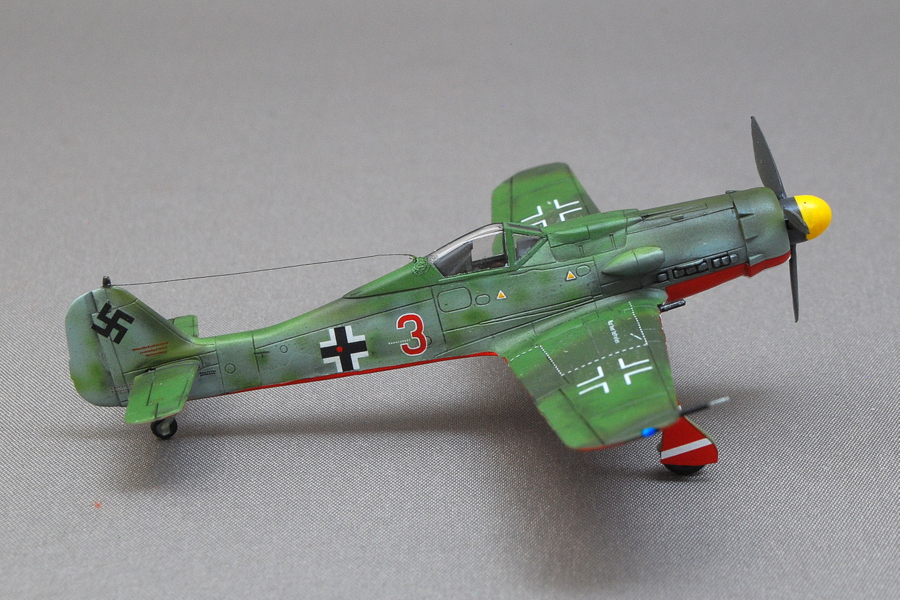
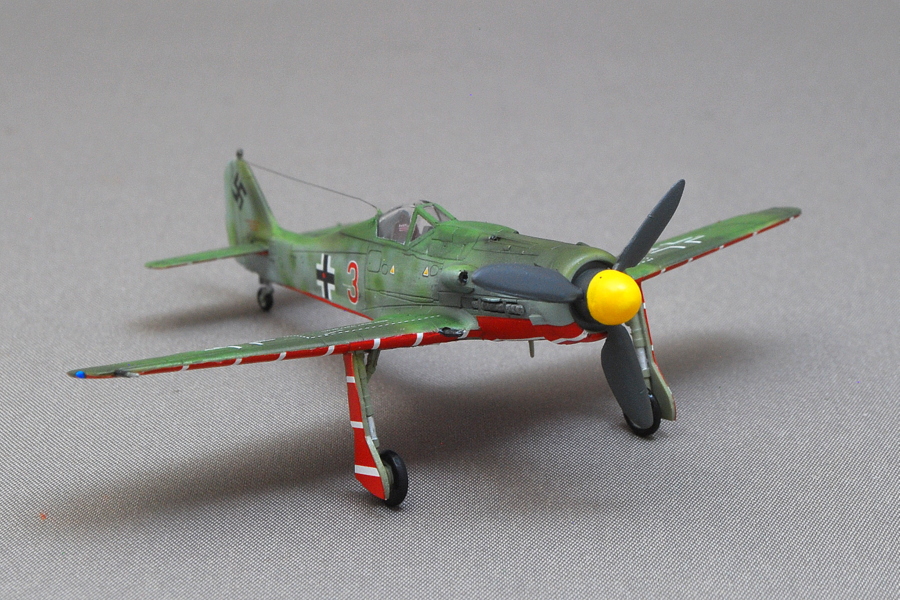
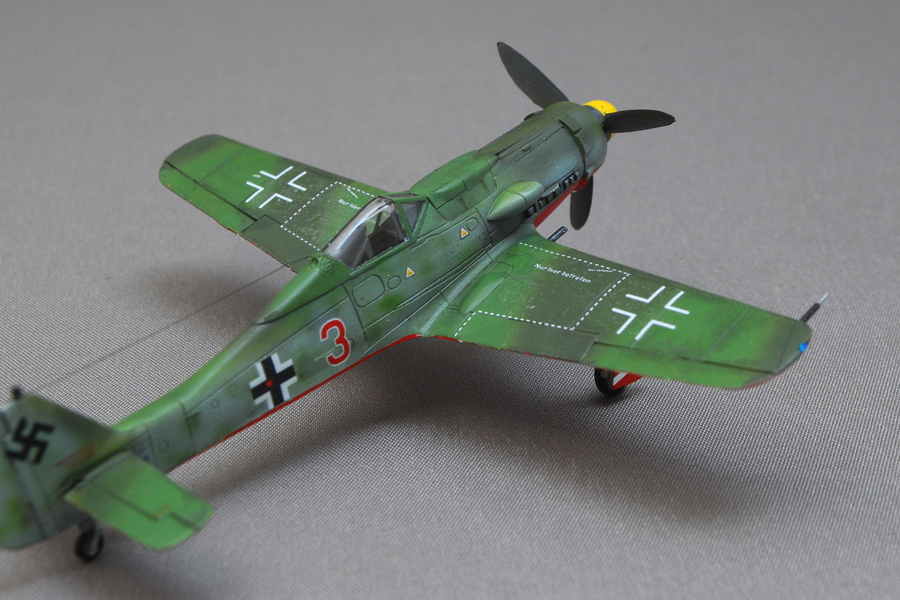
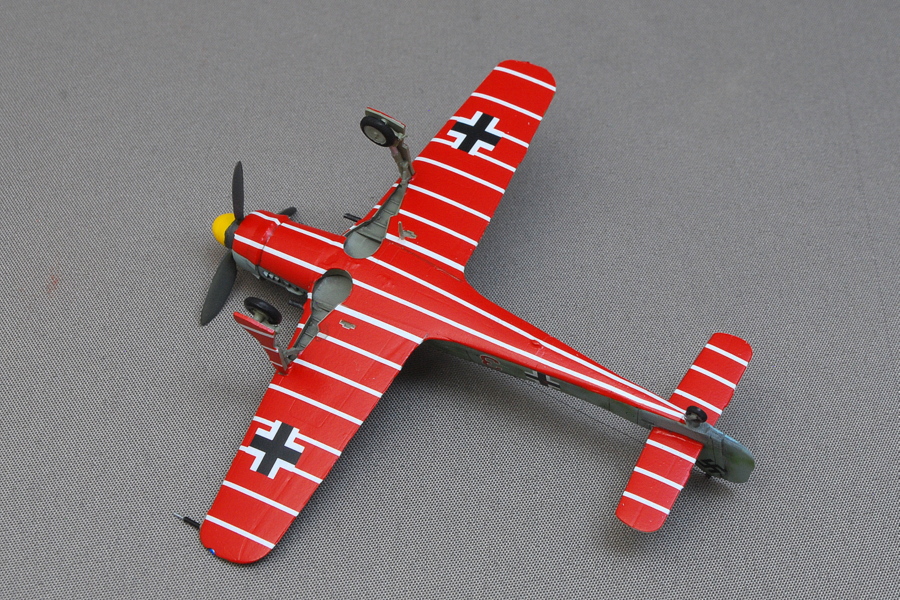
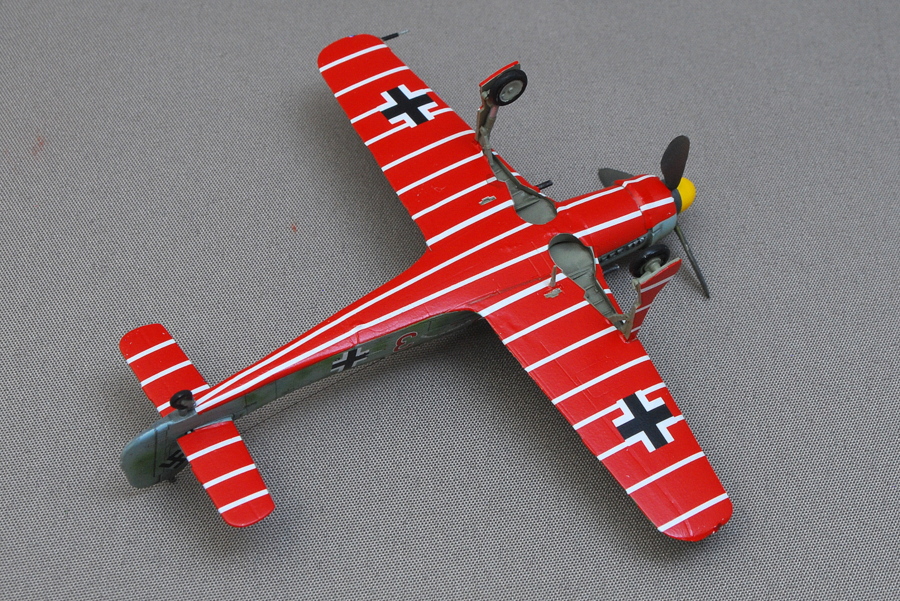 It’s now known they were painted red with white stripes to notify themselves, flak gunners, that the Fw190 were friendly aircraft.
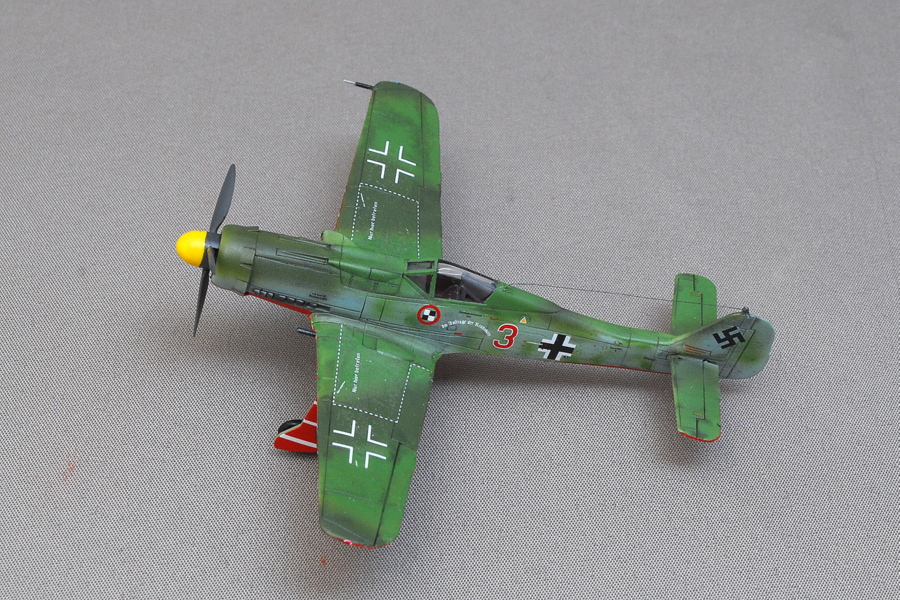
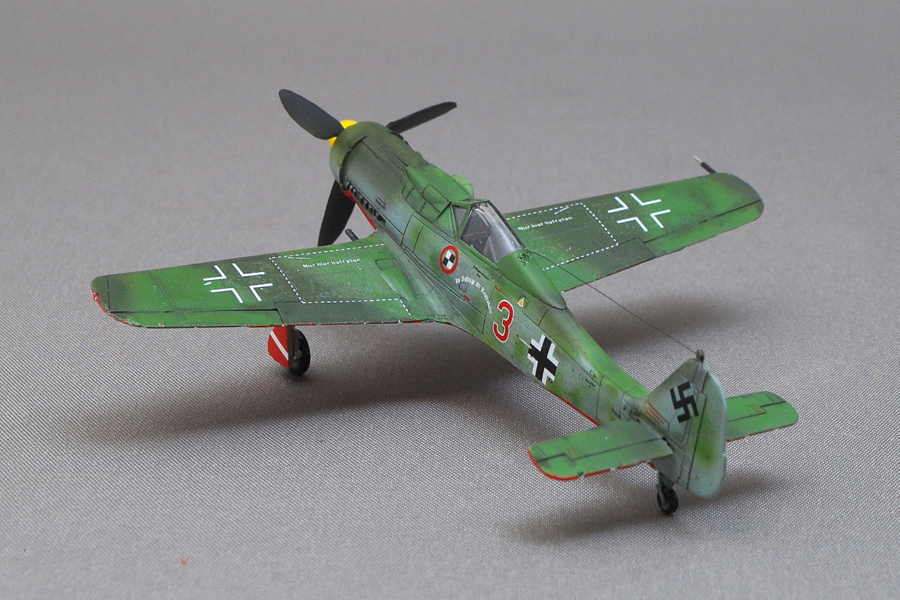
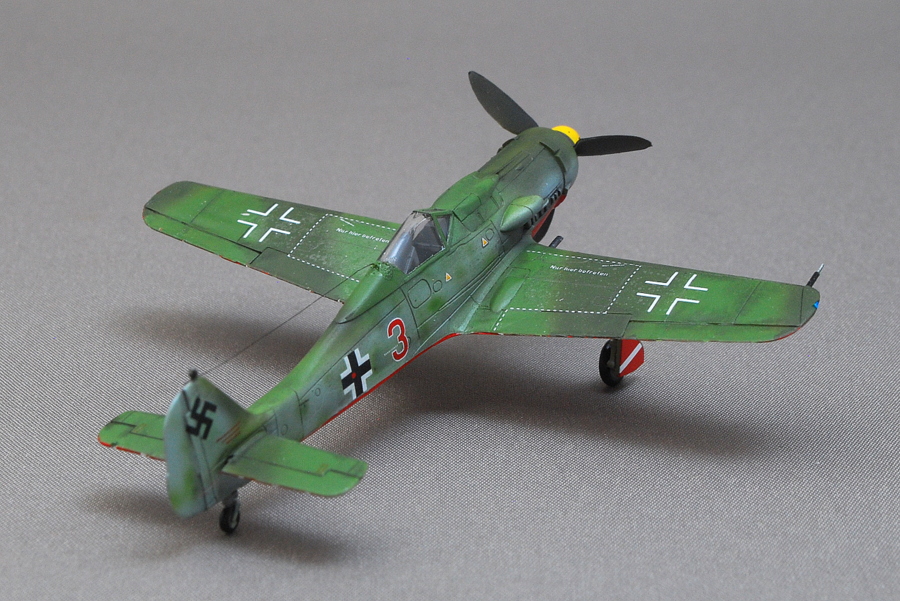 It’s now known they were painted red with white stripes to notify themselves, flak gunners, that the Fw190 were friendly aircraft.
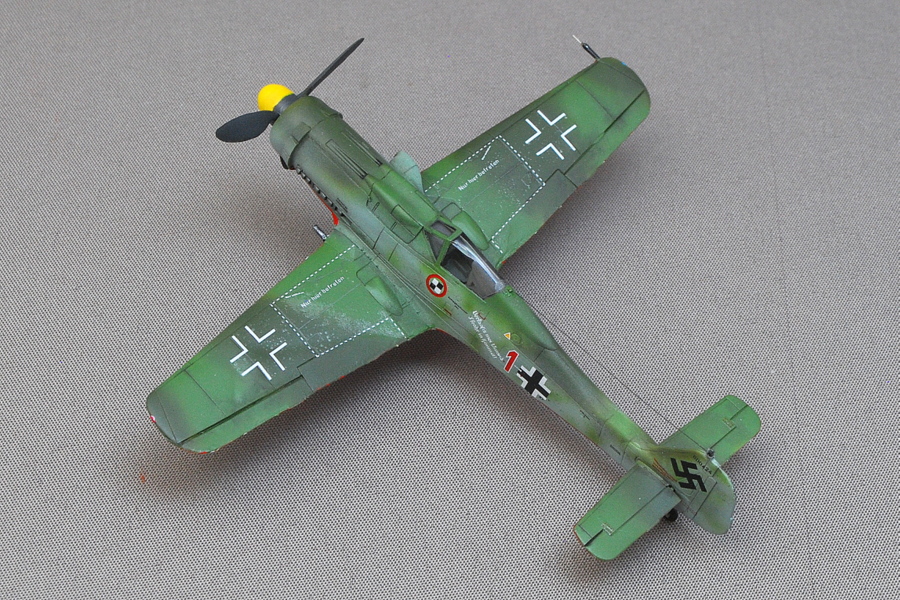 This is the “Red 1”. It is for Lieutenant Heinz “Heino” Sachenberg. The slogan says, “Verkauf’s mei Gwand I’foahr in Himmei!” “Sell clothes to heaven!” What’s this? High tension without reason just before the end of the war? This squadron would have had to write some cool words.
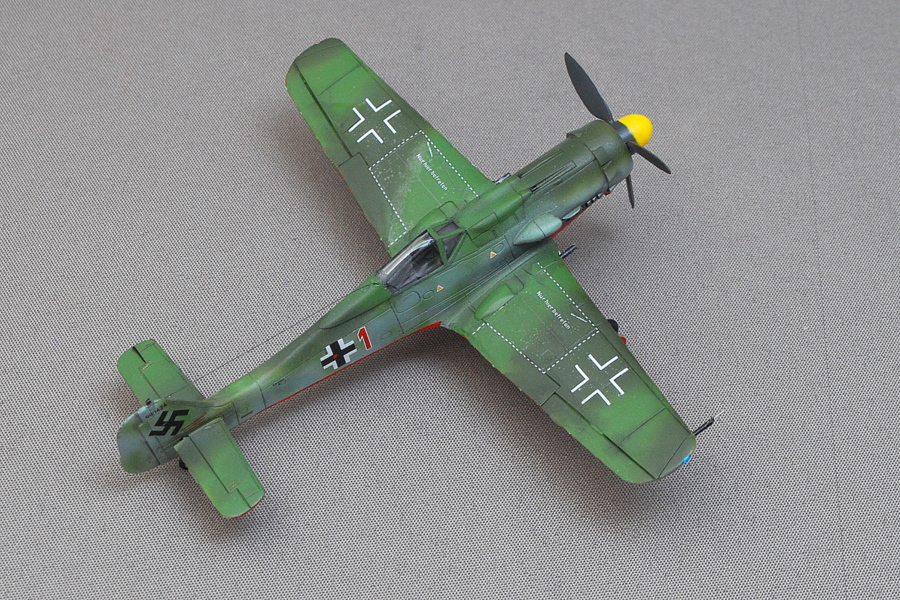
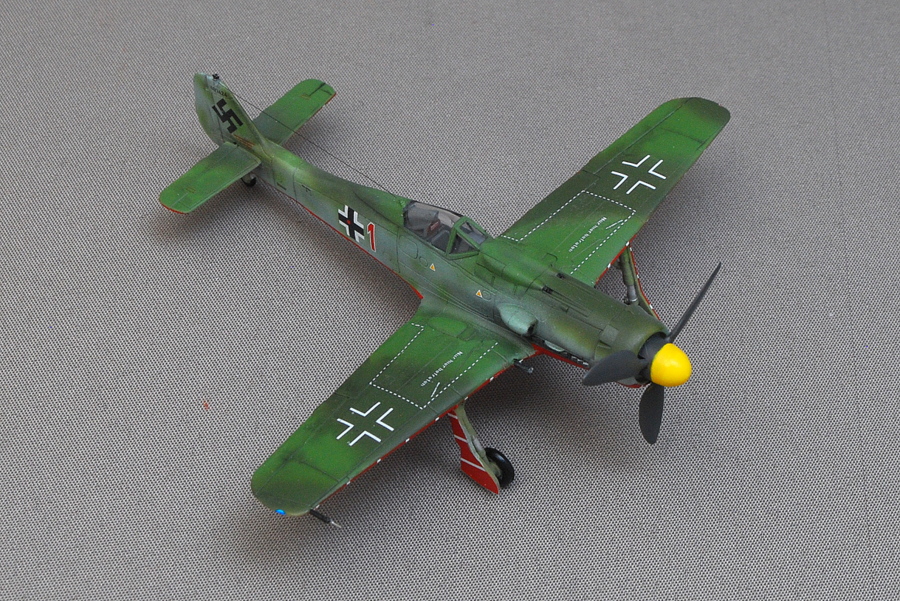
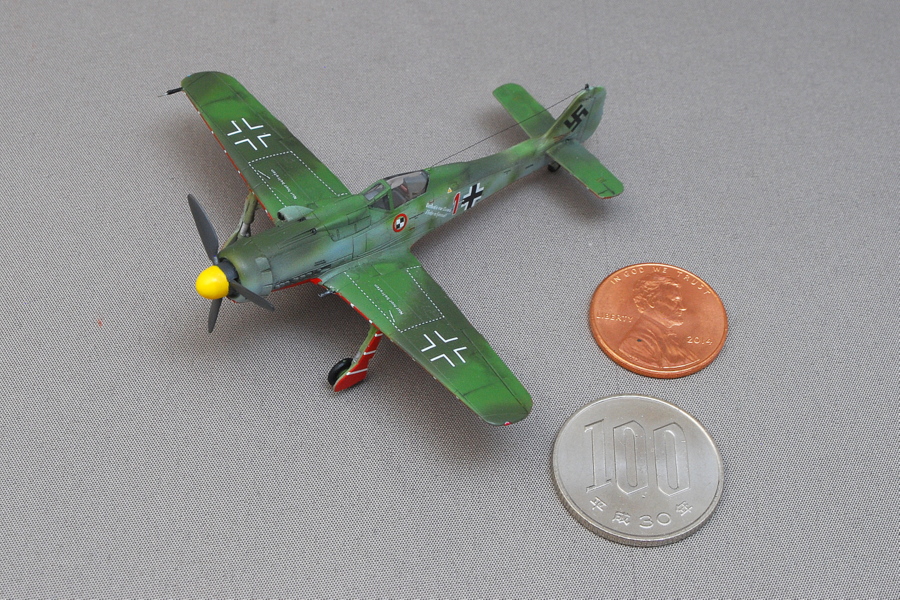 It’s a kit of prices on the whole for this small size.
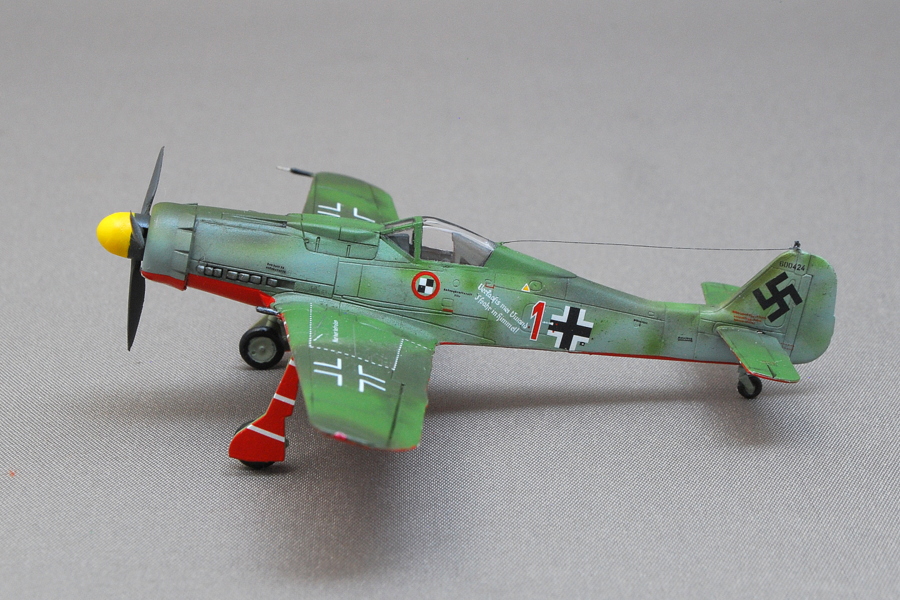
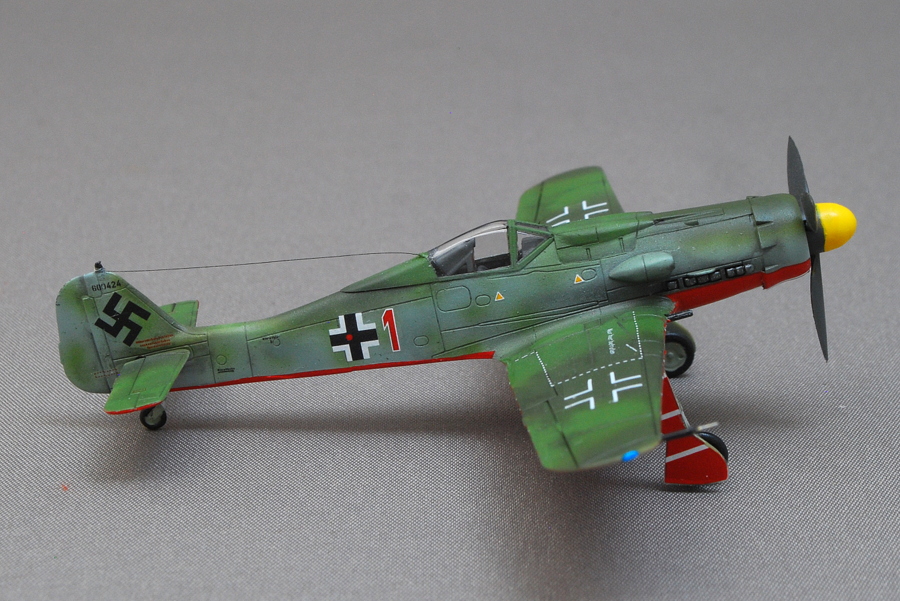 Small decals were successfully attached, and the decals of the “No Step” area containing a lot of clear occurred a little silvering.
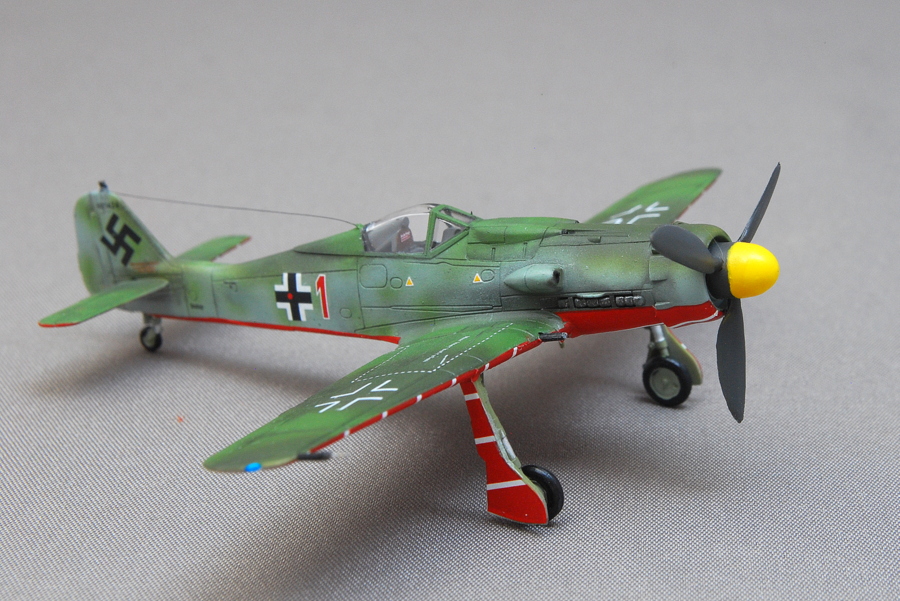
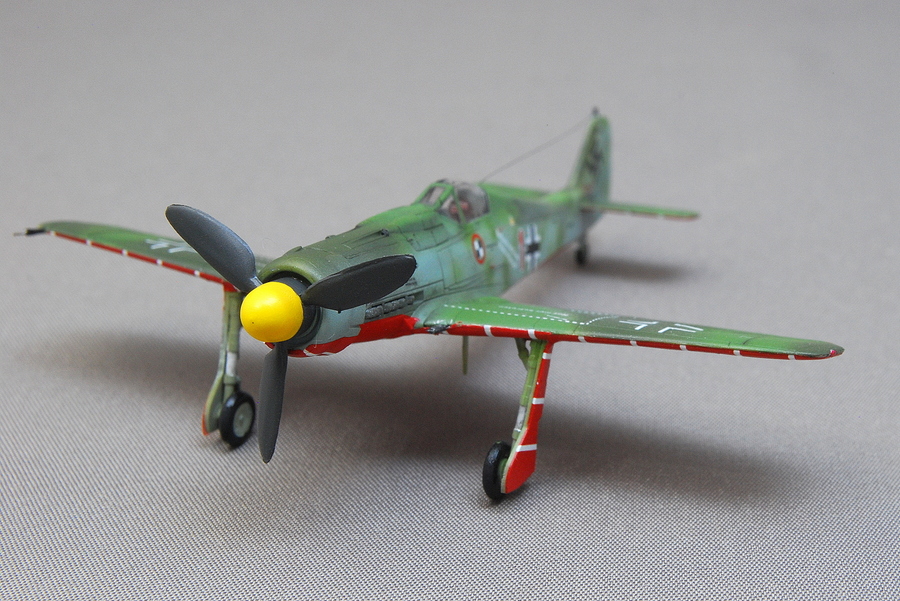 I should have thinned the landing gear cover…
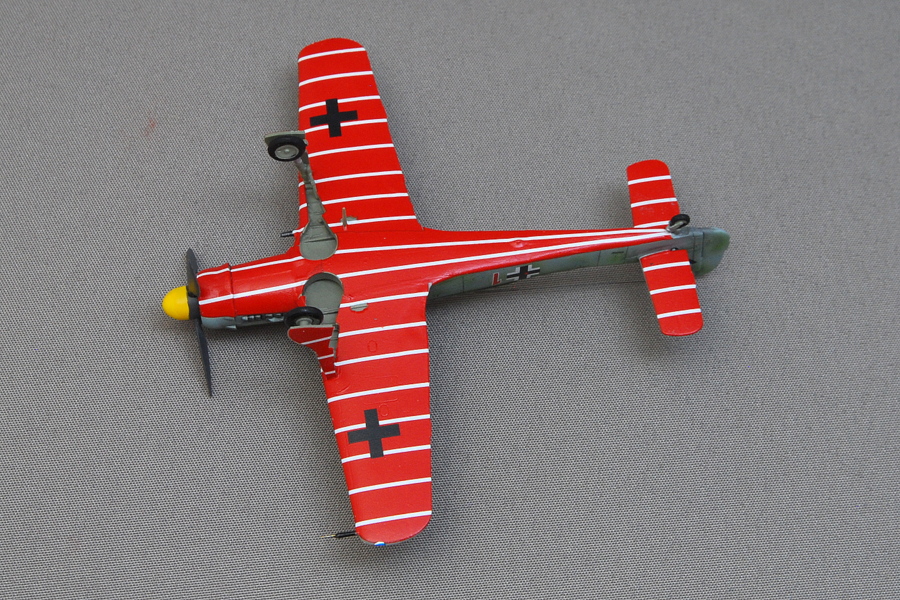
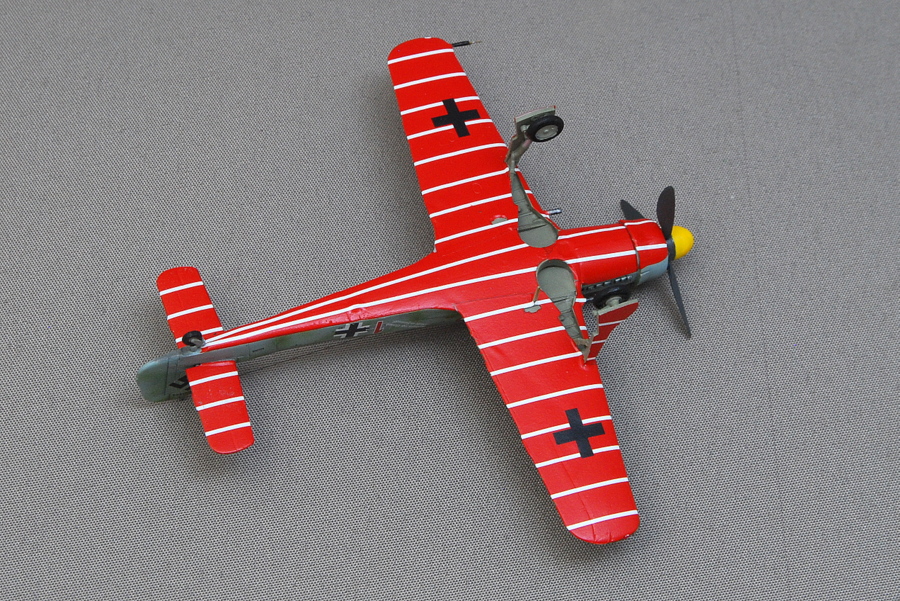 Many red decals on the lower side of the aircraft were successfully pasted when I used many of mark softer ones. It may be better than painting because the color is excellent. Red and yellow decals sometimes have thin colors and low quality.
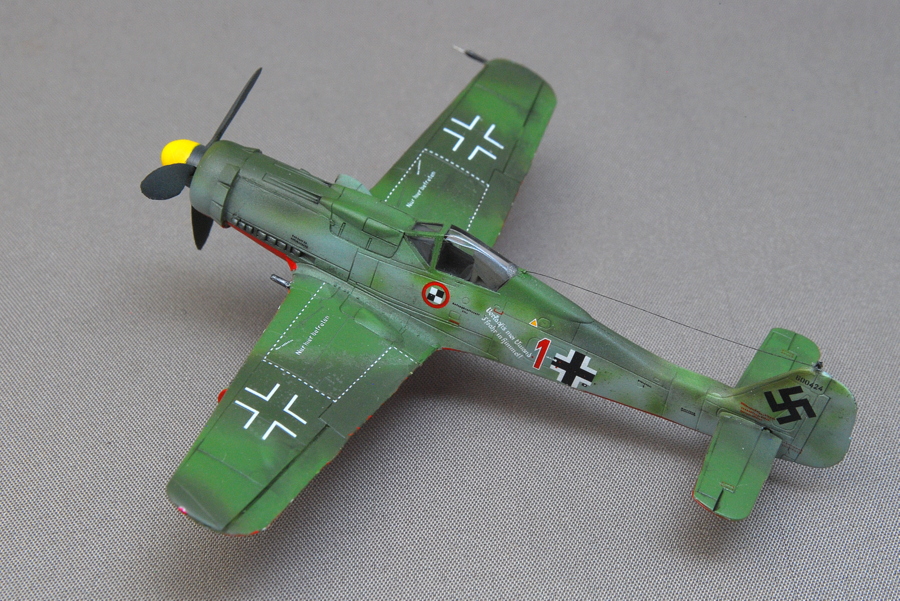 I attached the ultrafine metal wire as the antenna wire at the cockpit’s rear end and the tail wing’s upper end to the final finish. I tried it though it’s necessary to the 1/144 scale.
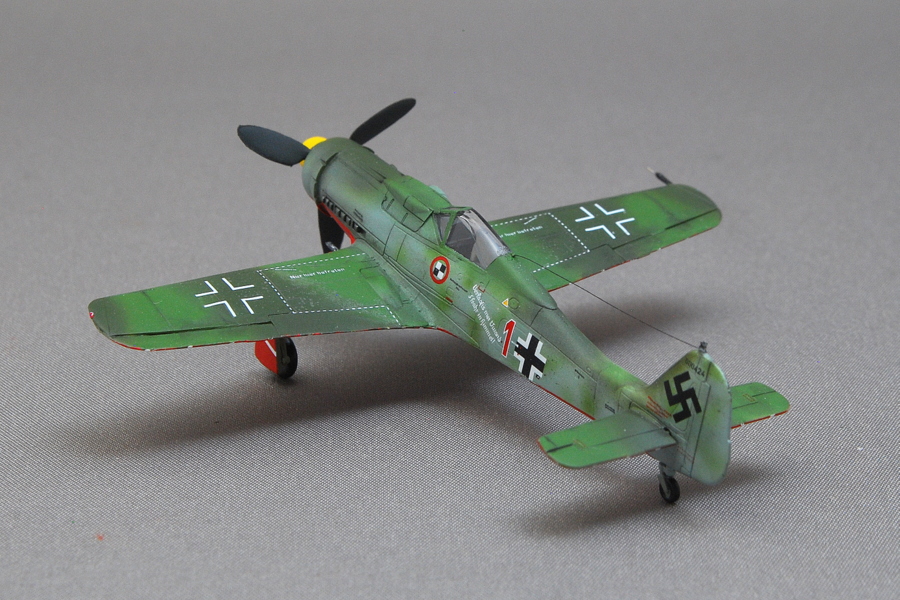 However, there are cases some traces of super-glue remain. The retouching of paint is too small and feels troublesome. Even considering damage risk during building, it is also an option to bond the antenna wire before painting. If I pass through the antenna line from the back of the canopy beforehand, it seems that the difficulty of the construction is lowered. Let’s try it next time.
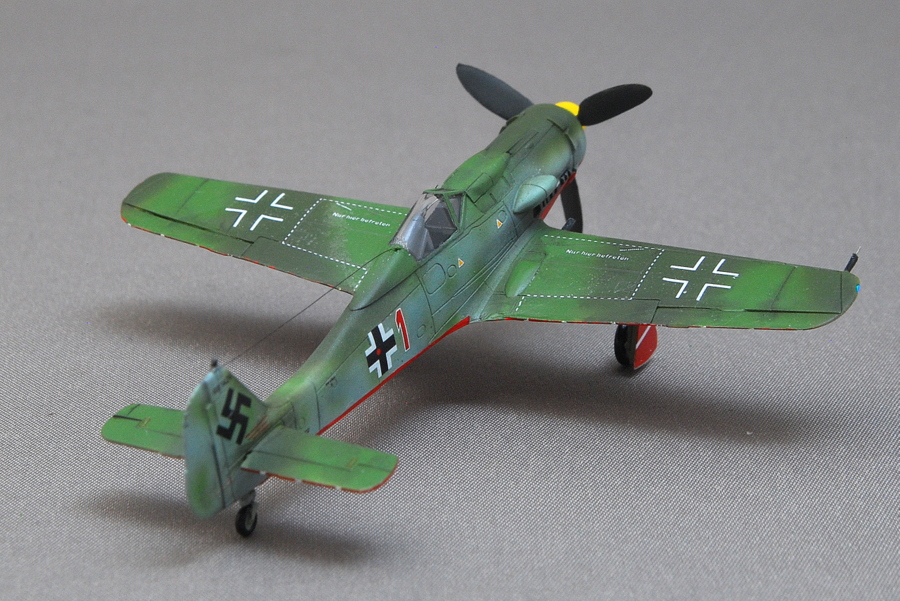 I had been neglecting it since I saw the instruction manual once, as it seems difficult to paint. It was good to complete this time. Fine airbrush painting will be possible if the paint concentration adjustment improves. If we make an airbrush with a concentration sensor, I suppose it will be a big hit. It will likely be said, “How many years have I been using an airbrush!”.
(30-August-2018)


コメント