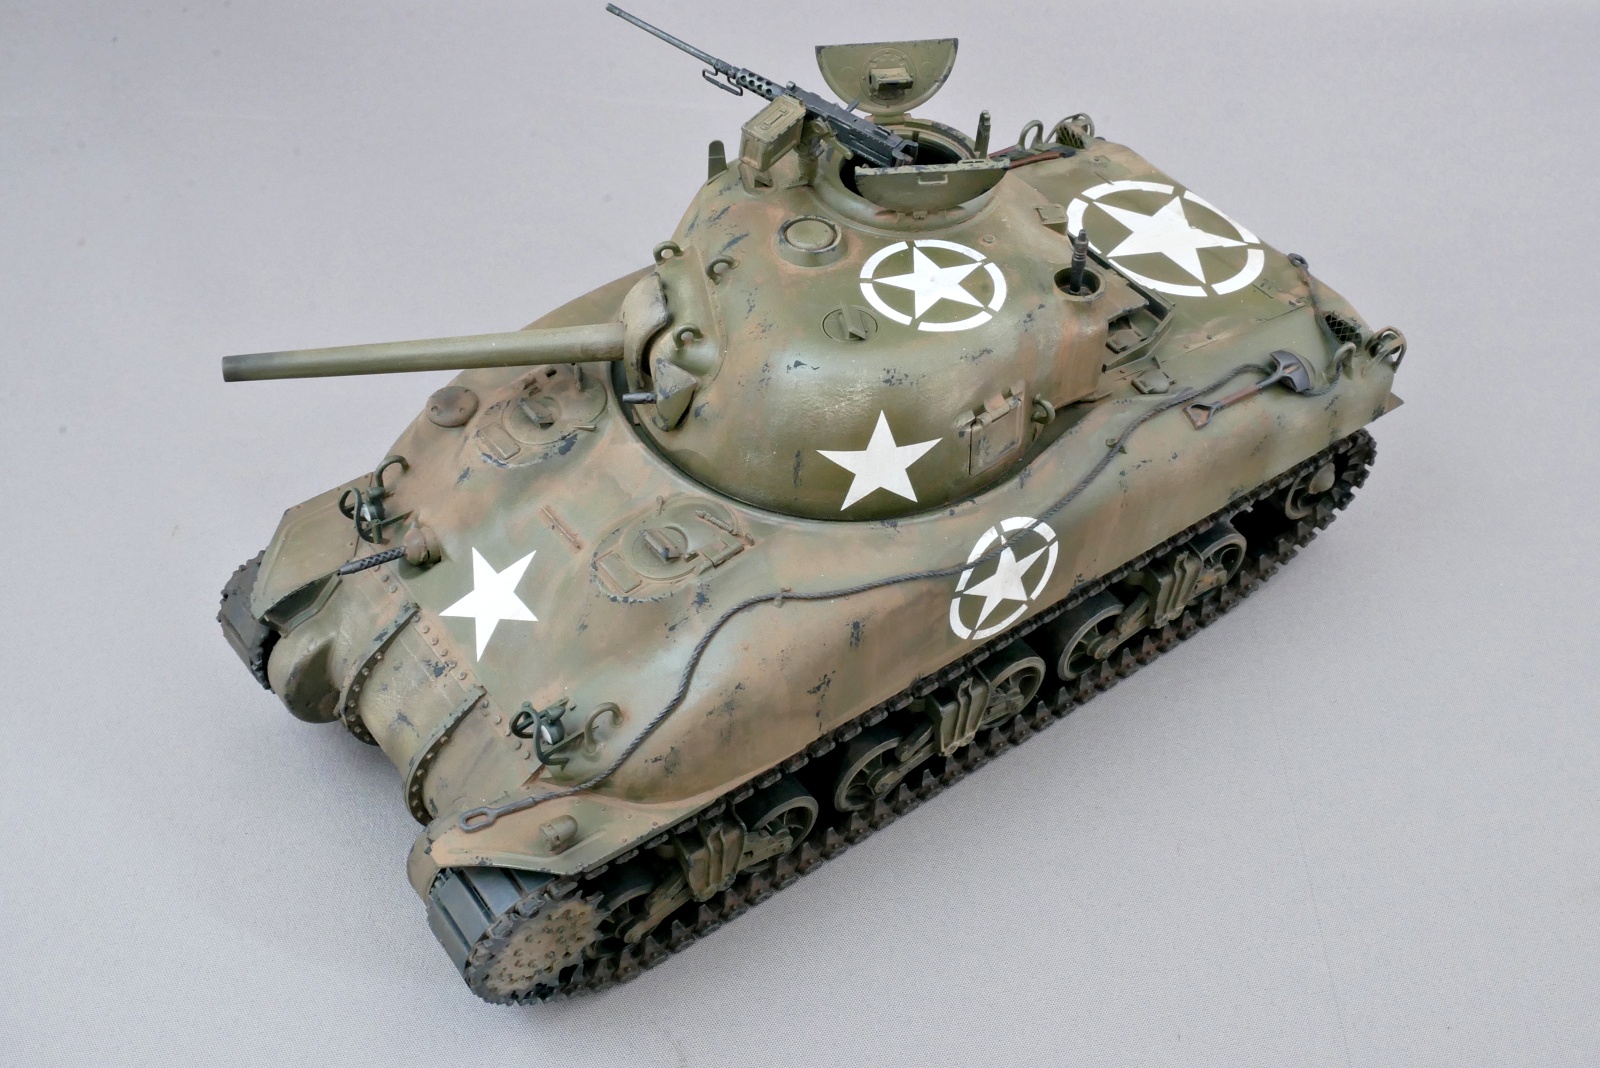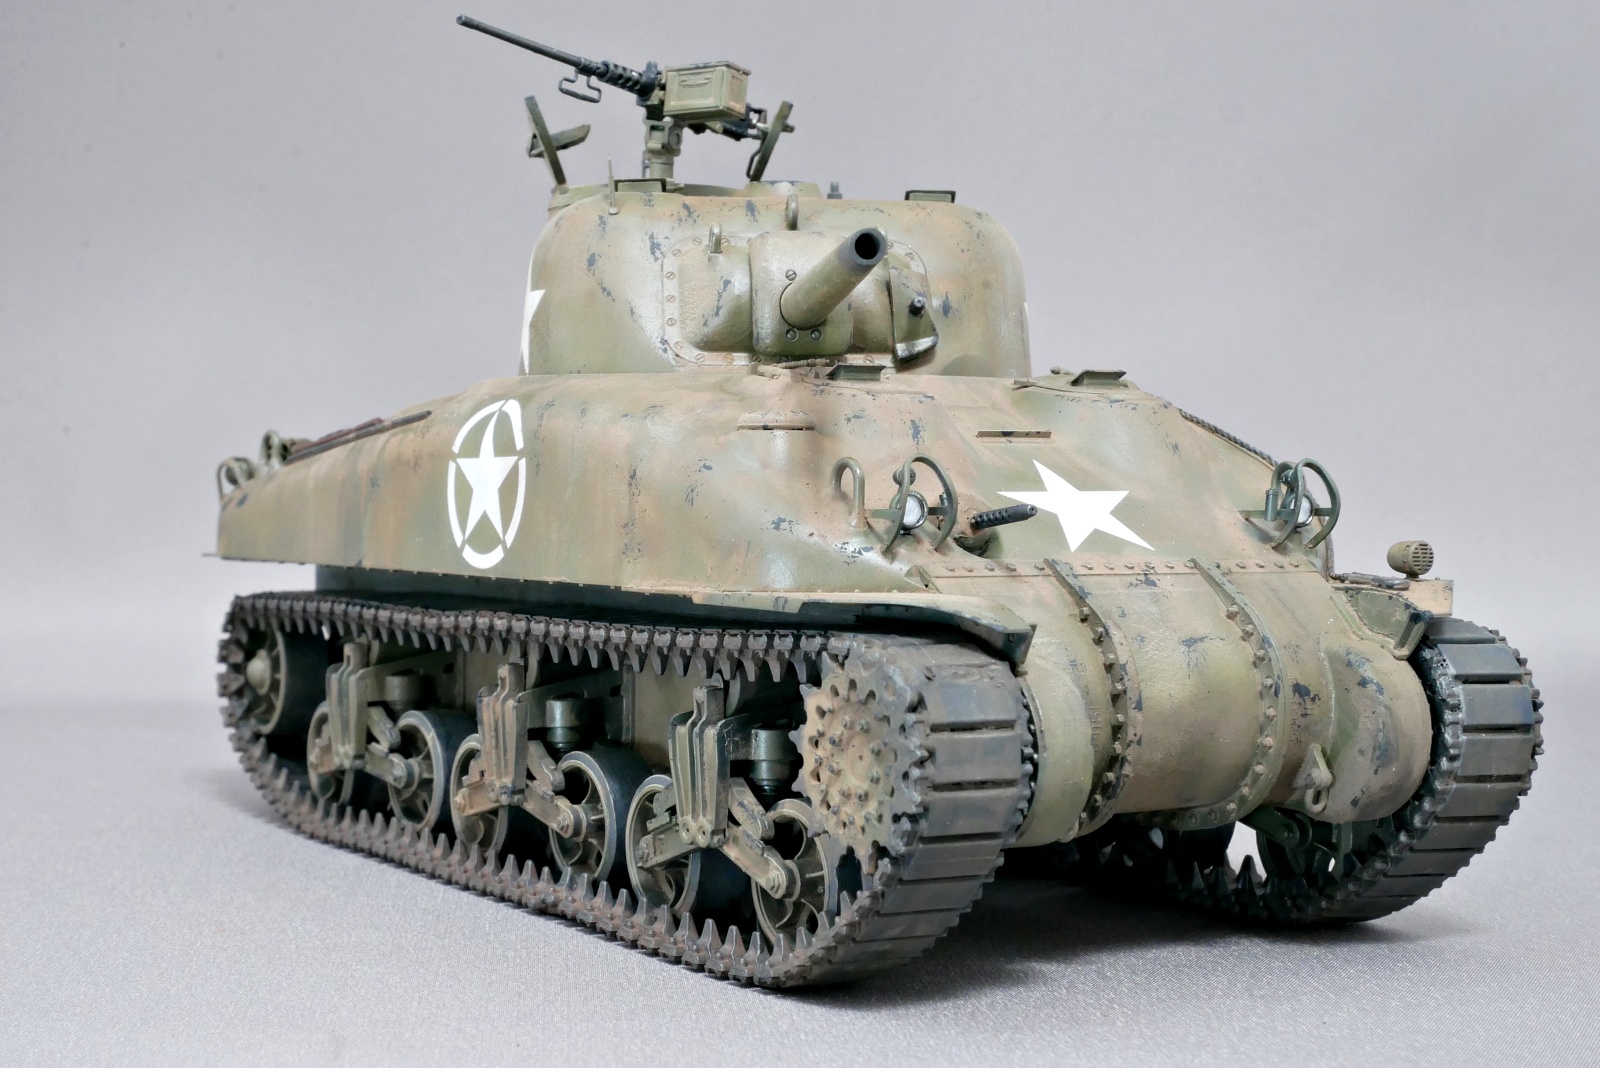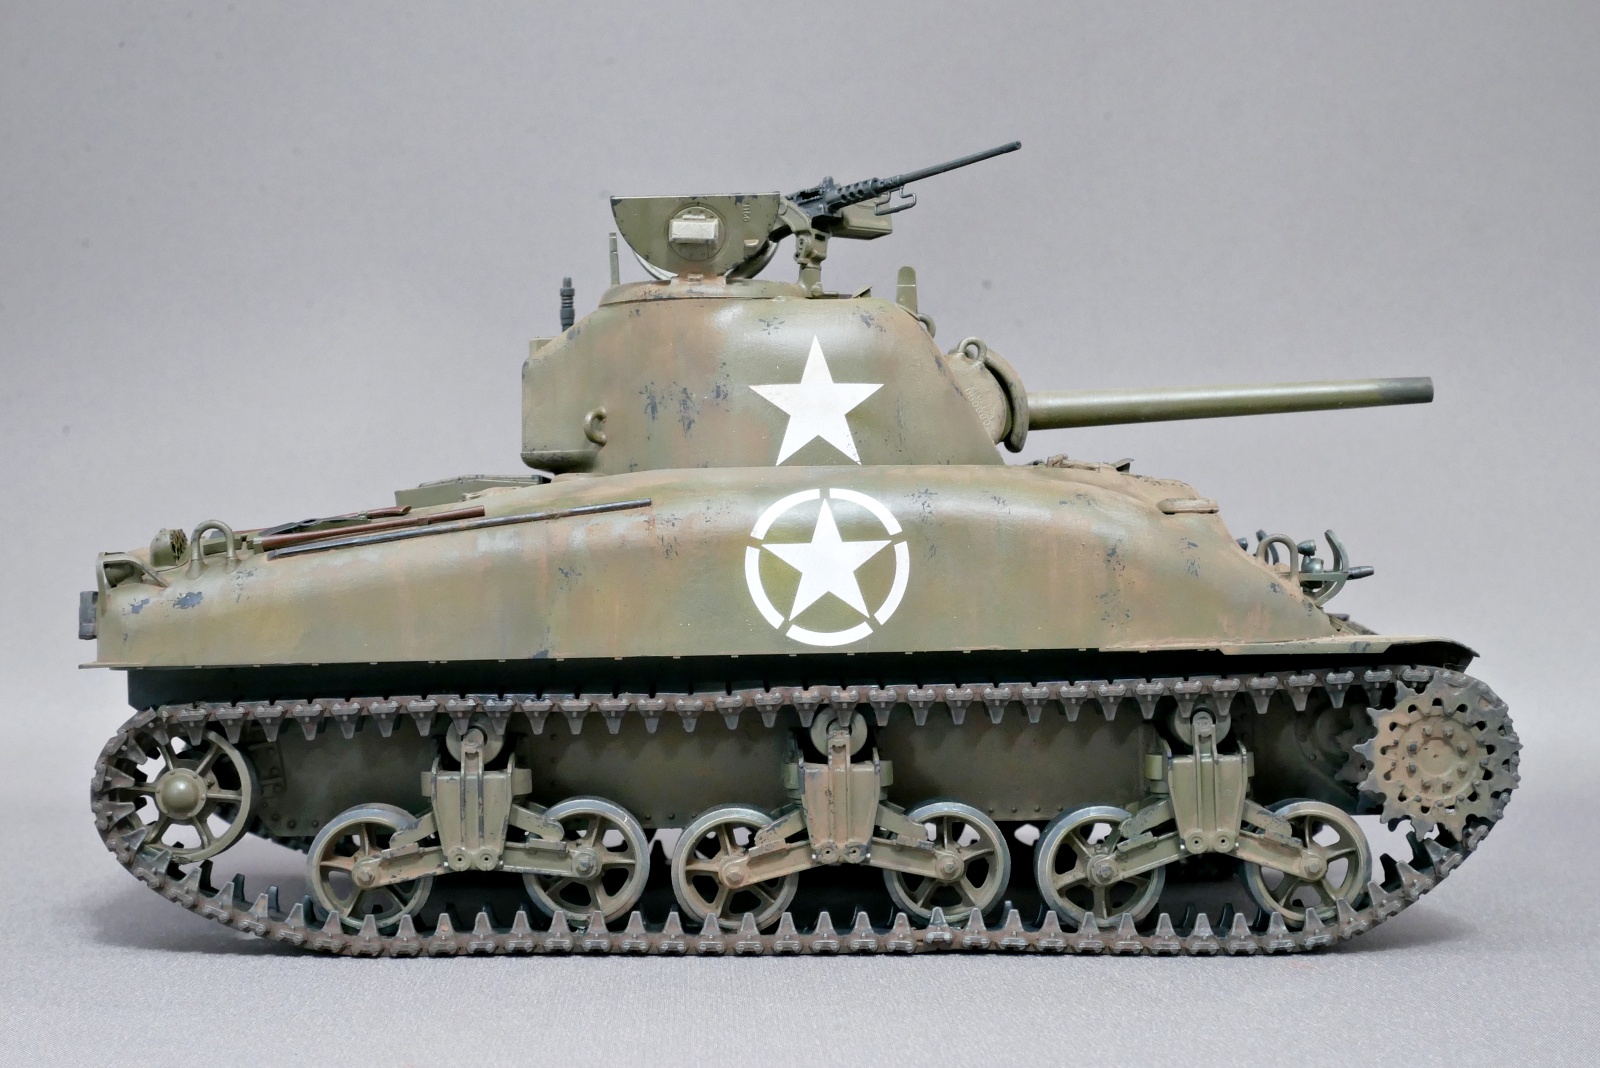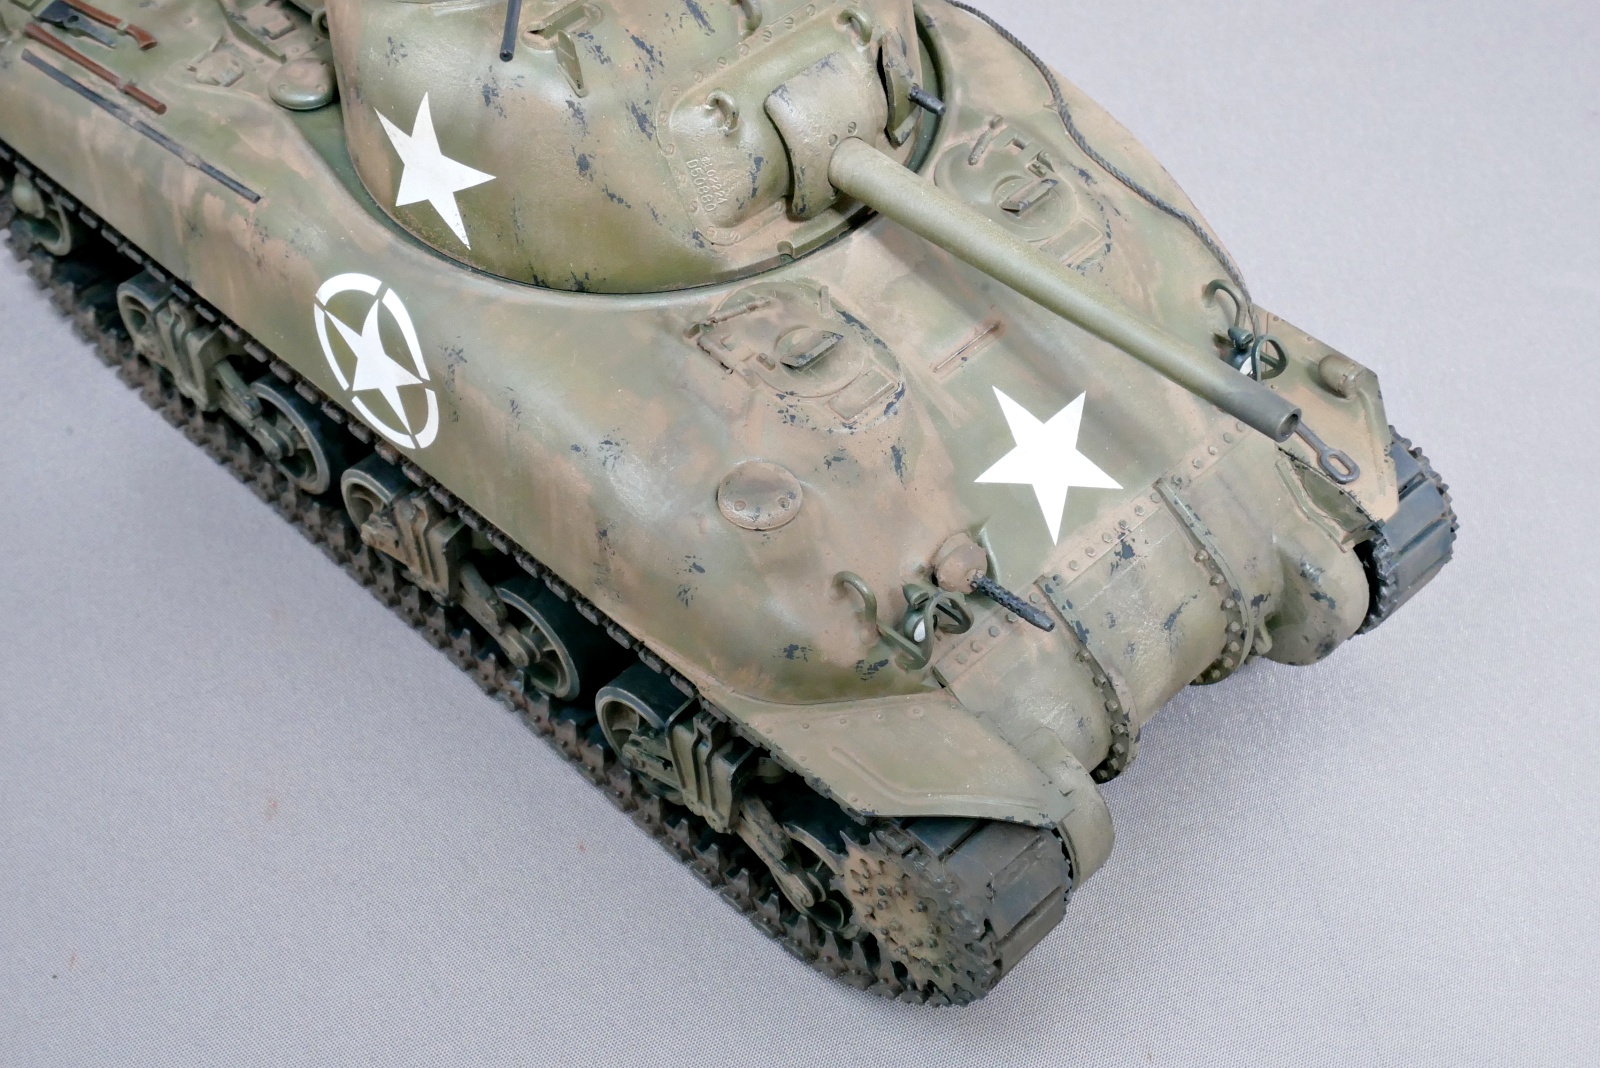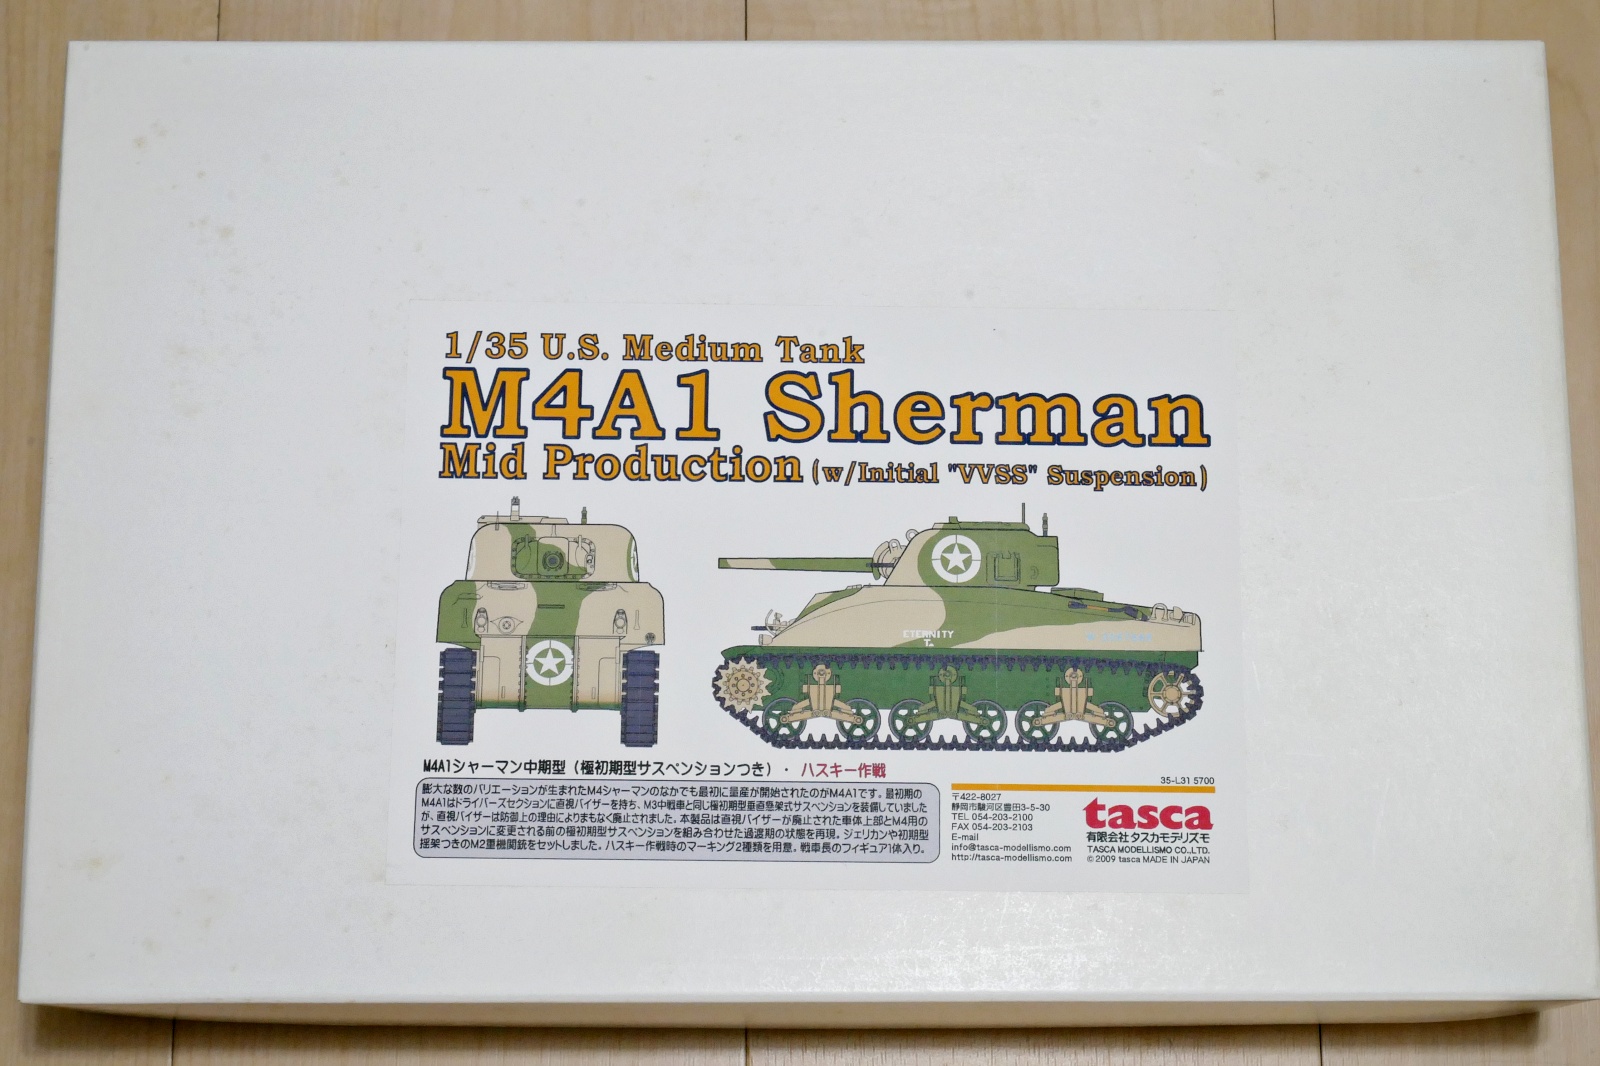
This time, I’m going to build another Sherman tank of the US Army. This is a tasca Sherman kit that I bought a long time ago. It is a very rare type of suspension.
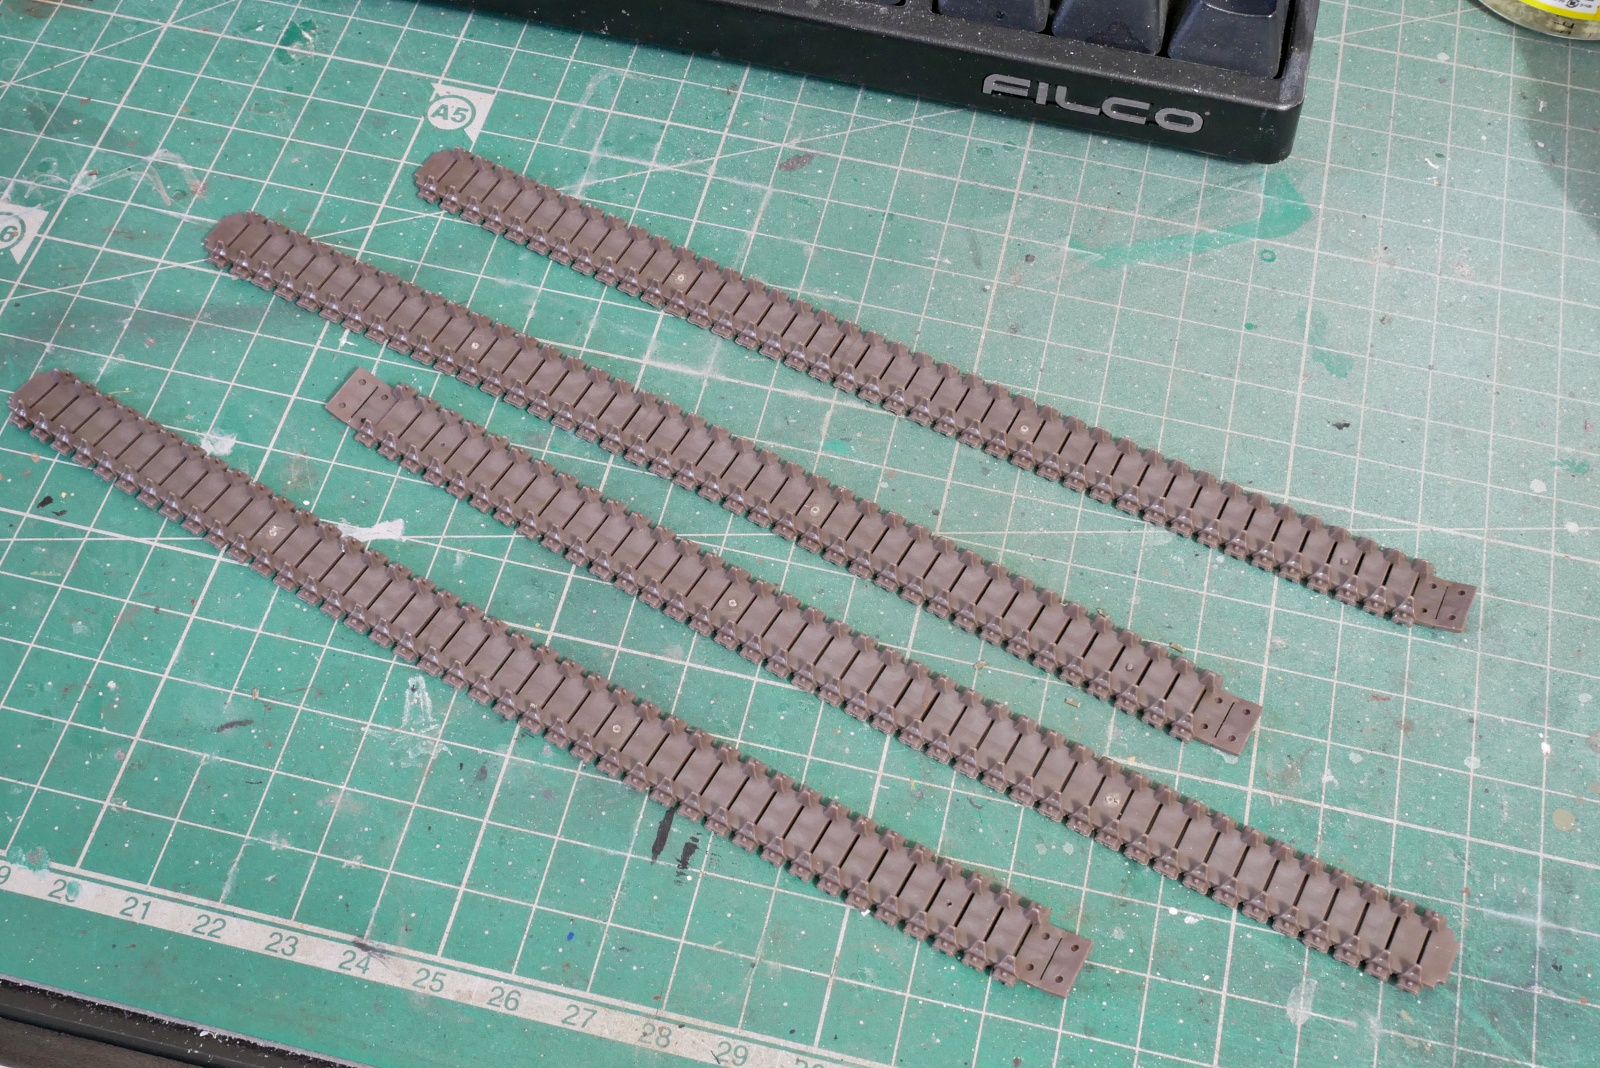
The track belts are made of rubber and has 4 pieces, and it is assembled with 2 pieces each at first. If using too strong adhesive for plastic, it will break easily, so be careful.
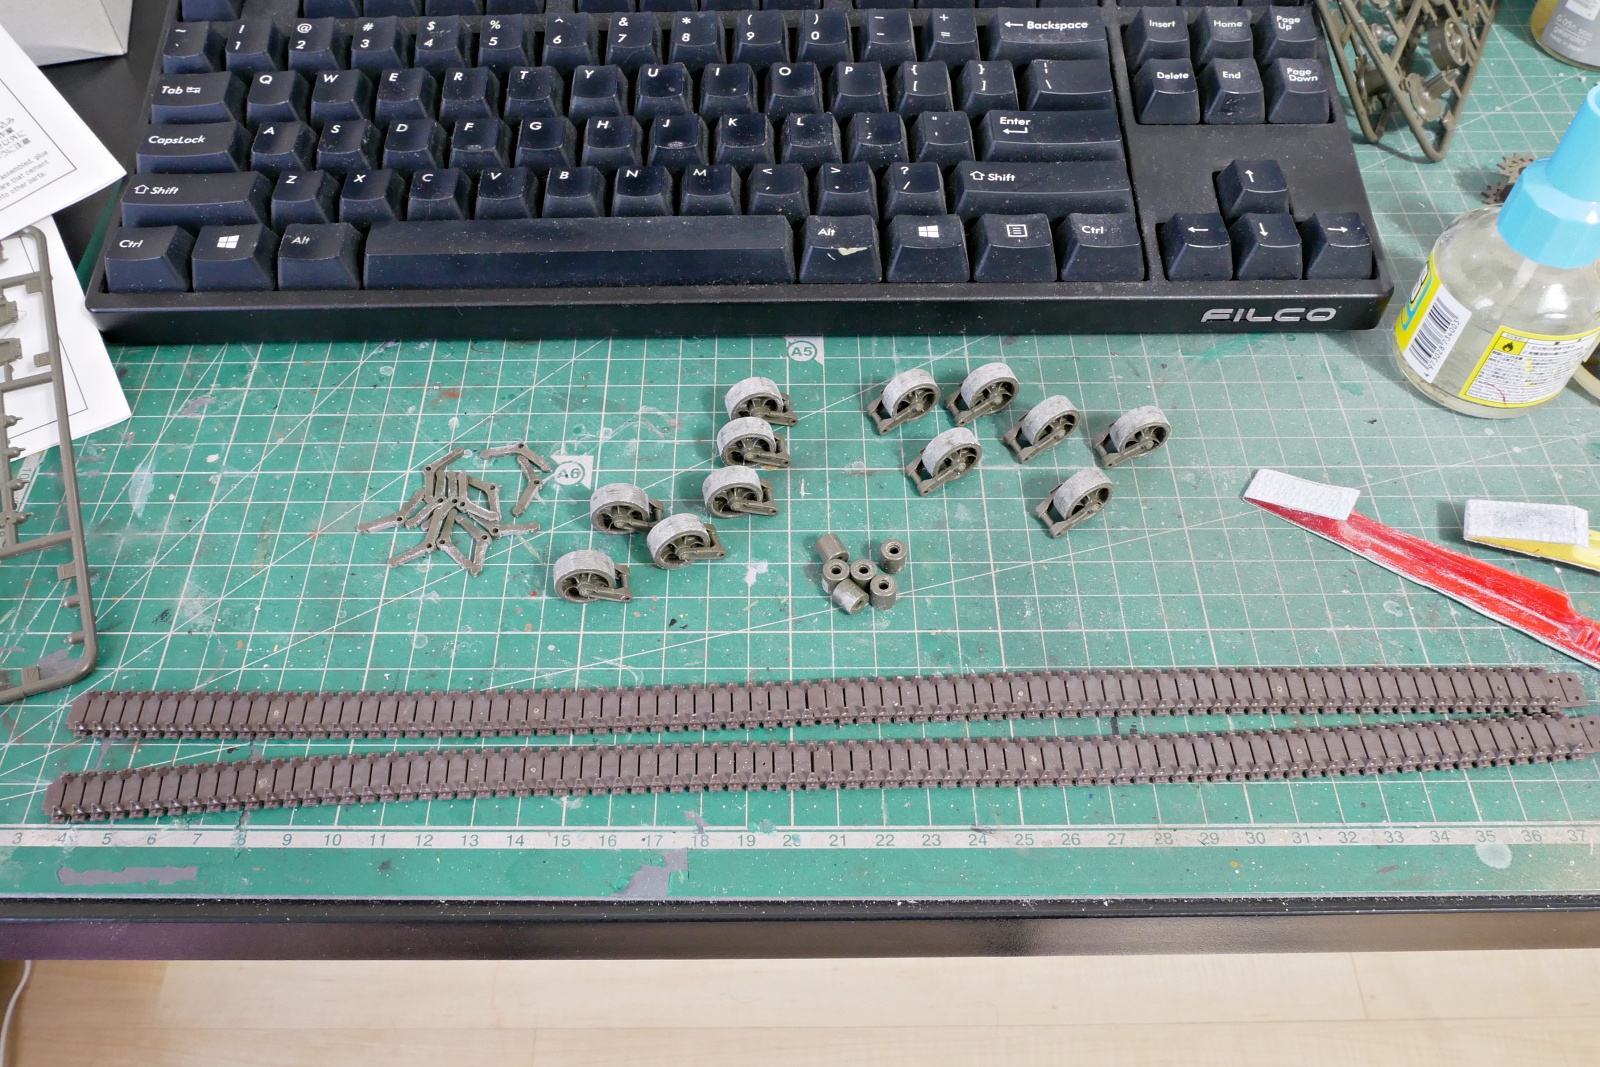
The assembly of the very early type suspension described in the additional manual is quite different from the normal assembly, so we need to be careful.
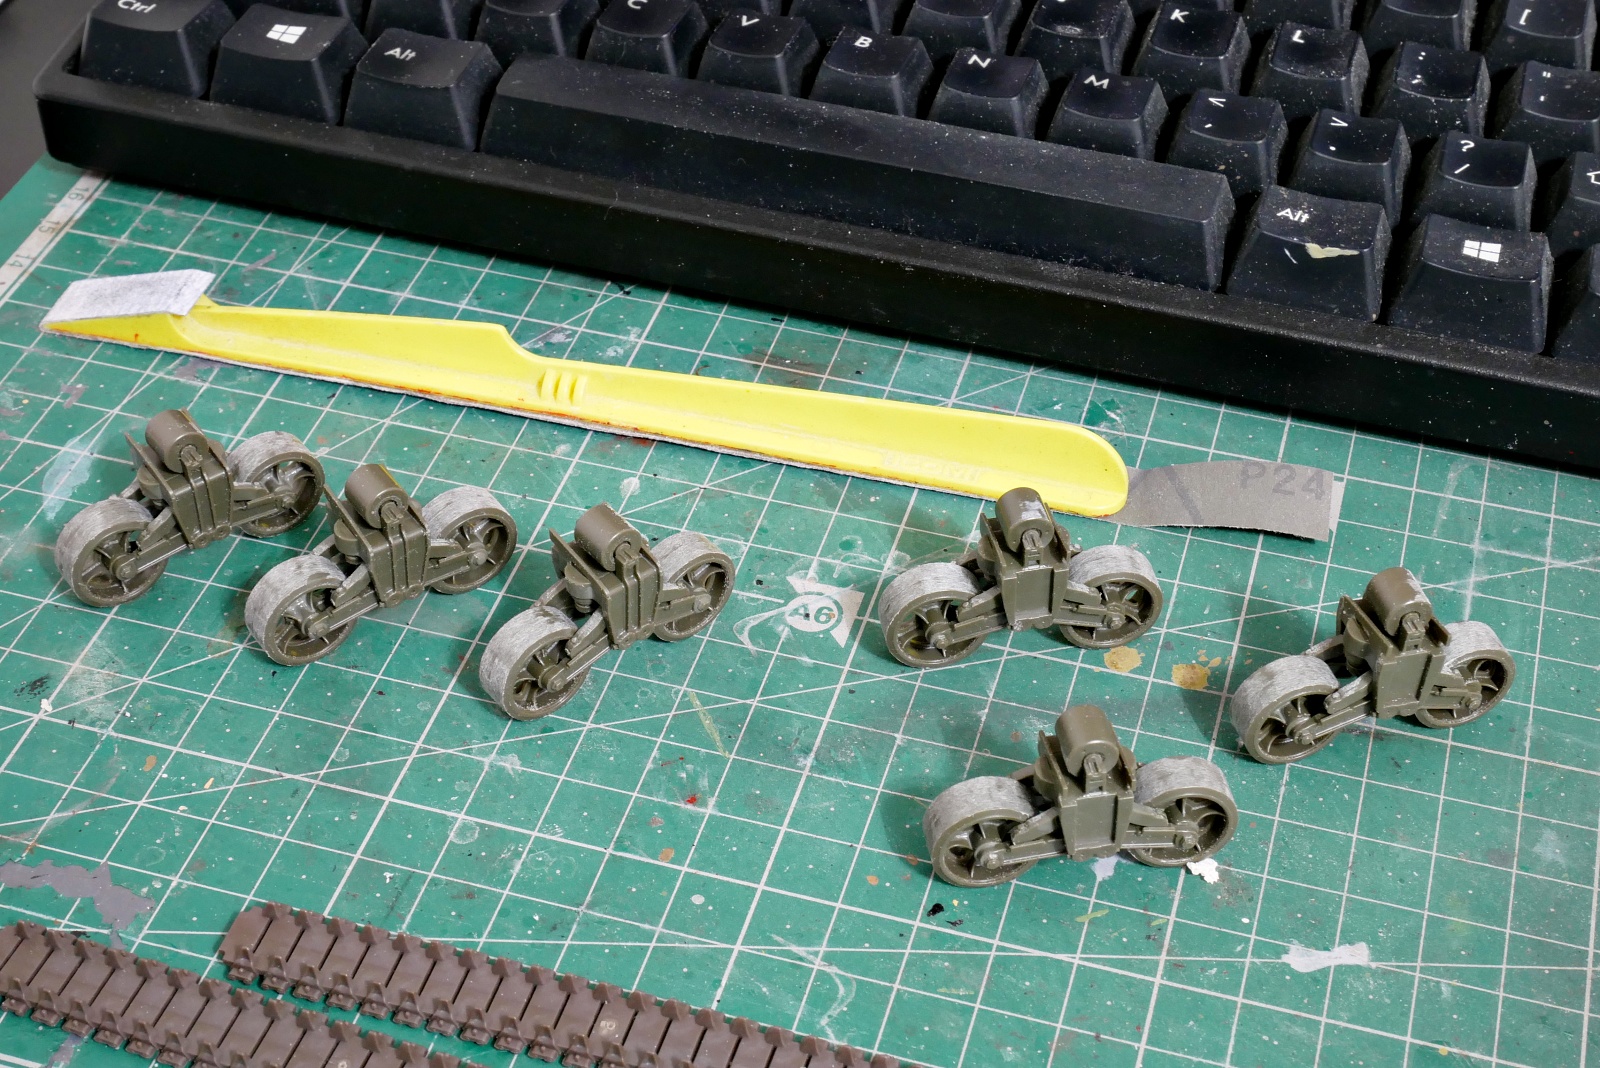
The rolling wheel is completed. The shape is quite different from the suspension I am used to making.
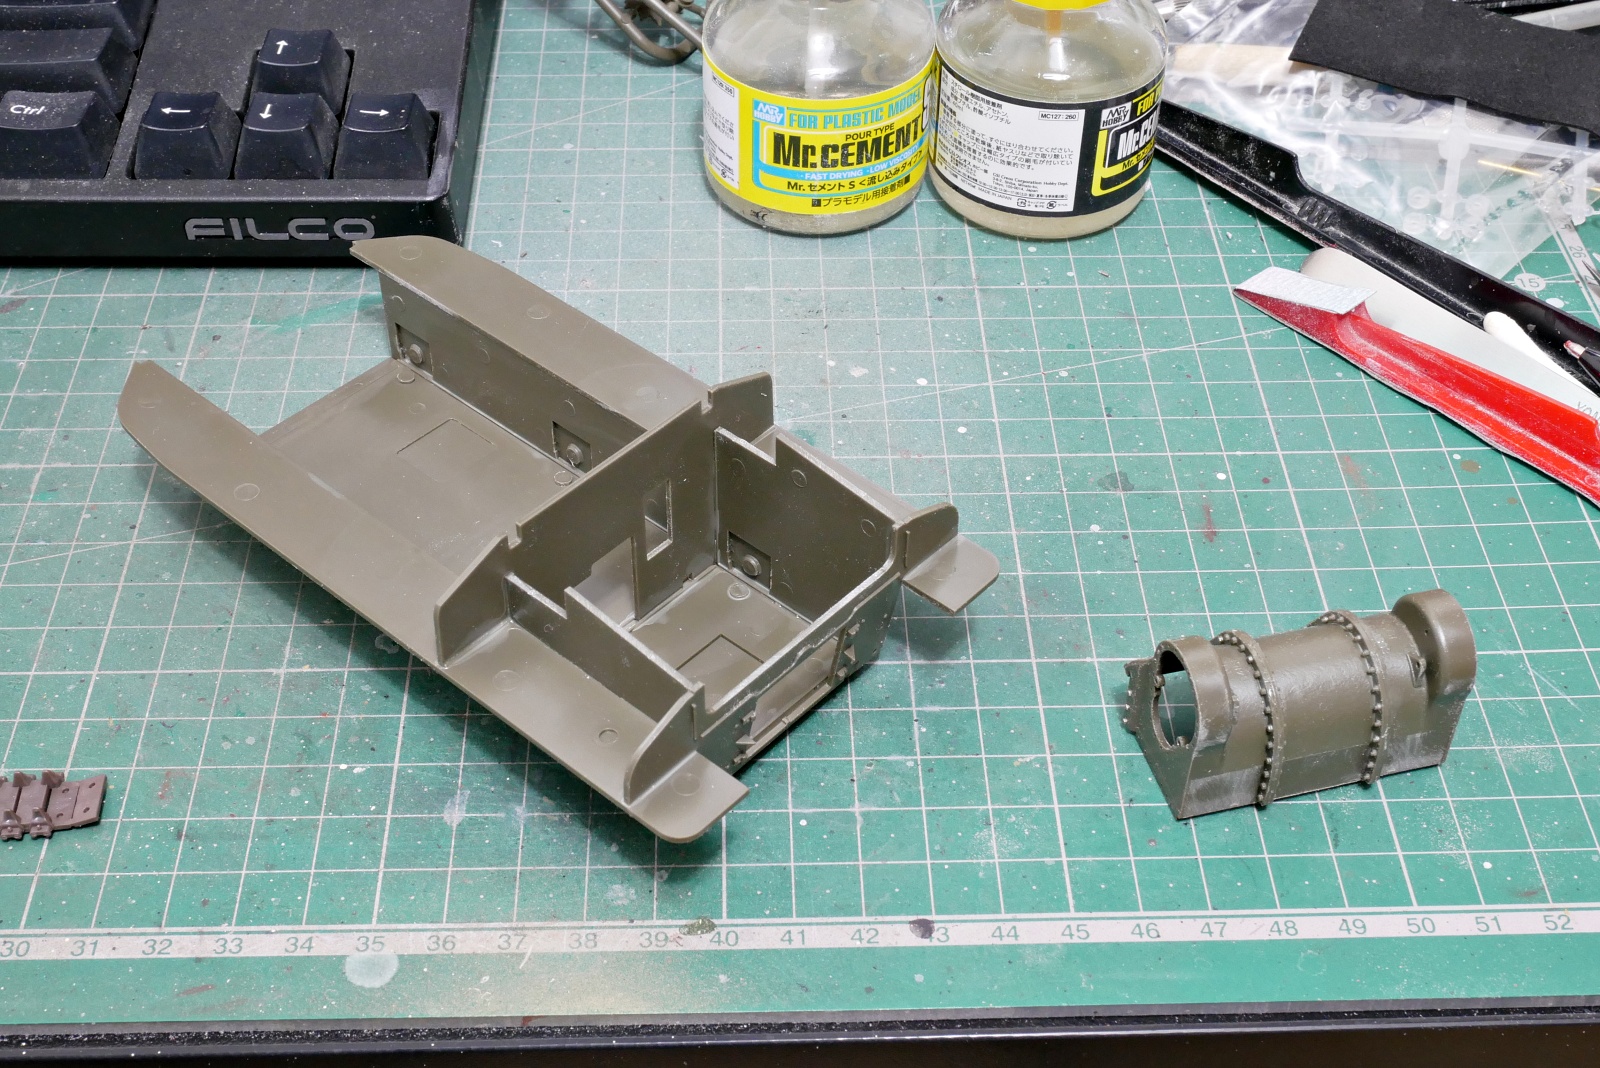
After assembling the rolling wheels, the next step is assembling the chassis. There are quite a lot of parts in the box set, but the accuracy of parts is very high, so there is no trouble in assembly. The top and bottom fit perfectly.
(2025/04/20)
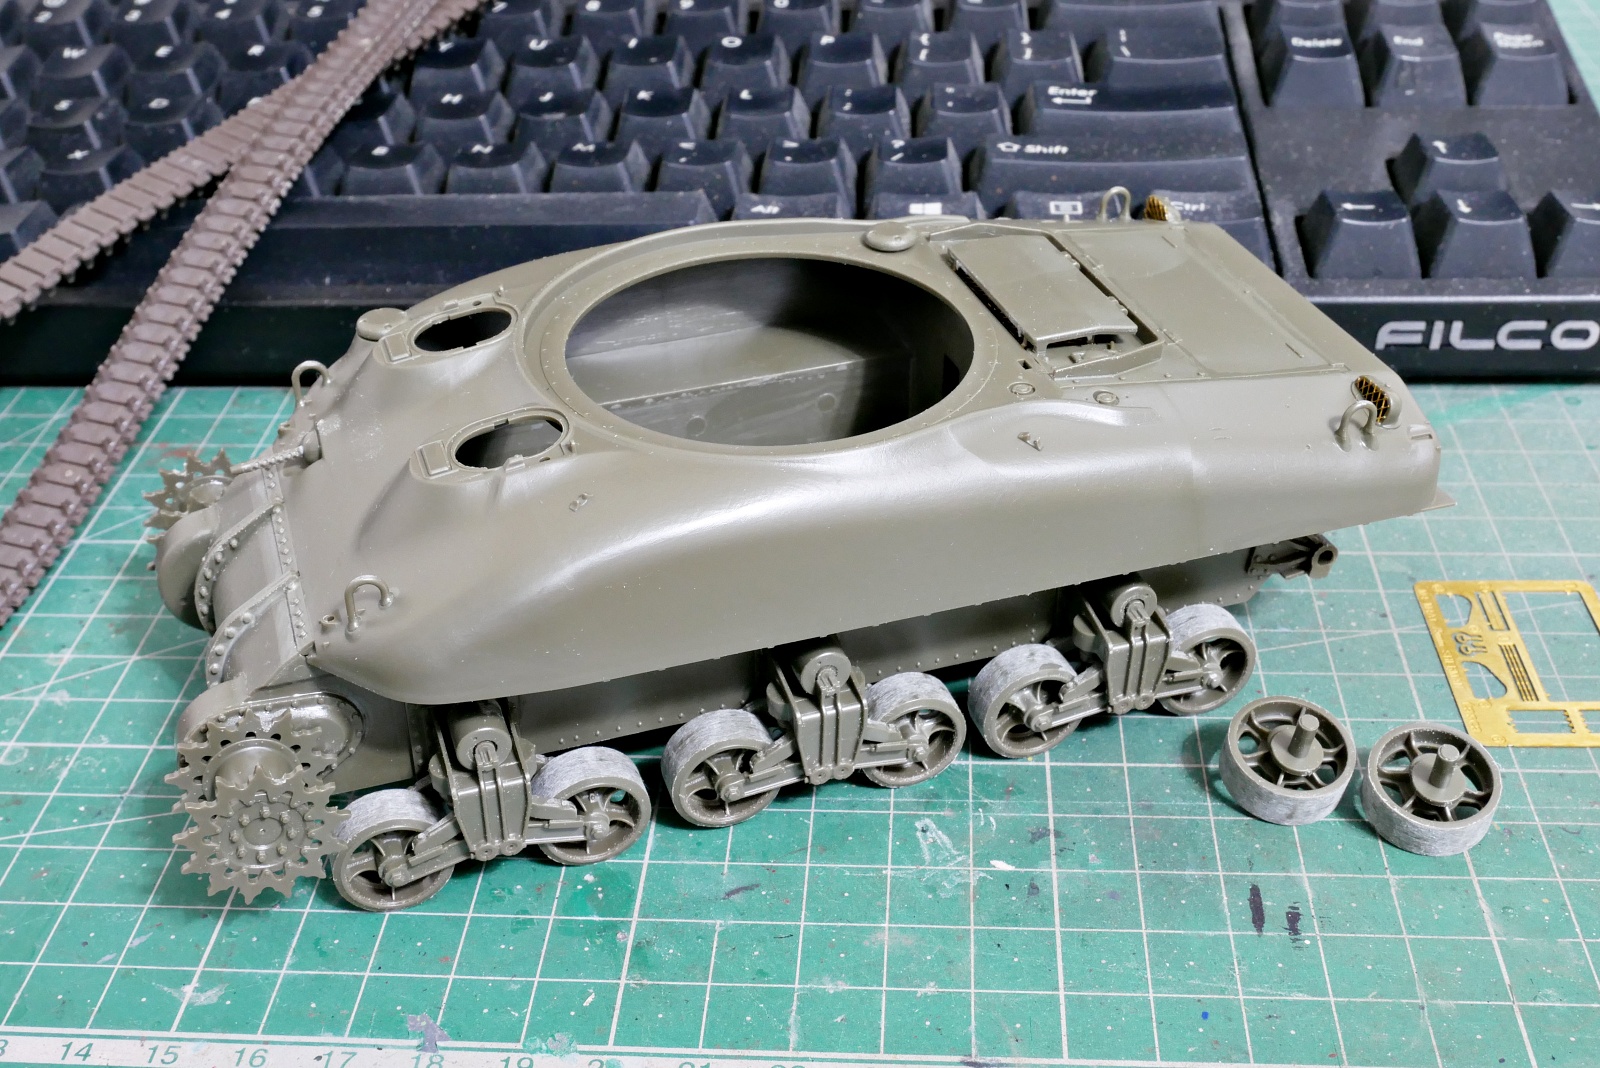
Since I was going through the process while also looking at the separate assembly instructions, the steps were scattered. I feel it is smoother to attach the tracks before installing the small parts.
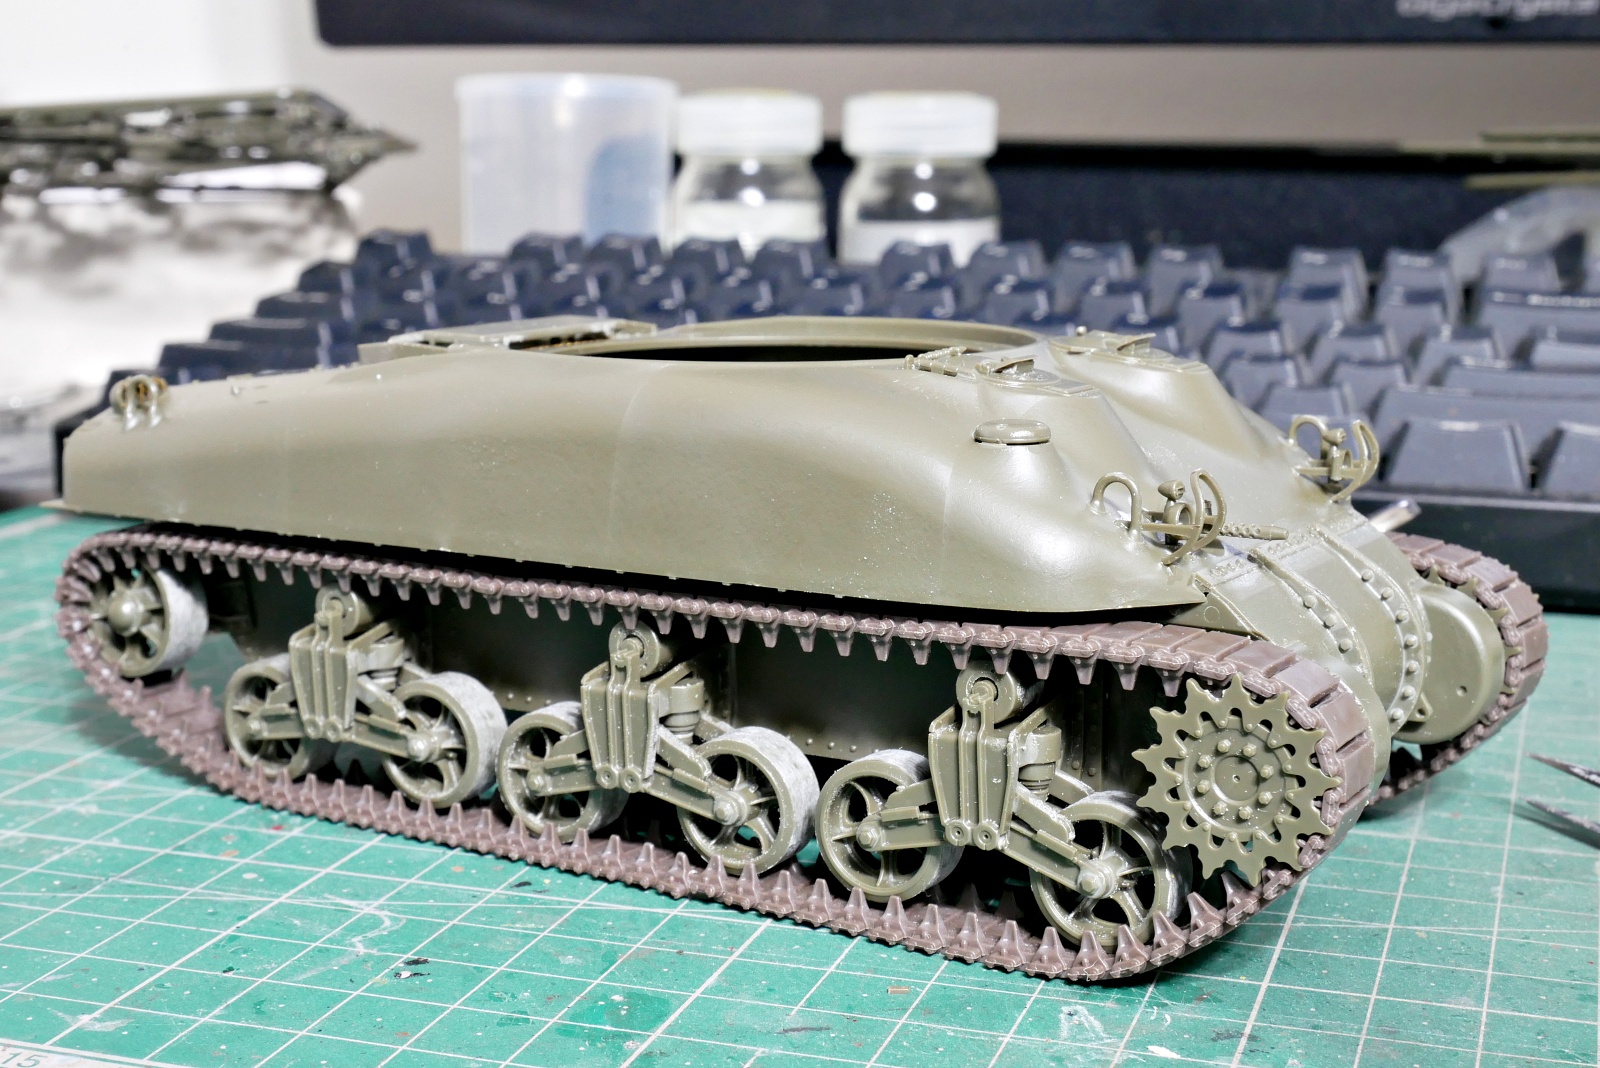
Since I can adjust the length a little with the rolling wheel at the very back, I thought it would be easy to assemble because of the belt caterpillar…
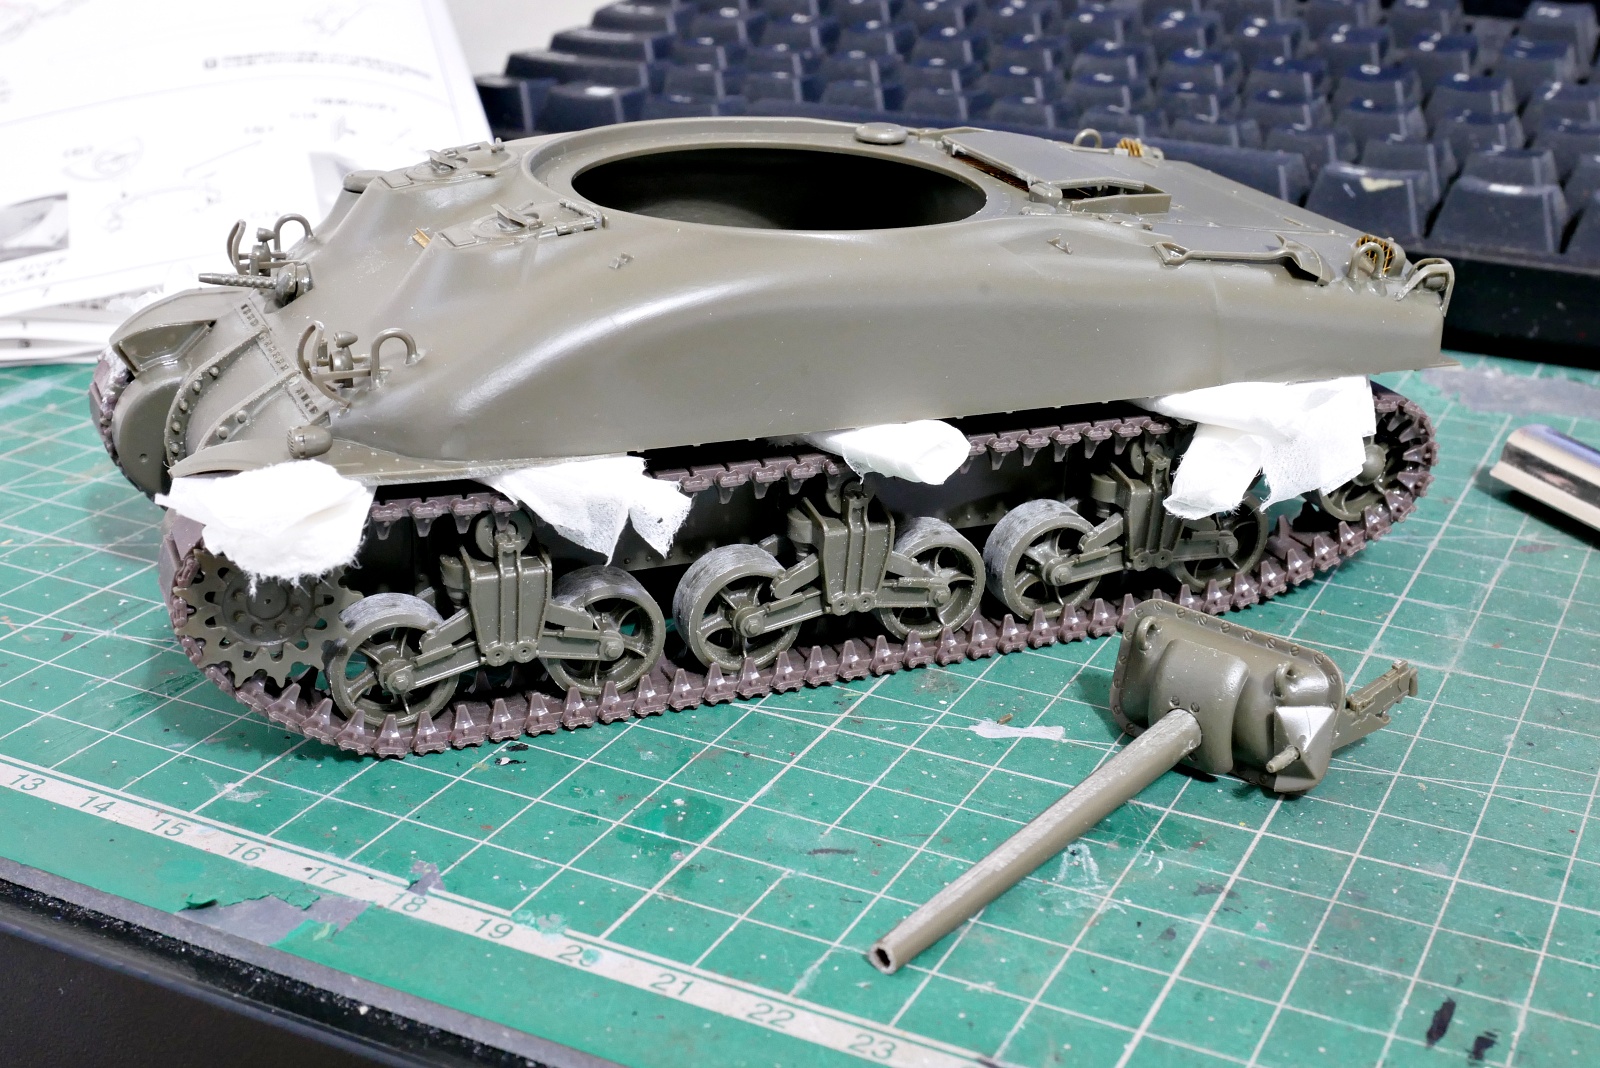
The belt type tracks that come with the tasca kit are easy to use because they connect with adhesive and can be easily bonded to plastic. However, if I use a strong adhesive, it will tear quickly, so it is a problem. I think plastic adhesives with polymer have less risk. The right side was cut in two places and reinforced with superglue. I was able to wrap the track belt easily without any trouble, but I was careless and damaged it, and I regret it very much. Well, I don’t think there will be a problem when I use pastels to make the dirt on the parts that have been reinforced. Also, if I don’t glue it to the rolling wheel properly, the track will float and it’s not cool, so I shape it with a tissue and glue it to every contact point.
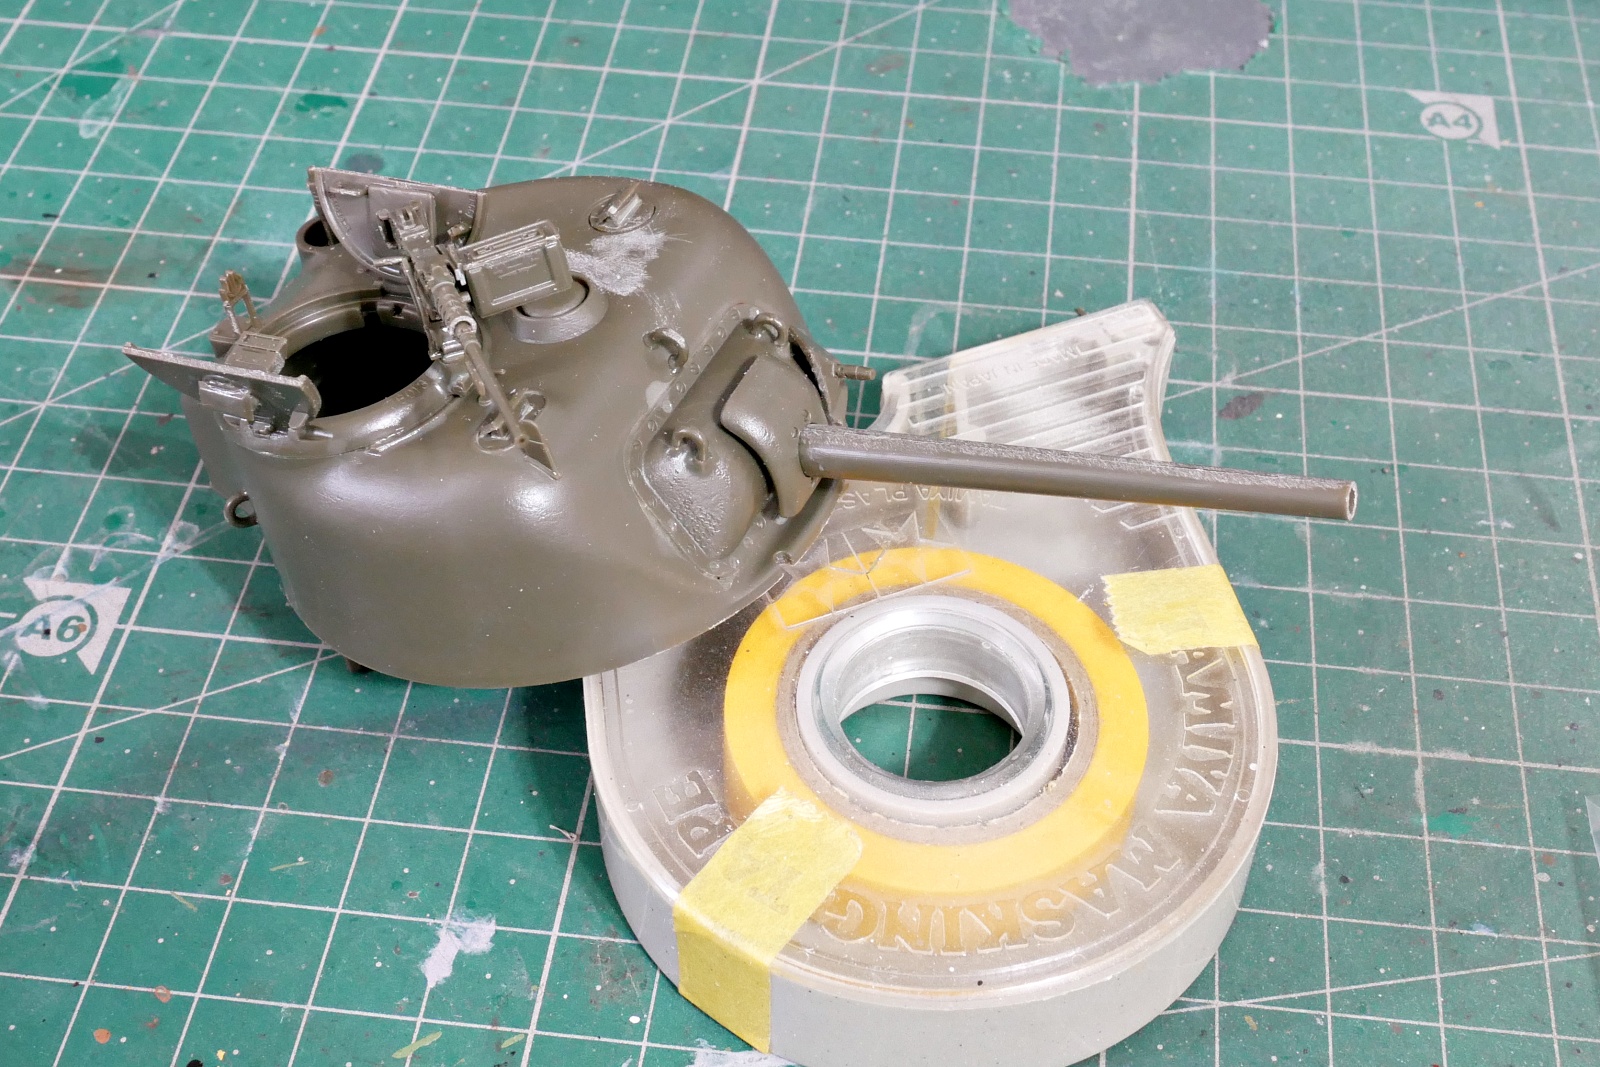
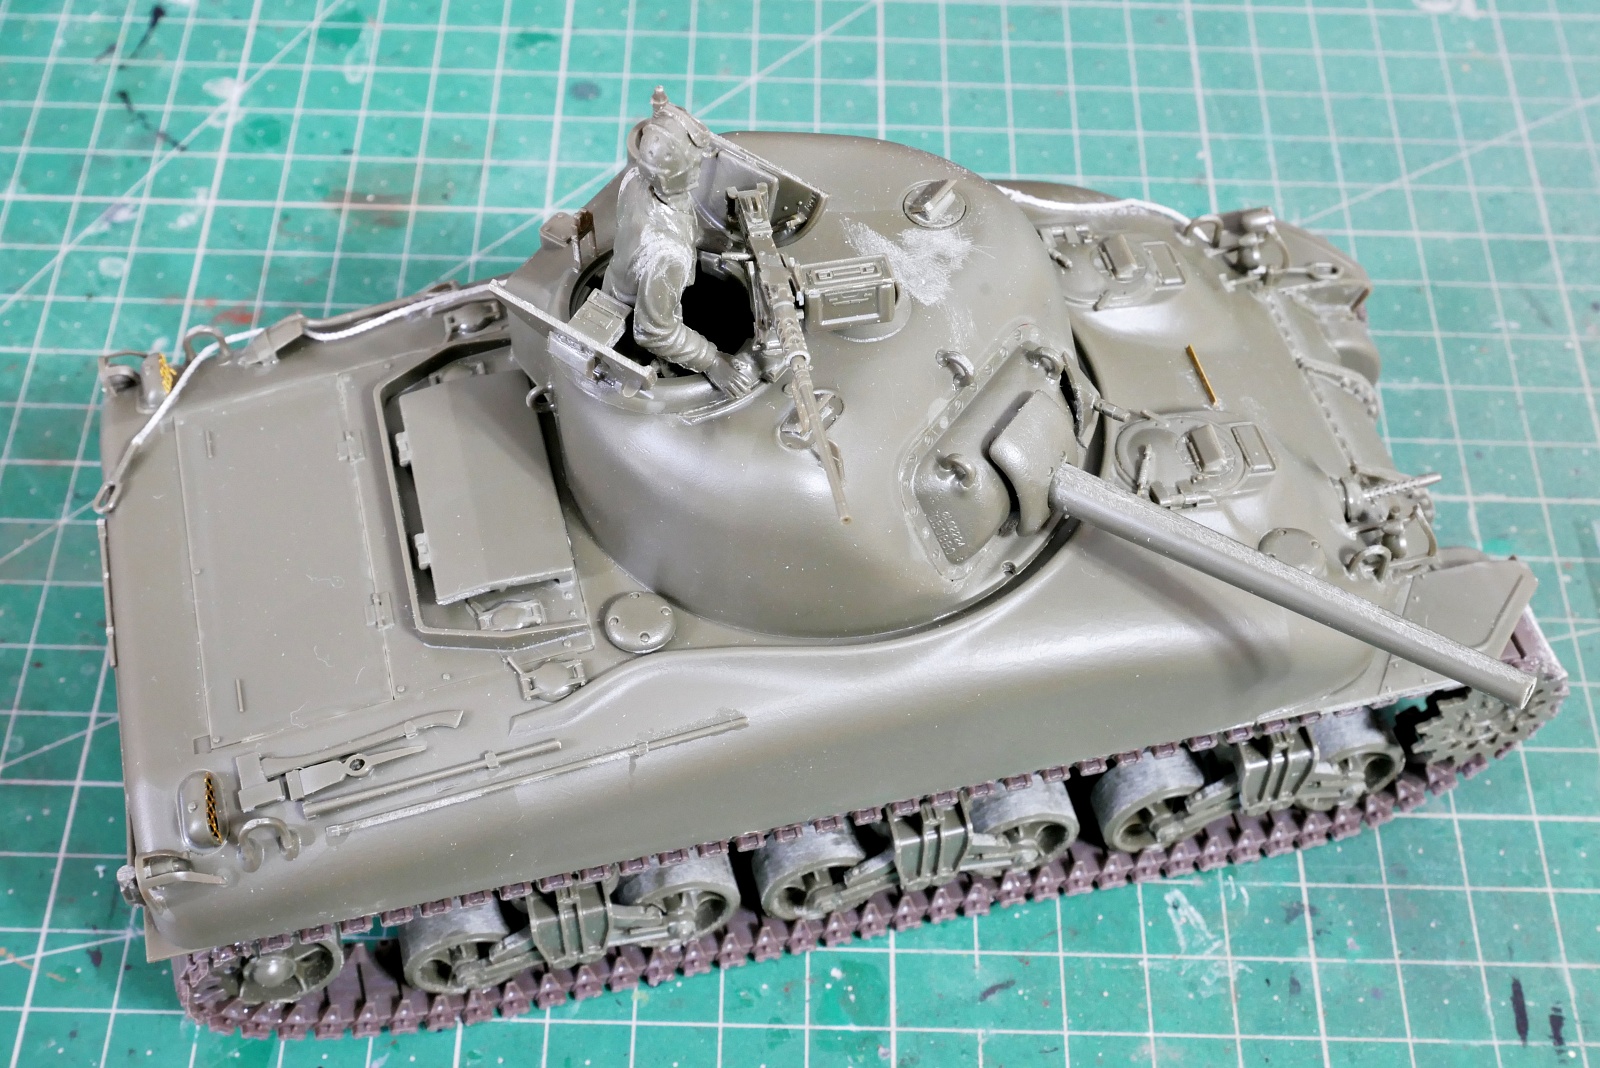
I’m assembling a turret. It’s better to glue the machine gun sideways because it will interfere with the figure.
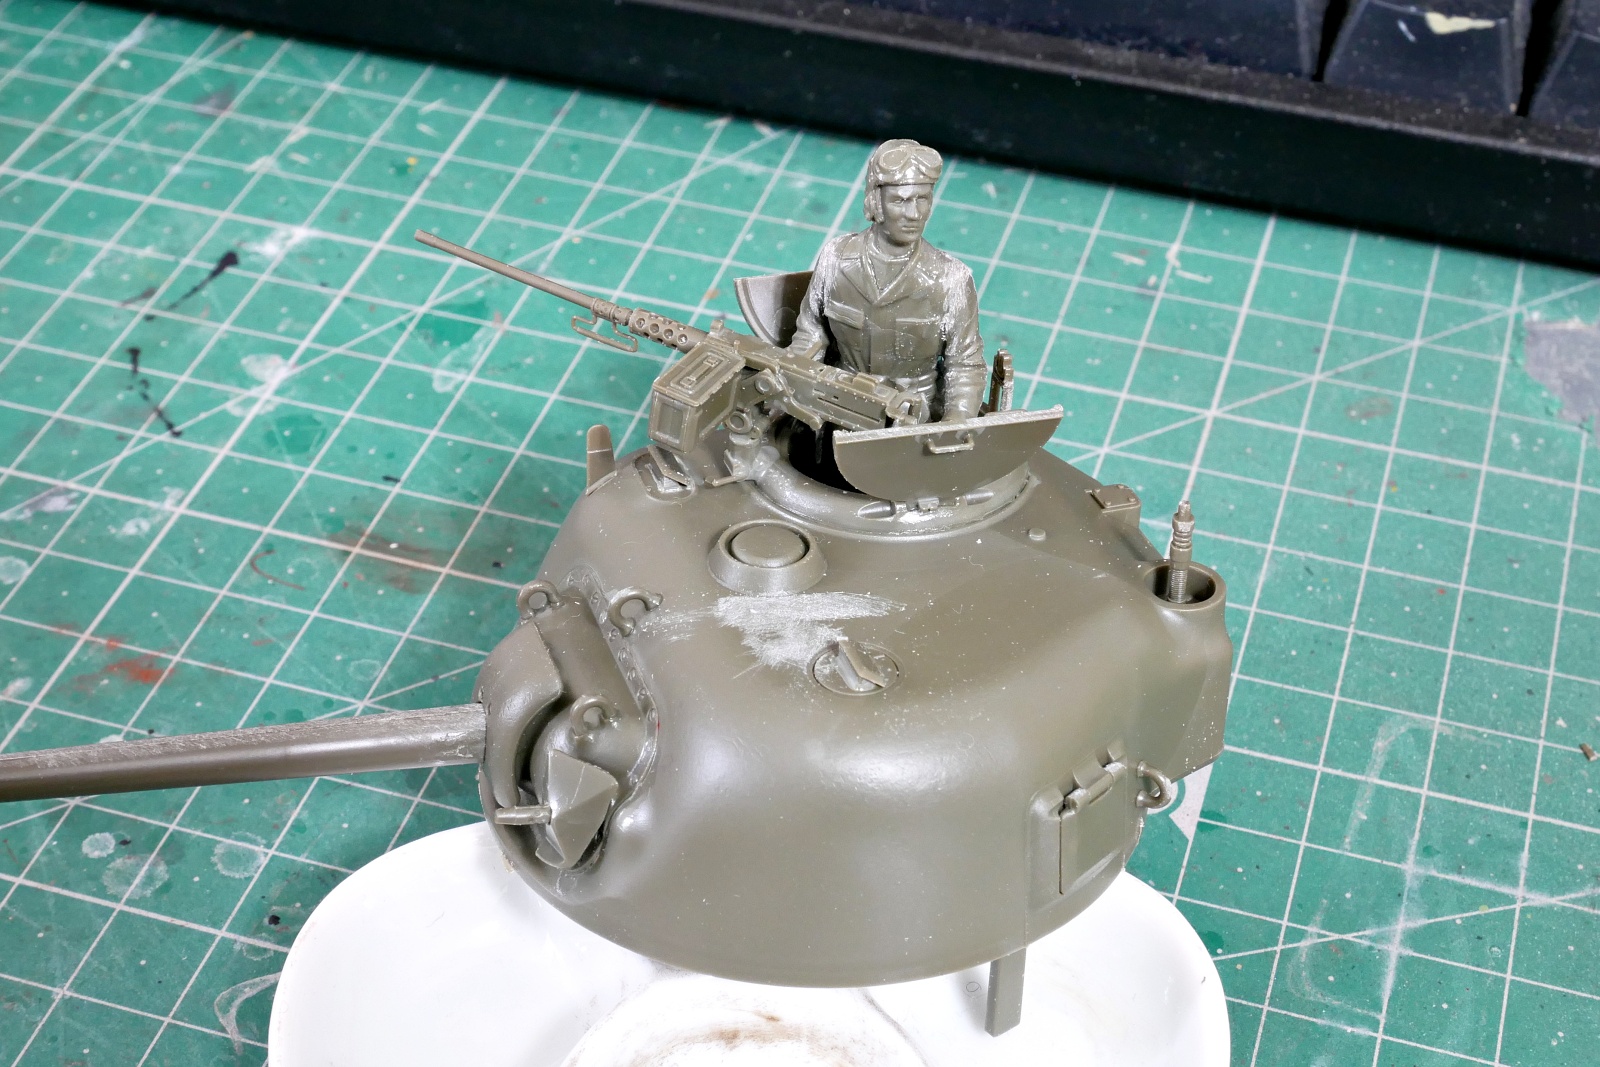
It looks like this when I put the figure on it. When the machine gun is mounted in the opposite direction, the ammunition box interferes and the figure cannot be inserted.
(2025/04/24)
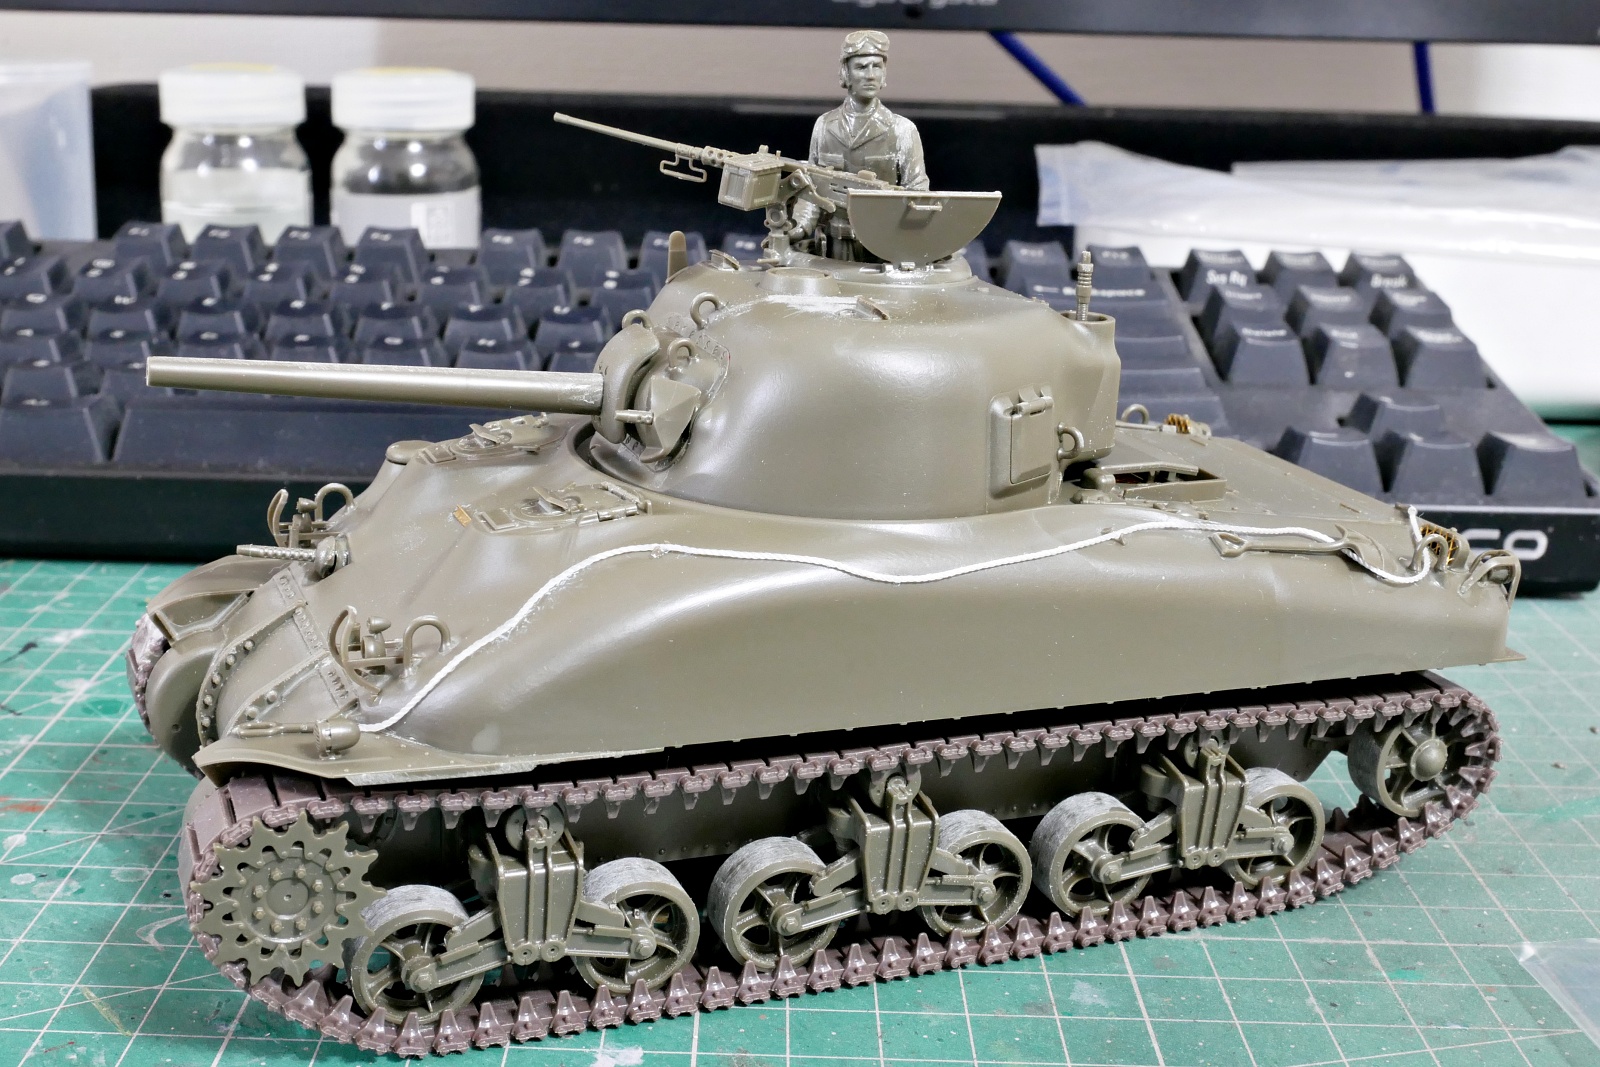
The kit comes with a few ammo boxes and jerricans, and the instructions say you can put them anywhere you want. I think it is rather wasteful to put loads on the vehicle and turret with precise shape. Before the release of the taska Shermans, it was hard for enthusiasts to find kits that were very precise. In my case, I didn’t mind the Dragon kit.
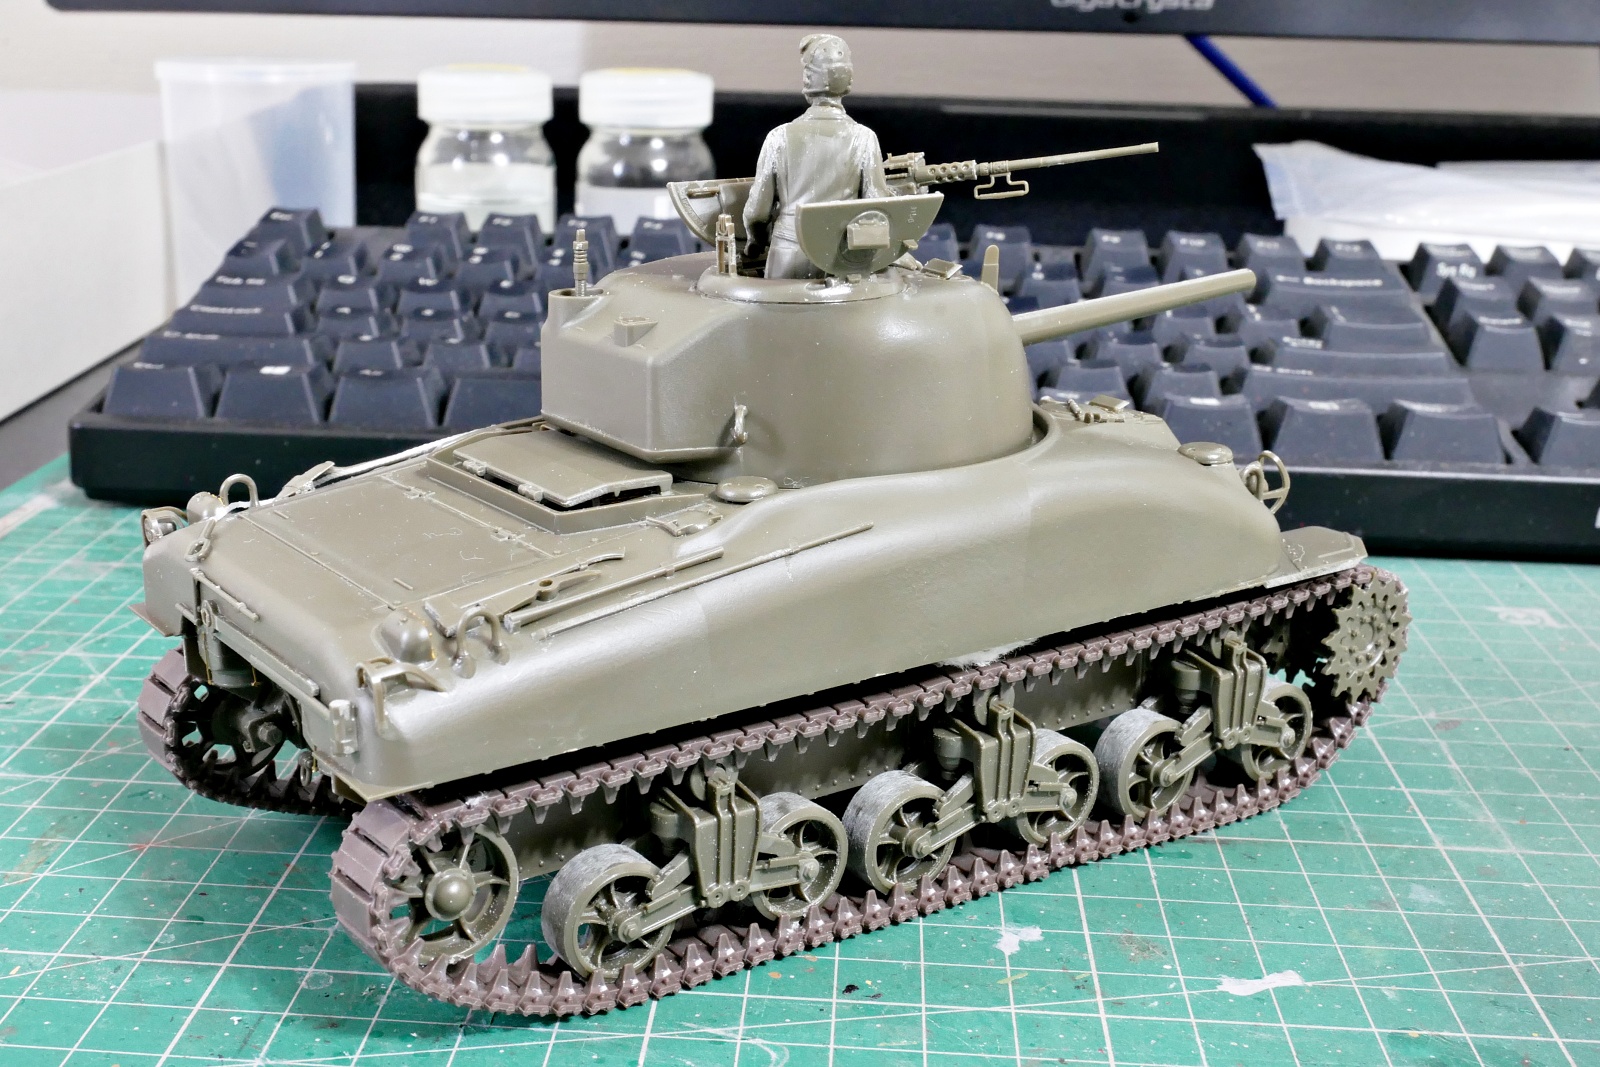
I think it is probably difficult to reproduce the round part of the vehicle and turret in the kit like the real thing.
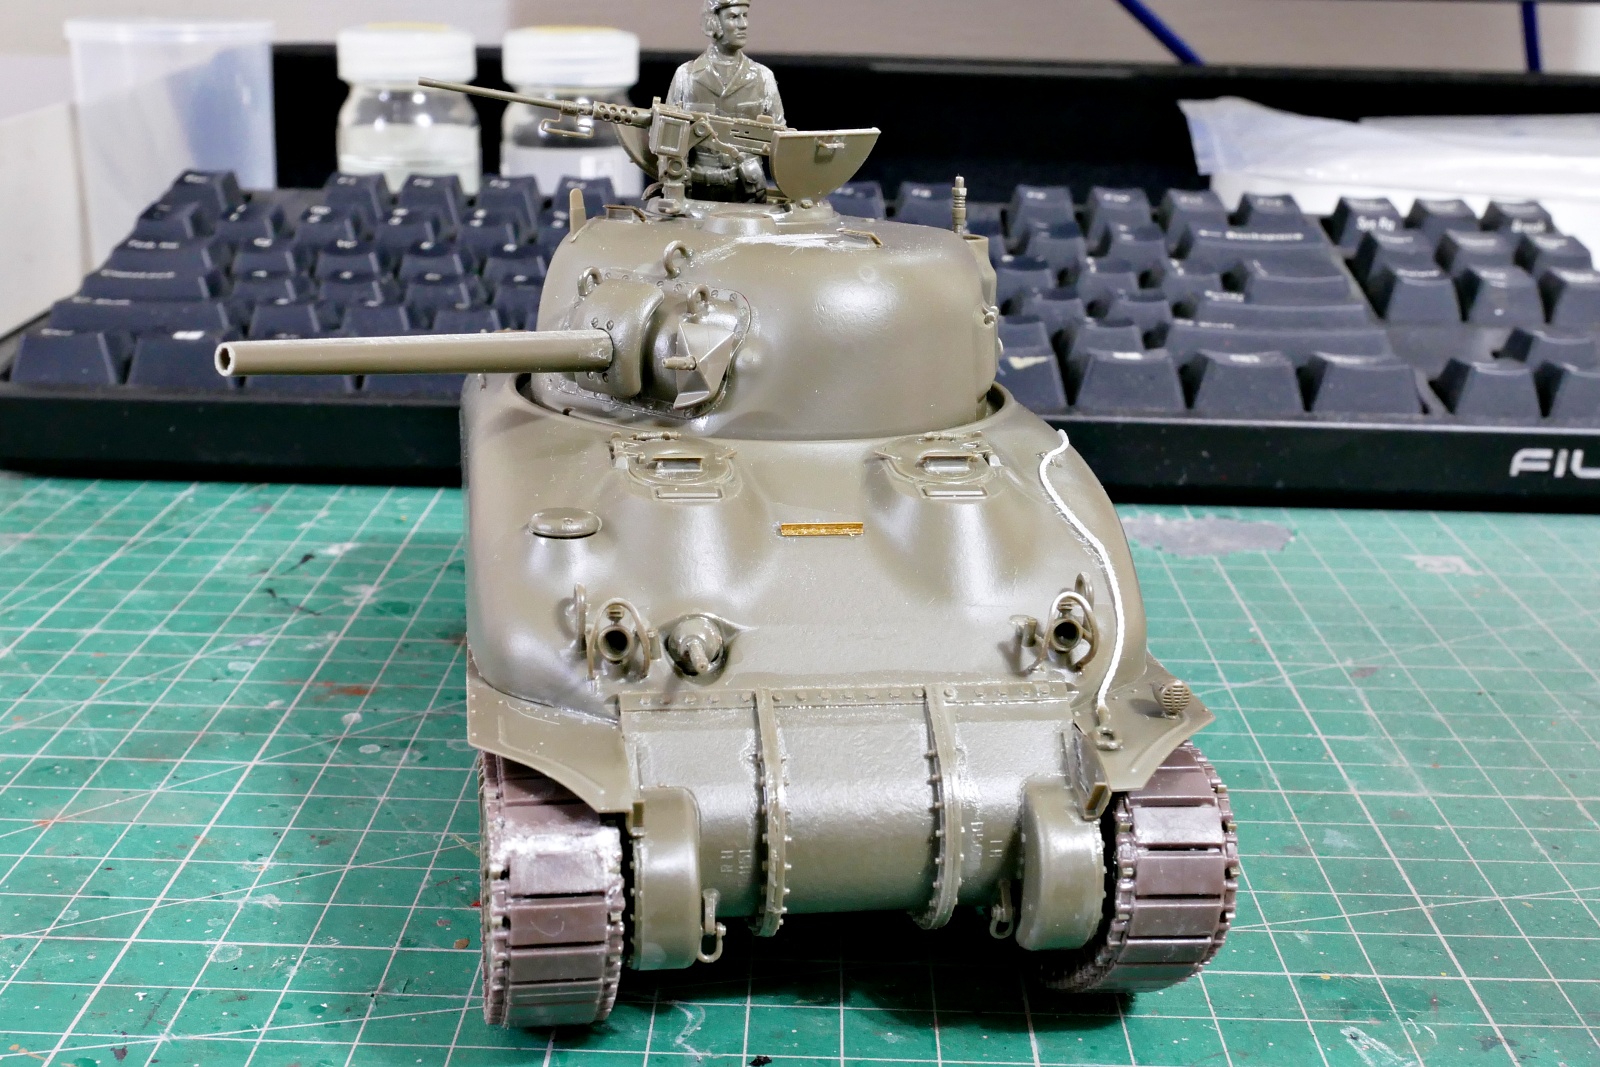
Dragon kits often have etched parts for the light guard, but this kit is plastic parts.
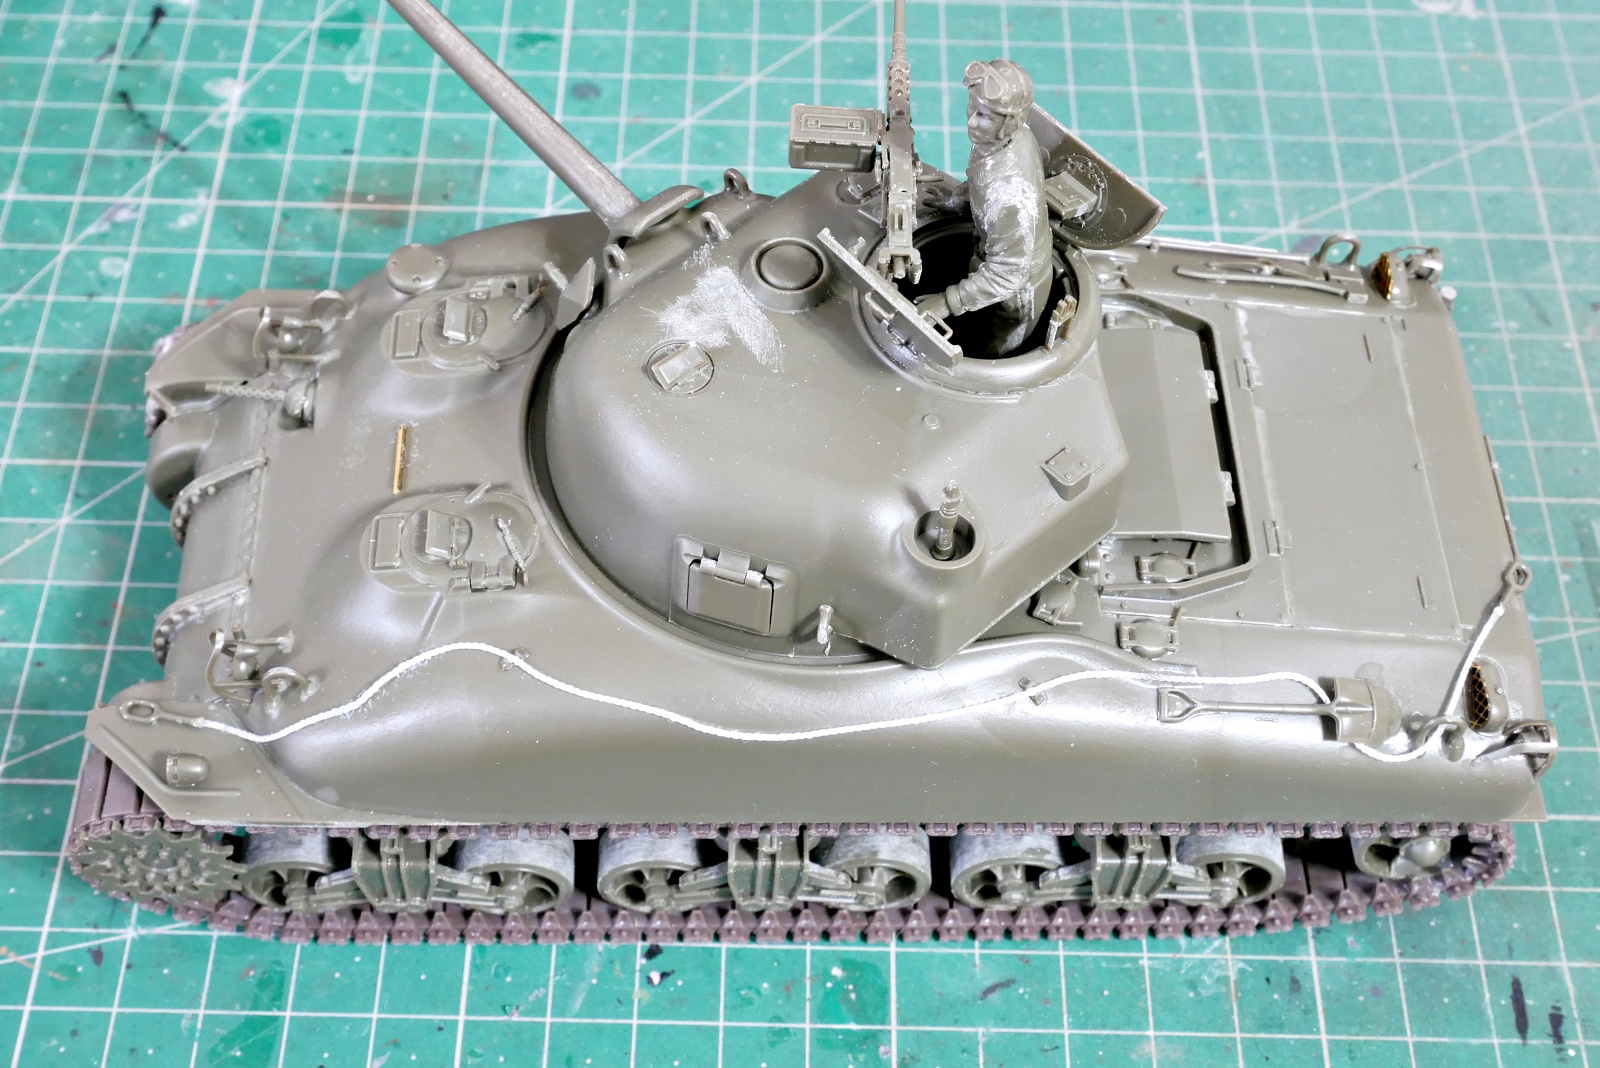
I need to prepare a towing wire rope by myself. This time it is nylon yarn.
(2025/04/26)
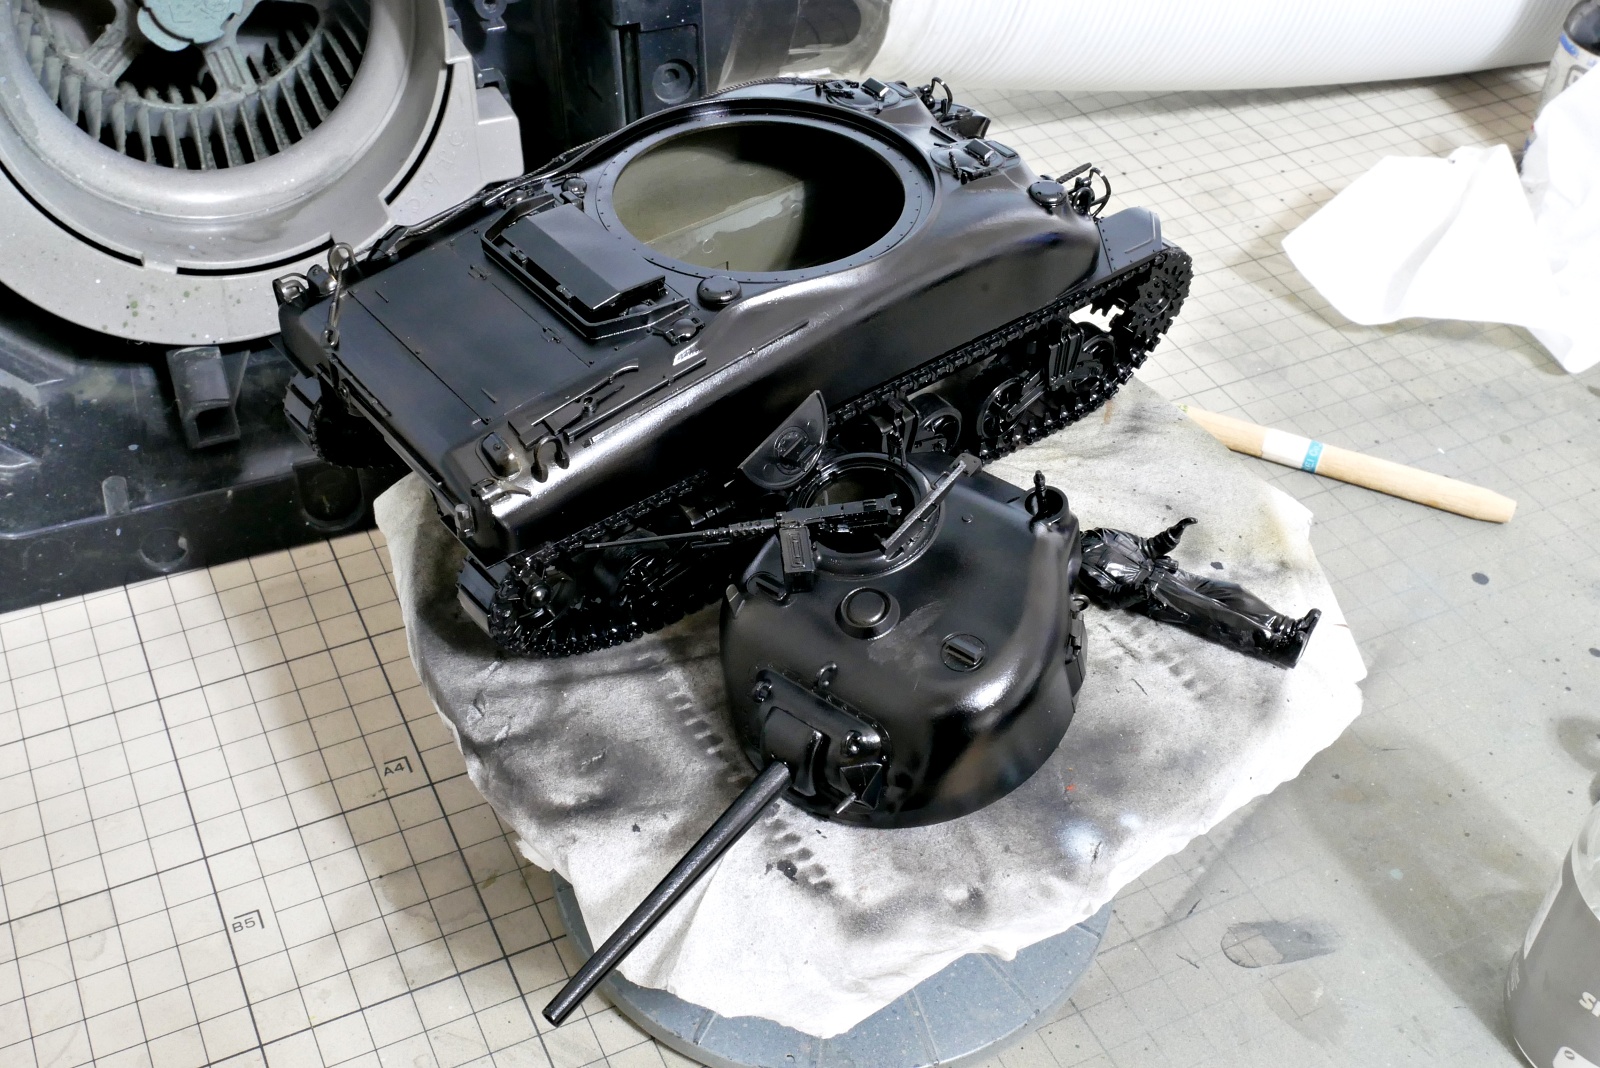
I first primed it with black as usual.
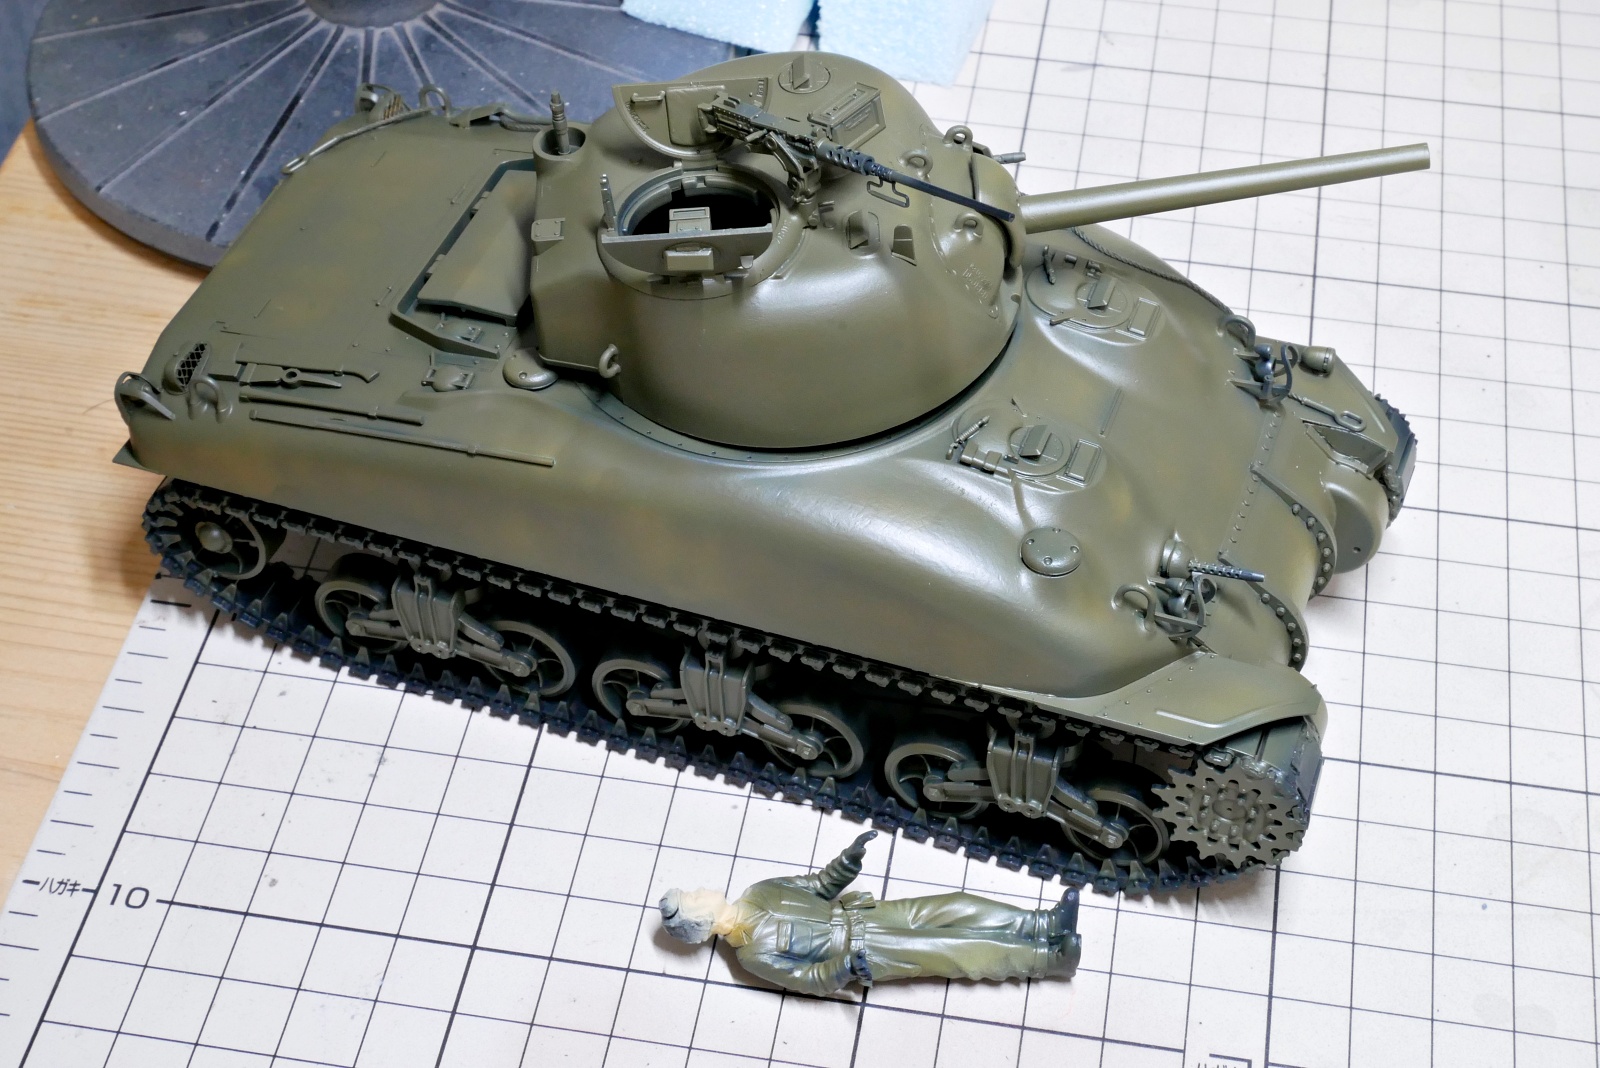
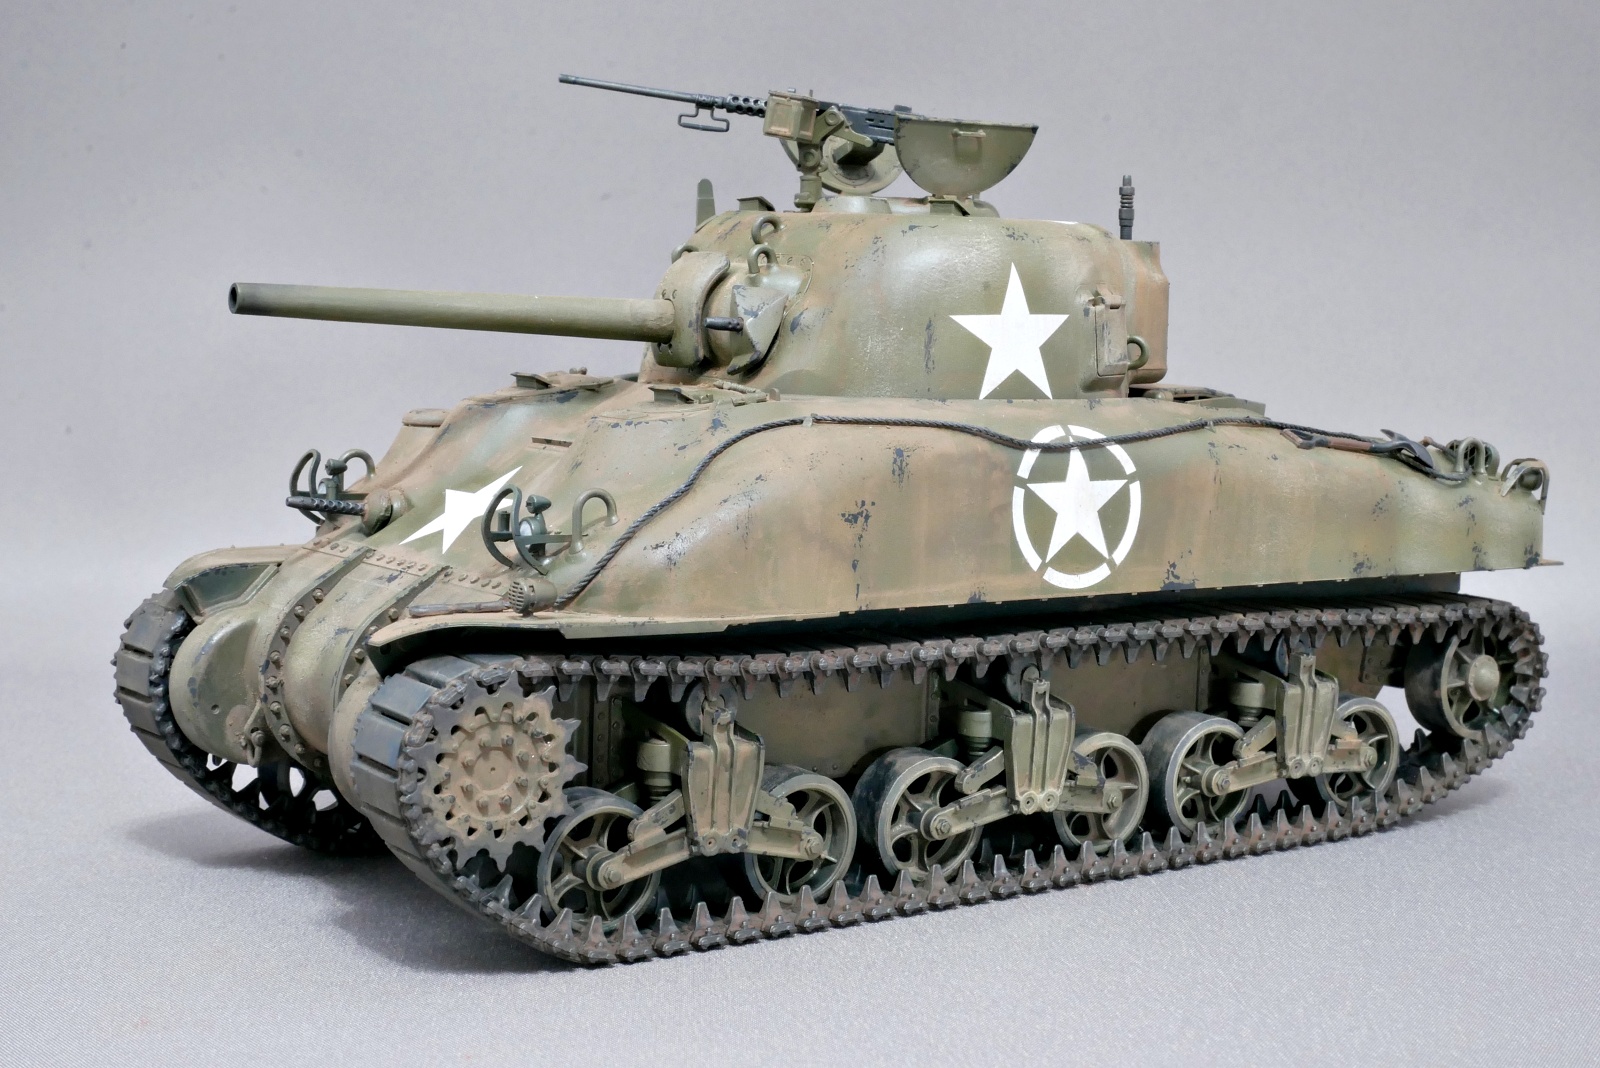
In the painting example, only a two-color camouflage with a sand yellow colour was indicated, but this time I chose a single color of olive drab due to my personal preference. I have a preconception that it looks more like an U.S. tank.
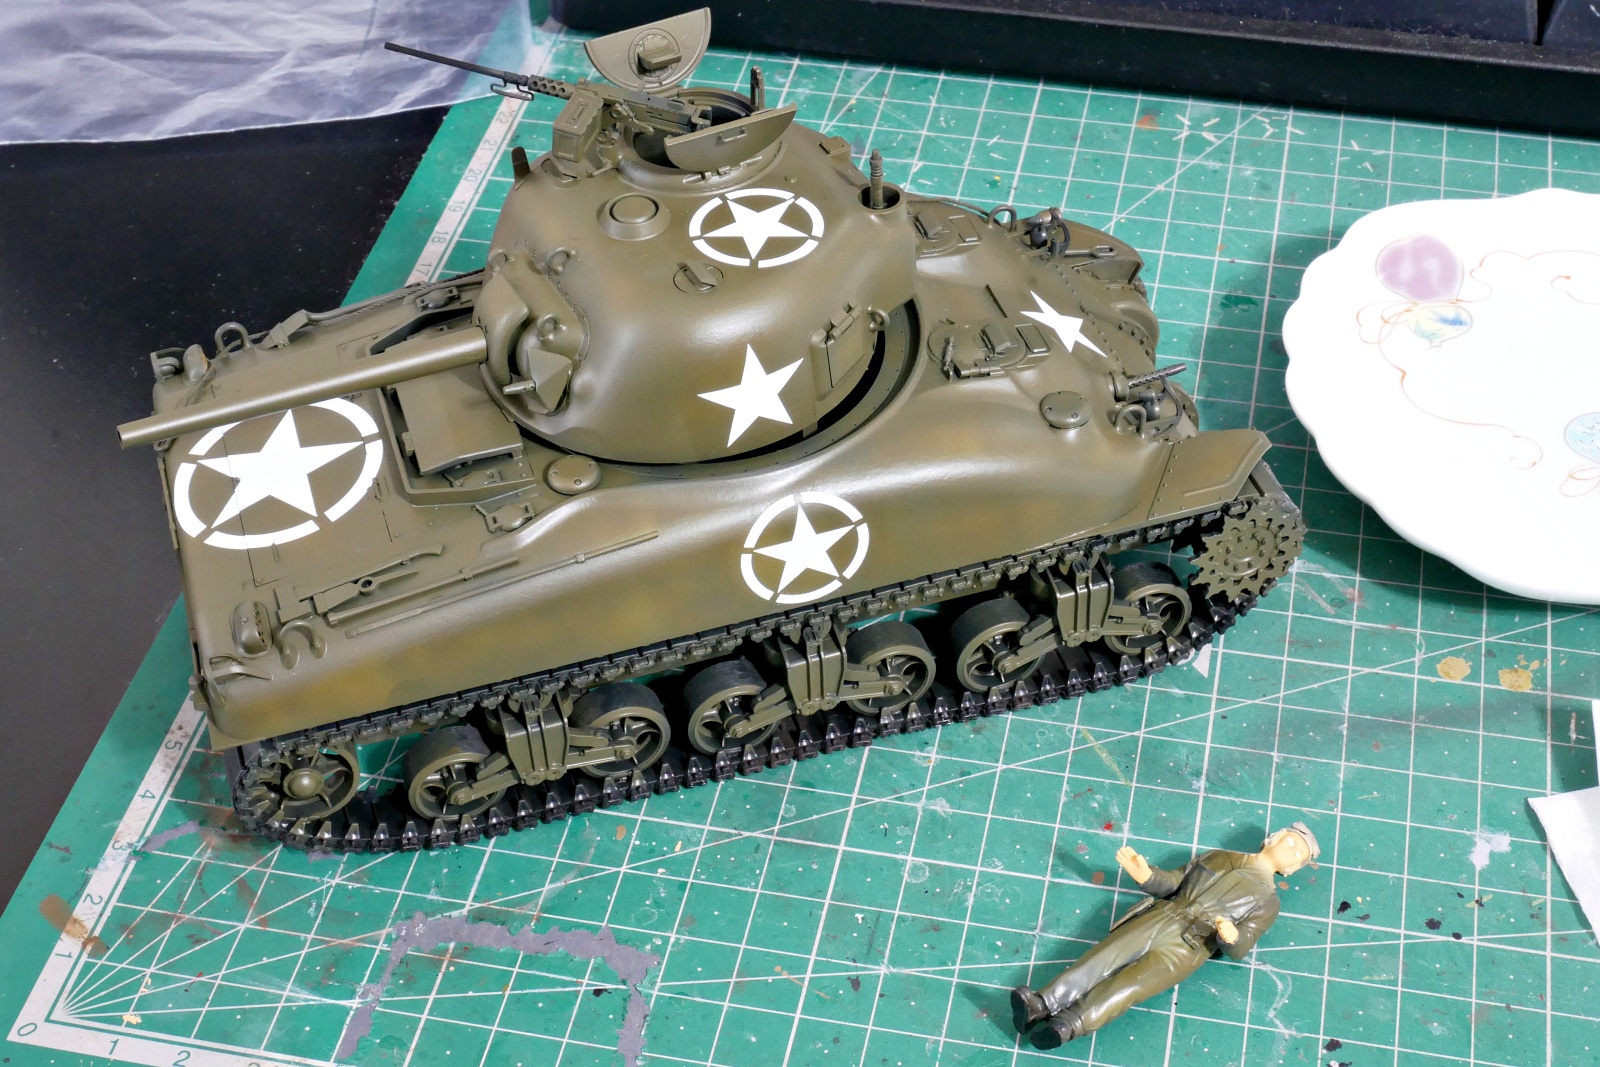
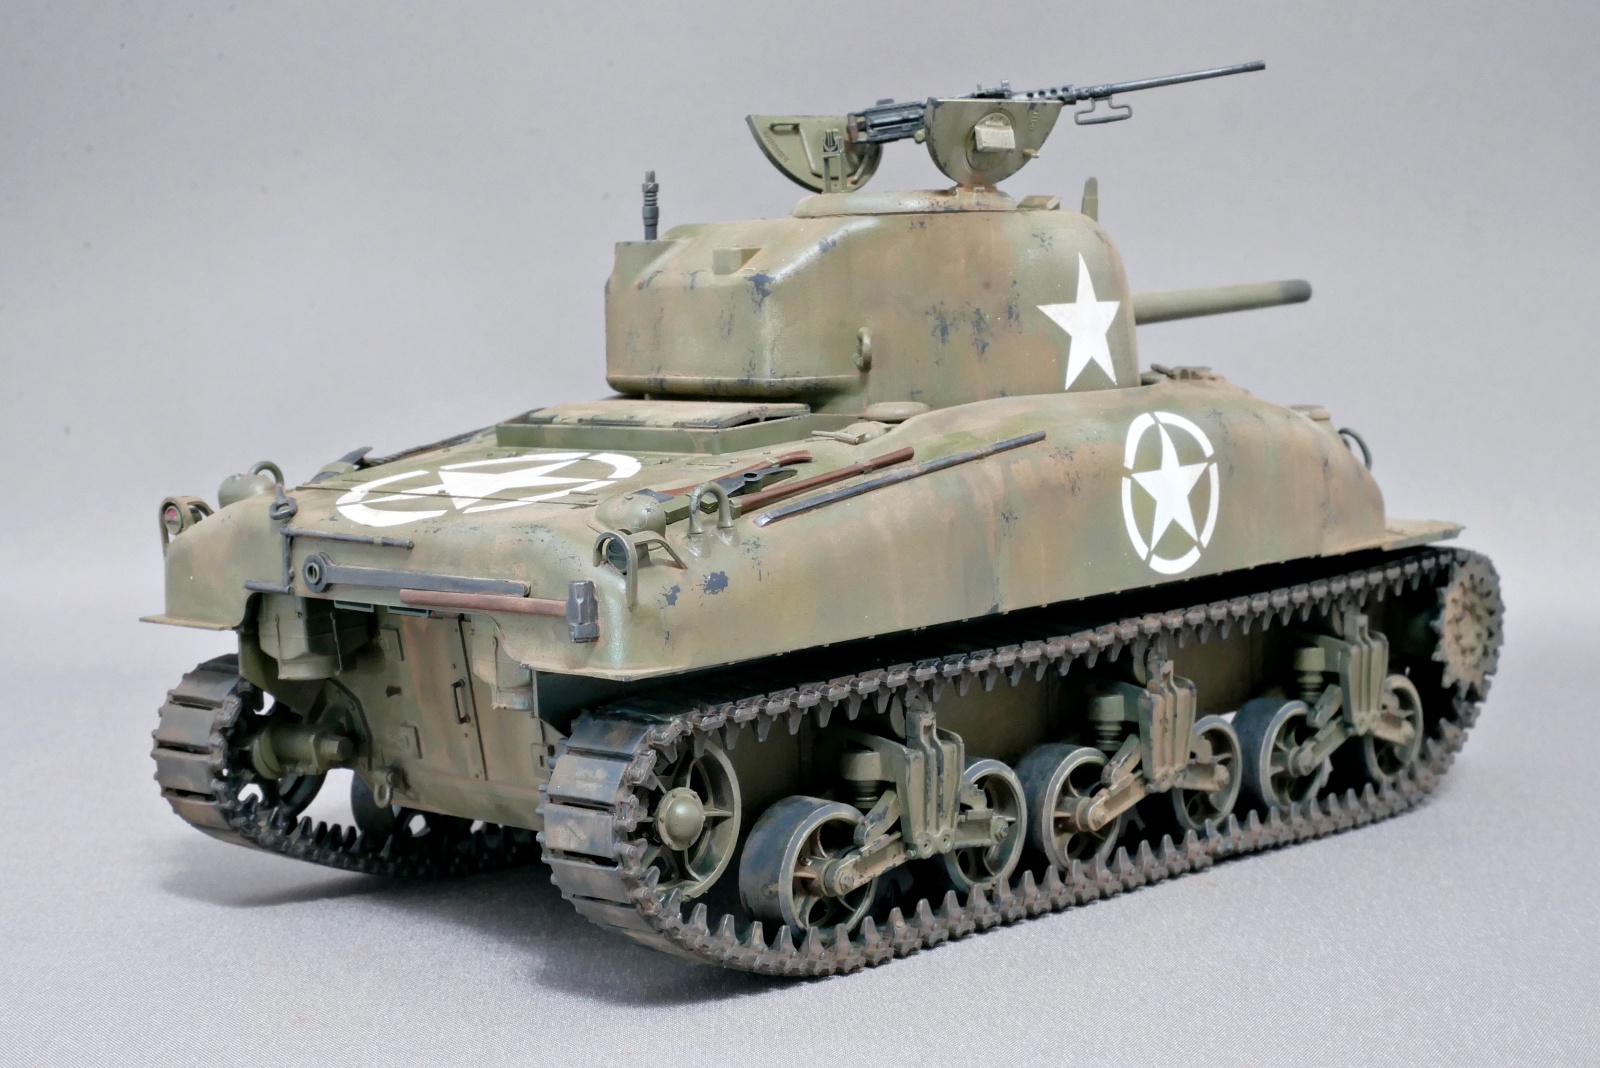
I also attached a little more decals. I used some of the decals from this kit for other kits a long time ago, so I used decals from Dragon and other kits I made in the past.
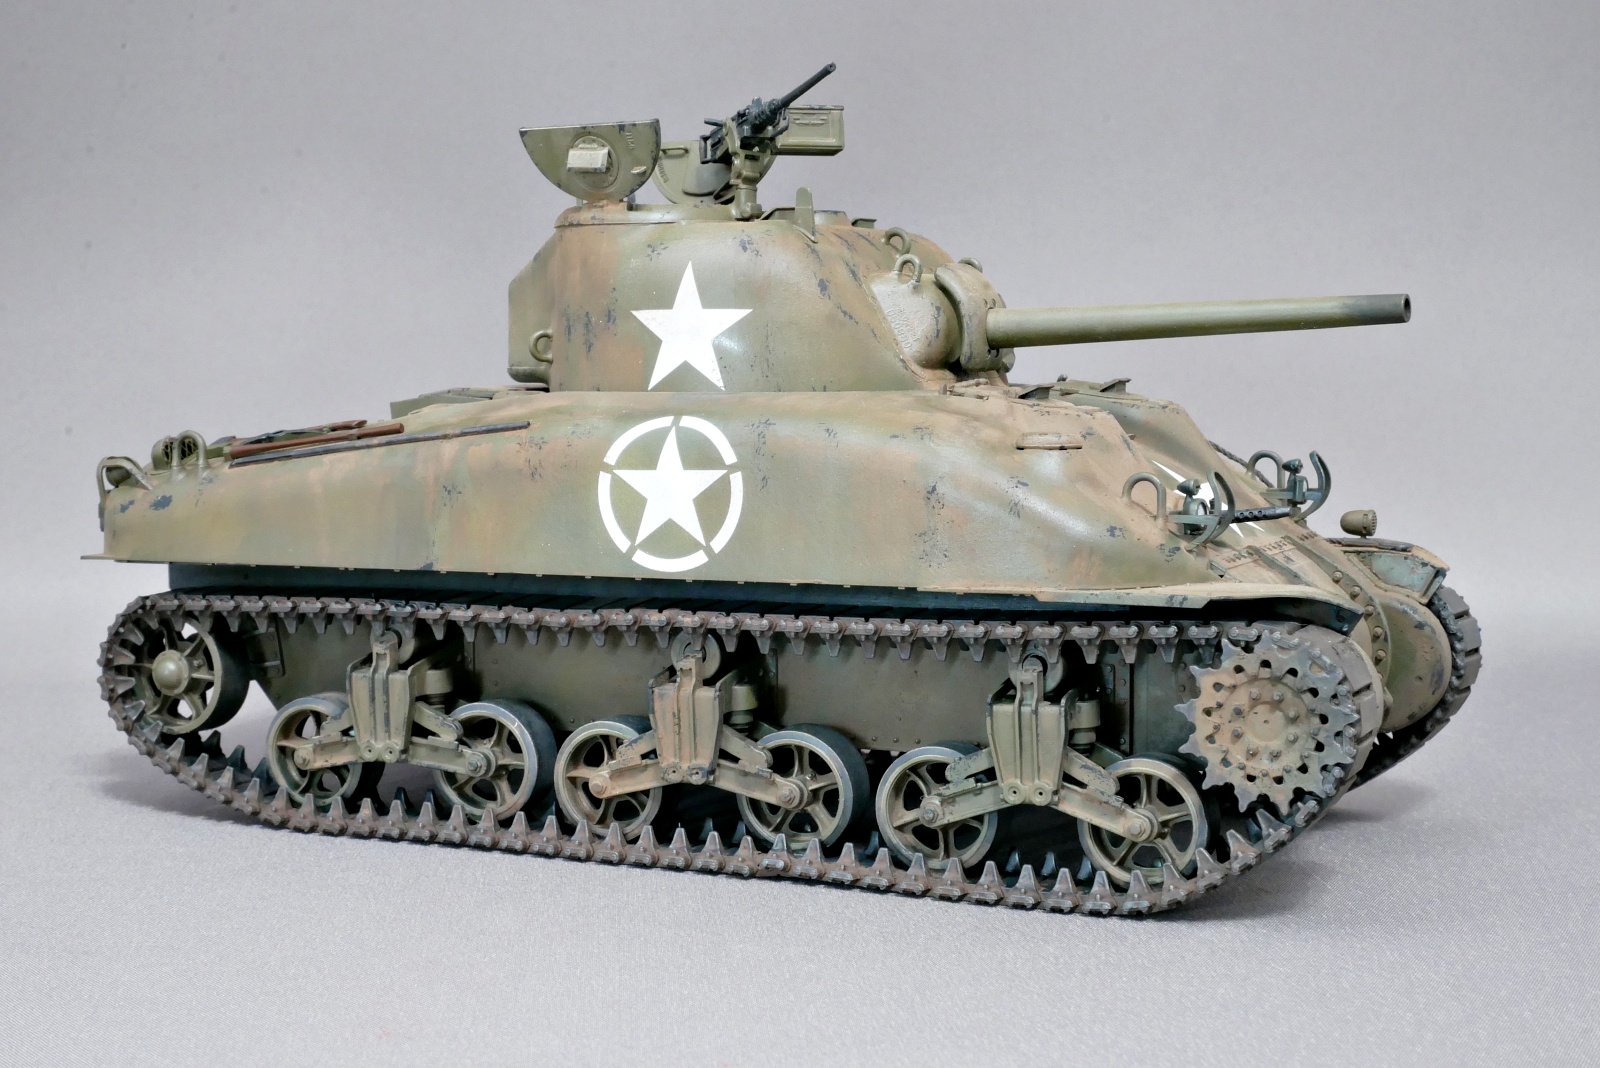
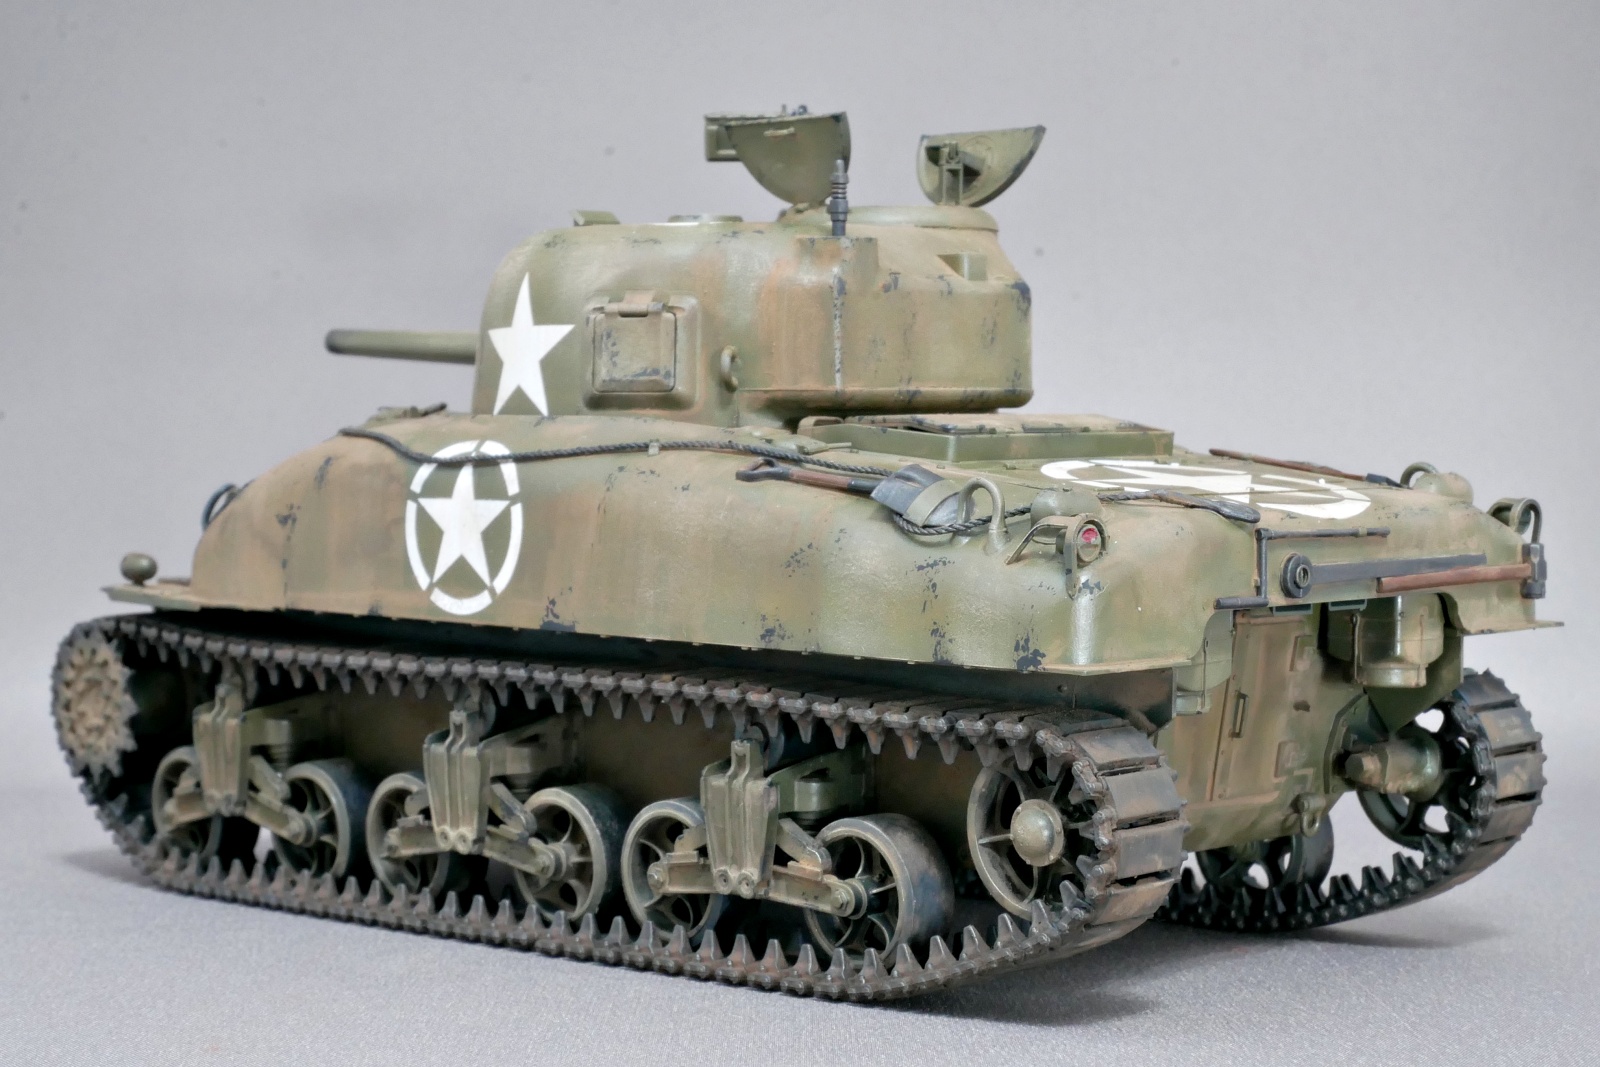
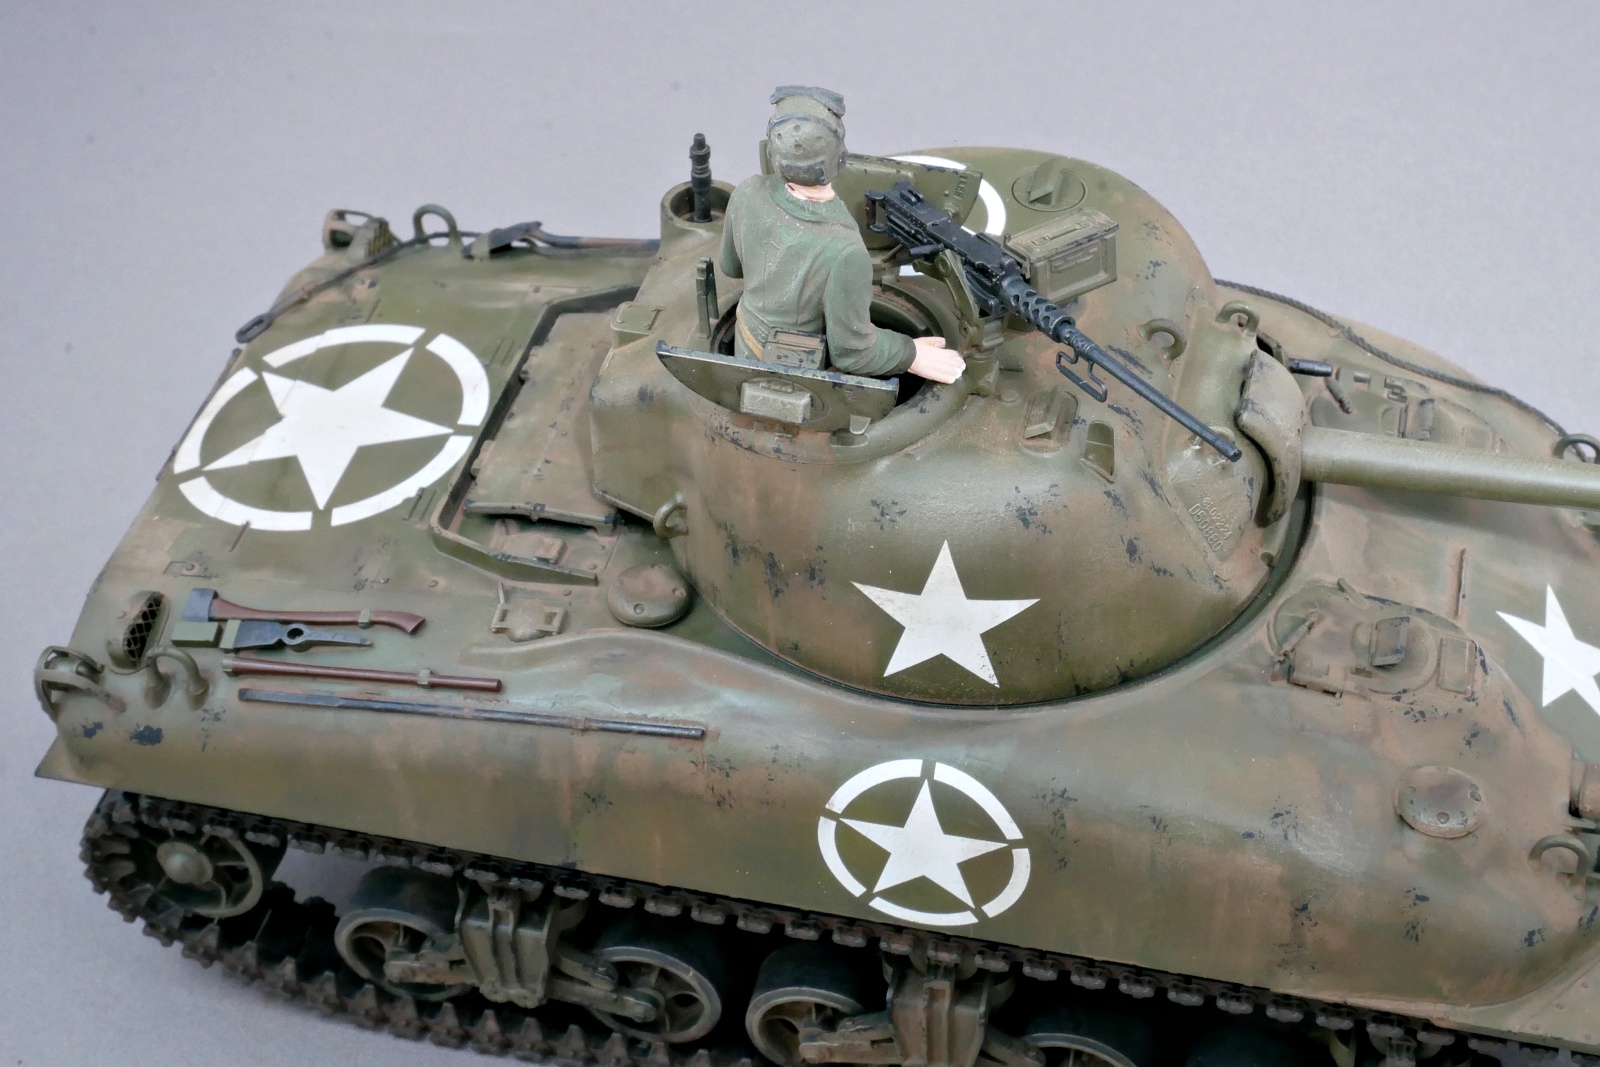
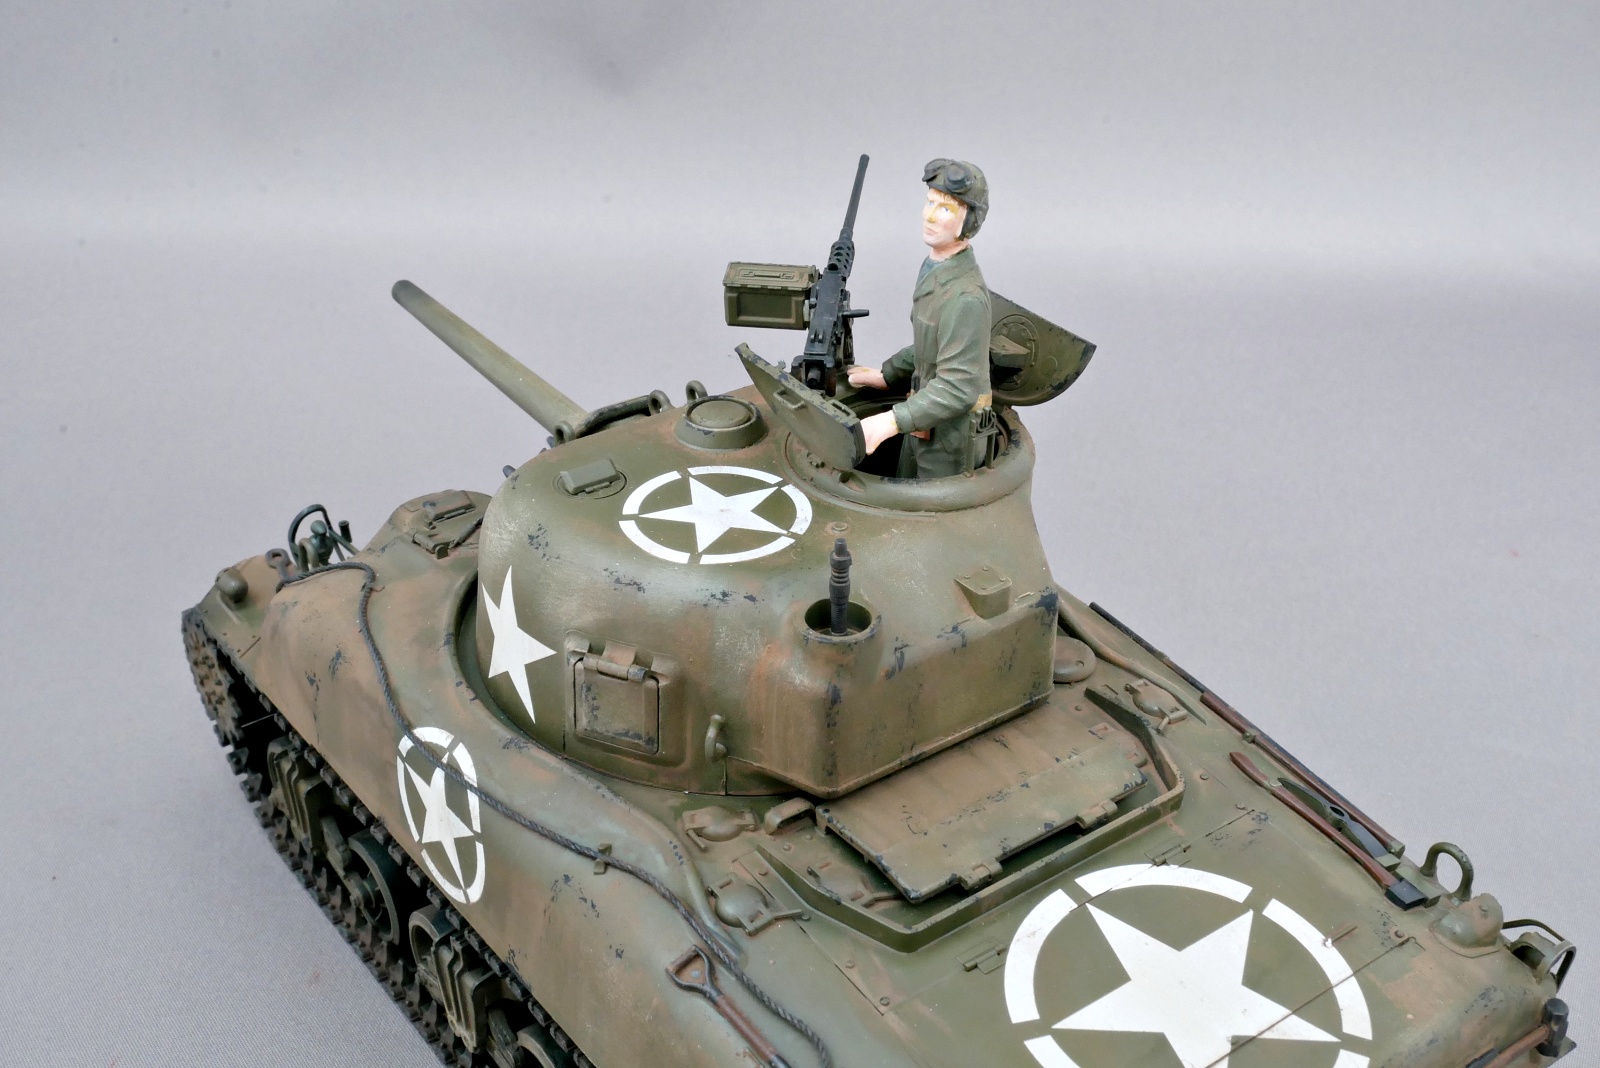
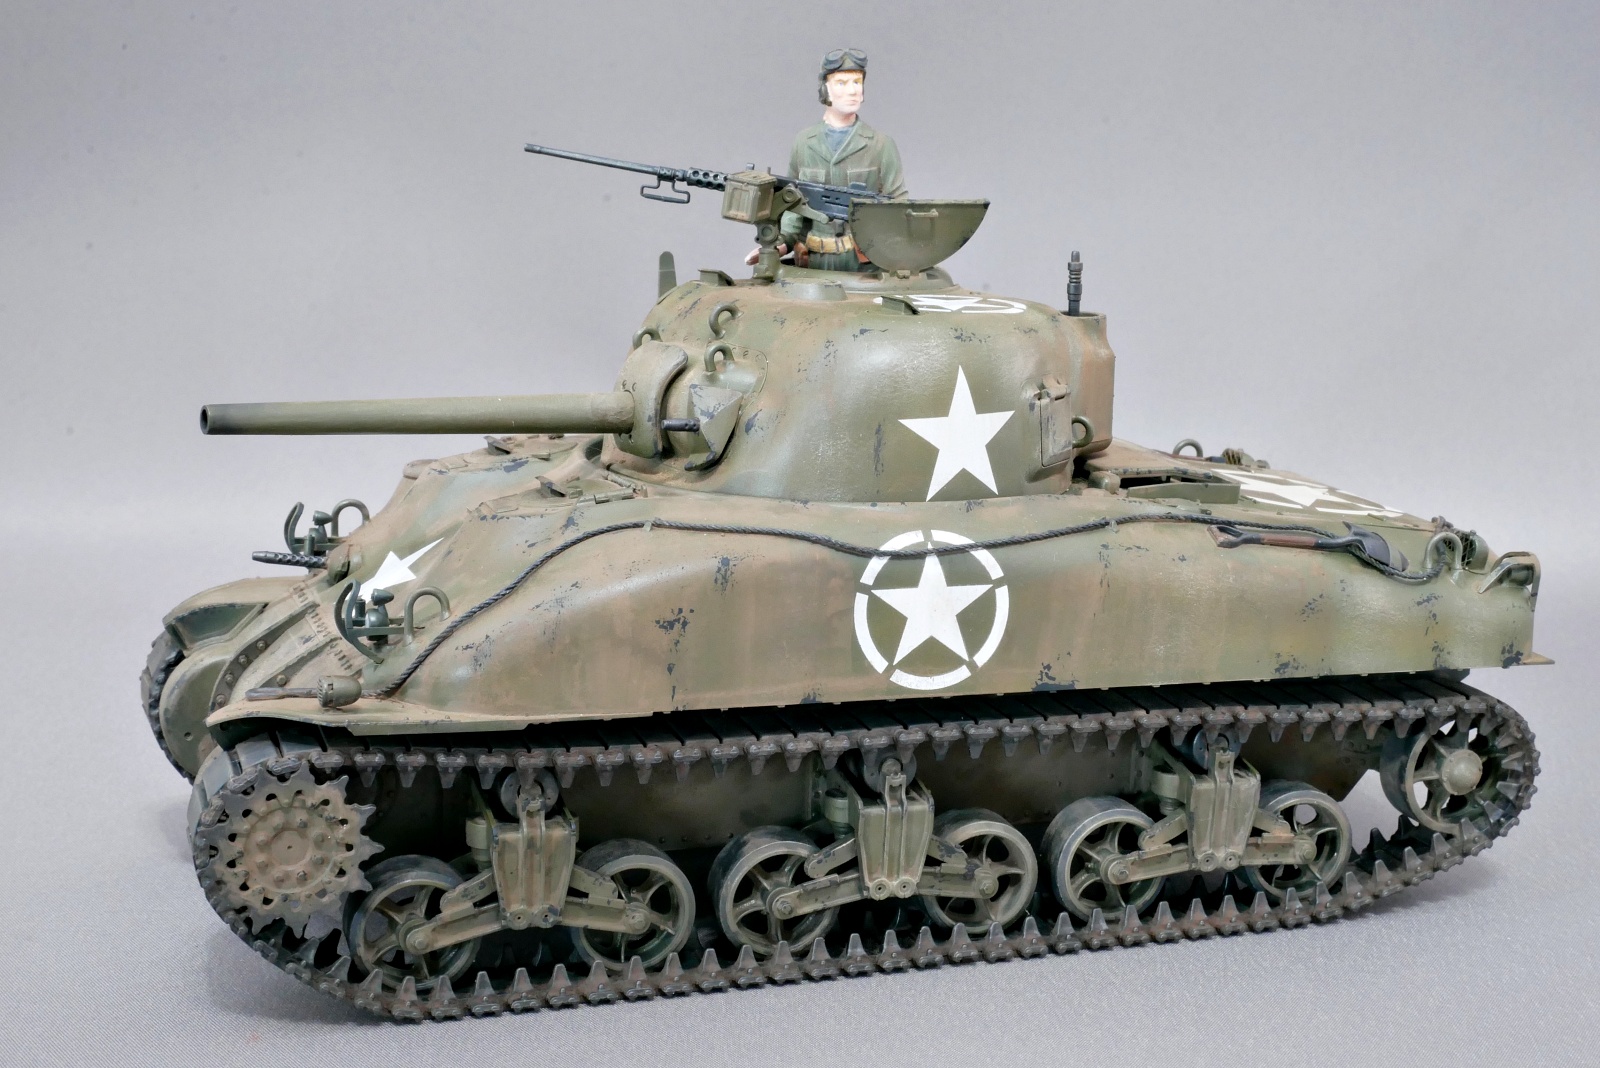
The Sherman of tasca is finished. It combines a very early type suspension with a rounded cast body. I remember that it was a kit whose selling point was the accurate reproduction of the body shape. Indeed, the body shape is very round.
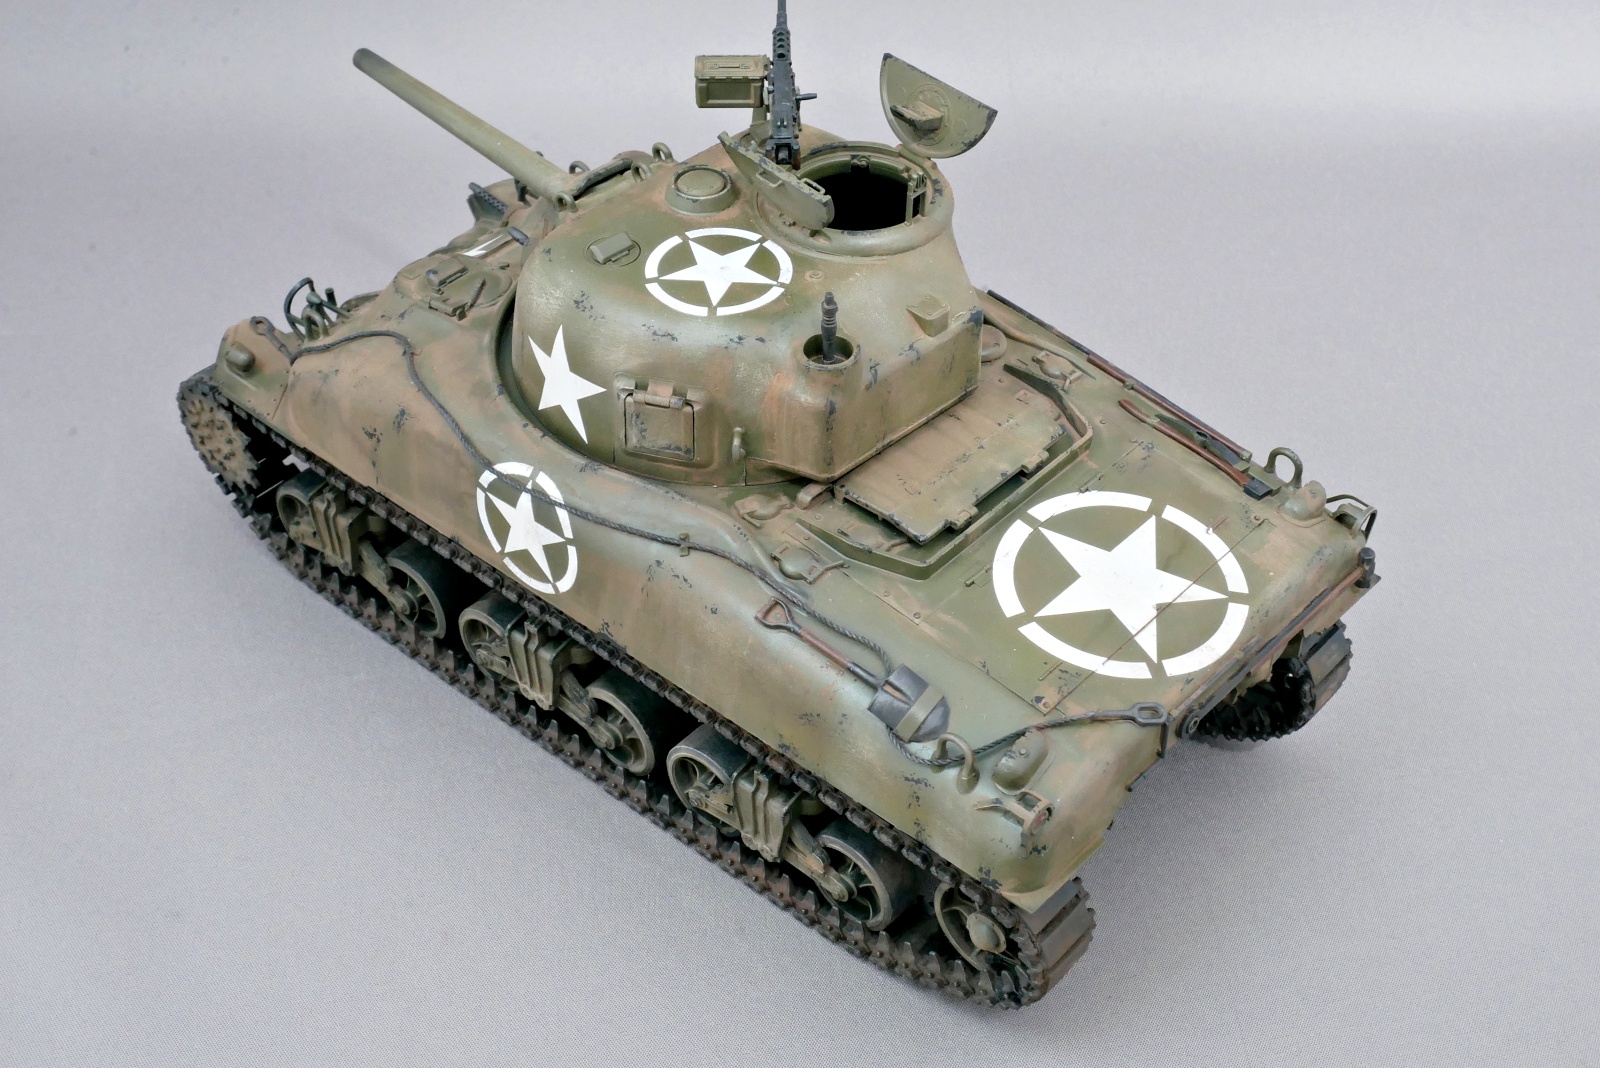
The decal was made of high quality Cartograf and was easy to stick. I also used a Dragon decal.
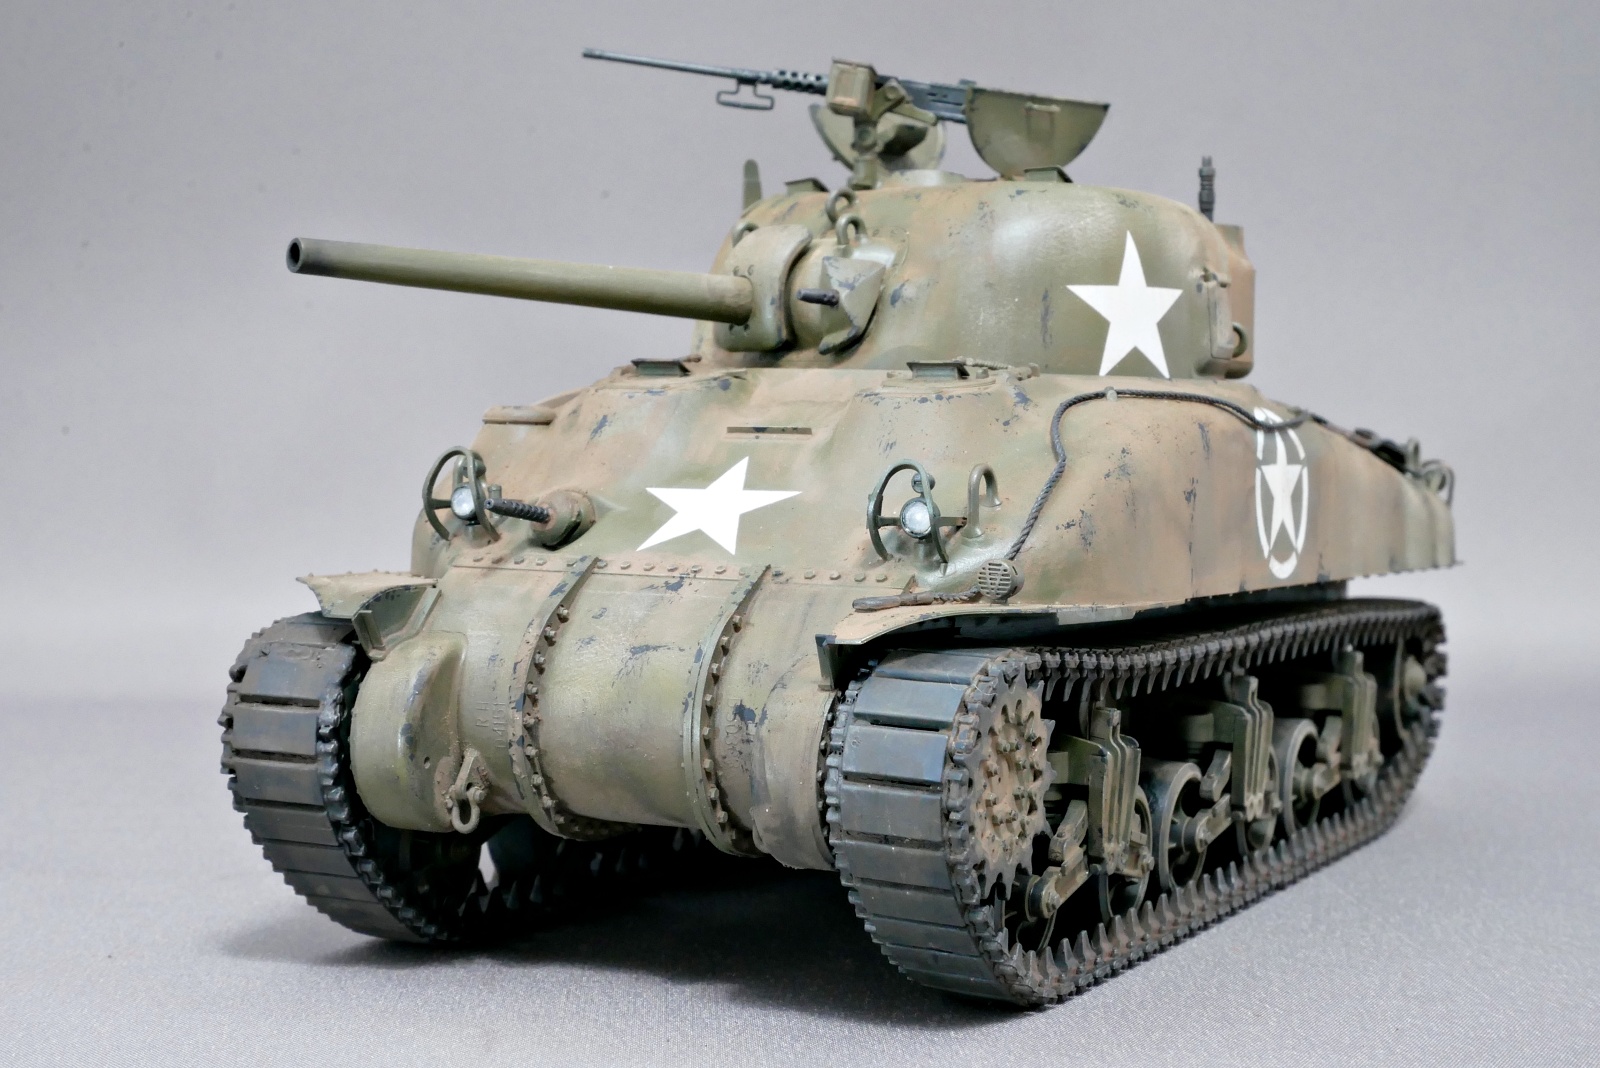
The headlights were made with transparent parts, so I painted the inside with silver to make them look more realistic.
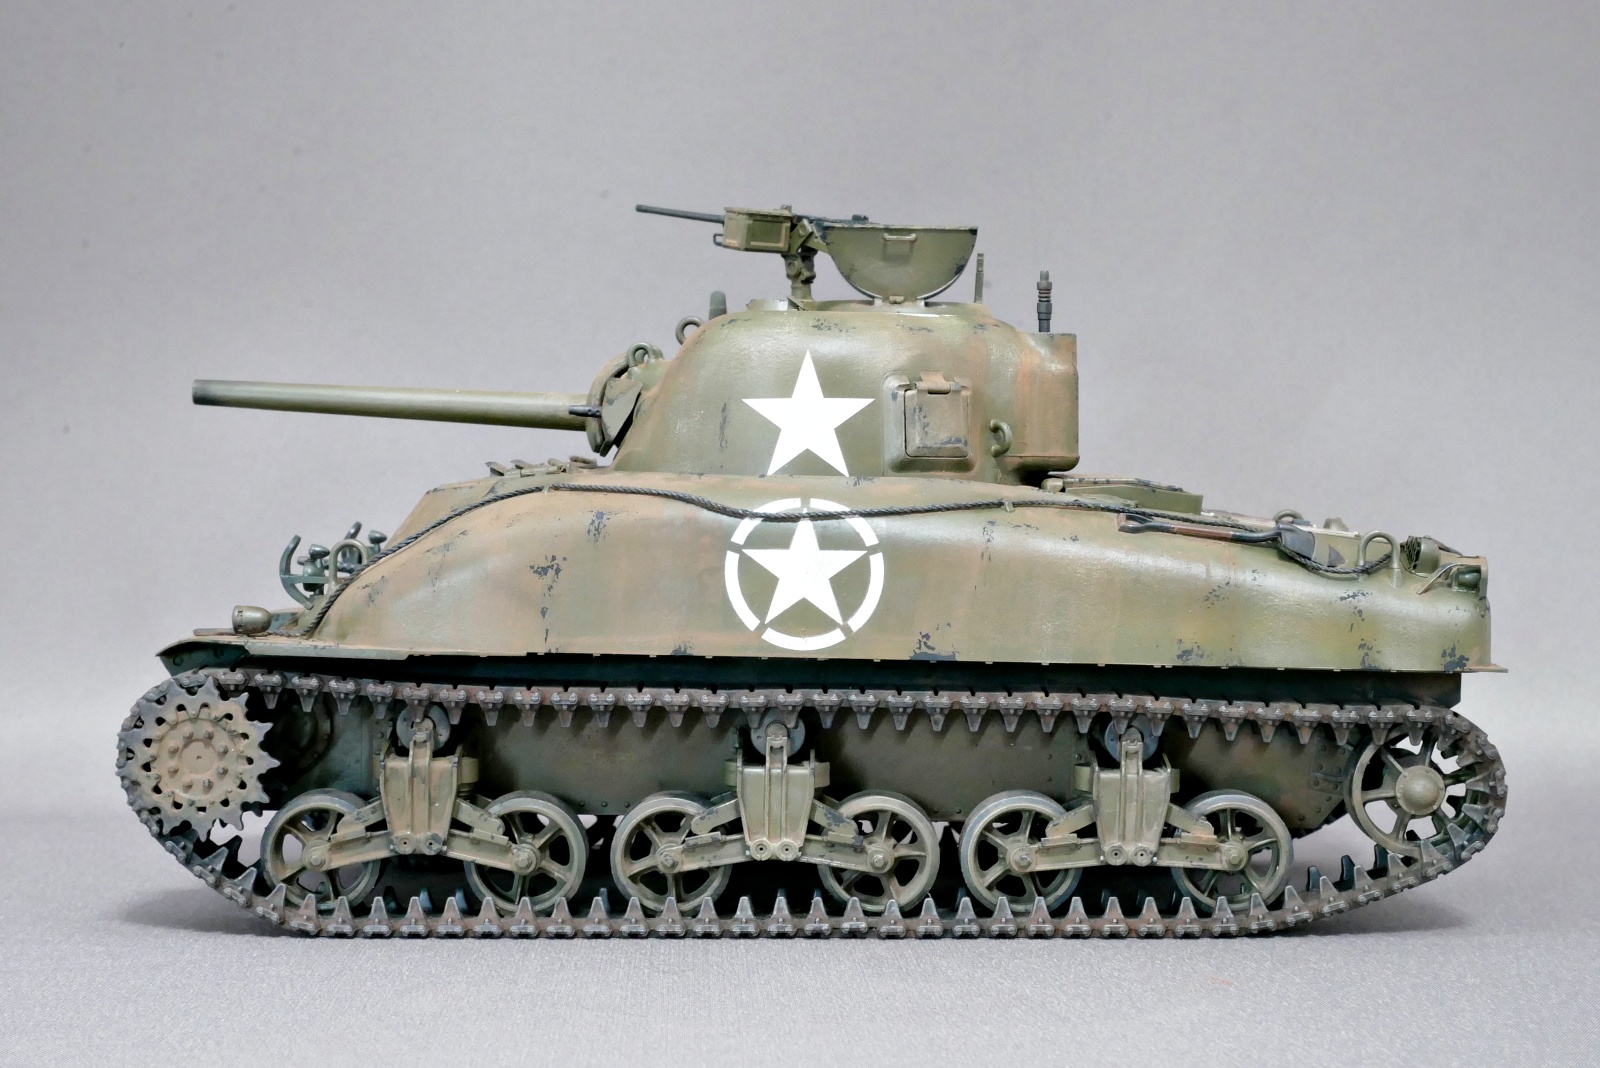
The tasca kits always contain very good machine gun parts. The mold is fine.
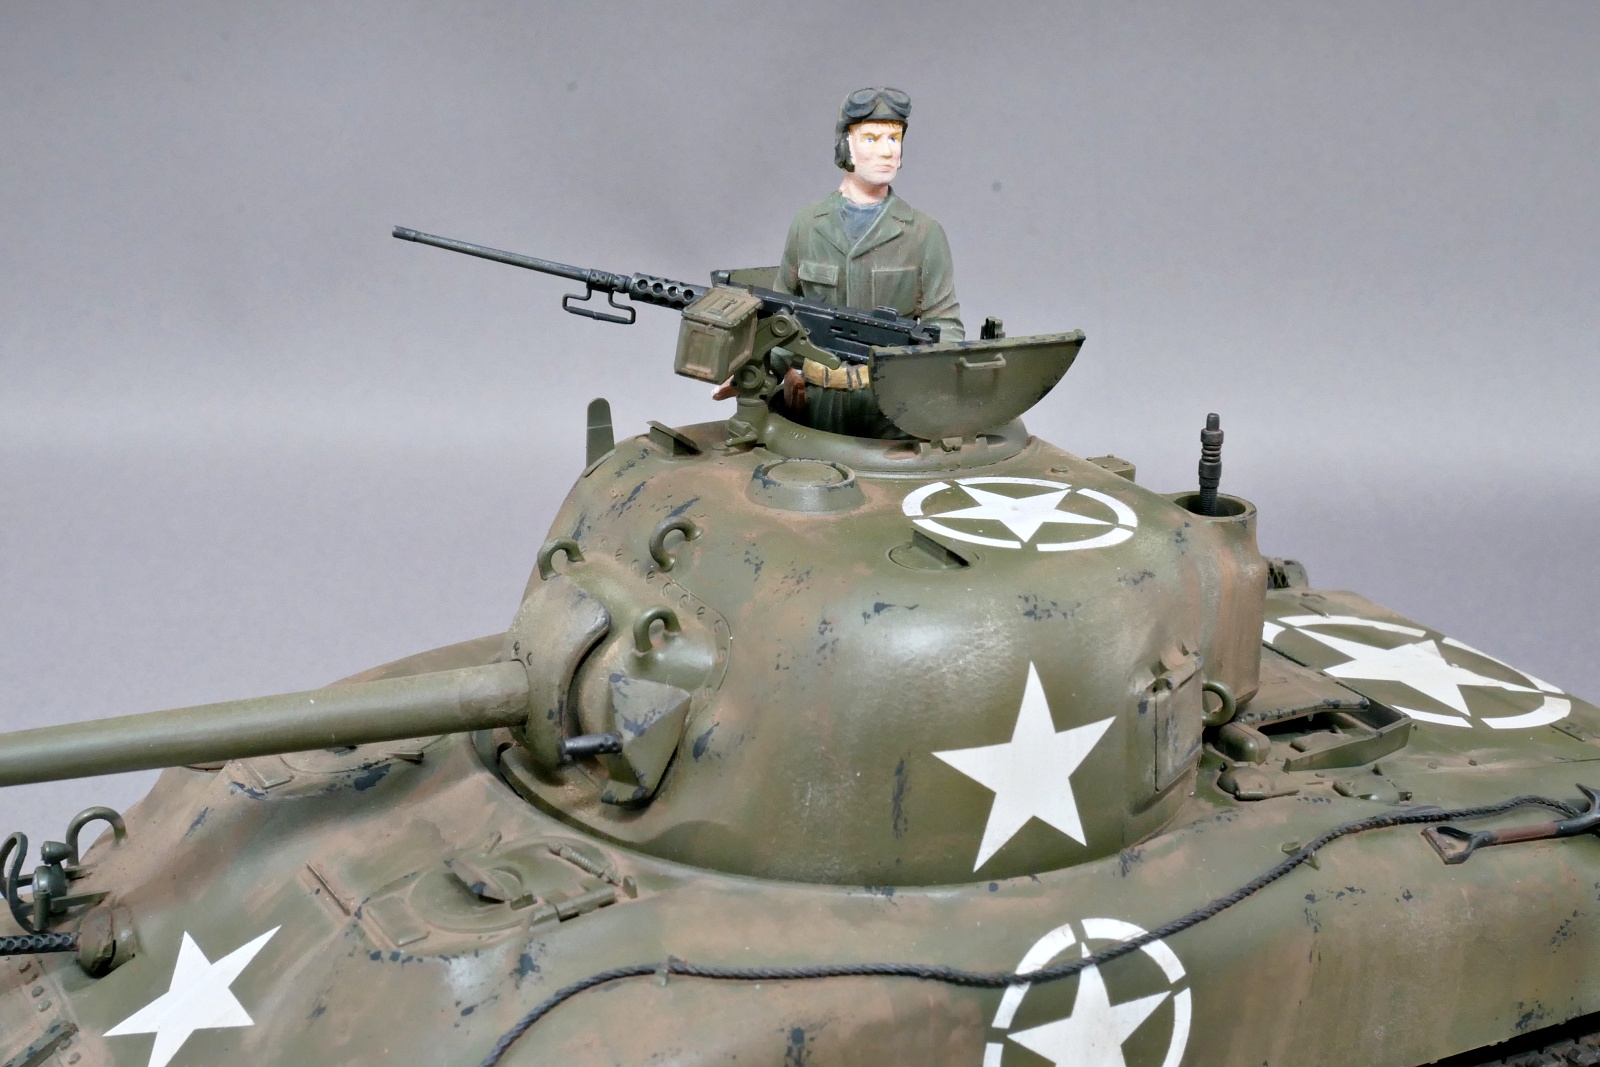
It included a tank crew figure, so I put it on.
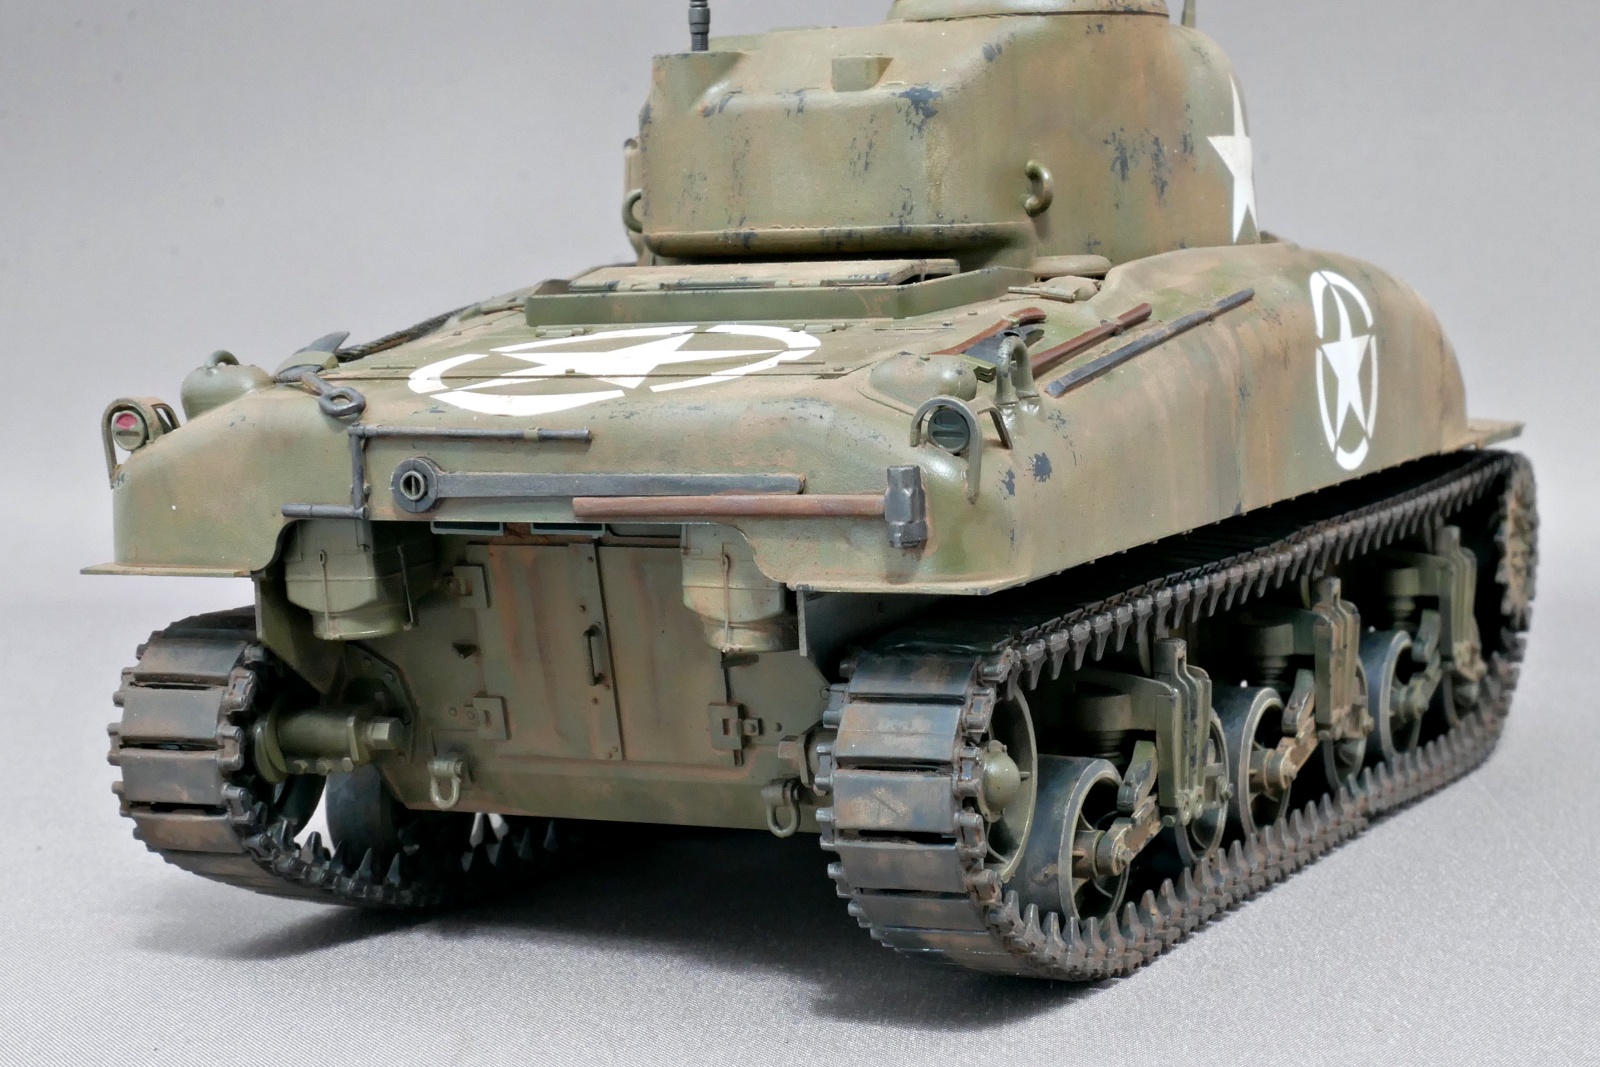
As for the actual track, I think the flat part in the center is made of rubber, so I painted it in gray. On both ends and other metal parts, there are parts that are slightly shiny as if they were worn by contact.
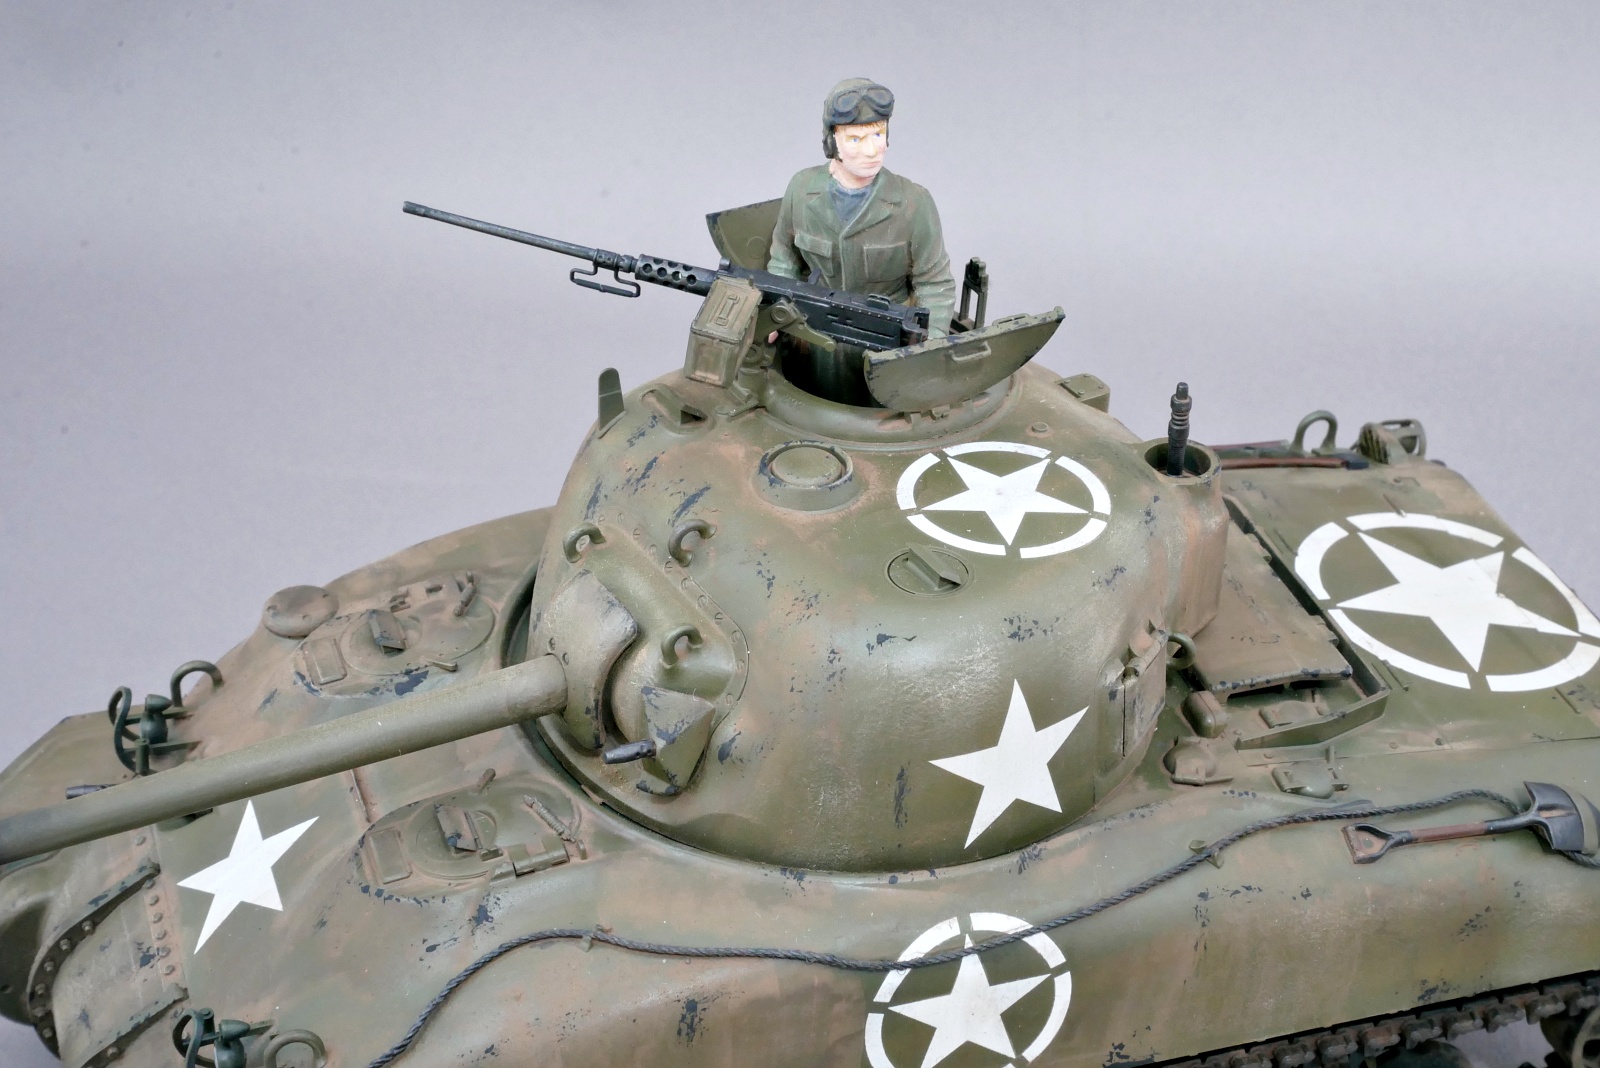
It is a very easy-to-make kit with the exact matching of parts as well as Tamiya kits.
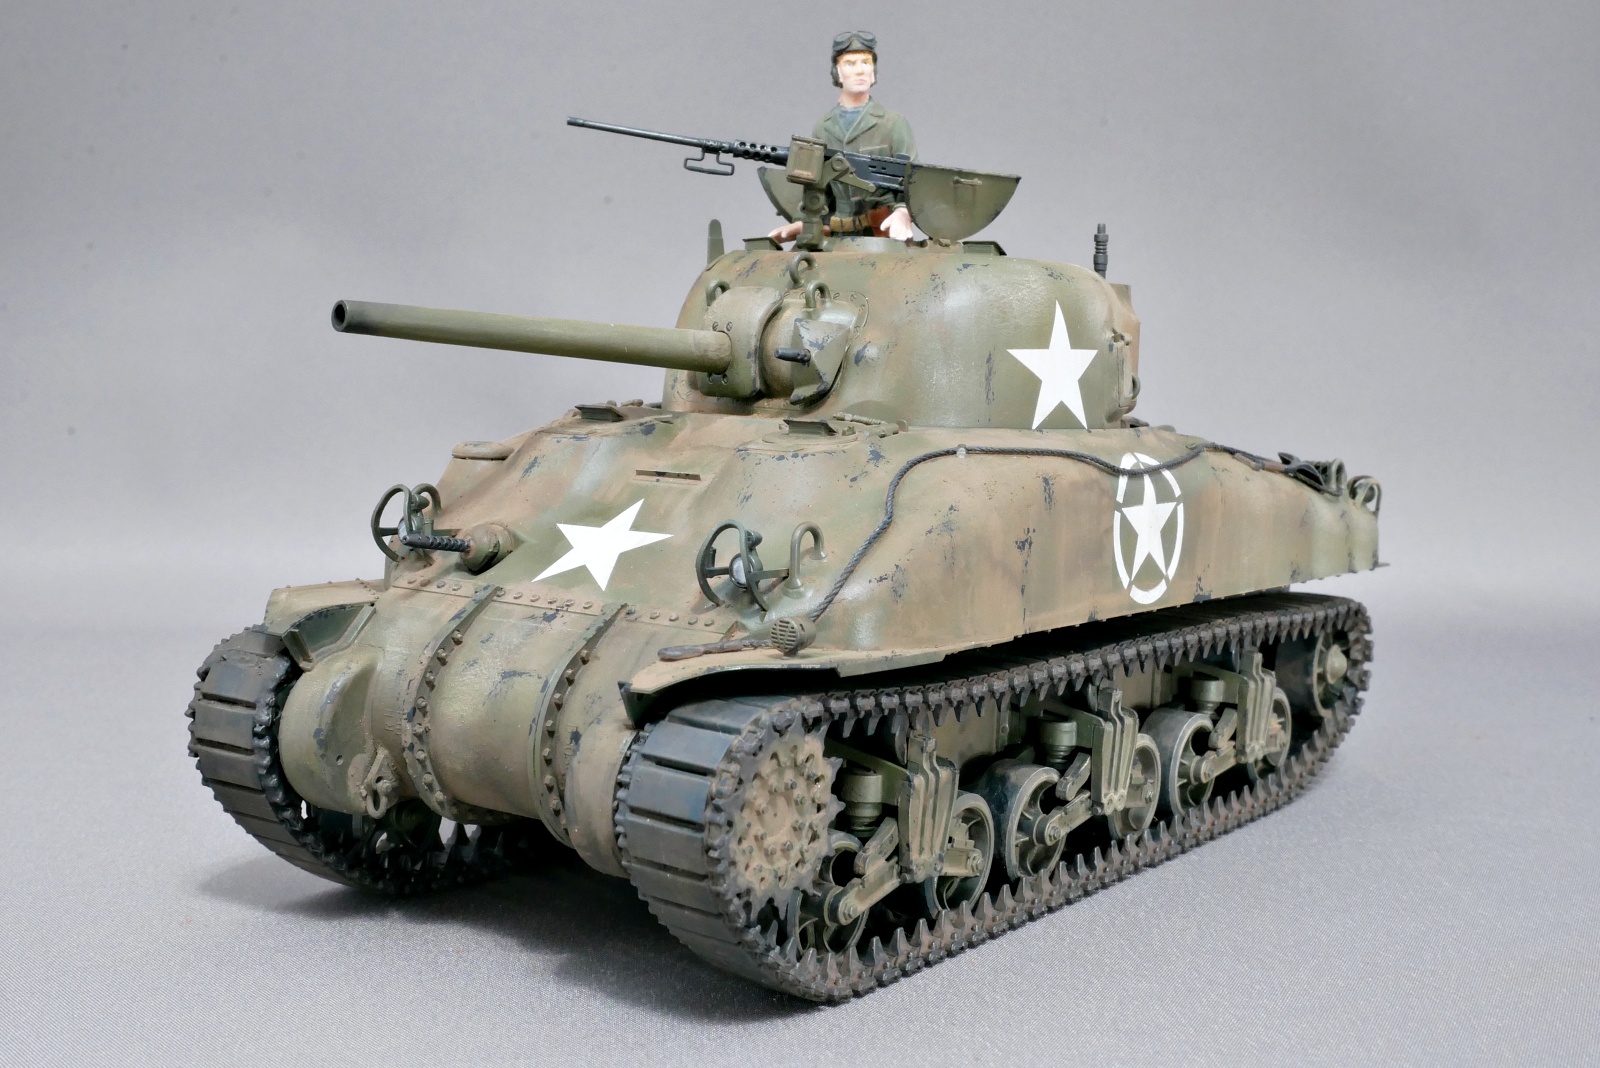
The kit seems to have been released after adding parts, so there were many parts that I didn’t use. The assembly manual in the form of a separate explanation is complicated, and I get confused about the assembly order in the middle of the assembly, and I search for parts that were not originally there. But I think it is a very good kit with high reproducibility.
(2025/04/27)

