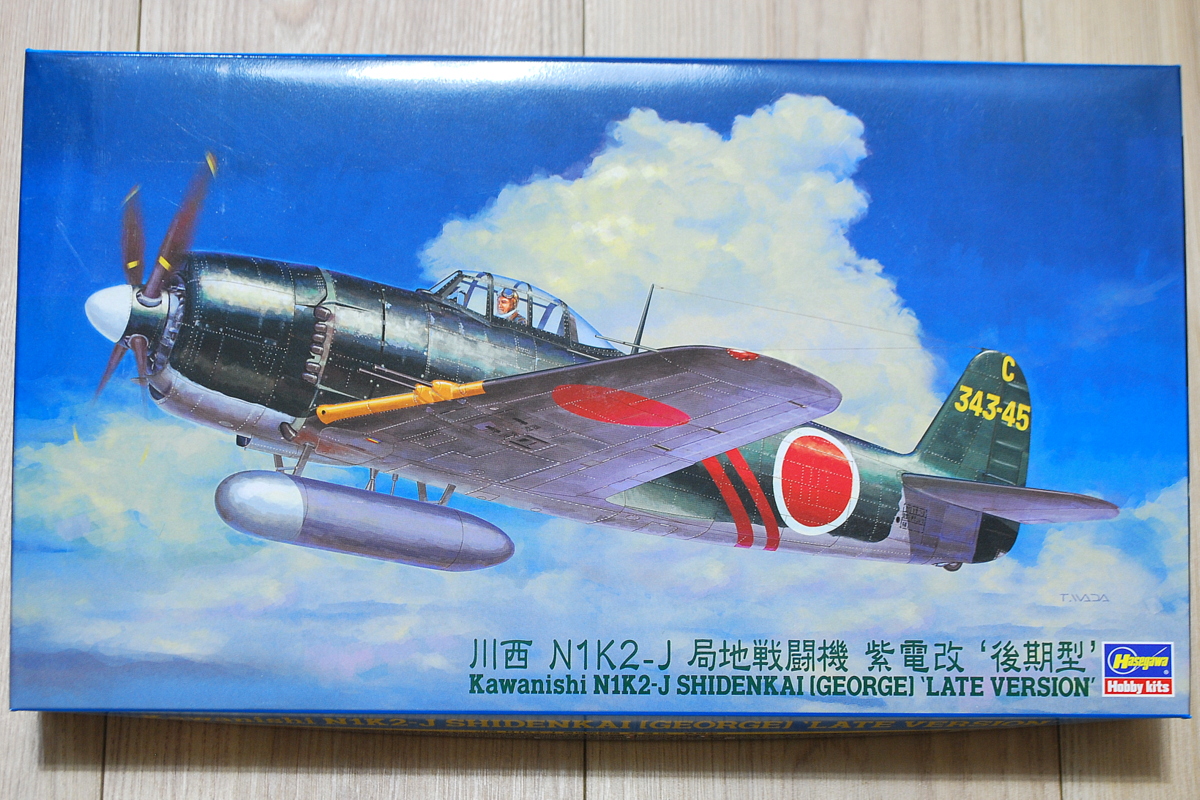
 The other day, I reread “Samurai!” (It describes the life and career of Saburo Sakai, the Japanese combat aviator who fought against American fighter pilots in the Pacific theater of World War II), and I want to make a Japanese fighter. This time, I will make Shiden Kaisei a fighter of the Imperial Navy. I have this in my hand so that I will start.
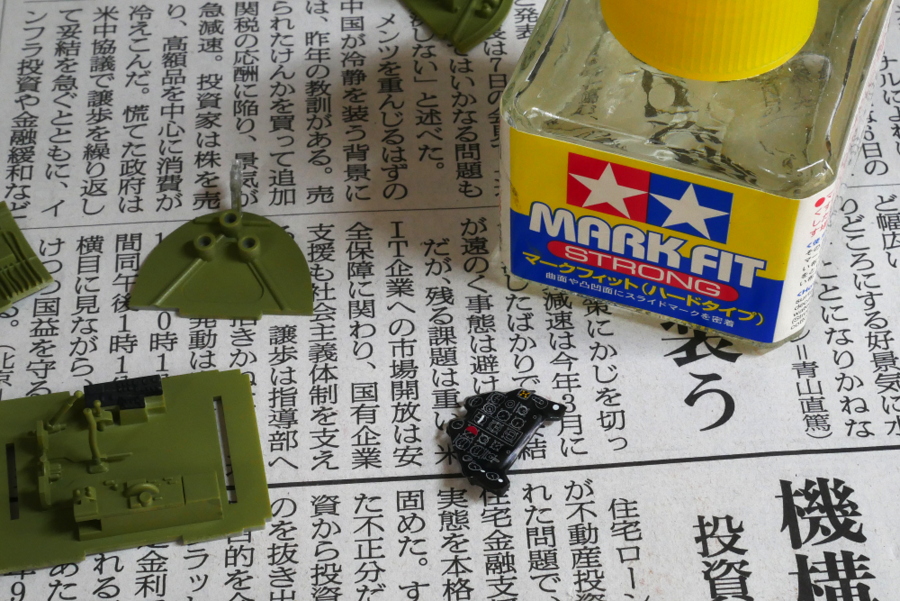 Several decals were attached to the cockpit instrument panel. When I applied it, it was good that it was more precise than drawing by myself. I will do a matte coating, just in case.
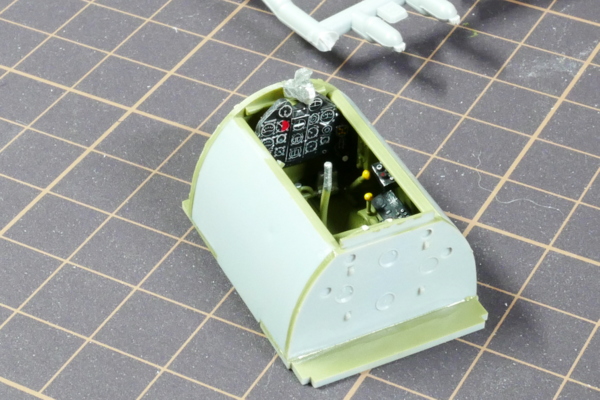 After assembling the cockpit, I painted the lever and the medical kit pouch.
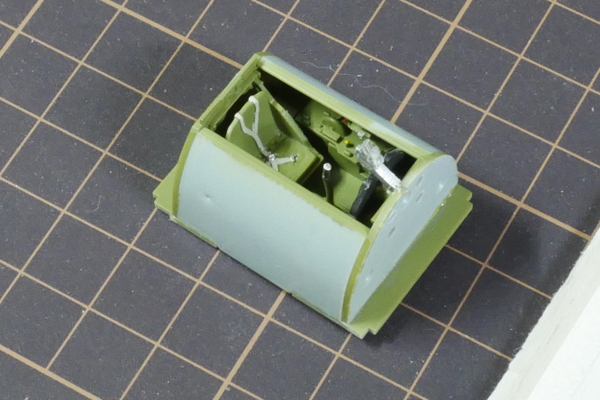 I thought I had to make a seat belt, but it was molded into a seat. I painted the metal fittings and the belt. It is helpful if it is molded from the beginning. Surprisingly, there are many ideas for this kit.
(2019/08/01)
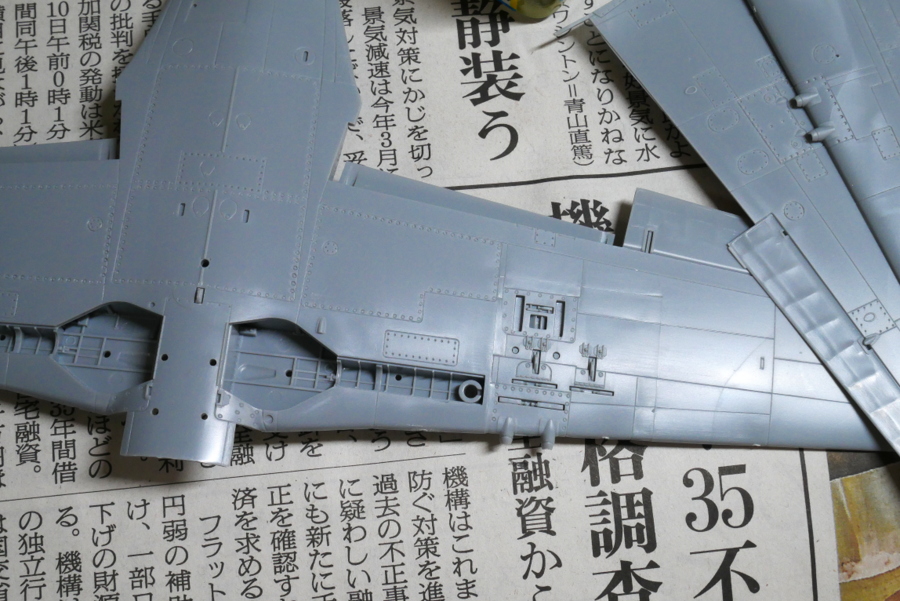 The mold under the wing is excellent. It is the part where 2x20mm machine guns are loaded on one side.
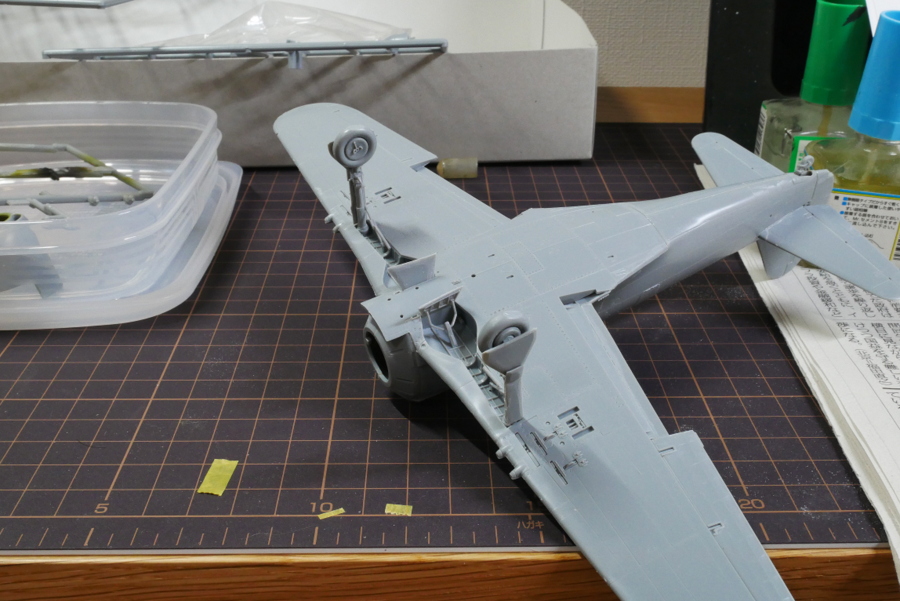 The landing gear was glued before painting.
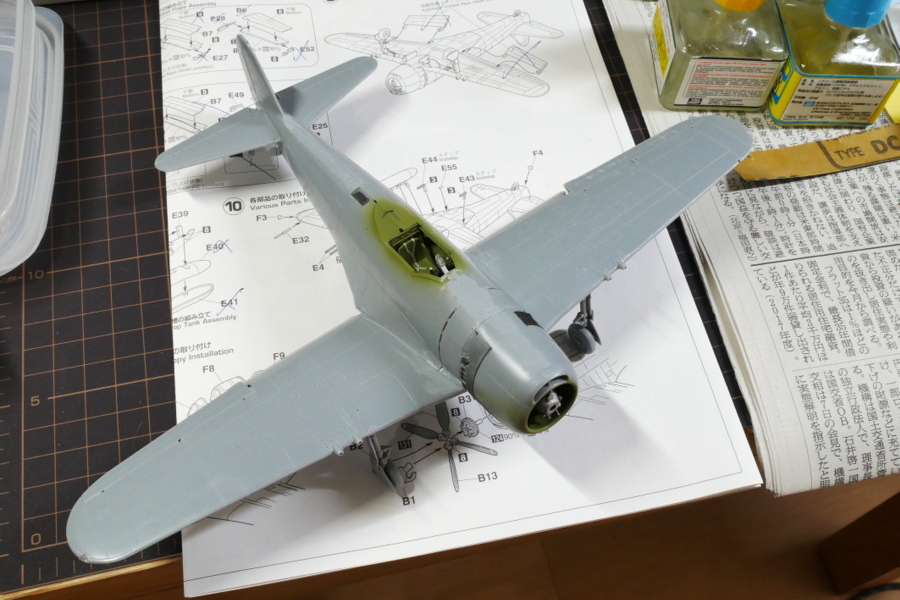 I will stick the engine cowl to the body and start painting soon. I’m glad it went so smoothly.
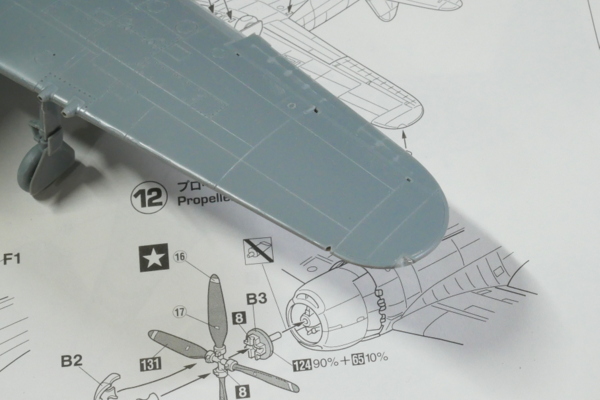
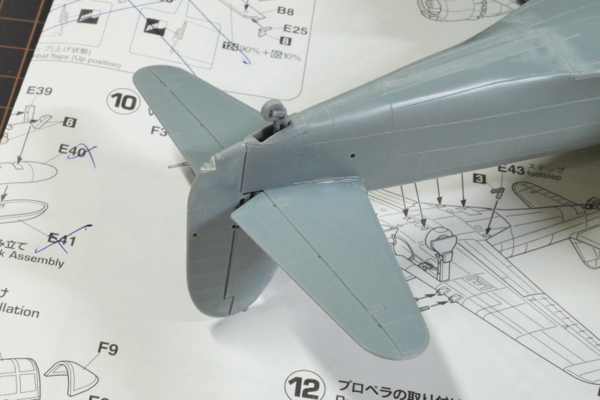
If you want to use clear parts for taillights or wingtip lights, it was instructed to remove those points.
Today, I decided to cancel the item that I have been ordering for about six months to 1 year with Lucky Model, and I haven’t heard information from Lucky Model yet. Now, I asked to change my order to a kit with stock and have it shipped together with the reserved items. I guess the manufacturer doesn’t know when it will be reproduced. I appreciate Lucky Model for its quick and flexible response.
I don’t want to leave it as it is because I moved and changed my address. It was a pity I didn’t have what I wanted (Chinook helicopter, F-5 Sun-Downer, Yak Firebar, etc.), but maybe I will find one elsewhere. I ordered some favorite items like Delta-Dart and Merkava Mk. 3D, and Su-11 Fishpot. I might be able to introduce them in the future.
(2019/08/03)
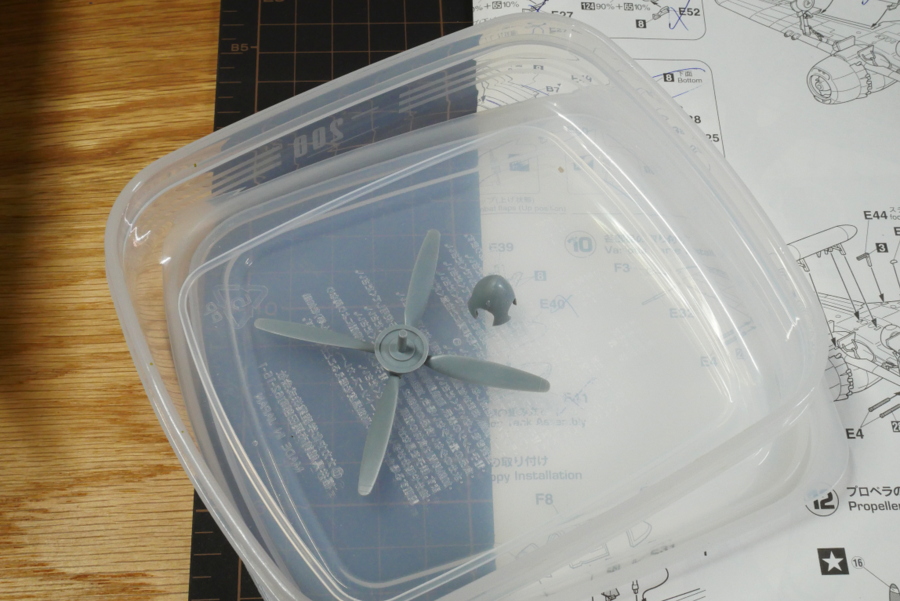 I once smashed the canopy of a TBM-3, so I decided to put the parts in a small box. I have been making plastic models for many years, but I might have thrown away small goods every time I moved and stopped using small boxes.
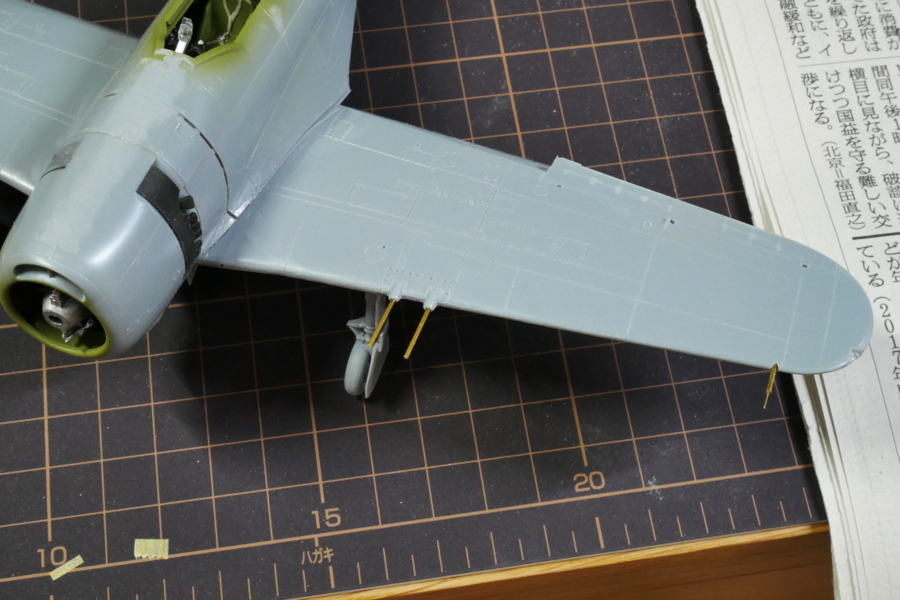 I replaced the 20mm machine guns and the Pitot tube with a brass wire and pipe. When you look at the plastic parts of the machine gun, it has a slight bulge, and it doesn’t look like a straight tube. I’m worried that plastic might break during painting, so I prioritize durability.
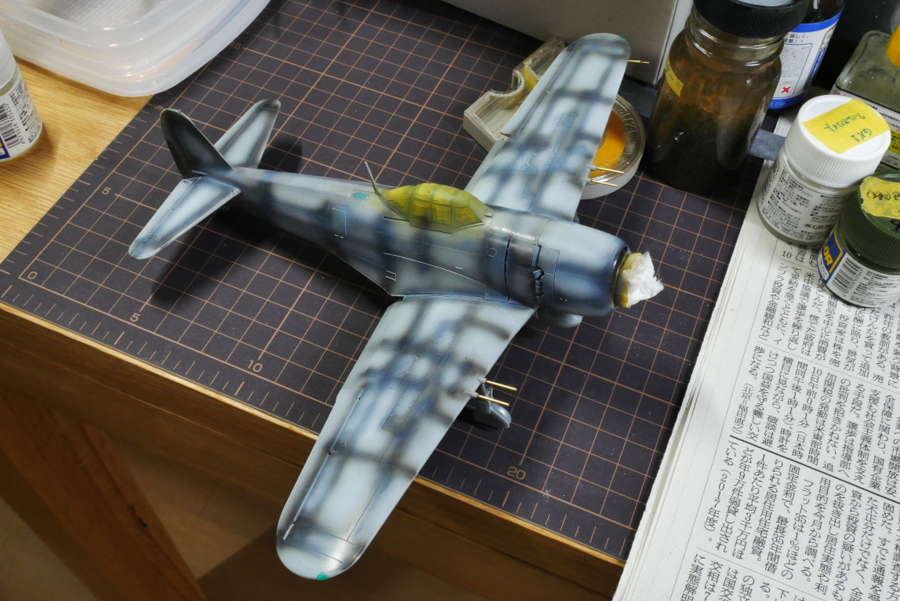 I blew a black and white paint to the base.
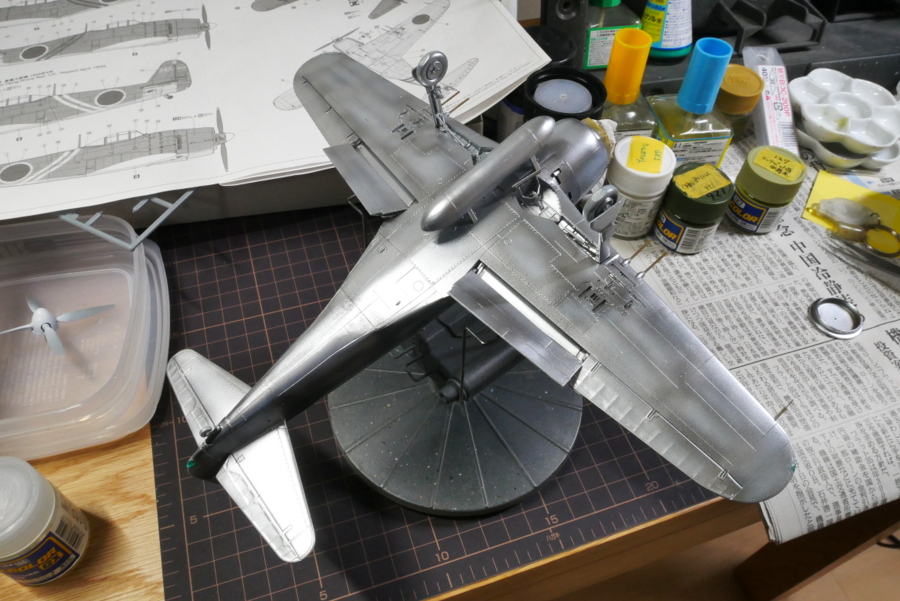 The underside of the fuselage is painted mixed with Gaianotes silver with a bit of clarity.
(2019/08/06)
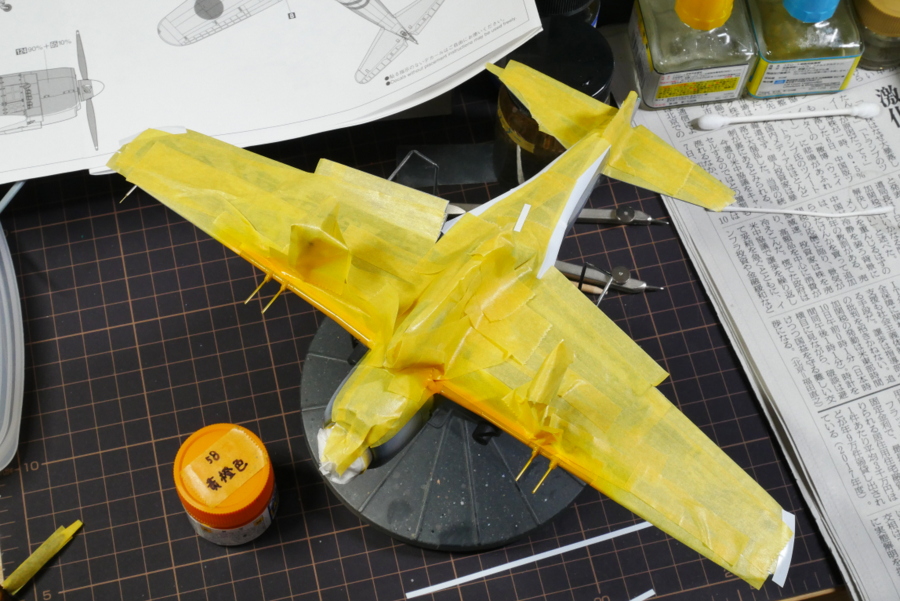 Should I have blown the orange first?
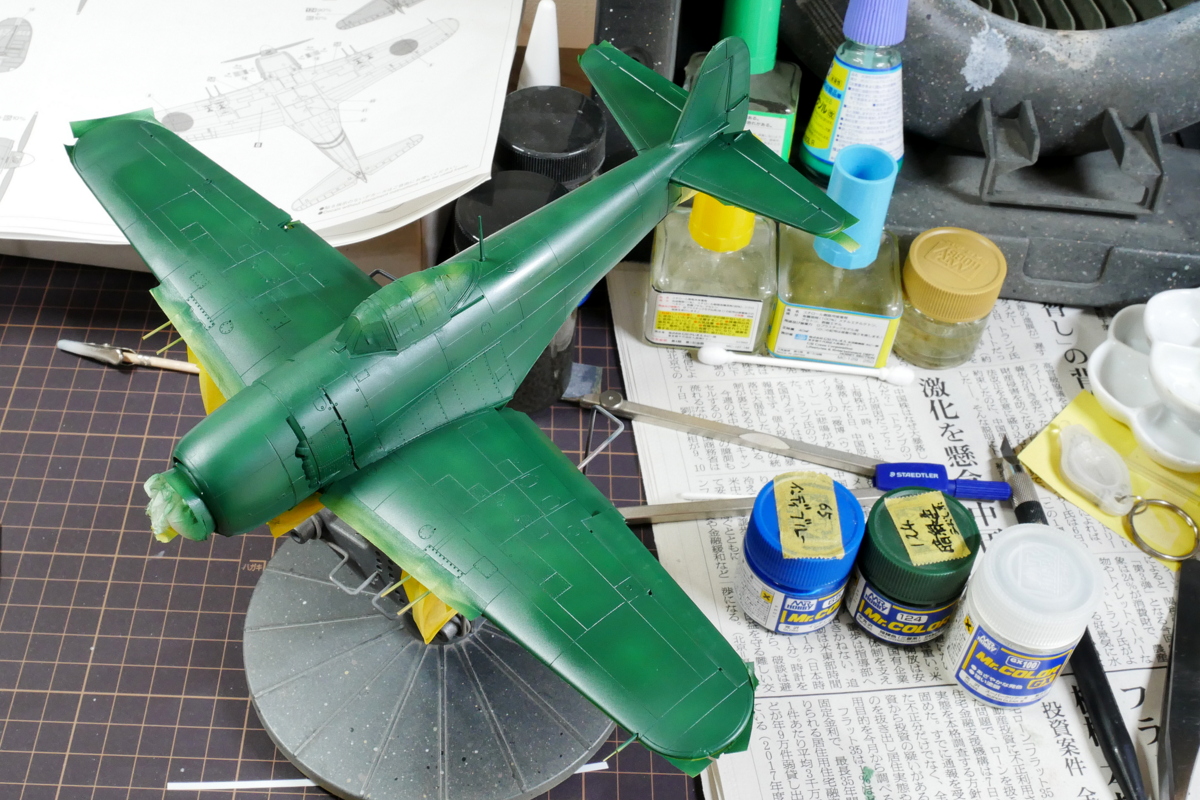 According to the instruction manual, 10% of the C65 indigo blue is added to the C124 dark green Mitsubishi. I mixed it with clear a little and blew it. The effect of the gradation became slight.
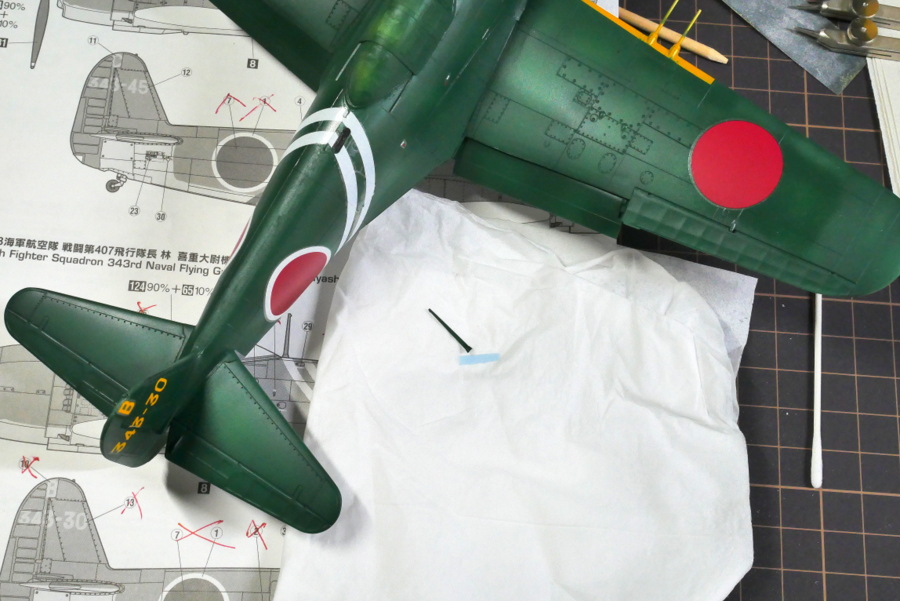 As I thought, the thin part was broken. The antenna pole was damaged. Later, I will use an excellent brass wire to reinforce and re-bond.
(2019/08/09)
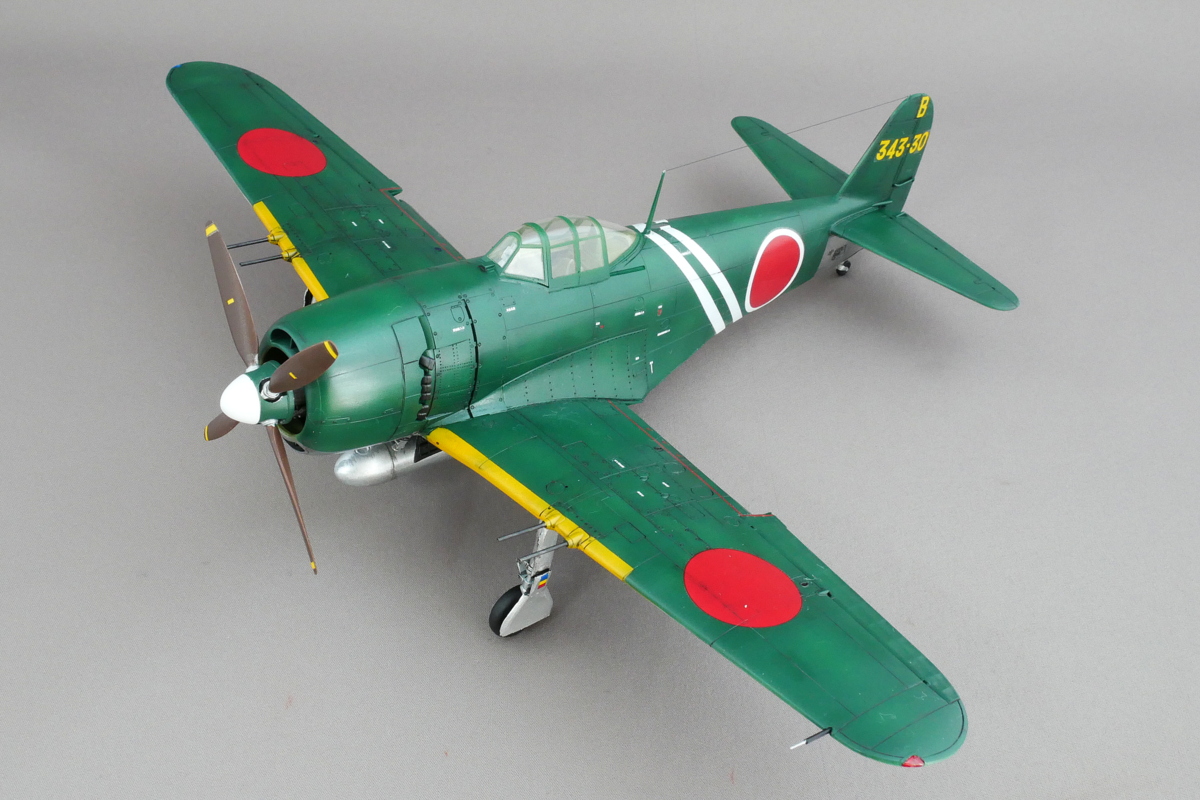
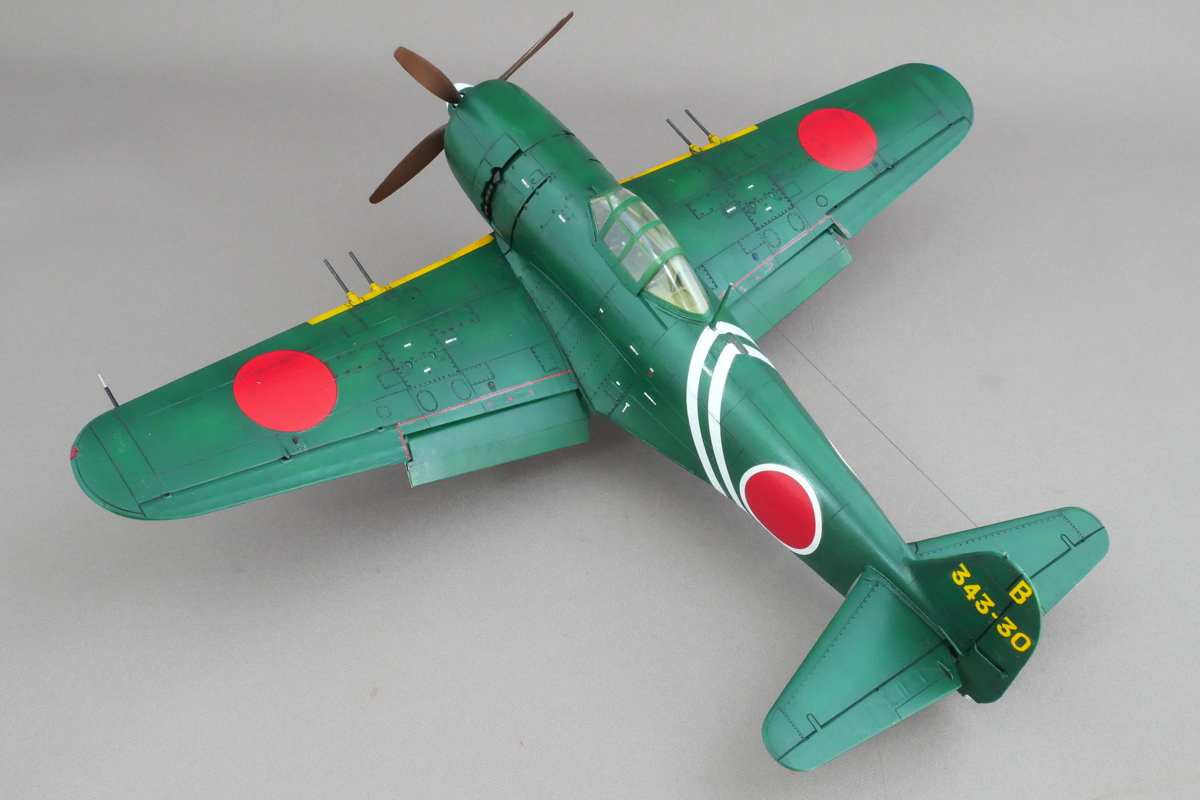 The Shiden-Kai that was under-making has been completed. As a finishing touch, semi-glossy water-based acrylic paint is sprayed. Water-based ones dry pretty slowly. It was sticky when I dried it in the dry booth, and I didn’t touch it for a while.
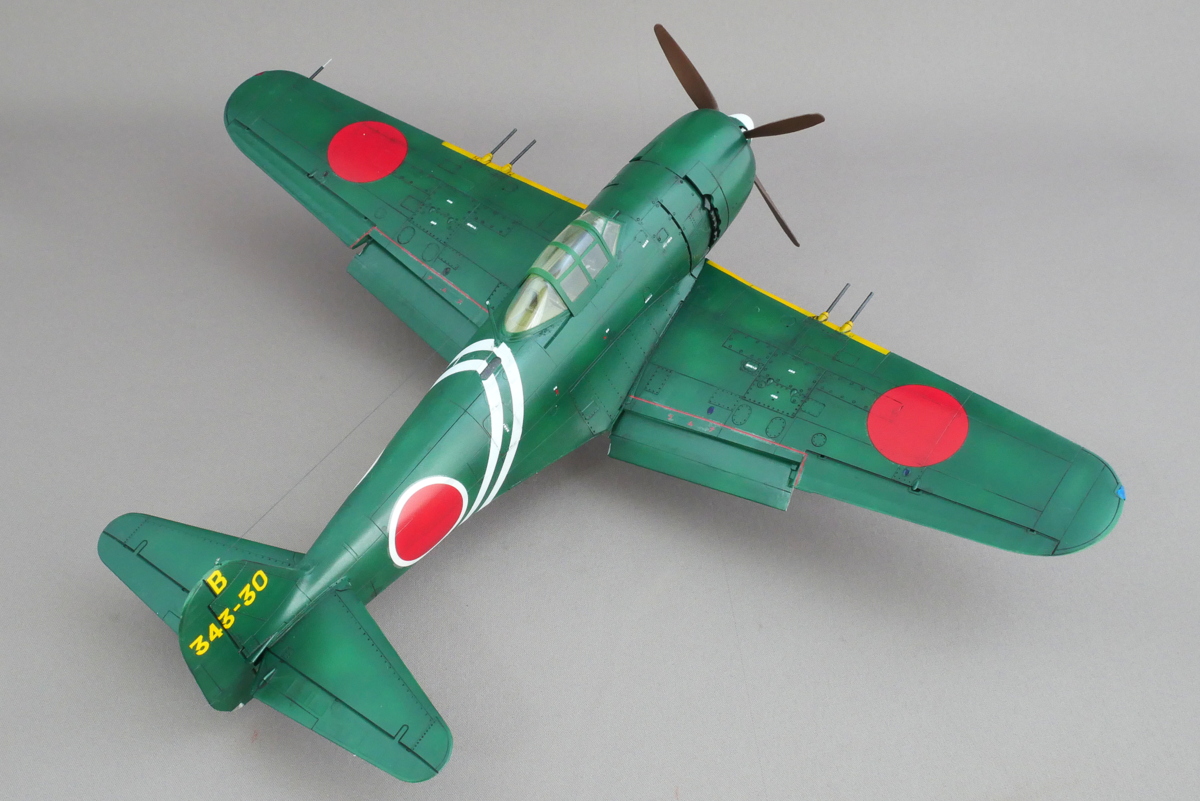 While finishing with water-based acrylic paint reduces the risk of decal breakage, it is difficult to handle for the above reasons. I prefer Mr. Colour.
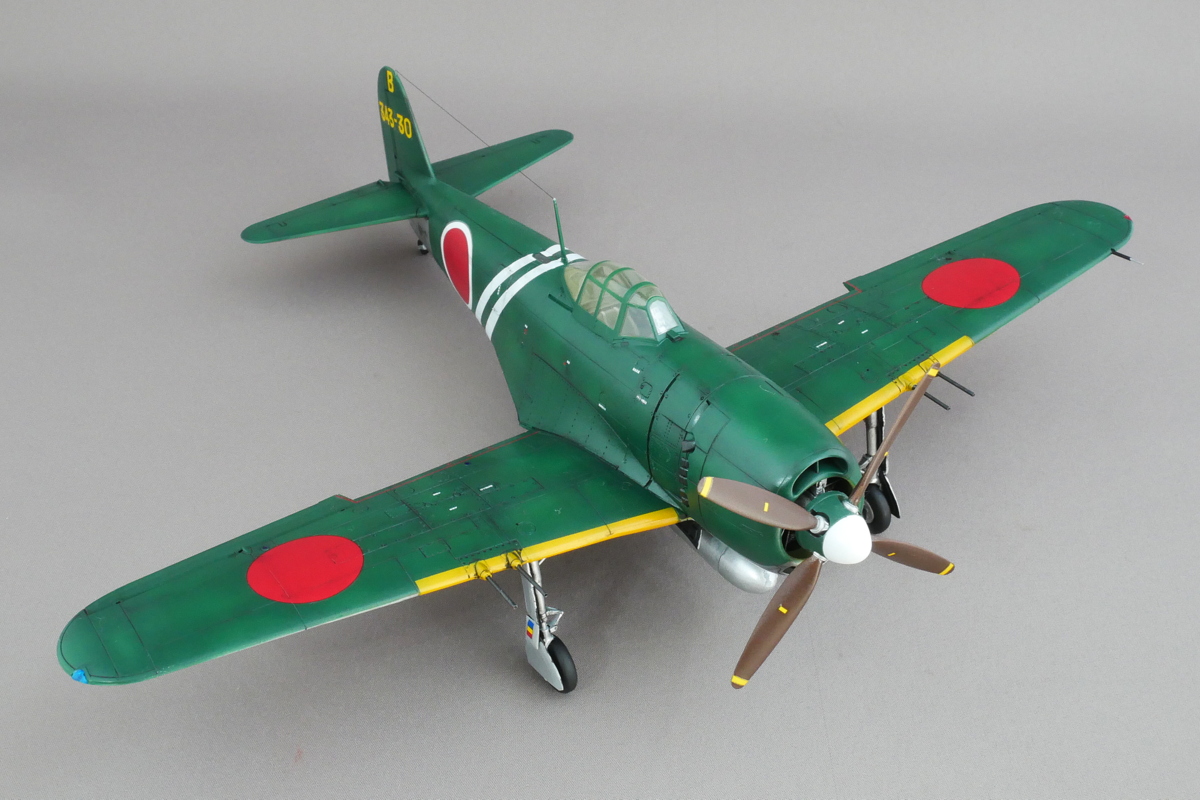
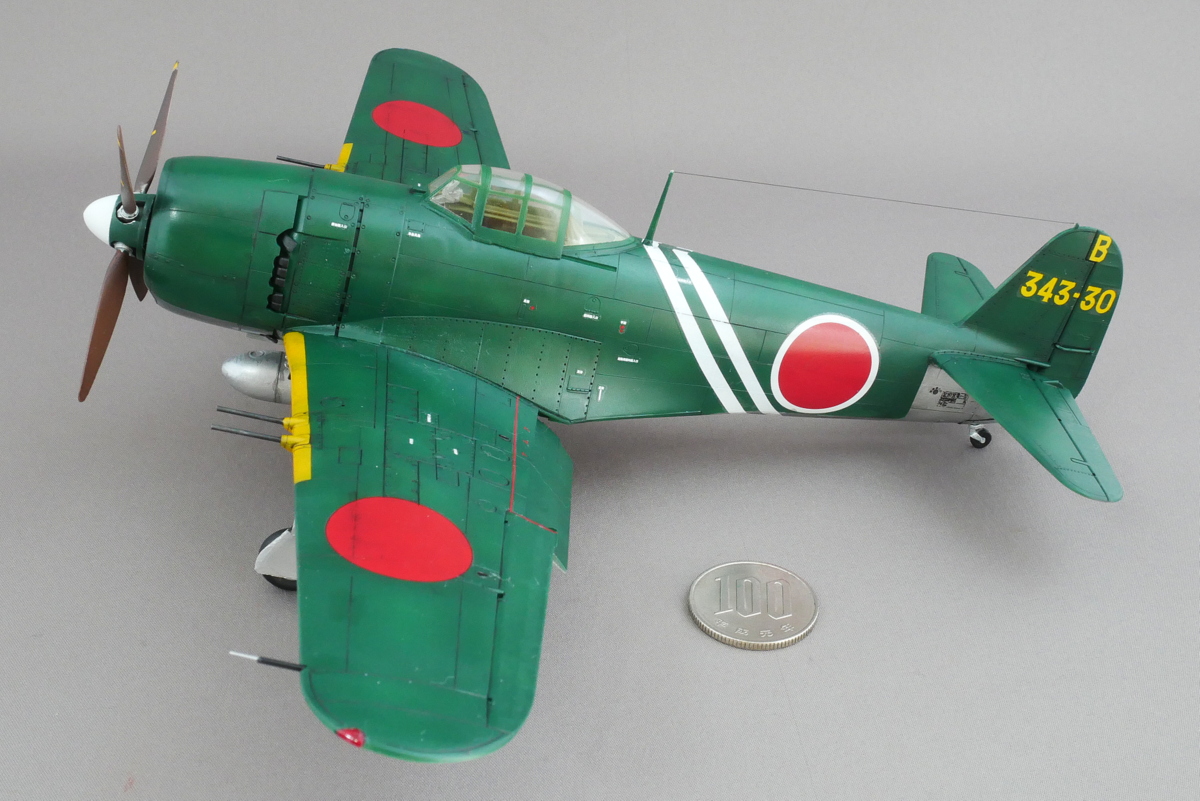 Shiden, the predecessor of Shiden-kai, did not perform as well as expected, so Shiden-kai was fundamentally redesigned. Shiden-Kai looks similar to Shiden at first glance. It also looks a little round. It’s a little longer than Shiden.
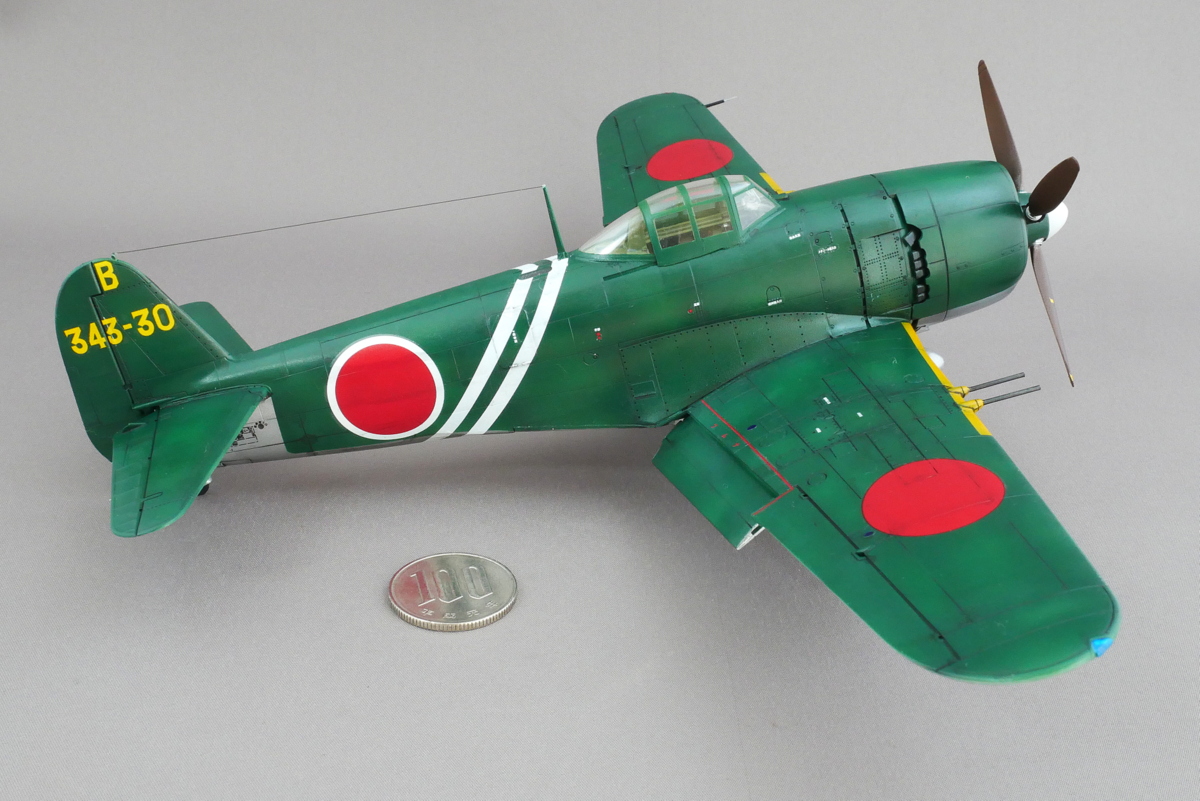 The upper echelon of the Japanese Navy planned to produce 10,000 Shiden-kai as the main fighter to replace the Zero fighter. Still, it was not until 1945 that mass production became ready due to the worsening war. Ultimately, about 400 planes were produced, and the war ended.
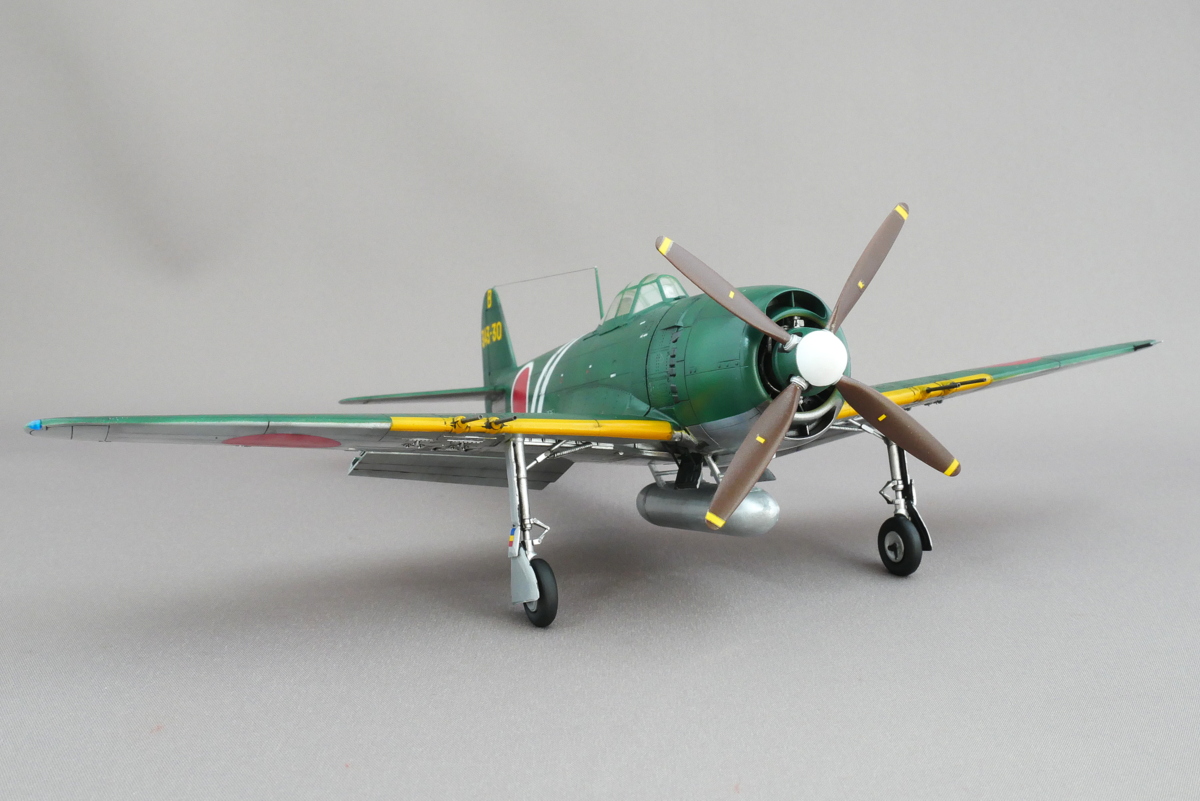
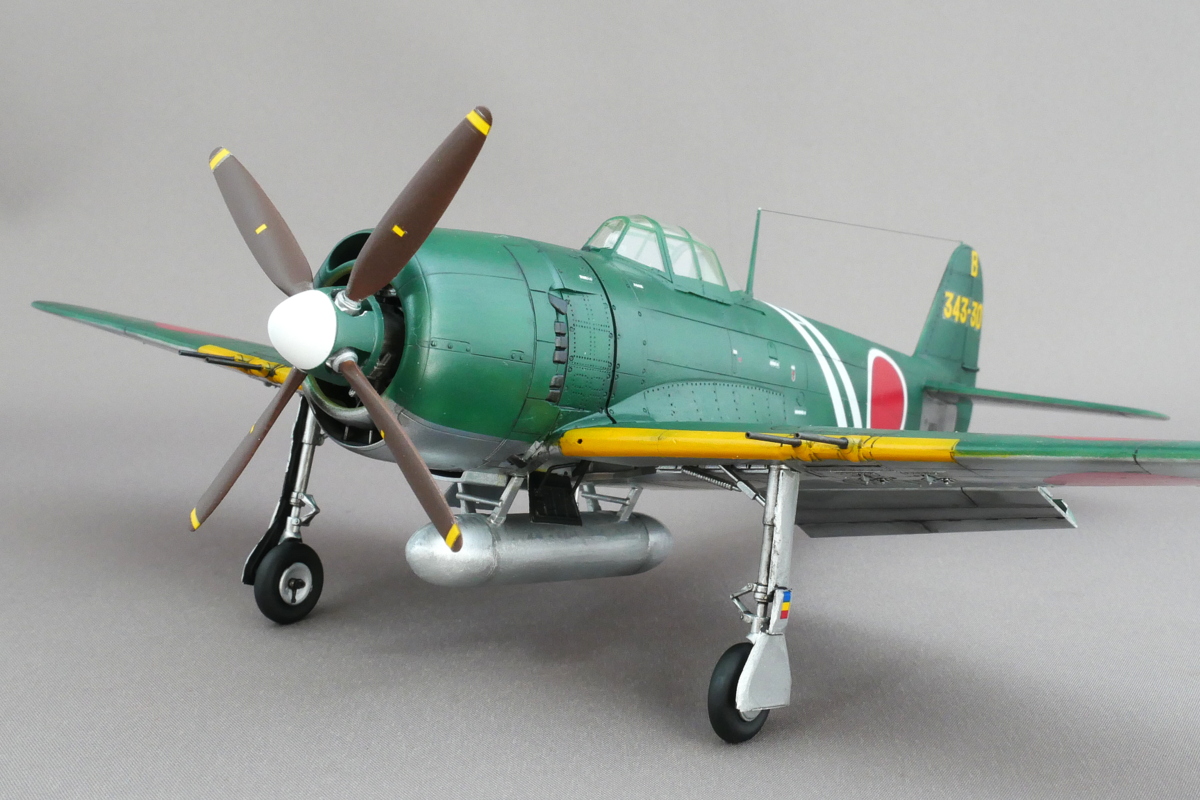 The armor of Shiden-kai was quite strong, with 4x20mm machine guns inside the wing in total. Zero fighters have 2x20mm machine guns and 2×7.7mm machine guns, which are pretty powerful.
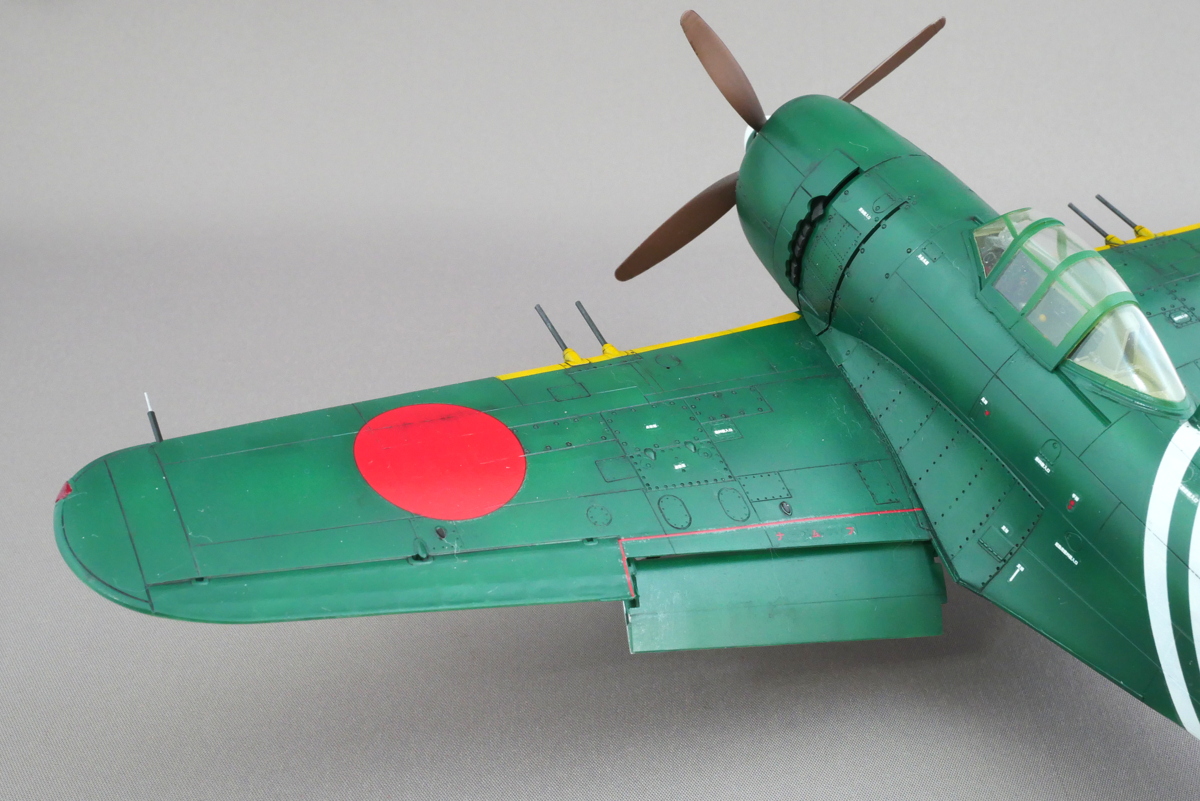
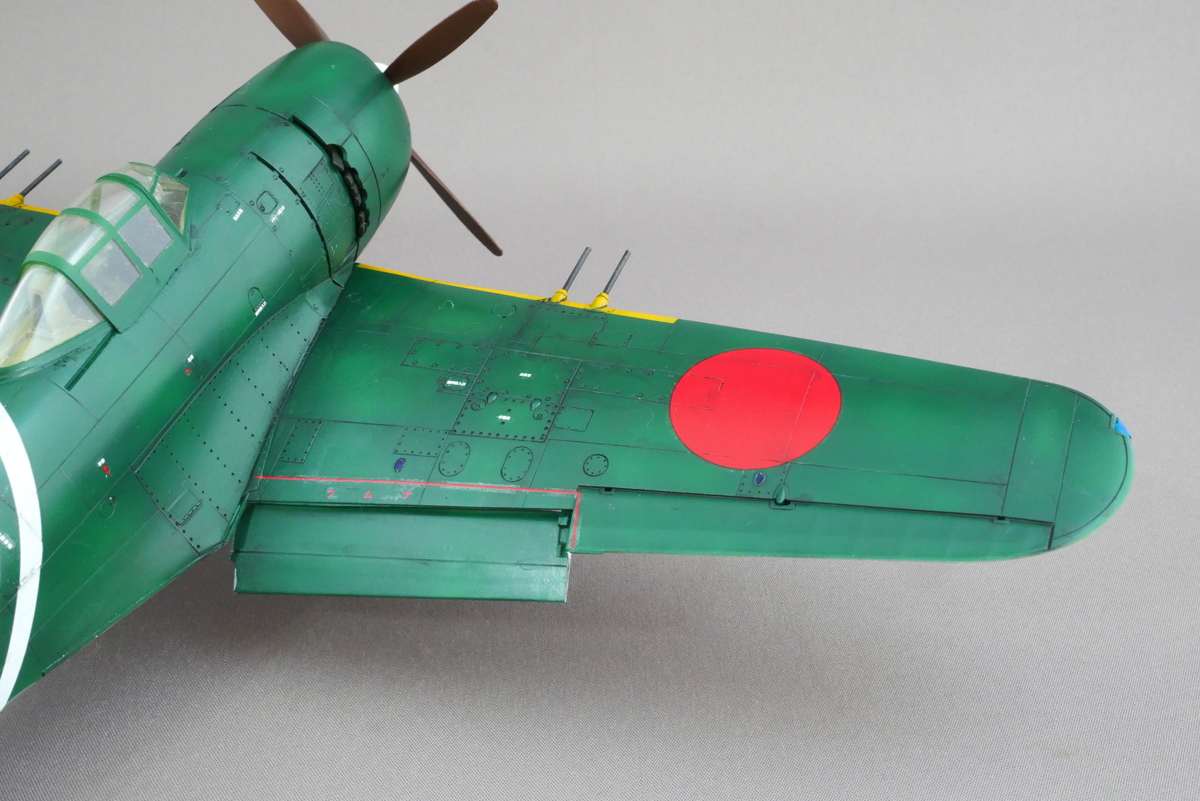 This marking is 407th Fighter Squadron 343rd Naval Flying Group Sqd. Ldr, Hayashi, April 1945.
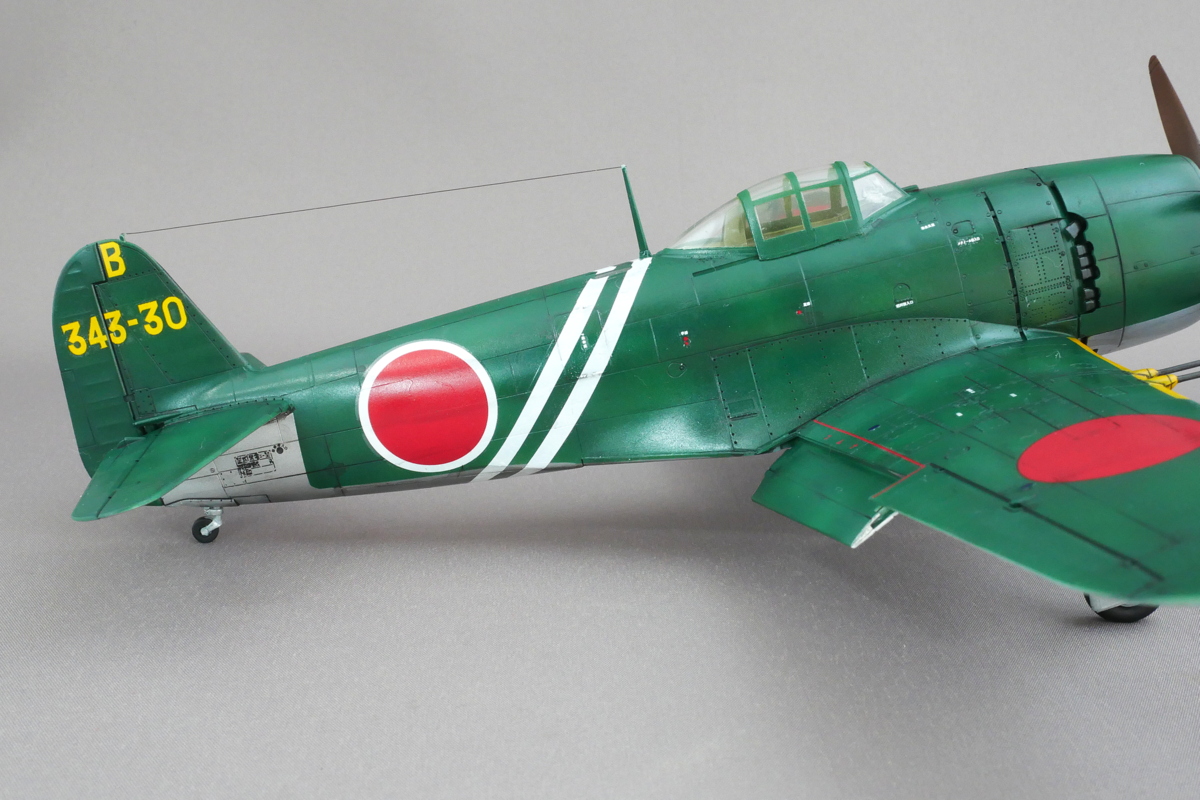 According to the instruction manual of Hasegawa, the 343rd Naval Flying Group Sqd. they have fought with the United States Navy carrier-based aircraft, F6F, F4U, and SB2C, over Shikoku Matsuyama in March 1945, resulting in 54 Shiden-kai and 7 Shiden shooting down 52 enemy aircraft.
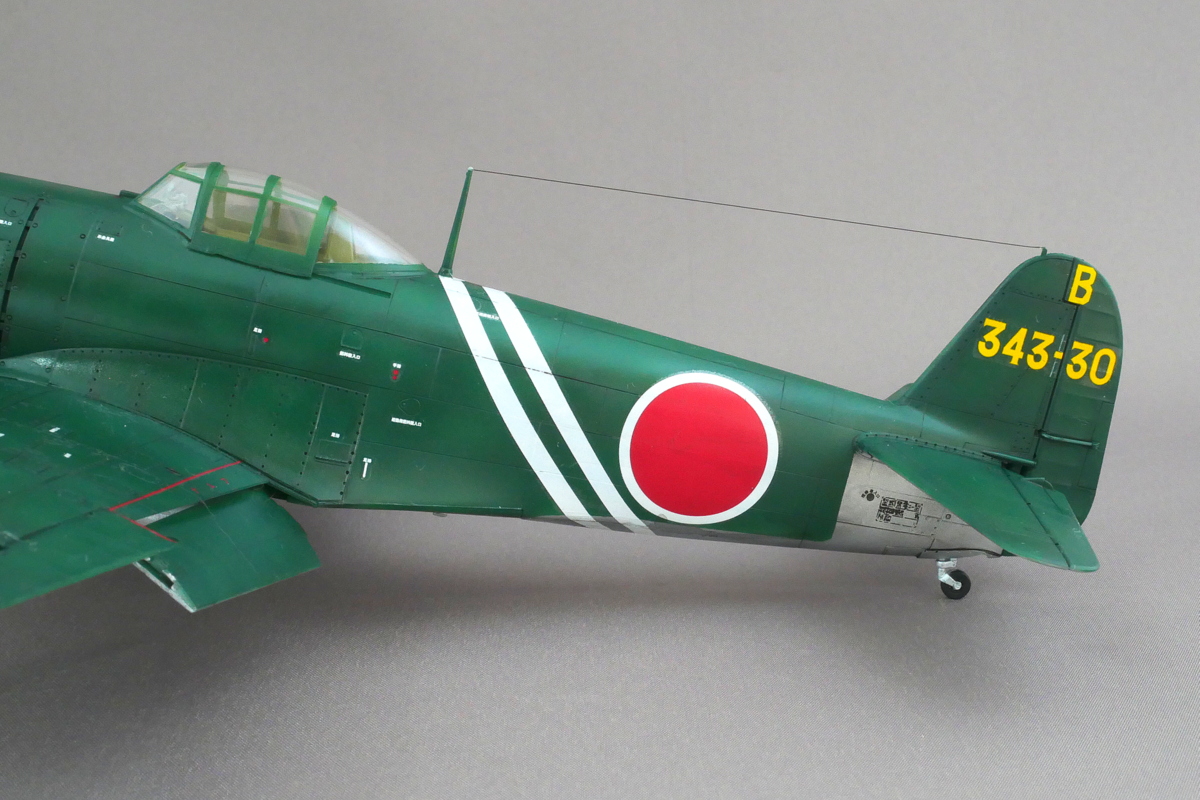 I think white is a little thin for Hasegawa’s original decals. I’m glad that the decal is not faded.
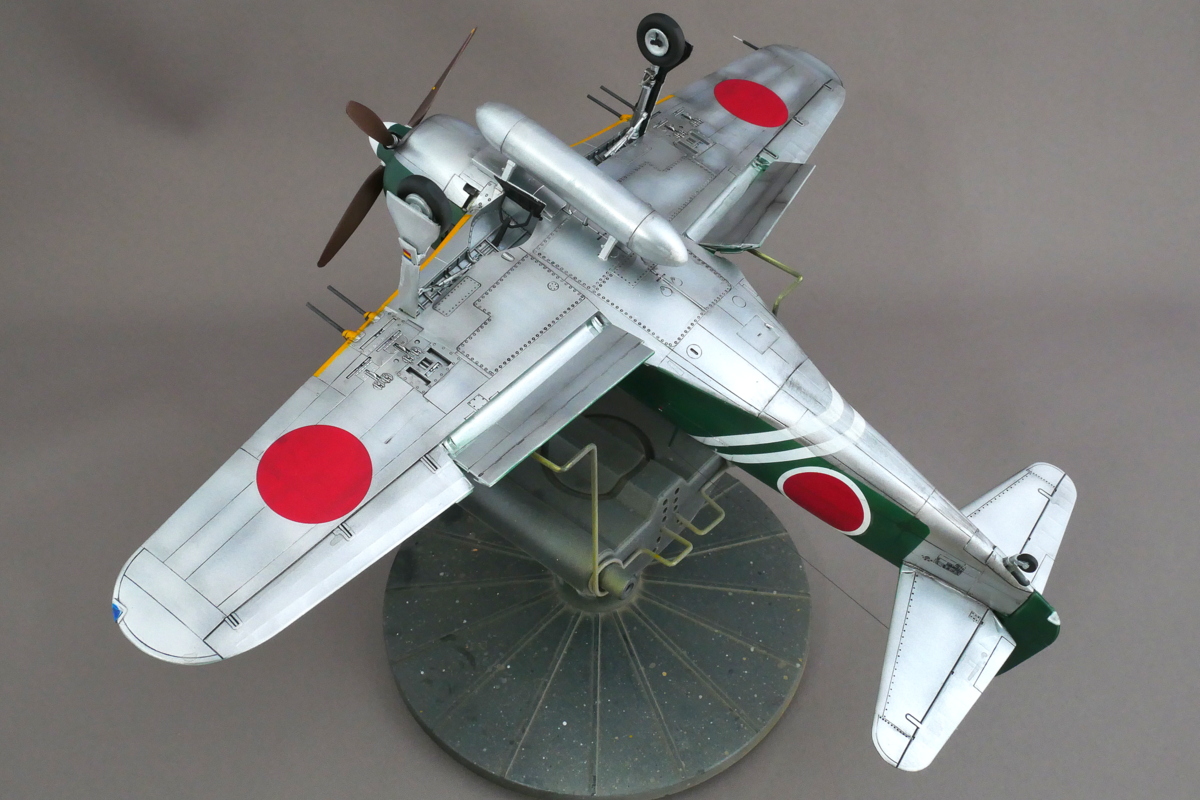
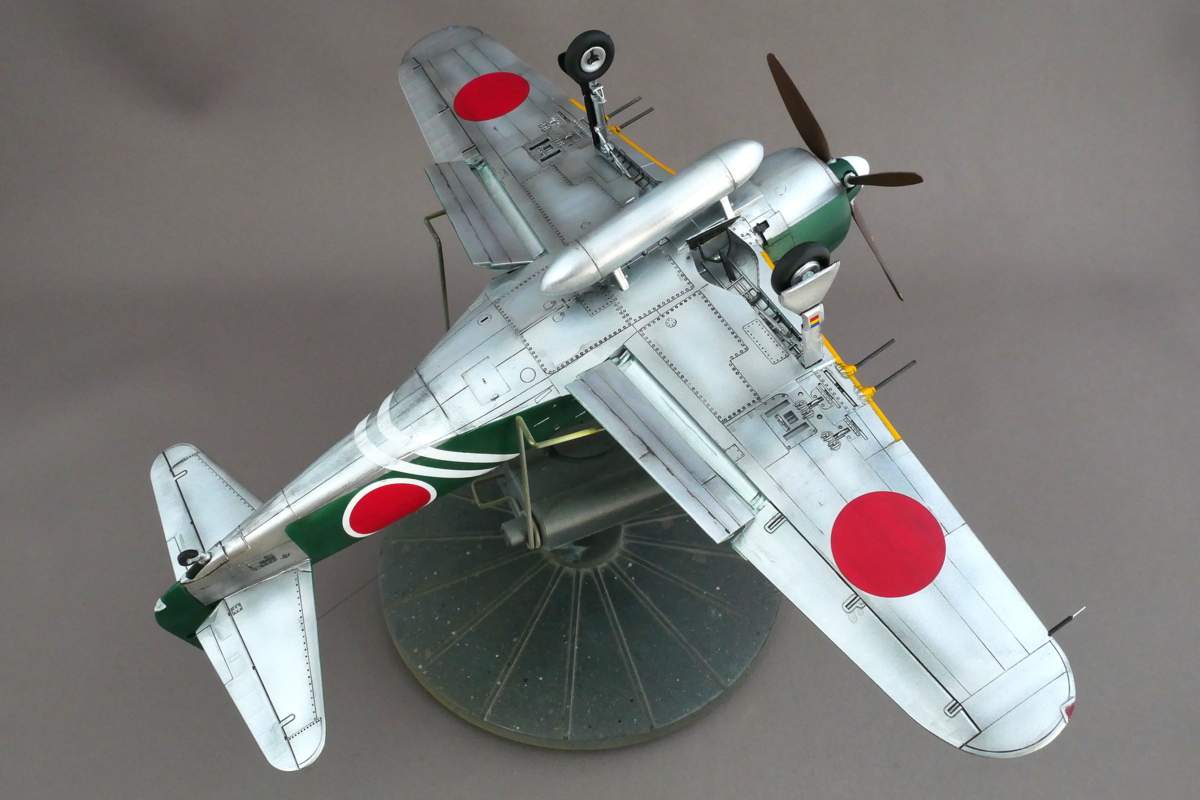
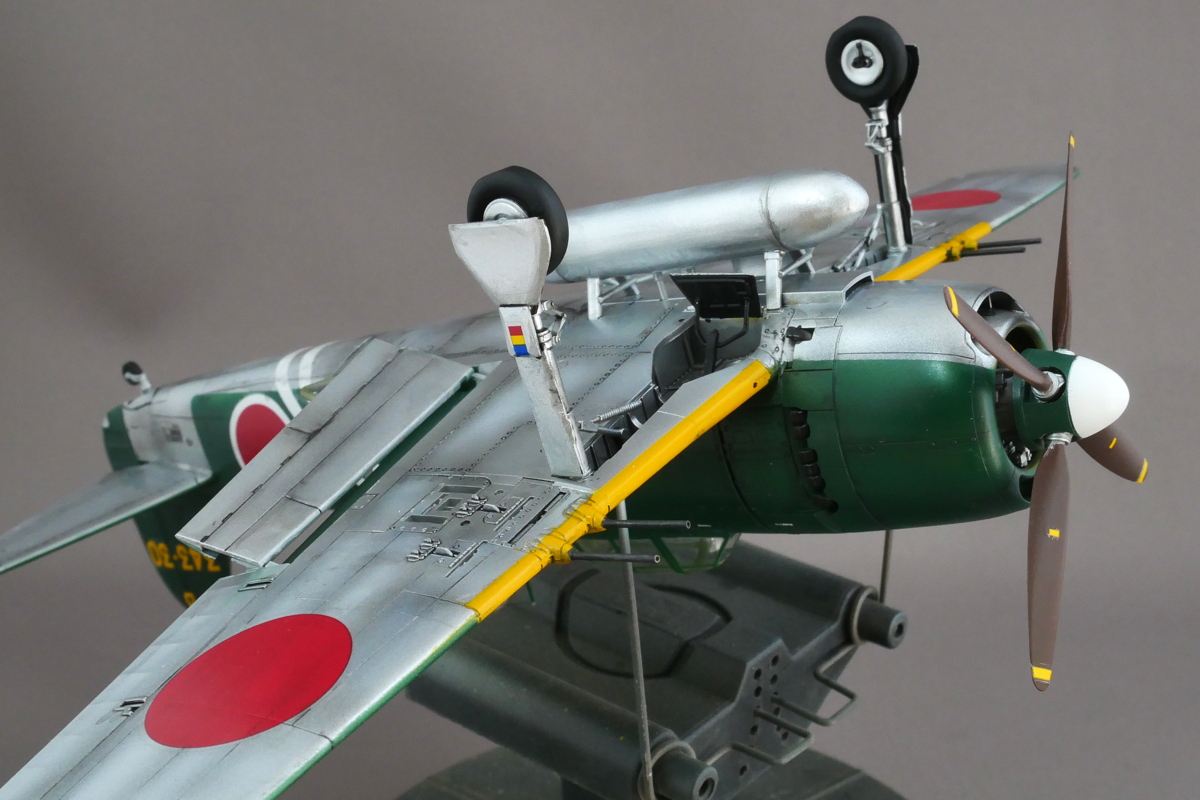 The bottom of the fuselage is silver and has an extra fuel tank.
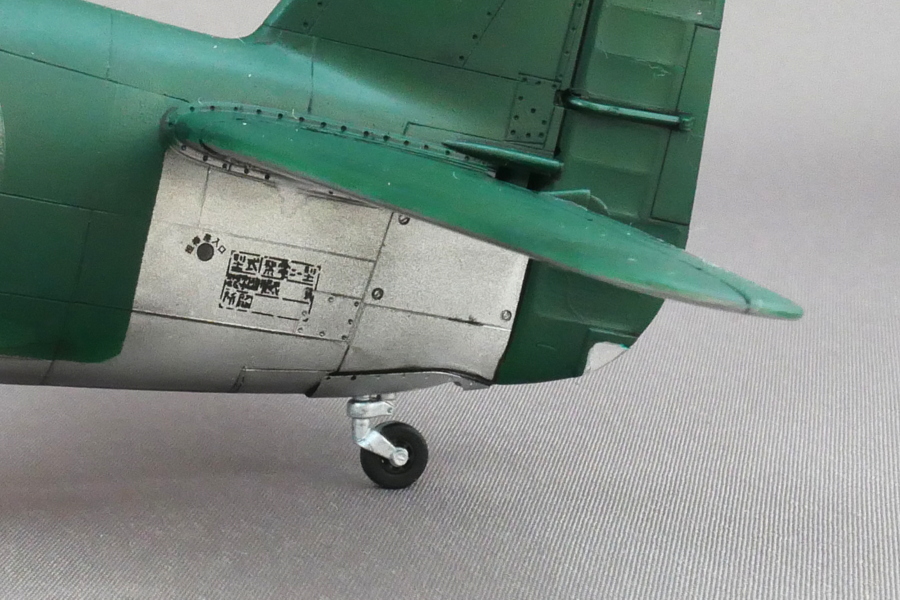 It’s a reciprocating WWII fighter, but it has a lot of small caution decals. I can read these small letters with my naked eyes, but it might be hard to read. Oh, but if your hands don’t shake, I think it’s a hobby you can enjoy for a long time. You had better make a model while you are young.
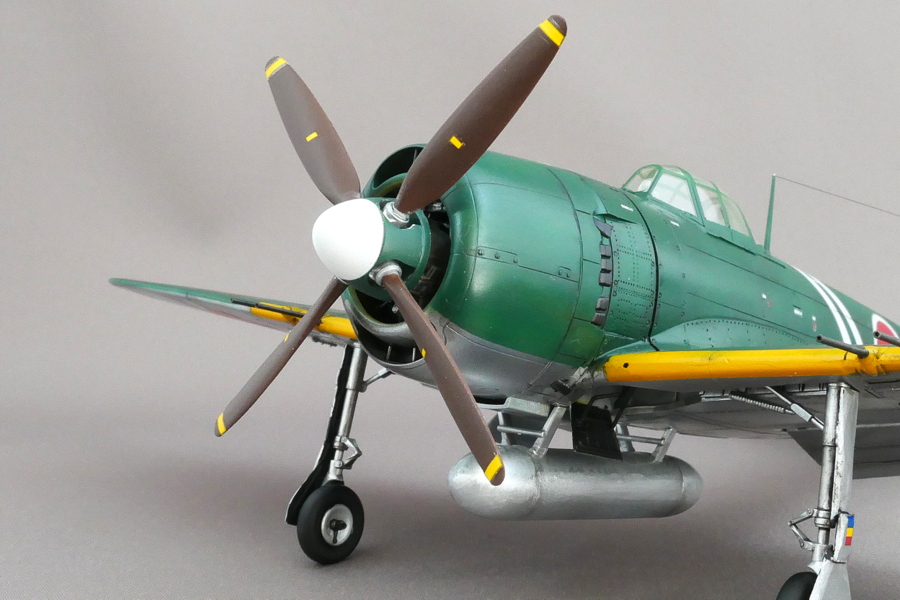
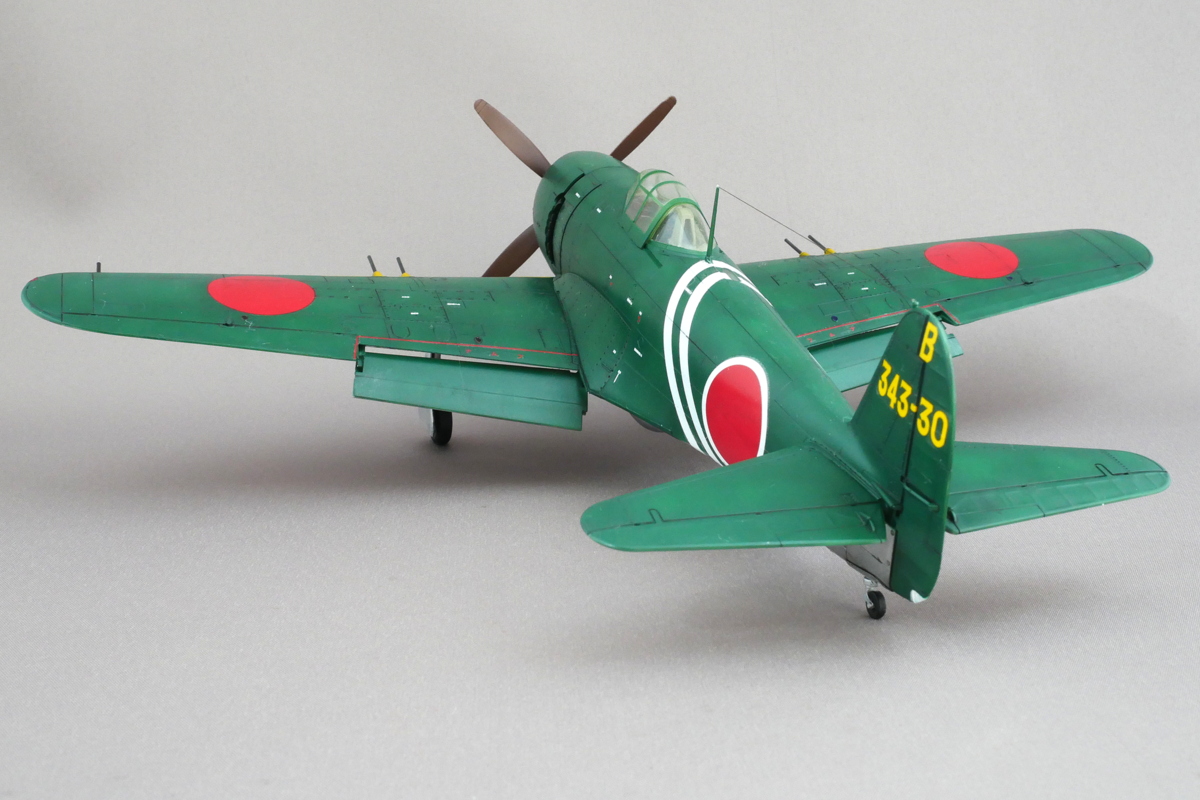
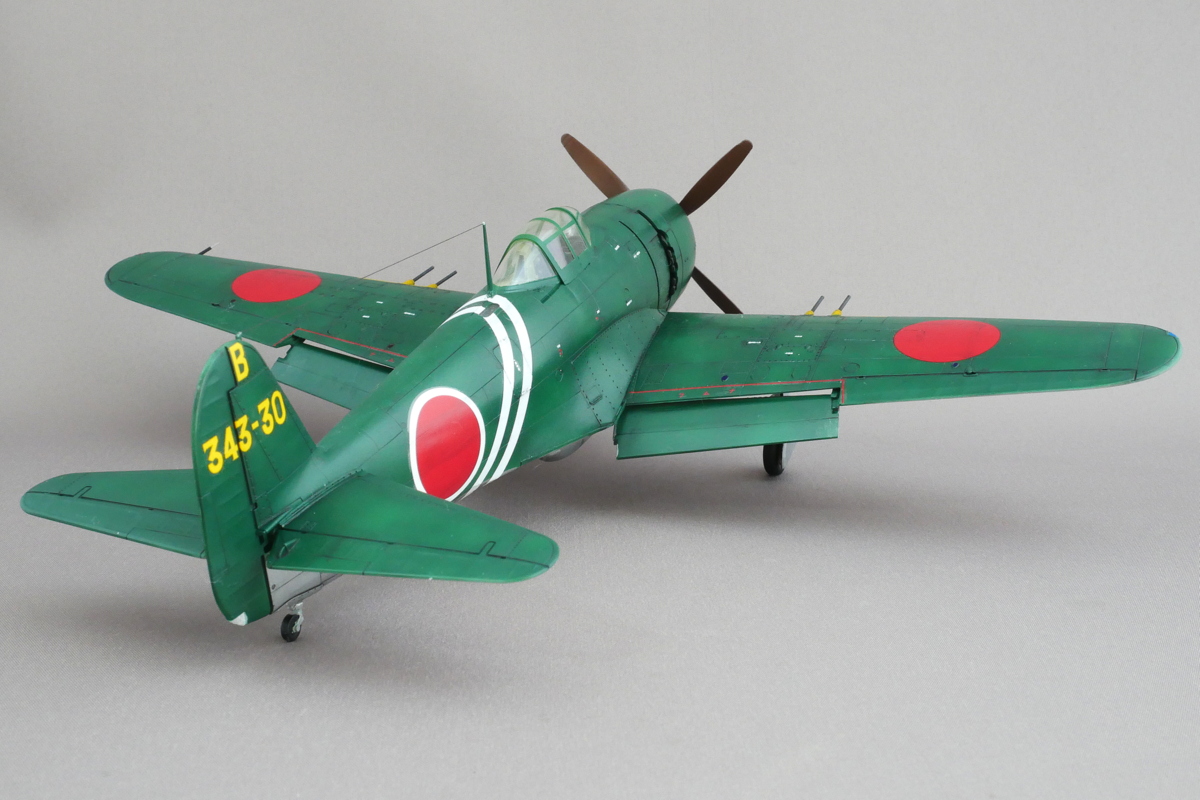 I didn’t make it too dirty this time, just lightly inking. Hasegawa kit is easy to make and good. I think the finished size is just right.
(2019/08/12)


