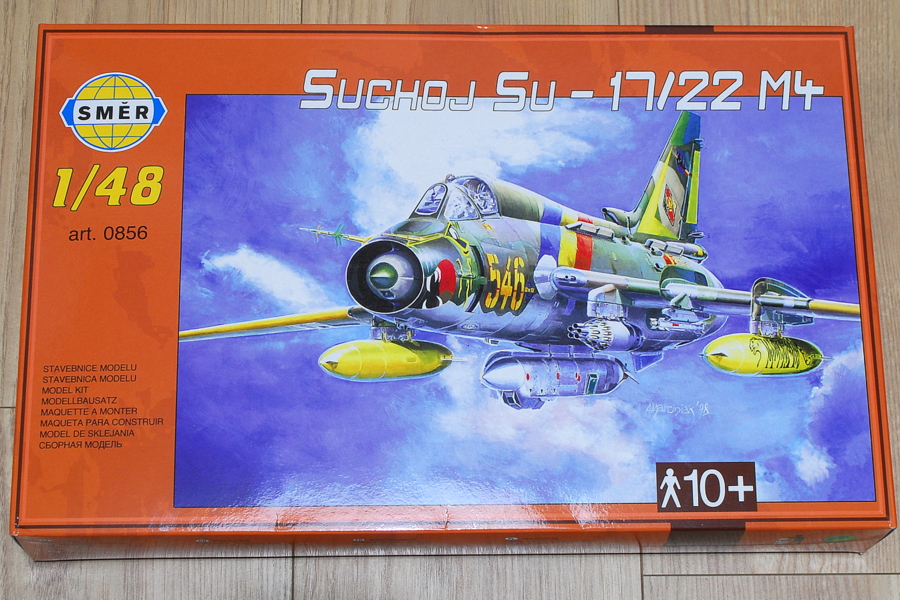
 It is Su-17 fitter of SMER. Last time I also built SMER 1/48 Su-7, it was a pretty tricky kit in my not-so-much experience with airplane models. I have this Sukhoi Su-17 Fitter by impulse buying… Although I would like to make another company easier kit, I thought I’d have to make this one, so I dared to start using nippers.
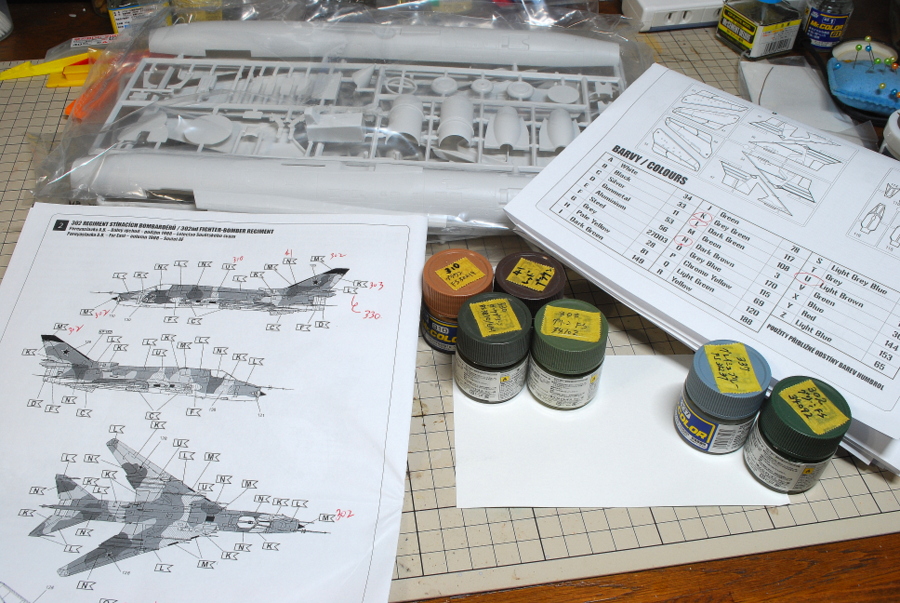 I was reading the manual and wondered what color to use for this Su-17 before starting. The painting instruction of SMER is only a color number of Humbrol. Moreover, the number might be old, and there are a lot of colors not understood even if trying to match with the Creos. I want to make it with the Soviet Air Force. This camouflage is roughly the four colors dark brown, light brown, dark green, and light green. Maybe I can choose them from my color stocks.
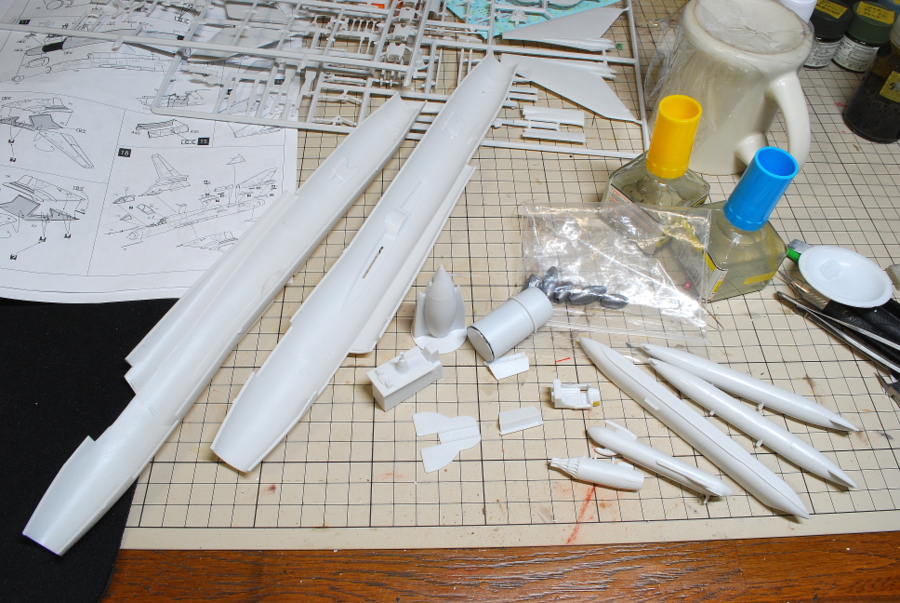 There are many parts without dowels; sometimes, there are significant gaps and sinks, which is why it is hard to work. Even with the second SMER kit, I am somewhat uneasy about making it.
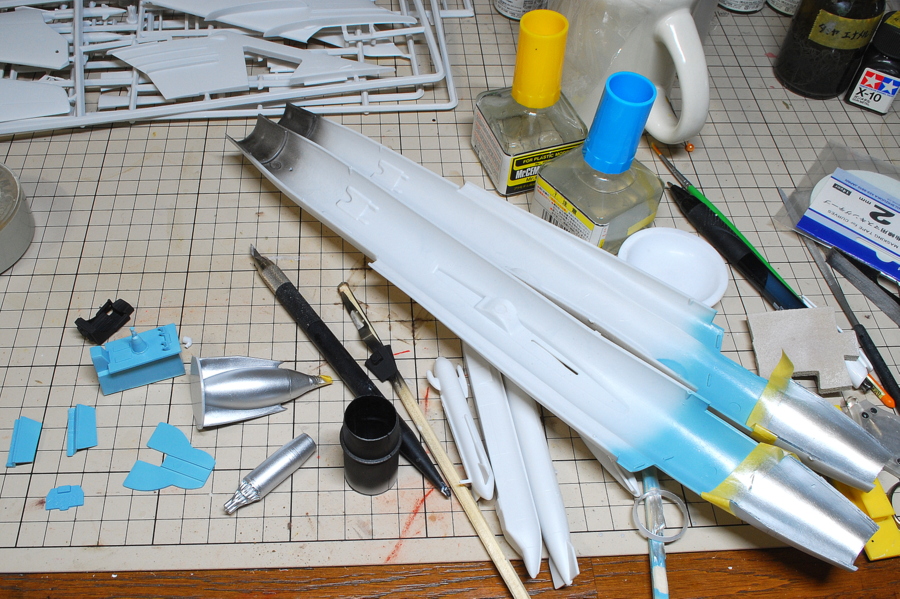 Now I’m painting many parts. Although I want to paint the same color at one time, I leave many parts later in balance with the assembly. The first large operation is the paste of left and right parts with the cockpit and the engine.
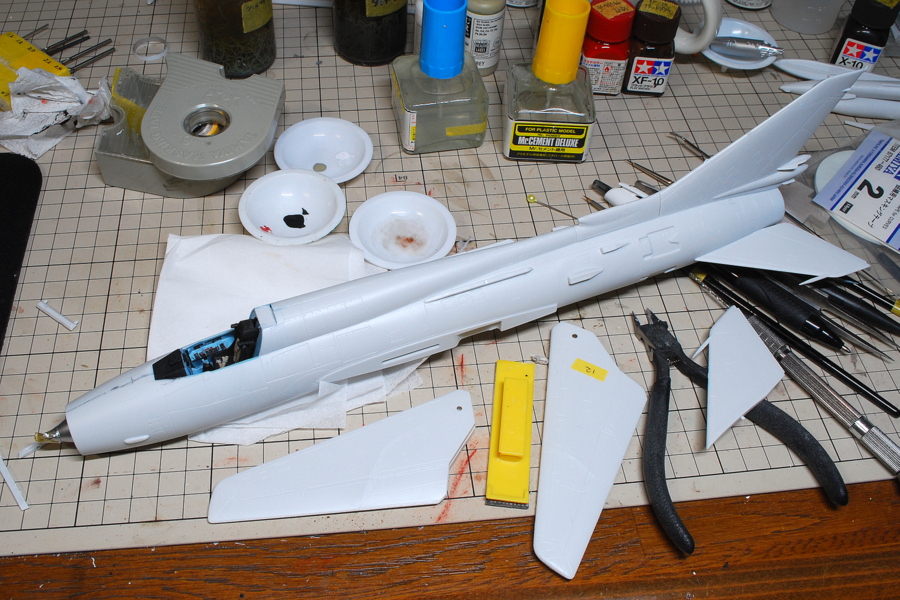 It is tough to connect the left and right body parts. The air intakes of the nose and the front landing gear compartment, the rear engine and the cockpit side panel, the front panel, fine-tuned seat, there are a lot of steps and gaps even with careful fitting. Because I used a large amount of glue on the cockpit, I carefully painted it and had to retouch many parts later. But anyway, I built all the necessary elements required.
(23-March-2018)
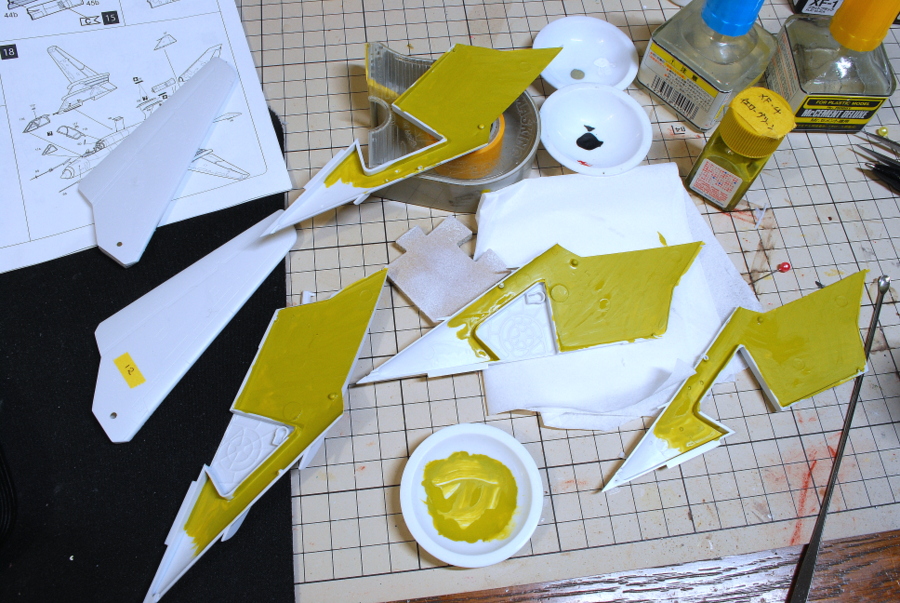 Paint the variable-sweep wing compartment inside with yellow-green. I don’t have Mr. Color, and I used Tamiya enamel with a brush.
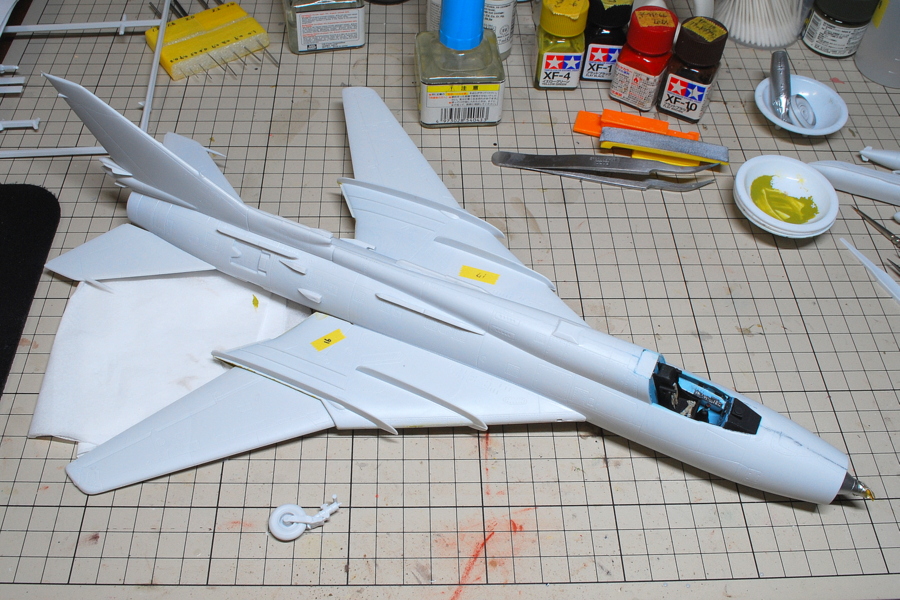 It has become a rough shape with wings attached.
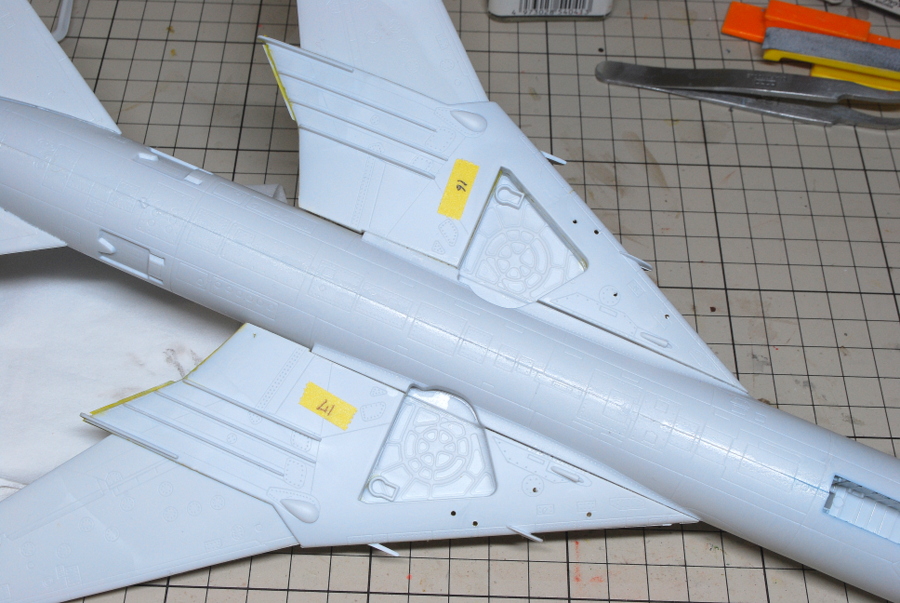 Yes, there was a gap in large quantities, as expected. Nevertheless, the fitting of the parts is much better than Su-7, which I made earlier.
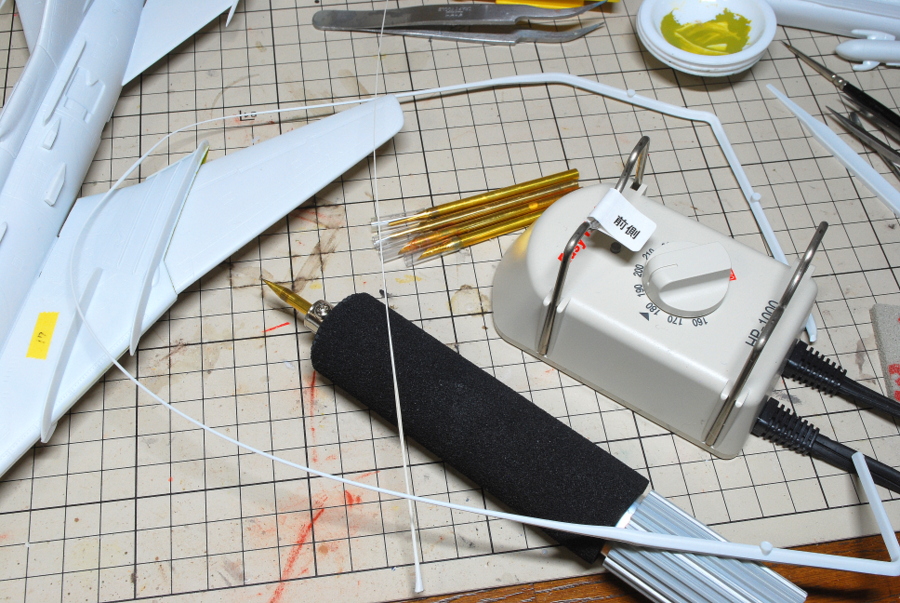 This is my Heat Pen of Towada Giken; I thought it would be helpful to do Zimmerit Coating of German tanks; I bought it a long time ago. Now the manufacturer is the same, but the selling company is changed to Platz.
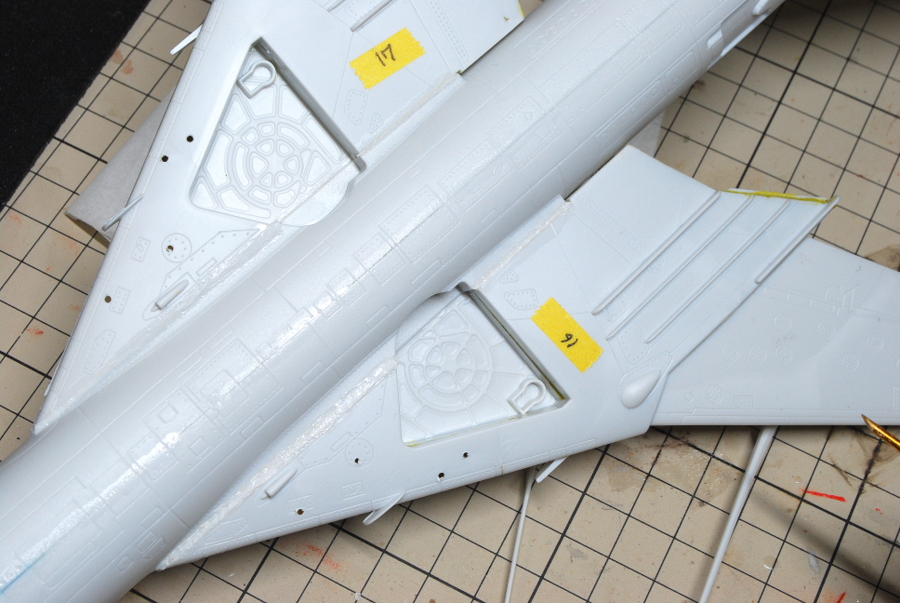 The gap was generated on the lower side, which was hard to see, and corrected with a heat pen. However, considering the accuracy of the wing dihedral, it will not be possible to fix it on the lower side every time.
(25-March-2018)
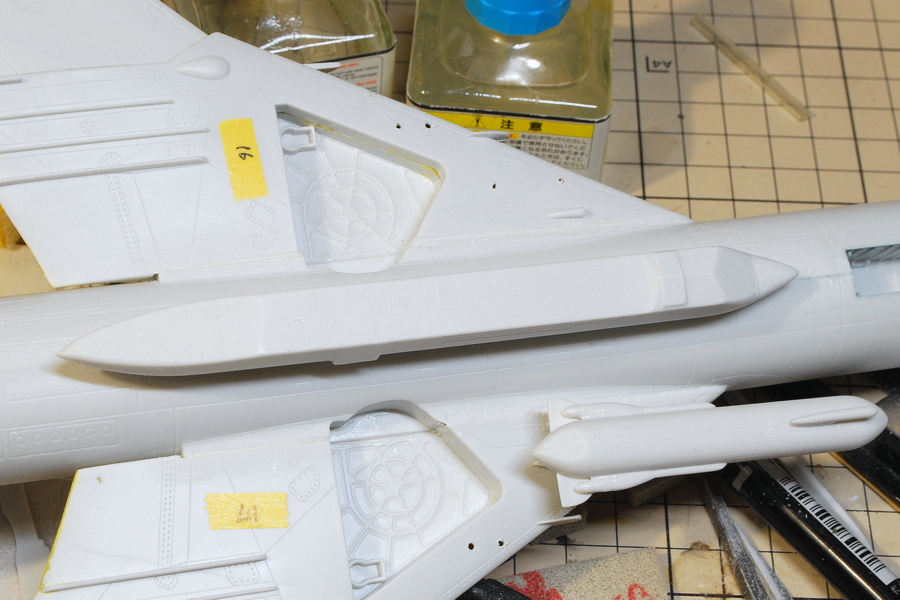 Perhaps this kit will need to fill gaps and sink filling in various places. This heat pen must be helpful.
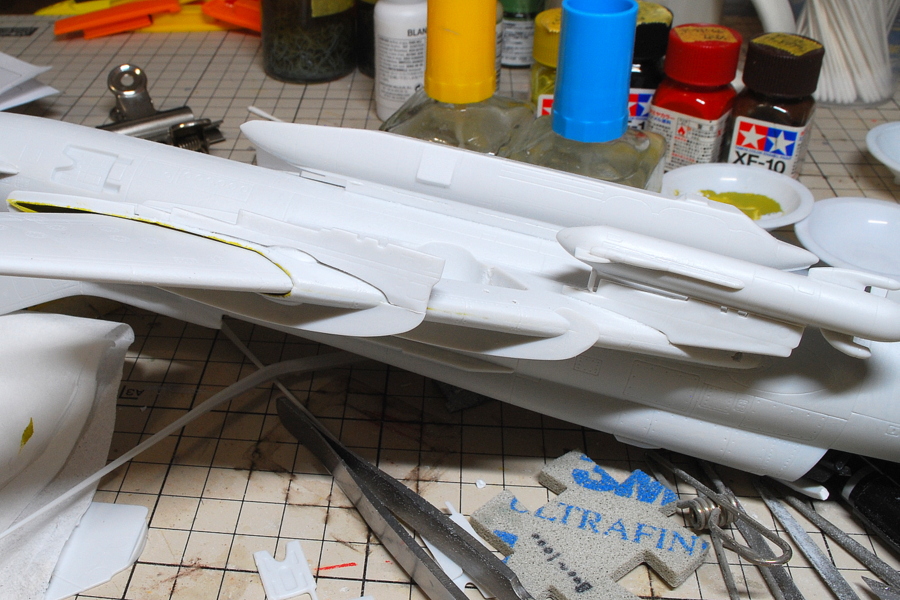 There is an instruction that the pylon should be adjusted to fit the main wing by cutting it apart with an accurate angle. This is difficult, and a large gap has occurred. This is also filling and shaving with a heat pen. I am not confident about finishing it clean.
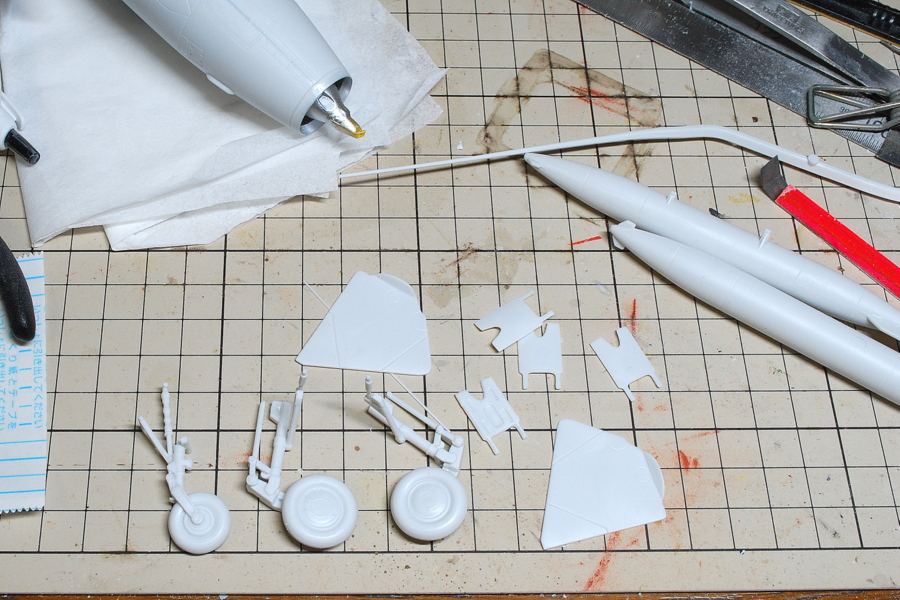 The landing gear structure is complicated, so I’m not sure it is correct. For the time being, I adjusted the angles of various parts so that they could be installed easily as soon as they were painted.
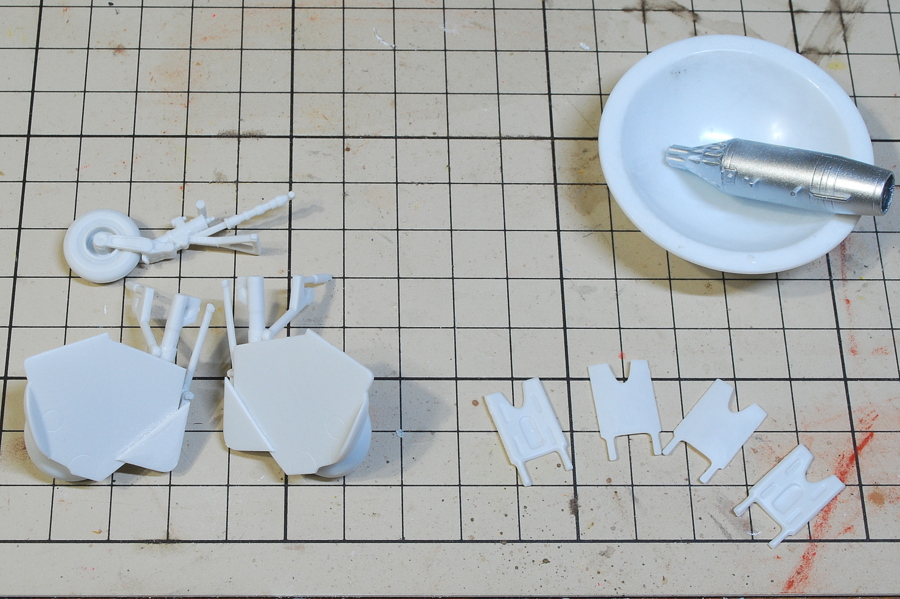 I attached the cover of the landing gear compartment on the underside of the aircraft to the landing gear. Russia’s current fighter, I have made several times in the past, the structure of the landing gear is complicated. I think it’s probably suitable.
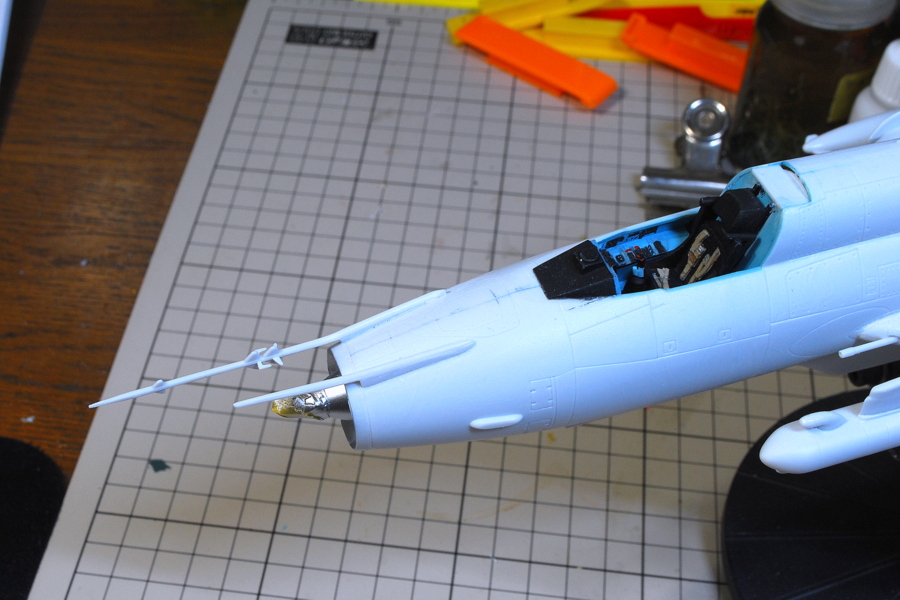 I attached a Pitot tube. Later, it will be damaged easily with careless handling.
(27-March-2017)
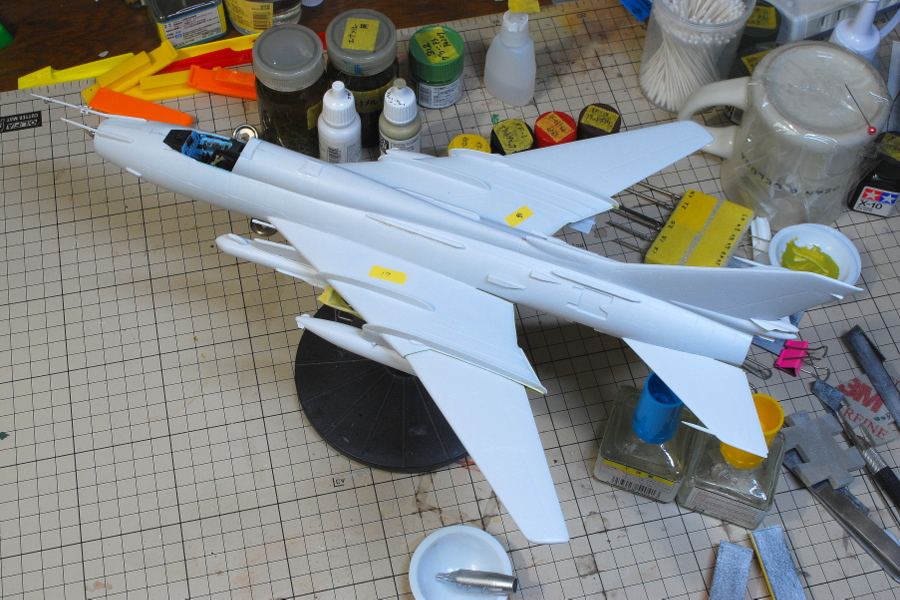
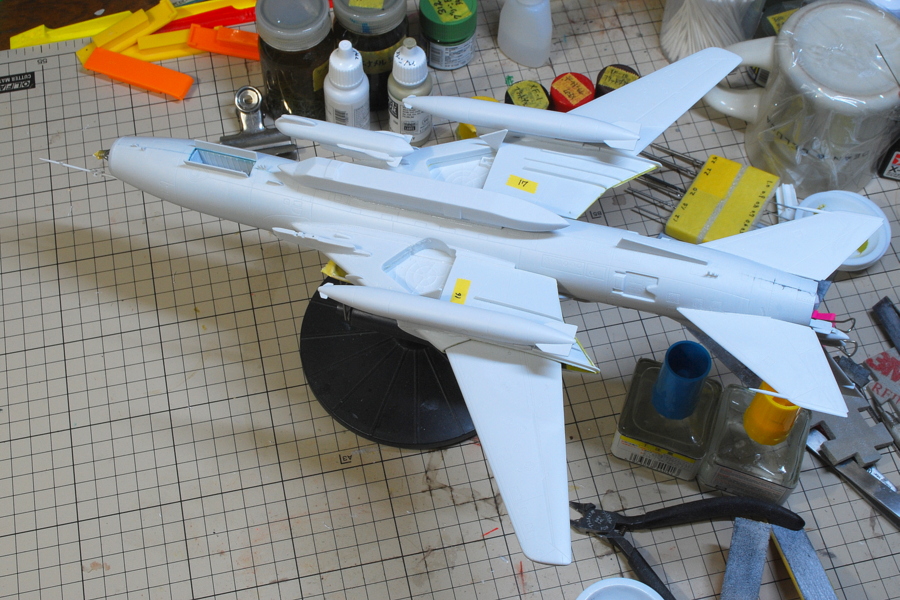 The pure white molding color is unusual. The figure attached to Tamiya’s anti-aircraft half-track was also a white part.
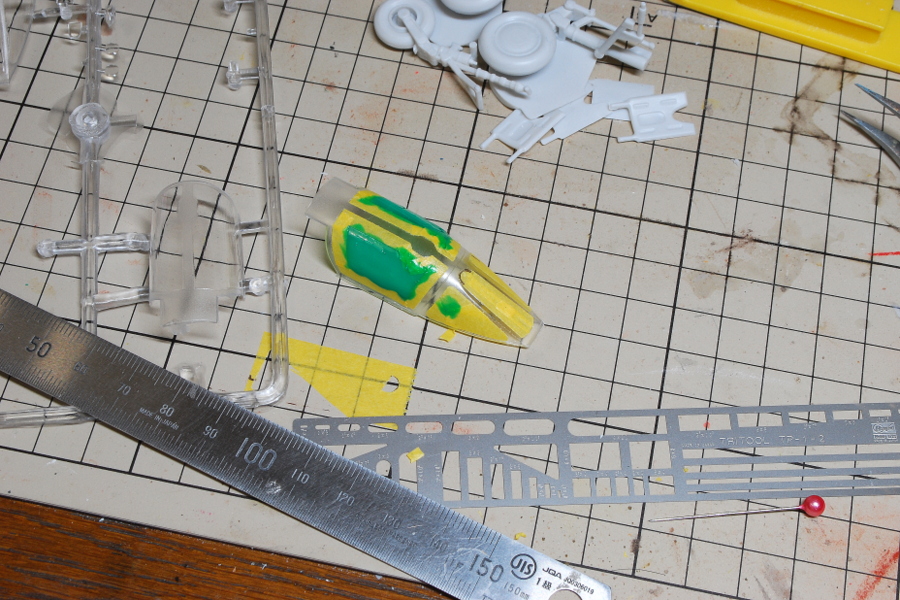 It is masking with sol and tape. This time, I chose the canopy closed state. Even if it fails, the canopy of the open state is also attached.
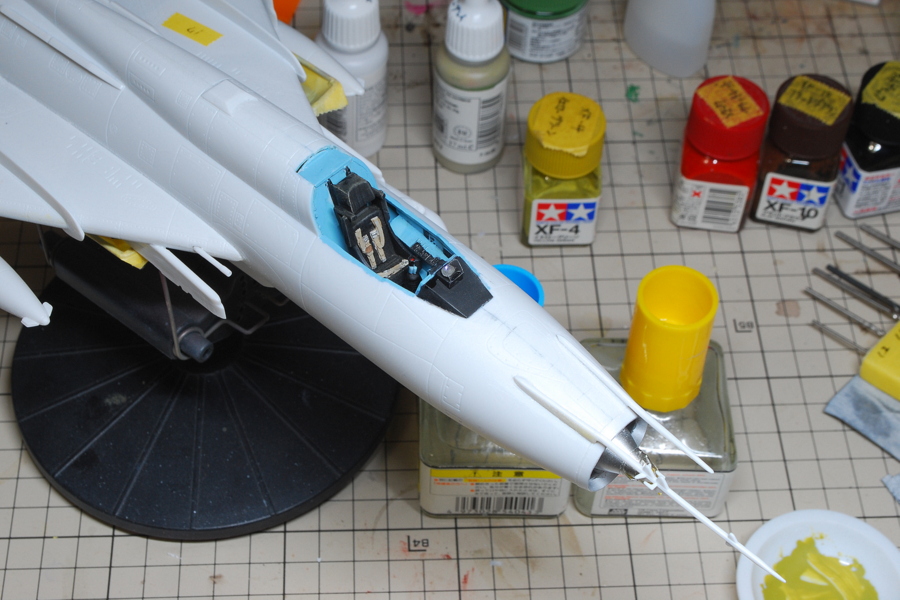 I put a polarization seal on the sighting device of the cockpit. For the seat belt, I chose the part on hand appropriately. The seatbelt shape is inaccurate, but I think it is over the canopy, so even in the atmosphere is OK. But I don’t recognize it very well. Should I put it after painting in clear blue?
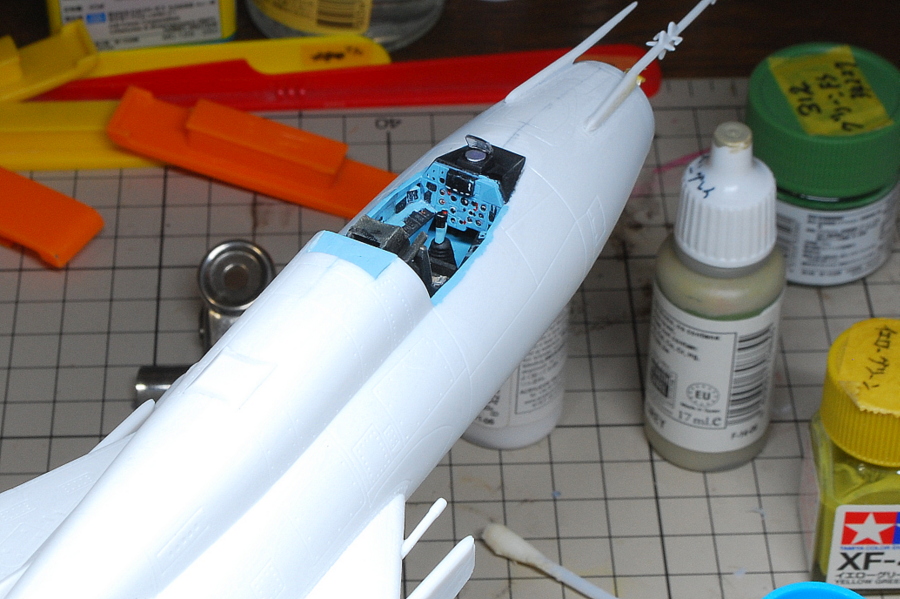 I struggled with the cockpit into the fuselage and finely adjusted each part, so I didn’t concentrate much on painting the panel. I made an excuse, Painted as finely as possible.
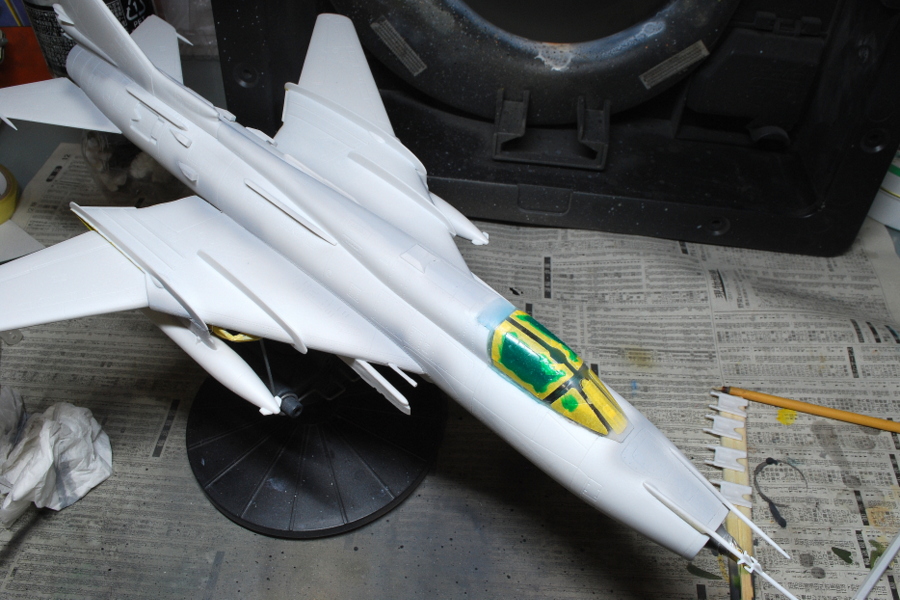 I removed the dirty adhesion trace if possible. Where there was no confidence in the finish, I blew the surfacer and checked if the joint had disappeared. “Yes, it has not disappeared, but I’ll go forward without care!”
(30-March-2018)
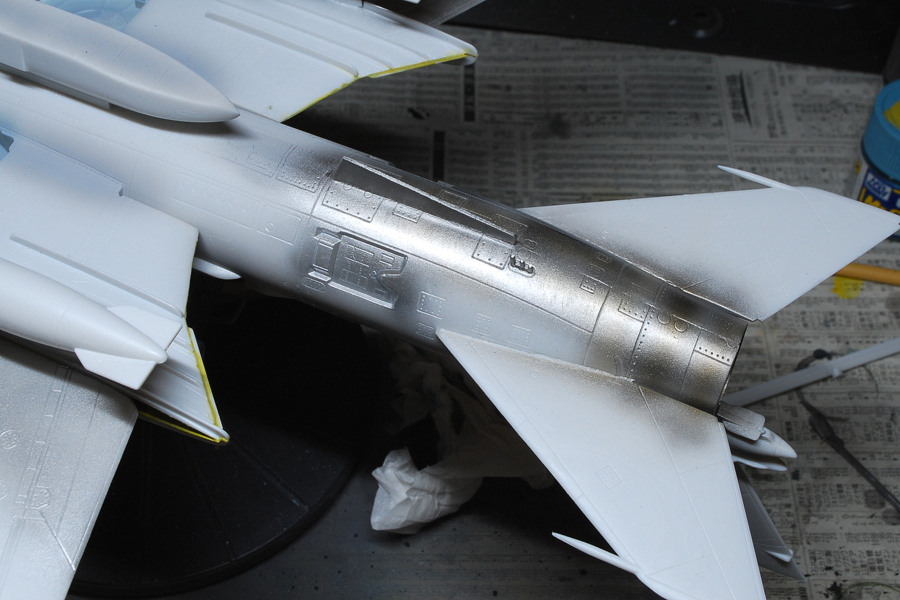 It is a little troublesome for the jet aircraft to choose the masking procedure after blowing metallic first around the engine. I blew the engine various kinds of, such as silver, black iron, burned iron, and transparent orange, and tried to make a model-like adaptation. Since the pylon and the bottom of the main wing are metallic this time, the process before camouflage paint unexpectedly took time and effort.
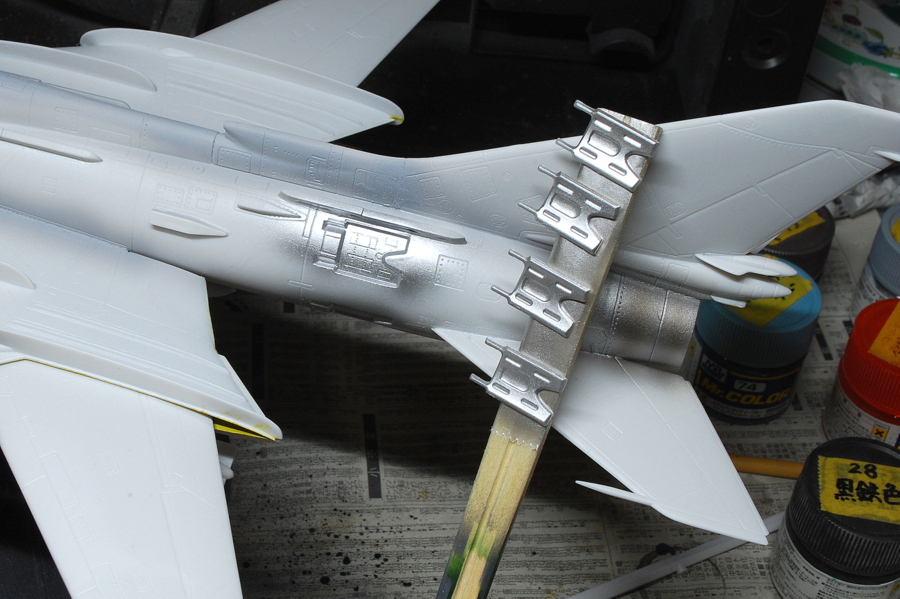 Open the air brake and bond it when a painting is done. I think the air brake paints the inside, temporarily in the closed position. I wonder if I don’t have to mask them.
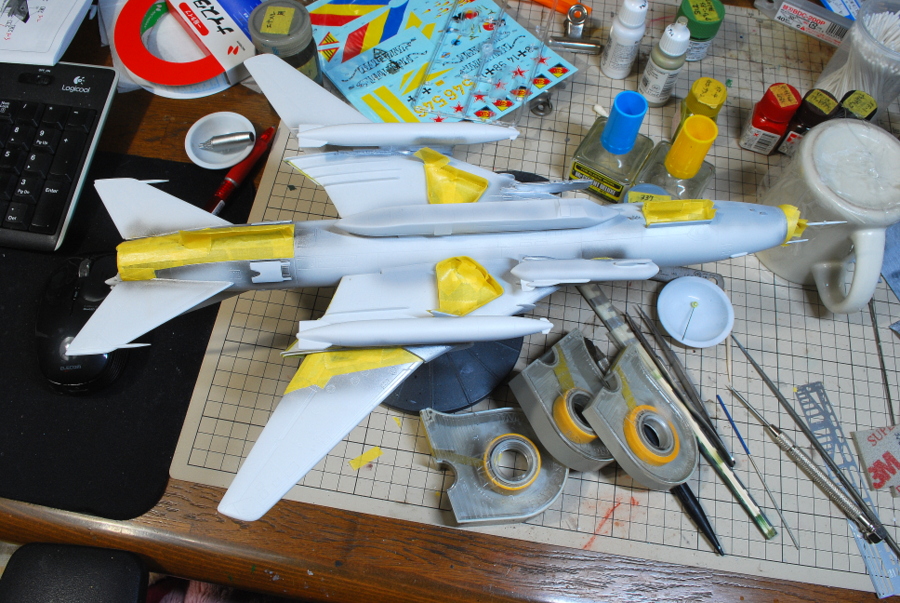 There are a lot of necessary parts for masking, including the lower side of the variable wing. Preparation for painting is not so attractive.
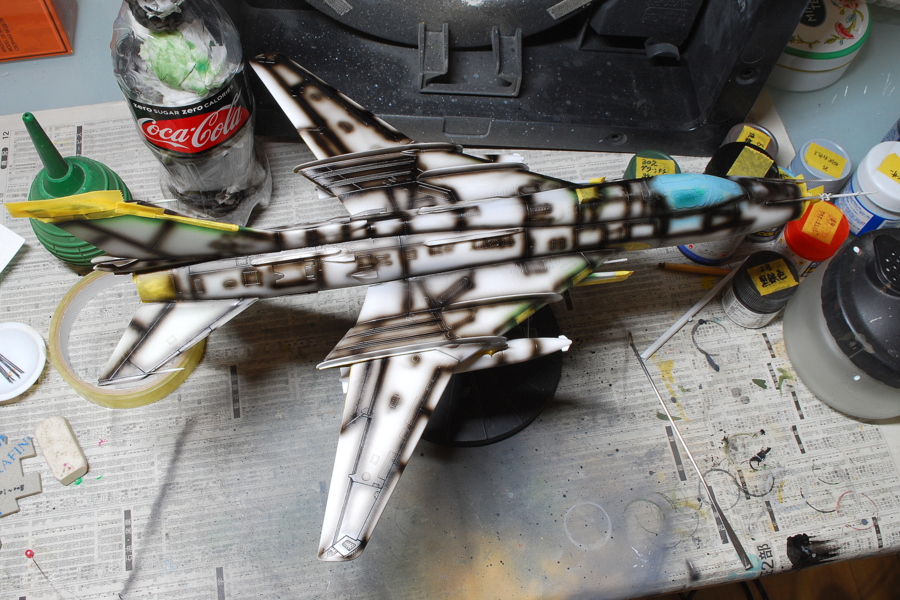 A change appears on the body surface more or less if I blow a shadow with black before four-colored camouflage, and is it interesting?
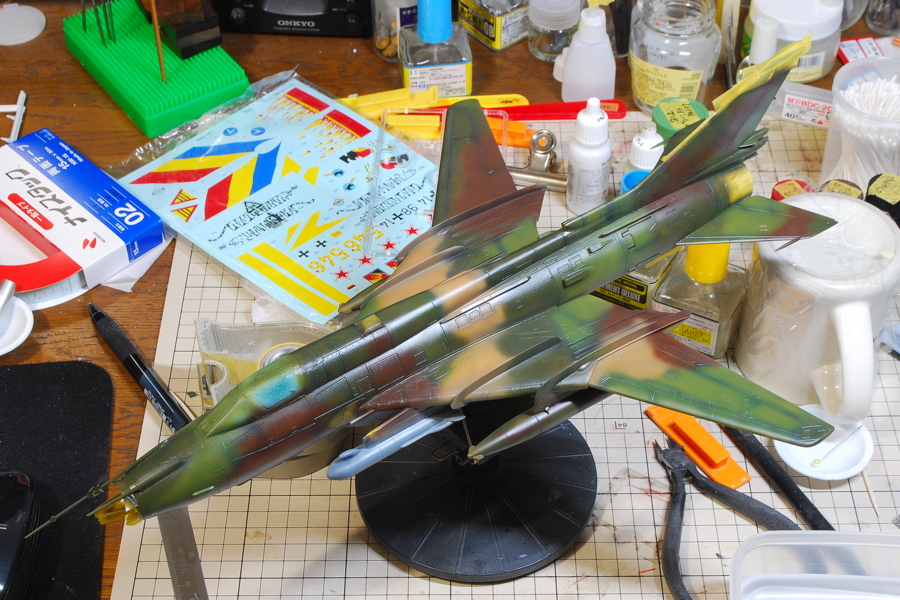 The colors selected as four-color camouflage, the underside of the aircraft, and the underside of the aircraft is Mr. Color #337 Grayish Blue. The green #302 is FS34092, used for various parts of fine detail. The camouflage color is #41 Red Brown, #310 Brown FS30219, #330 Dark Green BS381C/641, #303 Green FS34102. While I didn’t notice, the color used for an airplane has also collected a lot.
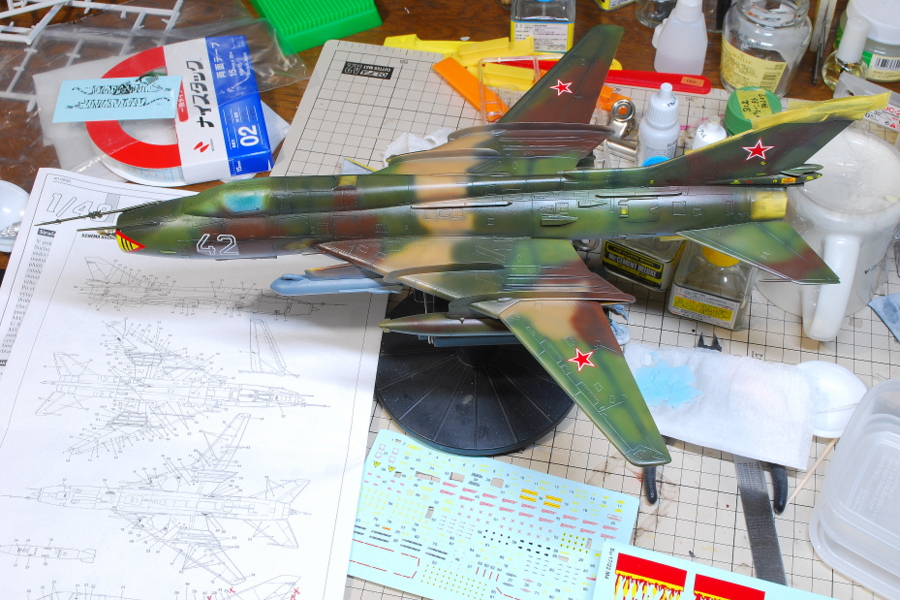 There are lots of fine caution marks. If I pasted all this, I’d get a sense of precision.
(01-April-2018)
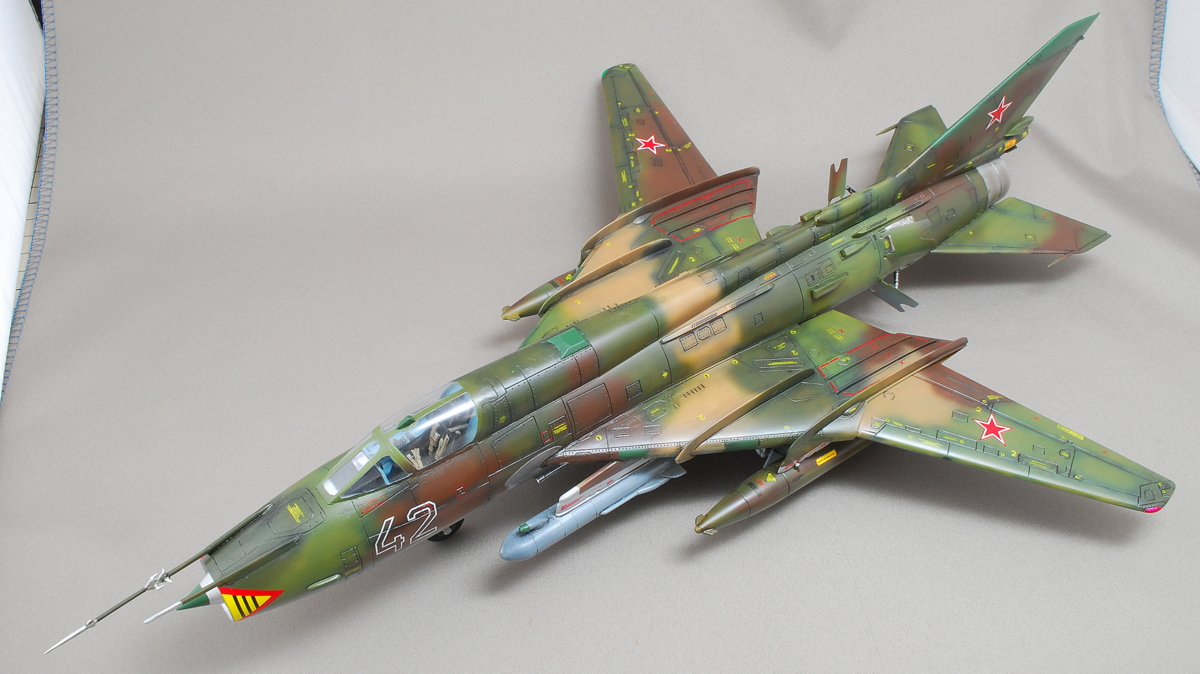 Finally, Su-17 under-making is completed. It is pretty big on a 1/48 scale; I will have to secure a place to decorate it.
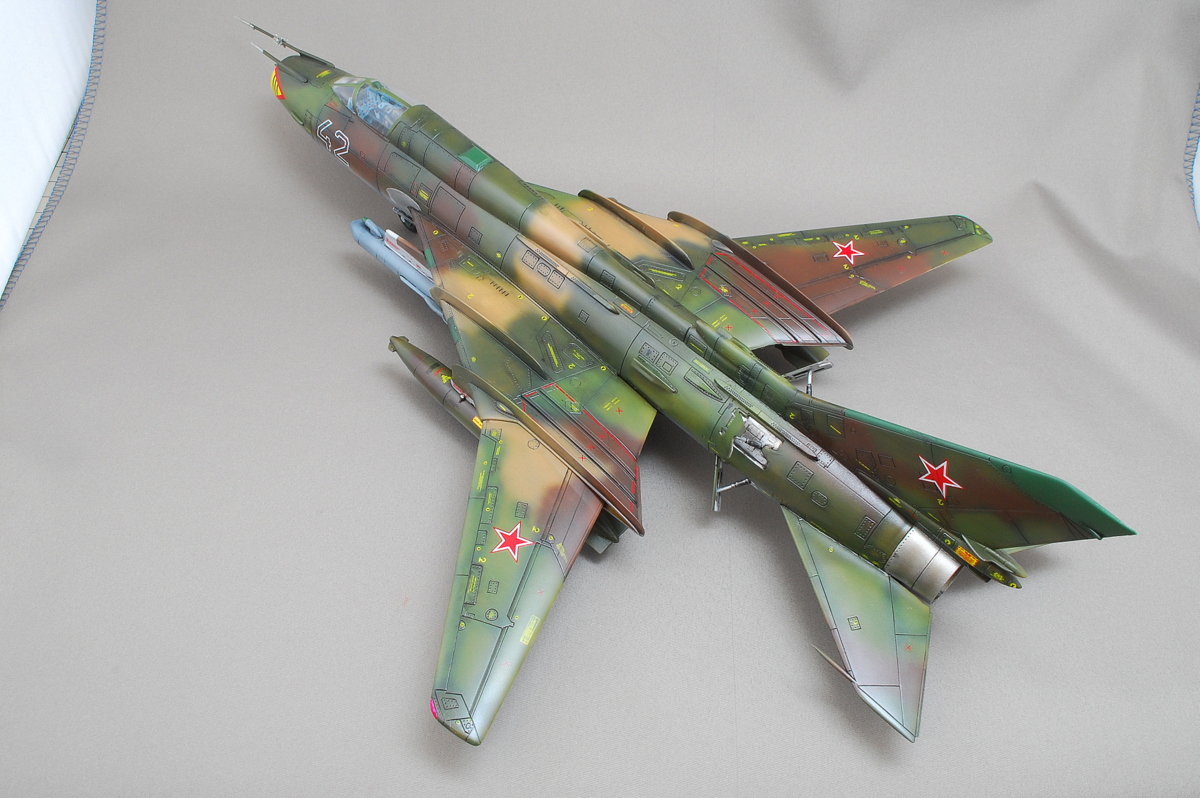 Sukhoi Su-17 started operation in 1970. NATO’s Codename has been a Fitter, just like Su-7. It is the same Codename, although its appearance has changed considerably as a variable wing. It is used as a fighter bomber and reconnaissance aircraft. In the Soviet Air Force, it is called Su-17, and for export is called Su-22.
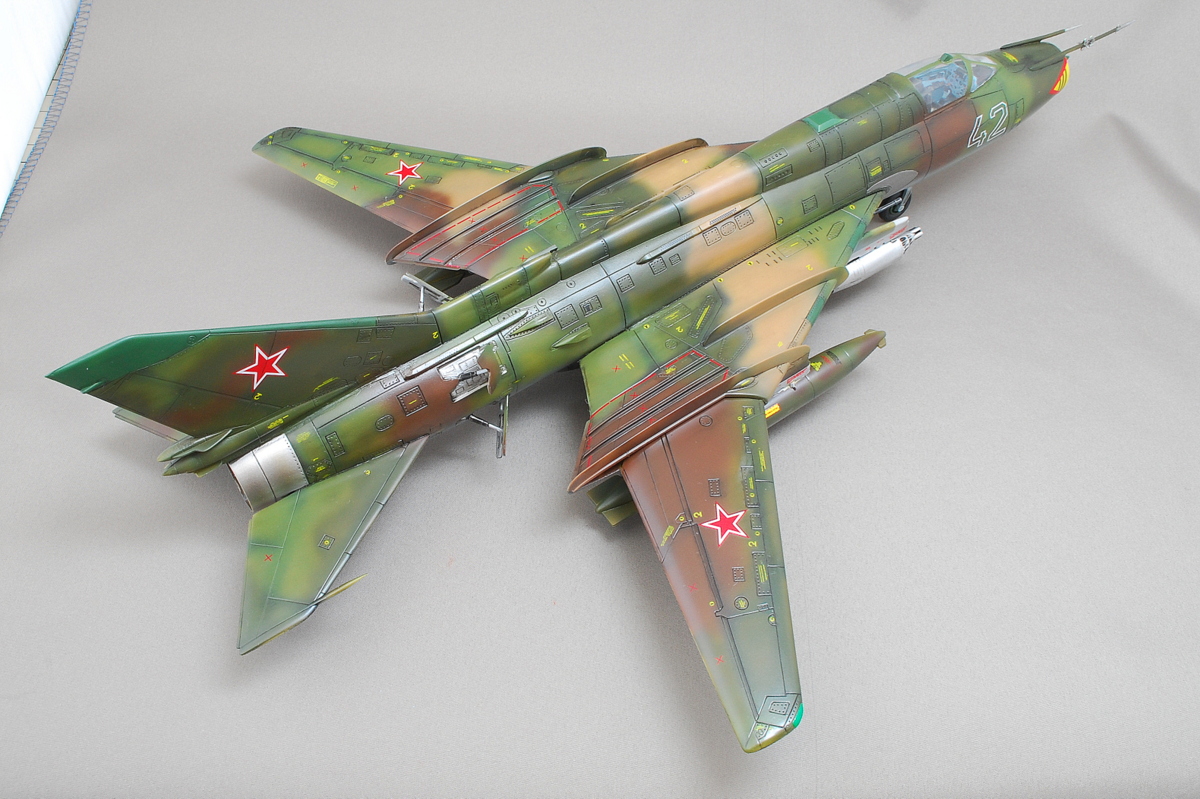 Su-17 is the Su-7’s successor; the best feature was the variable wings. M4 is the final type of Su-17. Having the highest attack capability, it was also called Su-21. The movable air intake was changed to a fixed type and simplified, and the weight was reduced. The bulge’s shape on the upper fuselage is different compared to the M3 type, which is slightly larger.
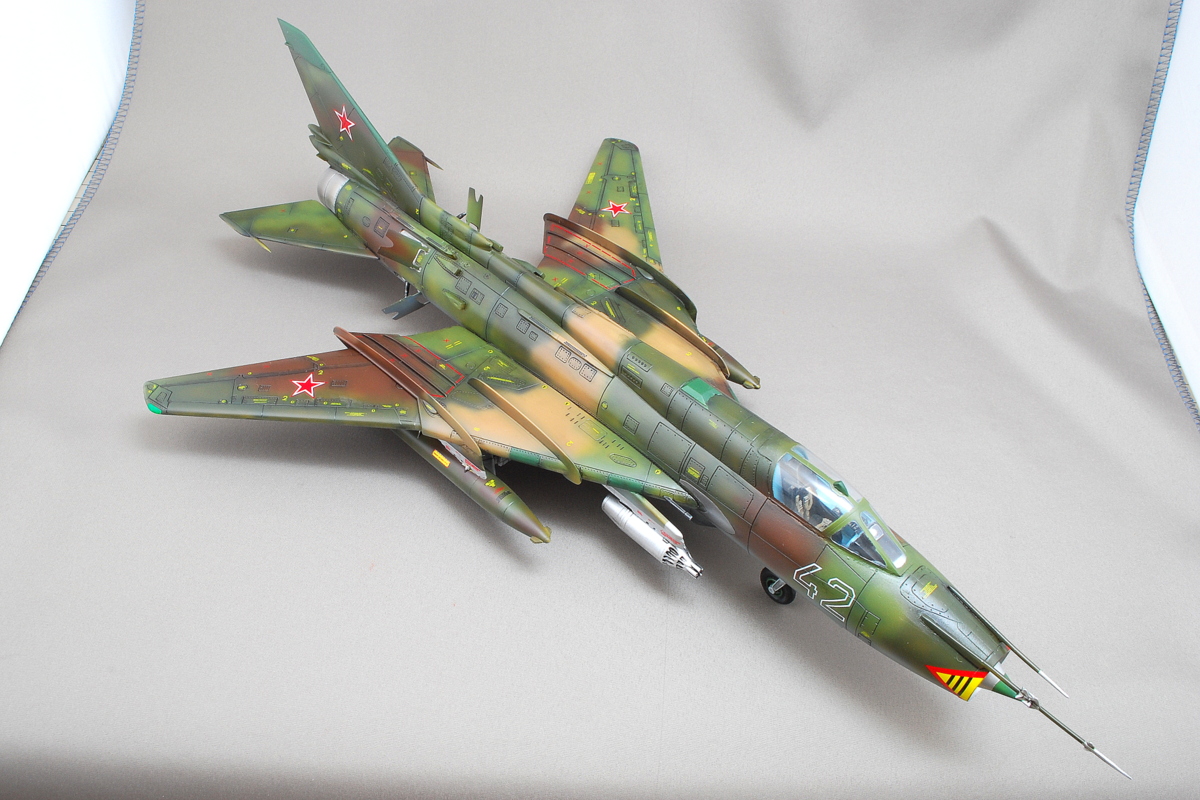 The Su-17 was operated in the war in the Soviet invasion of Afghanistan, the fourth Middle East war, the Iran-Iraq war, Africa’s Angola, etc.
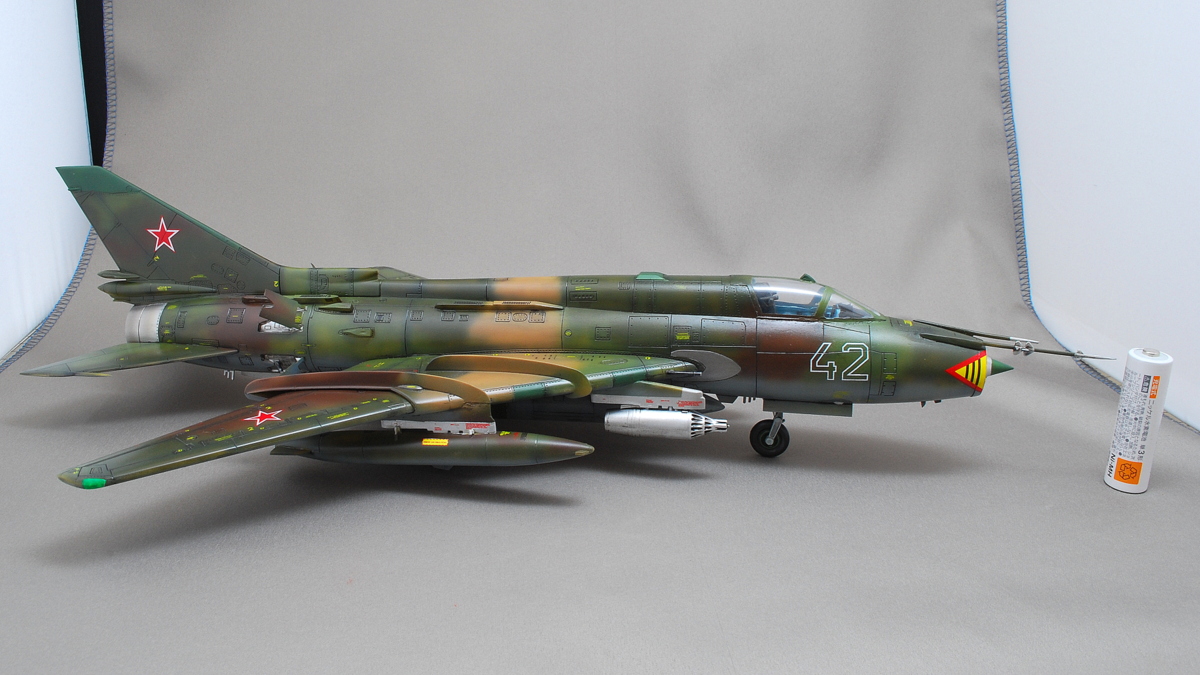
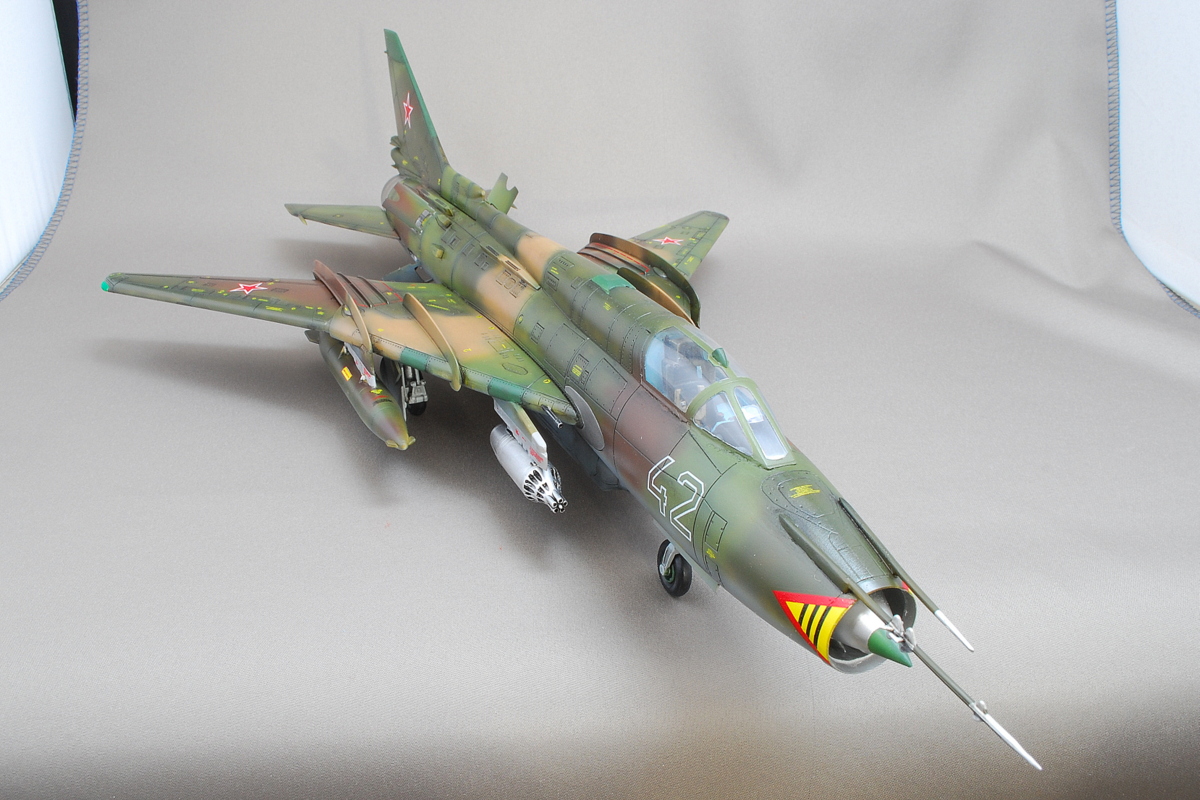 It was the last type of Fitter, so my choice of armament is high-tech weapons.
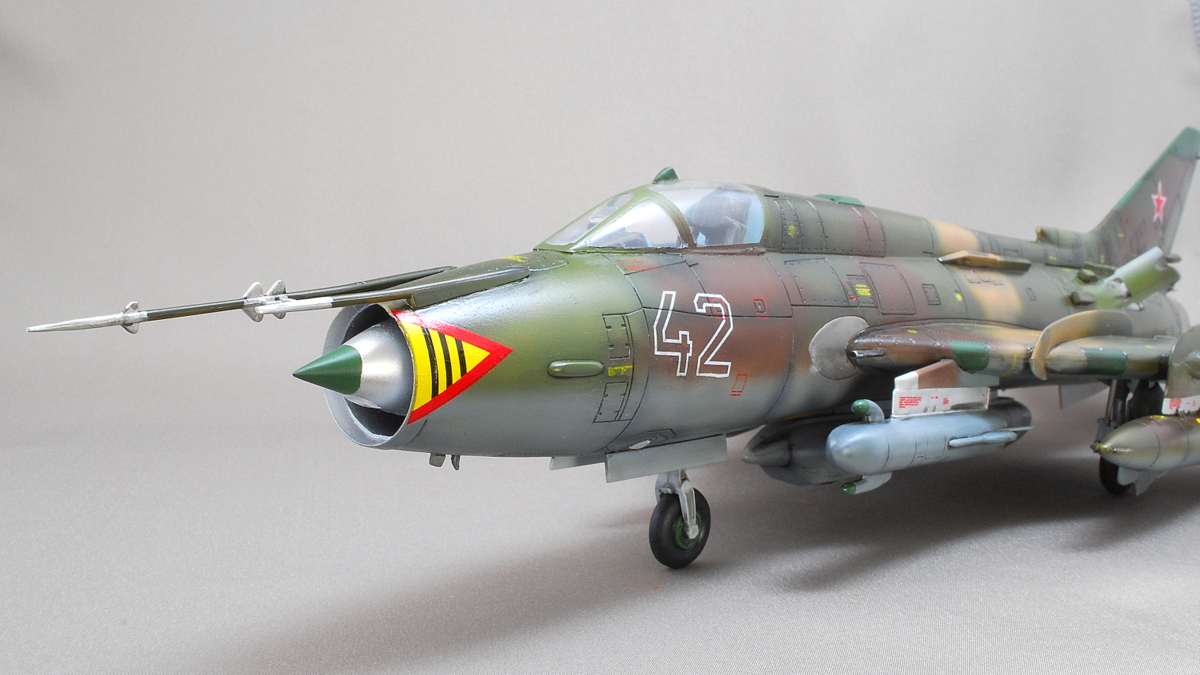 The view from the front of the Fitter series is always excellent. I wonder if the boundary between the canopy and the fuselage could not adhere smoothly. But it was good that the mist didn’t come inside the cockpit, and the inside was never clouded.
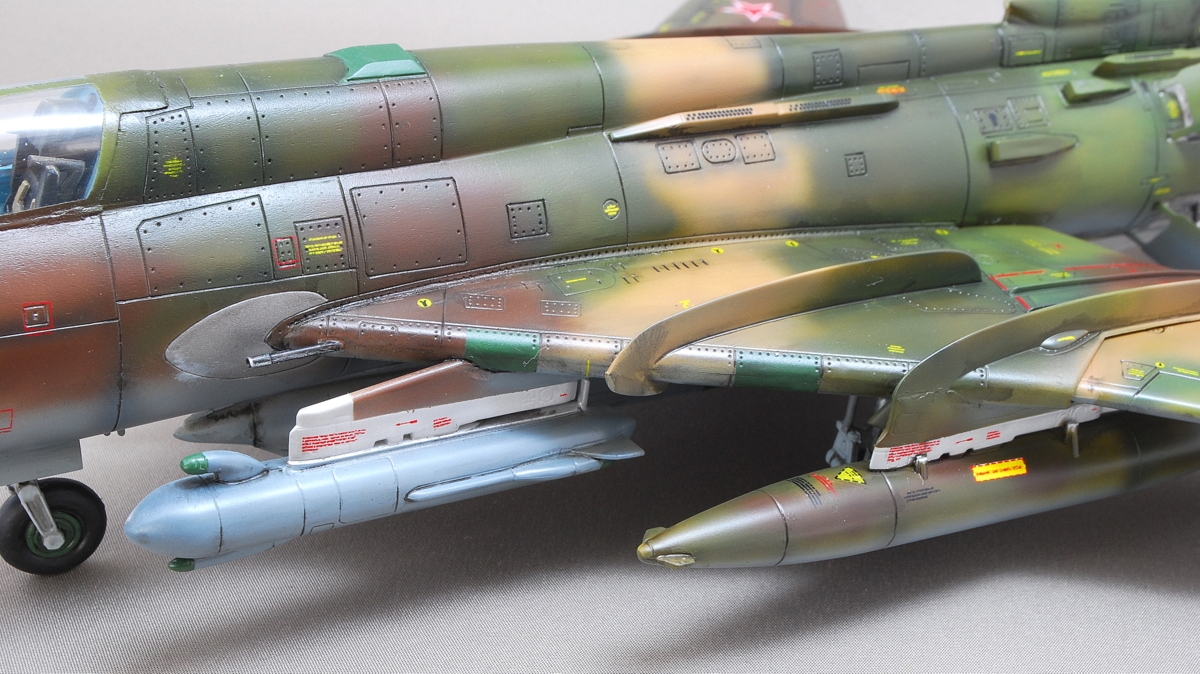
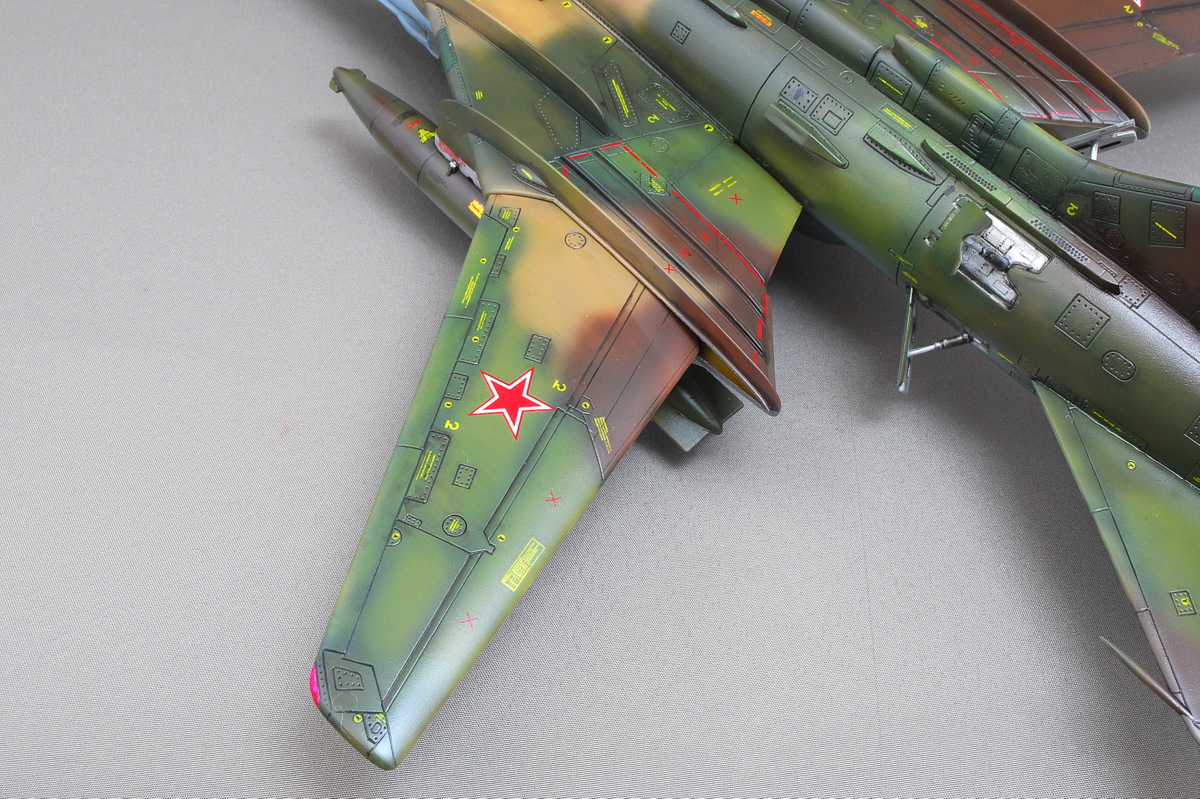 The marking of this Su-17, which was deployed in the Far East in 1988, was the Soviet Air Force No. 302 Fighting Bomber Regiment. It belonged to Pereyaslavka Air Force Base in the Khabarovsk region. This base is about 700 km from Sapporo, Hokkaido, in Japan. Maybe it is an influence of I’m a German tank lover for choosing a four-color camouflage of Soviet Air Force more than a flashy East German Air Force marking in this kit decal.
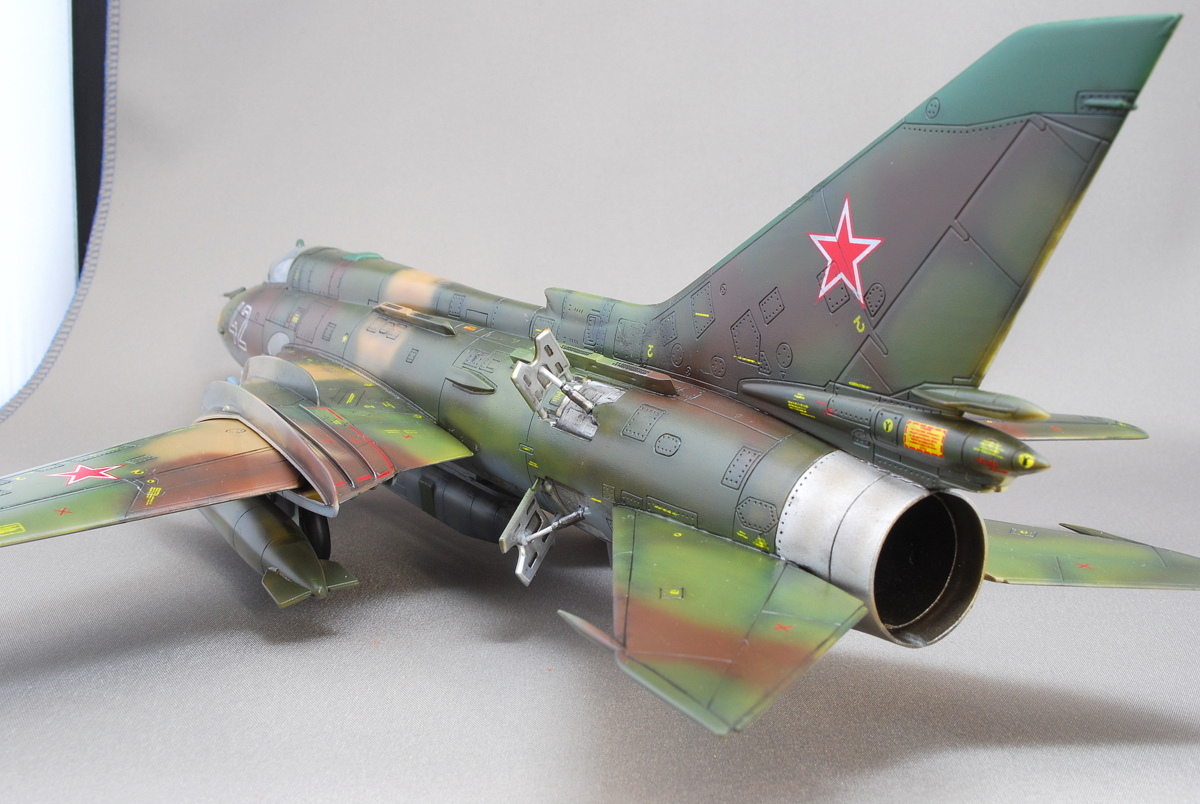 I wondered how to finish the coating; I finally made the coating between gloss and half-matte. I think the camouflage paint matched better to the matte surface, but the Phantom II I made earlier was glossy, and I like this.
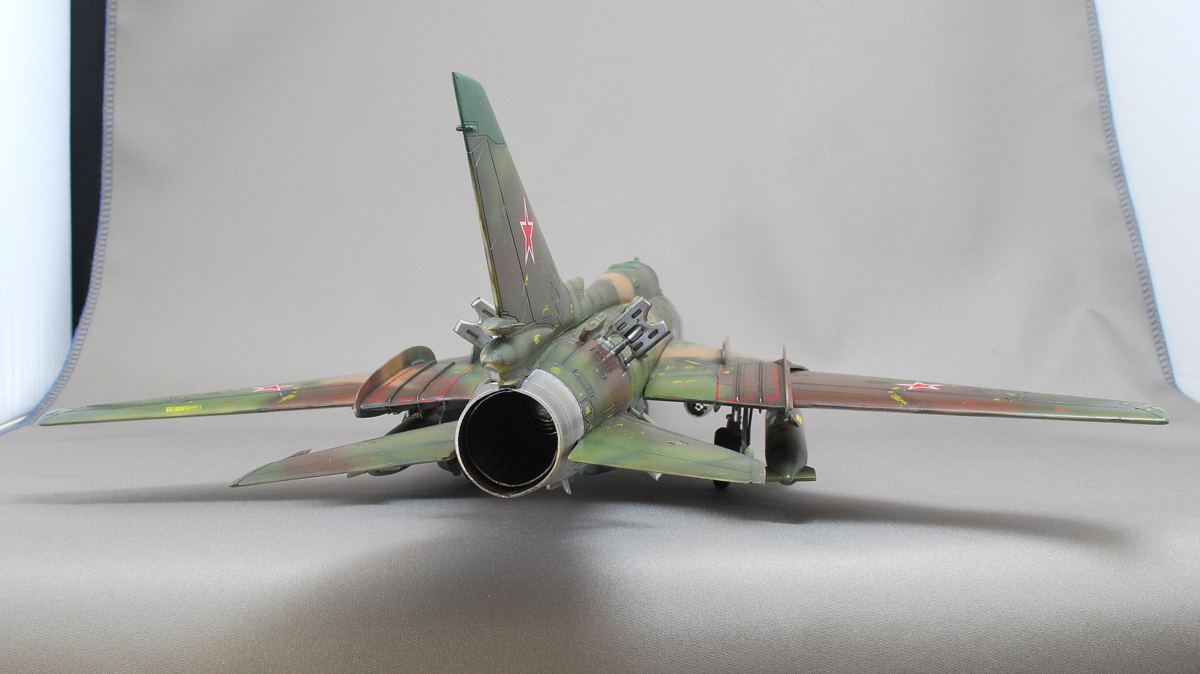
 Previously, I felt it even when I made the Su-7; the SMER kit is made of very soft plastic.
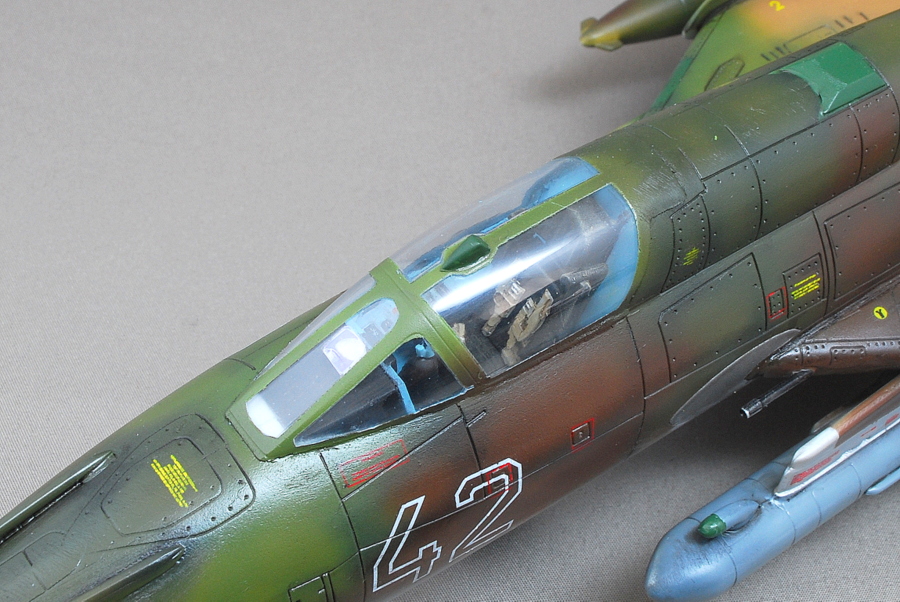
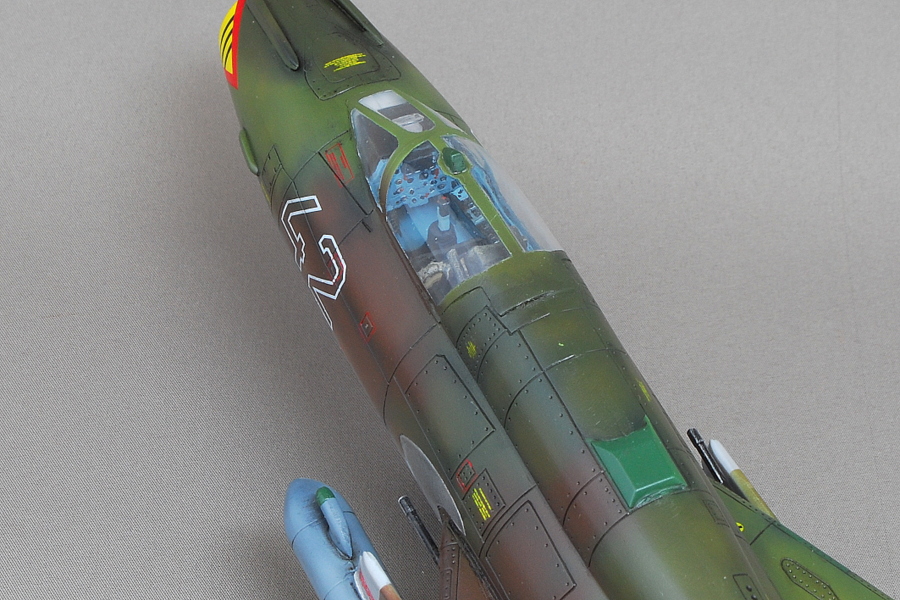 I painted the cockpit as finely as possible, but the original details were not so good, and it was hard to finish cleanly.
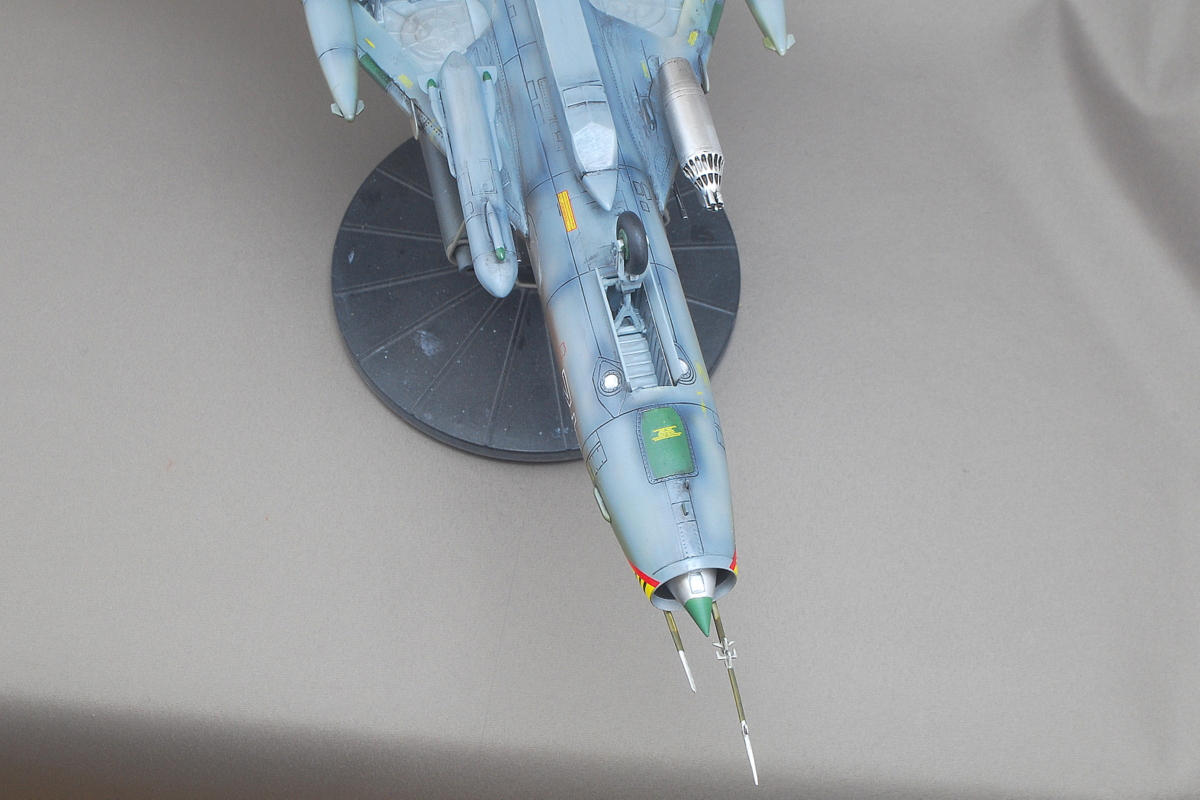
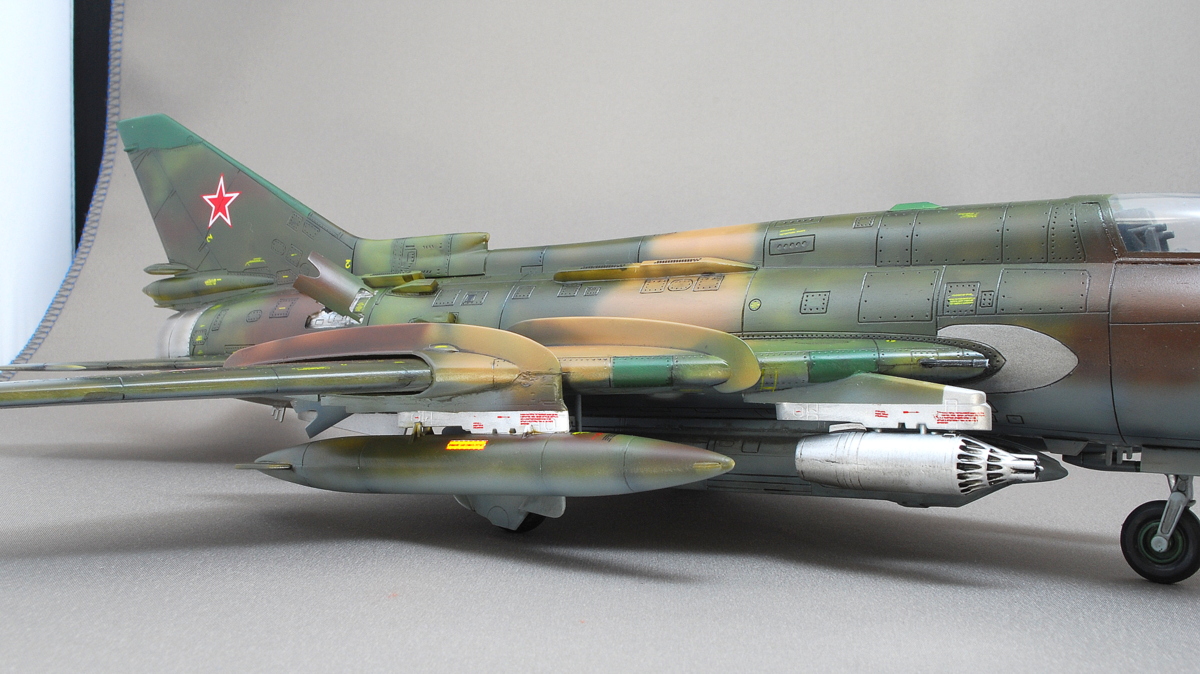
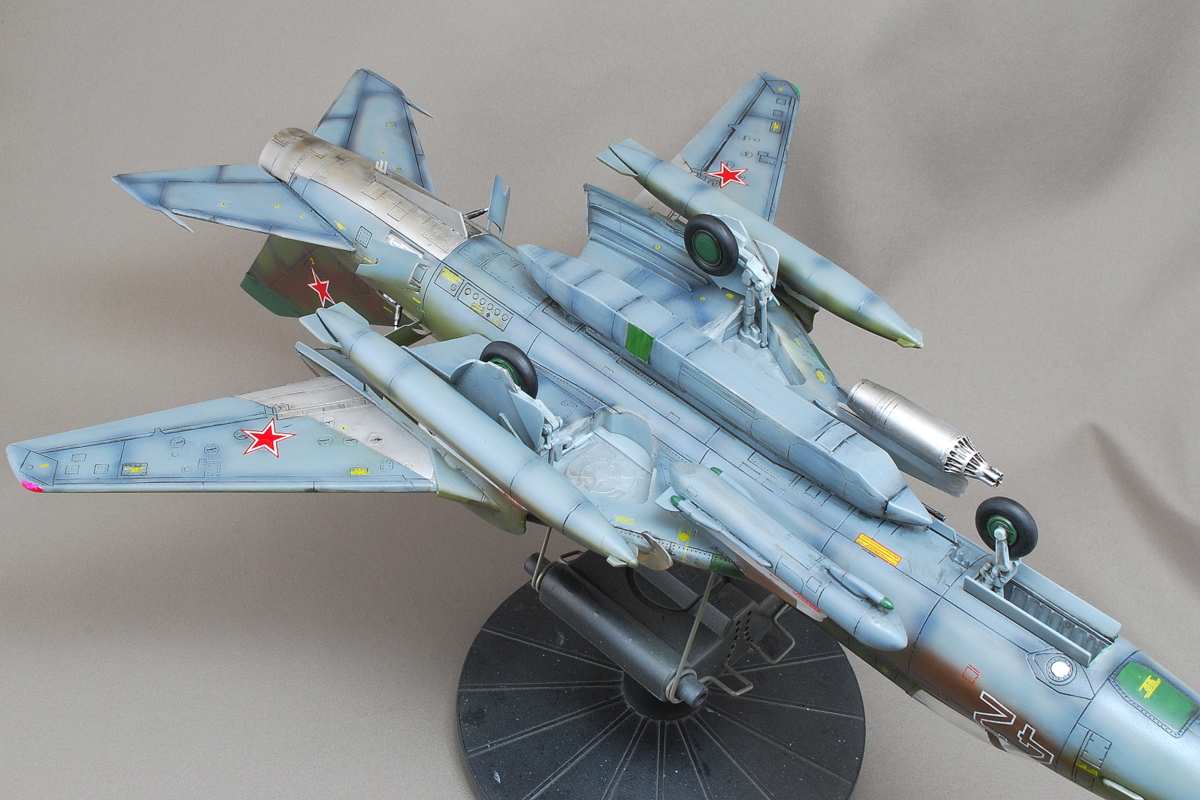 The most extended item in the middle is the KKR-1T Soviet reconnaissance pod; it has a standard camera, a panoramic camera, and a night photography camera. The ECM pod, SPS-141 Electronic Countermeasure system, and Jammer are on the other side of the silver missile pod. The other is the fuel tank.
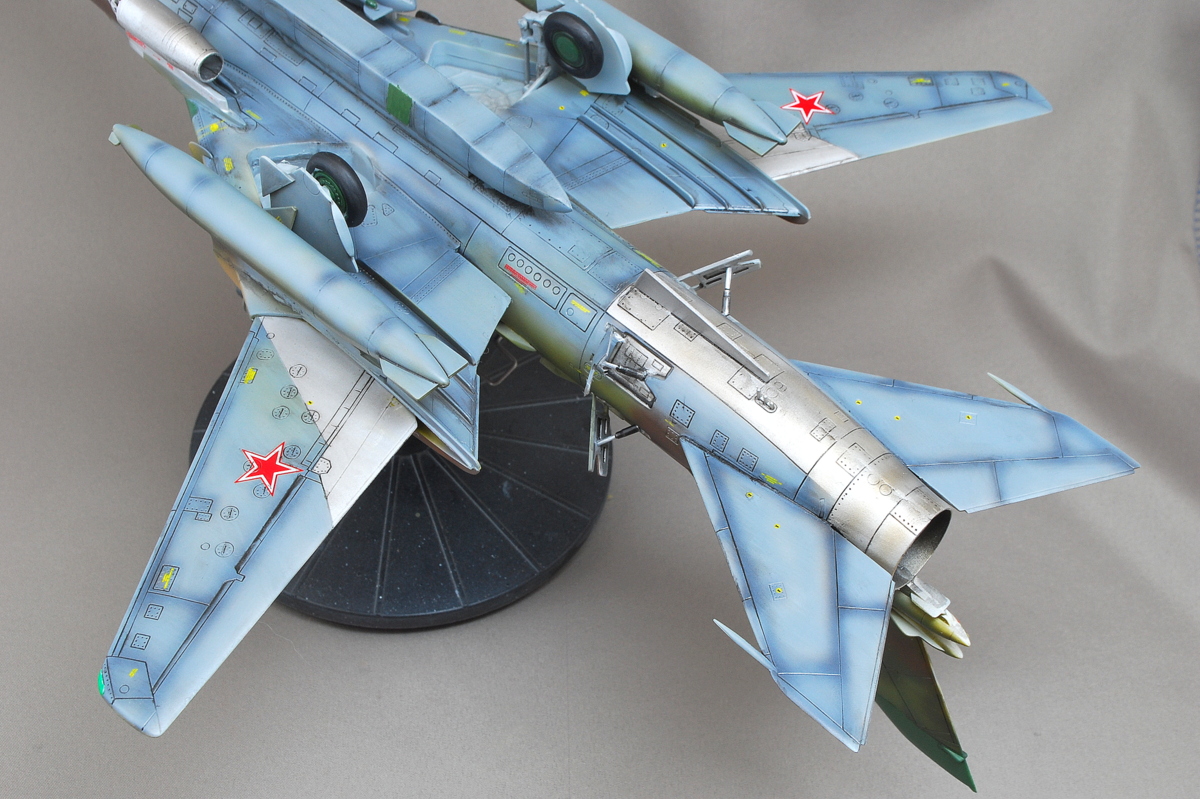 There is no detailed painting explanation in SMER’s instructions, such as painting the extra fuel tank. By my interpretation, I painted those tanks on my favorite, such as camouflage painted on the top half, and the bottom color is light gray. It’s not a kit that thinks too much detail; OK if it is satisfied personally.
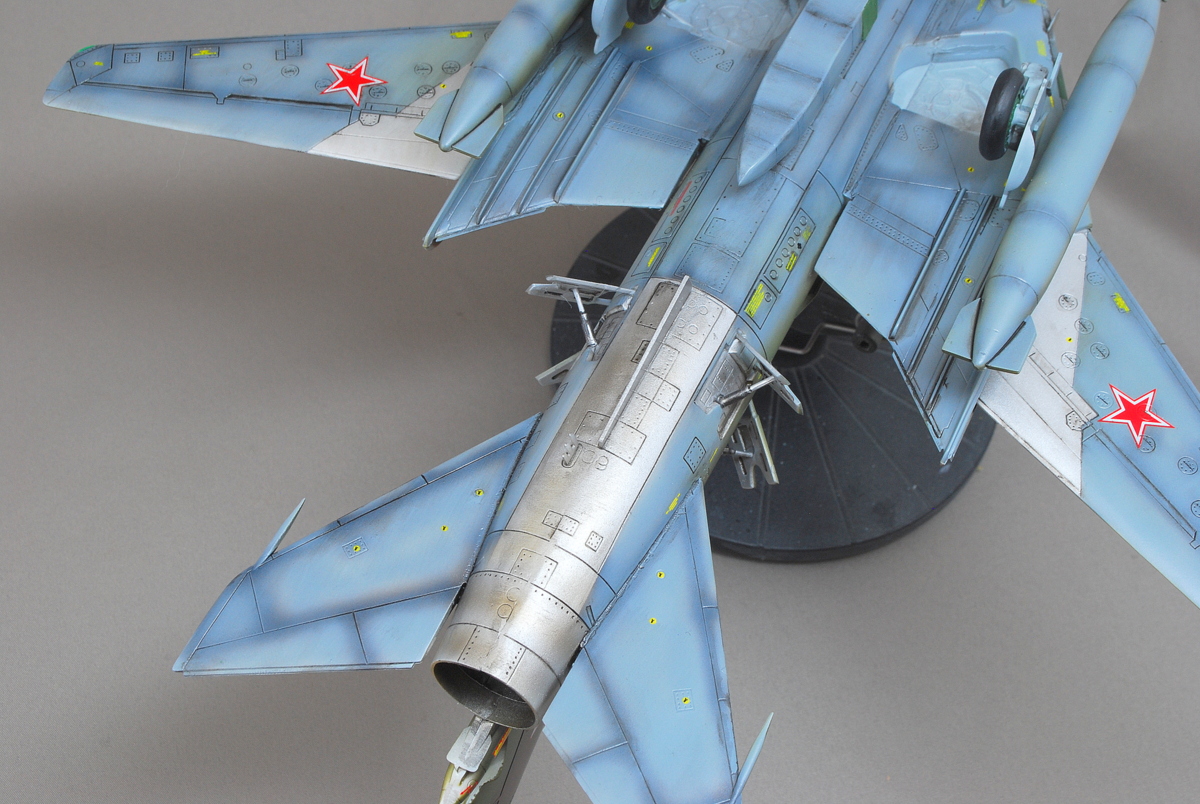
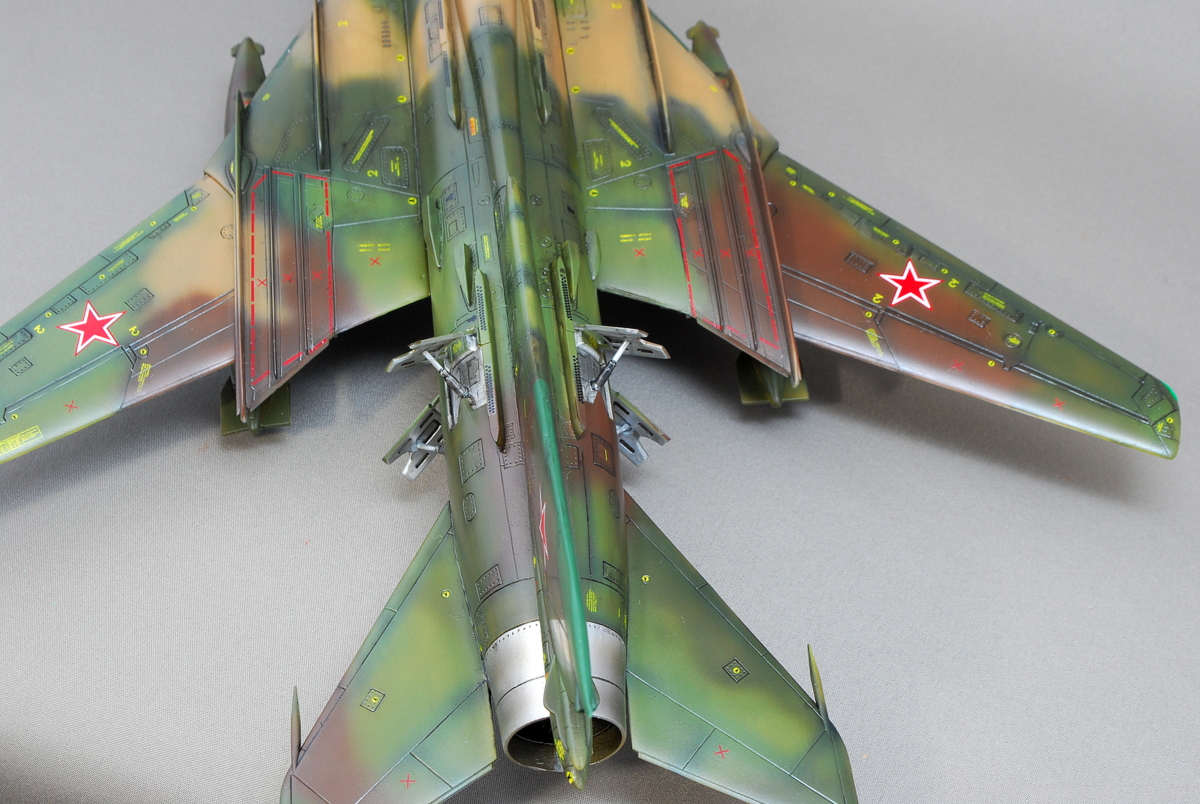
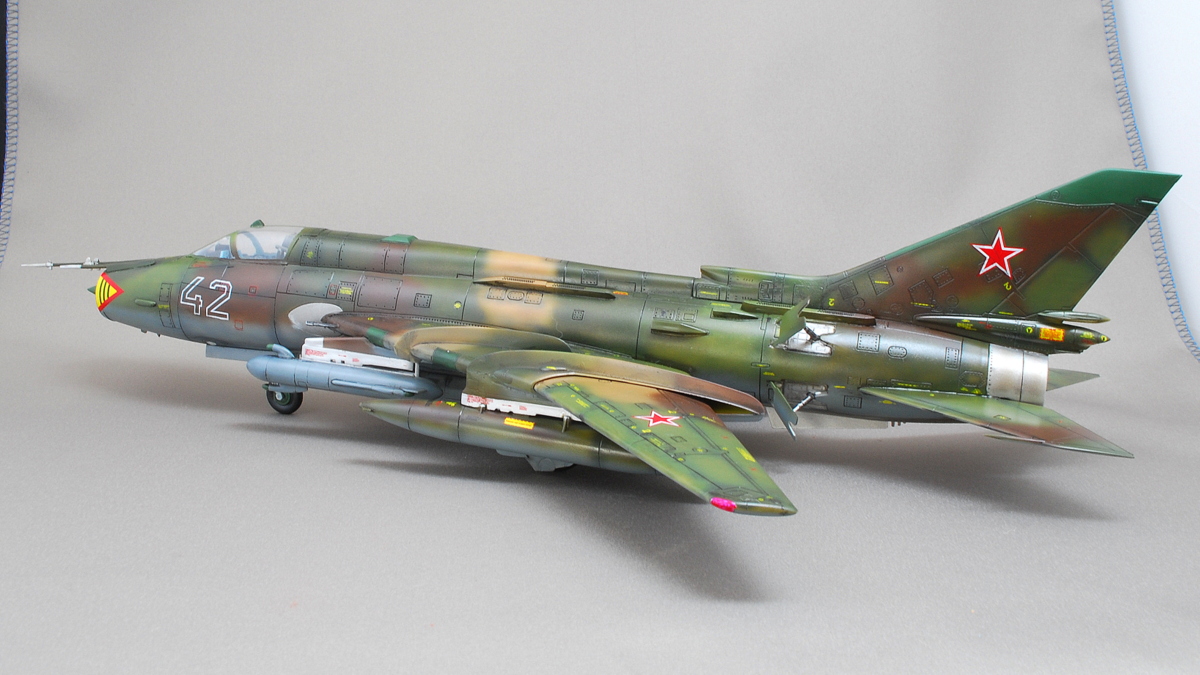 It is discovered that it is cool looking unexpectedly when the air brake is opened.
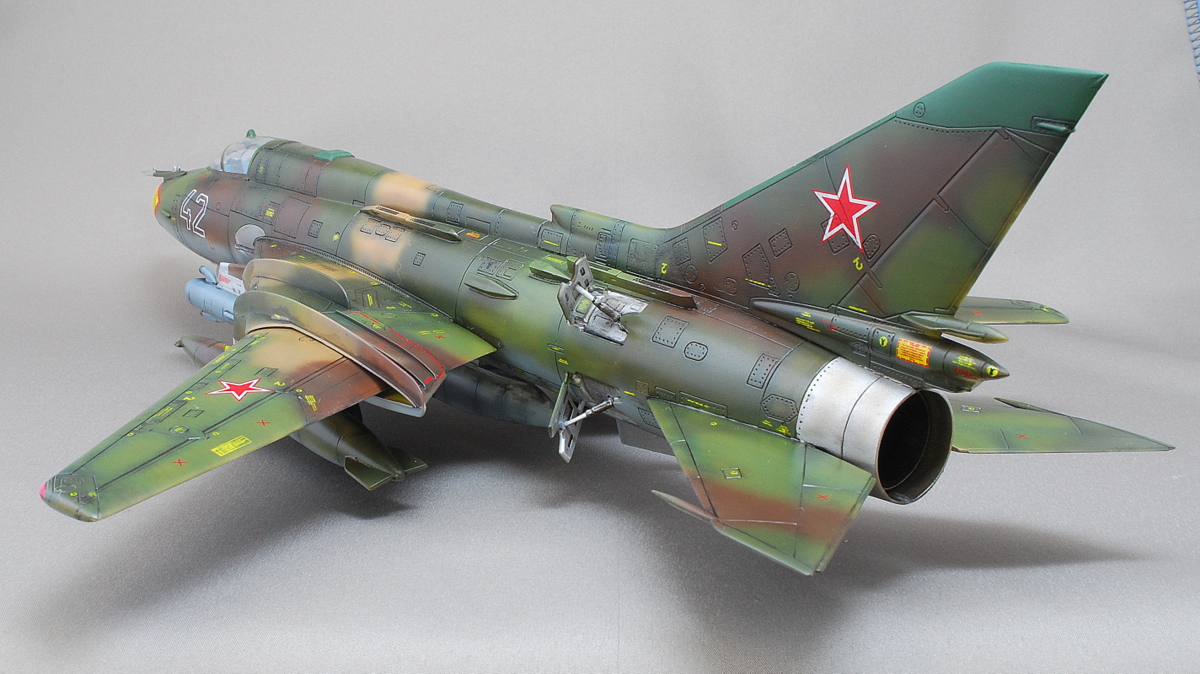 Immediately after making another SMER kit, I thought Su-17 could not be assembled. It is a pleasure to be completed sooner than expected. When I began to make it, it was pretty fascinating. It is not harmful to trial and error the old Eastern European kit. It was completed by struggling a hardly assemble; it is felt that trial and error remained even after it ended.
(03-April-2018)


コメント