I combined the Tristar Russian tank soldiers with Dragon T-34 premium kit. It was built in May 2014.
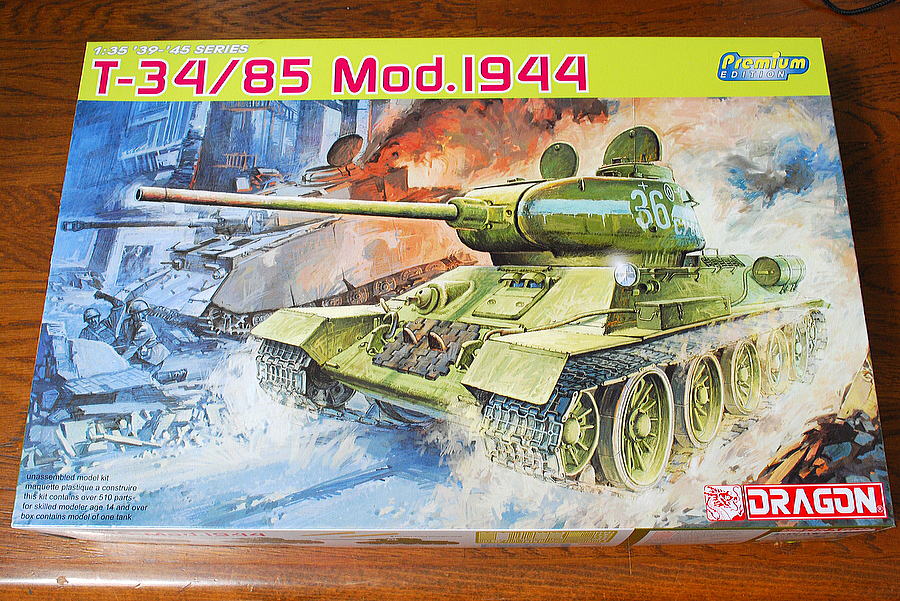 Japan’s consumption tax rates rose from 5% to 8% and passed for around three weeks. There are not many stocks of plastic models to be able to spend my life without buying, but because my consumer spirits have declined a little now, I’m destroying the heap of my stock.
(19-April-2014)
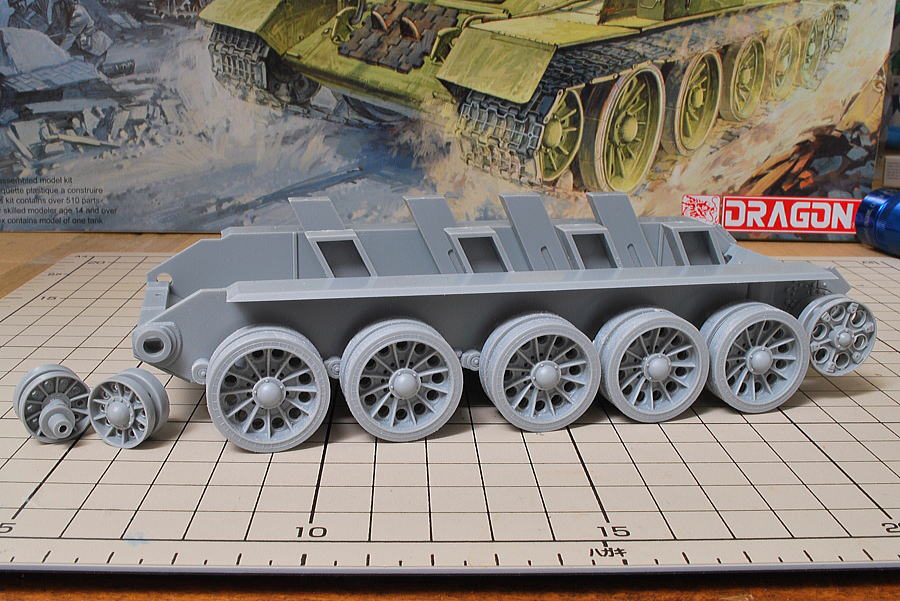 Because I have made bed spring armor T34, it’s easy to assemble. Some wheels are not attached for easy adjustment of the length of a caterpillar.
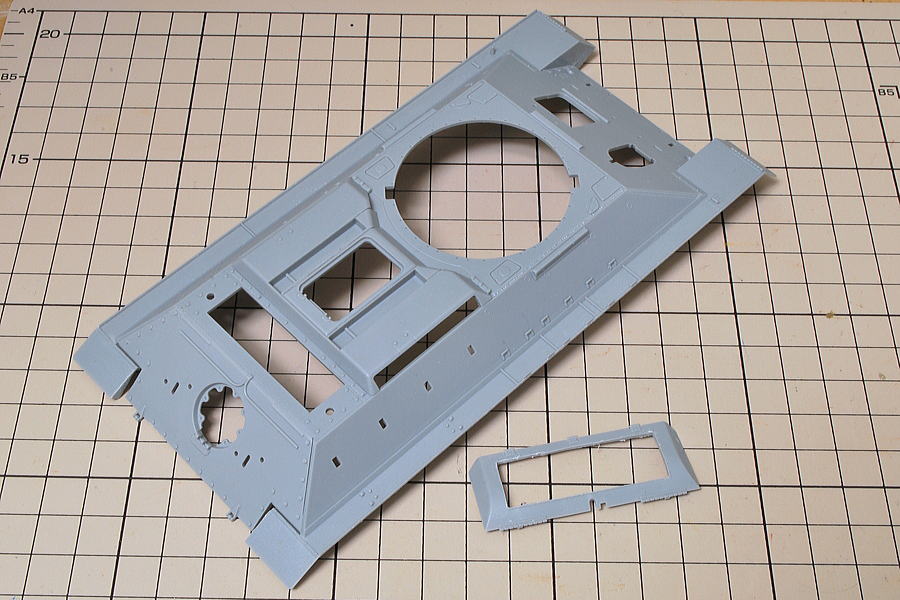 I must have various modified works in plastic parts when I choose photo-etched parts. For example, it is necessary to gouge out plastic parts to attach the mesh etching of the engine cover on the vehicle’s rear. Recovery is tough, so I did this work more carefully.
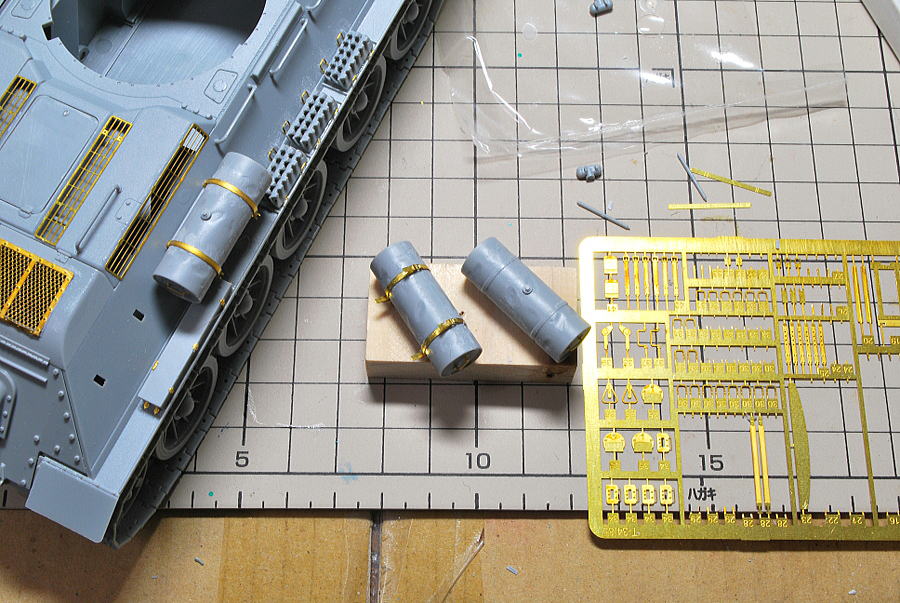 There are large quantities of small photo-etched parts, which is the power of the most incredible detail. There are many challenging sections to assemble them. Assembling the fuel tank in itself is simple, but the work speed falls as soon as it is into a stage to handle photo-etched parts.
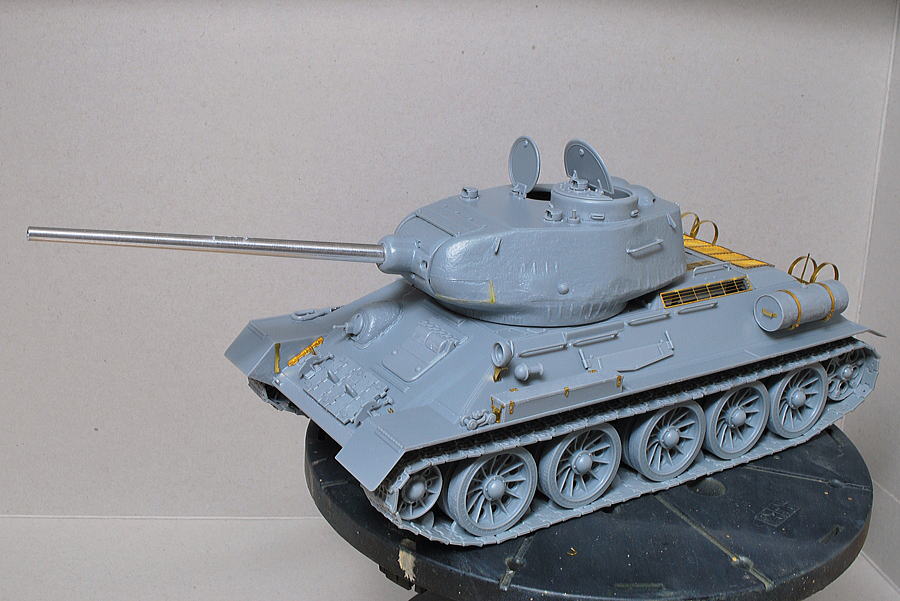 A metal gun barrel is attached, and I am thankful that this kit has a straight line of the barrel. Even plastic parts do not have any problem if we process them carefully.
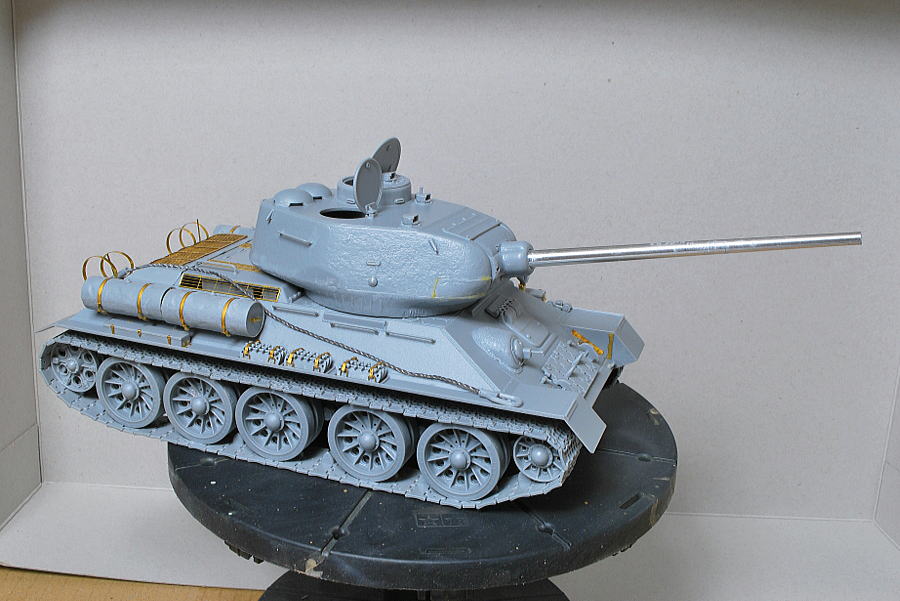 I thought it was more easily completed before when I made T34 with bedspring armor, referring to my past homepage. Instead of having attached bed spring armor, I did not attach many OVMs. The type I’m making is the orthodox one.
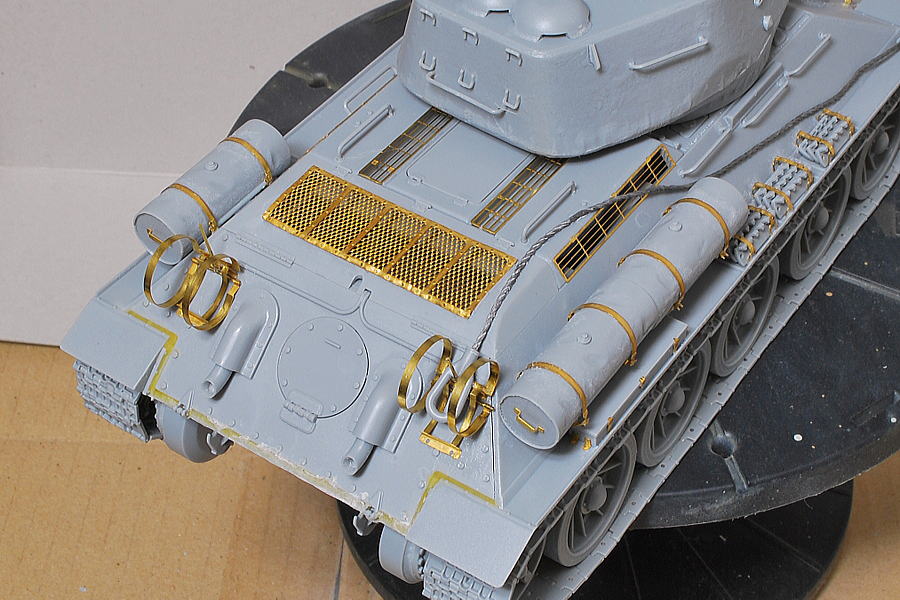 I used considerably many photo-etched parts. Because the rear top and bottom joints have some gaps, I buried them with putty. I think the rear loop has stopped the tab of the spare fuel tank.
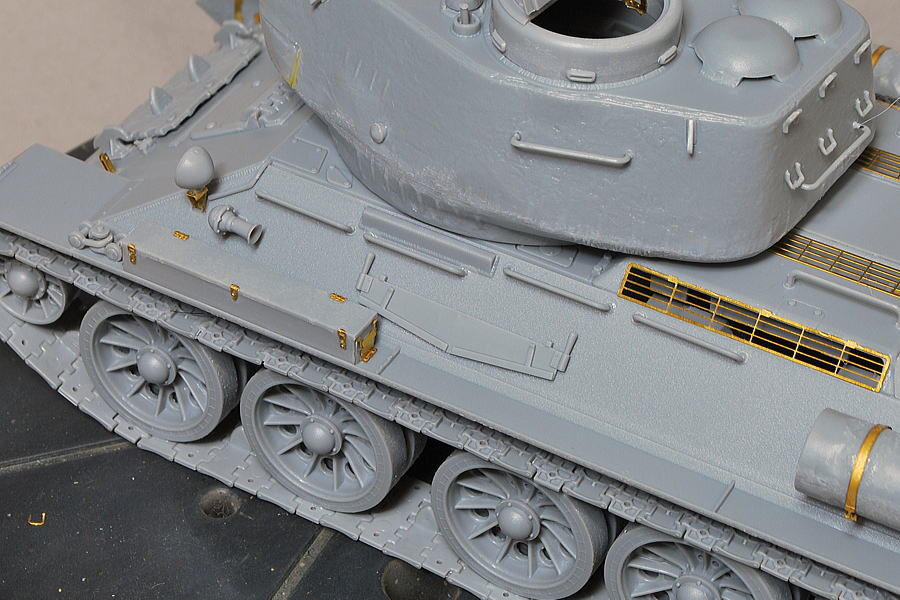 A stop tab and the handle of the toolbox mold on the plastic parts should be removed in advance and attached to the etched parts. I can see the inside of the wire netting a little. Possibly I thought it was the combination of plastic parts and photo-etched parts. But if I use both of them, then a mold becomes strange. It will be necessary that this inside area be painted black inside and makes it less noticeable. Because the saw molds are made of enough plastic, I did not replace them with photo-etched parts.
(19-April-2014)
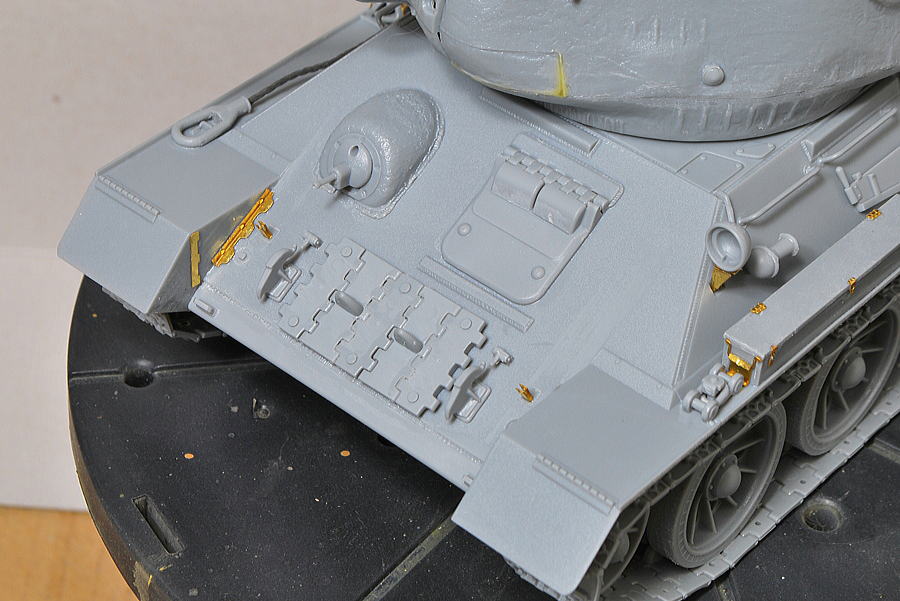 I carefully erased the injection mark of a spare caterpillar.
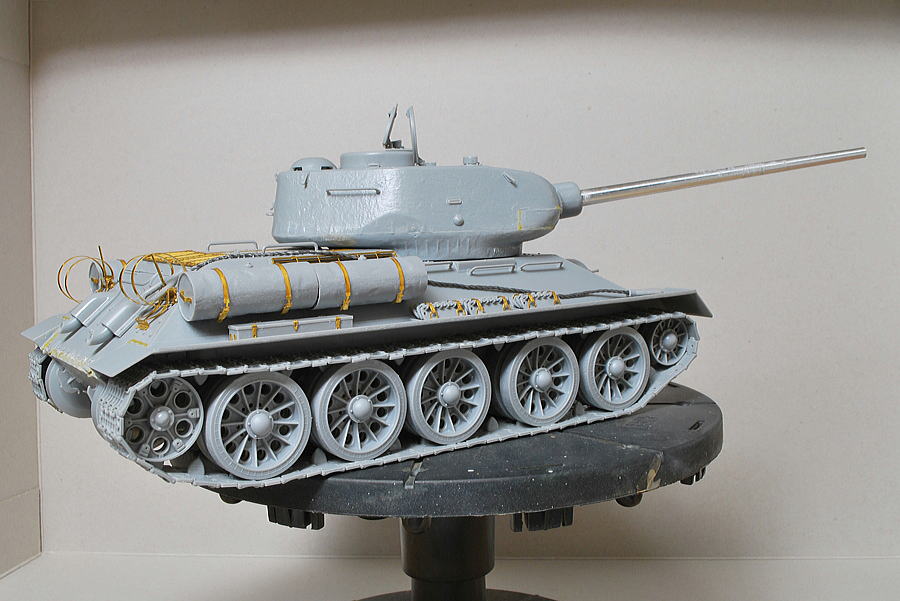 I succeeded to shape-round the circular parts of the contingency fuel tank belt etching using a slim file shaft on an eraser, rounding little by little.
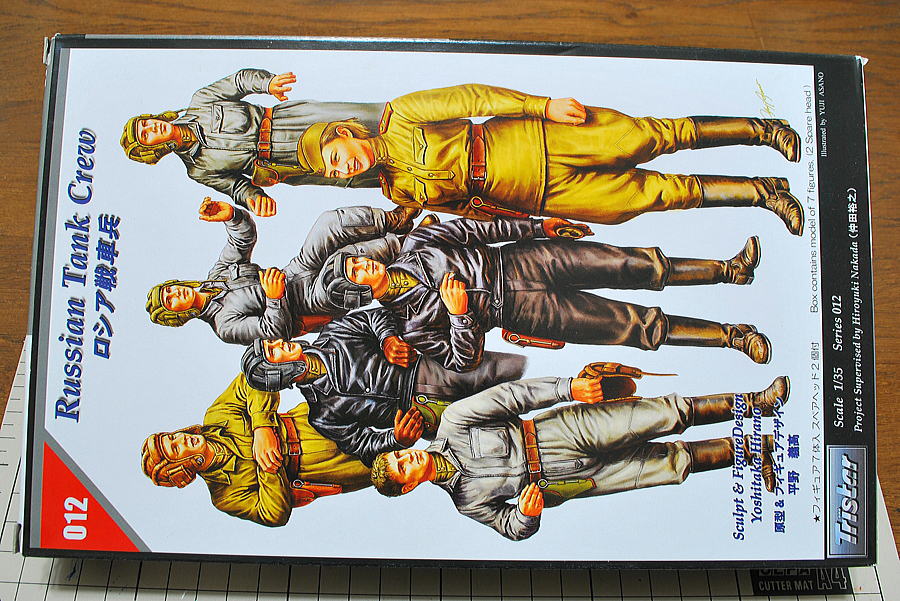 This kit was designed by the famous sculptor Mr. Yoshitaka Hirano. It was released in ancient times, but still, now it’s a masterwork, I suppose. I will make two people from this box.
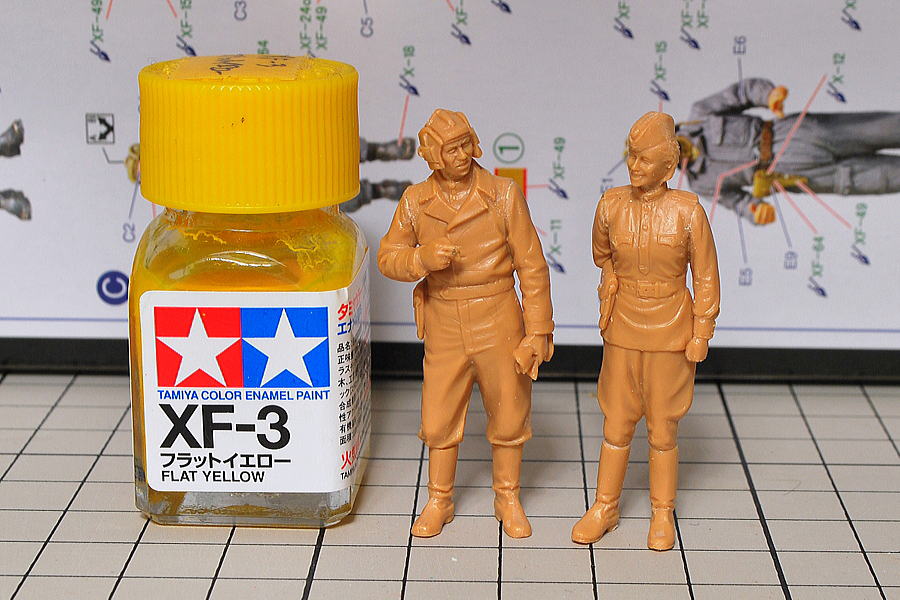 It’s the first time I made a woman figure. She has an excellent natural expression.
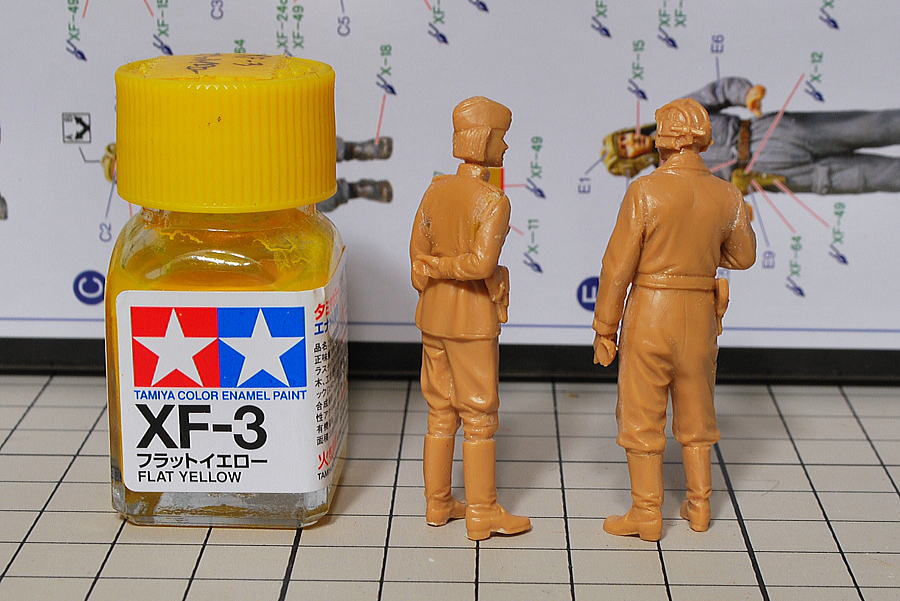 A woman seems to be somewhat smaller. She has a small face and may be hard to paint.
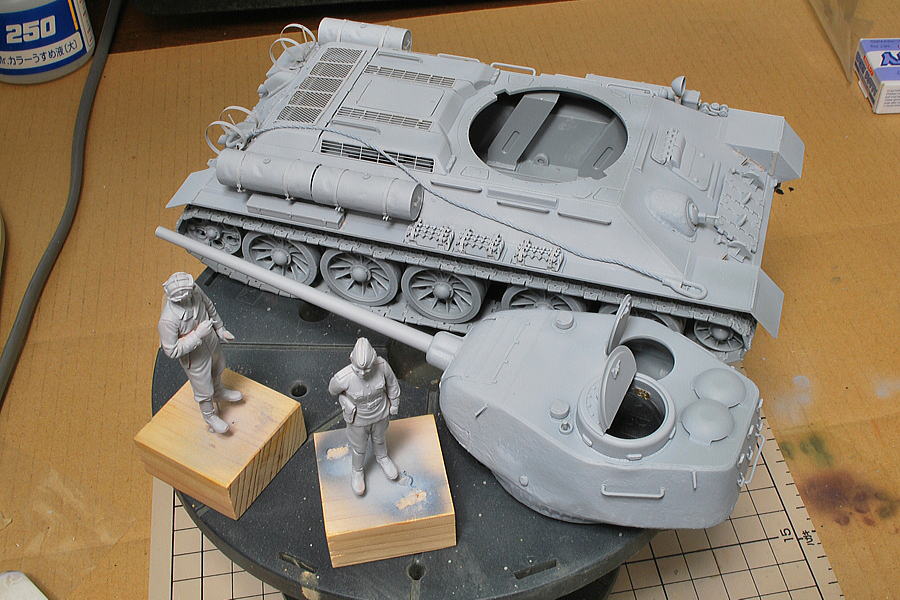 Because irregular color comes out at the basic painting on the etched parts as this kit, I blew the surfacer to equalize the tone in advance.
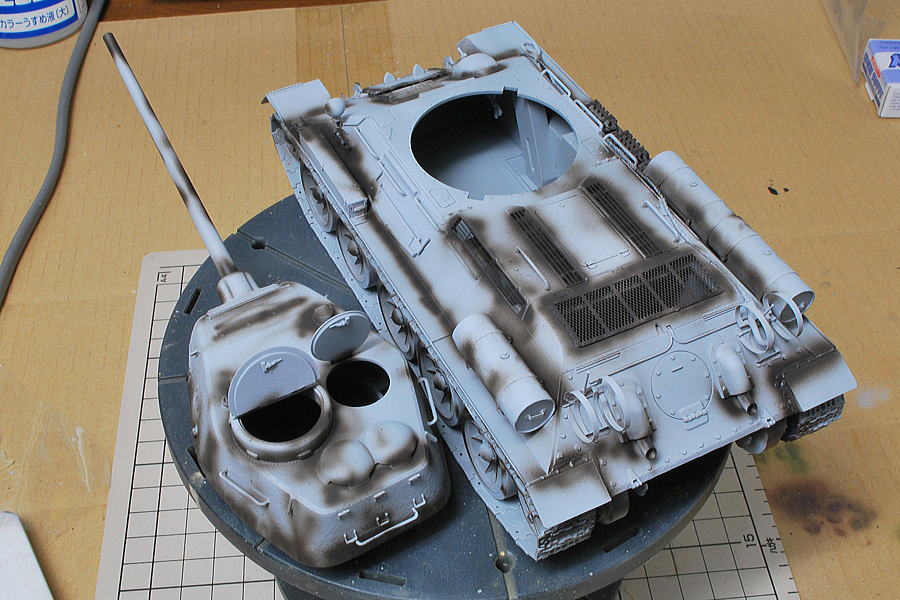 Many inside areas are visible, and I painted this area darkly.
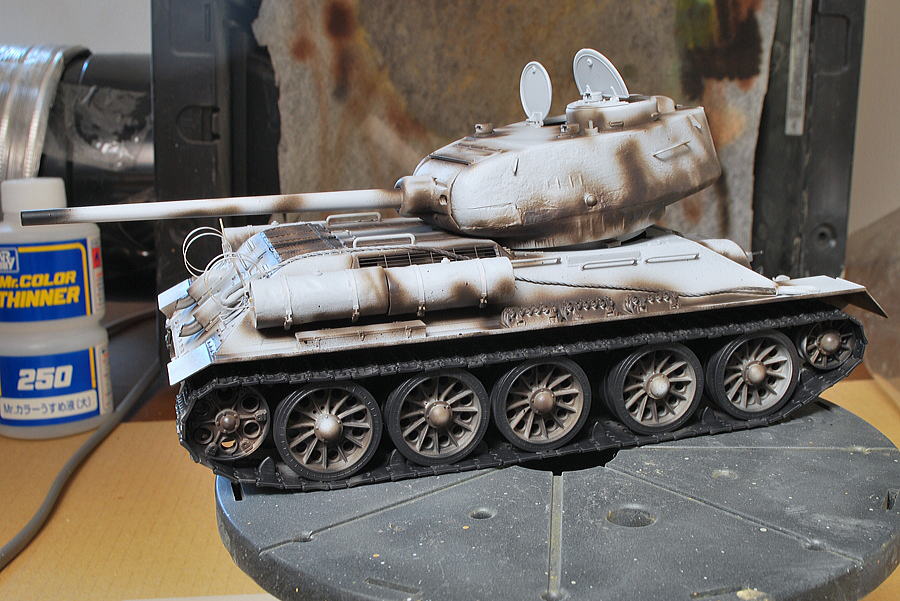 It is somewhat posed like a crashed tank. I painted the caterpillar tread and the rotating wheel with an airbrush this time. Because the parts were significant, I painted them quickly without becoming nervous.
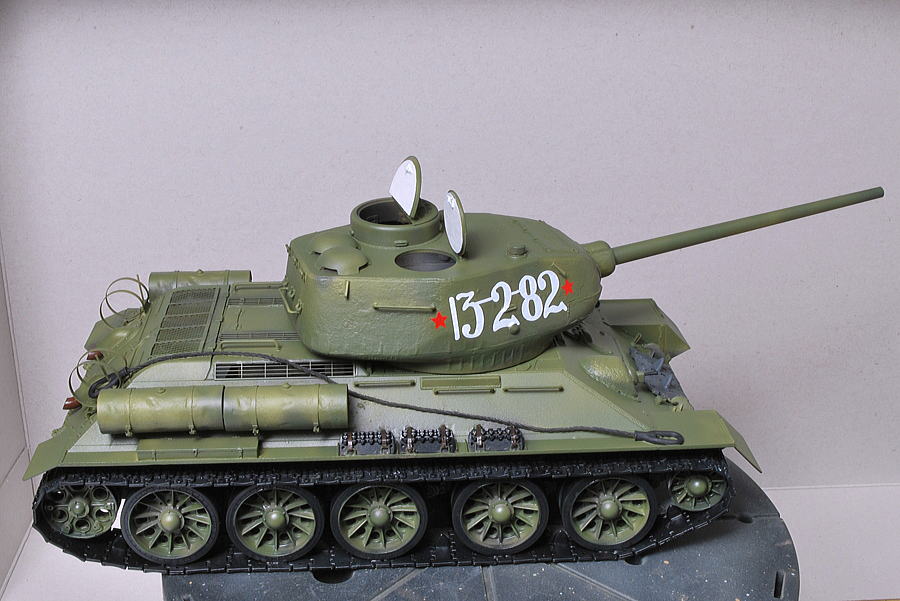 I painted it dark green and attached a decal sheet. I finished the decal coating by mat clear without the surface being invaded by lacquer thinner. We should be careful of the strong thinner too much use; some decals are weak and soon get wrinkled or broken.
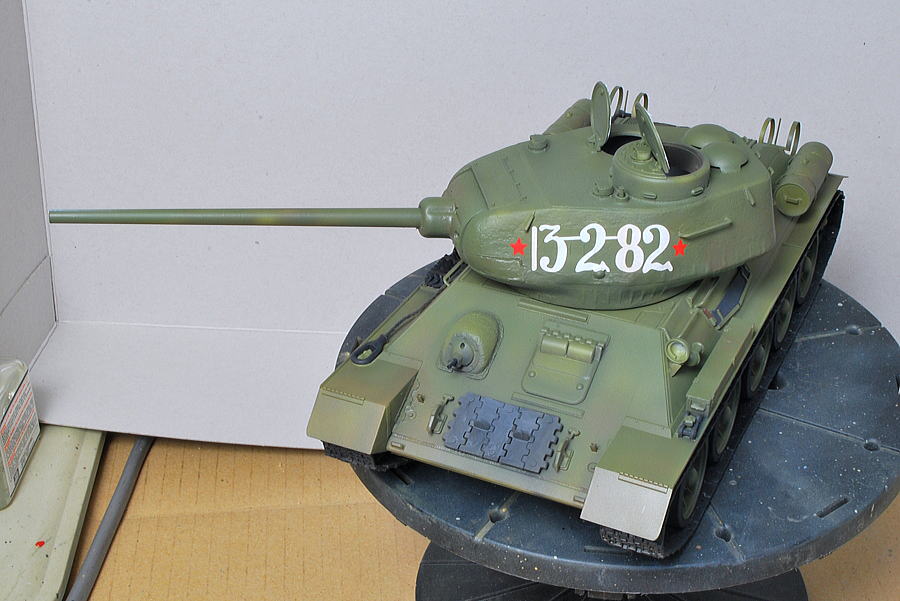 Painted earth color lightly, mainly near the ground area. It becomes complete after I have washed and tipped it moderately.
(19-April-2014)
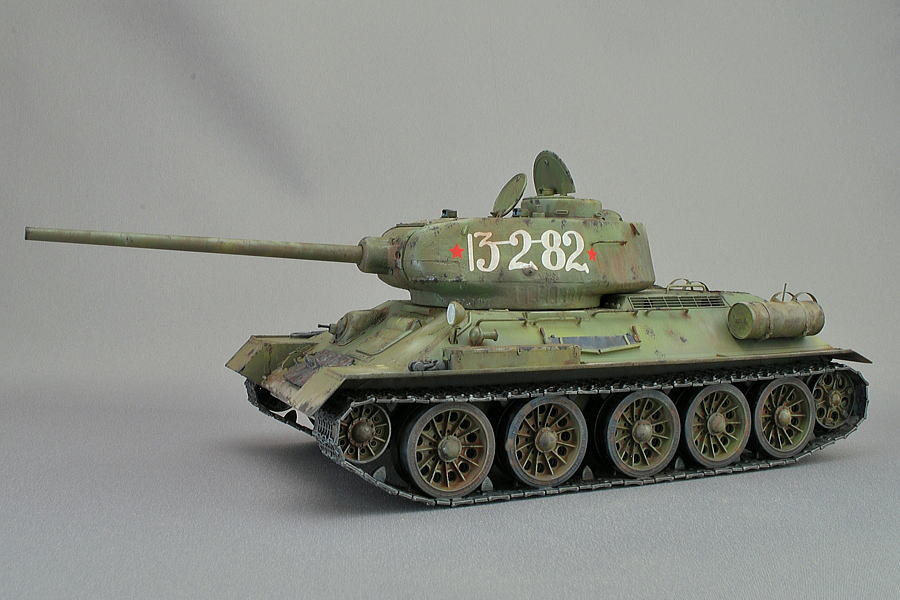 T-34/85 has an 85mm antitank gun that strengthens the firepower compared to T-34/76. This tank can fight in similar conditions to the German Tiger and Panther. (Maybe Tiger is stronger…) T-34/85 has more advantages than the IV tank long gun barrel type. Early T-34 had a 76.2mm gun; its firepower was relatively weak.
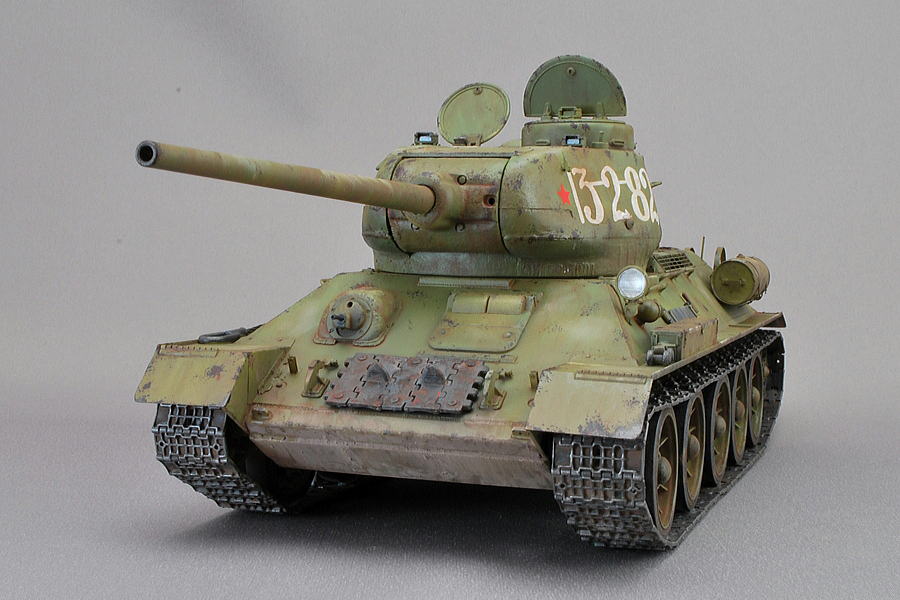 T-34/85 is the tank of the great force to make a recovery of the Soviet Union in the latter half of WWII. T-34 of all versions was produced at approximately 85,000.
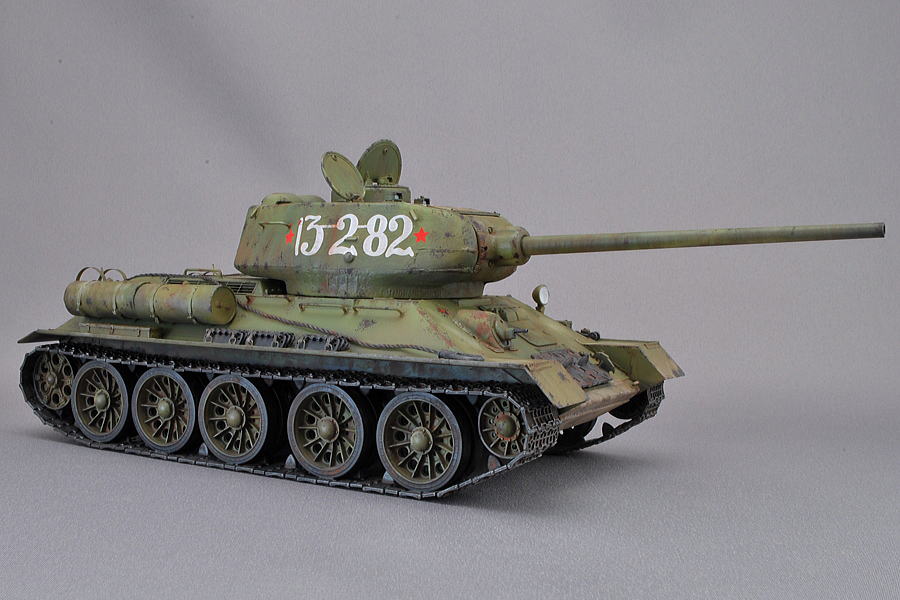 T-34 was used in over 40 countries after World War II, especially in the Communist bloc. I remember the TV program Discovery Channel tank best 10; in this program, T-34 won 1st prize. Though it would be half a joke, it was pretty interesting.
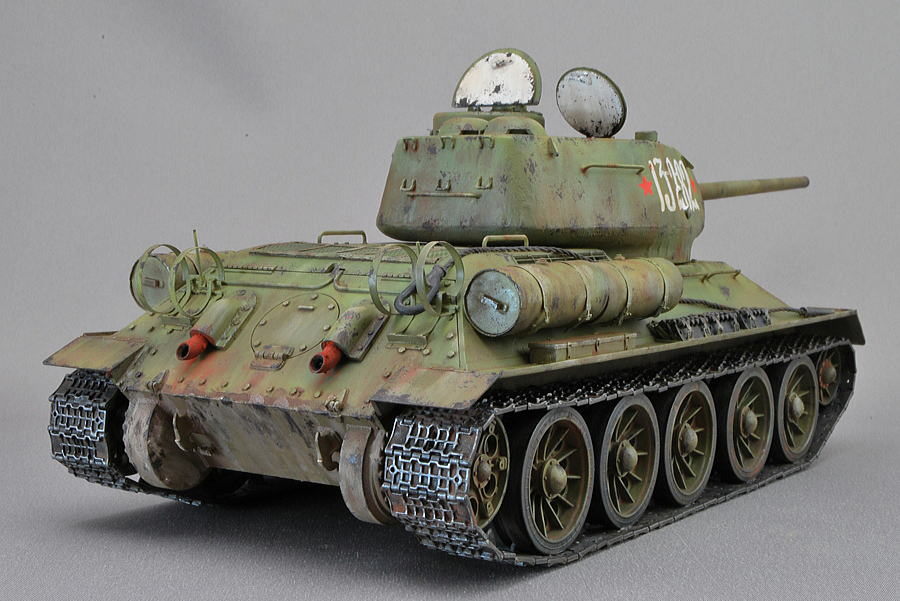 Because I have an image of the Soviet Union tank making a rush in muddiness, I put tipping much rust of weathering paint.
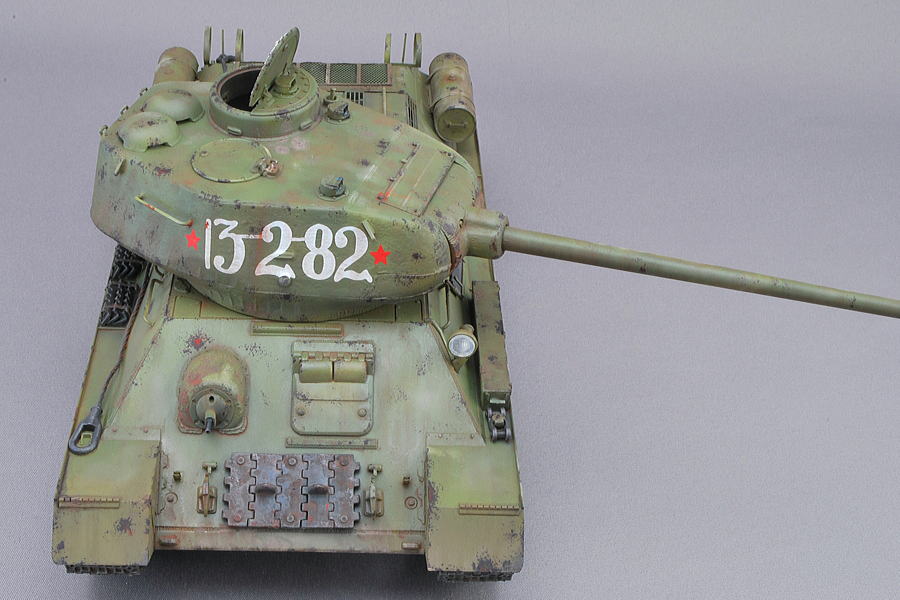
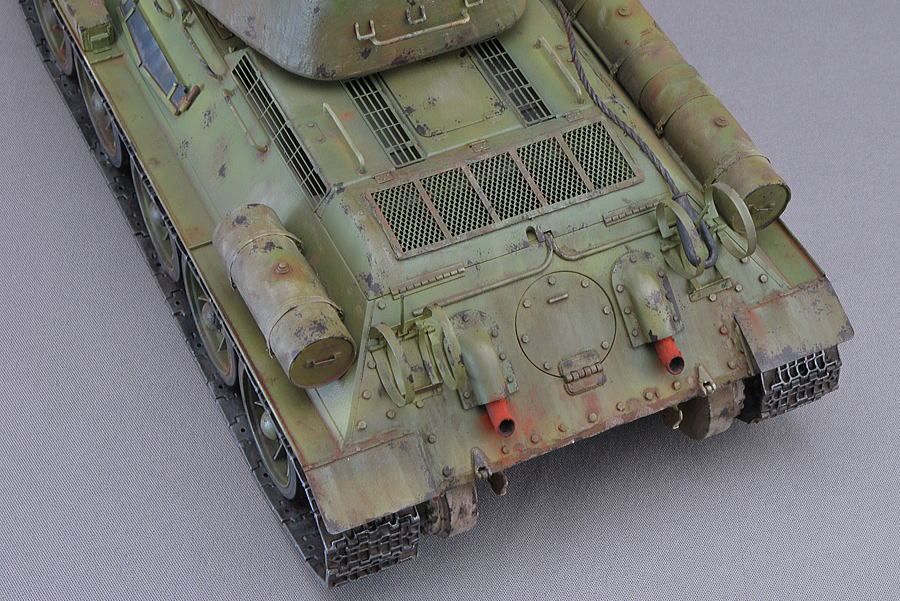 There are many looking points on the rear body, exhaust pipes, mesh of the wire netting the spare fuel tanks, etc.
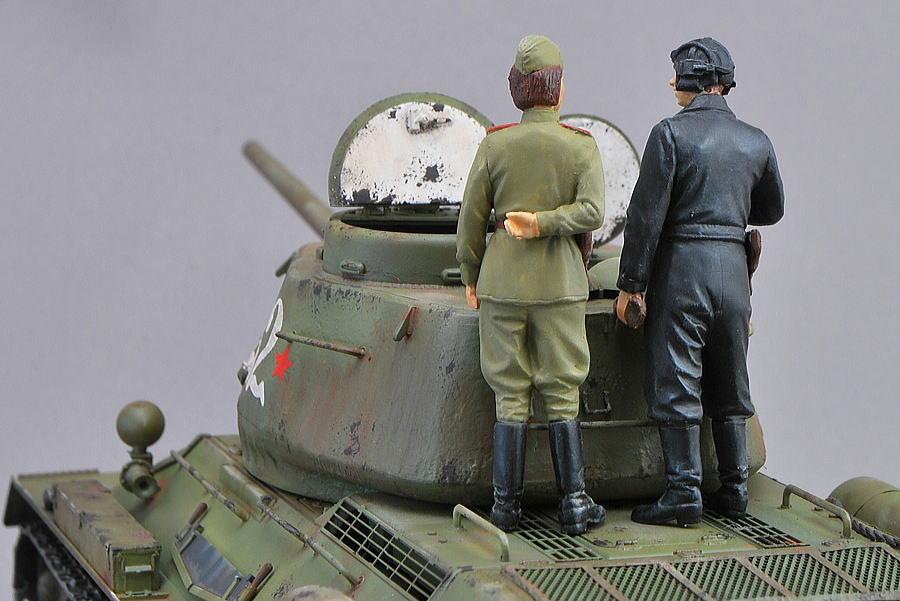
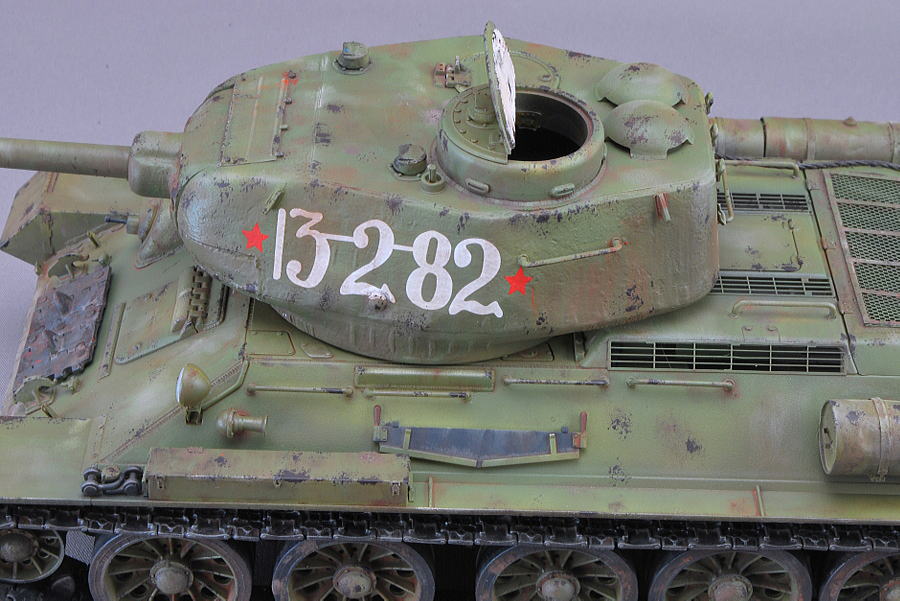 I made the round hatch movable. But it was damaged on the way to finish up; I adhered to it in an open position. It isn’t easy, even if the hinge part makes it movable through a brass wire.
 The attached clear headlight part is of high quality. I think it is difficult to express its reticular pattern mold by myself.
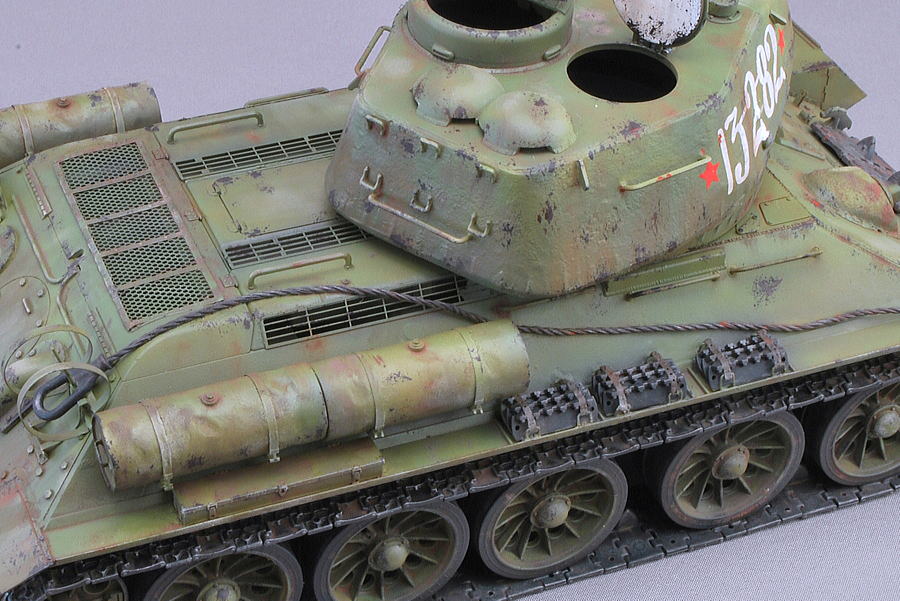 The armor of T-34 was up to approximately 90mm thickness, but it had angle armor everywhere, and the shellproof effect was enhanced than an armor thickness.
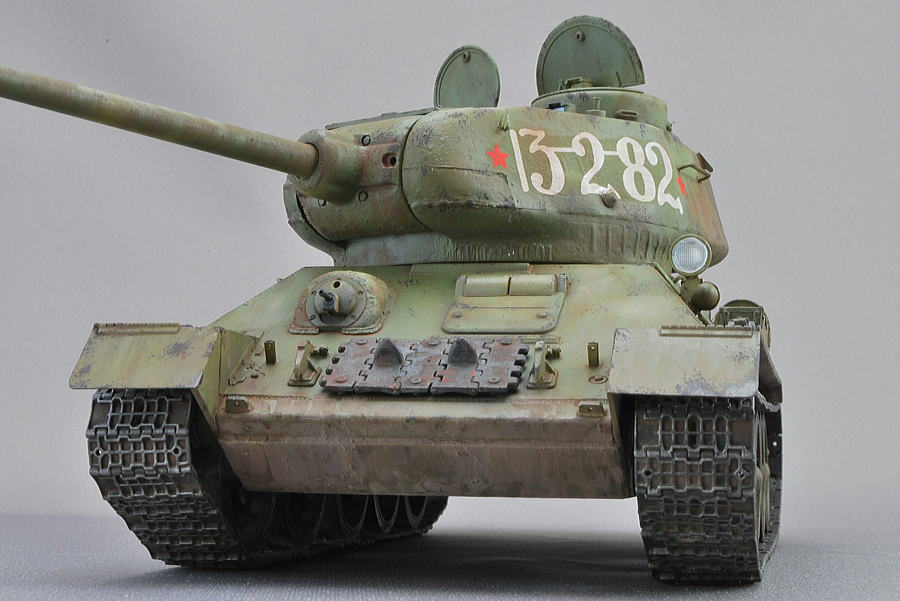 A decal shining was not outstanding with the photograph above three columns but has attracted attention to the condition of the lighting a little. Because there was no shining it on the right side, why would such a thing be? I should have cut out a big blank part before attaching large decals.
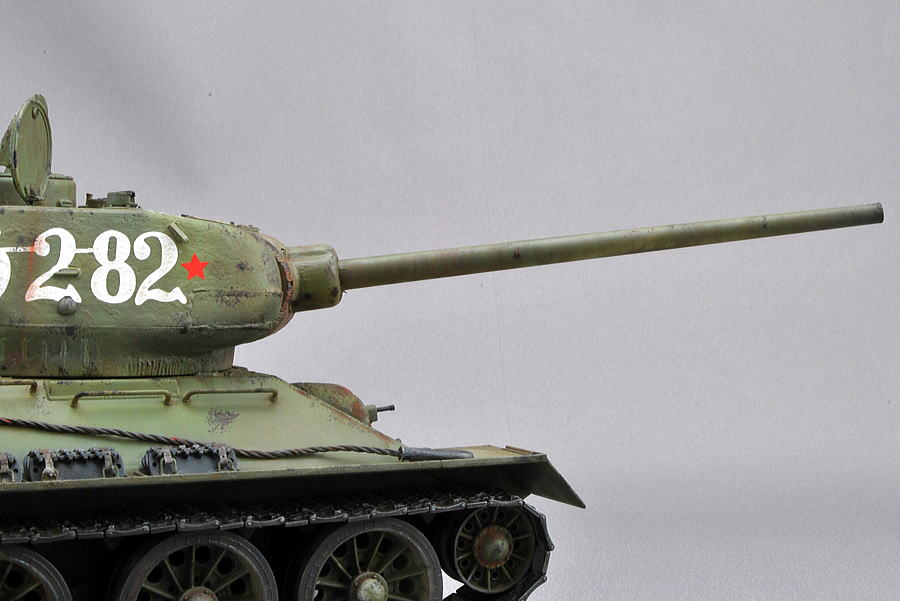 I had washed and tipped the gun barrel and soot dirt on the muzzle.
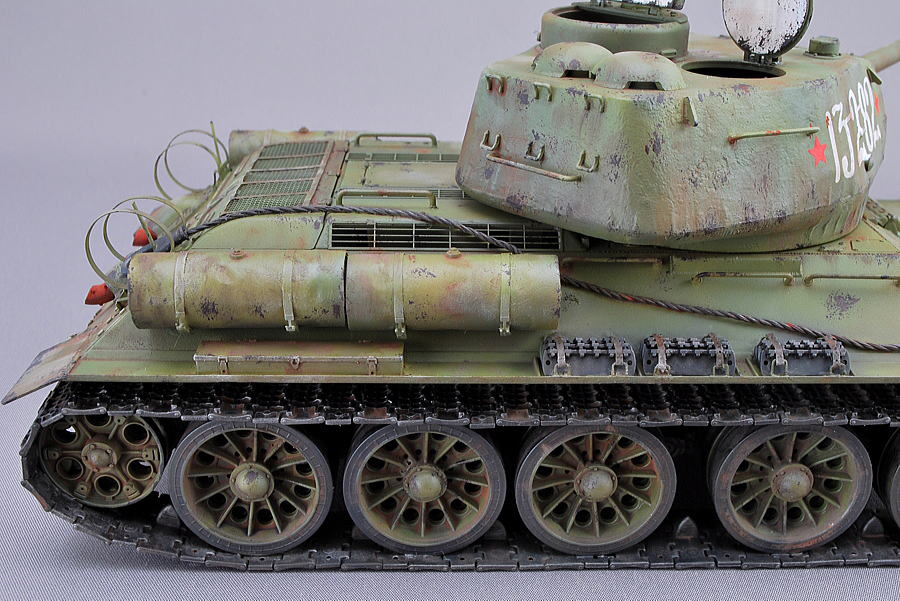 It is the excellent effect of the etched parts of the toolbox, fuel tanks, and probably caterpillar tread-related tools placed right of the tanks, which I don’t know the purpose of.
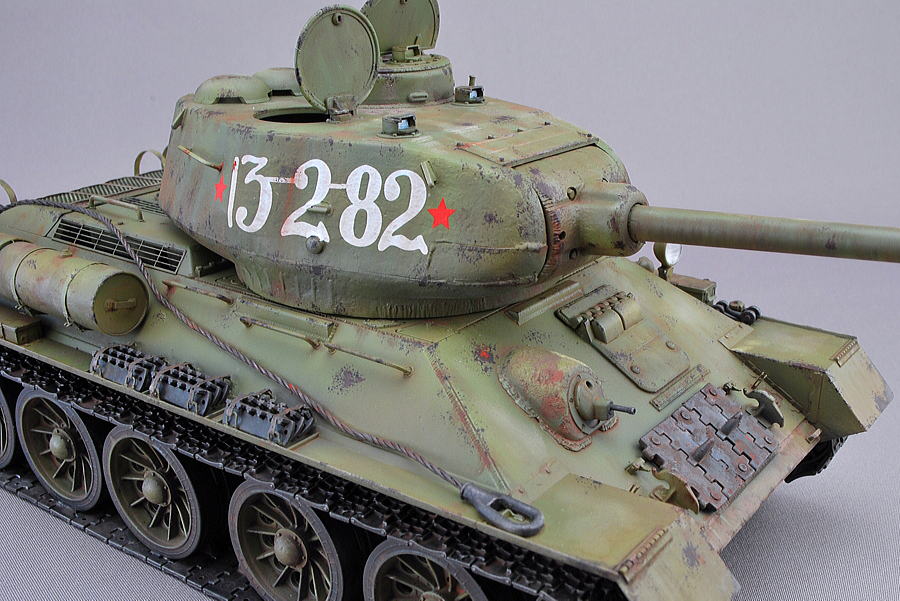 The periscopes were painted mixed blue with silver. The Russian tanks seem to have a wrong view as there are so few periscopes. Such a part influenced the momentary judgment on the battlefield, and the German military would have the advantage. The Soviet Union forces exceeded in number on the background of industrial power.
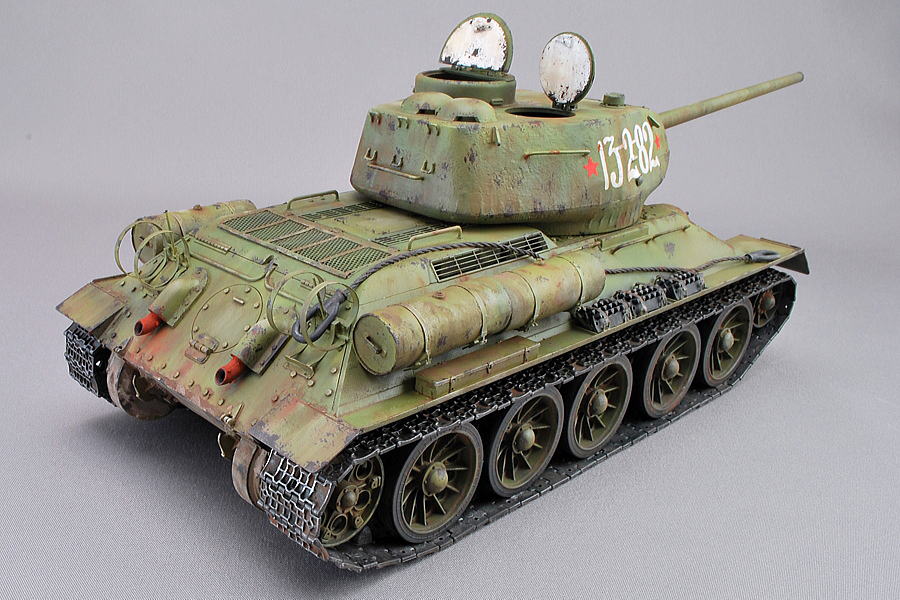 I made caterpillars shine and understood their pattern well.
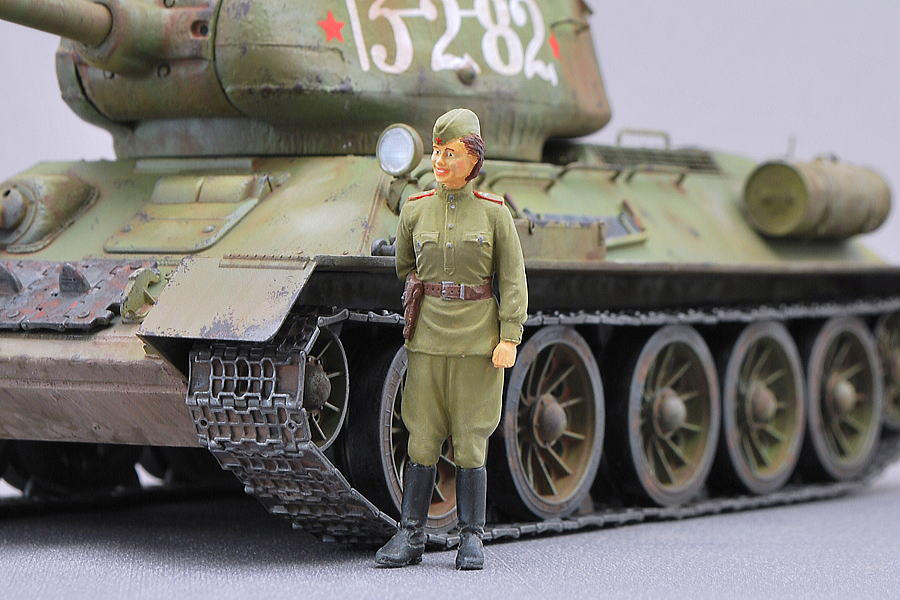 It isn’t easy to paint a woman beautiful. This finish-up is so-so.
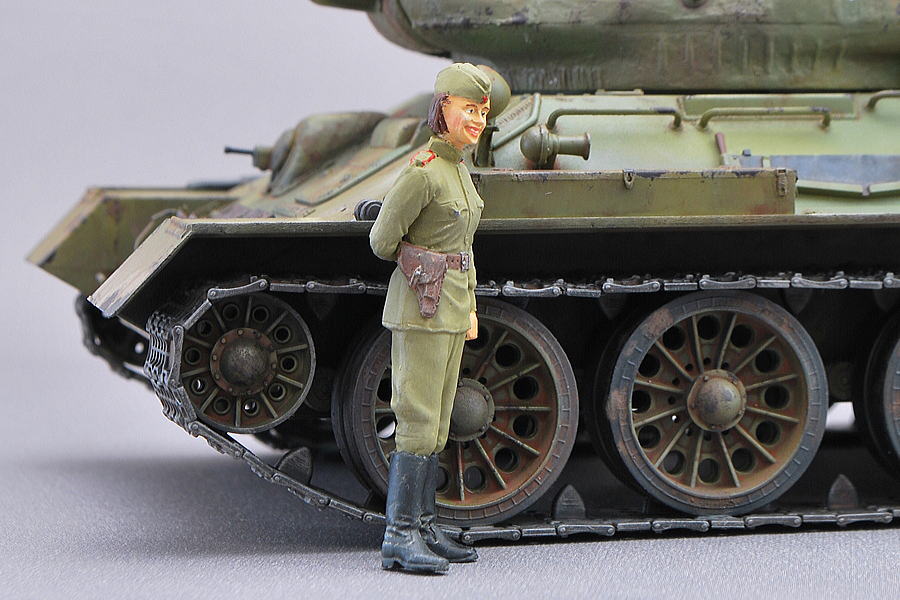 I painted the figure’s skin part with Tamiya enamel but mixed the poppy oil of the oil painting because the Tamiya enamel dried too early. I had to wait one week for drying. Maybe I mixed too much poppy oil in the enamel paint. I need more examinations for easy use in the future.
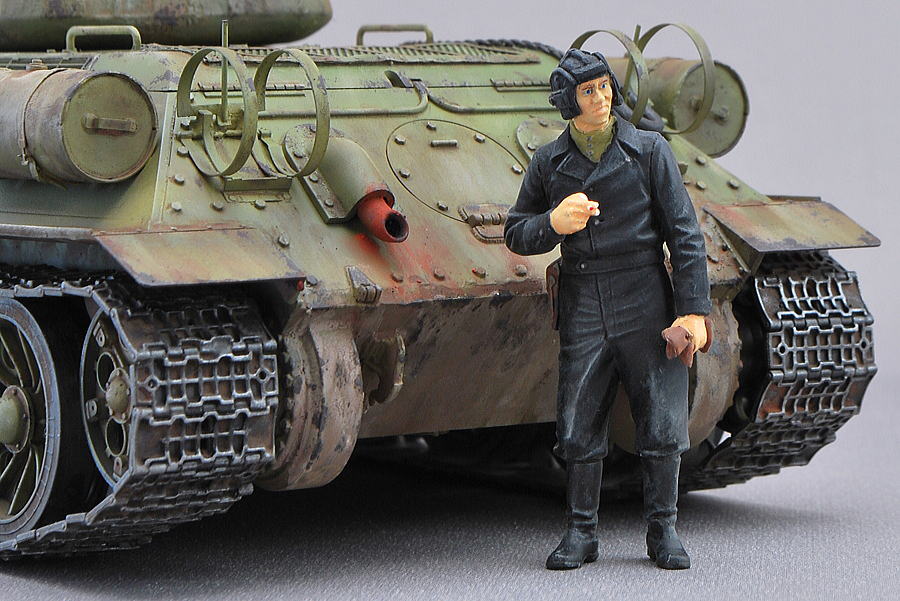 Is it a leather jacket? It’s an ordinary tank crew. Because it was slightly bigger eyes, I drew. I suppose he has a Westerner-like face?
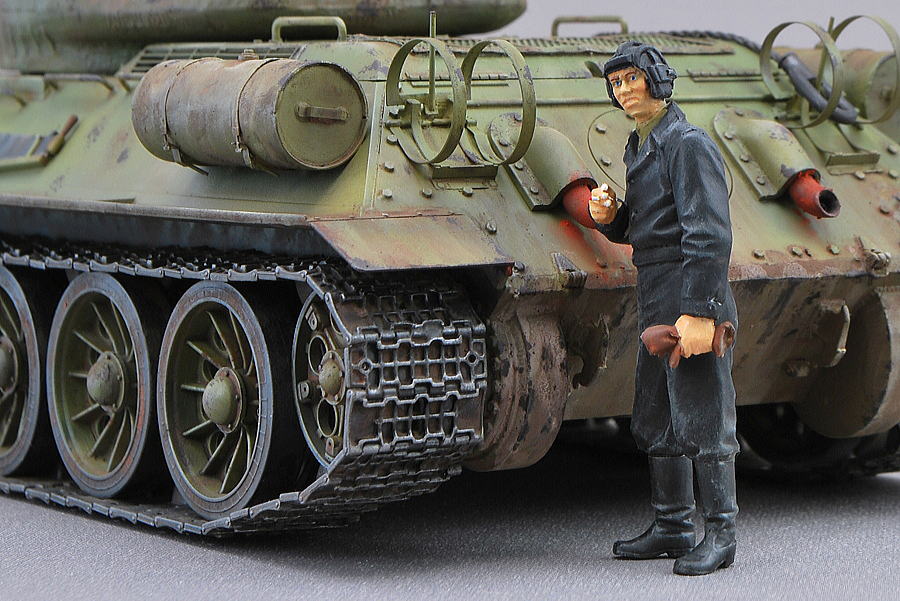 From a different angle, one more shot. He is holding a cigarette.
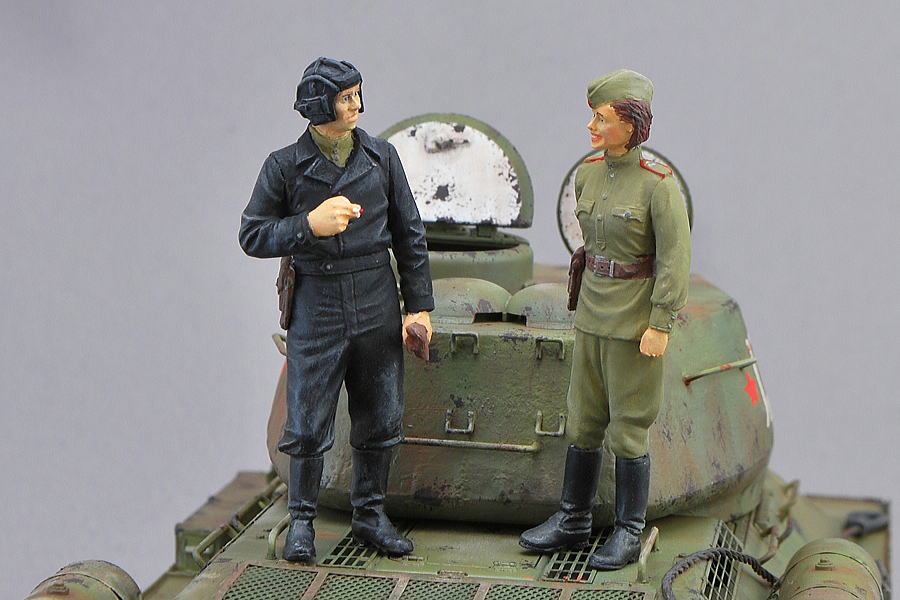 I think it’s reasonable to paint the finish considering its injection figures mold. Days of diligence…
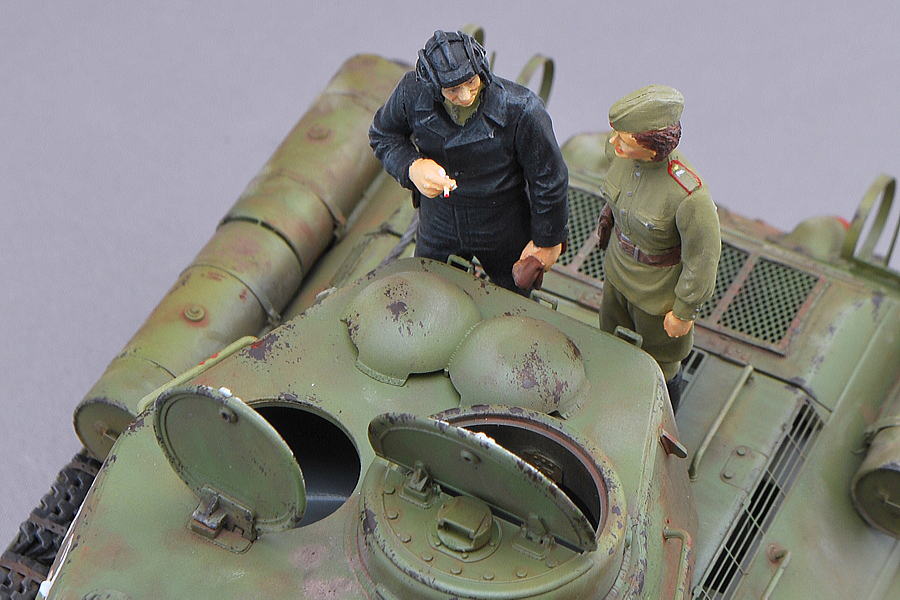 I drew the shoulder mark as the instruction. However, it was impossible to describe the mark of the tank in size of 1/10 of a rice piece. Probably it may be the woman of the private first class.
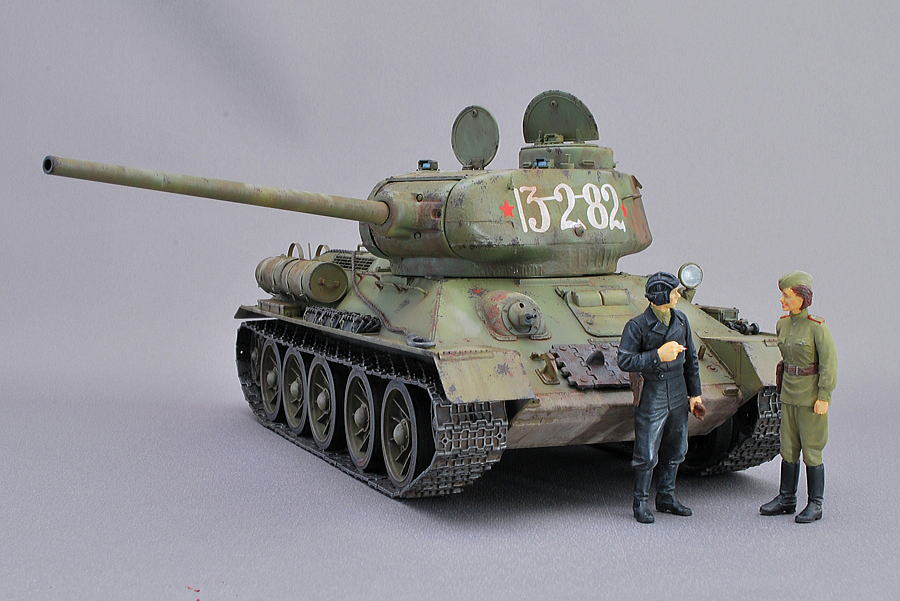 The final satisfaction changes in the good or bad of the basic painting. I think it is a success, according to my Russian Tank color image this time.
(25-May-2014)



コメント