
Dragon Models, Smart Kit III Sturmgeschütz. I made it from July to September 2009.
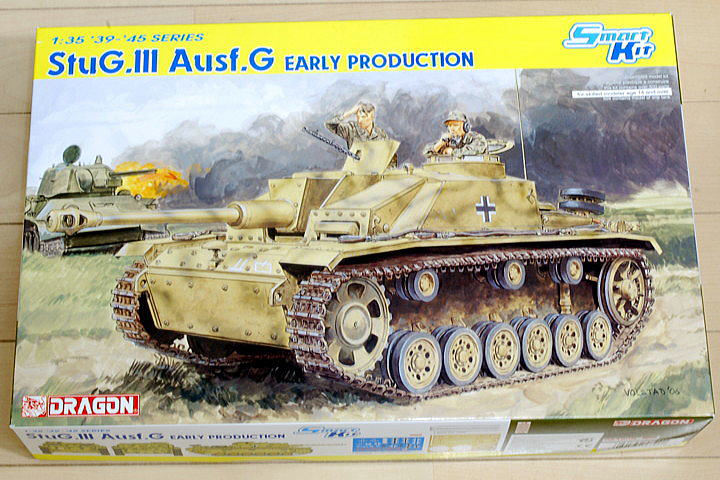 I’ll make this kit now, if possible, and try to board two figures. This kit is comparatively fewer parts than the other Dragon kit.
(2009/07/05)
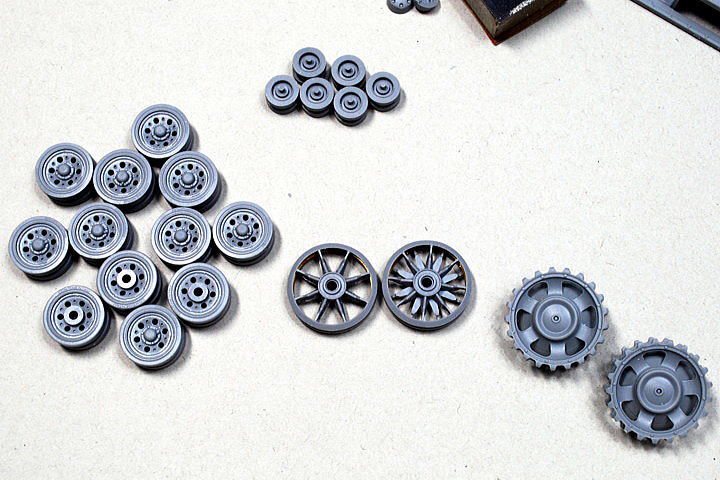 The start is assembly trank rollers.
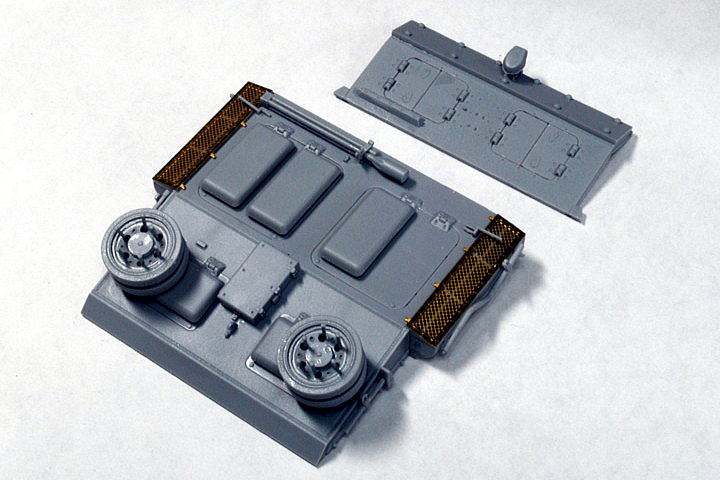
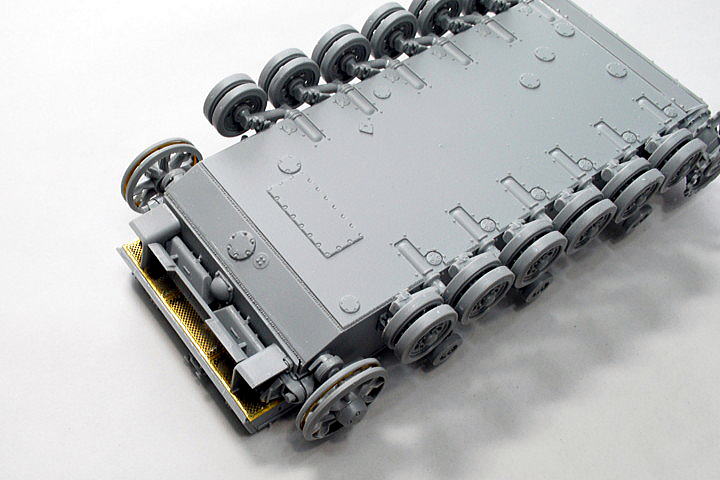 The underbody of the vehicle is reproduced.
(2009/07/11)
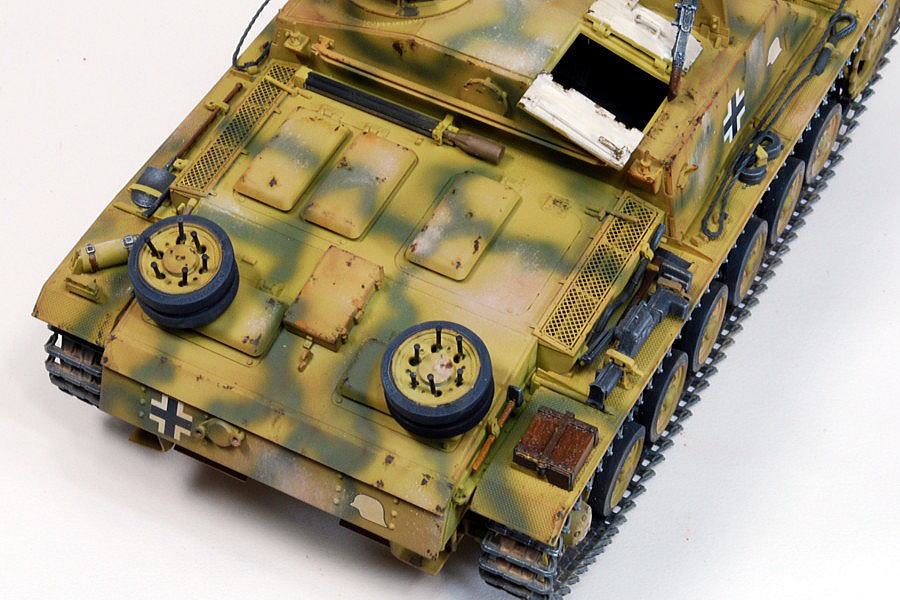
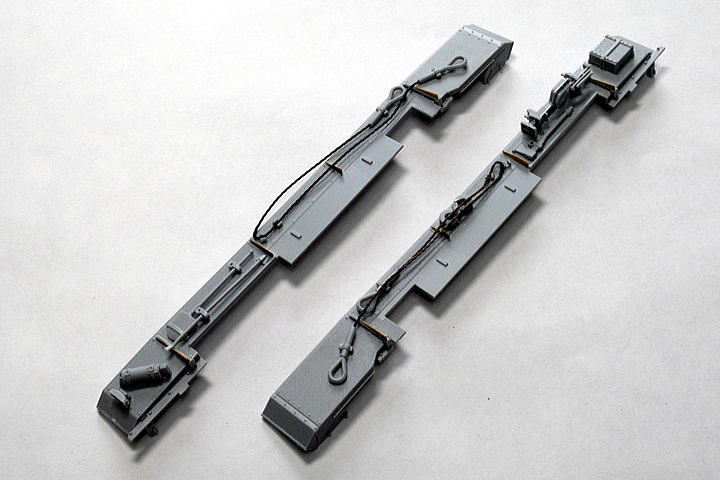 This kit was instructed that previously assembled a right and left fender and the accessory.
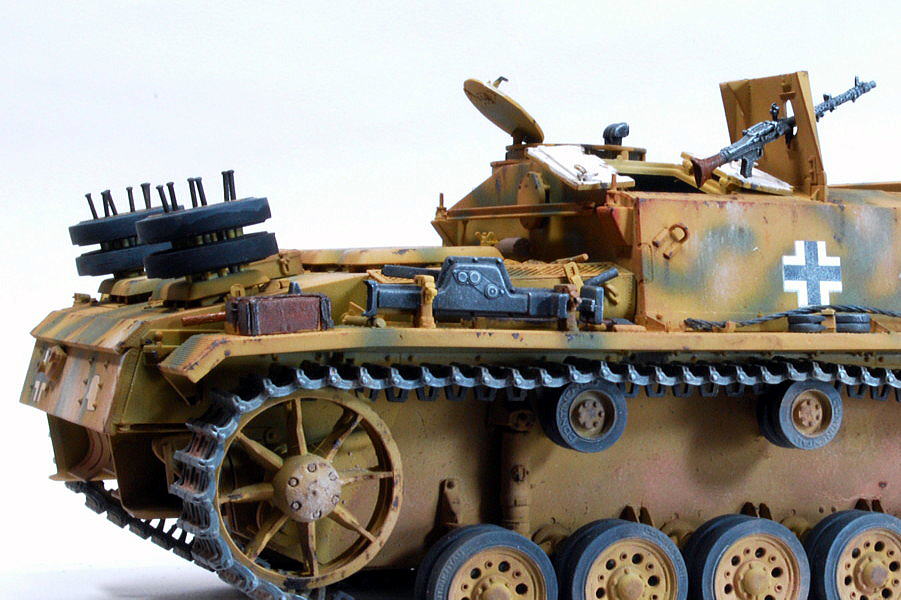
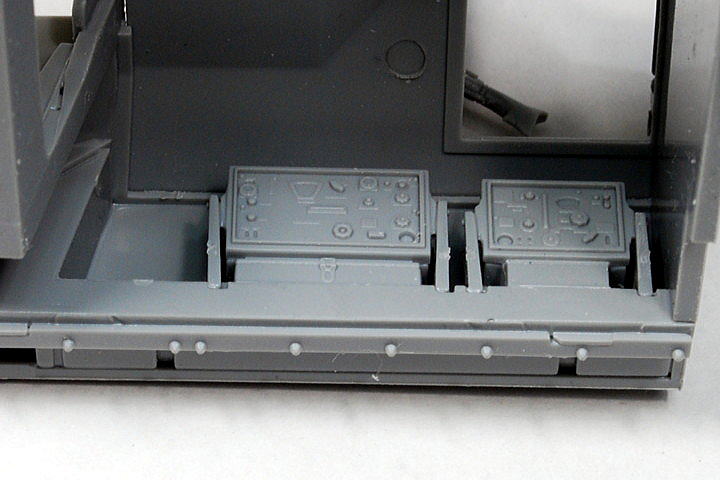 Two radios in this tank. There is one big radio on the other side.
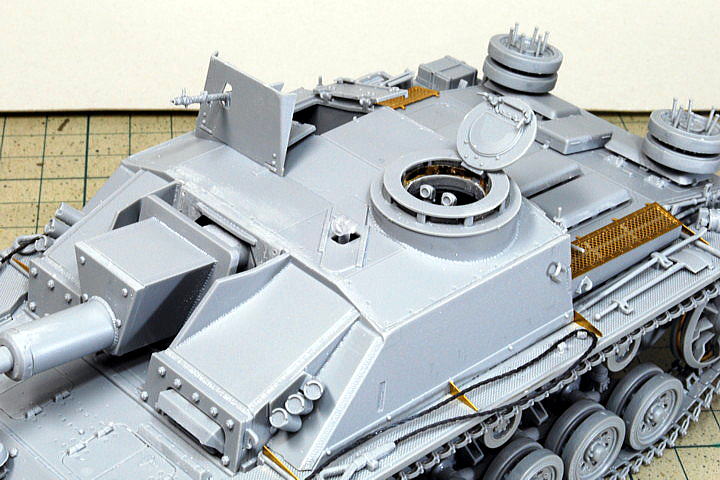
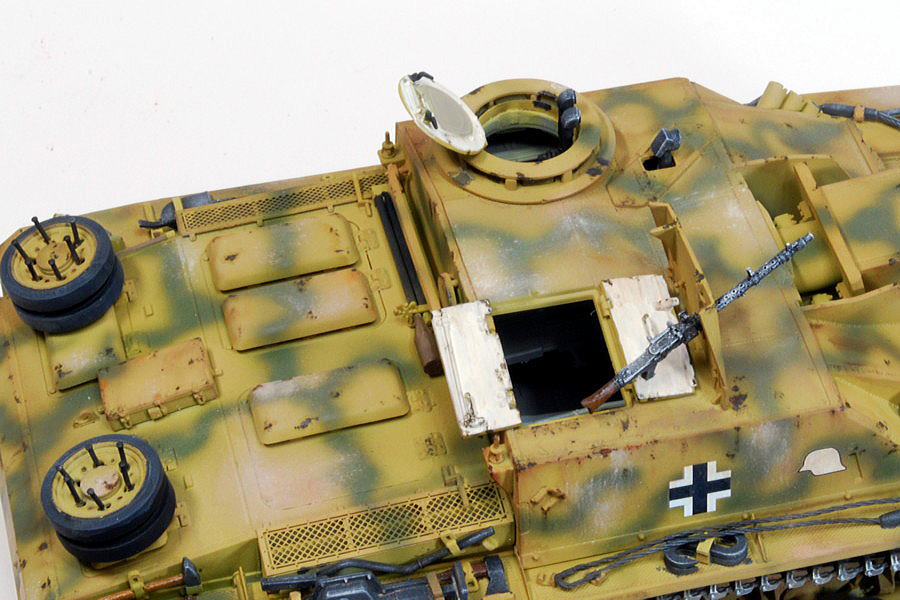
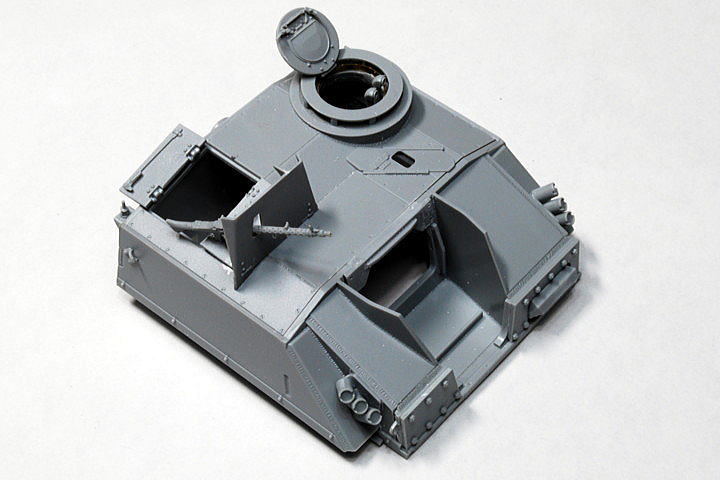 The assembly of the turret part was almost completed. The lever on the inside of the hatch is reproduced. It is accurate that the machine gun mold and the bolt of the increased armor.
 The back of the body parts was also completed. The critical point is to joint perfectly.
(2009/07/12)
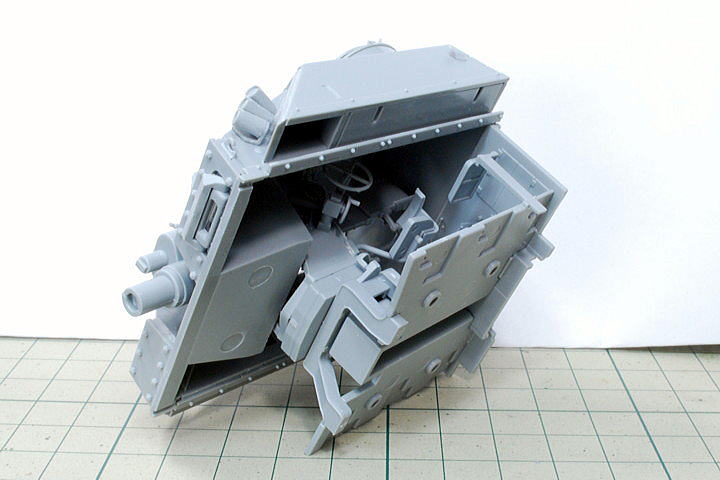 Build the inside of the turret into the body.
(2009/08/15)
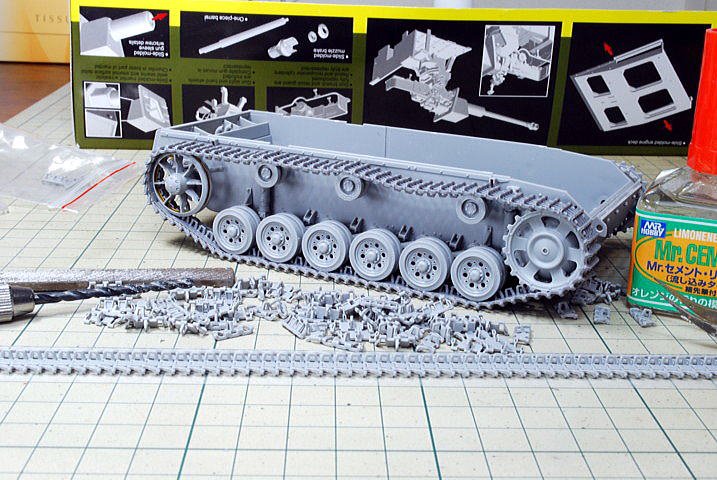 In the caterpillar assembly, each part is connected one by one. I put the double-faced tape on the worksheet and joined them.
(2009/08/15)
 The texture of the increased armor is good.
(2009/09/08)
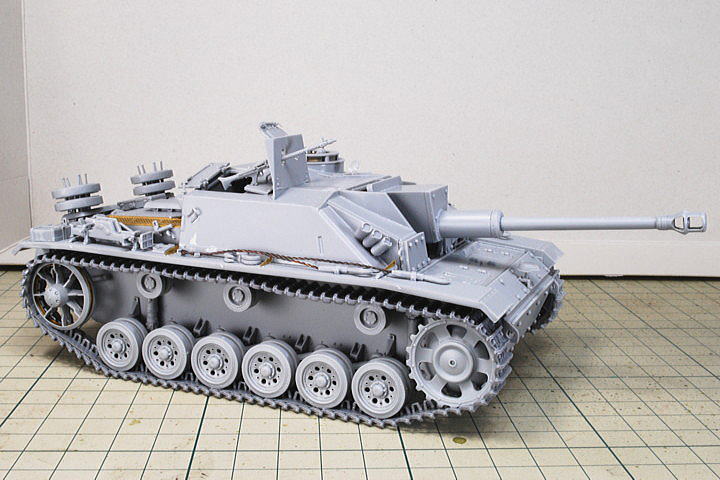 After all, assembling the caterpillar seems to have made the parts upside down. Well… It is now impossible to recover. I checked it several times, but anyway, it’s my mistake…
(2009/09/08)
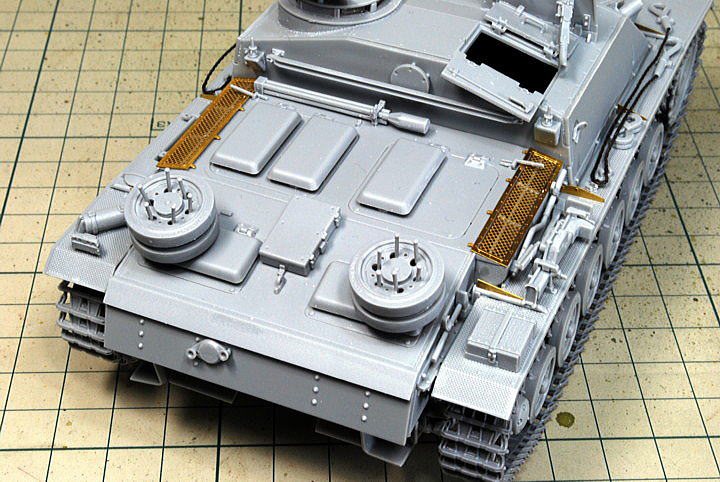 I used the photo-etched parts on the side of the engine hatch.
(2009/09/08)
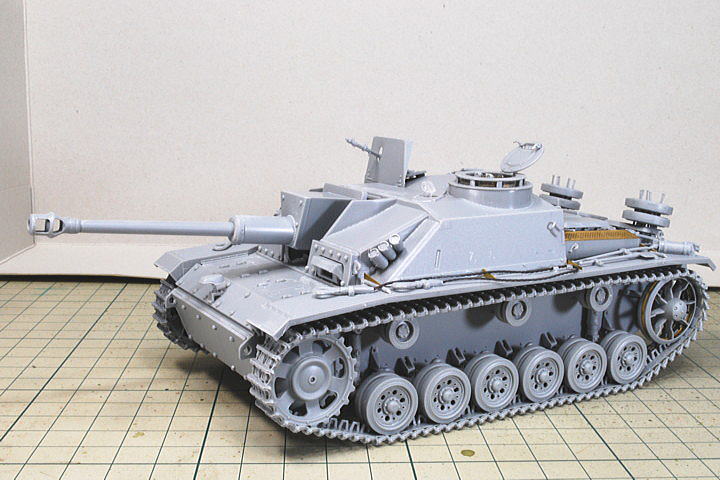
 I gave up the figures this time but only assembled AFV because of a caterpillar mistake.
(2009/09/08)
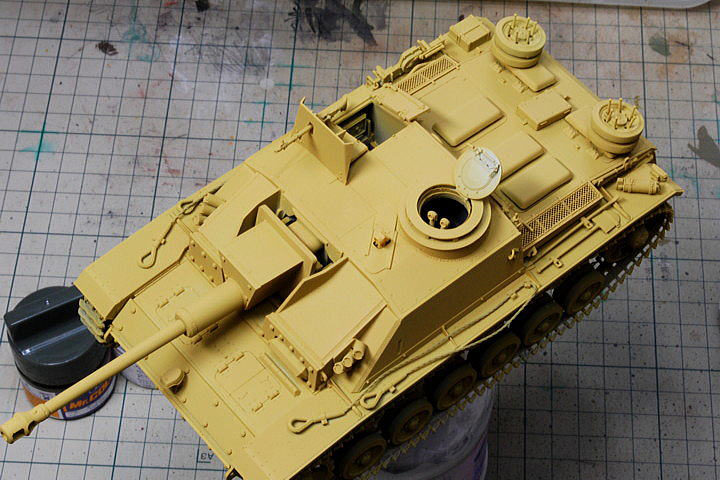 I painted the body dark yellow. I usually use the Humbrol, but this time, lacquer paint. It’s convenient as the lacquer paint quickly dries.
(2009/09/11)
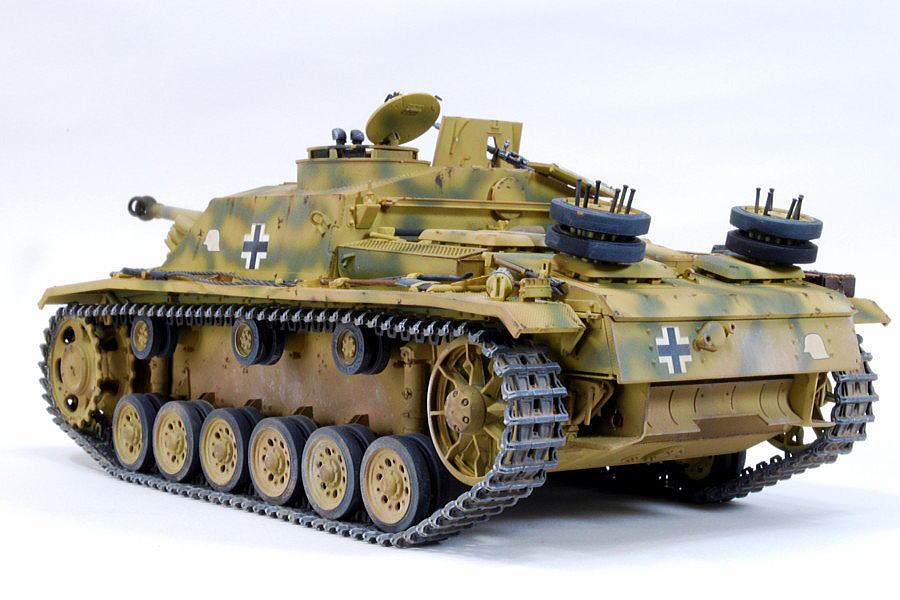
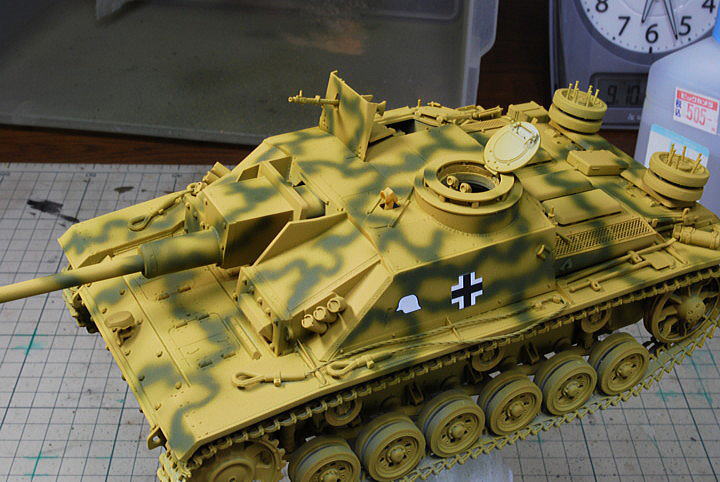 Marking was Grossedeutchland.
(2009/09/11)
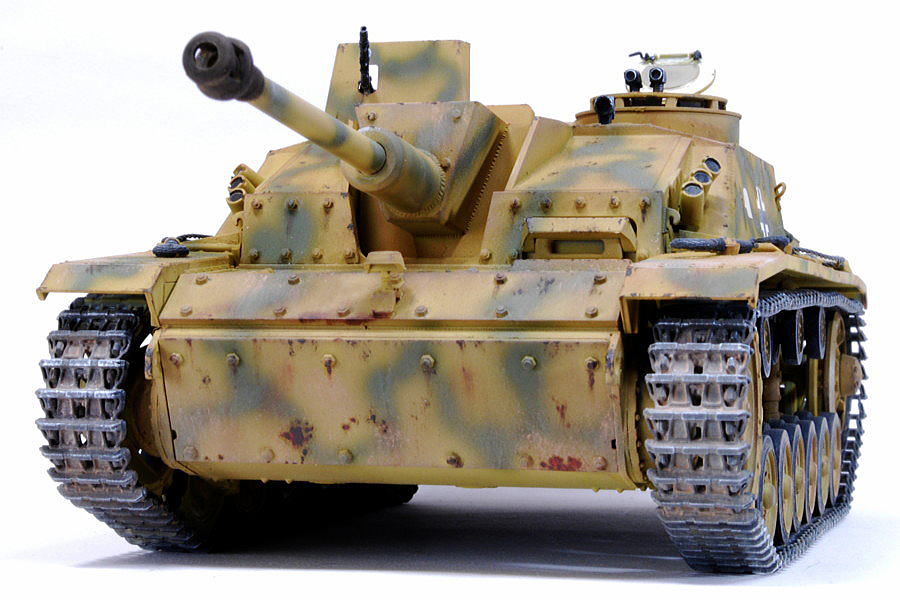
 The initial purpose of the assault gun was to a vehicle that supported the infantryman and breakthrough a strong position. The character was changed to the anti-tank gun gradually. It mass-produced about 8,000 from 1943 to 1945.
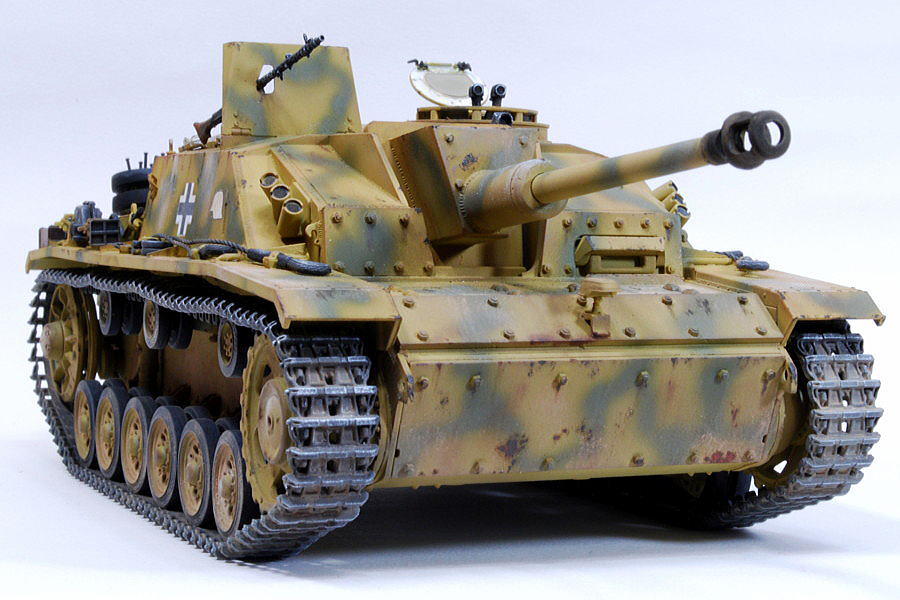 As I mentioned in the making report, I have installed the caterpillar upside down this time. It was impossible to recover as it hardened stoutly with the adhesive assembled once.
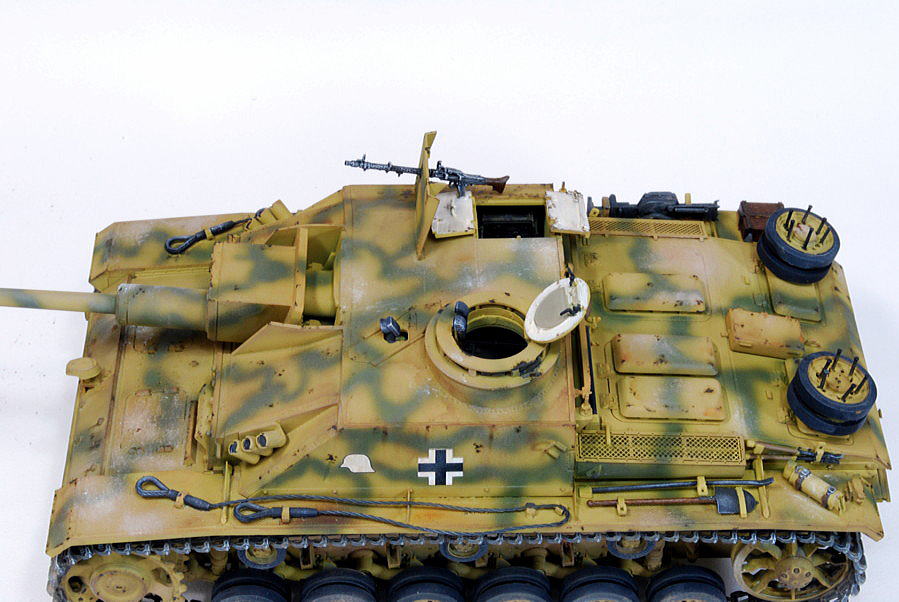
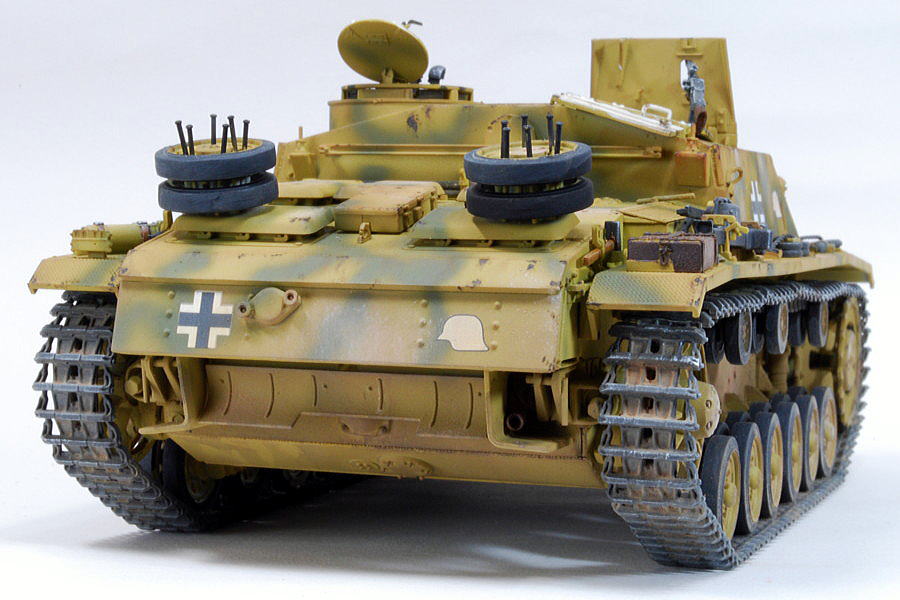 The discovered rate was lower for the low height; it’s good at ambush battle.
 Sometimes the photo was not well because of the exposure and the shutter speed. This one has reflected more reddish.
 I didn’t do heavy weathering for this AFV.
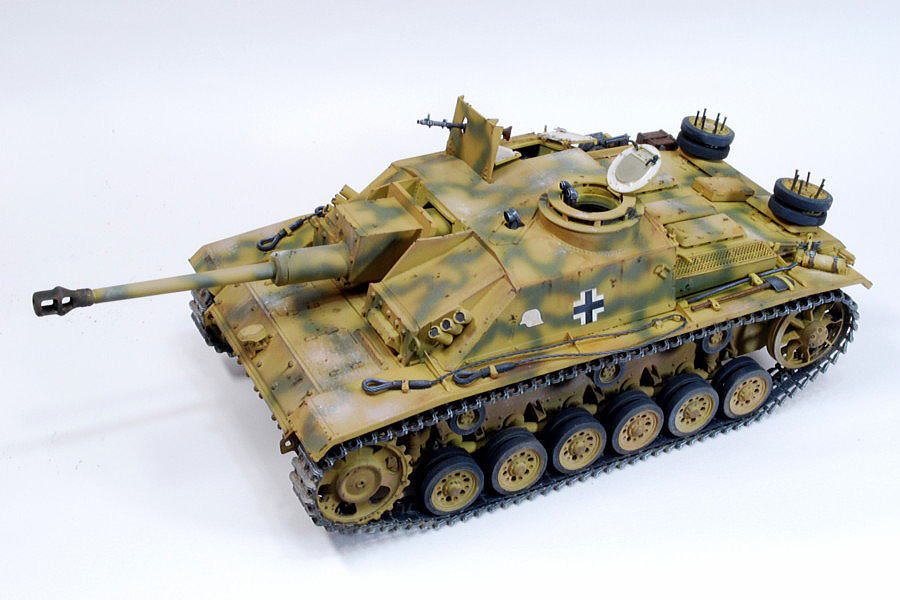 The pastel-like white was unnatural. Isn’t it too unnatural if the battle setting is in the city?
 Rusted chipping was painted in dark brown and black with a tiny brush.
 The inside of the hatch might not be white, but it had a primary painting color.
 It is a radio that you can see through the gunner’s hatch.
 I intend to attach the side skirt, gives Zimmerit Coating, and set up the figures, but the caterpillar mistake suspends doing all but only assembling the vehicle.
(2009/09/21)


コメント