
I was busy with other things at this time, so I did not build many plastic models. I made it from July to September 2010.
 Last time, I commented on making a car model next time, but after all, I’ve been making this tank recently. I found this at the model shop near my house. Dragon Models have put the Zimmerit Coating model on the market this time; I remember the type without Zimmerit was released last spring. Many modelers and magazines highly admired this Zimmerit model.
 Construction around the chassis was many parts, but it’s not difficult because I made the G type about one year ago.
Other websites commented that this model was designed with fewer parts than other Dragon’s kits. But you can see them piled up runners behind the kit. And this is half the amount; I have another pile beside my desk.
However, many parts not used in this model were not many when I read the instruction guide.
(2010/07/17)
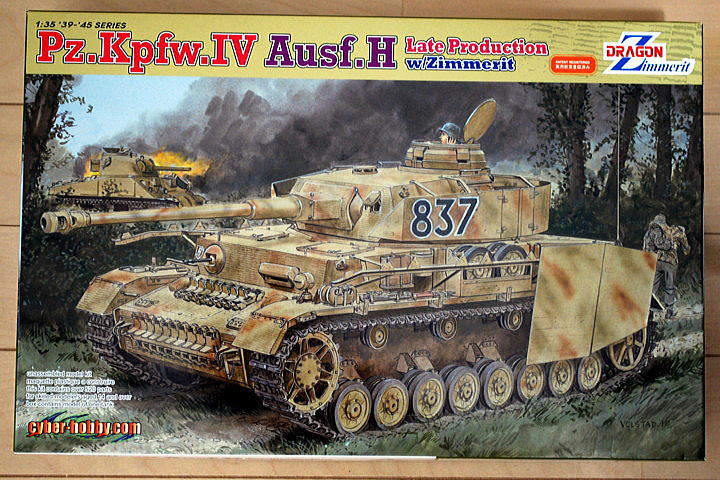
 It isn’t easy to attach the upper armor plates to the chassis. Especially parts F & M should be set to the back of the chassis and require sensitive adjustment. I could not fit perfectly in the back armor of the other parts but using instant glue.
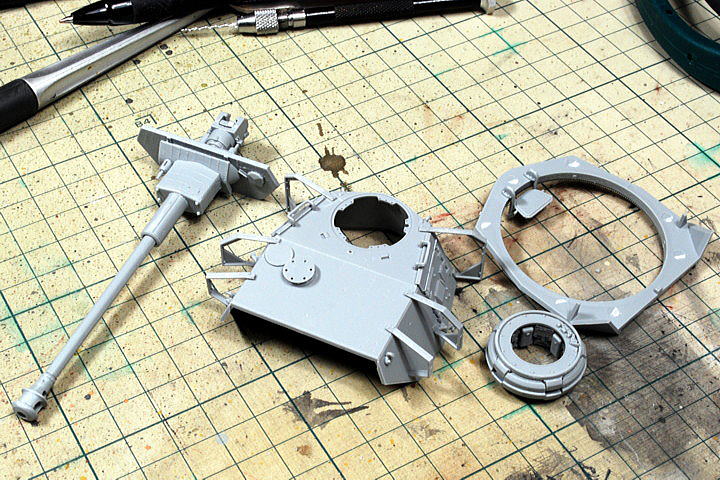 Now I’m making a turret. Type H turret has a schurzen, and you can see the schurzen holding parts in this photo.
(2010/08/14)
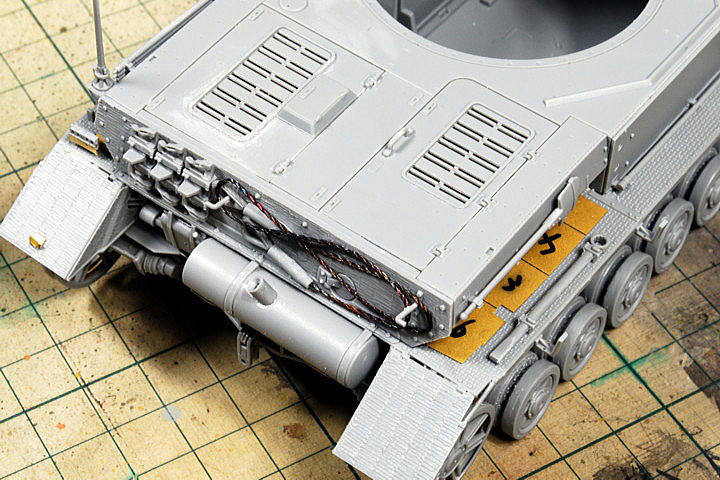
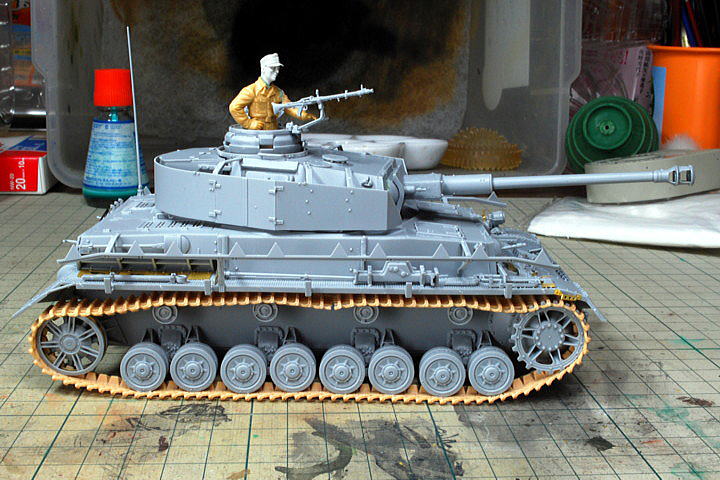
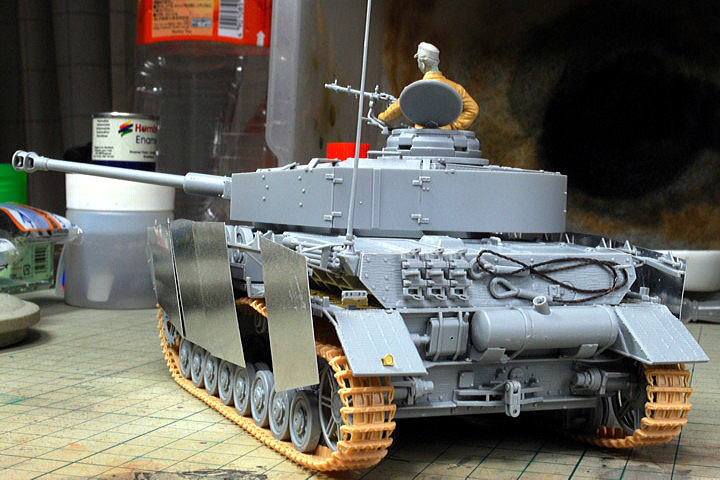
 I just completed the attached turret schurzen. I noticed that the barrel was fixed unusual angle, around 30 degrees upper. Maybe glue was flowing into the movable joint. What a pity!
It’s already fixed as steady as a rock, but I tried to adjust with all my strength. Now natural-looking shape, but a small gap occurred.
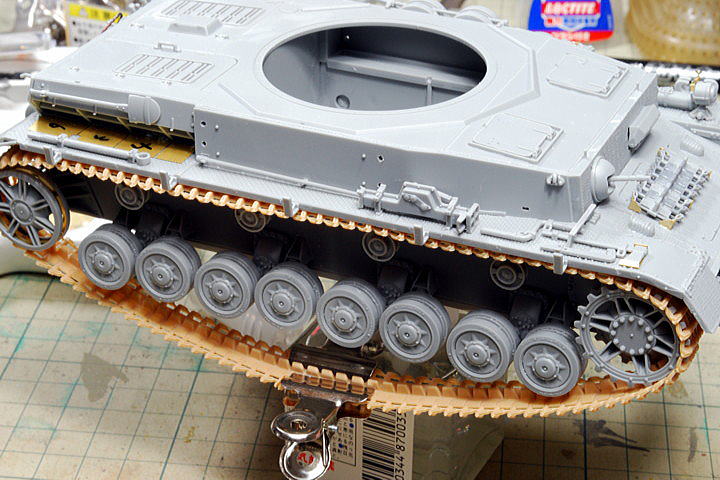 Now, this is bonding the rubber caterpillar. I feel it’s two trucks longer than the natural slacking. It’s easier to adjust the length of the magic track, but the belt caterpillar cost time-free item. It takes about 3 minutes. This kit concept is easy to assemble with prepared Zimmerit Coating, so the attached belt caterpillar may be popular with many people. Anyway, I’ll use this belt caterpillar.
(2010/08/16)
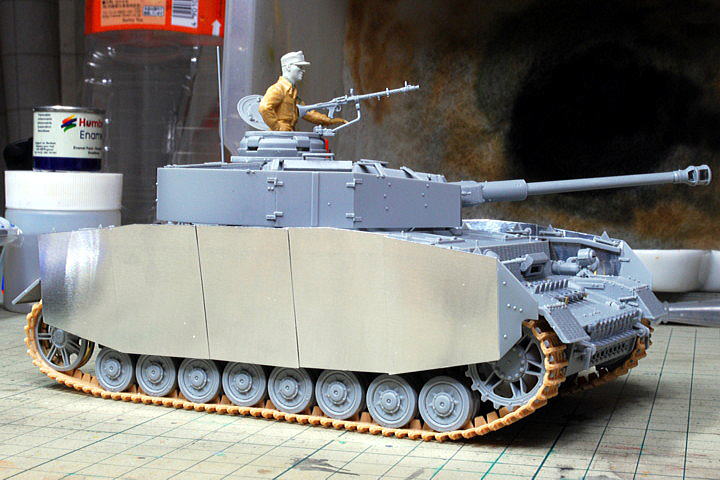
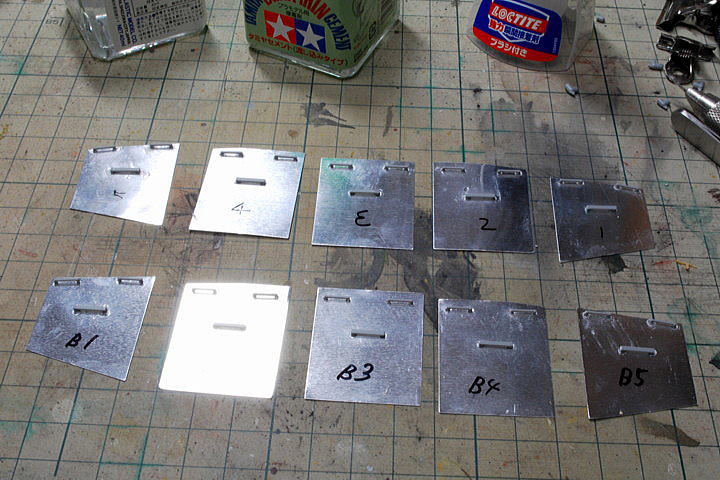 The thin aluminum board is in this kit for schurzen. This seems to be of good quality. I use this metal board’s rapid bonding adhesive for joint hung handles. Much more glue is not stronger bonding strength, but I use fluent glue for these joints.
(2010/08/20)
 The belt caterpillar doesn’t seem real without adjusting the slacking as in this photo. To become natural as much as possible, I’ll bond it little by little.
 Starting to fix this caterpillar with the driving wheel, I subsequently fixed it with road wheels. Finally, I cut off 1 or 2 pieces in length to make them natural-looking. It was utmost, though I can’t say it’s good-looking. But maybe the side skirt (schurzen) hide them.
(2010/08/20)
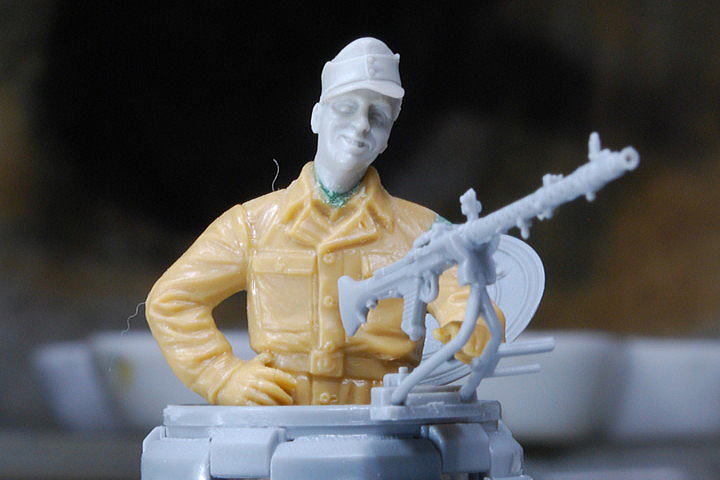 I attached the Hornet head with the Tristar tank soldier figure. I am using Duro putty to change the angle of the right arm. It’s an excellent face of relaxation.
(2010/08/22)
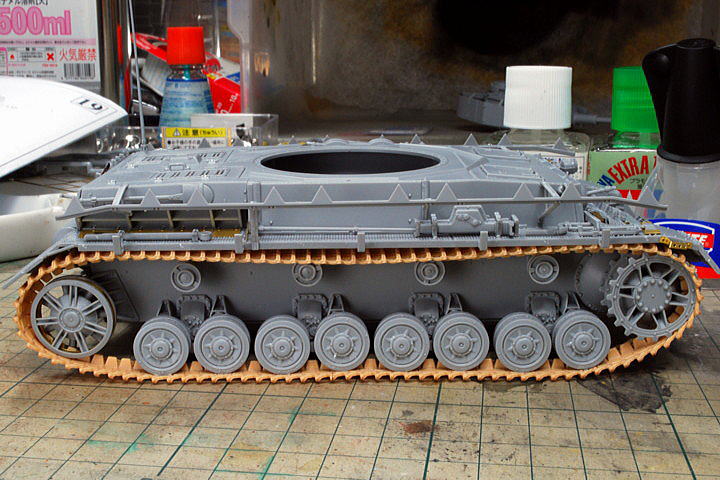
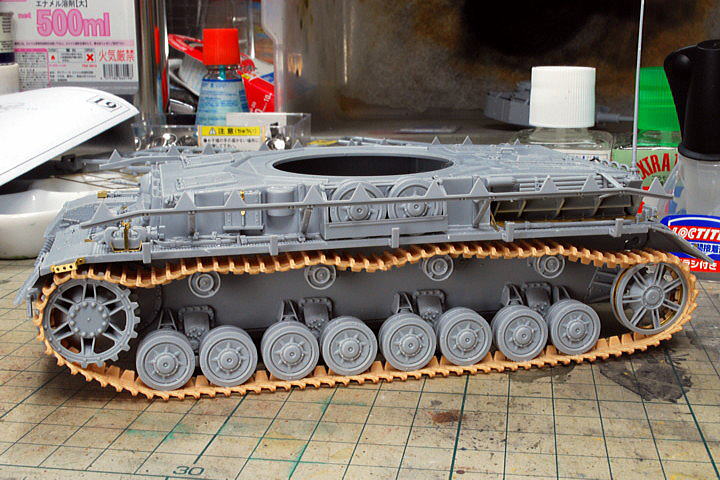
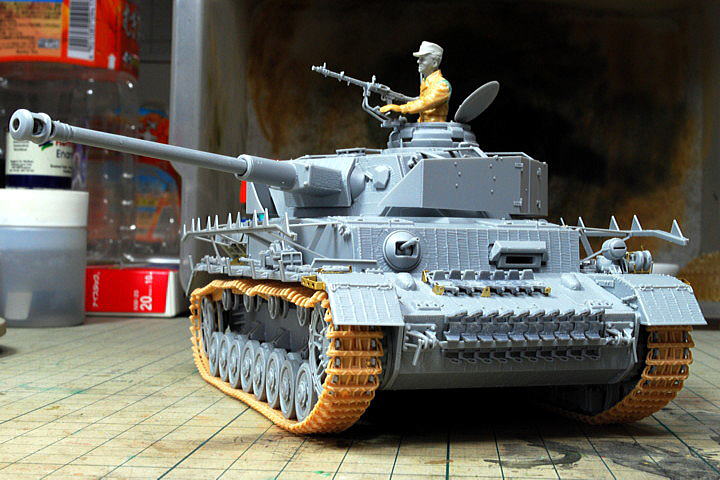
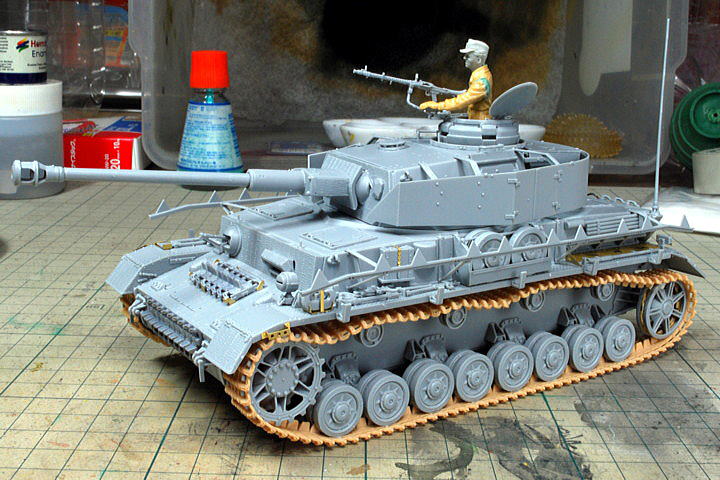 Photo shot of not attached schurzen situation. It’s a good balance of shape.
 We can see the machine tool on the upper body. You can find the point of cutting the caterpillar to adjust slacking……
 It was easy to assemble because the Zimmerit Coating was molded from the beginning. Maybe the quality is higher than by me. I suppose it’s essential that we can finish the assembly without time and burden.
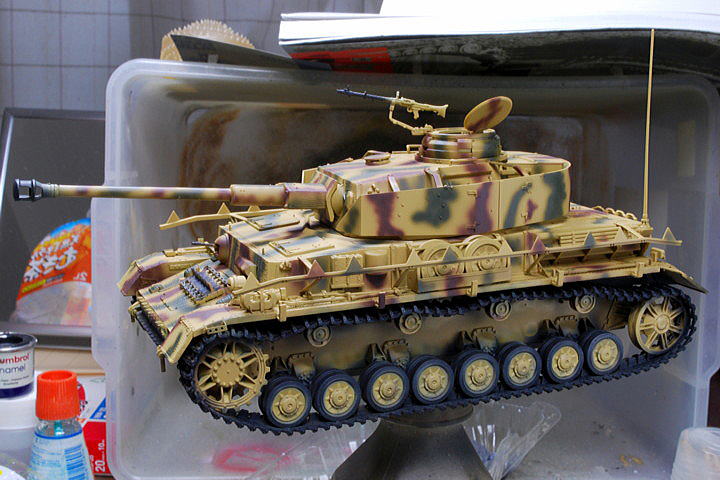
 I imagined the looking with schurzen was bright, like the Middle Ages knight, but too simple, and I felt it was not so good.
 I pulled out the schurzen board at the center for a change. Finally, I’ll decide how to set them up after painting…
 I can start the painting process next week before washing the body. However, I might begin to assemble a different kit.
(2010/08/22)
 Because the temperature of Tokyo is about 35 degrees every day, unbearably hot, I should have opened the window of my room for complete ventilation. I blew dark yellow and khaki green. Mr. Color has a stronger thinner smell than Humbrol, and directly inhaling it is terrible for our health. It’s possible to fall while making the model due to heatstroke.
(2010/08/28)
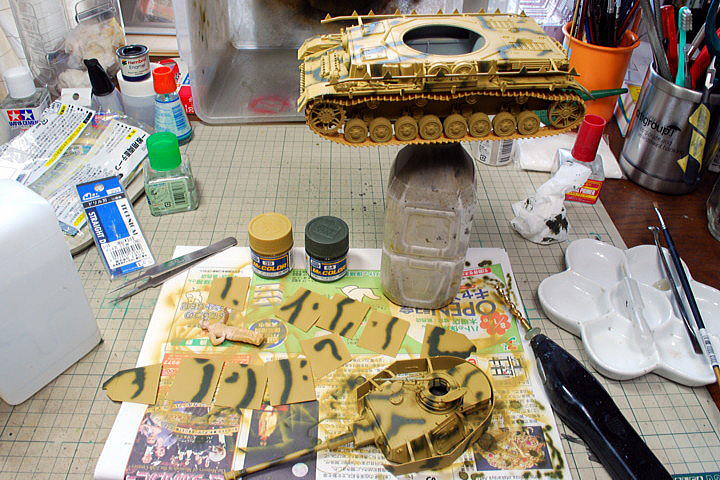
 Red Brown painting completed. The basis of this time camouflage is striped like a pattern for referring to the instruction. I didn’t paint camouflage on the back of the schurzen.
(2010/08/28)
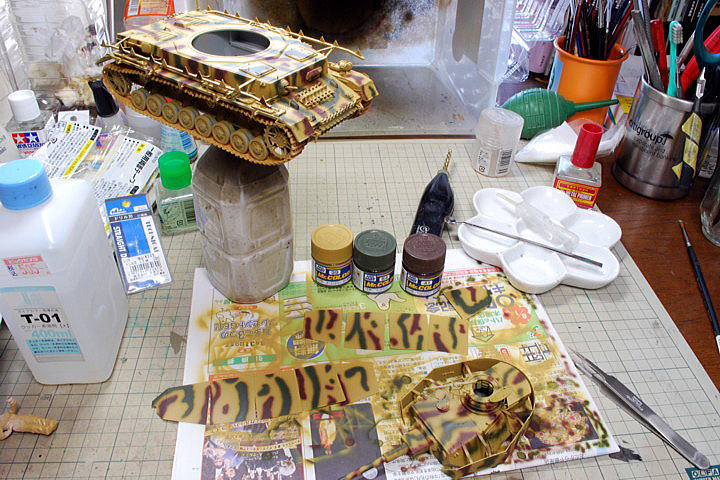
 In the meantime, I completed the airbrush paint roughly. Camouflage painting is the best part of making the German tank.
I’ll paint the detailed area with a small brush later, and I can amend the overflow of the airbrush at the same time. The Panzerkampfwagen IV has 16 trank rollers, and airbrush painting was challenging, but I suppose it’s easier than hand brush painting…
(2010/08/28)
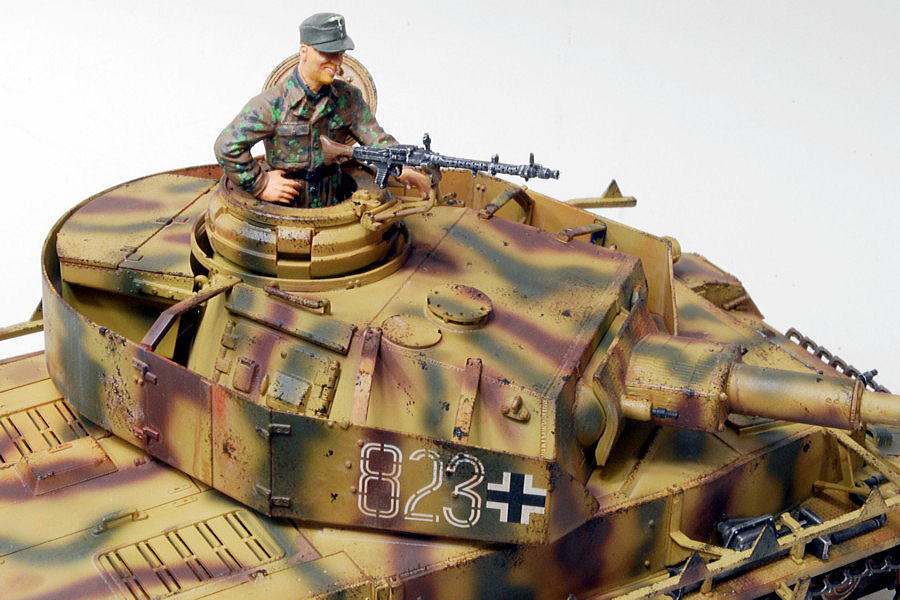
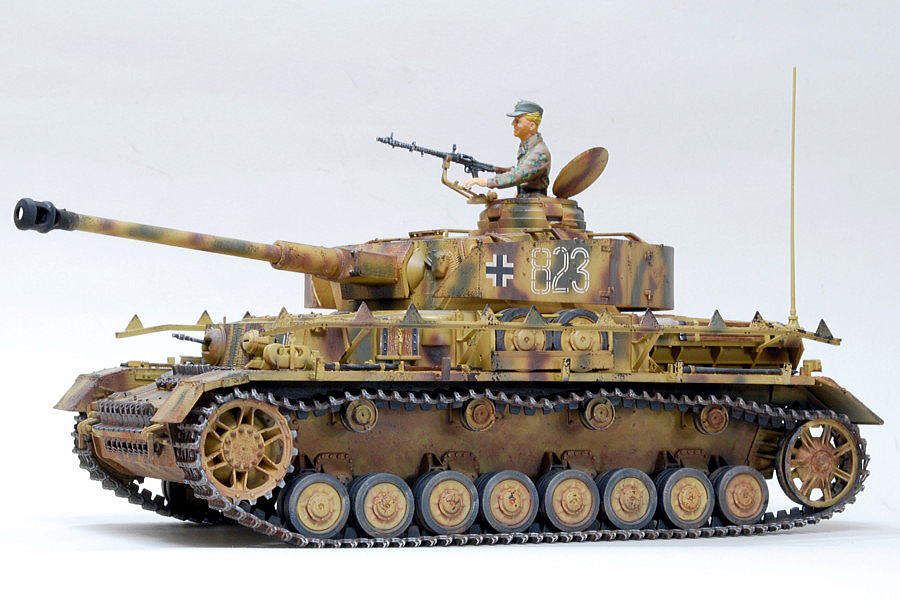 PANZERKAMPFWAGEN IV type H was completed. As for H type, about 2,300 cars were produced between May ’43 and February ’44. The schurzen and the Zimmerit Coating are features of type H.
 I chose the marking of the eighth regiment, the second armor division in Normandy, in 1944. The second armor division reshuffled to France for replenishment in the Battle of Kursk, and they were annihilated in the Falaise Pocket battle in Normandy. This division finally surrendered to the Allied Forces though they were organized again and fought well in the battle of the Bulge.
 I painted an orthodox three-color camouflage. It is a big vertical direction camouflage this time. This time, I chose Mr. Color for the primary paint. I usually use Humbrol Color for basic paint, but while washing, the same enamel thinner makes the paint coating wrinkle sometimes. Almost all Japanese modelers use Mr. Color, I suppose.
 The decal of the kit attachment is high-quality and made of the Cartograf. I made the decals stick by a decal fit after gloss coating. And after that, I use the mat coating. I can avoid the decal shining this time for using that process. However, I mistakenly pasted the proper side decals; it’s too close between the nationality mark and the turret number.
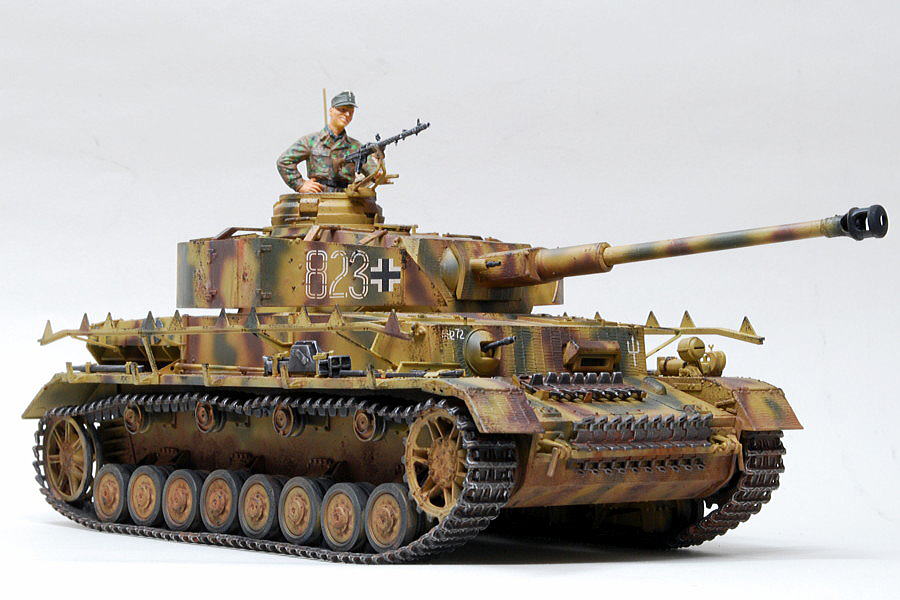
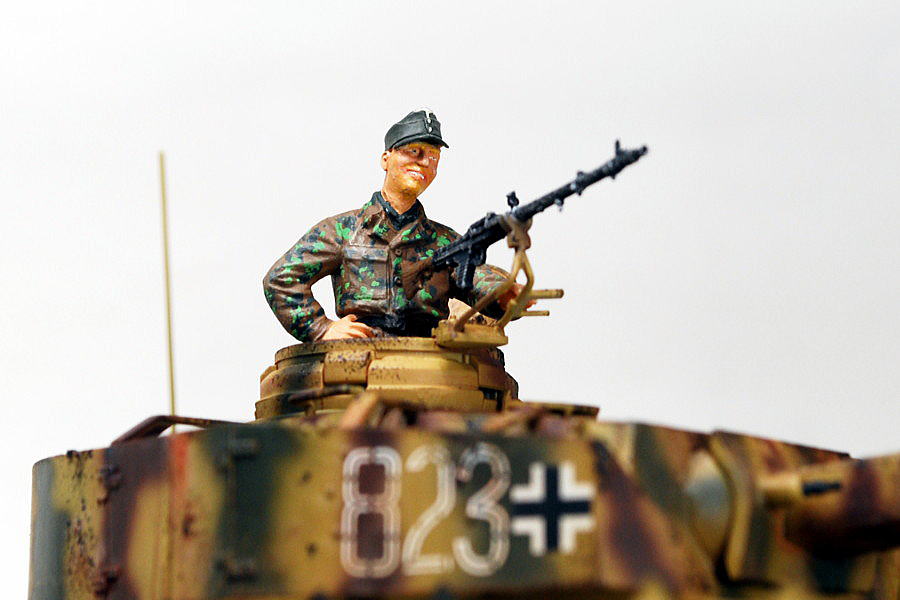 Not so a good painting of the tank soldier and the camouflage. I think the dot is too large, and the light green is different.
 I used the dishwashing sponge for this tipping. It is quite a good tool for quickly putting on tipping for a wide area. I used the oil painting, but I suppose the Humbrol is better for quick drying. It is necessary to wait when I do washing and pastel work simultaneously.
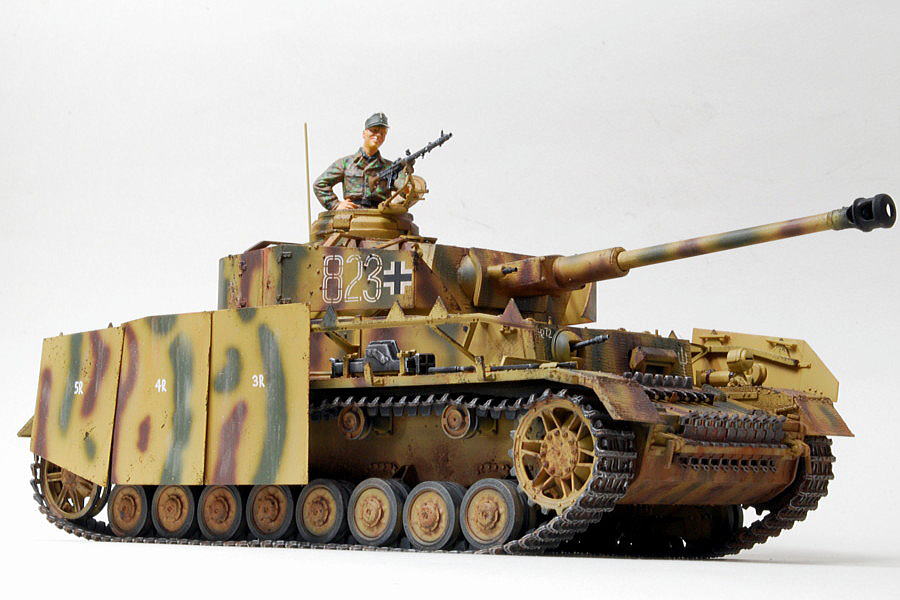
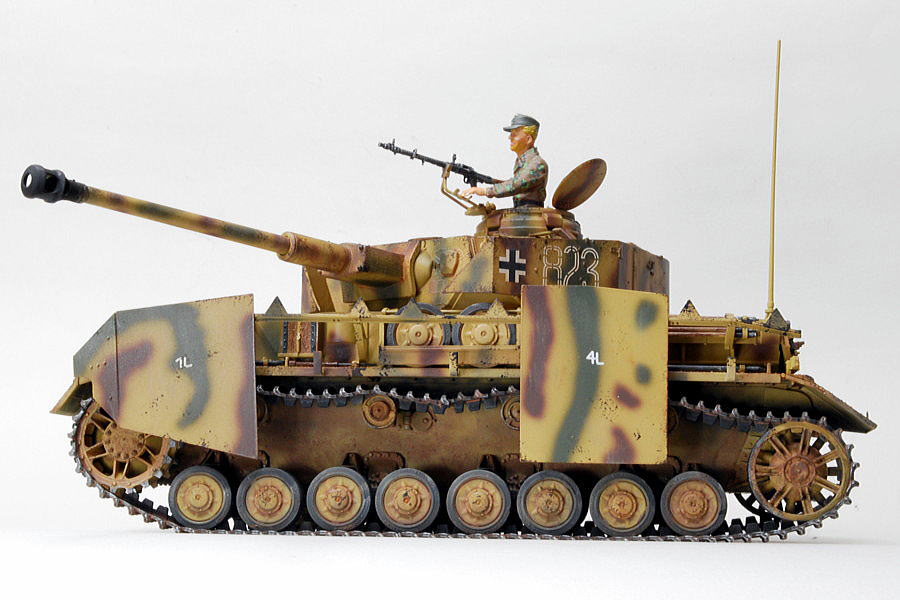 All schurzen removed, installed partially, and fully attached. I took many types of photos. I felt the all schurzen removed picture is good-looking.
 I commented the figure painting this time was not so good, but from this range, the sense of incompatibility is almost nothing…
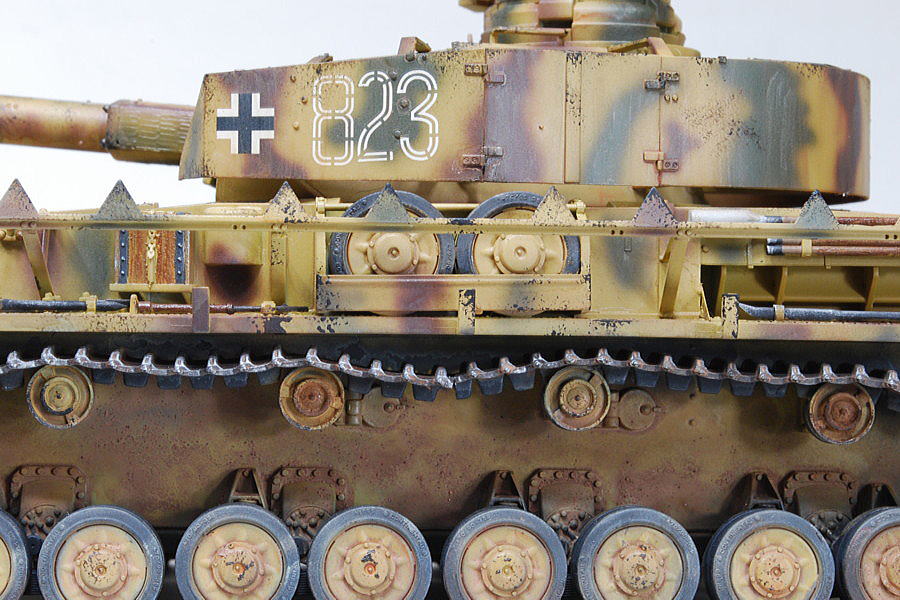
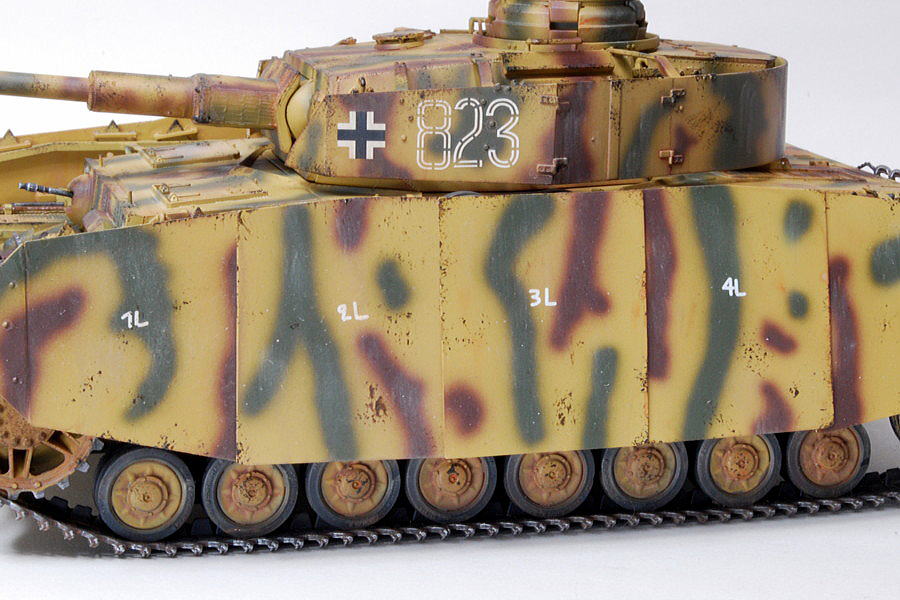 Because the schurzen was a monotonous plane, I put the change a little by expressing the tipping and eavesdropping. However, after I applied every schurzen, I imagined that all crew, except the commander, must clear the situation outside the battlefield. Interestingly, these plates have number markings. Did they carry it by hand, though it’s a considerably heavy-looking plate, even by one piece? Or maybe detaching them by crane…
 I did not paint the shackle metallic color this time because the shackle was sometimes painted in body color.
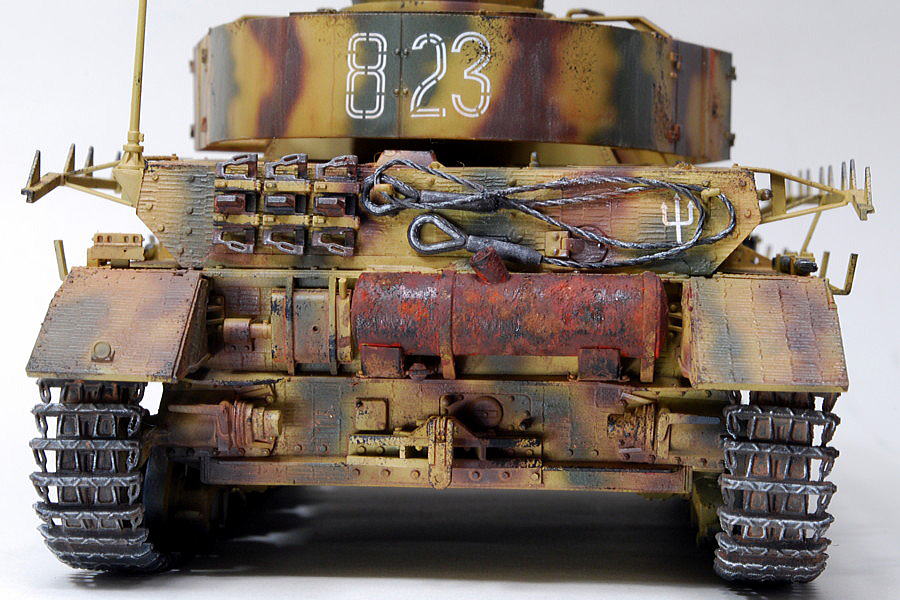 Only the muffler was given a dirty thick painting. Weathering is very interesting, and I can’t stop working by and again…
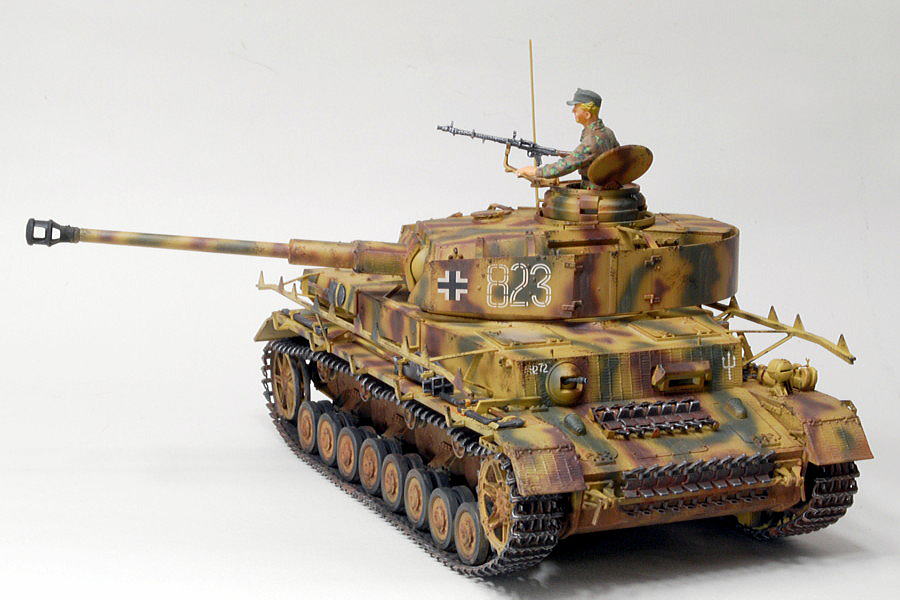 The end is a shot of sideways shaking the turret. I could assemble this Dragon quickly and finish it beautifully though there are many parts.
Anyway, I failed some points; this work was completed. Quite good looking !! (though it is self-satisfaction.)
(2010/09/04)


コメント