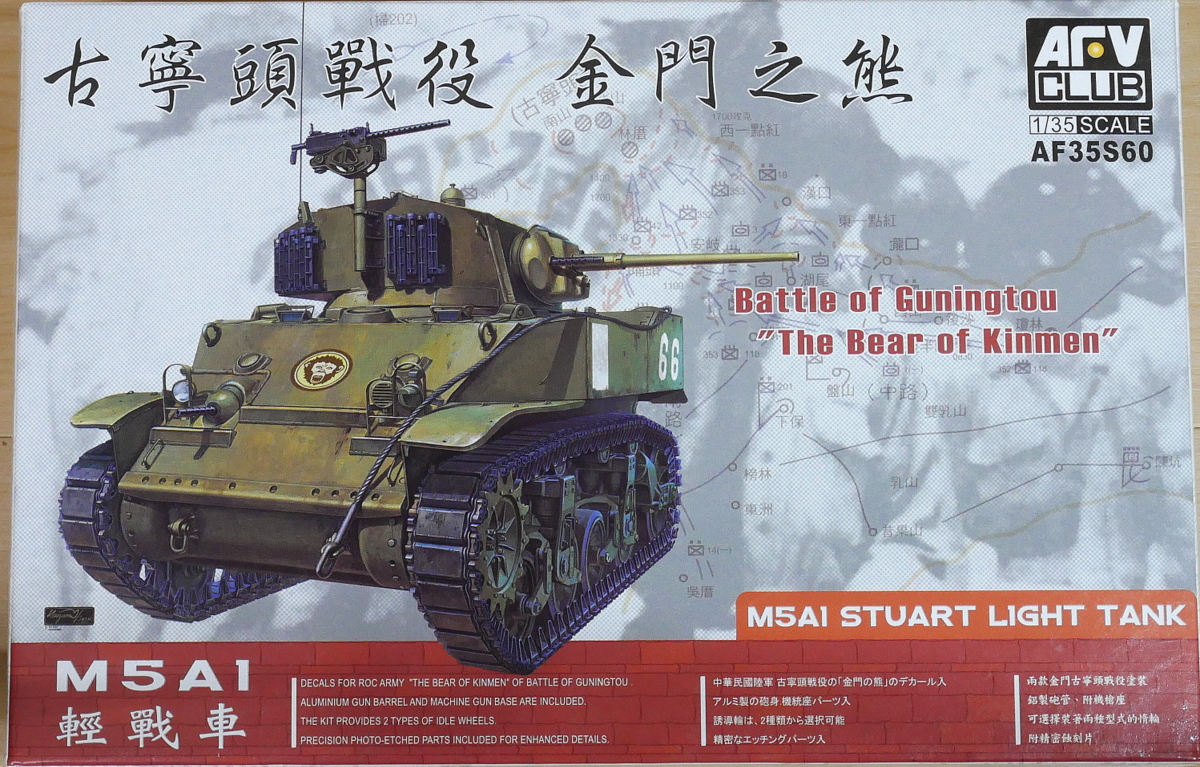
 I will try to build an AFV Club M5A1 Stuart light tank this time. The kit is a limited edition of “battle of Guningtou, the Bear of Kinmen.” In October 1949, the People’s Liberation Army landed on Kinmen Island in the Taiwan Strait, which was under the control of the Nationalist Party. In this operation, the M5A1 light tanks deployed in the garrison of the Kuomintang army fought a significant battle against the landed People’s Liberation Army, contributing to the enemy’s defeat. Thanks to the M5A1 light tank, this tank was named “the Bear of Kinmen.” This tank can usually be made as a U.S. military vehicle during World War II, so I think I’ll go with it.
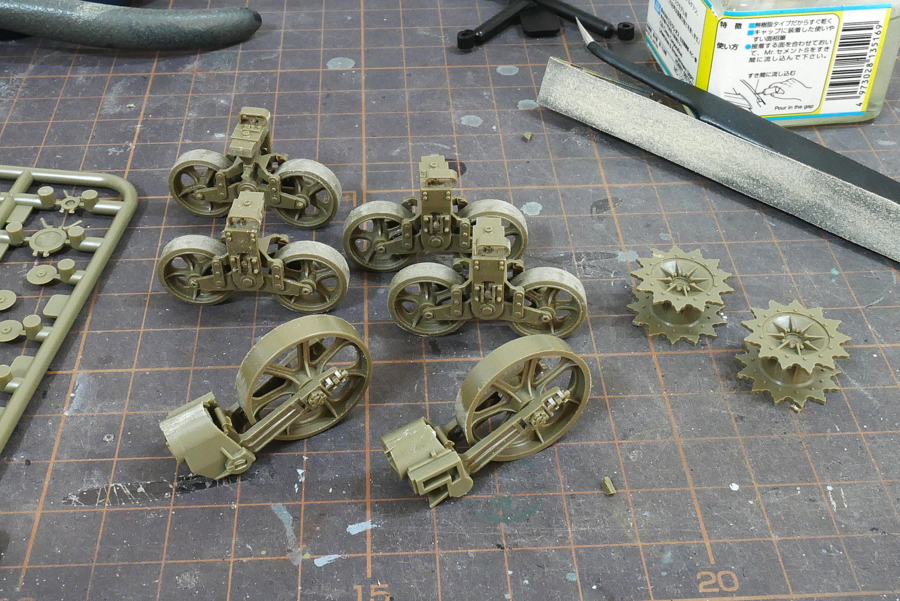 Tamiya’s new kit seems to be good as the M3 series. Unfortunately, compared to the other kits of the AFV Club, the parts of this M5A1 are much worse. It’s hard to assemble… It can’t be helped because the kit is already quite old. Since the concept is to reproduce the vehicles of Kinmen Island with the additional decal, the mold may have been exhausted by hitting too many shots. Anyway, I will do my best to make it.
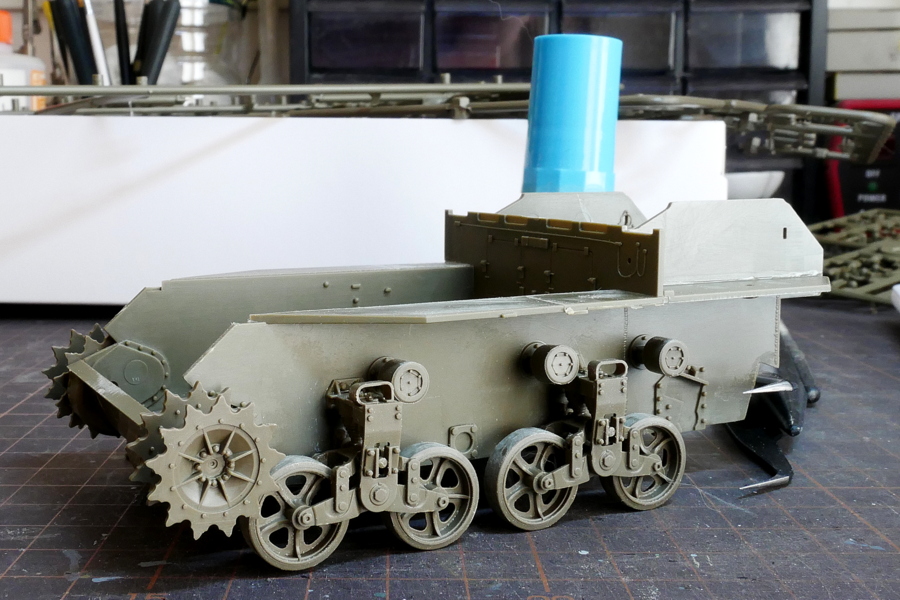 I’ve made tanks of this type several times to make it without difficulty.
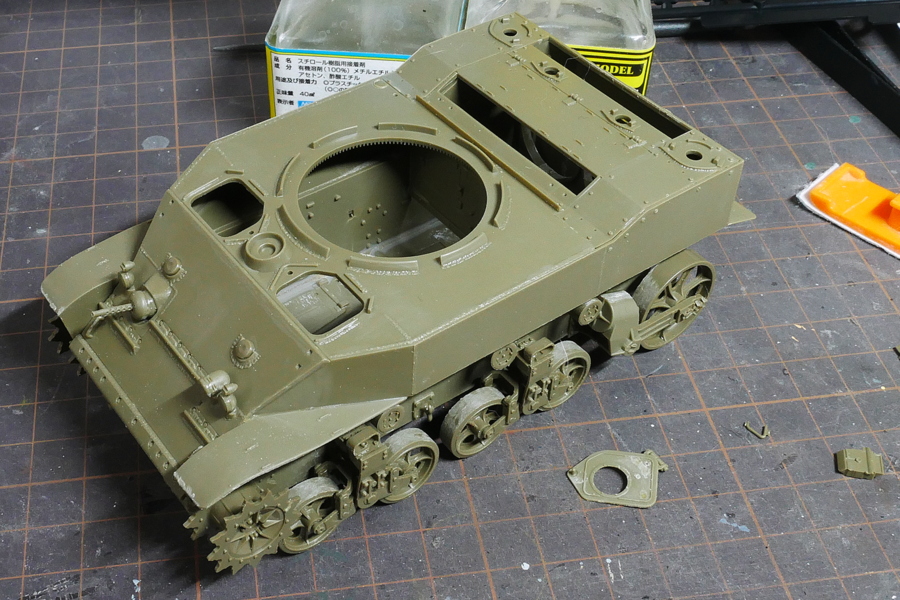 I make it while removing the pin marks on the backside of the hatch.
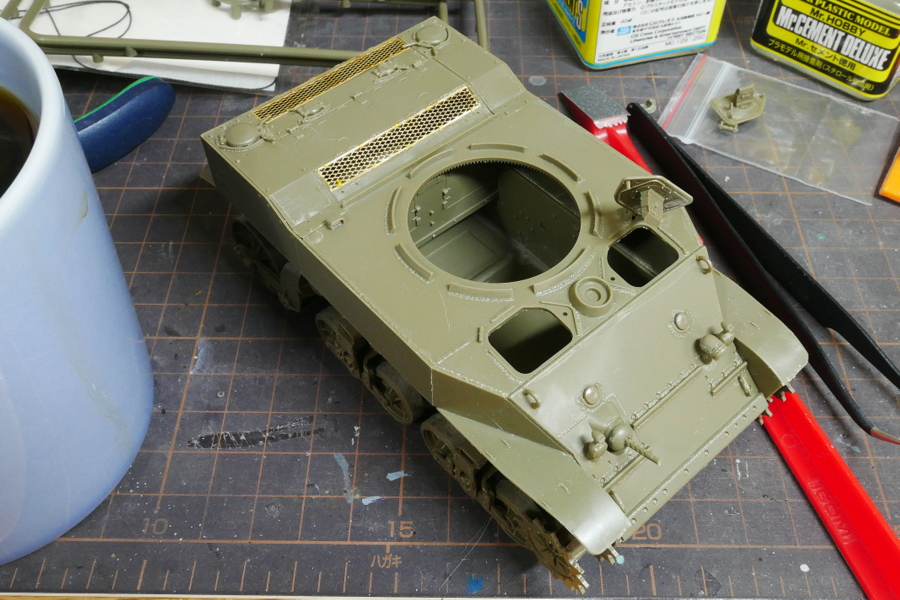 It has some etched parts.
(2021/03/26)
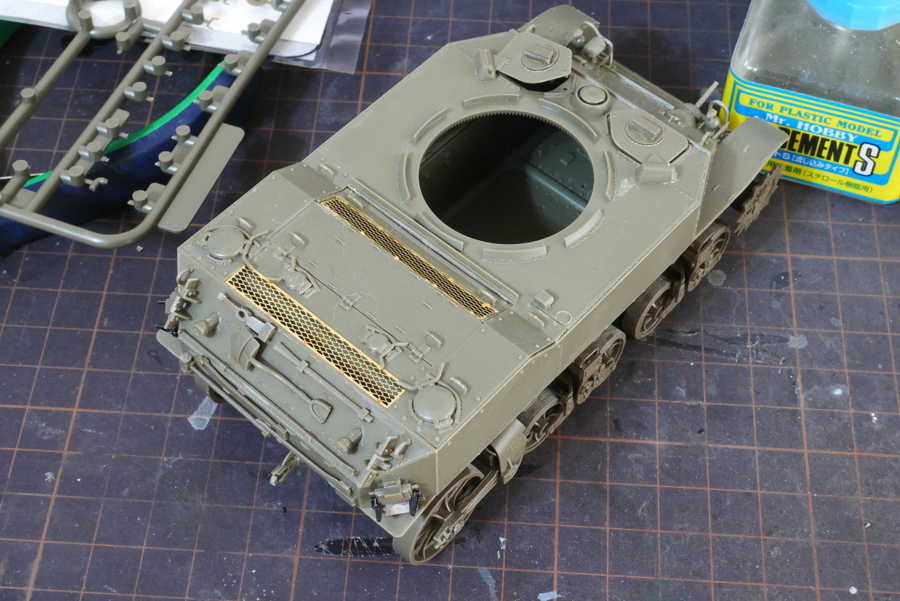 Even though the body is small, it takes time to assemble because there are many delicate parts.
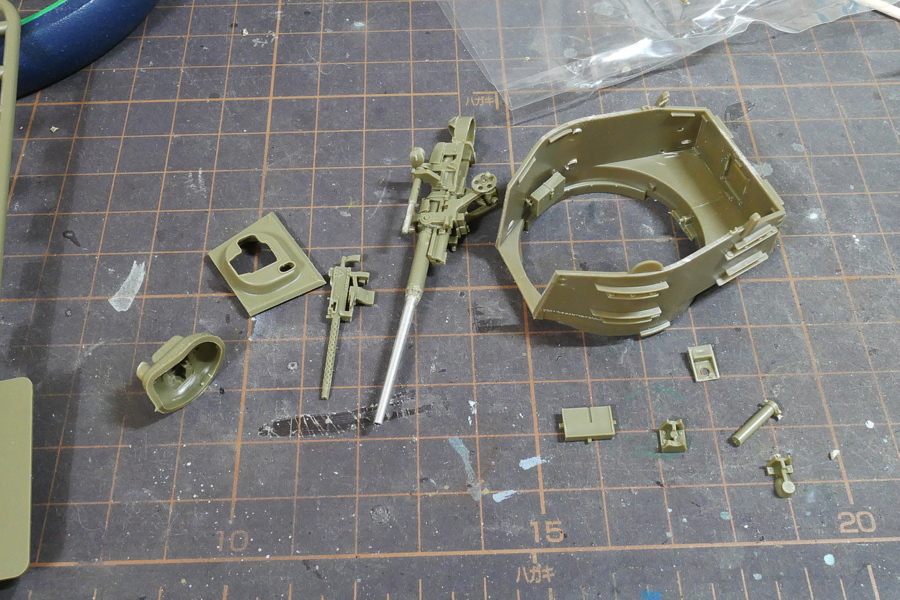 The small barrel was attached to a metal barrel.
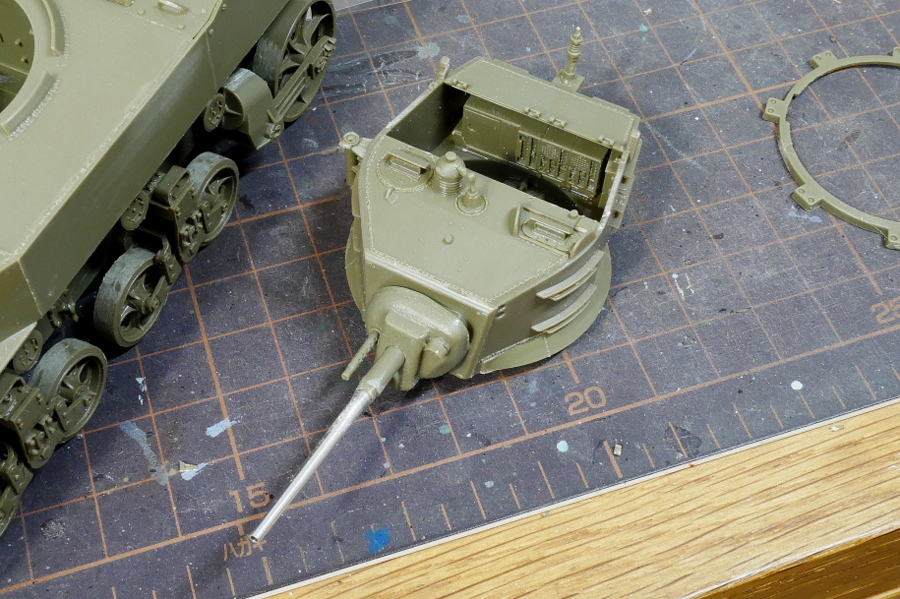 A radio was installed at the back of the turret. I don’t think I should stick around here if I want to put a tank soldier on.
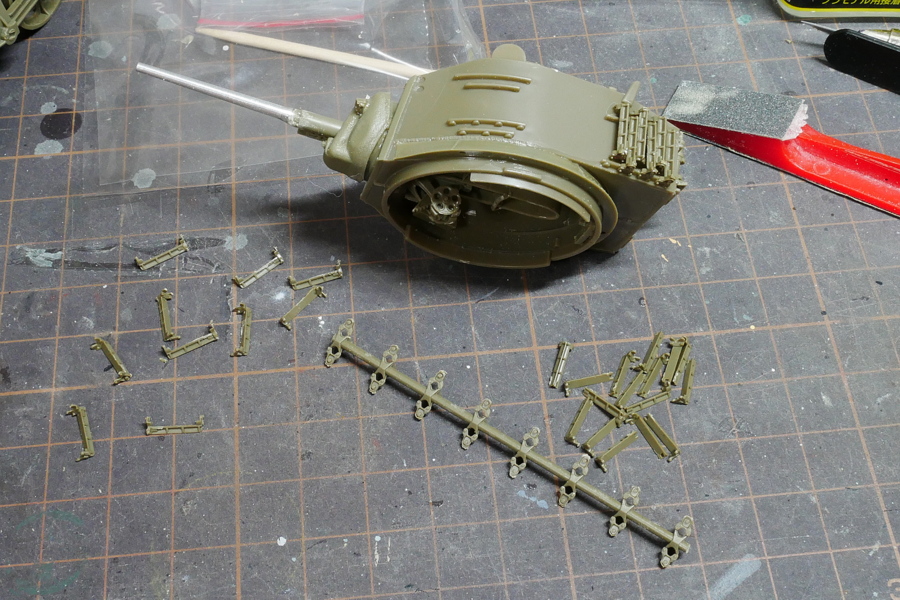 The installation of the grouser next to the turret is troublesome. I got used to it a little because it was the third assembly.
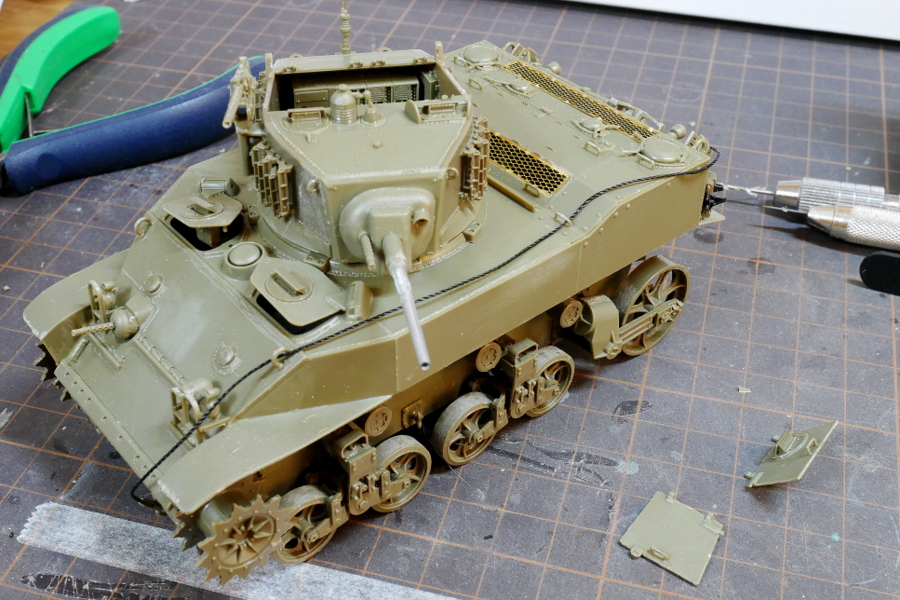 Maybe because there are many parts, even a small tank has a precision feel.
(2021/03/29)
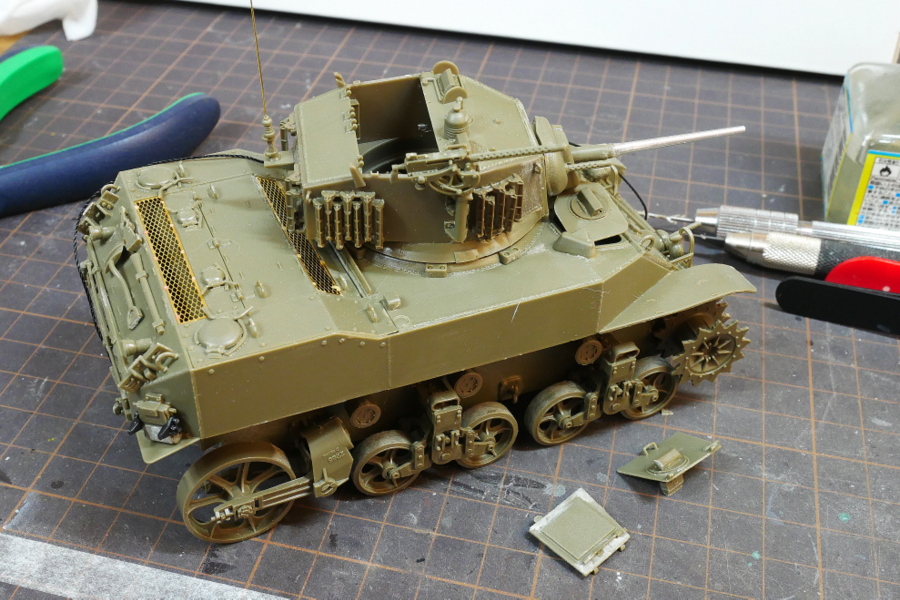 It has many machine guns, so it could have been enough to defeat the infantry that landed on Kinmen Island.
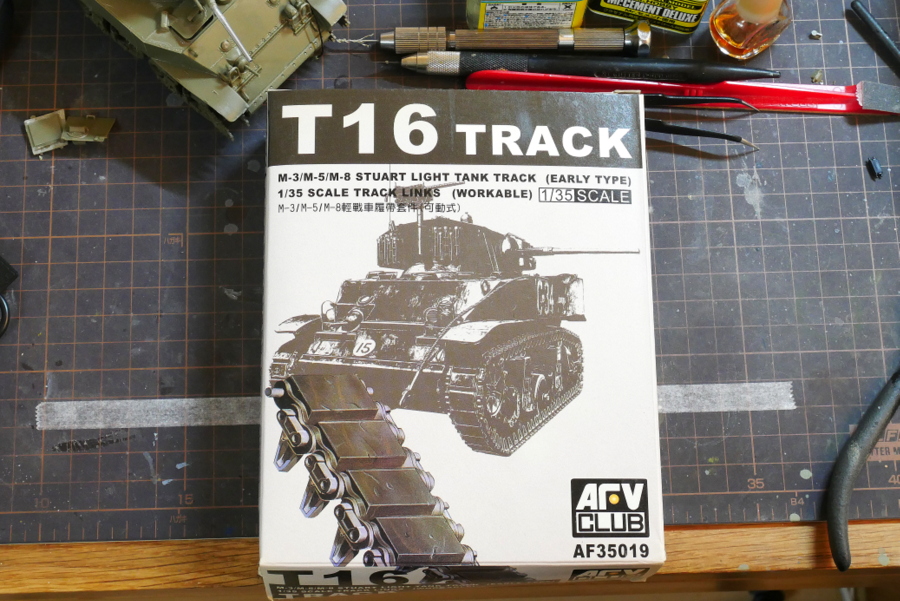 This kit is a U.S. light tank, and there is no need to loosen the caterpillar, so I think there is no problem with the belt-type parts. But I decided to use this AFV club’s connecting T16 because I have been piled up for about ten years. Or rather, I wanted to use this caterpillar, so I was looking for a tank that would fit it, and I bought this Stuart tank. I heard that this is not easy to get.
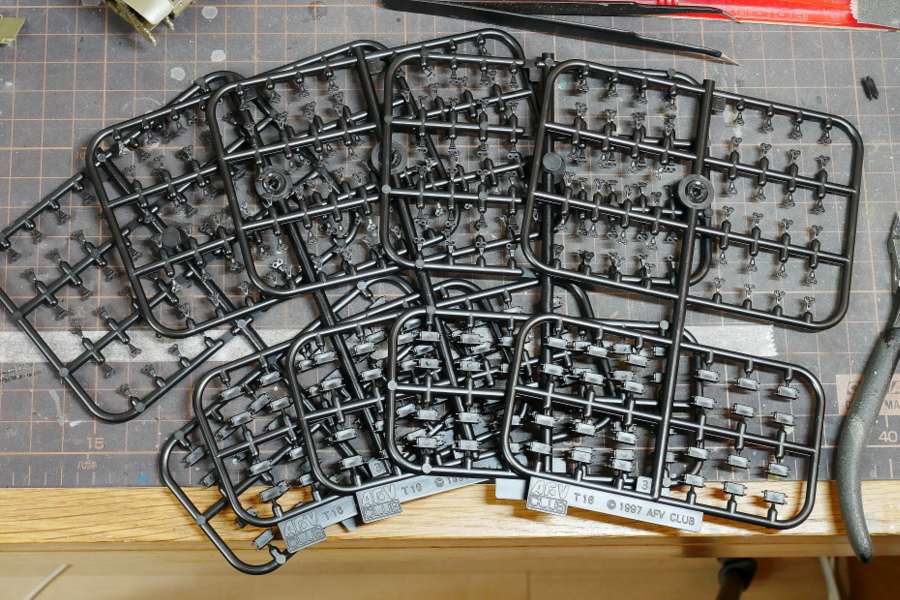
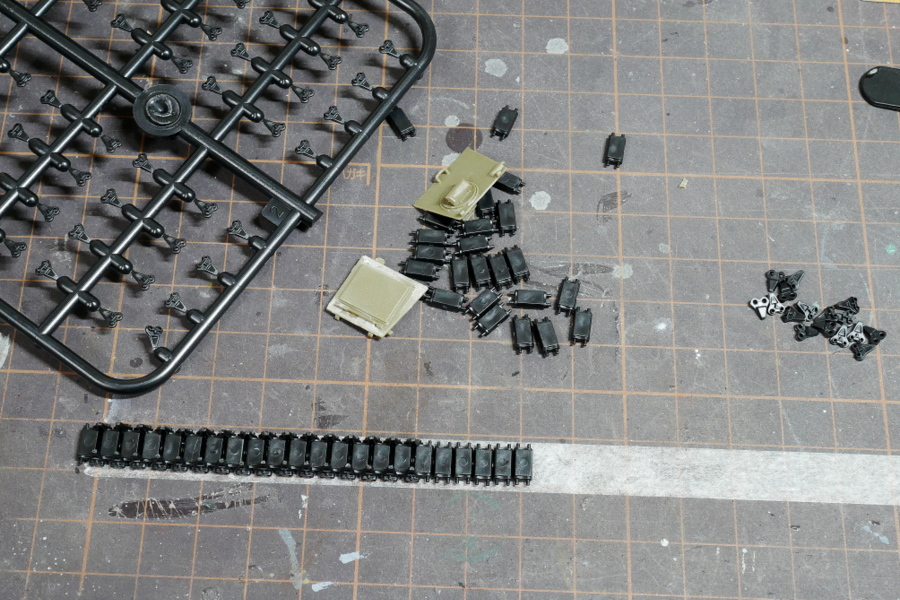 Since the connecting part is fitted to the side of the connecting track parts, it takes a little time. I can’t just line them up and pour glue them all at once.
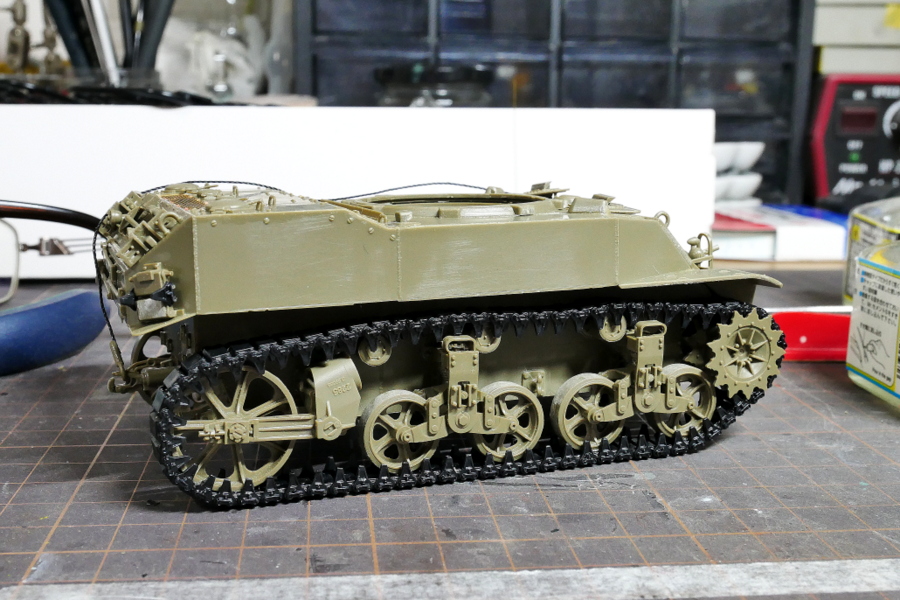 It’s not much different from the belt-type caterpillar, but it’s a little realistic.
(2021/03/31)
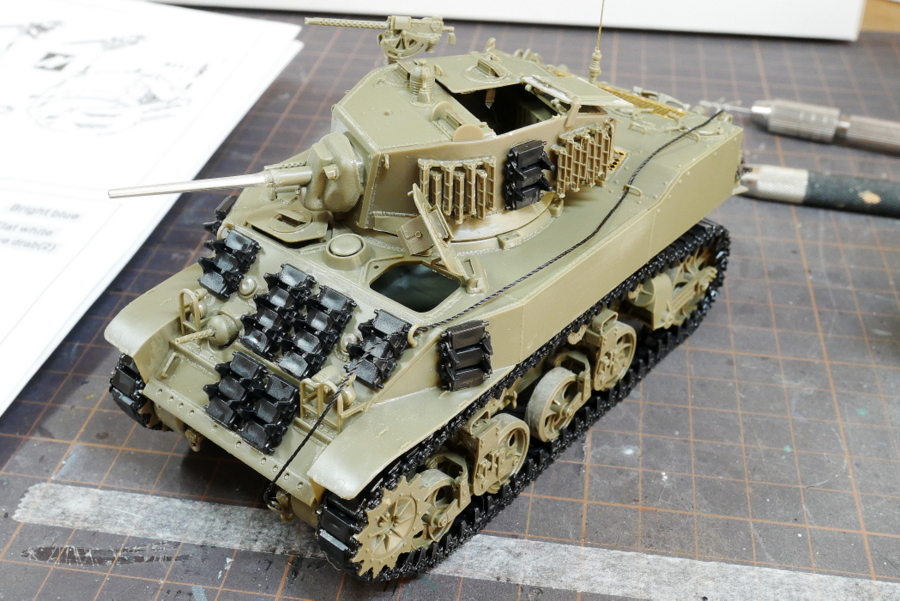
I had some extra parts for the connecting track, so I added more armor to the front and side of the vehicle and the side of the turret. It was pasted as it was on the assumption that it was welded. For the time being, it was attached to protect the crew.
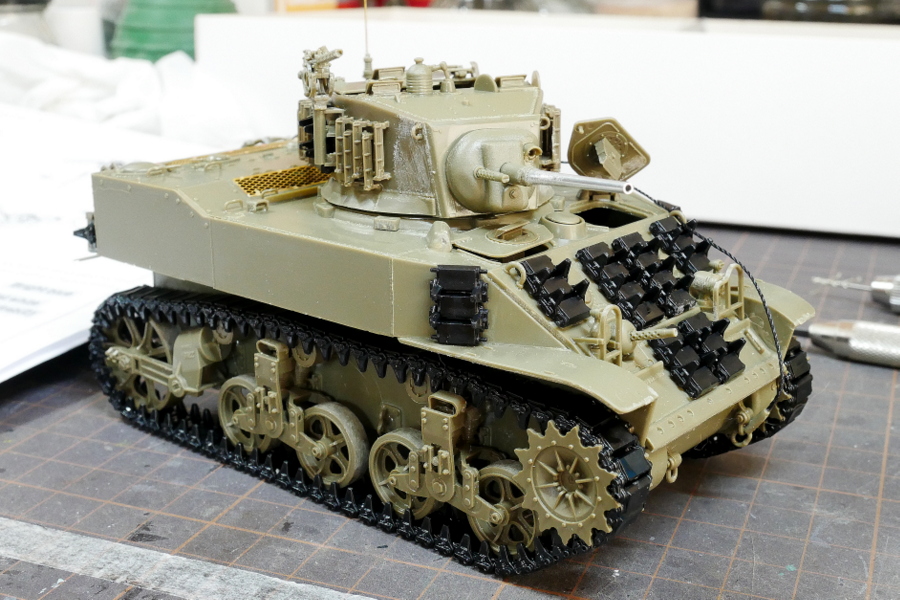
Now that the assembly is complete, I wonder if I can enter the painting process.
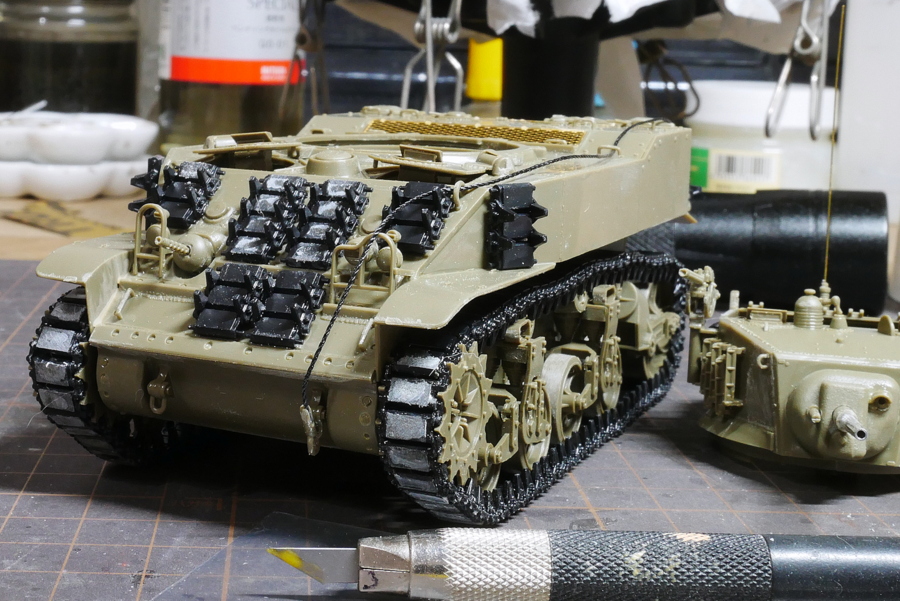
The connecting caterpillar I used this time has a lot of sink marks on the flat part. I used putty to shape only the visible part. It might not be obvious if I painted it black, but I made it as flat as possible.
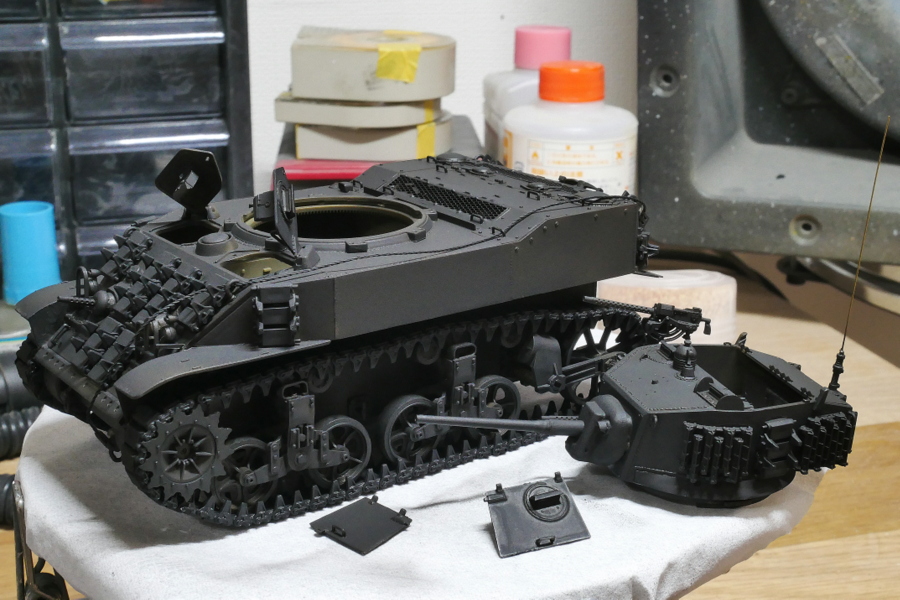
Flat black is painted as a primer. There is much blackish equipment, such as caterpillars and grousers, so it is just right.
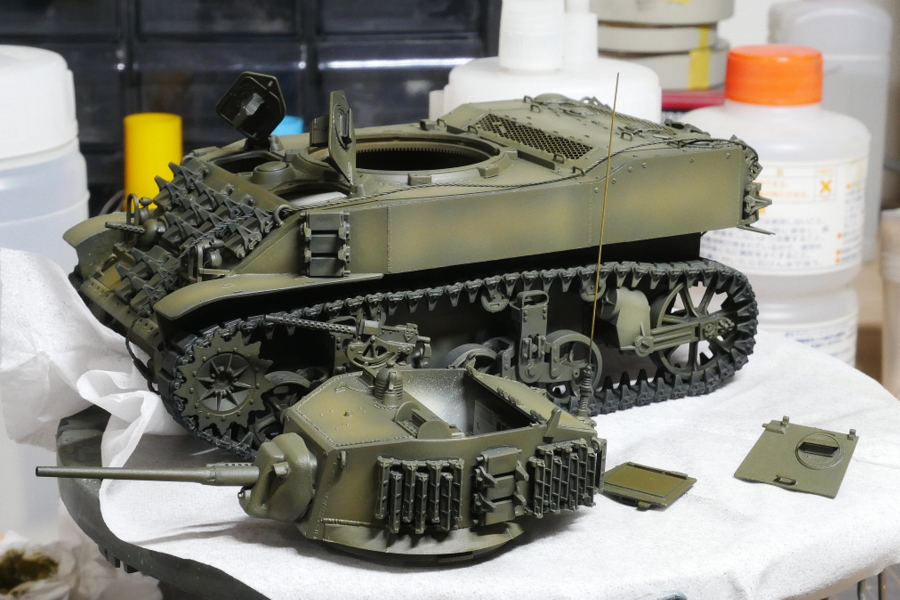
It’s all olive drab, so I put some gradation on it. It is hard to paint because the tank is small.
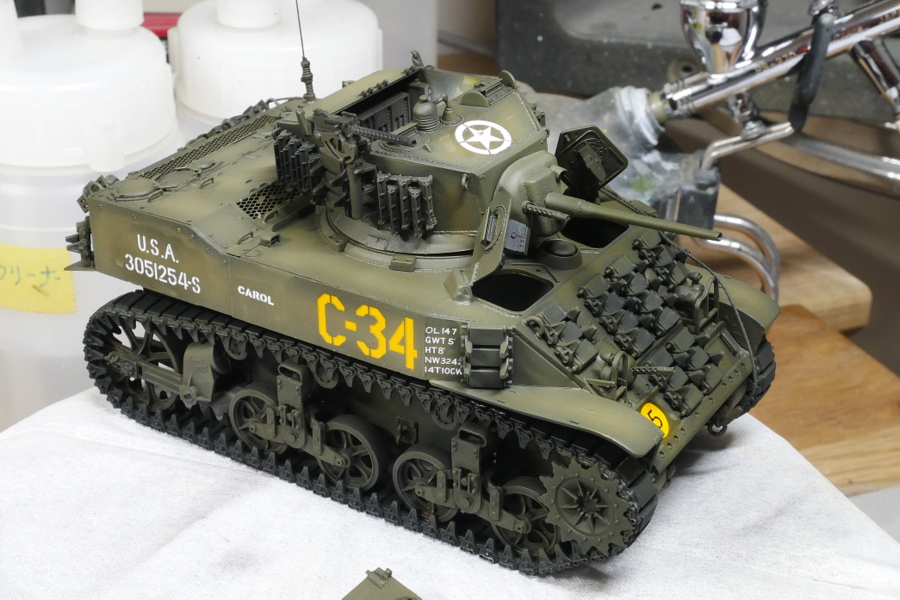
I finished pasting the decal, so it’s almost done.

I could finally purchase PlayStation 5 more than four months after its release. It’s the first new game machine since PlayStation 3, and this time it’s 5, so it is two ranks up. I might buy a game I wanted to play with PS4, which I couldn’t play for a while.
(2021/04/03)
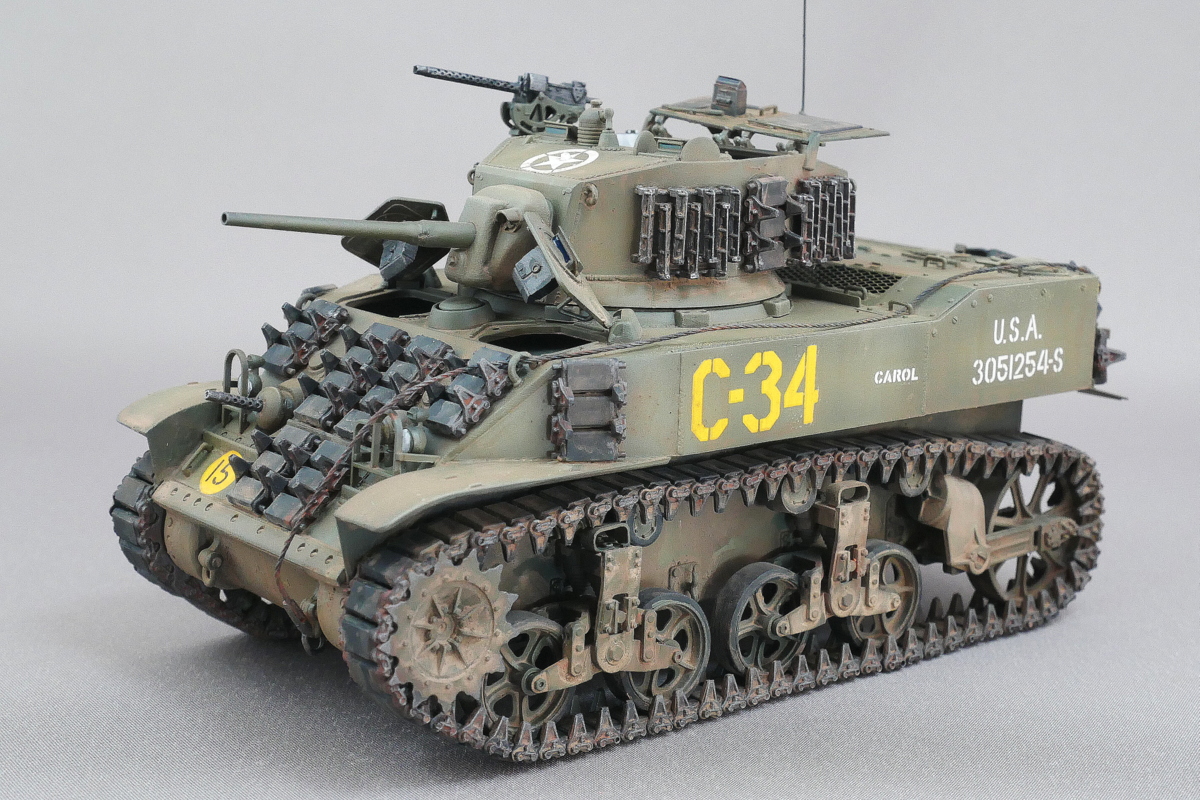 The M5 Stuart tank was completed. This time I made it with U.S. Army style.
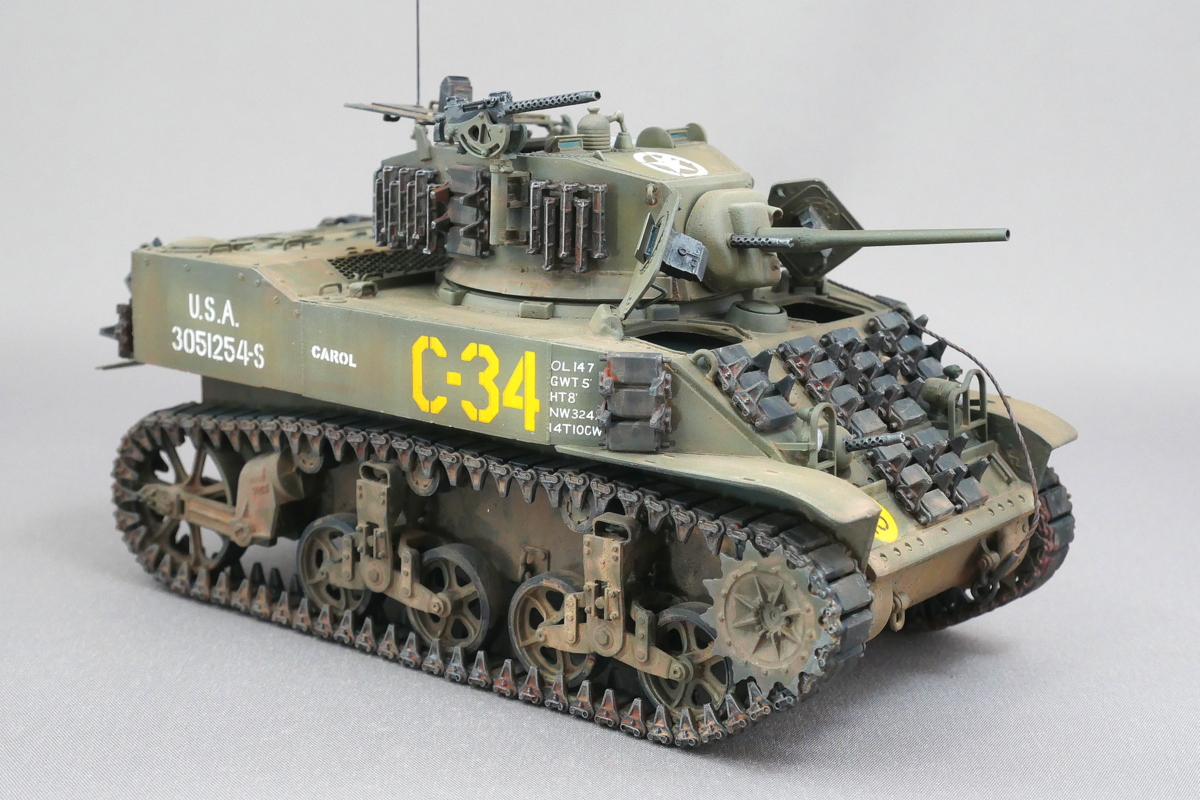
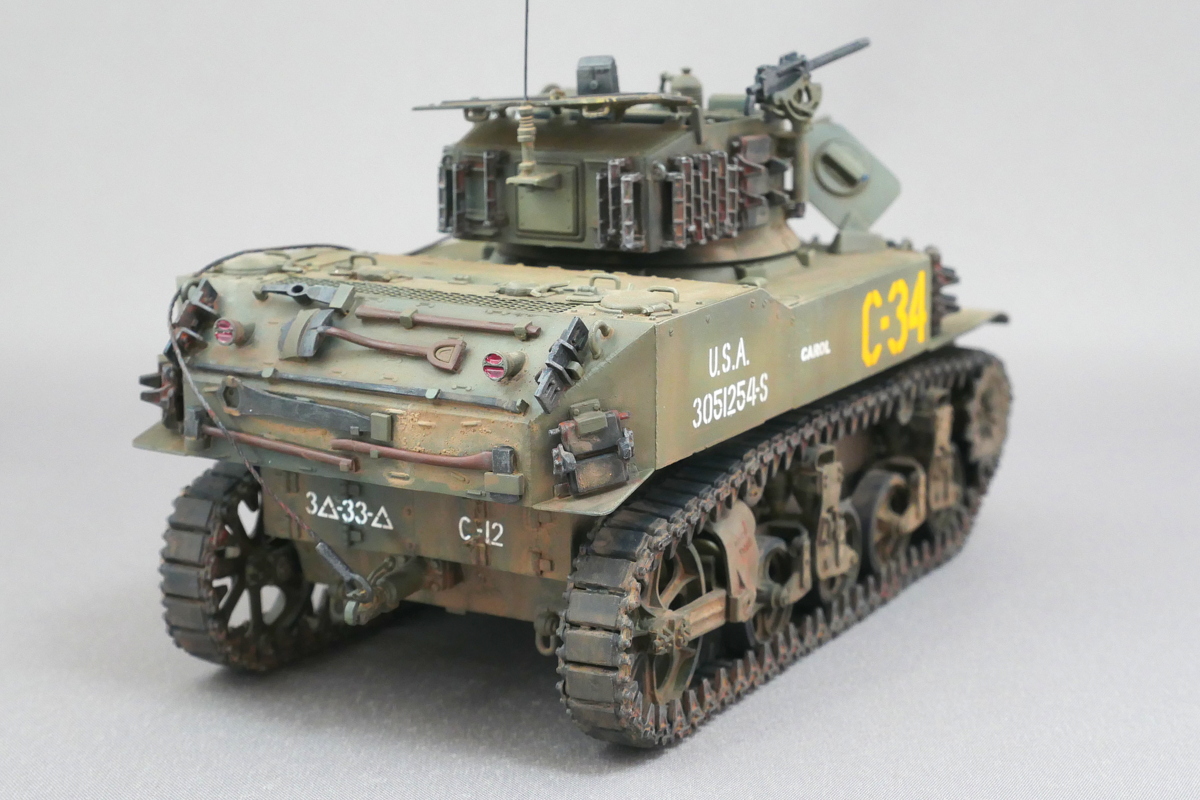 Stuart tanks were active from the North African front. On the European front, the German army’s firepower and defenses were improved, so they were used for reconnaissance missions, not anti-tank battles.
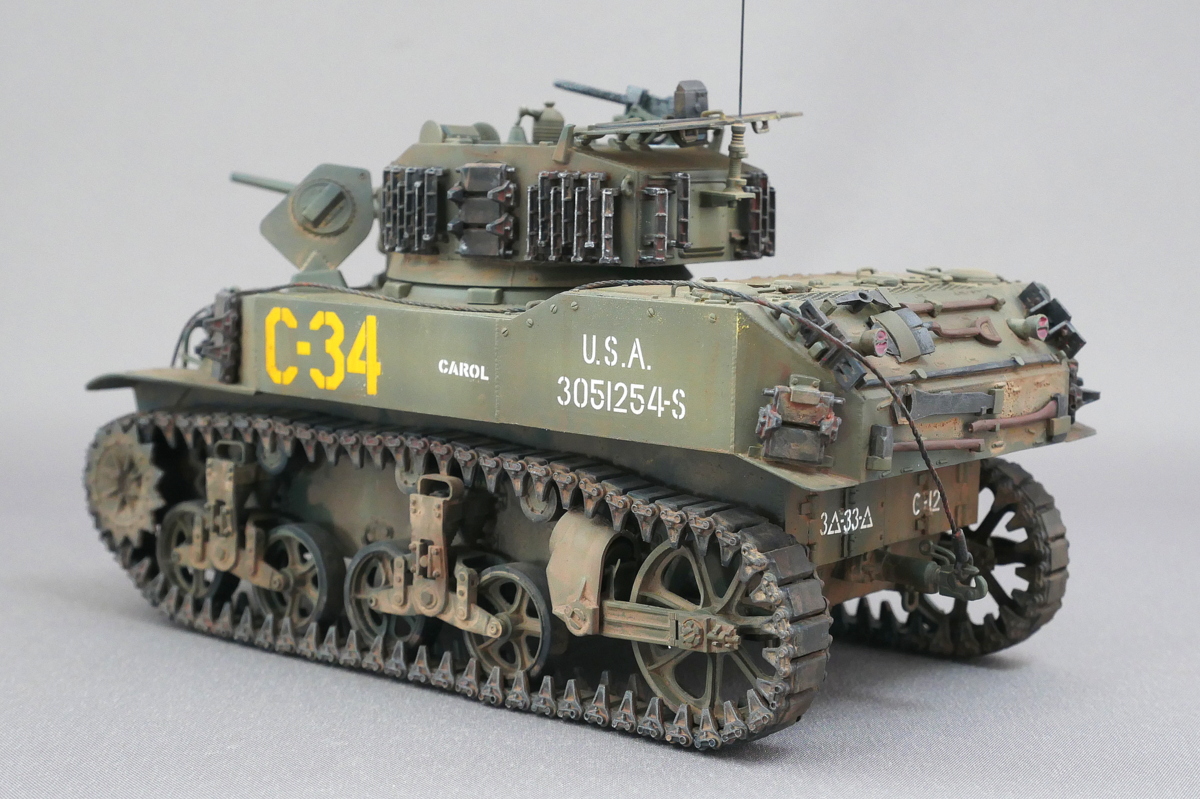
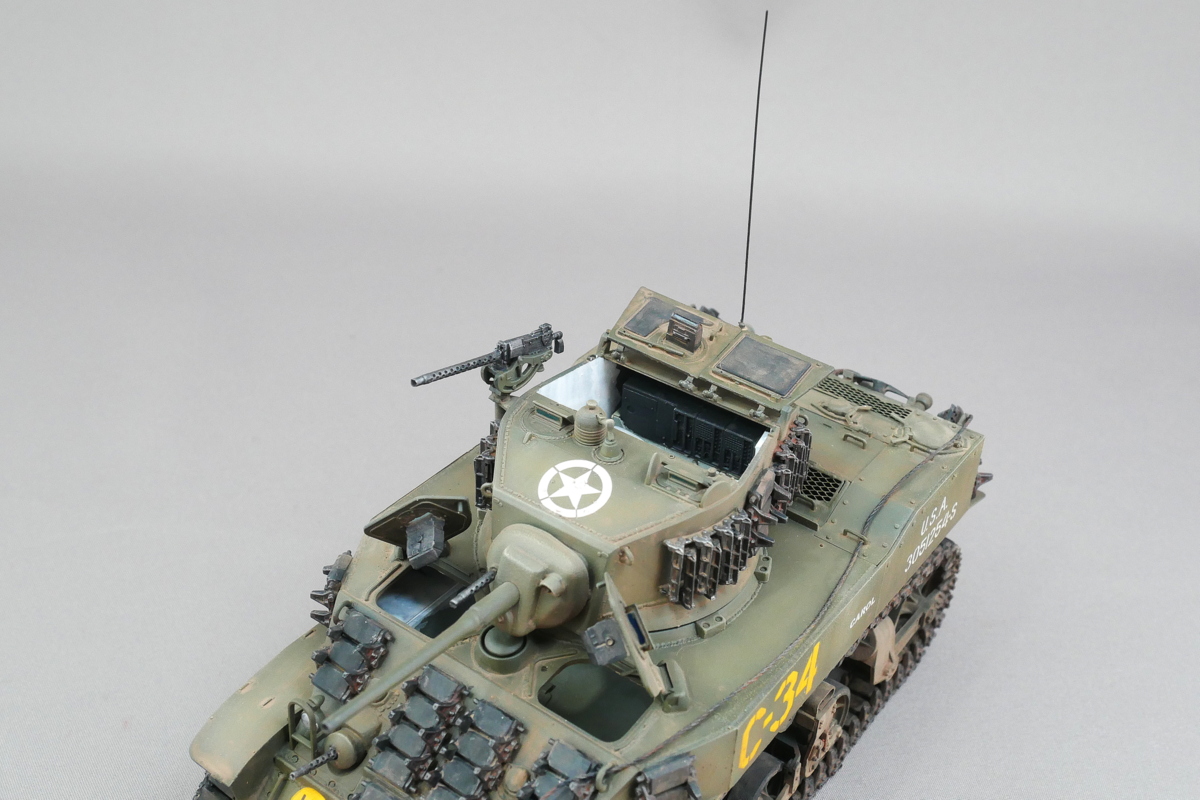
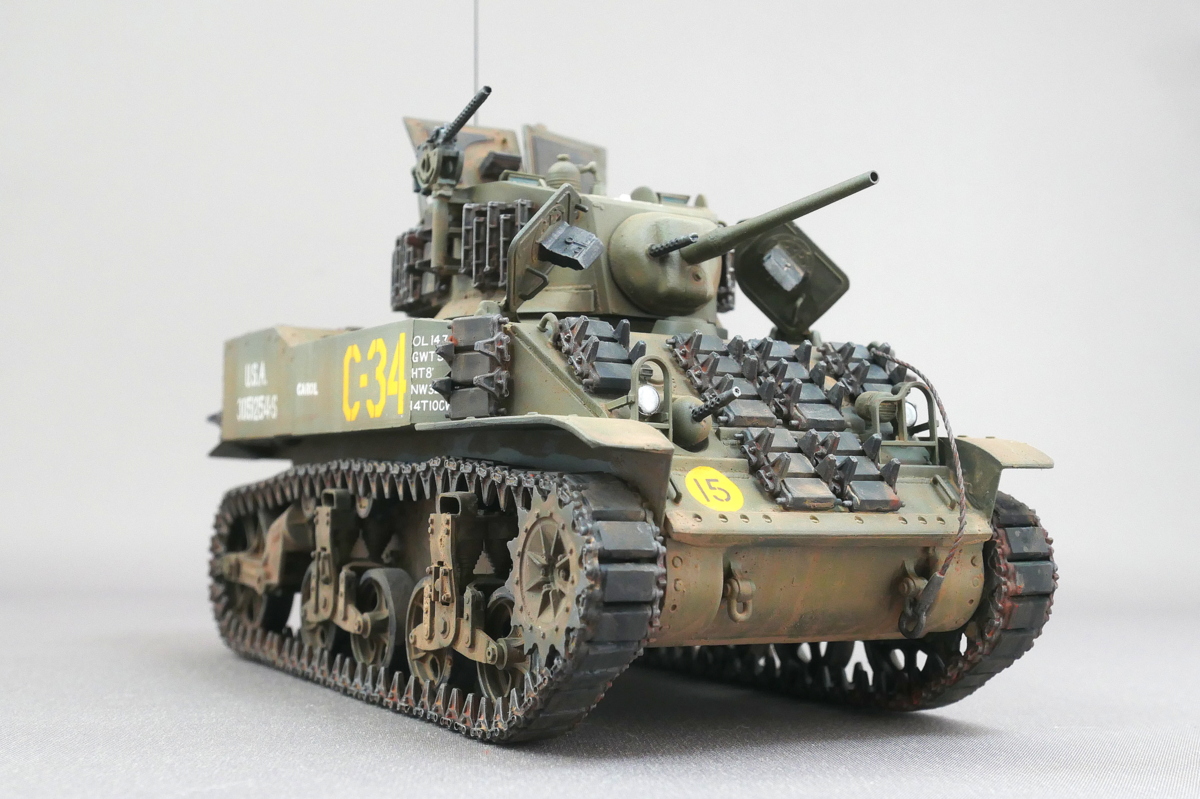 Marking is U.S. Army 3rd Armored Division 33 Armored Regiment. It was during the Normandy landings in June 1944. Other markings on the kit included the National People’s Army of the Republic of China and the Free French Army. There are two more types of U.S. Army markings, but this is not a very interesting pattern.
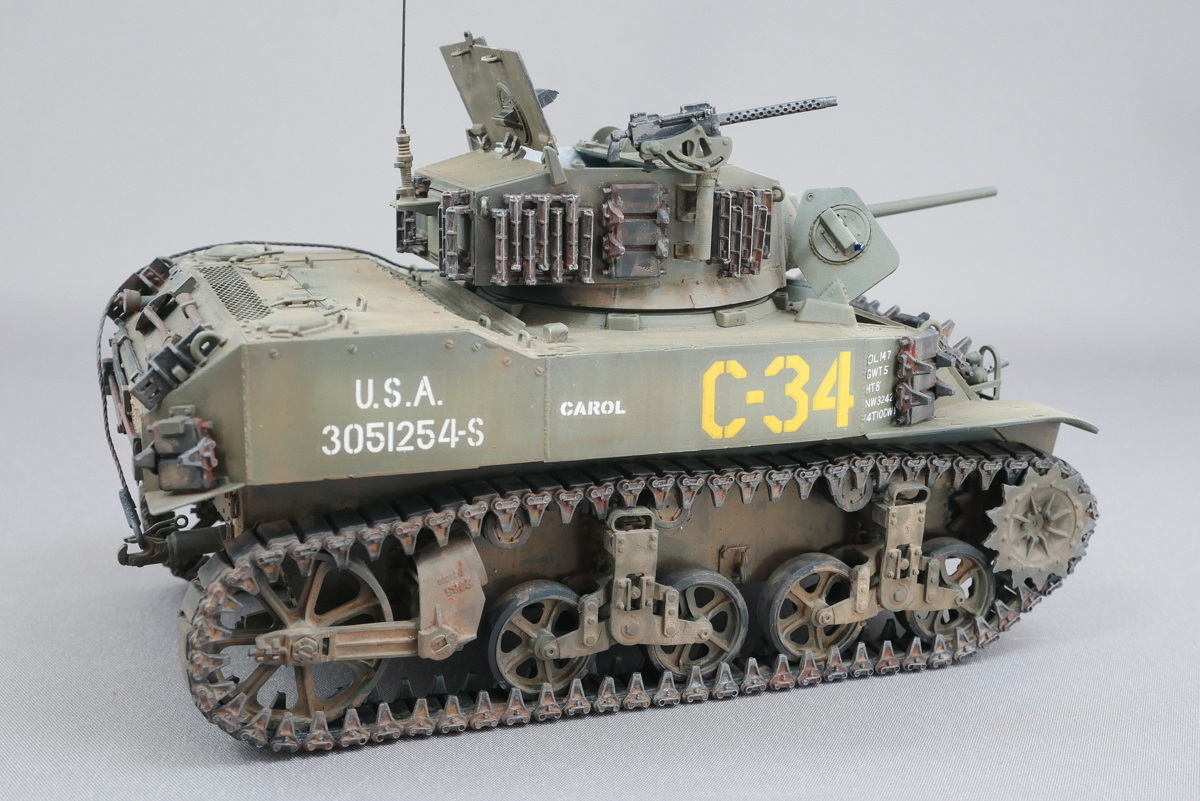
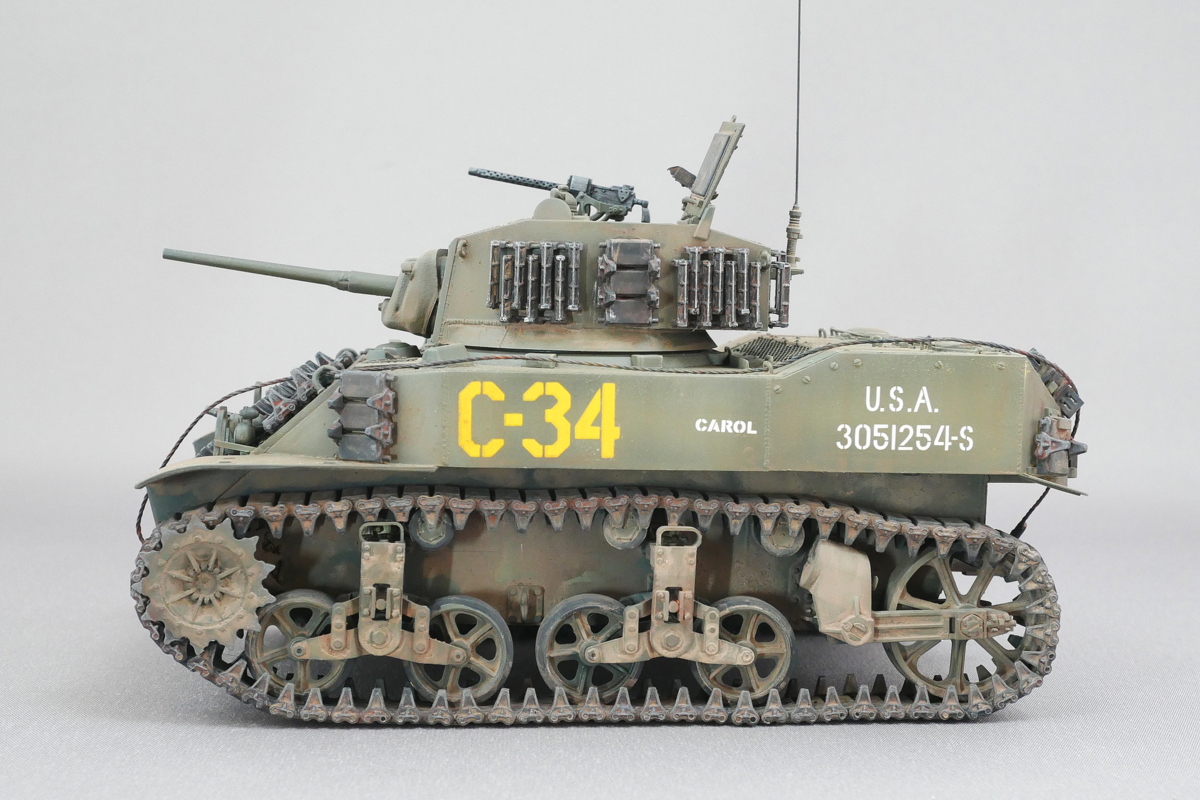 The connection tracking of the AFV club sold separately was used. You may not be able to tell the difference between the belt type. It may be my satisfaction, but it looks a little realistic.
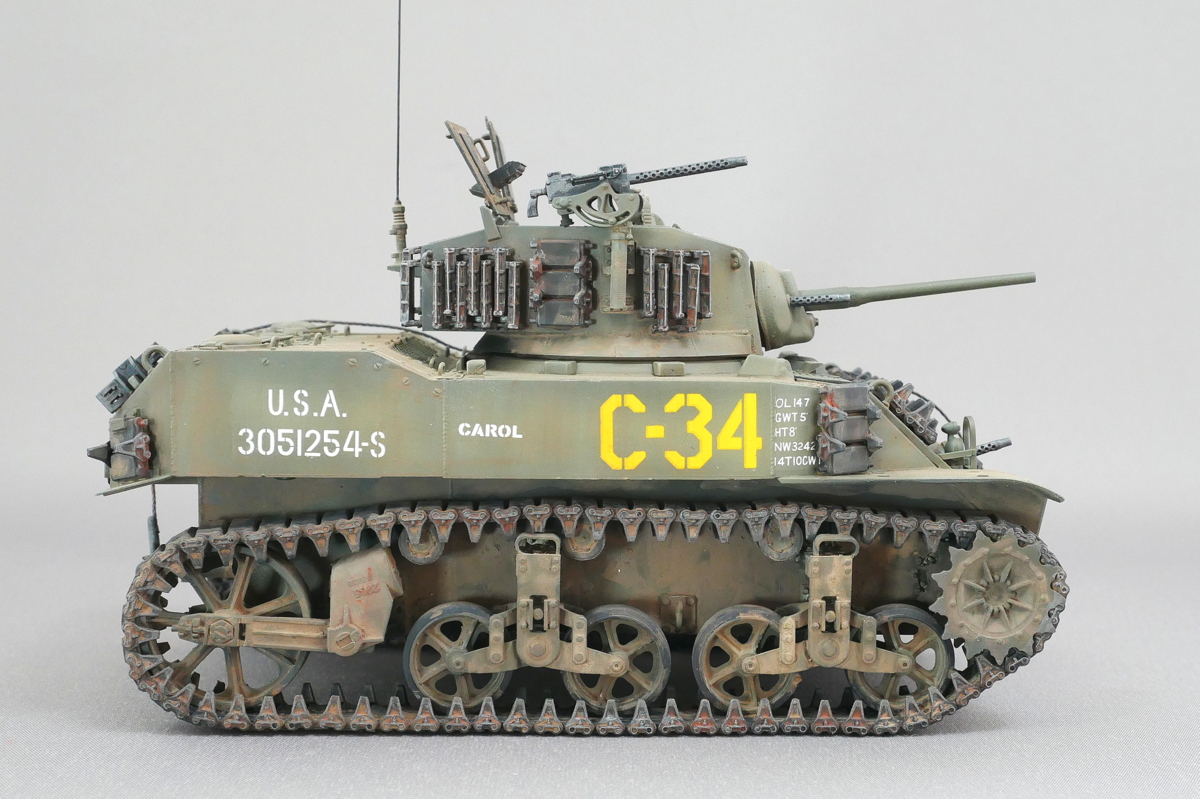
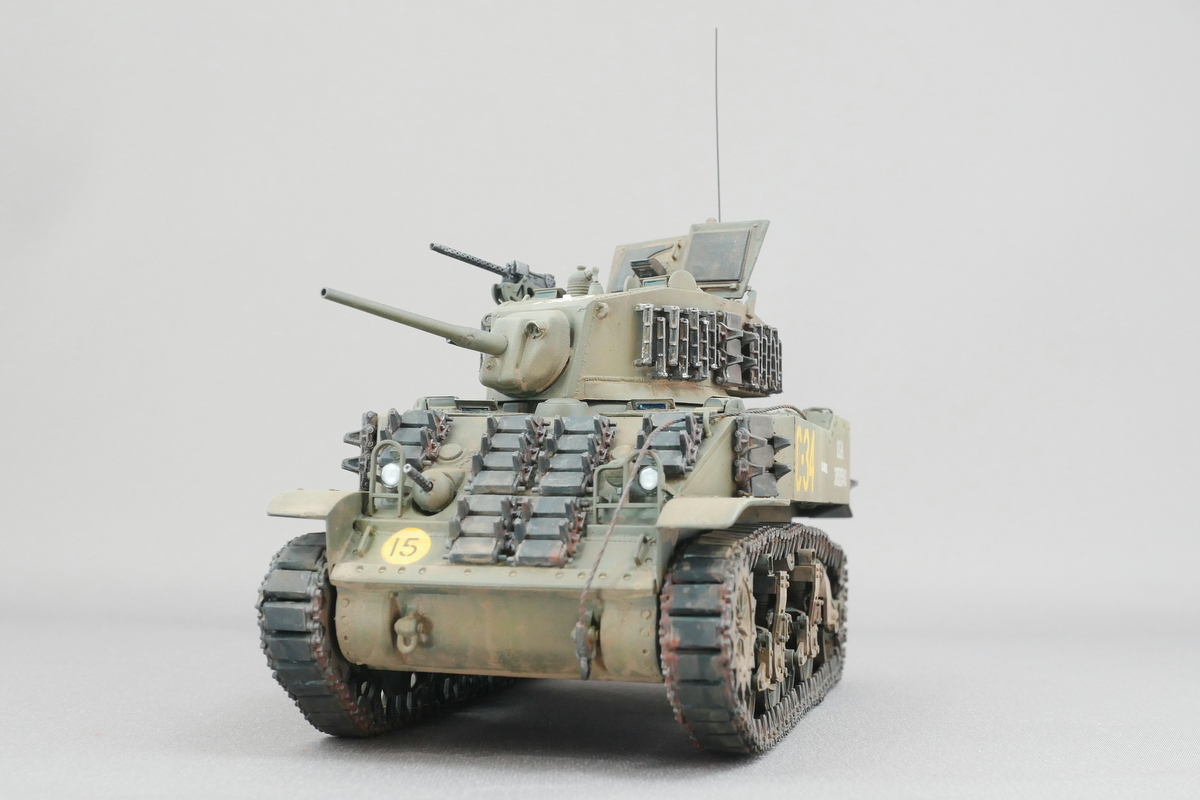 I thought of the extra track parts as increased armor and tried to attach them in various ways.
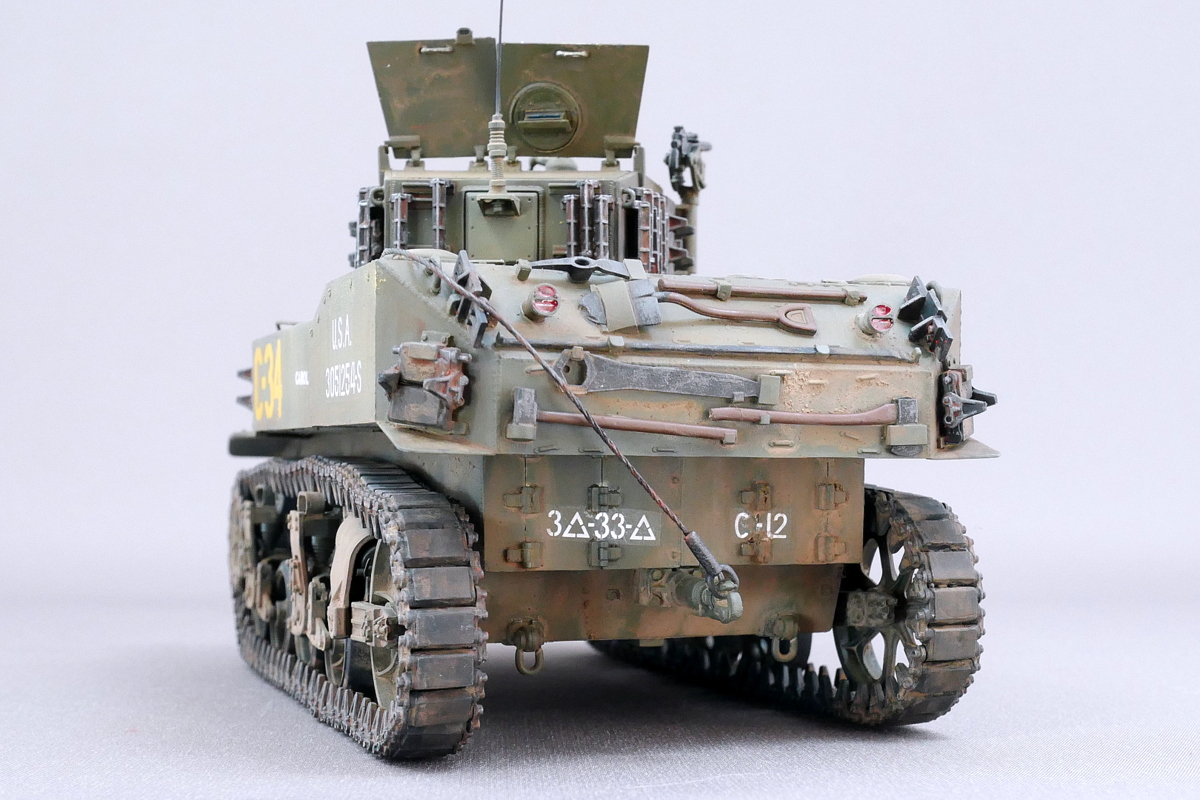
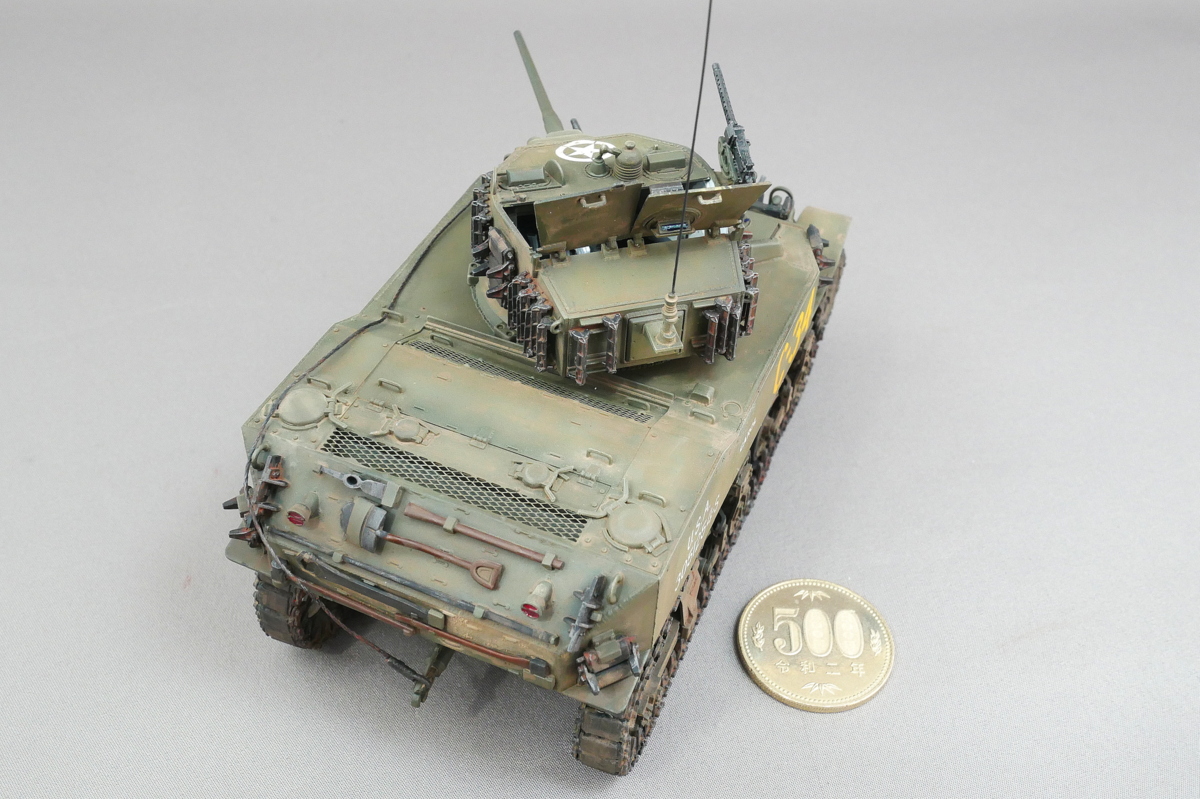
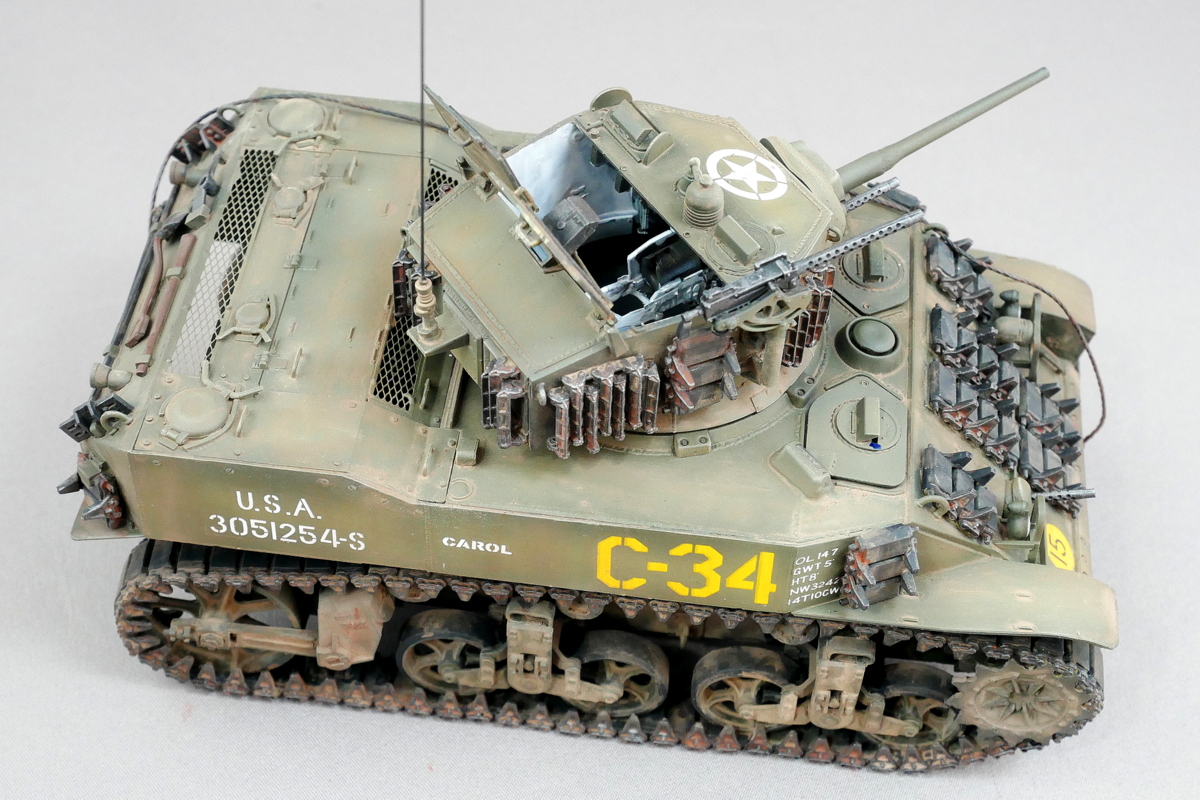 The weathering has been washed to give it a slightly dusty feel. I added a little rust color to the non-rubber part of the track.
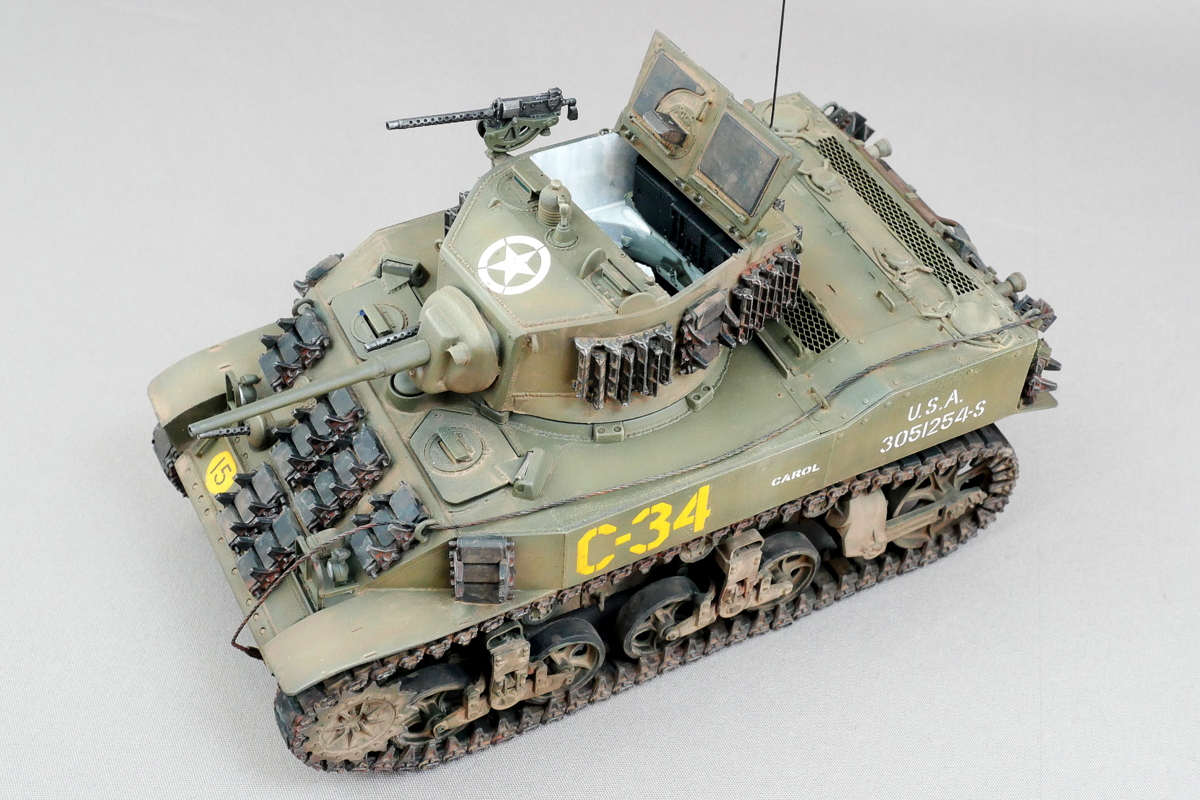
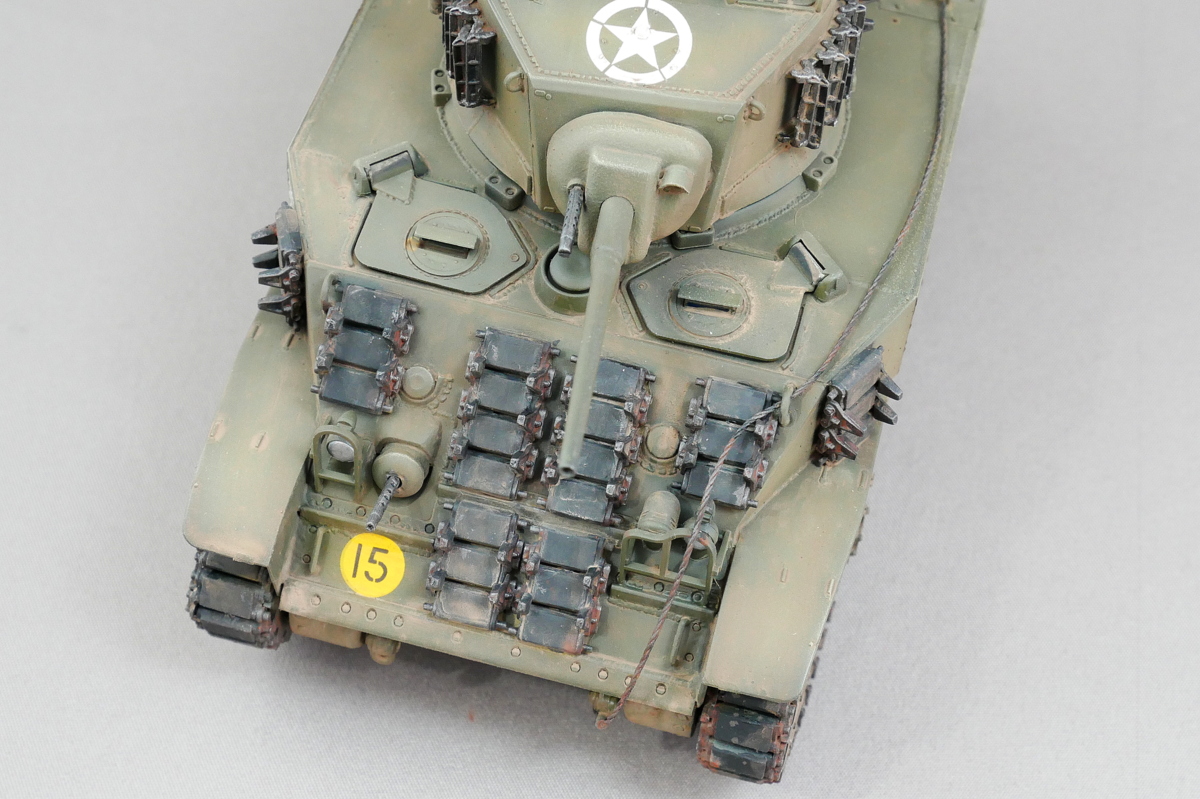
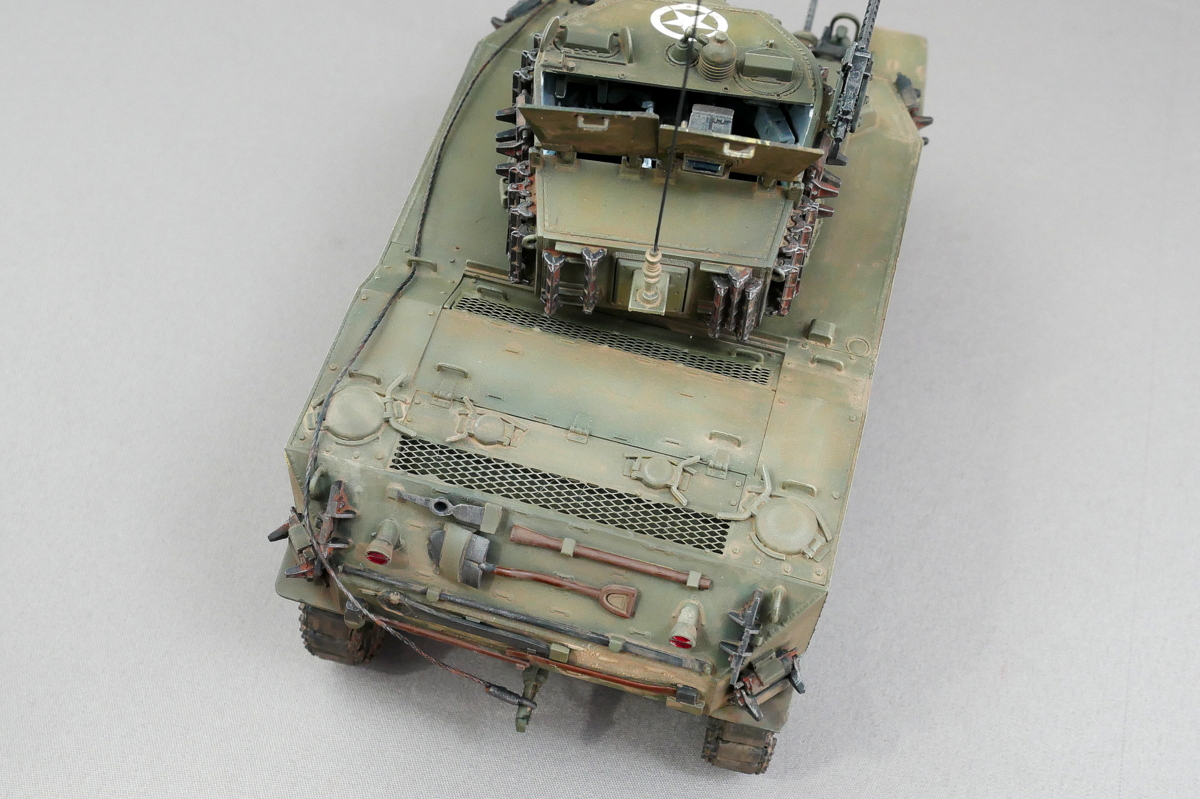
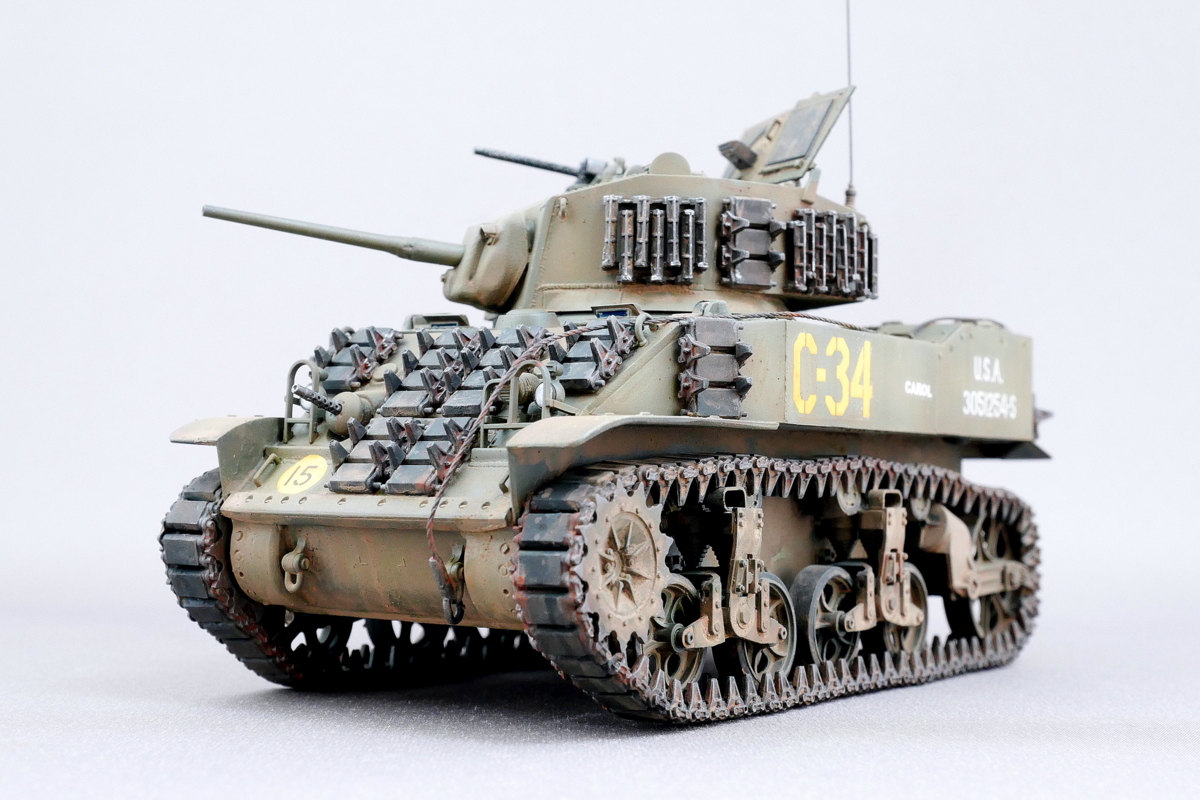
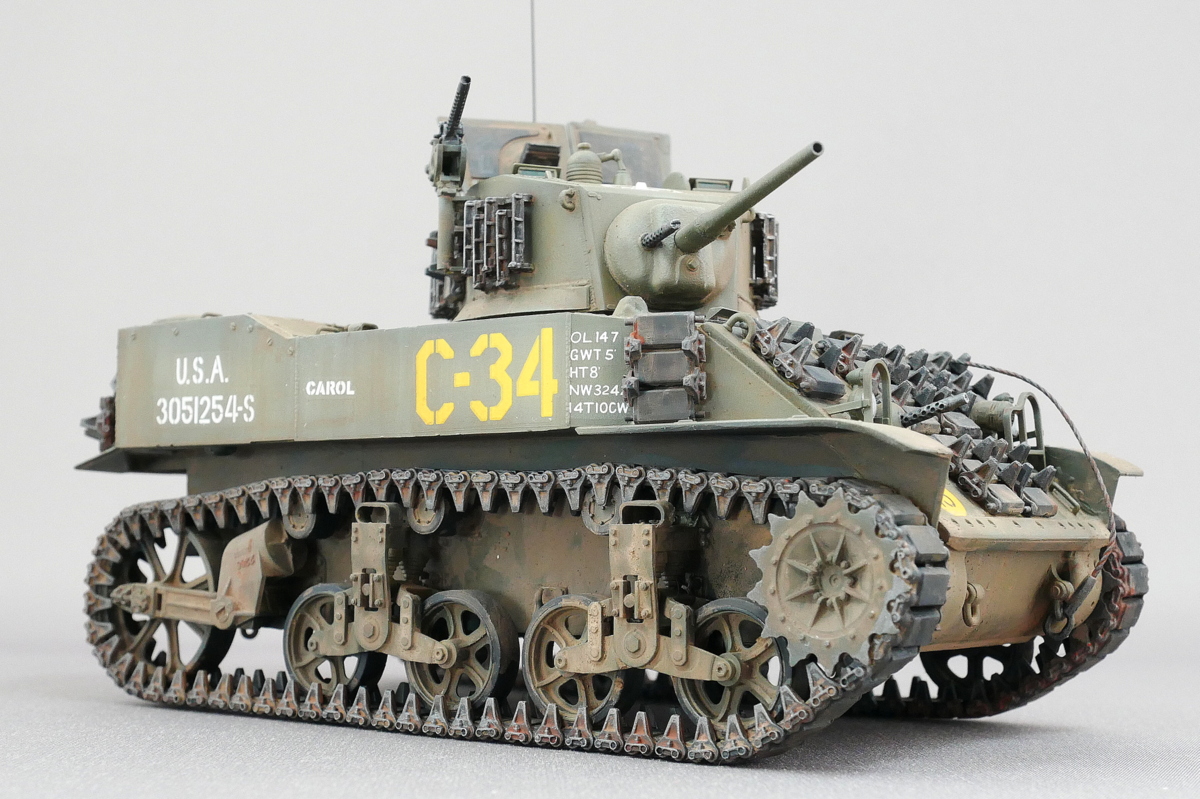 It was a palm-sized vehicle but had a sense of density, so it was pretty interesting. There are many opportunities to choose the one released by Tamiya now, but it seems reasonable to make and compare. If I say so, I must make Tamiya’s new Stuart tank.
(2021/04/06)


コメント