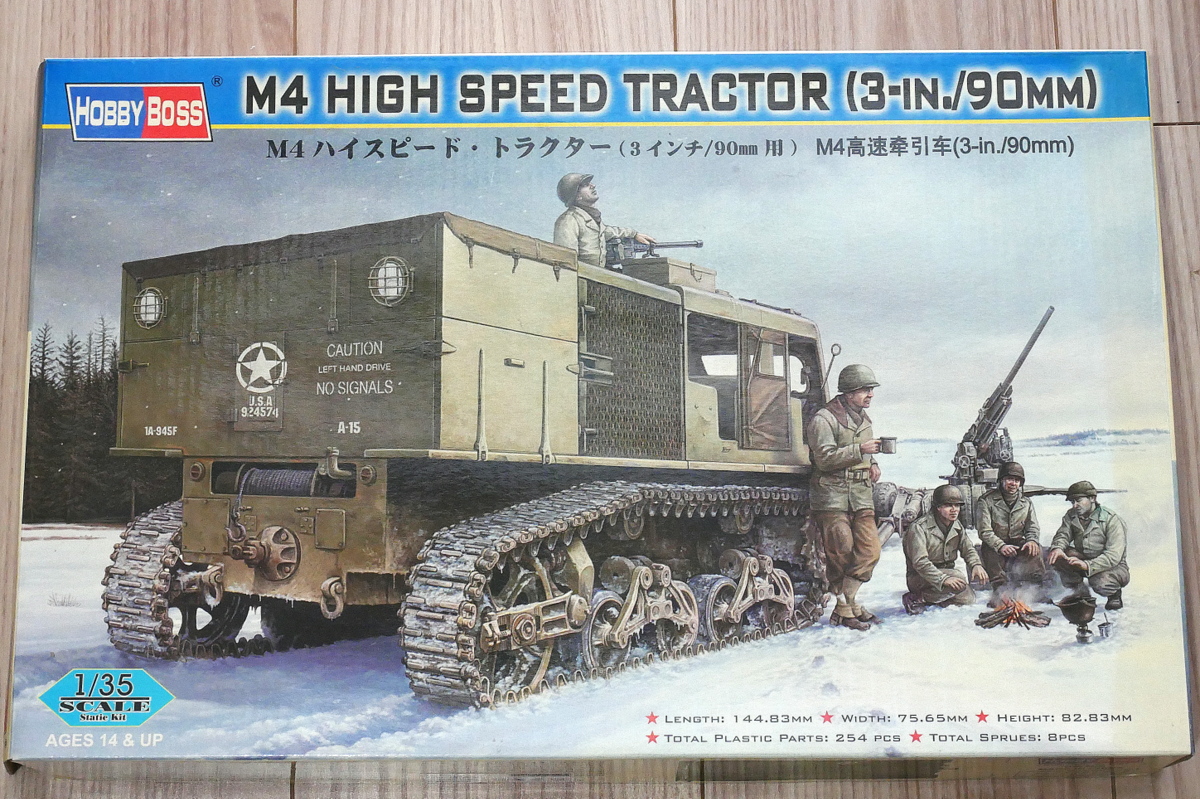
This time it’s an Allied vehicle. It is a towing vehicle developed to improve the power of the Artillery of the U.S. Army. With the expansion of field artillery to a larger caliber, the artillery that horses often towed was replaced by such vehicles. The vehicle had a towing capacity of at least 18,000 pounds to as much as 30,000 pounds and could follow the armored forces. It has been on the market for quite a long time, and I have been piling it for many years.
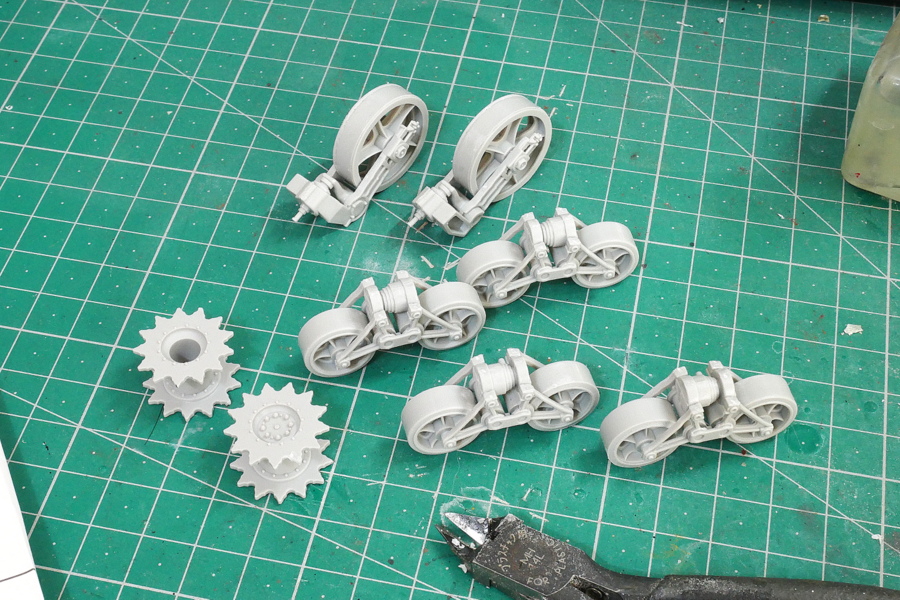
The rolling wheels are similar to the parts of M3 light tanks.
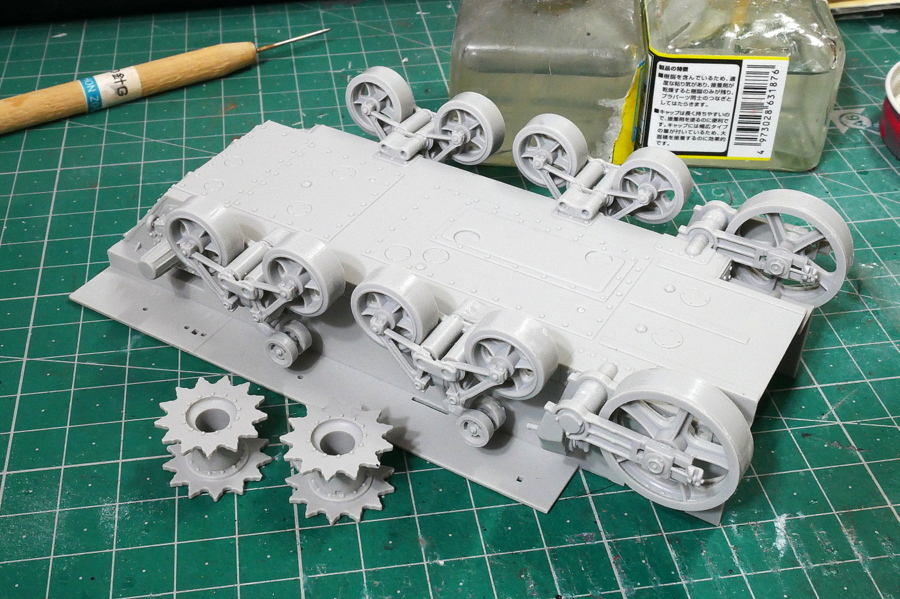
I don’t know if the parts around the track are inaccurate, but even if I glue them, there are a lot of gaps and it’s hard to fix them in place.
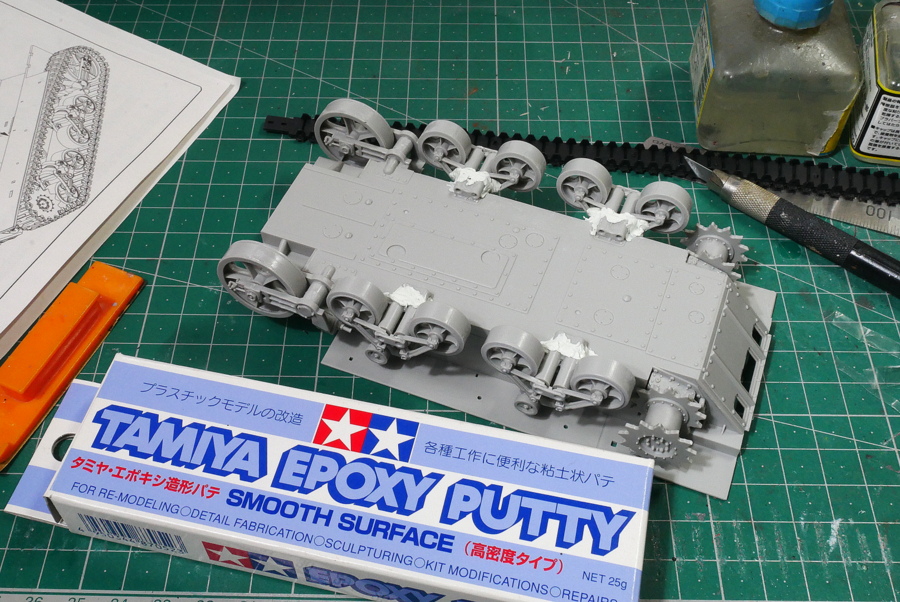
I was going to add brass wire to the part where the rolling wheel is fixed to the chassis, but it’s too shallow. The invisible part was fixed with epoxy putty from the back. I can’t wind the belt tracks well unless it is firmly fixed. I don’t think it will be a problem if it sticks out a little because I paint it dark.
(2024/01/13)
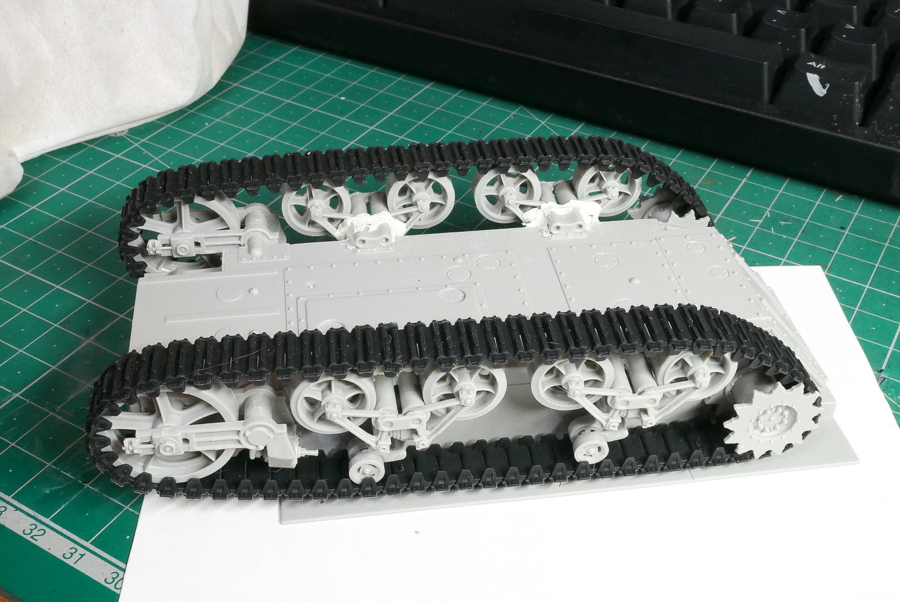
If it is a recent kit, even these items may contain a connected track or a partially connected track. It is a bit disappointing that the track is a belt type as it is a kit of a very old Hobby Boss. Many AFV tracks of the U.S. Army are rolled without tension, so even a belt type can be properly wound. From the looks of it, it looks like a T49-type track that is used for Sherman. I don’t know if it fits. The belt-type track has a similar material to the rubber caterpillar of the Academy kit. Adhesion is probably impossible without superglue. The superglue firmly connected the belt. It was a little short and I was anxious, but I got into it after stretching it a little. I think I will pour superglue on all the parts in contact with the rolling wheel before painting. so that if it breaks, the damage is minimal.
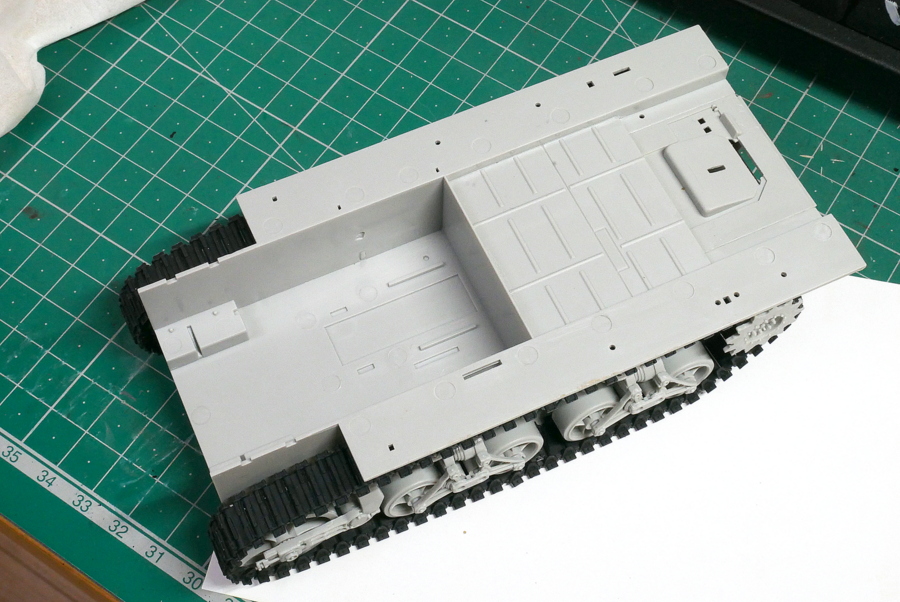
Glued the base part on the top of the chassis. From now on, it looks like cables, seats, and engines will be installed.
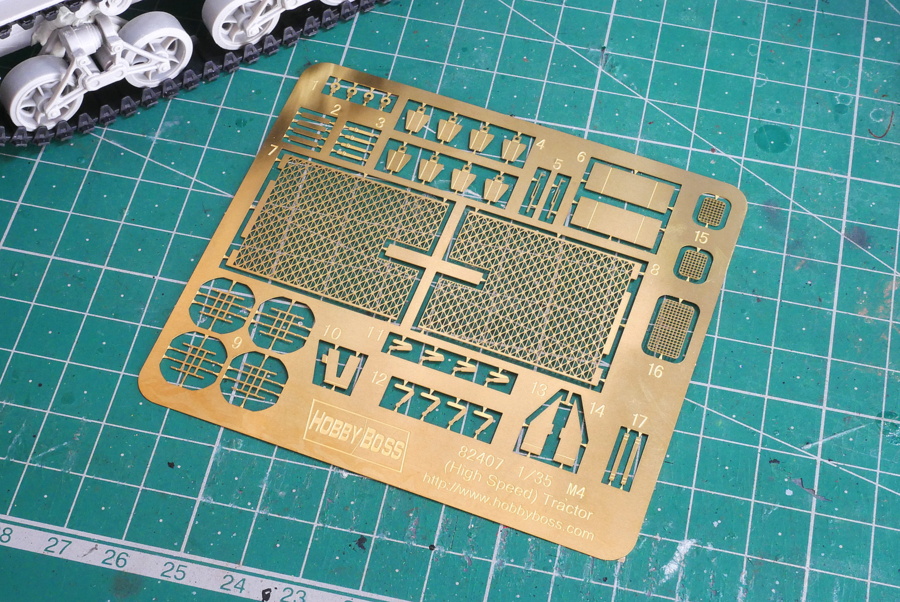
This is the etched part that comes with this kit. Headlight guards, windshield wipers, hinges for opening and closing the windshield, and the largest part is a mesh part that looks into the engine compartment from the side.
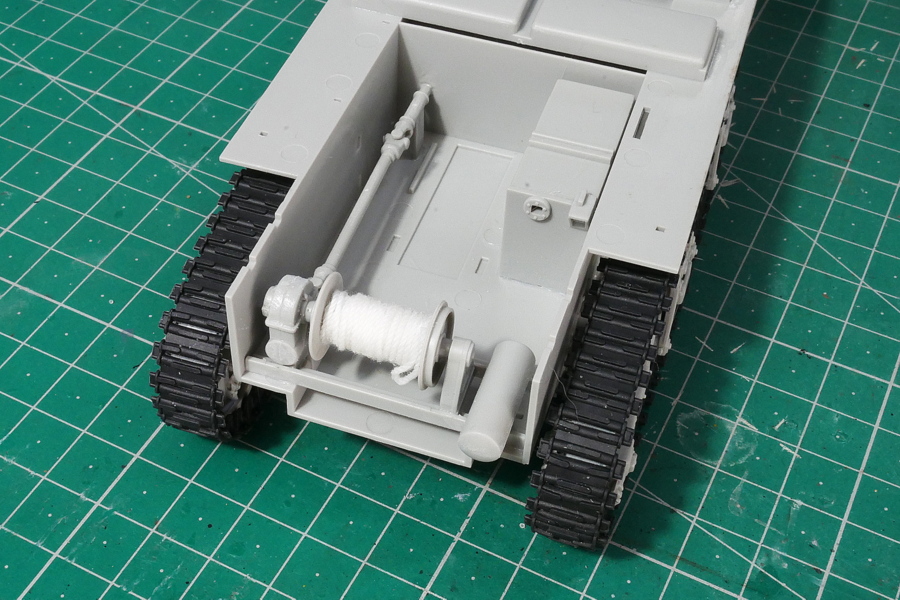
The attached wire rope was like cotton thread. The texture of the handheld nylon rope may be better, but it’s almost invisible and doesn’t look that different. The part next to the wire reel, in conclusion, the attachment was the opposite. It’s hard to fix it because I installed it tightly.
(2024/01/15)
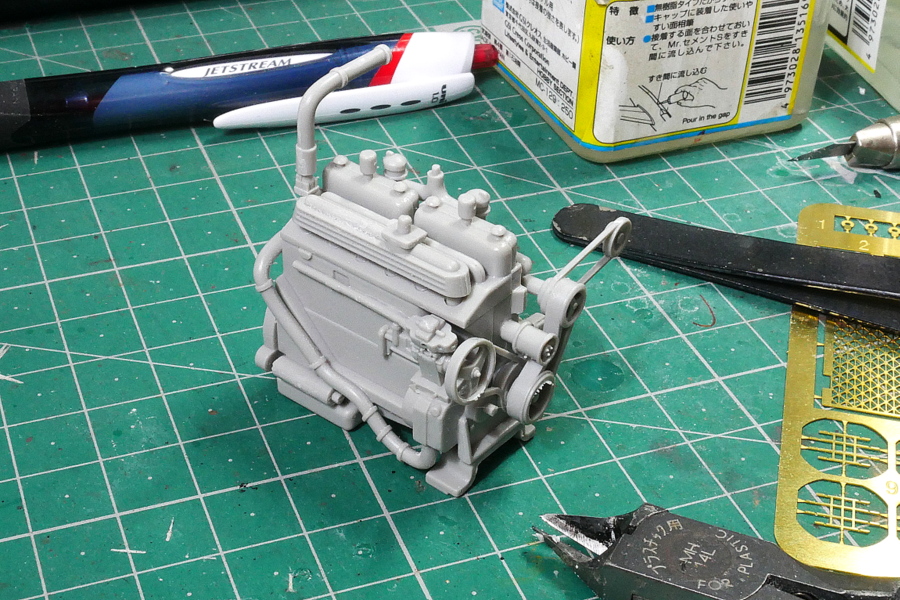
I’m building a big engine. This is also detailed with many parts. There is a pipe that connects to others when it is installed in the car body, but it is not clear whether the angle is good.
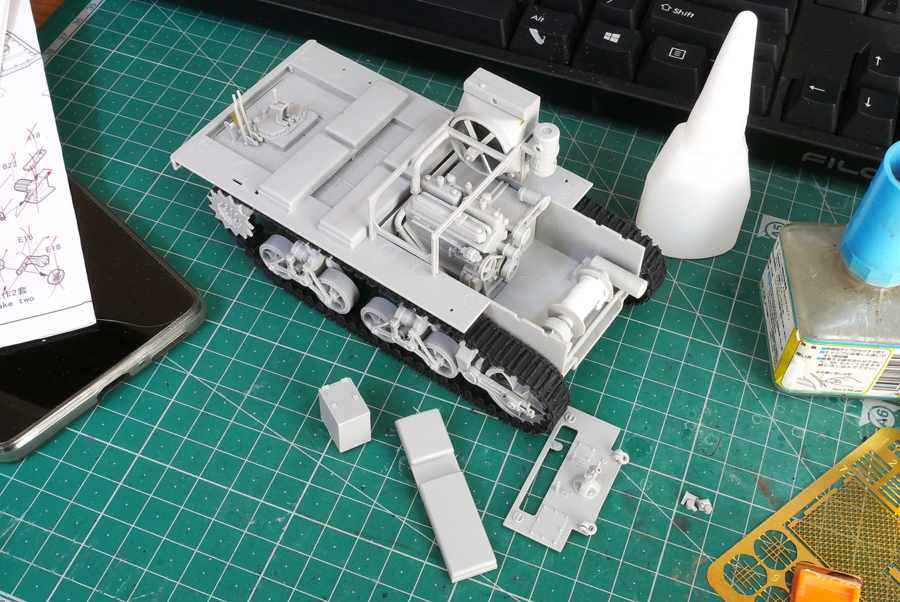
In addition to the engine, the driver’s seat, control lever, pedal, etc. Some parts were etched. I am looking forward to painting this because there are many things inside. It sounds hard.
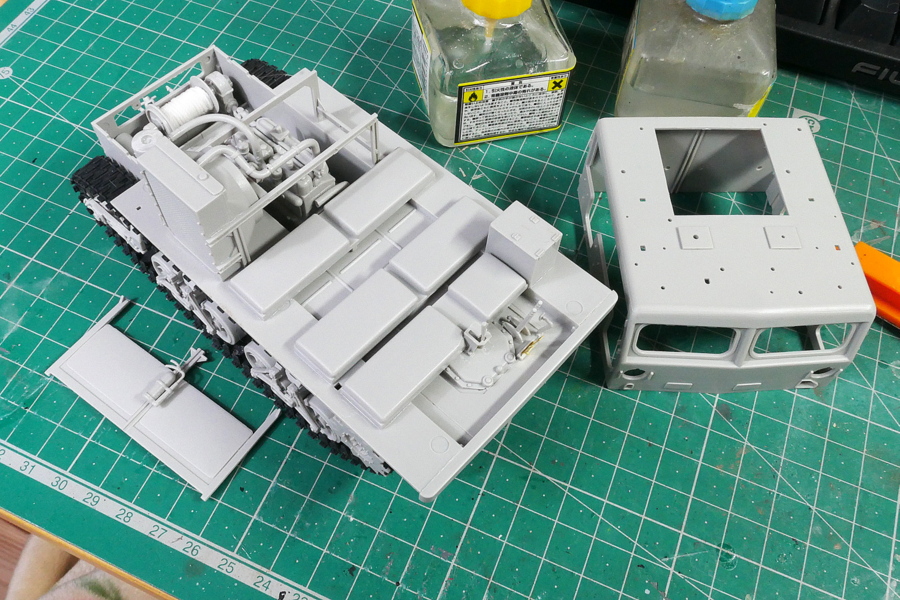
I may have forgotten to attach the parts yet. But there are times when the Hobby Boss instructions aren’t very reliable, and the rest stick to my imagination. After assembling, if there are some parts left attached to the runner, the parts obviously attached to here will be glued.
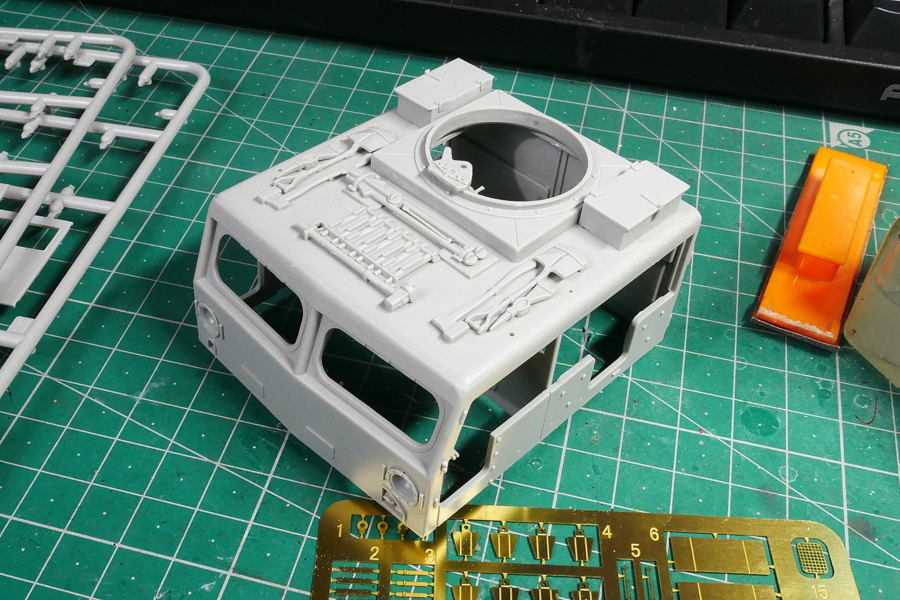
It’s a box-shaped control seat. There are quite a lot of windows, and the inside can be seen from the machine gun seat above, so the inside will be painted to a certain extent.
(2024/01/18)
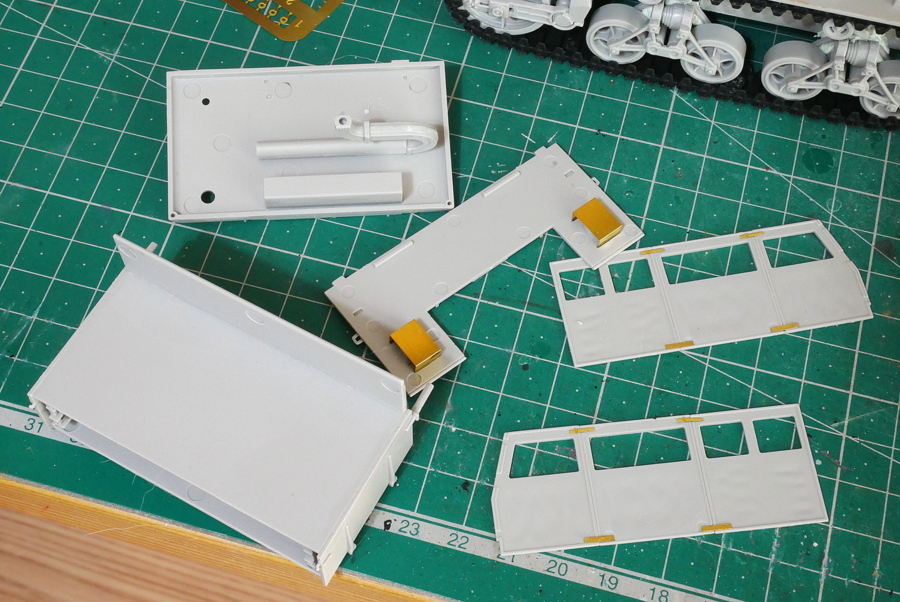
There are empty spaces for transportation in the back and side doors. I glued the door.
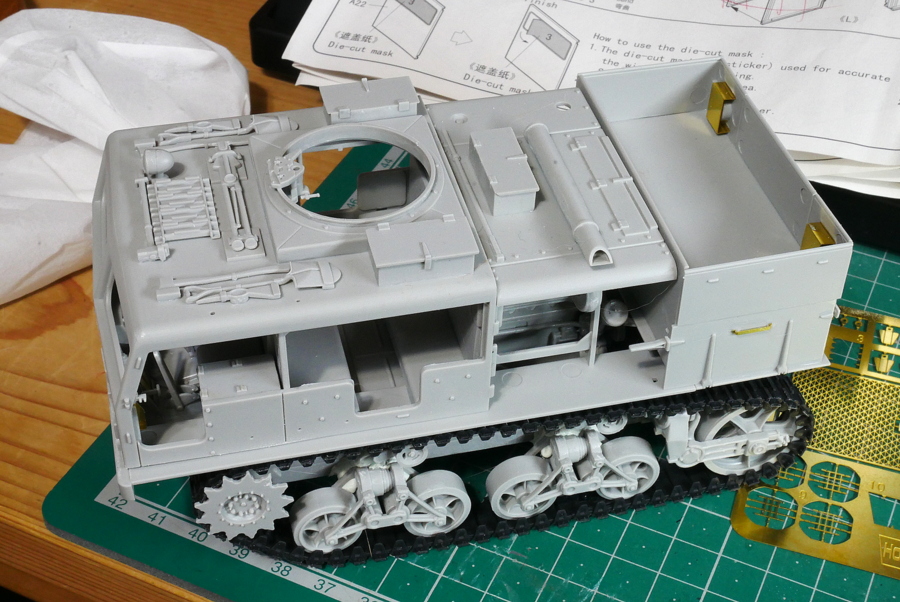
I just tentatively assembled a large part. It looks like it can be assembled without too many strange gaps.
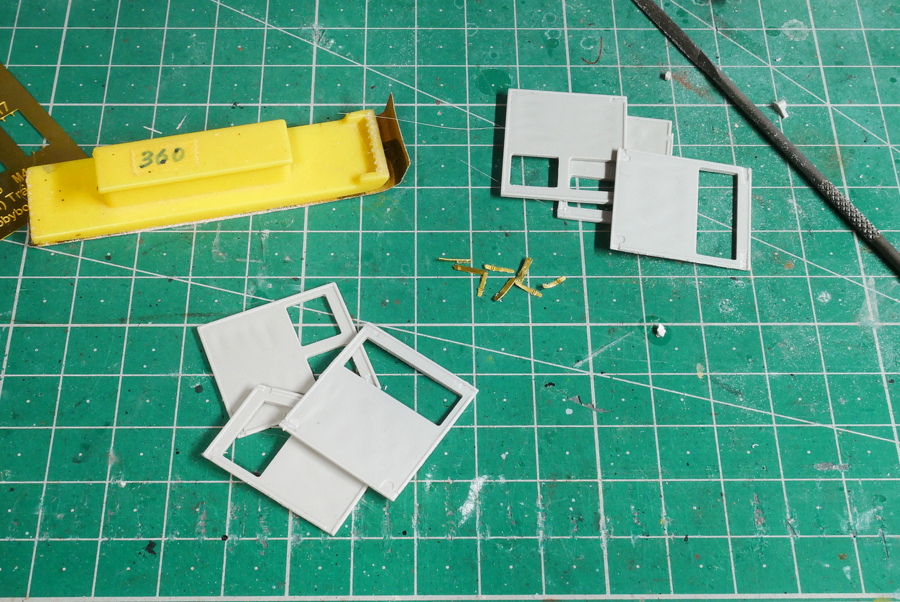
After reading the instructions carefully, it is not possible to install the side mirror if the side door is closed. Perhaps the mirror is folded. I attached the mirror and decided to glue the side door in a folded state, so I detached the part once. It was a double effort.
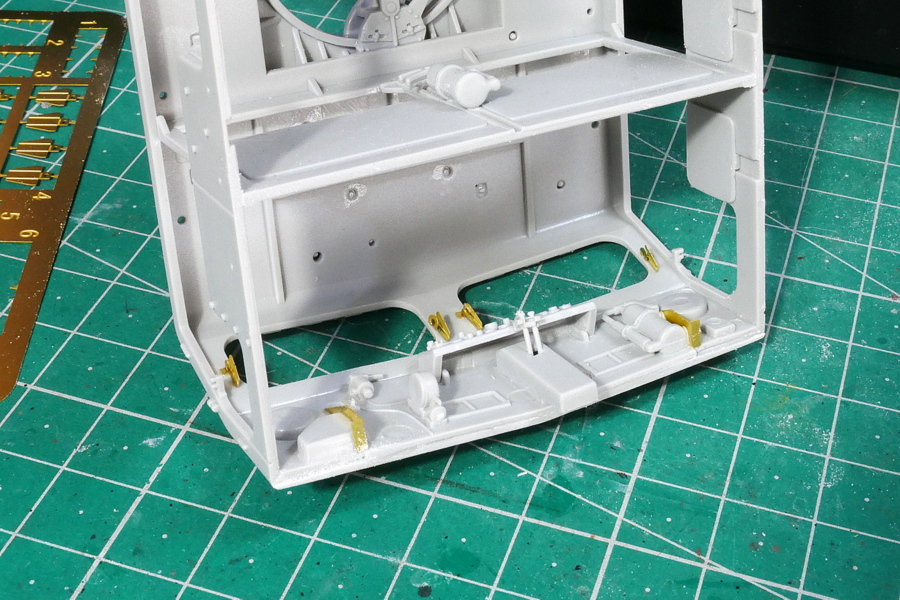
The windshield seems to be slightly retractable and comes with an etched part for it. I am not sure how to attach it this time, but I glued the small etched parts.
(2024/01/20)
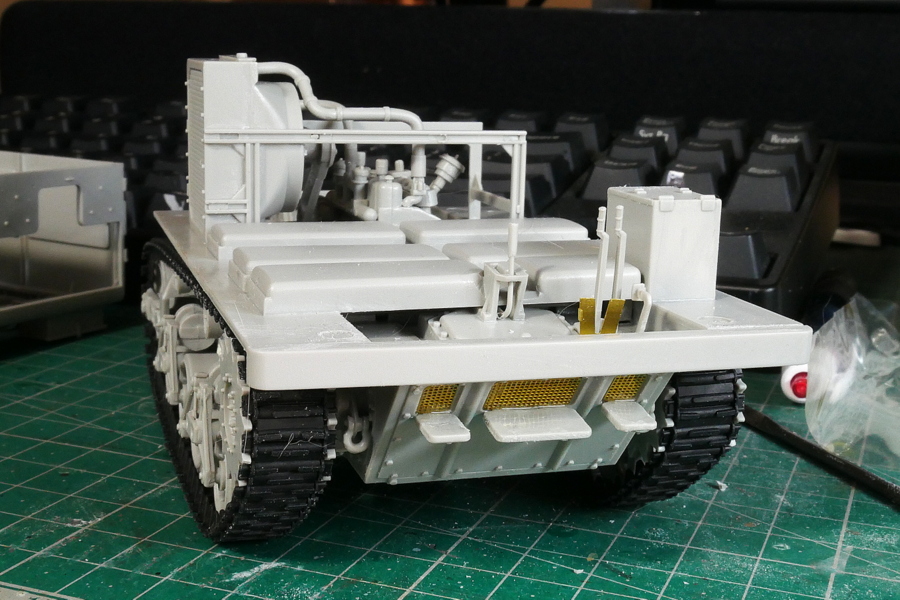
There is a mesh etched part on the front, and when this part is closed, nothing can be seen, so I opened the panel.
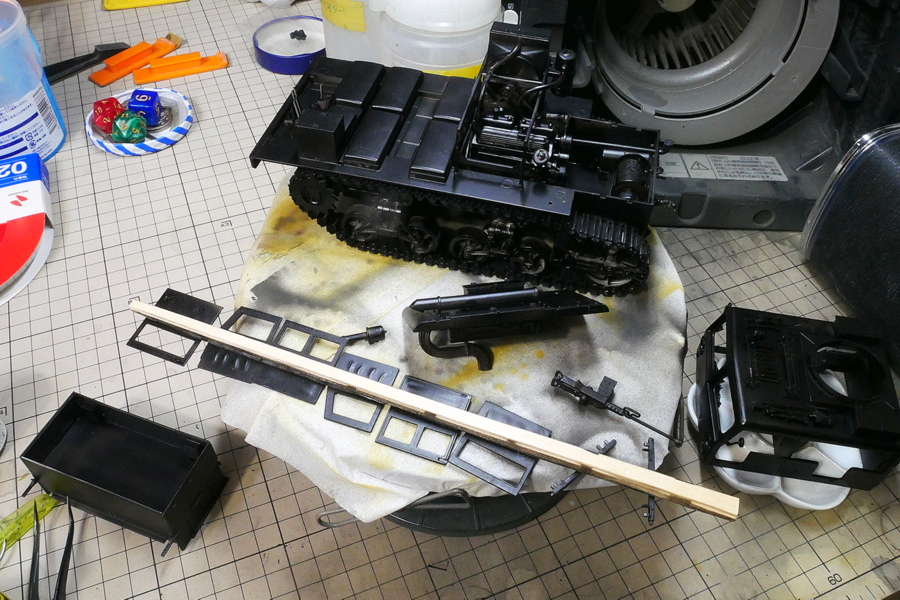
I finished assembling the tank, so I painted it black, although it is quite fragmented compared to the tank I usually make.
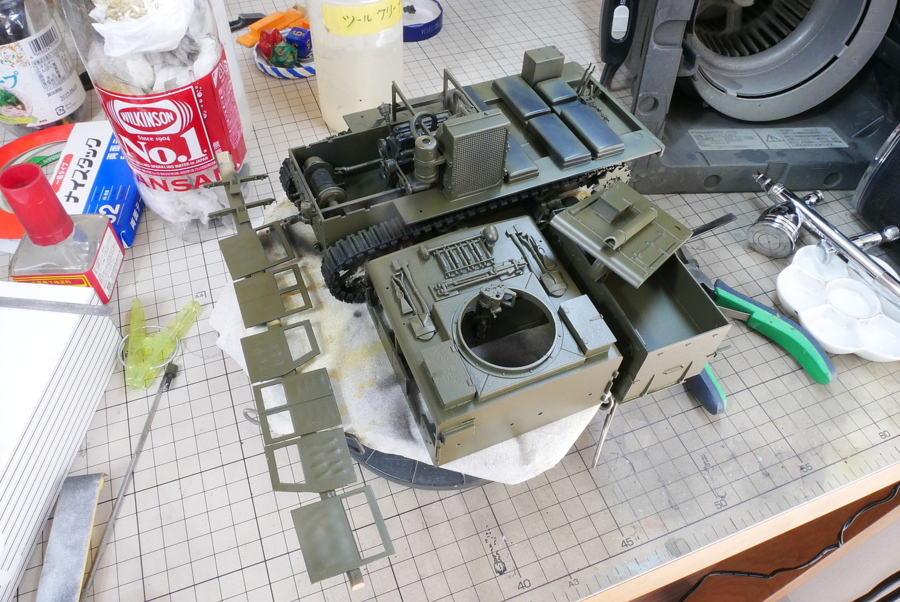
I also blew a basic color olive drab. I’m not sure how much of it is invisible, so I’m blowing paint on the parts that are covered by overlapping parts inside and outside. If there are many parts that can be seen on the inside, even if the car body is small, it uses a lot of paint.
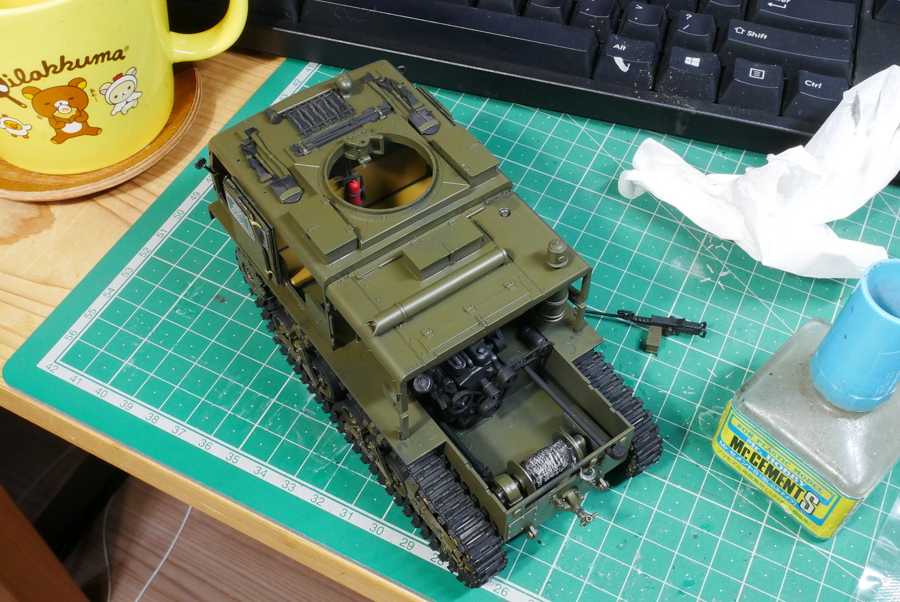
In the section where the seat is located, the side door is opened and there are other windows, so we can see inside, but the mesh cover hides the engine and the reels of the towing wire rope, so it is almost impossible to see. It was easier to paint the wire rope by changing it to a hand-held nylon rope without any trouble. The attached string looks like cotton and is too fluffy to paint well. It won’t change that much because it will be hidden from view.
(2024/01/24)
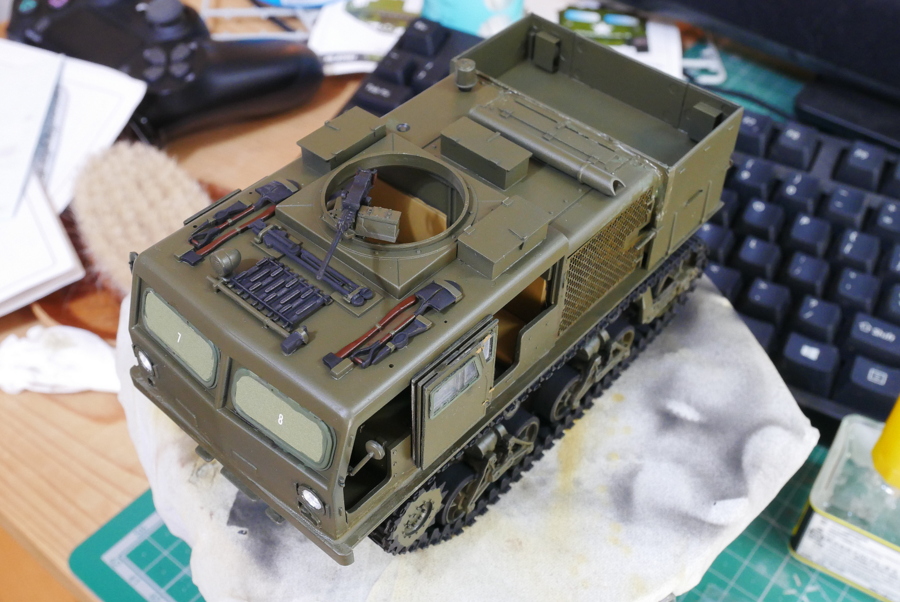
I also glued the mesh etched parts that fit on the side and started painting the small parts. The procedure is kind of messy and the desk is messy. I’m not sure if it’s progressing toward completion.
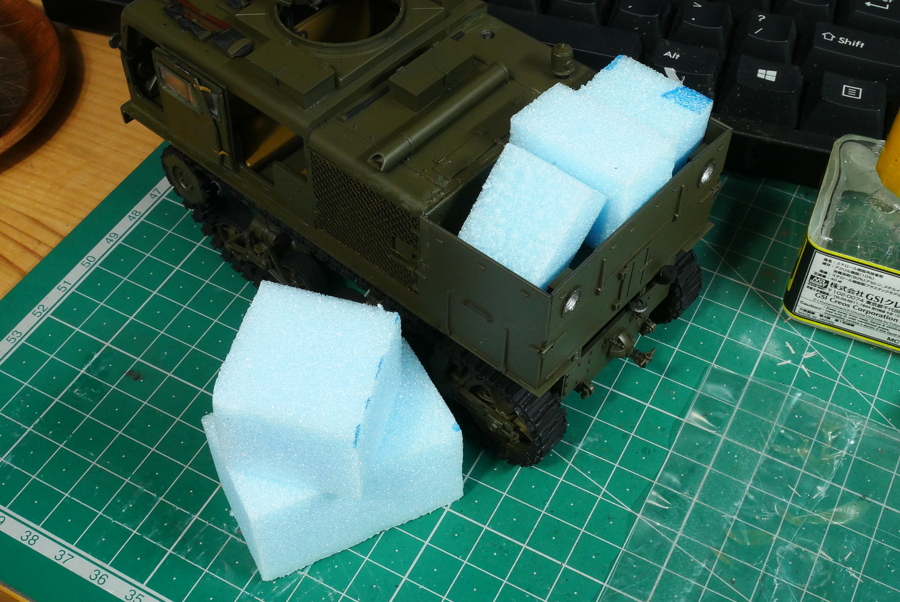
There is a space to place loads in the back of the car, so I decided to put something on it, so I cut and pasted a piece of styrofoam and put it on as I saw fit.
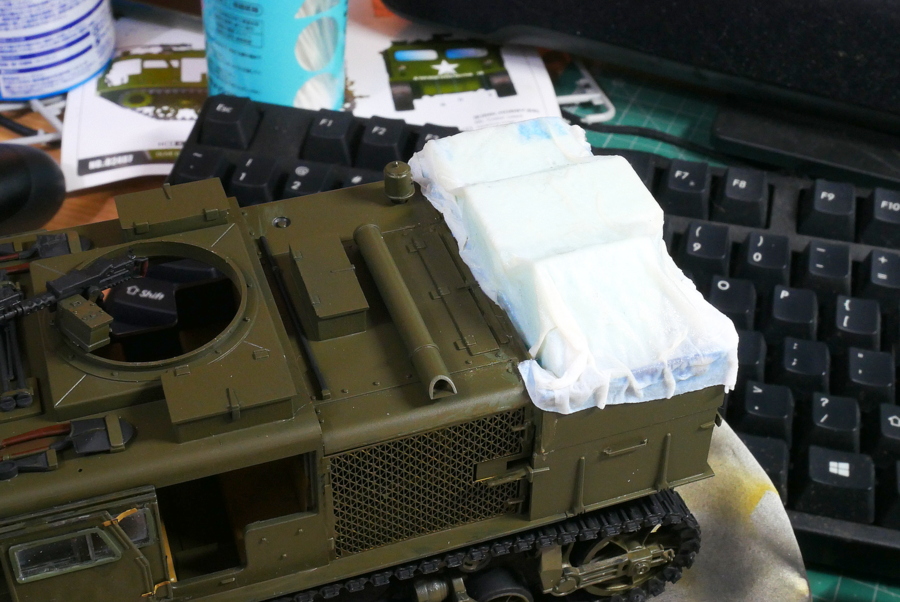
As for the canvas sheet, I was thinking of soaking craft glue dissolved in water, but I don’t have it, so I used matte medium. I wonder whether it’s okay. I think I can paint it normally once it hardens.

I painted the small parts and attached the decals, so I will do some weathering after that. For an AFV, the work after blowing the basic color with an airbrush was long.
(2024/01/27)
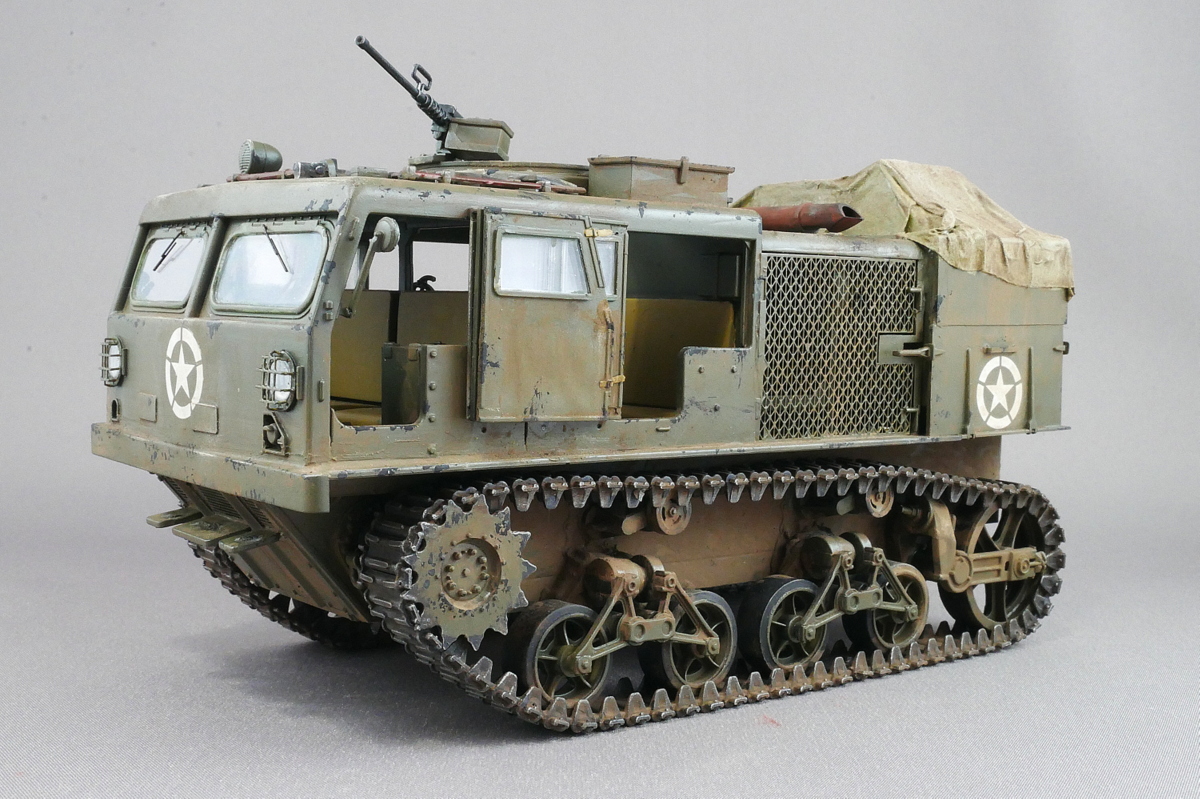
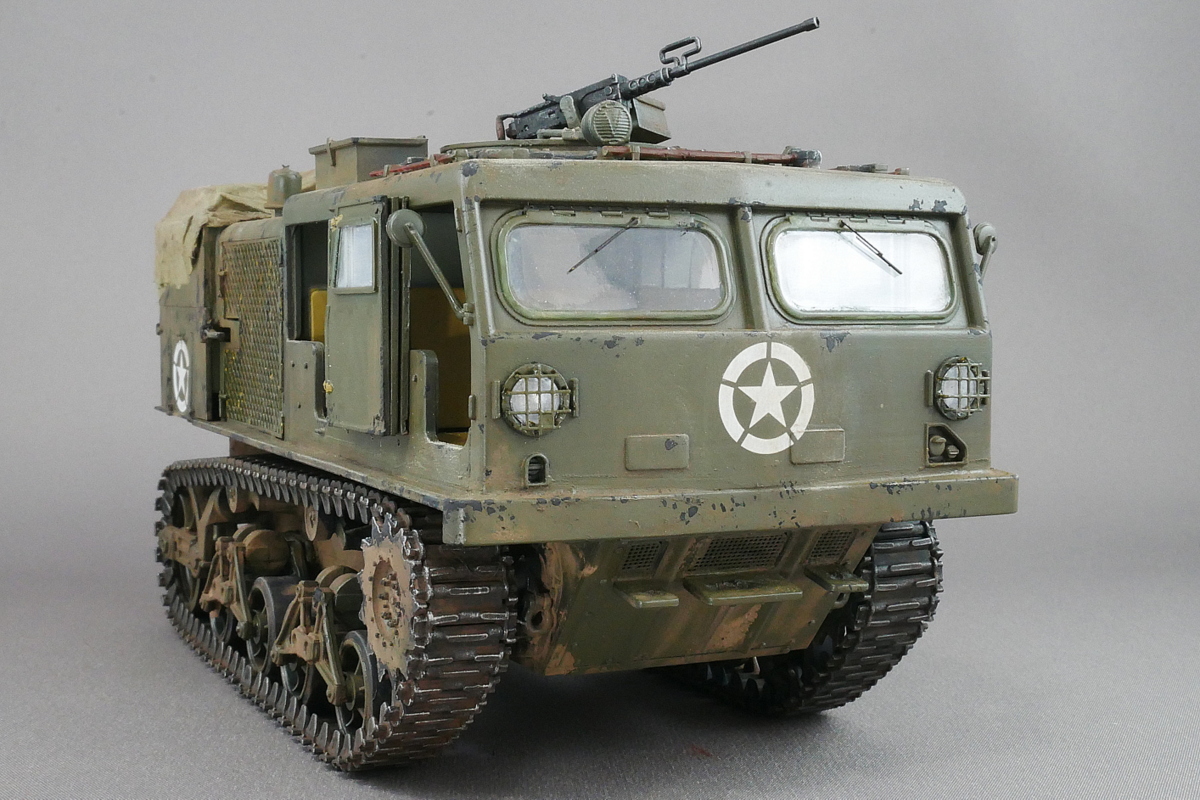
The US tractor was finally completed. The side doors are open and the engine compartment is mesh, so it is a very well-ventilated car.
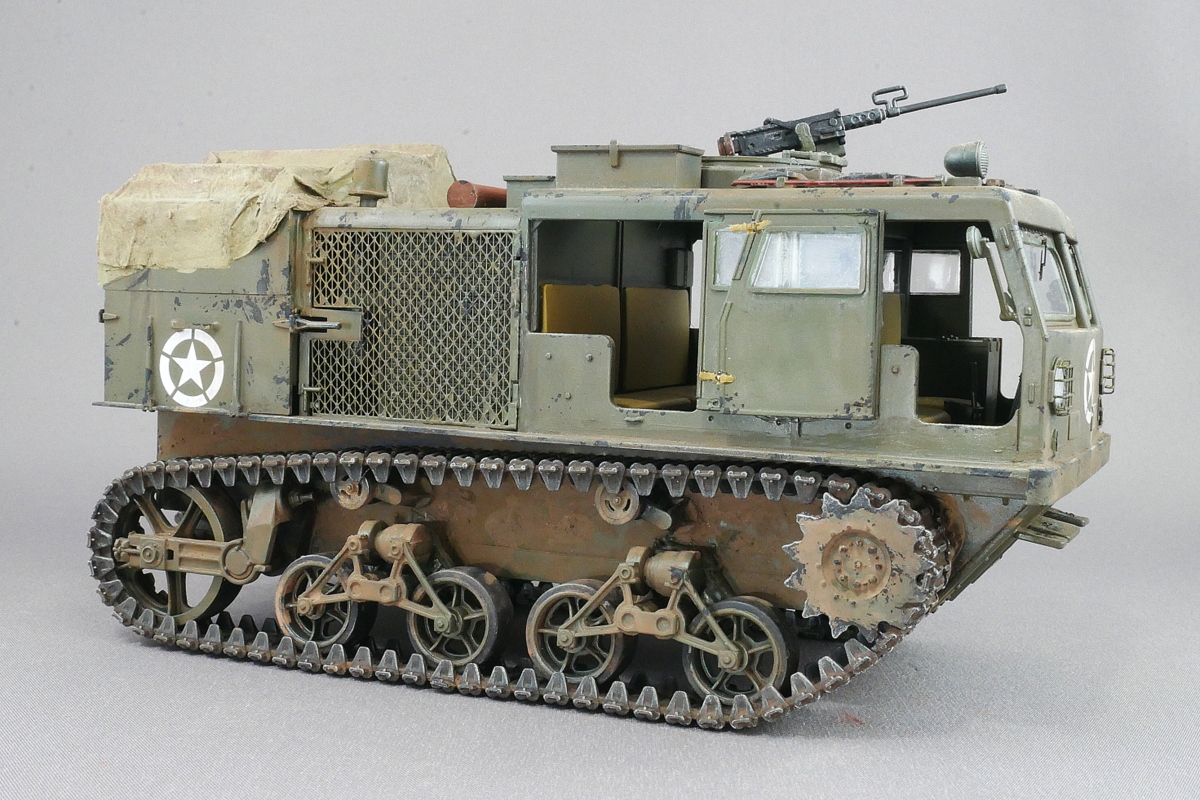
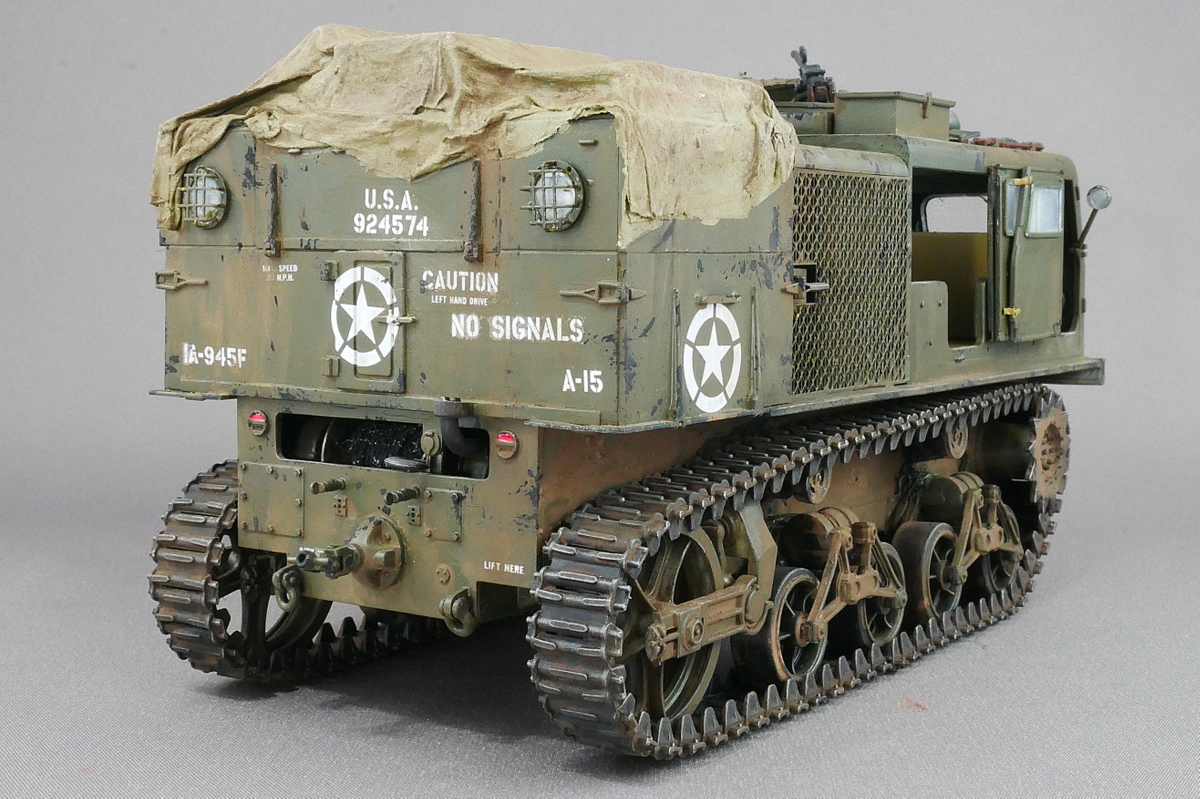
It was not mentioned in the manual, but it seems that this car is mostly olive-drab inside. It’s a car with a lot of windows, so it’s a little difficult to blow inside and outside all at once. I thought it was an inside blow, brush paint the small parts, do masking, and paint the outside like a normal tank. Actually, I airbrushed the inside and the outside all at once, and after it was assembled, I brushed the small parts.
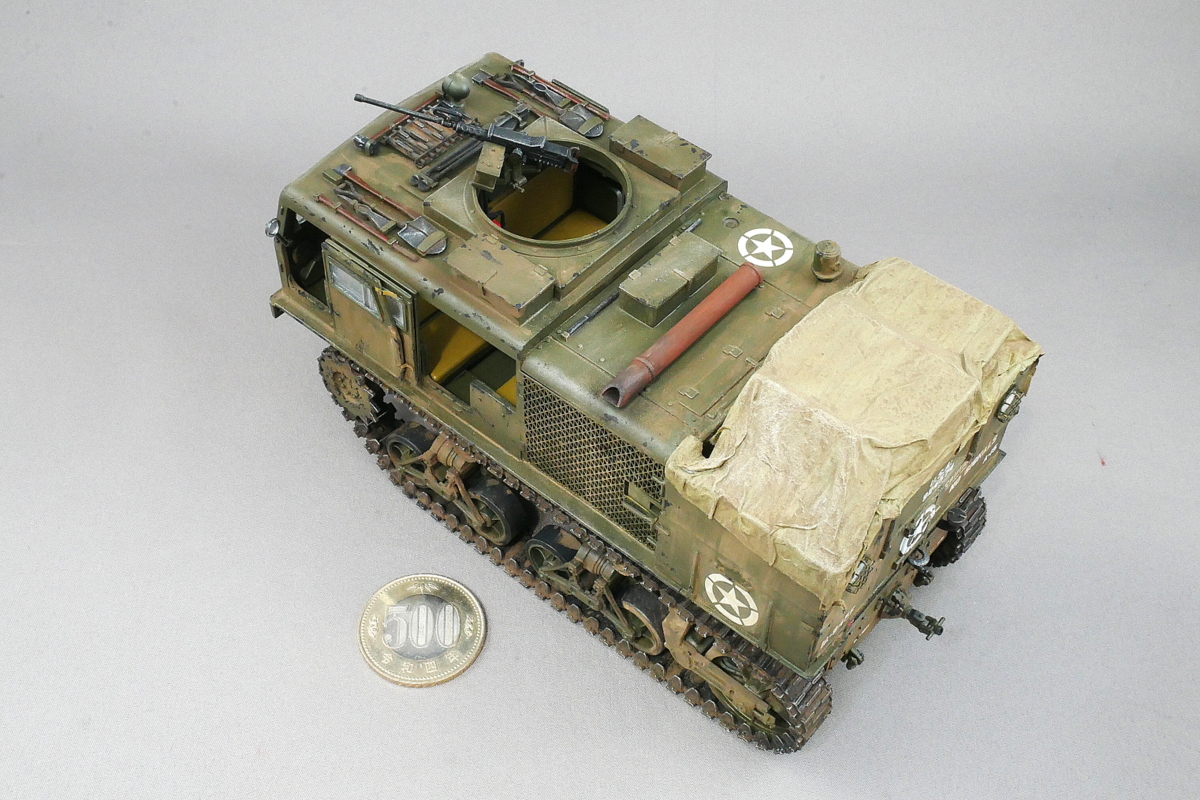
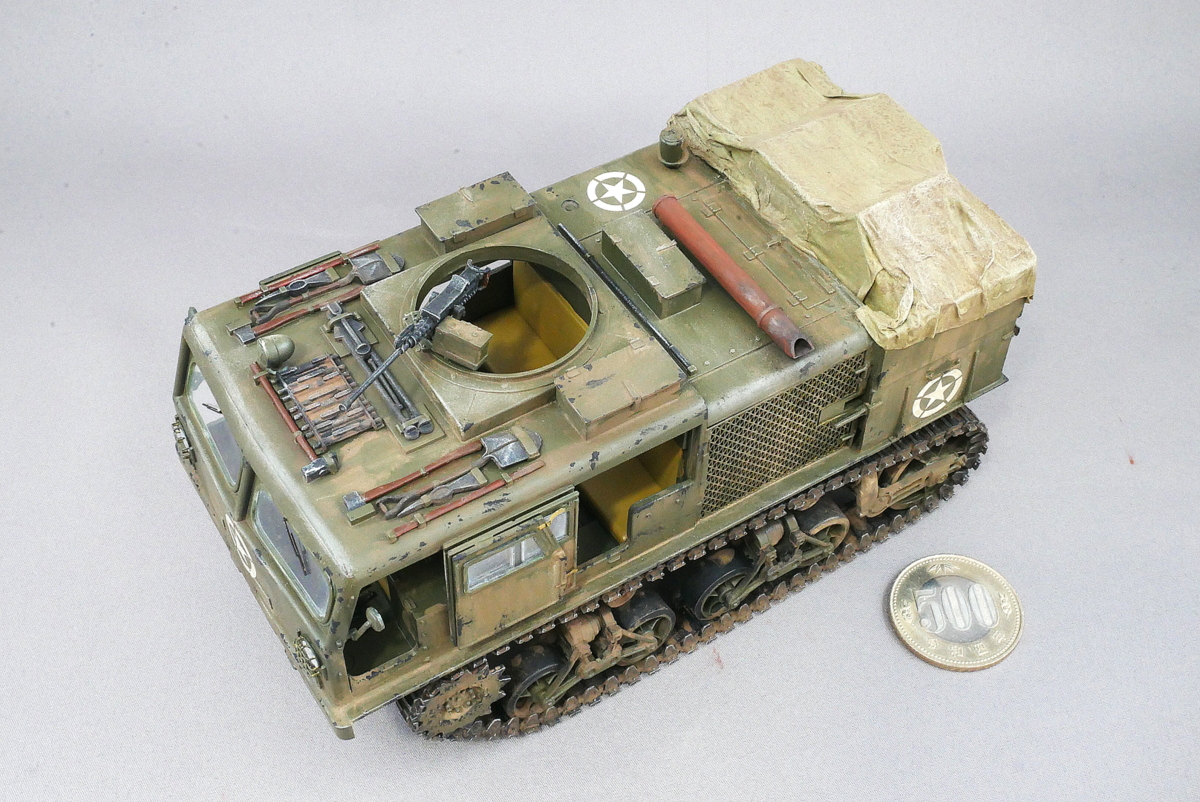
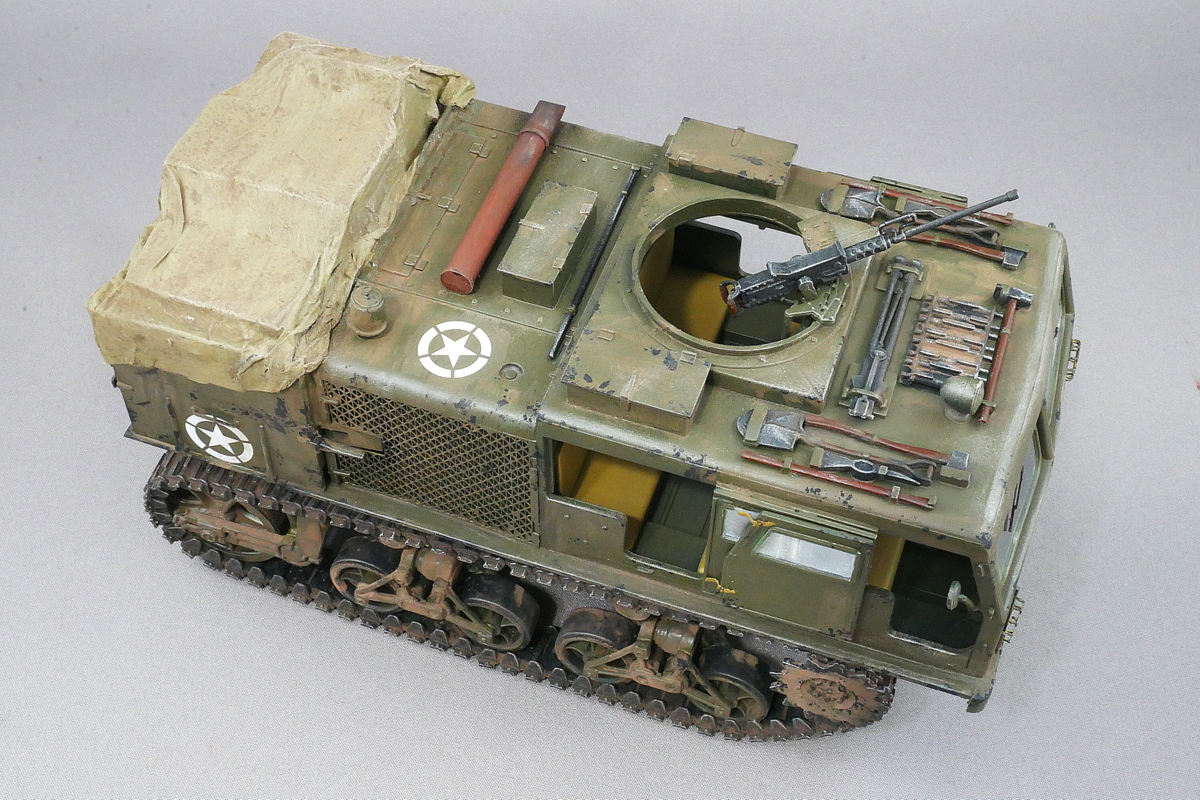
The parts structure and assembly method of this kit are very different from the typical AFV kit. In the past, it might have felt like building a Valkan Scale Model Russian military tractor or a Tamiya French military tractor. Anyway, there are more internal reproduction parts than I thought, so it’s hard to assemble. But the engine and the driver’s seat are quite realistic, so it feels good.
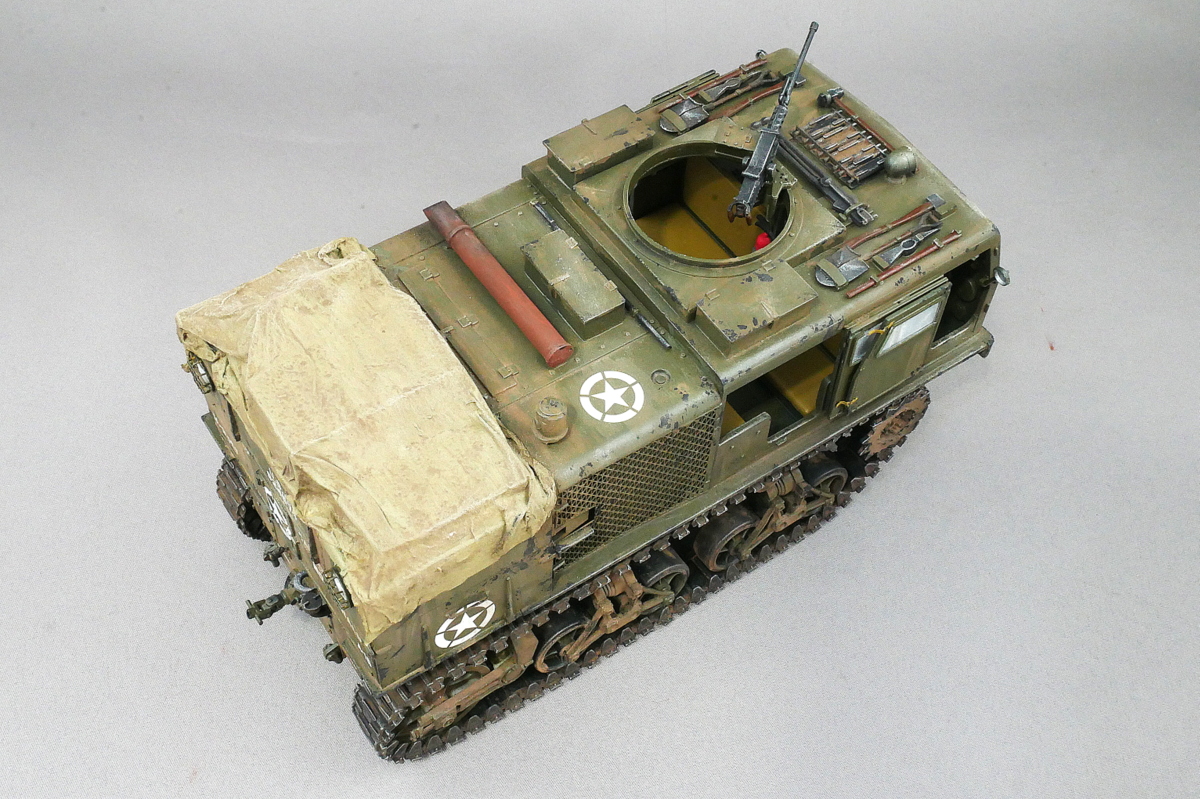
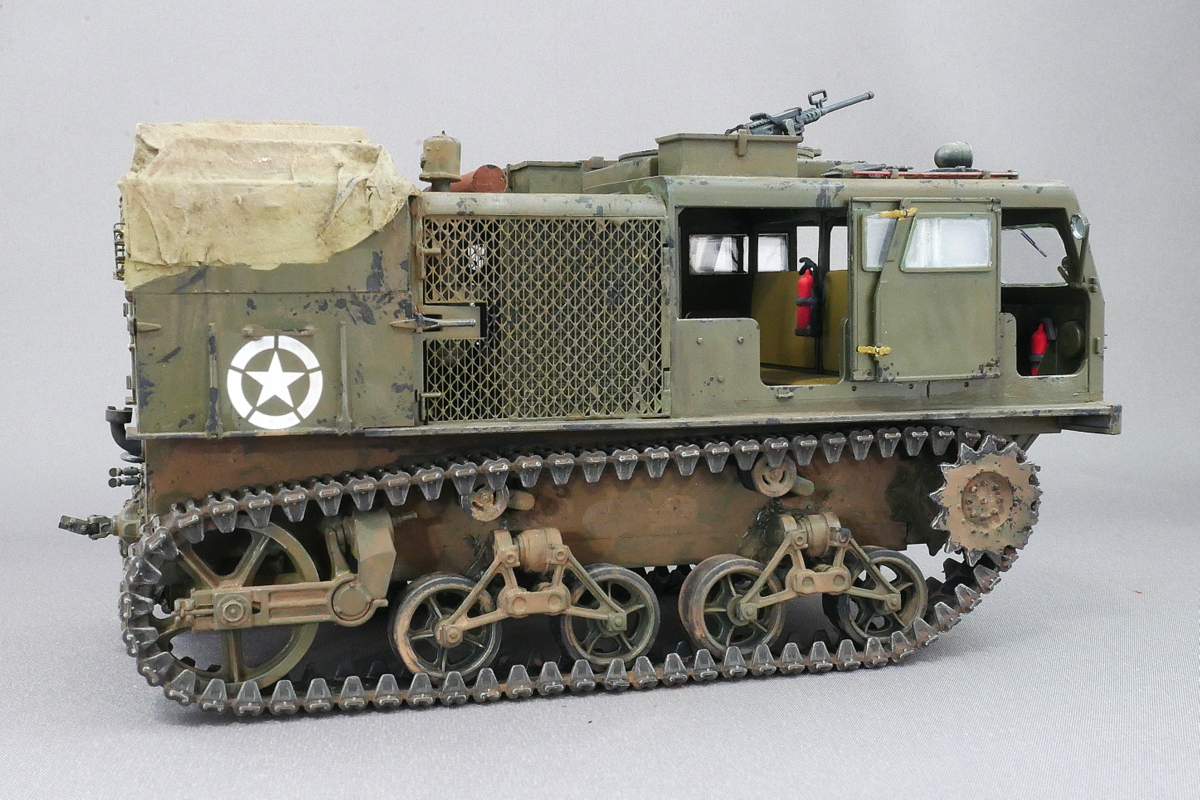
It’s a box-shaped car, so it doesn’t look that different no matter where it’s taken.

I prefer to look at it from the back because it appears to be reproduced in detail with a full decal.
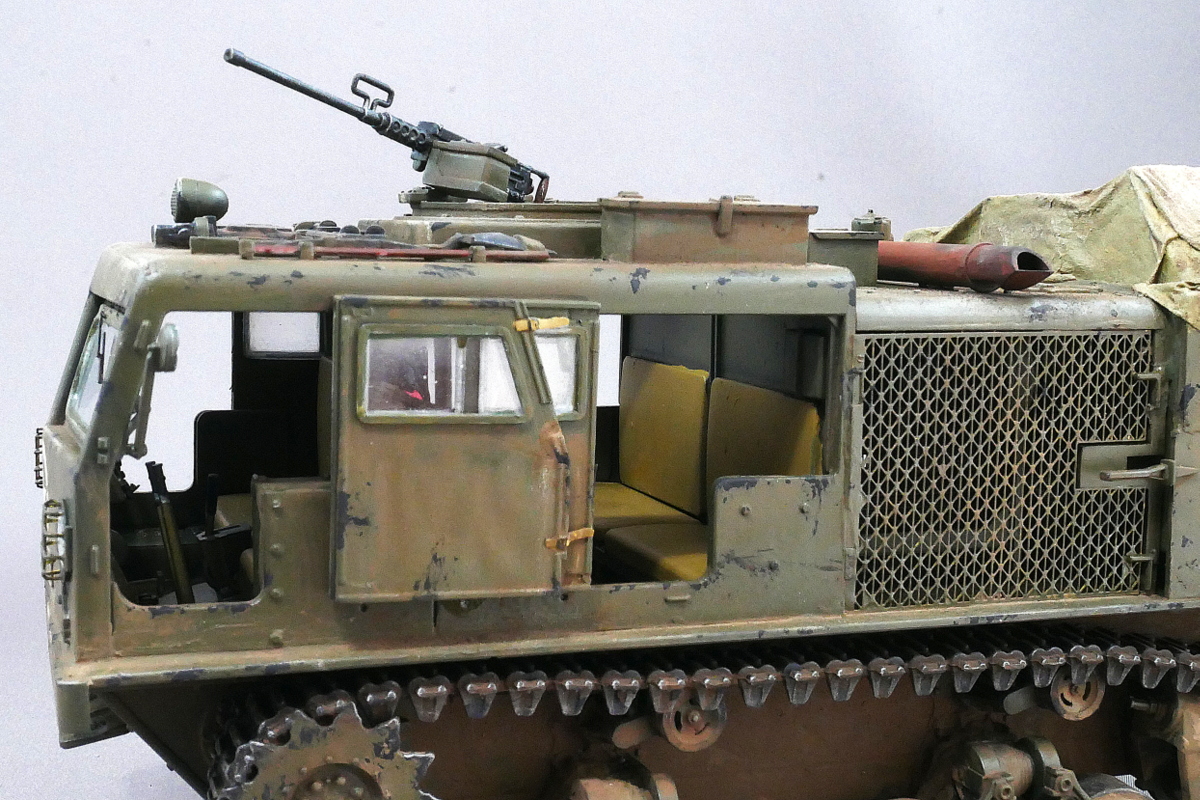
I tried to take a picture of the inside of the tractor, but it got dark and it didn’t work very well.
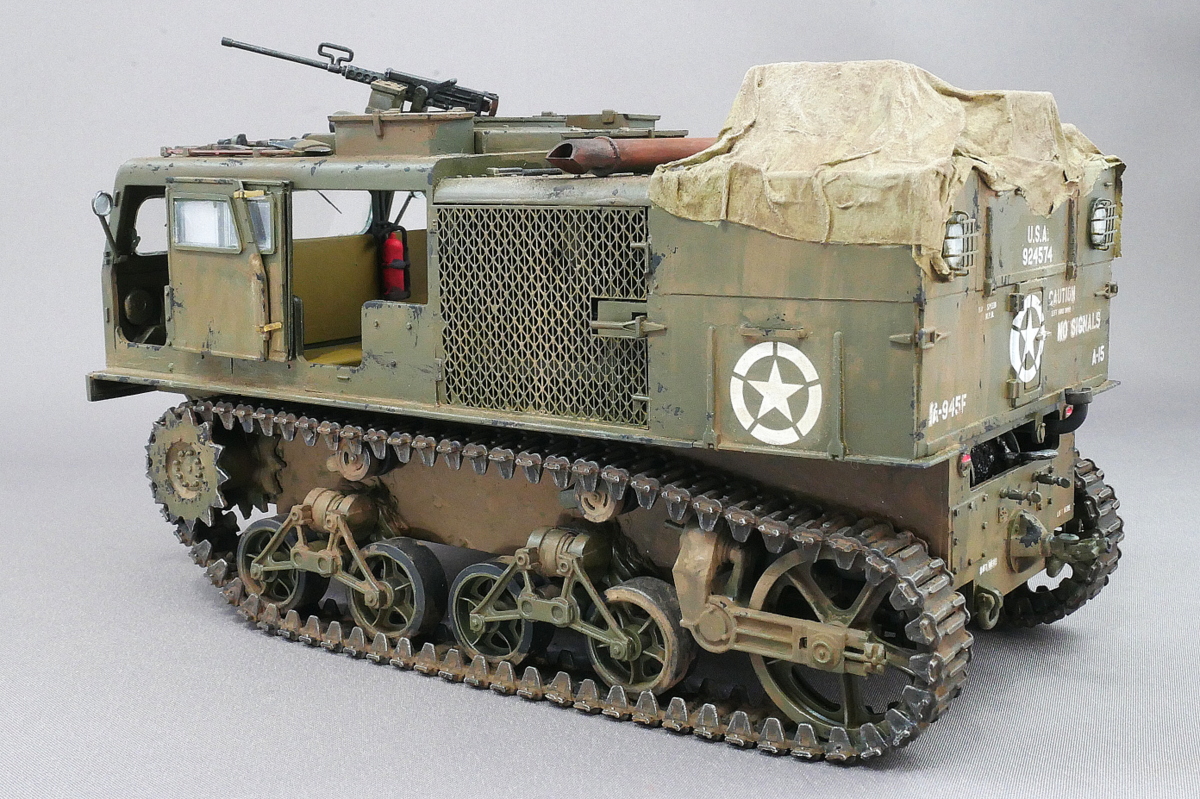
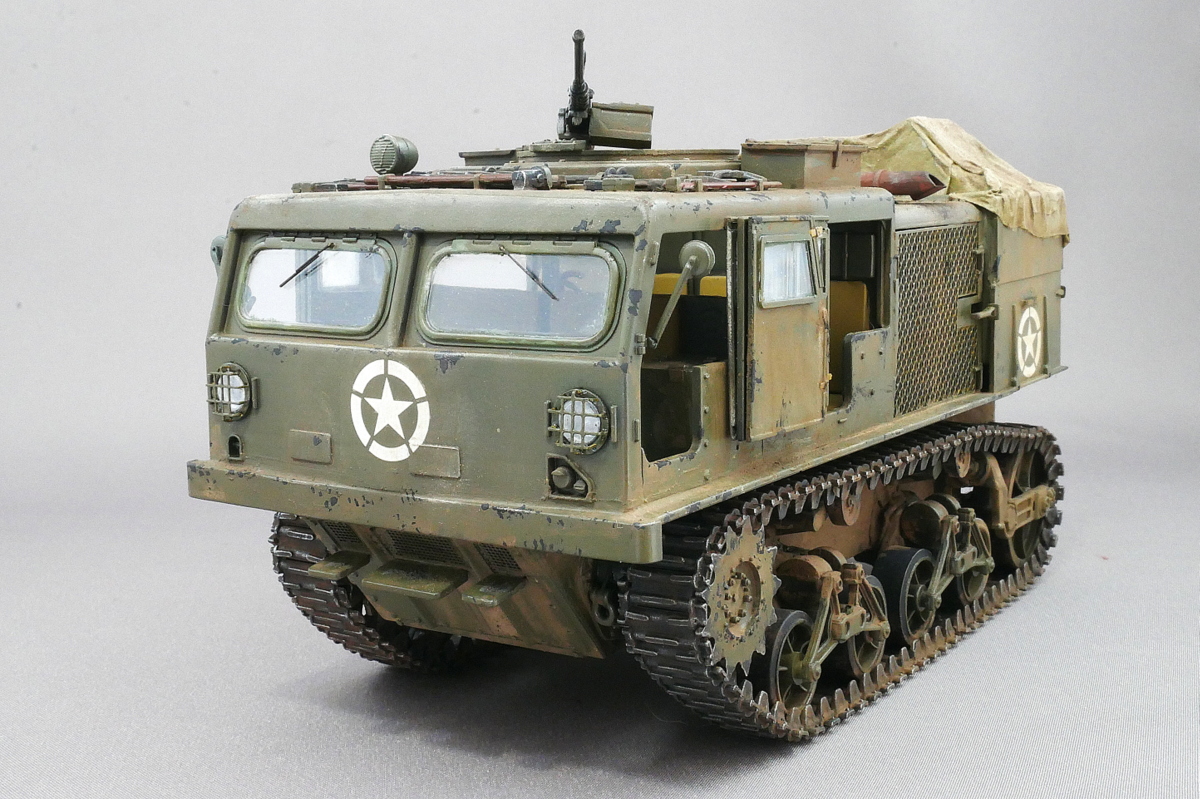
The windshield wipers have very fine etched parts, and I painted them black and glued them together.
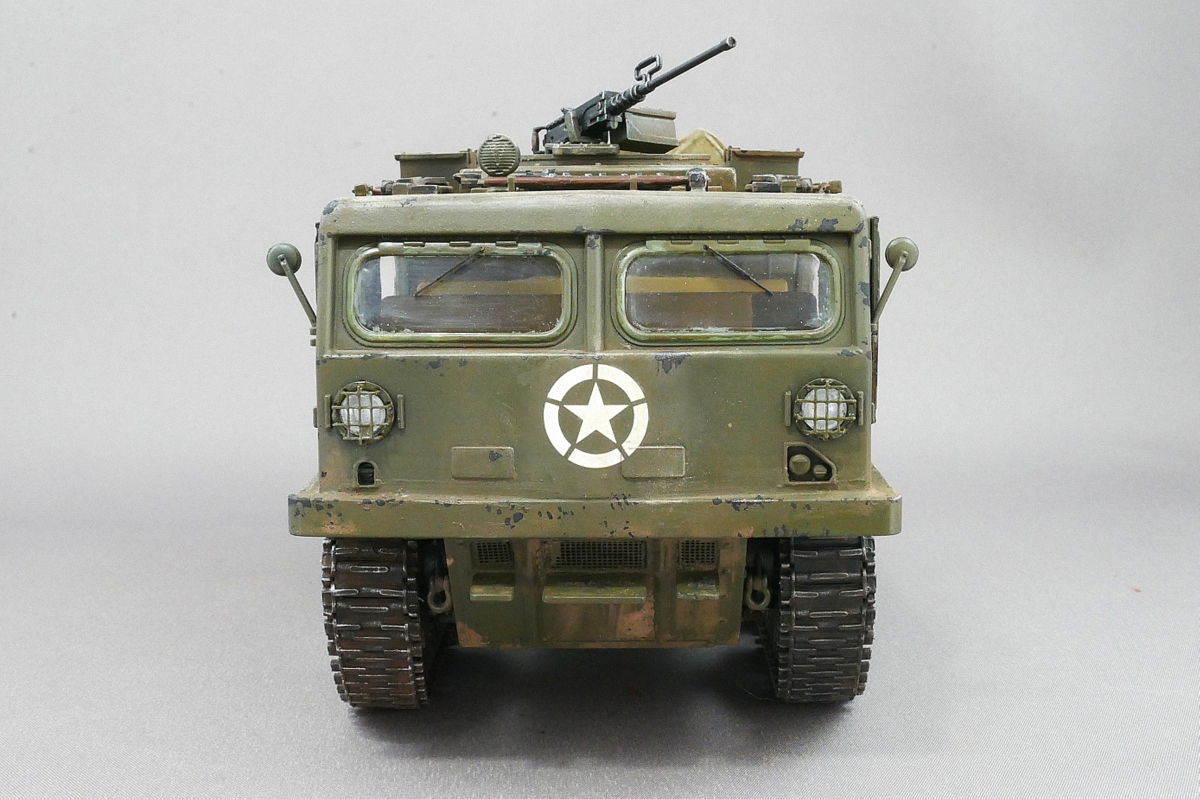
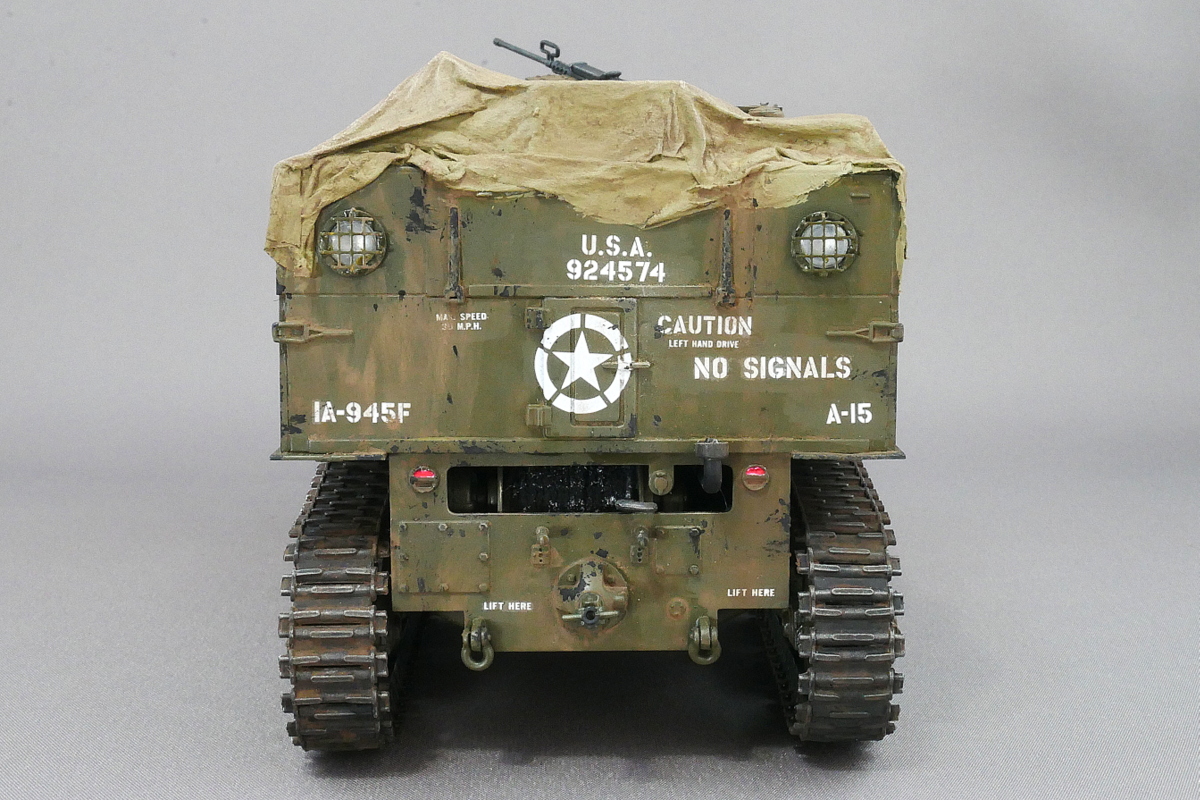
Since there is no big main gun and only one machine gun, it is a very simple item from a model point of view, but it is a very interesting kit to assemble.
(2024/01/28)


コメント