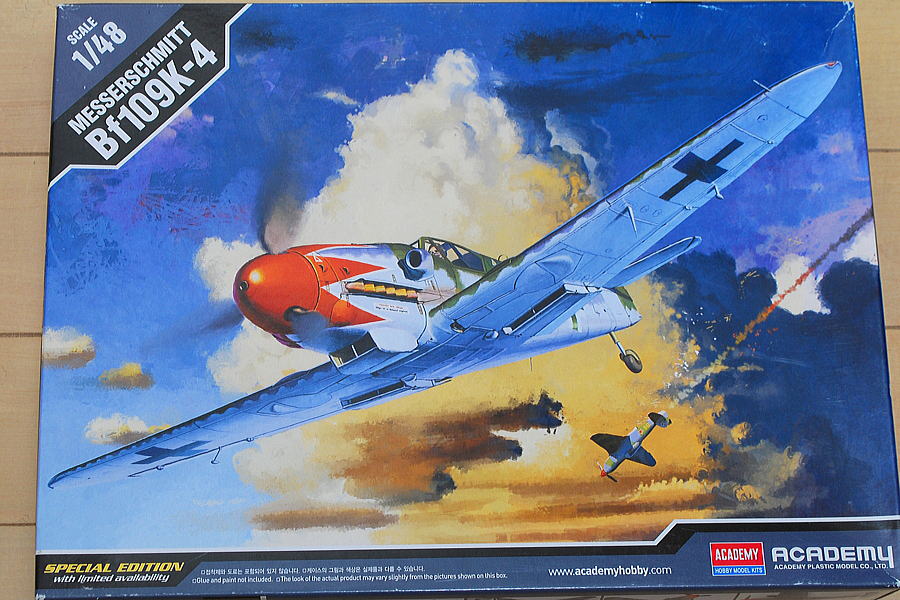
 German Messerschmitt that I am going to make it someday. I’m having K-4, and another is the Bulgarian air force. I’ll try Bf109K-4 of Academy. This kit includes Cartograf’s beautiful decal sheet. I wonder if the tail wheel keeps leaving out while flying, as this box art?
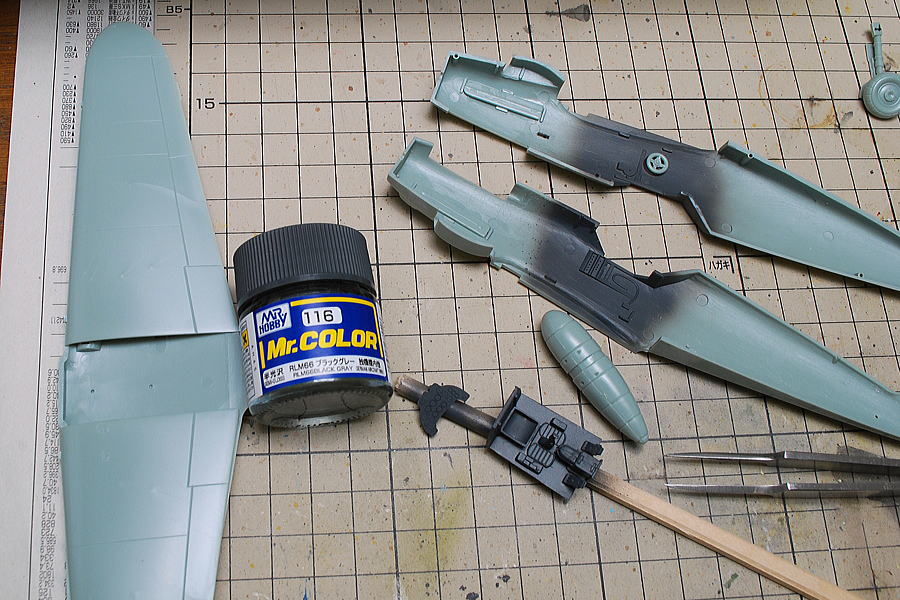 German aircraft’s interior color, RLM66 black gray, was painted. I forgot to paint the handle, so I think it should be painted matte black later.
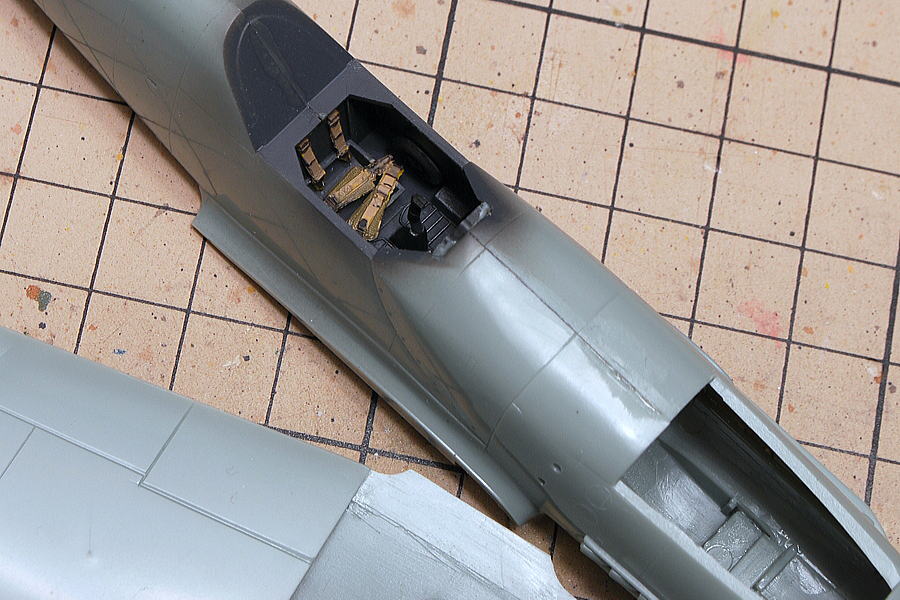 The third party’s seat belt was added to the cockpit. Since the pilot is not in, I think there is a good accent. I drew the buckles of the upper seatback very hard, which wasn’t seen after being built in this cockpit…
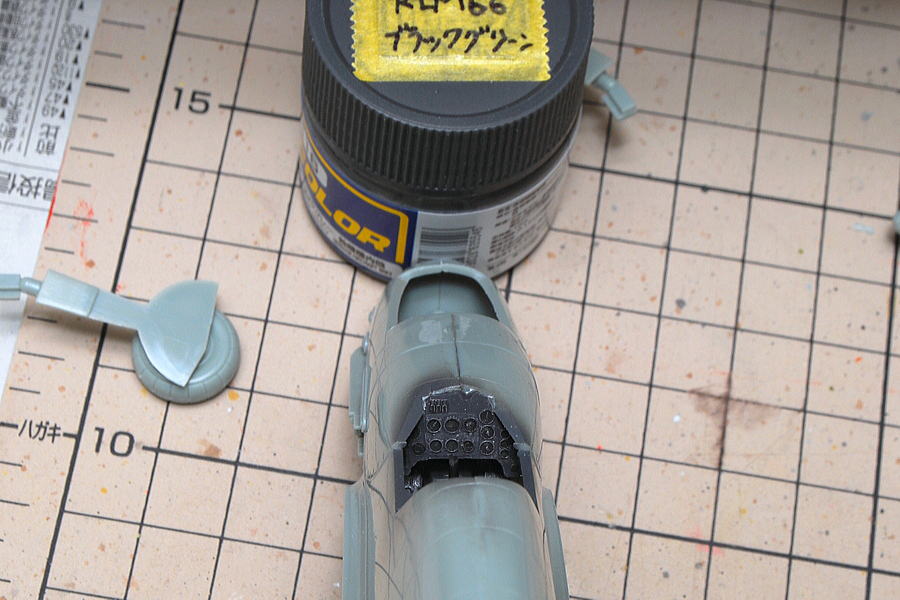 Built-in the cockpit Panel is complex. A gap was occurring, so I had to clean it later.
(11-February-2016)
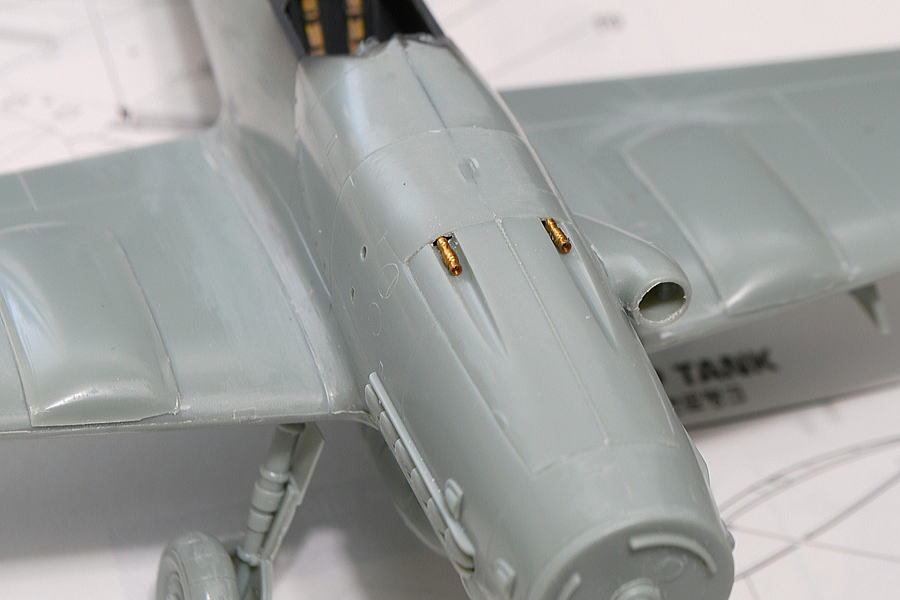 The machine gun barrels of metal parts. The mold is very sharp compared with plastic parts.
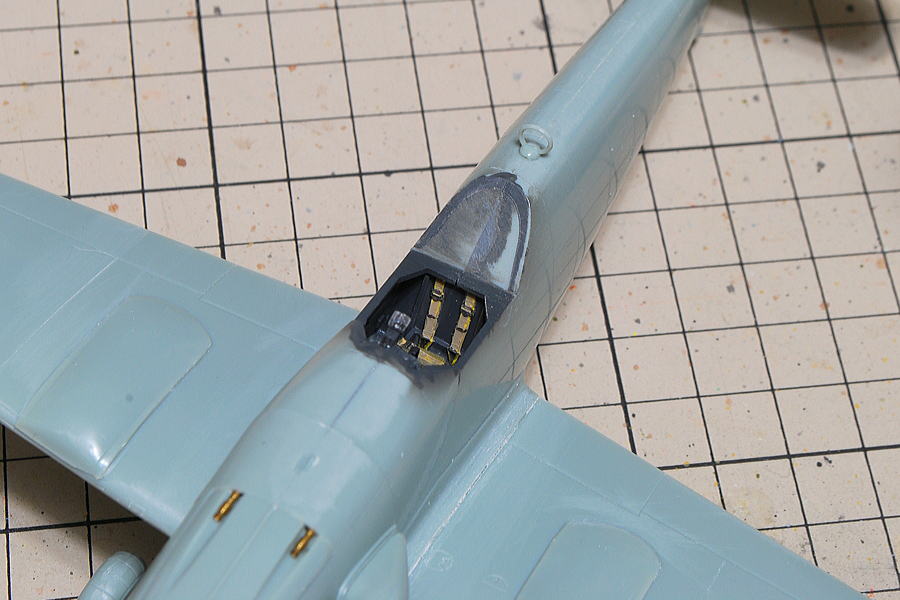 This kit generally seems to have no problem except for some joint points. The sharpness of the mold is ordinary.
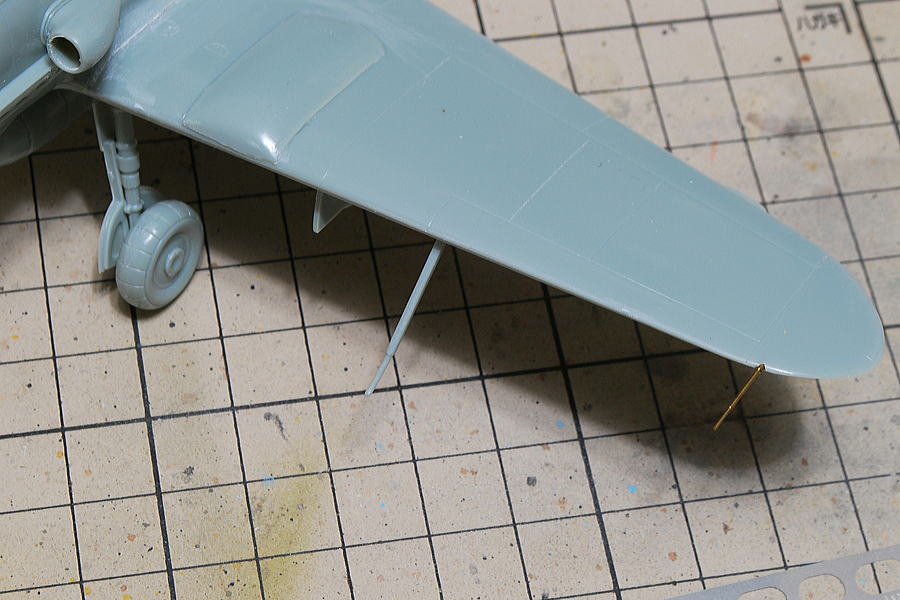 Pitot pipe is also made of metal.
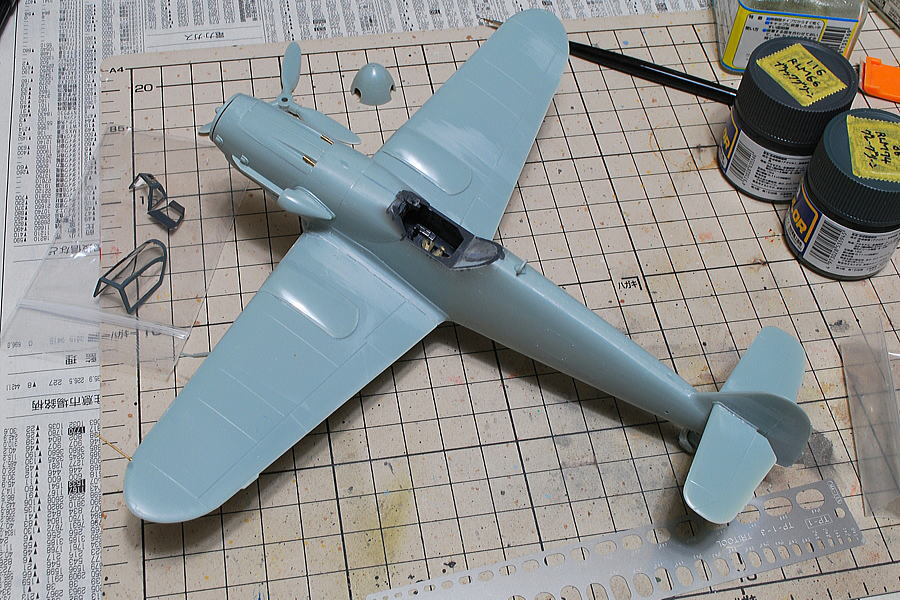 I’m not sure about the structure of the canopy flame because there’s almost no guided mold. Probably that is almost right.
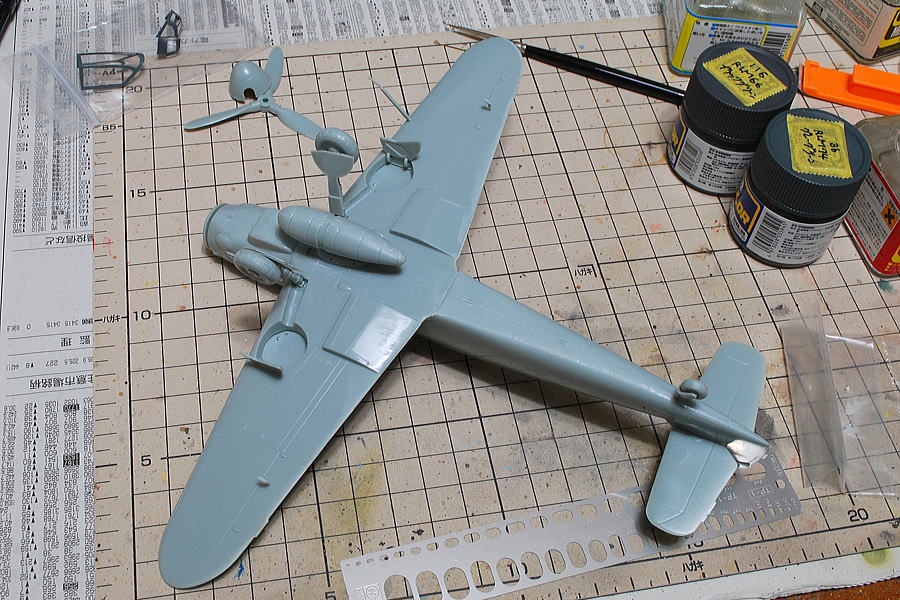 Small parts were also assembled as much as possible. A detailed painting area will be done after the base color airbrushing.
(29-February-2016)
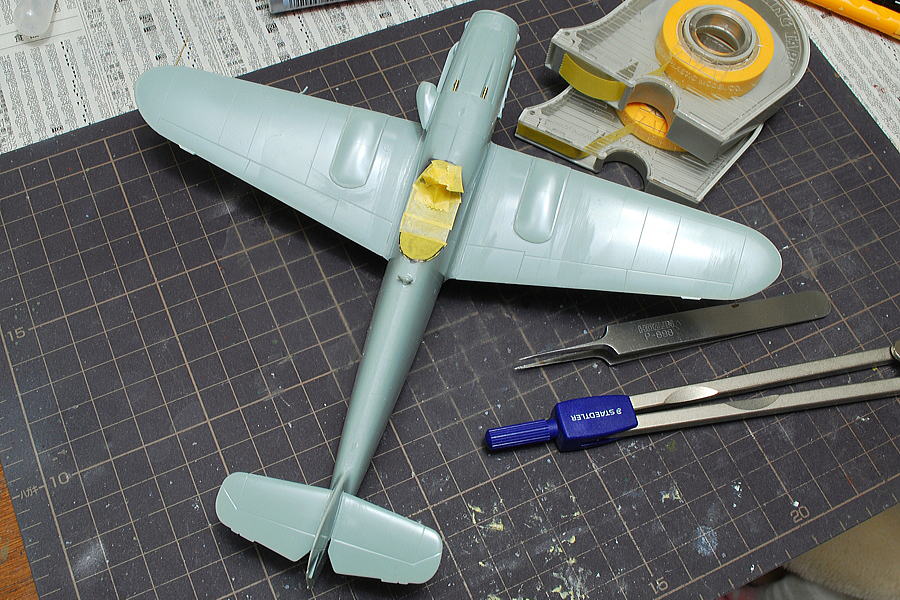 I masked over the cockpit to prevent blowing the mist.
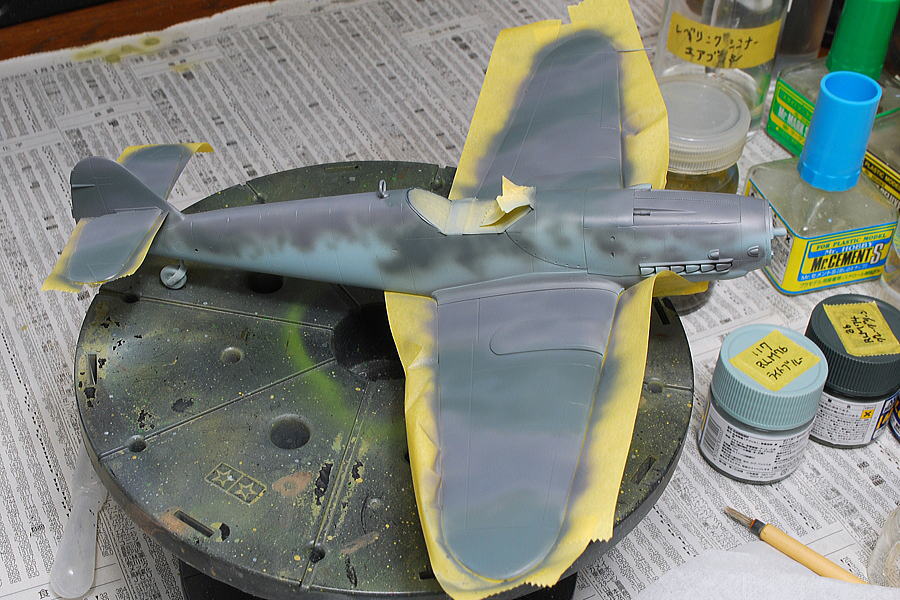 The camouflage painting of a German fighter. The airbrush is used many times on German tanks and aircraft paintings. A random pattern to draw freehand is complex. It’s like this by feel.
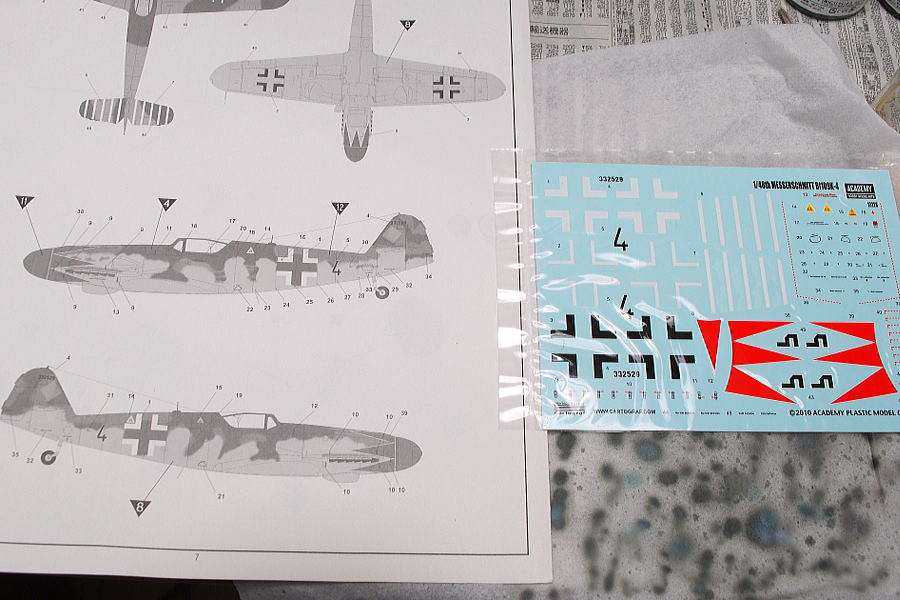 This kit has a Cartograf decal. I like it. However, it is only one marking.
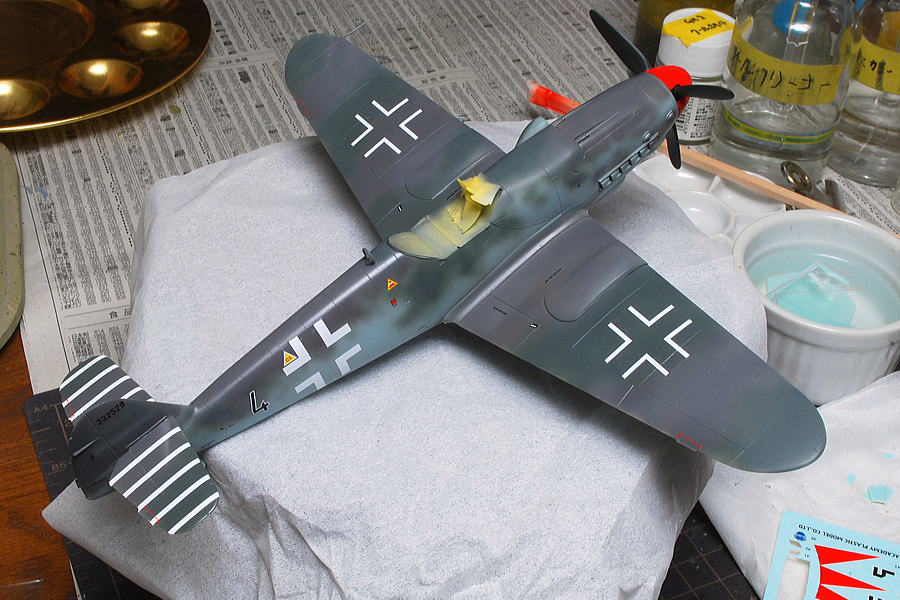 There are relatively large decals, such as tail wings. I put it in adhesion to use the Marksofter.
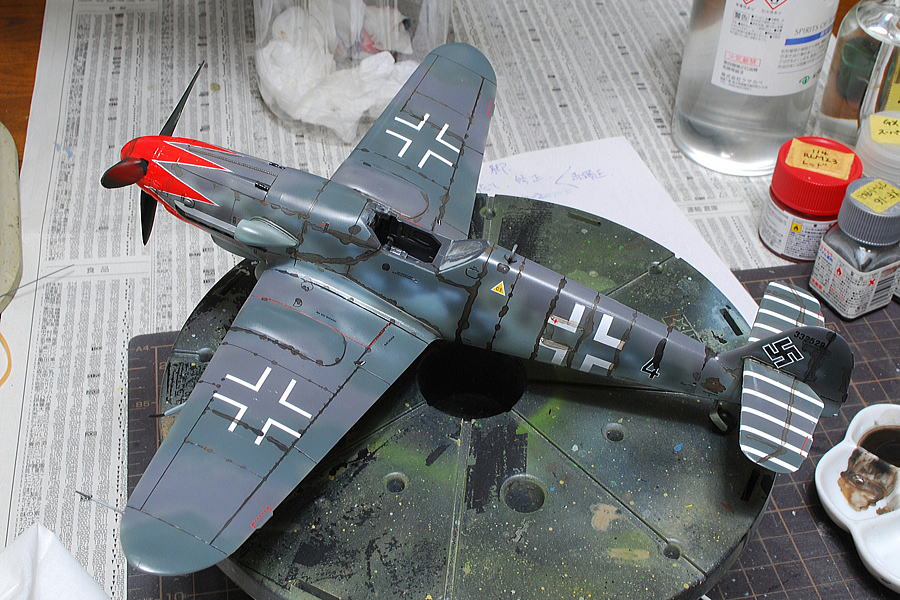 I did the inking in blackish brown. Maybe it’s a regular choice.
(03-March-2016)
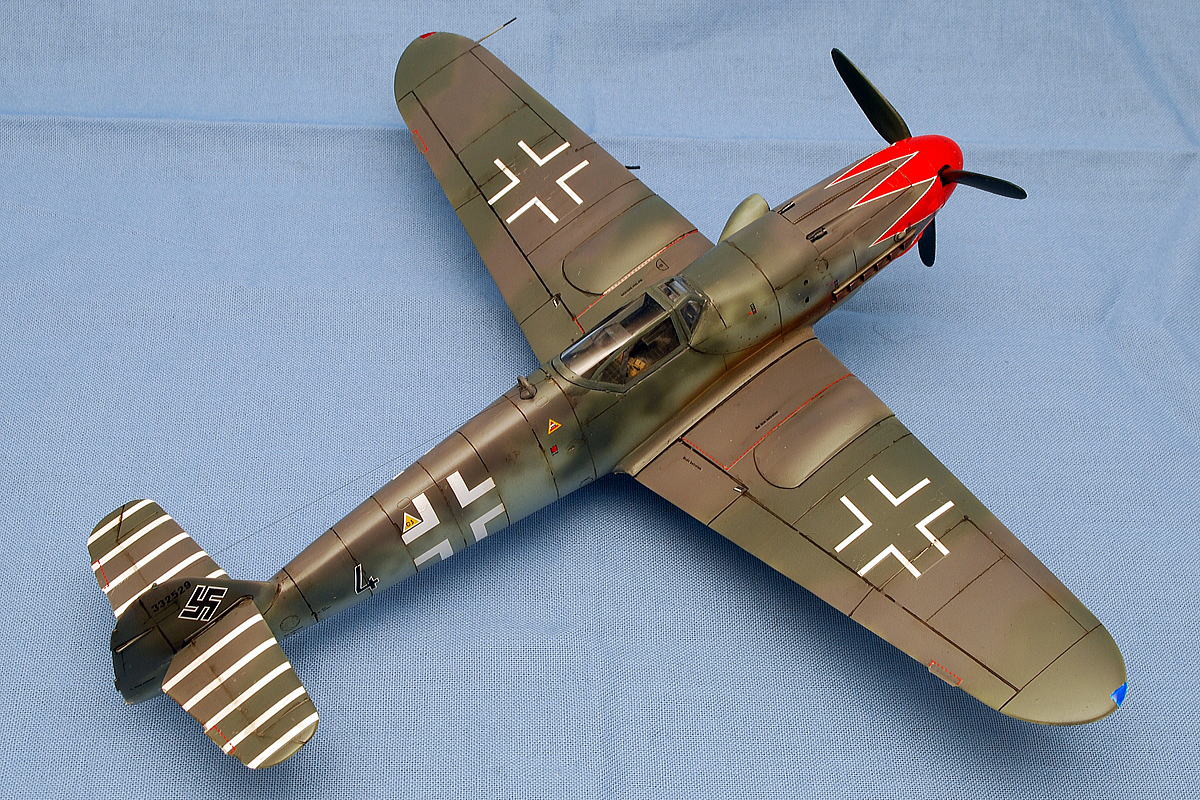 My first time made Messerschmitt was completed. This is the symbol of the red tulip markings of Colonel Hermann Graf, the 52nd fighter wing (JG52) commander. He had been in the prisoner of war camp of the Soviet Union for four years after World War II. Shooting down a record of Col. Graf is 212. However, he was the wing commander at that time, and I think he did not participate in the mission directly.
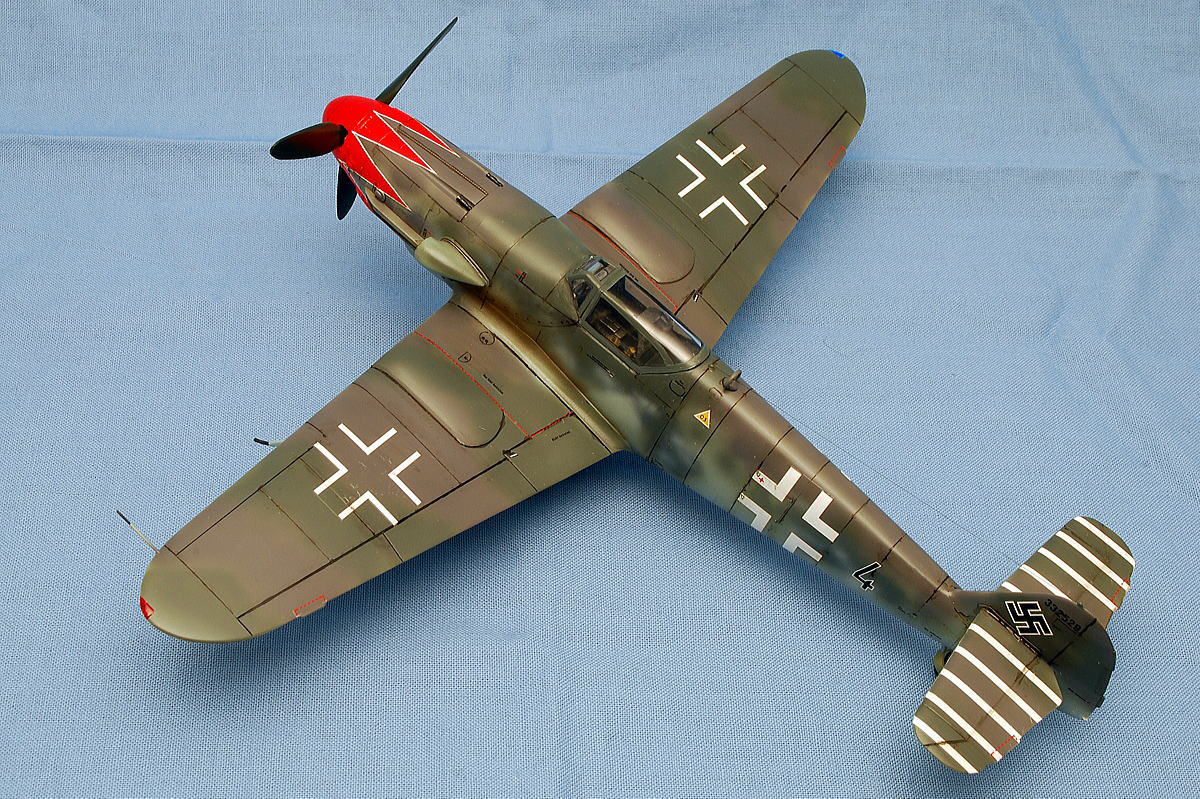 A small part has been glued together as much as possible before the basic painting this time. When it’s glued together later, a painted surface gets soiled. All except for the turnip on the nose is a subdued color; it’s like making the German tank-type IV.
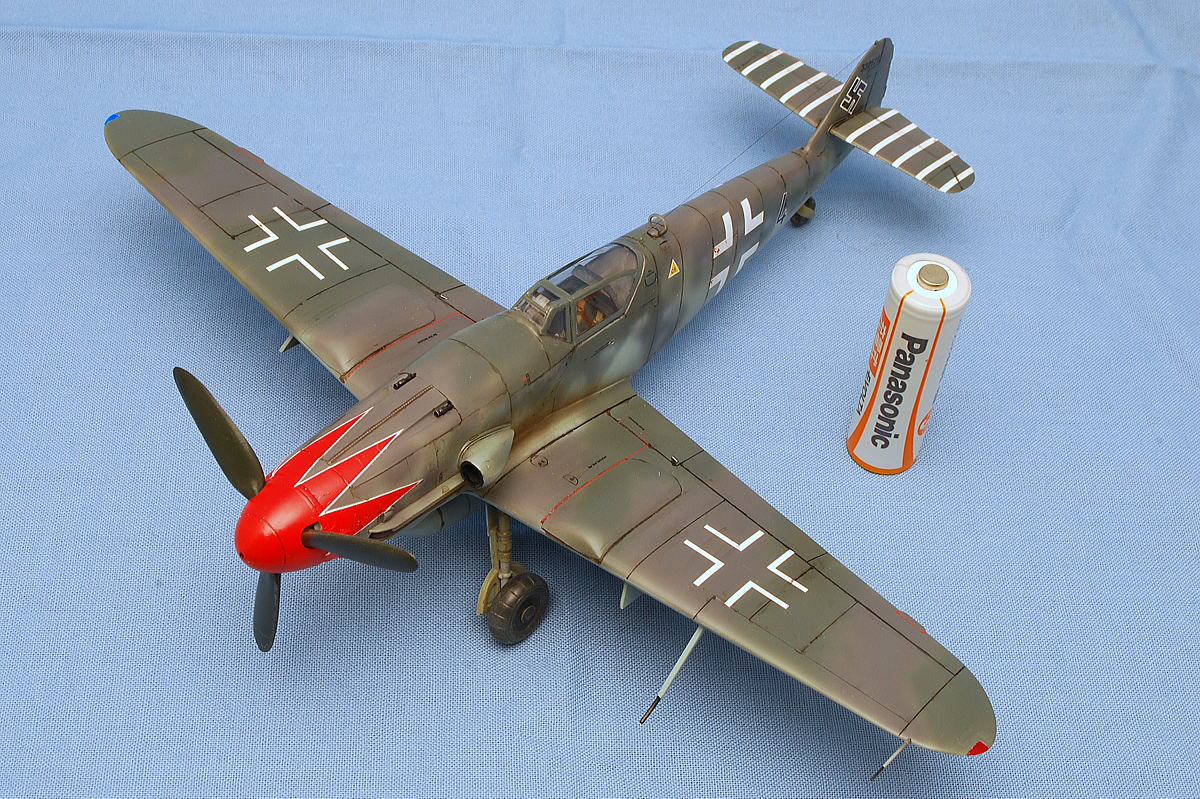 The camouflage painting is dark green and dark gray. It is commonly noted at the end of World War II.
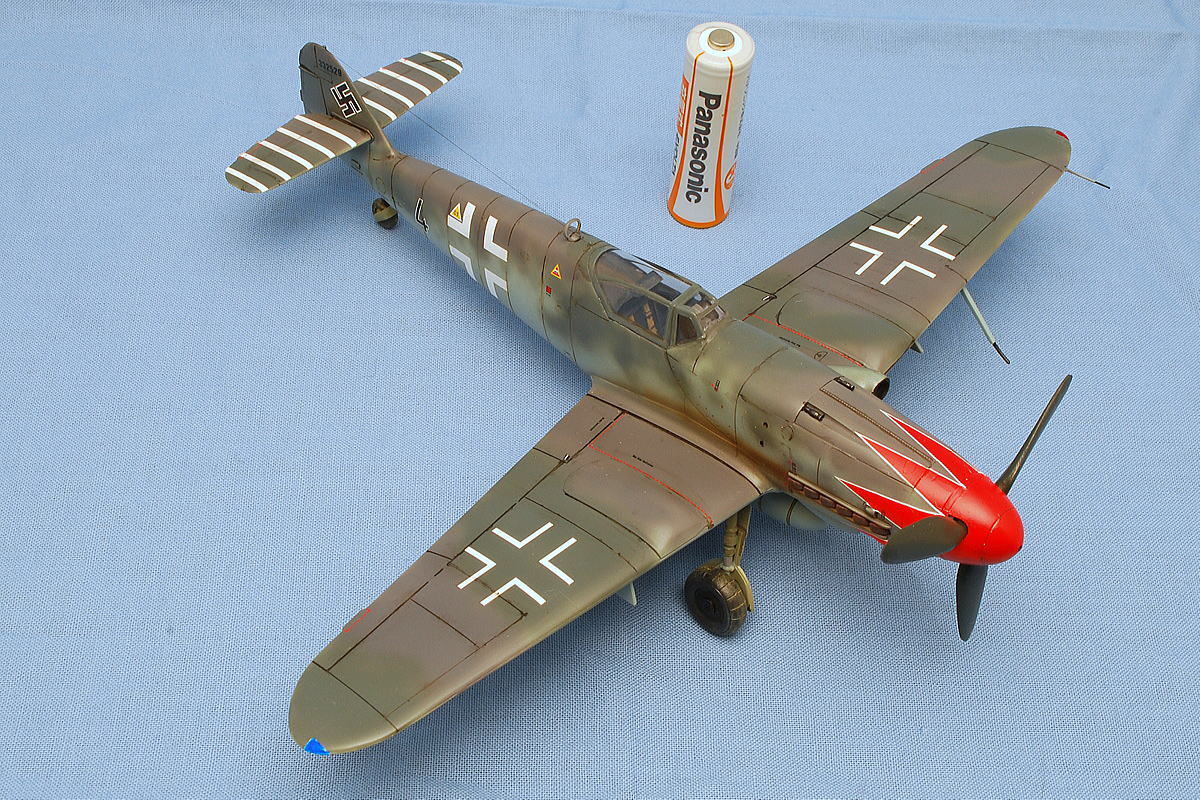 It isn’t easy to control the luster. It is unnatural and too shiny, and the matte finish is also dull. I choose about 75% gloss; it’s my feeling.
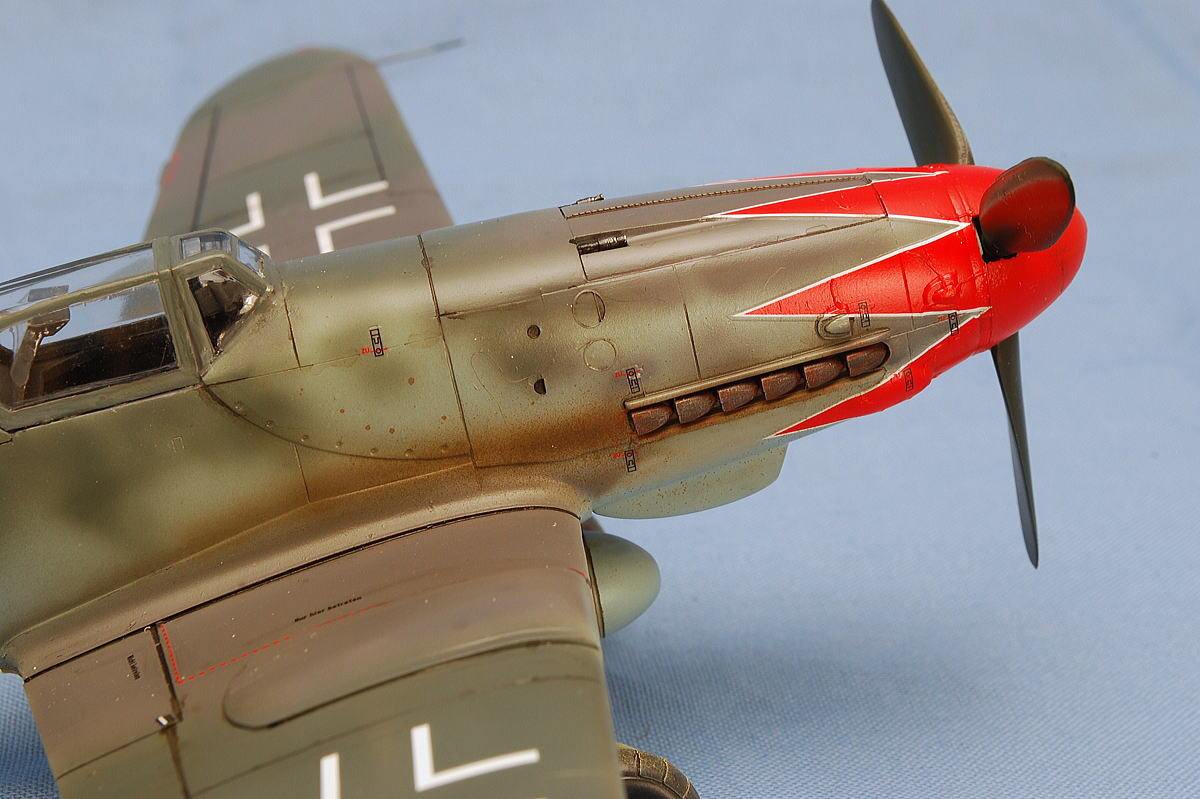 A gap forms between a spinner and the body when it turns around, so I fixed a propeller. There’s no single line between the spinner and the body. I wonder if it was somewhat unnatural.
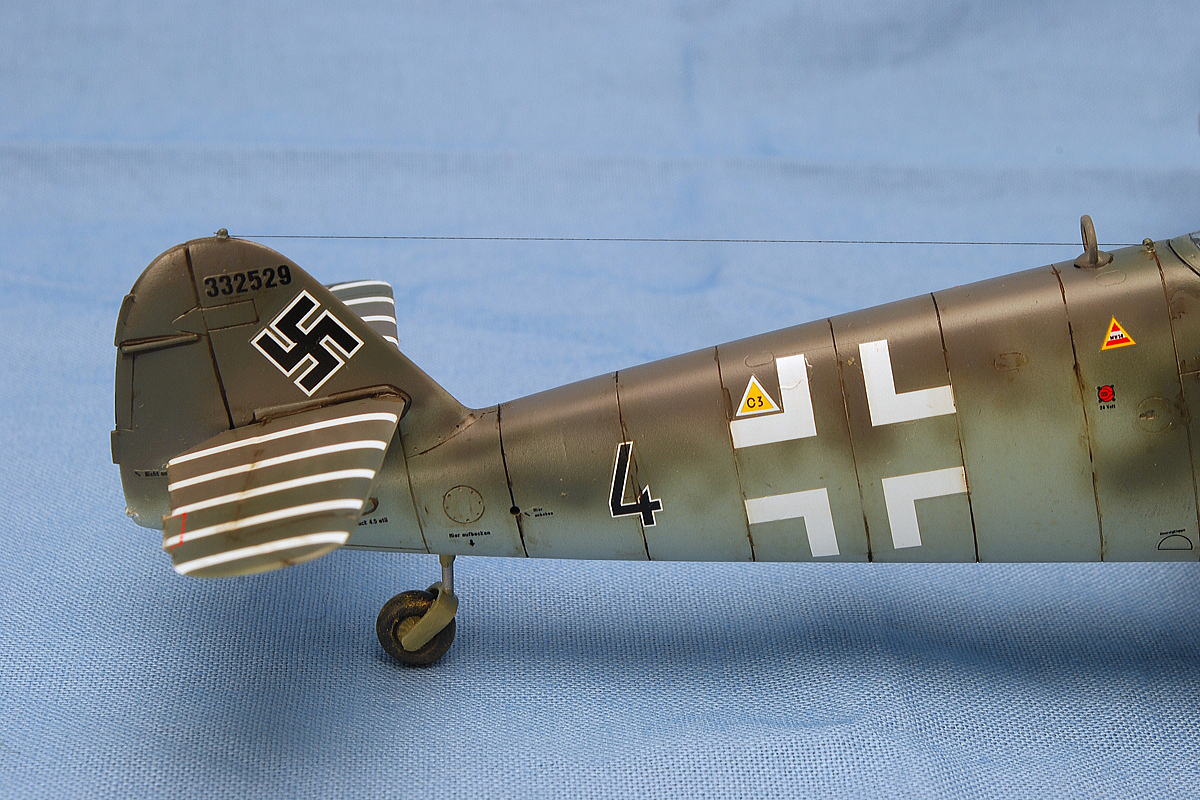 The feature of the German military airplanes, the Harkenkreuz mark, is not anywhere on the decal sheet. If it’s with a white frame, it’s almost impossible to draw by hand; after all, it was a split decal. Probably it’s delicate attention to the European market.
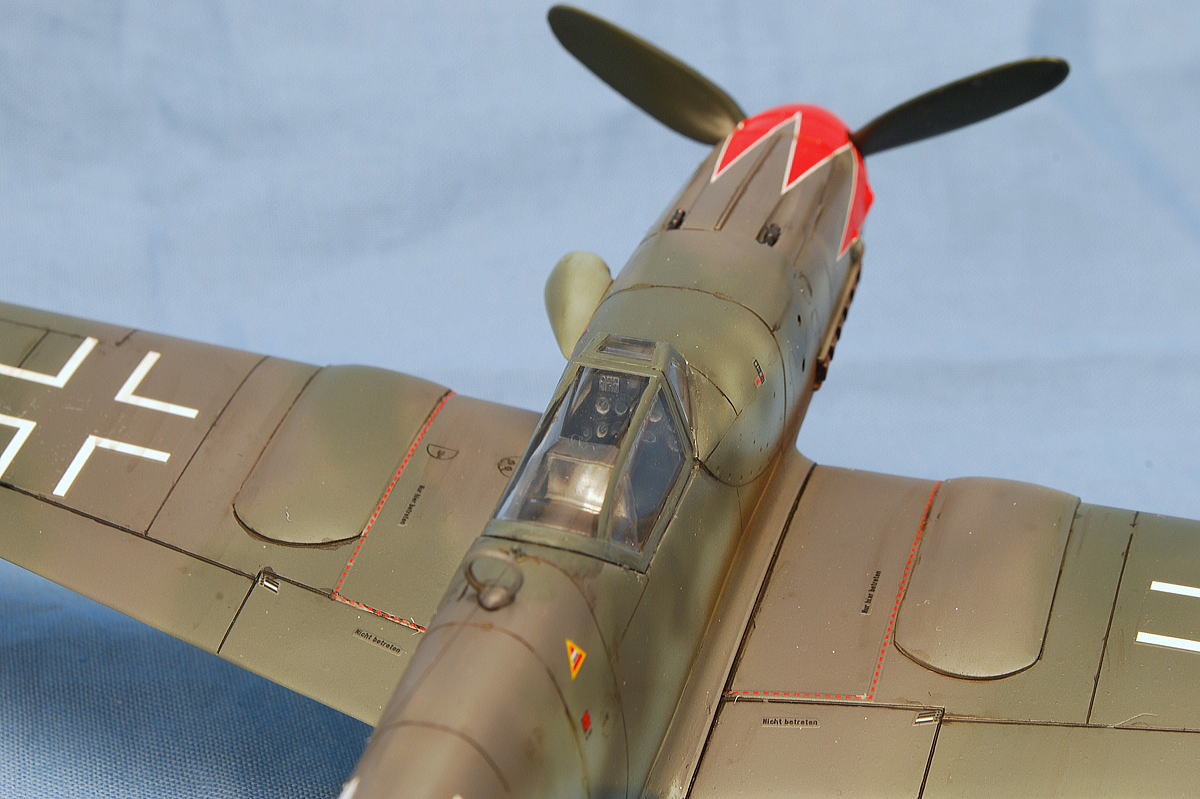 I painted the meter in white, all the paints with the brush because there is no decal. It is satisfied over the canopy. A long time ago, I used to paint the cockpit all in black.
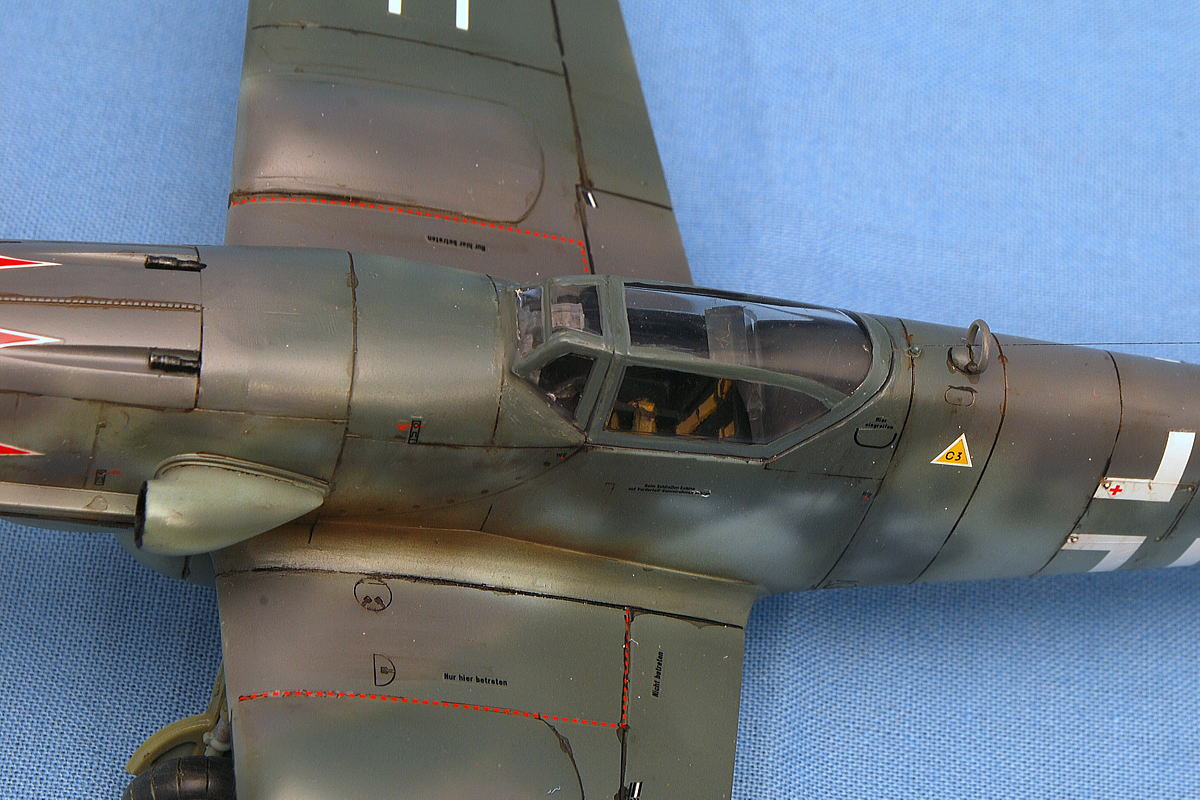 There are considerably small decals in this kit.
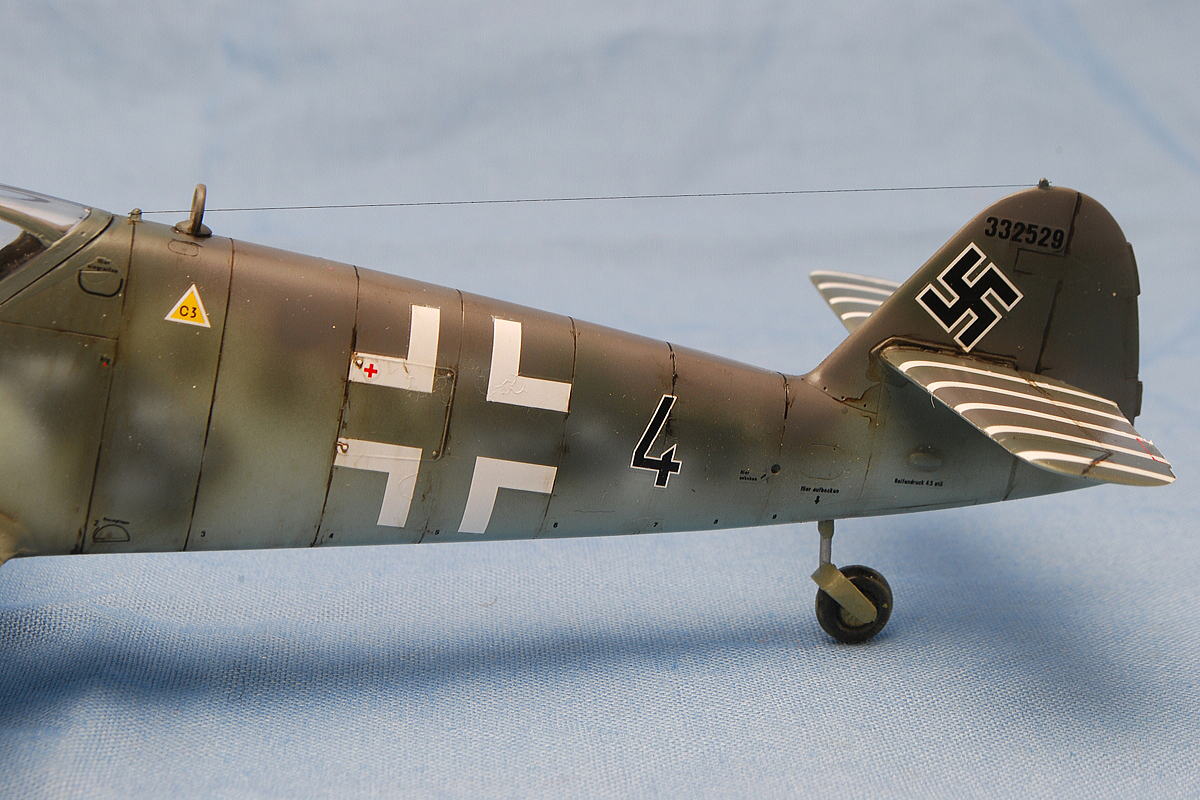 I used metal wire for the antenna line. I could line the antenna taut this time.
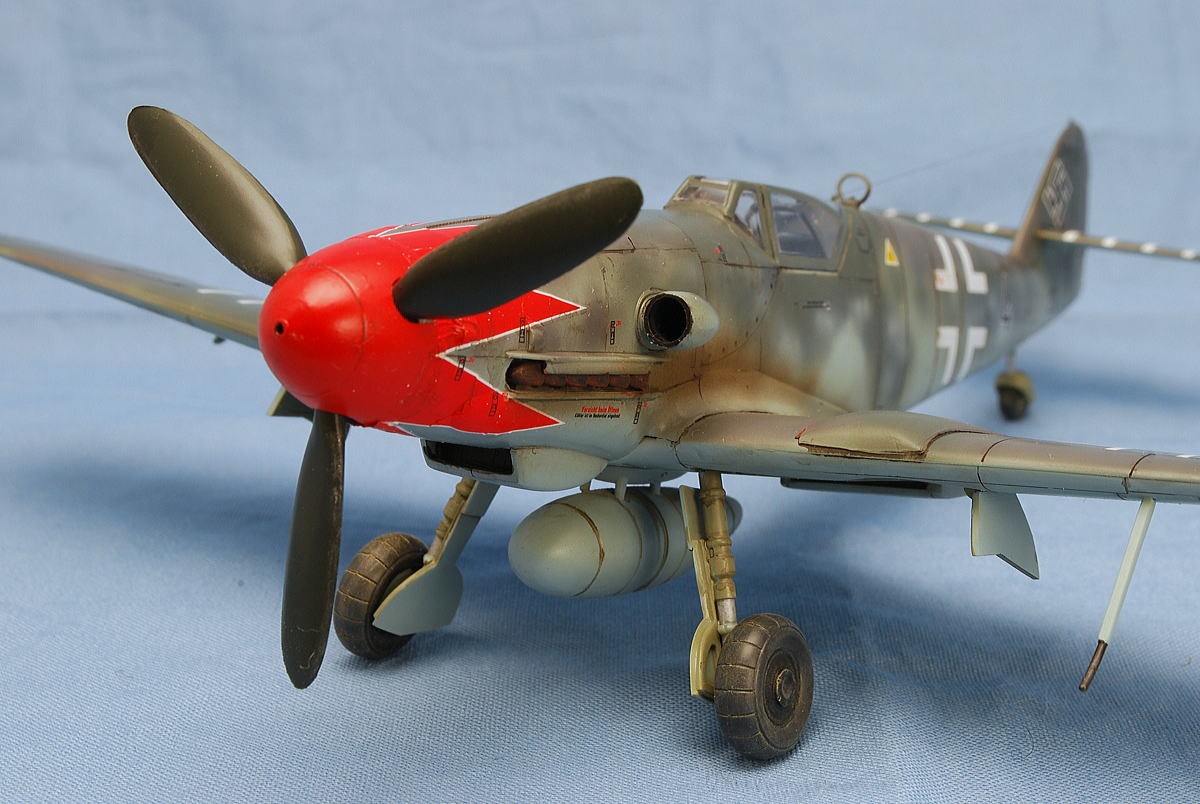 I think the red tulip does not fit on the nose and recommend using a reasonably powerful decal softer. Still, it has got wrinkled slightly. I was able to put it neatly when it wrinkled but not touch and left it till dry completely.
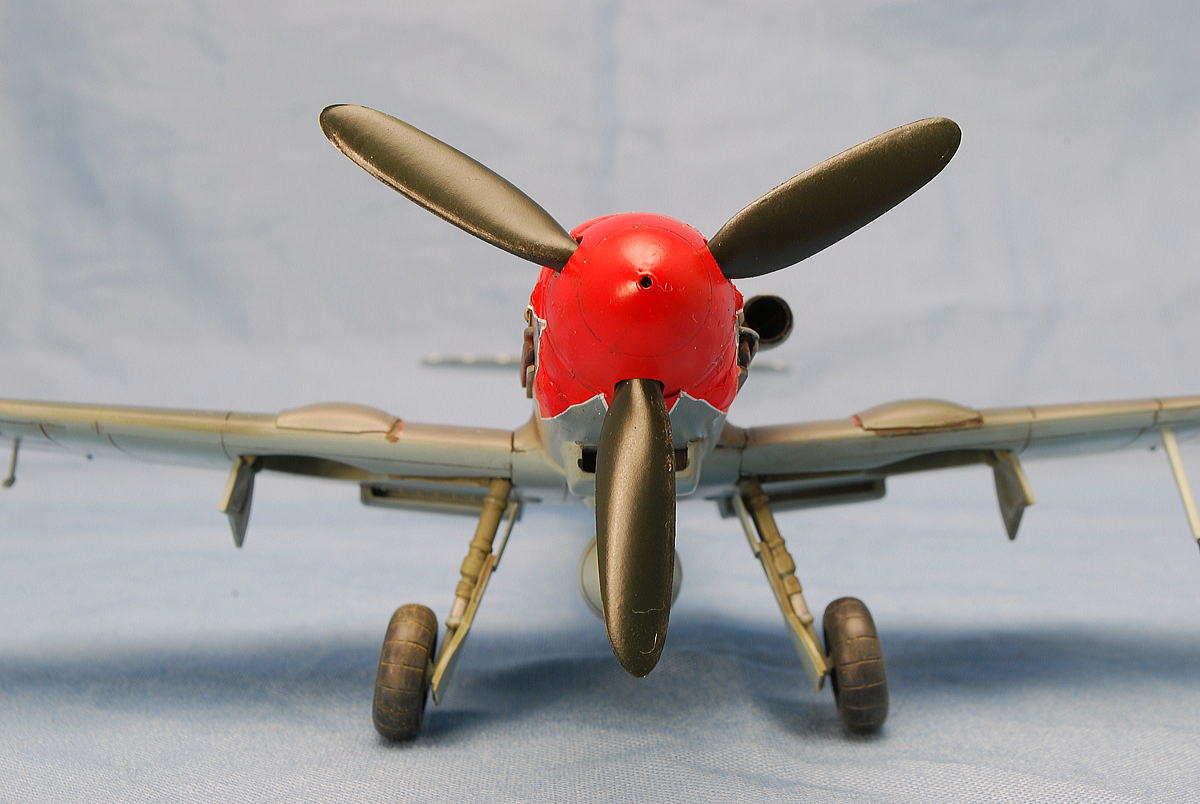 The tulip decal is almost the same color as a spinner, so it isn’t too incongruous.
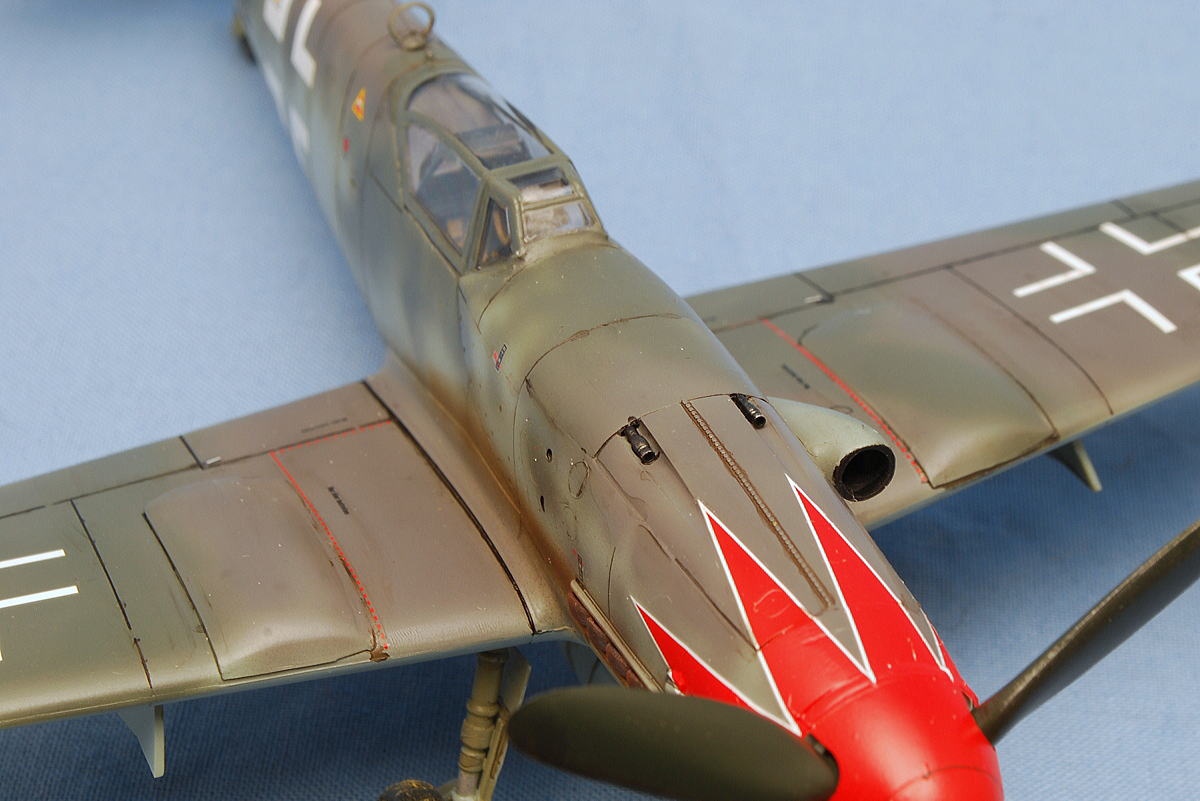 The machine guns before the cockpit are MG131 13mm. It is a 30mm MK108 machine gun in the propeller spinner center. And there are two 20mm MG FF machine guns, explained in some books, but I could not notice where they are.
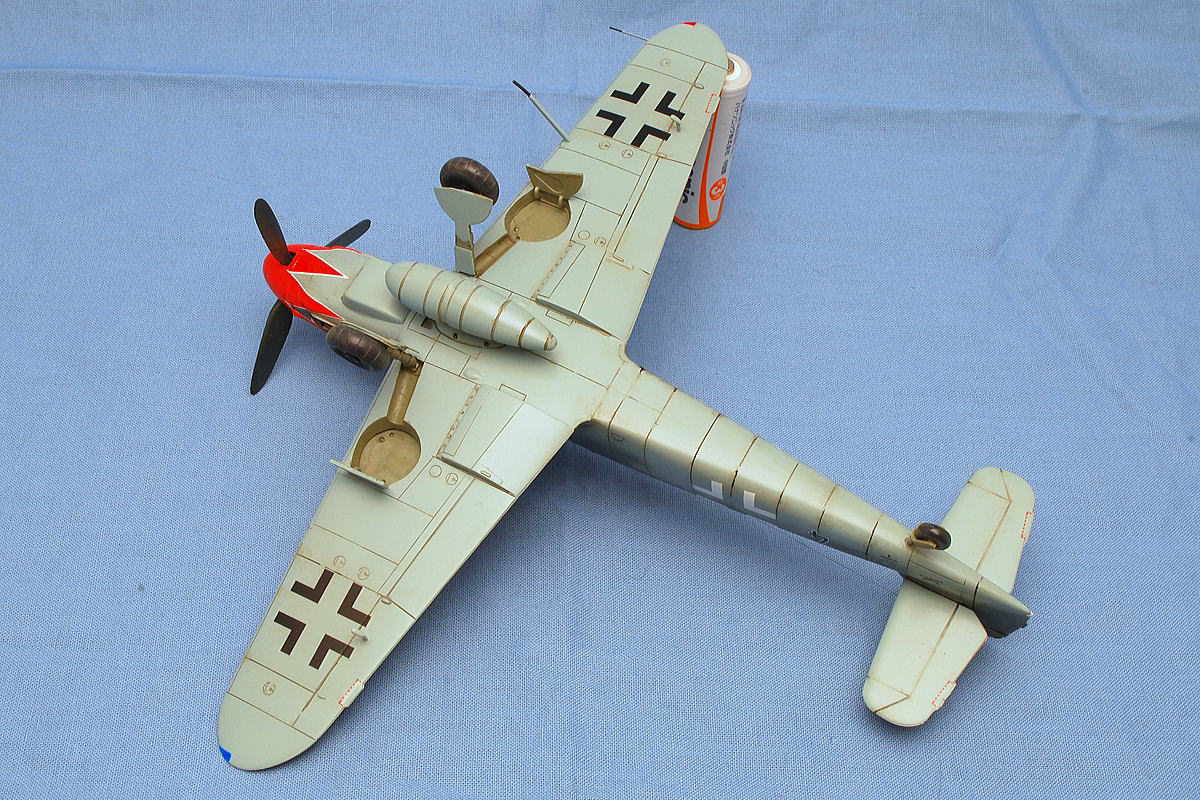 Underside weathering is modest. Still, the panel lines attract attention in light blue.
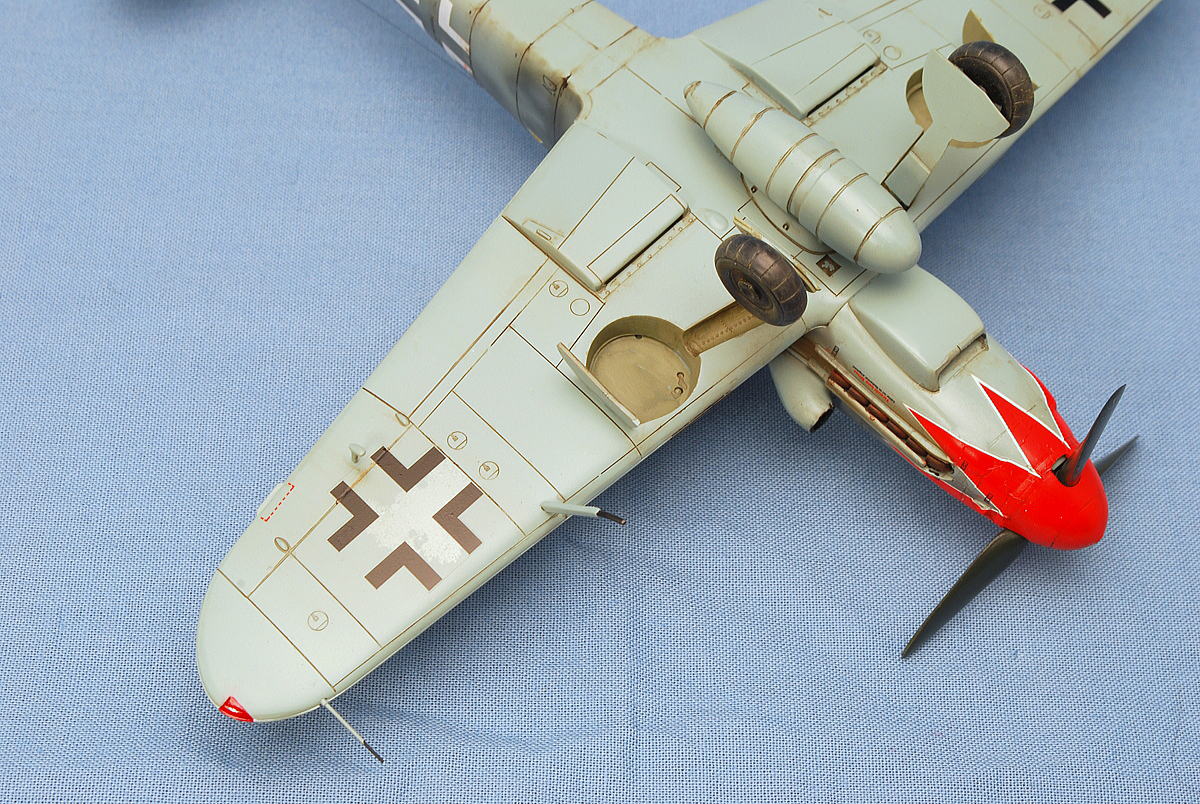 I attached the parts of the fall-type belly tank. I think the capacity is 300 liters.
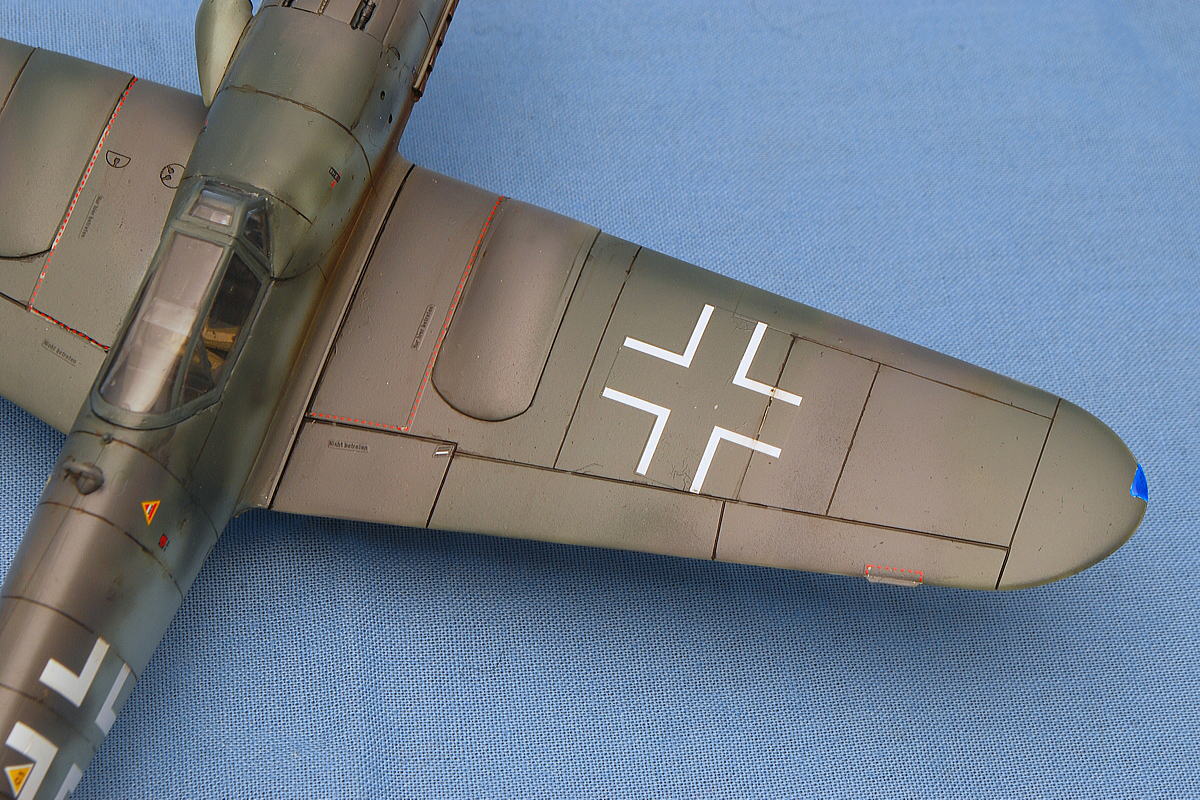 It isn’t easy to take a photograph of a German airplane. Dark gray and dark green camouflage is challenging to understand the color border. Even more, it is when reflected by the light. It usually works. Open the holes in the exhaust pipe. A little additional work makes my self-satisfaction level improve.
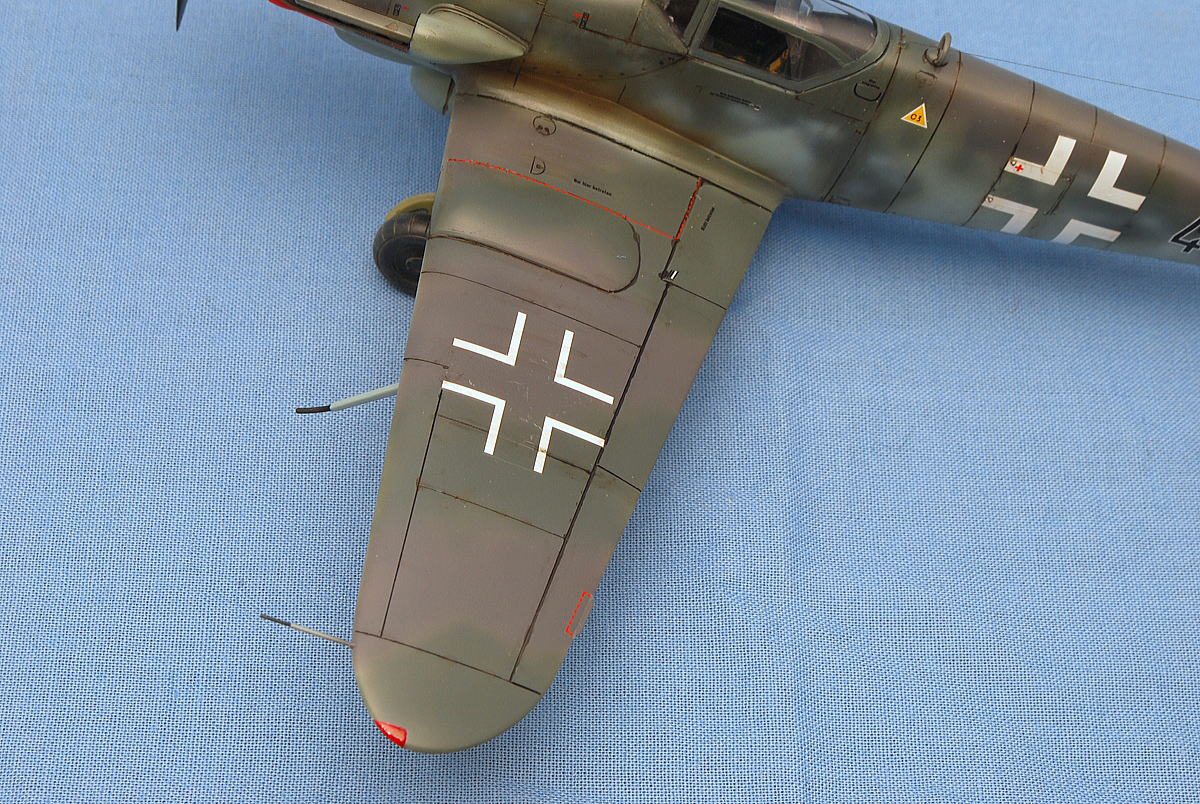 I painted the navigation light white first and painted it in clear red and clear blue.
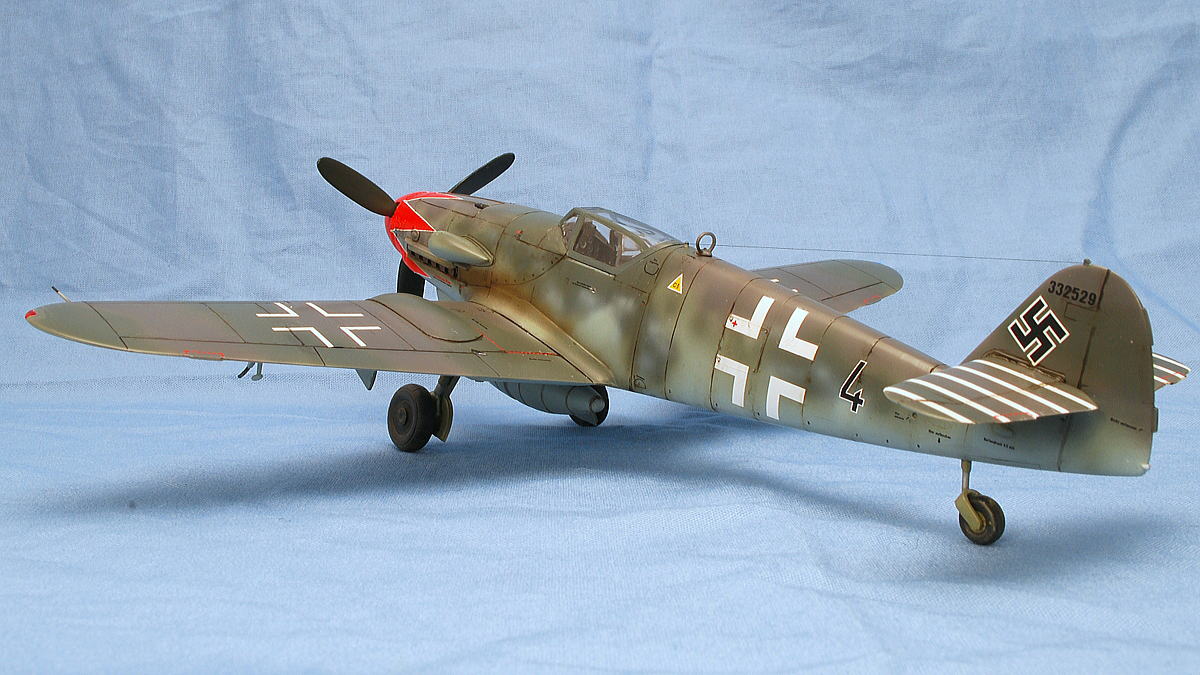 The view from this height is incredible. I like it.
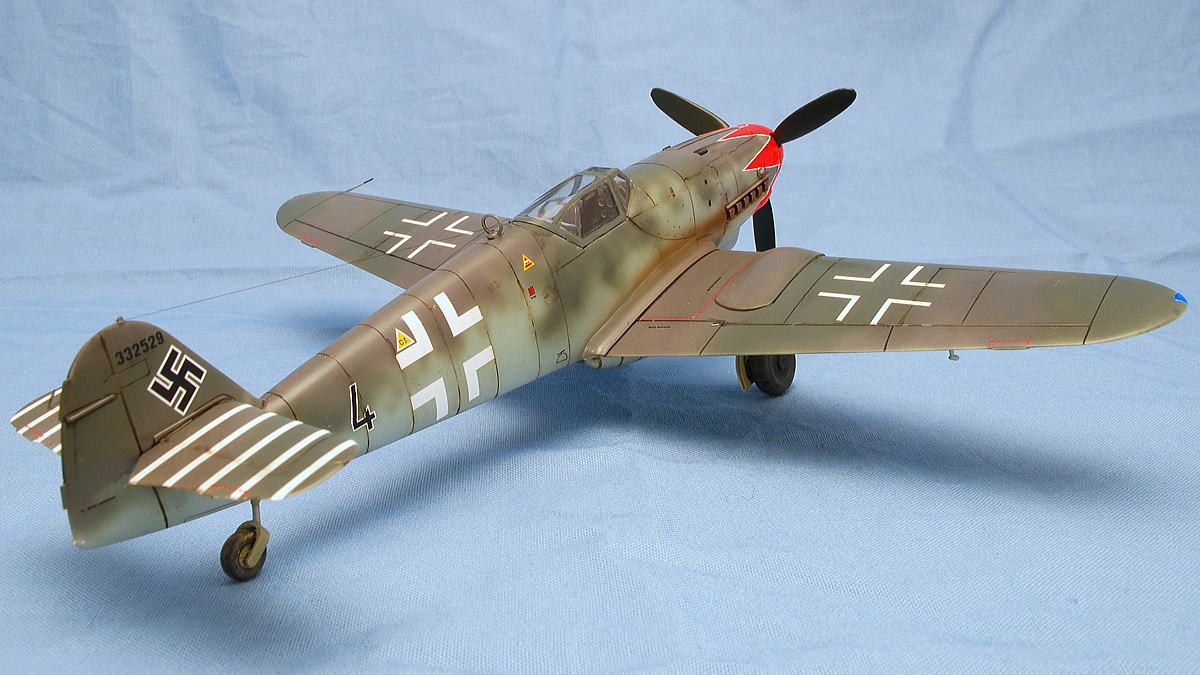 It was my first time building the Academy airplane kit; it’s pretty easy to make. It has a bit of decal variation; if we make other variations, we must prepare third-party items. After all, there may not be so many choices for the K-4 model.
(05-March-2016)


コメント