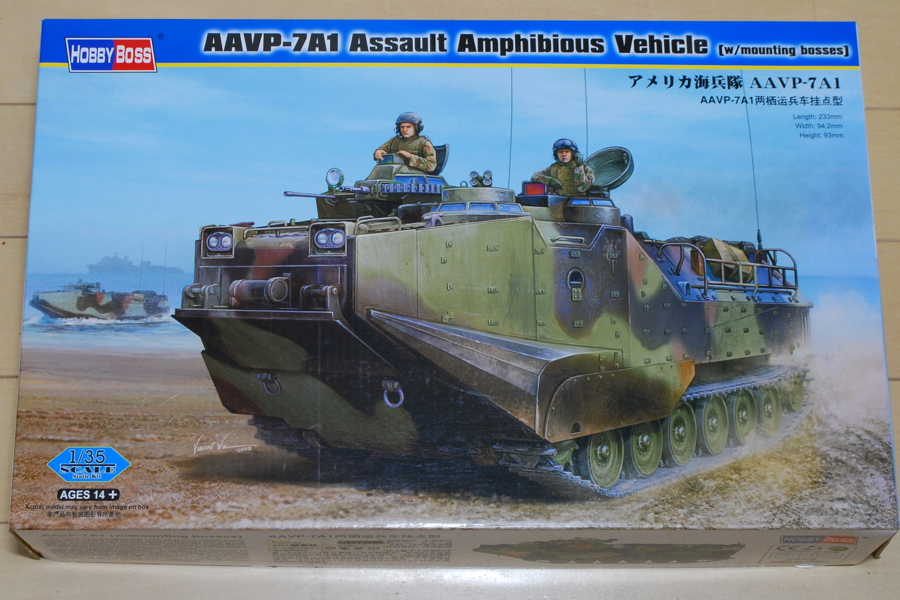
 I will try making the modern US AFV after a long absence. I wonder if I can call it Hobby Boss’s Sea Dragon. It will be pretty large when it is completed. This model has too many parts and has interrupted assembly several times. Recently it began to shape.
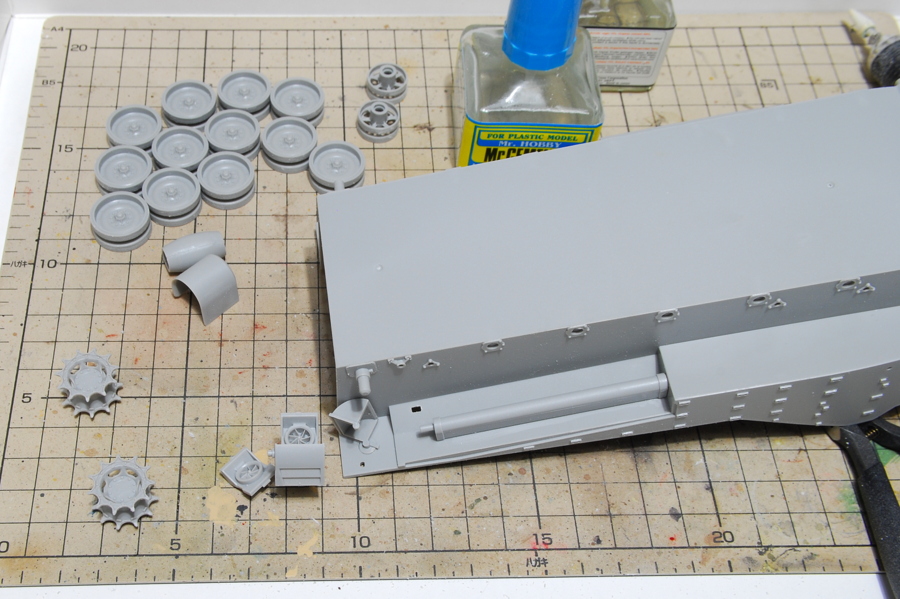 It is an amphibious vehicle; it has screws on both sides. How to install the screws was a little confusing.
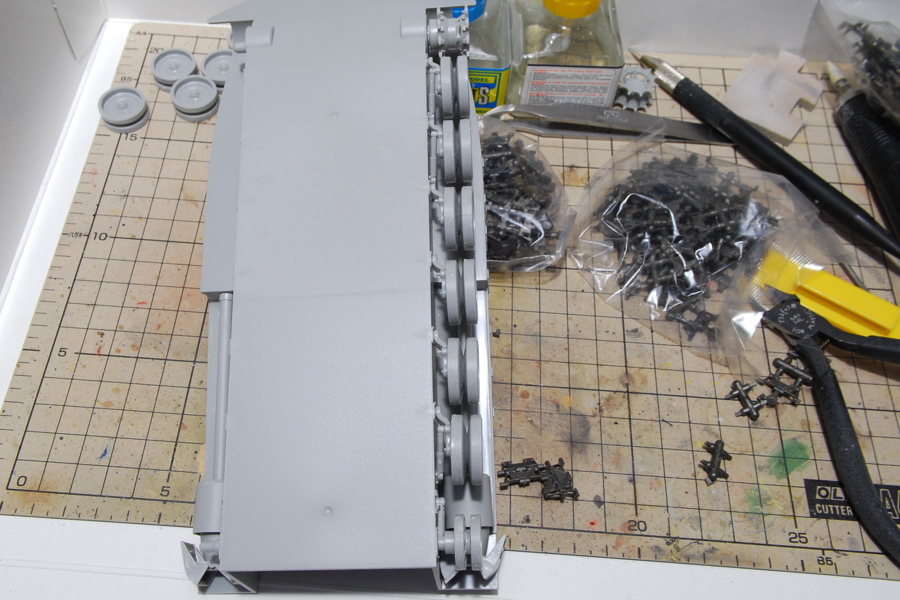 I am now attaching the road wheels. When is this kit released? The parts fitting is not so good.
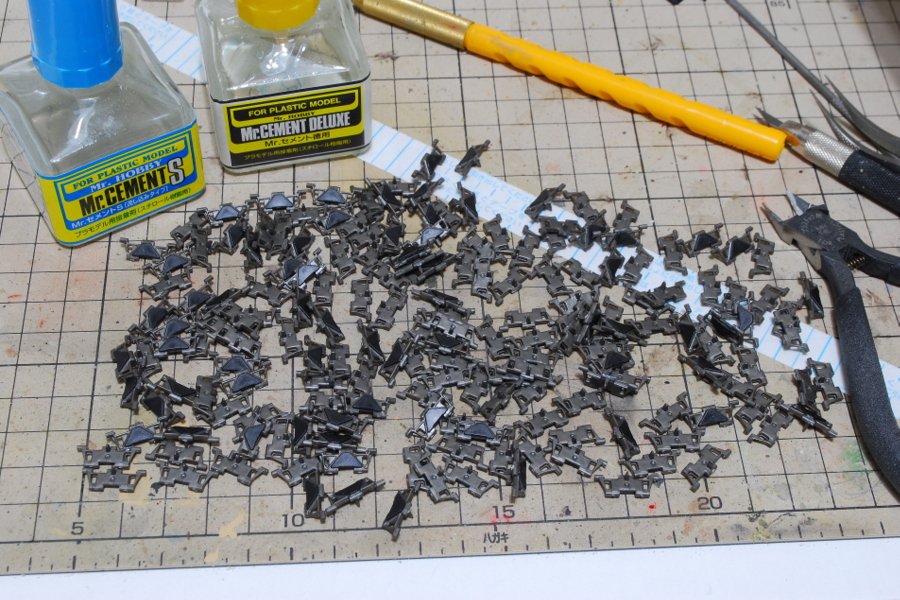
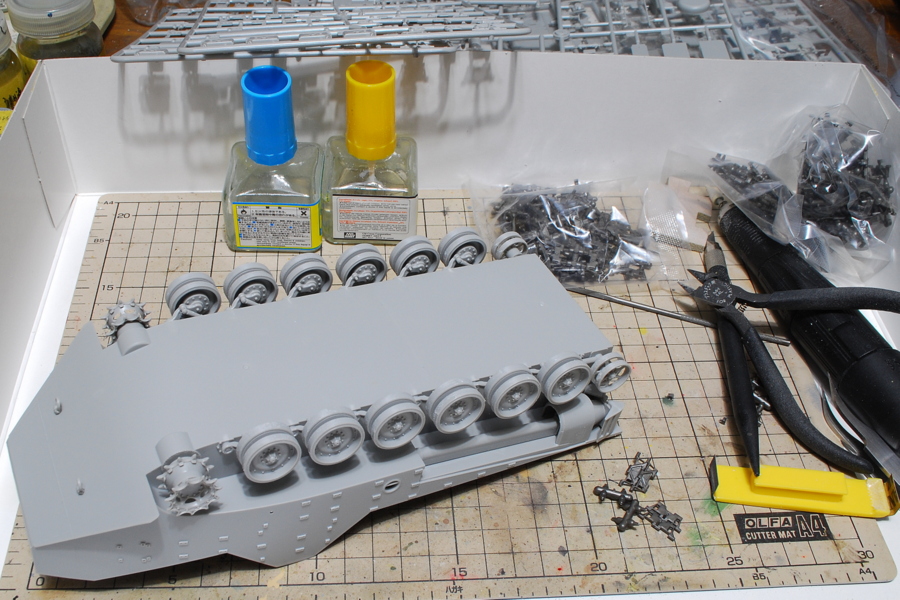 Assembling the caterpillar seems to have trouble. When pushing the sprocket wheel to the end, the caterpillar is not aligned with the roller, so I need to be careful. I don’t get much fun this time.
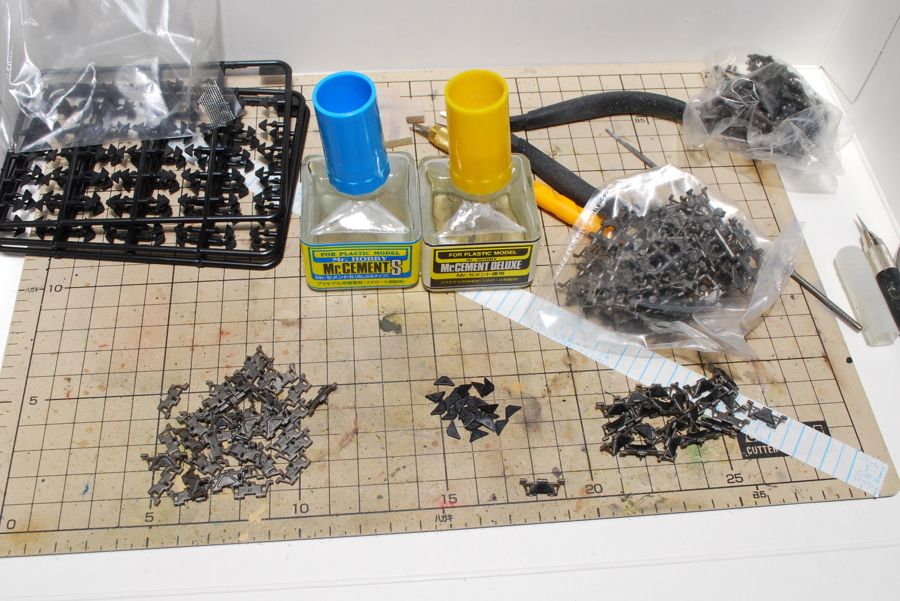 The caterpillar is challenging to assemble. It’s a snap-in connection caterpillar, but it does not fit well. I think I’m ignoring the merit of the movable caterpillar and arranging them in one line and rolling up in a breath.
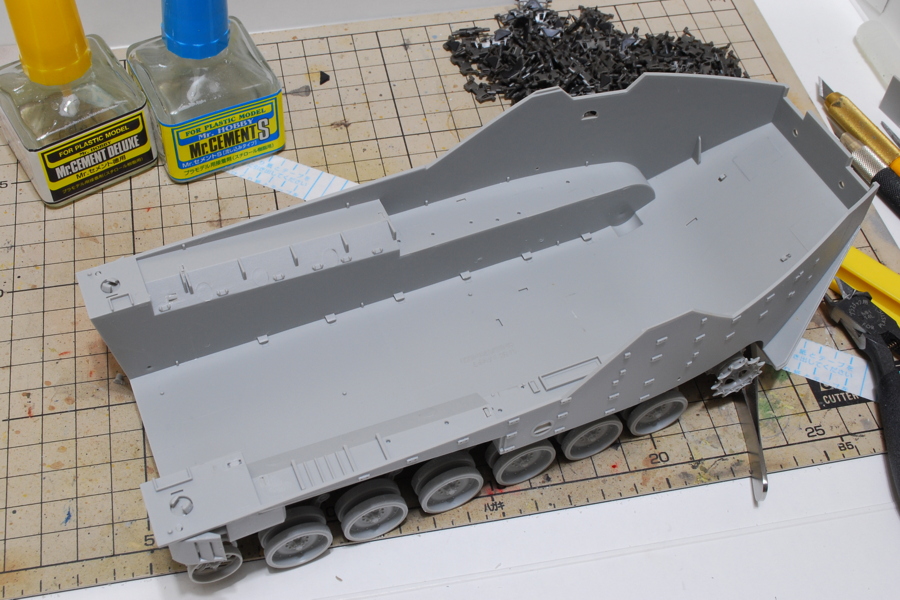 The Hobby Boss and Trumpeter group companies? Although the Trumpeter’s AFV and airplane plastic models are easy to assemble, I can’t say the Hobby Boss is an excellent model; it’s strange.
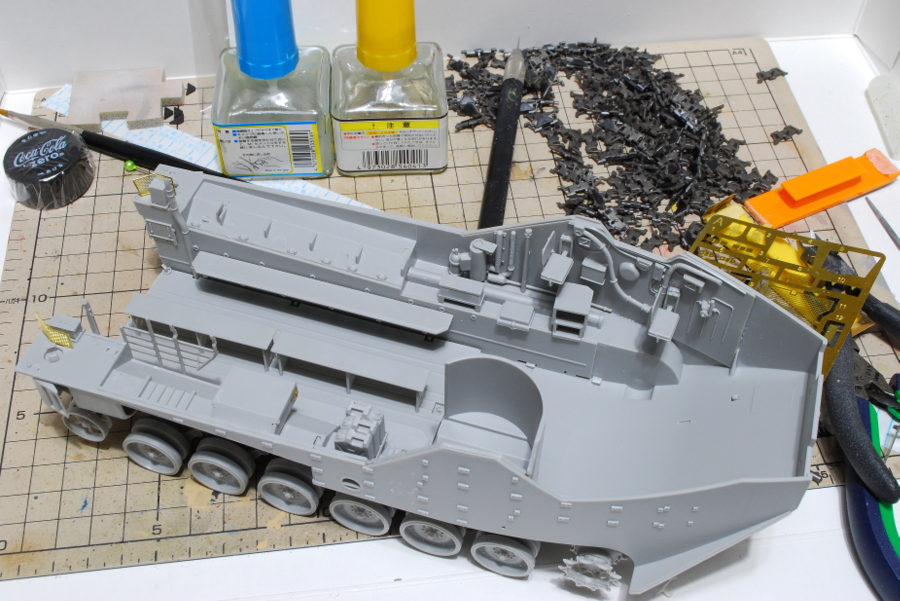 Parts matching is not imperfect. The interior is reproduced; it’s fine detail. I think half of the parts’ volume is inside the AFV.
(25-May-2017)
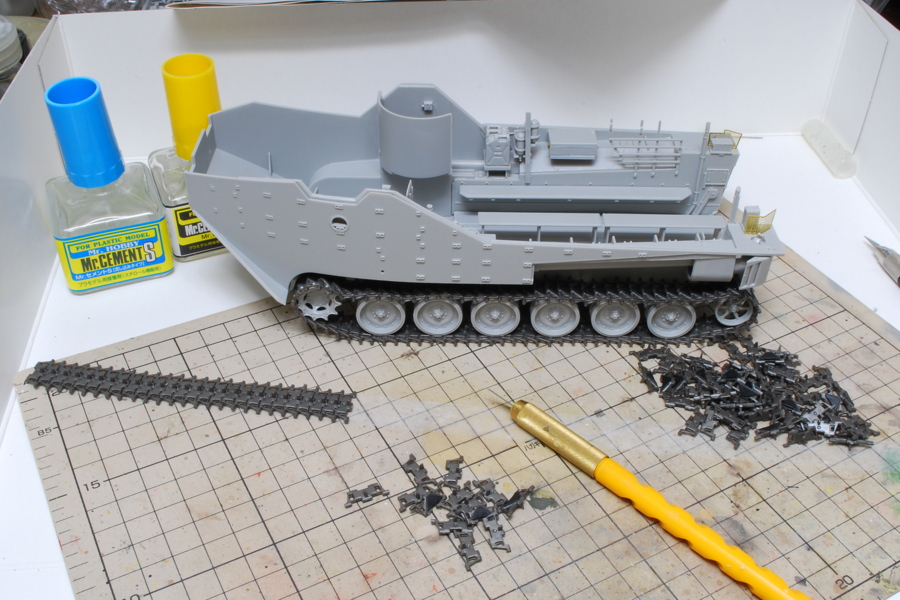
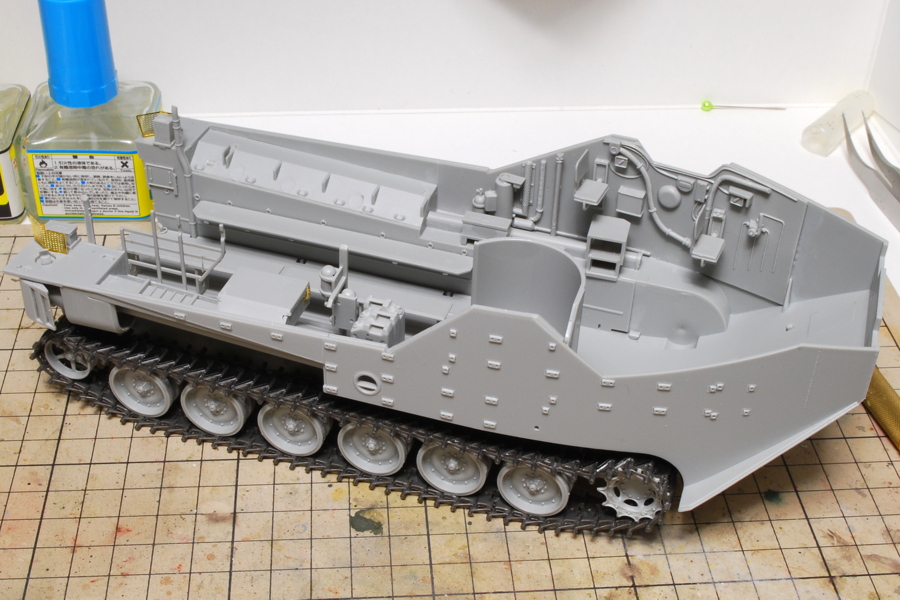 The assembly of the caterpillar is unexpectedly complex. Parts were poorly fitted and could not be rolled up as a movable belt. It is possible to adjust the length of the front side; the side fender mostly hides the front part of the caterpillar. As usual, roll the track belt with the pouring adhesive.
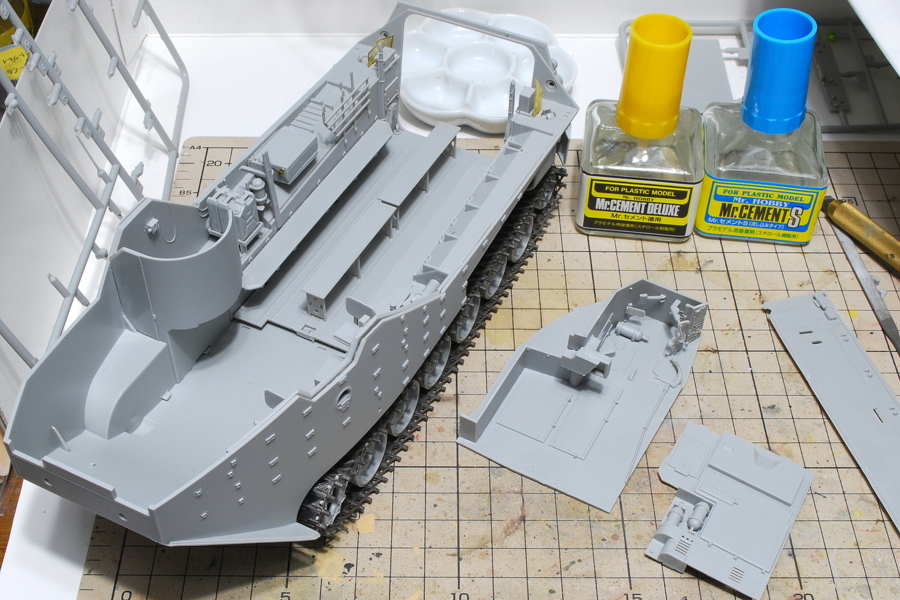 It is probably about this assembling situation before internal painting.
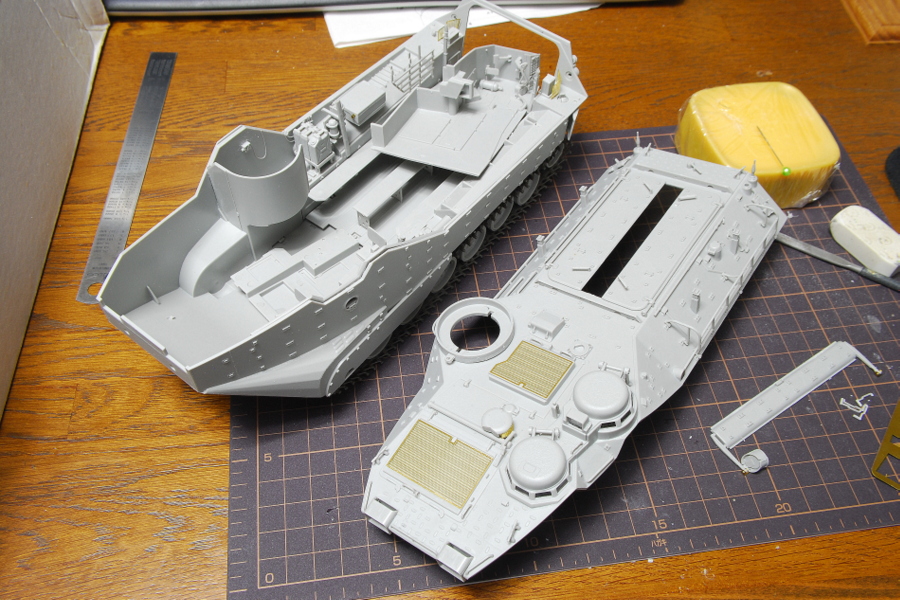 I made it to this point and left it for a few months because many parts were bothered. I do not know how to make it when opening the box for the first time in a while. It takes time to remember if I left for years. It takes a while to remember.
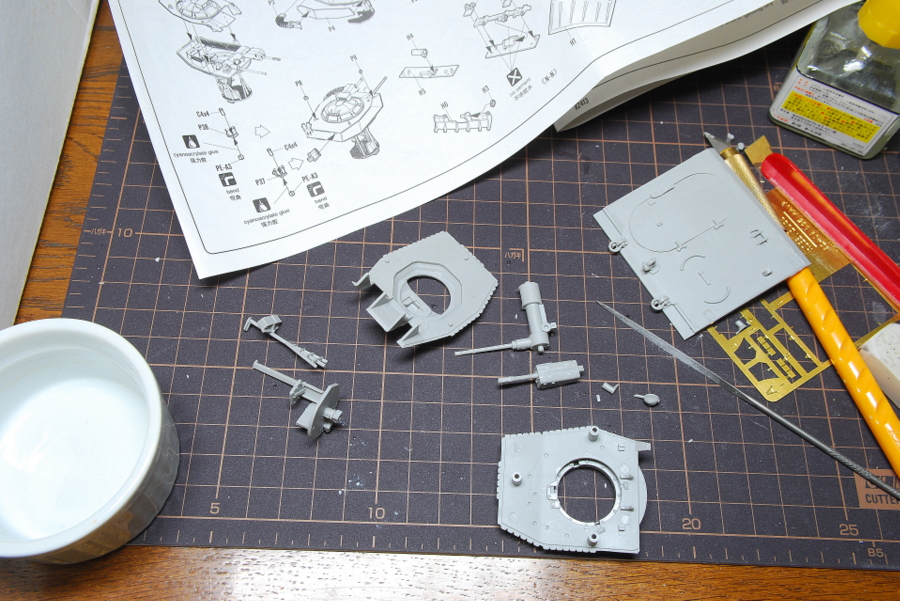
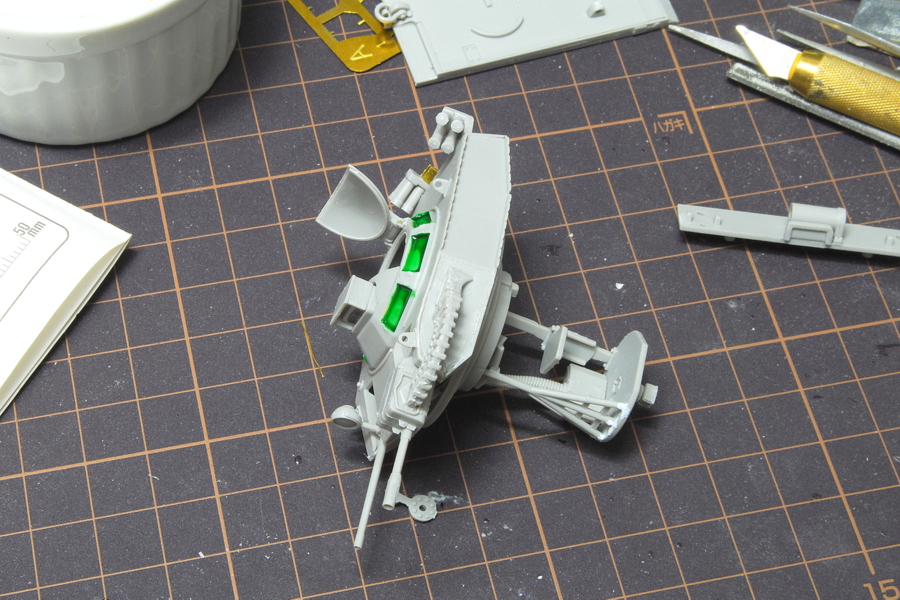 The turret of the AAVP is relatively small, perhaps because the tank body is enormous and the turret contrary looks small. It is challenging to assemble a turret, but the interior is well reproduced.

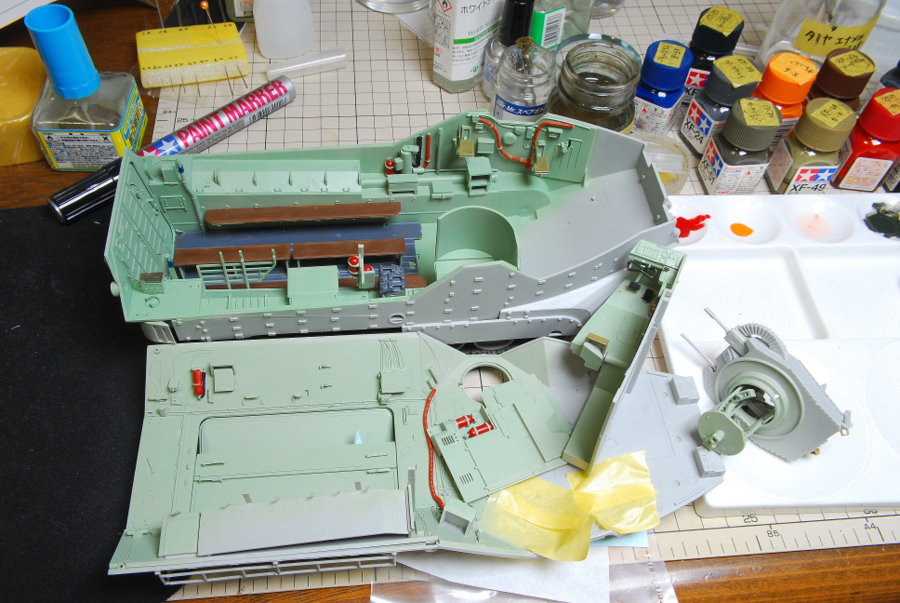 It doesn’t seem very easy to paint when assembling anymore, so I did the painting process at this point. I wonder about doing the weathering hard or nothing.
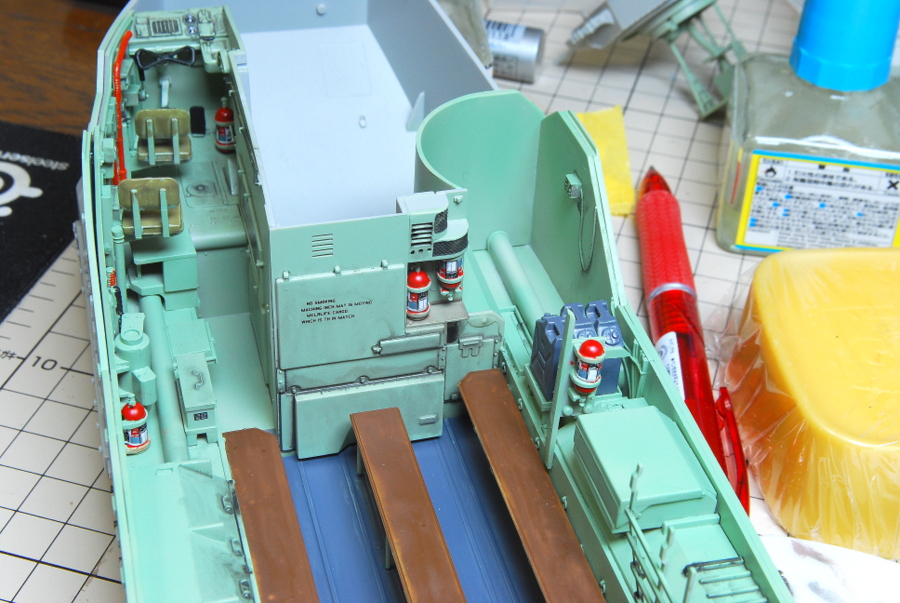 I cannot see such a detailed part from the top, but the fire extinguisher’s decal seems effective for giving a pretty precise feeling.
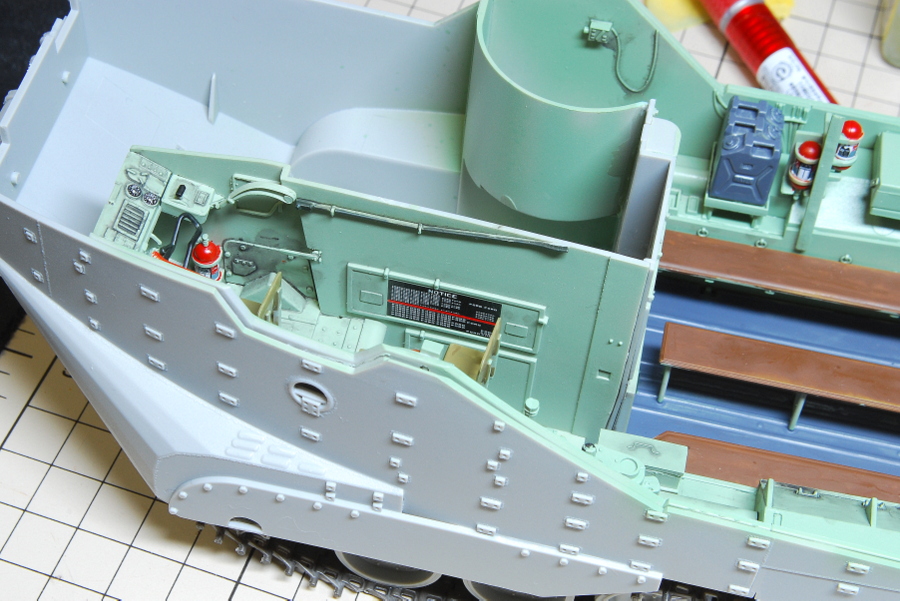 Although I am reading the instructions carefully, there is only a color guide for the exterior; there is no instruction for the detailed interior painting.
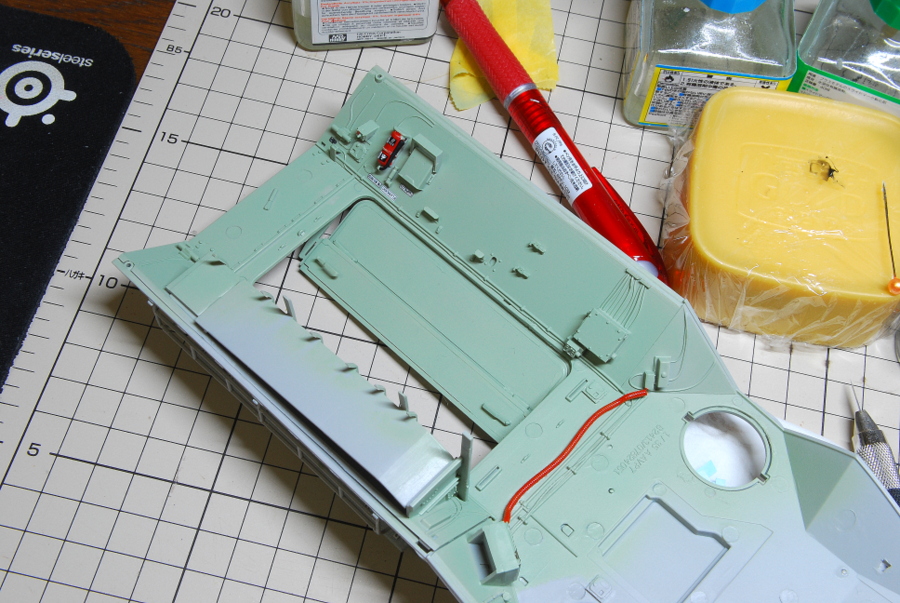
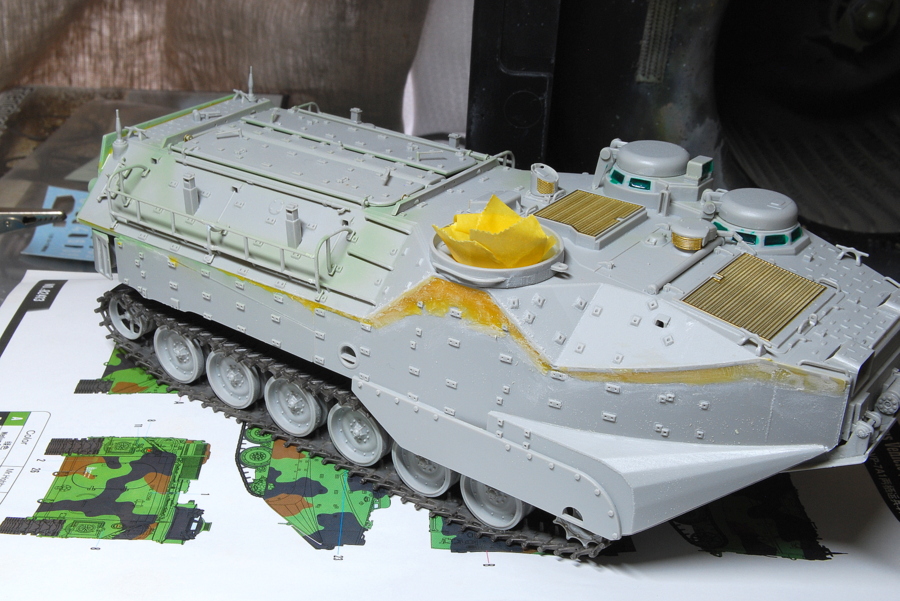 Perhaps I might have made a mistake somewhere; there are gaps and steps at the upper and lower joint line. I fixed it with putty, but I might not have had any difficulty if I had checked a more careful inspection in advance. It is regrettable, though it might become less noticeable if the surface treatment is done well and camouflage is painted.
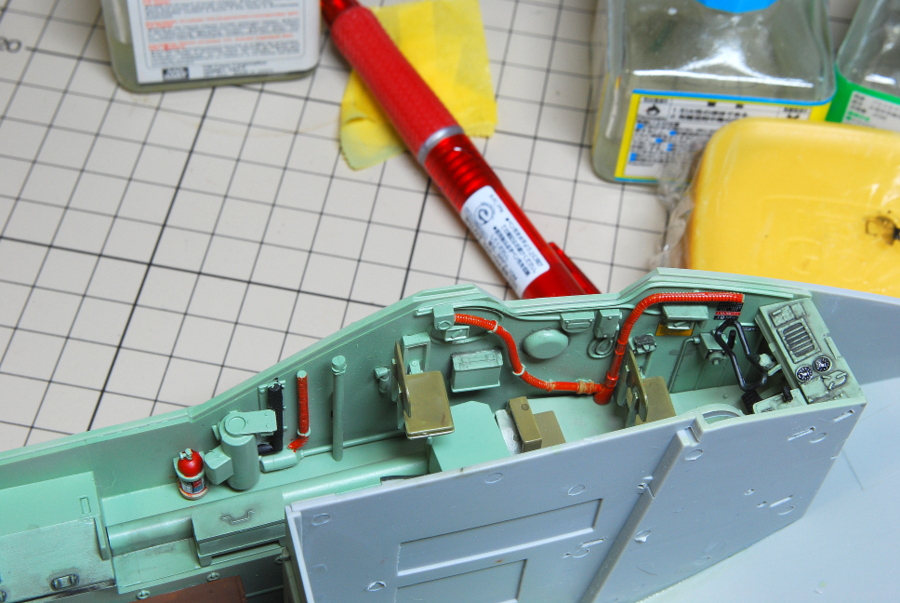
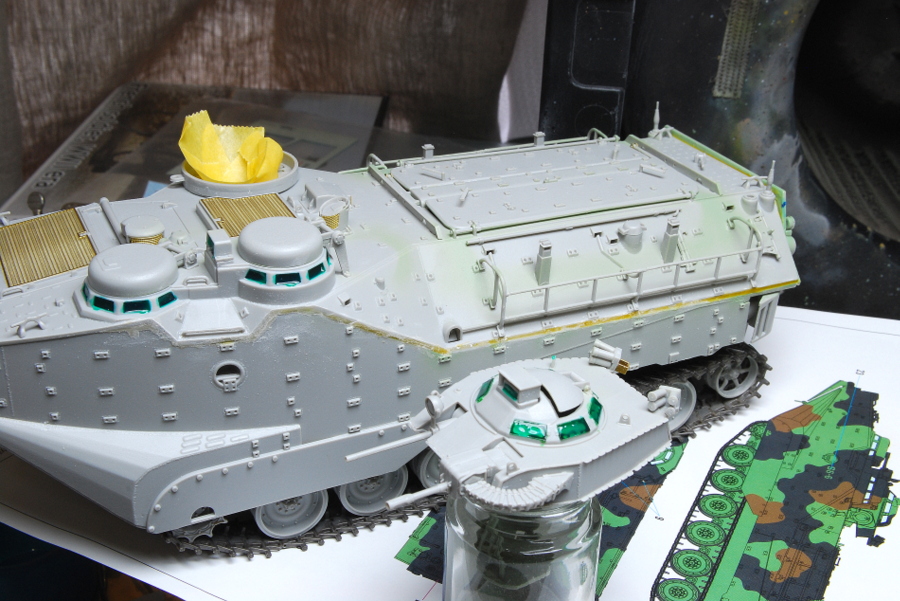 Because the strength of the AFV frame became weak, the rear hatch got stuck firmly. Inside, the paint was done easily, mainly the part visible from the big hatch on the top. I used a lot of decals for the interior. It was interesting to improve the appearance.
(30-May-2017)
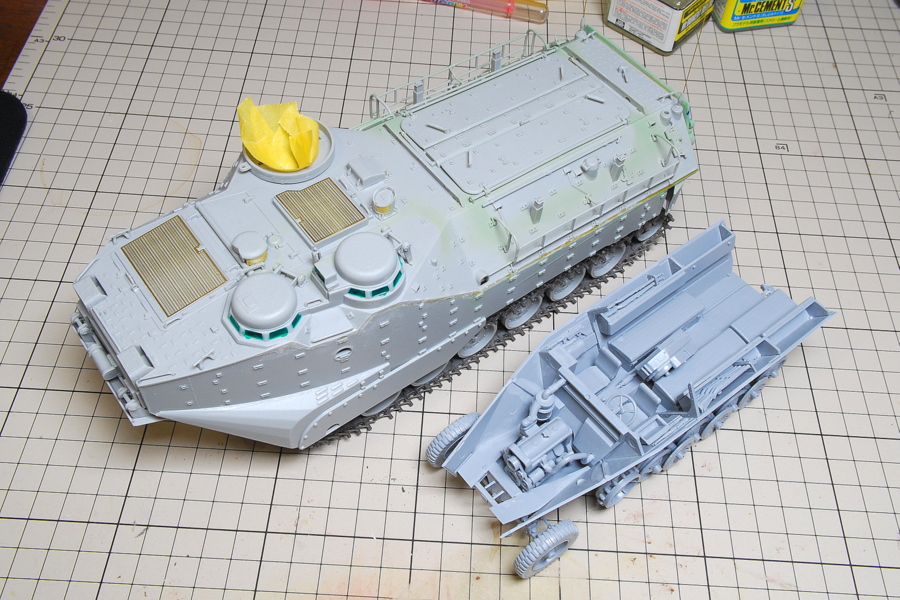 I compared the size of AAVP with the German half-track Sd. The size is quite different, even on the same scale of 1/35. Kfz251 of Zvezda is making it halfway.
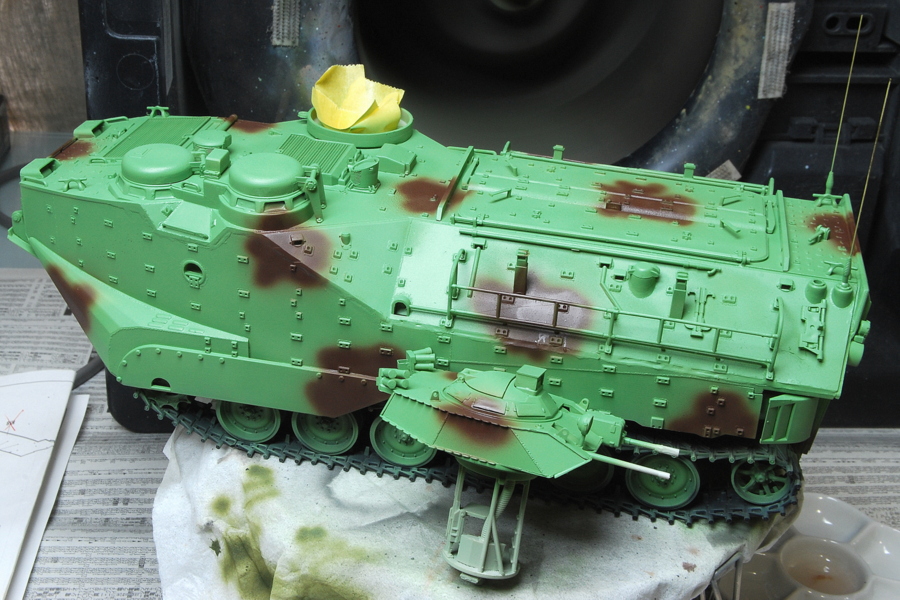 Mr. Color C312 Green FS34227 and red-brown were painted. The green of the modern US military vehicle is tricky. Even if painted according to the instructions, it is sometimes different from my image. This time I painted with the paint guide.
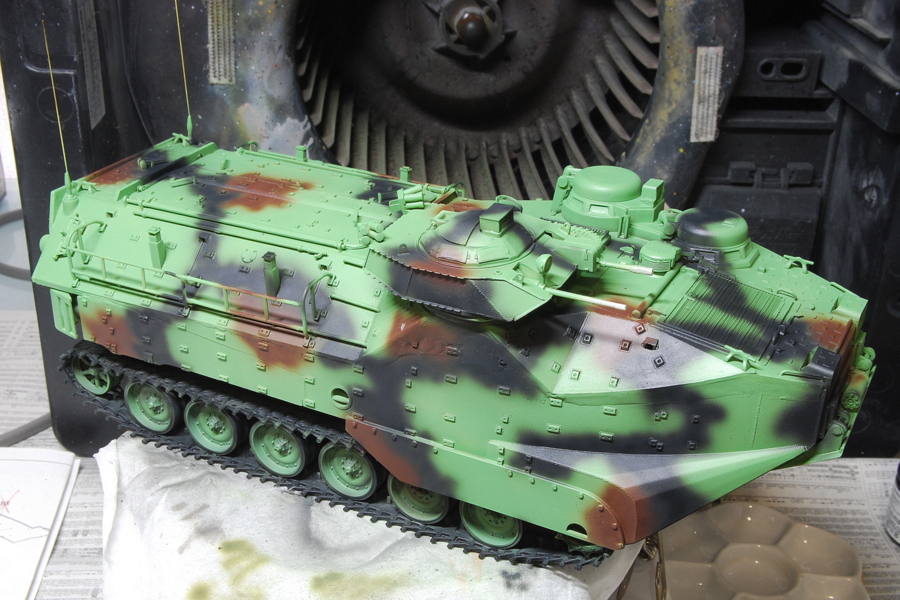 Black area, I began to paint with tire black, but this is not black at all. It is a pretty bright gray. So I appropriately mixed tire black, German gray, and matte black and painted it considerably dark gray.
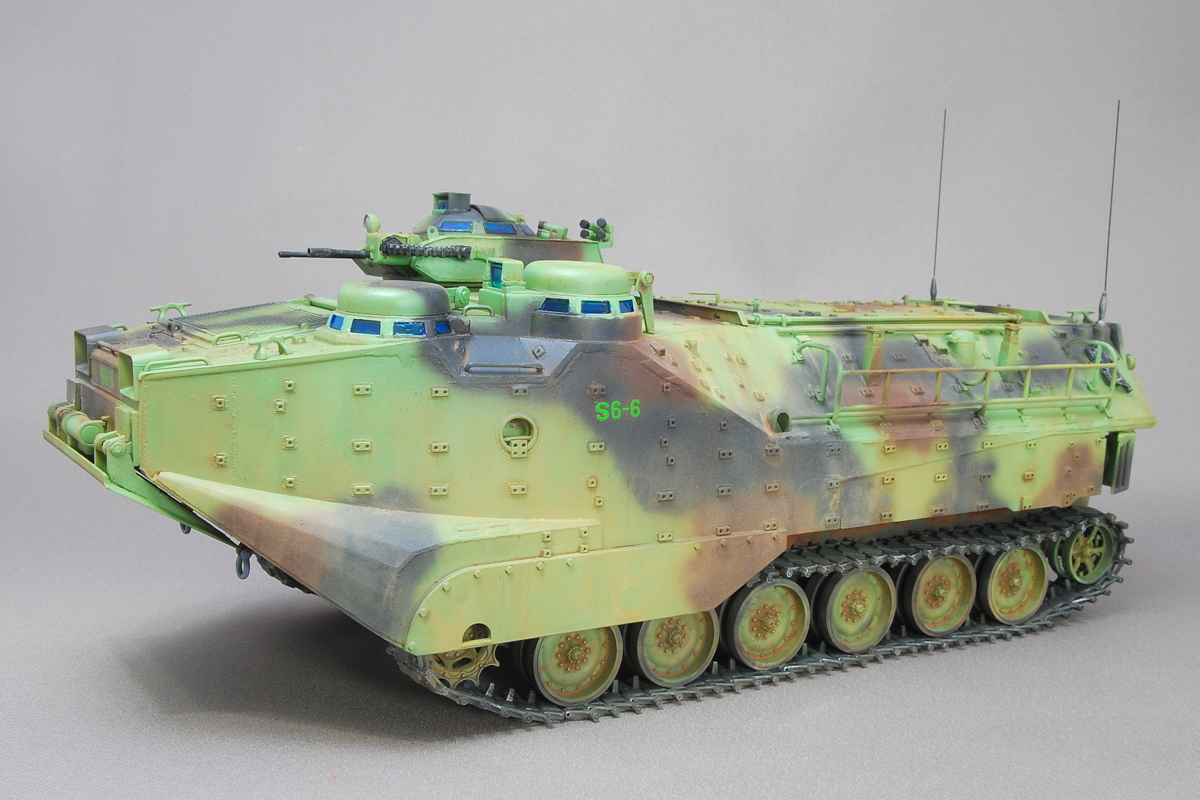 AAVP-7 stands for Assault Amphibious Vehicle Personnel Model 7. It is a military vehicle currently active on the front line, an amphibious vehicle with strong weapons. Three crew and 25 soldiers can be carried.
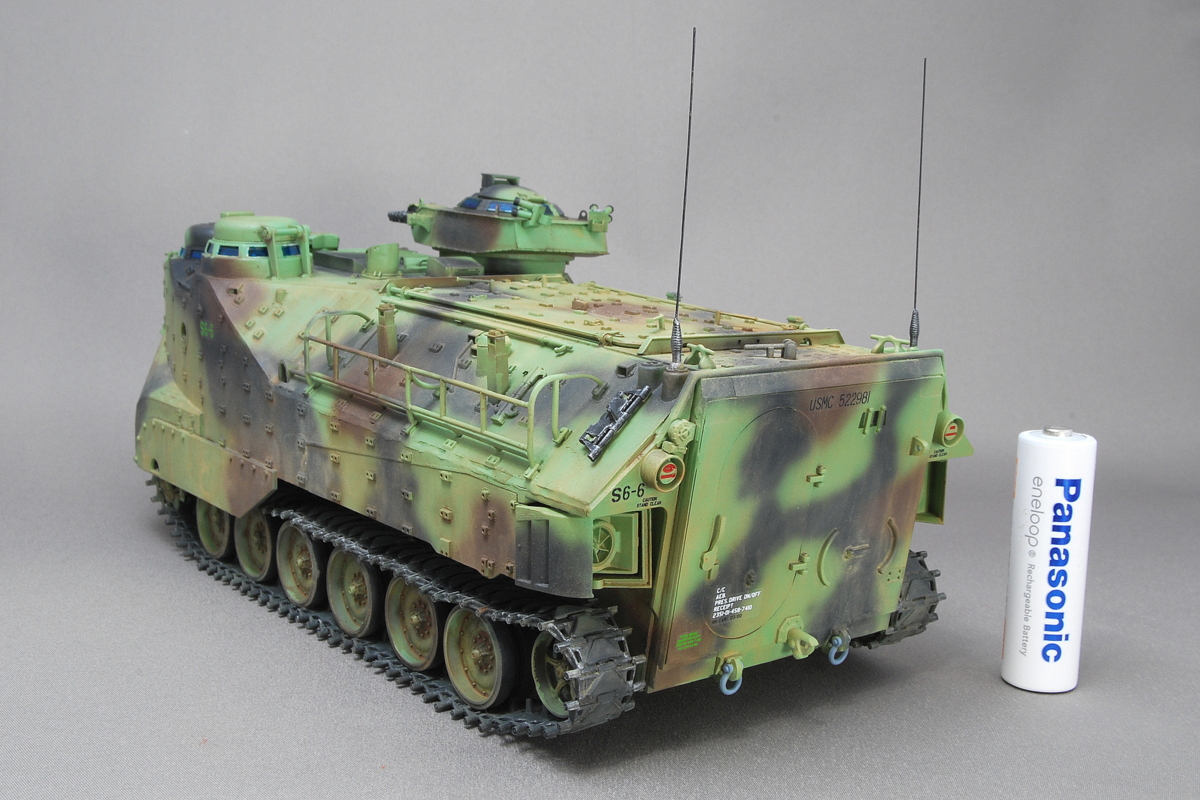
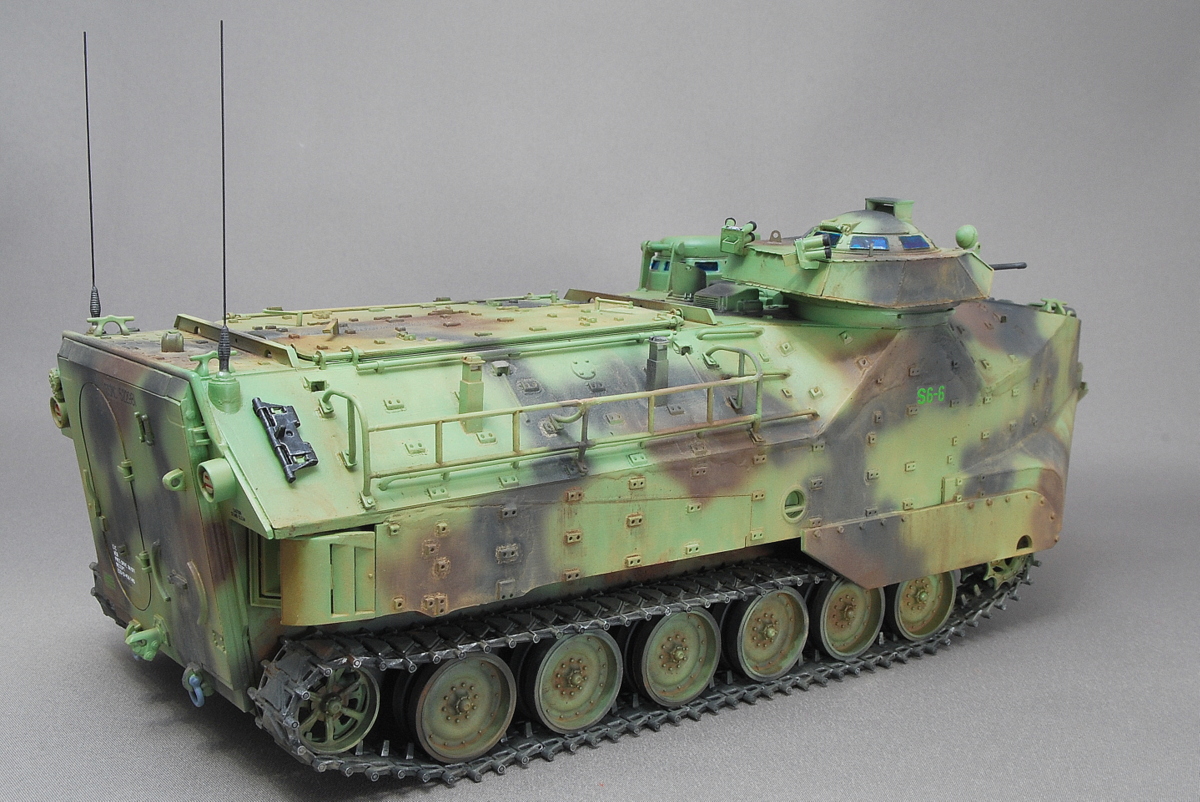 As I remember it as a sea dragon, Tamiya just touched on this naming, and AAVP usually does not call it like this. When I was an elementary school student, Tamiya named the German destroyer tank independently as a Rommel tank; it’s the same pattern.
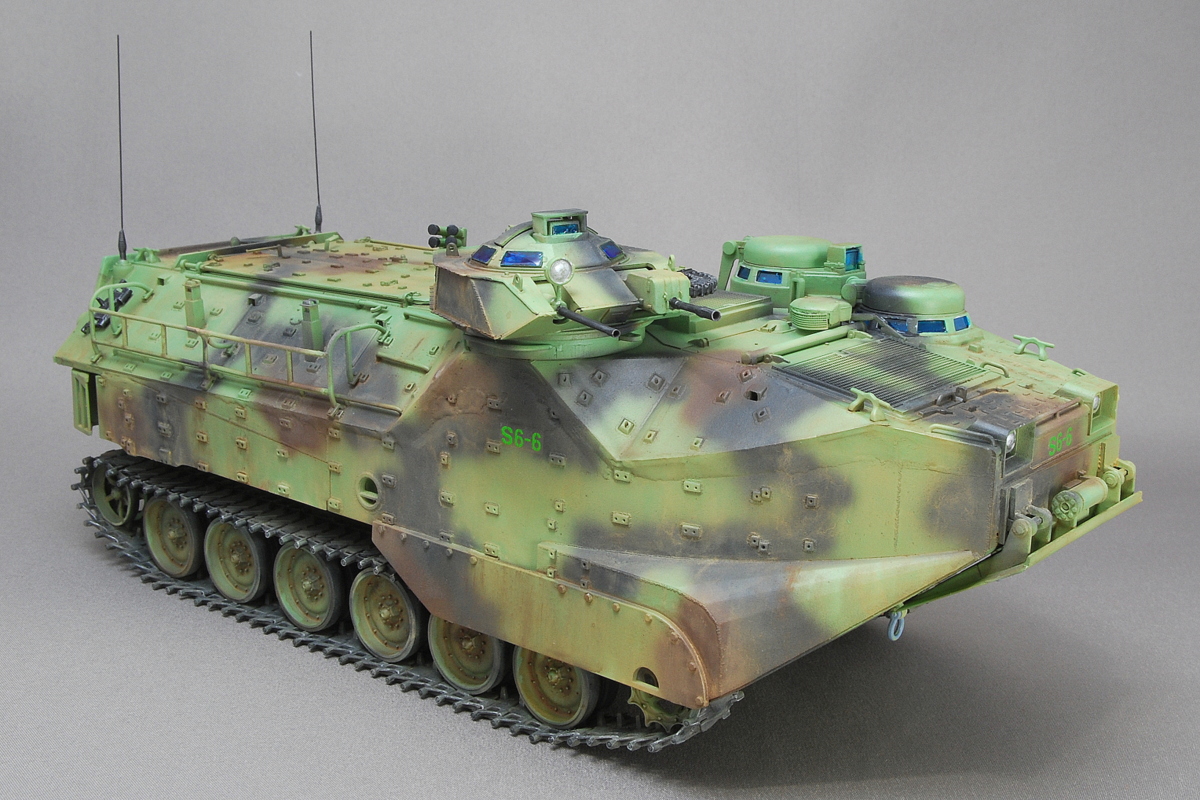
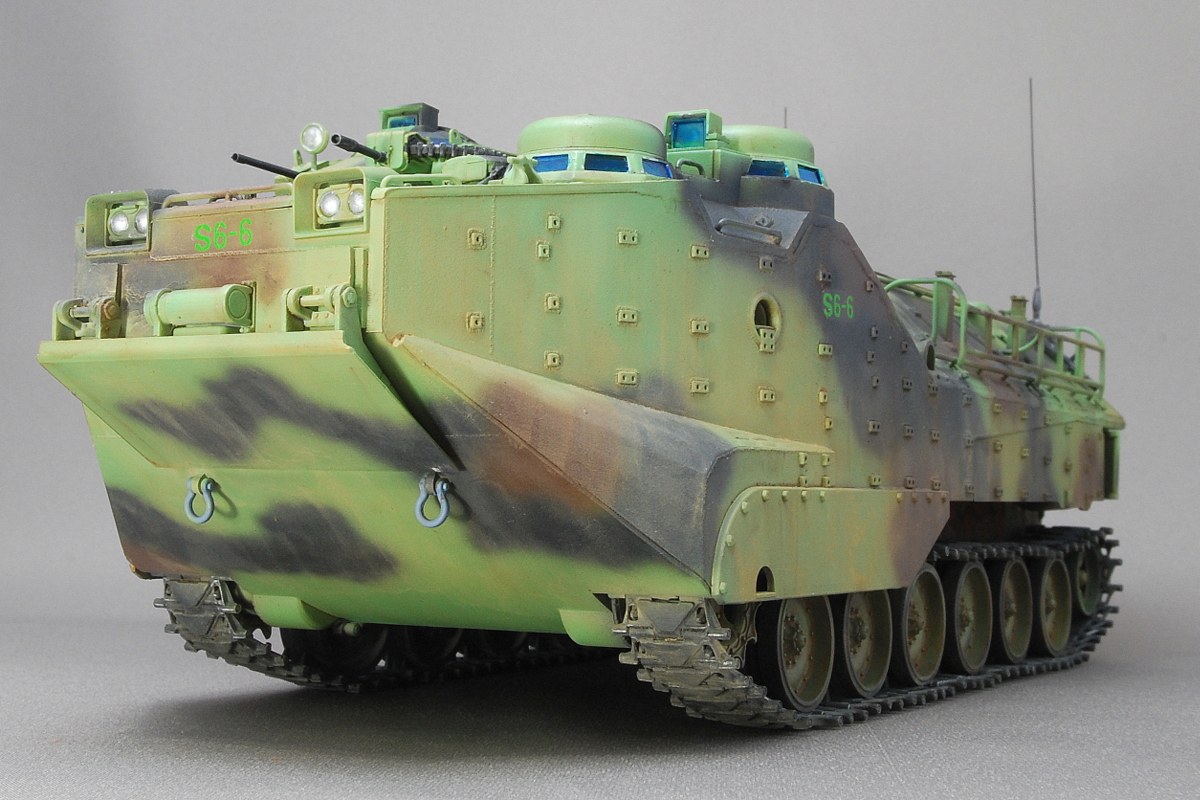 The weathering was modest and made like a dry trace of water flow. But I am not planning to be conscious of being an amphibious vehicle.
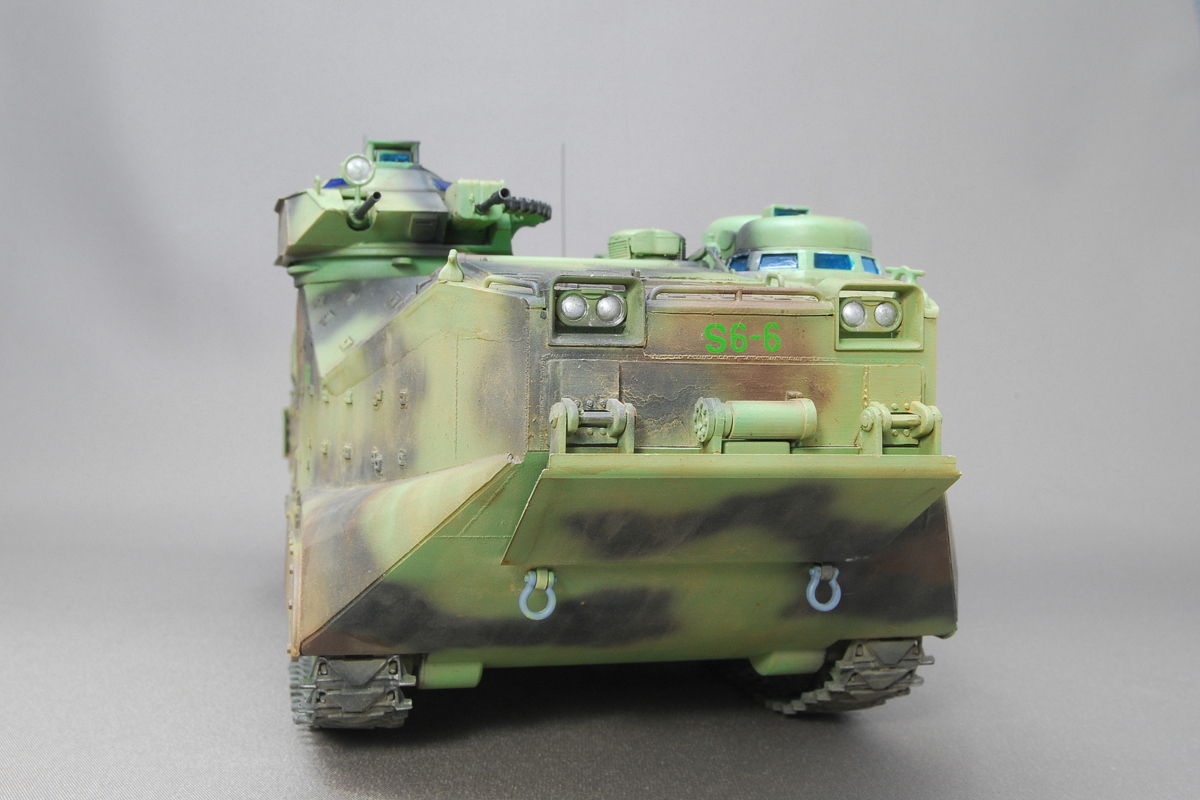
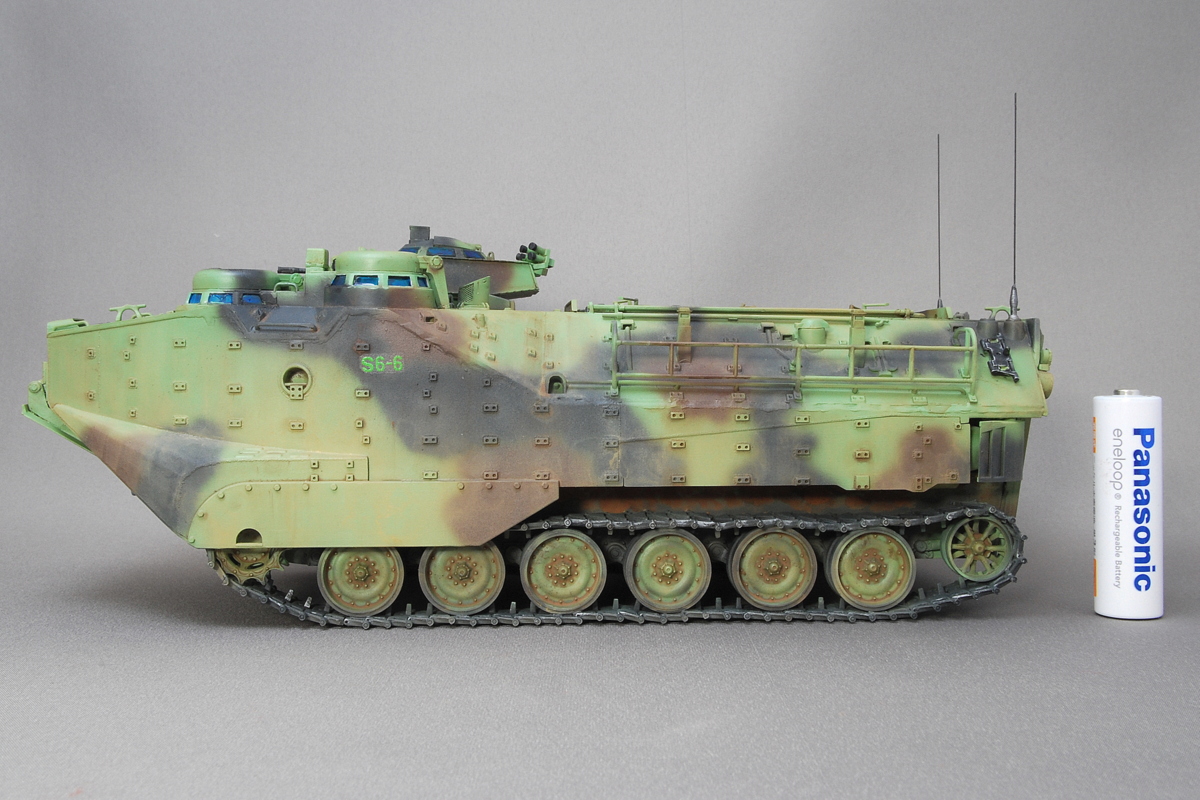 I don’t know the name of the marking unit. However, care must be taken when painting with an airbrush since the green character decal does not look sharp unless painted with a black or brown camouflage pattern.
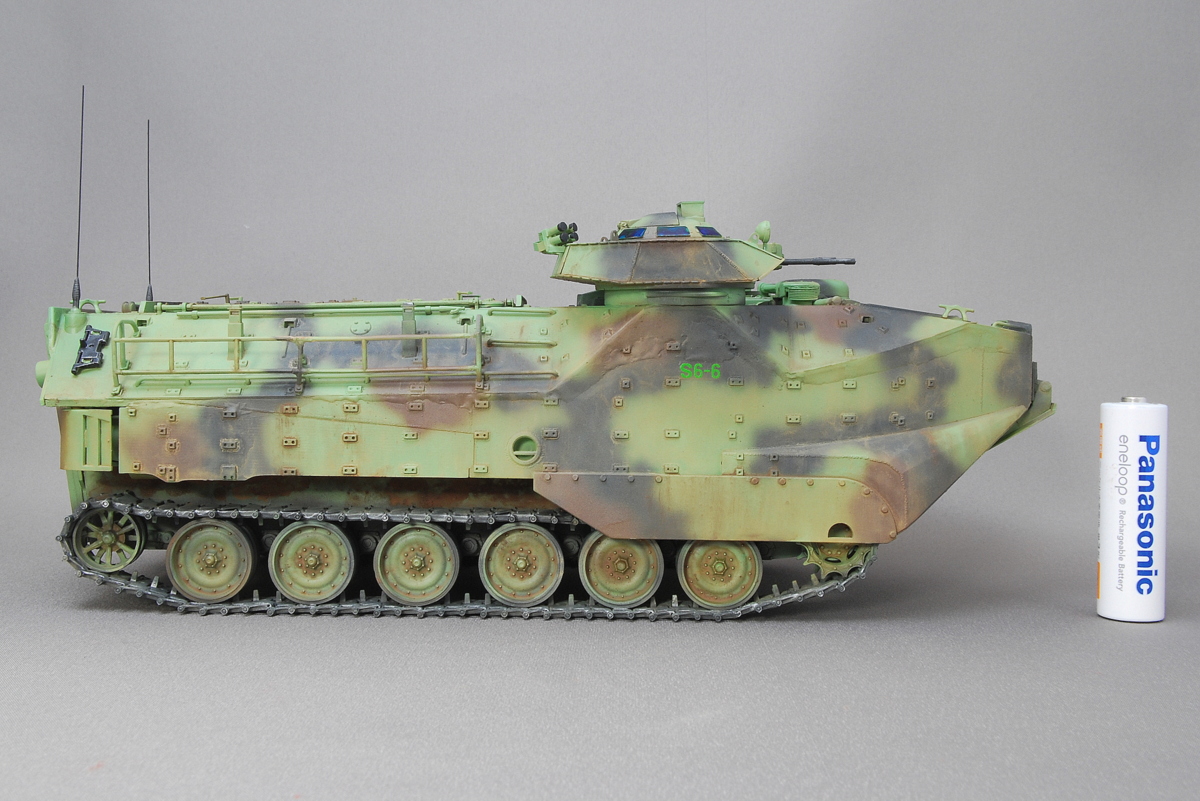 It was good if a small part was installed after I adhered up and down and the step was neatly filled. It is hard to be shaped after assembly. After all, the traces of putty have remained, but I would like to say that I cannot see well unless lighting and zooming up to check. Or there was a way to cover them to attach the equipment.
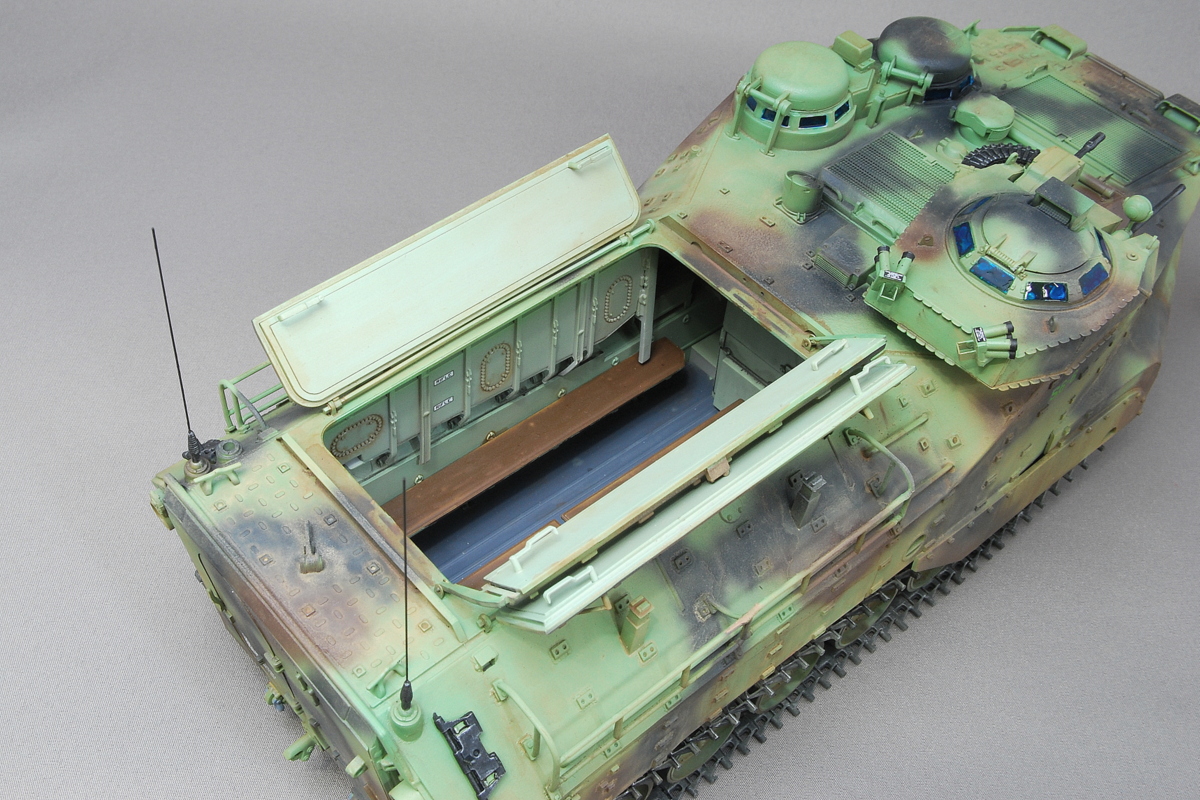
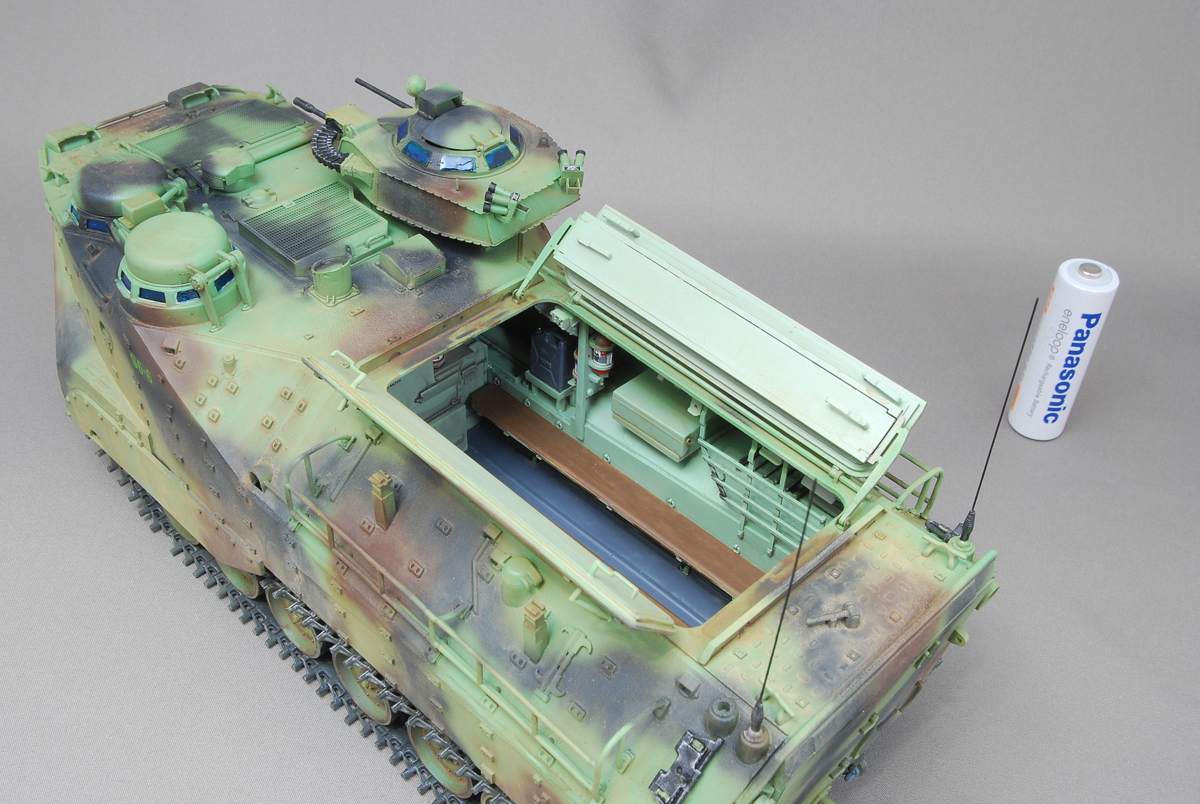 I kept taking pictures as a memorial shoot because I kept all the hatches closed for ordinary decoration. I did a little weathering inside.
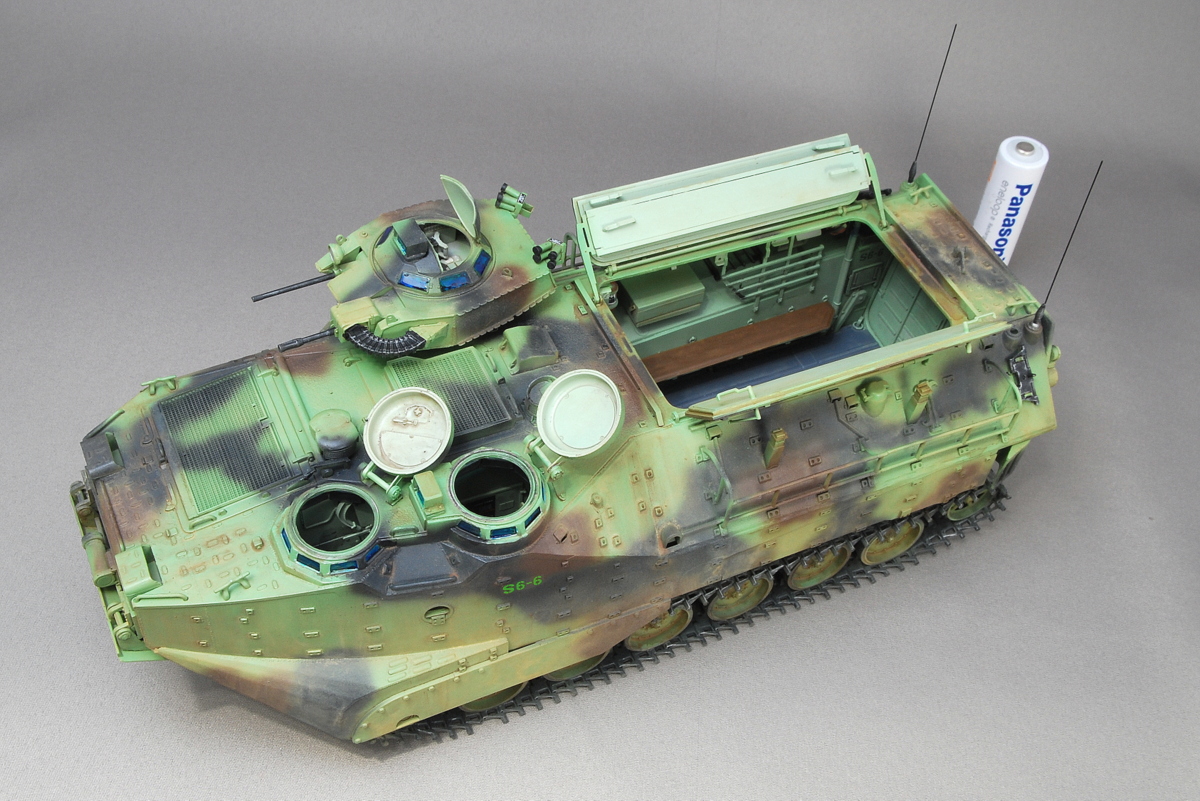
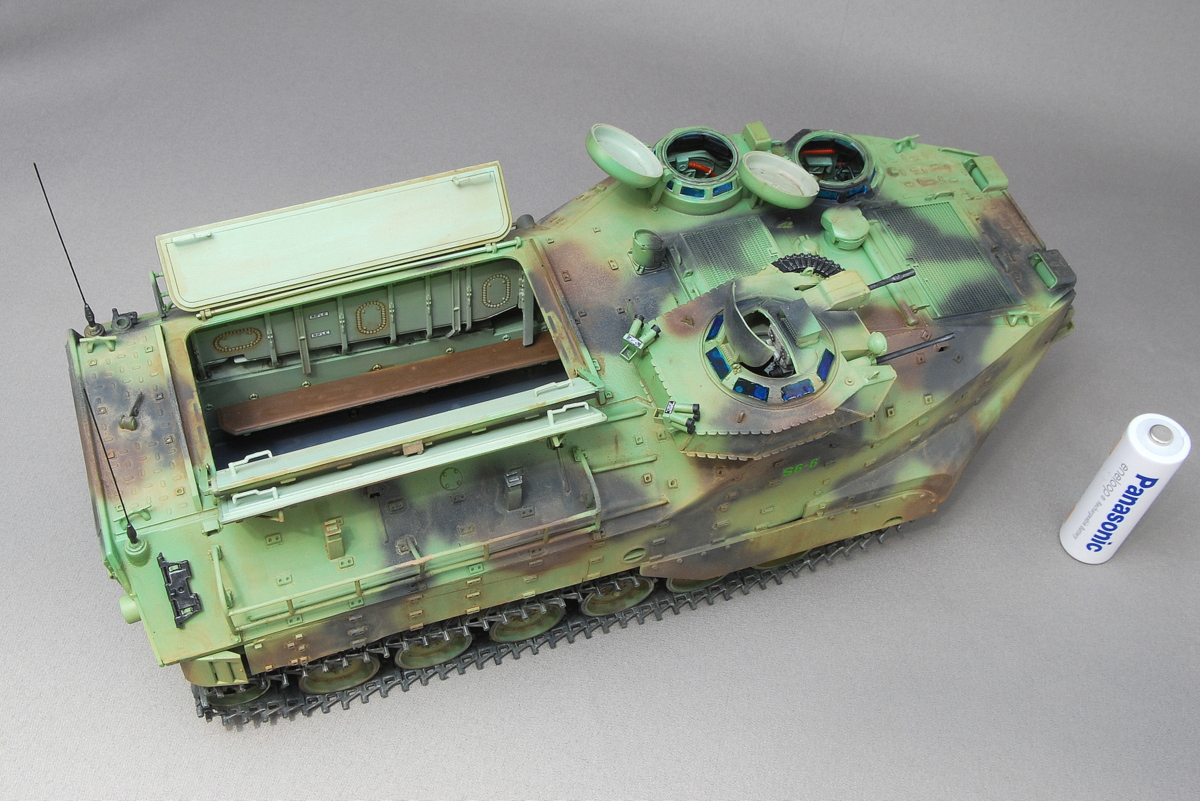 The interior painting recently, I have been making frequent airplane models, so I feel painting a big cockpit, to be honest, it’s a little bothersome.
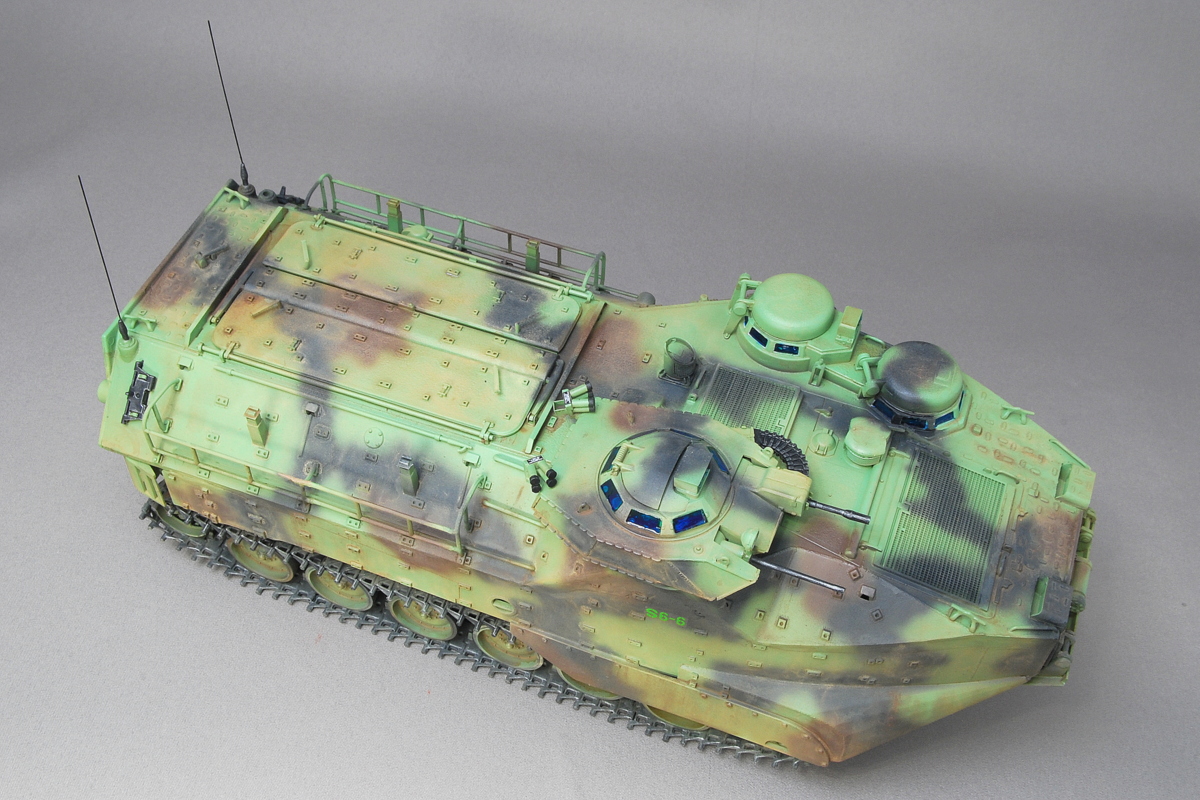
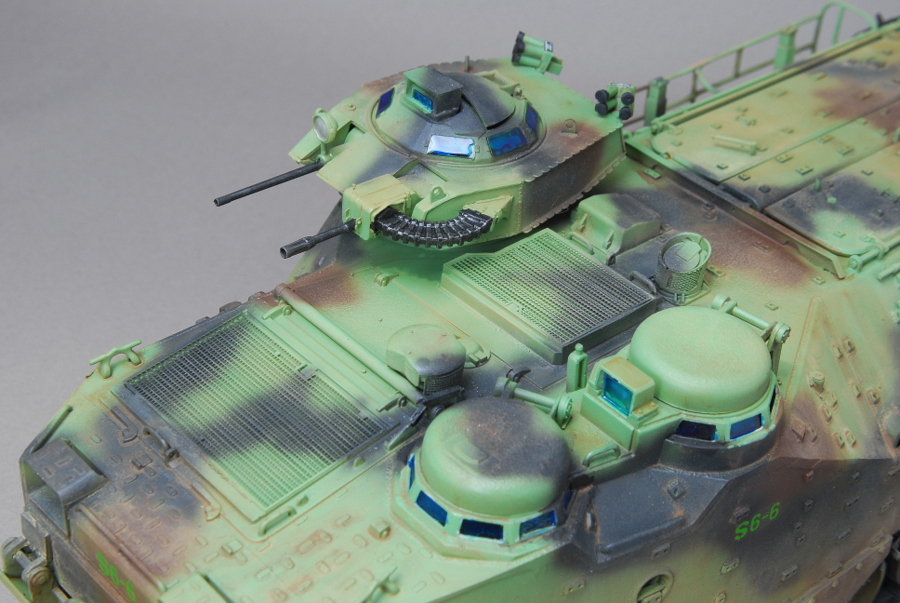 The periscope is painted with clear green at first, and clear blue finishes better, so I finished it like this.
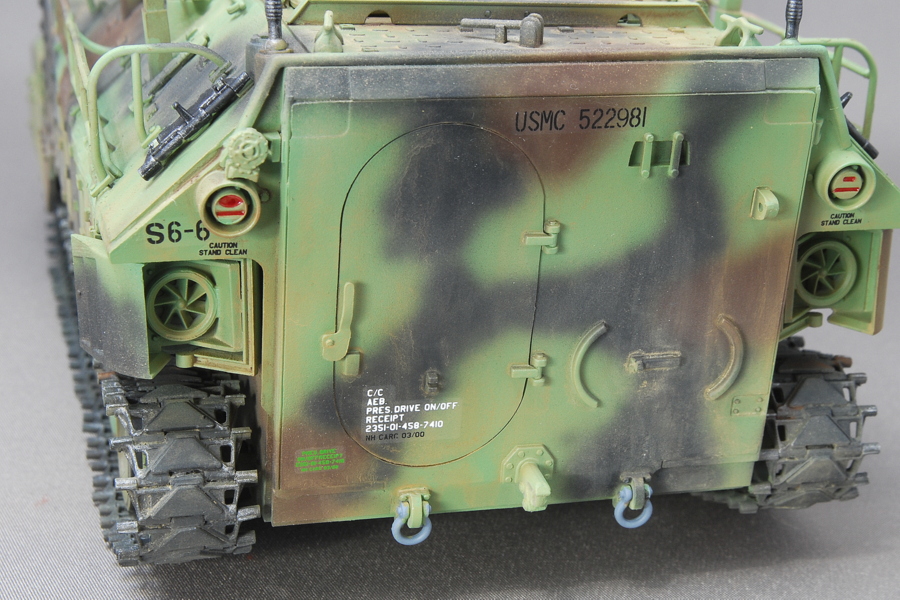 To be sure, this tank was a very high price. I think there is no choice because there are many parts, including the interior. It is a rare AFV kit of an amphibious personnel vehicle.
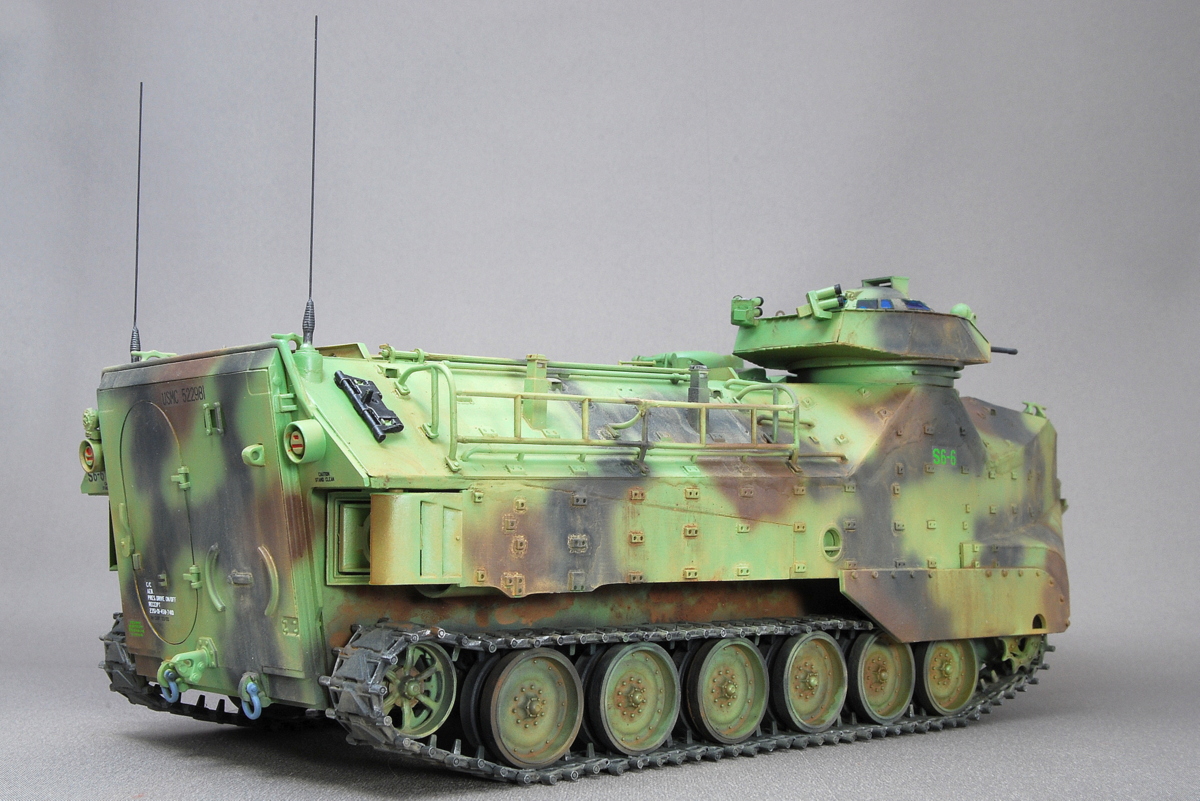 After assembling Tamiya’s SU-122, I felt this kit had many parts. The number of parts is several times compared to the old Tamiya, and most of the interior of the AFV is reproduced, so it is recommended for those who love interior building.
(02-June-2017)


コメント