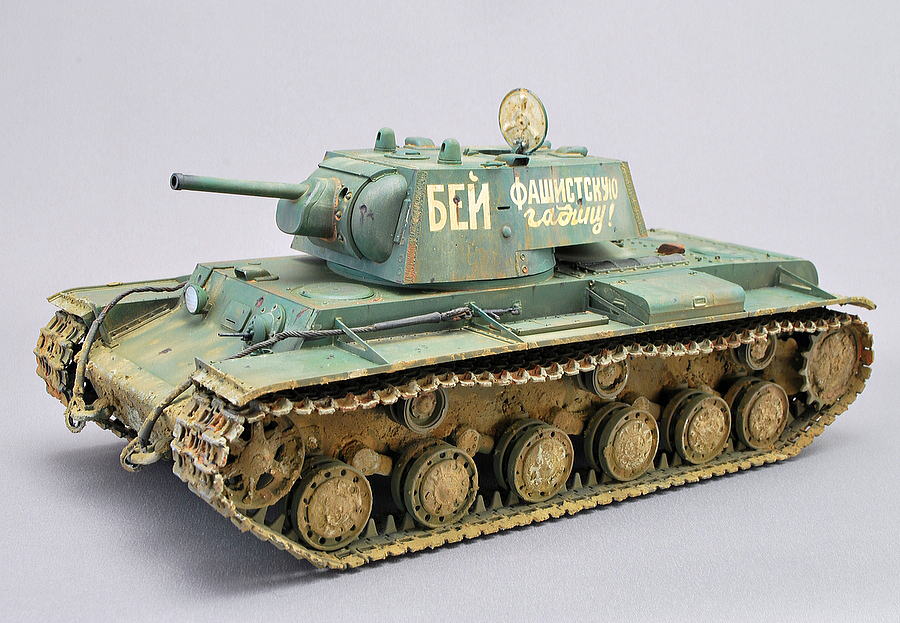
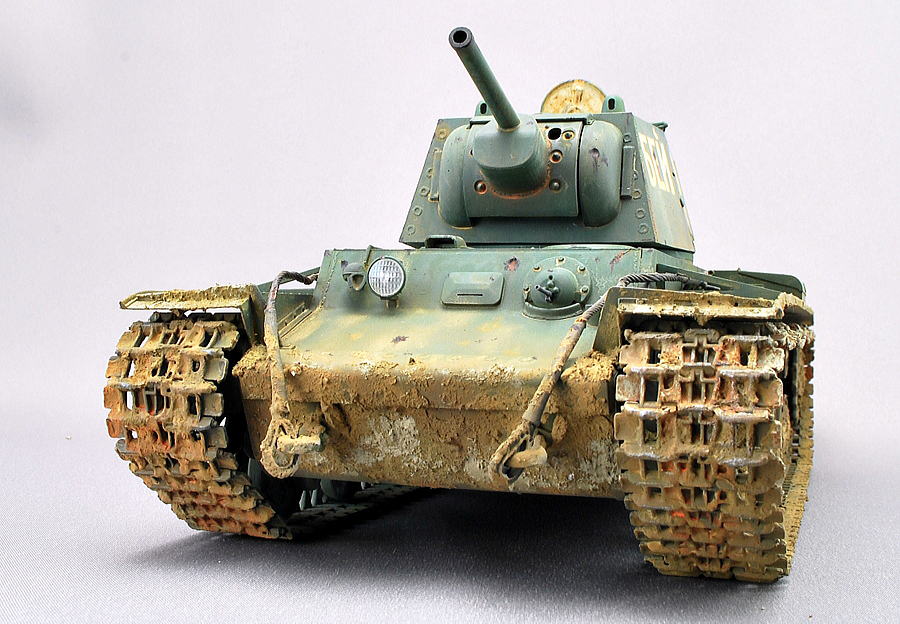
This is the Trumpeter’s KV-1. This was built in 3/2007.
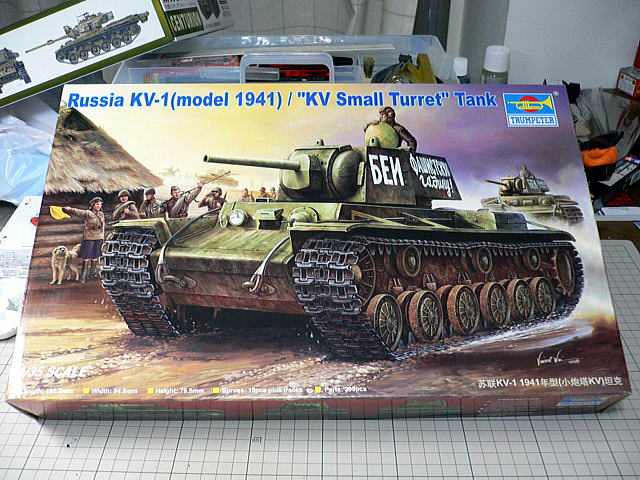 I wanted to make a strong tank this time and chose the KV-1. This tank afflicted the German army in the first half of the Barbarossa operation.
(2007/03/11)
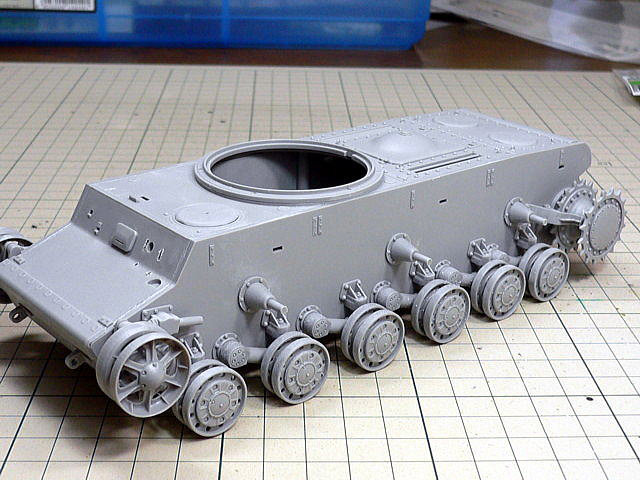 I was making the chassis and the body. The structure around the foot is easy to assemble, and other parts are also excellent. I have bonded the hatch in the engine room and the driver’s seat. I want to make movable the turret hatch, at least.
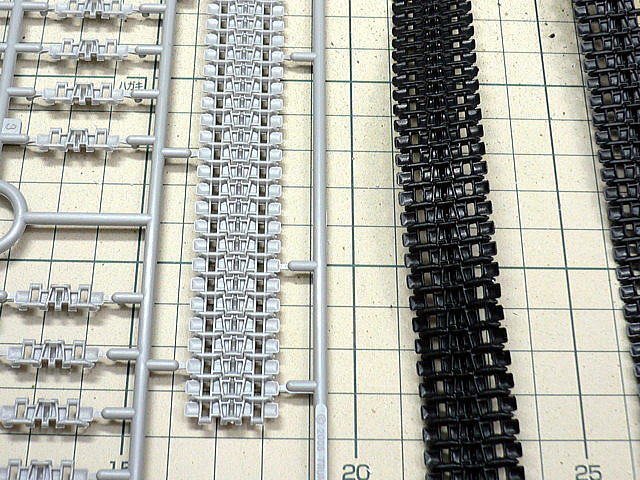 Two caterpillars, a belt type and a partially connected type were attached to this kit. The somewhat connected type seems to be good in an unusual method. The belt type also has enough mold, and it looks easier to assemble.
(2007/03/11)
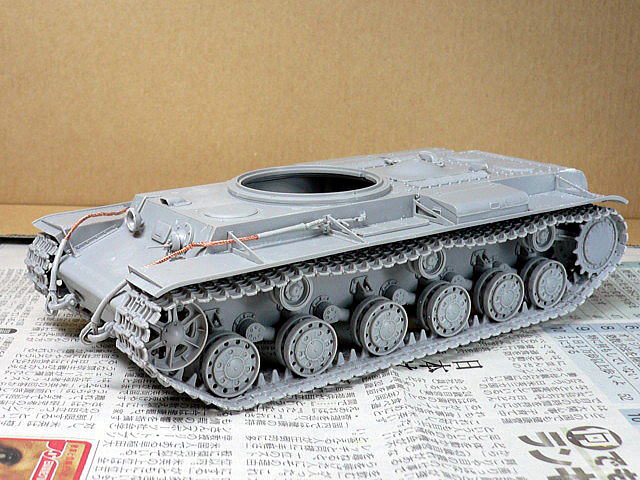 I chose a partially connected caterpillar. It is easy to assemble this caterpillar without bonding the back wheel with teeth for delicate adjusting before fixing the final position. It is a good atmosphere with the slack of the caterpillar.
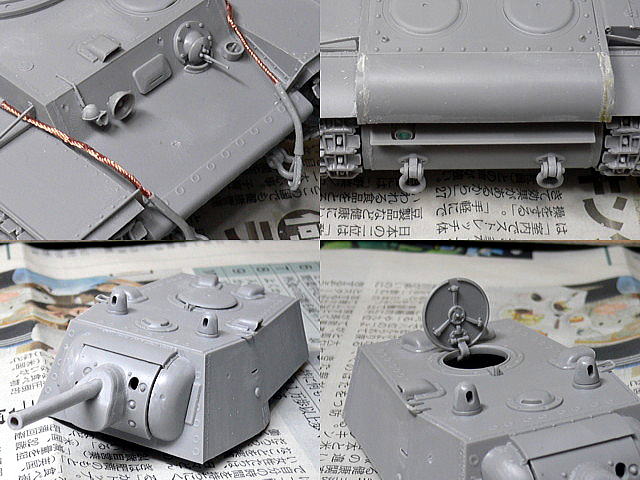 As for the copper wire of the kit attachment, I can put shape quickly. I opened the machine gun muzzle with the design knife. There is a gap at the back of the body, so I puttied it. A backlight was masked before painting. On the turret, I marked hit damage to some places. A German army had fought hard because of KV-1’s thick armor. Turret hatch was made a movable type to use brass wire.
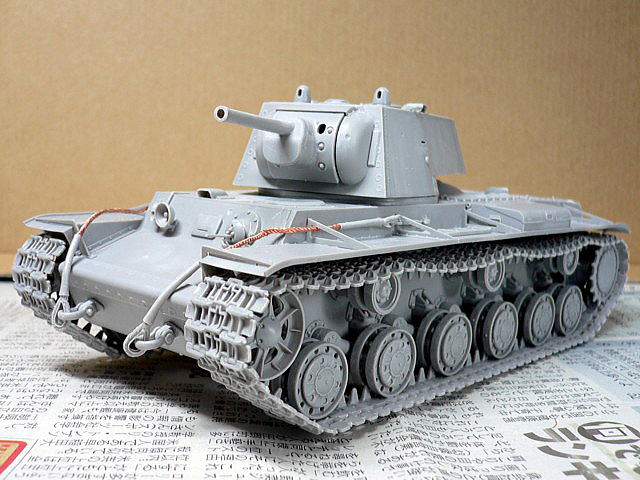 The powerful impression of KV-1, assemble completed. I could assemble it fast and very quickly. There are a few parts, and simple.
(2007/03/19)
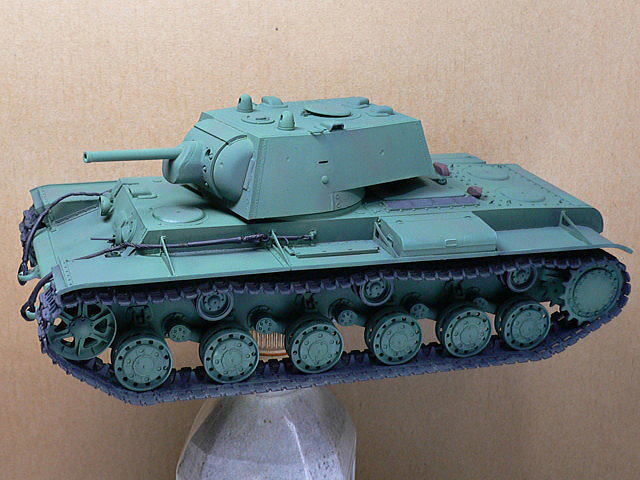 Basic painting completed. I painted a little to change the color tone because it is a monotone tank. I felt the wire painting was complex.
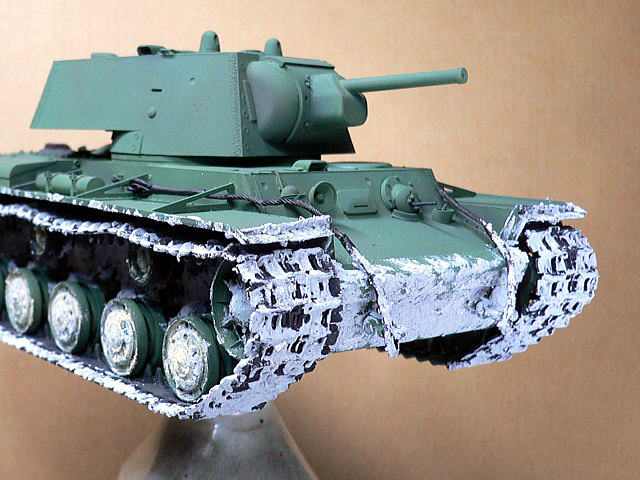 I expressed a mud bath situation and dabbed on the wall repair material on the chassis of KV-1. It was necessary to put it before painting.
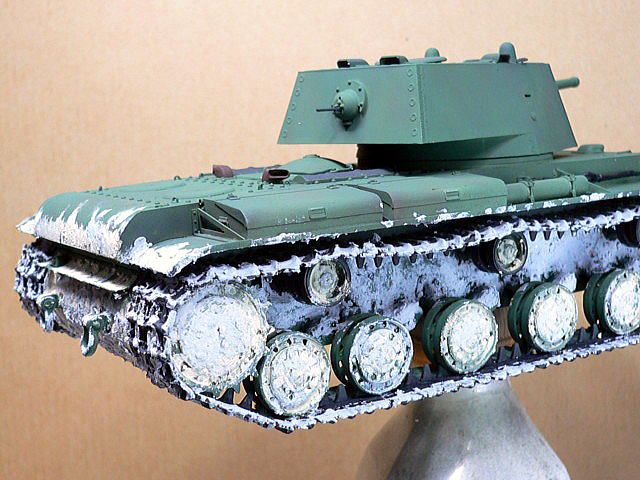 After all, because the wall repair material was not bonded firmly, I blended the plastic putty. I thought it would be better to use the bond for woodwork. The mud of the putty after the primary paint was a strange atmosphere.
(2007/03/22)
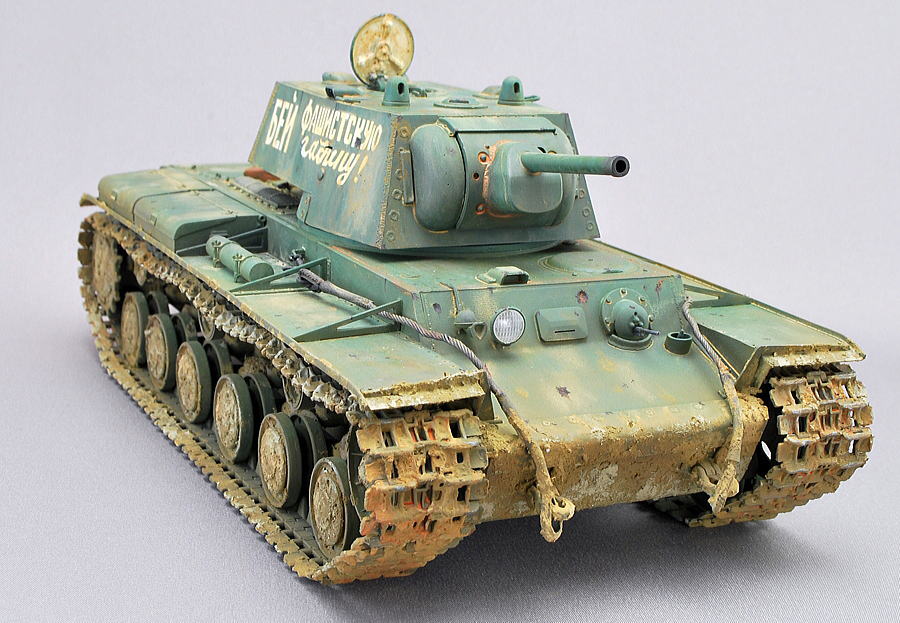
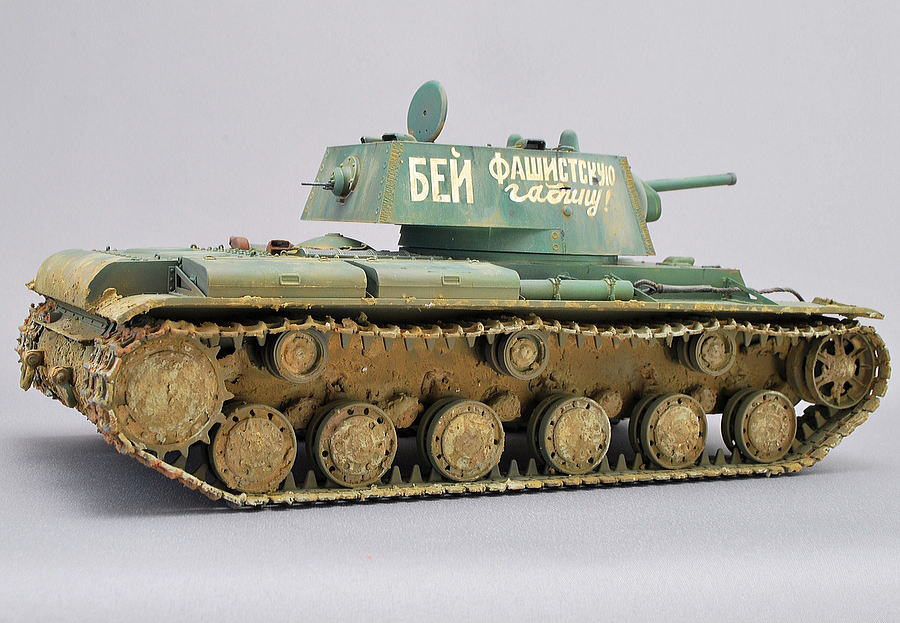
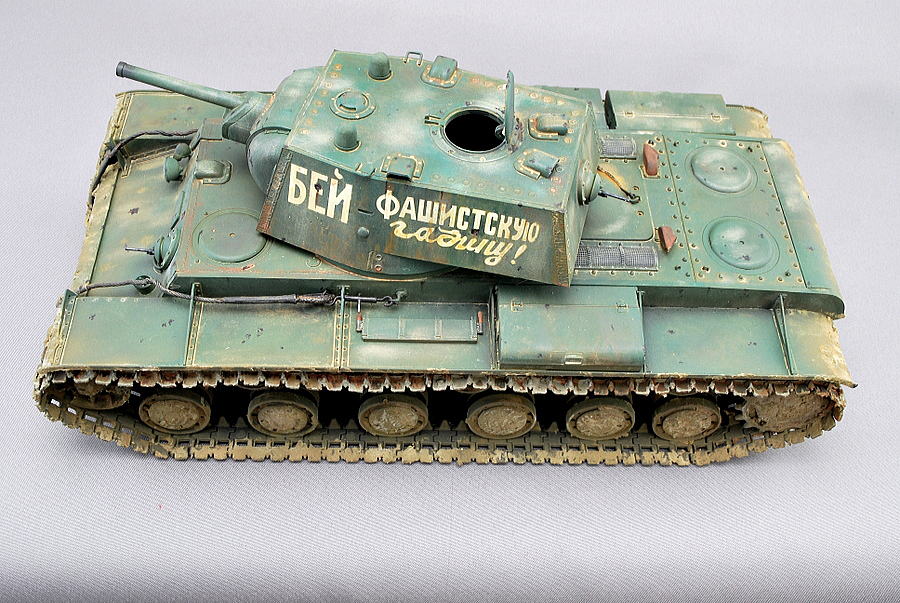
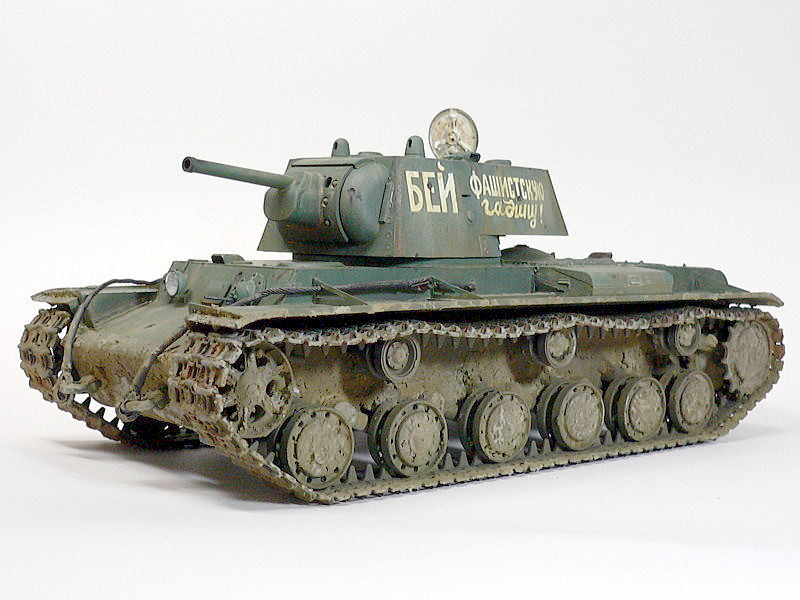 At last, KV-1 was completed. I did the weathering to make it muddy, mainly on the chassis. The back of the hatch white is a good accent from this angle.
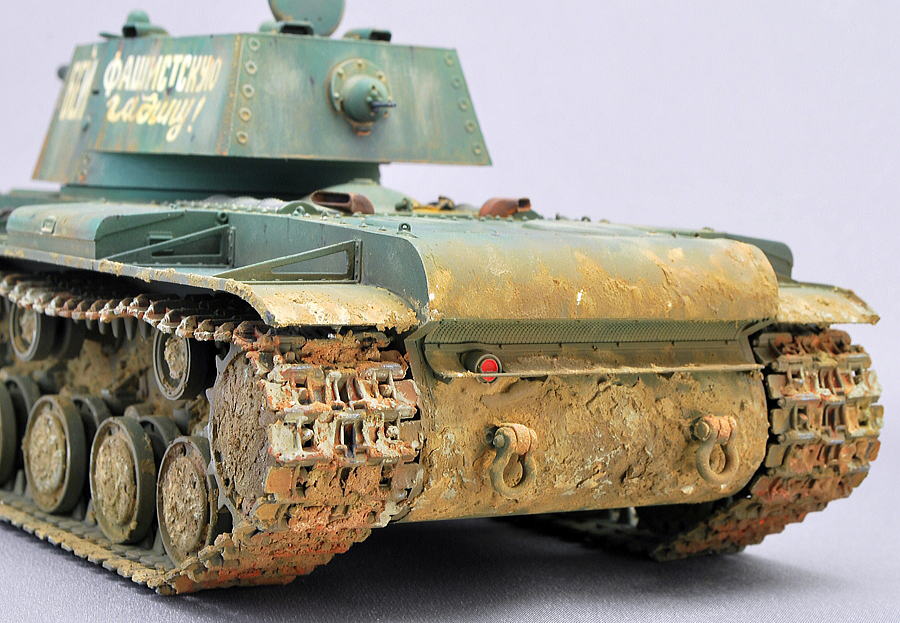
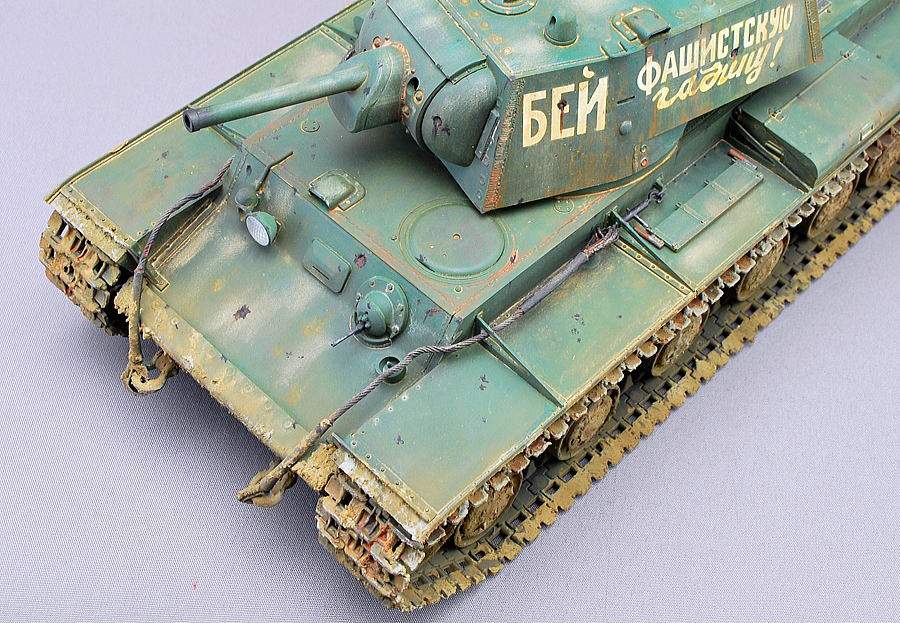
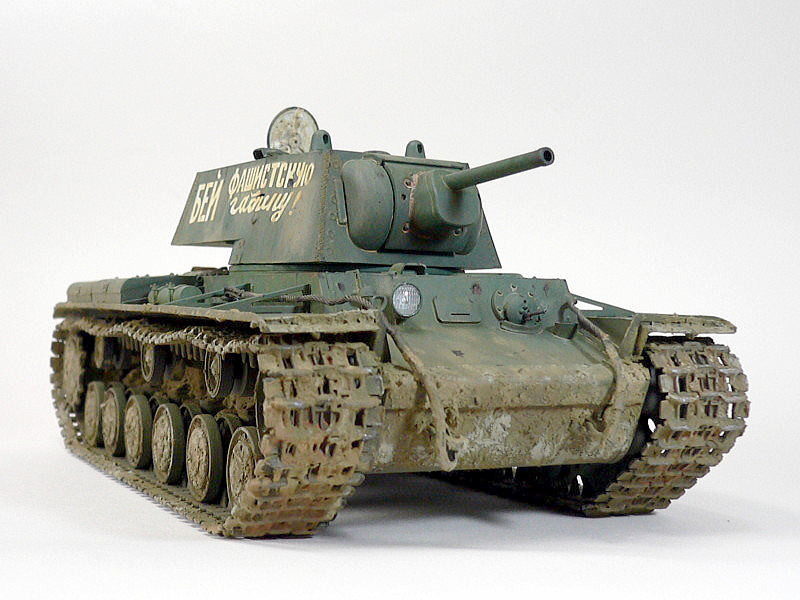 The caterpillar is made dirty with the putty, and the part where there’s mud is without dry brushing with the gunmetal. I want to show the image of the brave man of the battle putting up the battle damage of cannonballs.
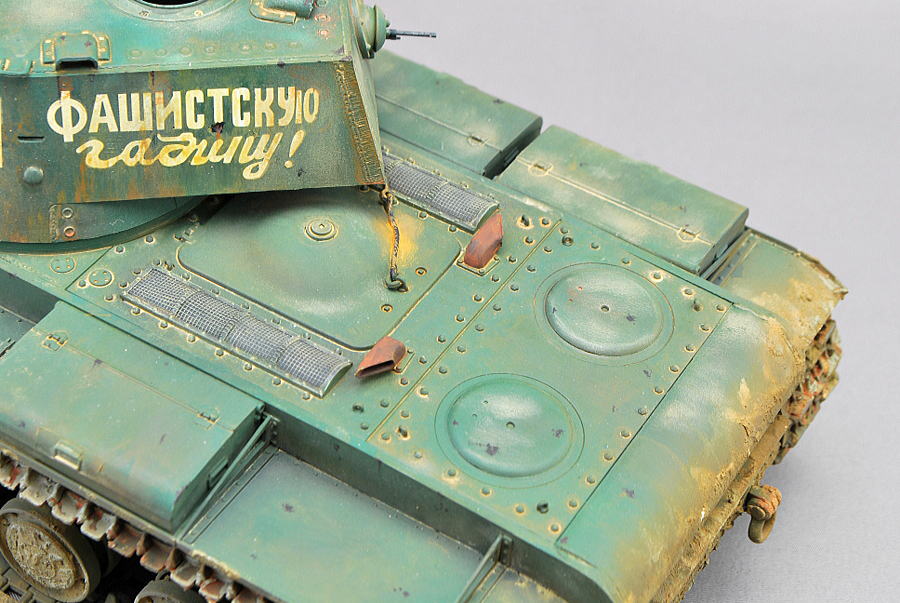
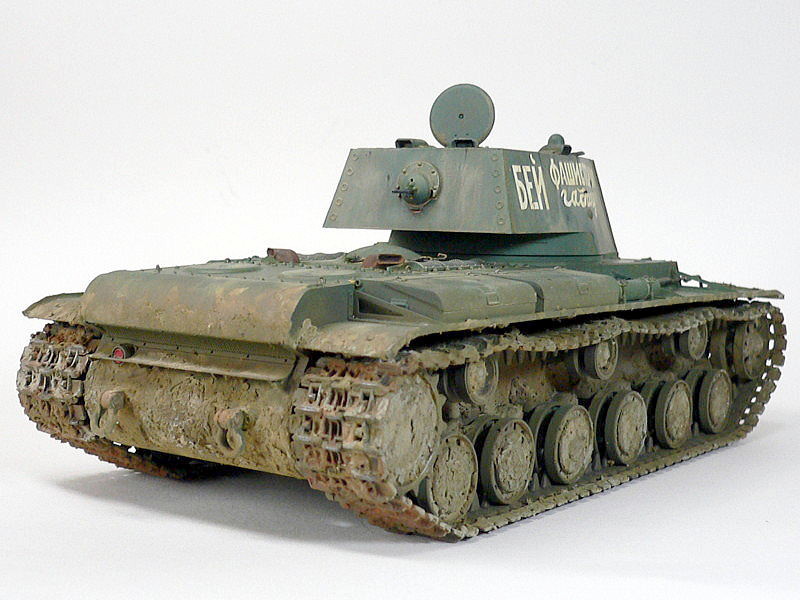 Photograph from the back. There is rust on the caterpillar, and a part where rust I painted with metal shines. Because the taillight painted in red became an accent in the back, I kept it without mud.
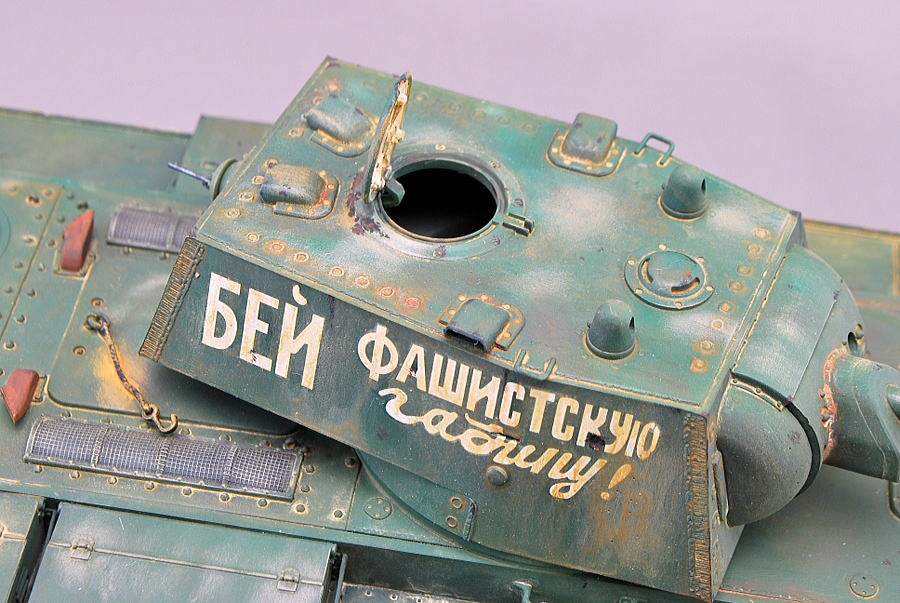
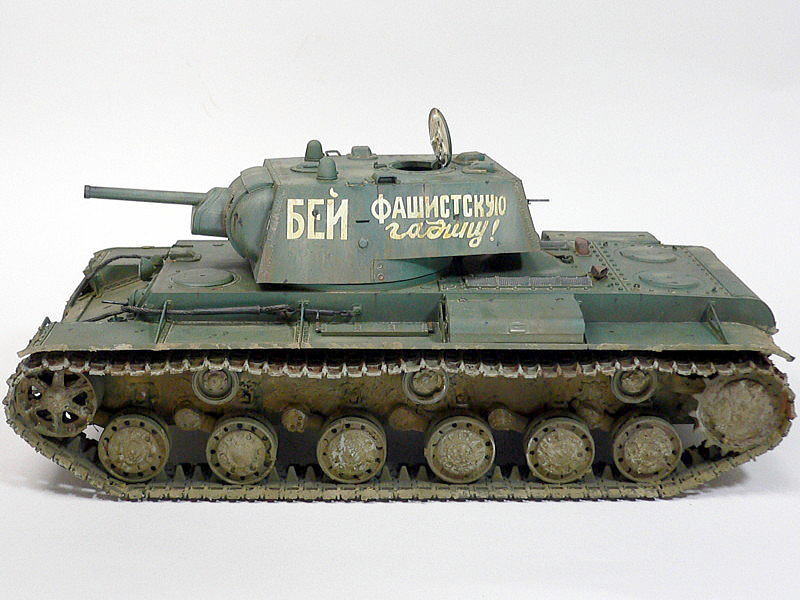 The decal did not stand out, shone part, and pasted well on the surface. I might do dry brushing to the trank rollers with metallic color.
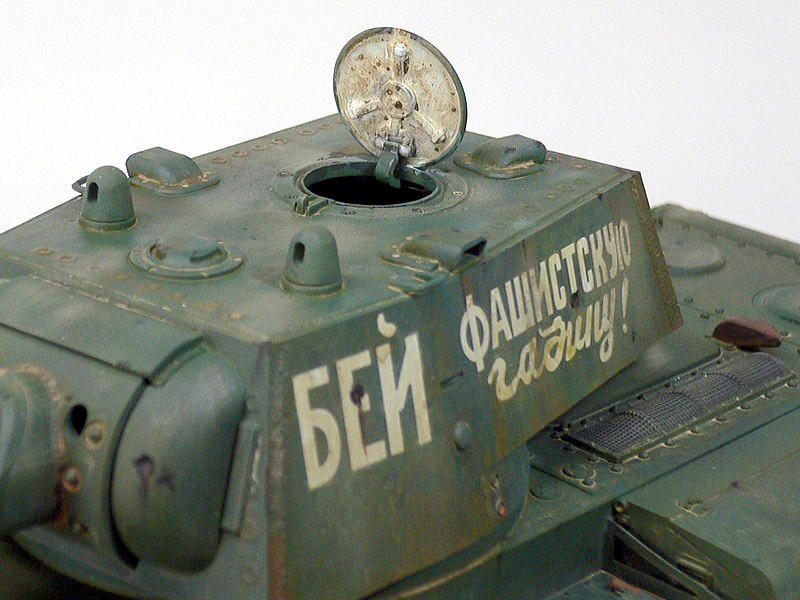 I assembled the hatch movable, but after that, it’s broken. I finished fixing it open. The back of the hatch was not pure-white and was a little dirty. The turret’s side weathering was a feeling of moist dirt.
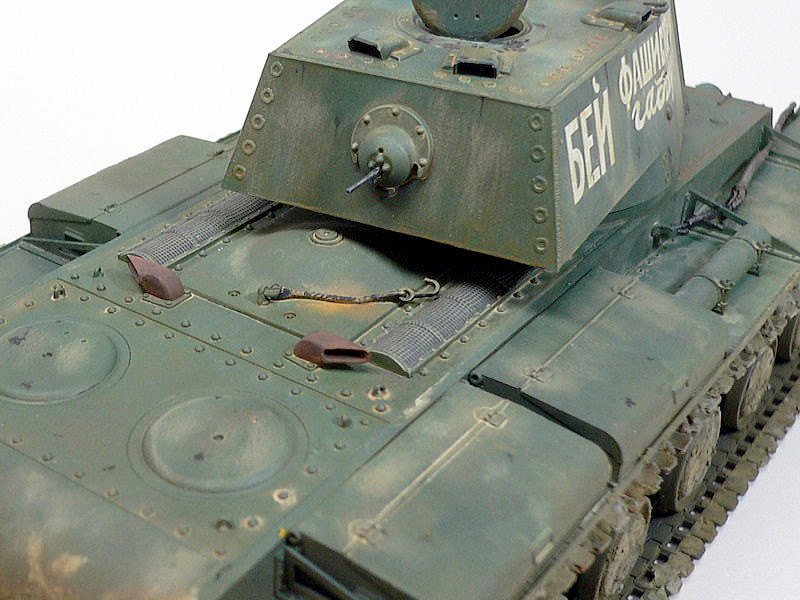 I finished up the muffler in the rusted situation. In the wire rope and nearby area, I painted rust. The wire net was painted in black and dry-brushed with a light tone after that. It is a naturally bright color, I suppose.
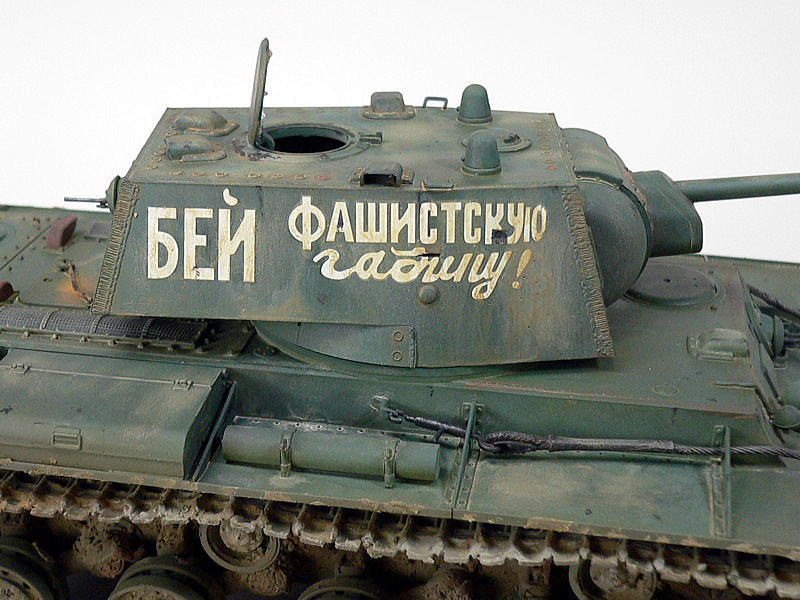 The surface became a little dirty because I painted with the brush again after spraying the matte coat. I think that it was good to be able to do random parts in light and shade.
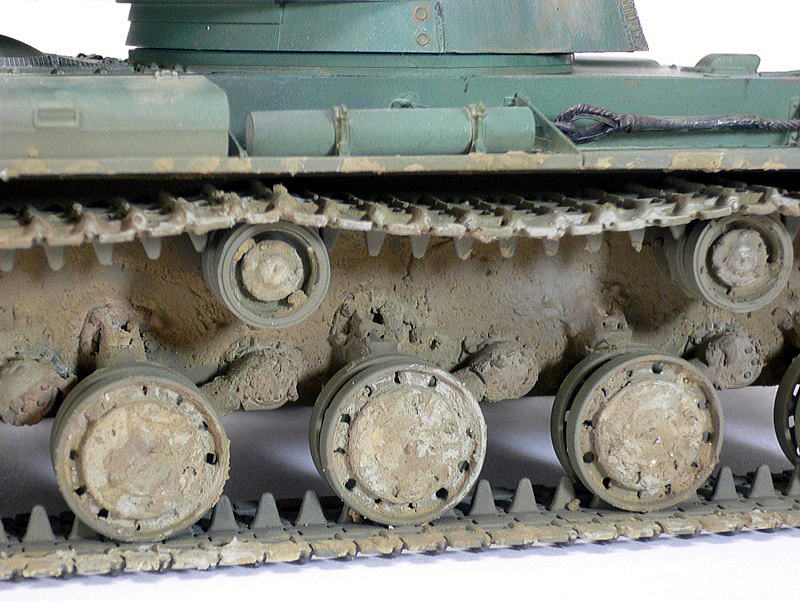 At first, when I finished it, the chassis seemed to be dry mud though I scheduled to make it to a little damp dirt. The Atmosphere drastically changed which color I chose.
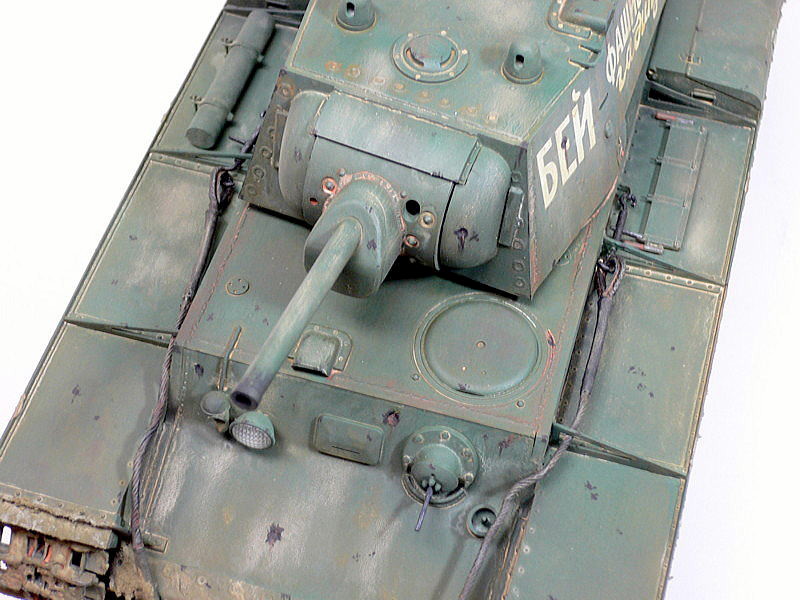 This time, washing, dry-brushing, and tipping expressions were not matched. The tool on the right side might be a saw. No instruction about the painting of the saw handle. I painted it brown and made dry-brushing on the clamp in metallic silver.
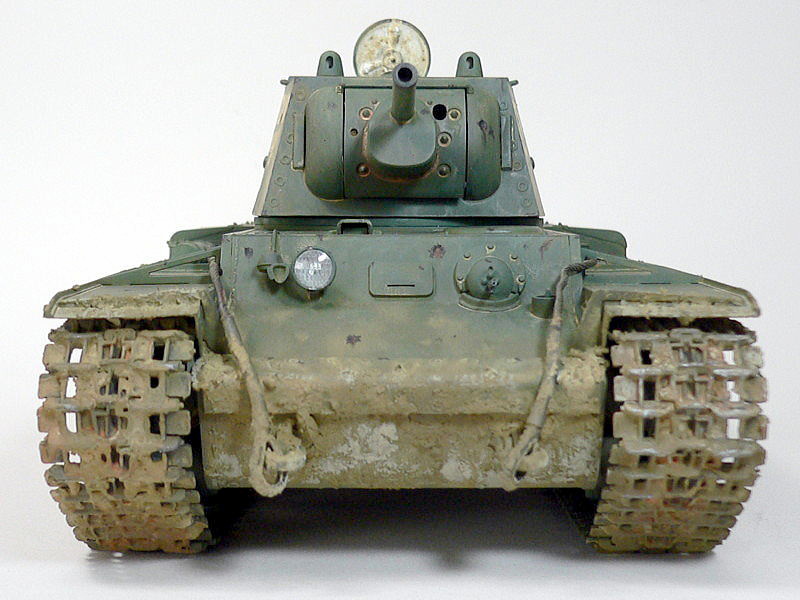 First of all, from this angle, looking is powerful. It seems incredible that the headlight shines very much though it might be unnatural. Only the headlight shines, although the body is muddy. Should I not do the weathering with a too different tone under the body?
(2007/03/25)

