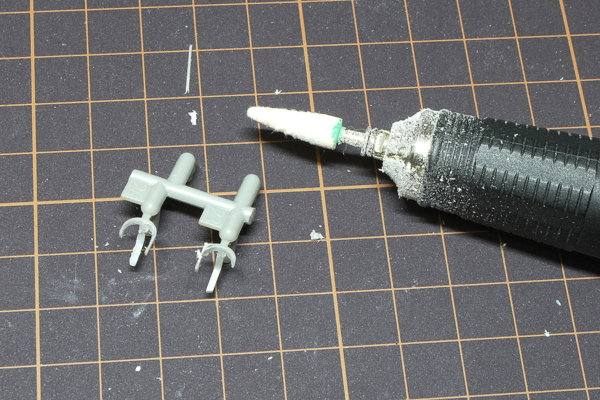
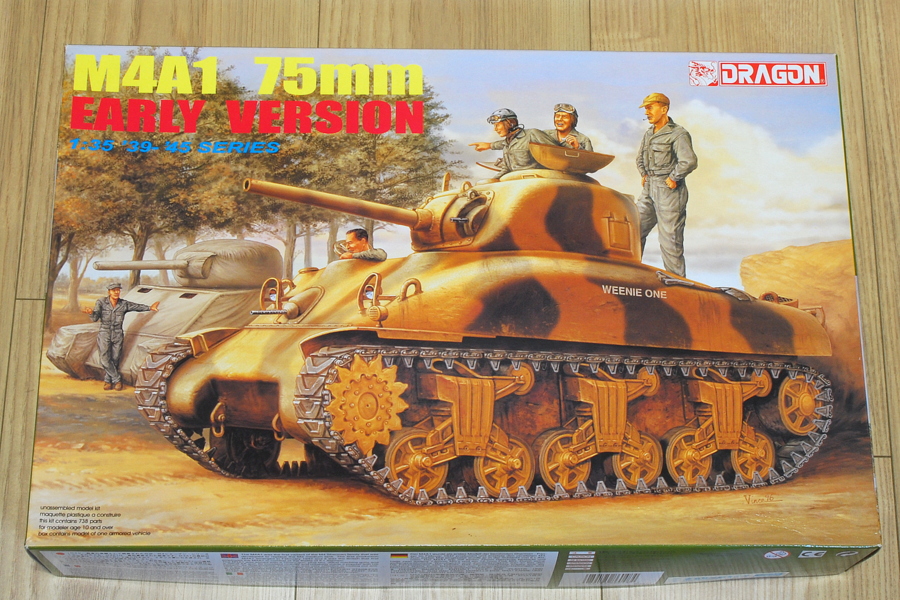
 I started this Sherman tank assembling in the flow of making US tank crew figures. I am looking forward to what it looks like when finished. Is it a little older kit?
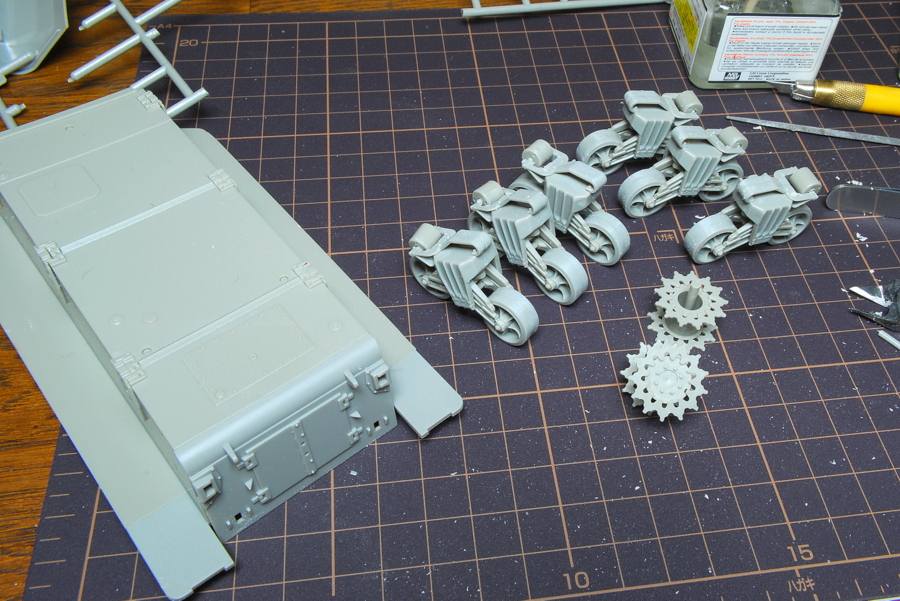 I am assembling the VVSS suspension.
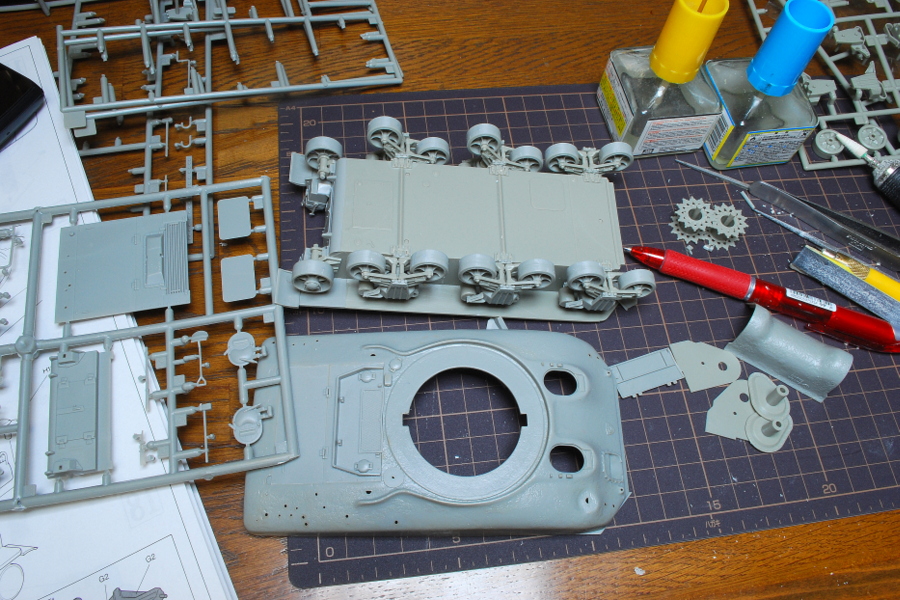
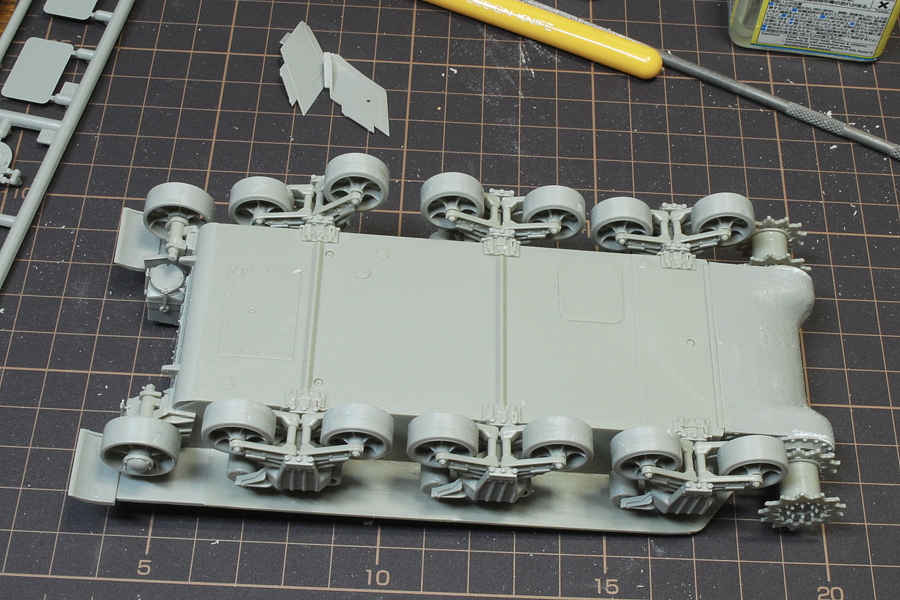 Caterpillar is likely to be displaced unless it is appropriately aligned. It is better to assemble the idler and road wheels, looking at the balance. Pushing the wheel to the end may cause the vertical row of wheels not to line up.
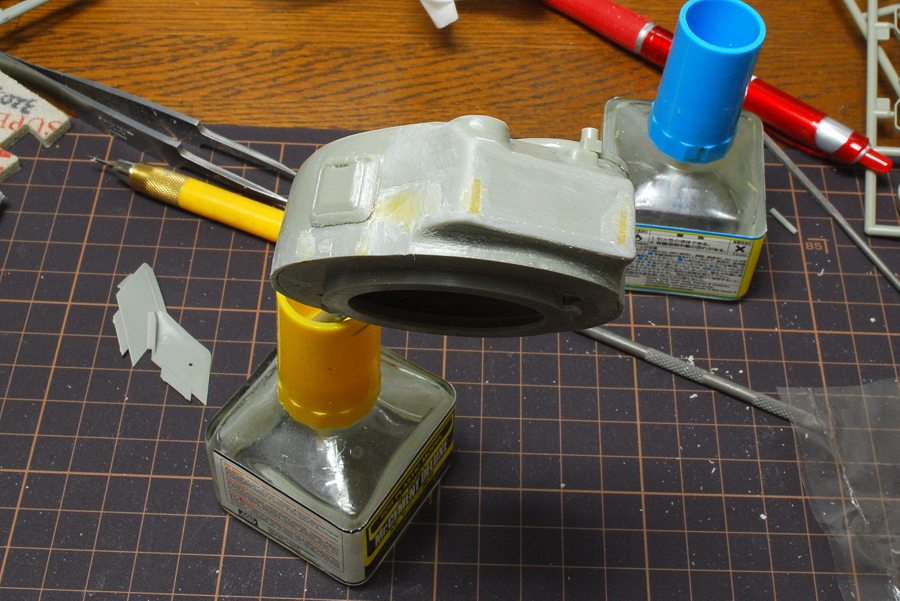 Many tasks are required to scrape off and fill the putty on the turret. One of the activities I do not like very much.
(24-Apr-2017)
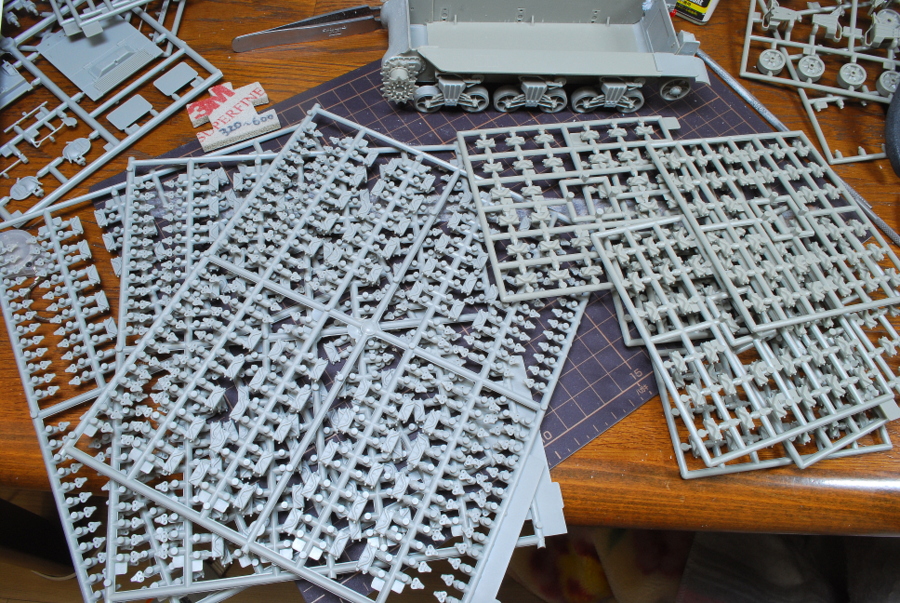 Hmm, These are runners of the caterpillar parts that seem dizzy, but it will not be a big deal if you get used to it. Working while listening to the radio will end soon.
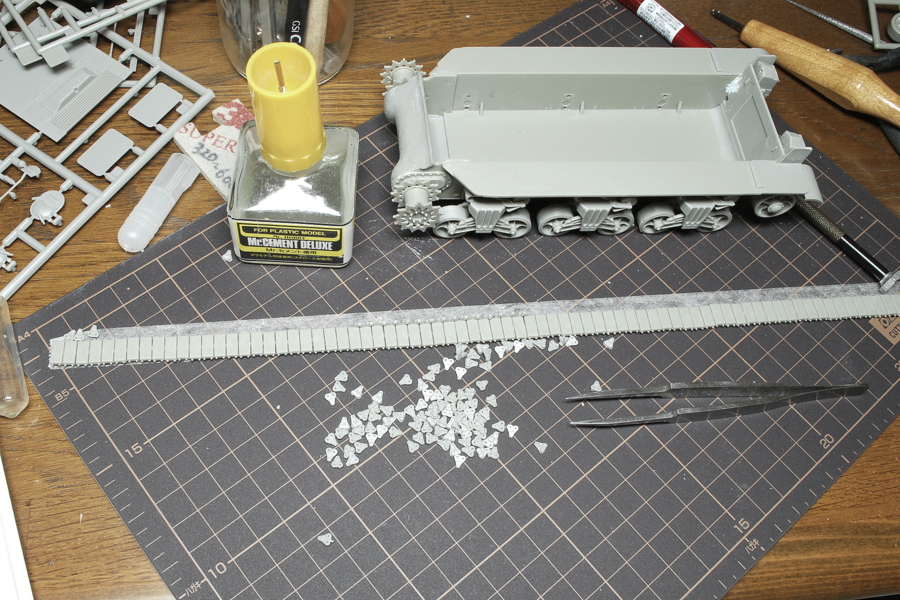 Caterpillar is a T48 type with a rubber slip. I also have AFV Club T48 tracks, but I do not have the opportunity to use them this time. I am assembling separately from the runner one by one.
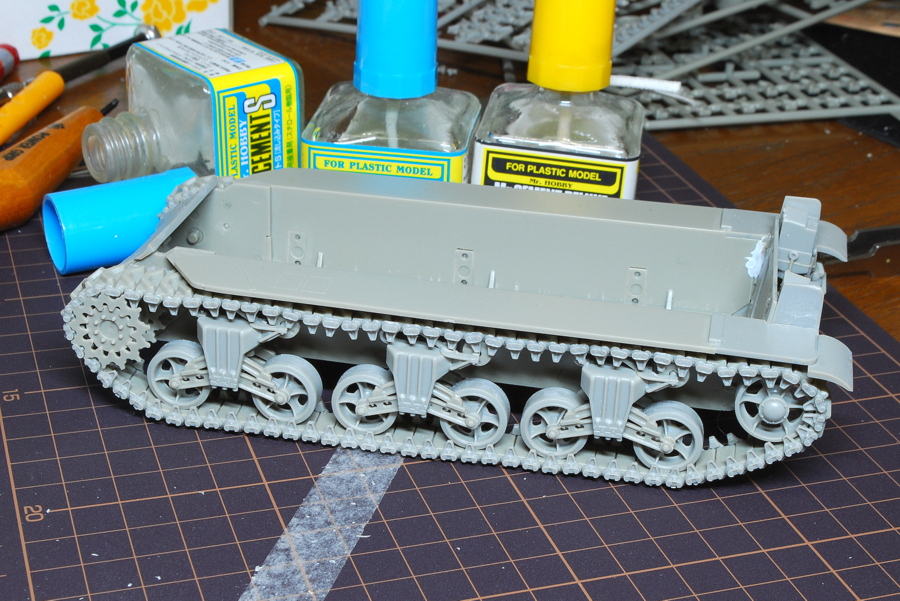 There are a lot of US tanks that have caterpillars tightened, but in case it is a connected caterpillar, it is easy to slack a bit.
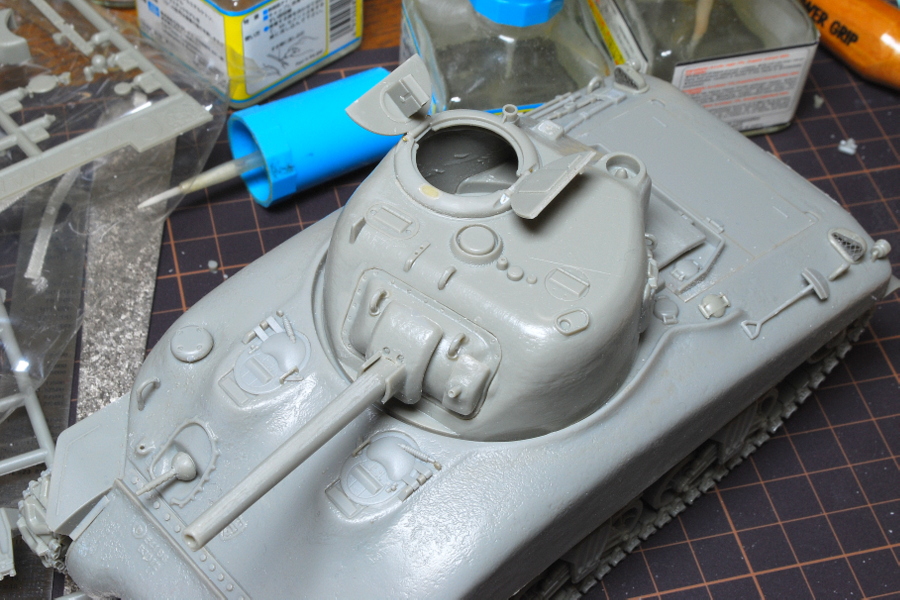 The hatch was opened and closed, movable by building in brass wire. I started making it because I wanted to see the image of putting the Miniart tank crew figures.
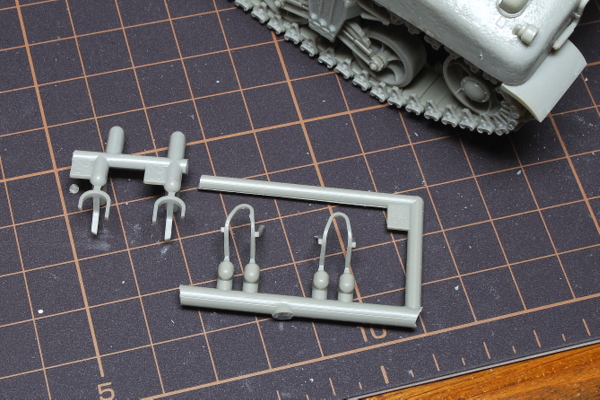 If this kit were Dragon Models’ excellent climax period, I don’t doubt it’s included the photo-etched light guard parts, but unfortunately, it is a plastic part this time. I’ll try them sharpen thinly.
(25-Apr-2017)
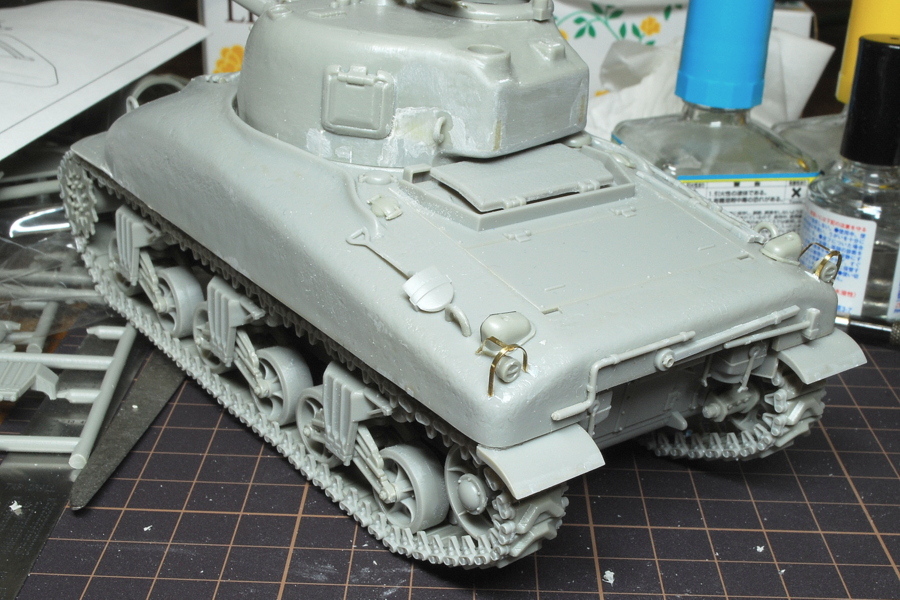 Metal plate work is difficult, but I tried it anyway. I made my rear light guard with a metal material.
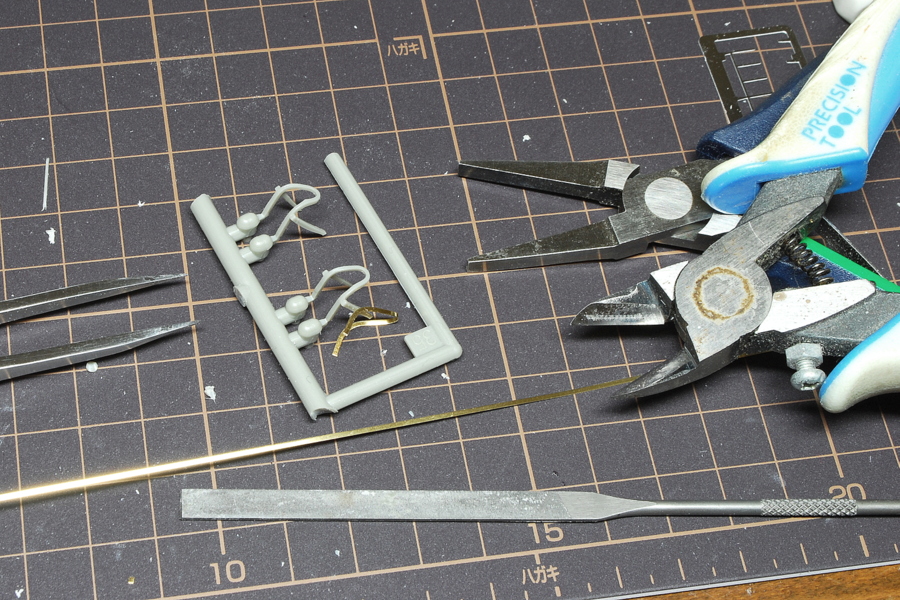 I made a light guard in the same shape as the original parts. Maybe it got a little bigger.
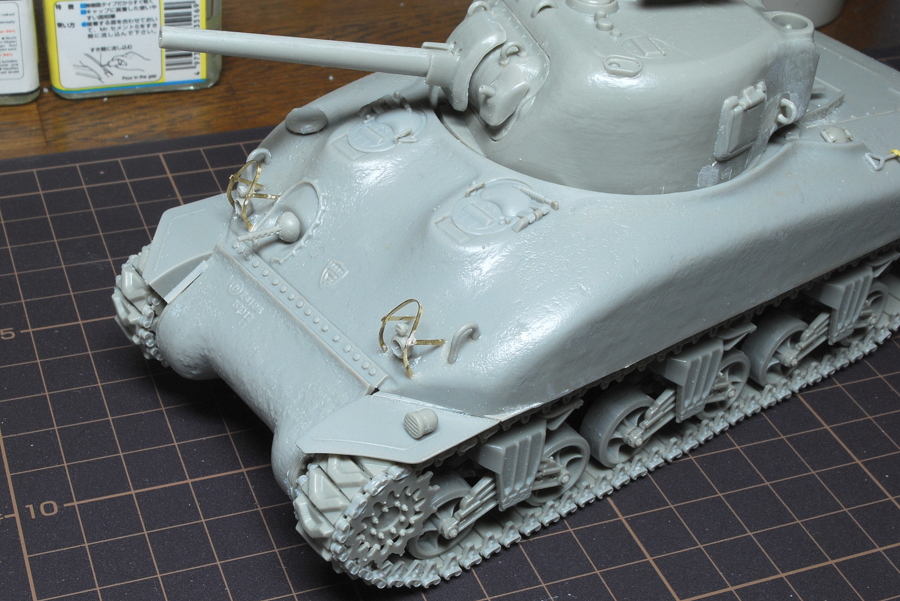 The backlight guard was easy to make. Since the front light guard is a delicate curve, making it from a single strip is difficult. You can use the photo-etched parts sold separately, but it is OK for me to use brass straps that are not used much.
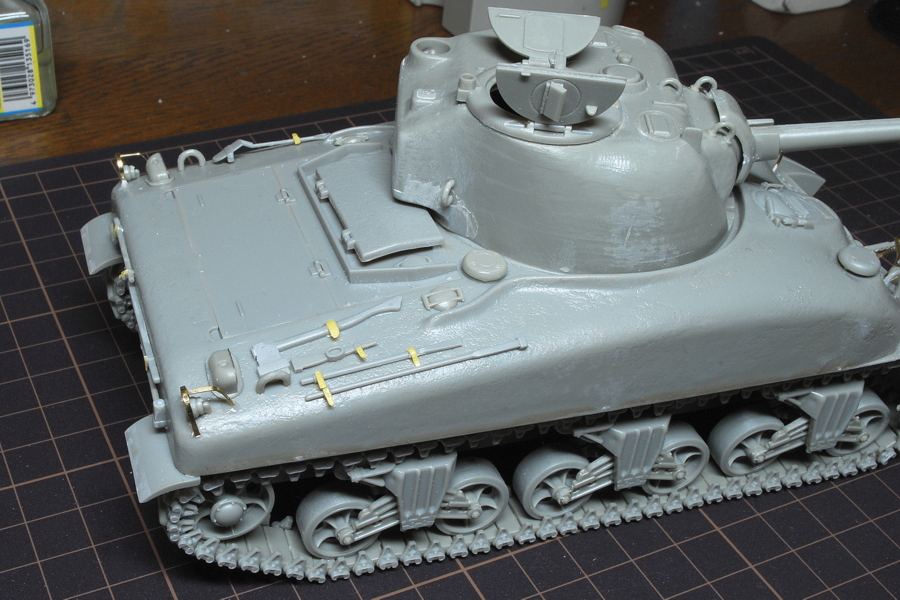 The clamp and strap of the exterior accessories molds were not suitable. I did additional work with masking tape, etc. I think this is OK after considering the balance of my work and effects.
(27-Apr-2017)
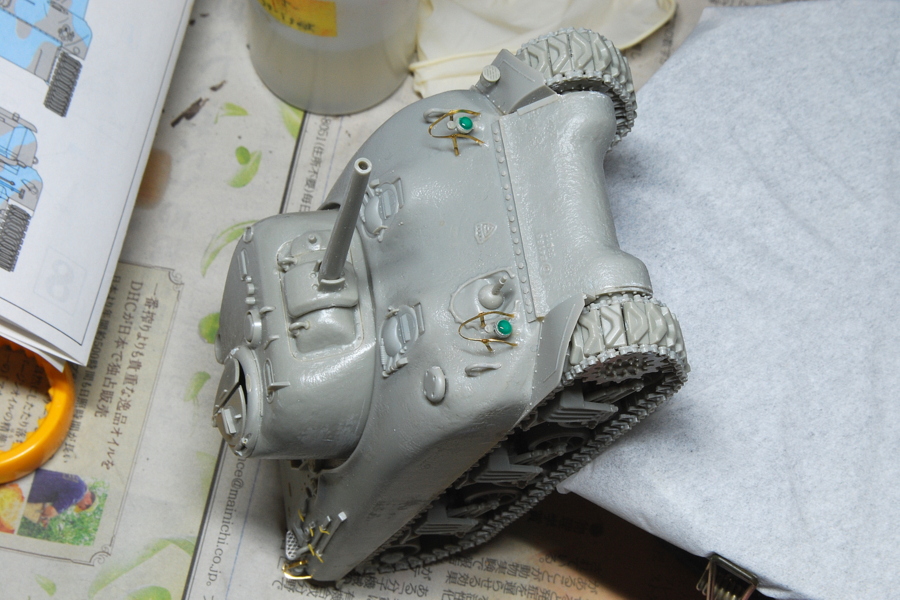 The parts of the headlight have a large dent. I made it with a clear resin; the headlights are masked before painting.
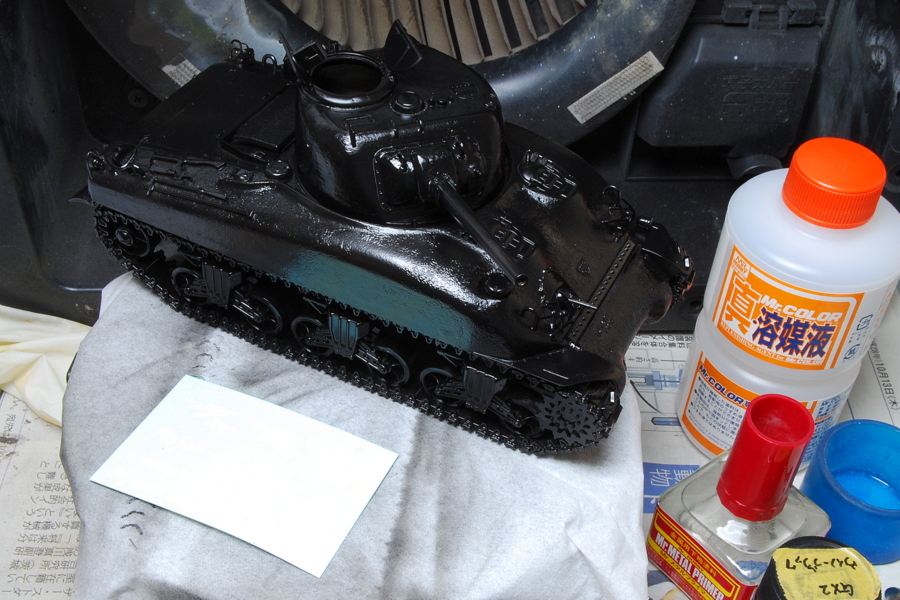 Because I can dedicate the chipping expression, I coated it in black.
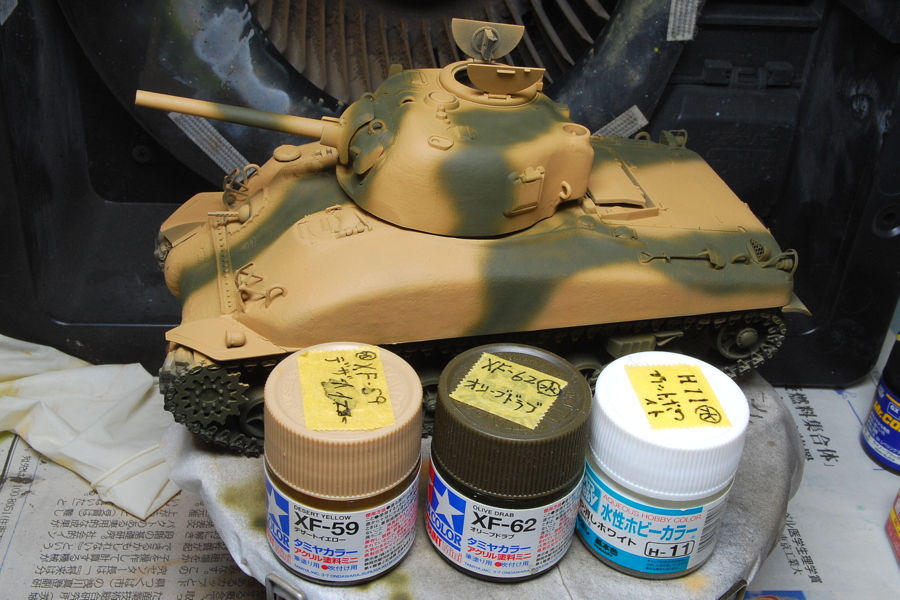 It is two-color camouflage of olive drab and sandy yellow. It is a personal preference; I think it is better to use sandy yellow, not dark yellow, to avoid the images of German tanks.
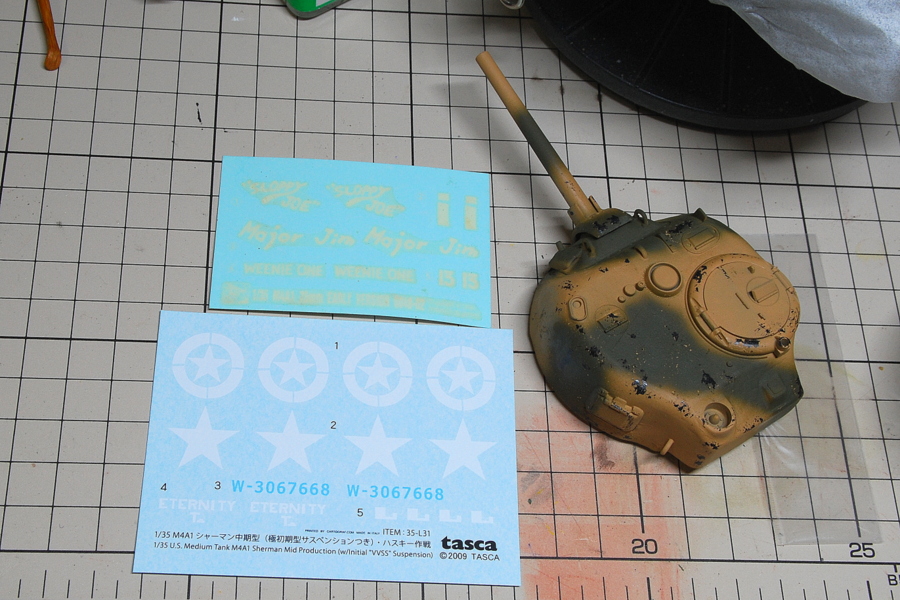 It is very much appreciated that Tasca’s decal was attached to precisely two types. The decal seems too yellowish, and it would be useless. Perhaps I think that the decal will divert from Tasca’s Sherman. Tasca has been Asuka Model long ago, by the way.
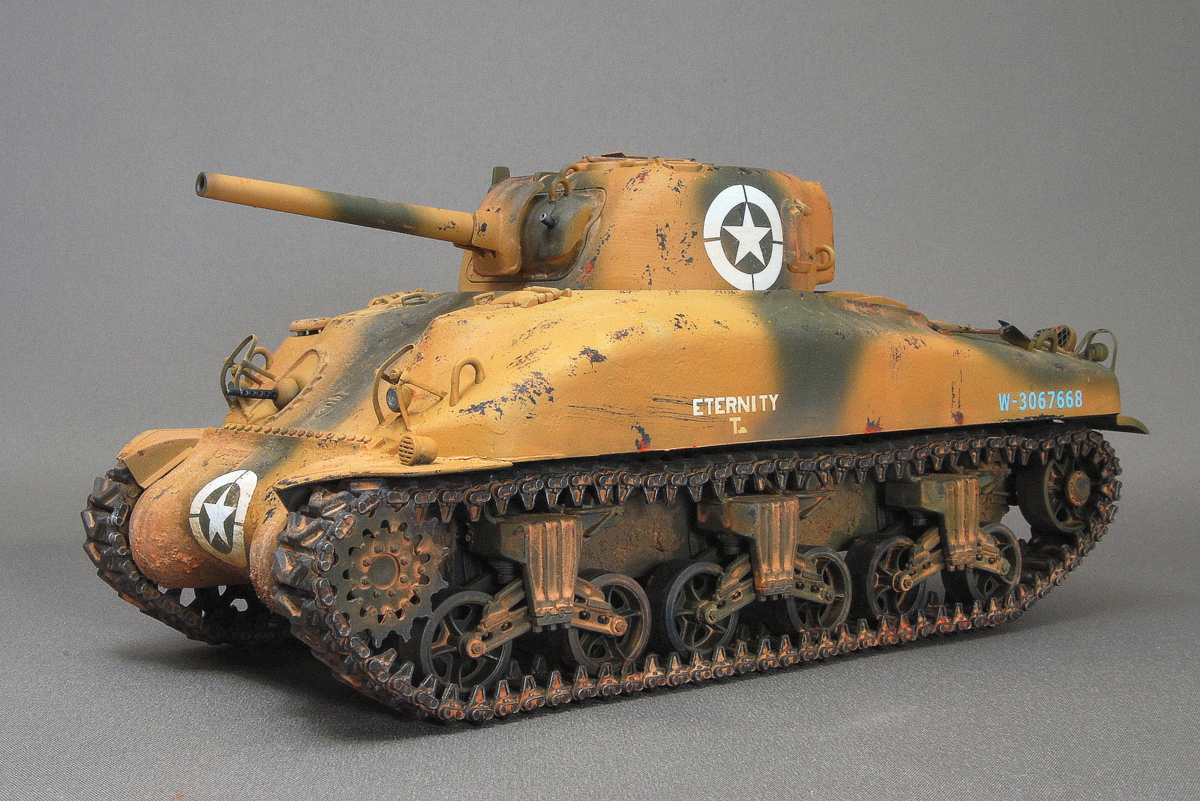 It is characterized by a rounded turret and tank body made by casting. There are a lot of opinions on whether it is similar to the actual tank. I have a Tasca kit to compare them, but many Sherman building gets tired of me, so this is another opportunity.
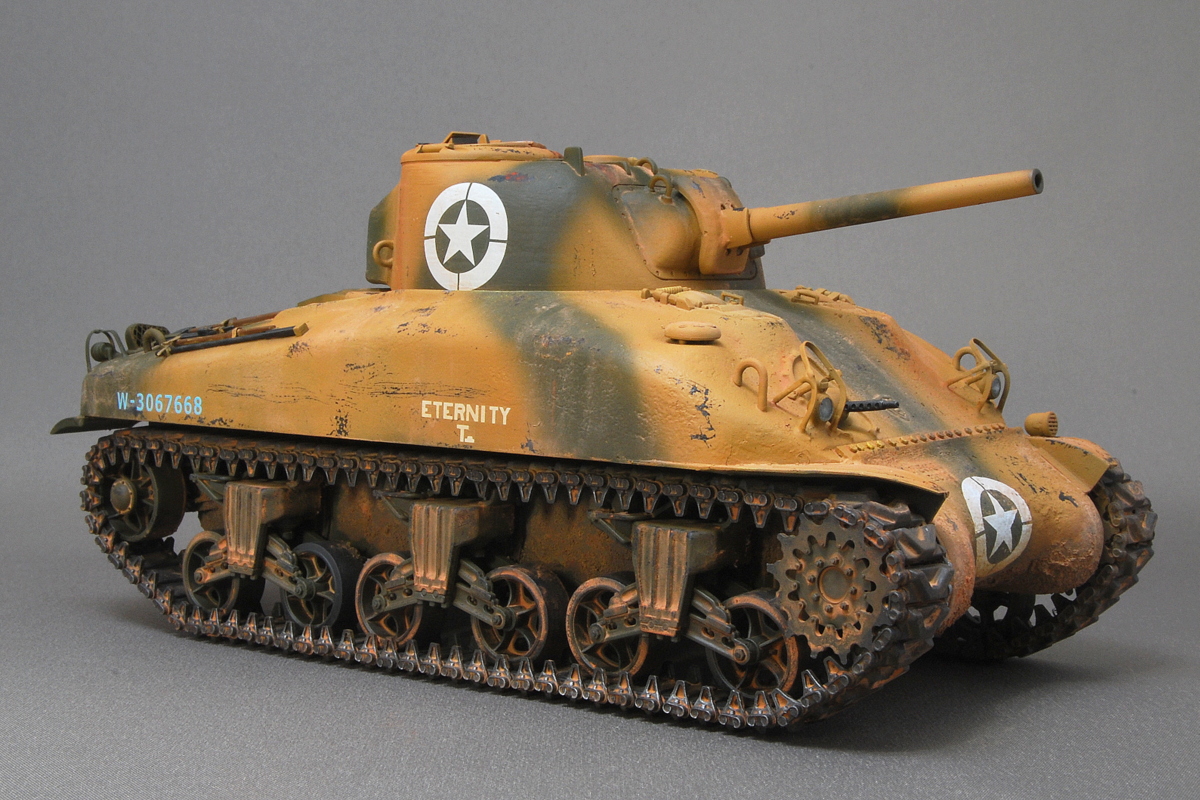
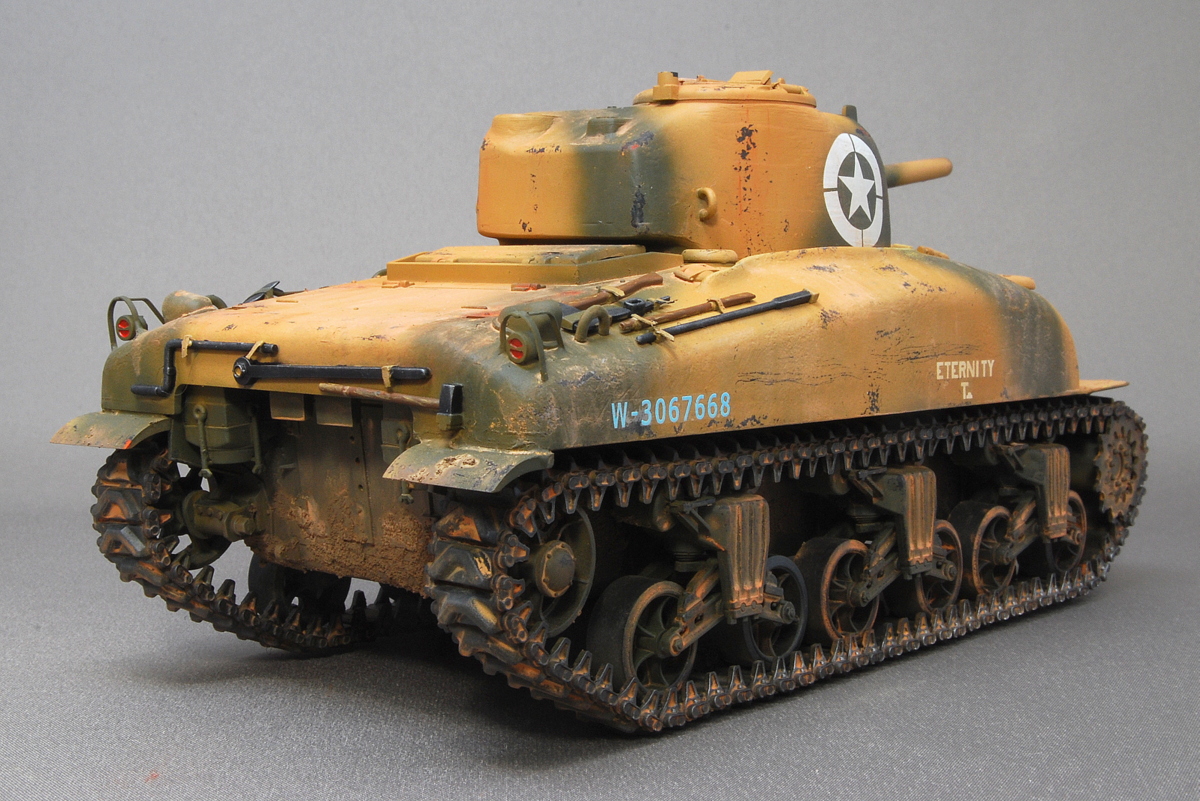
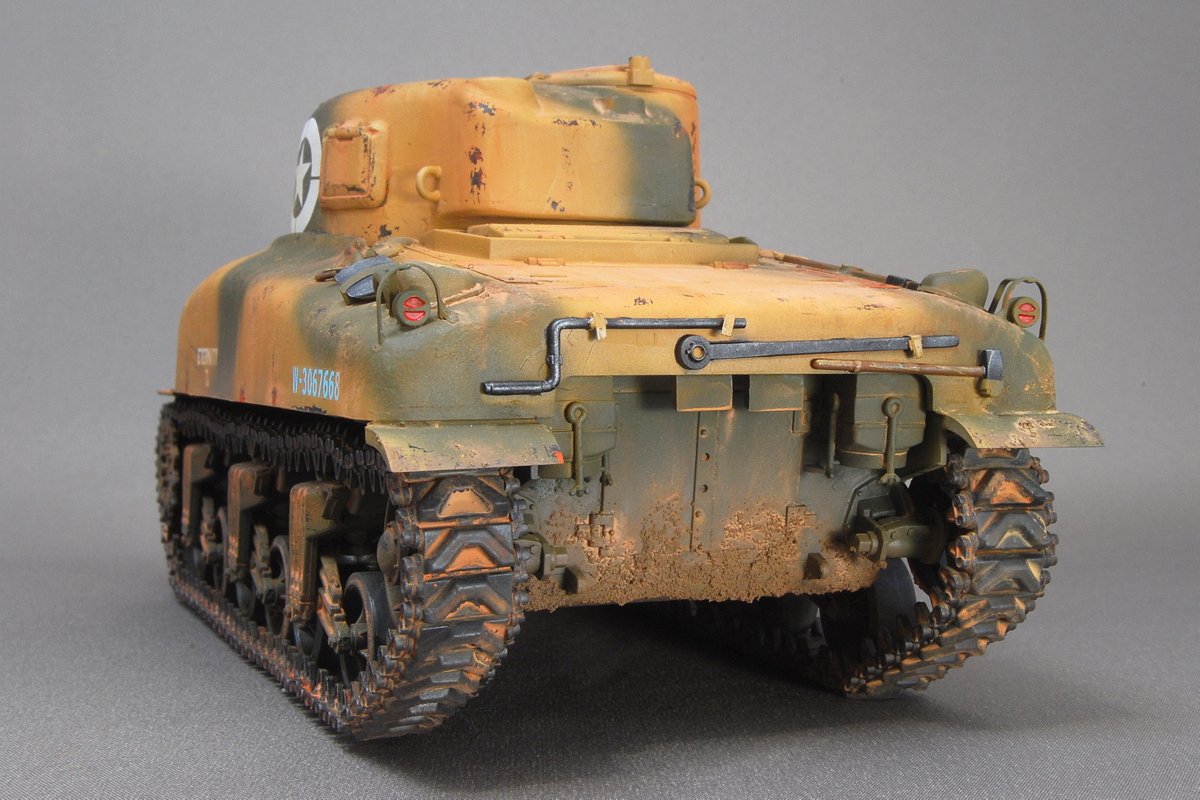 I made three-dimensional dirt only a little on the front and back.
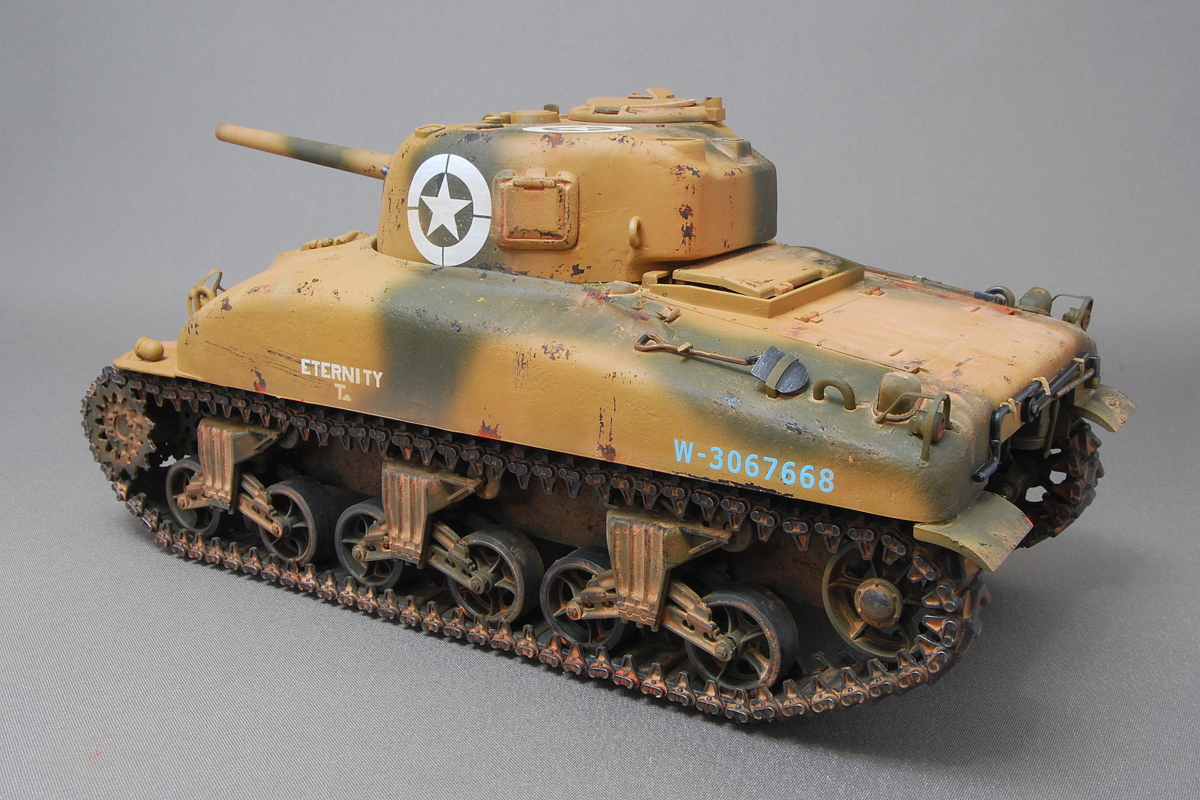 By the way, a small door on the left side of the turret is a hatch to release the empty cartridge shell.
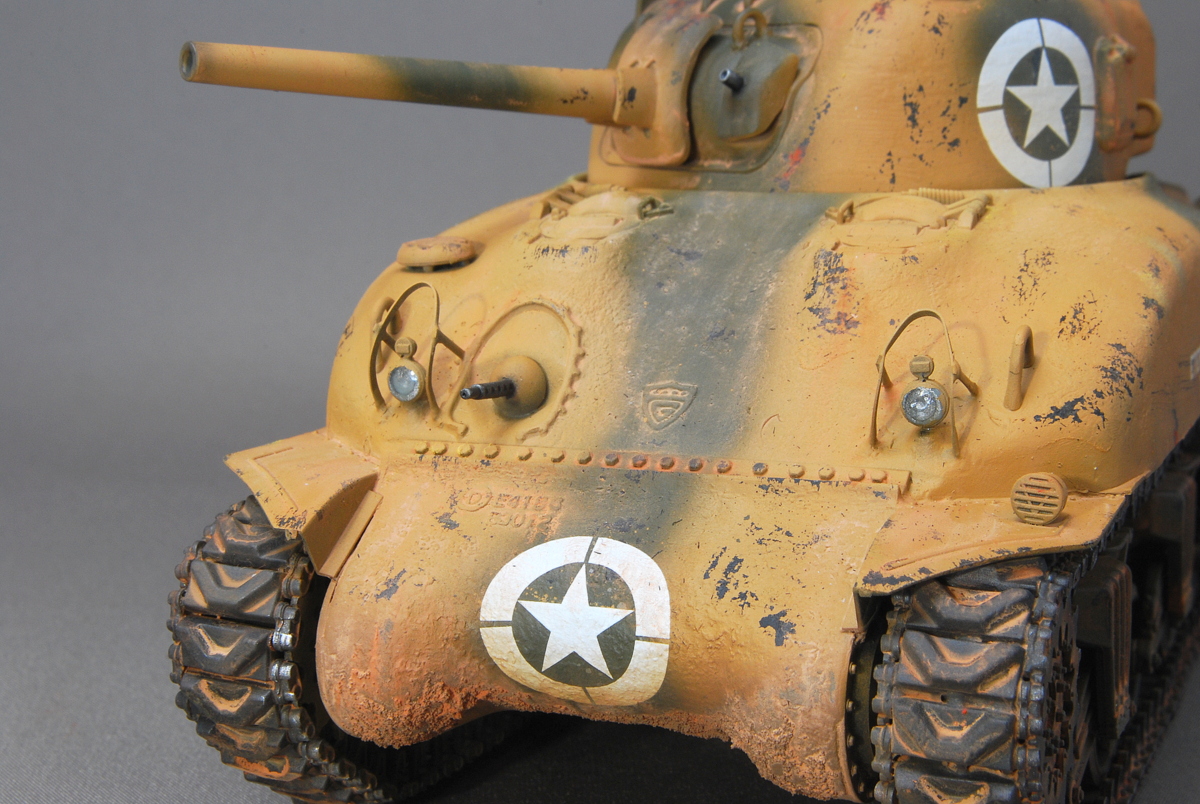 I made a light guard from the brass strap with difficulty handmade, so it is a good feeling as thin material. The headlight is an additional work with a clear resin.
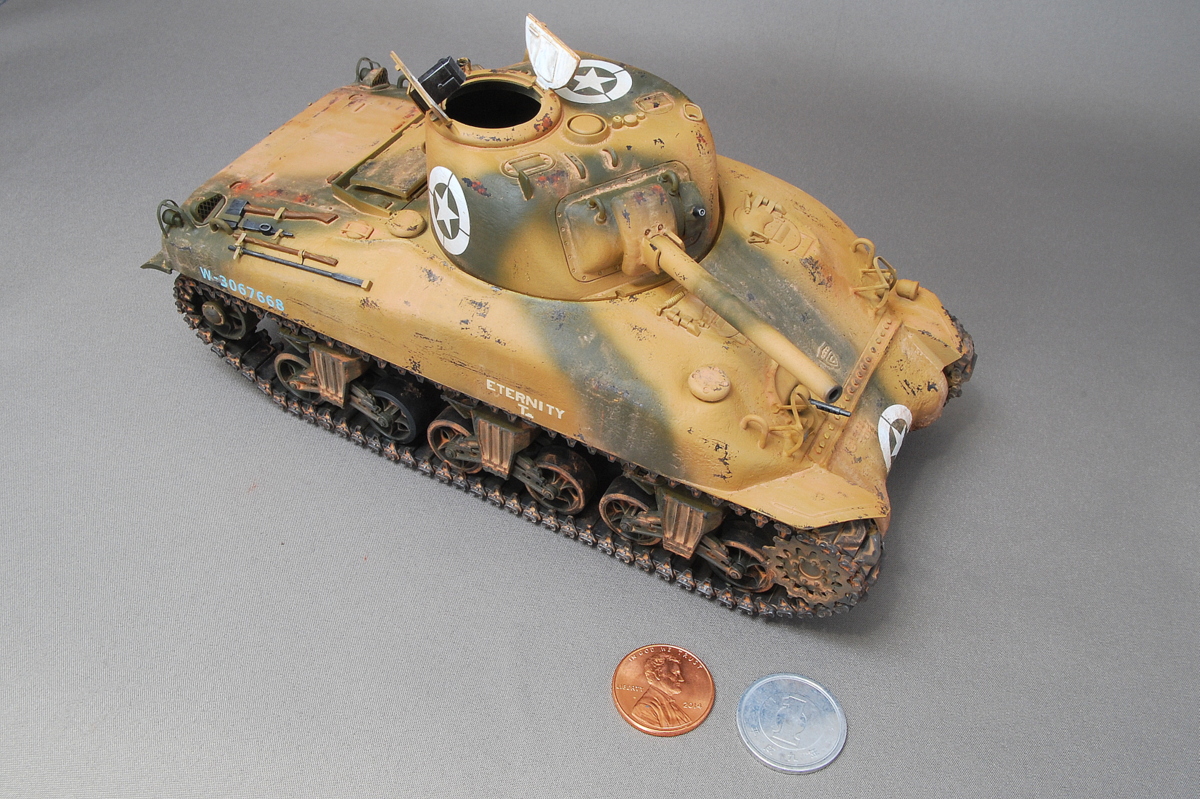 The early body type has been set up vertically in the front hatches. There is no hatch for the loader.
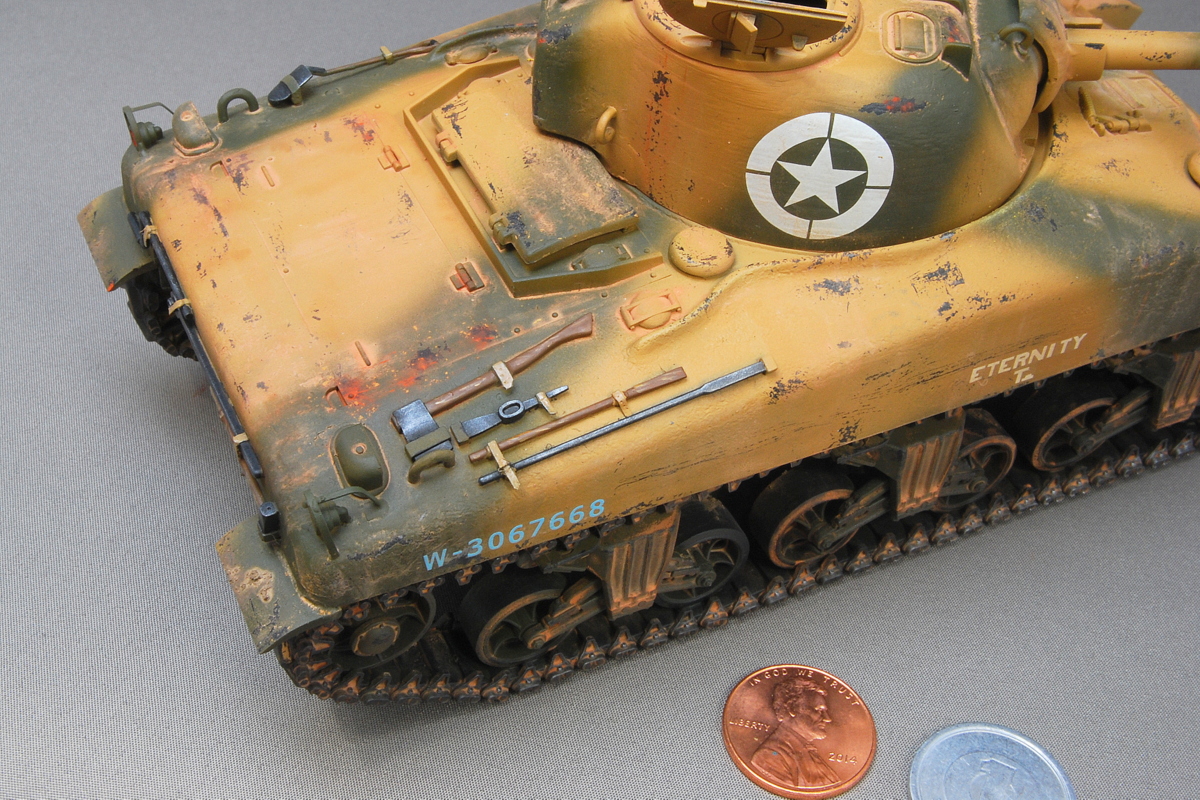 The marking of this tank is the 1st co., 2nd battalion, 67th Armored Regiment, 2nd Armored Division in Sicily, July 1943. Since the American tank crew I made last time is uniform for winter, it is a bit impossible to combine. But I think the winter marking is the same as the summer one. Dragon Models attached decal was yellowing much, and I used the new Tasca one.
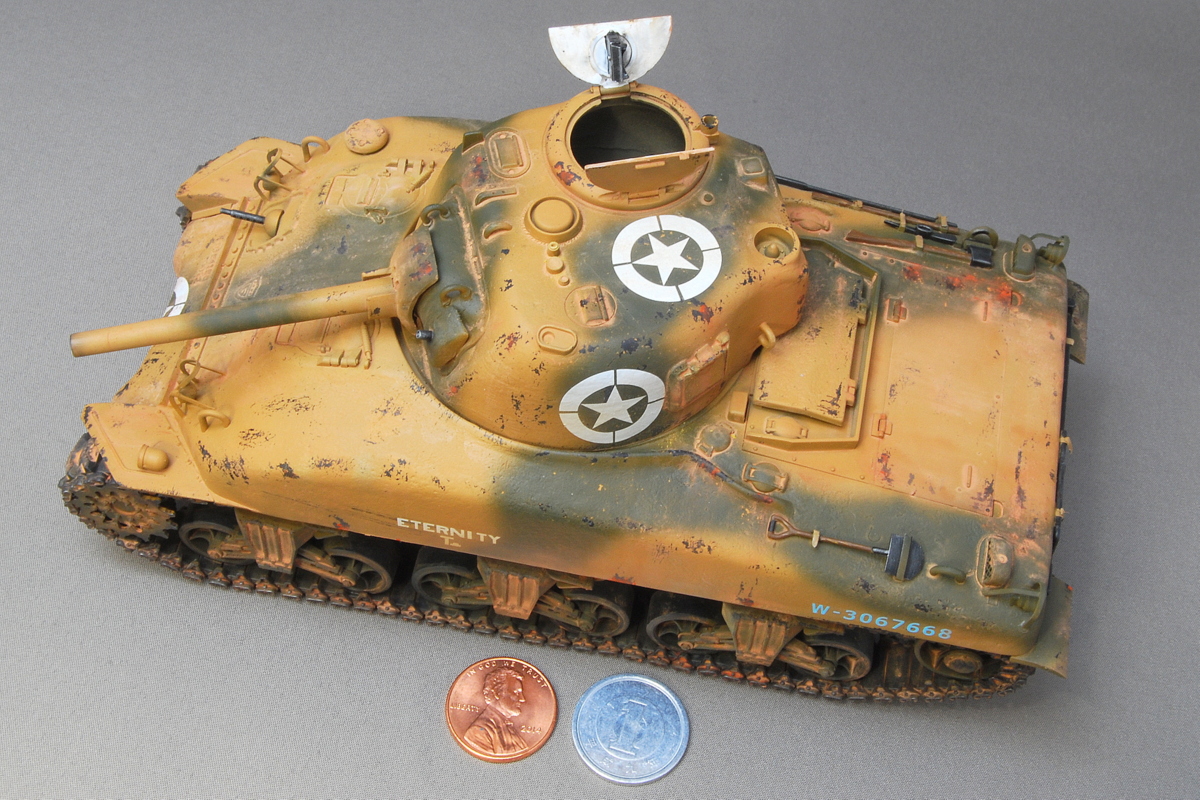 The vehicles operated in North Africa, and some national insignia rounded the stars with white circles because the German army’s white cross mark and the American white star were hard to distinguish from afar.
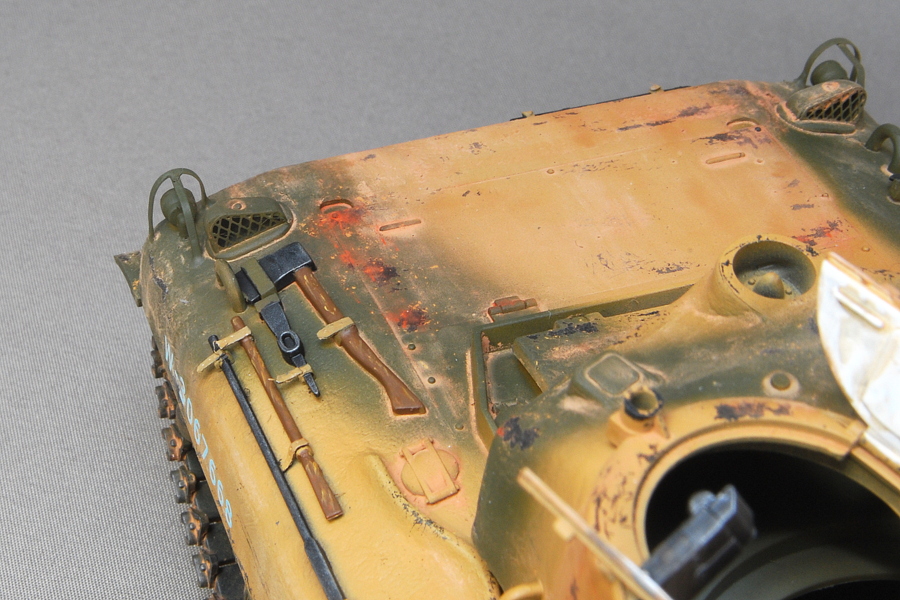
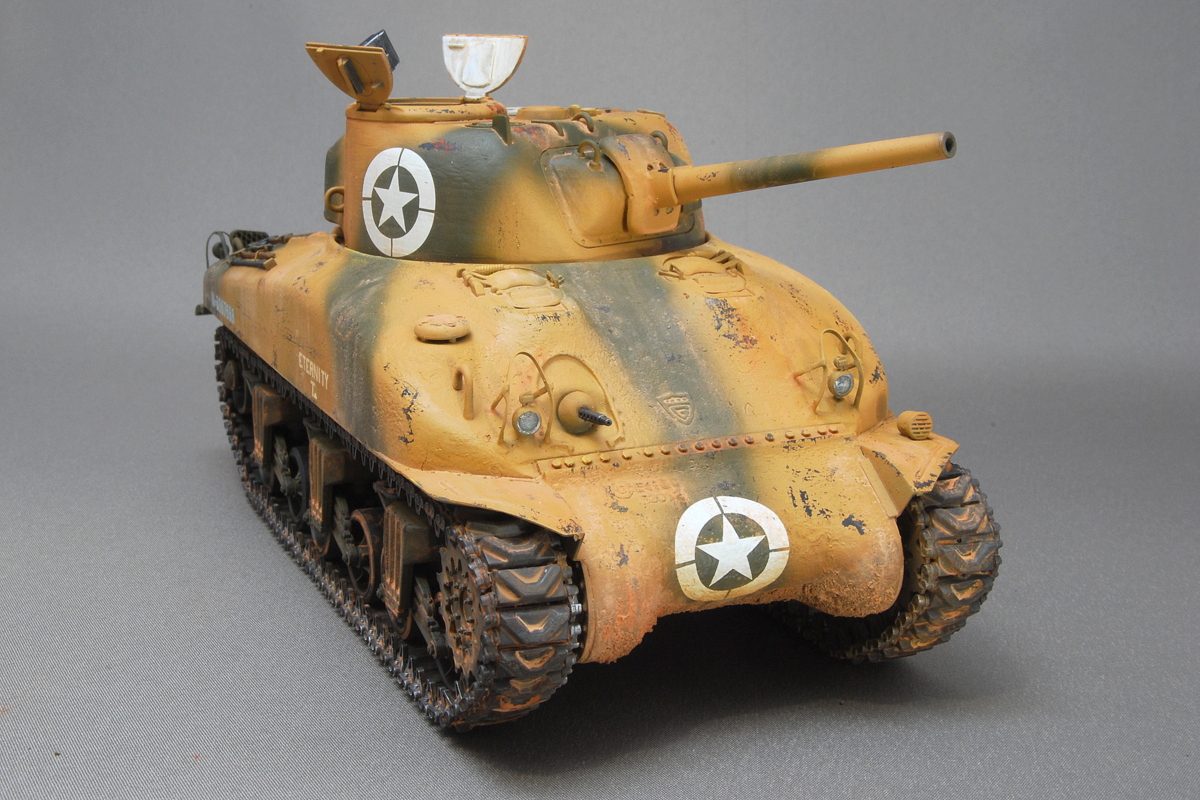
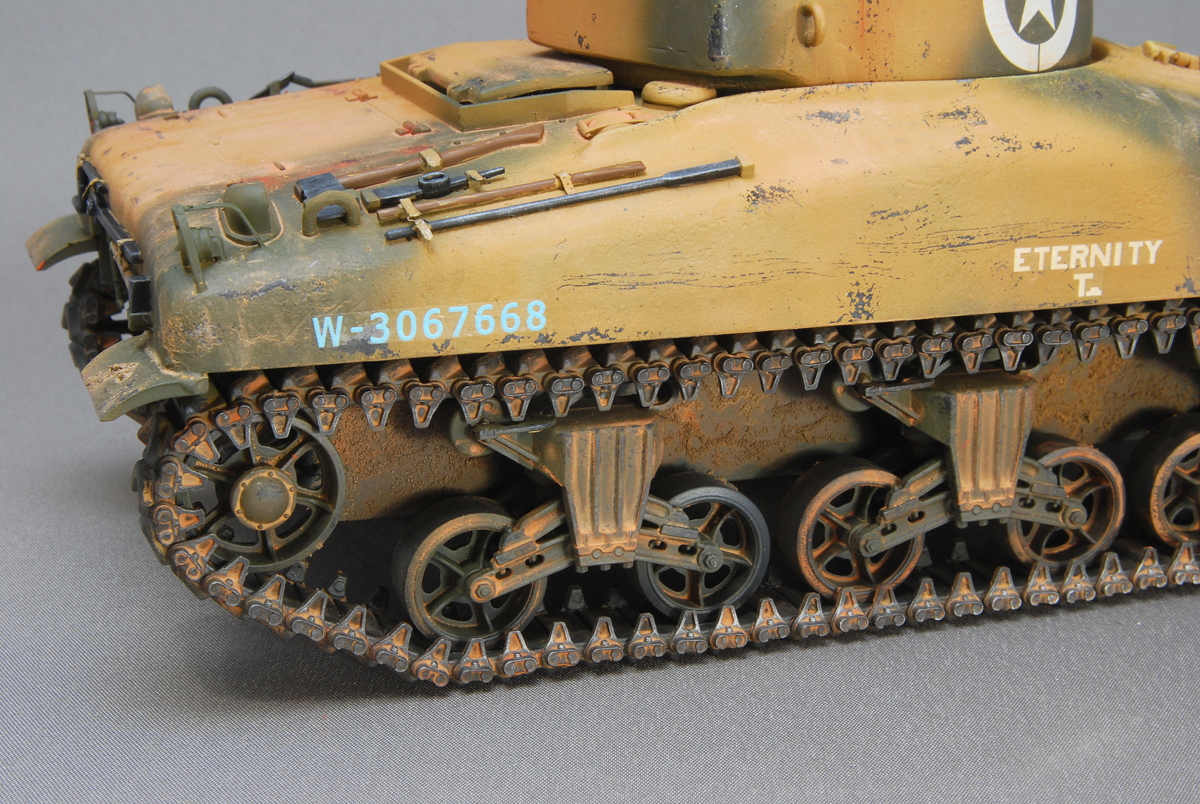 It is a caterpillar with a rubber block, so it would be better not to do a dry metal brush on the caterpillar’s contact surface.
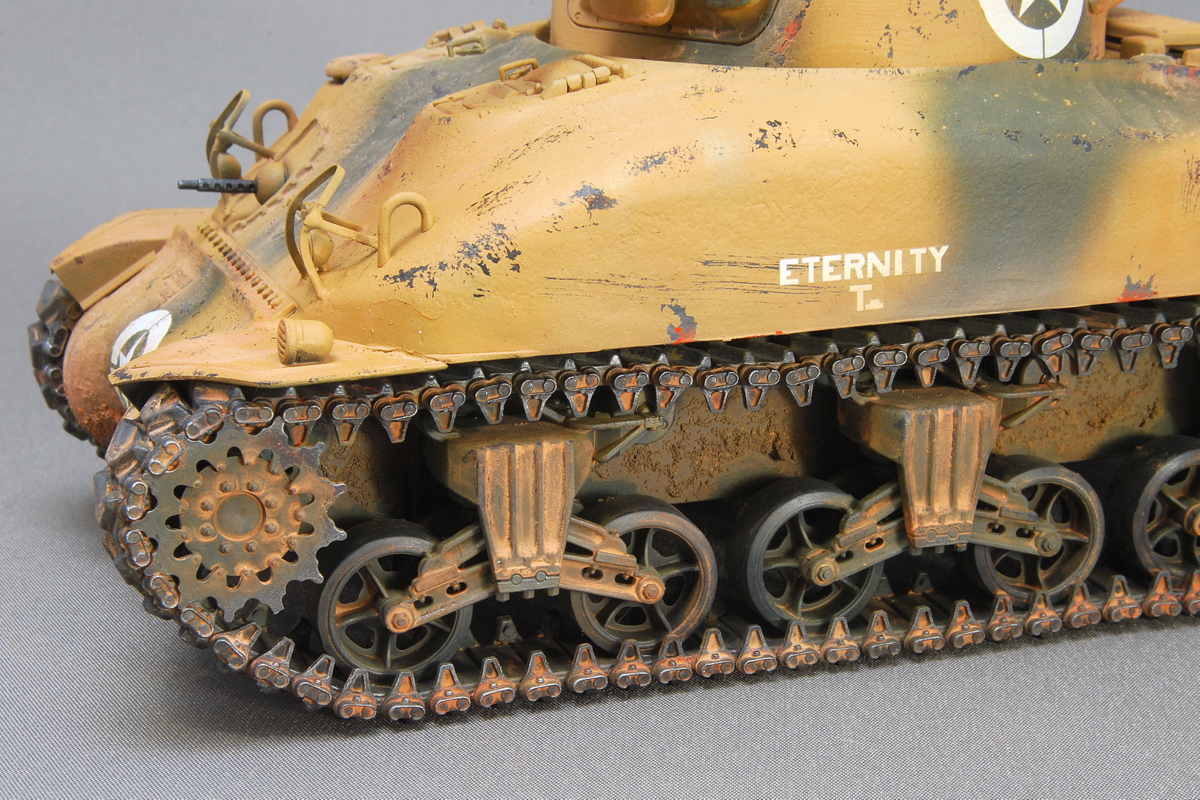 Ummm, red rust was slightly unnatural. It was better to harmonize with the armor surface more. It was pretty nice to let only the sidetrack link shined.
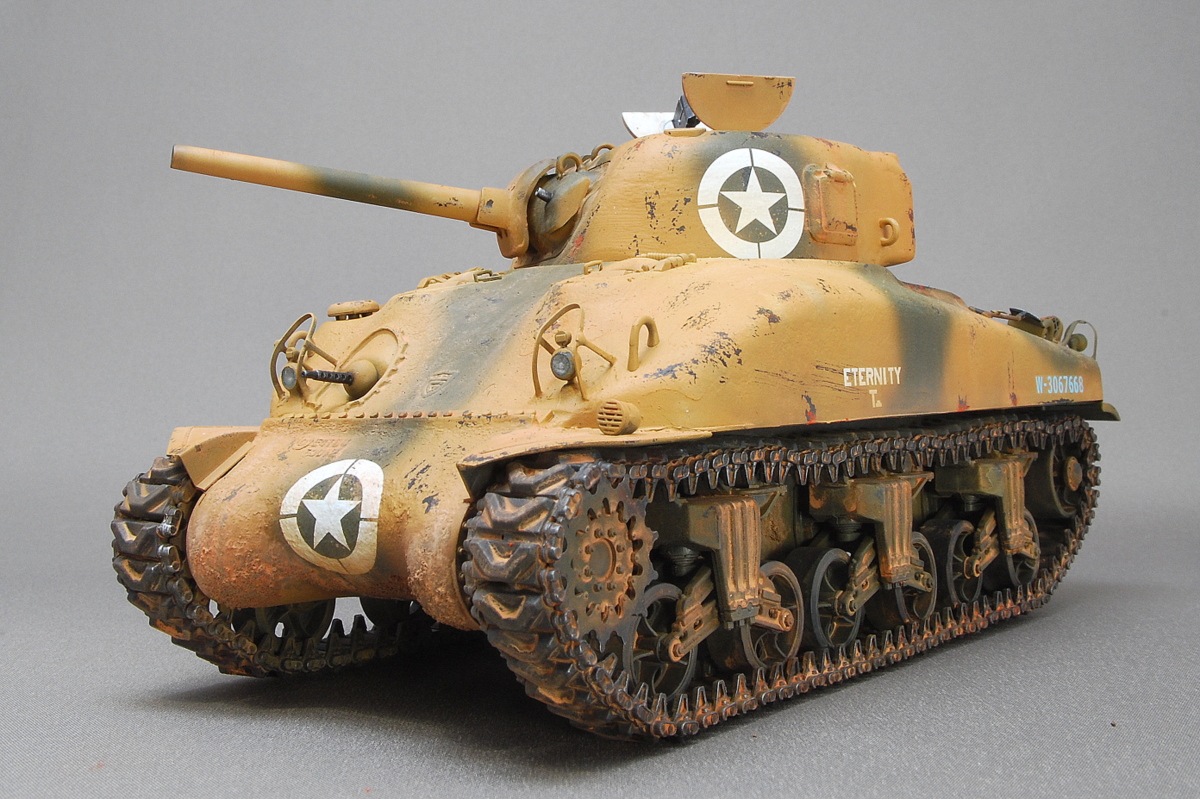
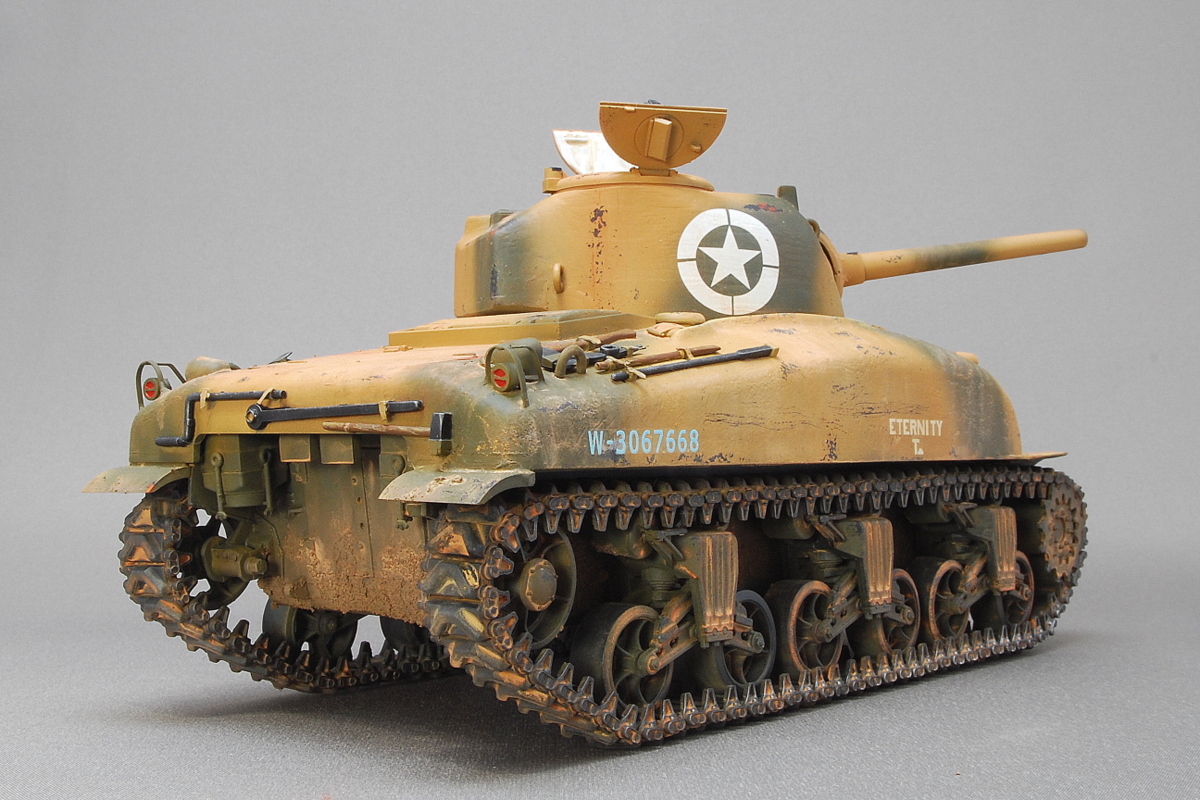 Since it is a kit before the Dragon glory day kit that includes parts, it can be assembled relatively easily. The Olive drab and sandy yellow two-color camouflage Sherman tank looks very lovely.
(2017/04/29)

