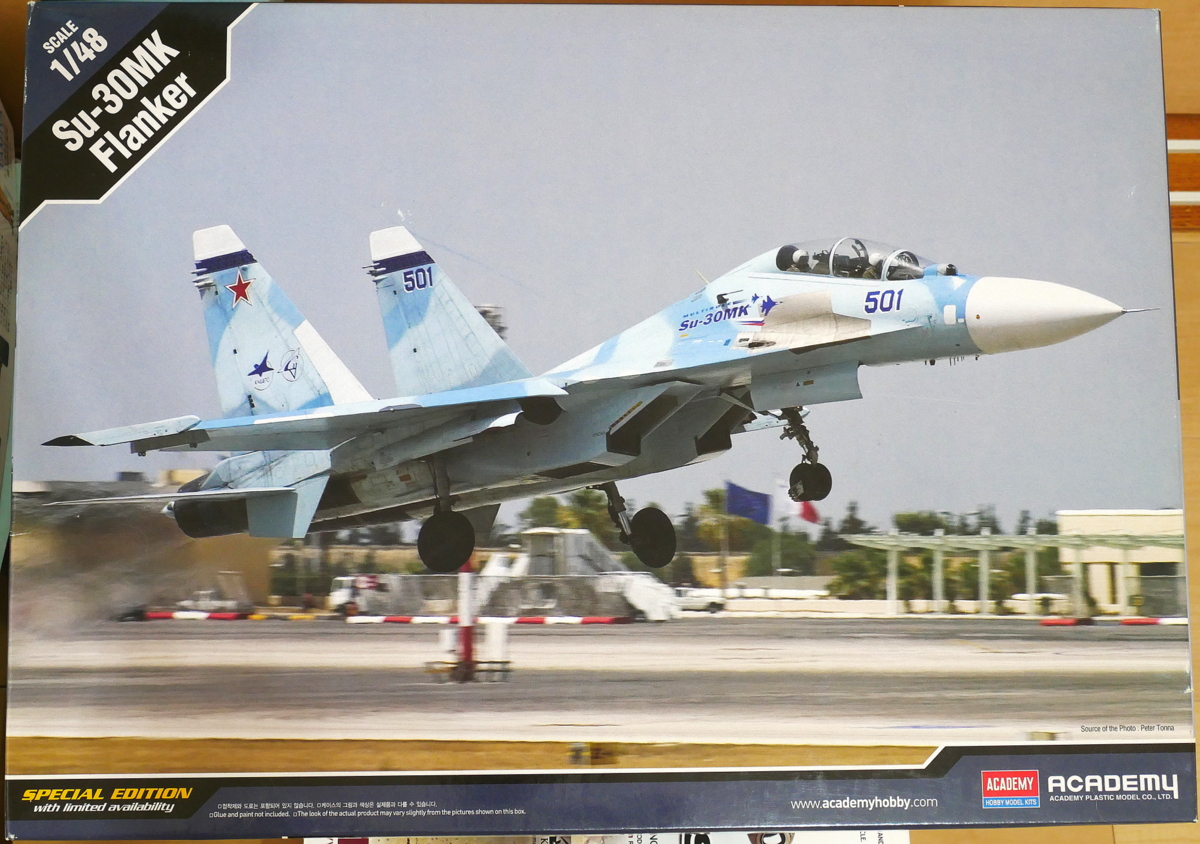
This time, I will try to make a modern Russian military fighter for the first time. It was released by Academy a long time ago. I started making it a long time ago and threw it away on the way. I’ll try to make it to the end this time.
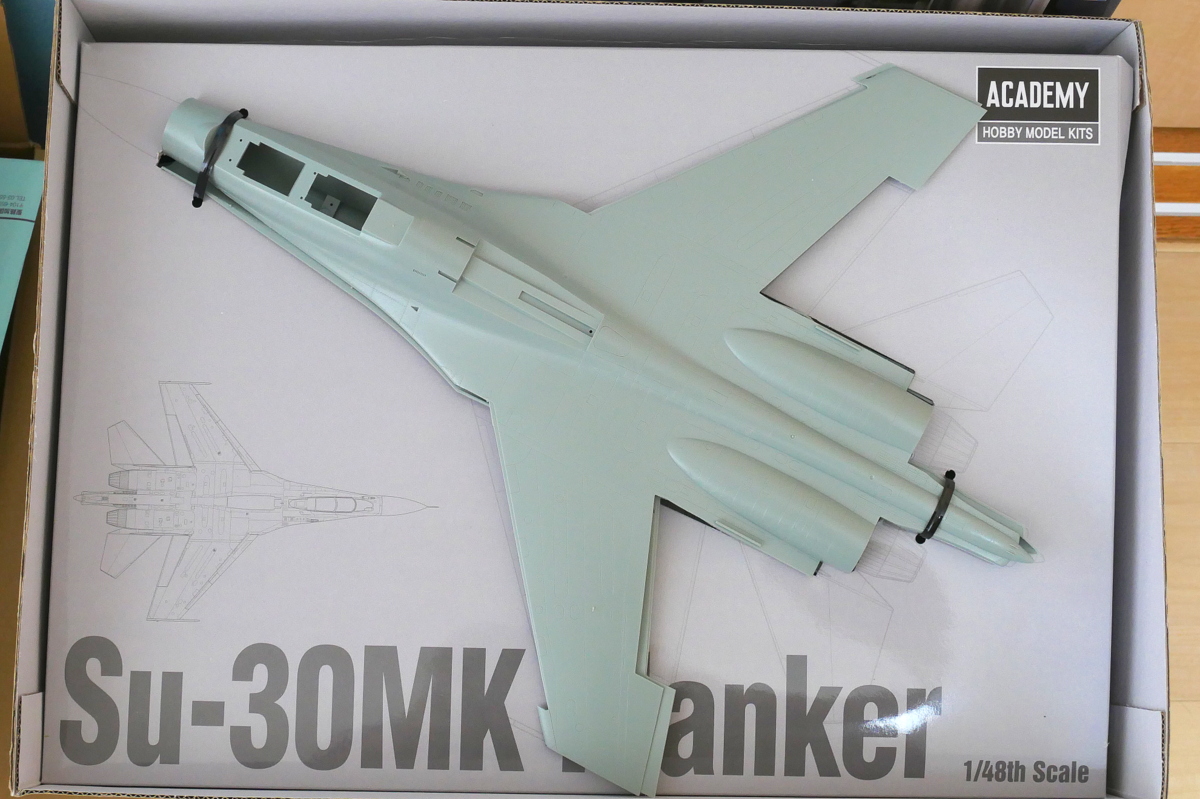
Oh! When I opened the box, suddenly, there were upper and lower parts of the aircraft. How exciting. This kit is sold with additional parts for Su-30 in the Su-27 kit. According to the instruction manual, handling many things doesn’t seem easy. Since the shape of the vertical tail is different, the Wolfpack remodeling kit is recommended.
I wonder if the mold version is a modification of the wrong part of the Su-30MK or an improvement of the details around the cockpit from the Su -27. Unfortunately, I don’t know much about it as I’m not a Flanker expert or familiar with current jets. But it says that the upper end of the vertical stabilizer should be cut, and the different parts should be attached. Also, the Su-30MK does not have a canard, but the export model to the Indian Air Force is another type. If I compare it to the AFV, the German Type IV tank has a lot of differences between Type D and Type G. The Franker family is complicated because there are many variants.
In other words, the upper end of the vertical stabilizer is lowered diagonally backward in the case of Su-27 and Su-30, but the shape of Su-30MK is not so dropped. Instead, the top of the vertical stabilizer is horizontal. The size of the vertical tail’s rudder seems more significant. Well… move my hand to see if I can finish it.

I will glue the parts installed inside the aircraft and make many holes to attach the payload.
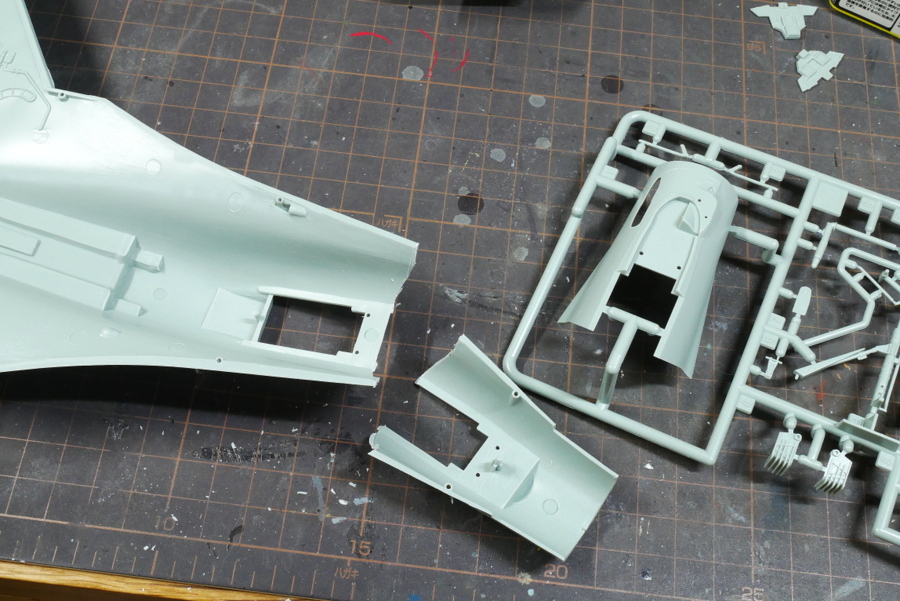
It looks like the nose is suddenly cut off and replaced with parts for Su-30MK. I don’t like chopping these parts.
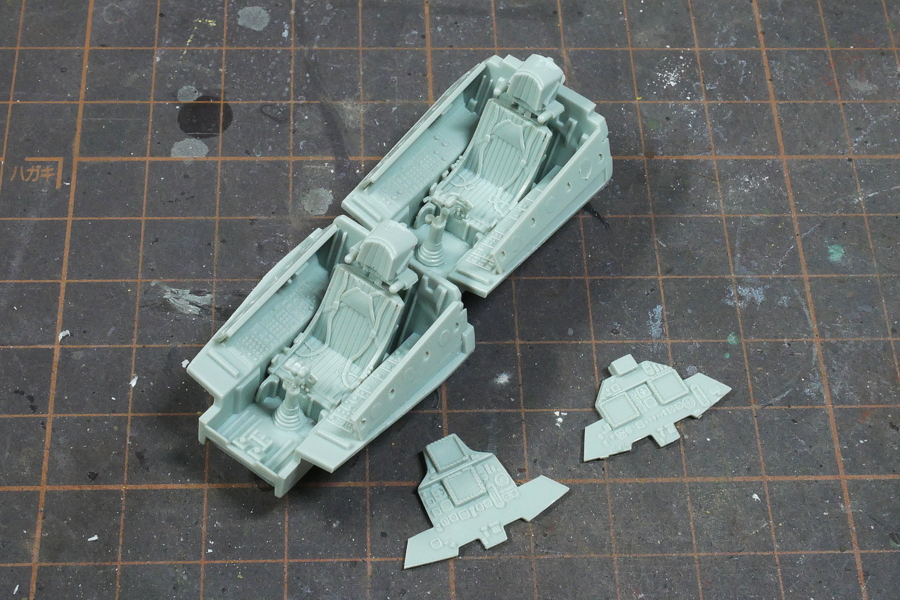
The cockpit and instrument panel molds look pretty good.
(2021/09/06)
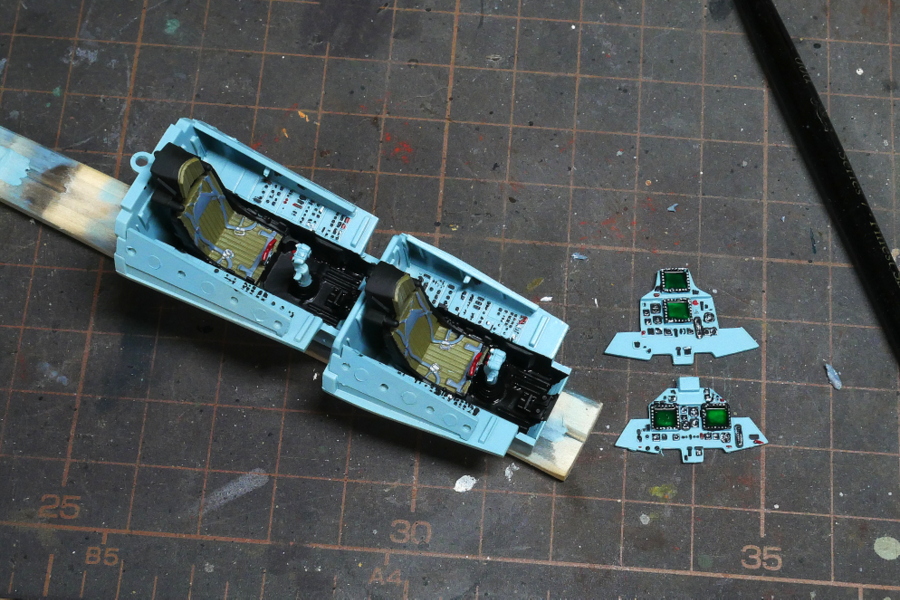
There are no decals, such as the meter panel, and it can’t be helped, so I drew them all with a brush. I don’t use third-party parts, so I think this is enough.
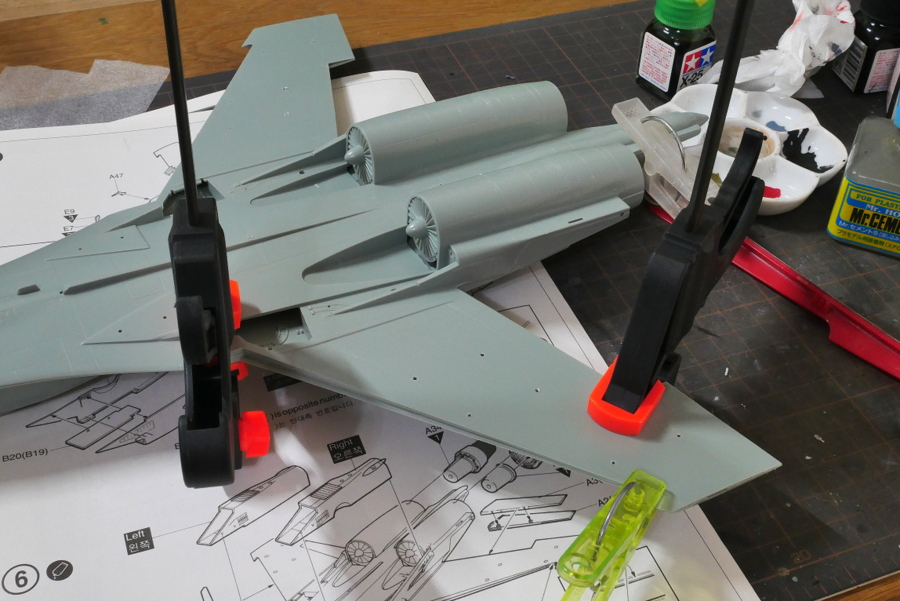
Adhesion of the body up and down is a big task. The adhesive was used from the rear of the fuselage to the main wing and nose and was joined as firmly as possible.
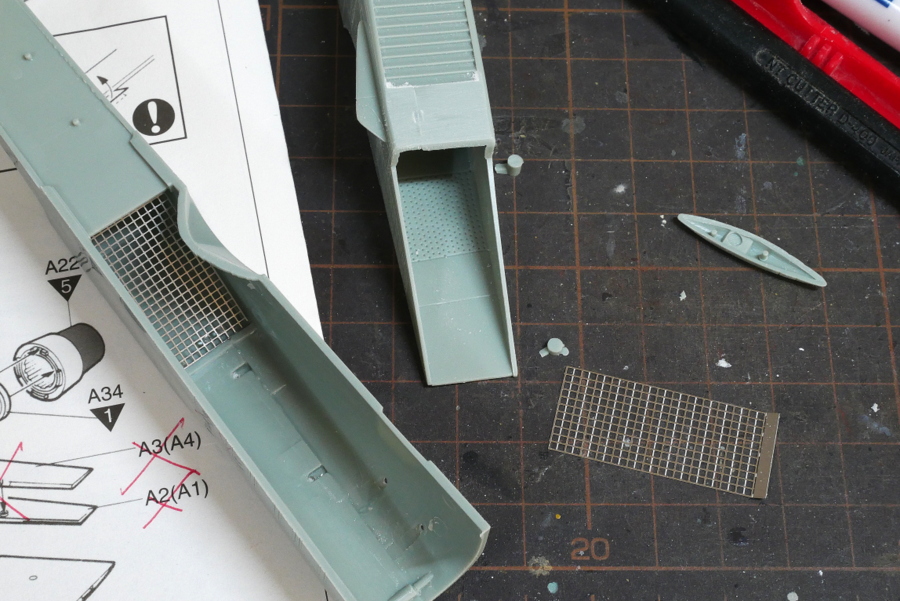 It seems that etched parts are used for the air intake. What is this wire mesh? I guess it prevents birds from inhaling. I think it is something like preventing dust and some other stuff.
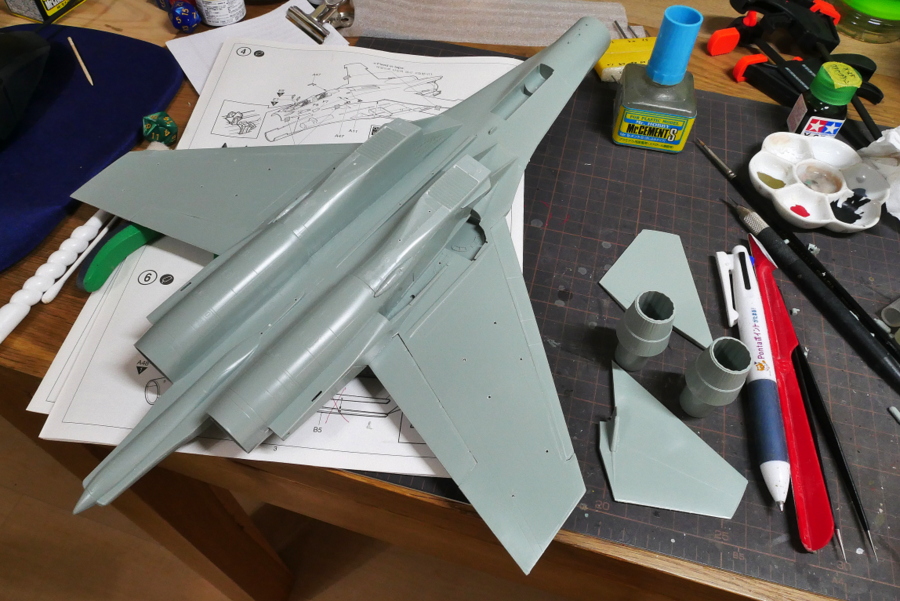
When I made it, the assembly instruction manual seemed very simple. However, most parts need to be glued together, and military equipment such as missiles are attached, so there are many detailed works.
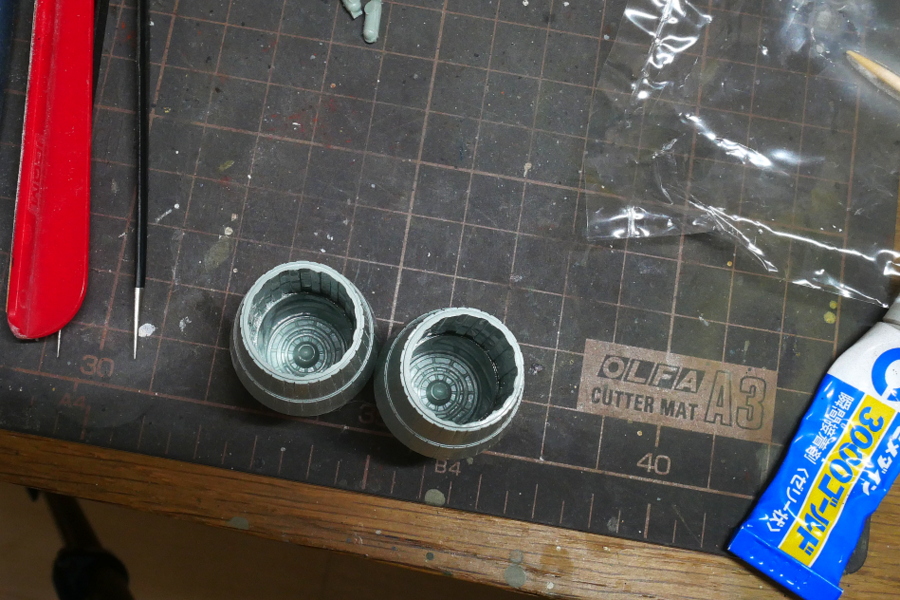
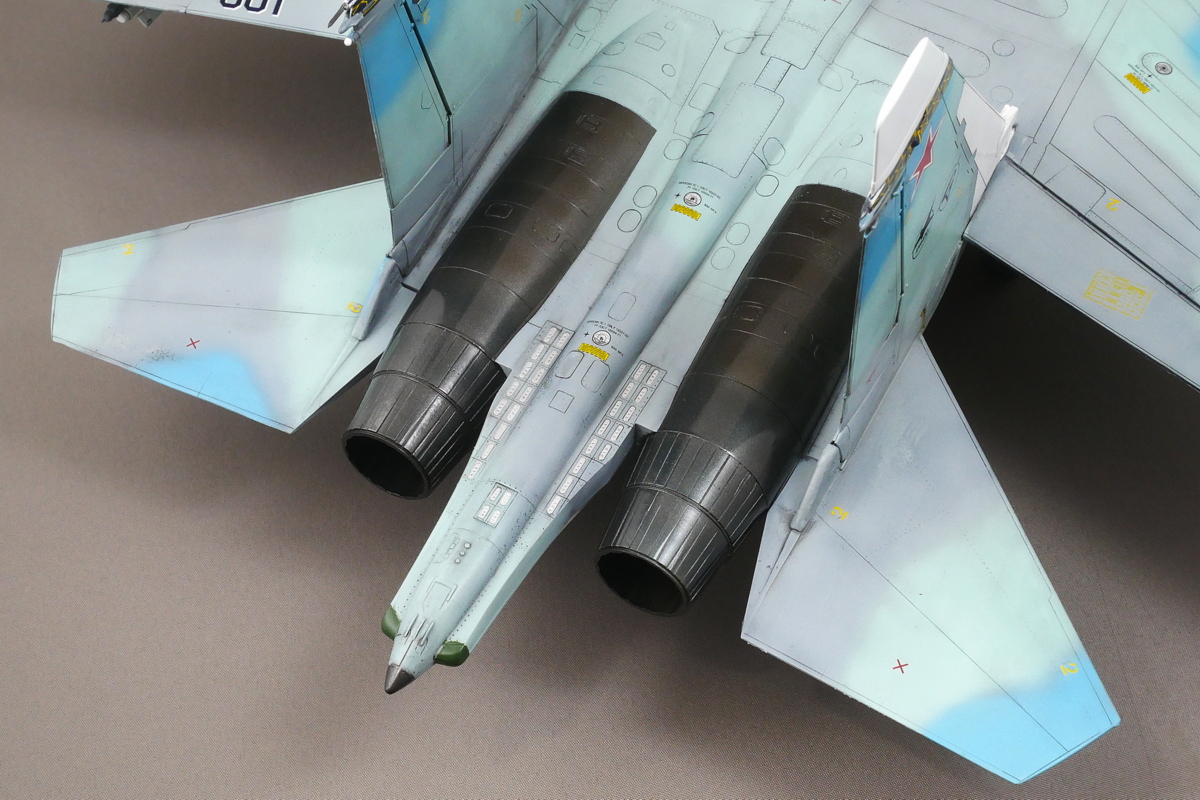
The mold inside the jet engine nozzle.
(2021/09/19)
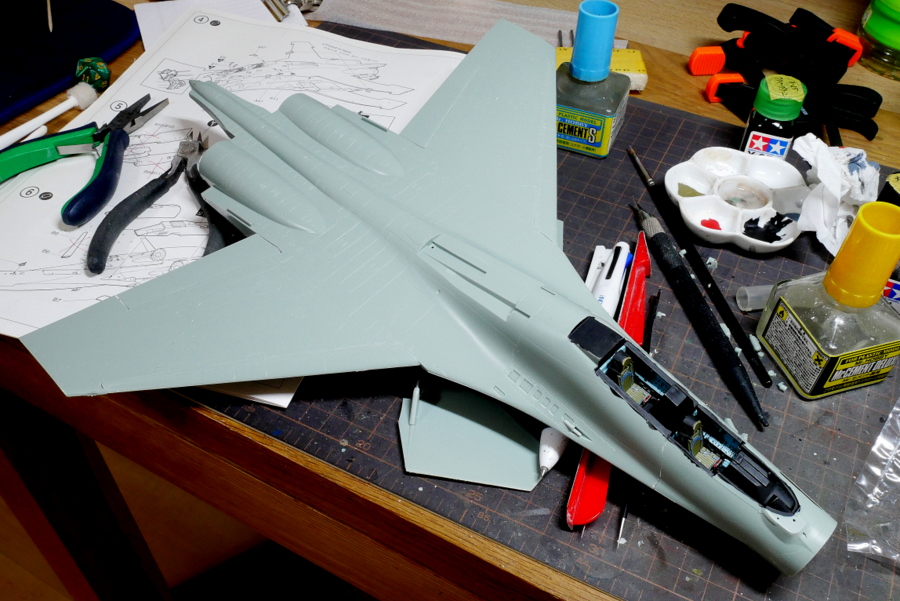
The cockpit section was successfully installed. There is no particular conflict, so it is assembled smoothly.
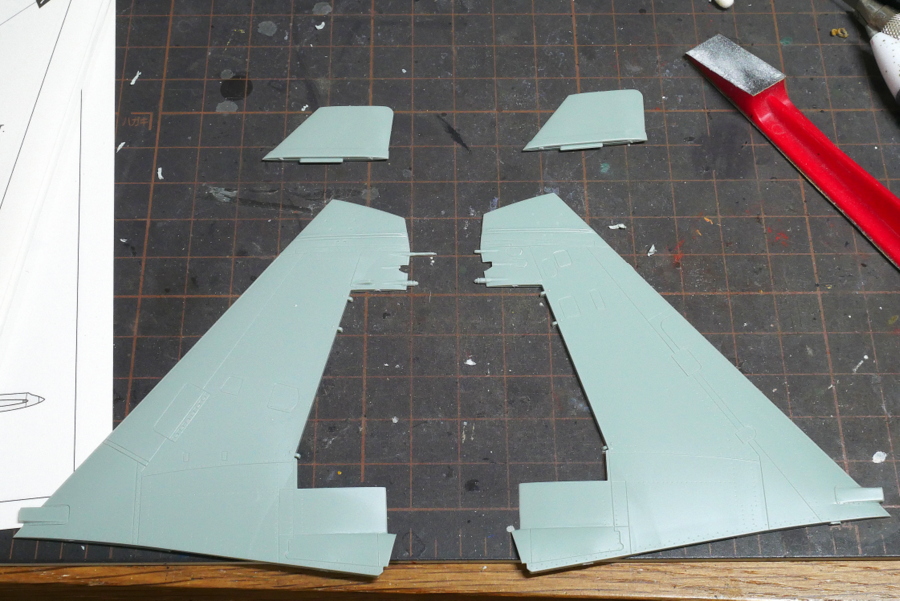
Hmm, the tip of the vertical tail is cut off and replaced. Now, at a glance, it’ll turn into a vertical bottom of the right shape.
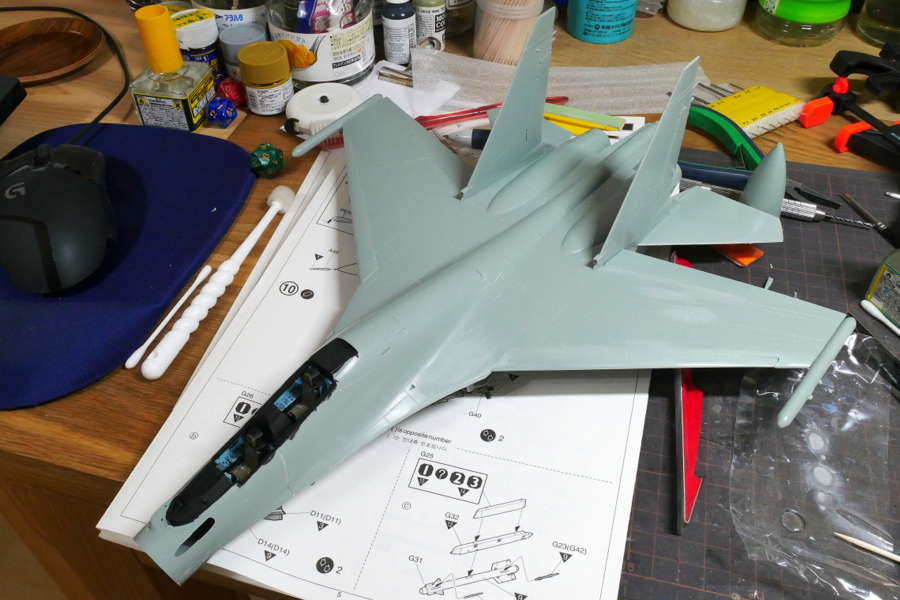
Some parts have burrs and are hard to match. Maybe it’s because of the old kit. Since the body is large, each piece is large, and it is a dynamic assembly.
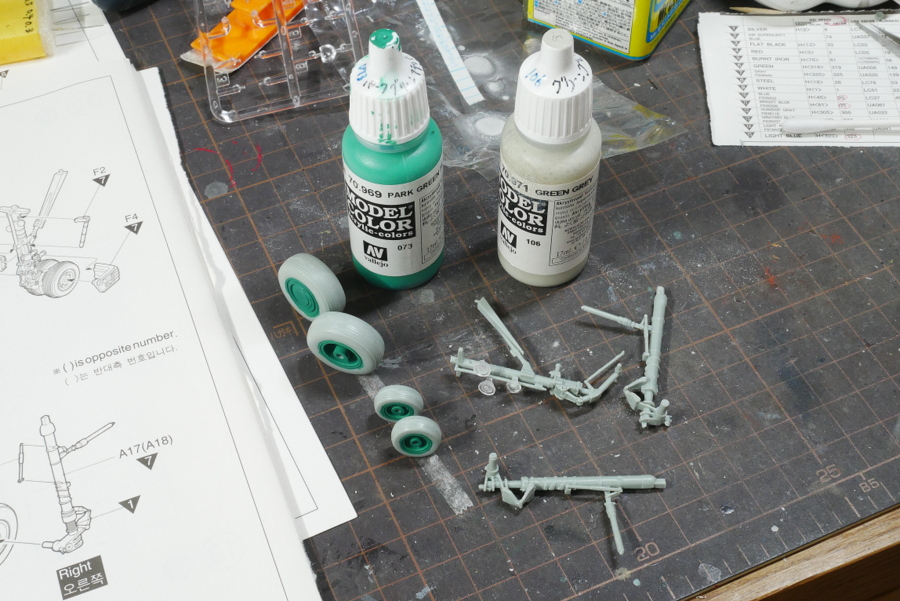
It seems troublesome to make detailed landing gears later, so I’m getting started. This time, I think I’ll glue it after painting the whole thing.
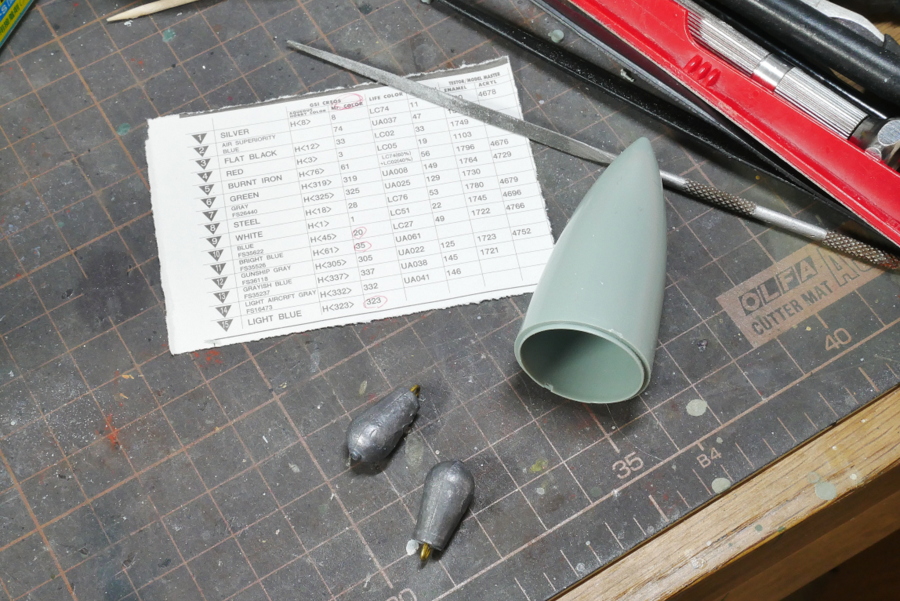
There was no mention of ballast in the manual. However, while it is still being made, it seems heavy in the back when I balance it in the middle. Just in case, I will put about two fishing weights in the radome.
(2021/09/22)

I went ahead without understanding the assembly manual correctly and made a mistake. The lid of the refueling probe was the only unnecessary part, but I forgot to glue the frame to fix the part from the inside. I was shocked because I had already fixed the radome and cleaned the joint. The hole where the refueling probe fits was utterly black, and when I looked at it, I felt completely dark. I wonder if there is no option to fold the radome again and insert the parts, considering the time and effort after that. Nothing I could do about it, so I shaved the outside pieces with a luter to fit as tightly as possible and supported them from the inside with unnecessary parts so as not to fall inside. I have to calm down and read the instructions carefully. I haven’t made many modern Russian jets, so it’s even more so. Maybe I can make something like Dragon Panzerkampfwagen IV without looking at the instruction manual.
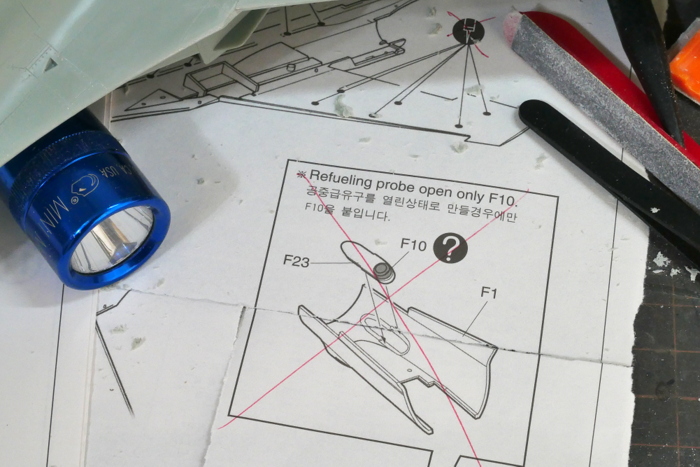
This is the part in question. Unless the details of the fueling probe are checked, it will be very troublesome later.
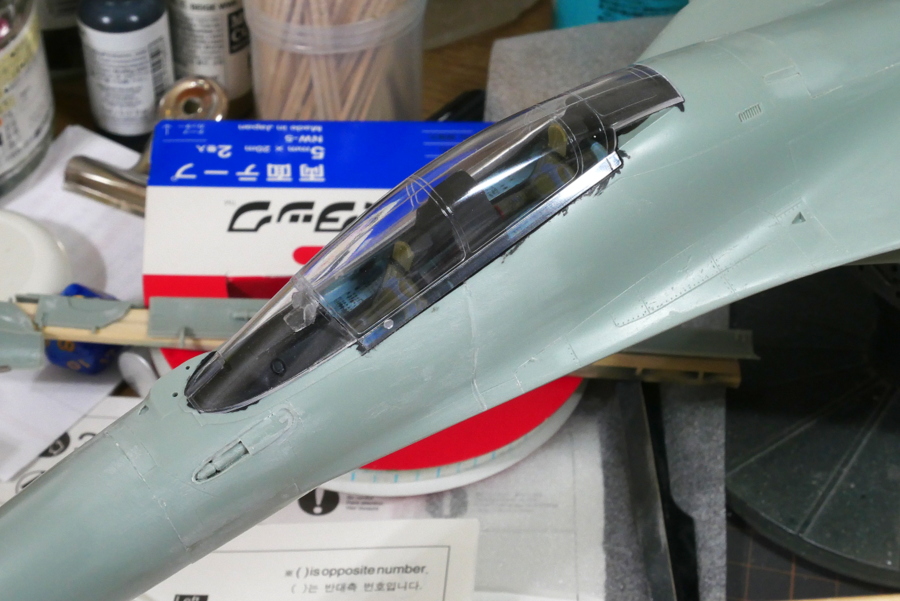
The fit of the canopy to the aircraft seems to be good.

There is a parting line in the middle, so I have to polish it with a compound after shaving it later.
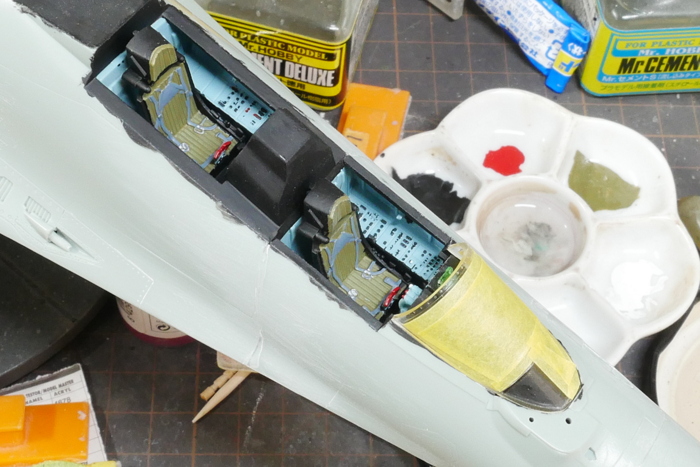
The cockpit has safely settled inside the aircraft. There was a bit of interference, so I scraped off the inside a little.
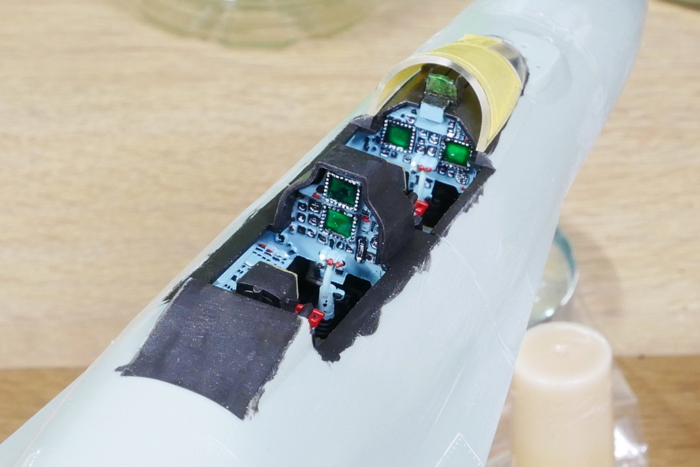
The seat belt was molded, so I just painted it lightly.
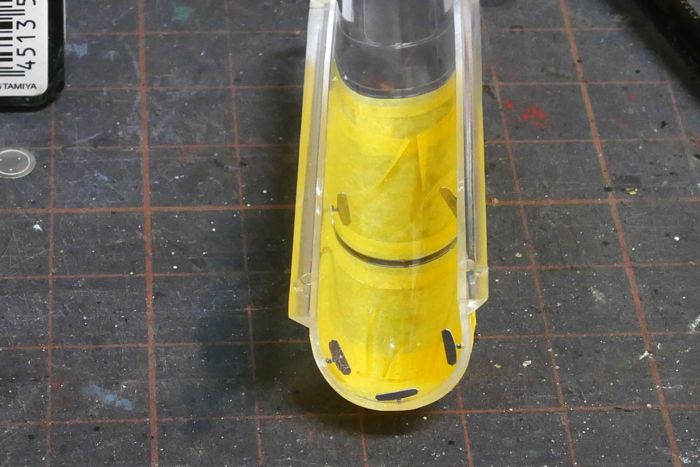
There are five metal parts of the rearview mirrors in this delicate area. If possible, I don’t want to work on clear parts.
(2021/09/25)
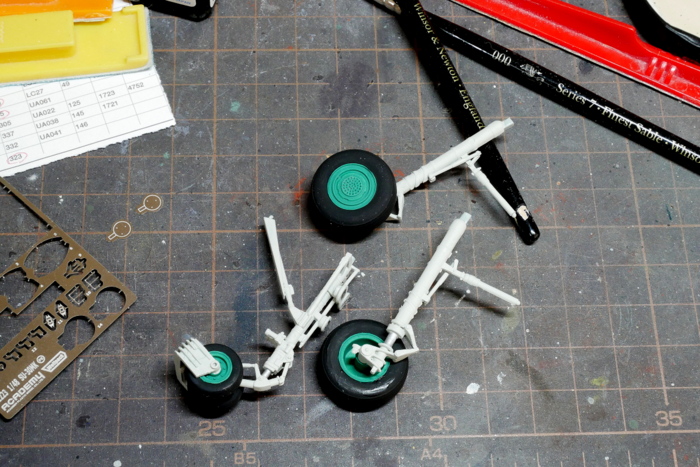
I don’t know where to start, so I assemble small parts and paint them before painting the whole body. When I use this color for landing gear and tire wheels, I feel like I’m building a Russian aircraft.
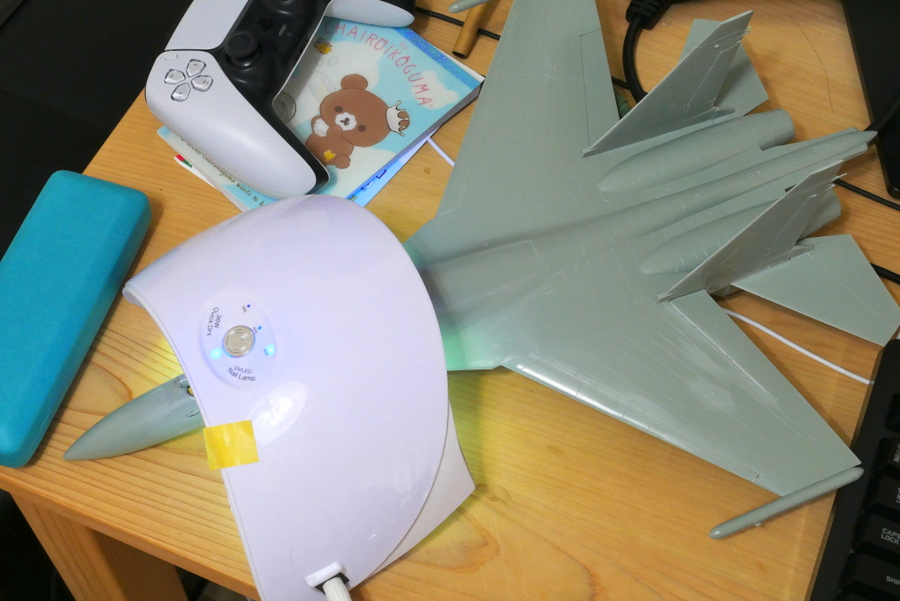
I don’t remember much because I stopped working for a long time on the way, but I think I was trying to glue the canopy to the main body with transparent resin. In the end, it didn’t have good adhesive strength, so it should have been fixed with a Creos pouring adhesive.
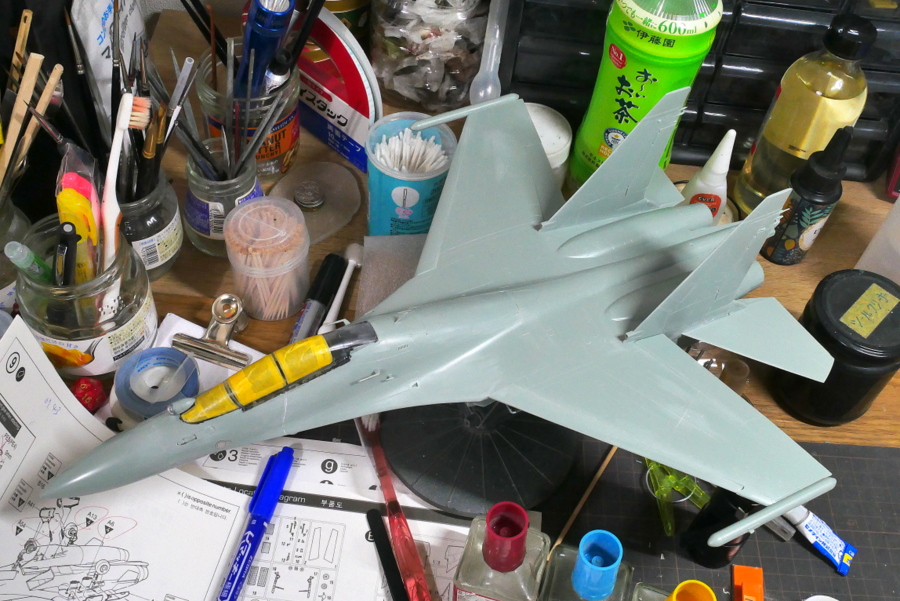
I think I left it around here for several months because the color of the work mat is different.

In this kit, I assembled various arms before starting this painting. It might be the same color as the aircraft, so I want to paint it simultaneously.
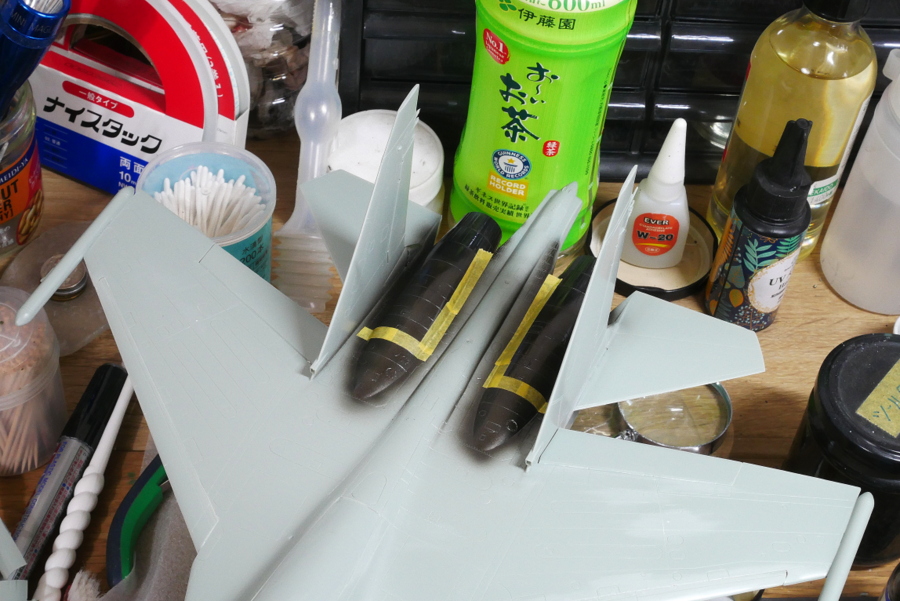

First, the engine was painted and masked. For myself, I thought I worked very carefully.
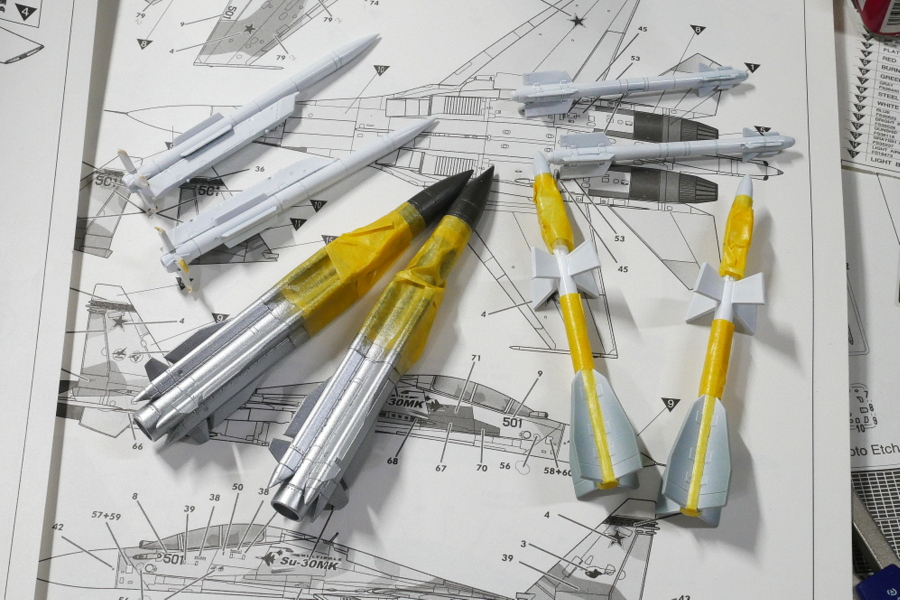
I try not to paint with a brush but use an airbrush as much as possible to mask the small parts. There are a lot of different coats this time.
(2021/09/28)


For now, I used the same process, as usual, to paint with gradation in black and white. However, as a result, the camouflage paint might have been blown thickly, so it might not have had this effect.
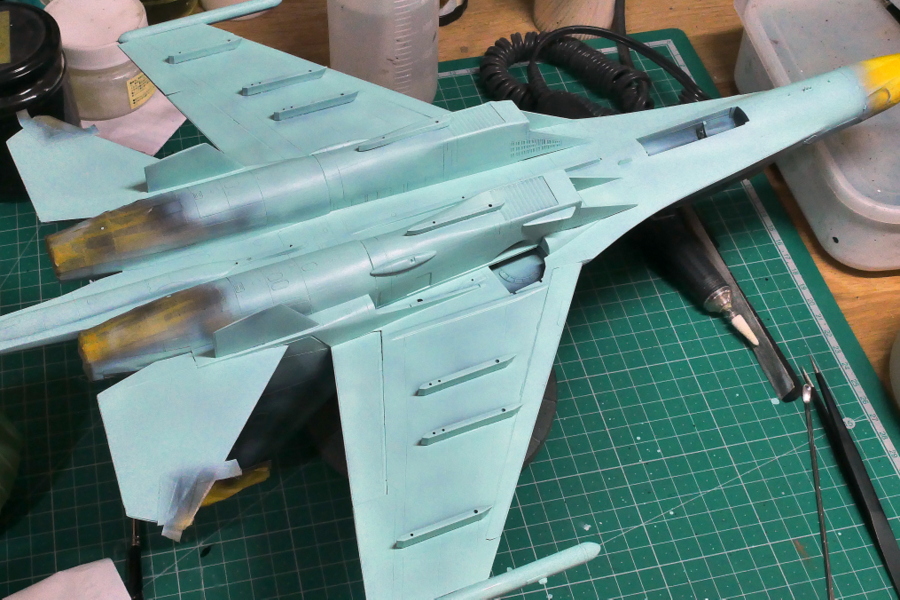
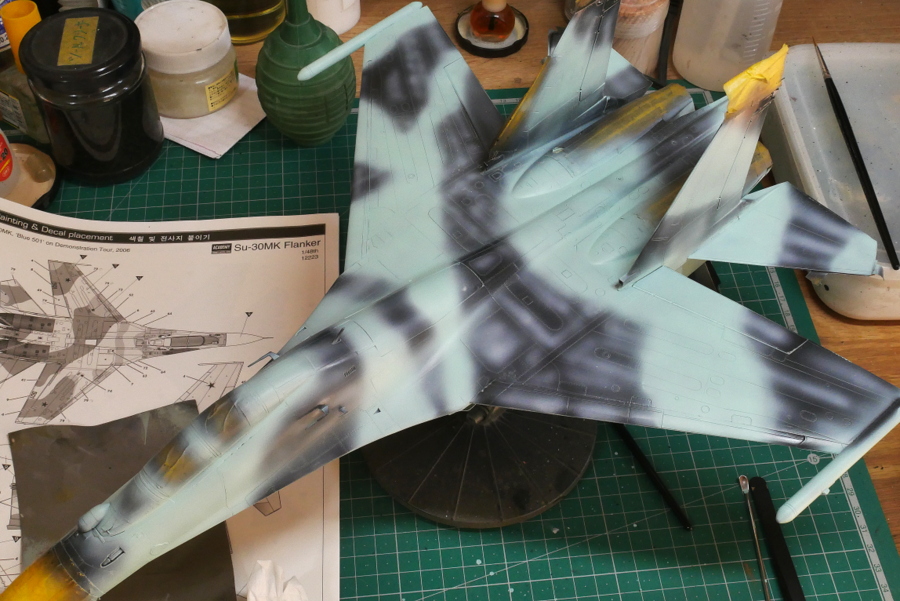
One of the three camouflage colors on the top and bottom of the fuselage is the same color, so it blew all at once.
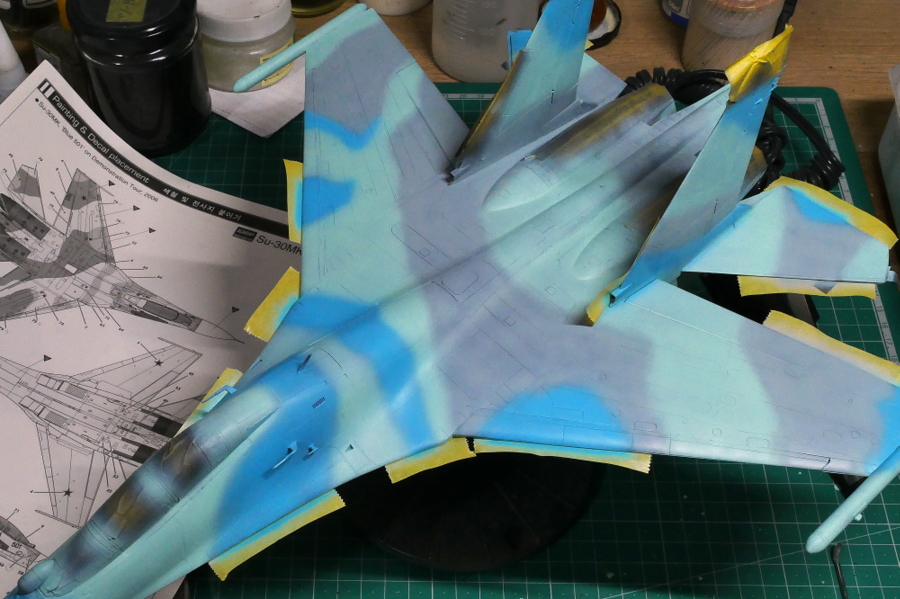
Sky blue is a vivid color, so I mixed other colors a little to blur it. It still stands out.
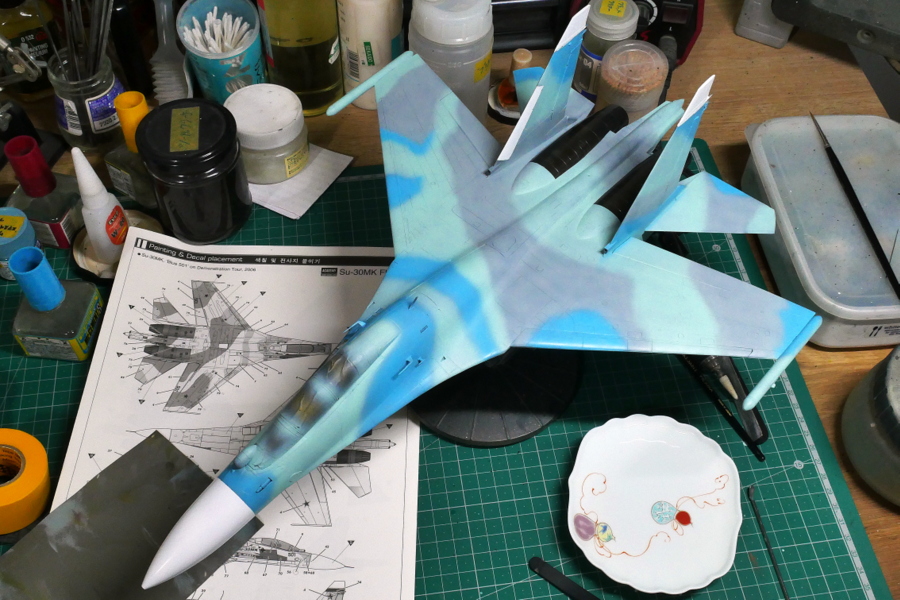
I painted camouflage in almost the same pattern as the painting instruction. It’s big, so it’s pretty hard up to here.

Cartograf decals have good adhesion and color quality.
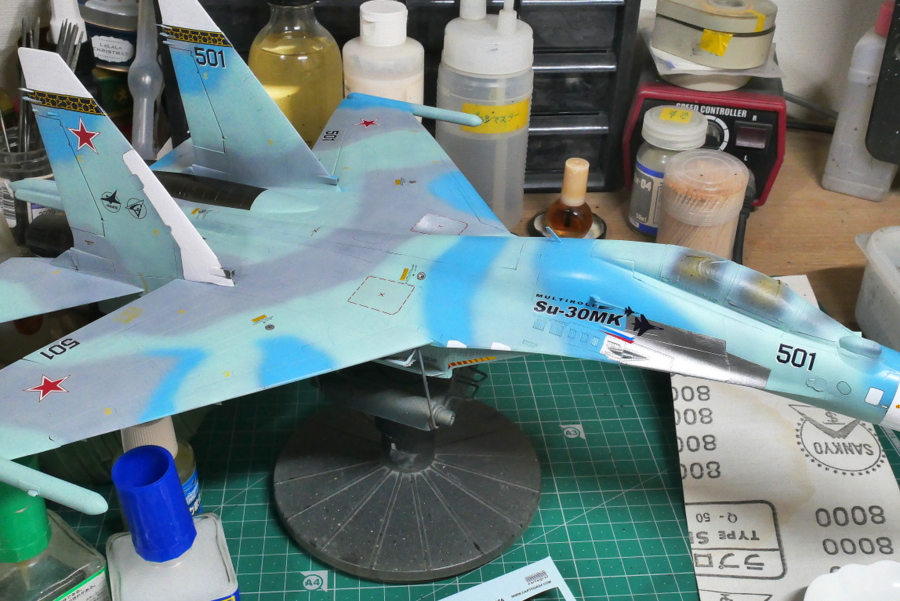
I am pasting various small decals. Even so, the number of decals may be less than the current kits. It’s relatively simple.
 The decal of the silver part next to the cockpit was also prepared, but I masked it and painted it separately. If I used this decal, I could use it without any trouble.
(2021/09/29)
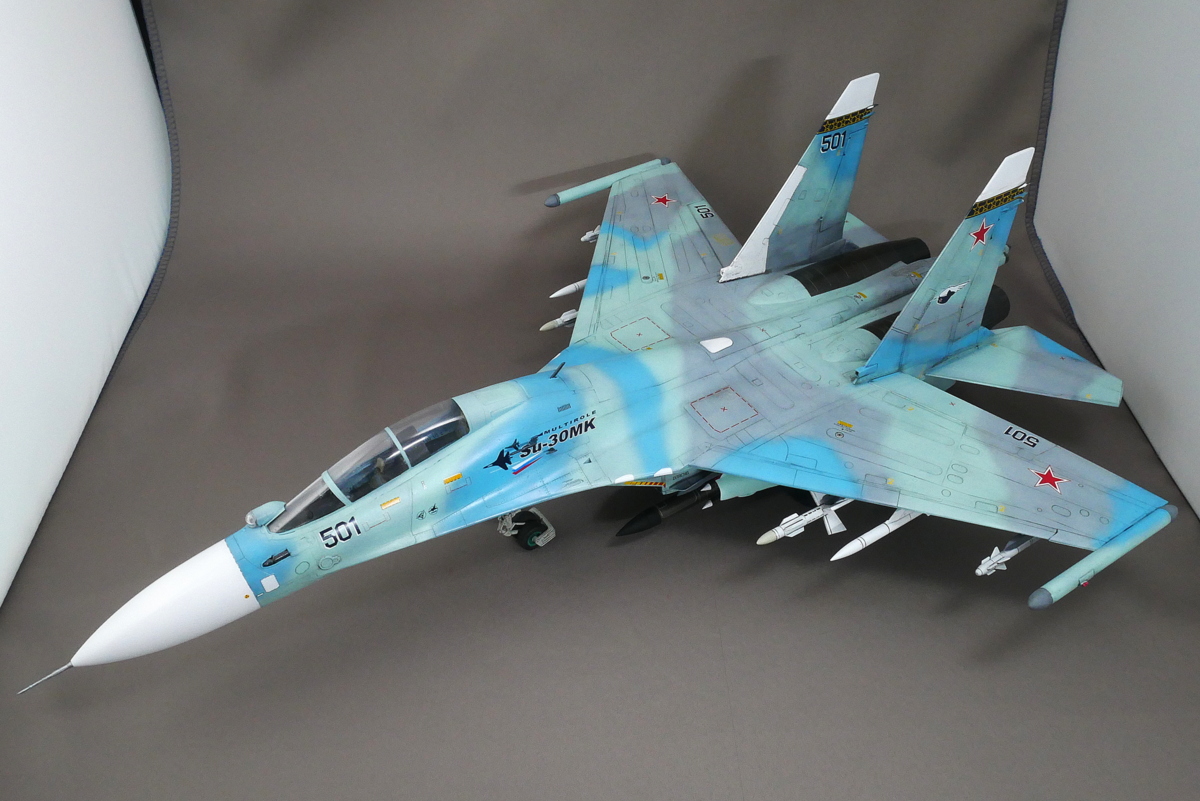
The Su-30 was developed based on the Su-27UB, a trainer and fighter. It is equipped with powerful radar as an air defense fighter. In addition, it has expanded its function as a fighter bomber.
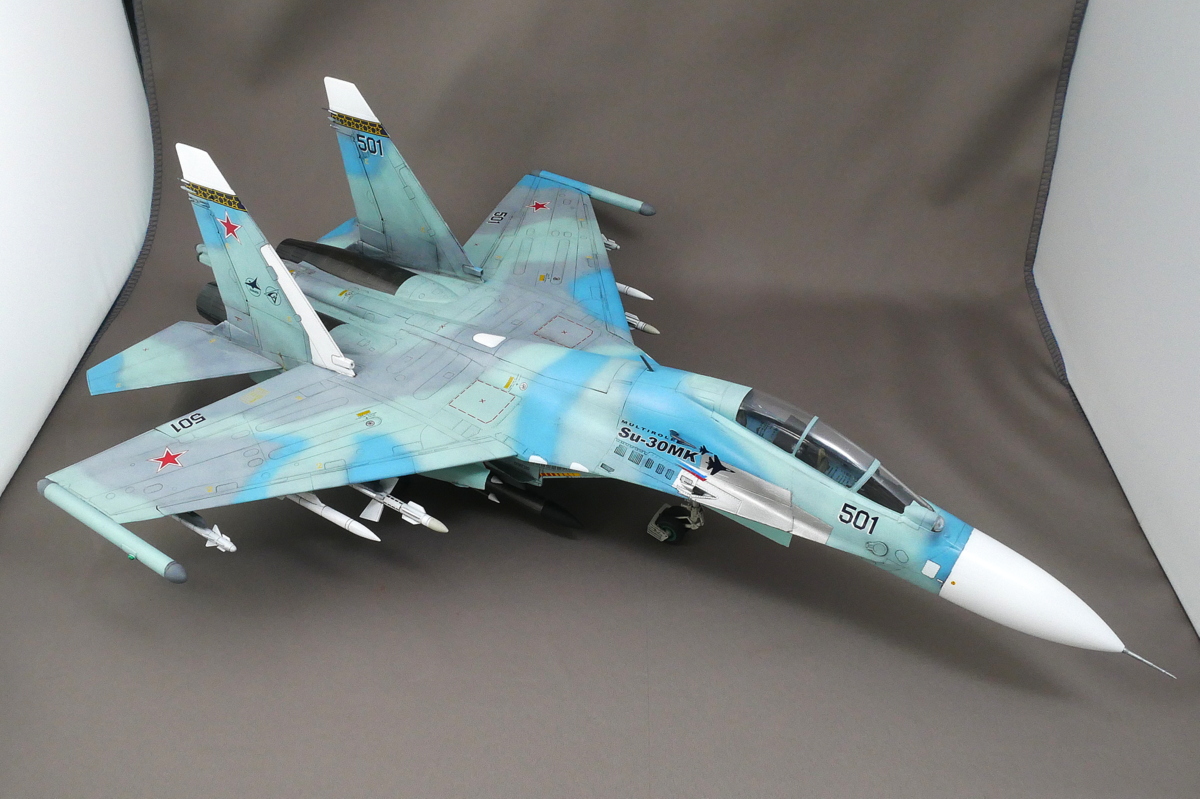
The Su-30M is a multi-purpose tactical fighter with a letter K attached to it, which is for export. For example, if MKI or MKM follows it, there are various specifications for India and Malaysia.

I did some weathering to wash the whole surface and make the paint a little peeled off. If I think about it, it might be a demonstration plane at an air show, so I might not need to make it so dirty. In the end, I painted it as I wanted.


According to the assembly manual of the Academy, there wasn’t much detailed instruction for painting. A 1/72 Hasegawa kit gives more detailed instructions. In addition, if it is a photograph like a completed sample, it seems to be painted to a wonderful part. Wouldn’t it be nicer for the modeler to write it down in the manual?


In front of the cockpit are a circular IRST (Infrared Search and Tracking System) and a laser range finder.

As far as I can see, I painted the fine details. I had an impression that it was somewhat flat when I just painted it and put a decal on it, but I think I improved the precision by putting a little more detail on the panel line and making it stand out. If I don’t do the surface treatment properly, I will have a hard time. I know, but it isn’t easy.


The marking is indicated as Su-30MK Blue 501 Demonstration Tour 2006, so I wonder if it is the marking of a demonstration flight of a weapons industry show or something.

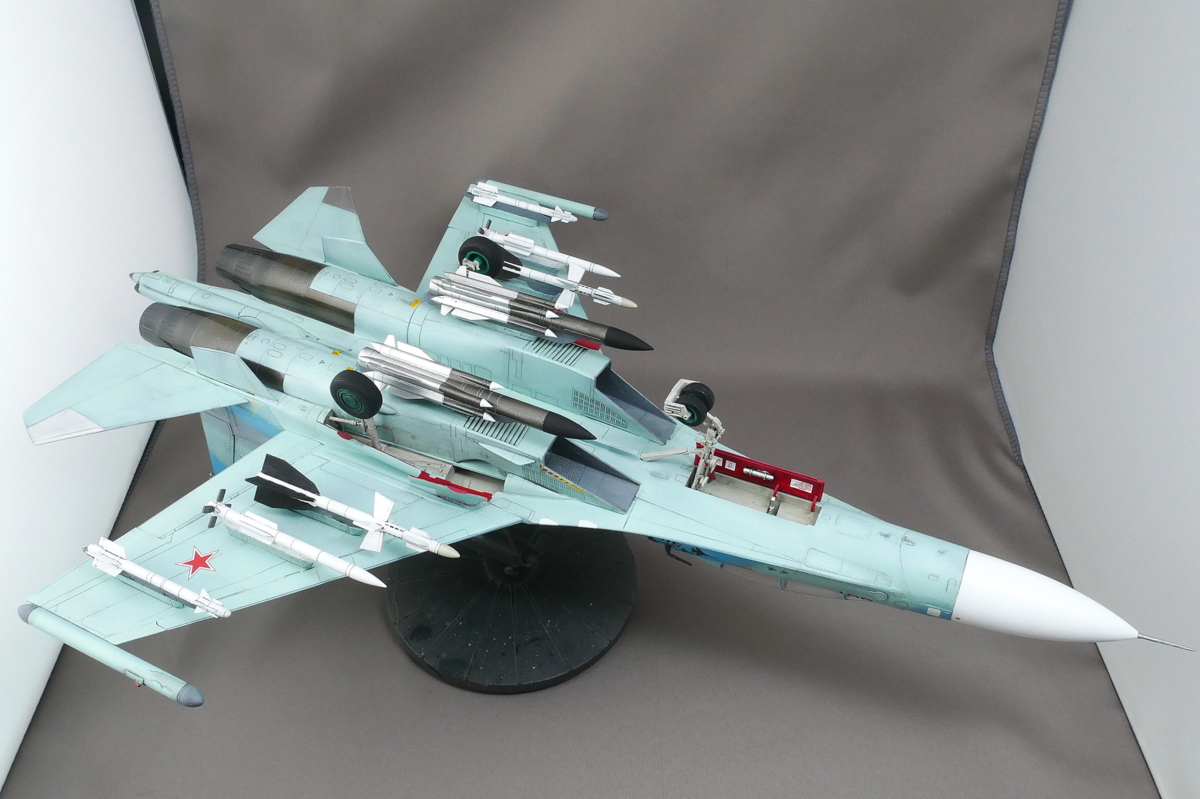
Do they fly in total armaments, even in demonstration flights? This time, I loaded a lot of air-to-air missiles. The Kh-31 AS-17 Krypton medium-range air-to-ship missiles directly below the air-intake, the R-27 AA-10 Alamo medium-range air-to-air missiles, the R-77, and AA-12 Adder medium-range air-to-air missiles, and the R-73 AA-11 Archer short-range air-to-air missiles.


The inside of the landing gear cover was painted red, the wheel compartment was painted in gal gray, and the interior of the air intake was painted in light gray. Other than red, it is a personal feeling.
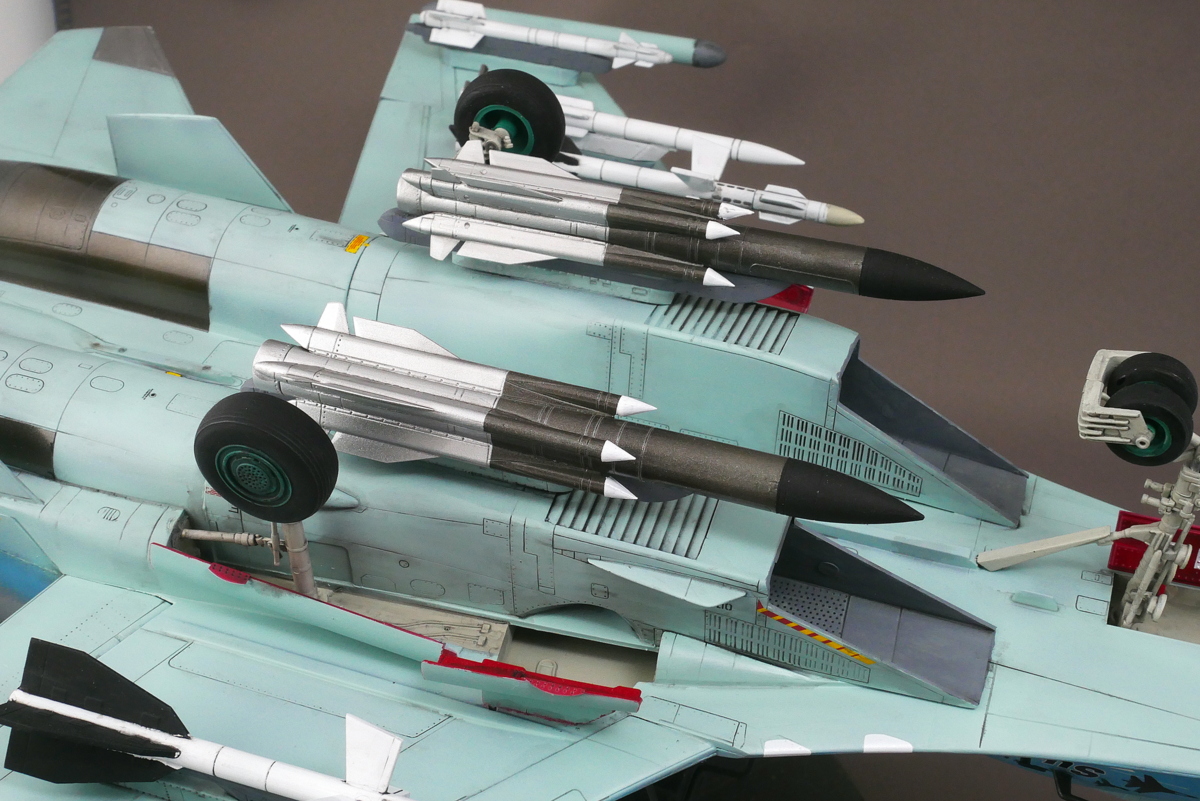
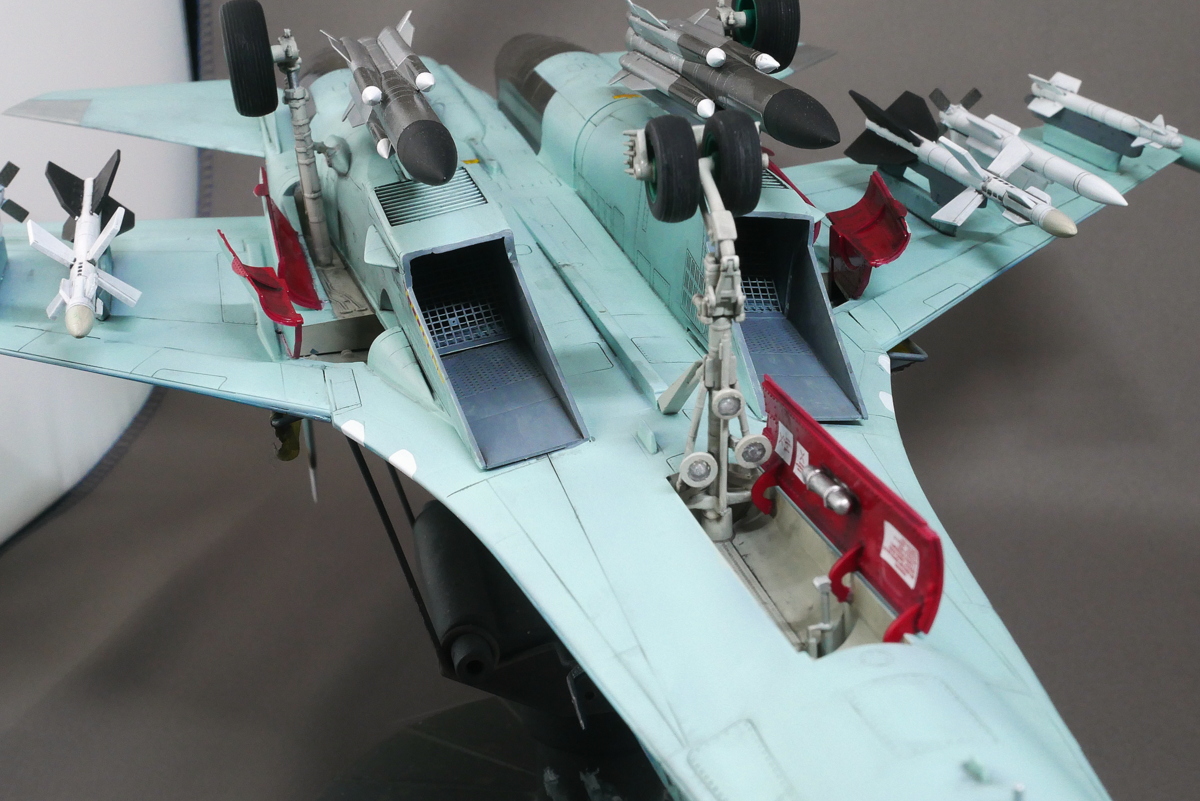
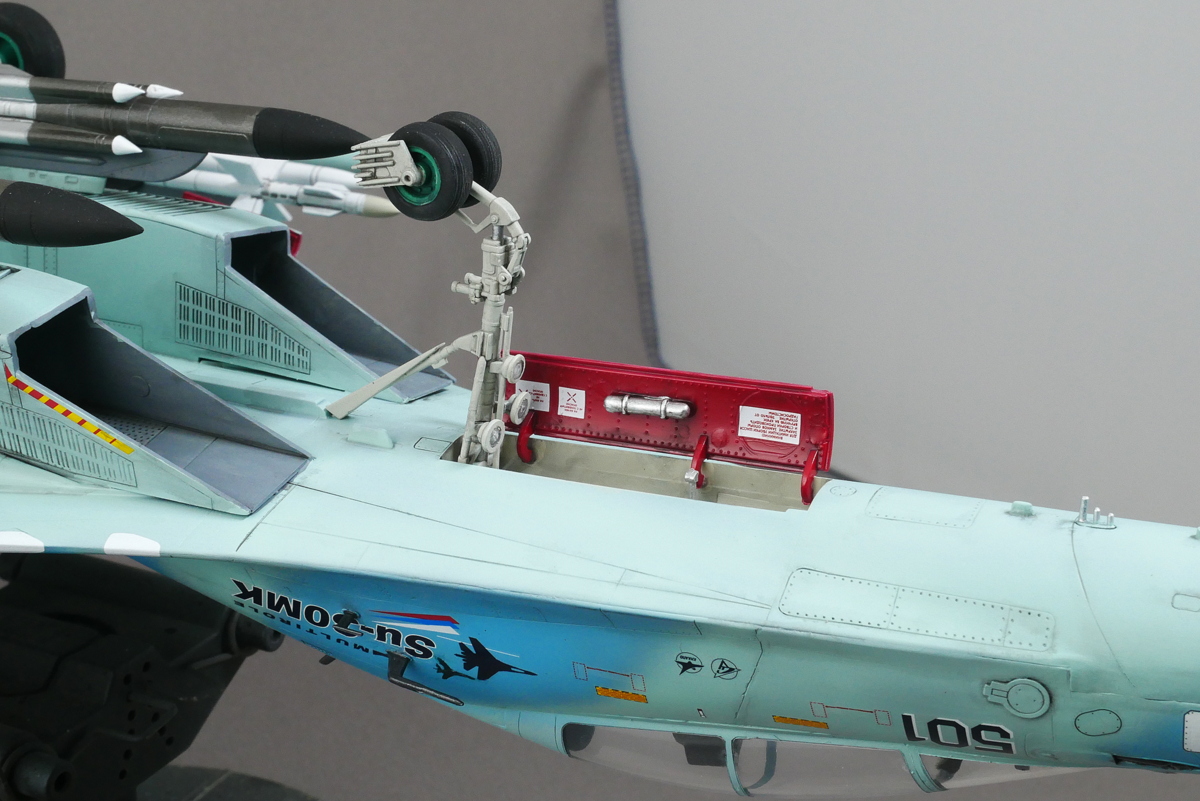
Adding decals increases the precision.

In the beginning, I thought I would finish everything with an airbrush, but in the end, I forgot to paint the delicate parts. After all, there are more touch-ups with brush painting.

Also, it’s hard to keep concentration until the end. As for this kit, I stopped making it for a while and ran to other kits, so it was hard to get the feeling when I made it again. At first, it was big and difficult to handle, so I worried it would be completed. It seemed enormous, a powerful kit.
(2021/10/01)


コメント