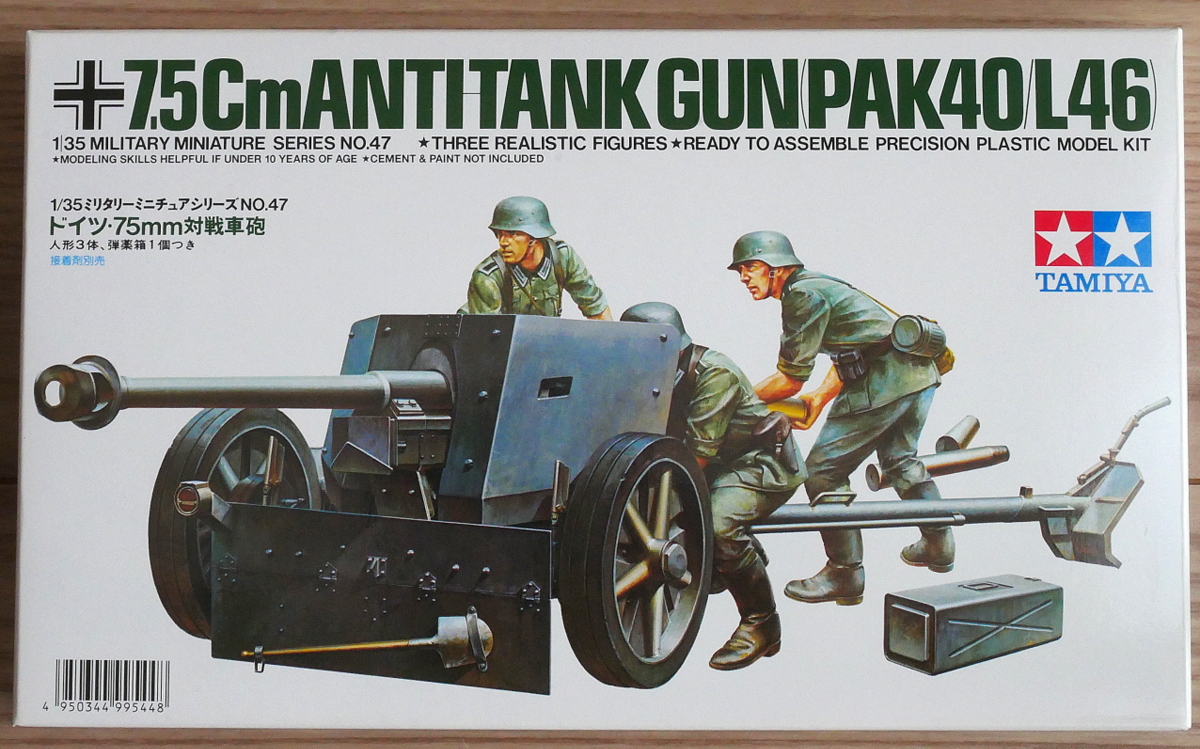
I think I will make a small kit easily. Since it might take some time to get the parts for the model airplane under construction, I picked up a nostalgic kit for recreation.
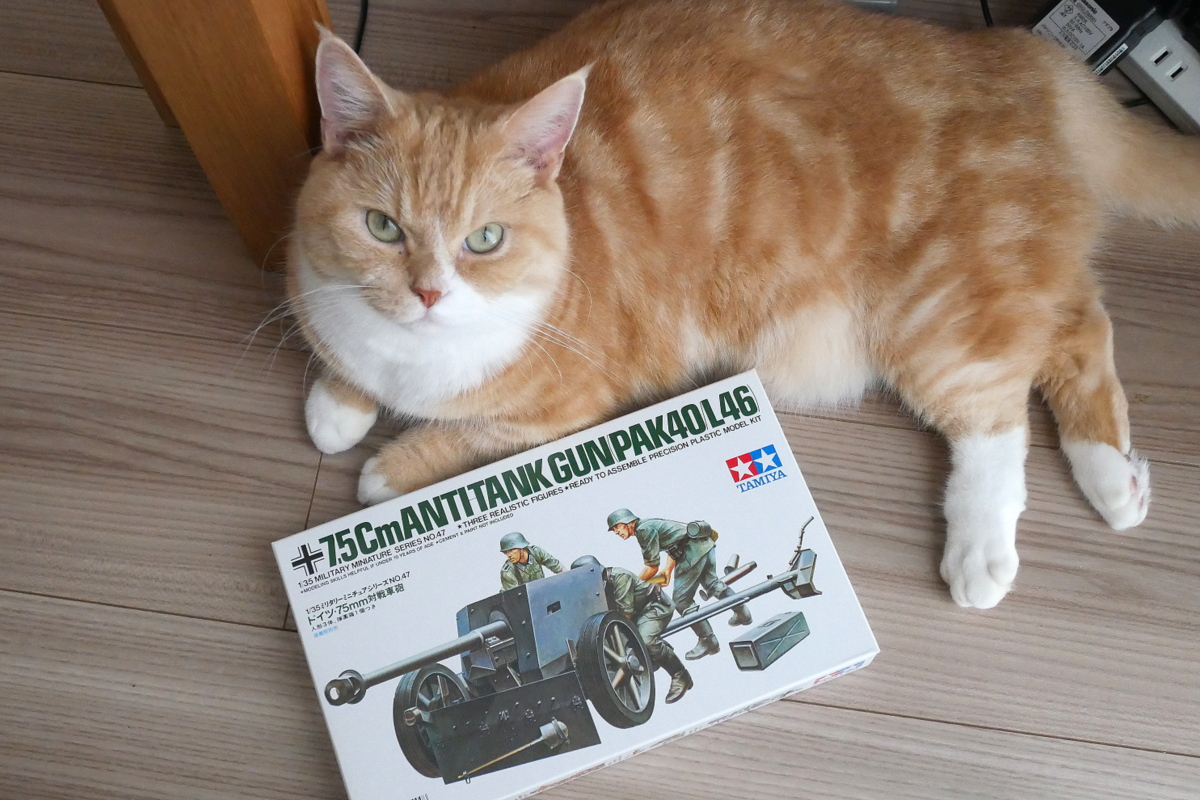
Since I lost the canopy in the Bf110E while the building was suspended, I checked the parts runner and accessories before starting. This may be a common sense among modelers, but I wasn’t too worried about it. Well, I can’t do anything about checking the contents of a kit that’s been around a long time since I bought it, but at least I don’t want to be surprised during my making to notice losing the parts. Also, the essential point is that if I stop working, it is important to put all the parts in one box. I can work on it as soon as I feel like it, which might be an advantage of leaving it on my desk. I’m scared that once I put it in a box, the hurdle for a restart of making it will go up.
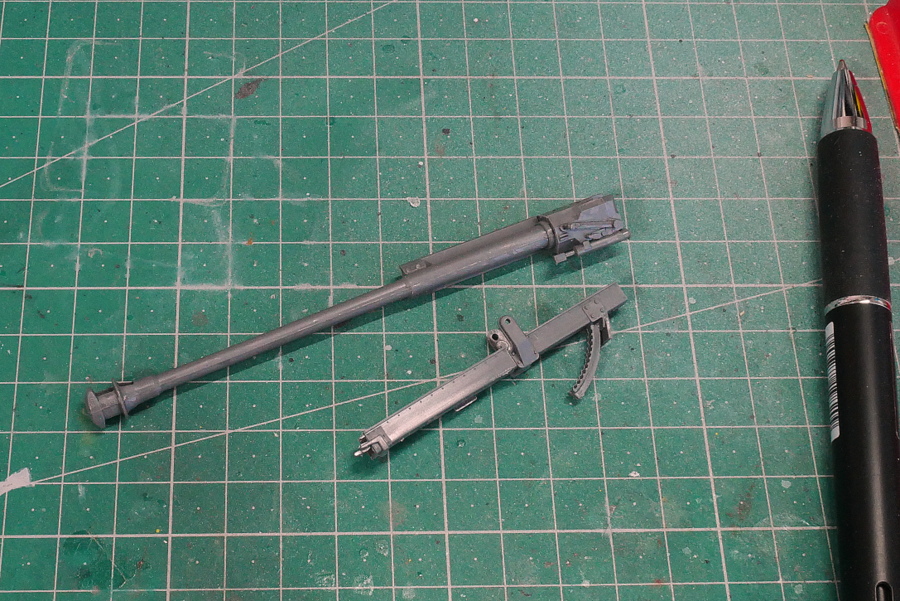
The plastic is quite soft. It may be a little like PVC.
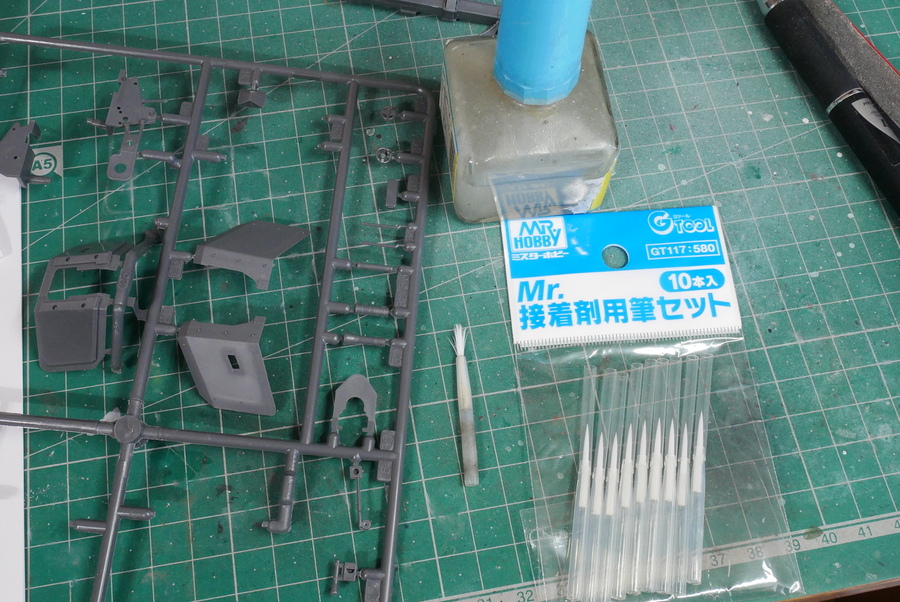
I bought a set of Creos replacement glue brushes because the ones I had used for some time were worn out. Because the brush tip is gathered, the adhesive does not hold much, but it is good. If the brush of primer or mark softer is worn out, it can be used there—at a reasonable price of about 500 yen.

In the Wehrmacht, the color of the infantry is white. I’ll get a standard army figure instead of the SS this time.
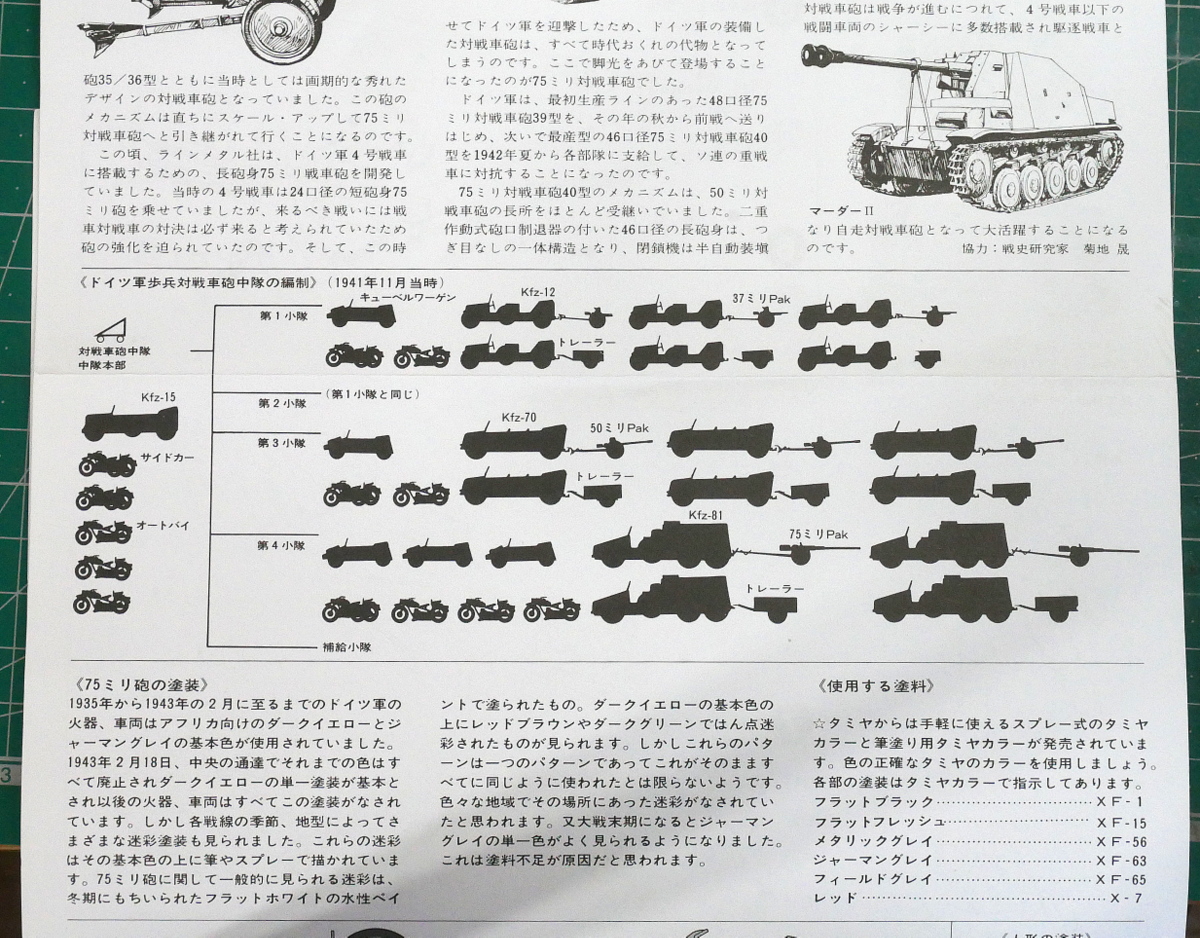
I think there was a time when there was not much explanation between legacy kits and recent products. There were many explanations attached to the Tamiya plastic models in the past. I miss it. But do current kits also have detailed descriptions in a separate sheet?
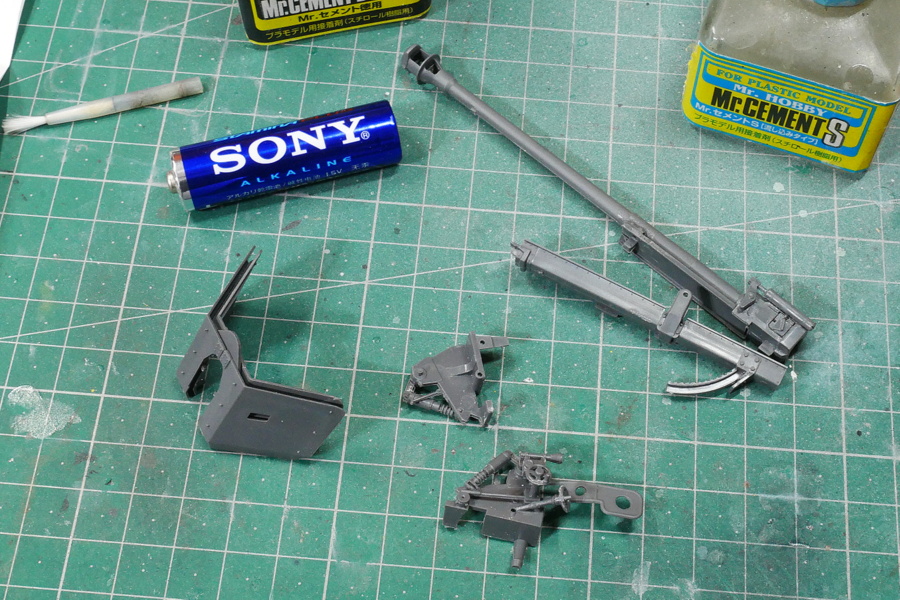
If it’s only an anti-tank gun, I think it will be assembled soon, but this is for this time. I was in a hurry because I couldn’t find the parts of the airplane’s plastic model. If possible, I would like to complete that air kit.
(2022/07/30)
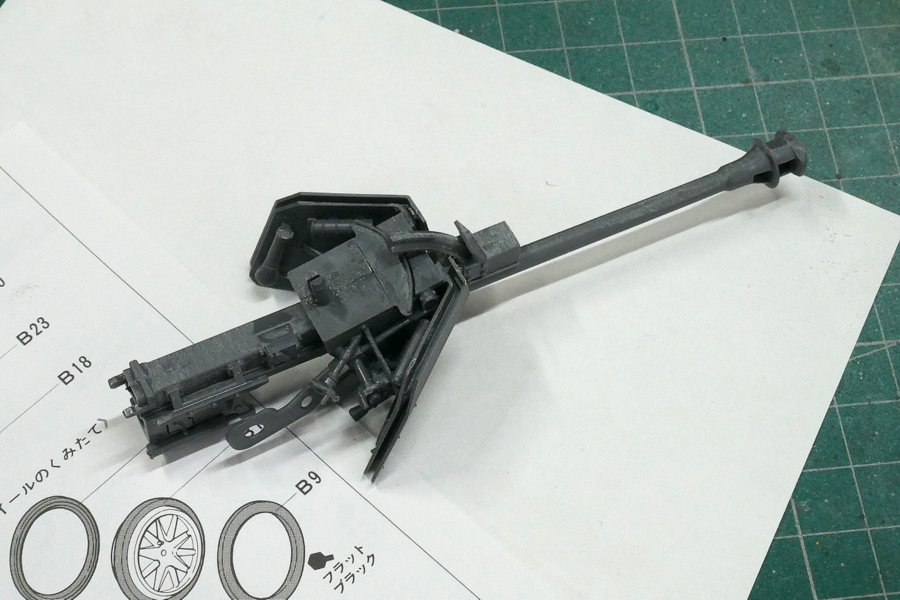
Unexpectedly, it was difficult to attach the parts connecting the shield and gun barrel.
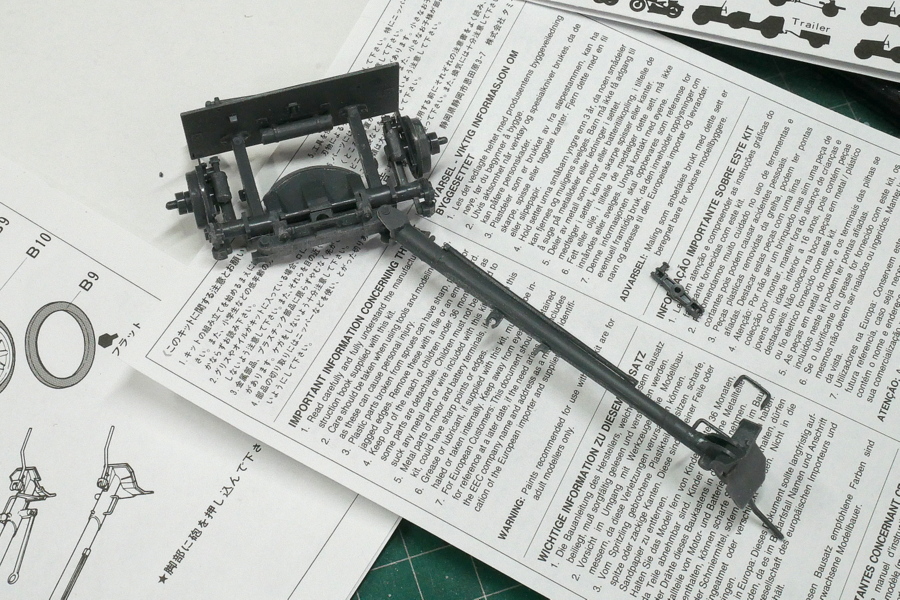
There were quite a few parting lines that stood out clearly. It was hard to distinguish it from mold, so I wondered if I should shave it.
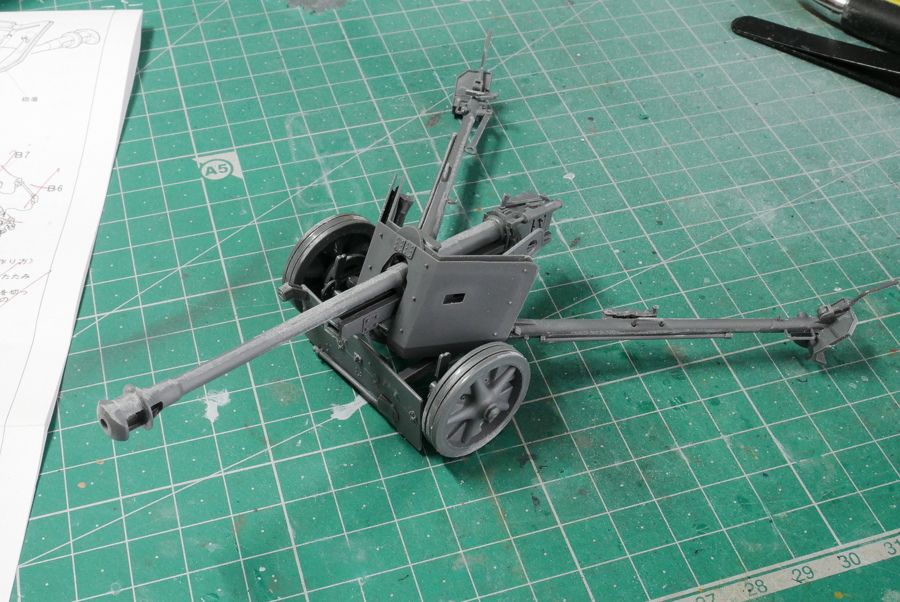
The anti-tank gun was completed. It’s a display model, and the wheels don’t need to rotate, so it’s stuck firmly. When the wheel is bonded to the axle, there is not much adhesion point, and it cannot be firmly fixed.
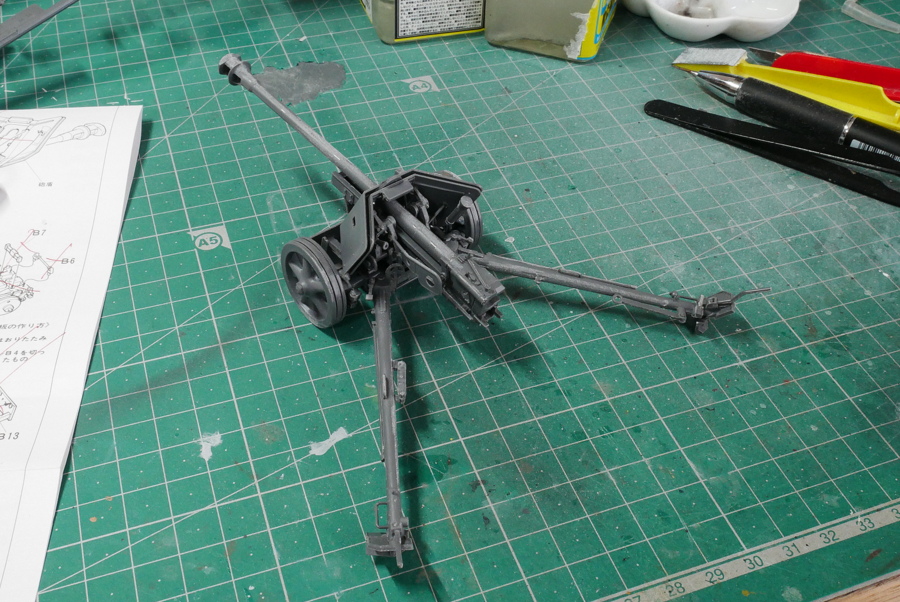
It’s an old kit, but it’s just as cool as the current kit. I want to paint it as soon as possible, but should I make figures first?
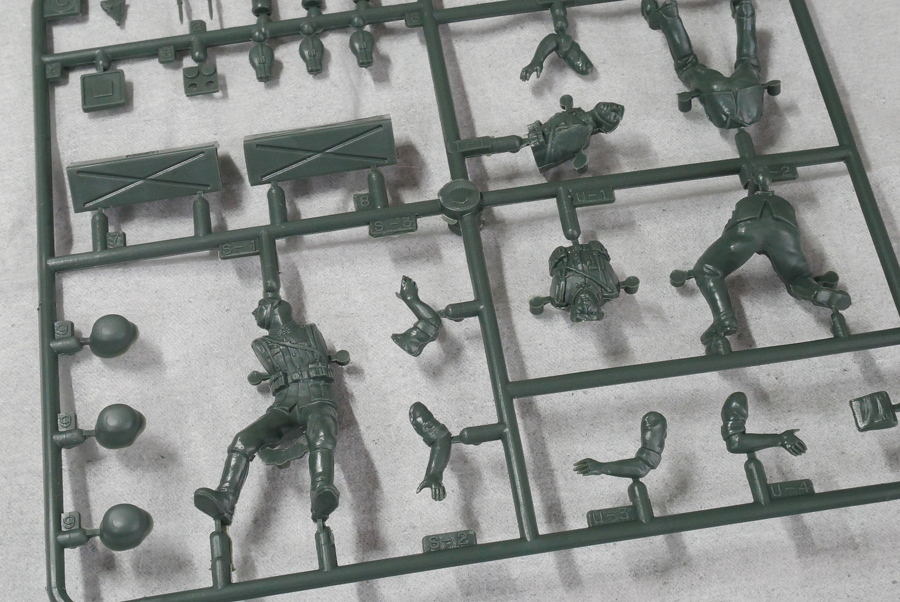
I thought it would be more precise if only the head were made of resin. However, since the body and head of the three anti-tank artillery units are connected, it is difficult to cut off the heads unless the pose is changed. I’ll use these parts after carving a little with a design knife.
(2022/08/02)
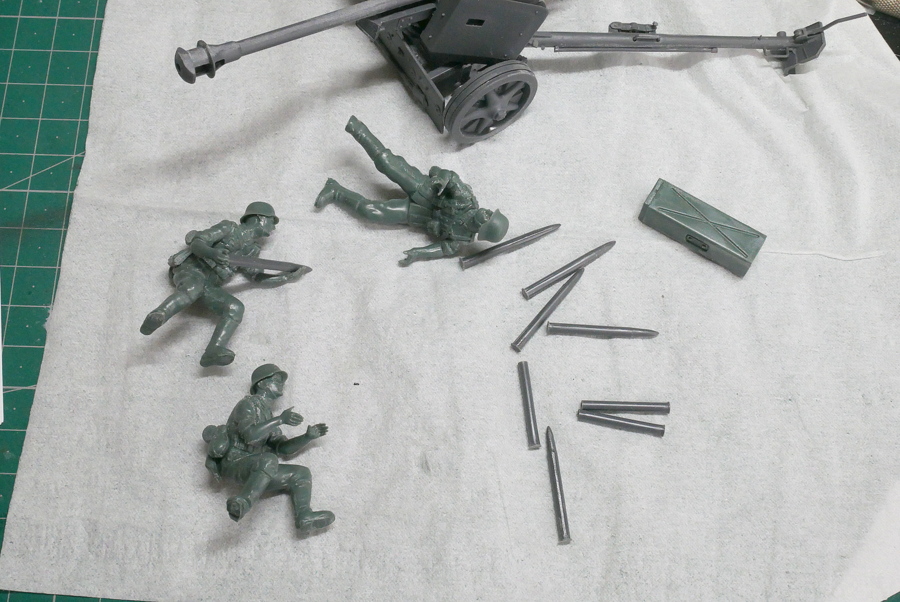
I assembled accessories, ammunition and cartridge cases, and ammunition cases. Including figures, there is a lot of parting line treatment, and it’s hard.
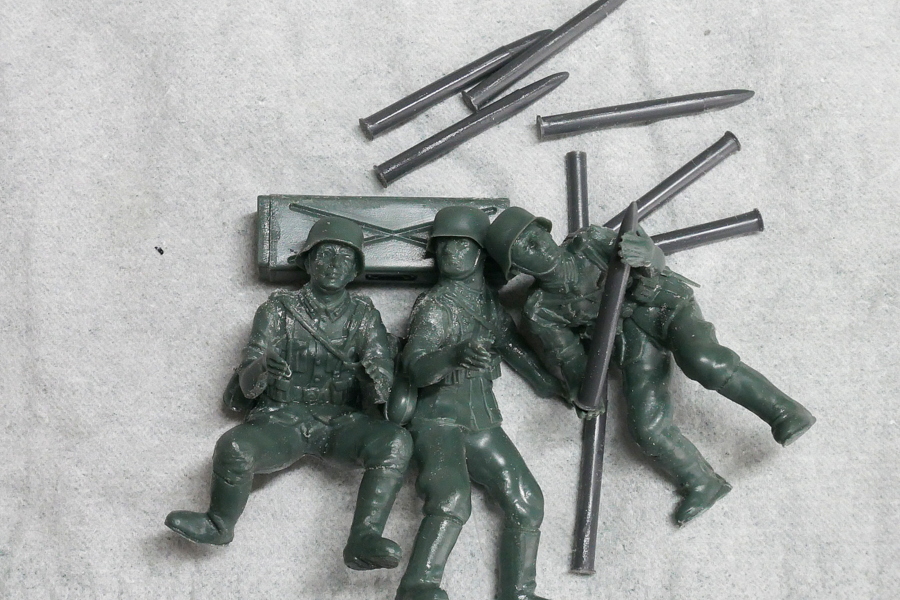
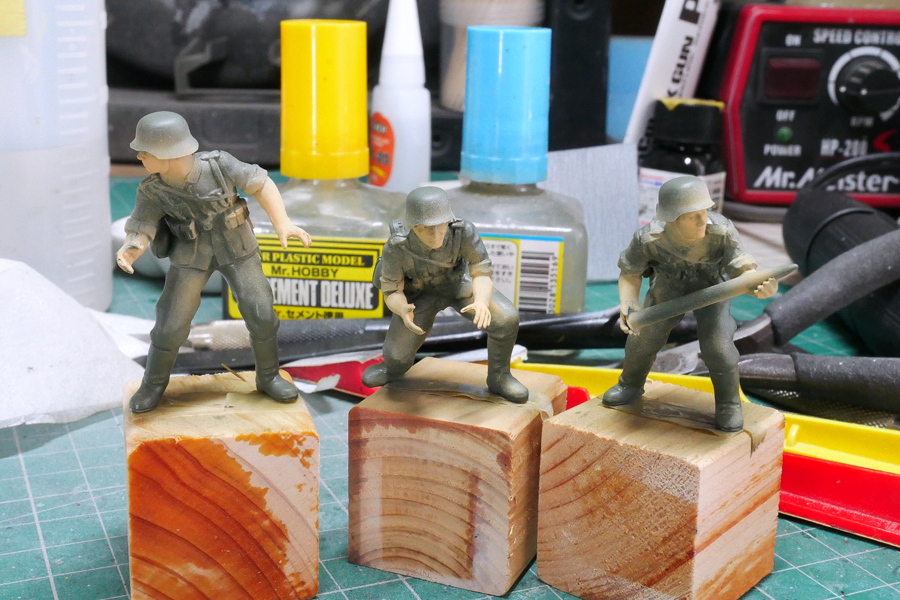
I finished assembling the figures. It is an old figure, but the mold is not so bad, and the pose is excellent. The mold of the face, especially the eyes, was not clear. I got a strange look when I worked on the eyes with an awl.
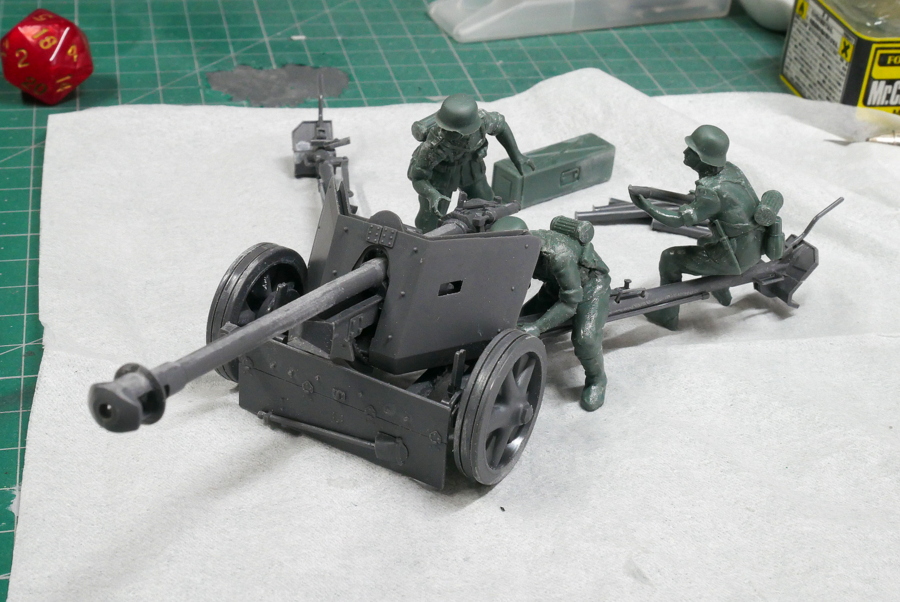
I arranged it like this for now. Interestingly, we can imagine the appearance of the enemy that we can’t see here if we have figures.
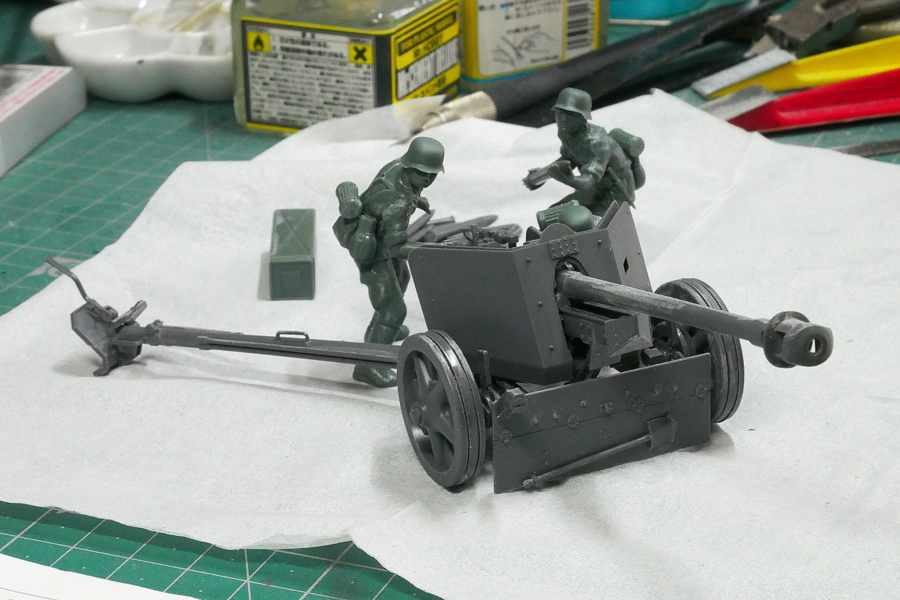
Looking at the pictures like this, I think it’s better to treat the kit’s surface a little more.
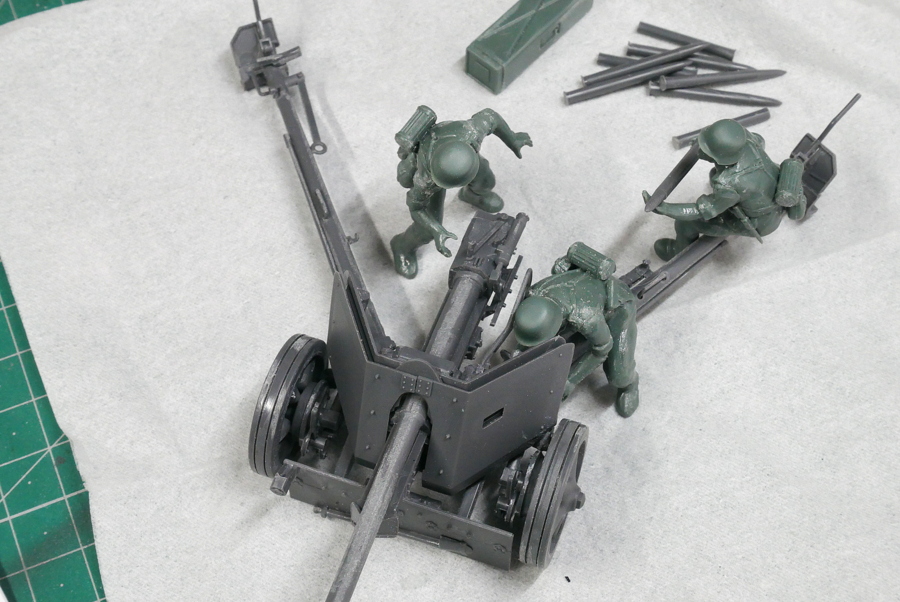
Because of the figure’s center of gravity, it may not stand on its own, so it is placed beside the arms of the anti-tank gun. Can I get a little paint during the summer vacation?
(2022/08/09)
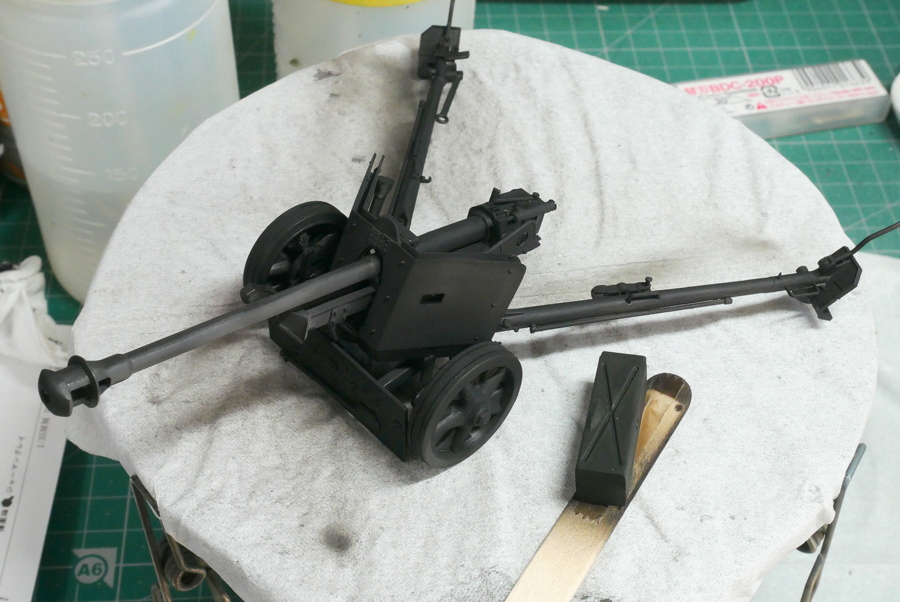
It is a small item, but I tried to undercoat it in black, including the small parts.
After airbrushing the field gray of Creos, I lightly sprayed the flat fresh with Tamiya acrylic. Since I want to paint fine details with oil, I think the rough feeling of Tamiya acrylic is easy to paint.
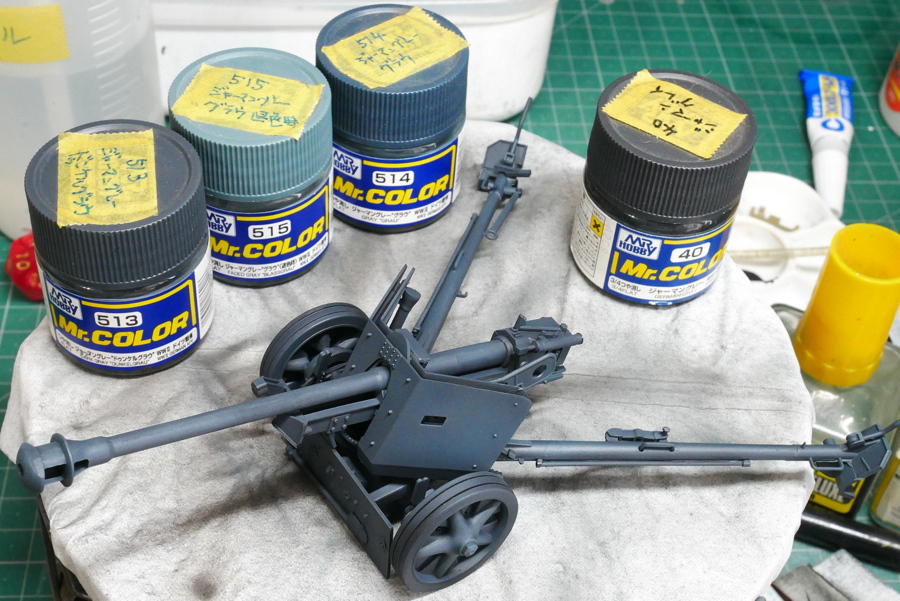
Including the old-established German gray of Cleos, the fading color is now released, so we can adjust the color as we like. Looking at it this way, it may not have been necessary to undercoat with black. The bulletproof plate is also tiny, so I don’t think it’s possible to separate them with an airbrush.
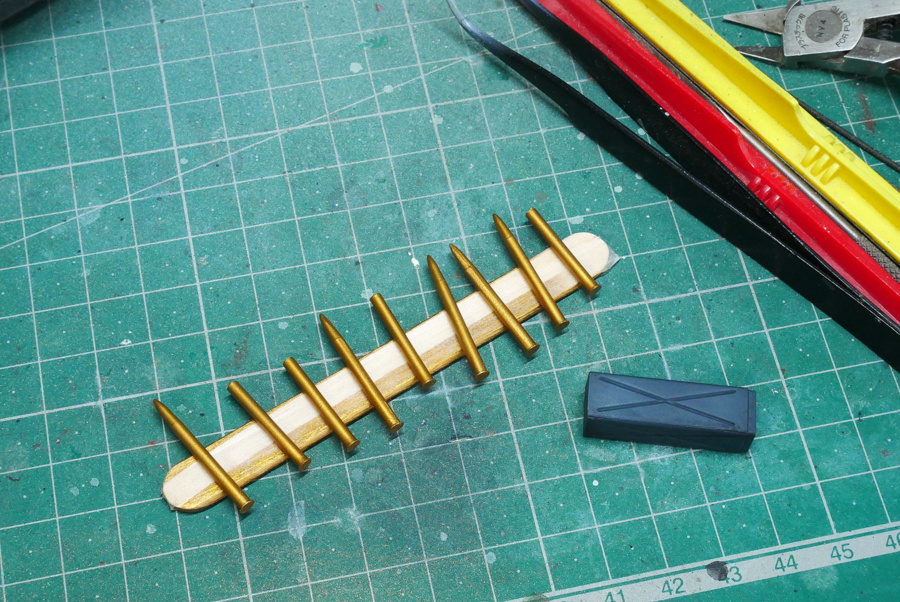
I wouldn’t say I like using gold paint on shells and cartridges, so I used airbrush paint on small parts. I wanted to paint it with Tamiya enamel gold, but I didn’t have it. For some reason, that gold was not diluted well with enamel thinner in the past, but I wonder if it has been improved.
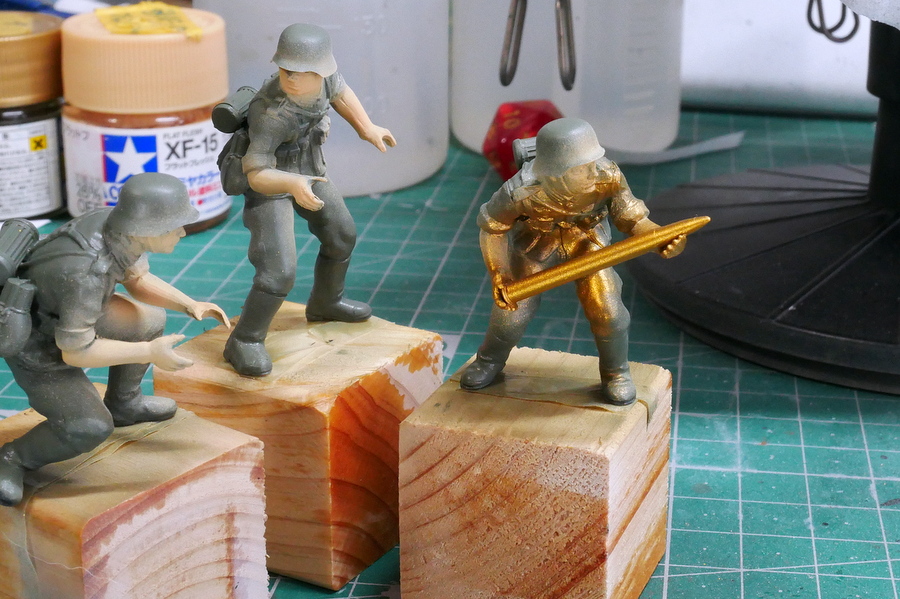
First, I glued a shell to the figure, so it became like a gold dust show.
(2022/08/13)
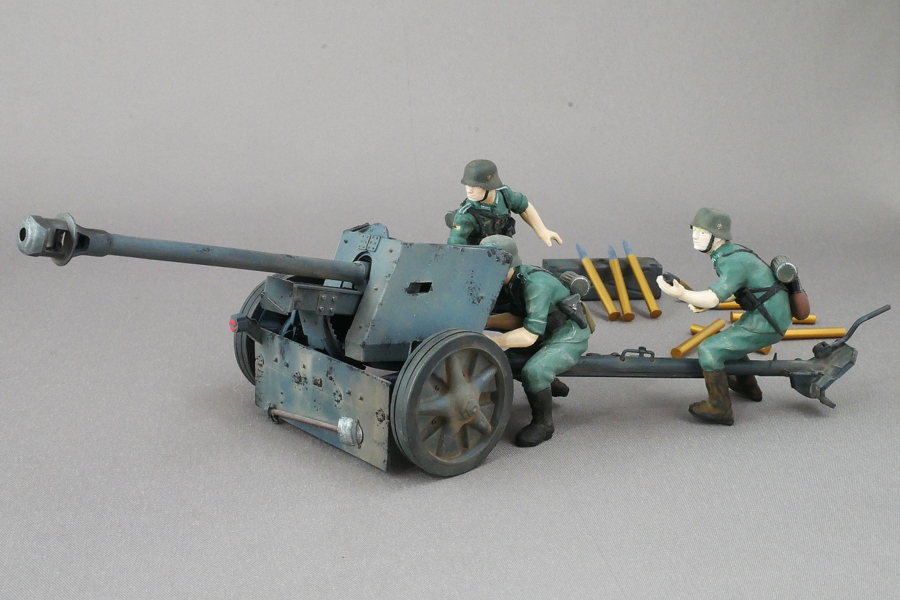
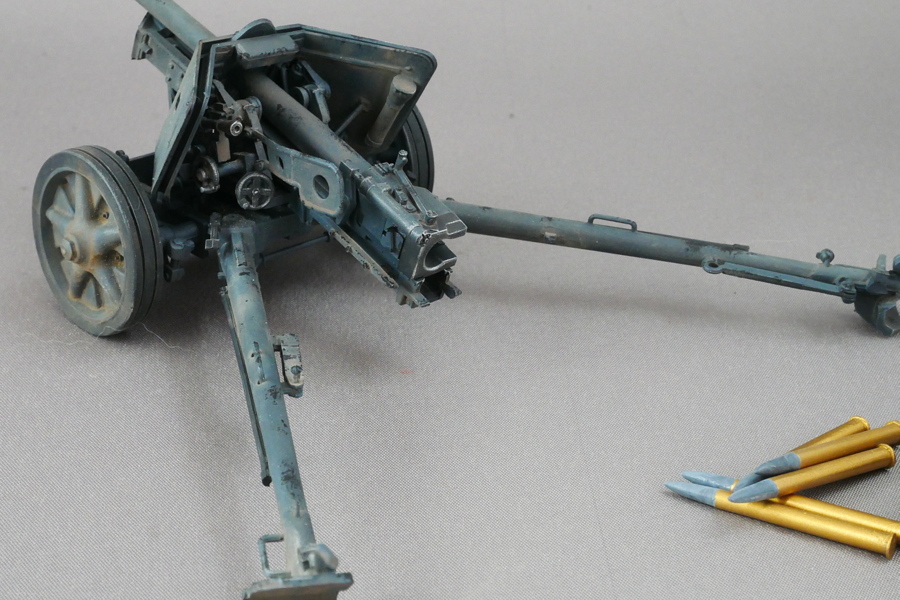
The German 75 mm anti-tank gun was completed. Just in case, I painted the three figures that came with it.
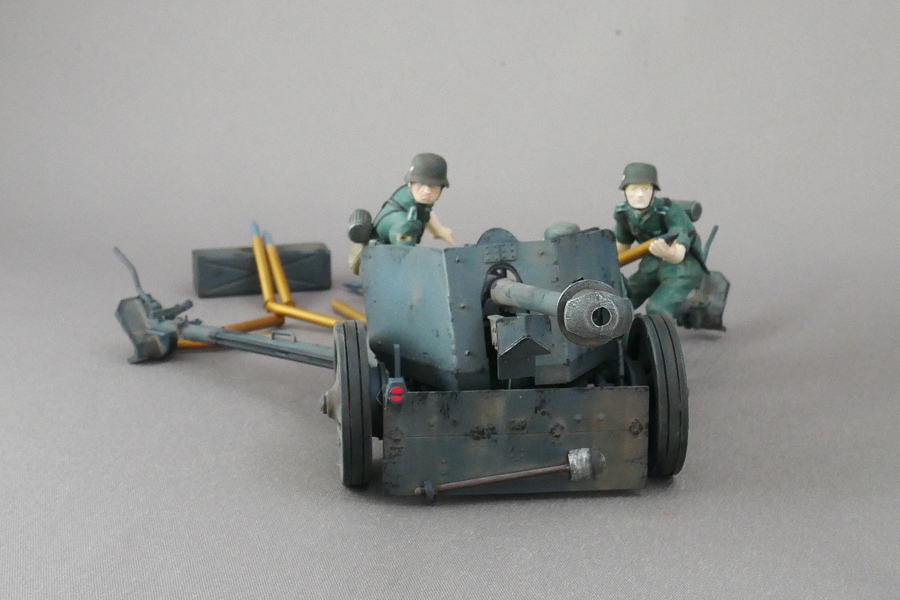
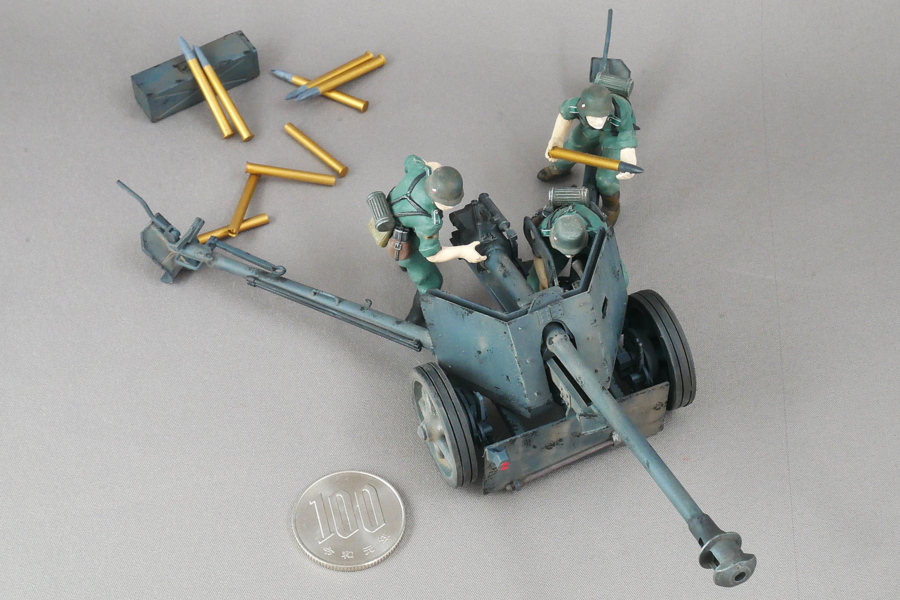
When the war between Germany and the Soviet Union started, they faced heavily armored Soviet army tanks, so the firepower of this class became essential.
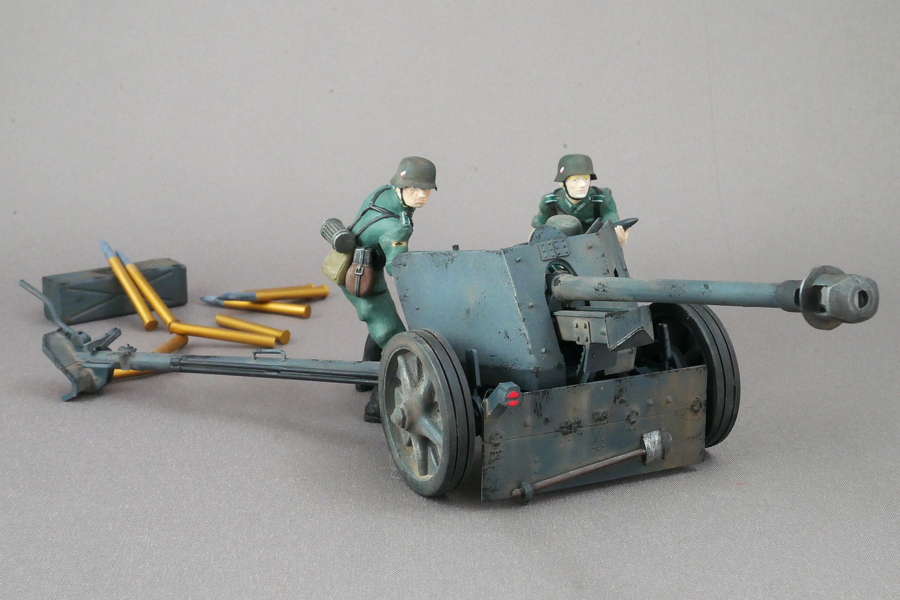
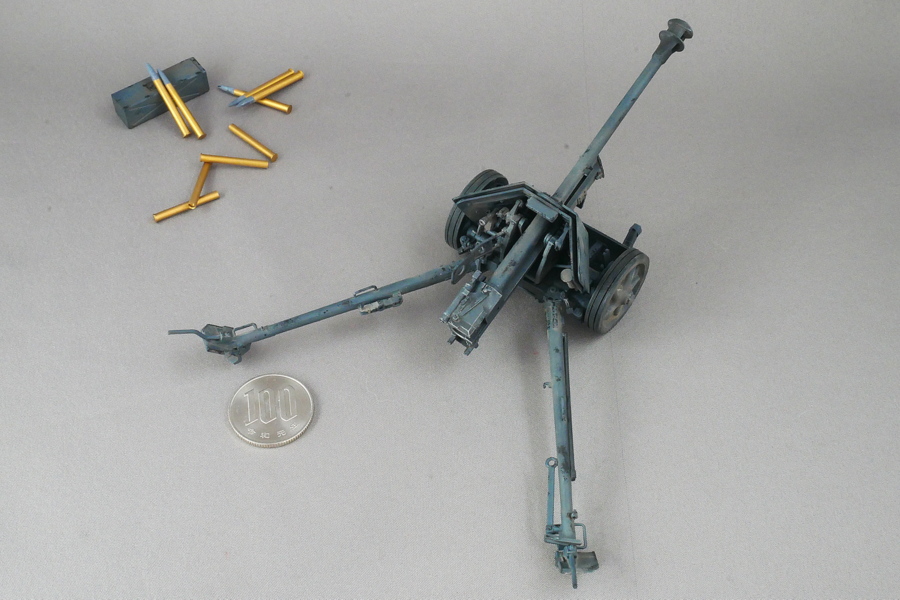
It is good that the anti-tank gun becomes powerful and the attacking power increases, but the operation seems complicated when the shell size increases.
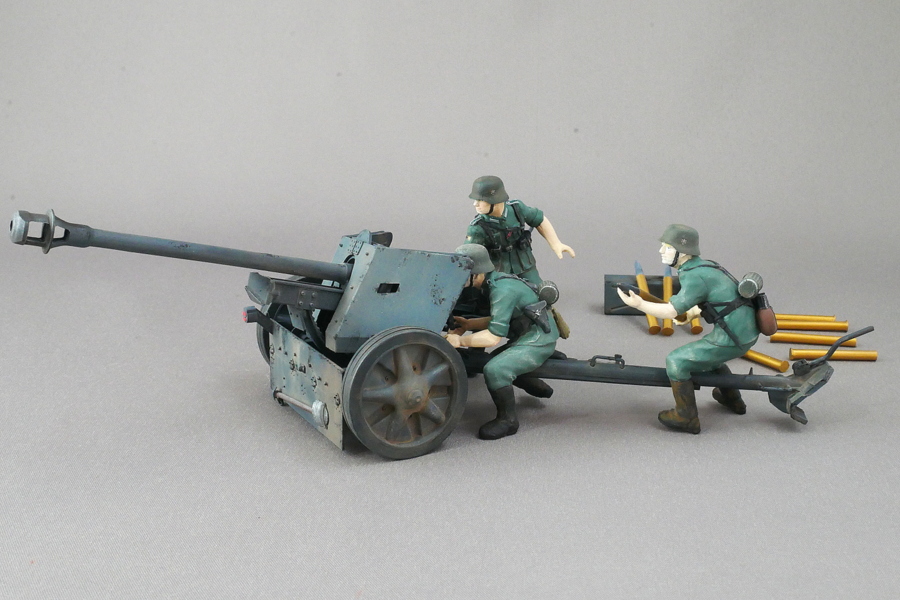
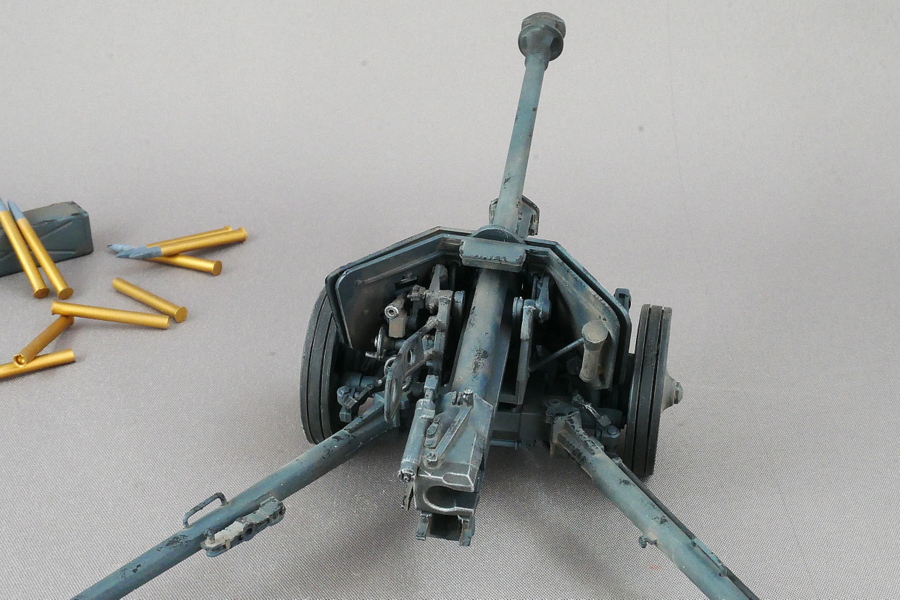
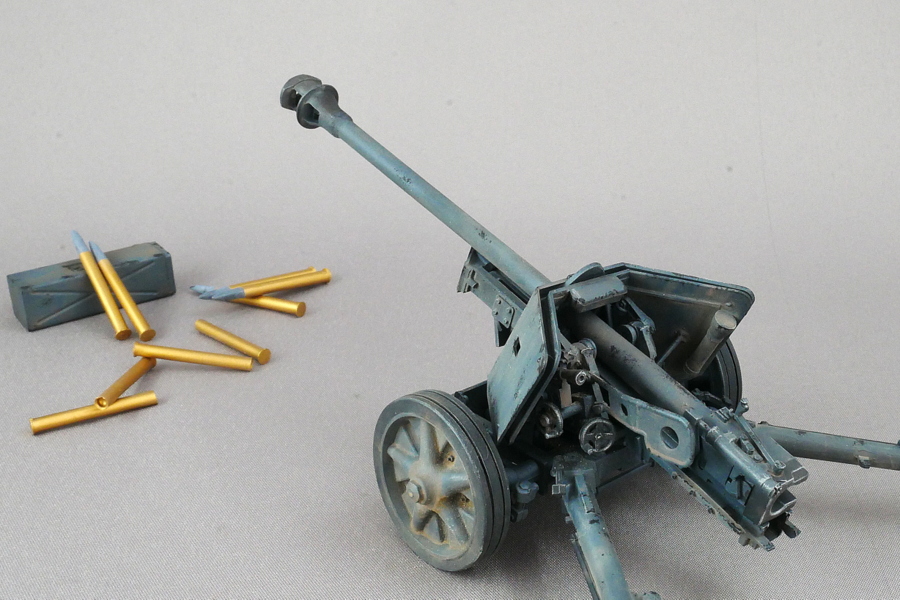
This anti-tank gun was mounted on vehicles such as tanks and self-propelled anti-tank guns. In particular, in tank Type IV, when the gun was switched from a short barrel to a 75 mm gun with a long barrel, the attack power improved tremendously.
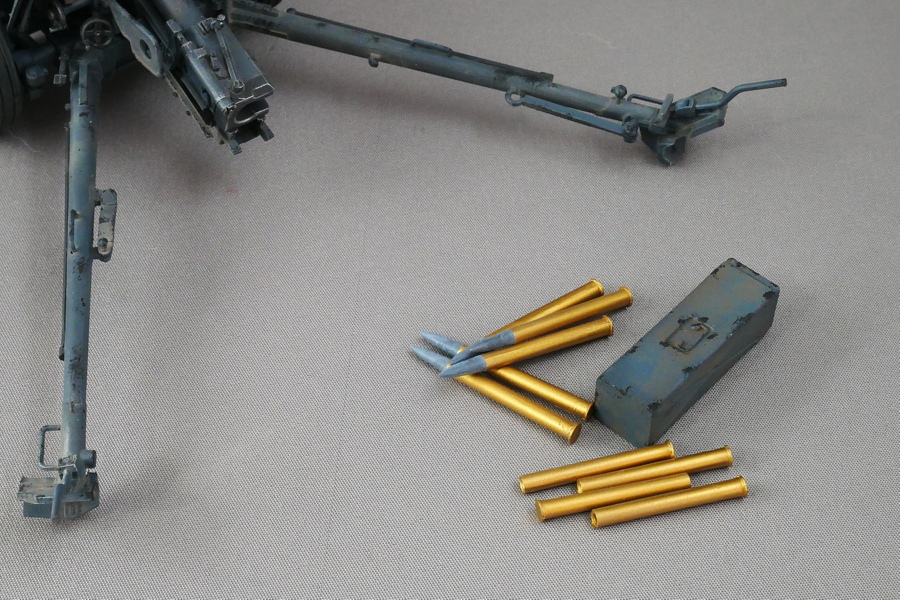
As a bonus accessory, it came with a shell case and shell and cartridge.
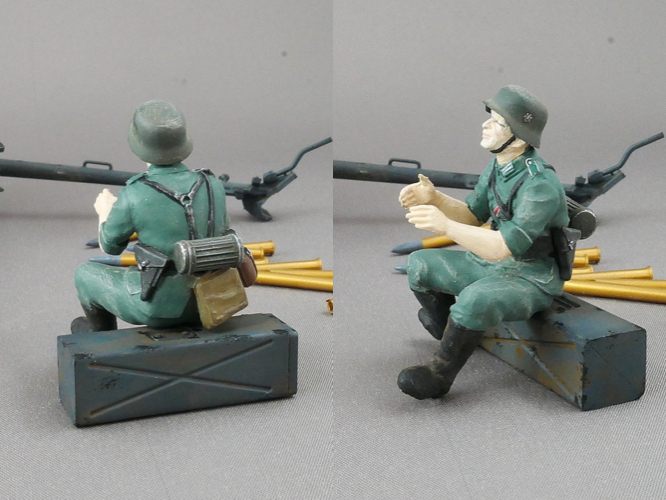
The field uniform of the German army has a strong impression of green when the year is young. At the end of World War II, it looks like khaki. Is this just fading like the Afrika Korps? But the materials may be slightly different. These soldiers wore green uniforms when the German army was still in full force.
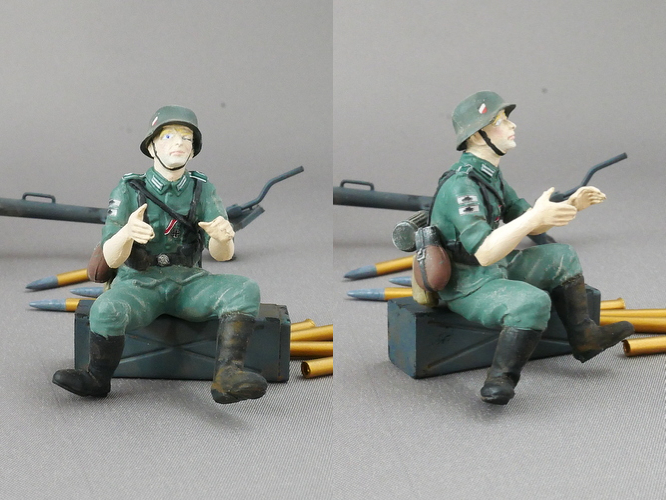
They were not tank hunters, but all three had a tank-smashing emblem on their sleeves. There are gold and silver strike badges, but maybe 5 are gold, and 1 is silver. I also decided that some soldiers wear a Grade 2 Iron Cross ribbon and a Grade 1 Iron Cross. If I build it anyway, it’s better to set it as an excellent unit.
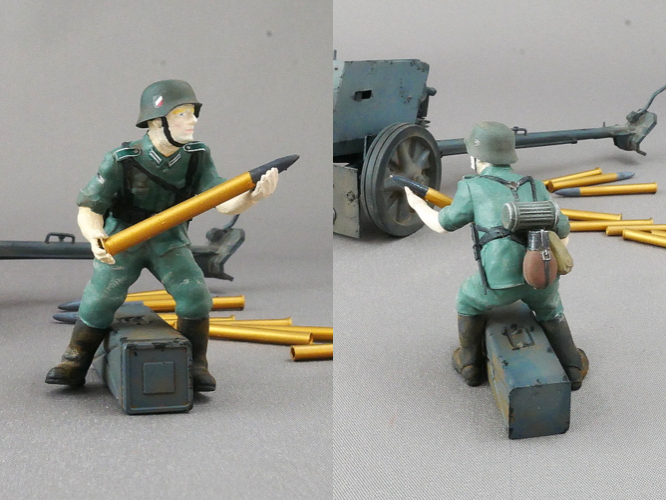
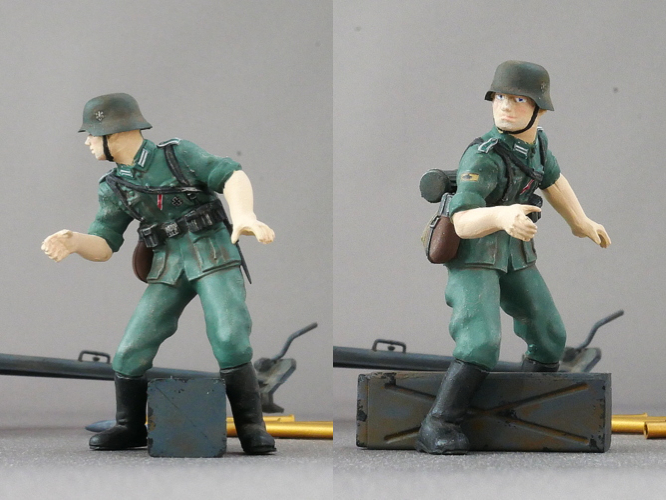
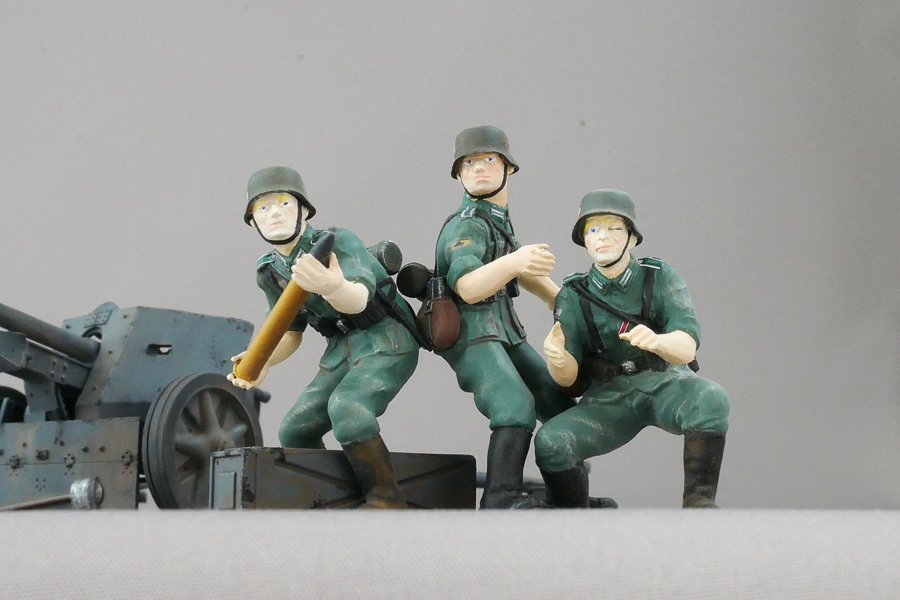
When I painted the figure for the first time in a long time, the skin color was too white. But it’s because they are Europeans. They were field soldiers, so it might have been better to make them brown.
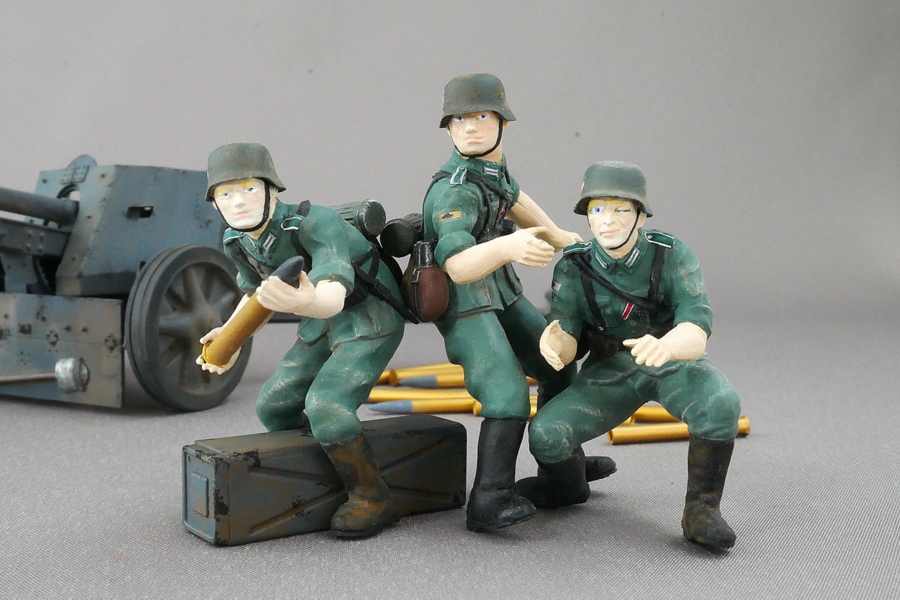
The face of the anti-tank artillery gunner in the crosshairs has one eye closed, and his performance is detailed as if he is shooting.
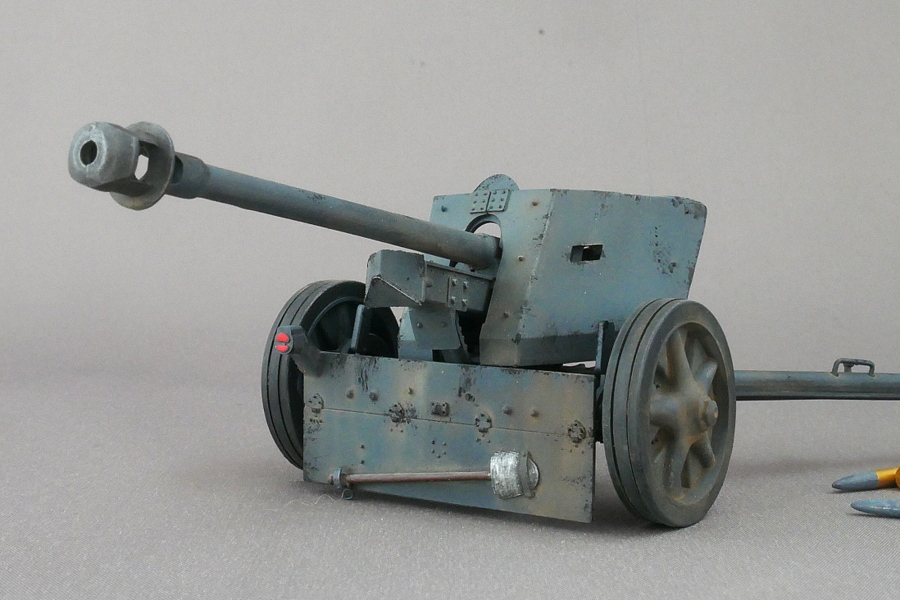 The scoop clamp has been added with etched parts. But I don’t think I can see very well.
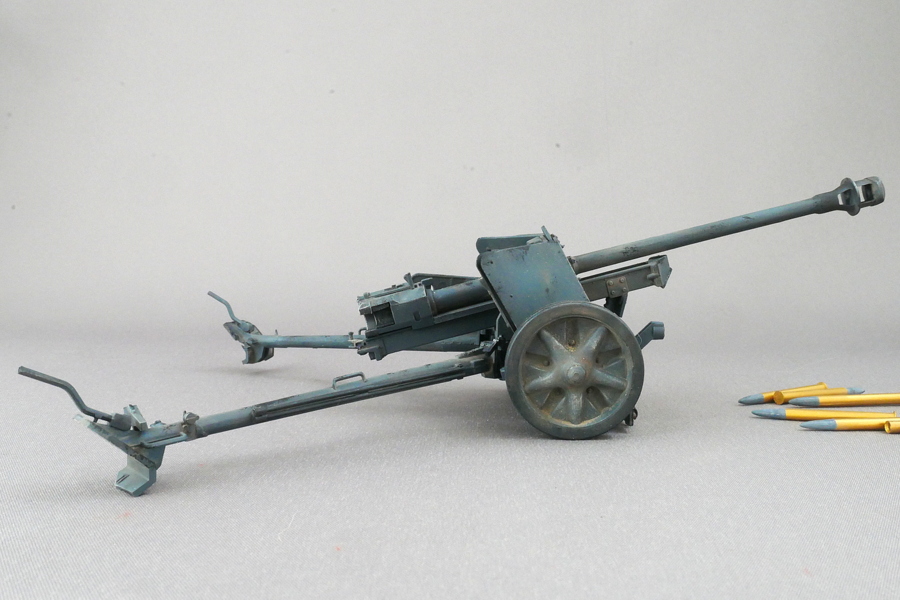 It may have been harder to paint figures than to make the anti-tank gun. The kit was old, but I enjoyed it enough.
(2022/08/19)


コメント