
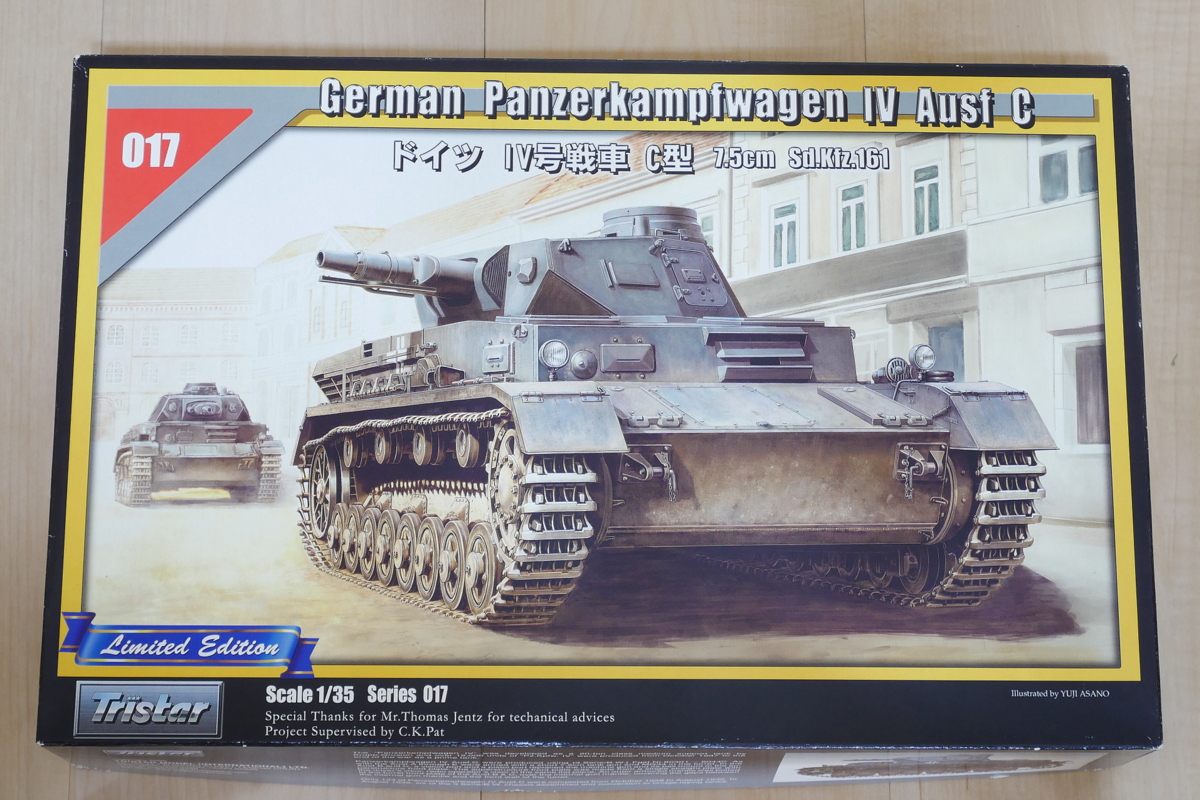
 I’ll try the German tank IV type C. This kit has a large number of parts.
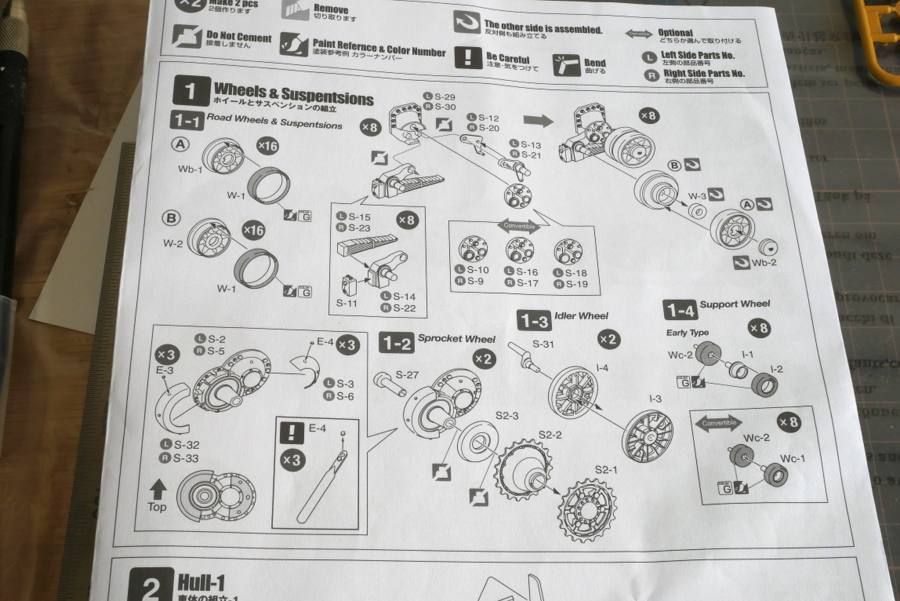 I remember making the Panzer IV type D of the same TriStar long ago. I think there was still a making record in this blog. The memory that I was embarrassed because it was difficult to understand the small parts piece. They’ve split up here so finely. I admired.
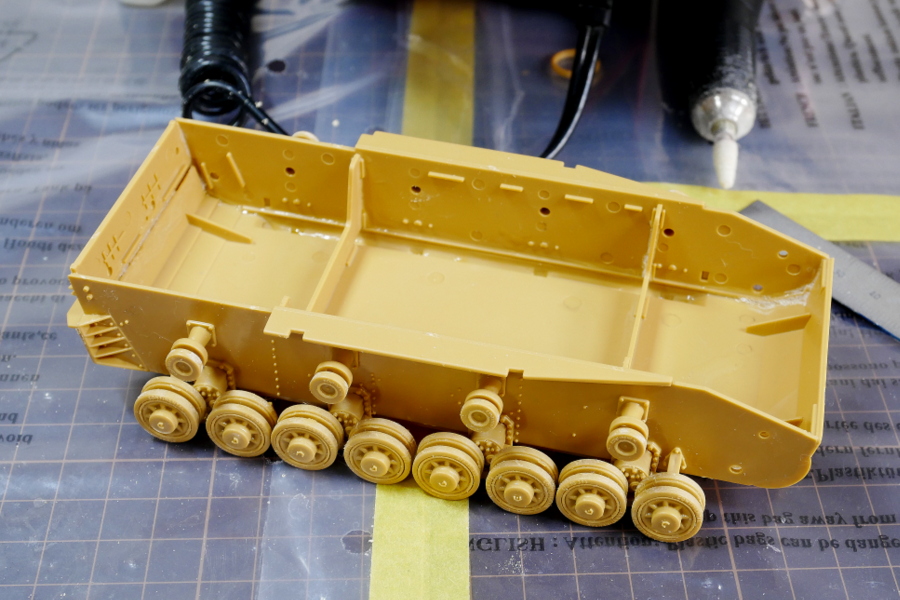
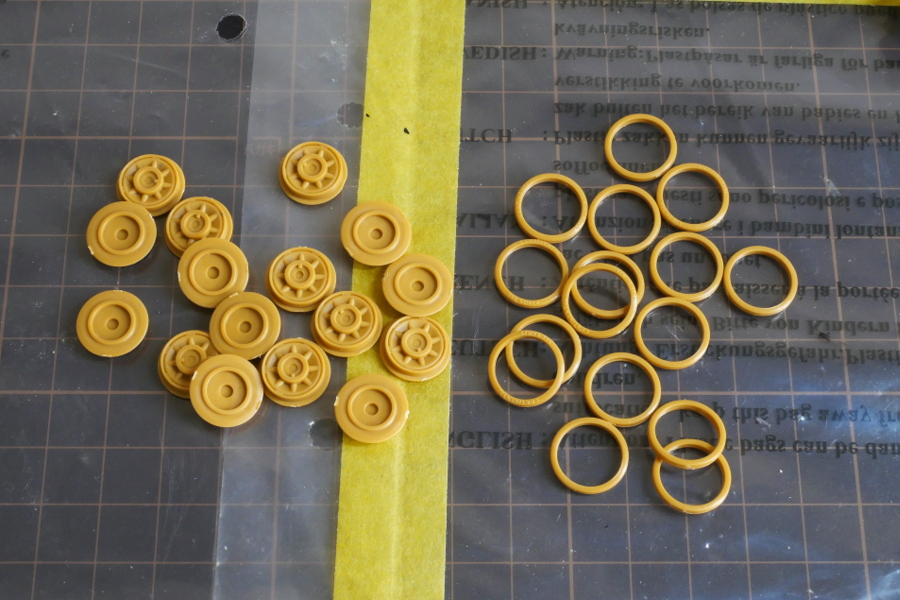 Part of the road wheel and rubber parts were divided.
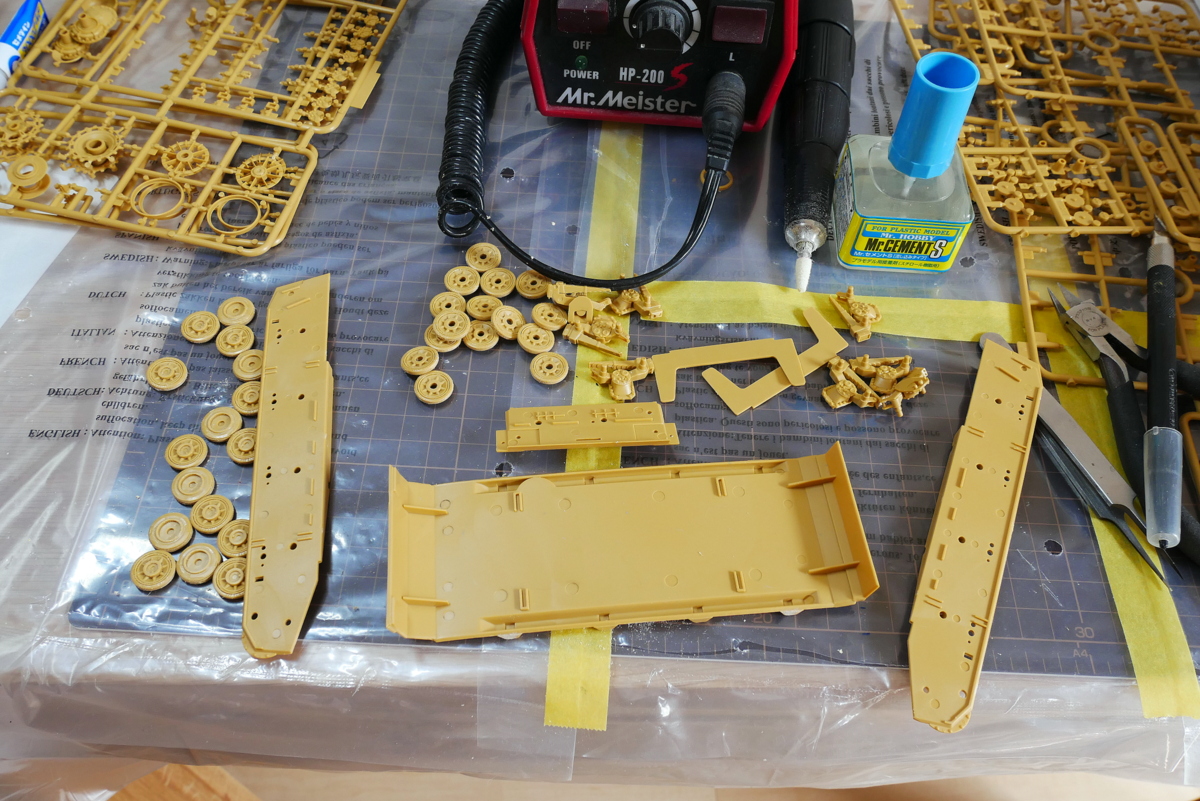 I remembered somehow. There are various parts, such as chassis box assembly. Perhaps it doesn’t seem easy, but the assembly will be possible.
(2019/05/19)
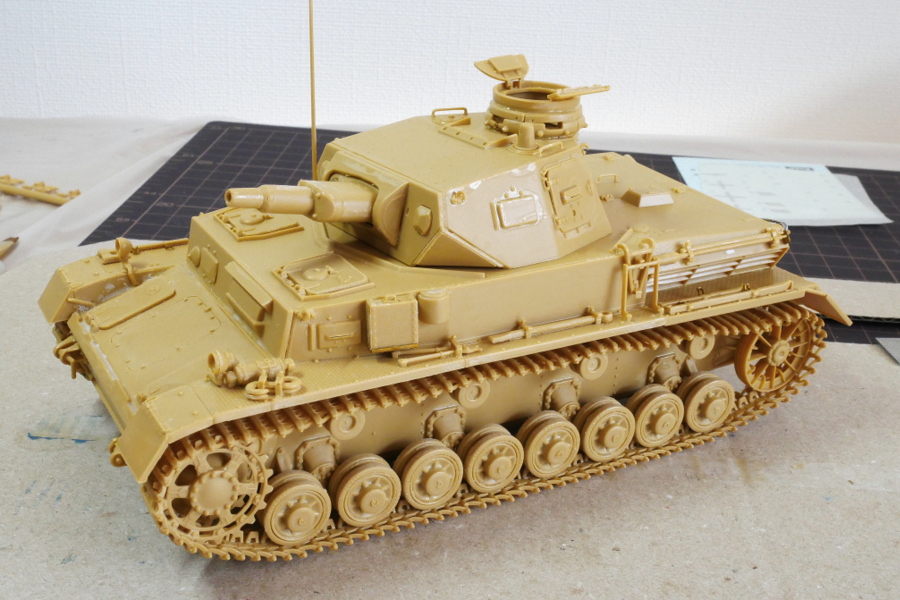
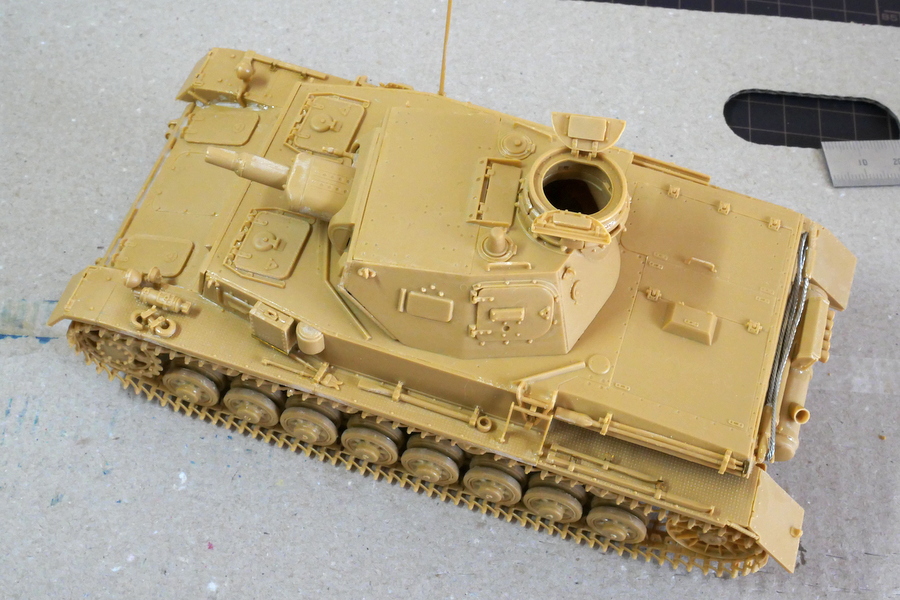
 The assembly of the chassis is almost complete. Just in case, I used a lot of adhesive from the inside and reinforced it firmly.
 I don’t know the condition of the top and bottom joints. There is some anxiety about assembling a large part. It is expected to use putty heavily.
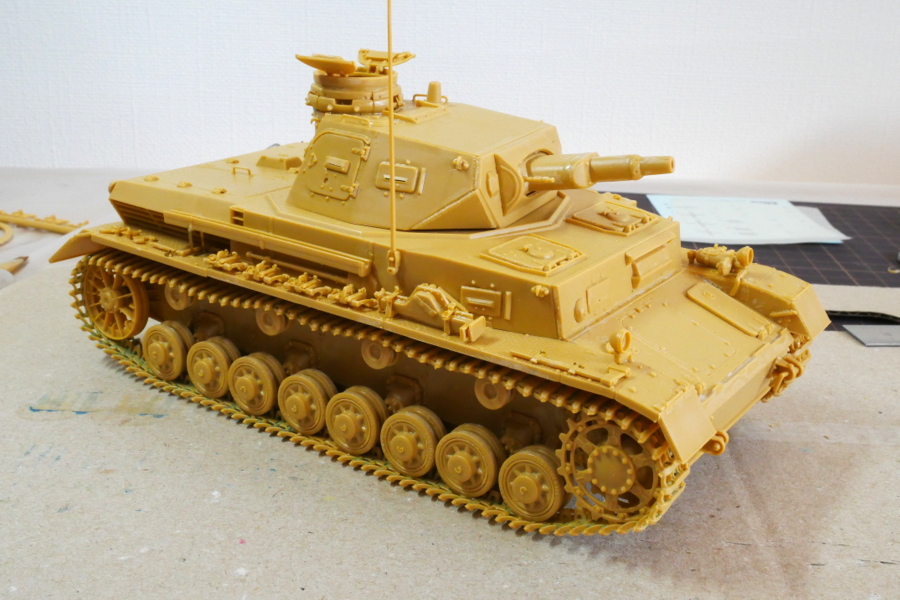
 The caterpillar of this Panzerkampfwagen IV is a snap-fit movable system. It was assembled without any problem when I built the IV type D before. This was a bad fitting; some parts were distorted and not good. The mold maintenance may not have been done, or it may deteriorate and be inaccurate.
I thought the fitting was too bad, and I thought I would throw it on the way. In the end, I cut off the parts to be fitted. It was assembled not as a movable caterpillar but as a connected ordinary caterpillar that pours in a standard adhesive. Repetitive work of parts with bad fitting is a pity, even though I’m used to making tanks.
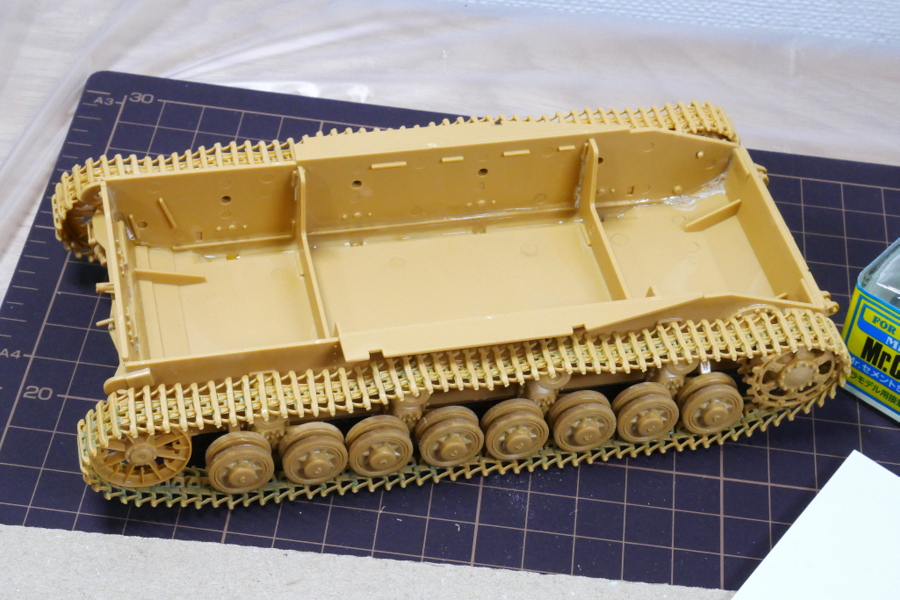 I managed to roll it on the chassis. In the worst case, we can use a separately sold caterpillar.
(2019/05/16)
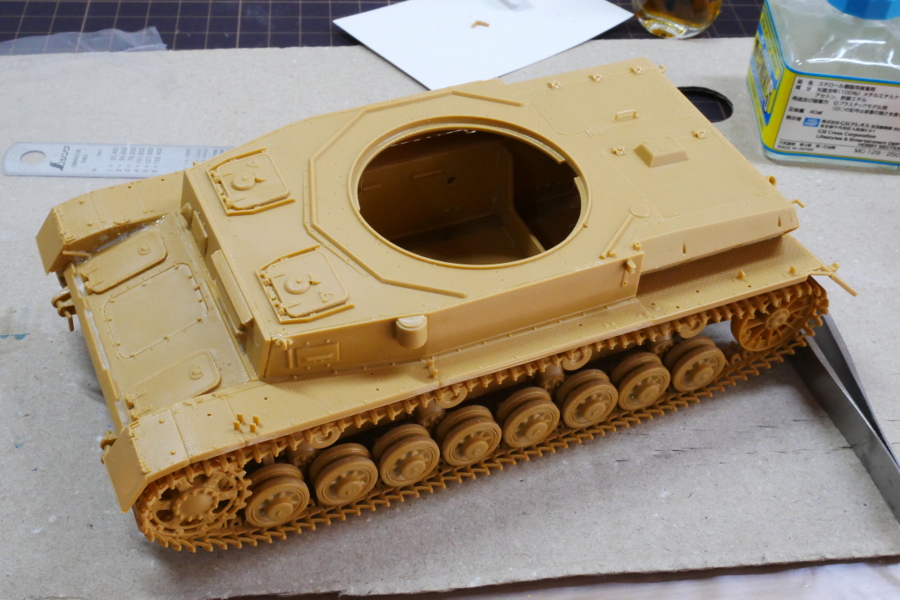
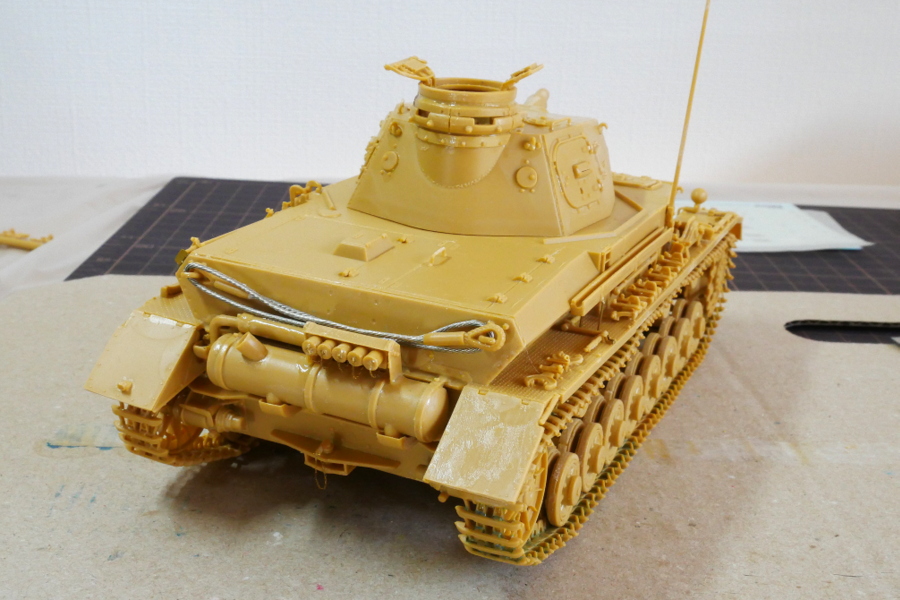
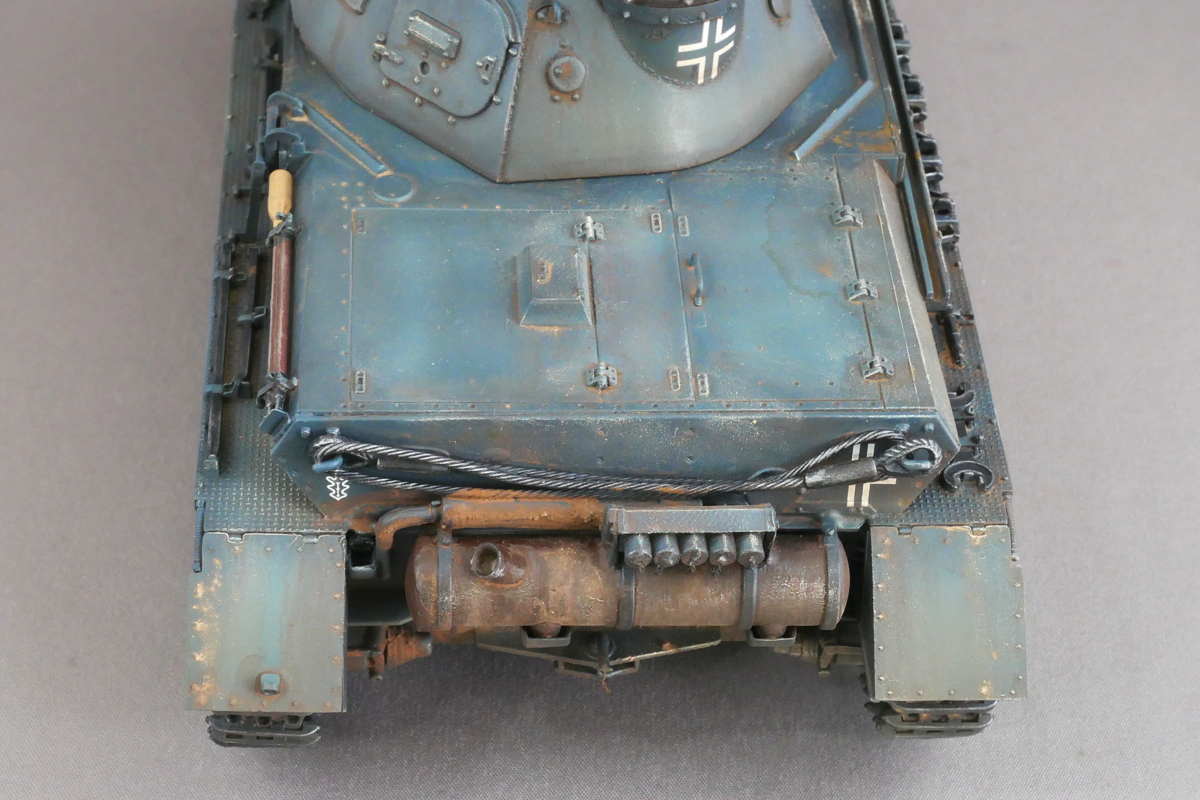
I just glued the upper and lower parts. I had some gaps in the front part. I filled the gap with a light-curing putty. It is a modeler’s habit to fill up with putty if there is a gap.
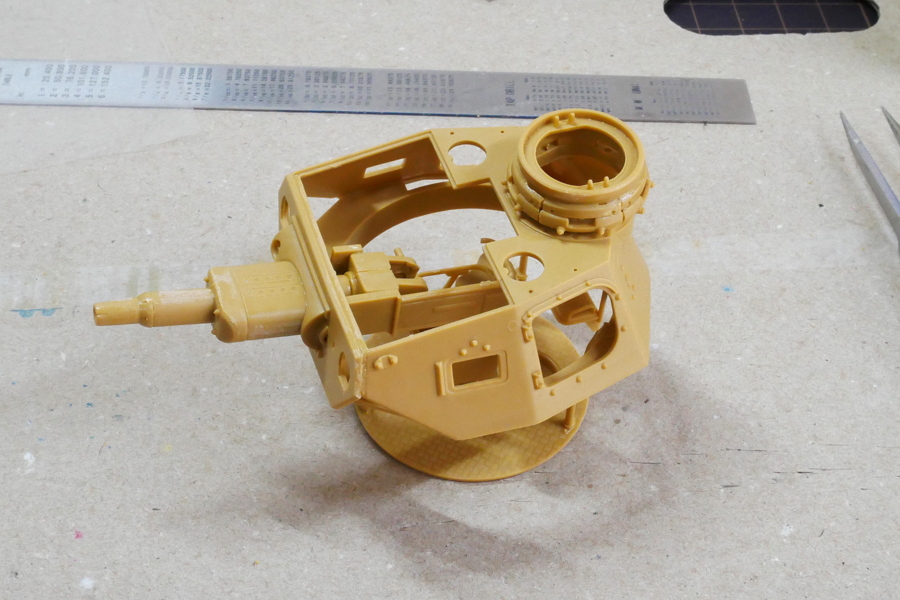
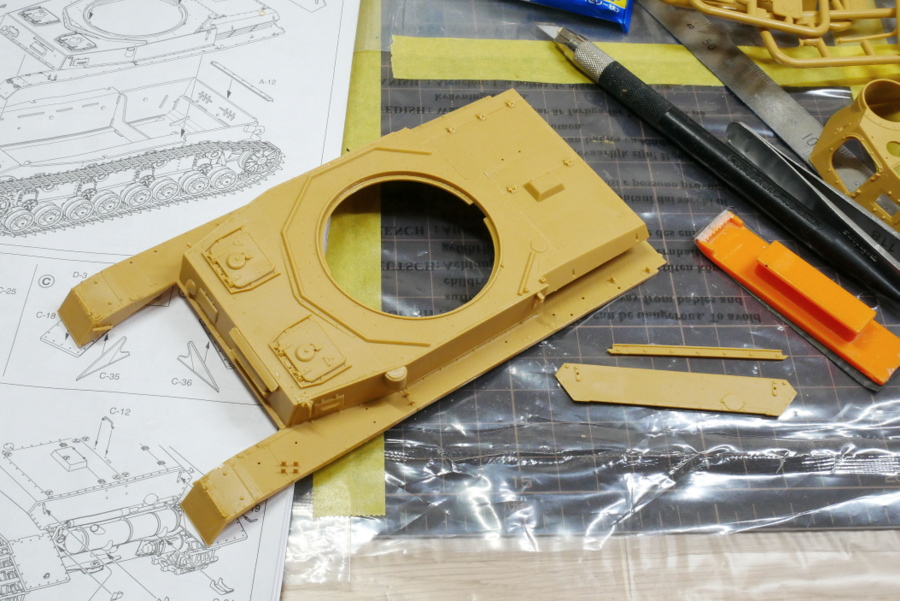
This kit reproduces the floor inside the turret. I can’t see the inside, but how about painting? It would be better to paint with black. There is a non-slip mold, and it’s quite realistic.
 This kit, the limited edition, and the box said it’s the C type, and the instruction manual is the B type. Not included parts are specified, and there are difficult points to understand. Well, it’s good to be in shape! Even if I worry too much, I can not move forward.
 Even small parts are plastic with almost no photo-etched parts. There are a lot of parts, and it takes time to build. It was probably a trend at this time because Dragon Models were also relatively small parts kit. It can be said that it is easier to bond and assemble than photo-etched used kits.
(2019/05/18)
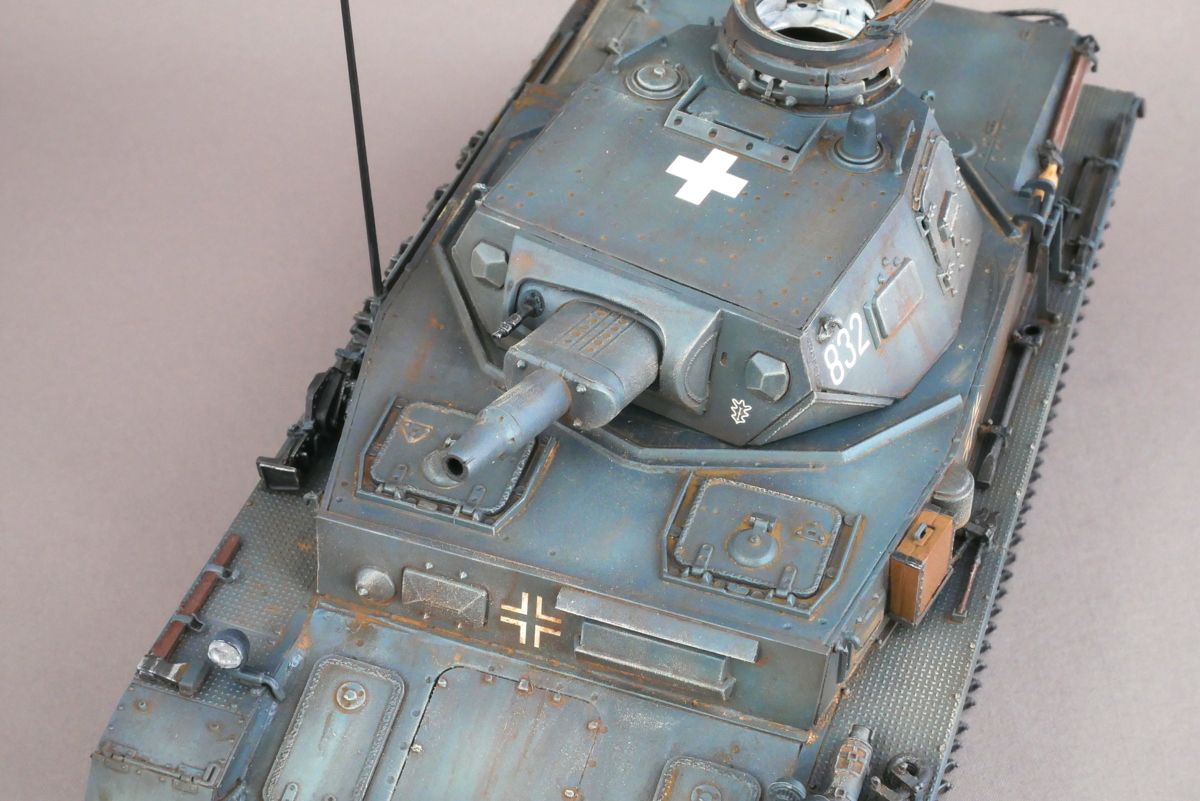
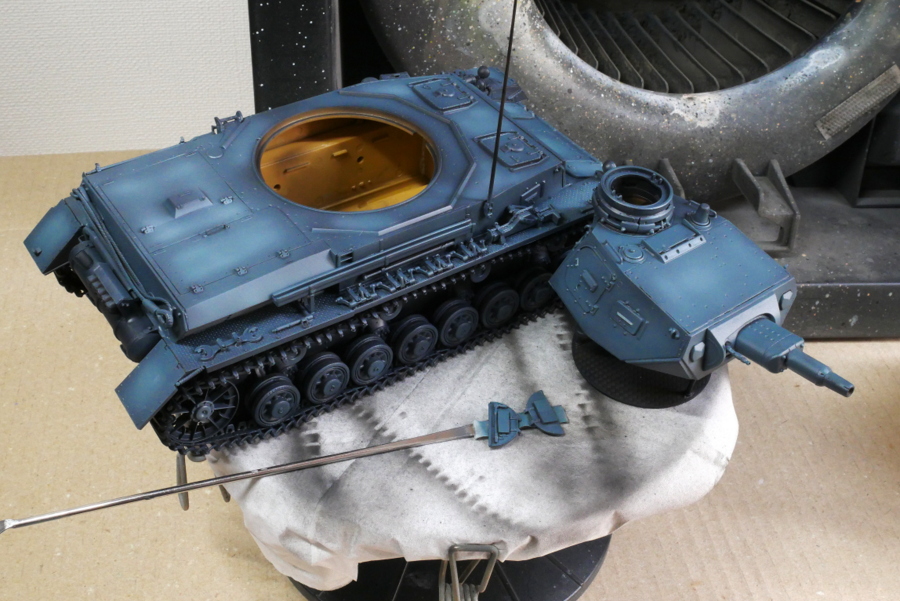 I changed the mood this time and tried to paint a little bluish-gray. It is Creos’s new color (although it was released about a year ago).
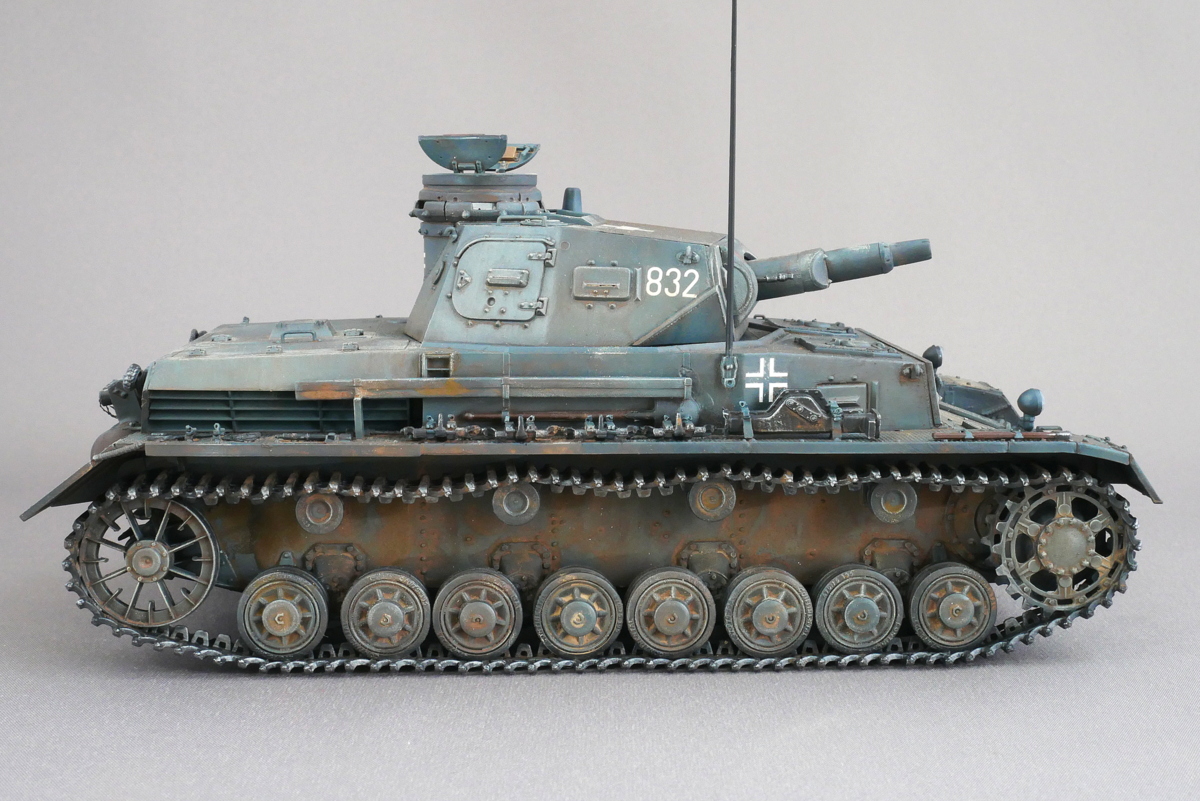
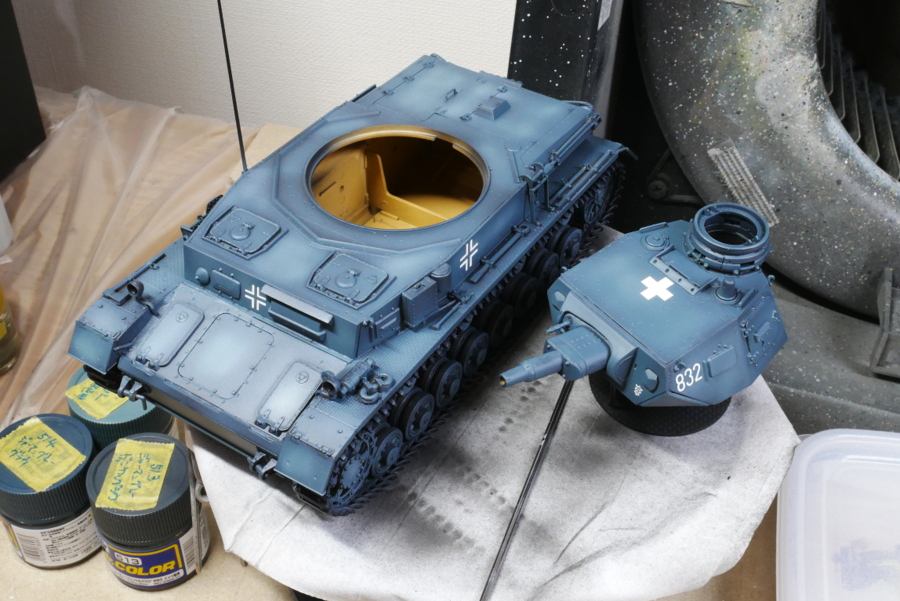 Many types of decals are indicated in the building manual, but it is probably for B-type decals. It is different from the supplied decals. This time, I used the first armored division’s invasion of France. I added some decals and pasted them as I liked.
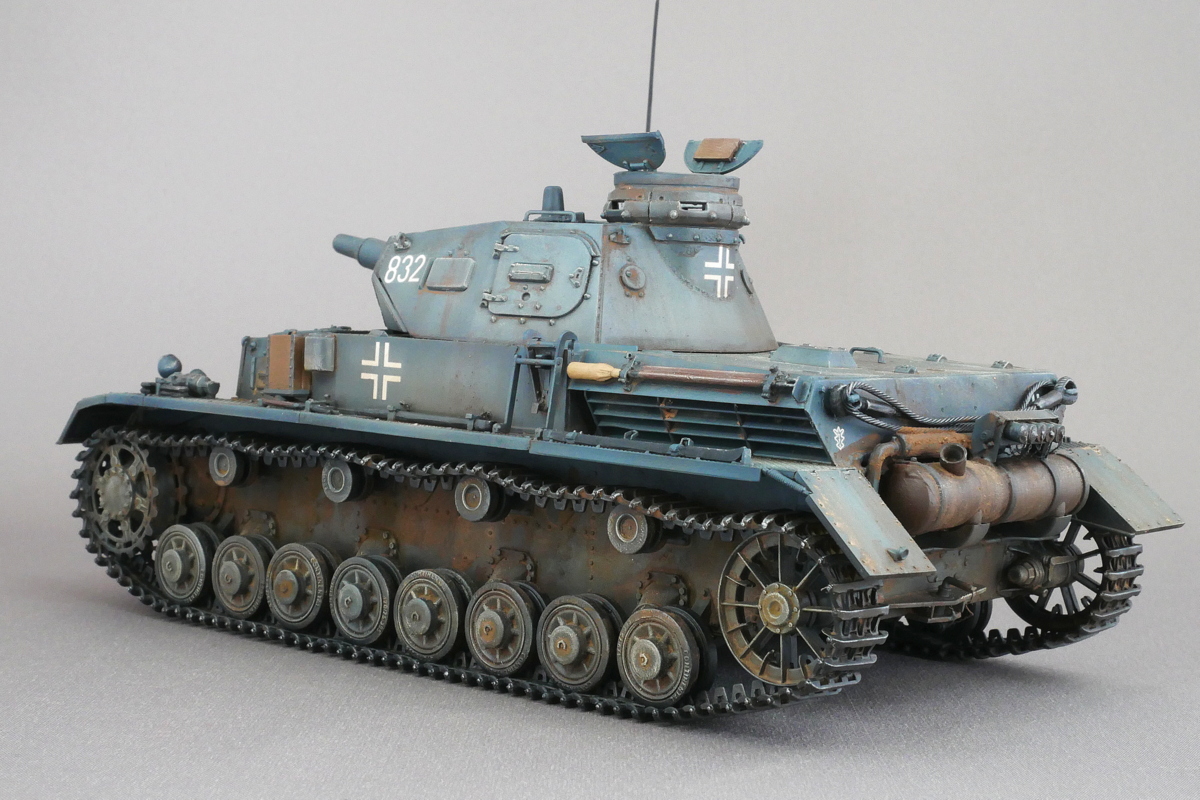
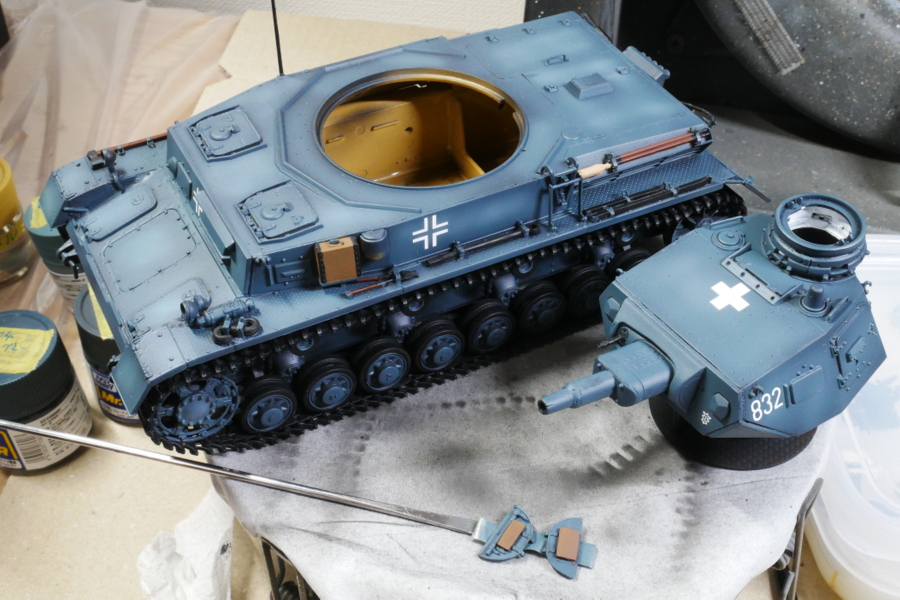 I am painting caterpillars, road wheels, and accessories. The rest is lightly weathering and complete.
(2019/05/22)

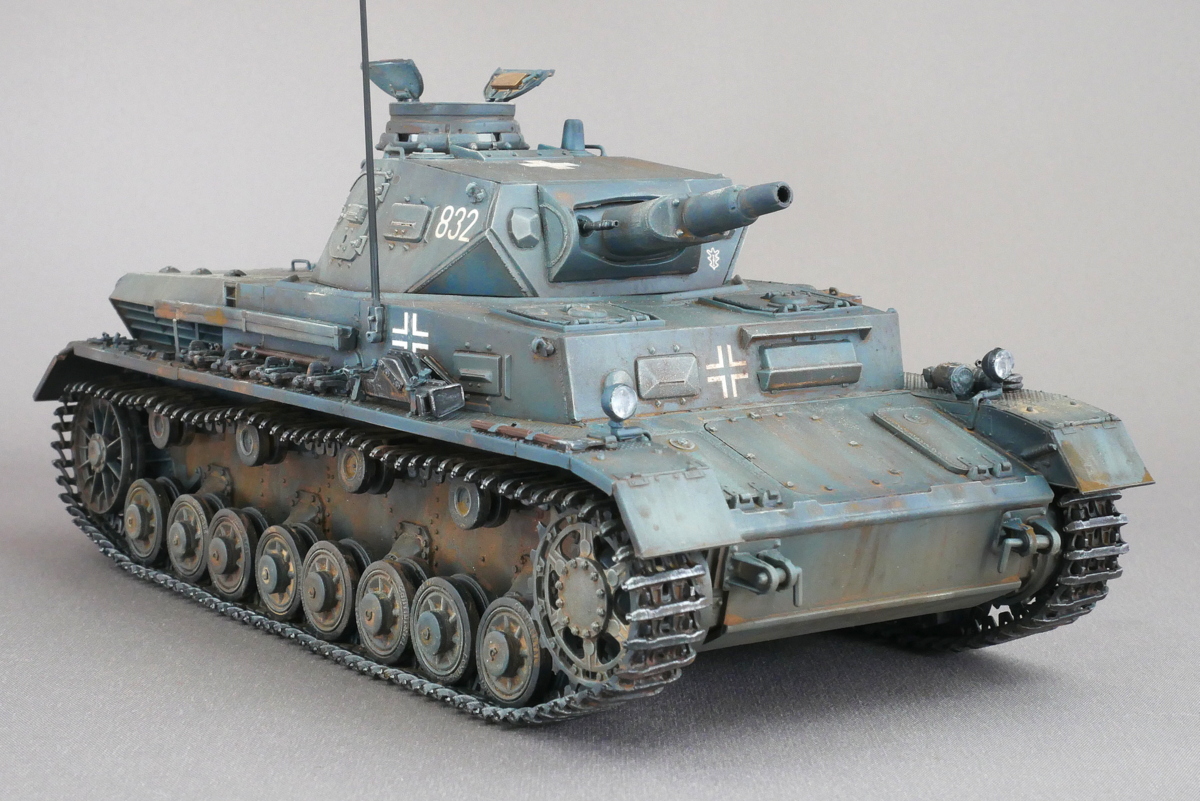
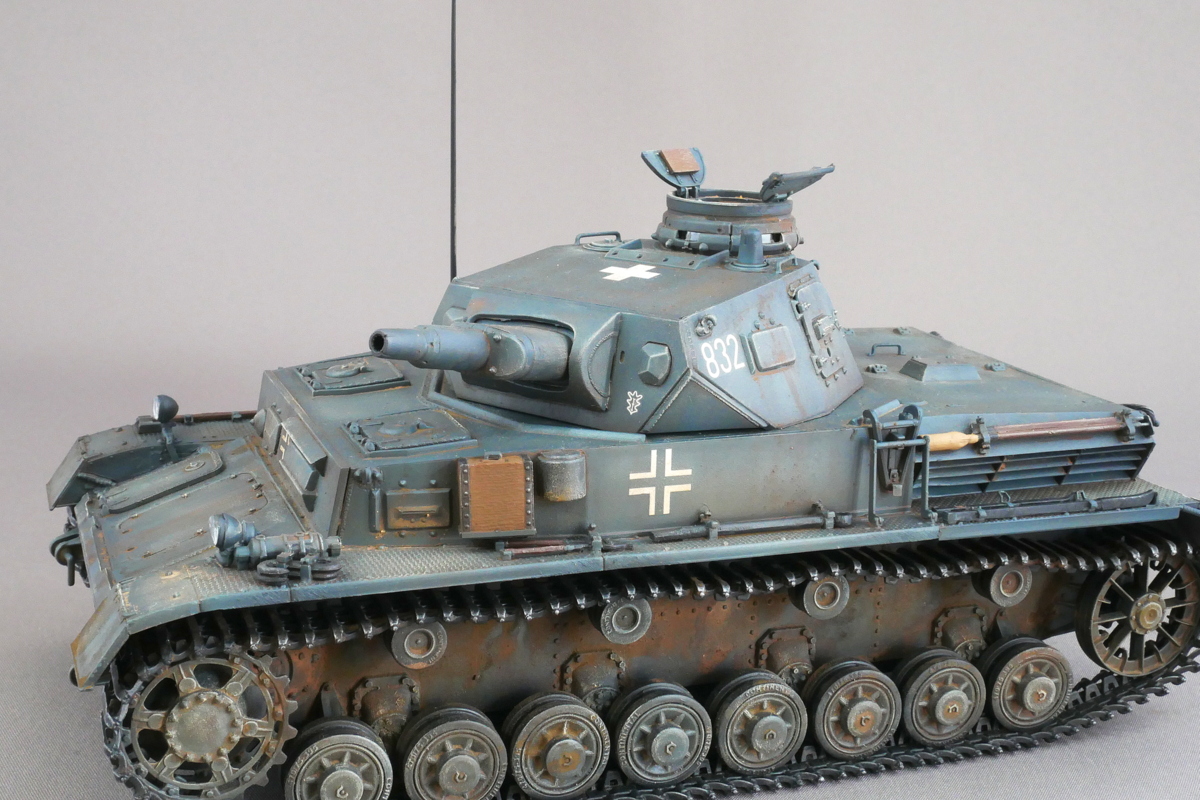
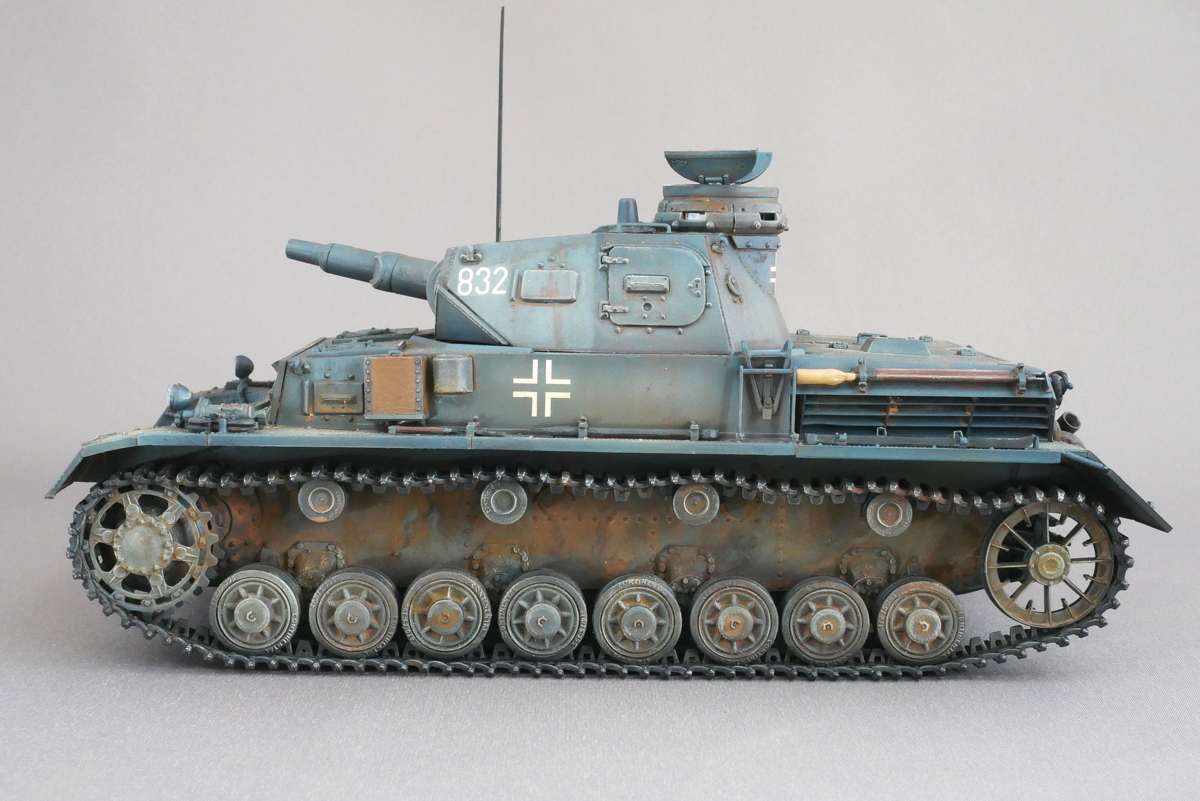
 The Panzer IV type C has been completed. I do not understand the difference between the B type, but the engine type seems to be changed. 134 tanks were produced from 1938 to 1939.
 They were armed with a 24 caliber 7.5 cm gun and a 7.92 mm machine gun. Because they were not powerful, they were deployed as second-class troops after middle WWII.
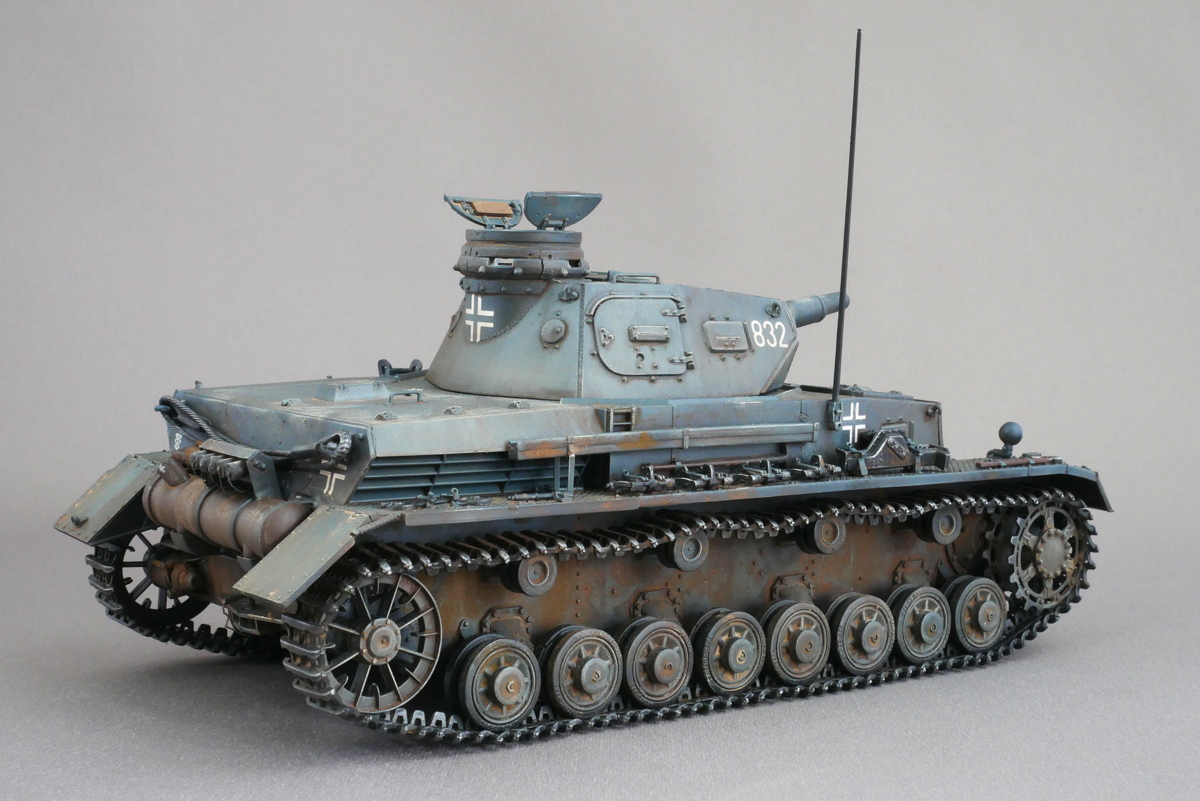
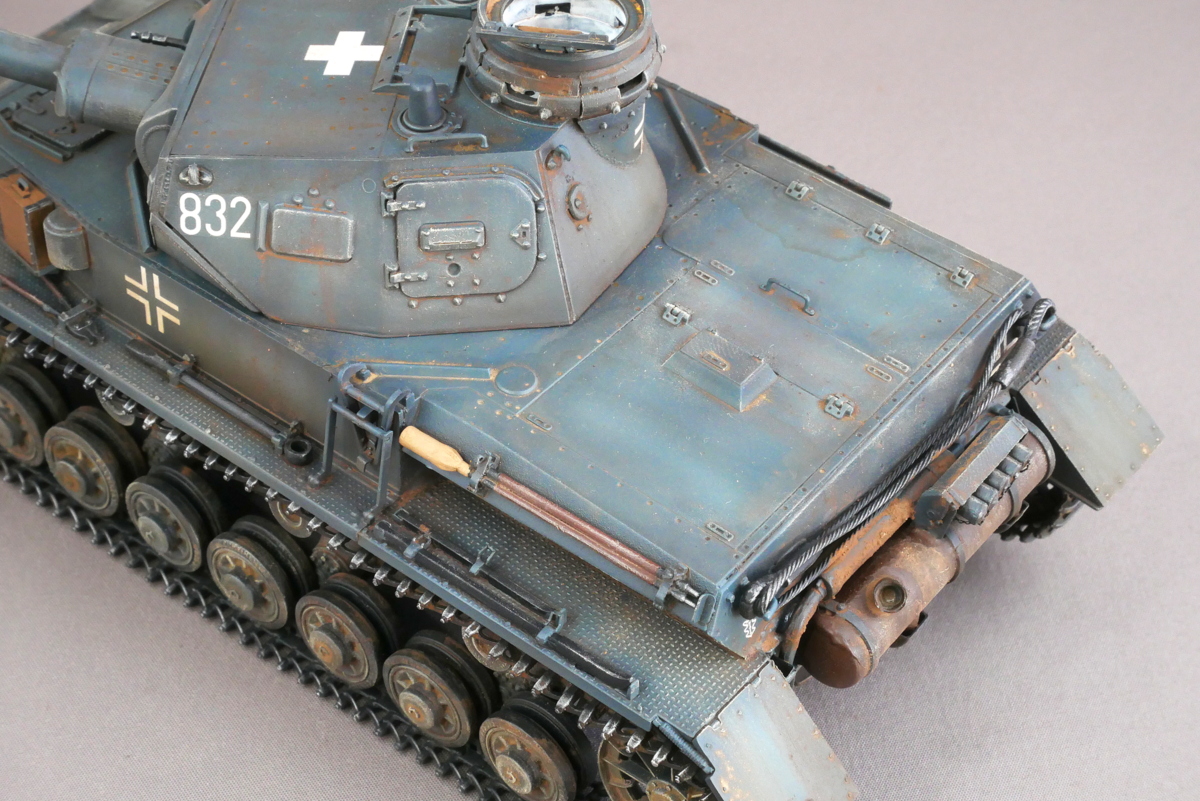
 The marking is the 1st Armored Division. The weathering is lightly washed and dry brushed.
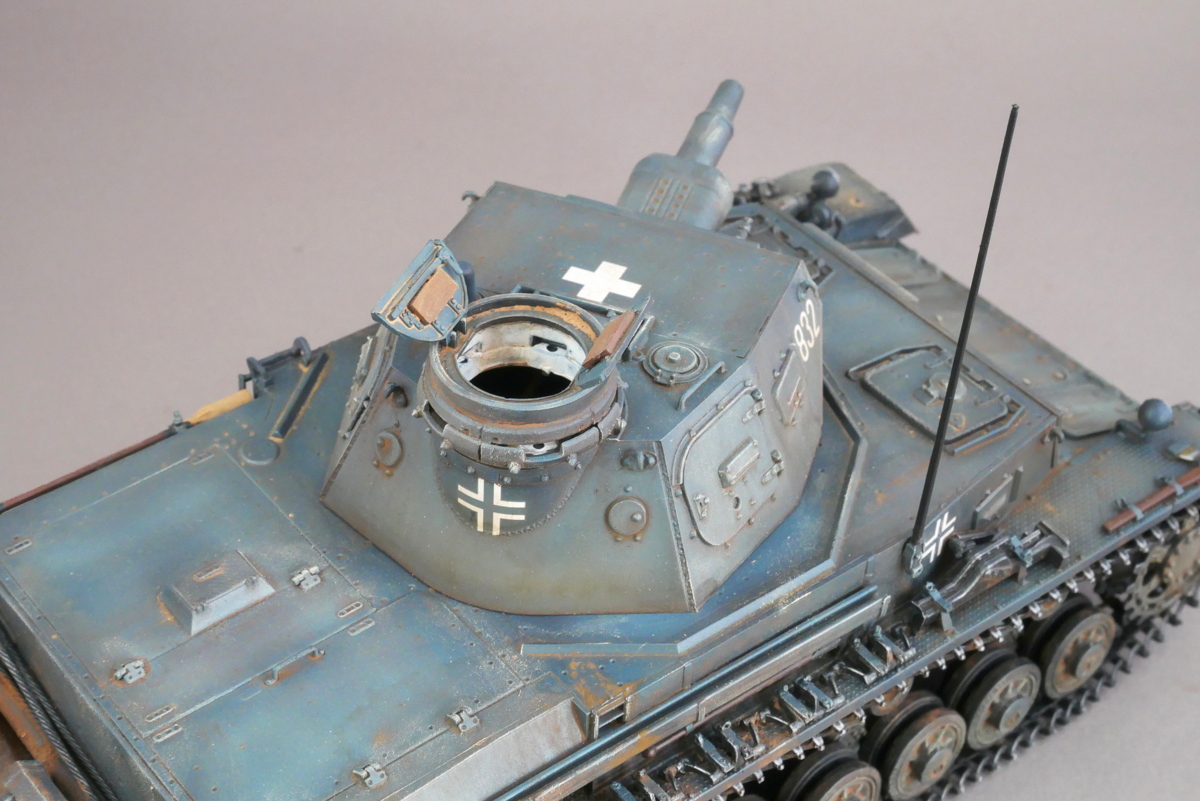 The hatch is not glued. Only lightly fixed.
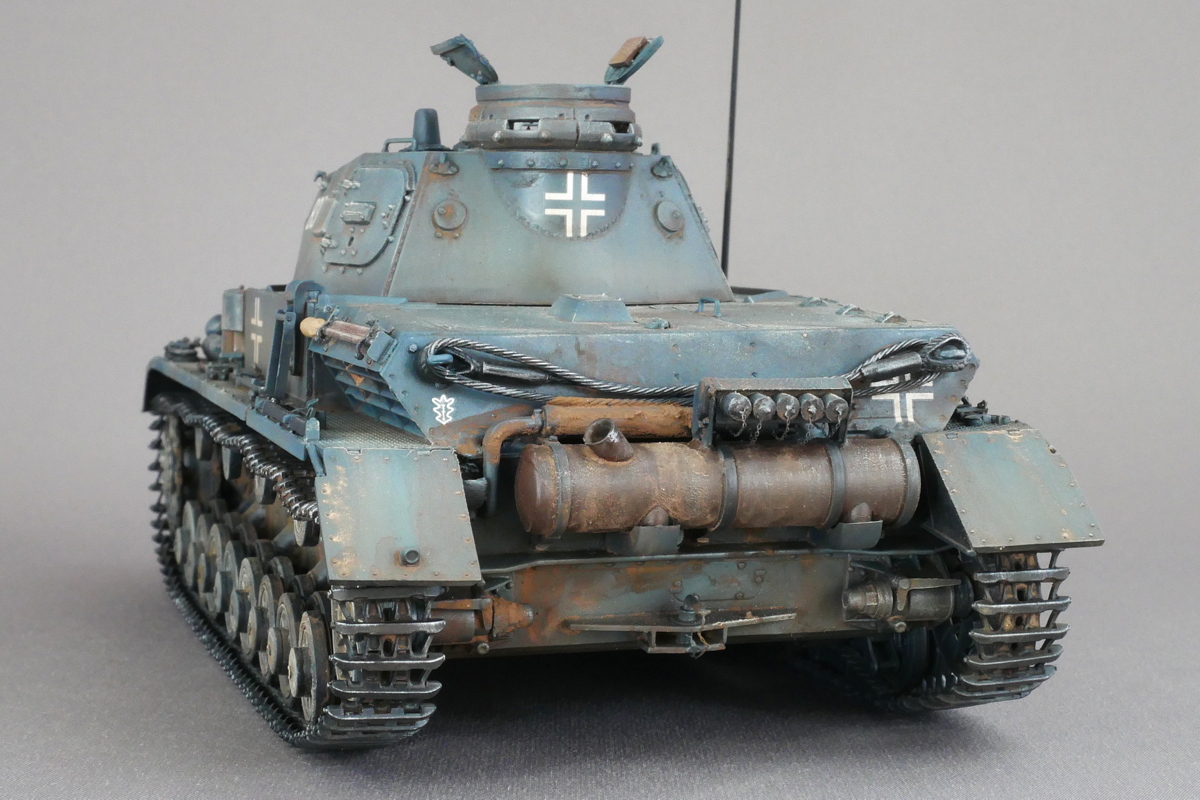
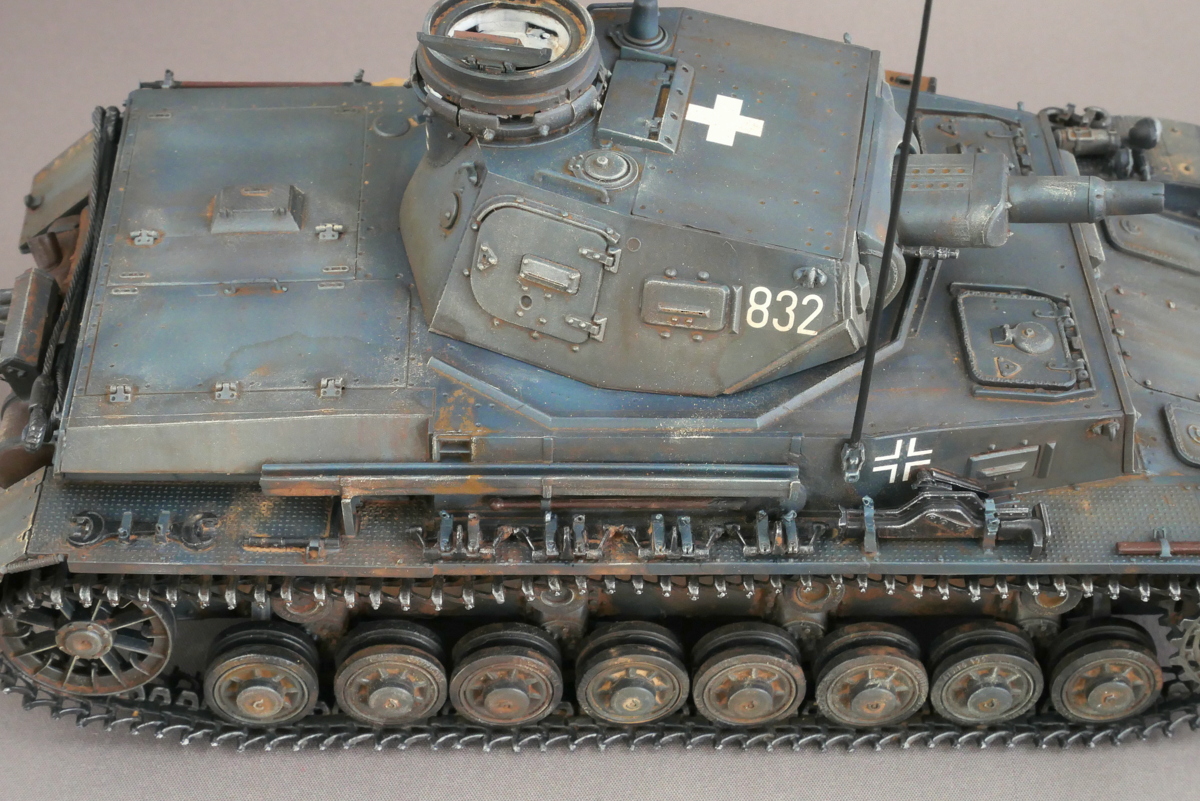 The white cross mark was abolished later, and it was easy to be a target. When this mark is attached, it is an image of a German army tank in the early days of the excellent attack.

 I had to work more carefully on the steps and gaps in the turret’s armor plate.
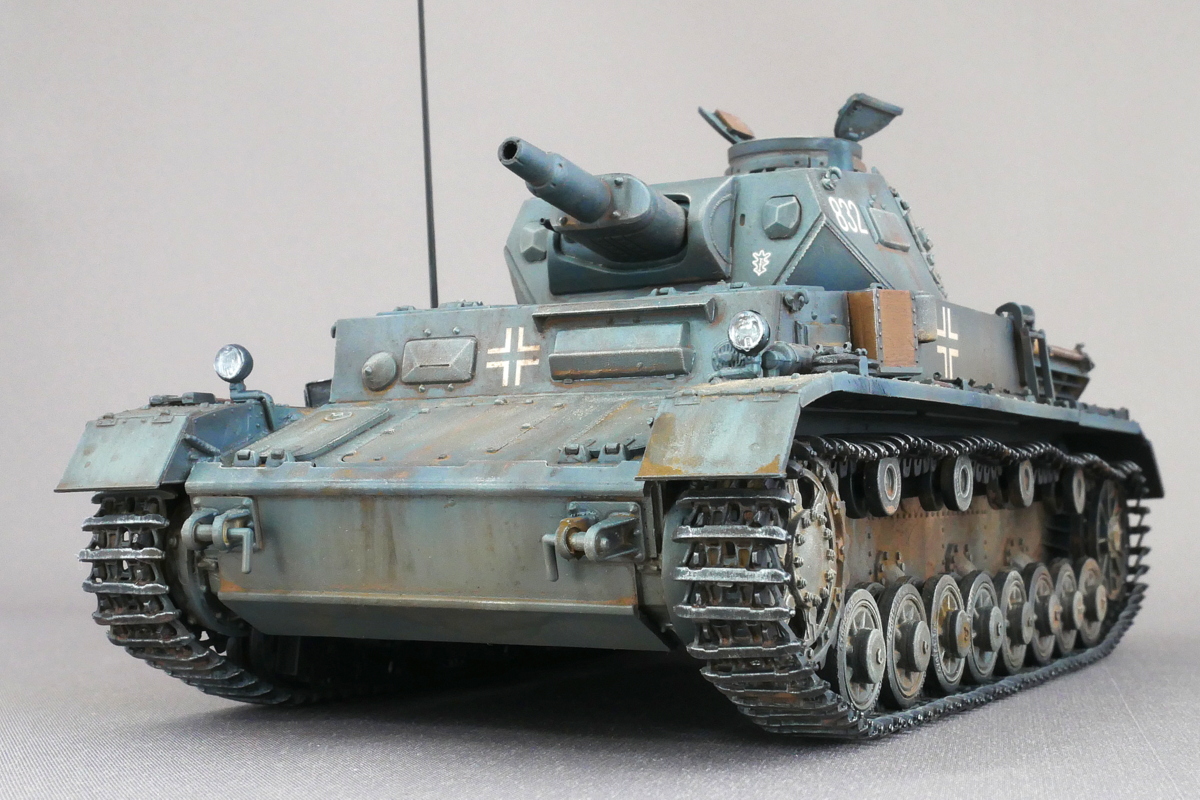
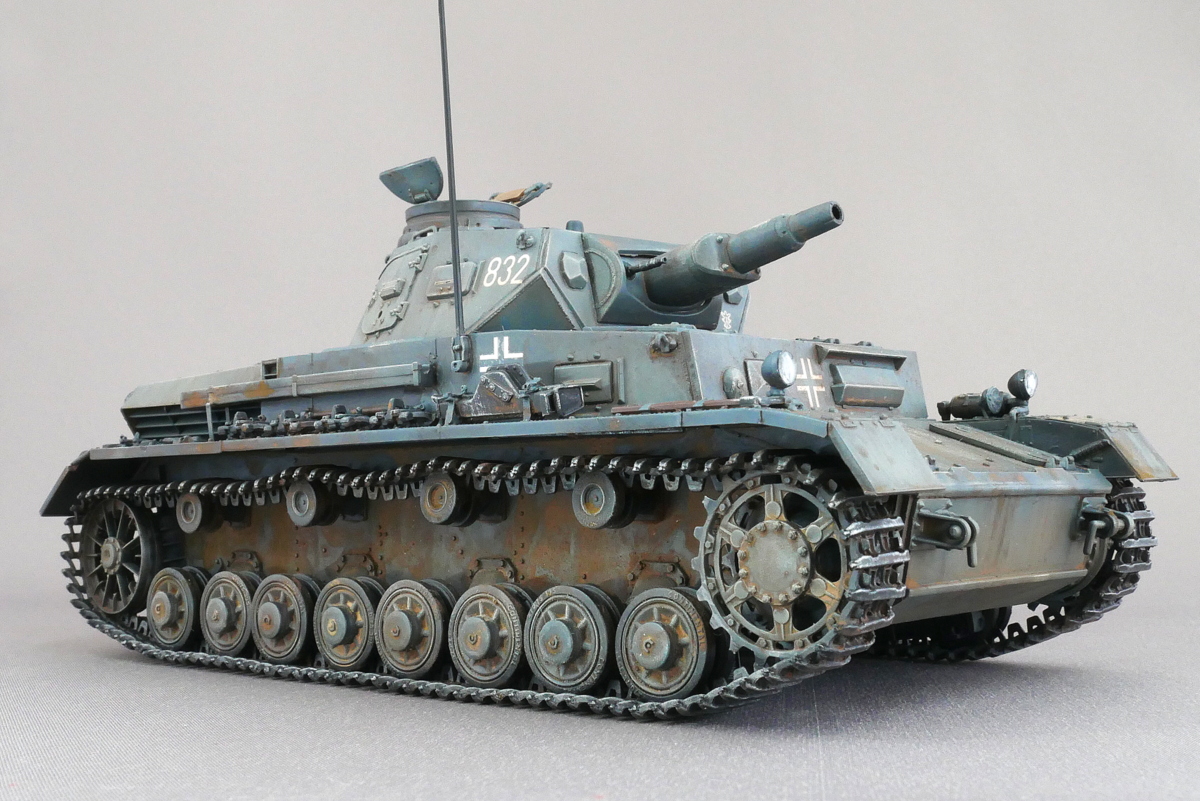
Almost no photo-etched parts are used. However, the spirit of the manufacturer to reproduce in detail to the limit with plastic parts, the assembly was complicated. I wonder if the blue-ish German gray is also pretty good-looking.
(2019/05/26)

I am interested in models of tanks, airplanes, ships, military figures, I build them little by little when I feel like it. I am also interested in the history of war. My starting is Tamiya’s Military Miniature series in elementary school.
From elementary school through university students repeatedly suspend and restart my modeling, it’s about 25 years of this hobby’s history.
From February 2007 I was quietly doing a site called “Miniature-Arcadia”. It is being transferred to this blog with the same name from December 2016. My update pace is uneven, but please come to see me here occasionally.

 Dragon 1/35")