 Tristar 1/35")
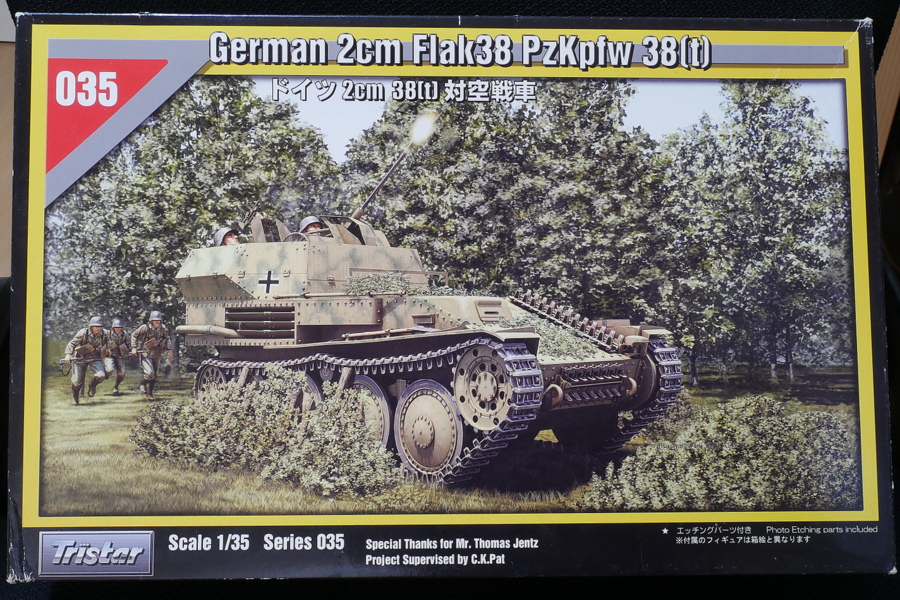 I chose this Tristar’s 38 (t) 2 cm antiaircraft tank this time. It was just a little bit assembled and left for years. I want to finish it.
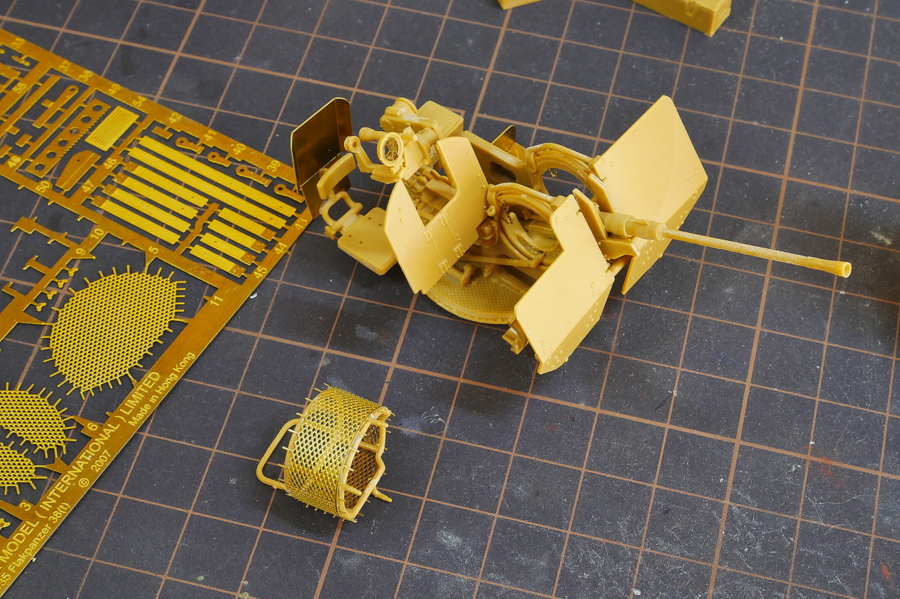
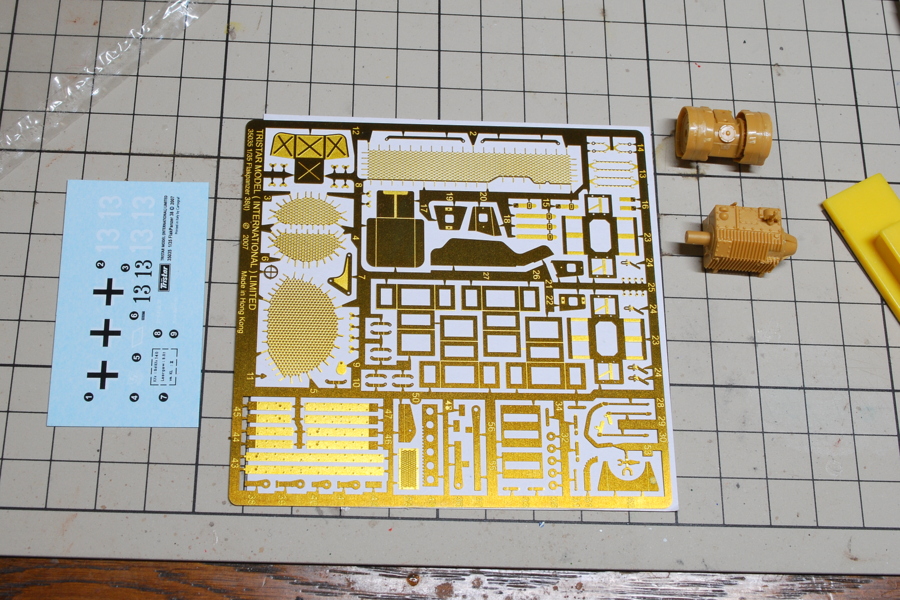 The assembly was stopped here for more than five years. As soon as I started it, I felt trouble because these parts were too small. However, it is not as hard as I explained in the later process. That isn’t easy compared to Tamiya.
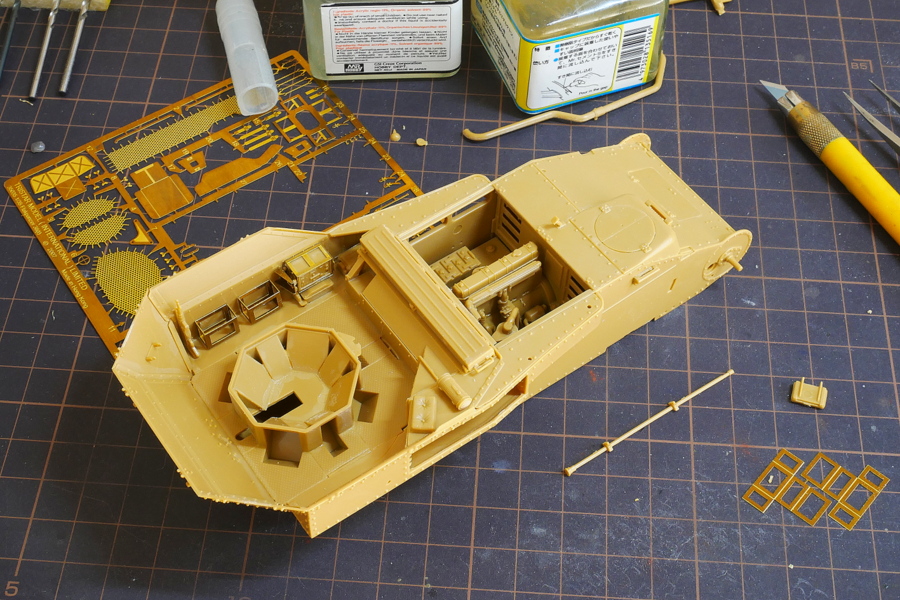
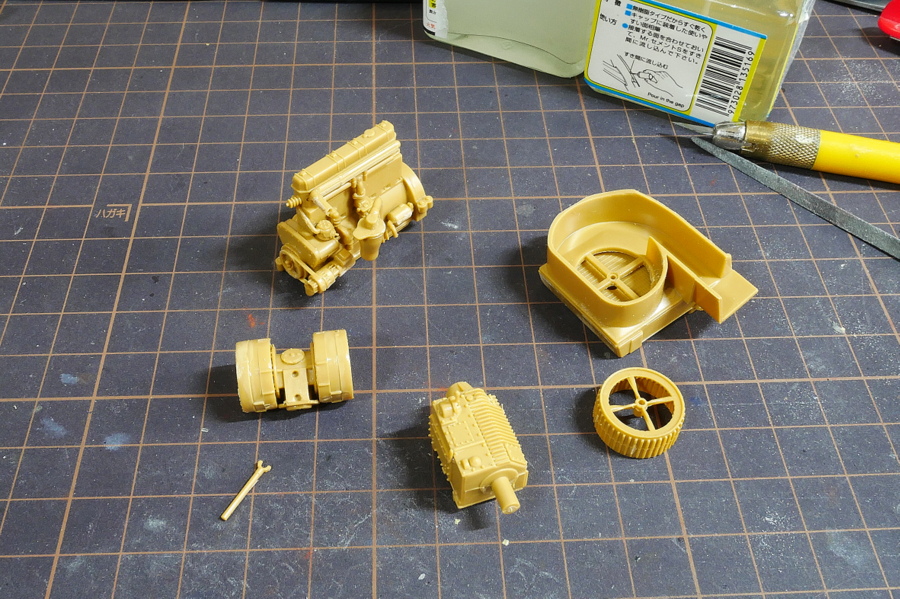 I think many people lose their motivation to assemble a complicated transmission. The assembly of the internal structure, such as the engine and the transmission, can hardly be seen when it is completed, so it is up to each individual to decide how to work. Since the parts are subdivided and hard to assemble, I think it will not affect you if you skip all of them.
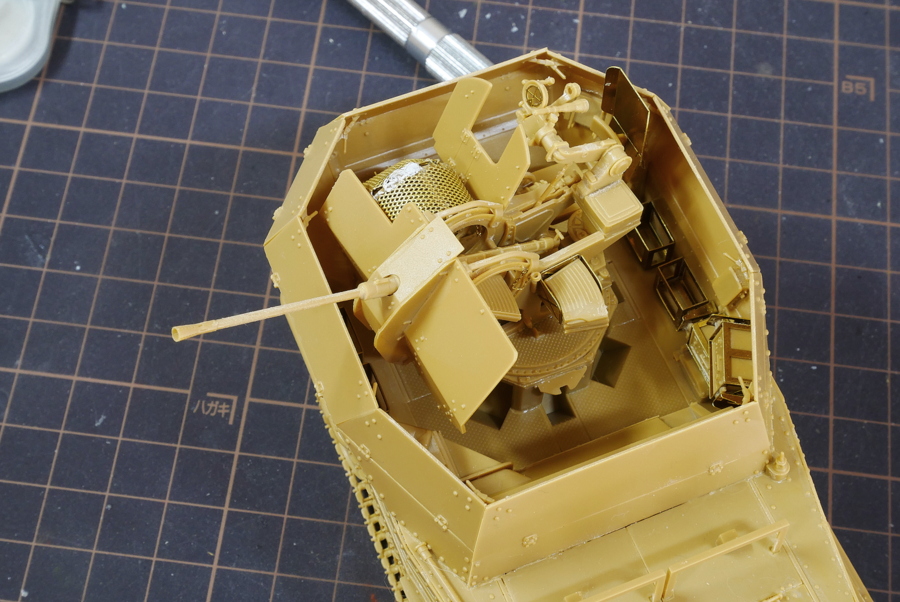
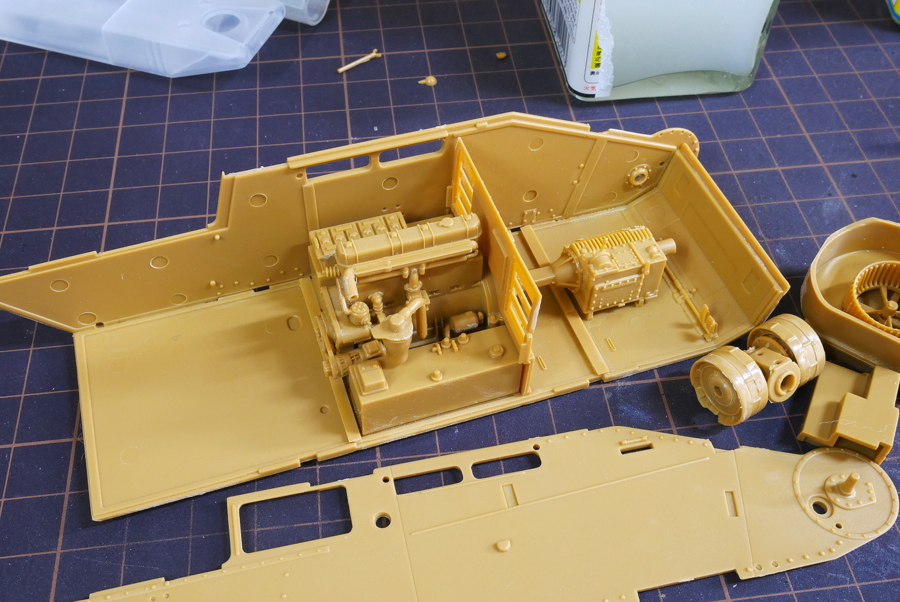 To some extent, I have assembled the inside. There are a lot of parts, so it gives a very precise feeling.
(2019/12/03)
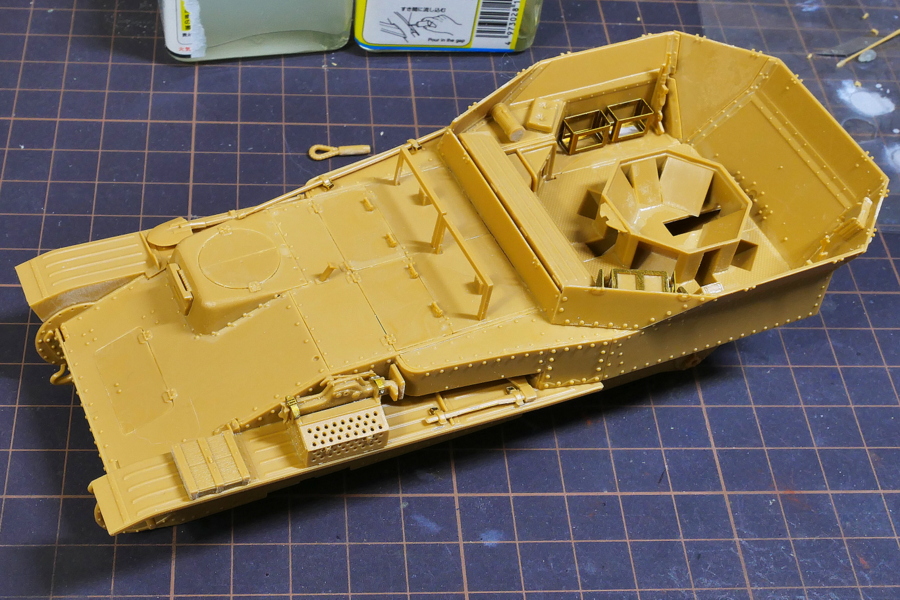
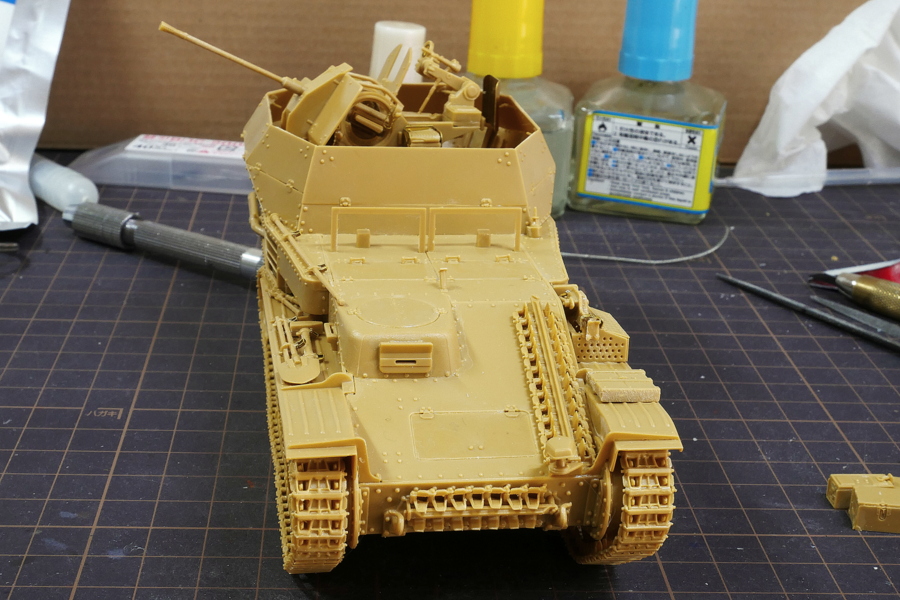
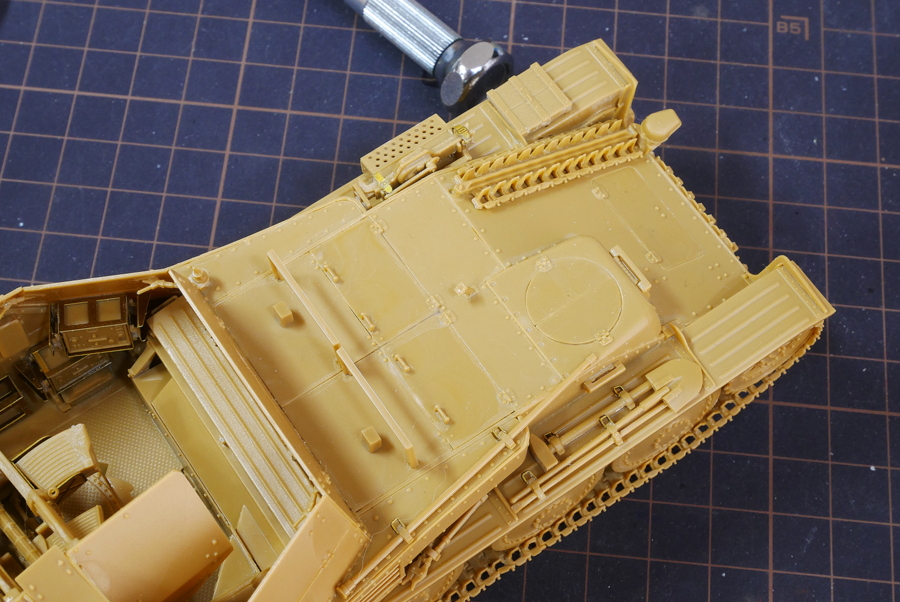
 It looks like this when I attach the armor plate on the front. If we don’t open the panel, we won’t be able to see the parts at all.
 Now I’m building a Flak module. Moderate photo-etched parts are used.
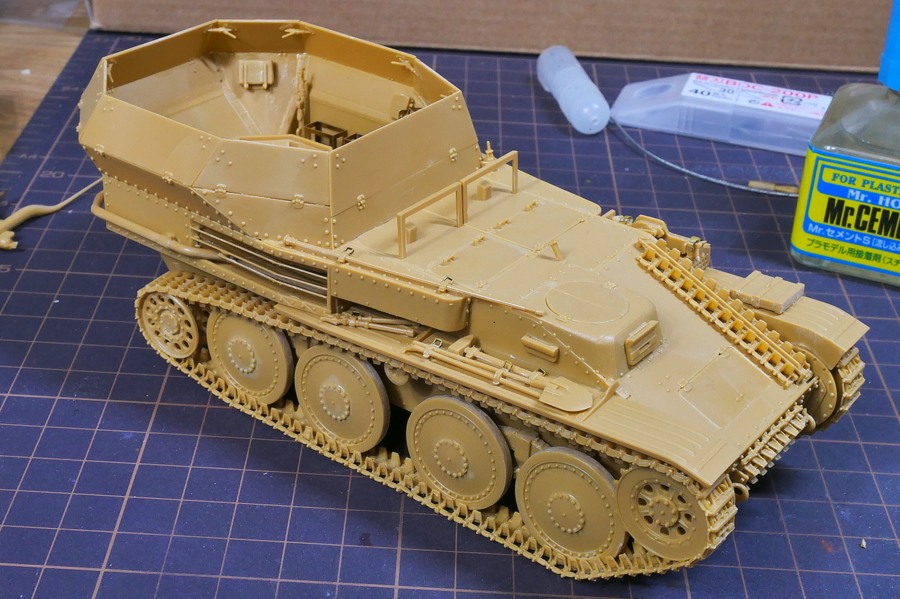
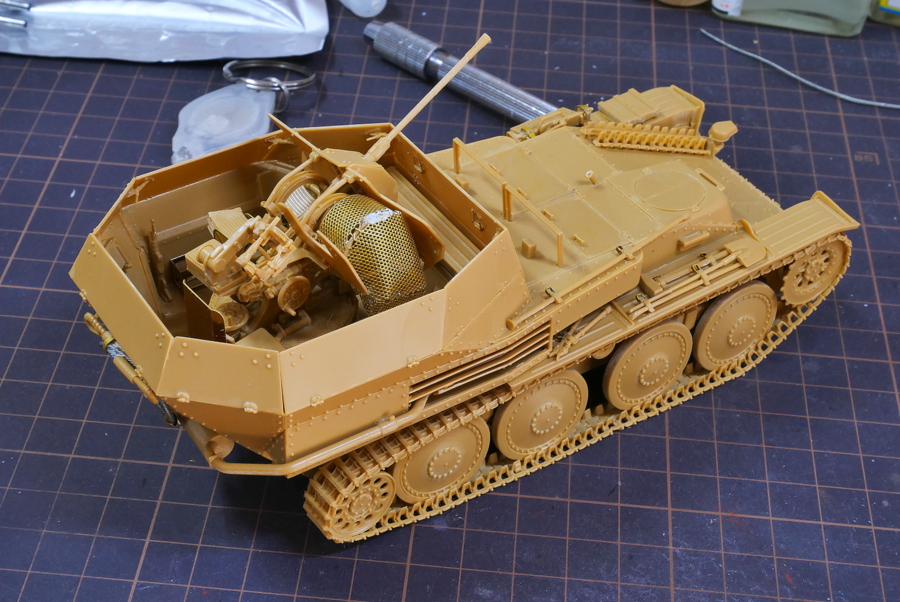
 All the armor plates have been glued.
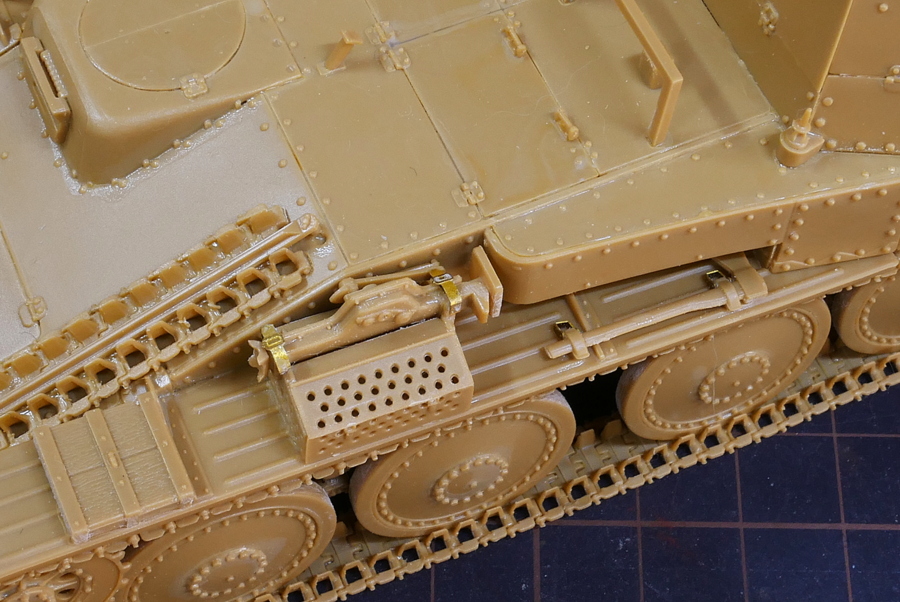
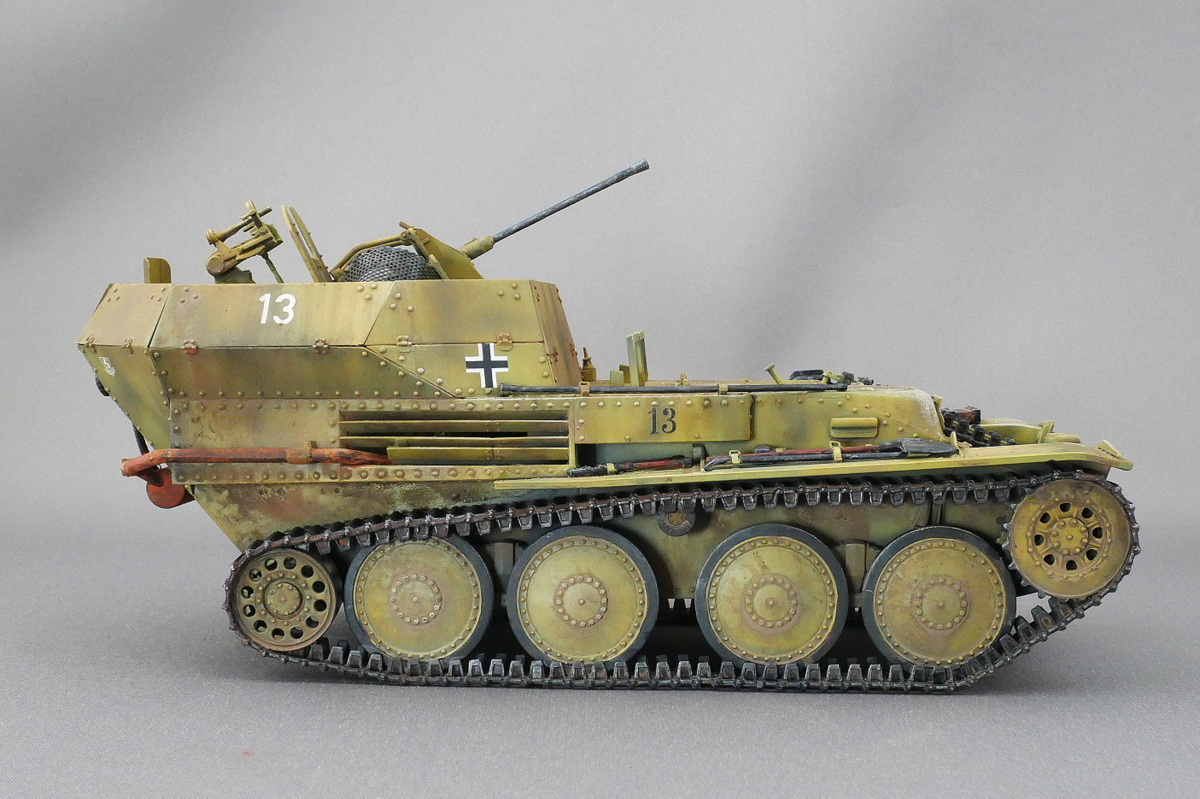
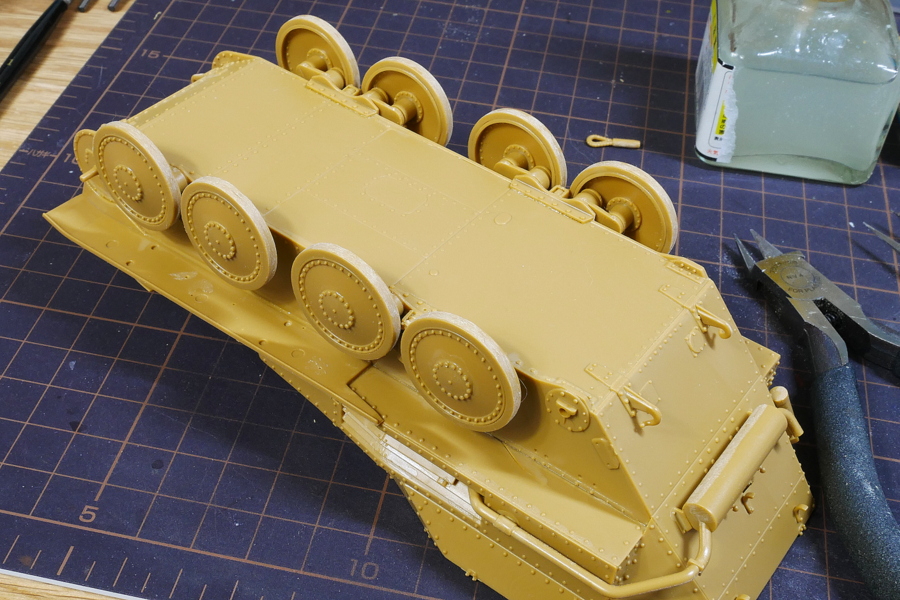 38 (t) wheels were installed. I wonder if the actual wheels are so hollow inside from the back. No way. It’s suitable for weight saving.
(2019/12/07)
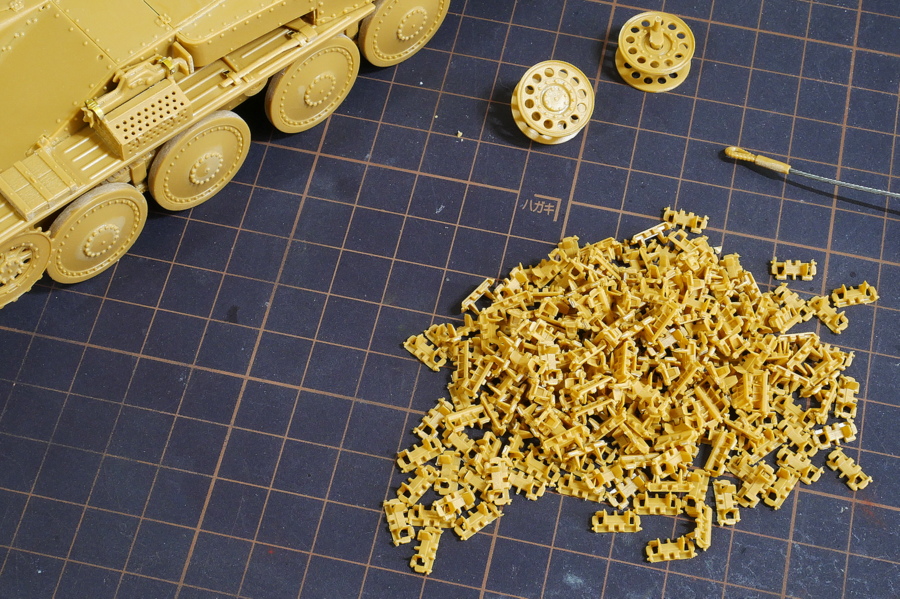
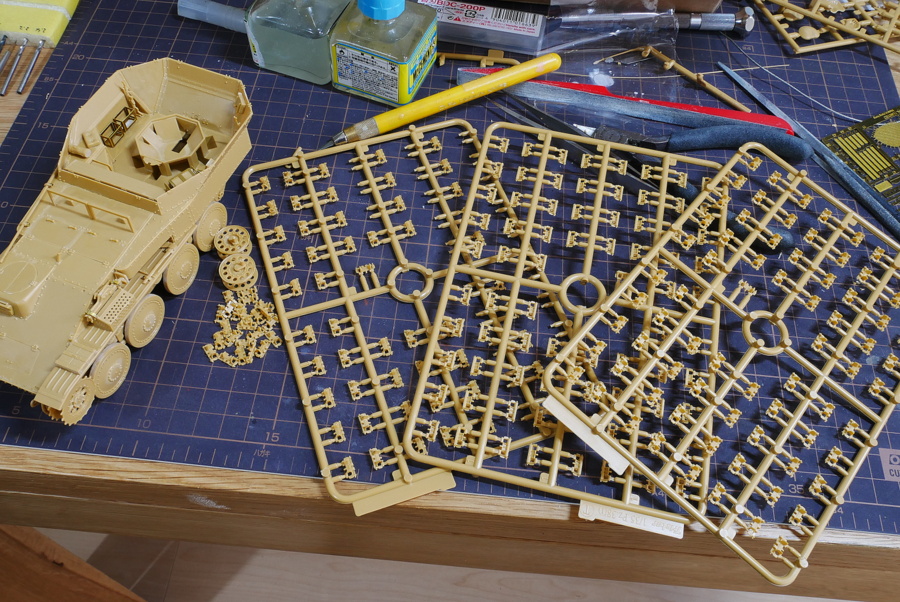 The assembly of the connected track is one of the highlights of the AFV model. There are three runners of connected tracks. Since it is a small tank, the length of the caterpillar is not so long, and the parts are not so many. Even so, it’s hard to cut, glue and fine-tune.
 Even if there are some bad shapes, there are enough.
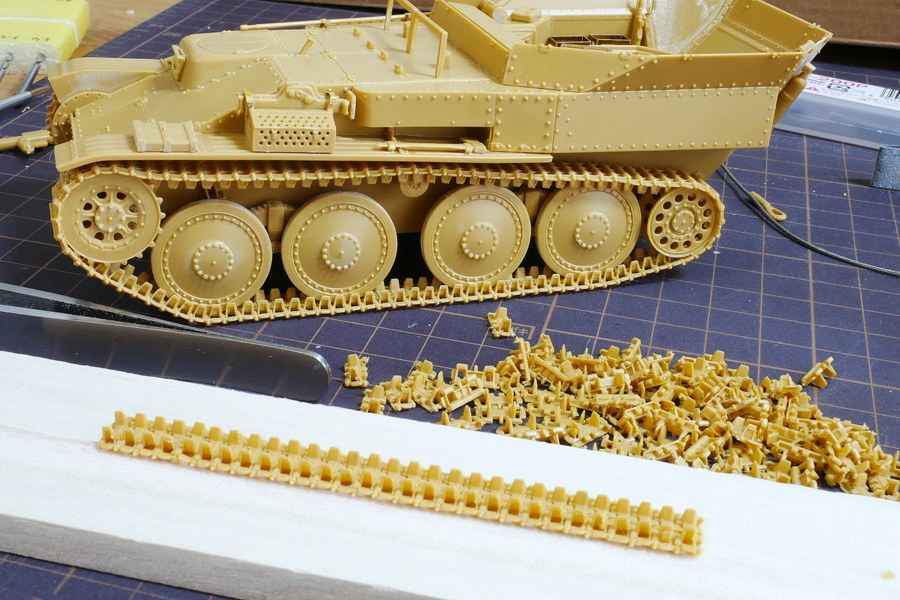 The connected tracks are excellent. Come to think of it. These short tracks may look the same as the belt type. But I like this one better.
 The assembly up to this point was quite tricky, considering that the inside was partially skipped. I didn’t think the machine gun was more difficult at this stage.
(2019/12/09)
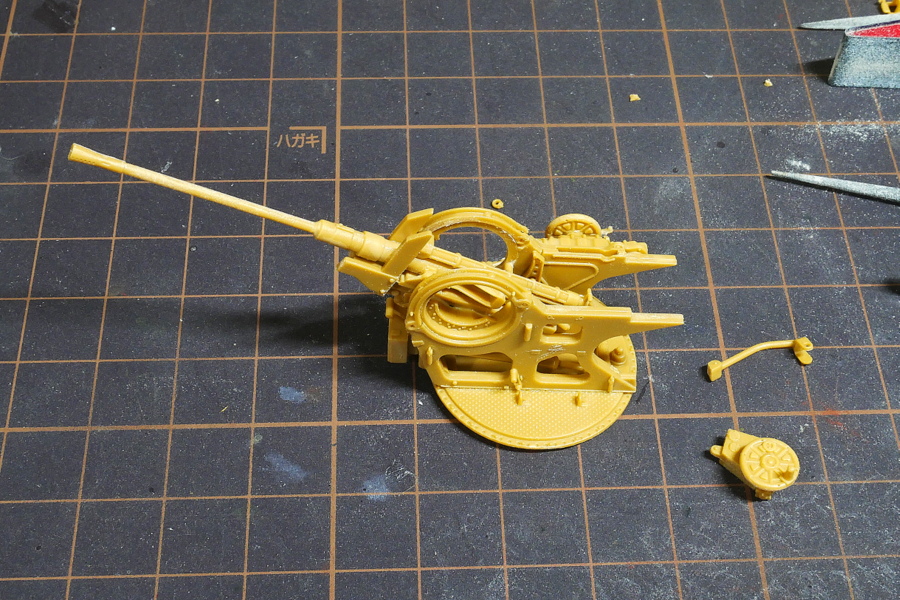 The 20 mm antiaircraft gun has been made in the past and is also on this blog. I didn’t know the right way until I finished. It feels more difficult than when I made it before. The shape of the subdivided part is not precise. In that sense, it’s better to assemble it all at once.
 There are too many small parts.
 When I finished assembling, some gaps and holes were caused by sink marks. But it was easy to fix with putty.
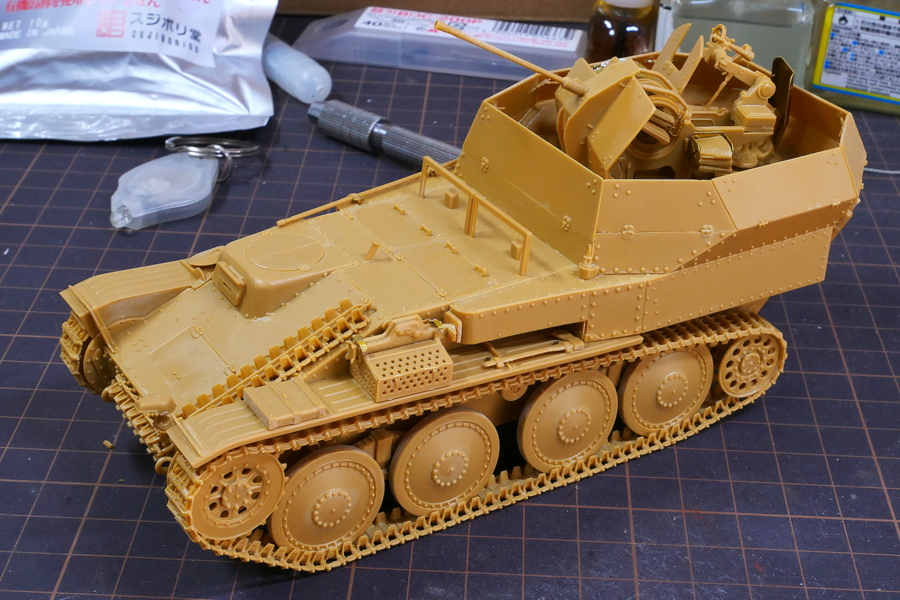 This kit is very good. It is a complex polyhedron with a complicated part structure of the armor plate, but there is no difficult part to assemble. The overall parts are delicate, and the precision of a small AFV is improved.
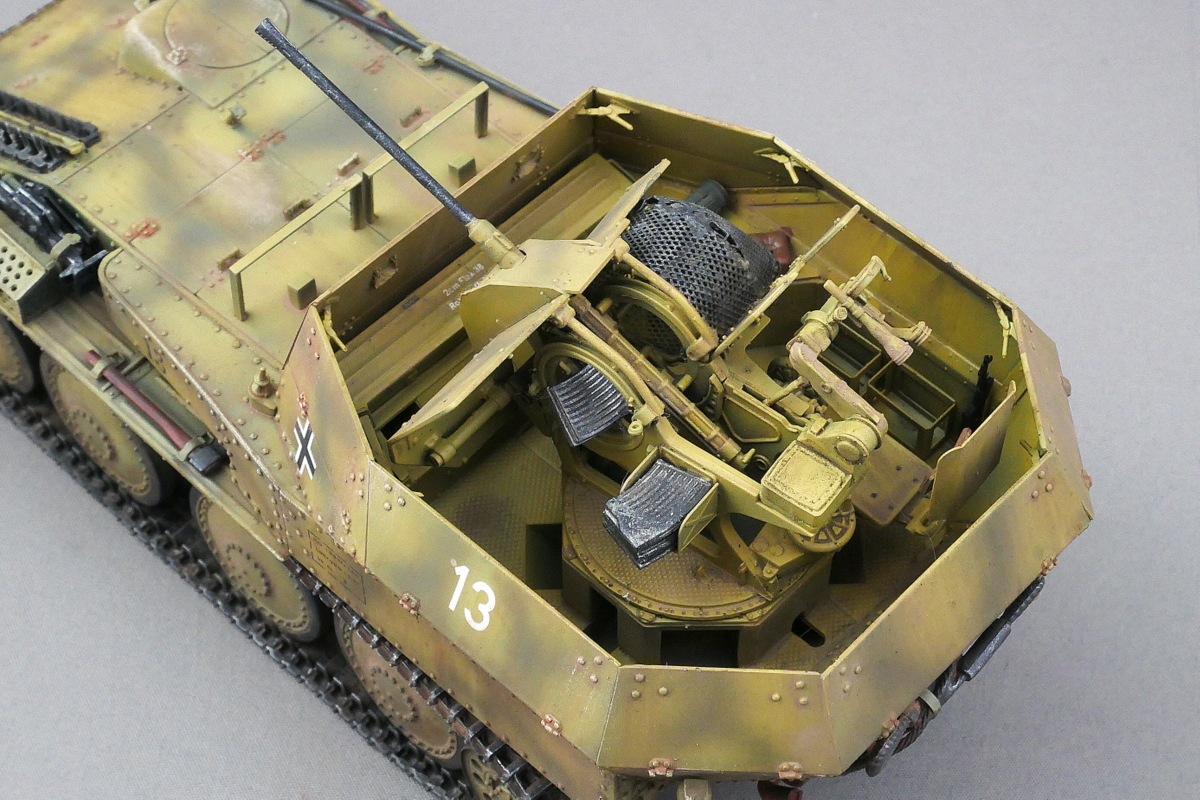
 The cartridge collection net turned white when I used a large amount of the super-glue coagulator. Without a recovery net, the cartridge would roll and get stuck in the gap, and the gun amount wouldn’t rotate. Considering that, it is an important item.
(2019/12/11)
 There was a gap when I glued several rectangular panels. I used a light-curing putty to fill the gap.
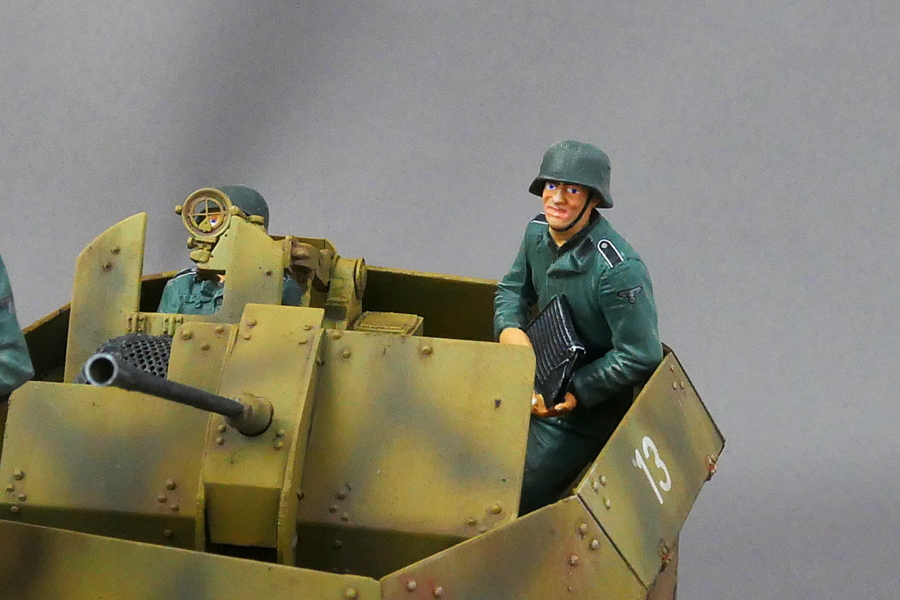
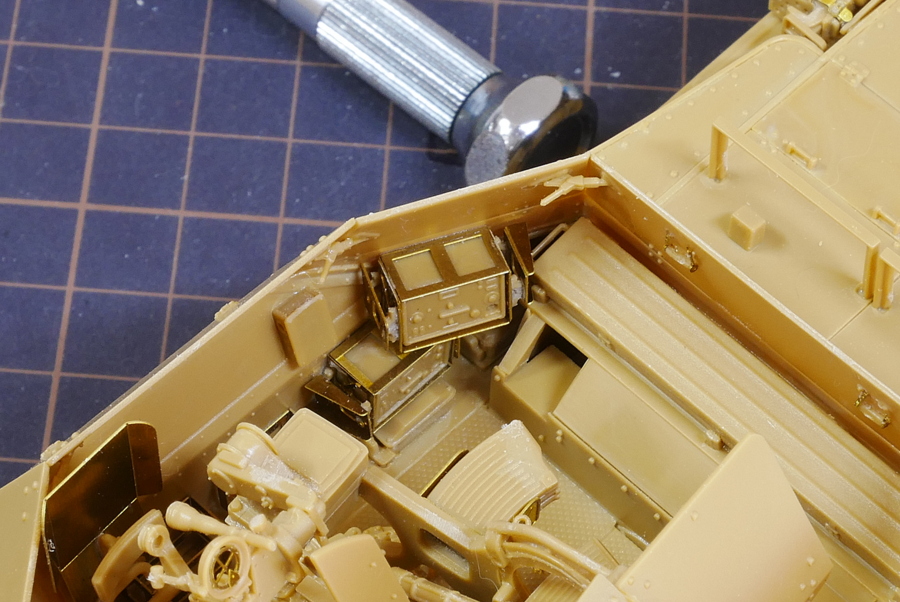 I like the mold of the radio.
 The traction wire is hard to attach to the AFV body, so I installed it in my way.
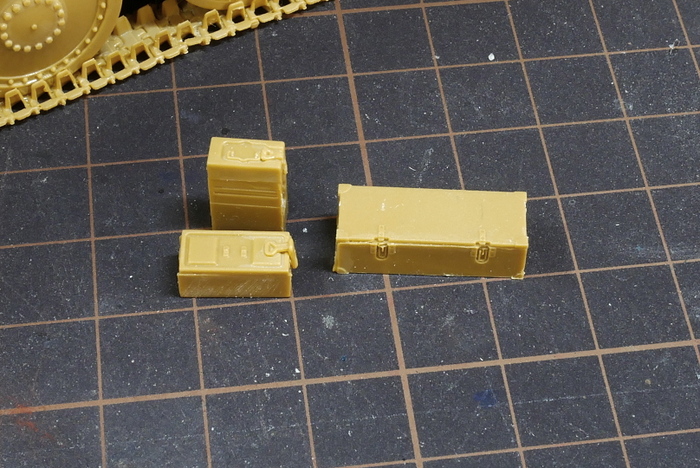 I assembled several ammunition cases. Since the inside of the AFV is small, there is not much space for the layout.
(2019/12/13)
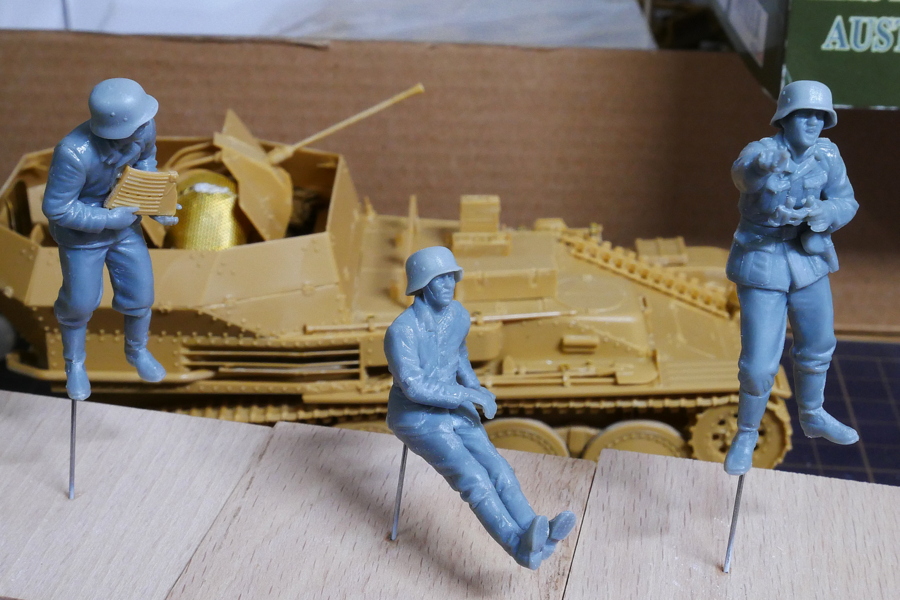
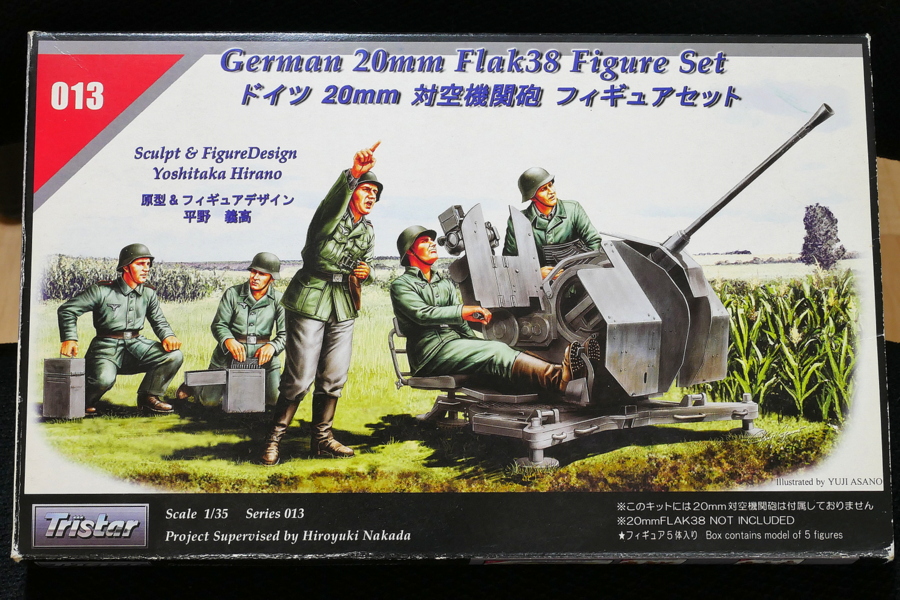 This is a figure I used when I assembled a 20 mm antiaircraft machine gun.
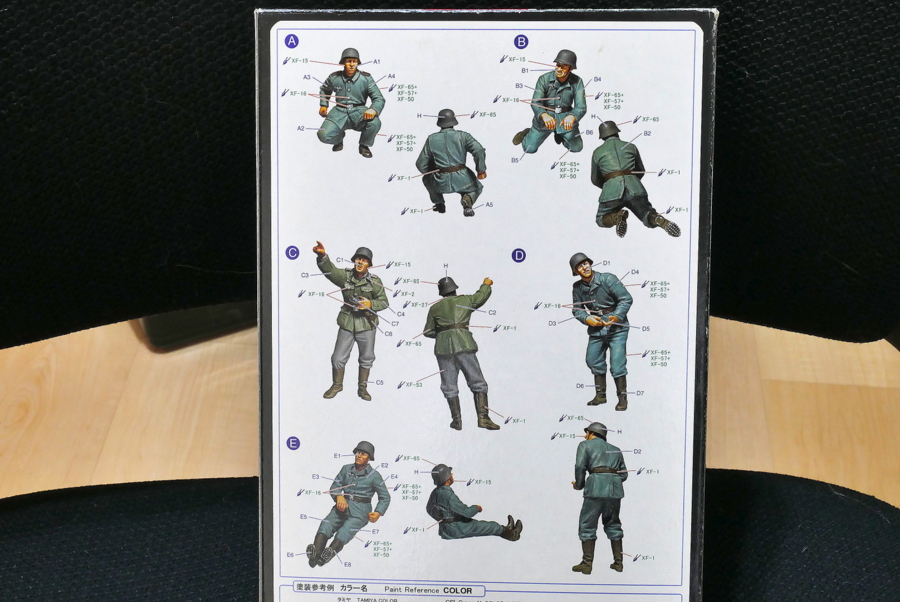 As I wrote, there were two runners of soldiers, C, D, and E. There were no A and B. So why not try to attach this 38(t) antiaircraft tank?
 It’s an old kit, but the parts are many and small. Regarding early Dragon Models figures, rugby players were sometimes slightly bigger than the 1/35 scale. The Tristar is relatively small, or rather normal. It’s the right size to fit the AFVs.
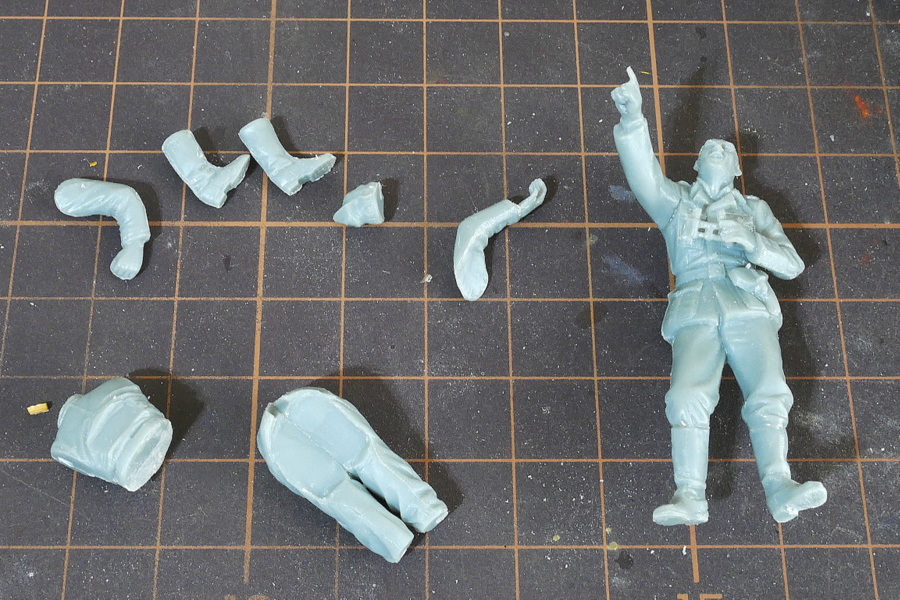
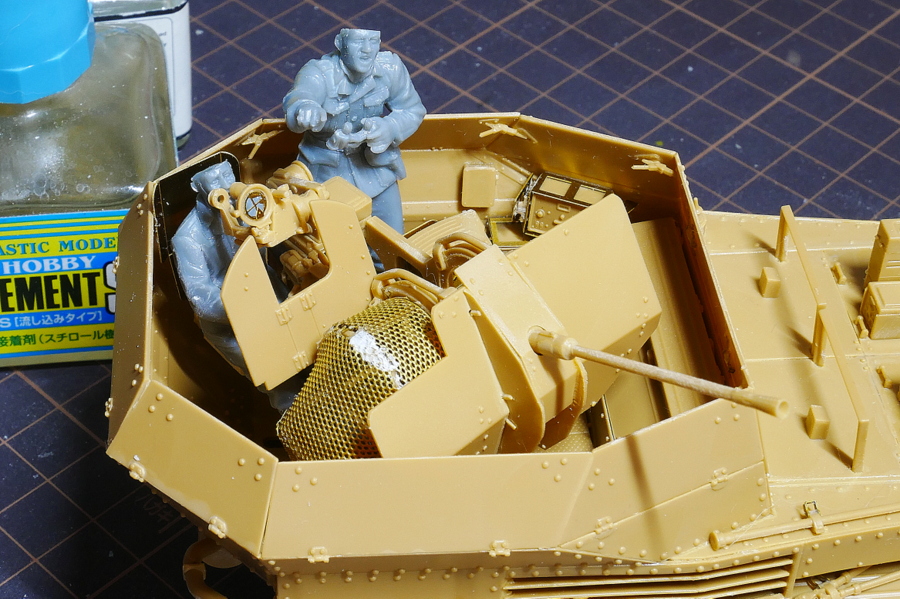 Matching the figure after the antiaircraft machine gun is installed on the dolly is difficult. I forced it in.
 I didn’t have a helmet because there wasn’t another pair of runners. And I used the extra parts of this kit for the 20 mm magazine.
 I brought three helmets from the rest of the Dragon Models figure. Dragons can have a lot of extra parts and are useful in this kind of unexpected situation.
(2019/12/15)
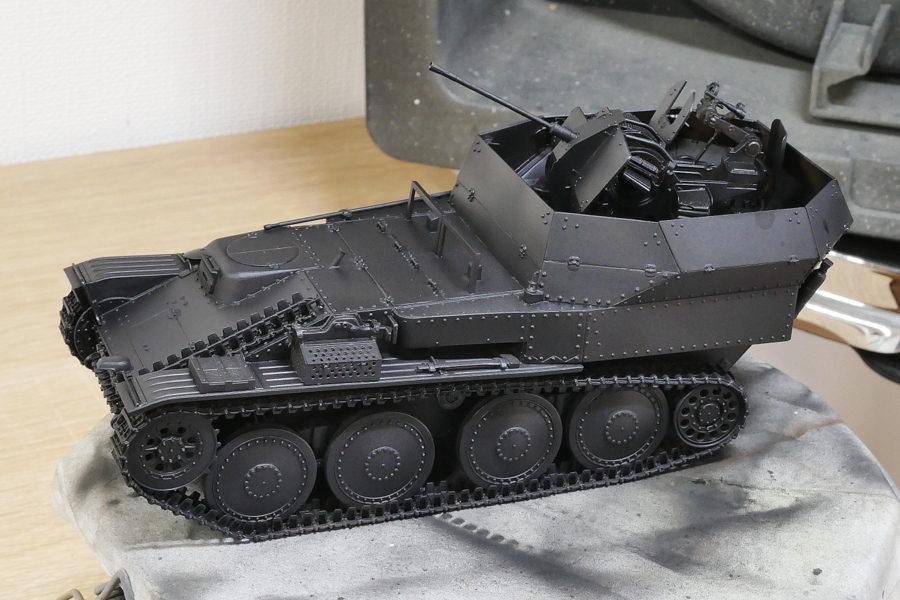 Undercoat with black. It’s an open-top AFV with many hidden areas, so blowing it in a dark color is more manageable.
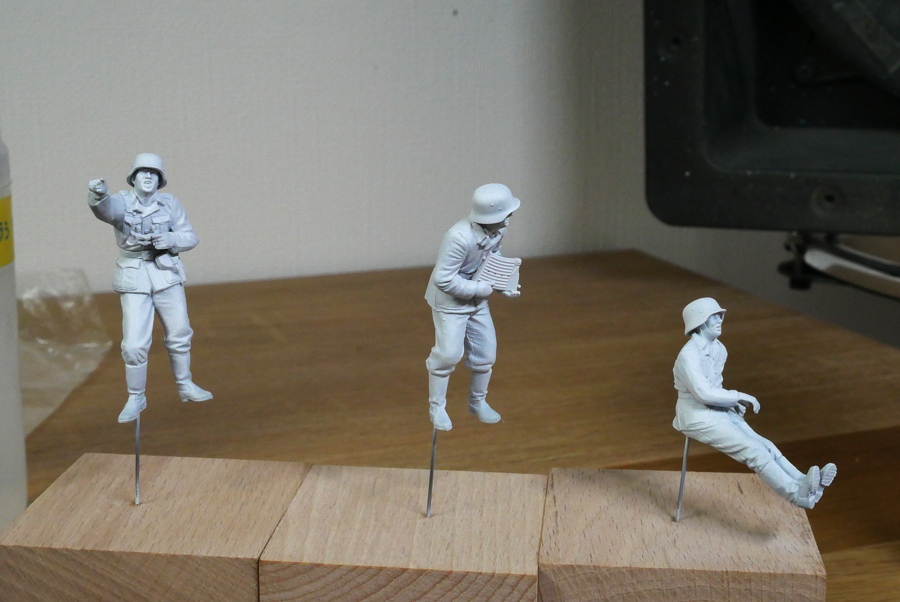 I used a white surfacer.
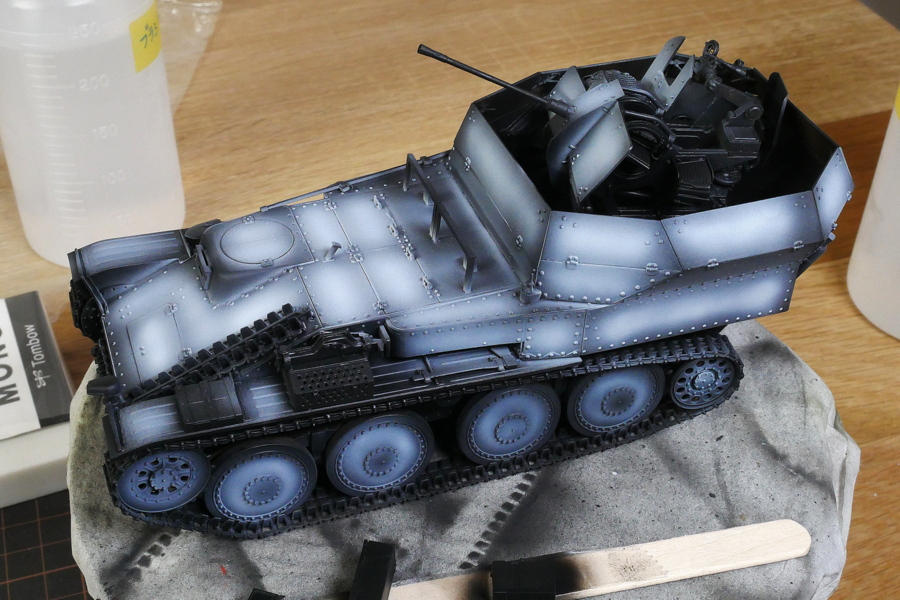 This is the condition just before basic painting.
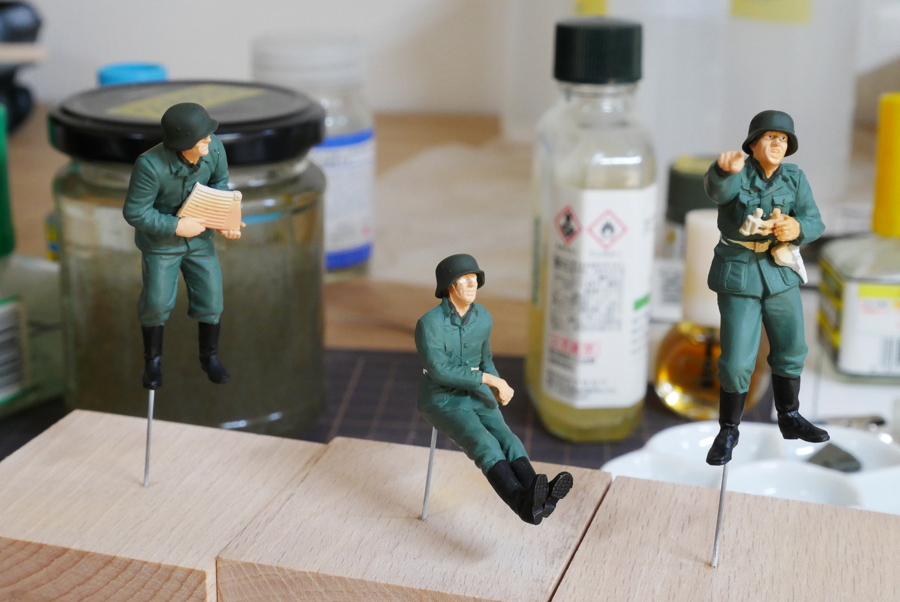 After painting the uniform, he looks more like a soldier.
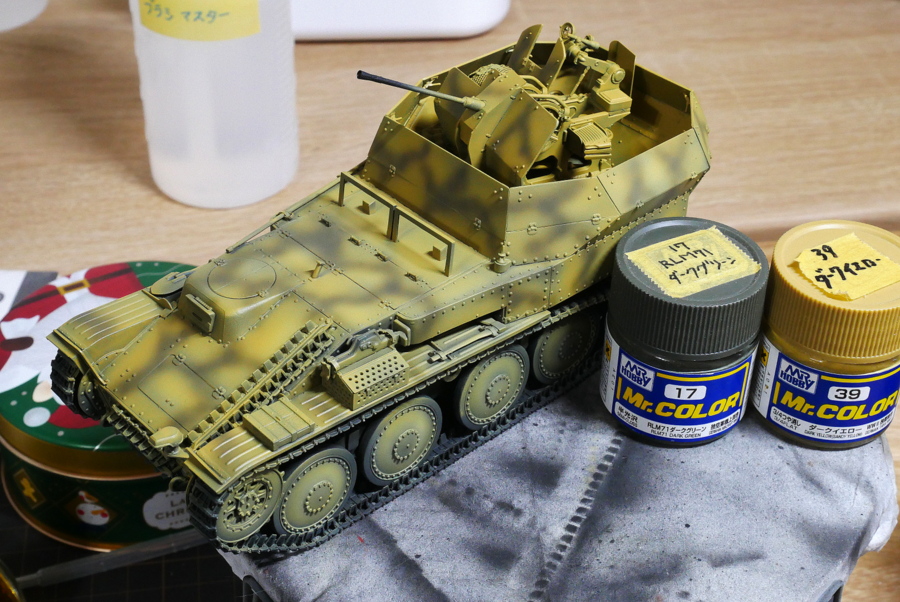 This time, I used dark green for airplanes. It is a kind of dull color.
(2019/12/17)
 Tristar 1/35")
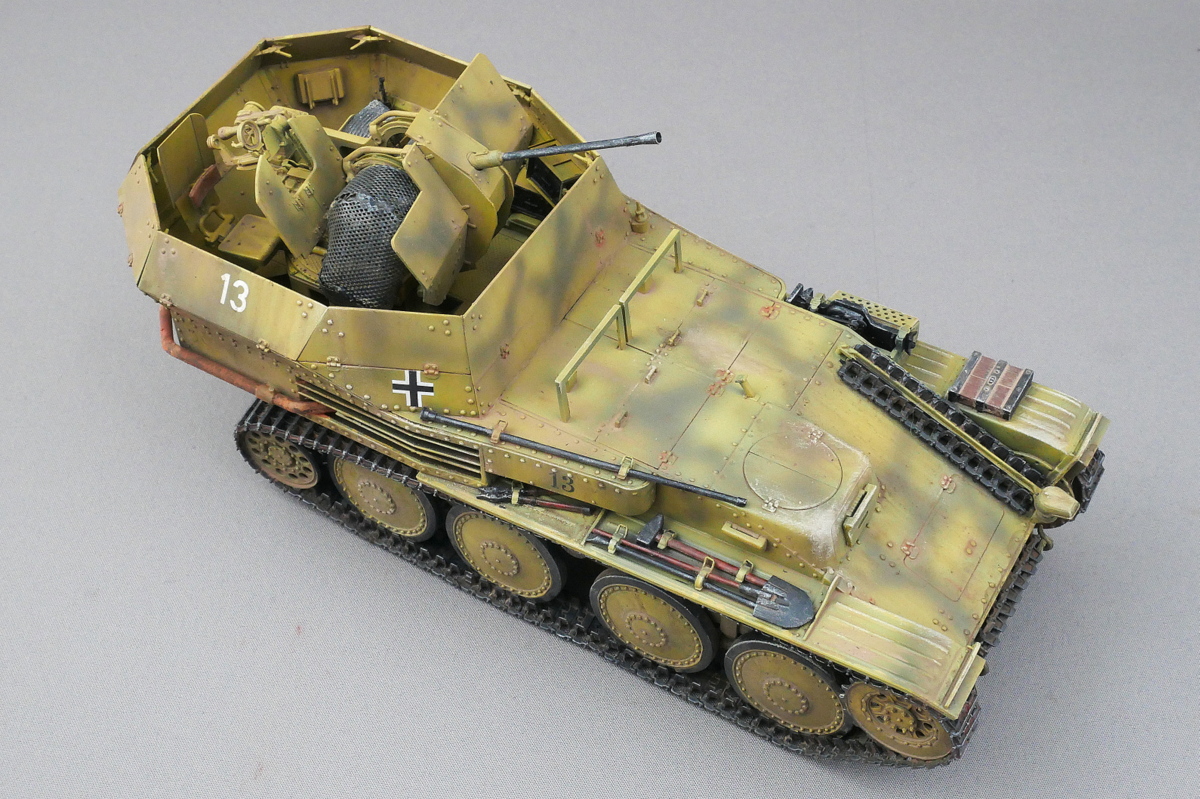
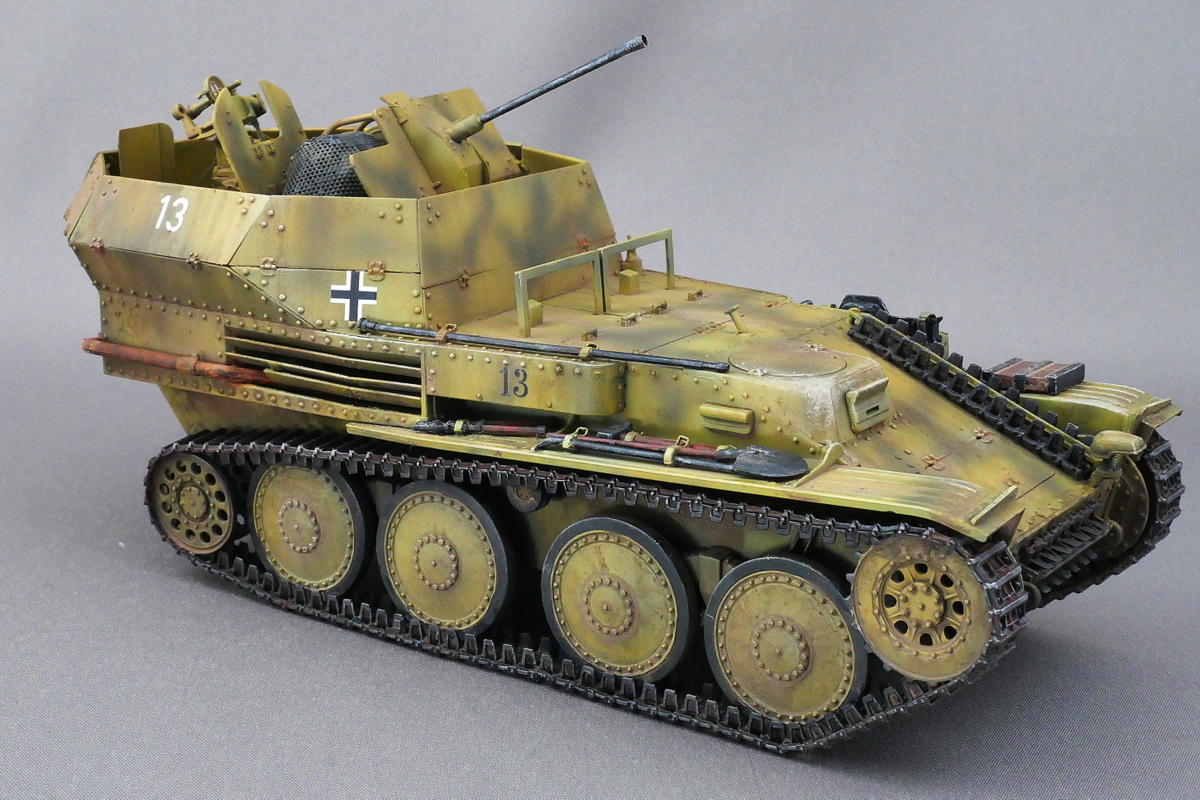 Finally, the antiaircraft vehicles of the German army were completed. It was an assembly manual that was hard to understand for Tristar. It is a derivative of a 38(t) tank combined with the parts of a 20 mm machine gun, so it must have become complicated. I see mistakes here and there. These errors have not been fixed after being converted to Hobby Boss.
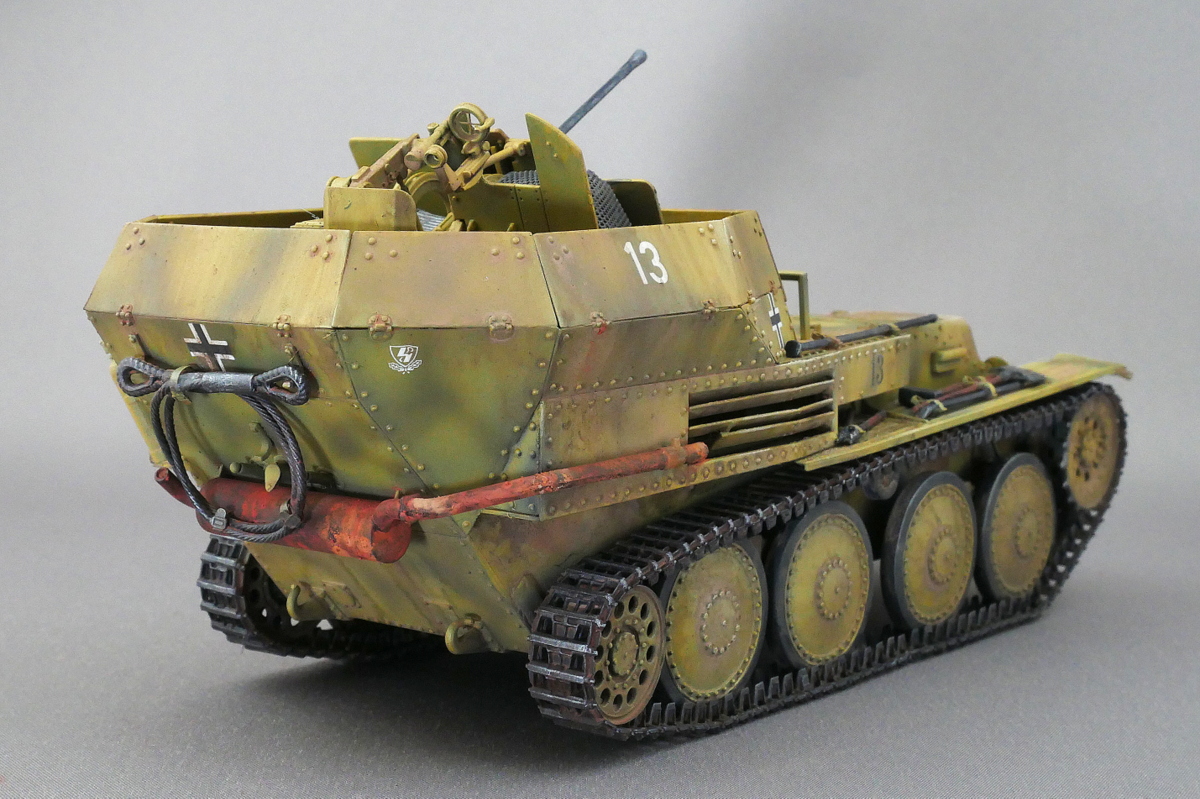
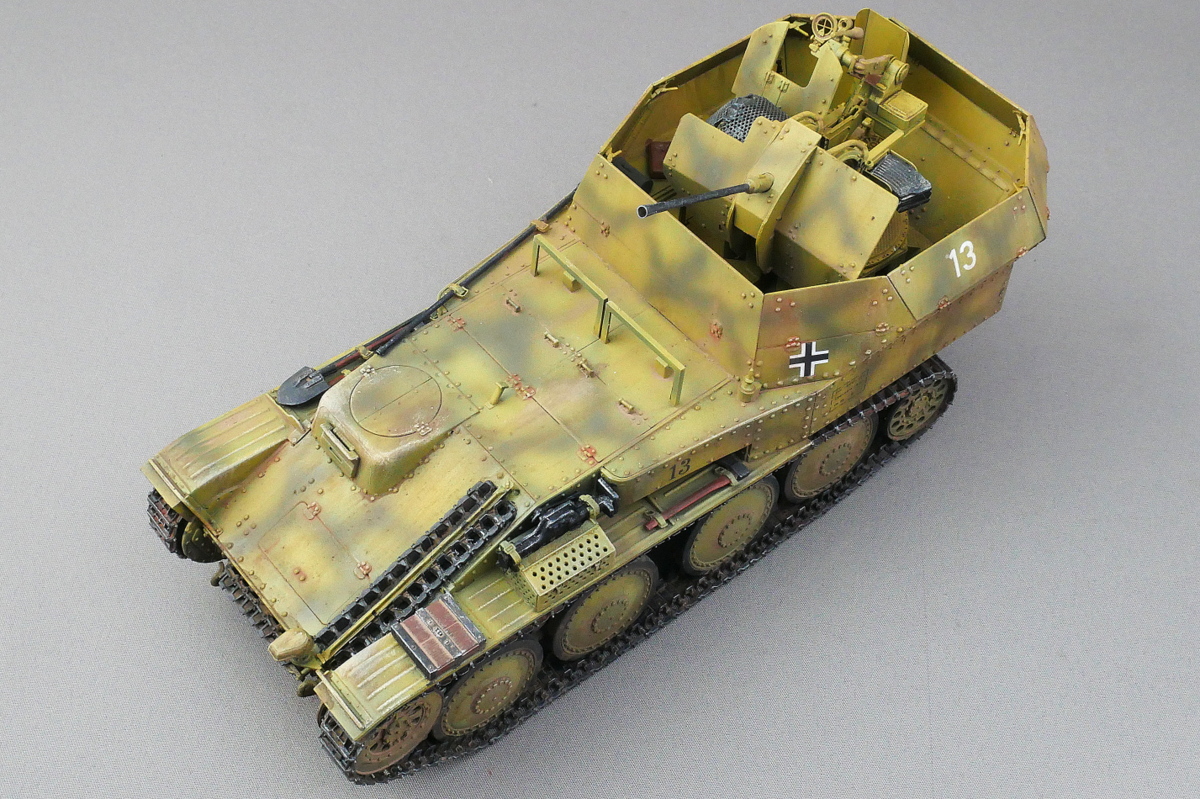
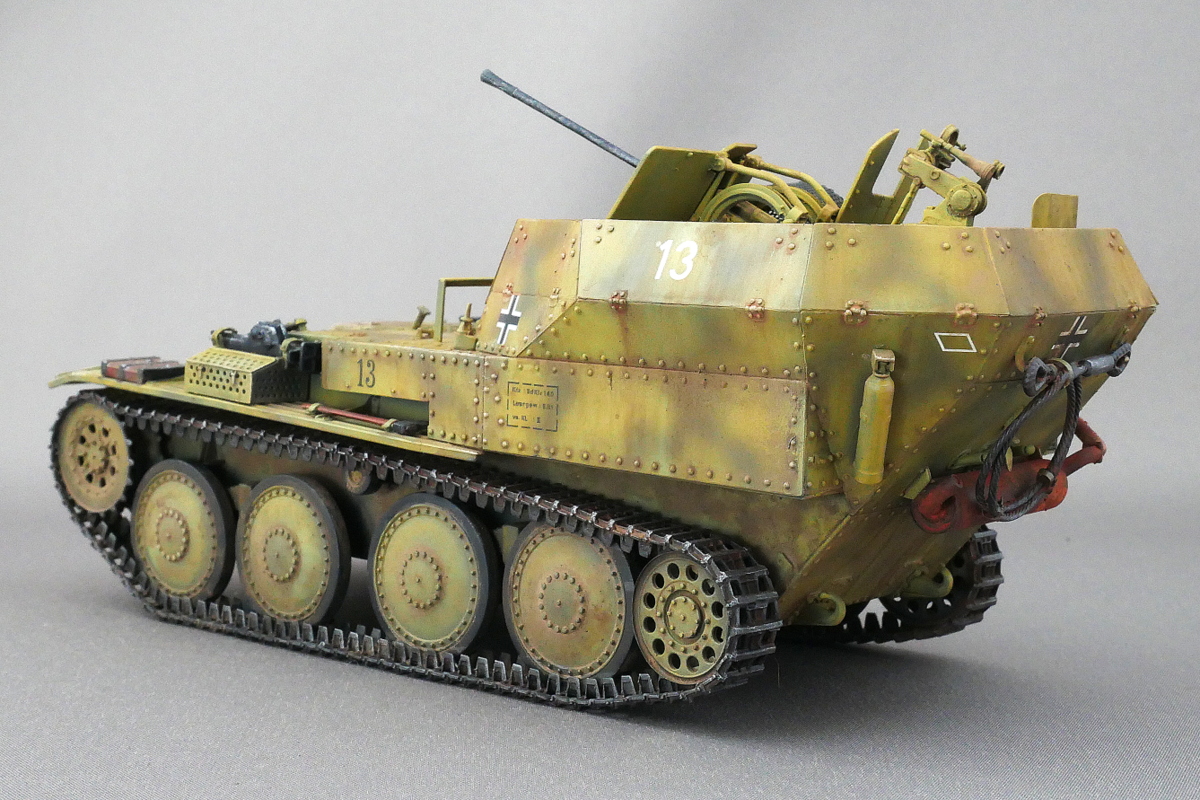 I chose camouflage paint as the 2nd Panzer Division at first. After putting the decal, I noticed there was no division mark and only the number. I want more visuals, so I put a division mark of the 12 Panzer Division on it. Well, the 12 Panzer Division probably had camouflaged paint.
 I remember that the 12th Panzer Division was a mark like Y, which is strange. I thought the manual marking indication was wrong. It is not the 12th Panzer Division but the 12th SS Panzer Division. It’s the Hitlerjugend Division. There was a time when the famous Major General Kurt Meyer was the commander. In June 1944, they faced the Allied forces in Normandy and fought against the Soviet forces. Both sides recognized Hitlerjugend Division’s bravery in Normandy, and this period was the most powerful.
 141 of these 38(t) based antiaircraft tanks were completed between the end of 1943 and the beginning of 44. There were about 1000 bullets, and four crew members operated it. Most of them were sent to the Western Front.
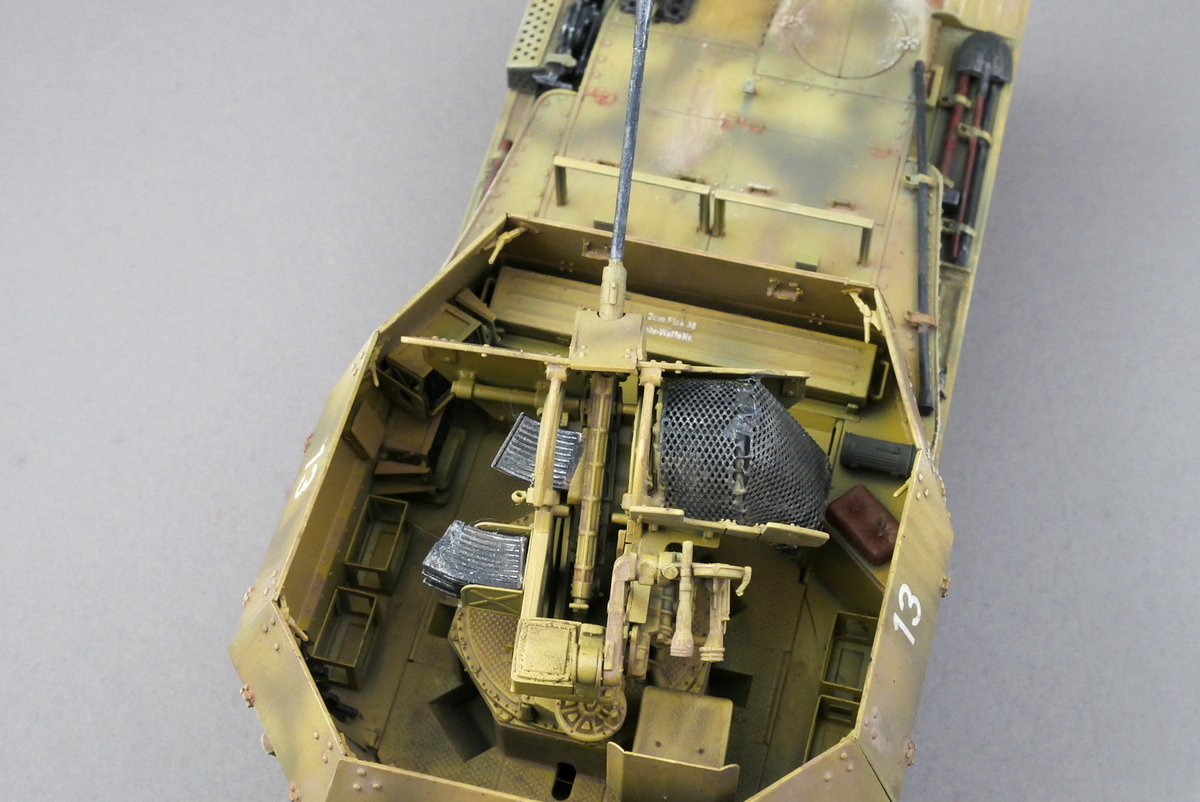
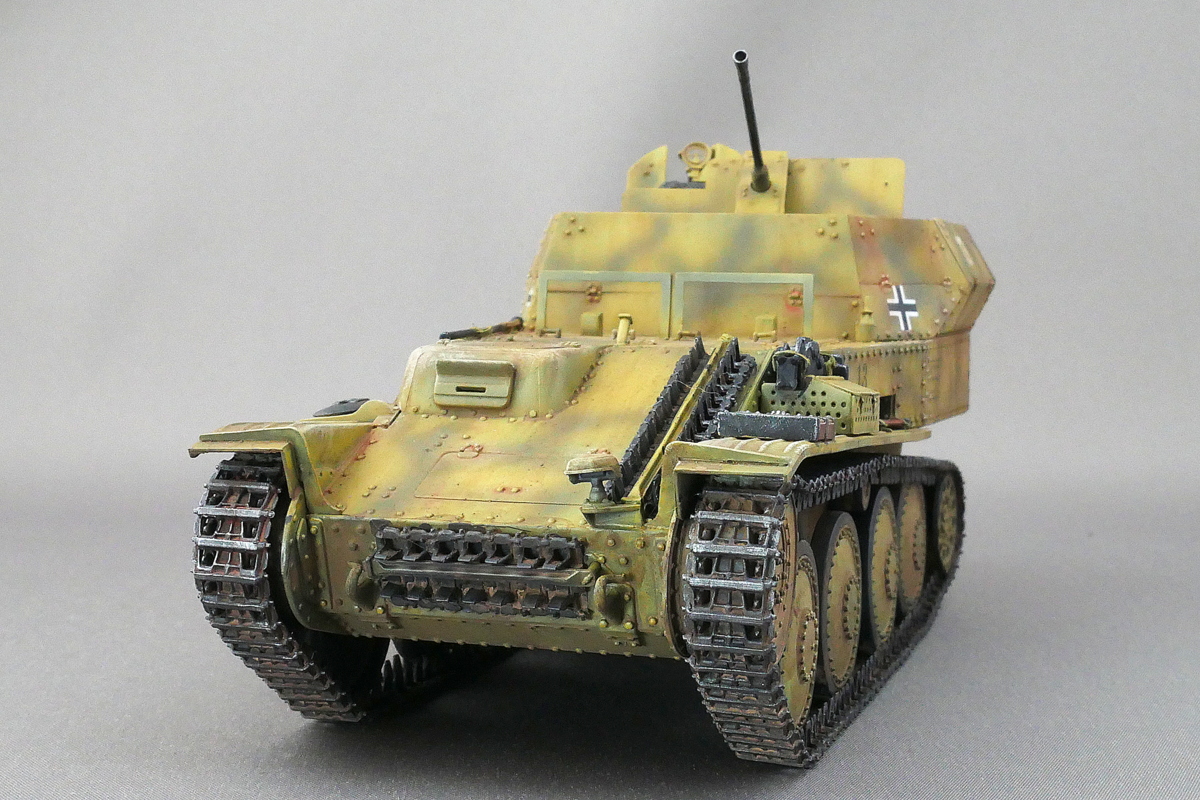
 I could rotate the gun barrel before I washed it, but it was fixed that I left it until it dried. I think it will break if you force it. That said, if I washed with a thinner, there was a risk like this.
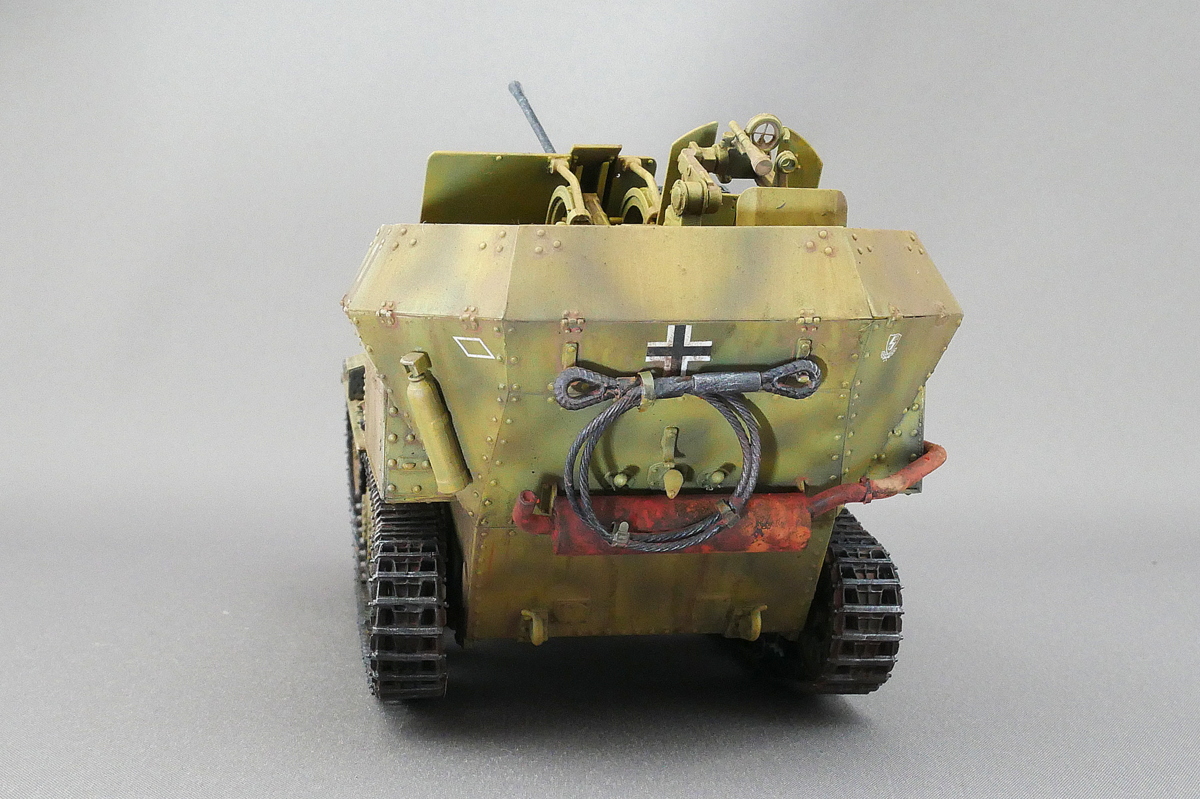
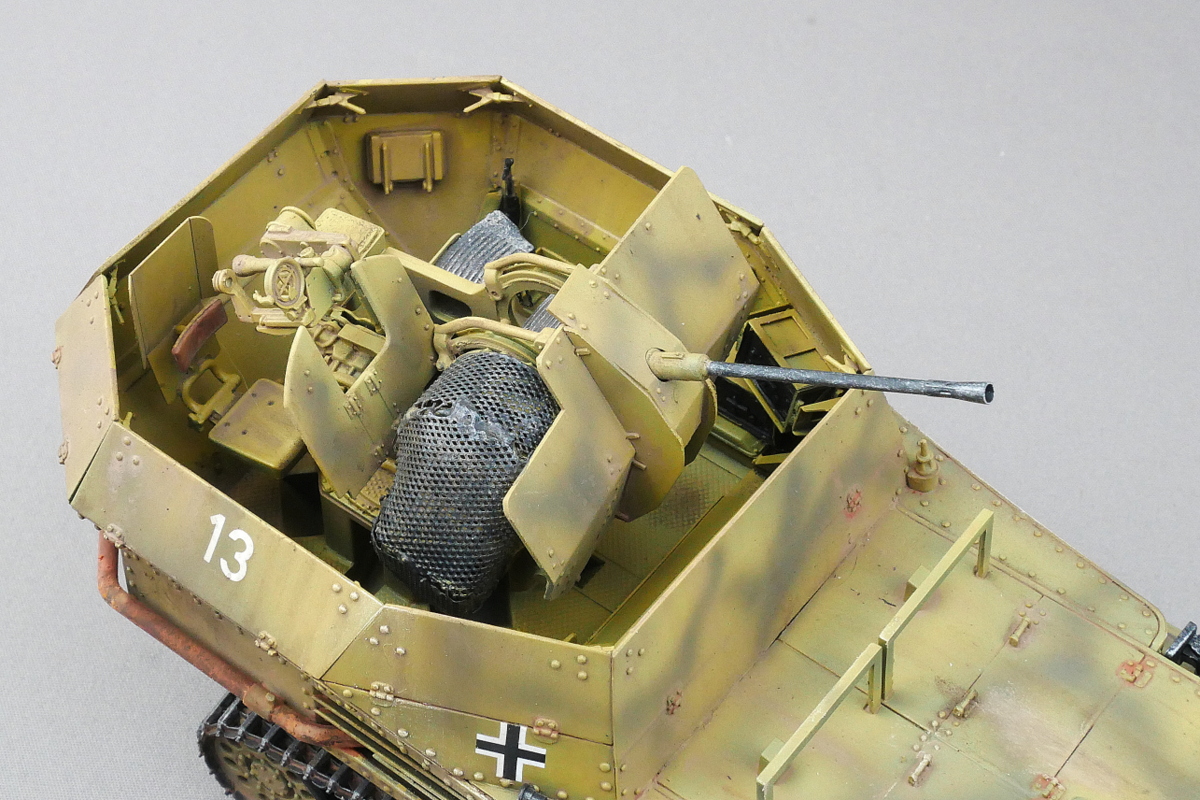 The U-shaped frame on the upper part of the AFV prevents the gun barrel from coming down too much to prevent accidental fire. Perhaps the shooter gets excited and shoots at soldiers and trucks around him during a battle.


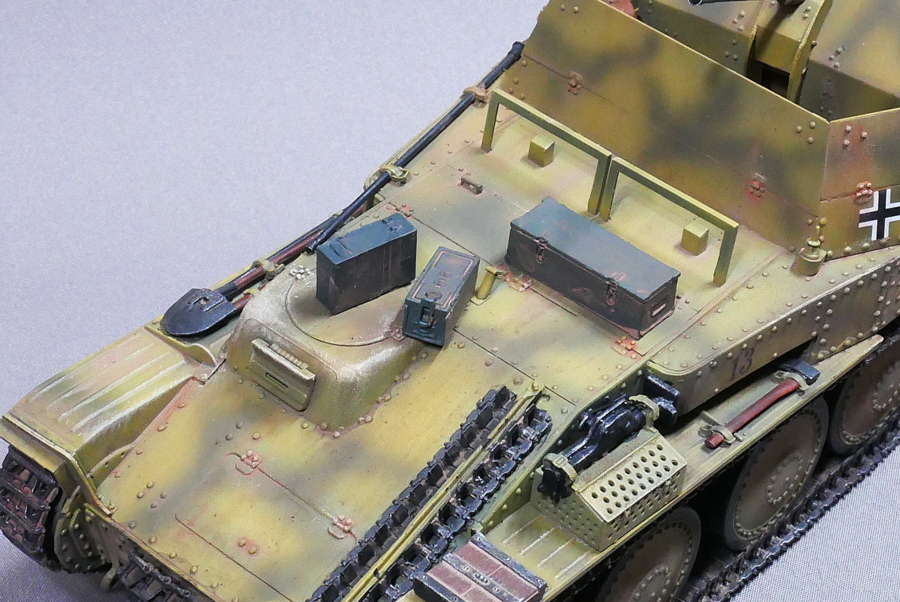 I painted the ammunition case but had nowhere to lay it out.
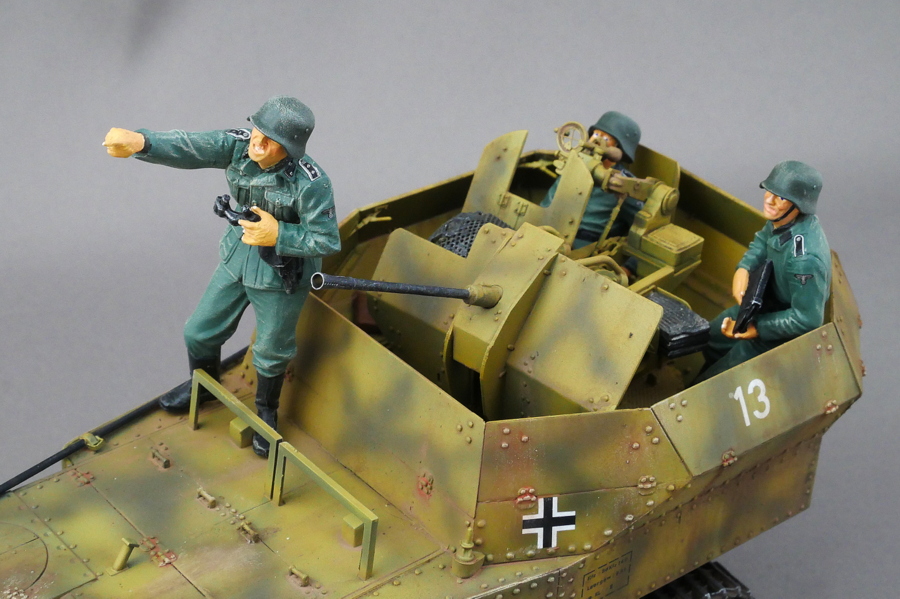 It is a vehicle of the Armed SS, so I think I should make the figure insignias of the SS. A Wehrmacht soldier made it.

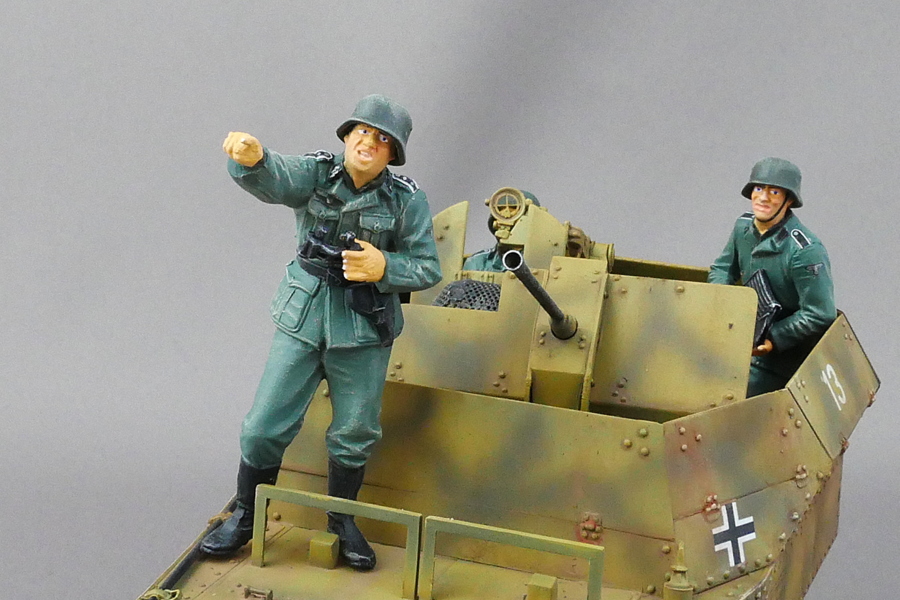 Pose from the viewpoint of the camera in the car without any meaning.
 If operated in such a cramped condition, soldiers on both sides will be in danger of being flicked and caught when it turns.
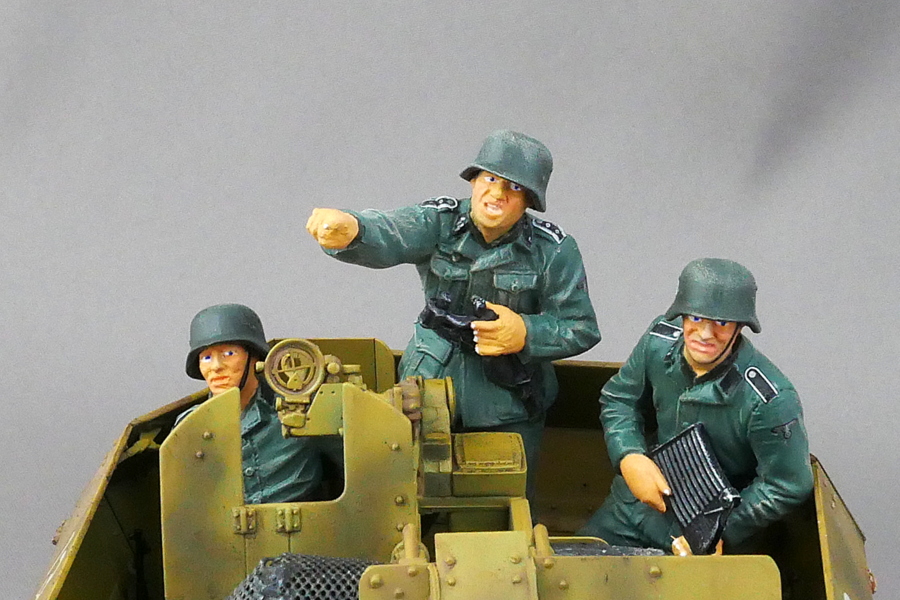 Everyone is enthusiastic.
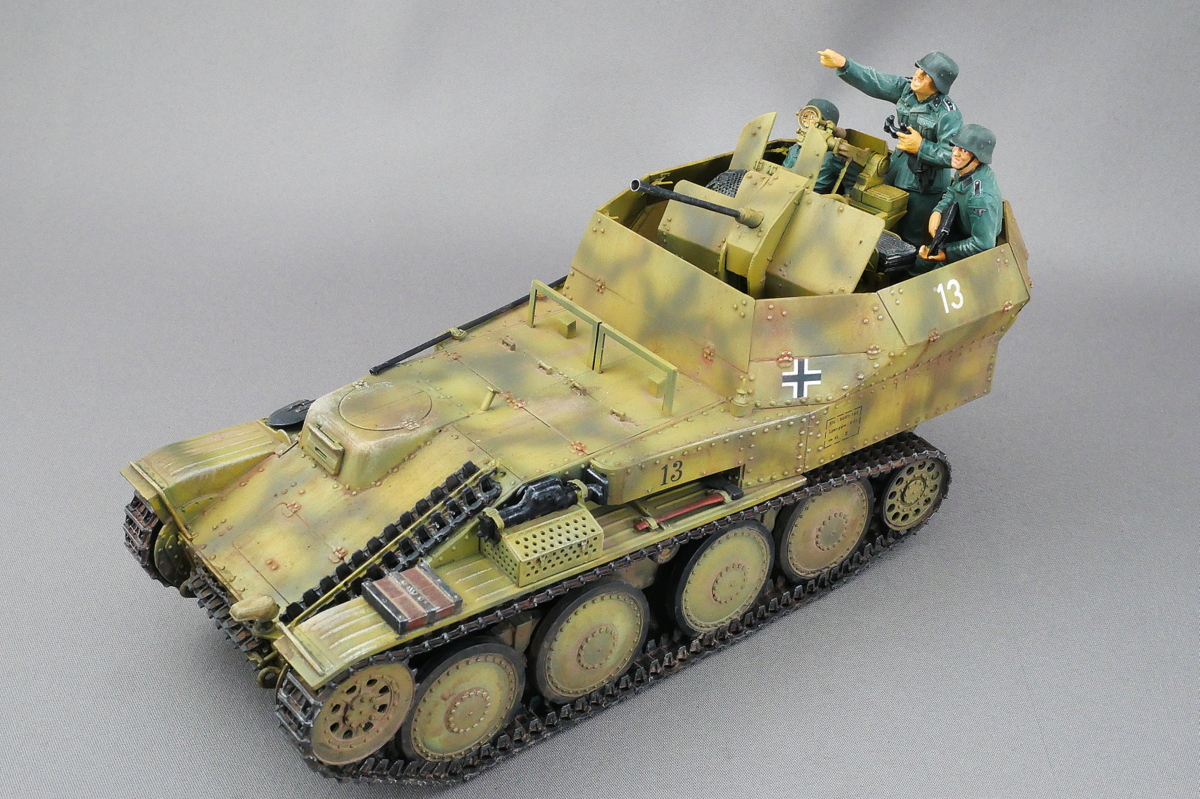 It was a strange-shaped antiaircraft tank with a center of gravity quite behind. I enjoyed making it.
(2019/12/19)


コメント