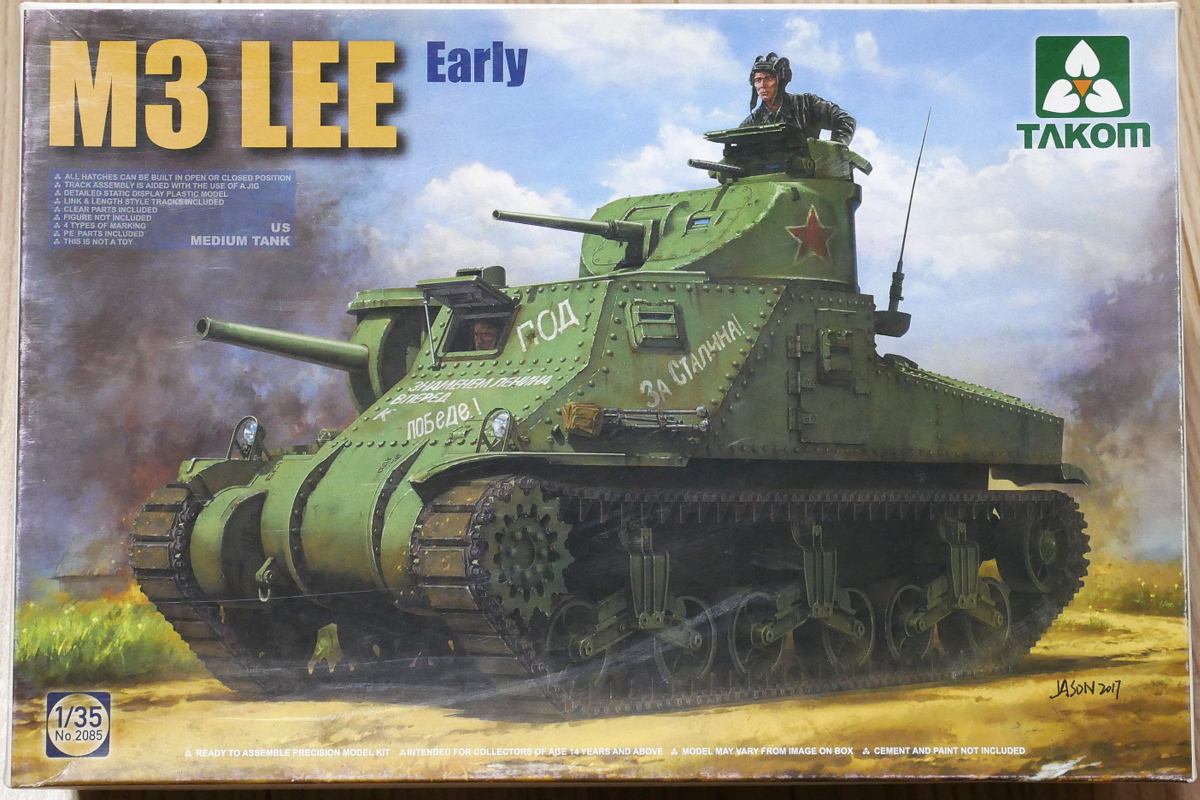
At this time, I will build a Takom M3 Lee tank. I remember it became pretty popular after its release, along with the British Grant Tank.
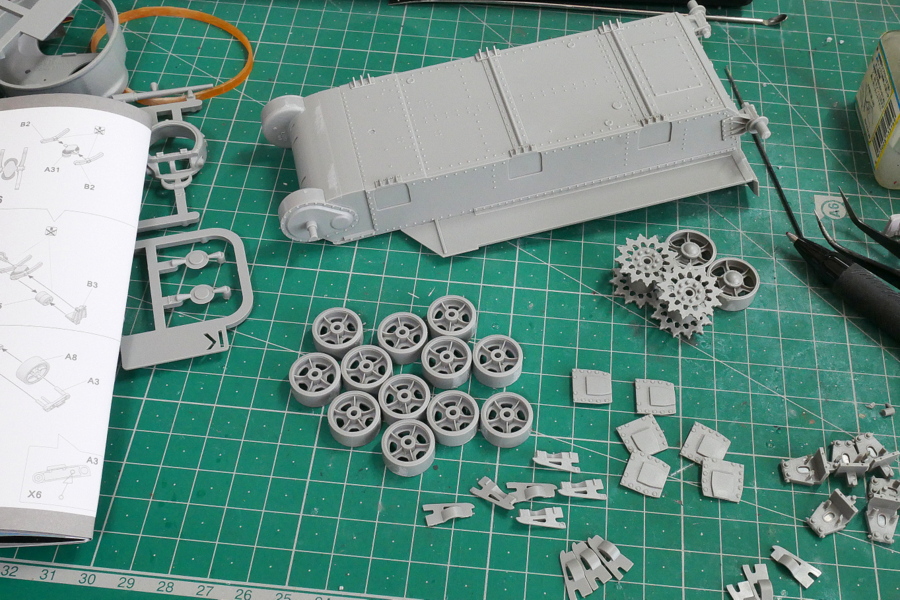
There are quite a few parts just for the chassis. The chassis doesn’t frame the box but only glues the front and rear parts.
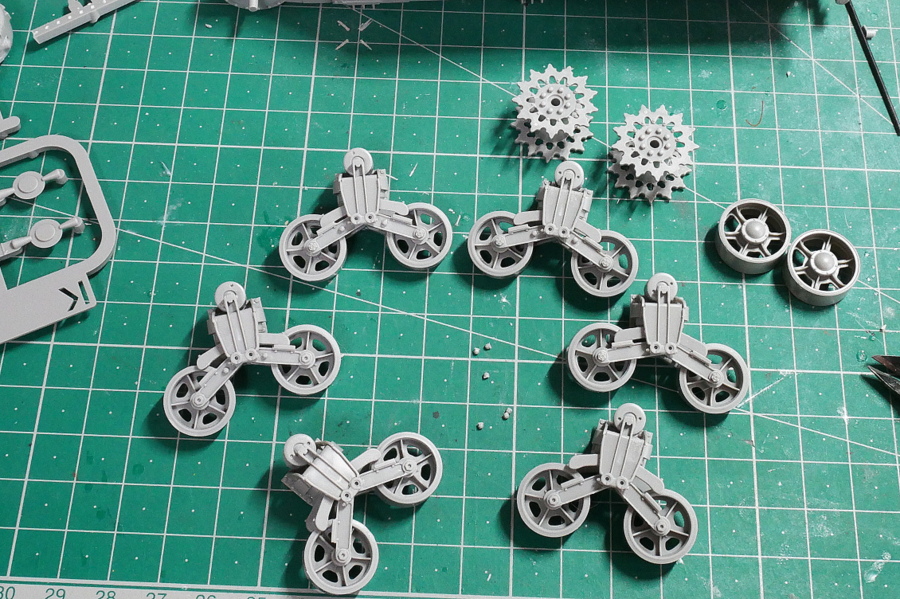
The rolling wheels and suspension are almost done. There were pretty delicate parts, which were hard to assemble, but this is still acceptable. There is also the microscopic work of gluing a fine bolt that has been scraped off the runner to the arm of the roller. The parts fit perfectly.
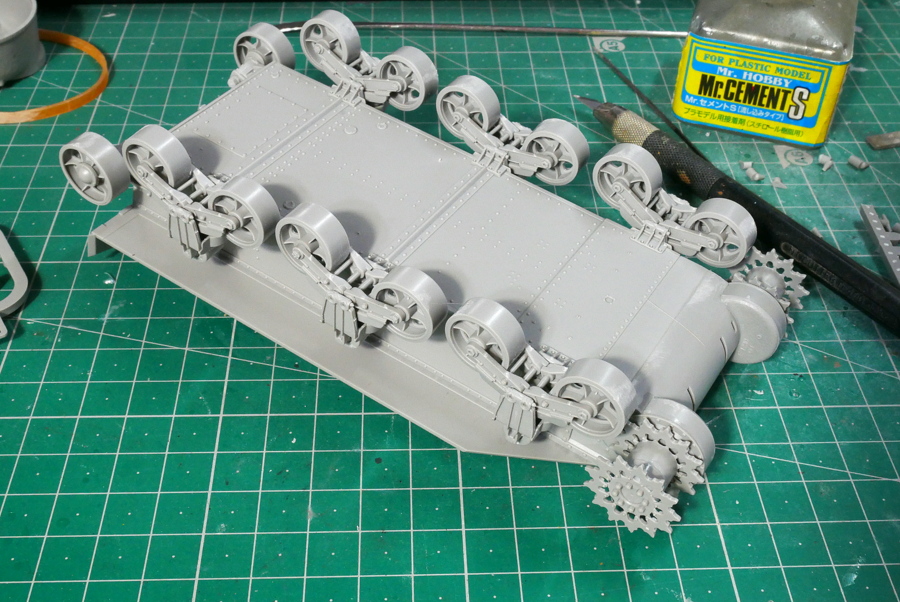
Except for the tracks, I have roughly put the lower part together. Suspension is movable. I’ll fix them all by pouring glue after wrapping the tracks.
(2023/08/12)
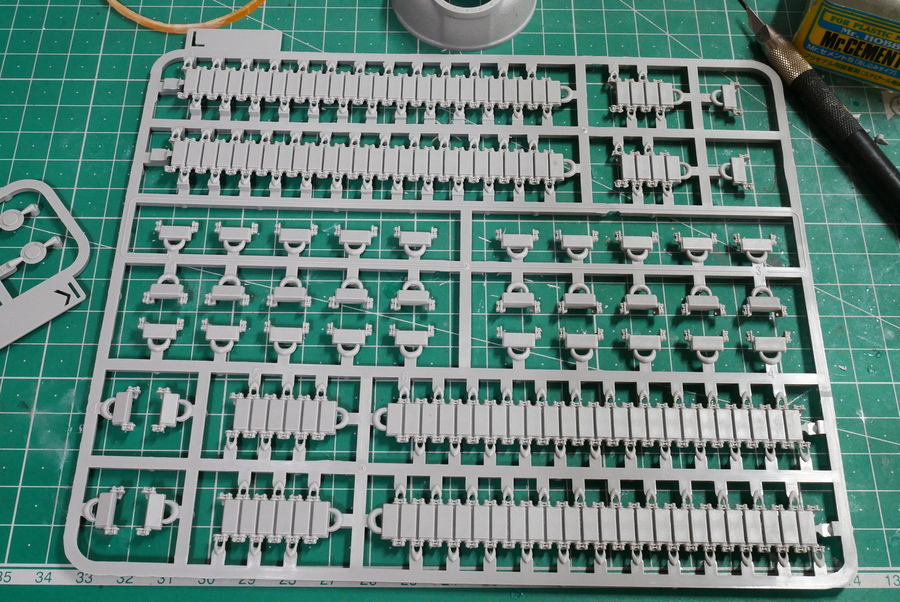
Although it is a medium tank, it resembles a light tank. The track parts are partially connected, so there aren’t that many. I think this is all the parts left and right.
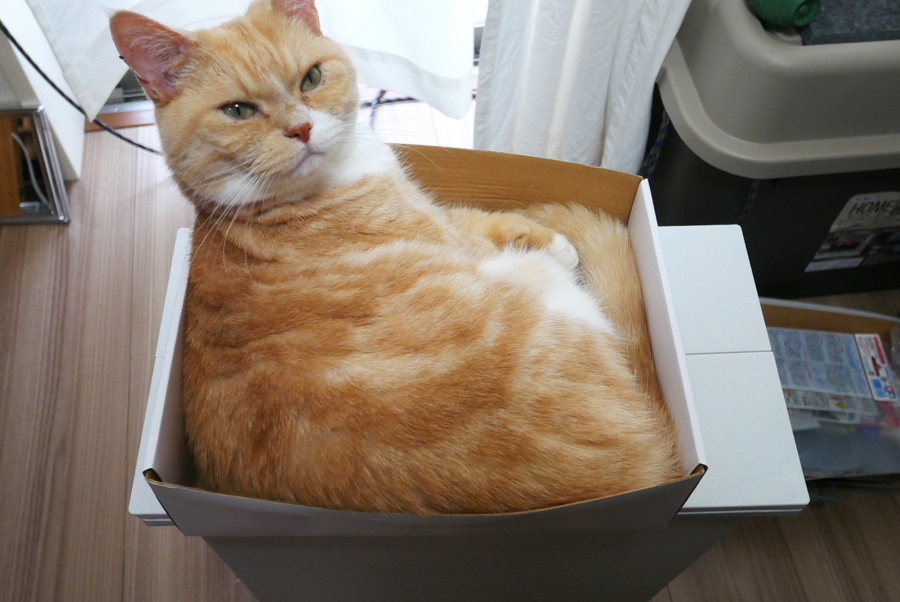
When I open a new kit, my cat naps once anyway. I guess he is on his way to replace his summer hair. His hair drops so much that brushing the cat and cleaning the room is hard. My cat has long hair only on the white part of his belly.
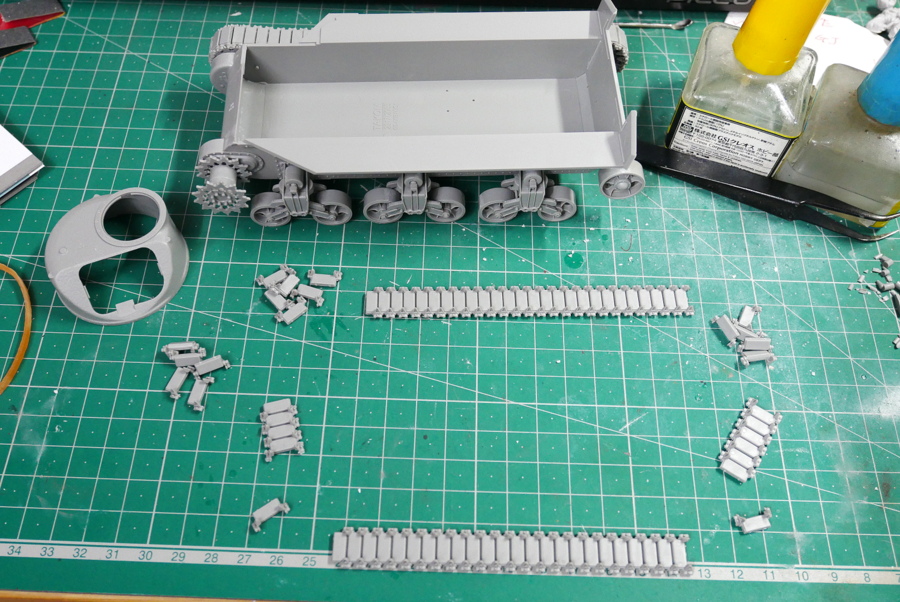
This kit is a partially connected track. Cutting out all the parts and then gluing them all together at once. Putting them together is not much different from connecting tracks piece by piece. The advantage is that it doesn’t take much work to cut it out because the parts are packed together, but the difficulty is that it can’t be adjusted later unless it’s glued to a pinpoint spot.
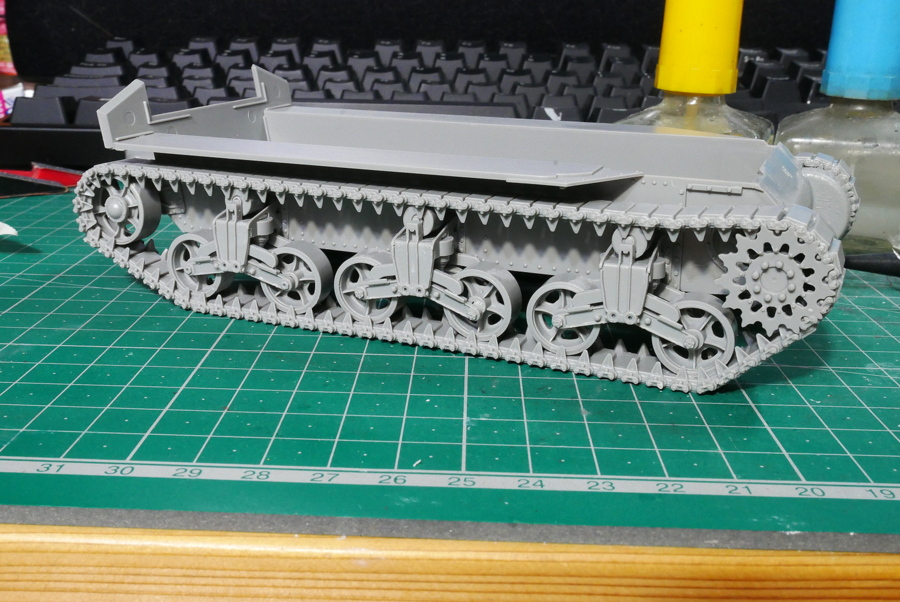
When I put all the track parts on and put it on the cutter mat, it got a little bumpy, and the installation didn’t get flat. I think the part got distorted, or the suspension part shifted somewhere. I adjusted the right front and left rear suspension to ensure it touched the ground properly, but I was in a hurry to work quickly, considering the speed at which the glue dried. I need to focus when I do some critical work on the kit.

The assembly of the complex polyhedral structure on the AFV plastic models is somewhat tricky because it takes only 251 German half-tracks. It’s hard to put them together without leaving a big gap. But it’s also an exciting process. I am anxious about whether I can assemble it without any trouble until the end, so I want to work on it more and more.
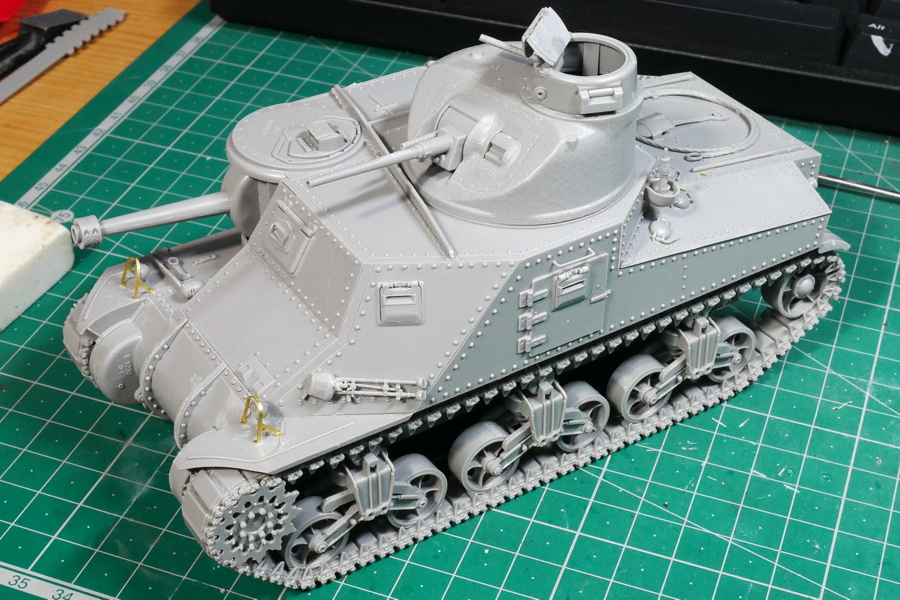
Okay, it’s almost finished. The light guard is etched and thin, so it feels excellent. It has a jig for good bending and is relatively easy to assemble.
(2023/08/14)

The main gun wobbles inside, so I fixed it while assembling it. The main gun is the thick one on the near side.
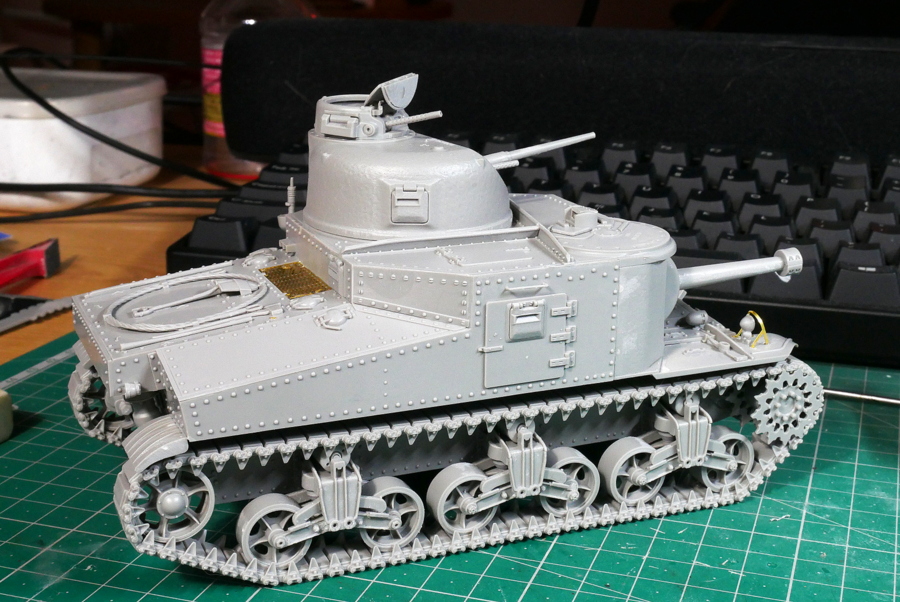
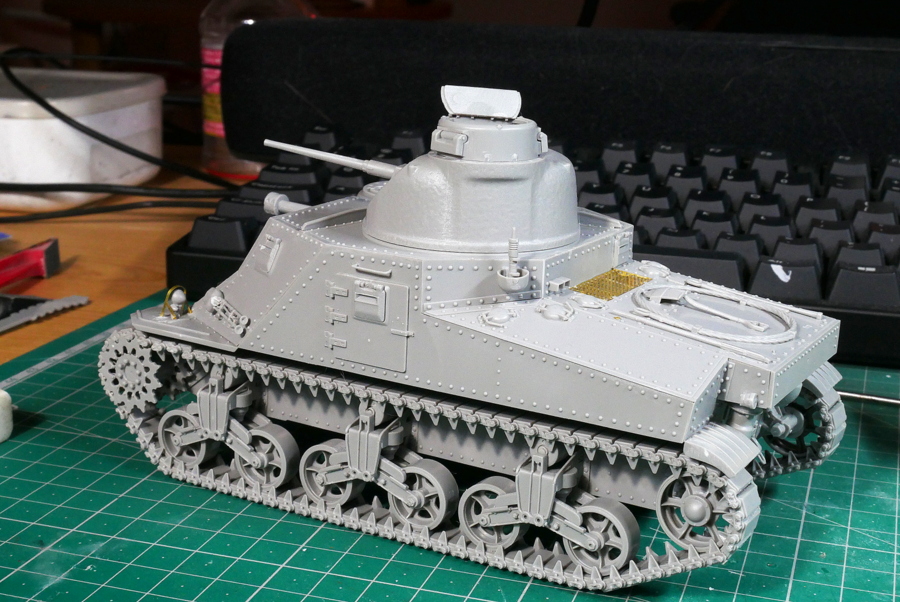
The rivet tank has a nice atmosphere. This kit is easy to make because there are a few etched parts.
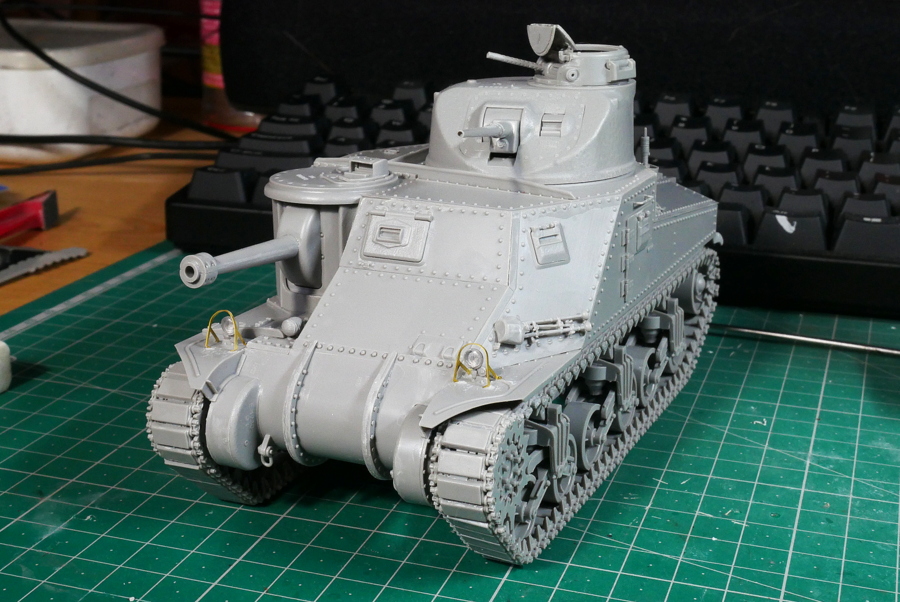
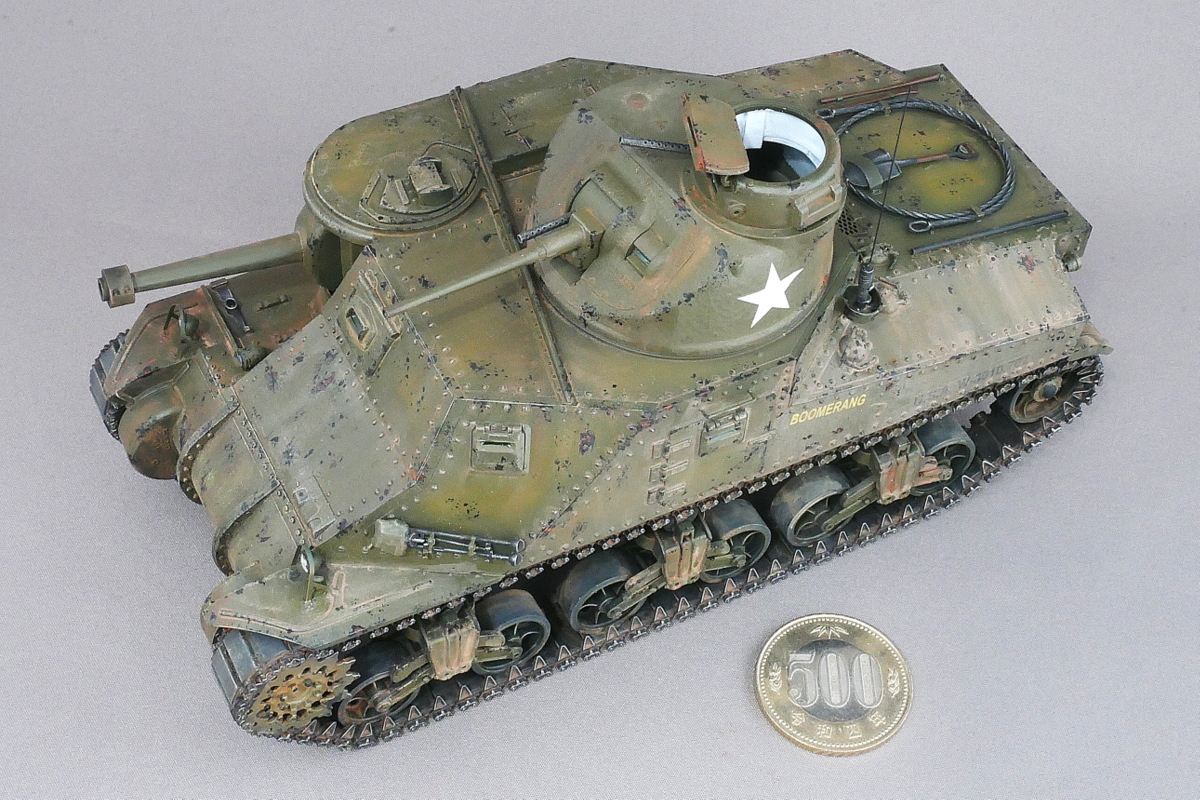
There are 75 mm and 37 mm tank guns and other 7.62 mm machine guns, so the crew inside looks busy. The crew is said to be six to seven. Ummm, it would be quite crowded if this tank entered so much.

I opened the top hatch, and I might find some tank crew figures.
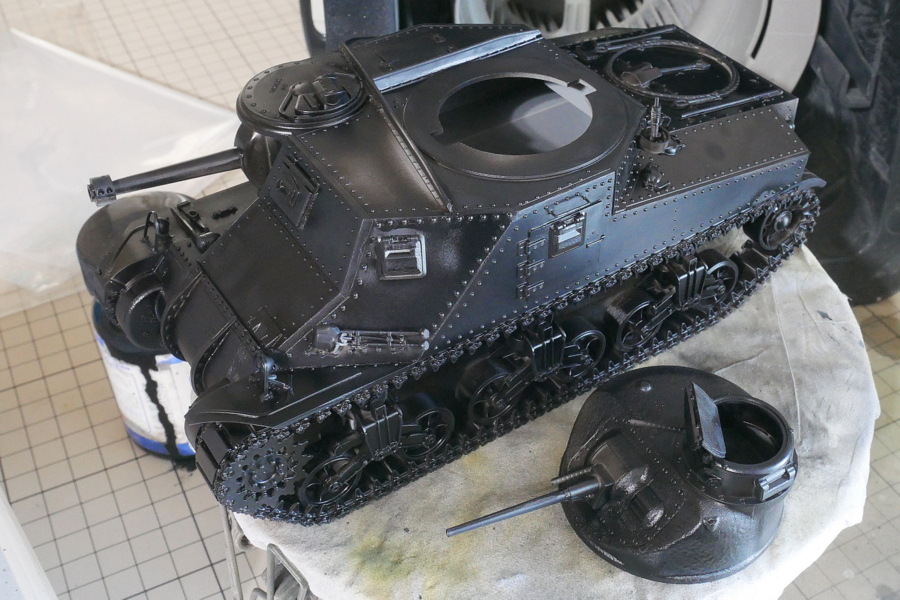
I primed it with black. It’s gloss black, but I don’t think it will be problematic if it becomes matted or half-glossy.
(2023/08/16)
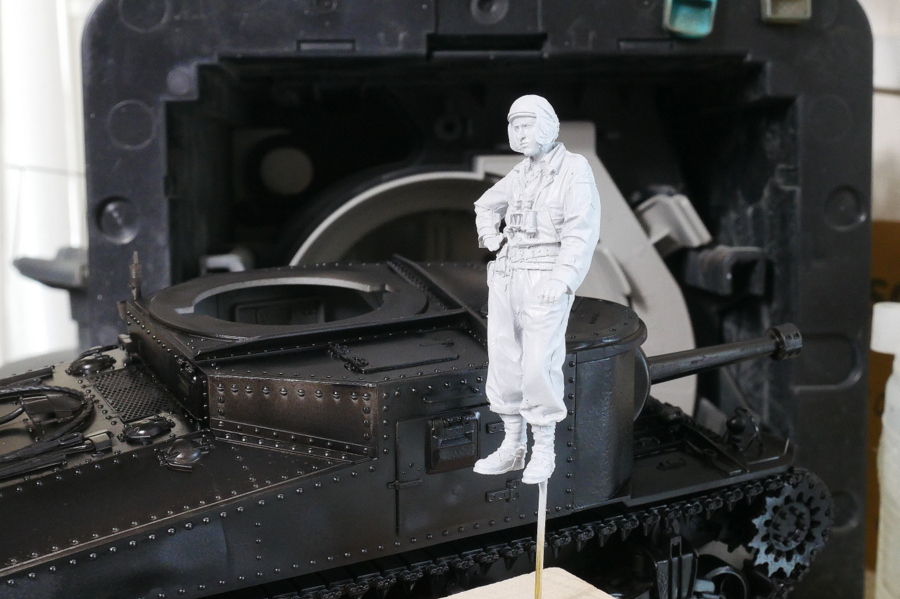
I’ll put one WWII U.S. tank crew figure on it. One hand on the hatch makes it easy to match with a tank.
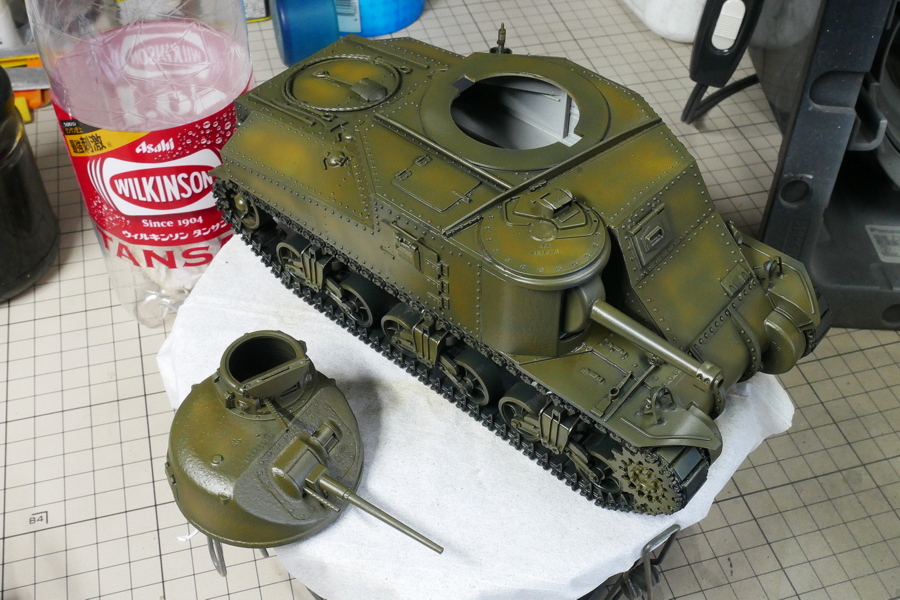
I blew olive drab to give it some gradation. I think it will be a fading expression.
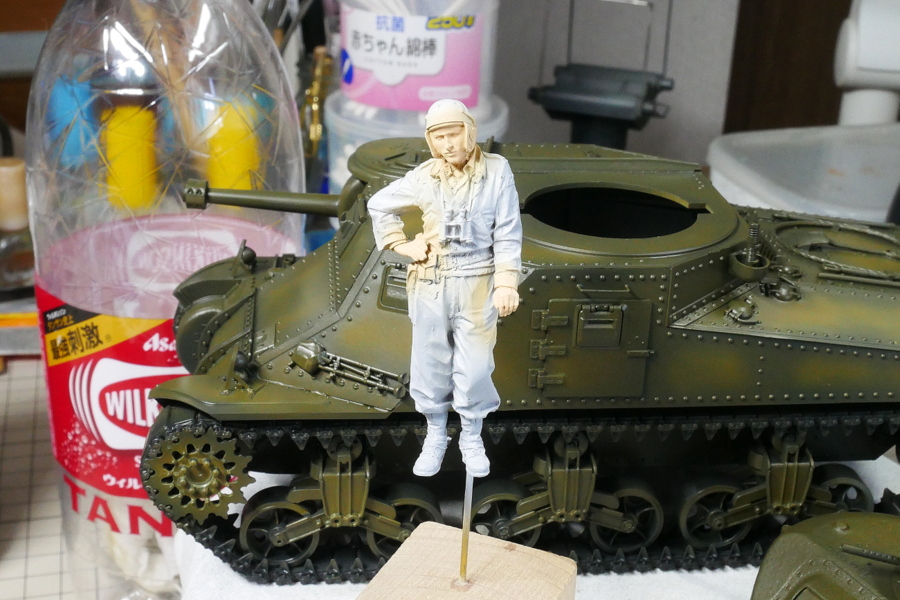
While airbrushing, I blew on the figure’s face with a flat fresh. The amount of paint needs only a few drops.
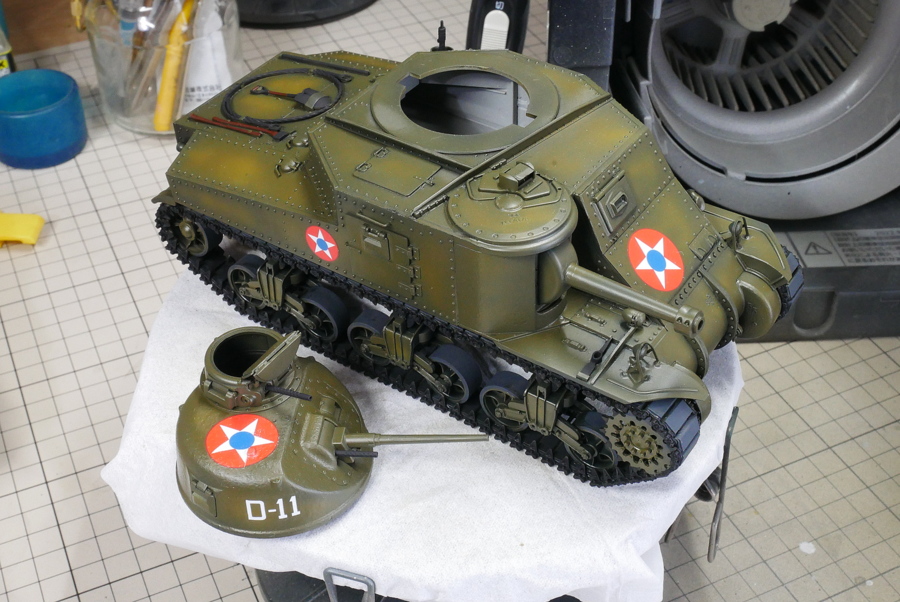
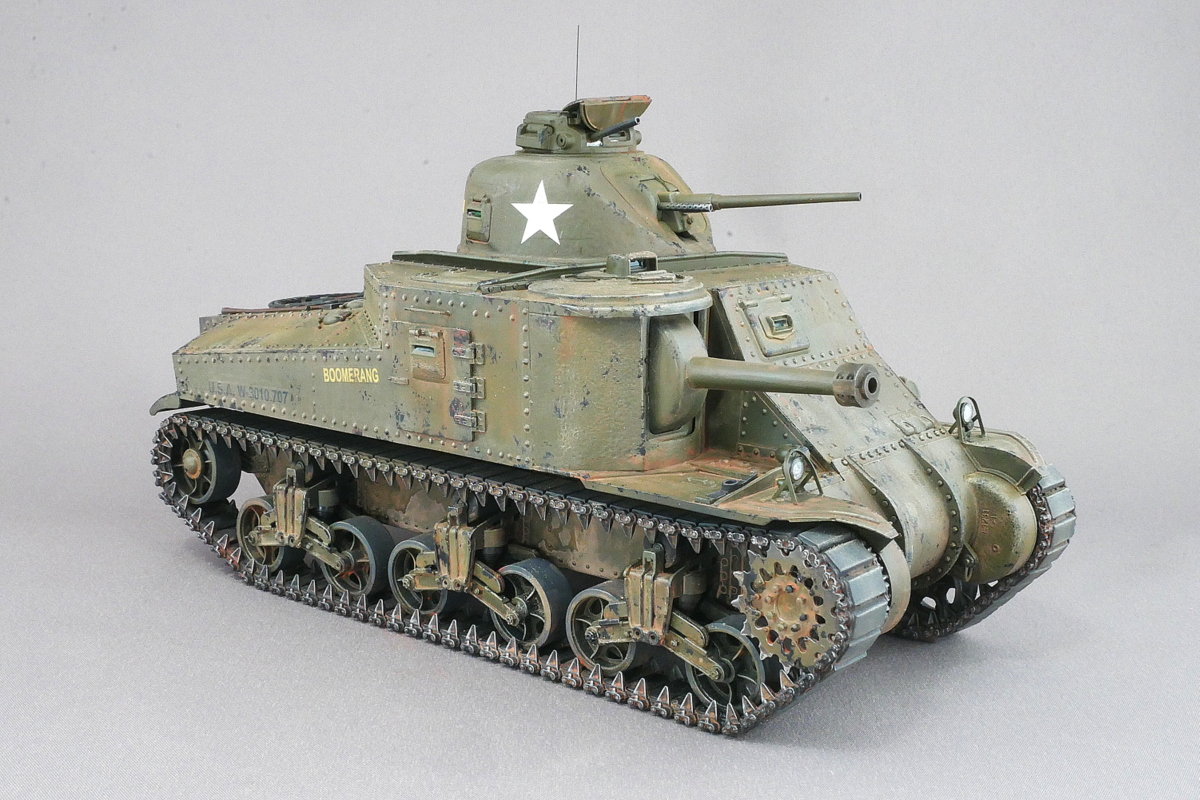
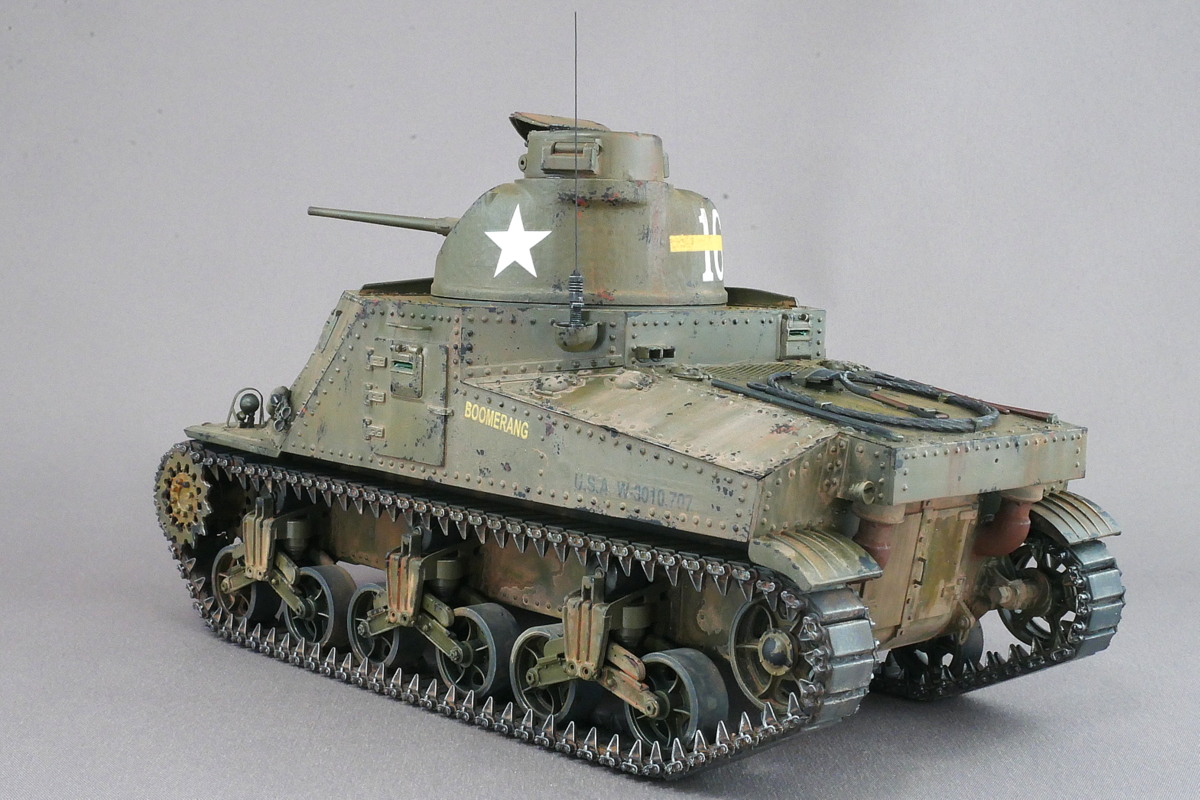
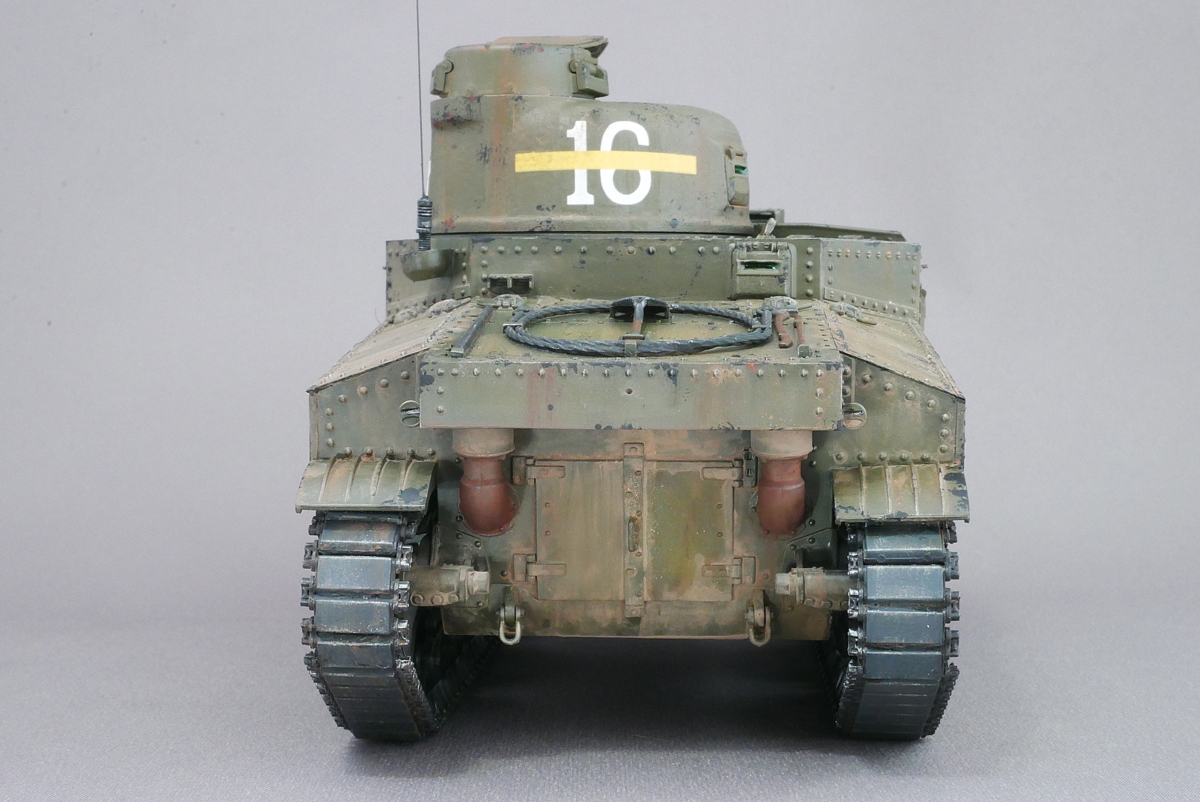
The T51 is a rubber track used from M3 medium tanks. It features a square metal plate with a rubber covering on the ground’s surface. This type is smooth with no anti-slip pattern on the rubber and was used in most U.S. M3 and early M4 medium tanks. The decals included in the kit are marked by Lend-Lease to the Soviet Union and the standard white star U.S. Army. What I liked most this time was the marking. A scout car I built once had a similar marking decal.

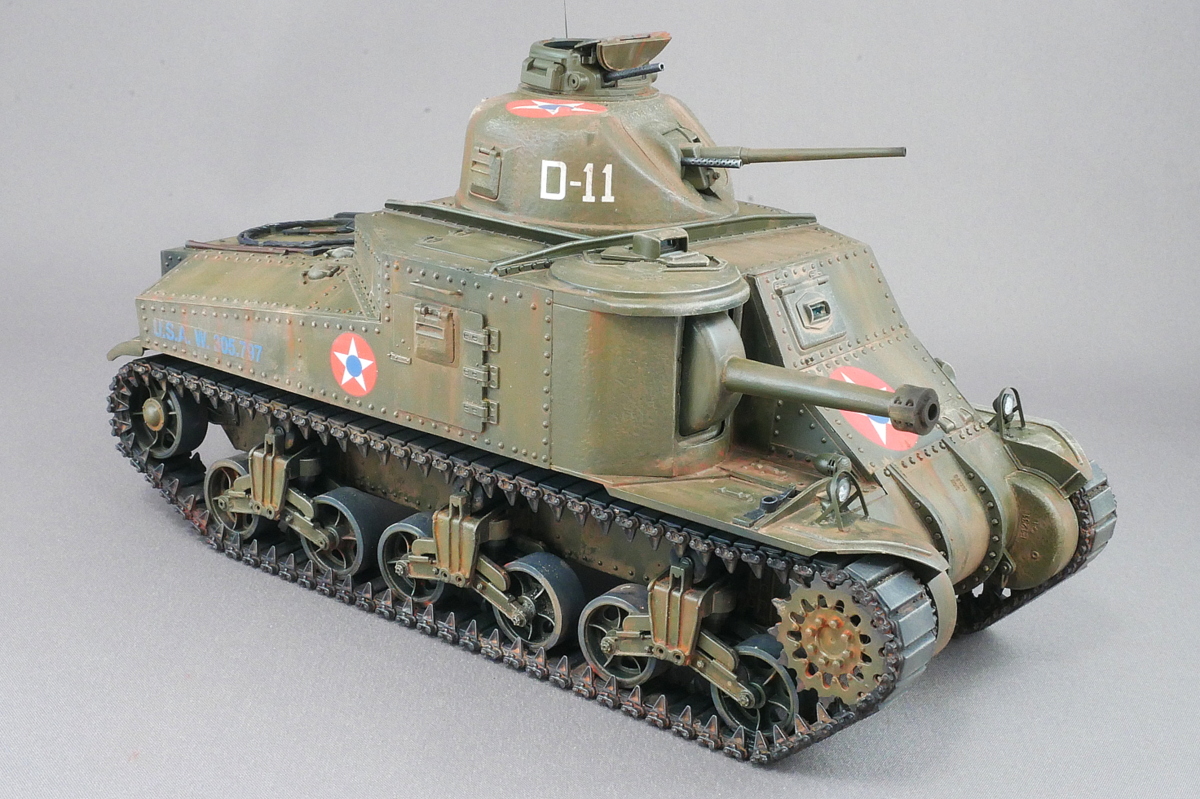
The M3 Lee medium tank is completed. The U.S. Army built this tank after the surrender of France in a rush to build more tank units. As the United States did not yet have the know-how to design a large turret, the main gun was installed on the right side of the front of the body. When a country that mass-produces so many Sherman tanks still doesn’t have the manufacturing know-how, how much development and production capacity does America have?


It was equipped with two types of guns and many machine guns, so the crew was seven. This won’t move properly in the tank. The aiming device didn’t seem to perform very well.

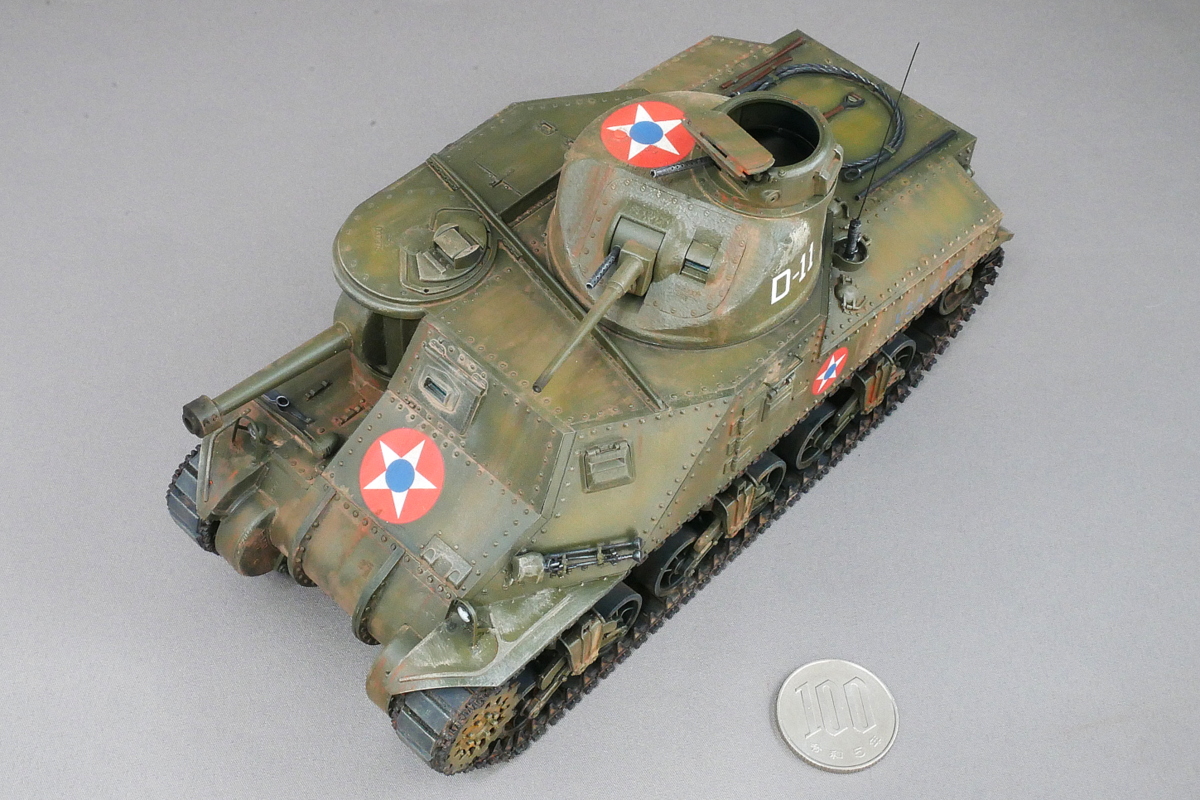
The M3 Lee medium tank was the first to be used in combat on the North African front. It was successful in some battles, although its unusual shape limited it. On the Pacific front, the firepower and armor of the M3 Lee were superior because there were fewer Japanese tanks. It is also partially used on the Chinese front. Because the number of tanks in China was limited, the M3 Lee’s forces were valuable. However, there were many tactical restrictions, such as the tank gun being on the body, so the turret had to be pointed at the body without turning. The gun on the later M4 Sherman tank would be much easier to use.
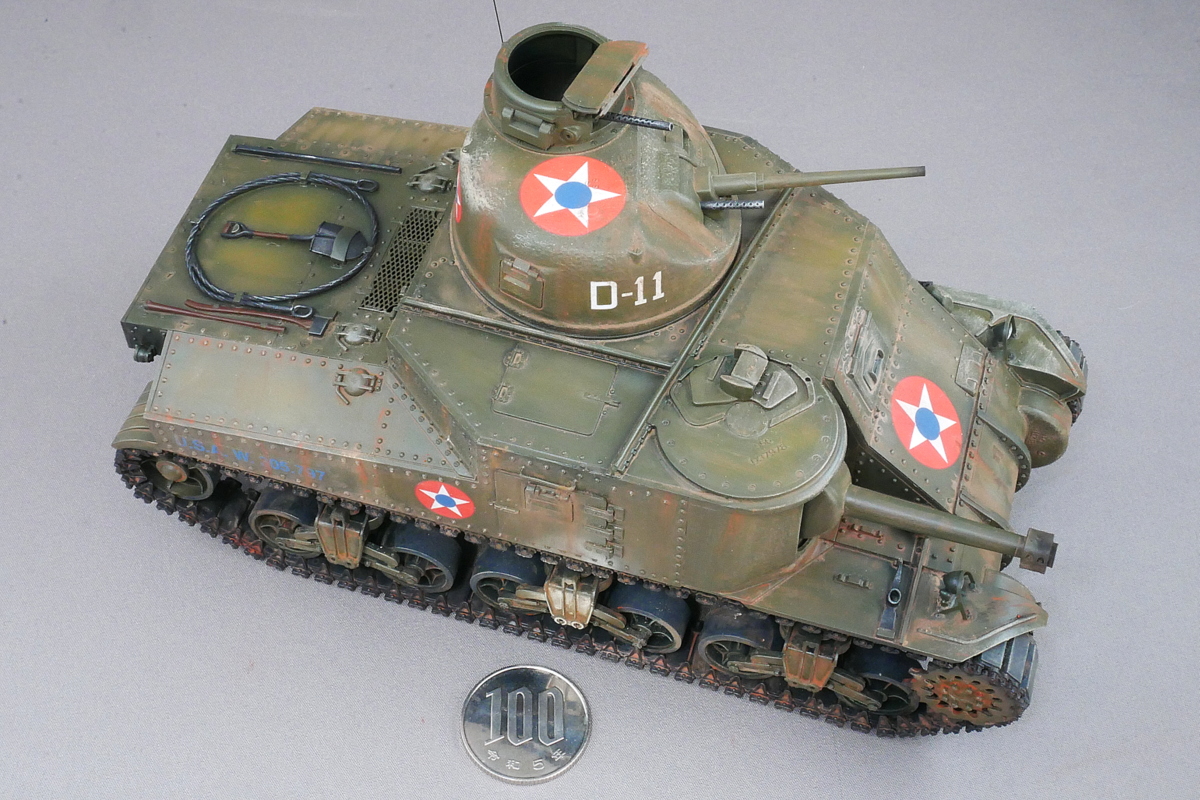

The markings say 2nd Armored Division in 1942, according to the instructions. Also known as “Hell on Wheels.” I like this nationality mark because it’s a little retro and cool. This division served in North Africa with the 1st Armored Division. I think this is the first real fight. It was part of Operation Torch, which landed in North Africa on November 8, 1942. Or it could be an exercise in a U.S. mainland military post. This armored division took part in the subsequent landings in Sicily, Normandy, and the German Ardennes Offensive. It seems this mark was used before World War II, but I can’t sleep at night wondering if it was used on the U.S. tanks of 1942.
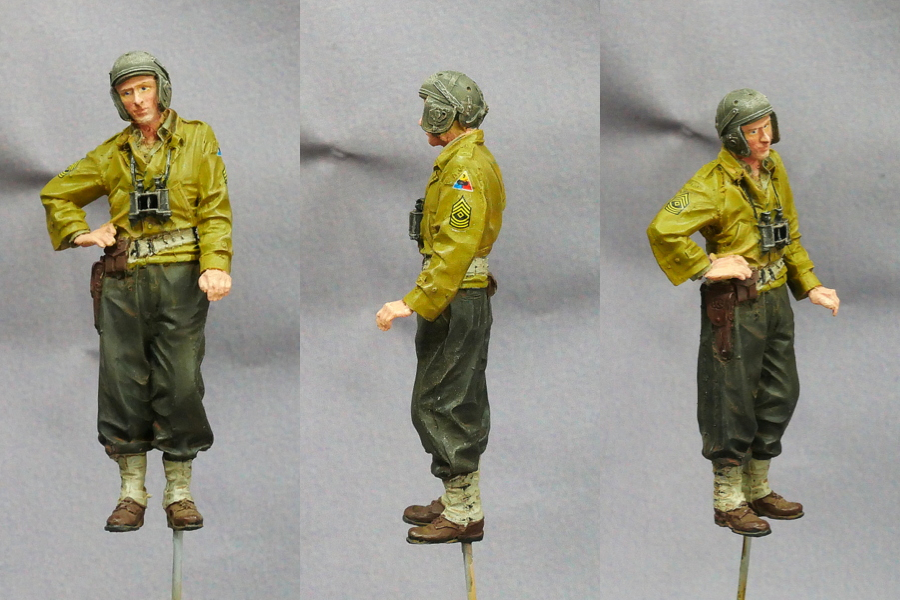
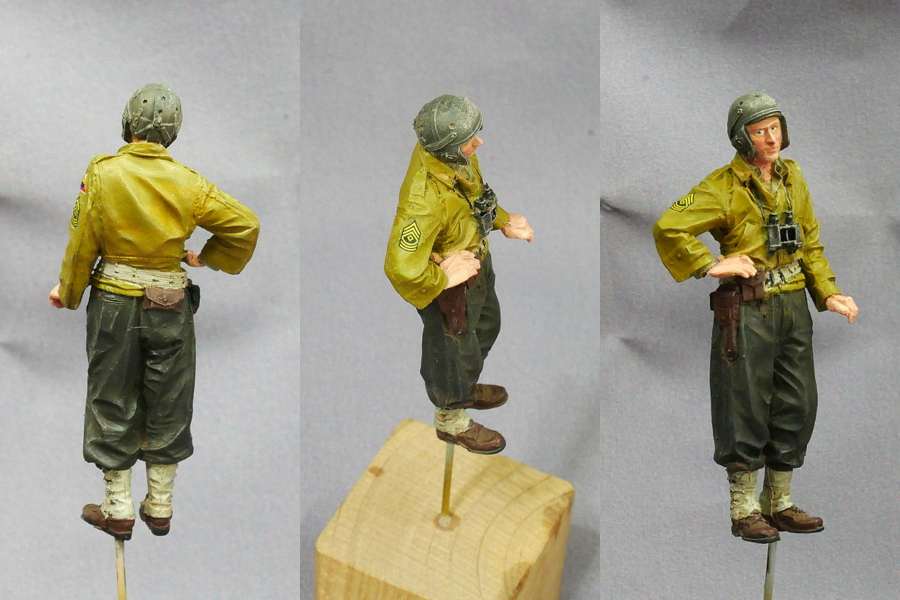
It’s an Alpine tank man figure. The mold is sharp and easy to paint.

When I reviewed the changes in the star marks on US military vehicles, U.S. military vehicles during World War I were usually marked with only “US.” U.S. military vehicles were marked with a star during interwar, just like airplanes. Usually, this was a blue circular background with a white star and a red circular center. Sometimes, the colors were reversed to show the blue center on a red background. This marking was used until it was changed to a yellow or white star mark around 1942.

There are a lot of crew on board, so maybe there’s a big hatch on each side.

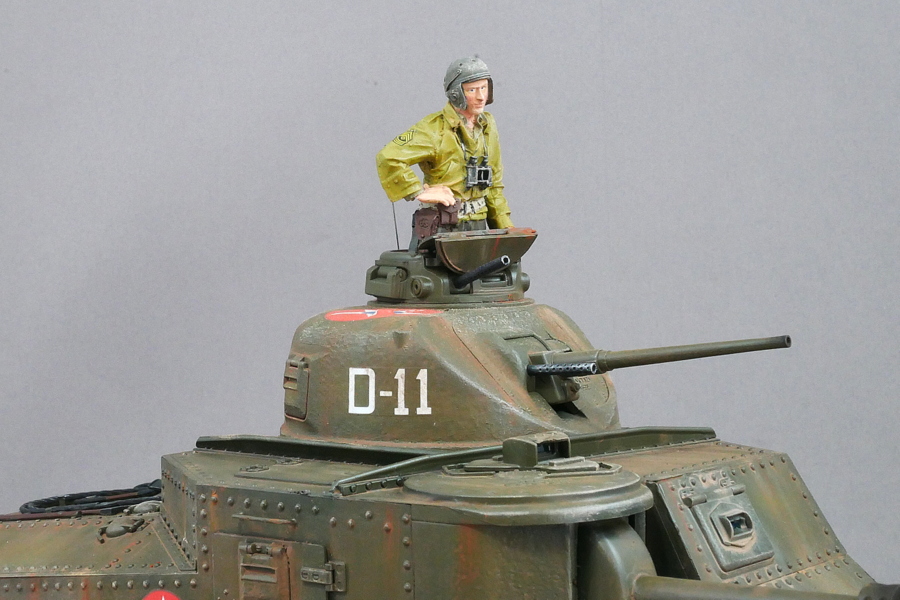
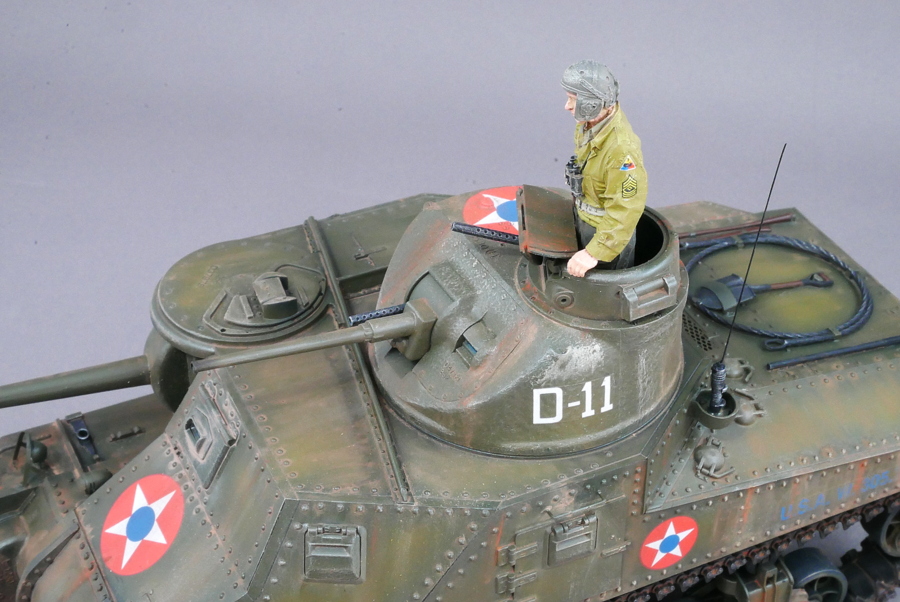
I was able to put the figure on well because there is just a part that gets hooked in the tank.
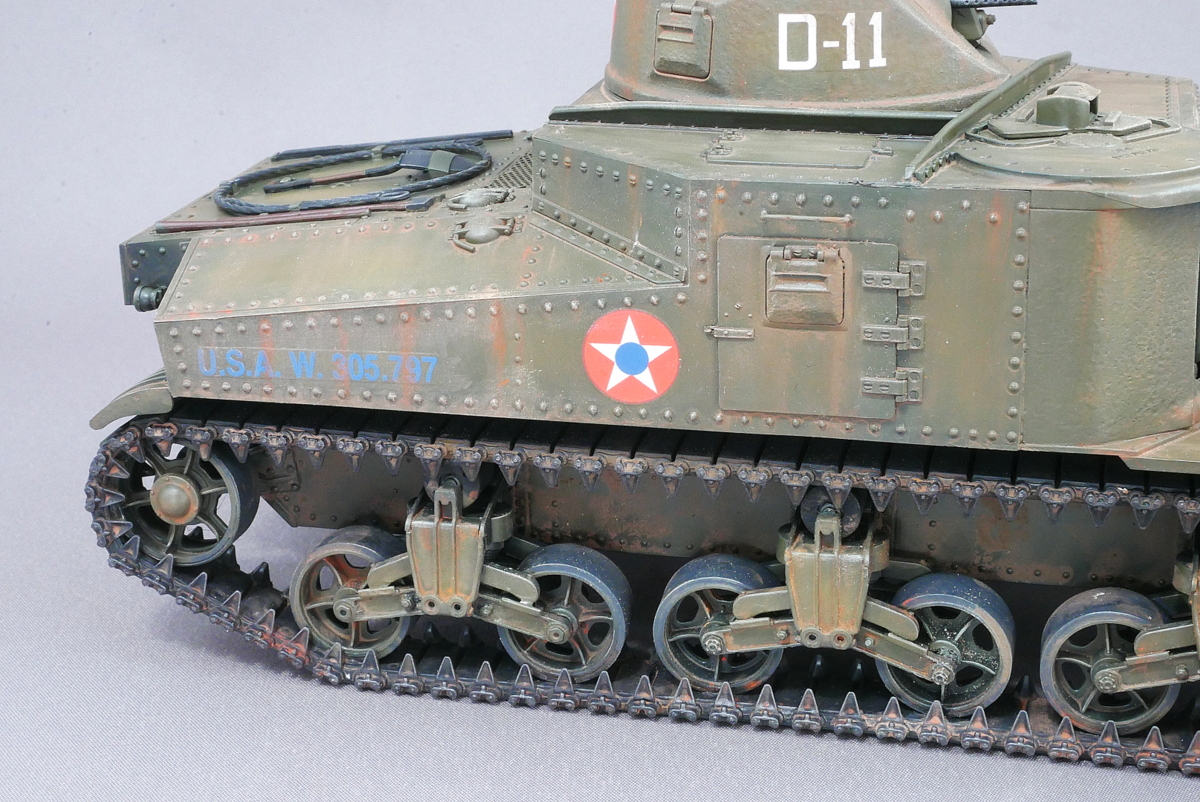
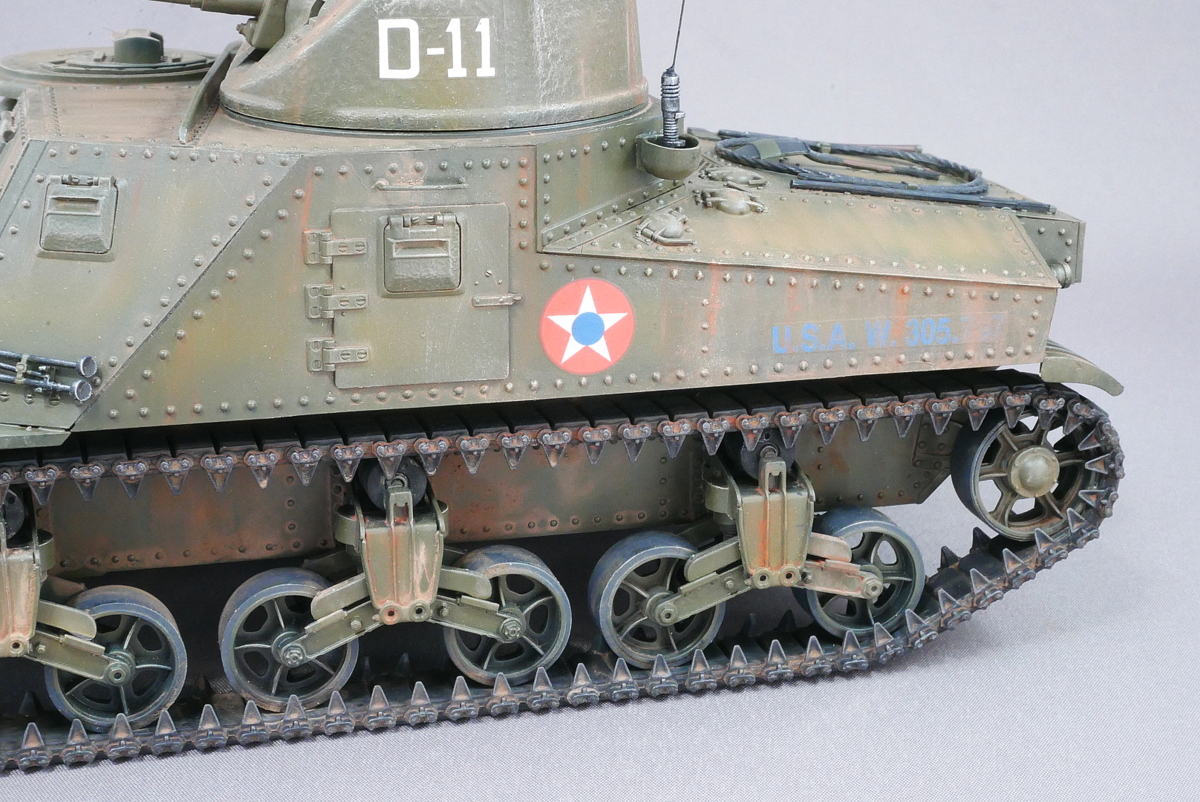
The damage might be even more significant if it’s fighting in the desert. I washed and dry-brushed as usual, and the footwear shone a little in all but the rubber.
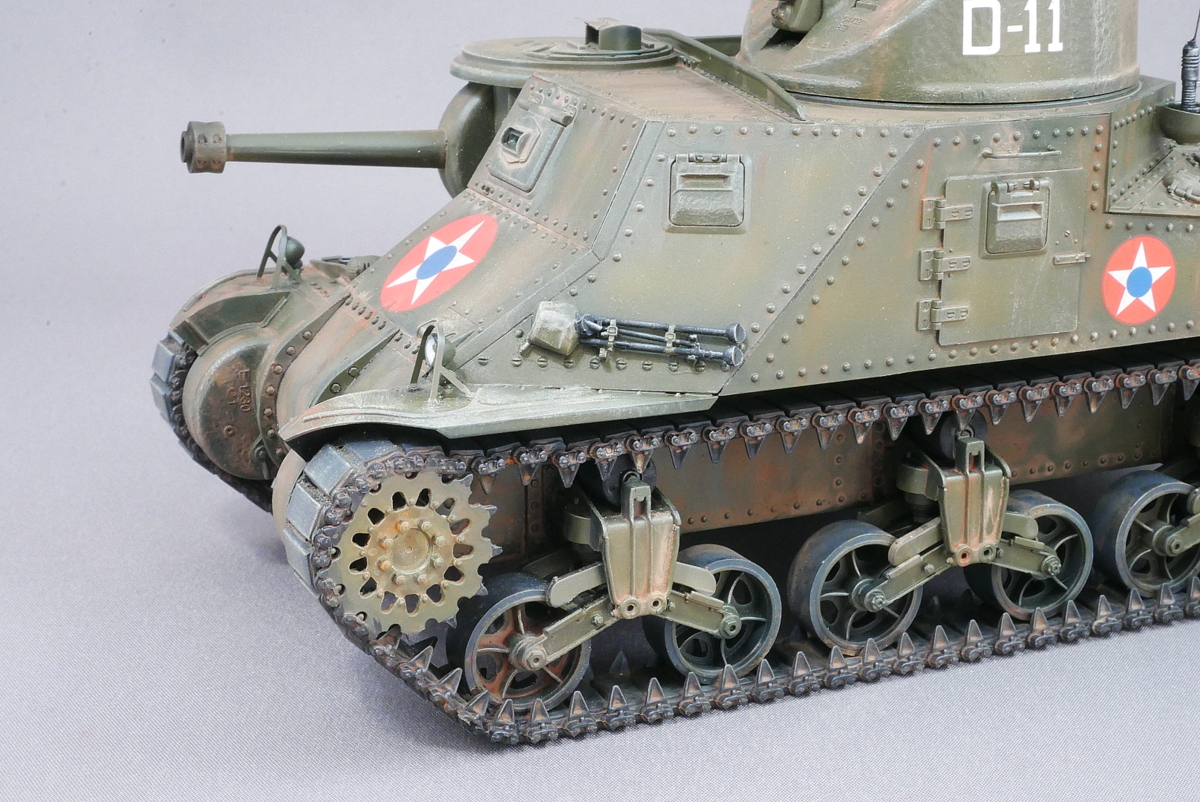
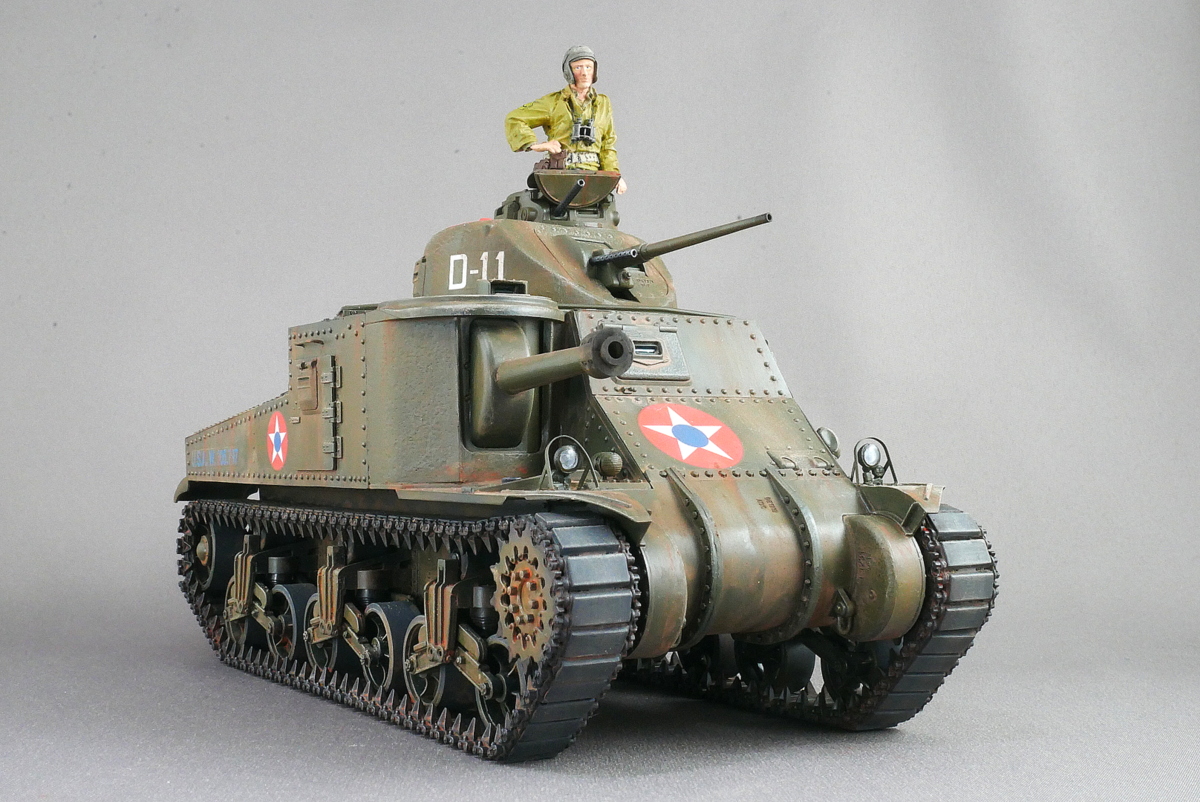
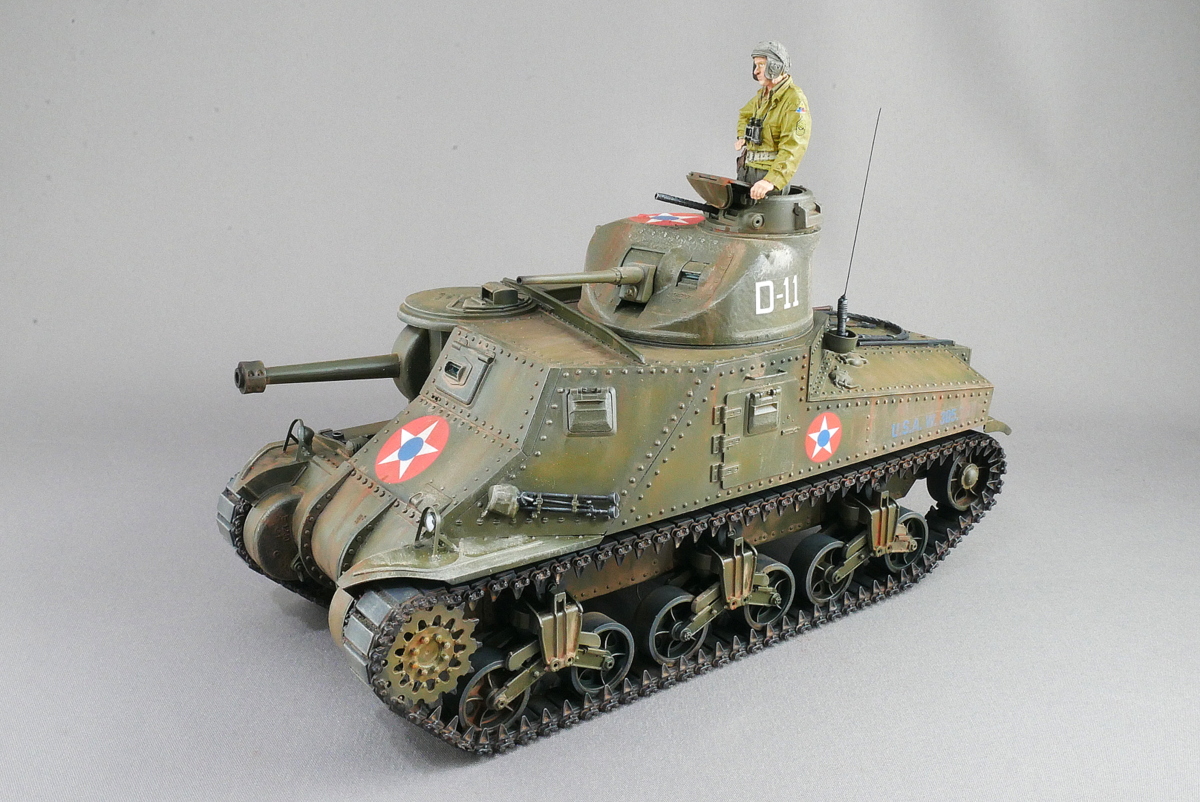
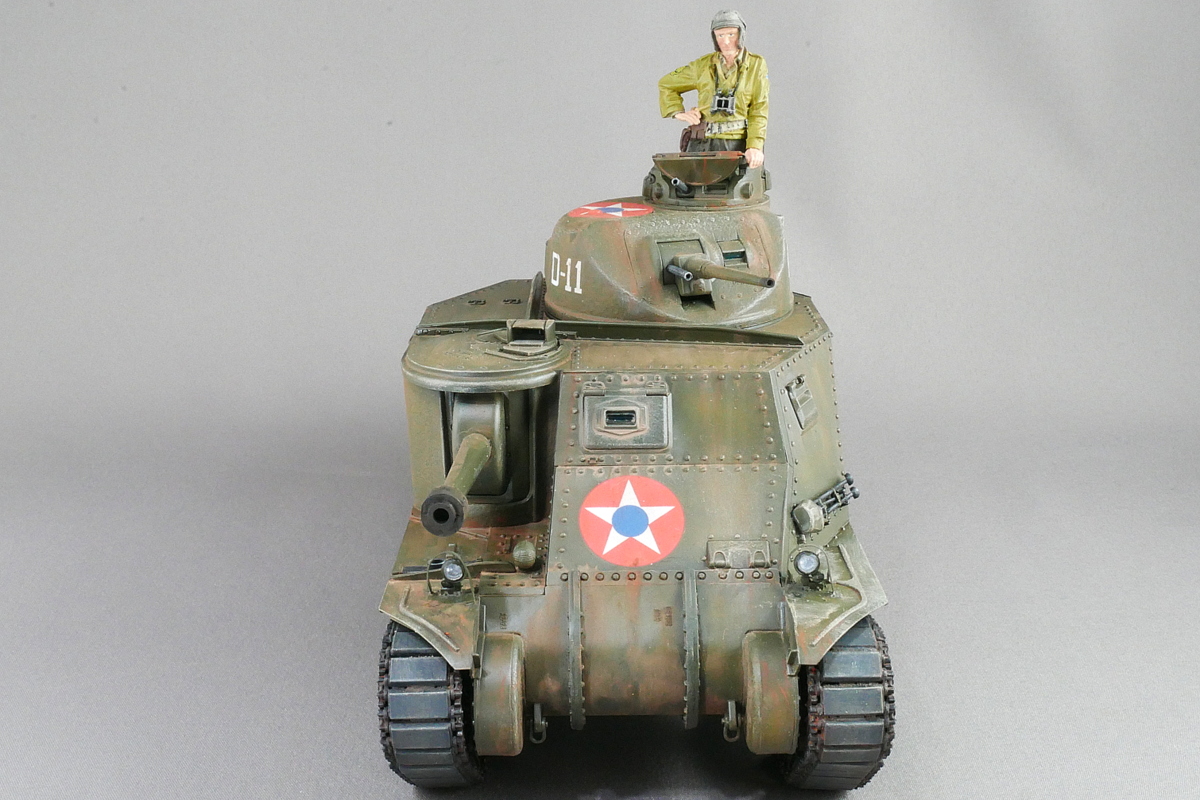
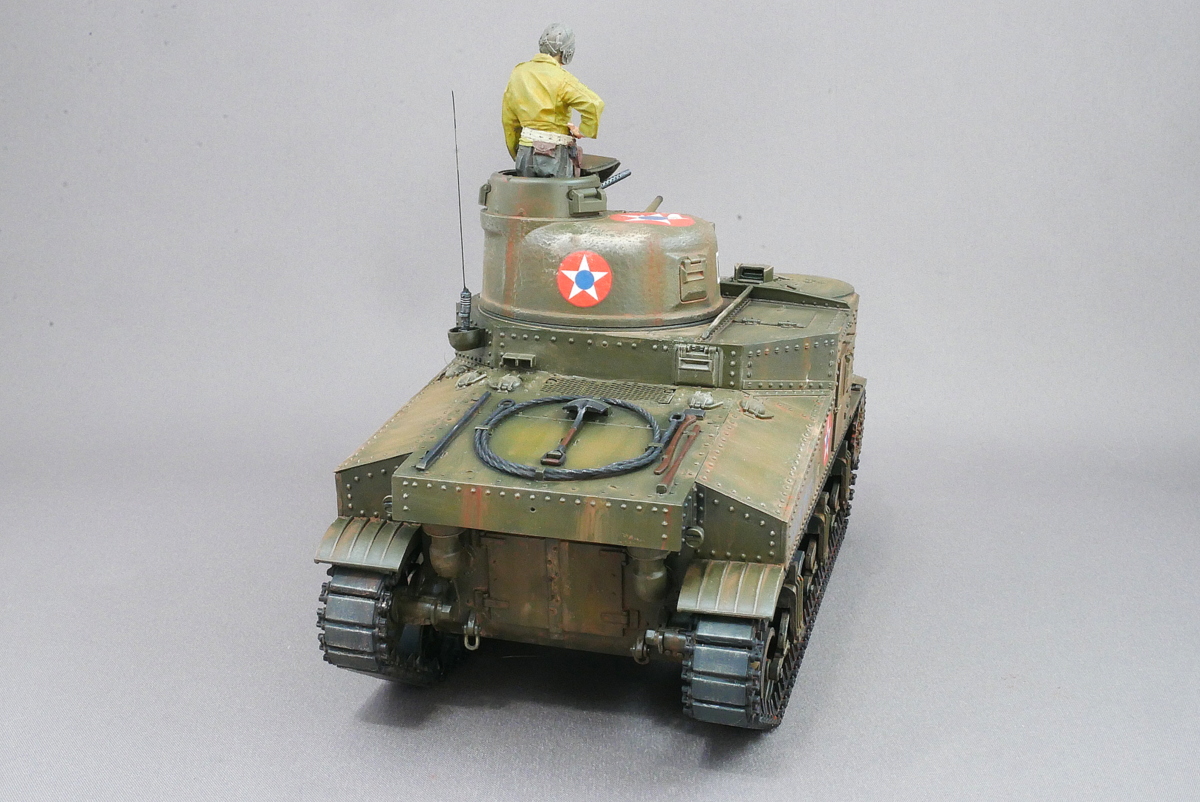
The parts are sharp and overall easy to assemble. I bought the British Army Grant simultaneously but liked it enough to wish I had bought the other series. If I try to buy it now, I wonder if it’s much more expensive. Or an excellent kit that shouldn’t be out of production.
(2023/08/17)
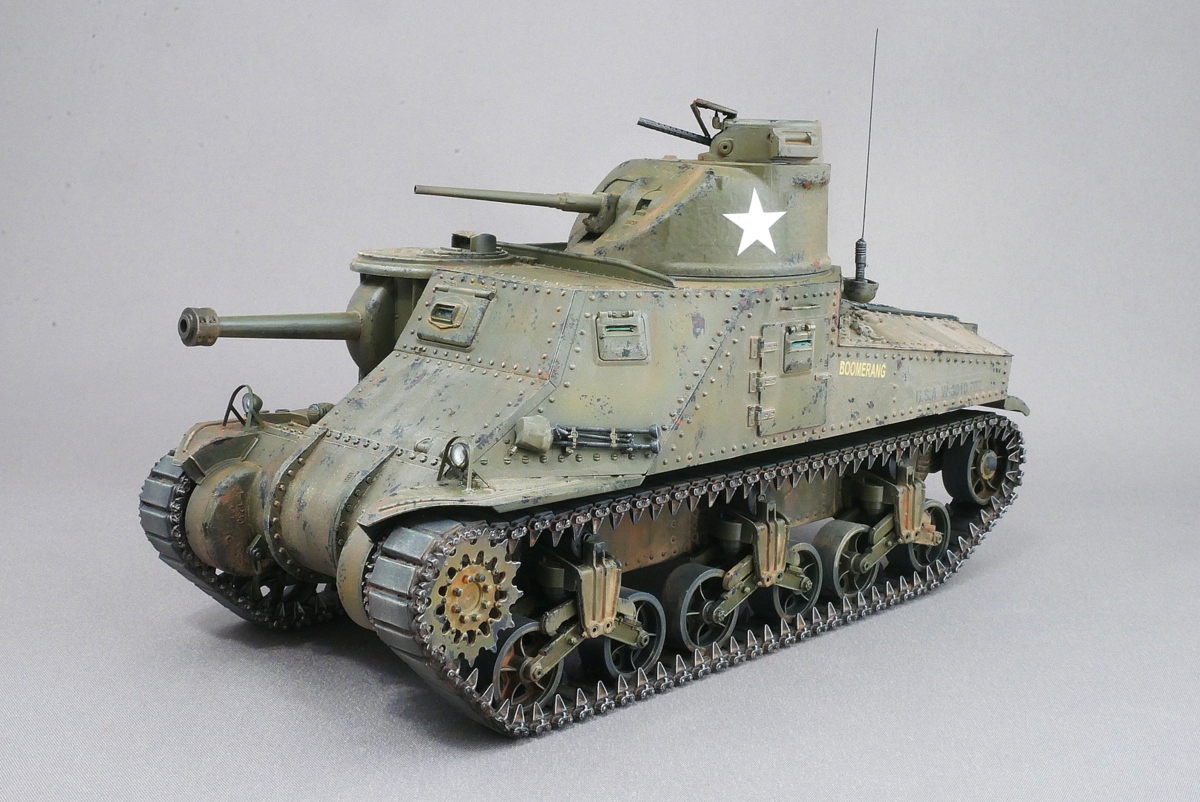
It’s a repaint. I wanted to see the nationality mark with a standard white star, so I filled in the old mark and put a new decal on it. This would be more common for a US tank.



(2023/10/01)


コメント