
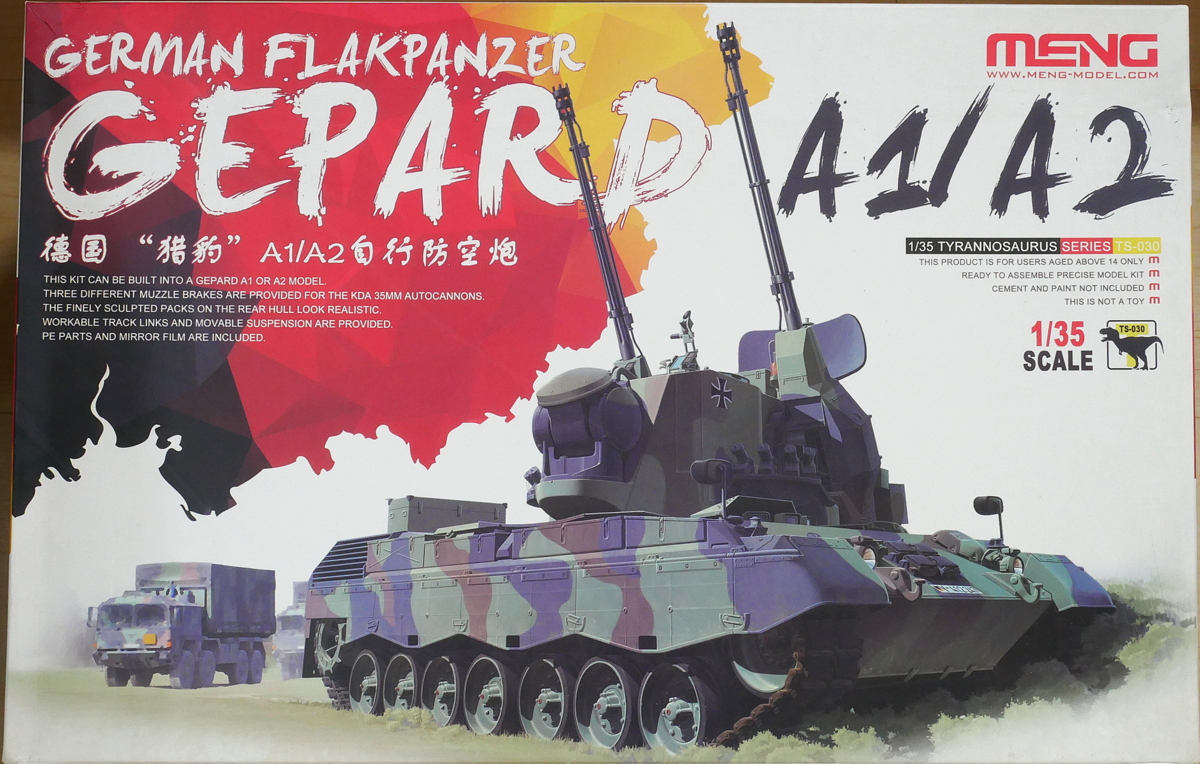
This will be the first time a Bundeswehr vehicle has been built. Inbox art, an antiaircraft gun that goes upwards to the limit, makes me eager to build.
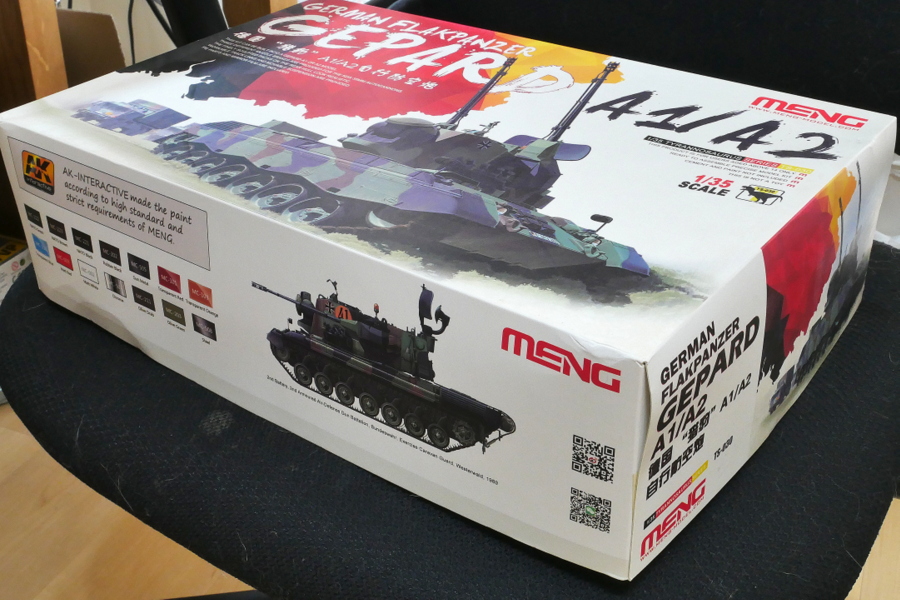
Like the Jagdpanther I made last time, the box is quite thick. I don’t feel like opening it up and assembling it all at once unless I am in high tension because the parts seem to be packed tightly. Why don’t we watch a video of Gepard to make ourselves feel better?
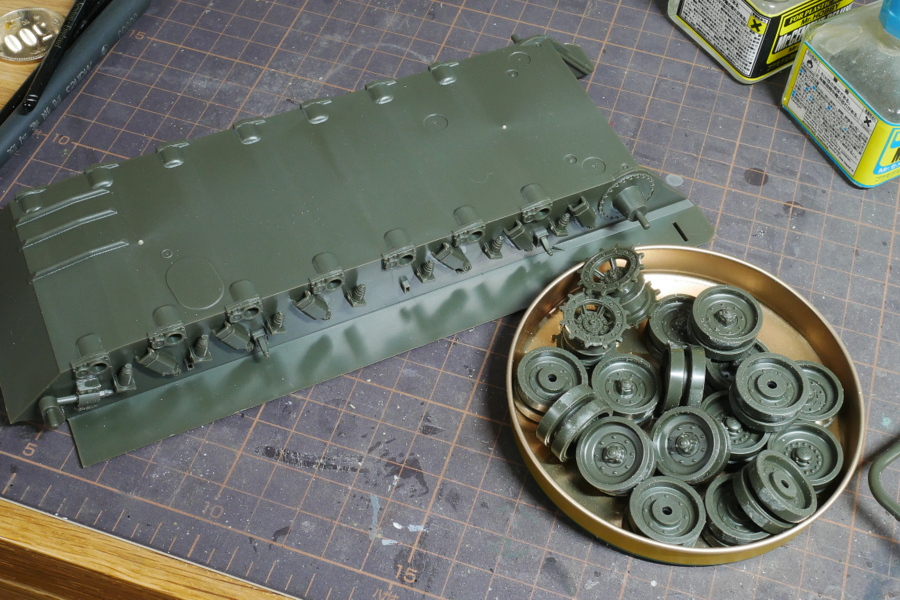
The chassis has quite a few small parts to attach. I didn’t do the part shaping very carefully, but I put them all in. Maybe I don’t need to install it because I can’t see it much. After all, it is hidden by a roller.
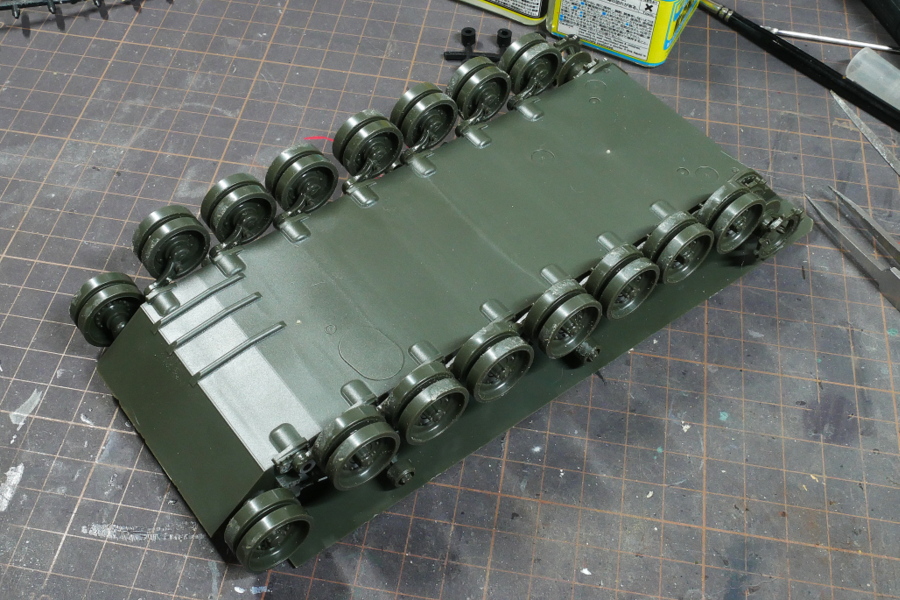
I was able to assemble it with a pretty arrangement of wheels. If the center is misaligned, the track will not fit well.
(2021/06/25)
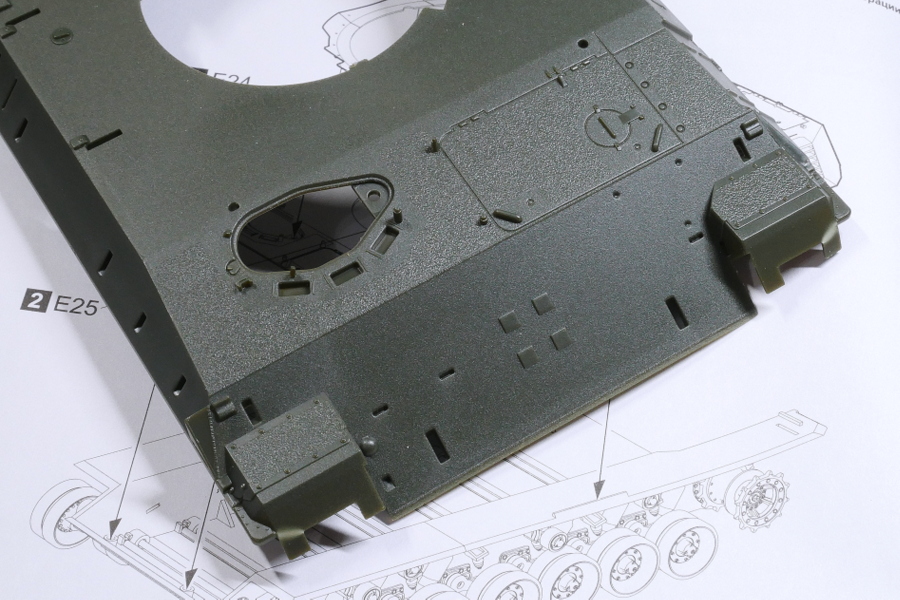
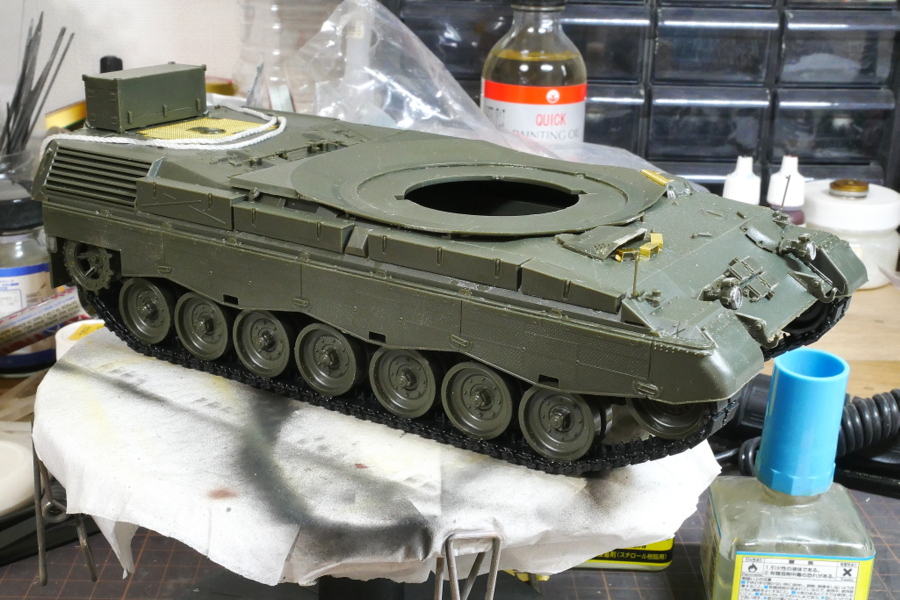
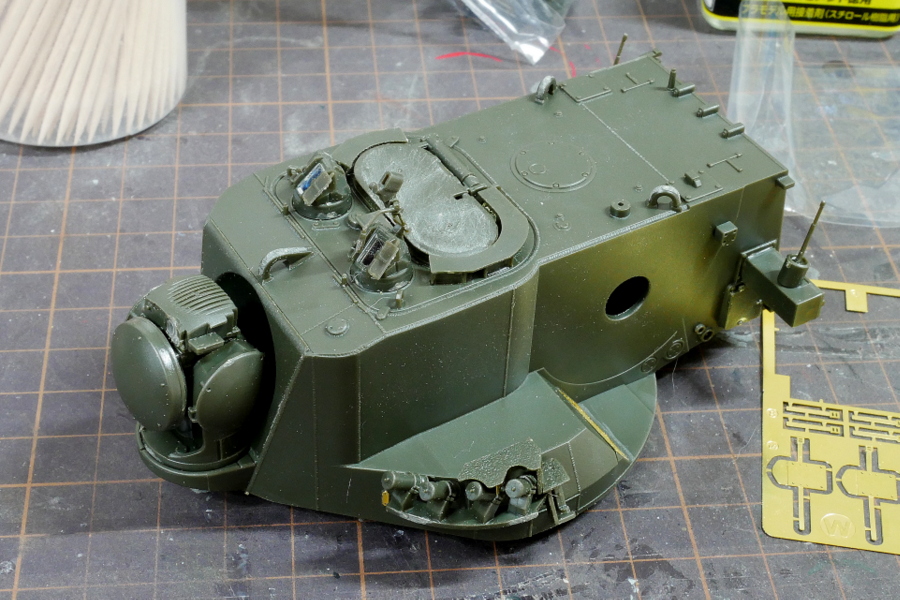
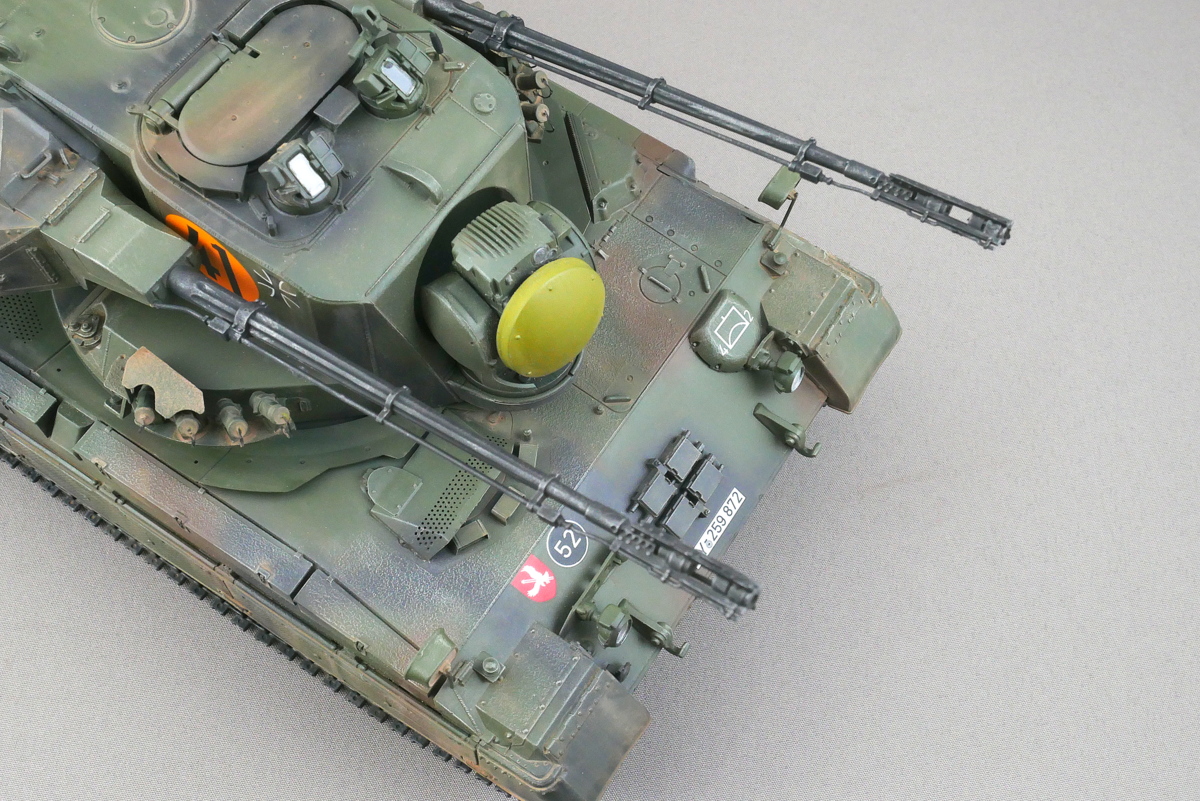
The top surface of the tank is molded with sandy anti-slip material. Great.
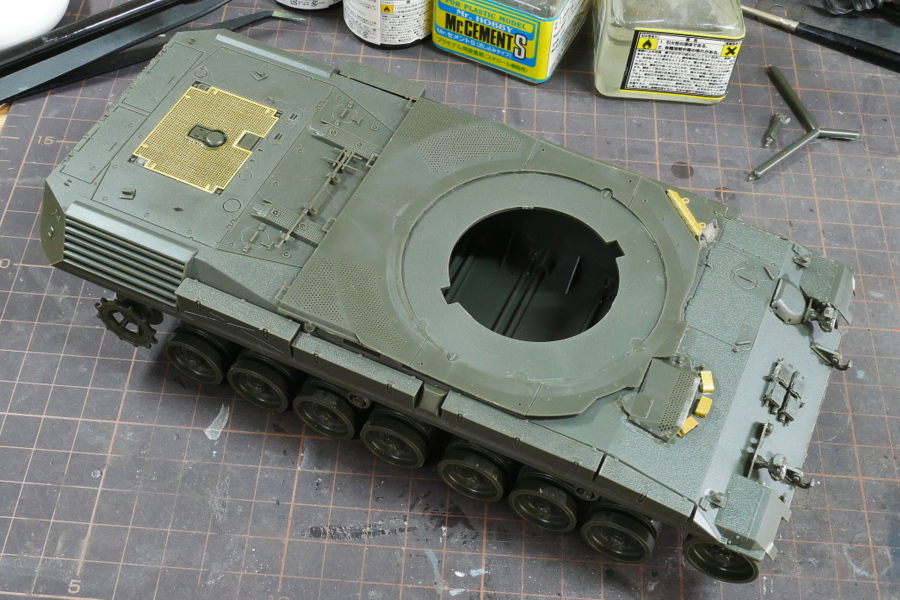
After installing the wheel, the body part didn’t have many parts, so it was assembled quickly. The hatches at the front of the tank were bonded in a closed state because of the complexity of bonding various parts.
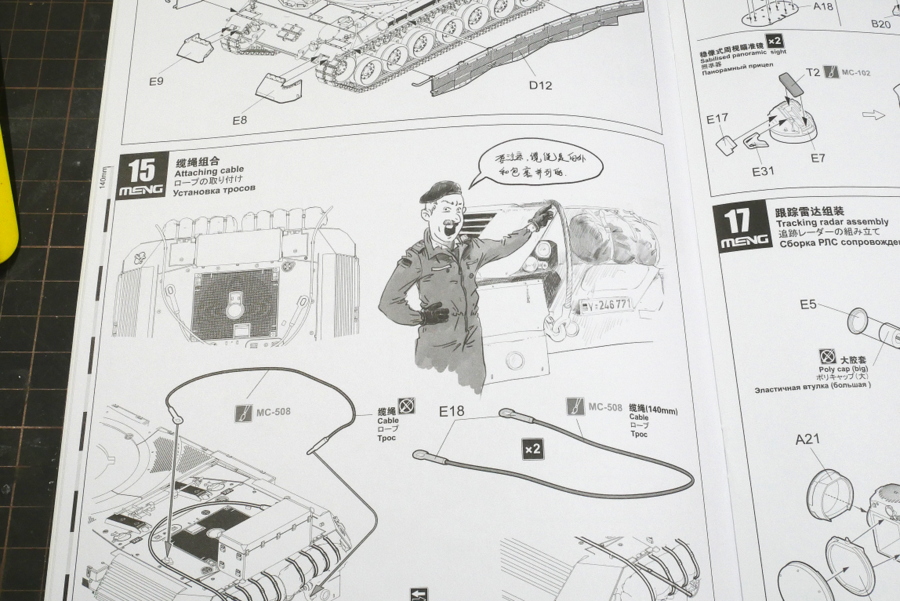
It looks like the older man often seen in the assembly manual of Tamiya.
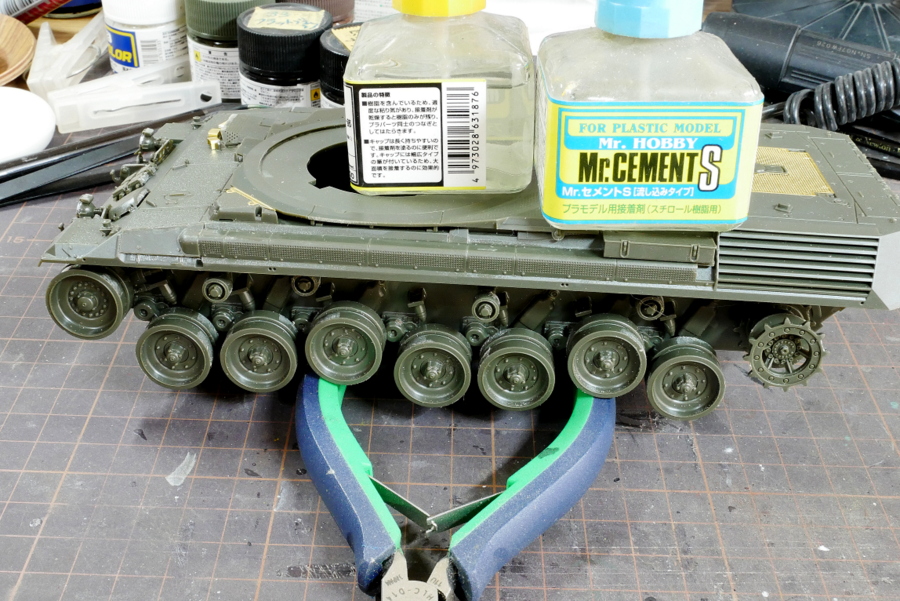
The suspension moves. Or rather, I am worried about the strength because the shaft is twisted, elastic, and bent. I think I’ll fix it with many adhesives after winding the track.
There was a silver seal on the mirror part of the rearview mirror. I think I will use masking sol after pasting.
(2021/06/27)
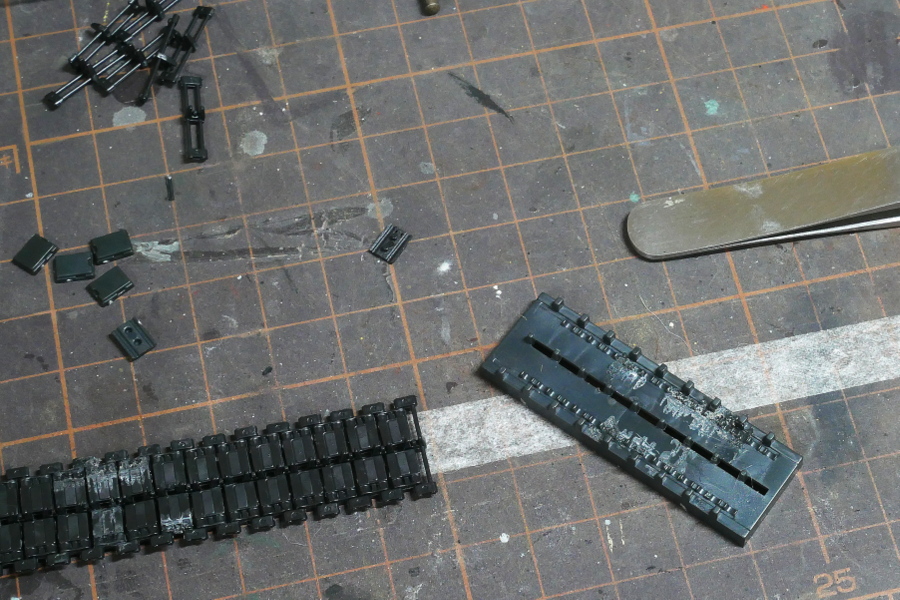
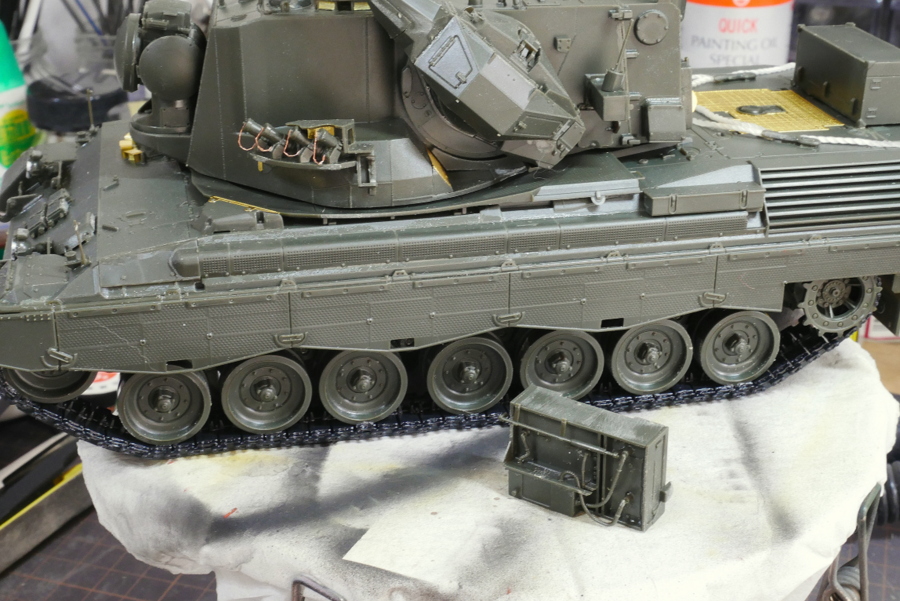
This Gepard antiaircraft AFV track is very cumbersome to assemble. I can separate the parts of the connecting track one by one, arrange them on one side, and assemble them all with glue. This time, it is too much work to put the parts on a special jig and sandwich them…
The adhesive is strictly prohibited on the attached jig. However, it is difficult to fix the small parts, so if I use the adhesive unintentionally, it gets dirty, and when I try to peel the parts, they break into pieces. It didn’t go well. The accuracy of the parts themselves is not bad. So if I persevere, I’ll see the goal someday. If the accuracy of the parts is poor, it is the level that is thrown away.

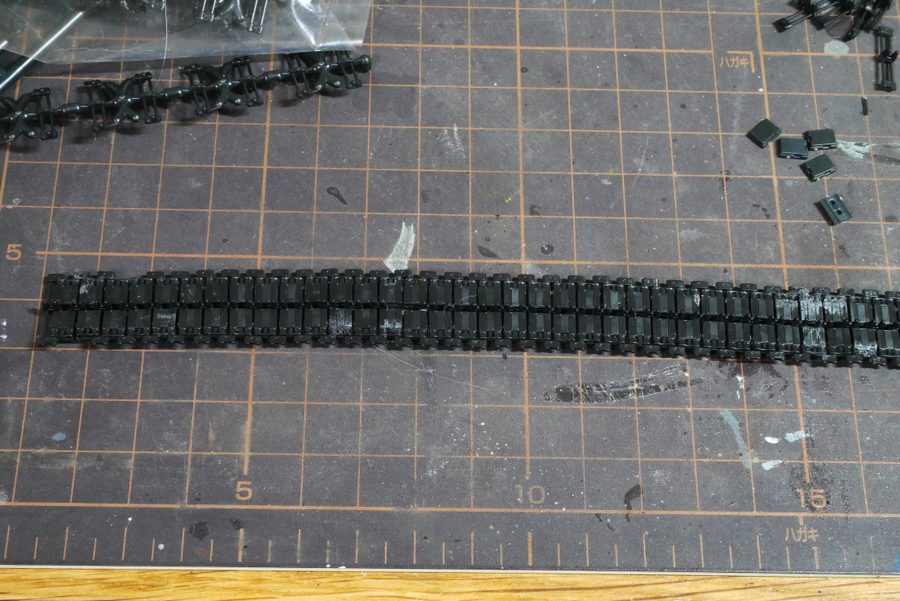
I tried to assemble it, again and again, using a jig about three times. But it worked well until the middle, but it broke apart. I can’t say anything because I’ve never made a Leopard kit with other kits, but this is too much!
 It’s hard to have five parts per track.
I can’t see the upper part of the track because it is a side armor, so the work is finished here. Leaving a few spare parts will help to recover from failures on the other side.
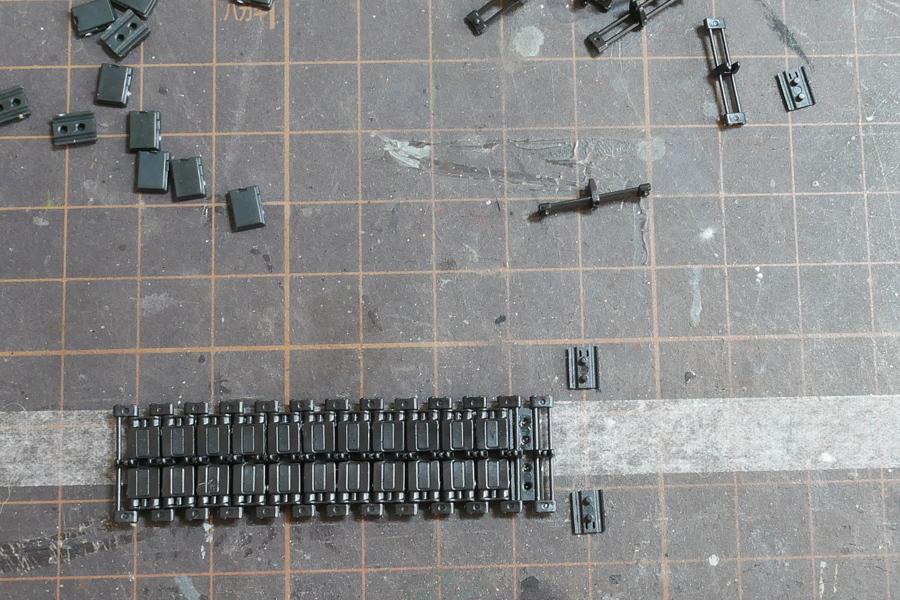
The trick I learned from my experience was to glue one track at a time and glue a little bit to the hollow in the middle. We can maintain strength if we pour a lot of glue after winding the track around the roller. In this case, the suspension function of the roller wheel was ignored, and all were bonded. Priority is given to the strength of the lower part of the vehicle. It will be over if I get used to assembling and staying patient.
(2021/06/30)
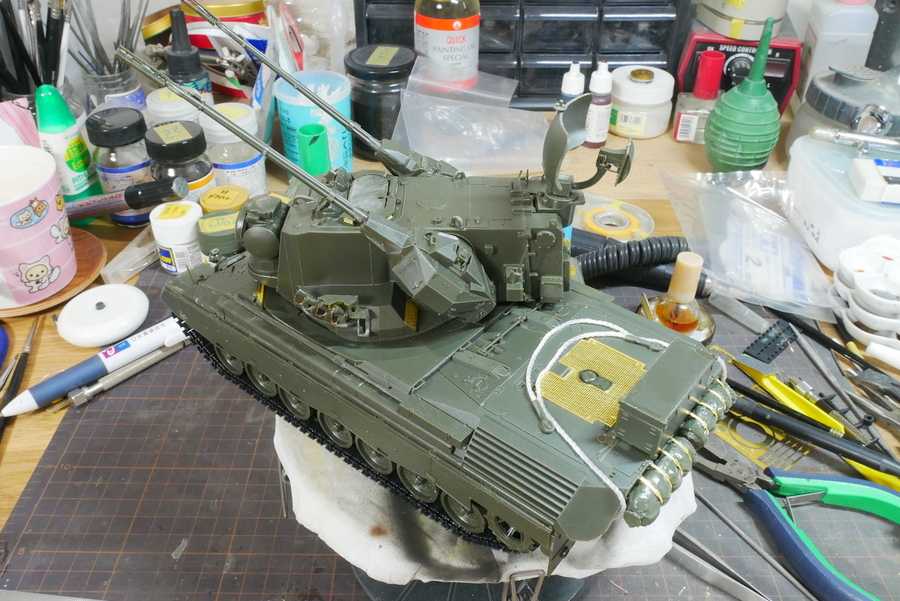
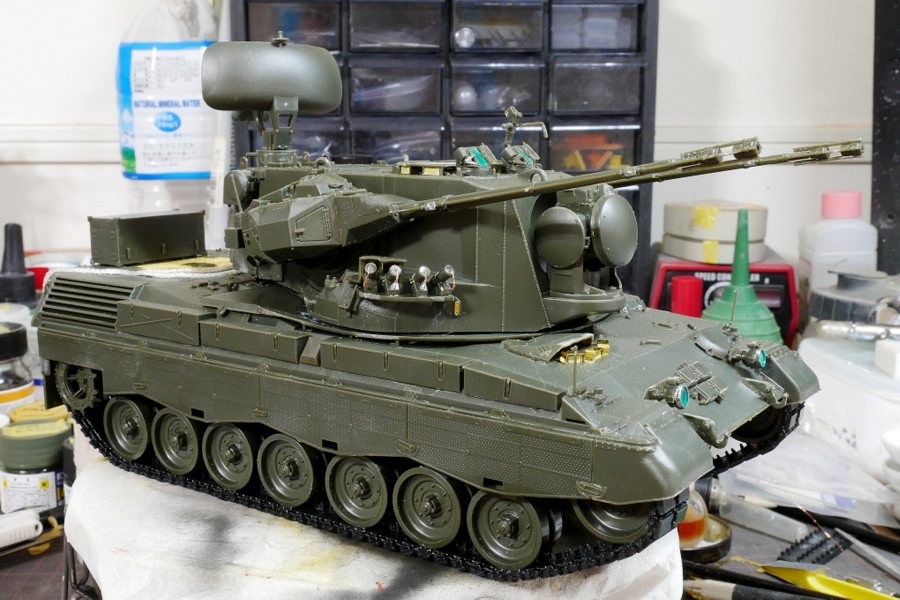
After attaching the side armor, it becomes like this. I can’t see the upper half of the crawler belt. I had a hard time assembling the track, but I can somehow manage to see it.
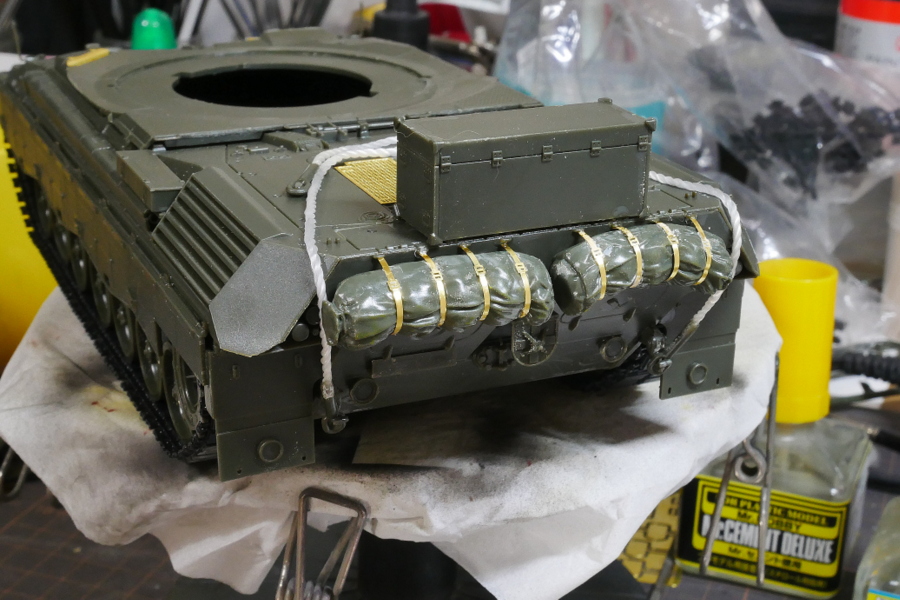 I noticed later that if there is something like a sleeping bag in the back, it will get in the way when I put the decal. Eventually, it will shift the decal slightly. Not too bad.
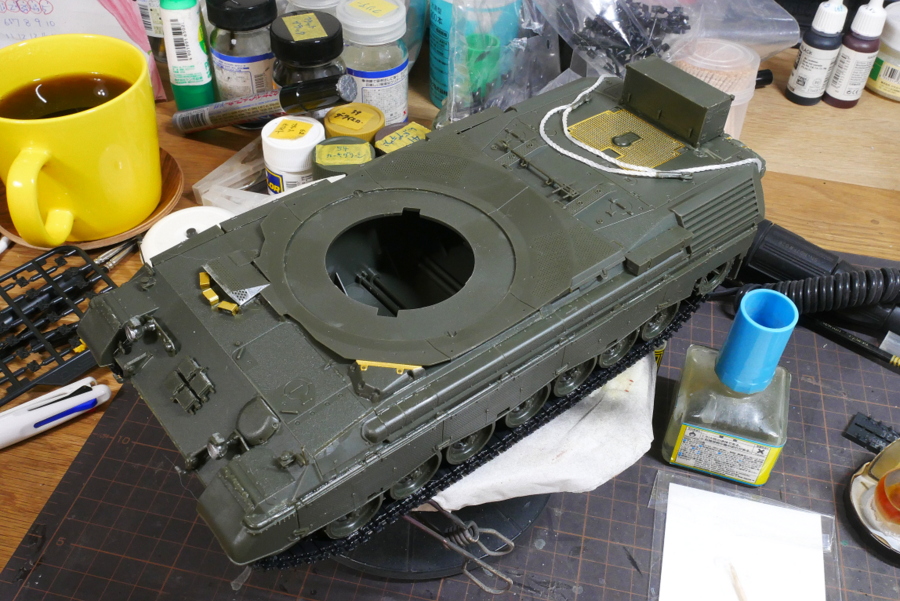
The assembly of the parts other than the turret was almost completed. I enjoyed assembling the appropriate amount of etched parts and high-quality clear parts. Except for the track parts… I didn’t need a trunk at the back for the A1 type. It will get dirty if I remove it now, so I will leave it as it is.
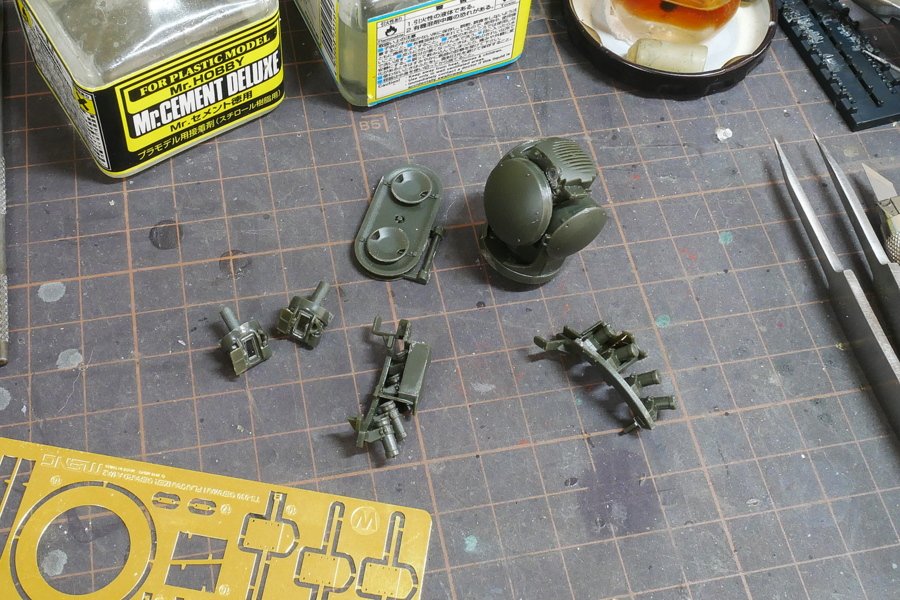
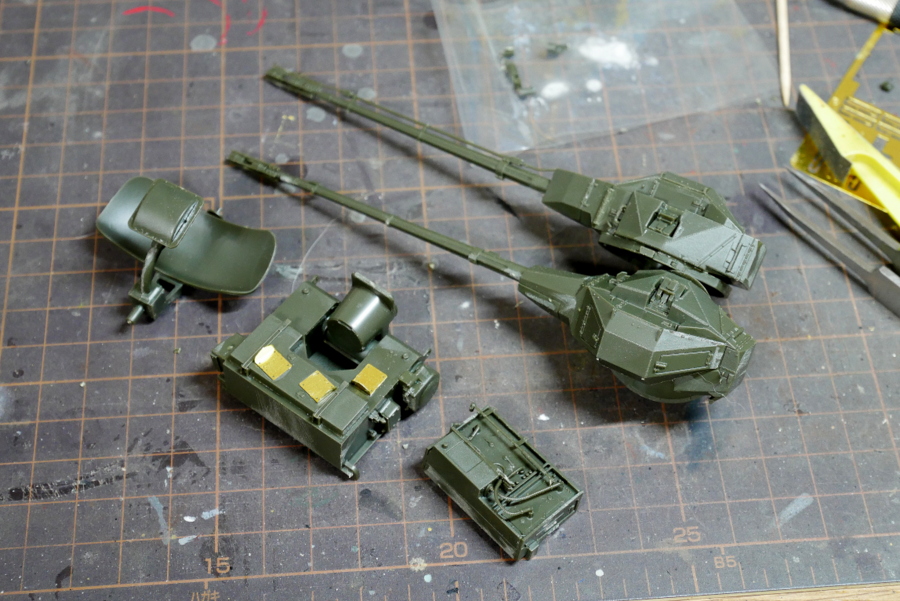
From here, I am going to assemble a pair of antiaircraft guns and turrets, which is the most distinctive feature of Gepard. At first, I assembled small parts I didn’t know which part would attach to.
You can choose between the A1 type and the A2 type. In my case, I chose the A1 type, so I think there are more unnecessary parts. I wonder if A2 has more parts to use.
(2021/07/02)
This MENG Gepard is very easy to assemble. It’s great. The antiaircraft gun is excellent. I remember that this process was complicated at Tunguska of Panda Hobby.
The left and right antiaircraft guns are structured to adhere to each other inside. It’s not strong enough, so I think it’s better to dry it for a while. Even after completion, the angle is changed by holding both barrels ends. To be honest, this is the part I don’t want to move to.
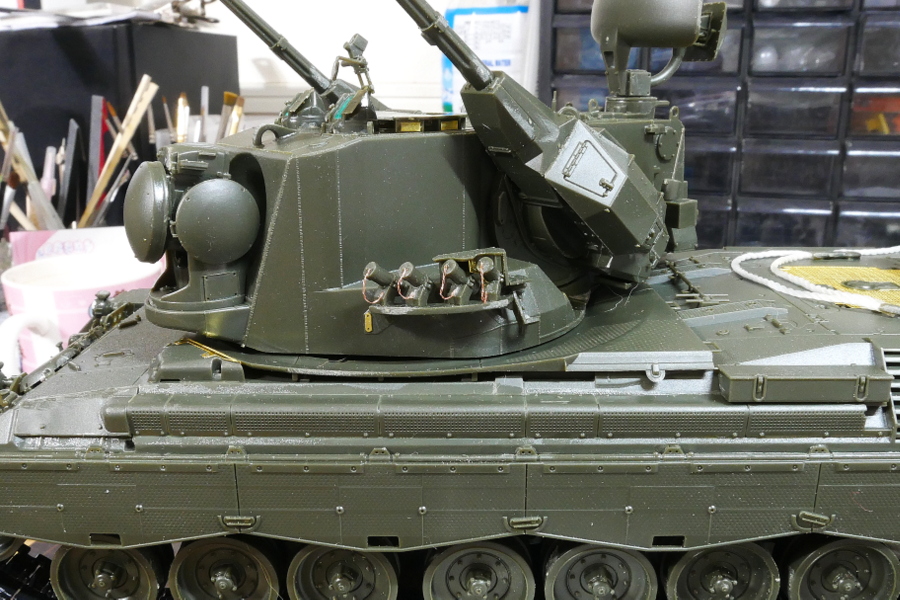
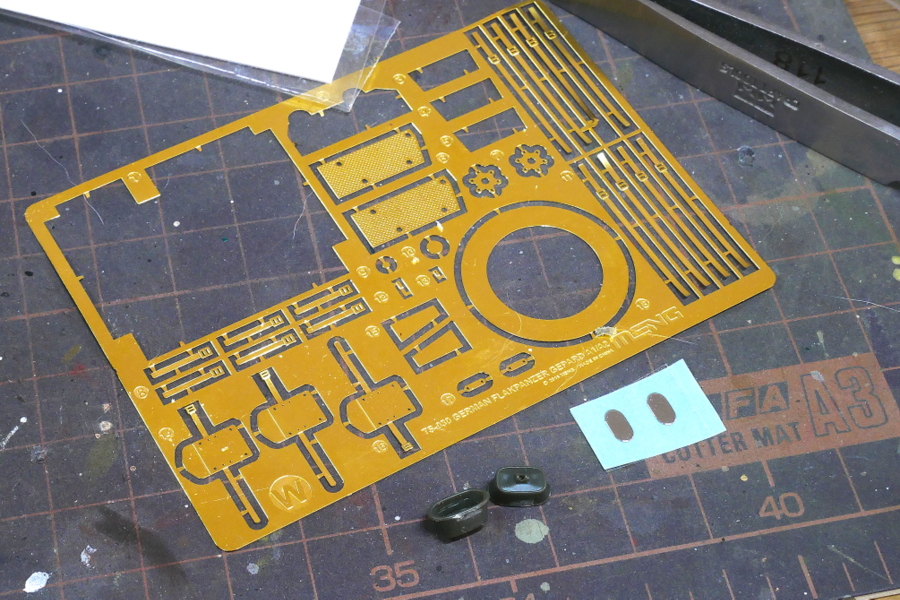
The chain of the smoke discharger is shaped like an excellent chain when it is crushed with pliers after the fine copper wires are put together. If you cut and glue it to a suitable length, it will look like a homemade simple etched part.
Some parts use clear parts, such as headlights and periscopes, so I covered them with masking tape and masking sol before painting. This time, I will mask the fragile rearview mirror without gluing, installing it at the end.
(2021/07/04)
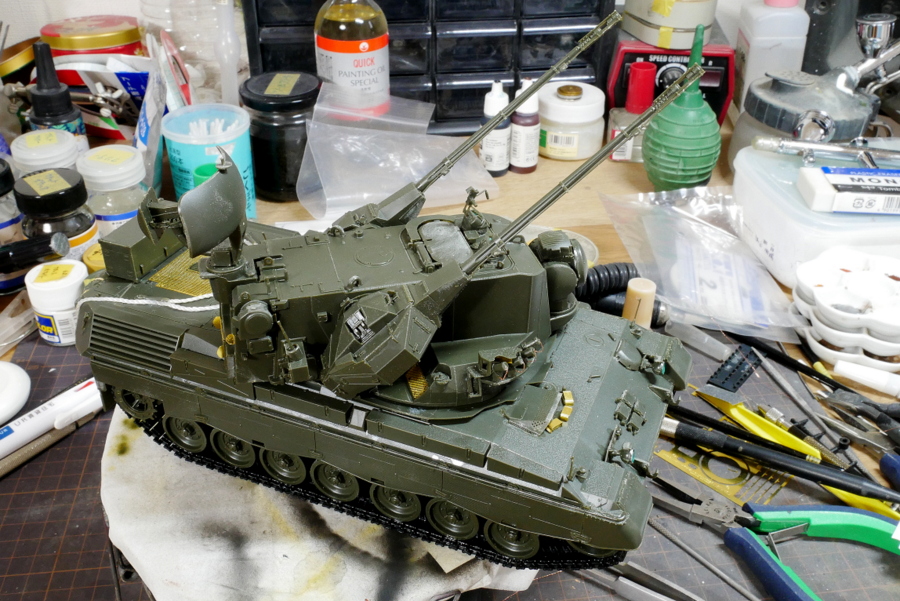
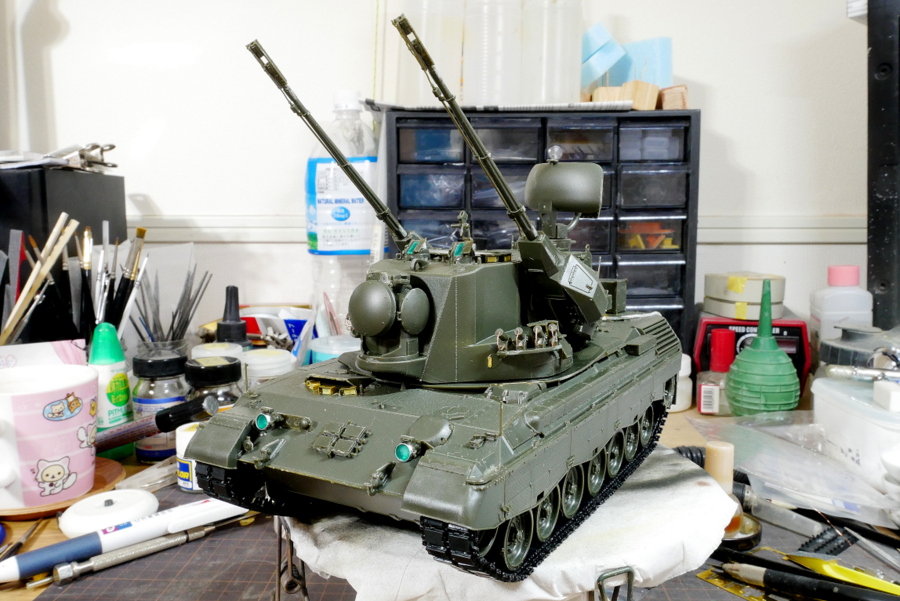
This time, the angle of the gun barrel is movable. So I took a shot with a different angle.
The rear panel under the rotating radar at the back of the turret didn’t have to be assembled if it was assembled in a closed state. I have some leftover parts. But I feel the enthusiasm of MENG to reproduce this part.
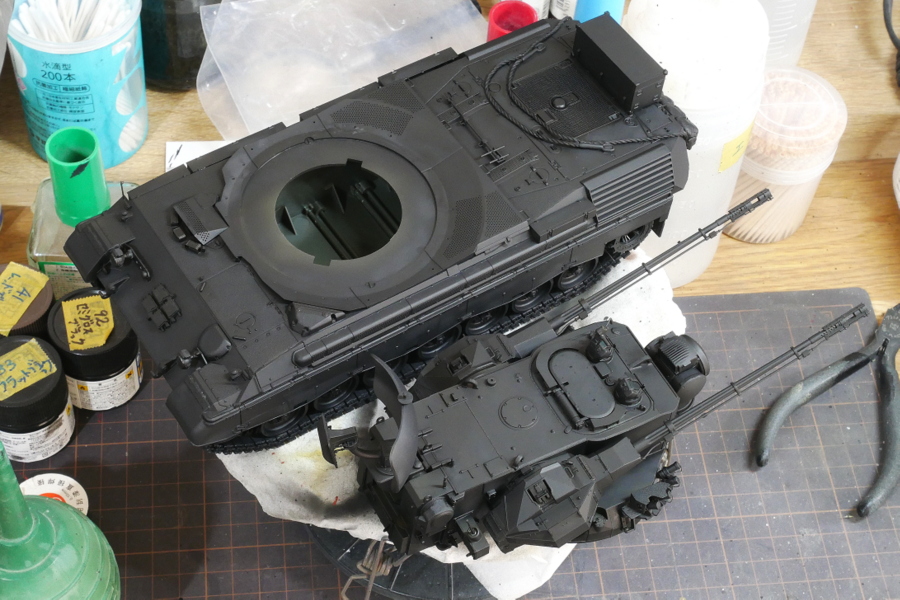
At first, I used matte black as a primer.
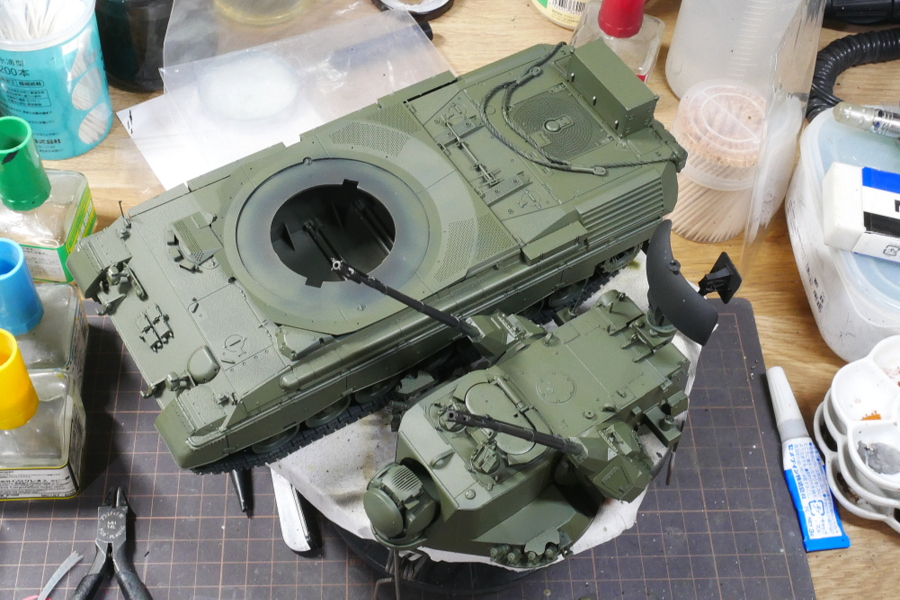
I will use NATO black again as one of the camouflage colors, but I don’t have an image yet, so I painted the whole with the base NATO green. As you will see later, NATO black is like gray, so if you keep it matte black, it may be too black.
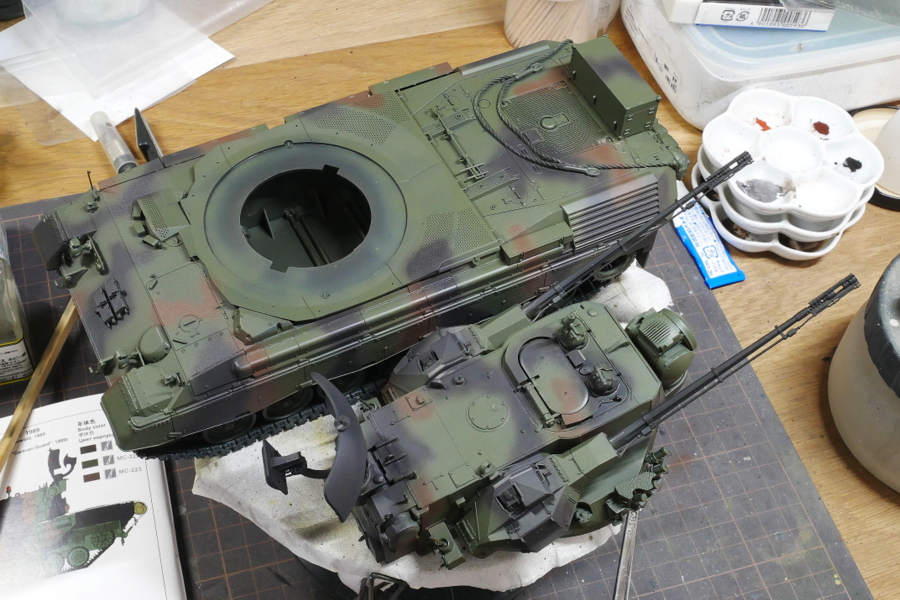
Come to think of it; the German Bundeswehr tank is painted for the first time. I have never had NATO black, NATO brown, and NATO green paint exclusively for NATO AFV. Perhaps I could have substituted an approximate color for something. I tried the exclusive colors released by Creos. I’m used to using lacquer for basic painting, so I also ordered Creos this time. Tamiya also sells NATO black, NATO brown, and NATO green; I’ll try using Creos, which I’m used to. I don’t think it’s much different from the dark green and red-brown used in WWII German camouflage, so maybe it doesn’t make much sense after the weathering process.

I attached the decal that comes with the Gepart kit. This decal is very thin, adheres to the vehicle body, and the color is beautiful. I thought MENG was great, but it was a Cartograf decal. I think the MENG kit is high-level overall. That’s why they order from Cartograf.
(2021/07/07)
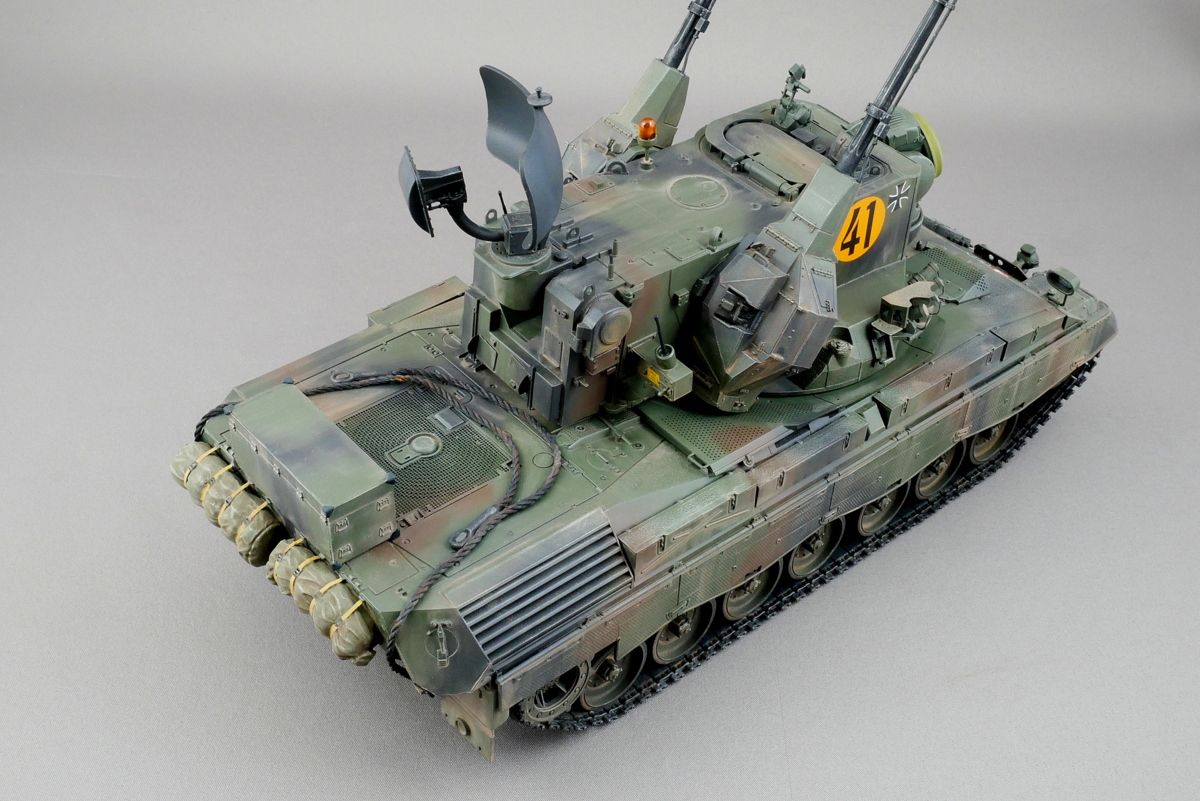
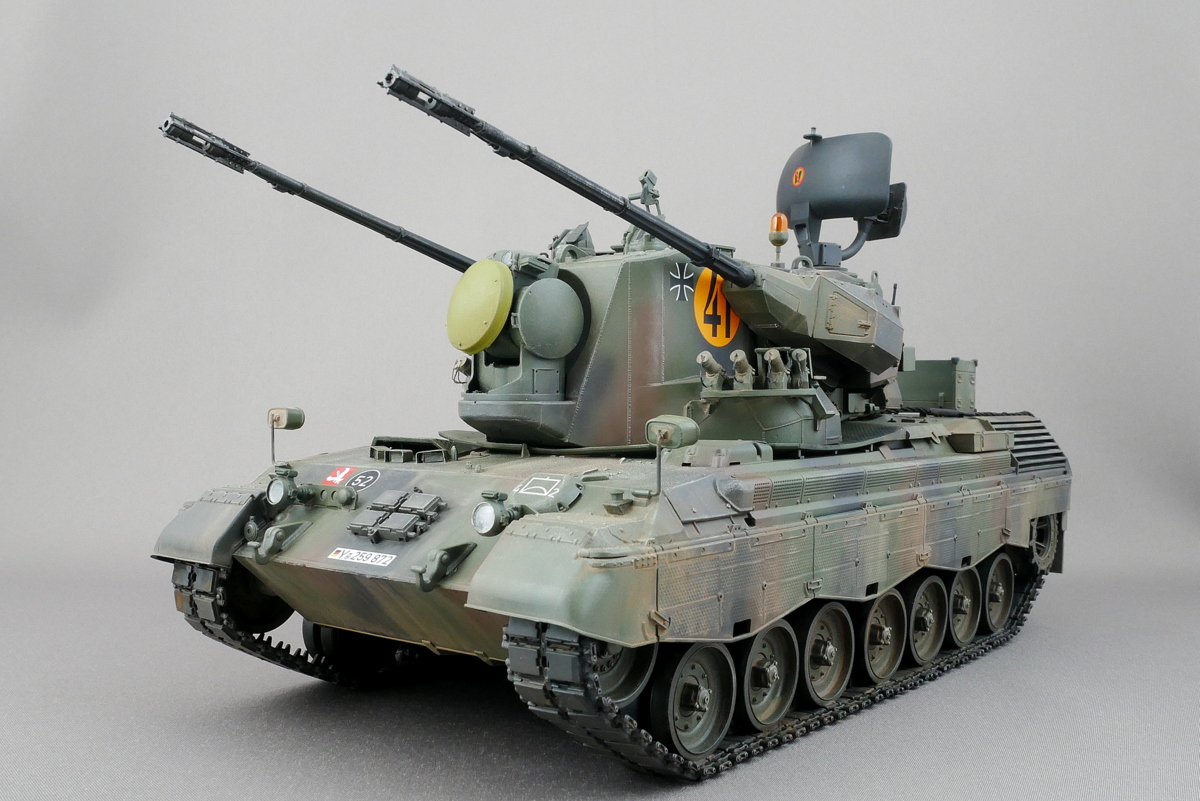
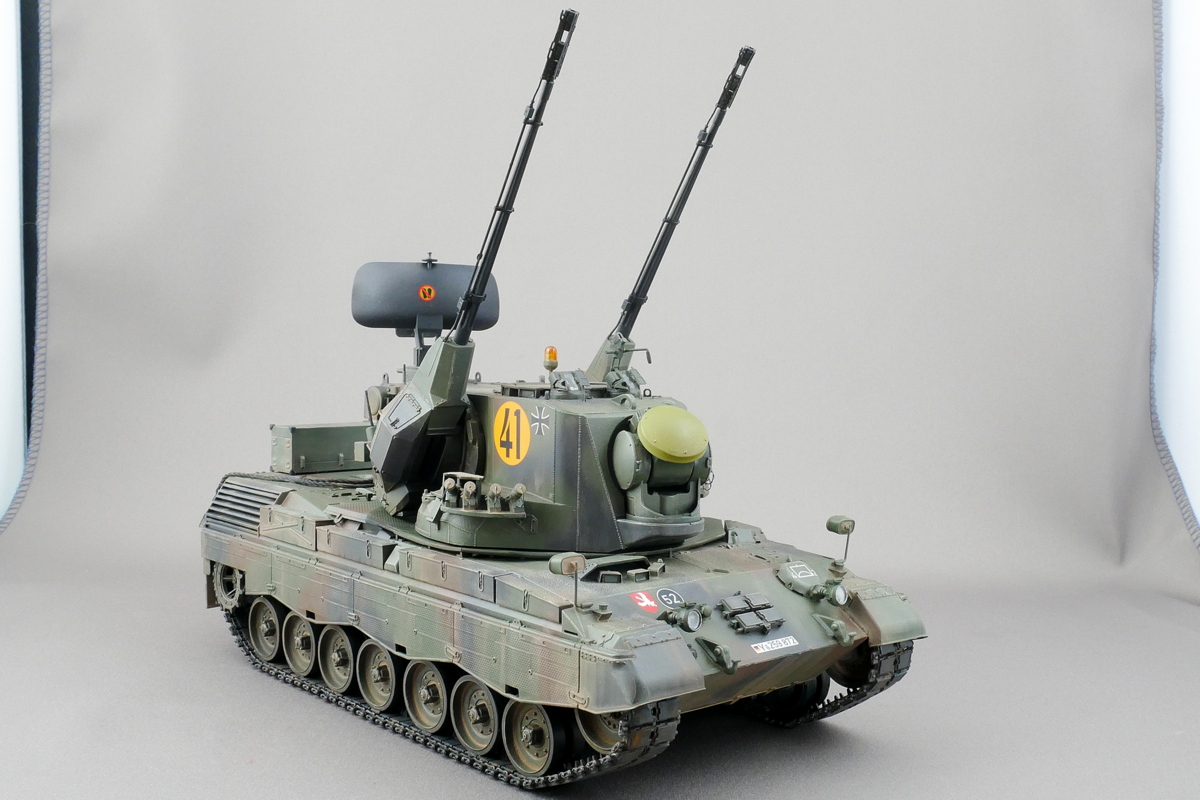 The Gepard antiaircraft tank was finally completed. It’s cool to look up the 35 mm twin guns at a sharp angle. When I watched the shooting scene in the video, the firepower and the shooting speed were tremendous.
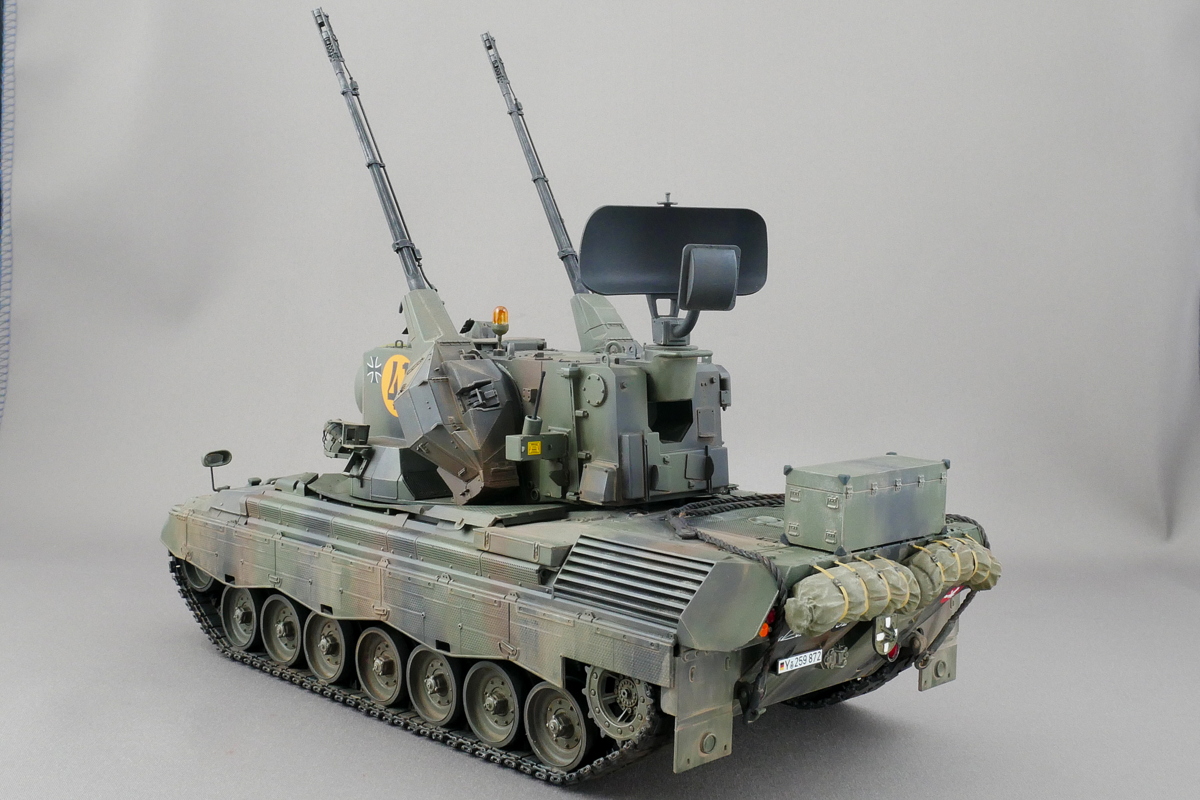 Marking is Westerwald Caravanguard, 2nd Regiment, 2nd Armored Anti-Air Battalion, Bundeswehr, 1989.
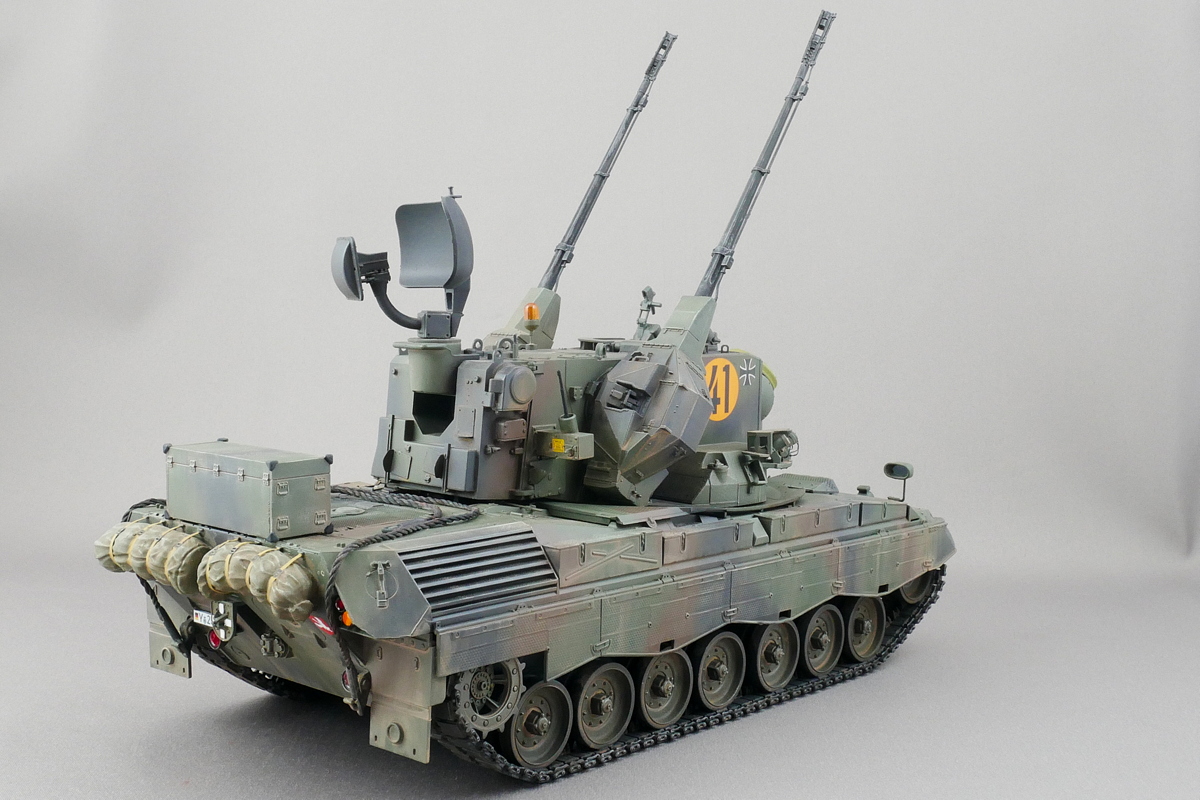
 It was deployed to West Germany in 1973 and dropped out in 2010. There seems to be a type of Gepard with Stinger attached, but it is not reproduced in the MENG kit.
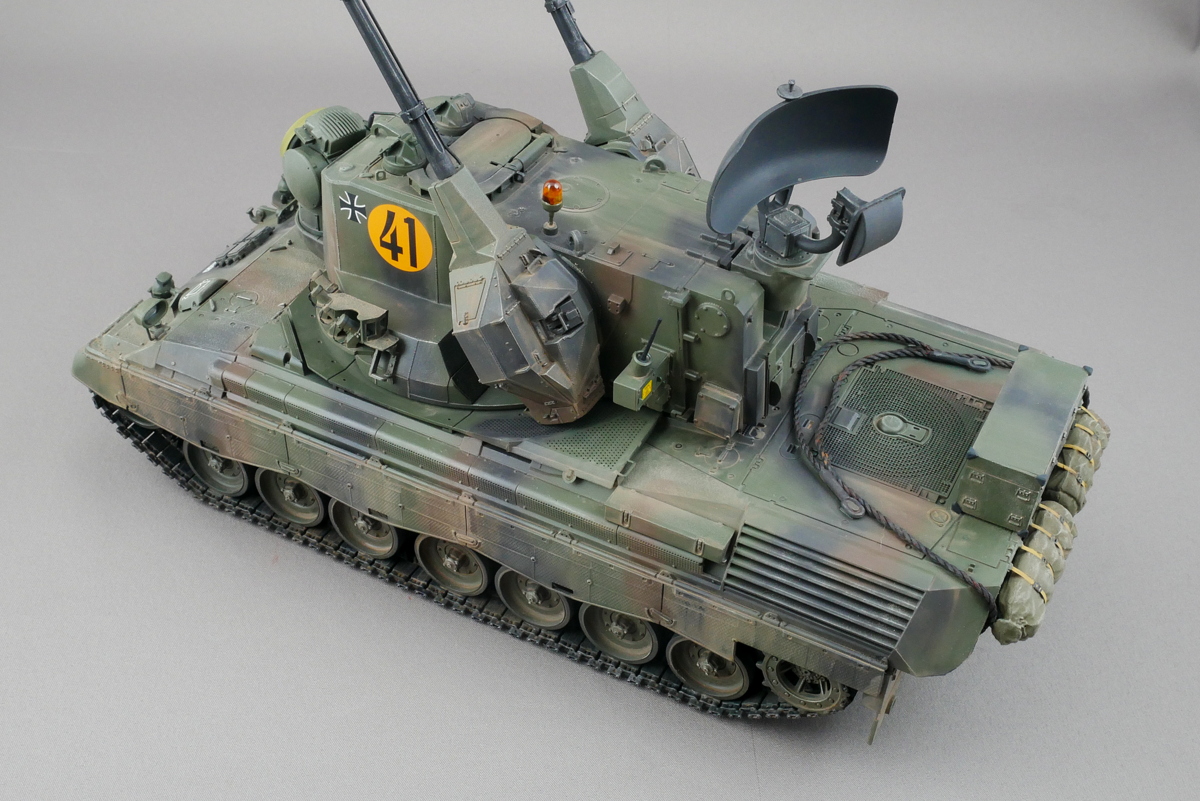
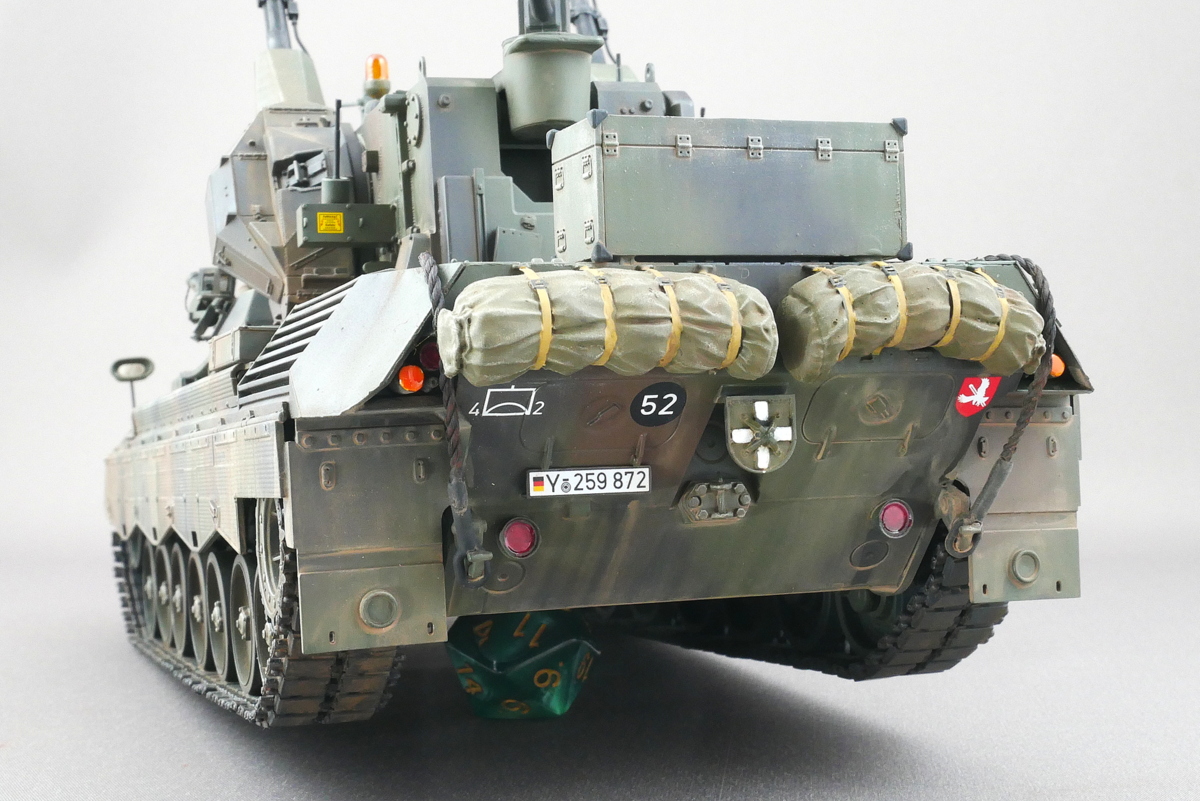 What are they piled up in the back? A sleeping bag or a tent? Three persons operate this vehicle. I think it is pretty busy for its size. In the future, these weapons may be operated by one person or unmanned.
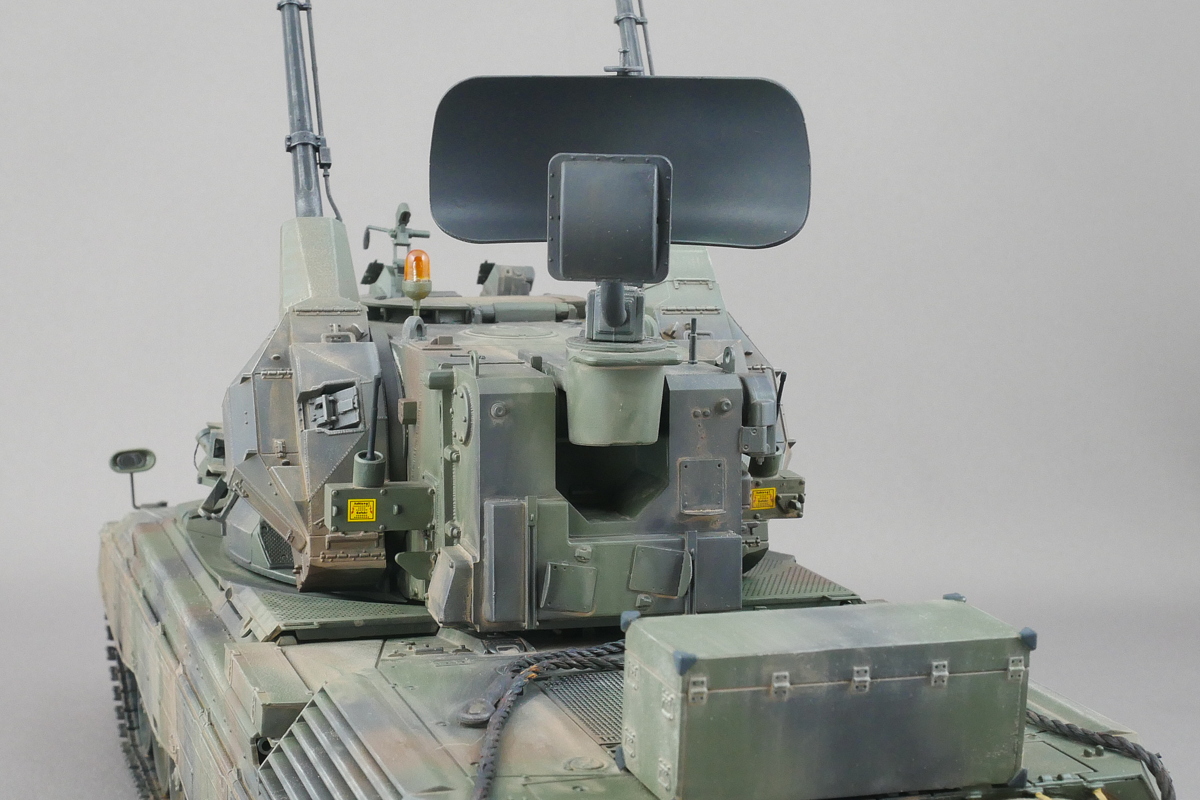
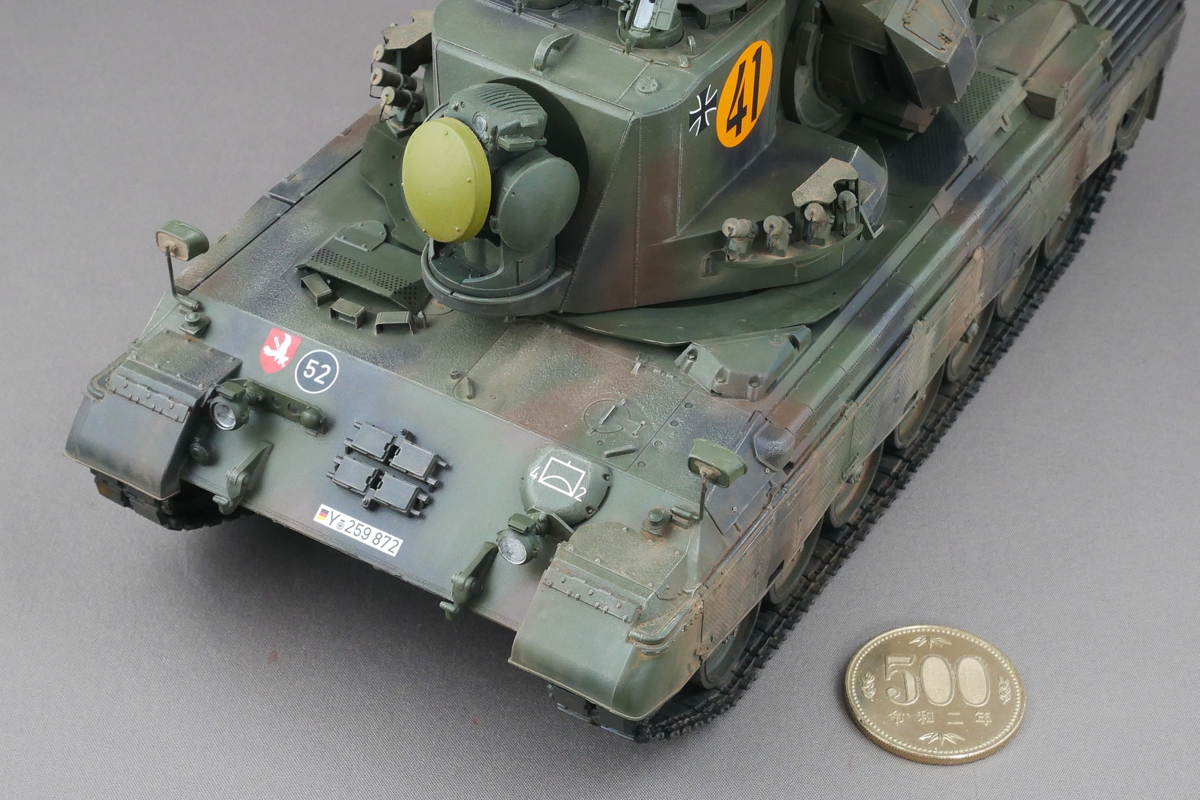
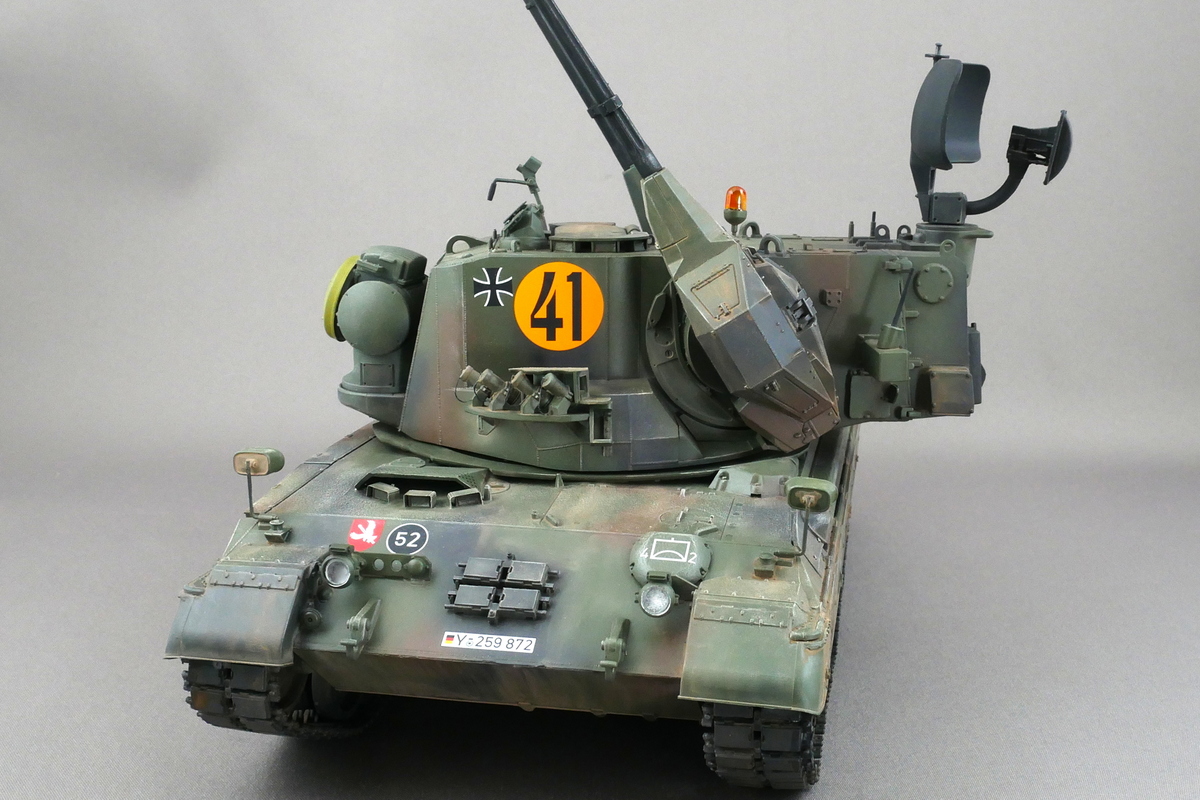 I like this orange vehicle number because it stands out.
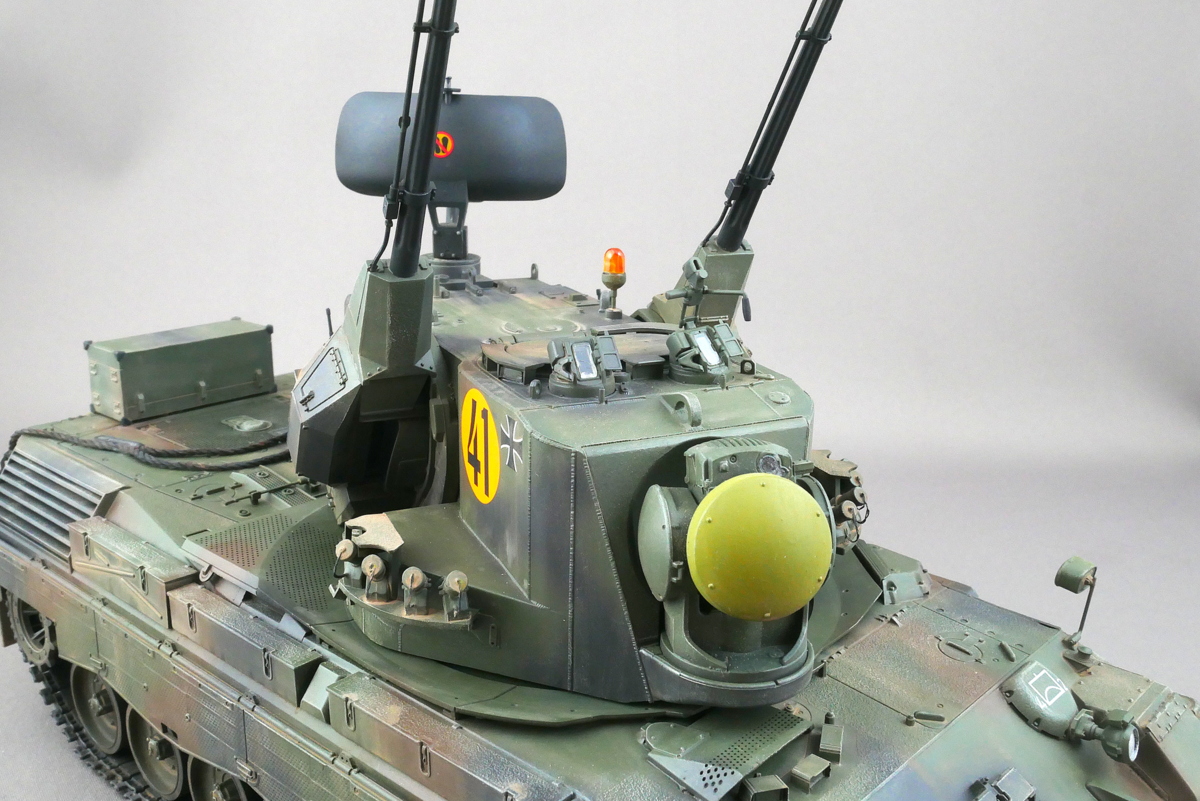
 Oerlikon’s 35 mm cannons employ an excellent fire control system and are used in many countries. It seems to be used for self-propelled antiaircraft guns in the Japan Self-Defense Forces.
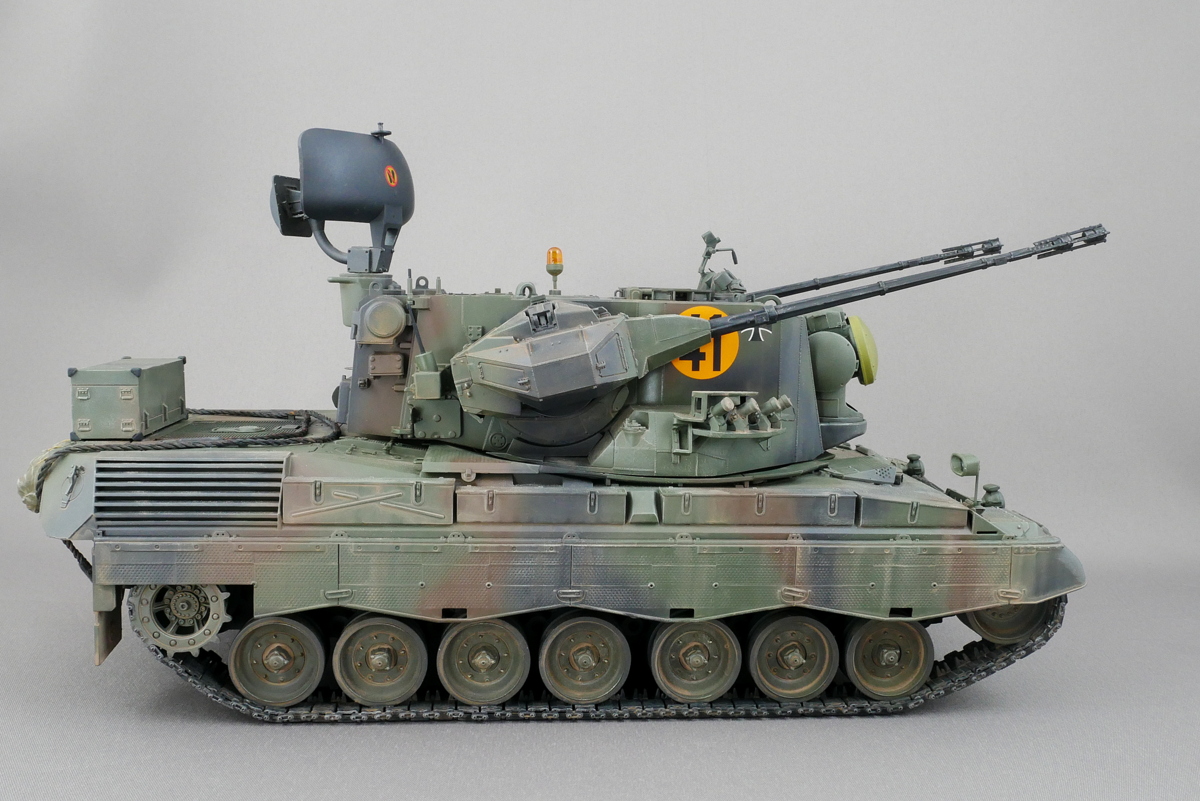
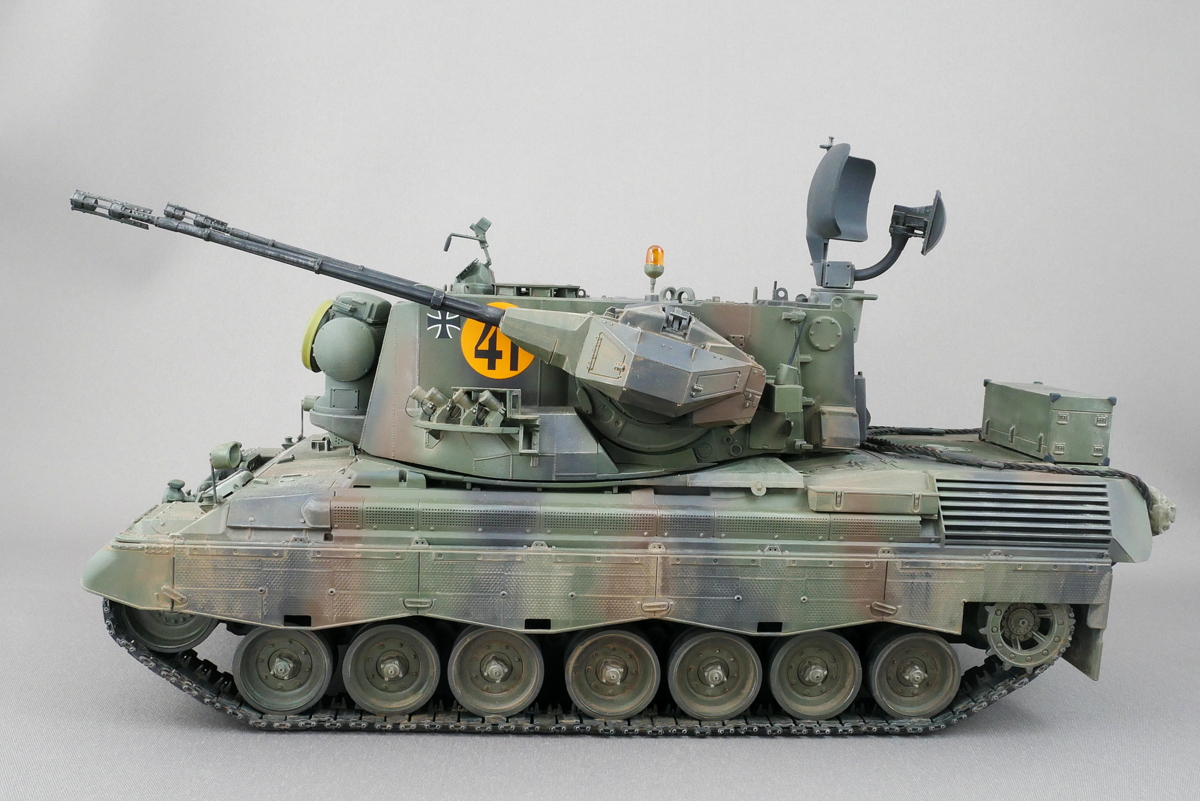 In Germany, there was a 38(t) light tank-based antiaircraft tank called the Gepard in WWII. In Japan, the battleship that played activity in WWII was reborn the same name as the Japan Maritime Self-Defense Force battleships.
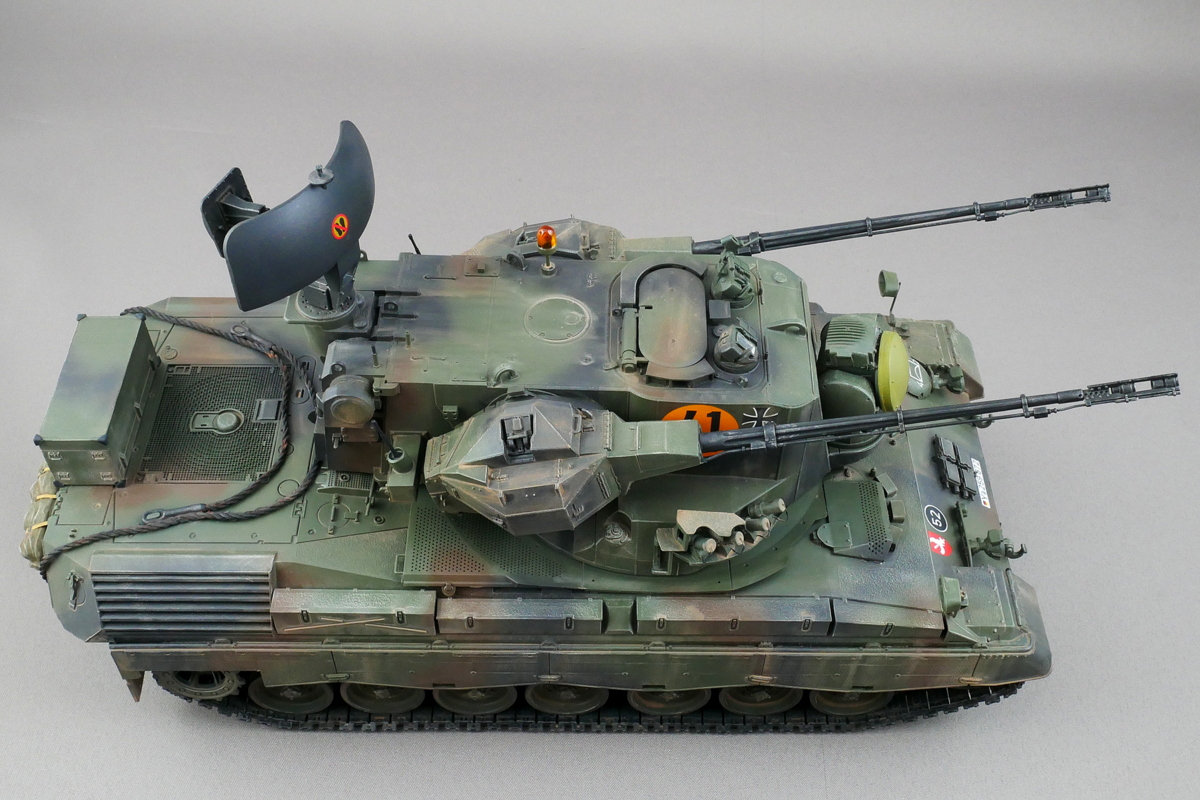
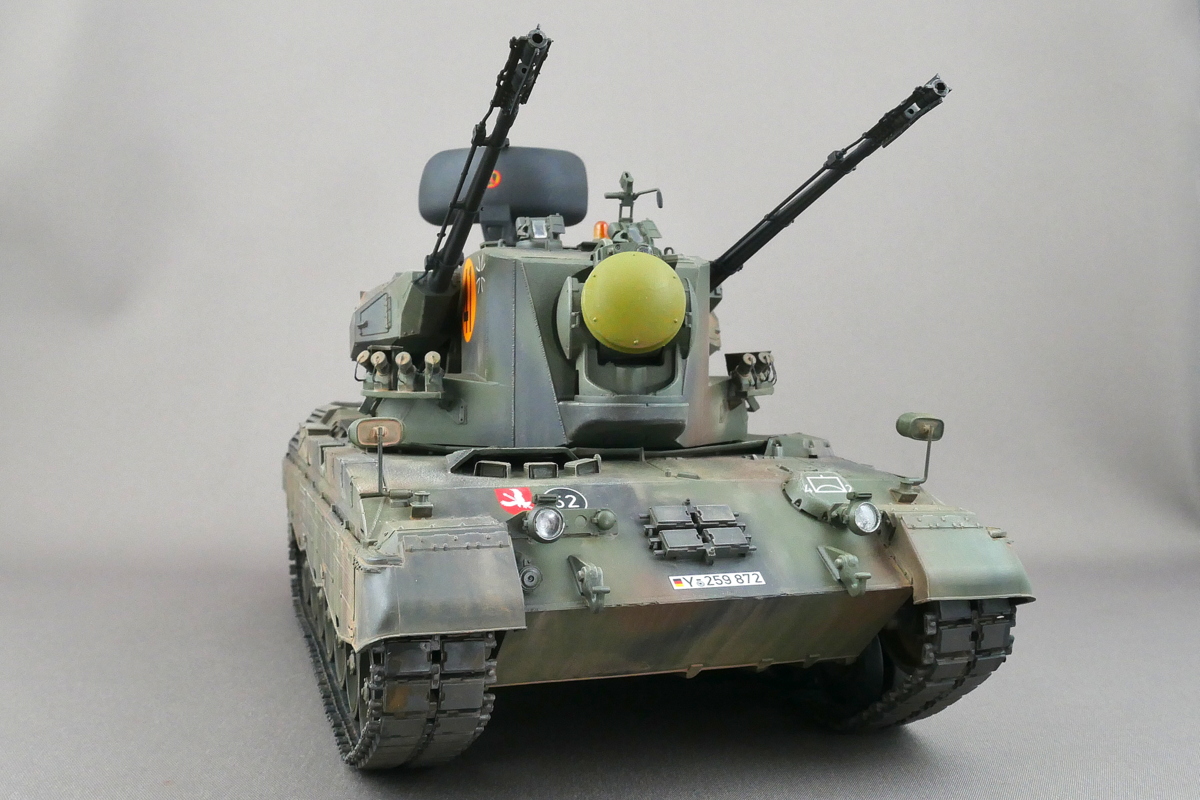 Before I started making it, I thought it would be difficult because of its complicated shape. Still, the assembly manual was surprisingly easy to understand, and I could complete it smoothly.
(2021/07/09)


コメント