
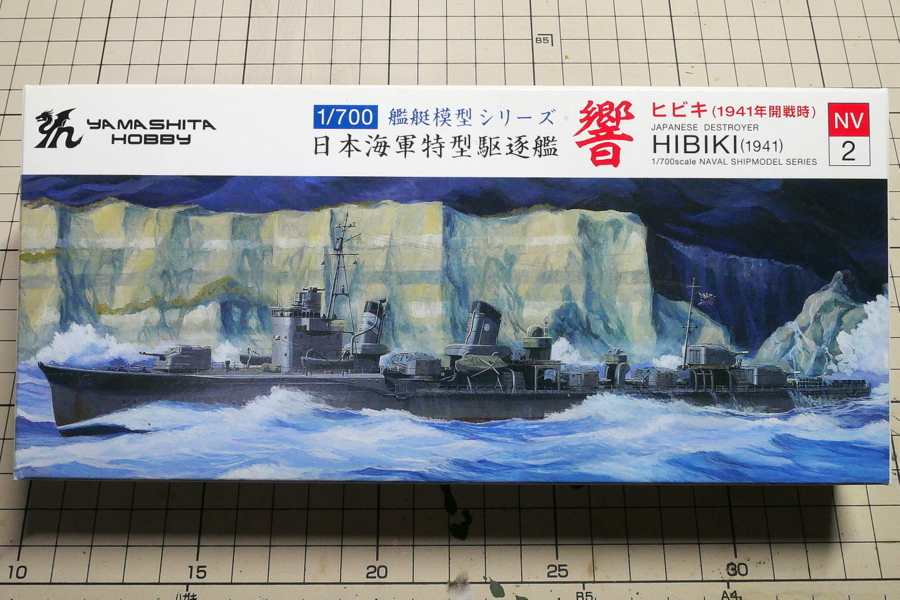
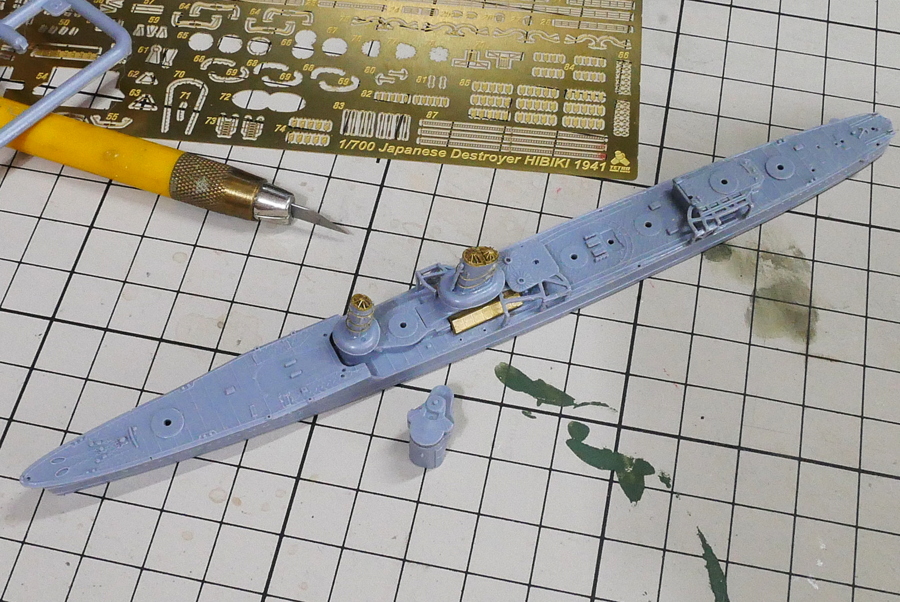
This time, I will try to build a destroyer for the Imperial Japanese Navy for the first time in a long time. I built this kit to the deck attachment and left it for a long time. Once I got the etched parts ready and started assembling them, the matching of the parts was slightly different, so what? When I thought about it, the etched parts were not for Hibiki 1941 but for Hibiki 1945 and Ikazuchi 1944. The outfitting must have changed a lot since the beginning of the war and 1944. As a beginner ship modeler, it wasn’t easy to get the parts together.
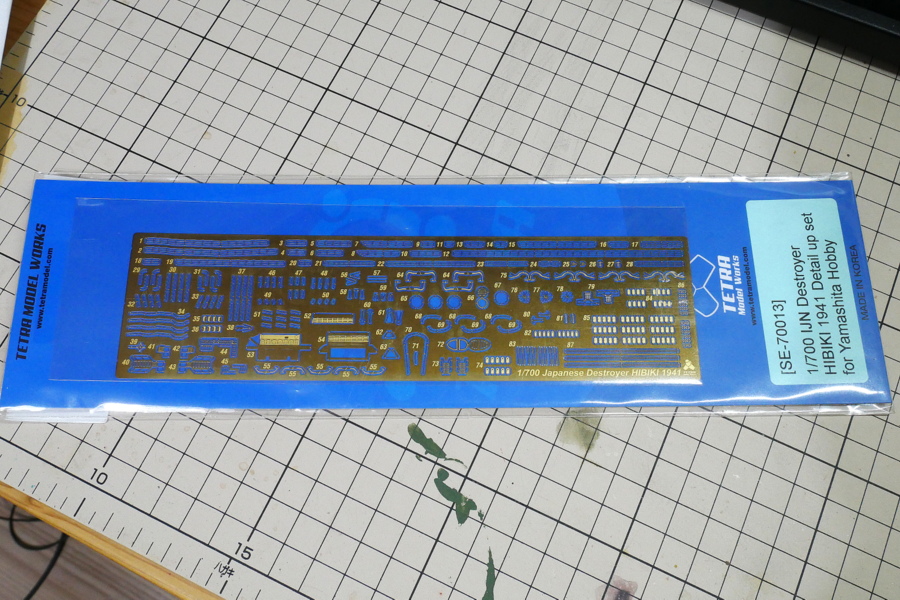
Once again, I will start assembling all the etched parts of Tetraworks Hibiki 1941. As for the etched parts I bought by mistake, I will buy a kit and plan to have that one in some time.
I wonder if I noticed the mistake, thinking it was strange because there were no etched parts when I put them together. I was carelessly trying to glue etched parts for different kits. It was a narrow escape.
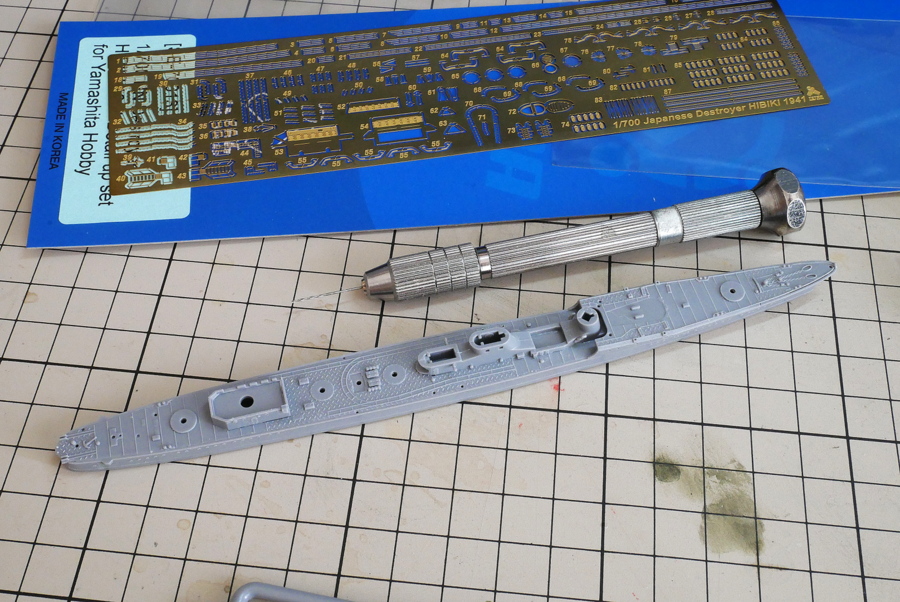
The parts of Yamashita Hobby are molded to the smallest detail, which is amazing.
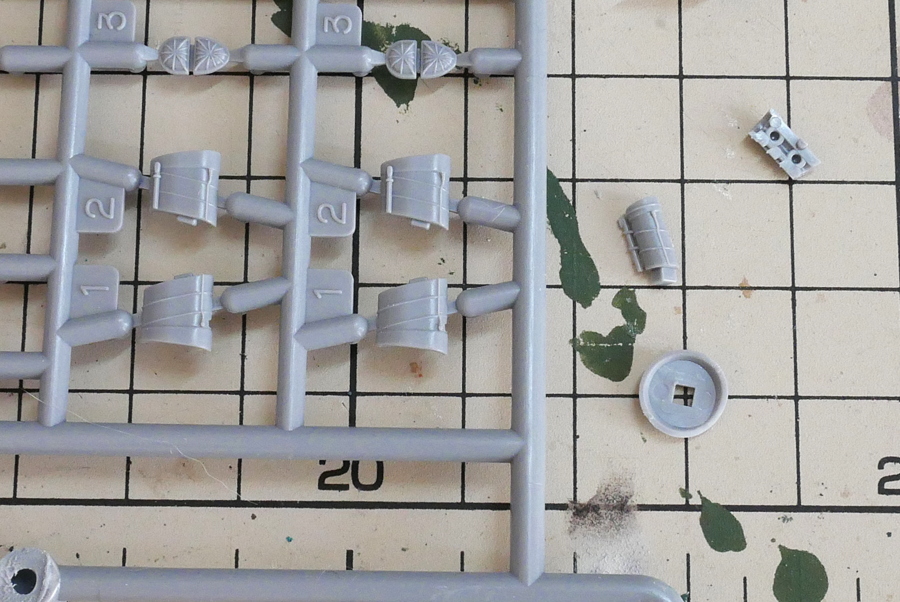
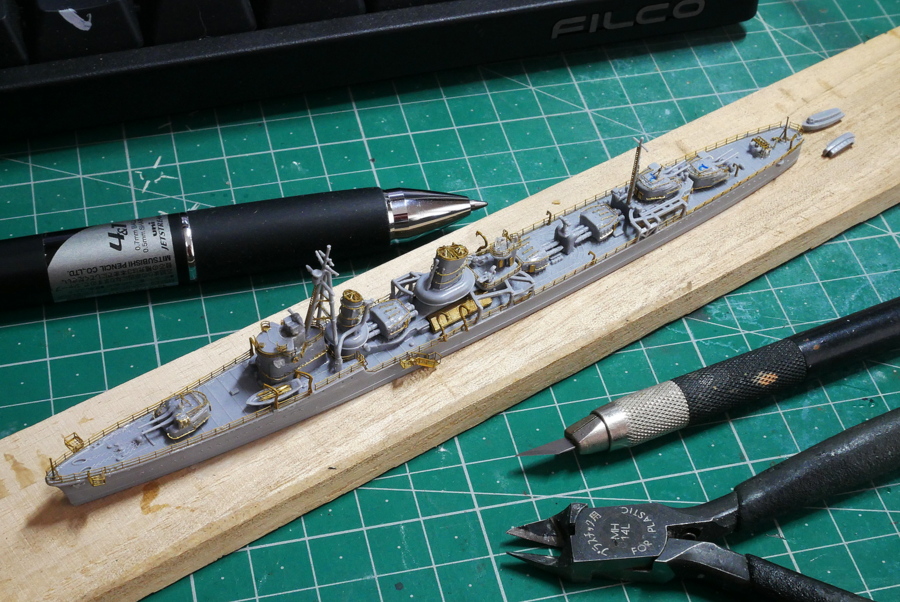
I started gluing the chimney etched parts and using smaller parts gradually.
(2023/09/17)
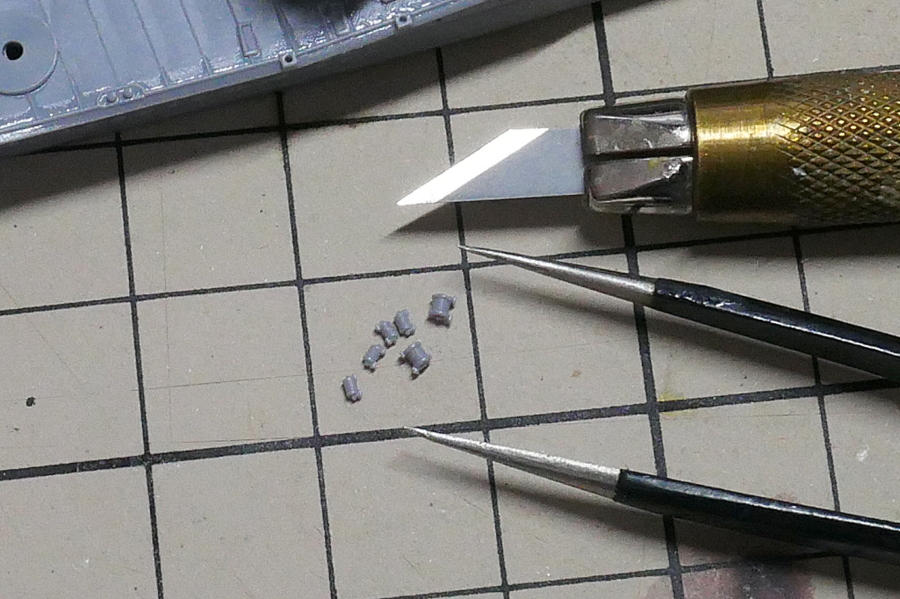
There are quite a few tiny parts about the size of a tweezer tip. The hose reel is one of the smallest parts. But the mold is fine and amazing. If I flicked this with tweezers and it flew somewhere, I wouldn’t be able to find it 99% of the time. I have to pick it lightly.
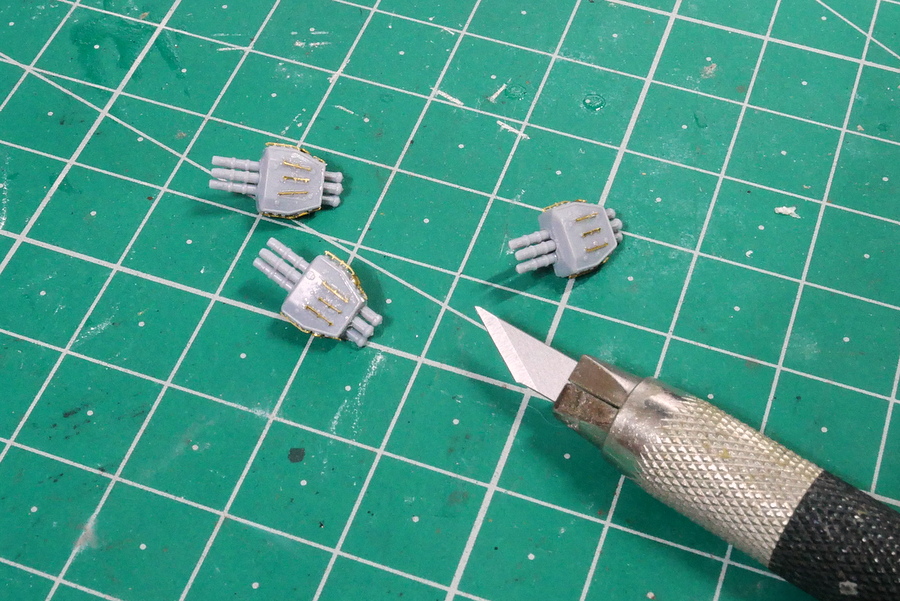
I also attached a lot of etched parts to the torpedo tube. I wonder if this is a handrail?
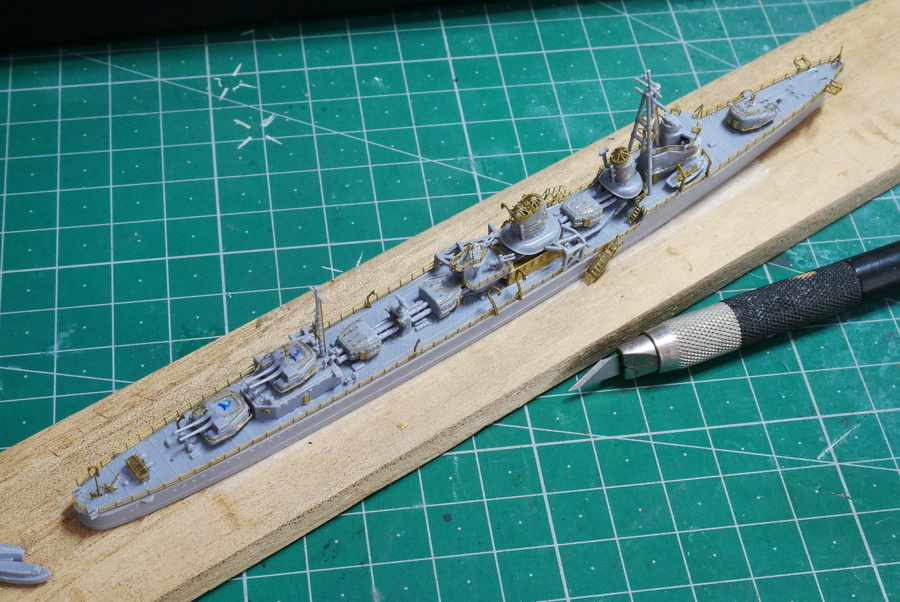
The main gun and torpedo firing tube were installed. I have also attached the etched parts of the area.

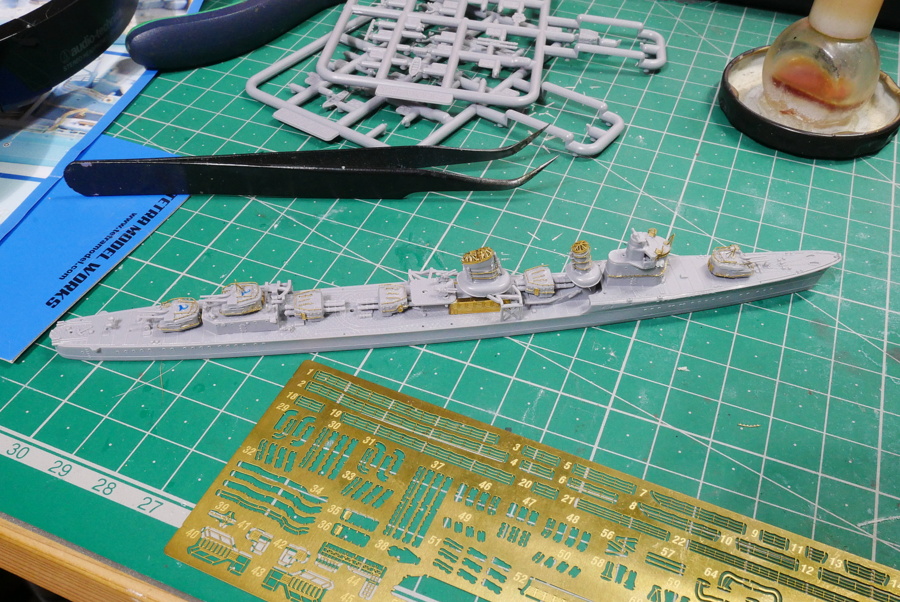
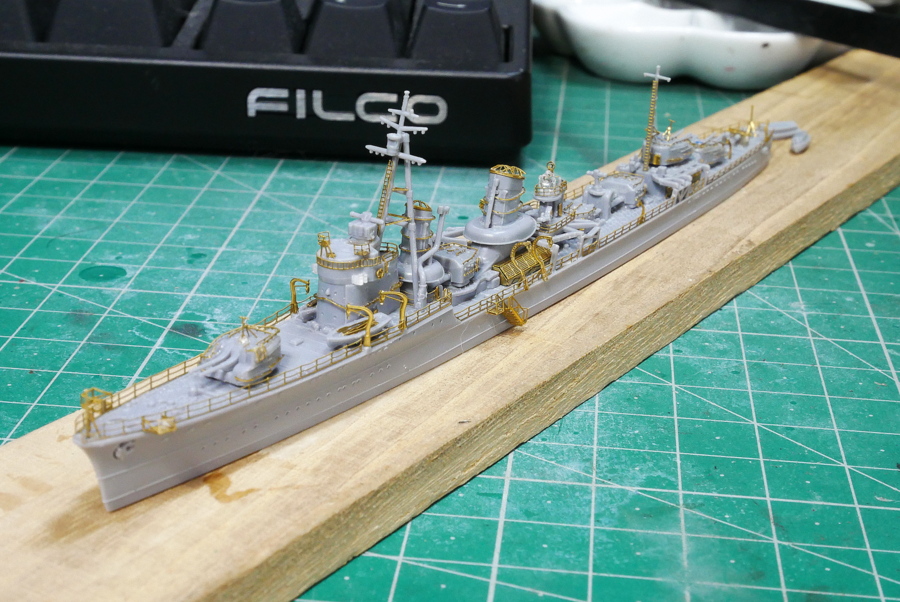
The structure on board has almost been assembled and glued to the vessel. A handrail is attached to the ship’s body little by little.
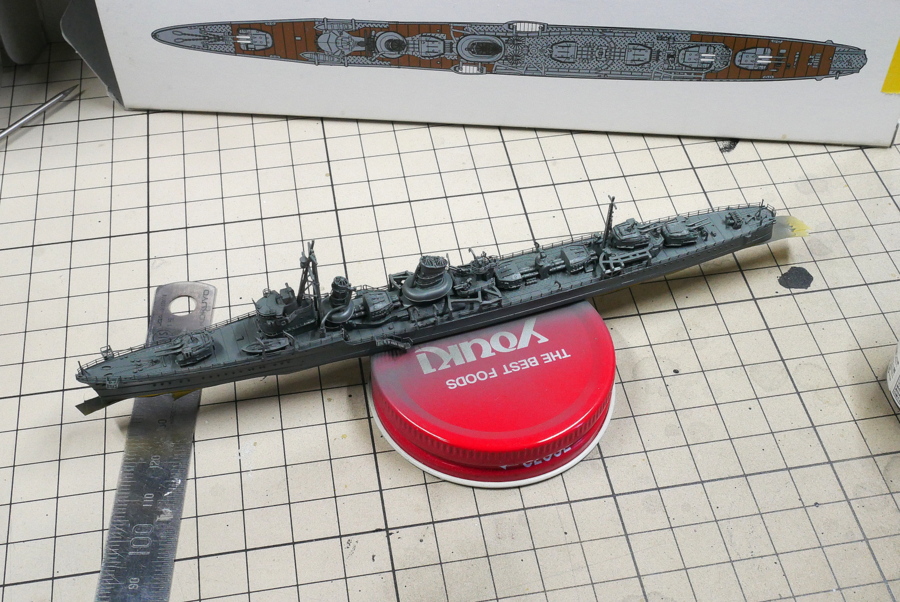
The assembly is complete. After all, attaching the etched parts improves the accuracy. I’m rereading Golden Kamuy now, and I often see destroyers of the Meiji era, but compared to that, this destroyer looks much superior. It is also well-armed.
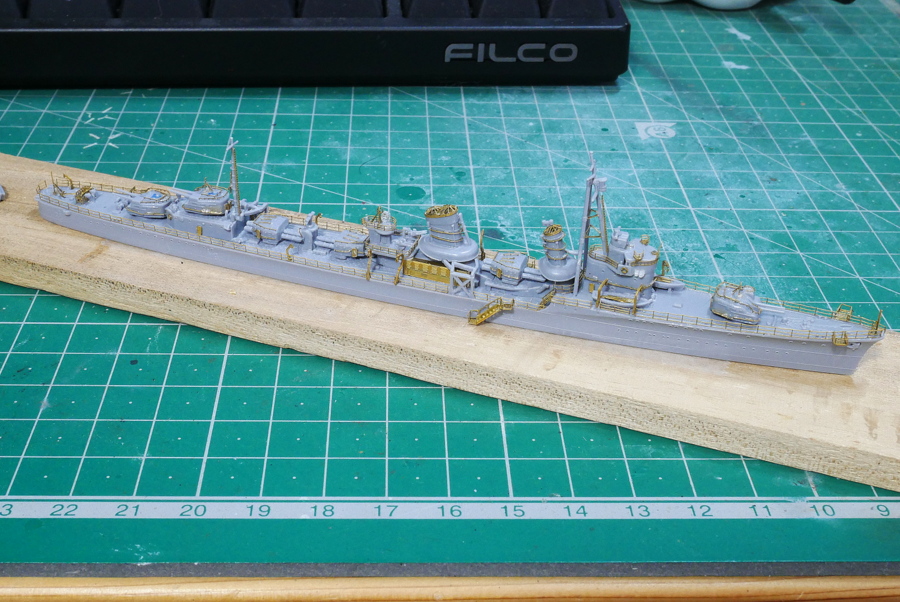
The etched parts from the Tetra Model Works, I recommend them because they work well with just the right amount. But if you put it together for the first time, you might feel that there are a lot of parts.
(2023/09/24)
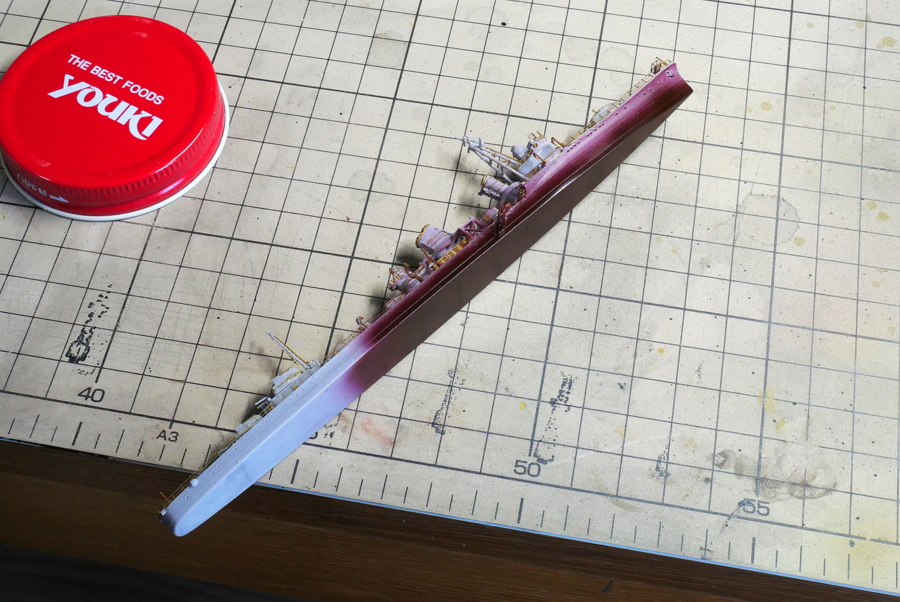
The bottom color of the ship was out. I decided to buy it next time, so I mixed the black and red colors I had on hand in a ratio of 1: 3, then mixed the flat base and painted it. Finely adjust with black while seeing how it goes. I think I’ll manage this time, but it’s faster to buy.
I blew the warship color. When I peeled it off from a wooden workbench, I was annoyed because I fastened it too tightly with double-sided tape and it didn’t come off easily. I forgot to weaken the adhesive.
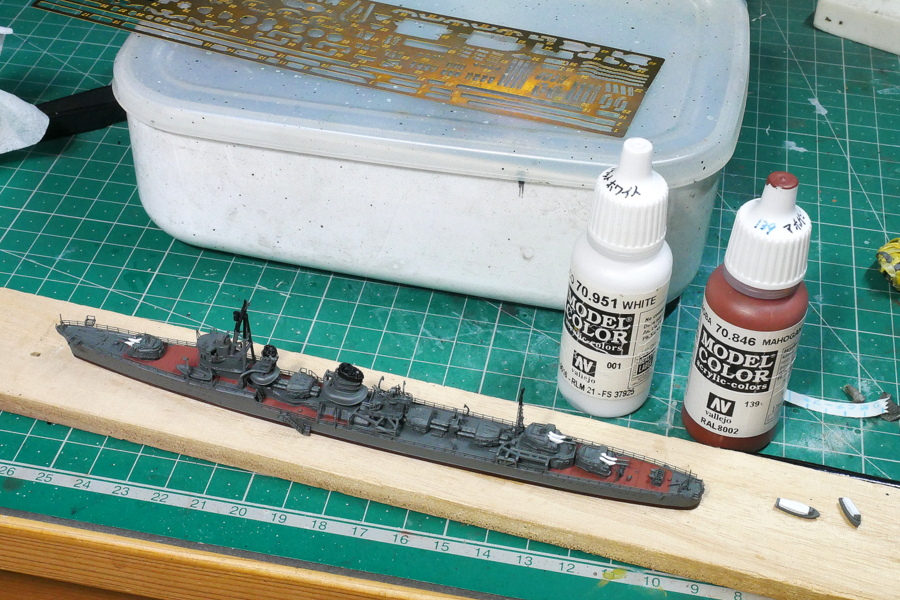
The airbrush work is done, so I’m painting the details. This time I used Vallejo mahogany brown for the linoleum deck. I thought it was close to the linoleum deck color of Tamiya. A light brown will look good in any color selection.
(2023/09/28)
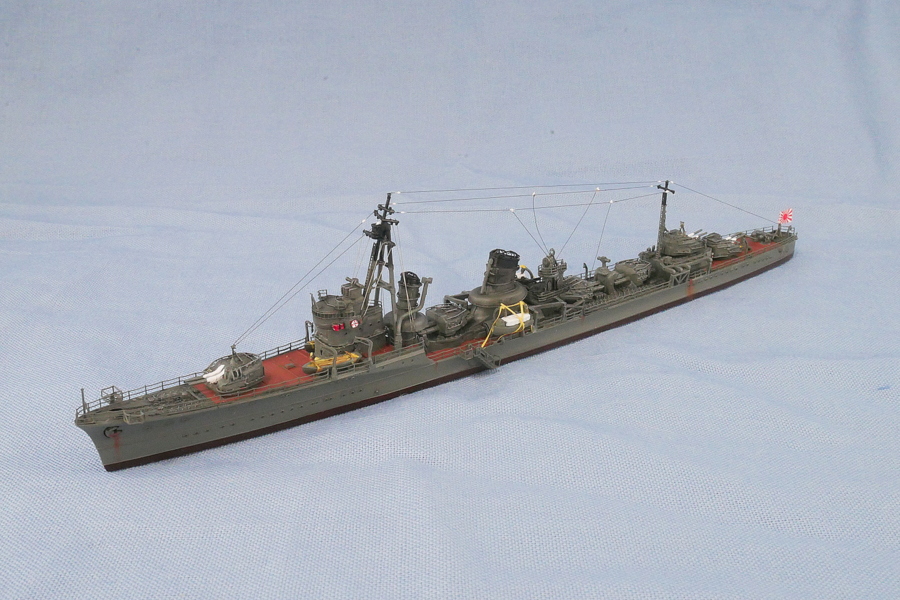
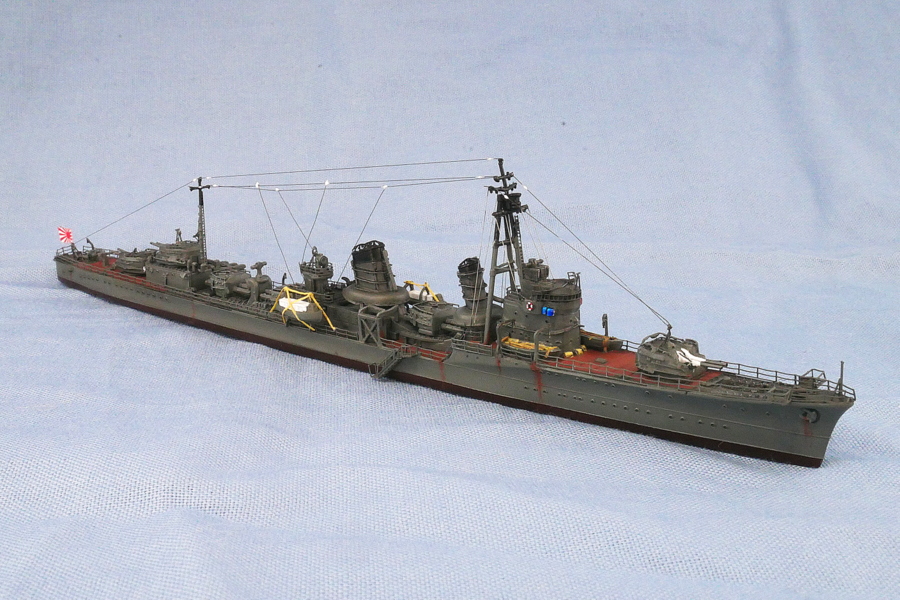
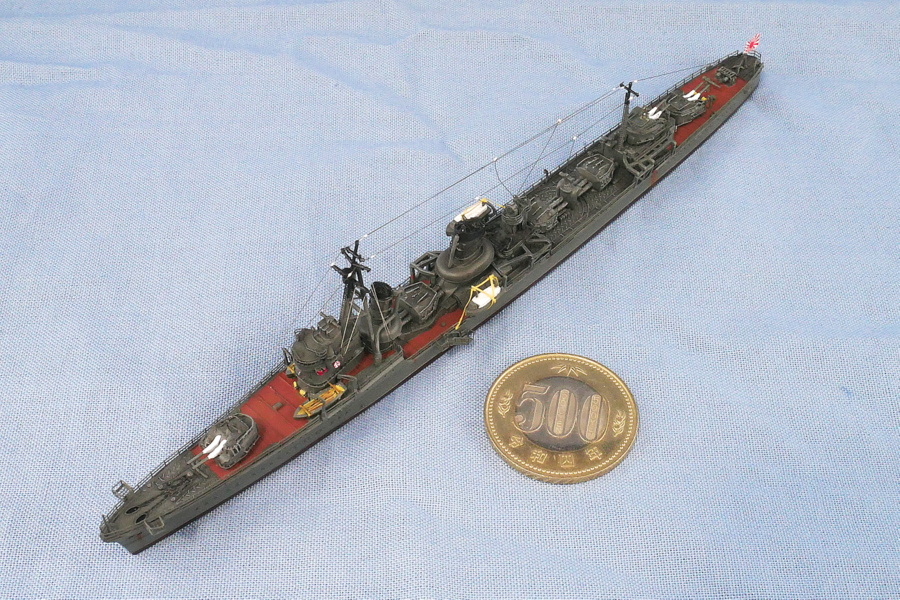
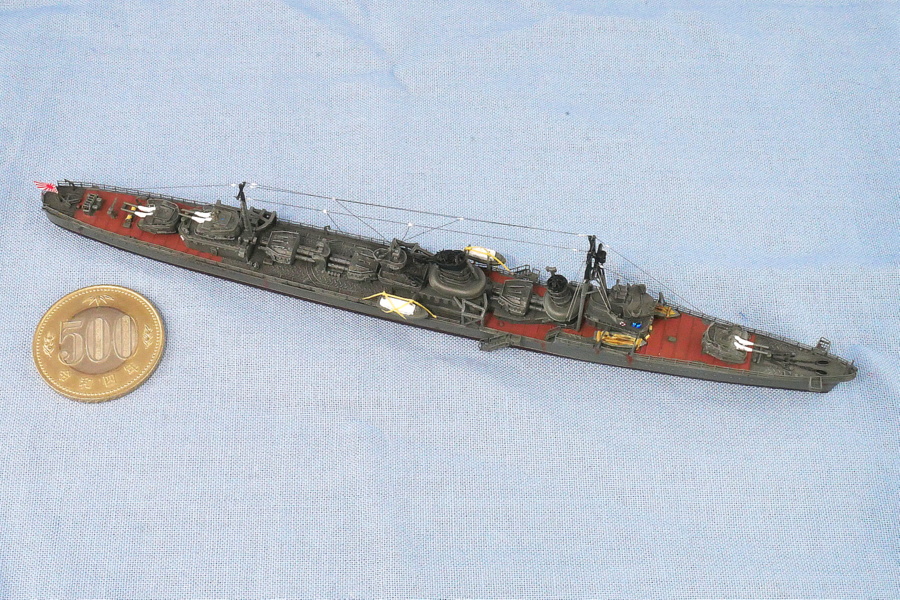
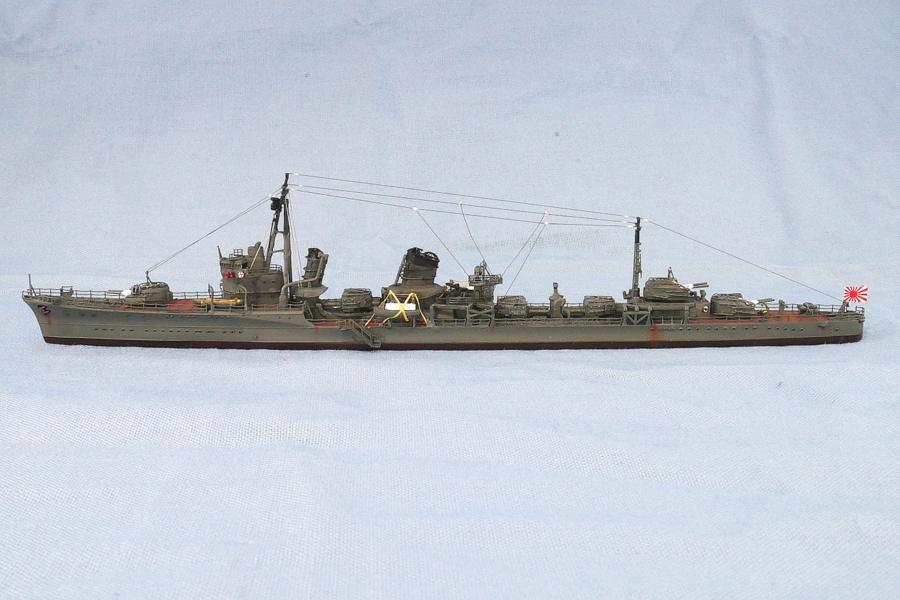
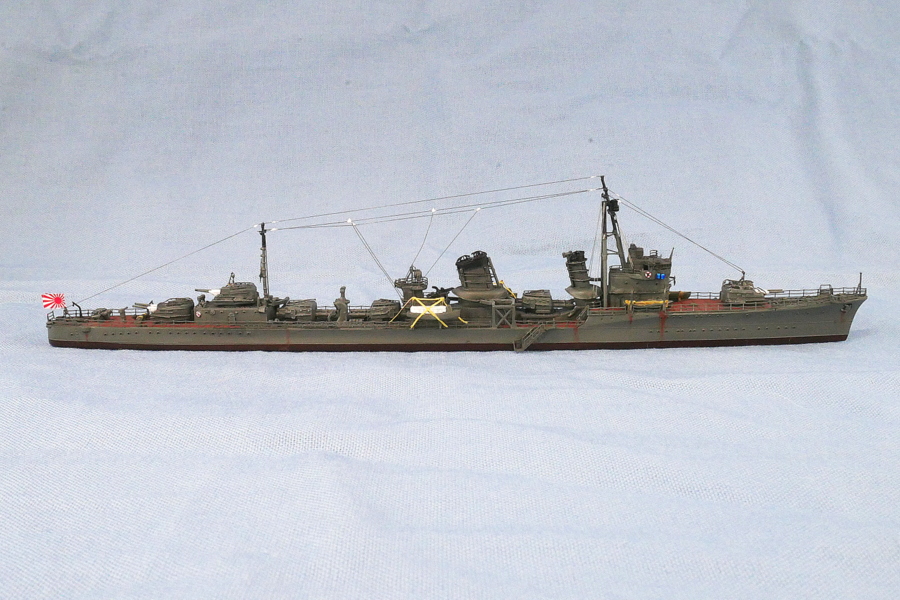
The destroyer Hibiki was completed. It is the No. 22 Fubuki-type destroyer. During the war, it served mainly as an escort. Hibiki became popular and was made into a kit for this type of destroyer probably because of its strong luck in surviving three major wrecks and the end of the war. After the war, it was handed over to the Soviet Union, where it was renamed “верный.” It is said to be the Russian adjective “true and reliable.”


I think that a boat hung by davit is usually hung outside. Sometimes the ones are stored inside. I wonder if it’s like hanging outside during normal sailing and inside combat. Maybe they store it inside because it will break if another ship comes alongside and touches it while it is at anchor.
It is difficult to understand how the small boat is fixed using the davit etched parts, so I attached a fixing device. I tried attaching a rope in the oar boats to hold it all around.

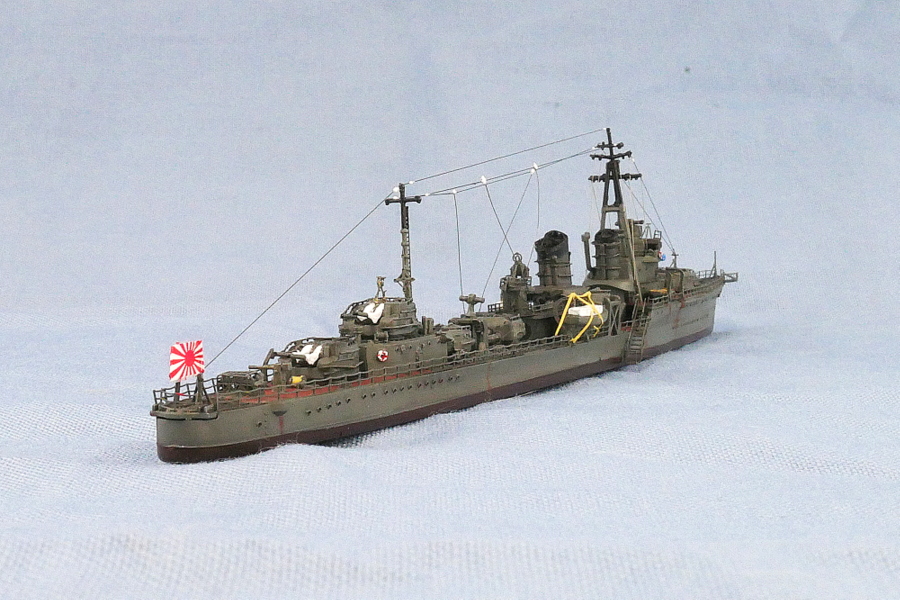
We use a black fishing line for the antenna. It’s a lot of work because it’s thin and doesn’t stick easily. But I like it because stretching the antenna and the rope on the mast a little increases the precision.
(2023/10/01)


コメント