It is a pretty old kit, Corsair II. I made it in June 2015.
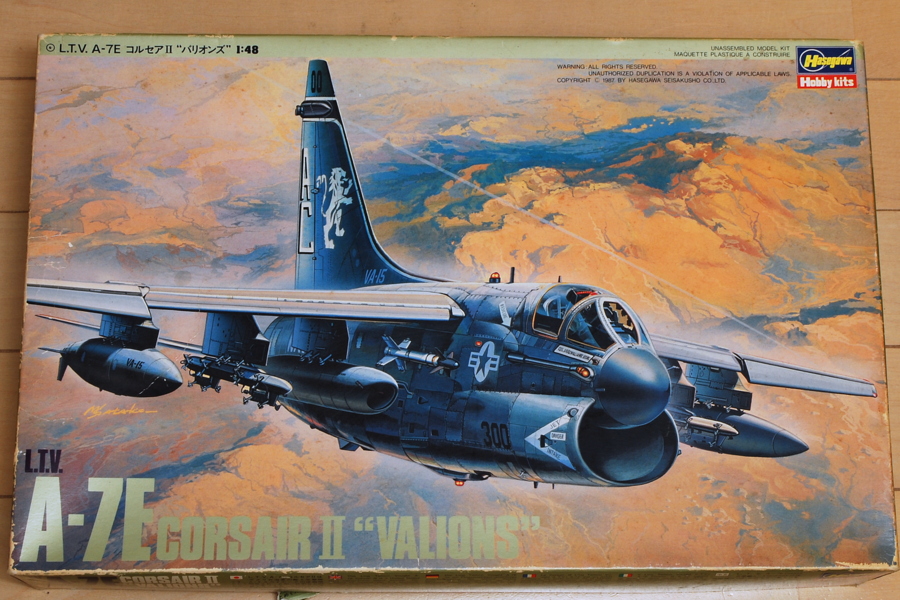 This 1/48 scale Corsair II “VALIONS” is a pretty old kit; I almost forgot it. This P series Corsair was out of product a long time ago; the current lineup is the Hasegawa PT47 which was renewed and gathered from a couple of Corsair old kits. This kit’s release year was 1987, so 28 years ago. The other day, I found this kit in my closet while putting away the down quilt used in winter. The box is also tattered. I’m laughing if it’s an entirely different kit inside, but luckily all the parts are perfectly in this box.
 I went to Akihabara Yodobashi Camera to get some new kit after eating Italian with my wife today. It takes about 15 minutes from my house to Akihabara by metro. Yodobashi’s is very crowded unbelievable level; maybe half of the customers are foreign visitors. The front of the cash register was lined over 80m at that time, so I gave up and withdrew today. I presume it looks very low price for foreign customers based on the current JPY currency level; I envy them.
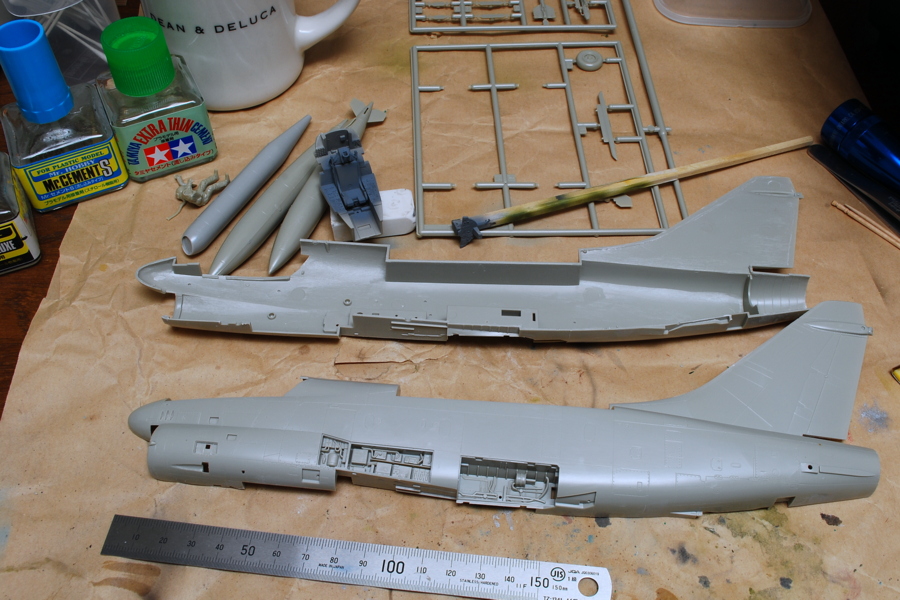
I started to assemble from extra fuel tanks and the cockpit. The overall length is relatively large, almost the modern jet airplane size. It’s categorized modern jet attacker, but all was retired now.
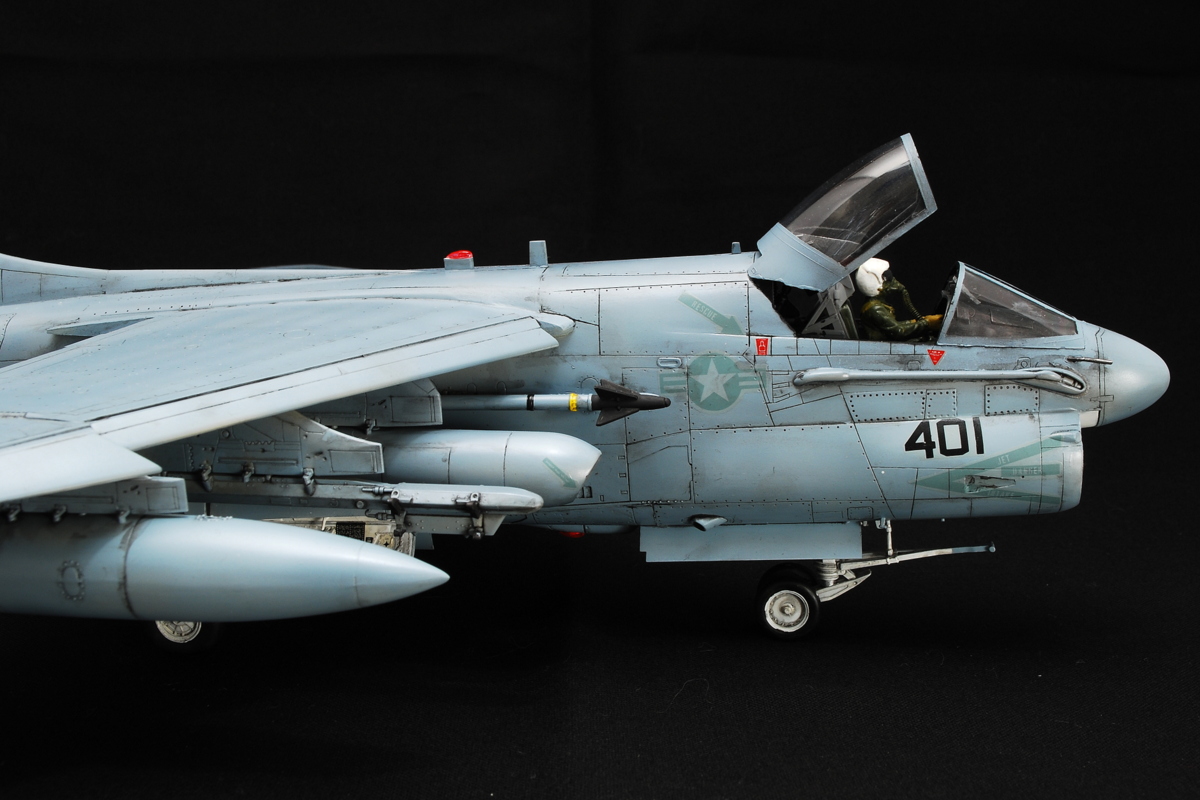
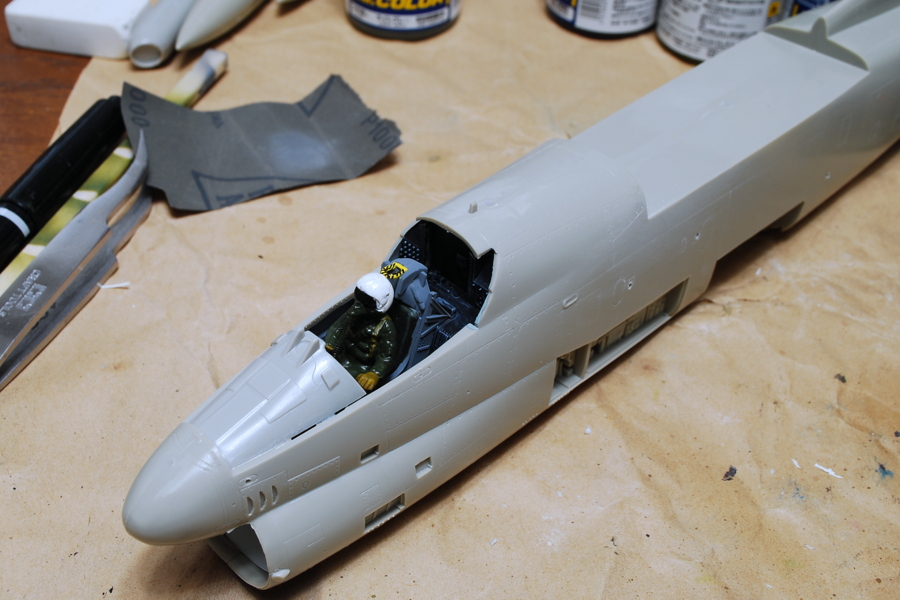 I tried to put the included pilot in the cockpit immediately. I didn’t struggle to paint the tiny face painting, which was wearing a full-face jet helmet; an oxygen hose is a nice feeling for this jet pilot.
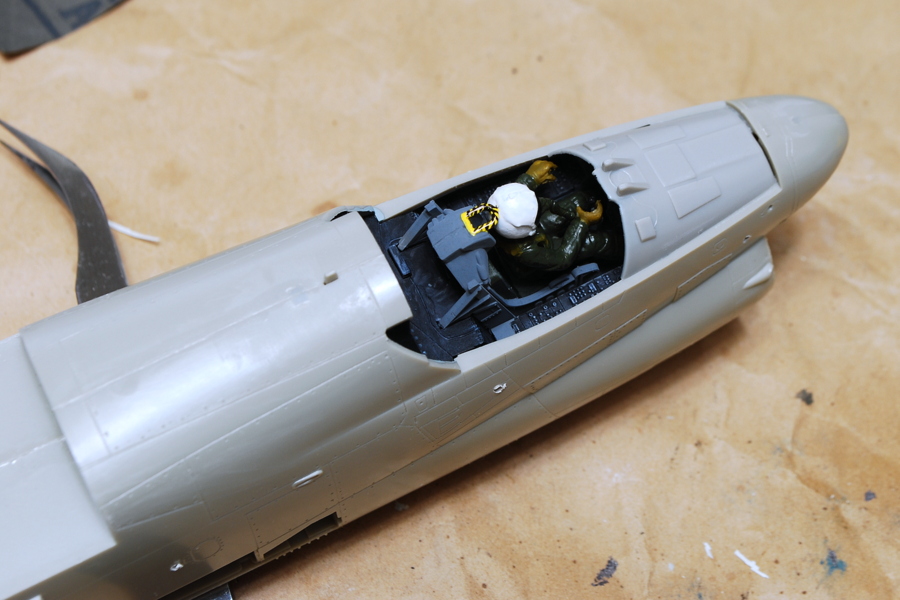 Emergency levers are placed on the back of the head and the area between his thighs. I painted the thighs lever, but it’s not good seeing. These days, decals of the operation panels of the cockpit side are included, but it’s not. I finished with paint and dry brushing.
(30-May-2015)
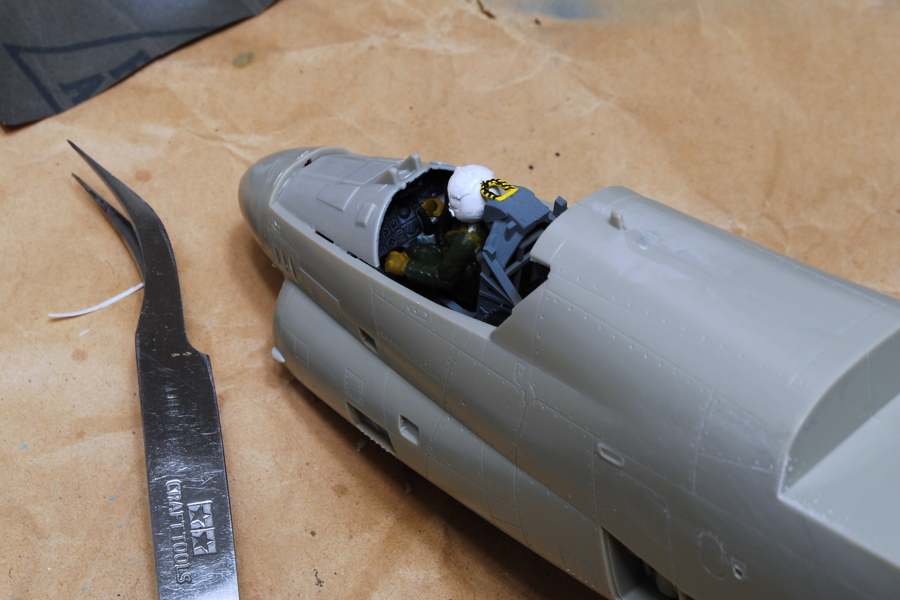 The cockpit panel is displayed at the far end and is almost invisible, but I painted the panel and meters as much as possible when I glanced at it; not bad looking.
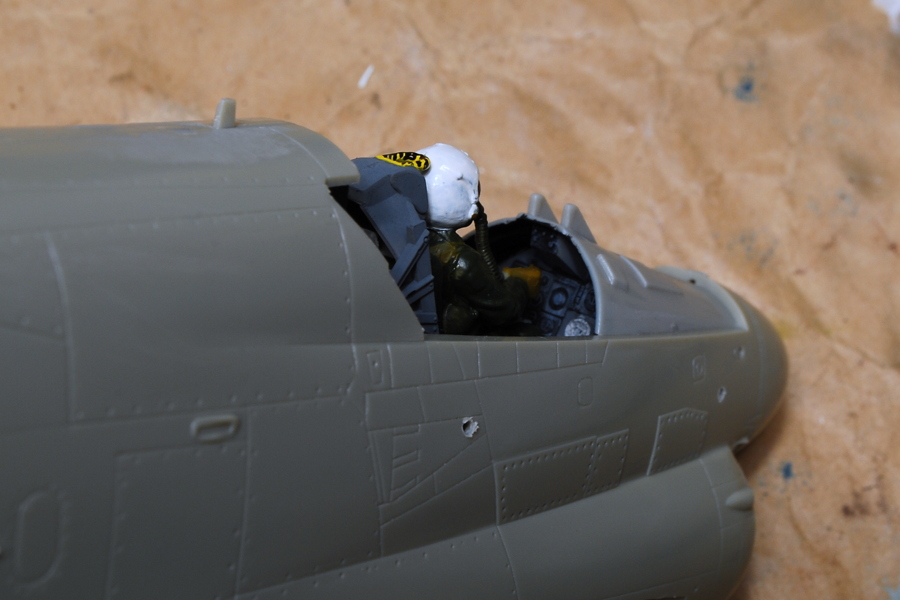 I took the shot from the right side.
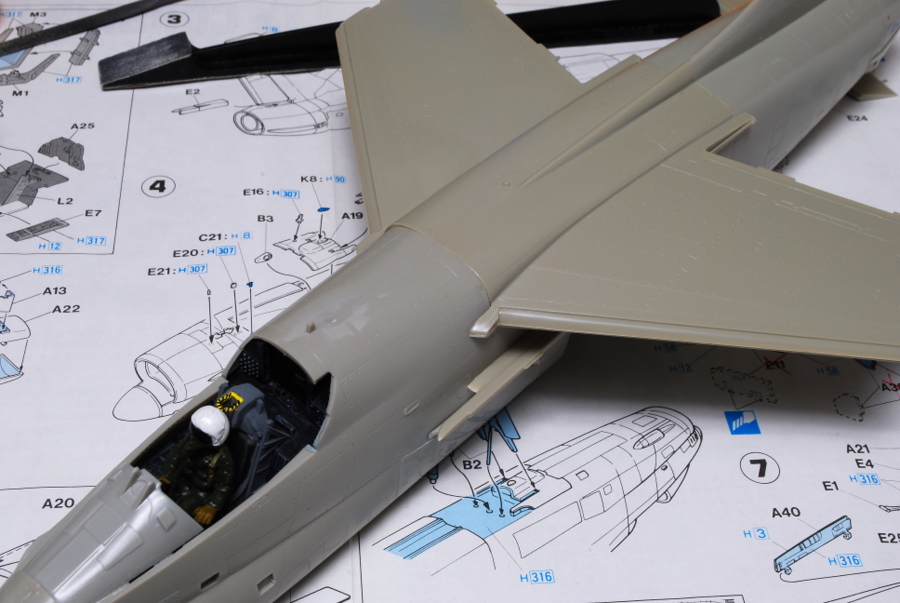 Oh, the part’s color of the body and the main wing is different. I’m unsure if the color changed while I was storing it or if it’s the original. There is an uneven surface, and this adjustment procedure is essential.
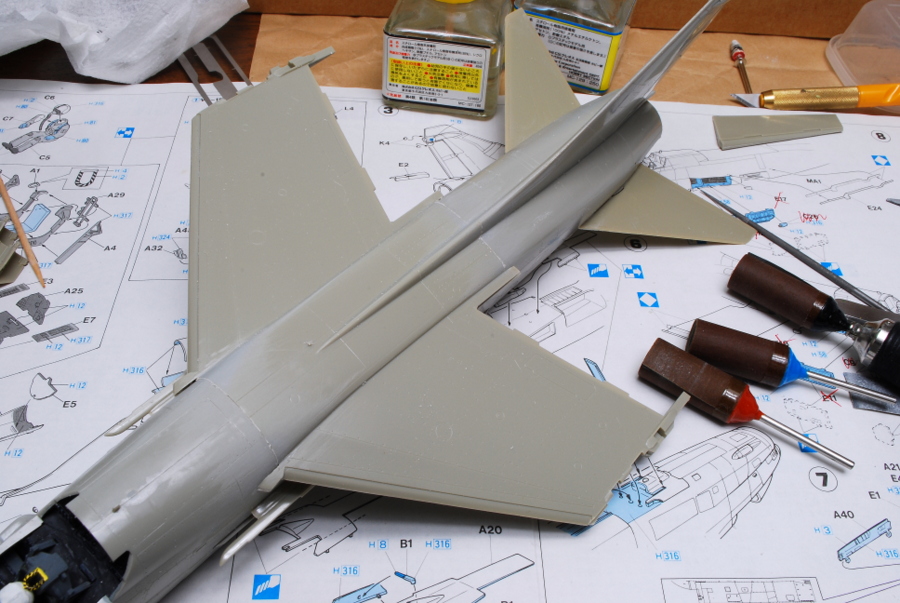 Well, it’s pleasant the gap was cleaned. I tried to repeatedly stroke my fingers on the surface to check the smoothness. Some of the mold lines are disappearing, so I carve them later. To smooth the uneven surface, a motor tool is very helpful. Carefully working, not too grind deeply.
(05-June-2015)
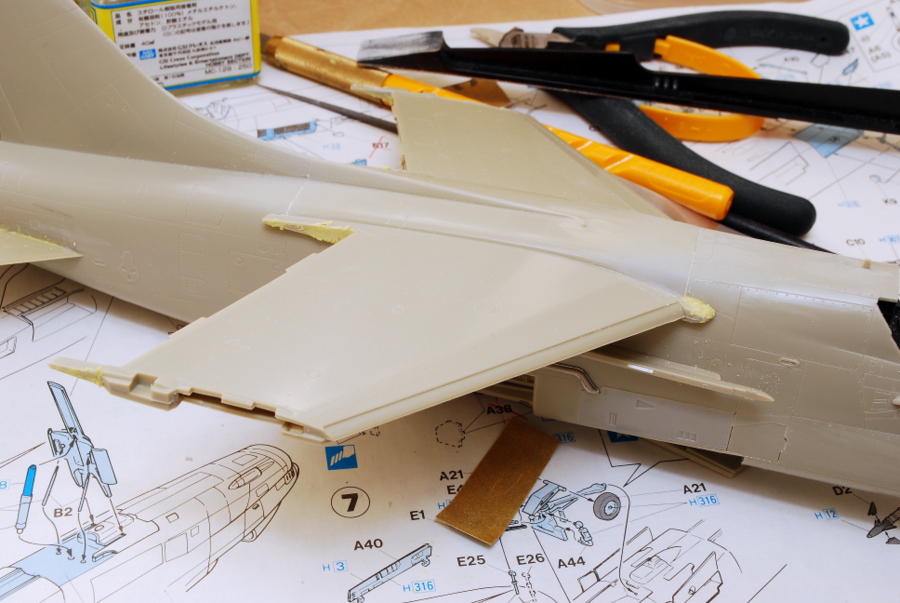 I’ll attach the front and rear flap downward. Many gaps and parting lines are exposed, so now I’m repairing them with epoxy putty.
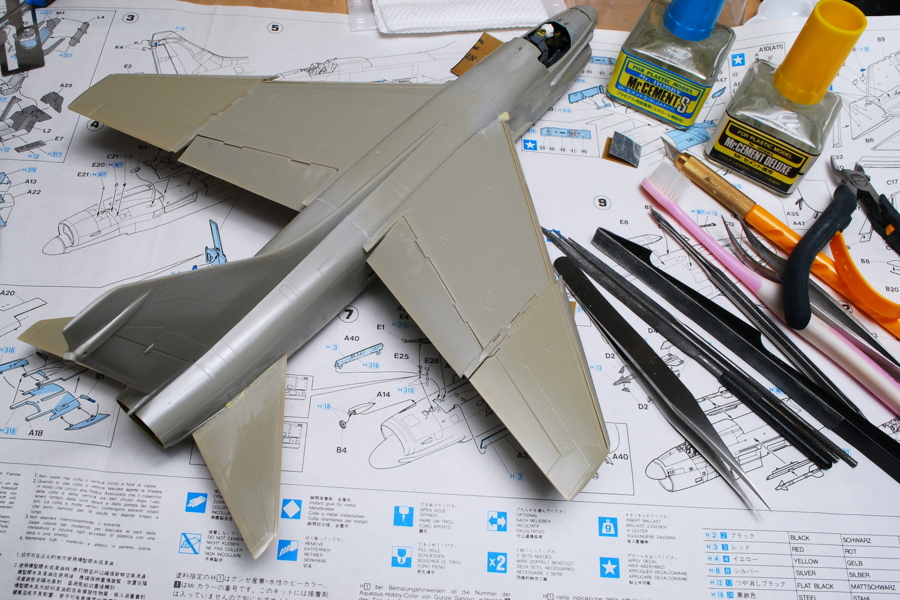 The front and rear edge flaps are related mechanisms, so both are in the same position, up or down.
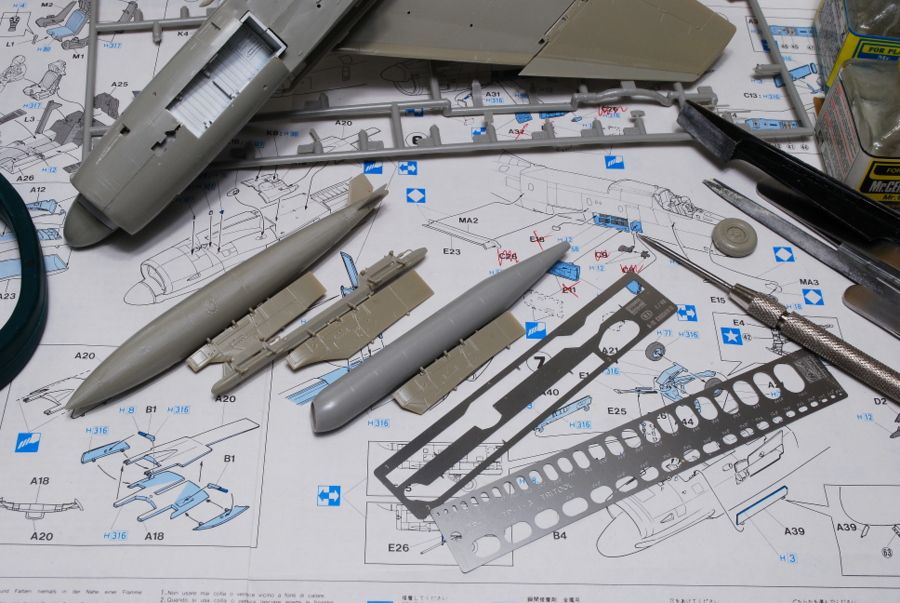 I am assembling drop tanks and other parts. I noticed this Hasegawa photo-etched parts frame is made of the same material as the Hasegawa small template, which uses detailed molding on the plane’s surface. It seems the same usable way of template for simple line carving.
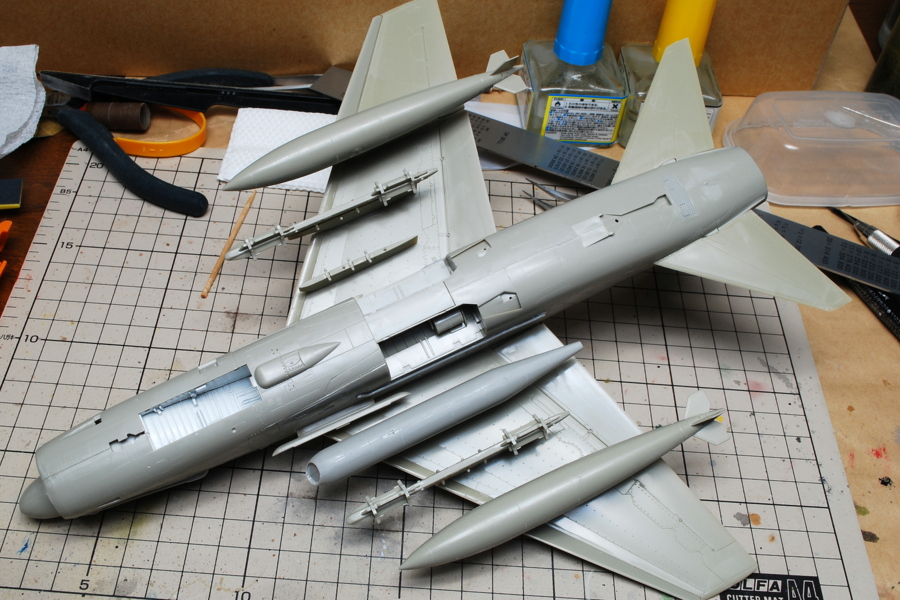 Since all the lower surfaces of the fuselage are in the same color, blue-gray and I mounted all the pylons and fuel tanks now.
Well, now Steam(an online game delivery system company) is a large-scale sale, and I’ve been playing PC games recently. And my building kit pace is getting slow. Based on these days’ weak Japanese Yen, game price is not so price busters. There is not a feeling of many discounts, but still, I purchased some titles…
(17-June-2015)
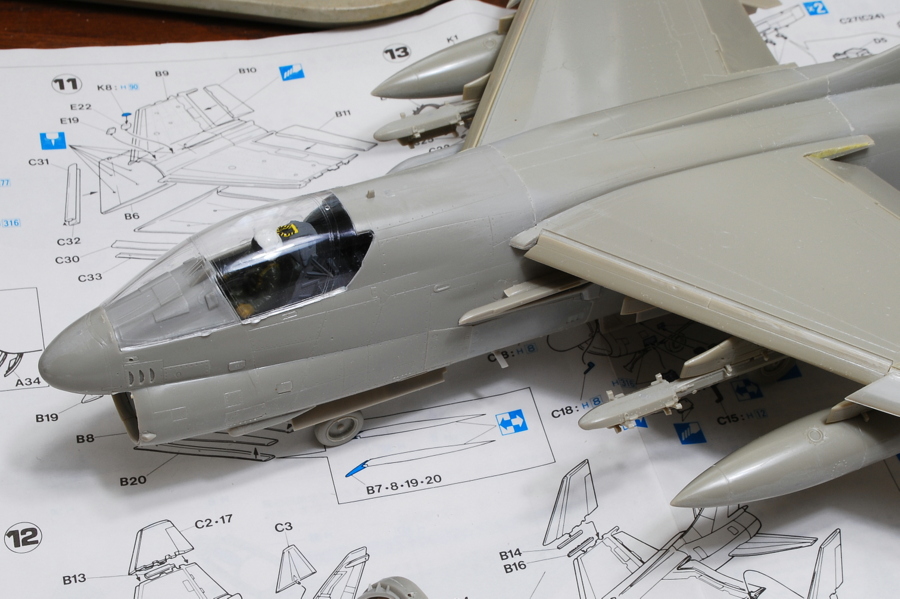 I polished this canopy and attached it to the cockpit for checking. There is a small gap, but almost better.
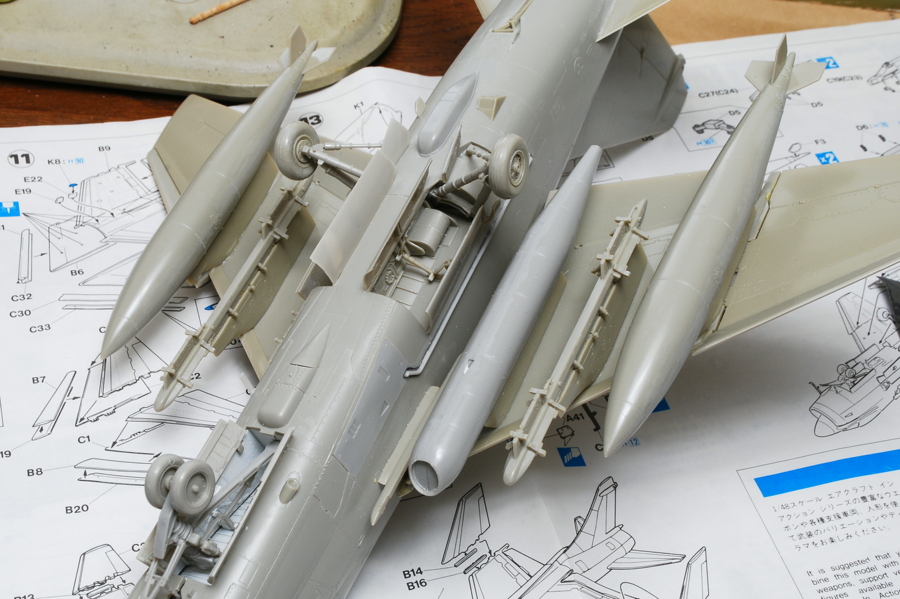 Even after reading the explanation, I did not understand the right way of mounting the landing gears small parts. Probably, I think this is OK.
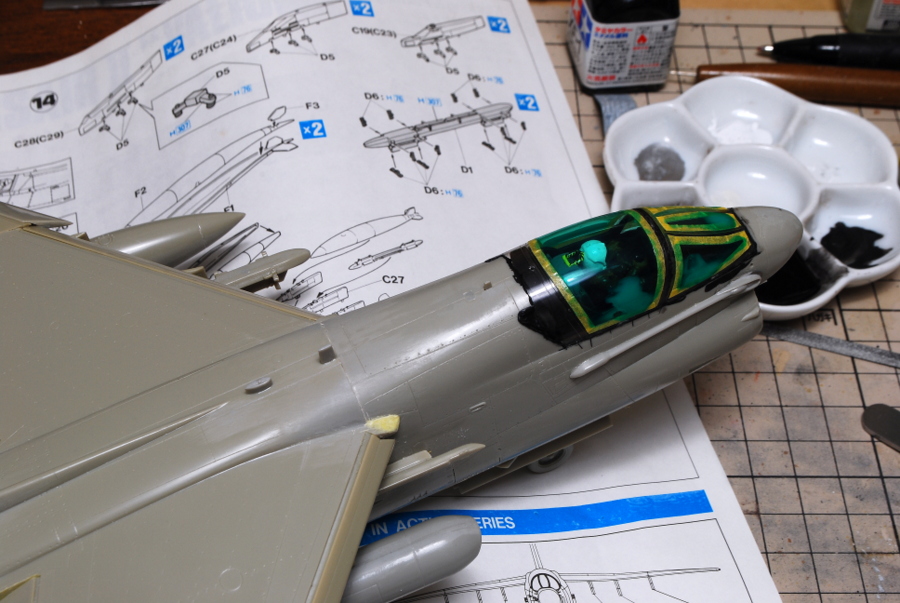 First, masking the flame of the cockpit, I painted the mat black inside (actually not painted inside, it looks like the inside of the canopy flame was painted in black).
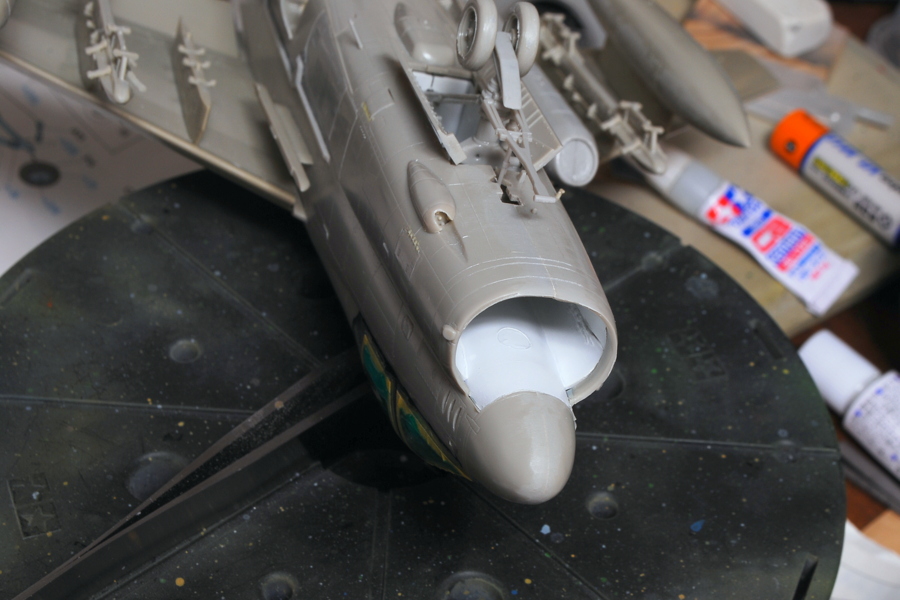 I forgot to clean the injection pin mark inside the air intake. This position usually is not noticed while placed in my display. Only look up from below. I can see this mark anyway. I’ll try to smooth it.
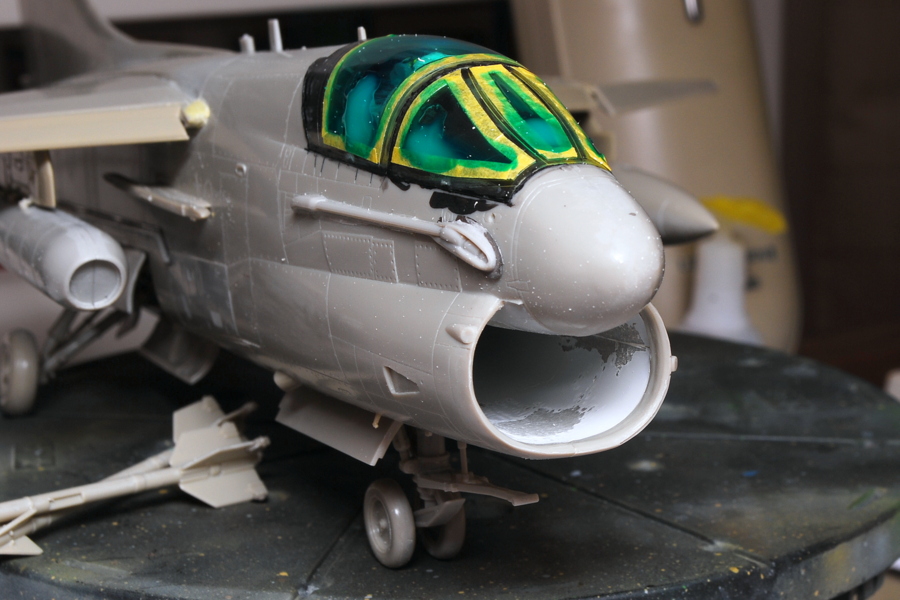 I ground the surface with my motor tool like this, and after spraying it in white later, it’ll become neat and clean looking.
(21-June-2015)
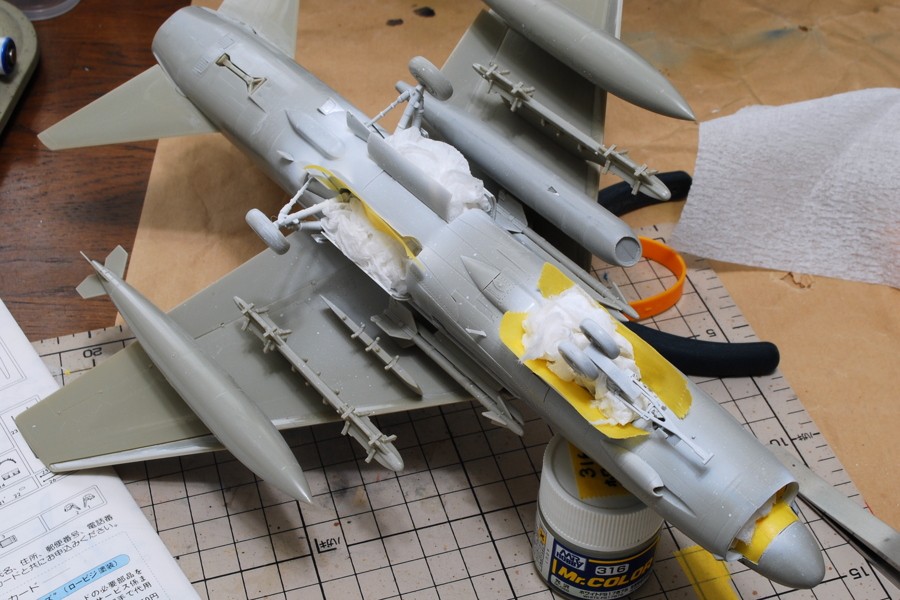 Because I painted the landing gear hangar in white, I covered it roughly with tissue paper and masking tape before the basic painting. Is it too rough?
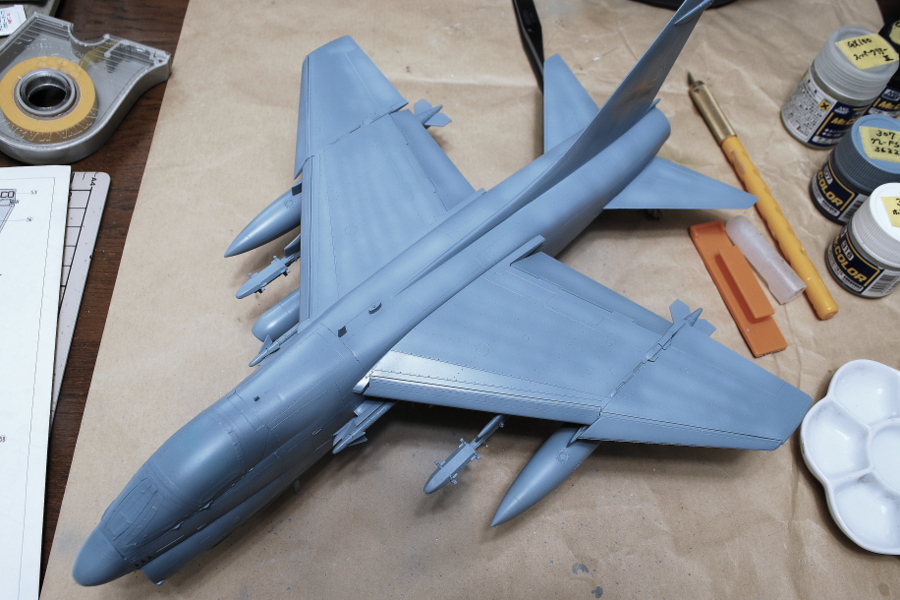 I painted basics-colored gray. I gave a fading expression for arranging as this time one color paint. I sprayed one rank brighter gray at random on the surface.
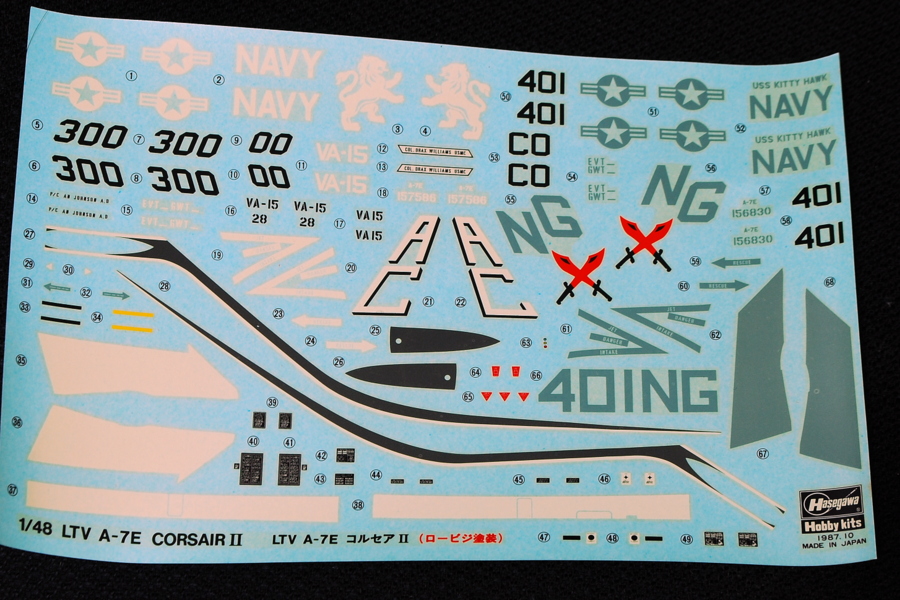 I presume the yellowing is probably the most common problem with old decals. Because it is old stock, the decal condition has changed. There seems to be no problem with the black and the red part, but the white takes on the yellow. The most worried is the precise area, which changed to yellow.
The date is Oct-1987…
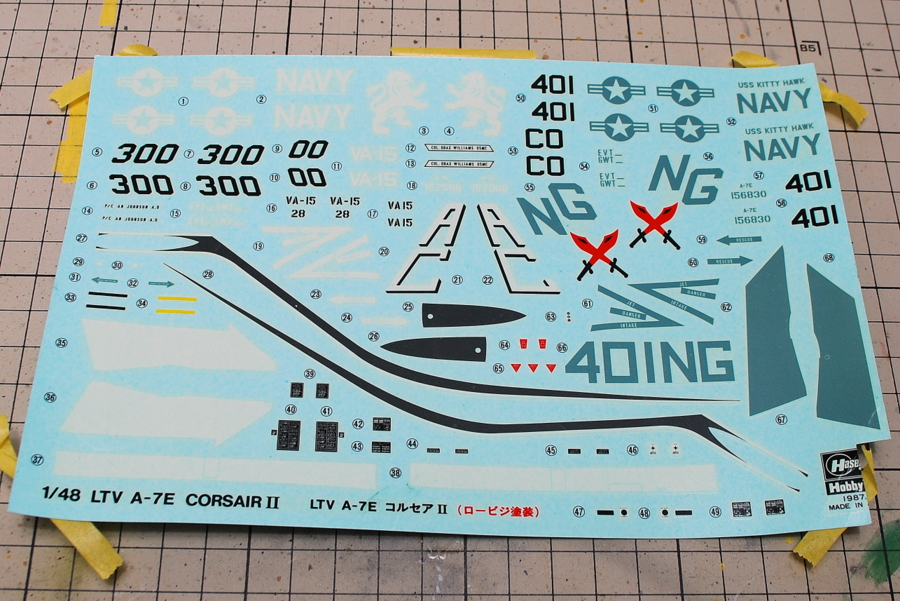 I stuck a decal inside a windowpane and left it for around two months. I don’t know how long exposure to direct sunlight is, but every day for 2 hours in the morning, the last two months, at least two-thirds of days are fine weather. Now drying in the sun decal has become very white; we seem to have no problem. I heard dipping into the bleach for a short time, but I had no confidence in handling deteriorated, very fragile decals, so I took a low-risk sunbath method.
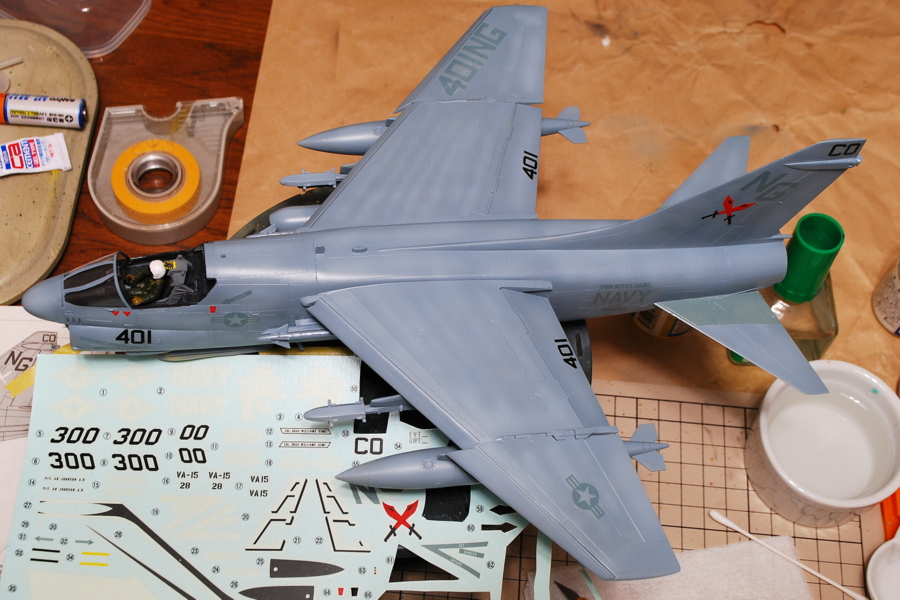 It can be beautifully pasted to remove the blank area as much as possible strength has fallen due to deterioration of the decal. It is impossible to recover by painting once these decals crack like dust. The balance is difficult.
I thought to polish the canopy more and detach only the large parts. After all, maybe I changed to an open-state canopy.
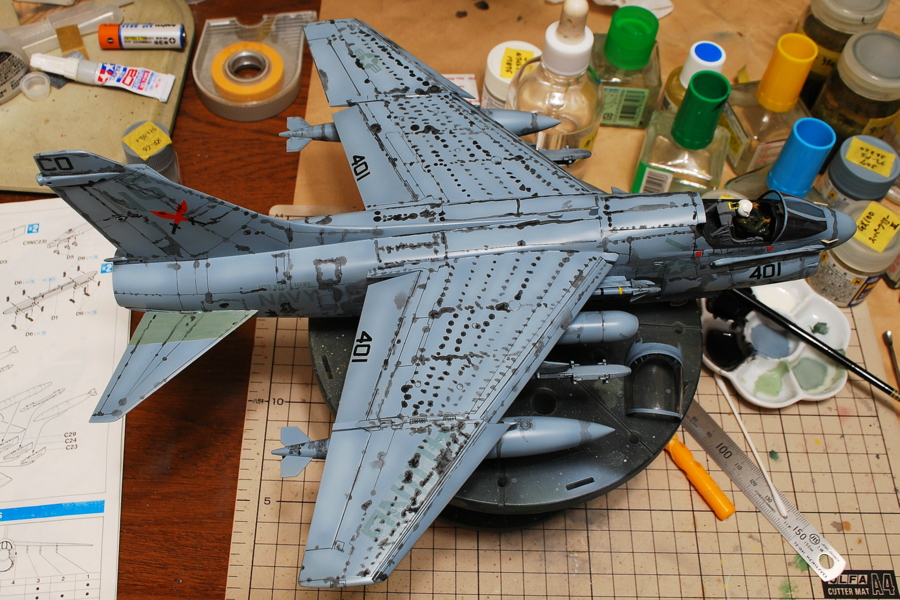 Yes, it may be a bad habit of an AFV model lover, but I go on washing very tight. I’m slightly worried about what happens next…
Now, almost completed.
(25-June-2015)
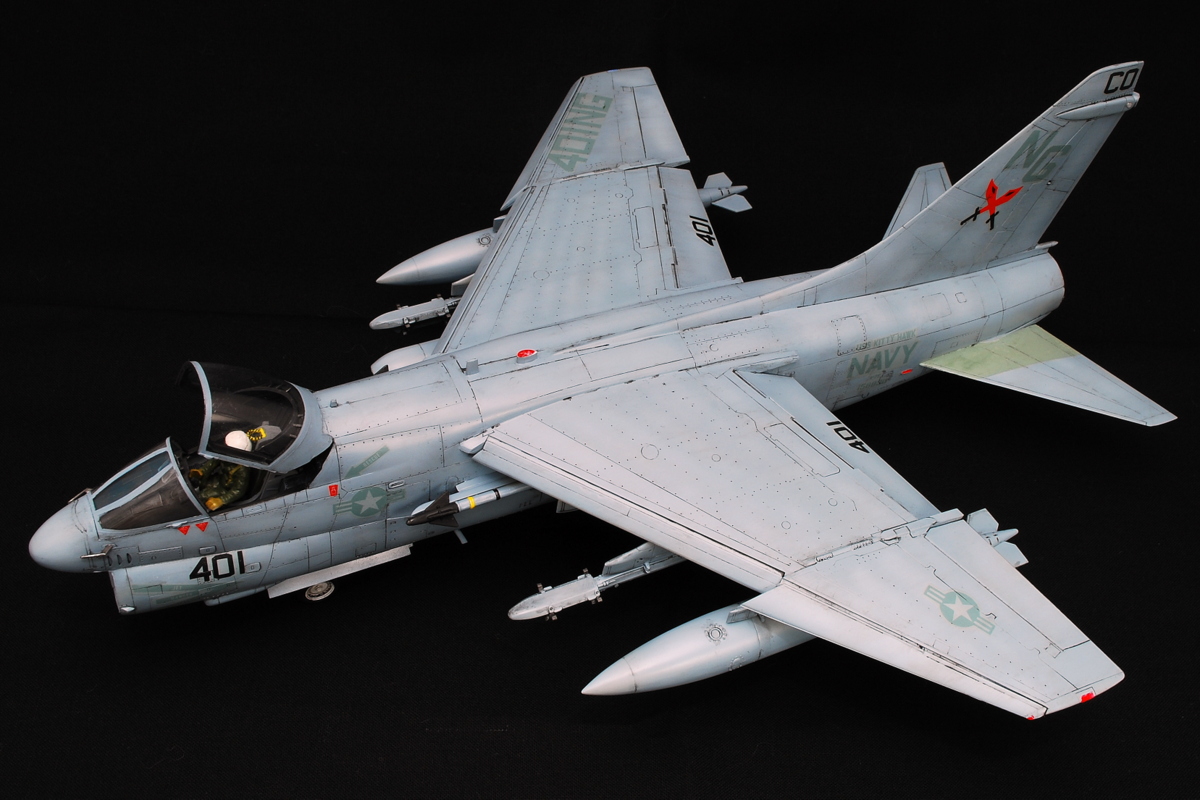 Corsair II was completed. Corsair II was attacked by aircraft engaged in operations in Vietnam, Grenada, Libya, the Middle East, etc., and now all aircraft are retired. I have been stocking a considerably old kit for many years. Now we have a choice of the Hobbyboss kit if you make it.
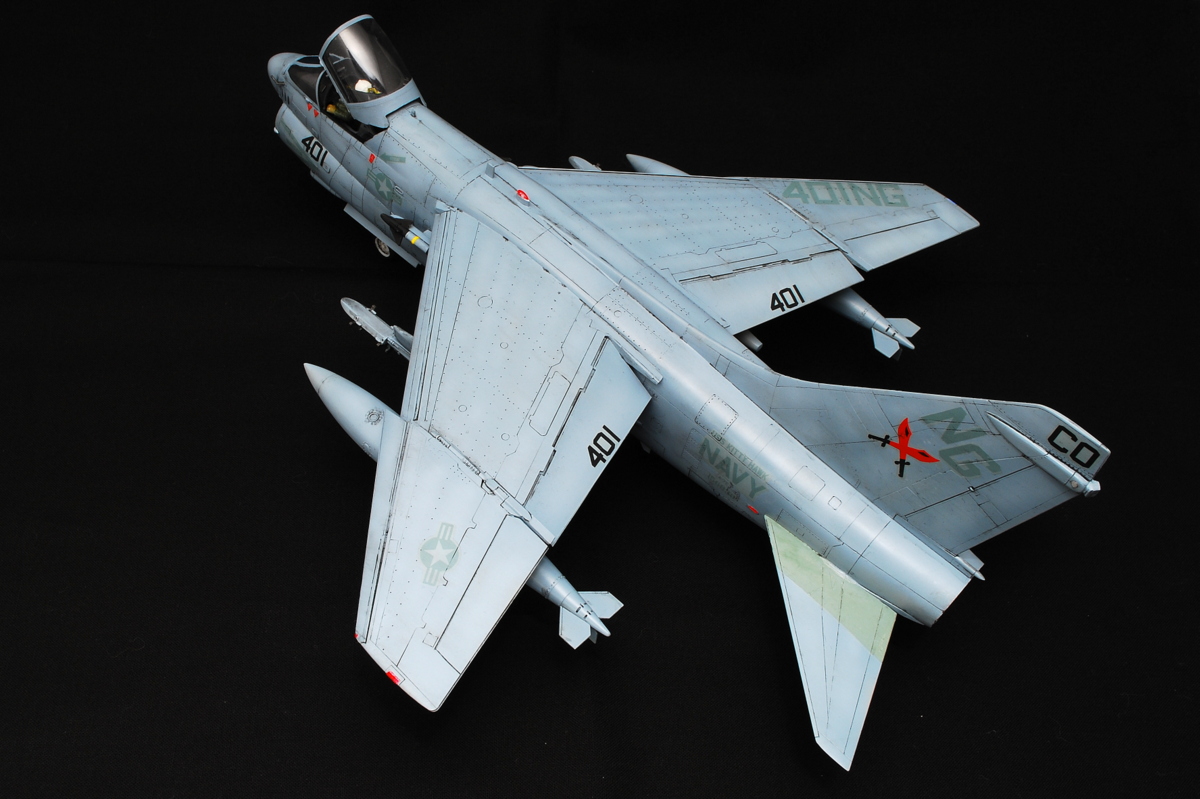 Corsair II is quite my favorite style, but I kept it too much. The box illustration was faded, and some of the plastic colors were yellowed, maybe. Anyway, it is an old but nice kit. I am the type that my favorite food keeps it last.
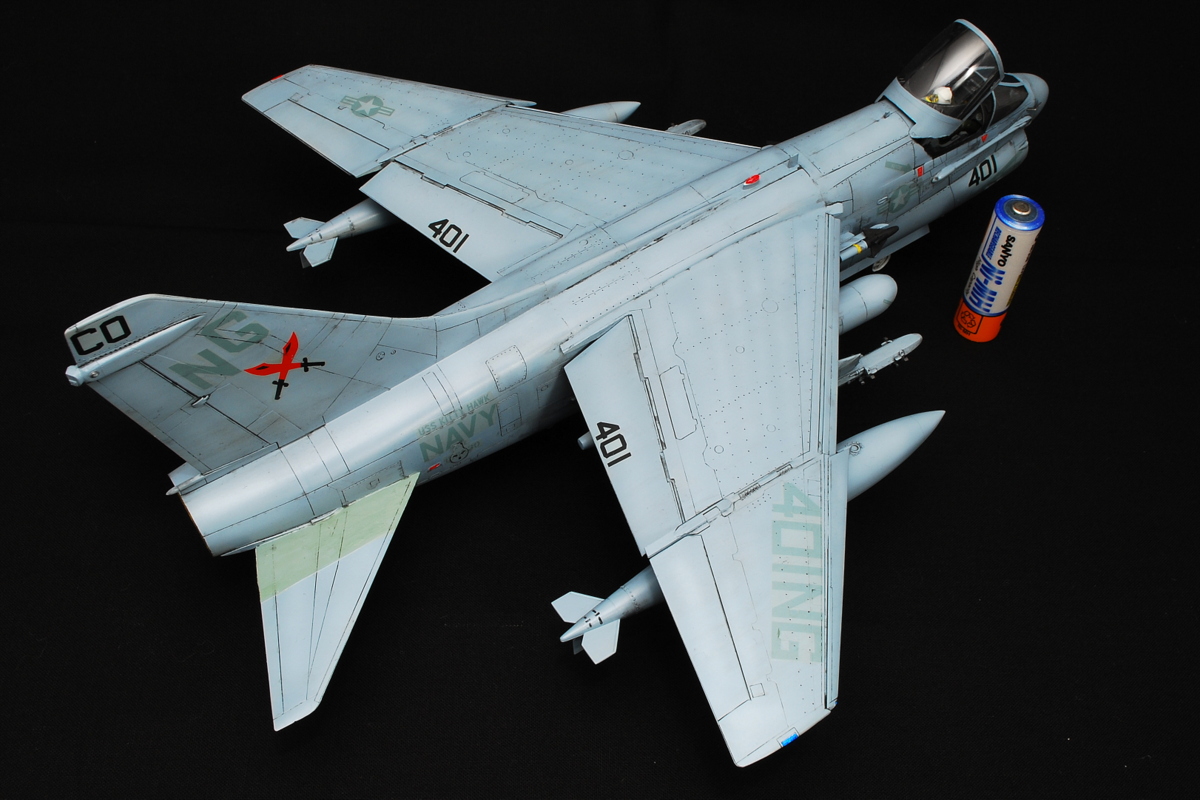 1/48 jet planes have the volume. I polished the canopy with great attention. It became a pretty good feeling; there was beautiful shining.
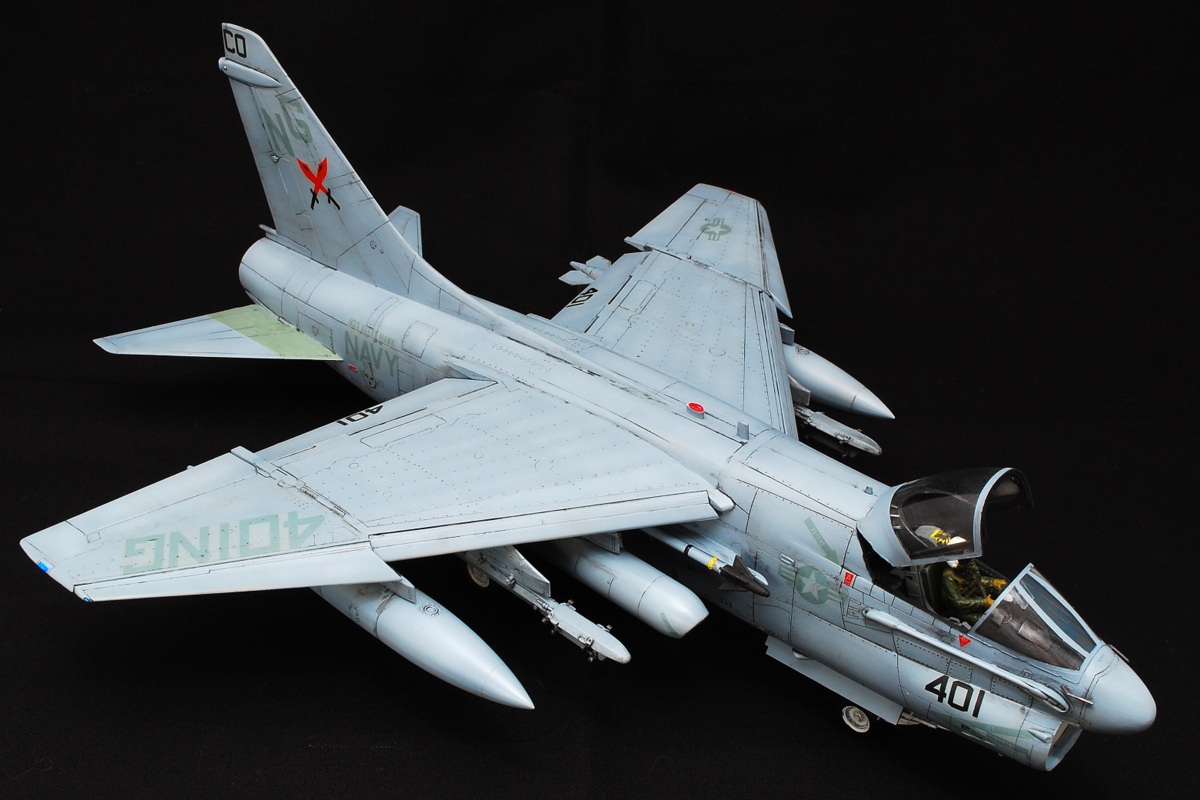 The low-visibility painting is very simple. So I painted additional color-fading expressions and ink in the panel lines.
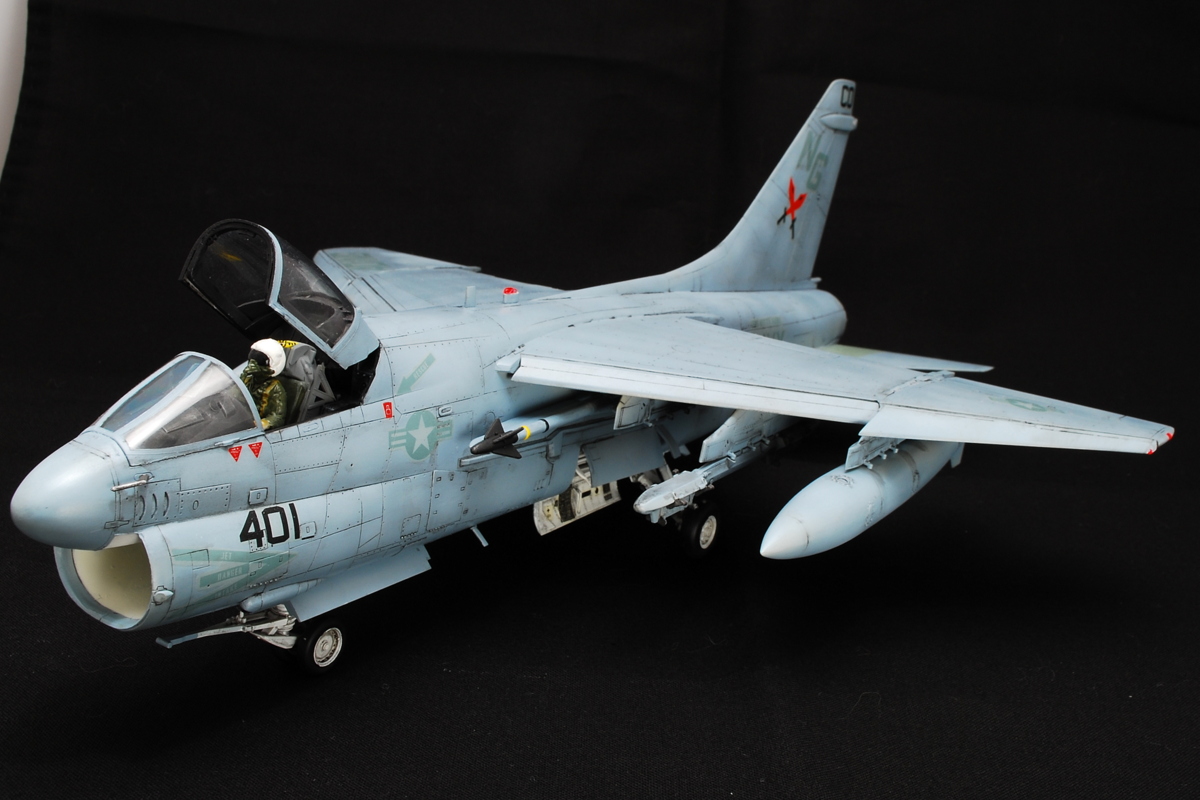 A-7E has a retrospective atmosphere. I feel it’s different from the F-15 Eagle and Flanker I made before. Single-engine, the main wing is the high wing placement, the air intake under the nose, they are the main characters of that period jet plane.
 There is some area missing from ink wiping.
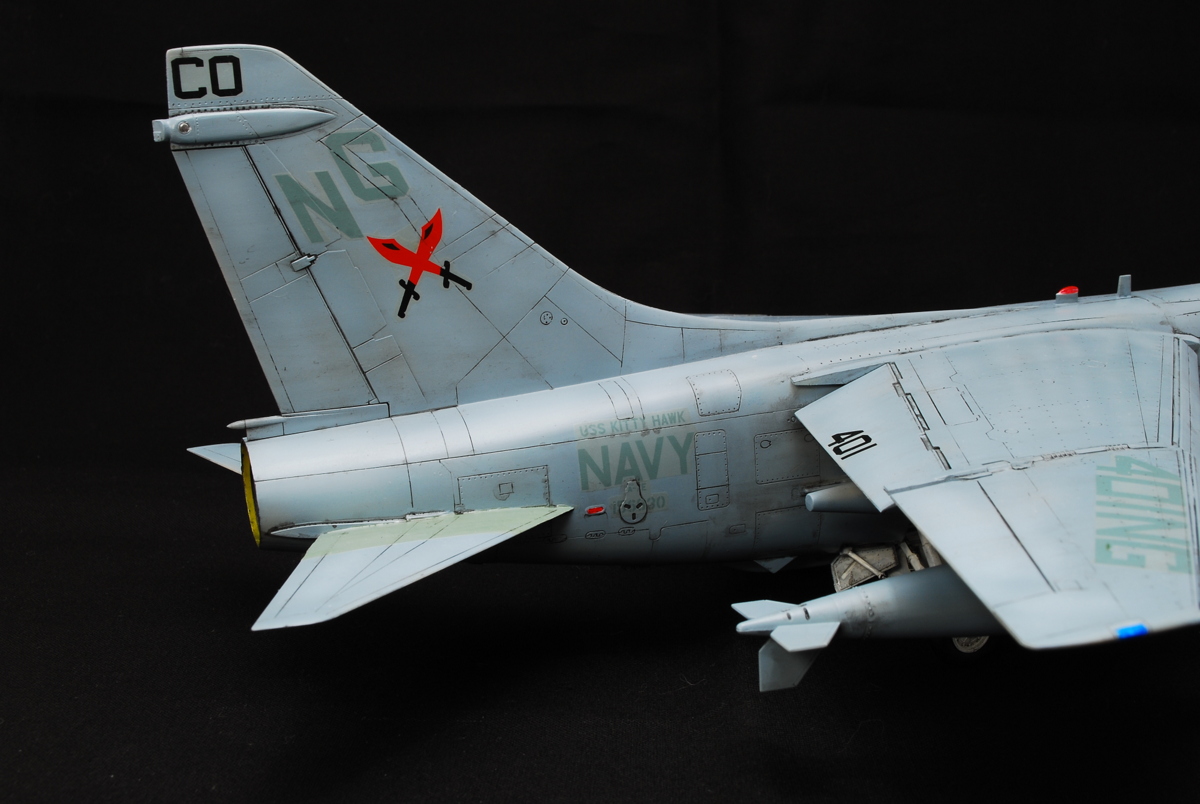 I referred to Hasegawa to buy the only decal because it changed heavily yellowed. Marking is ARGONAUTS VA-147 U.S. Navy at USS KITTY HAWK aircraft carrier.
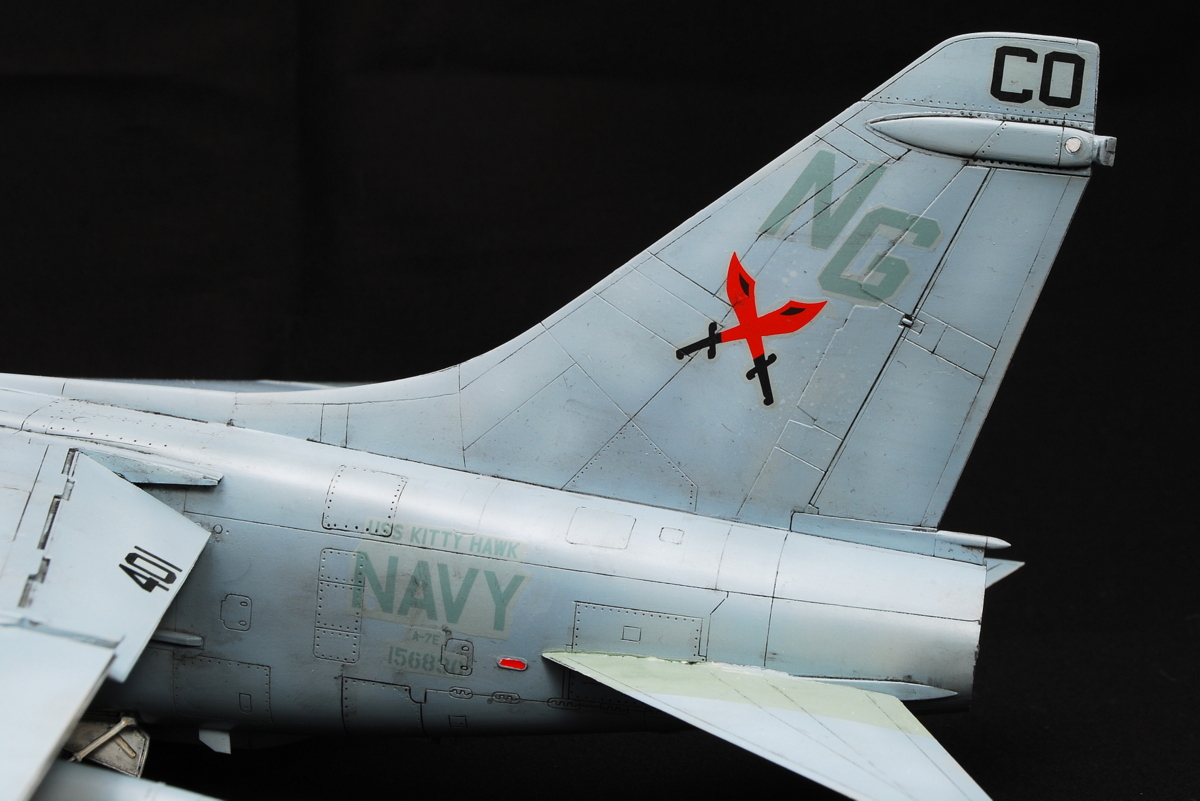 After referring to Hasegawa, This kit product No P14 was out of product many years ago, and some lineups are unified in PT47. Purchase the only decal costs me JPY1,500 (USD12.00), including postage over JPY2,000 (USD17.00). I can buy one more whole kit if paid more; it’s considered the point.
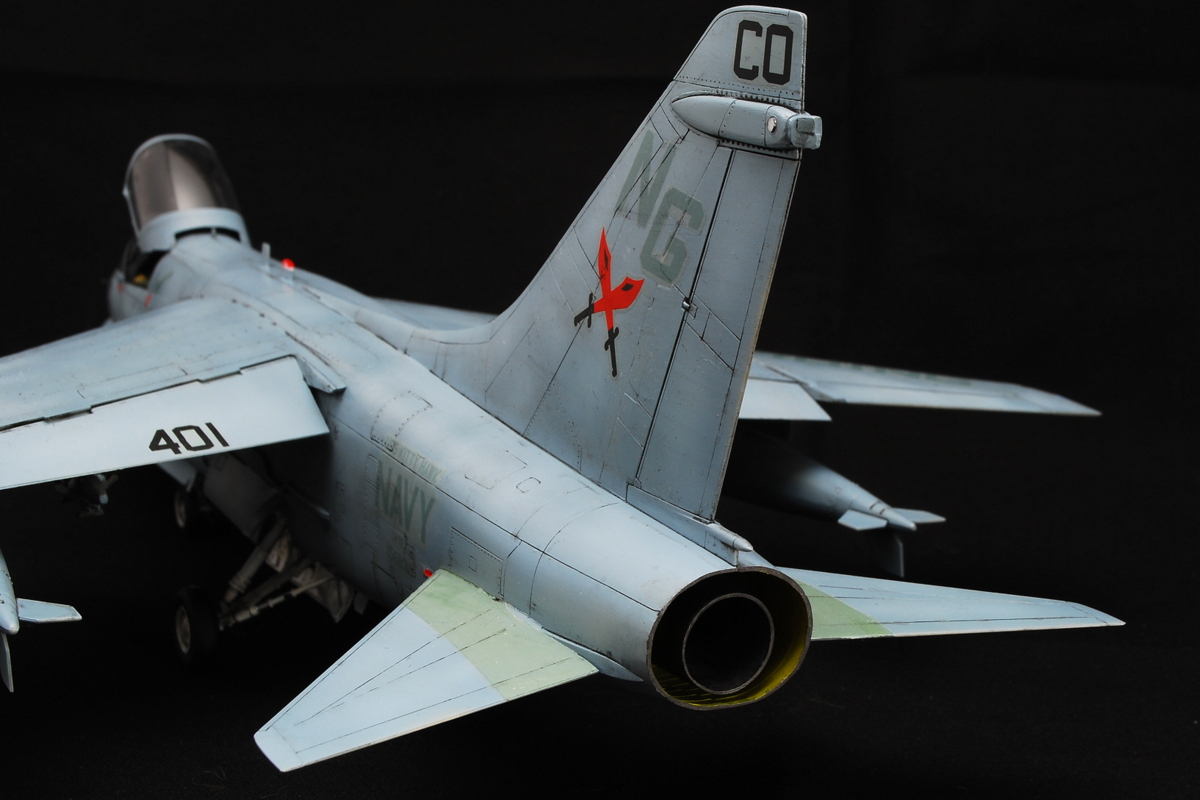 After all, I didn’t order it because the decal had been considerably improved by direct sunlight exposure.
I suppose long-term stock of the airplane plastic model is risky… Still, I have some old air models… The importance of the decals seems the same as the F1 and the rally car models.
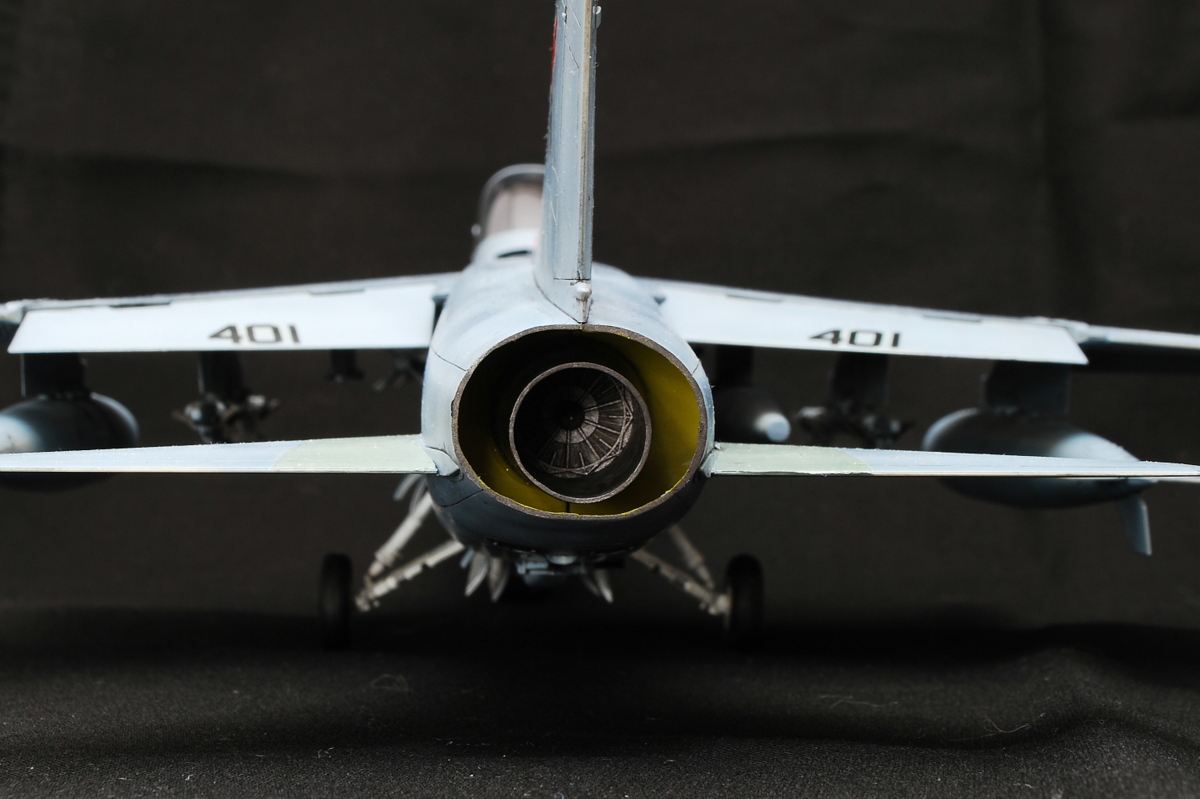 The exhaust vent of the engine is painted in burnt iron color, and the inside cover is US airplane interior color. There is room for more improvement.
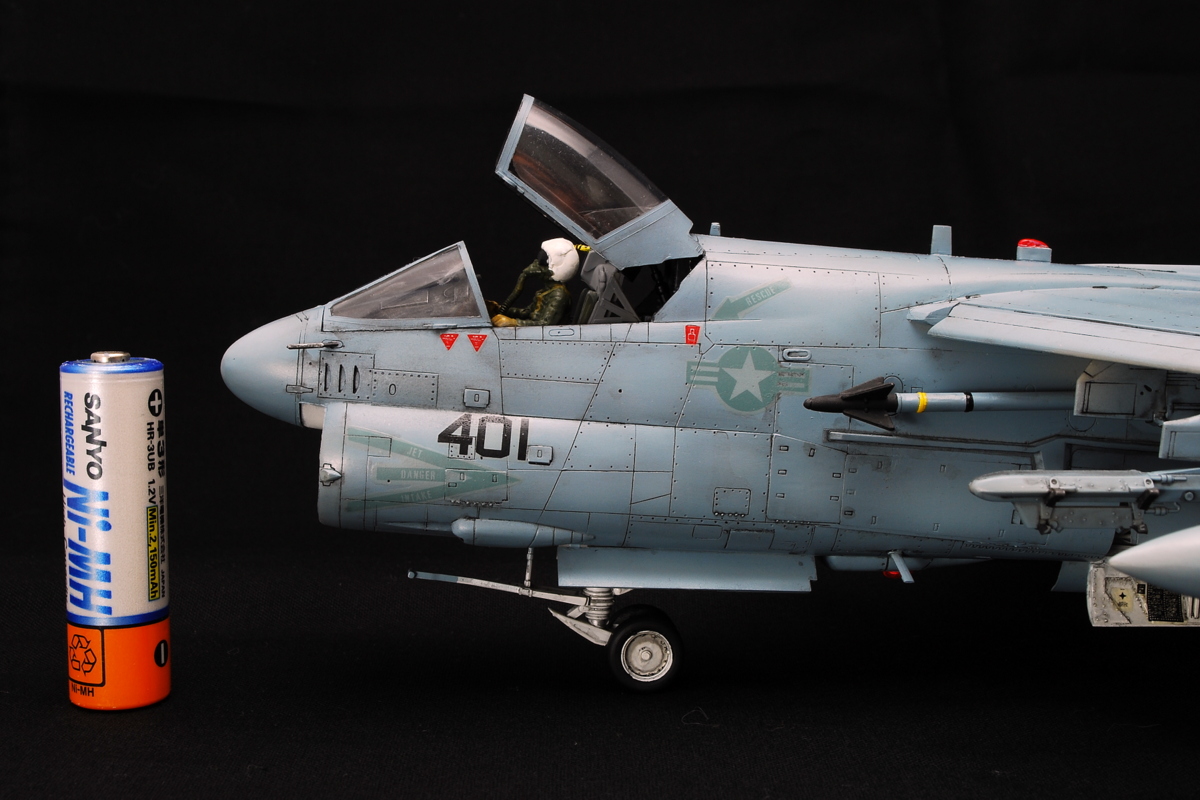 The side of the body has the hard points one by one, and I attached an AIM-9 sidewinder.
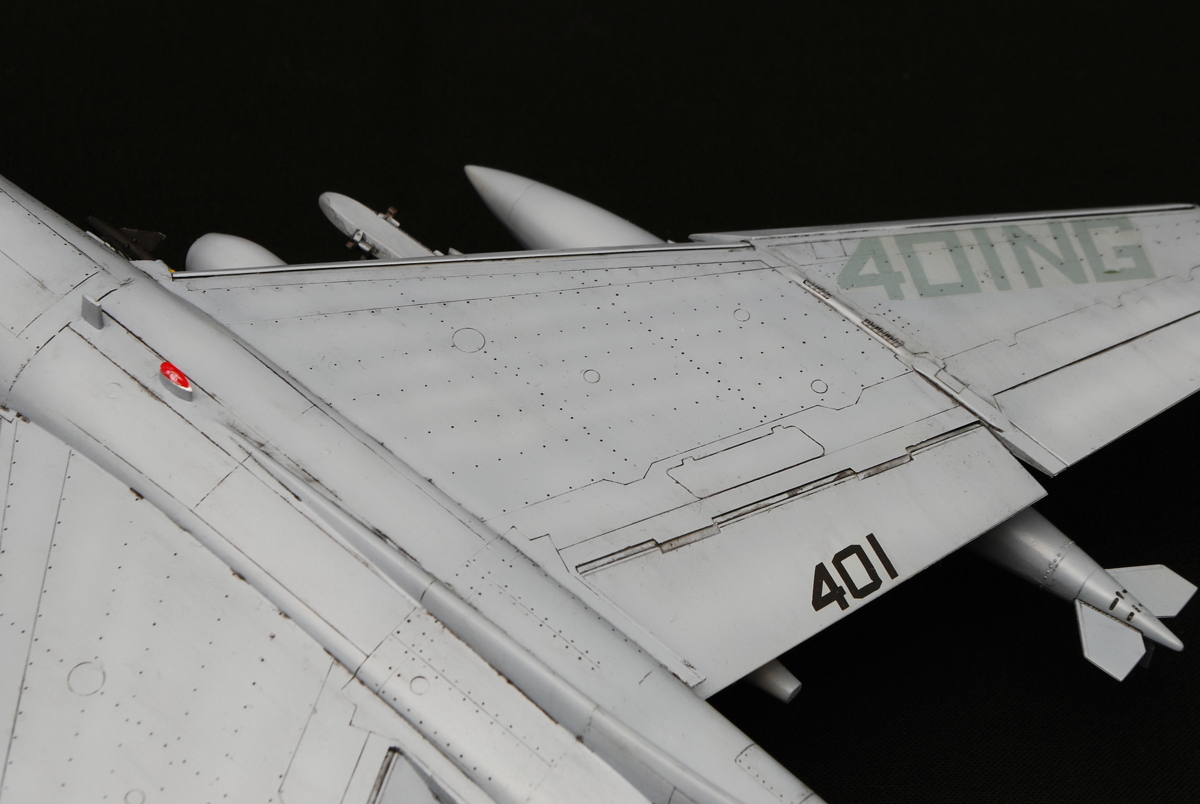 Although there is still inking someplace remaining the washing paint, I wonder if it’s matched with color fading.
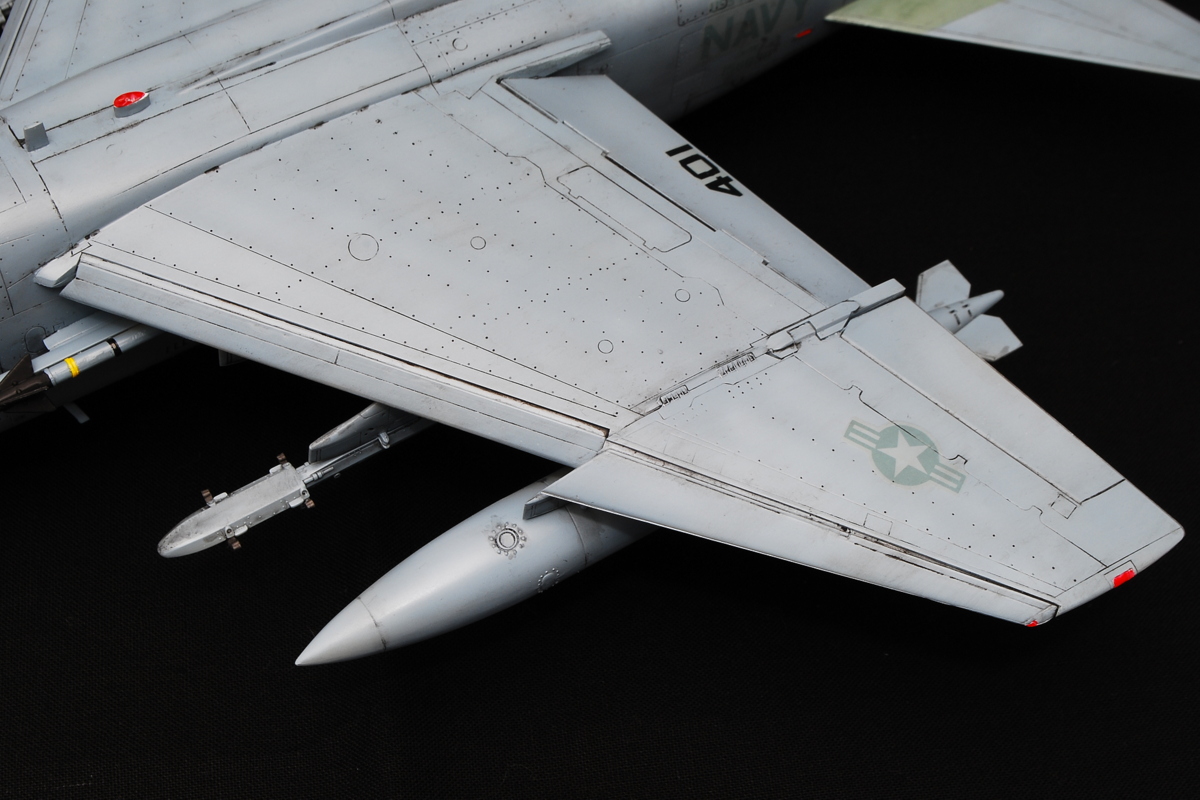 Warning lights of the wingtips were not clear parts but painted clear blue on the right and clear red on the left side after being painted white. The white-based surface was vivid color improved.
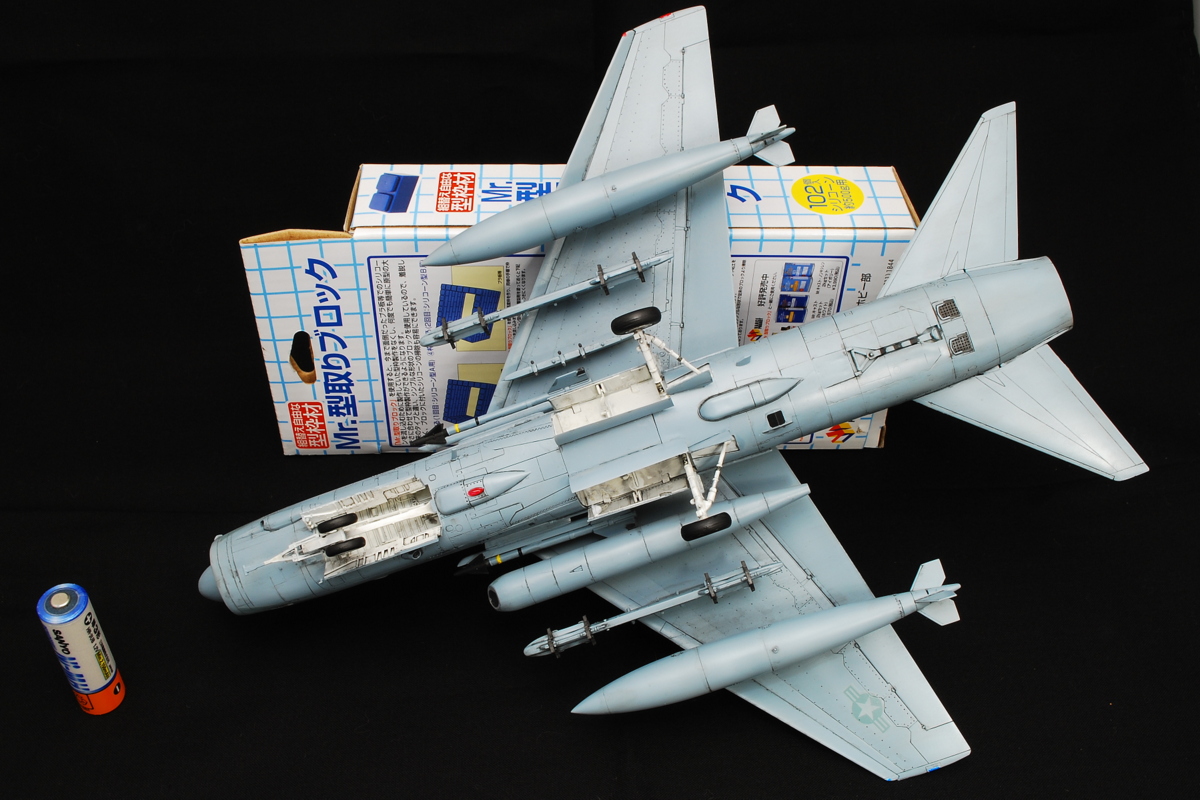 The backside is the same color as the upper body. Fading expression and black ink in panel lines performed like the upper surface.
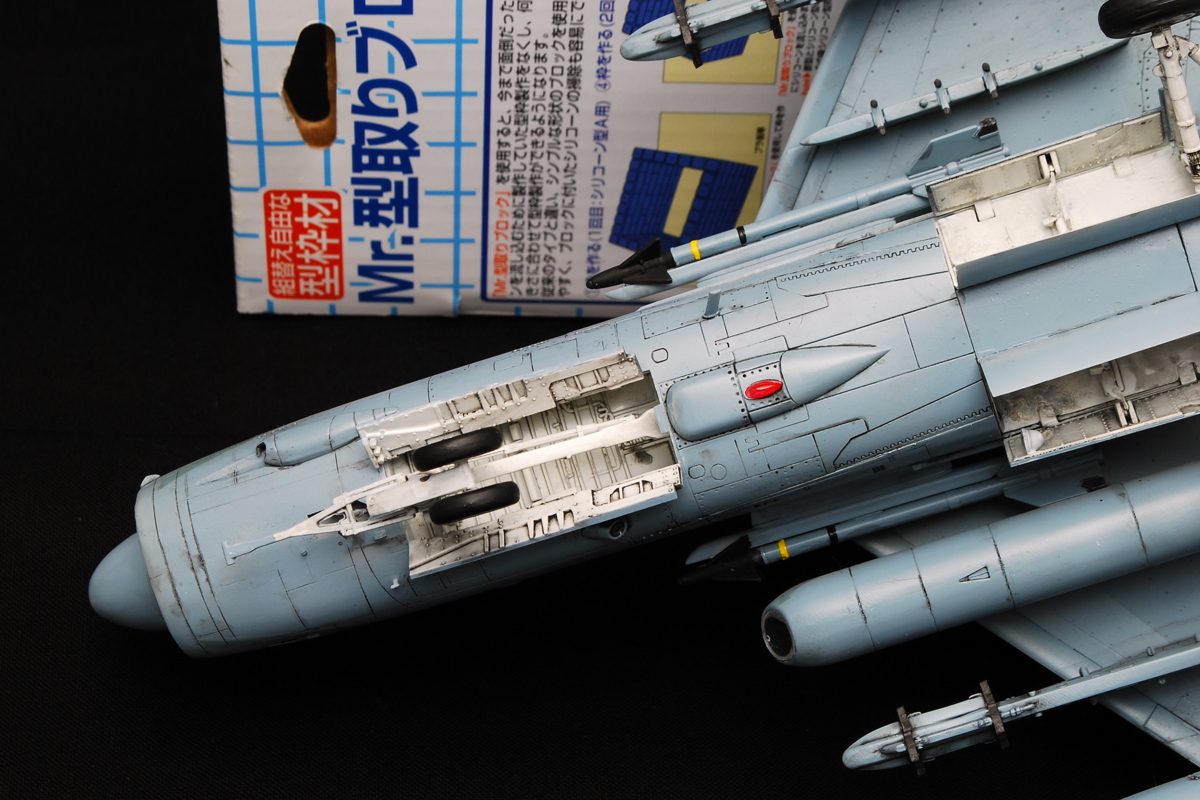 By the way, the pipe-formed thing on the left side of the body is the FLIR pod (Forward-looking infrared camera) and uses a thermographic camera that senses infrared radiation. The night offensive ability is enhanced.
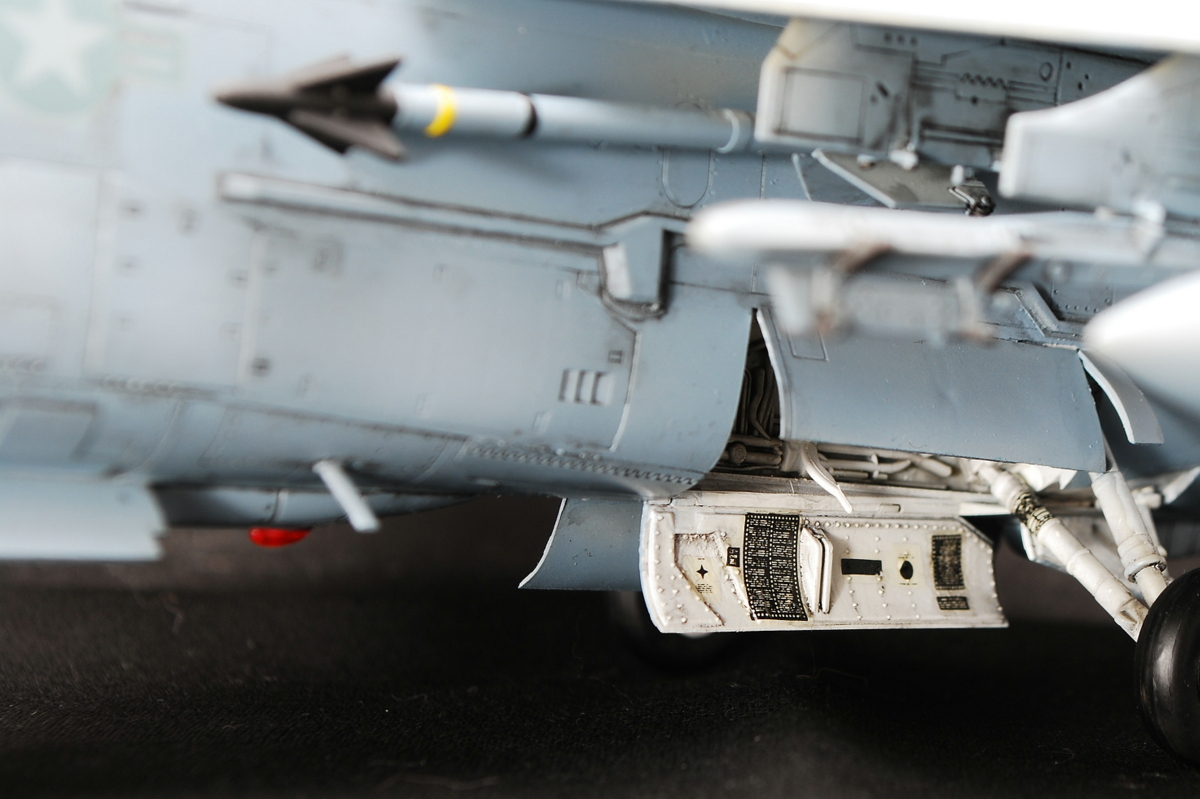 There are many detailed decals of landing gear doors inside. It’s an eye-catching point and very nice.
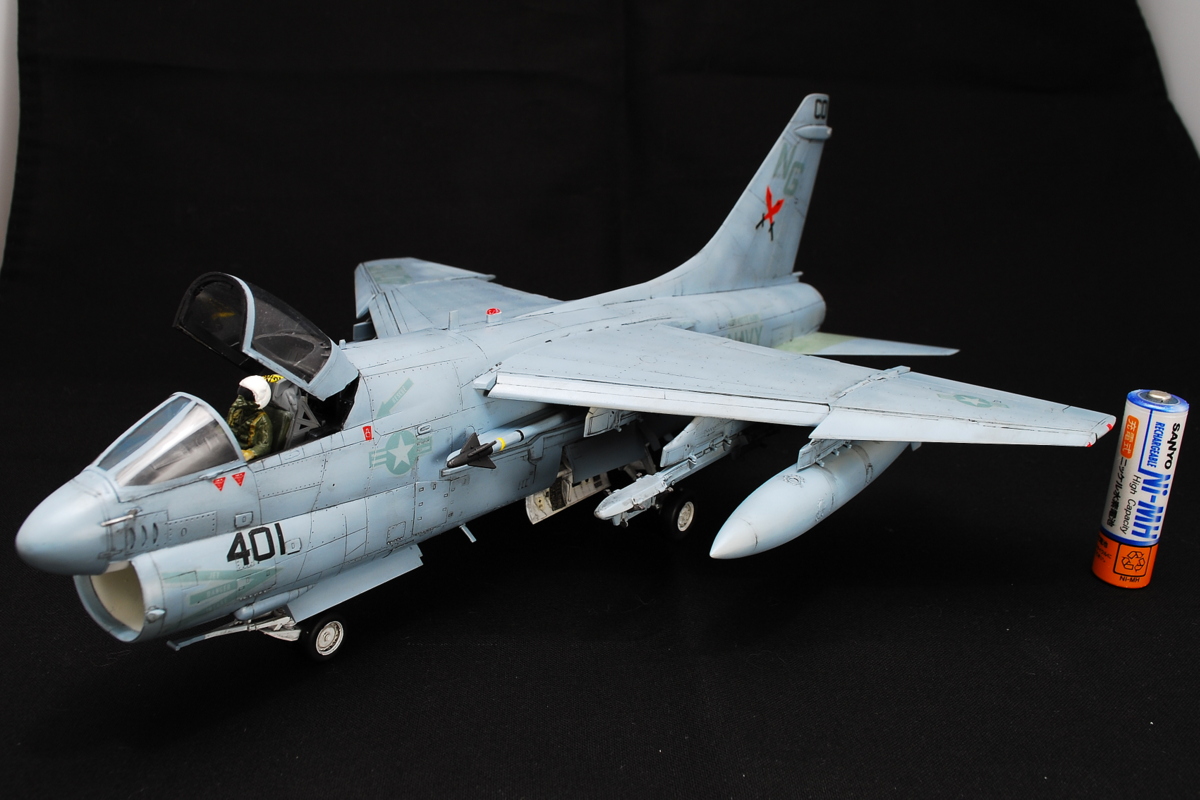 I painted clear blue only in the middle of the front part canopy as follows the painting instruction.
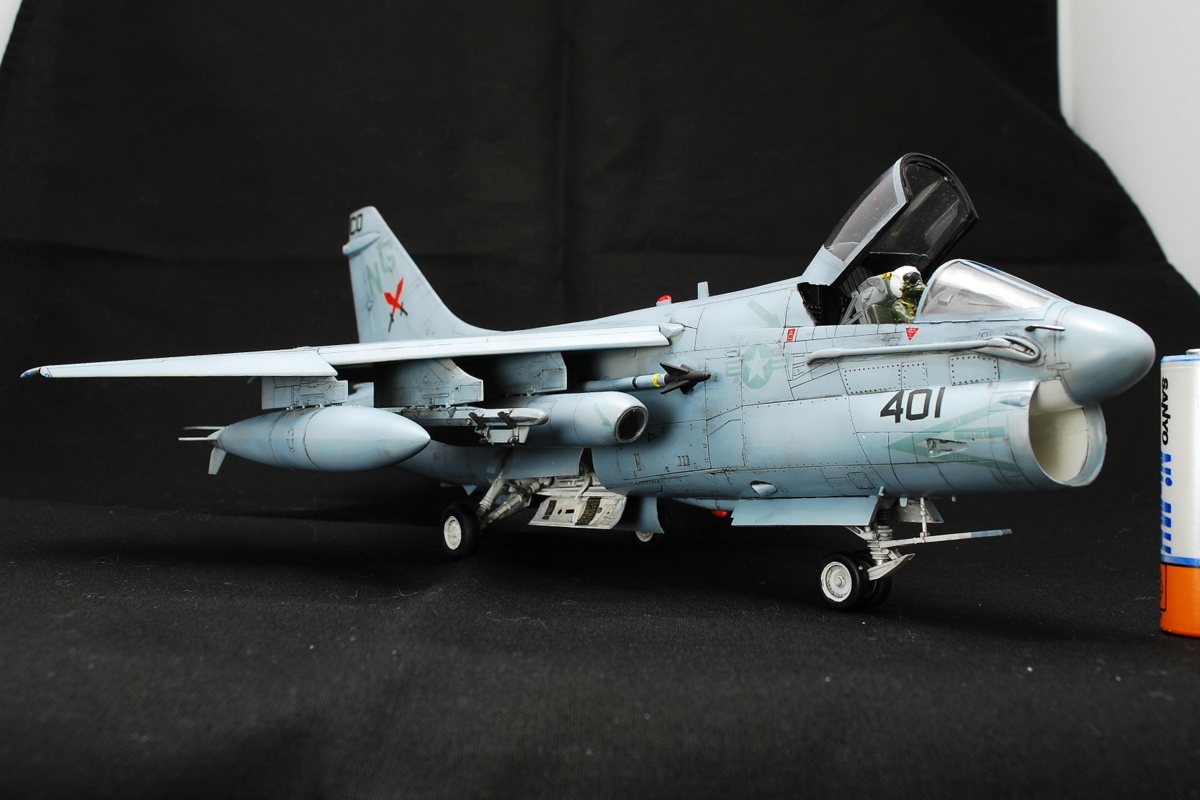 The large jet airplane was challenging to build. It’s powerful when completed. Well, next, I would like any WWII airplane.
(30-June-2015)


コメント