
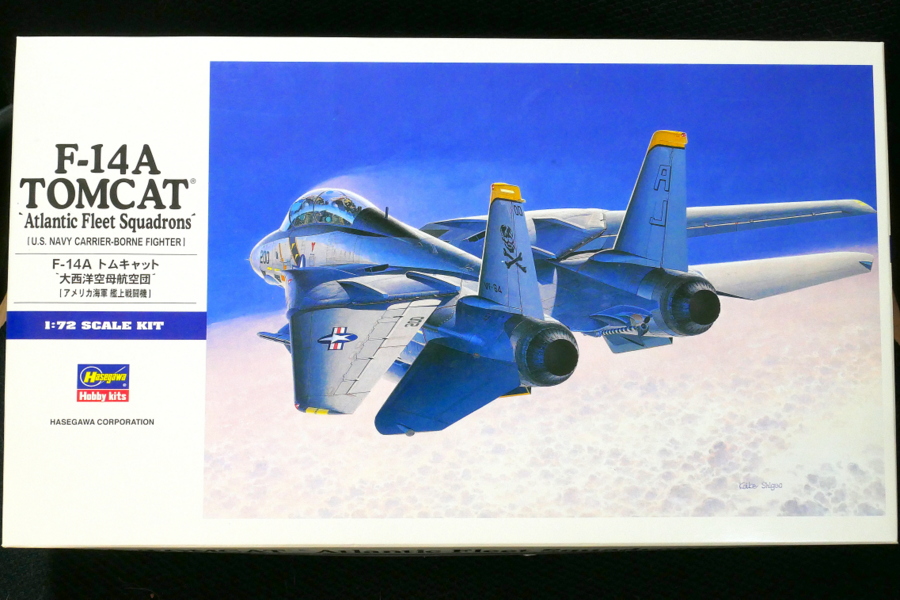
I will try to build a 1/72 scale F-14A Tomcat from Hasegawa this time. It’s a kit I’ve been keeping for years. I bought this when I made 1/72 F-15E and Su-33 Flanker. When I looked at the reviews of other modelers, the parts were too delicate and difficult to assemble, and the decals were small and many, so I hesitated. When I opened the box, I felt it must be challenging because there were so many parts.

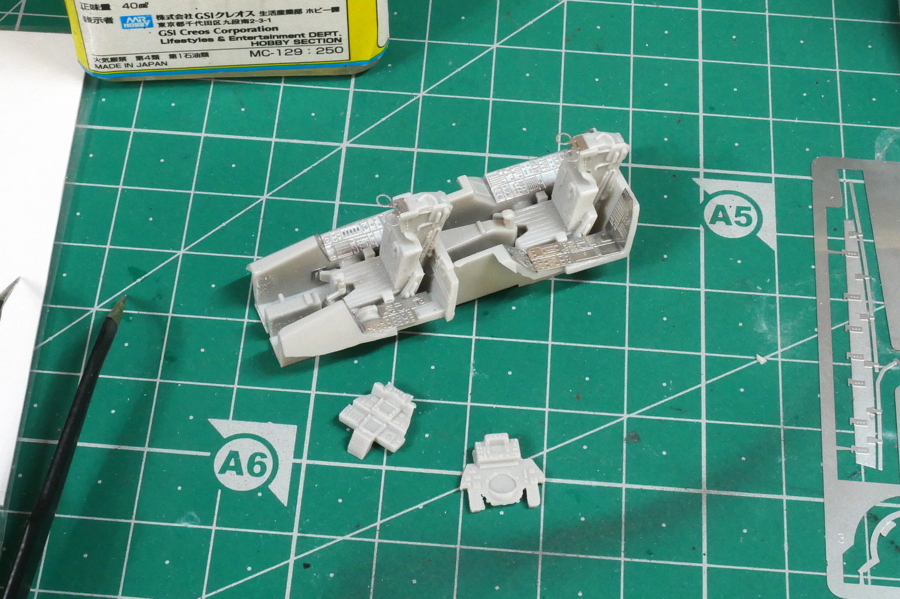
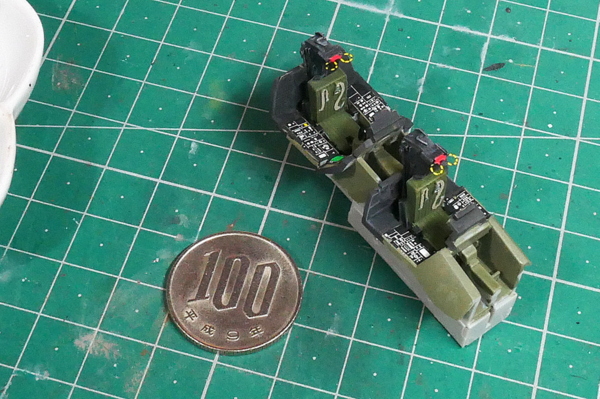
First, I need to assemble the seats. The 1/72 scale is small and cute. The seat belt is molded.
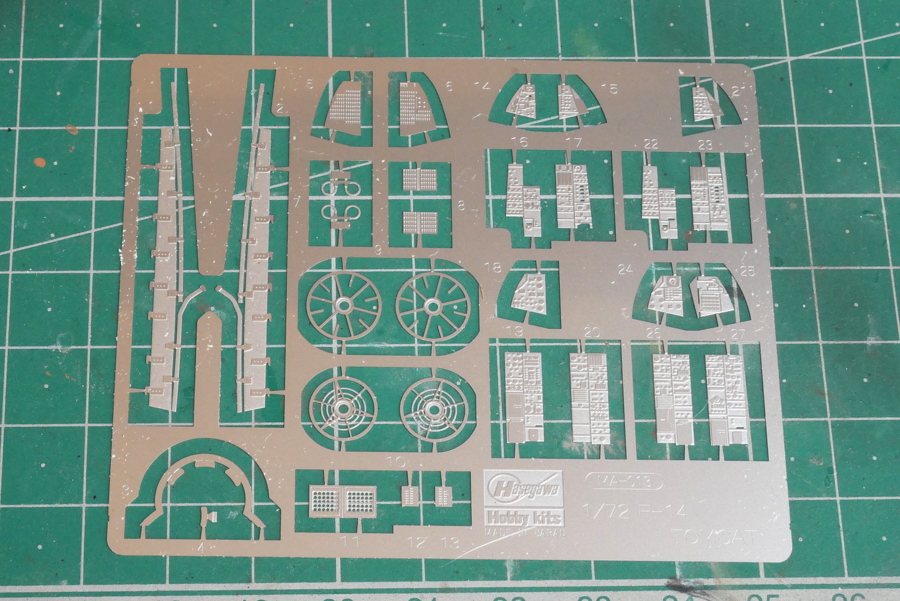
There are a lot of etching parts. It was quite a spirited kit. I guess it’s mainly around the cockpit and jet engine nozzles.
The assembly instructions said I could choose between using etched parts or decals for the cockpit. But since I have both of them, why don’t I use an etched part and stick the decal on top with a decal fit?
(2022/03/10)

Before installing missiles and missile racks, I must connect the front part, including the cockpit. I thought it was a bother to paint the cockpit and put it off until the assembly around here. Even so, there are so many parts that it’s hard…
 It’s a jet engine nozzle. Using etched parts makes it look more precise.
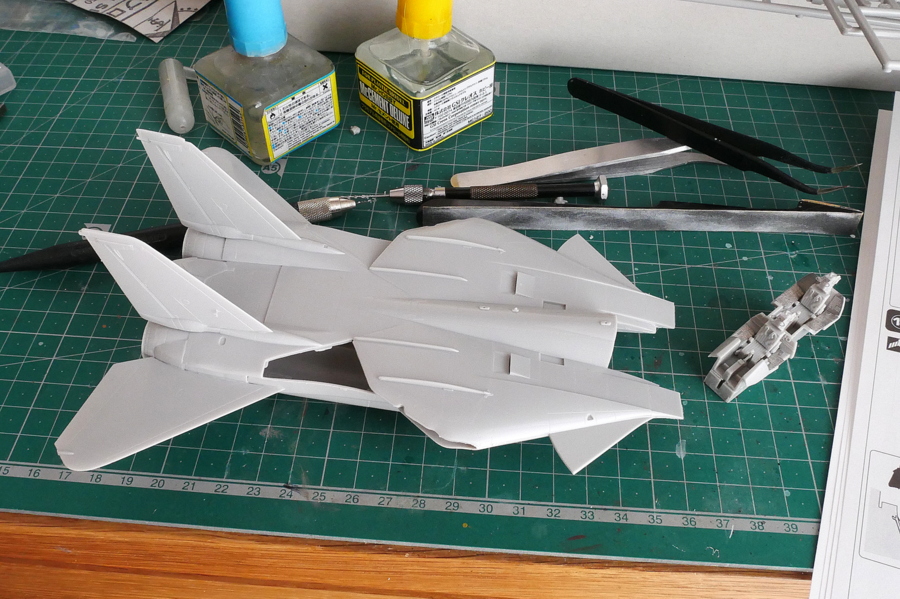 I felt that there were steps and gaps in various parts. But now, there is only progress.

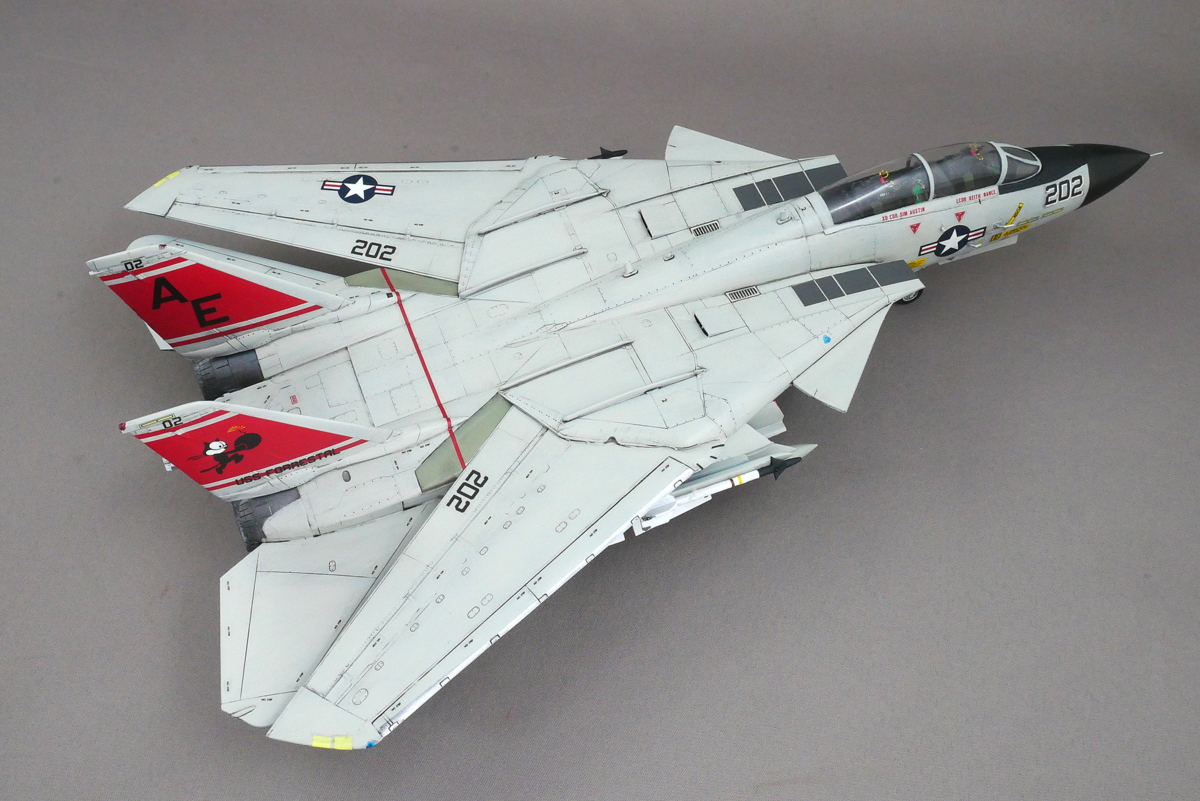
The movable wings fit and adhere to the parts in either narrow or open states. It looks hard to make it movable. The retractable canard wings can be selected to be in the extended or retracted state. When I looked at this picture again, I thought the delta wing condition of the whole wing looked more beautiful when it was pulled in.
(2022/03/12)

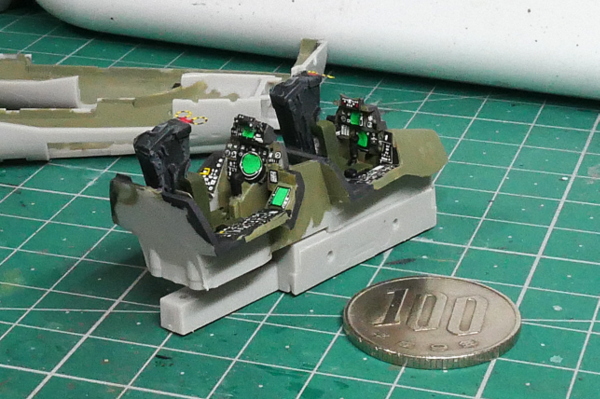

Finally, I painted the cockpit. It is easy to finish because there are many decals. I thought applying a decal after undercoating the etched parts would be best. I was impressed by the precision of the work, so I took many photos. When I put it in, I couldn’t see the inside of the cockpit very well.

The cockpit has been built into the fuselage. The etched parts interfere with each other, so it would have been better to match them correctly. In the radome, there is a lot of chopped fishing weight. The instruction said 5g. I think I put about 8g.
(2022/03/15)
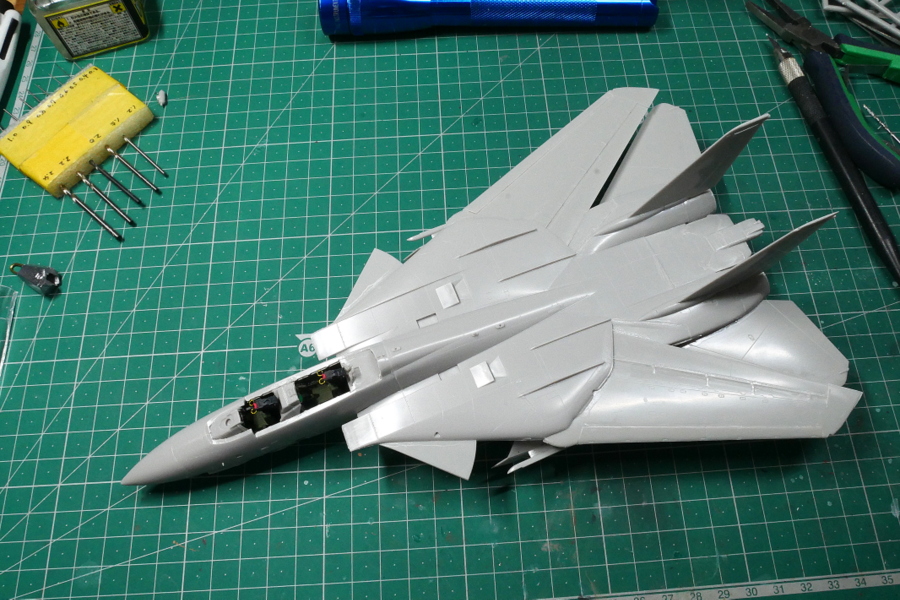
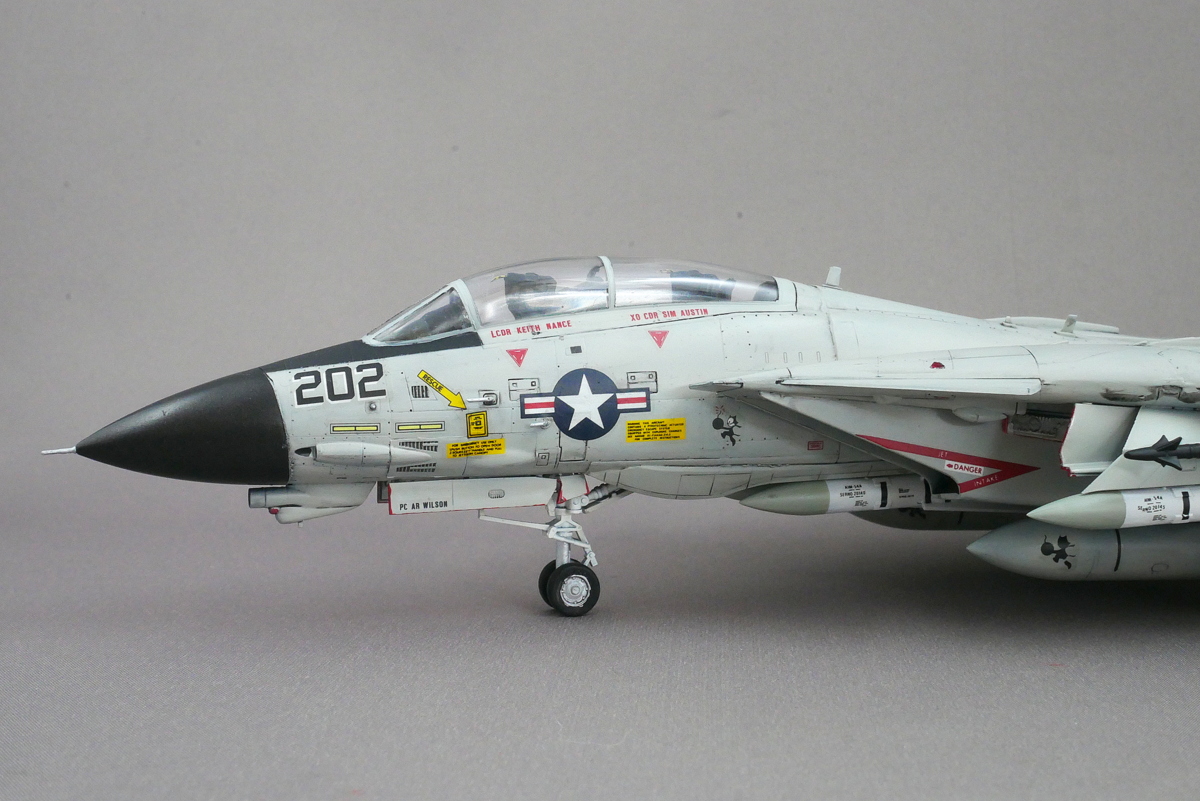
When I bonded the nose part, I felt the work progressed significantly. There are gaps and steps in various places, so I want to fix them as much as possible.
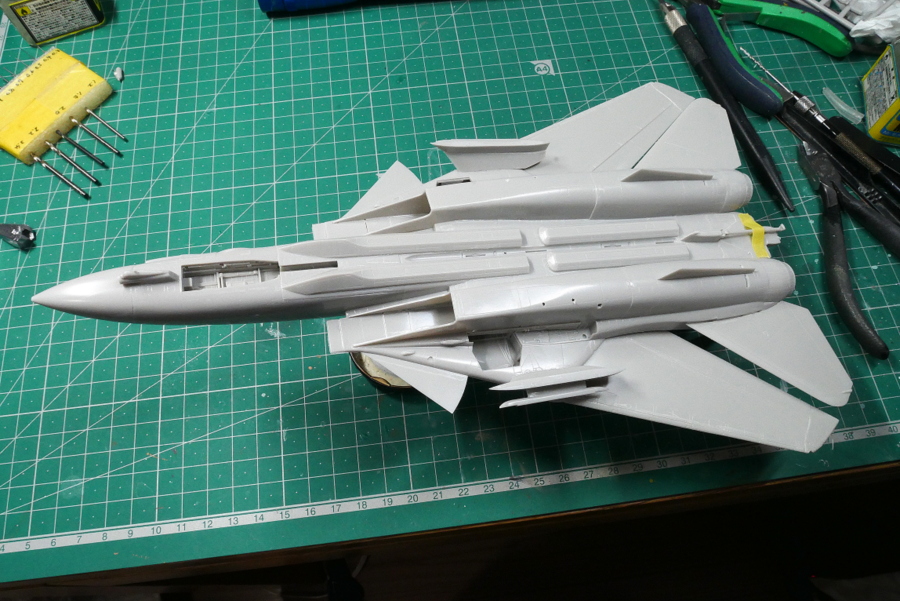
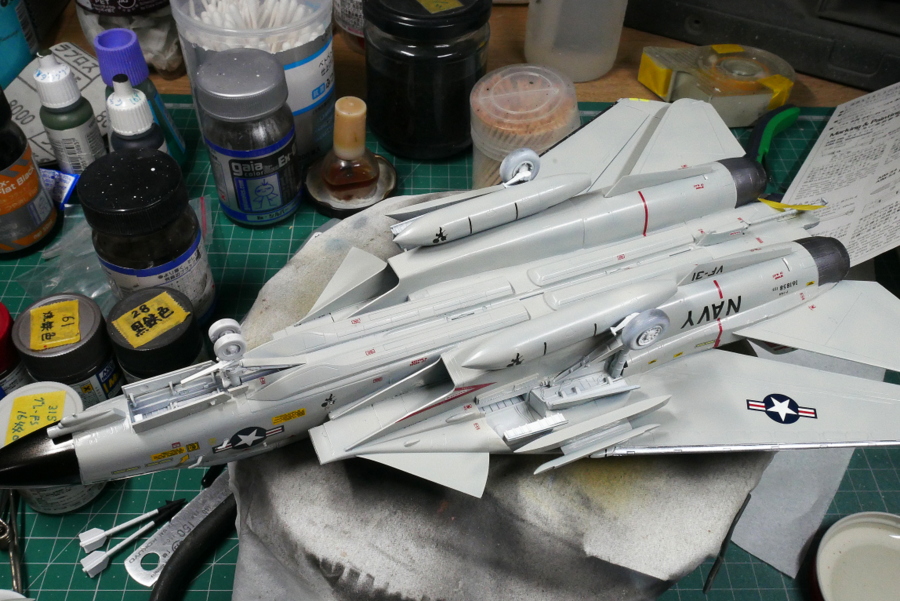
We have a variety of F-14 armor options. Some are attached to a pylon, and others are connected to a missile by gluing something like a rail under the body. When I looked at the photo, I thought the pylon was slanted, but when I looked at the assembled kit, it was adequately parallel. Perhaps the air intake has a narrow shape, and the camera lens makes it look like that. It seems that the assembly will not proceed unless I decide around here.

Many Hasegawa kits don’t include missiles, so those who want them must buy a set separately. I was worried if the parts I wanted in it because these were leftover when I made the F-15, but there was no problem. This time I will use 6 AIM -54 Phoenix, two sidewinders, and the additional tank that came with the kit. If we install many of the same kinds of missiles, it will be a powerful impression.
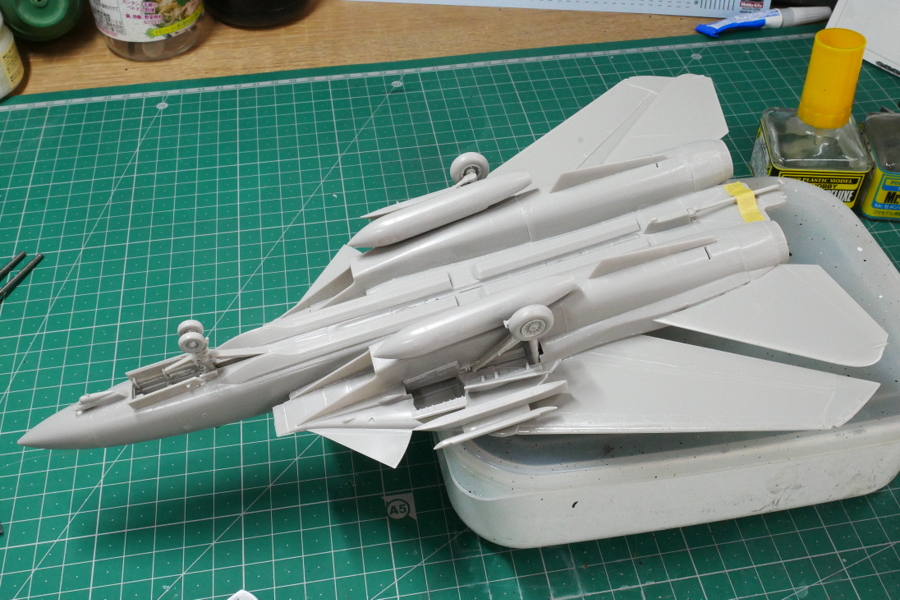
I was thinking of installing only the pylon. Still, I wasn’t confident enough to bond the landing gear neatly after painting, so I assembled almost everything, including the landing gear cover, first.
(2022/03/18)
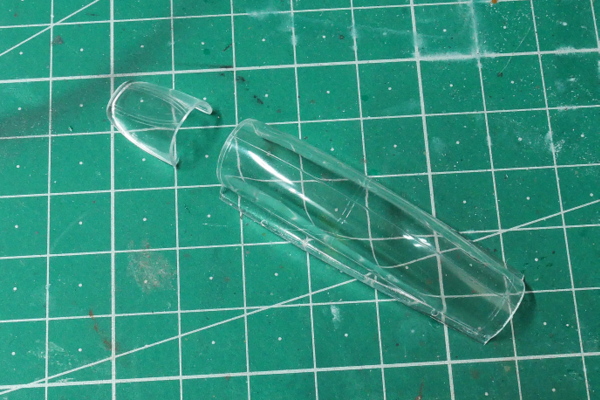
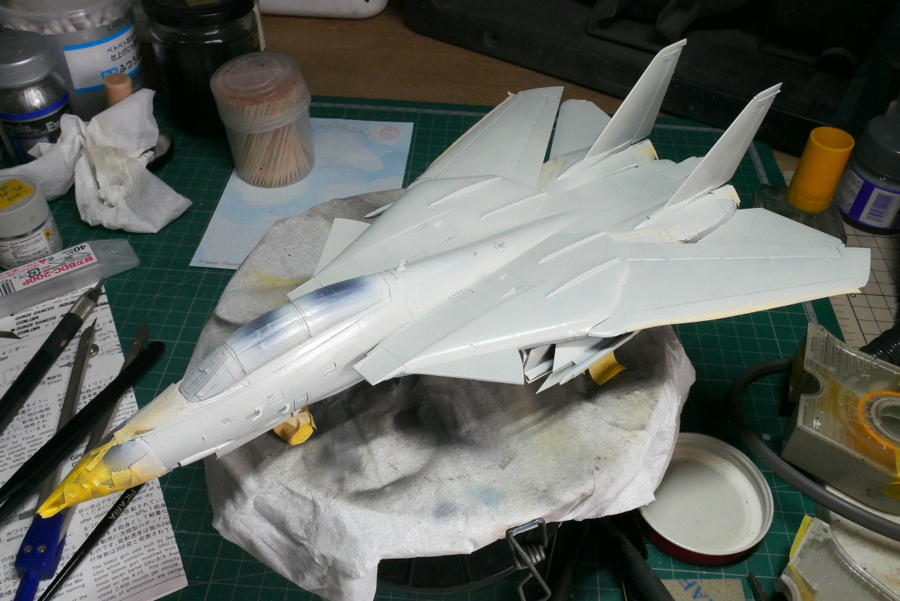
There is a parting line on the canopy, so I need to clean it.
After masking and gluing the canopy, I attached many small parts to the fuselage. The assembly is almost complete except for the pitot tube at the end of the radome. I can’t decide in what order to paint.

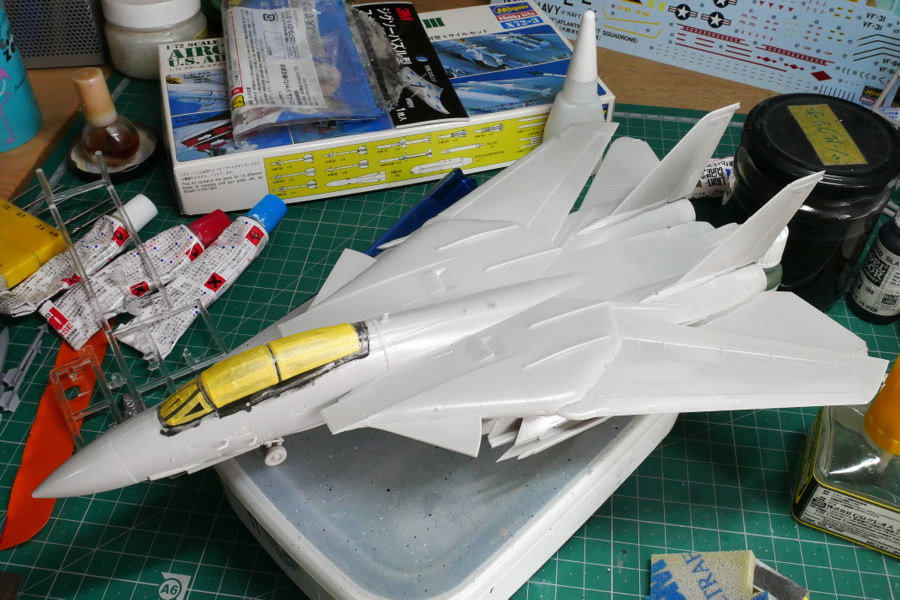
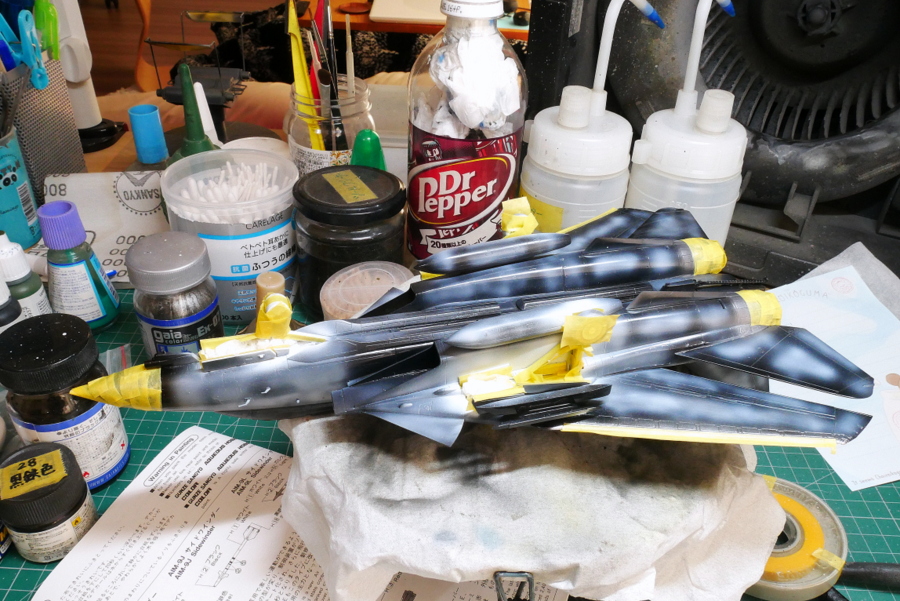
I painted it gloss black.

I wanted to make it look a little faded, and I added white and random bright areas. I usually make 1/48, so it isn’t easy to paint on 1/72.
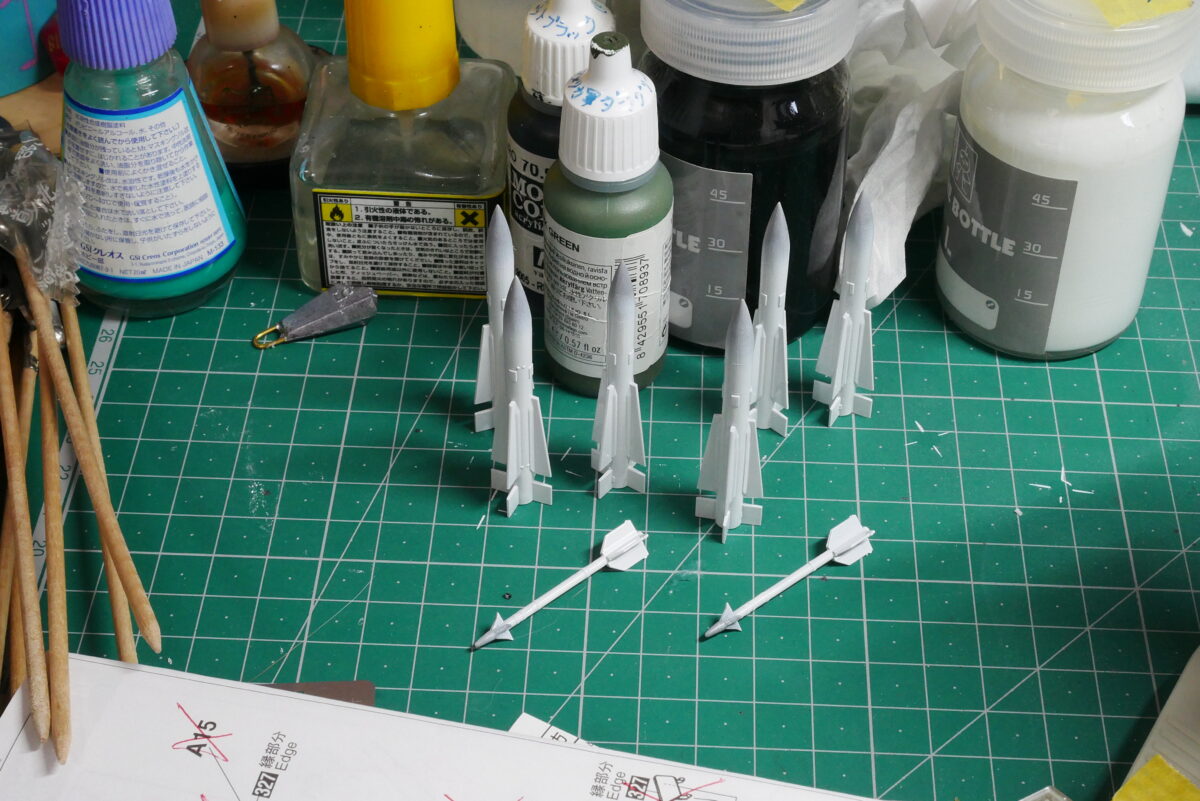
The fundamental part of missiles seems to be white. If I spray it once, the color won’t change much.
(2022/03/21)
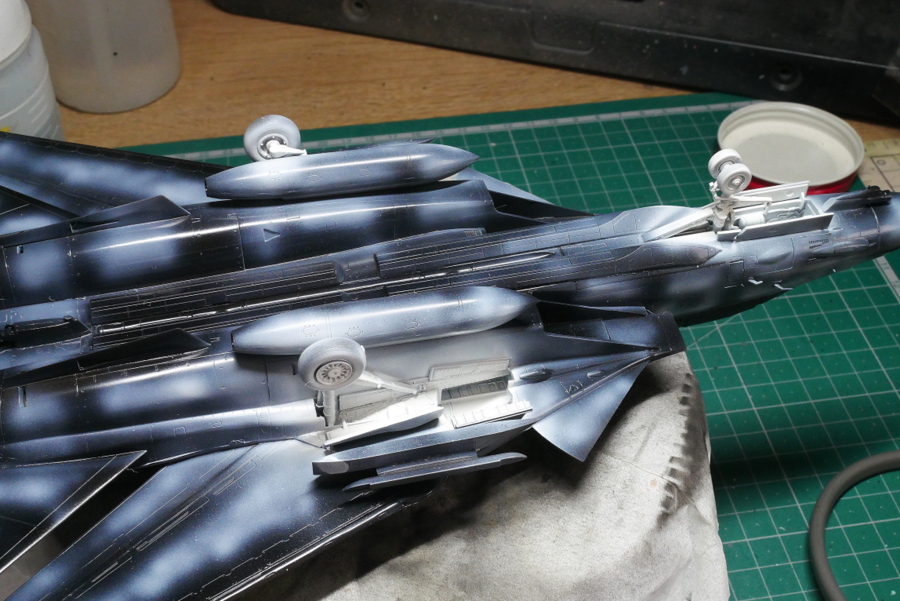
The weather was getting warmer, so I started painting again. The landing gear is painted white.

The parts that need to be painted, like the engines and the radome, have almost finished airbrush painting. I will blow a semi-gloss clear at the end, so my impression will change. When I painted the radome after using silver, it became a little metallic; it can’t be helped.
I used tape to mask it and filled it with tissue paper. There is a lot of work before blowing the basic paint.
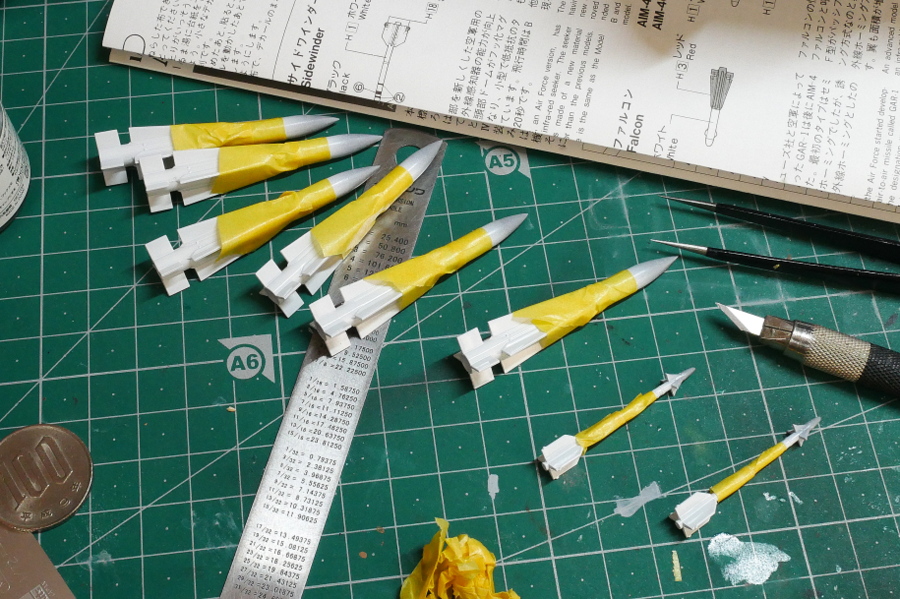
The missiles’ tips were different, so I masked them. This process is simple and easy.
The entire aircraft was painted gray FS 16440. It’s a kind of lazy impression. I painted it quite thickly, so I don’t think the base coat random fading is effective. Since it is light gray, I was worried if it was colored appropriately, so I blew it many times.
(2022/04/01)

The markings selected this time were not instructed to attach the small “NO STEP” seal, which is standard on the tail and the upper surface of the flap. But it looks monotonous, so I put a lot of small decals on it. Some small and narrow seals have bent a little, but they have dried out and stuck utterly, so it’s a little challenging to fix. Other than that, I will try to retouch the part where the decal is chipped or sticking out by masking it with a brush.
I thought the impression would change after I attached most of the decals, but the image is that it is a rather plain aircraft. I wonder if a little more semi-gloss coating or inking would make it look better.

I also painted a separately sold missile and attached a decal. There are quite a lot of decals, and it gives me a sense of precision.
(2022/04/05)
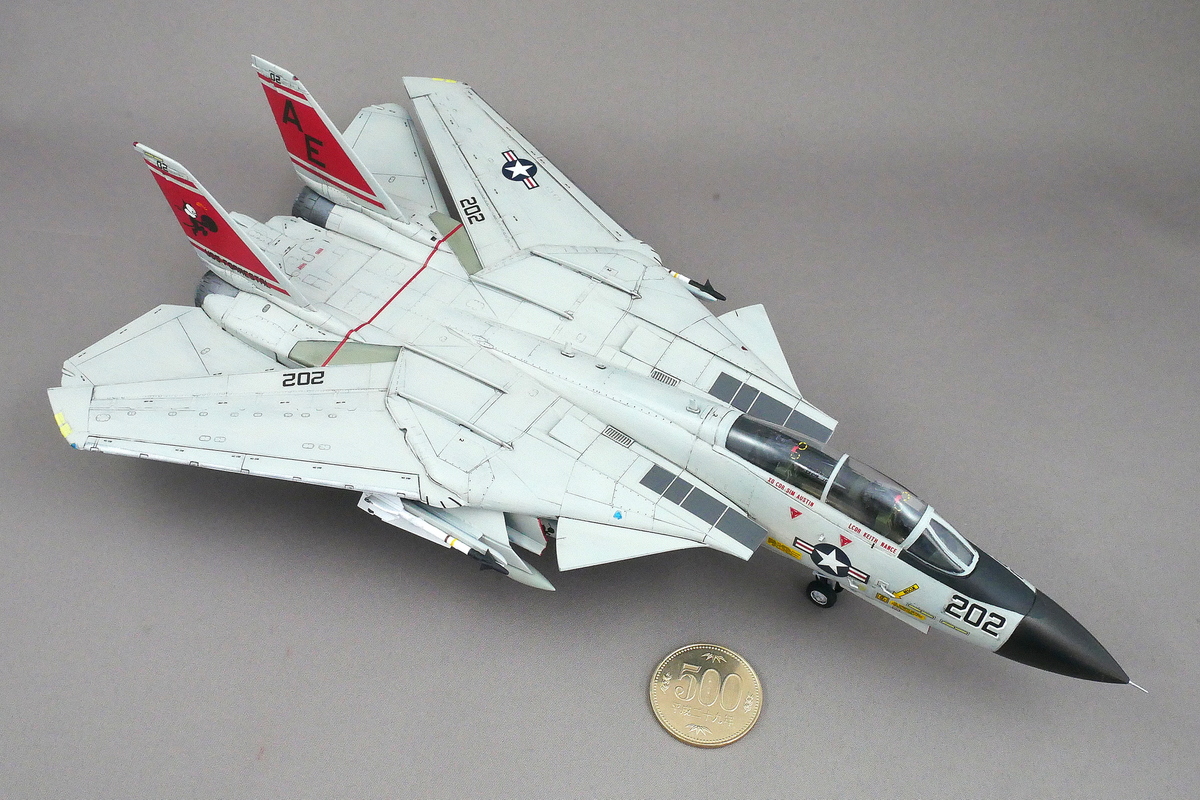
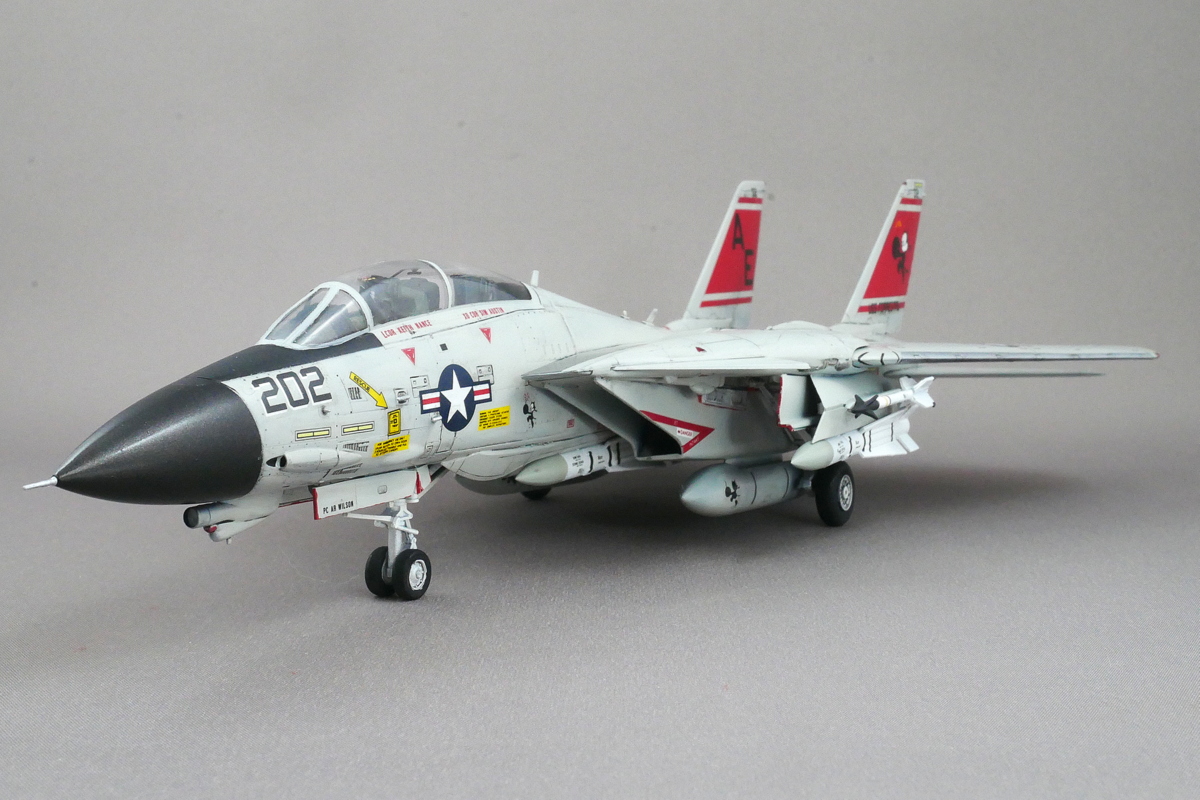
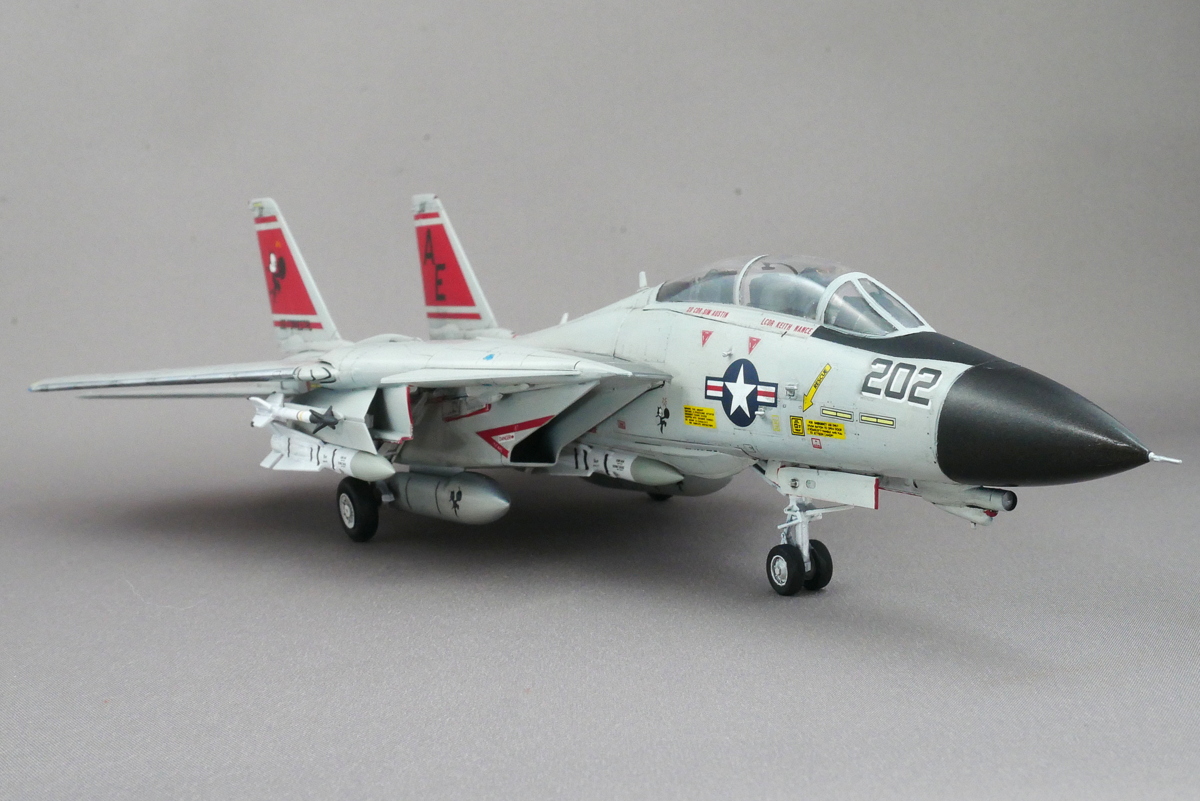
The F-14A Tomcat that was currently under making was finally completed. As a finishing touch, panel lines inking and coated with semi-gloss clear. Although it is 1/72, there are many panel lines. The panel line was shallow, so it wasn’t easy to put inking. I thought about engraving it by myself, but I gave up because there were too many. I wish the detail were a little more precise.


It’s not bad, but it’s pretty hard to make compared to the Hasegawa kit I usually make. Various parts interfere, and there are some burrs in the details. Maybe it’s because I’m not good at assembling. Well, it’s probably an old kit, and it has a complicated shape and many parts, so I guess it can’t be helped.
Towards the end of the building, I tried to build another kit, and my concentration was broken in various ways, and some parts didn’t work well with the painting.

When the Tomcat was deployed, one of its selling points was the ability to aim at multiple targets simultaneously with missiles. It’s undoubtedly groundbreaking.
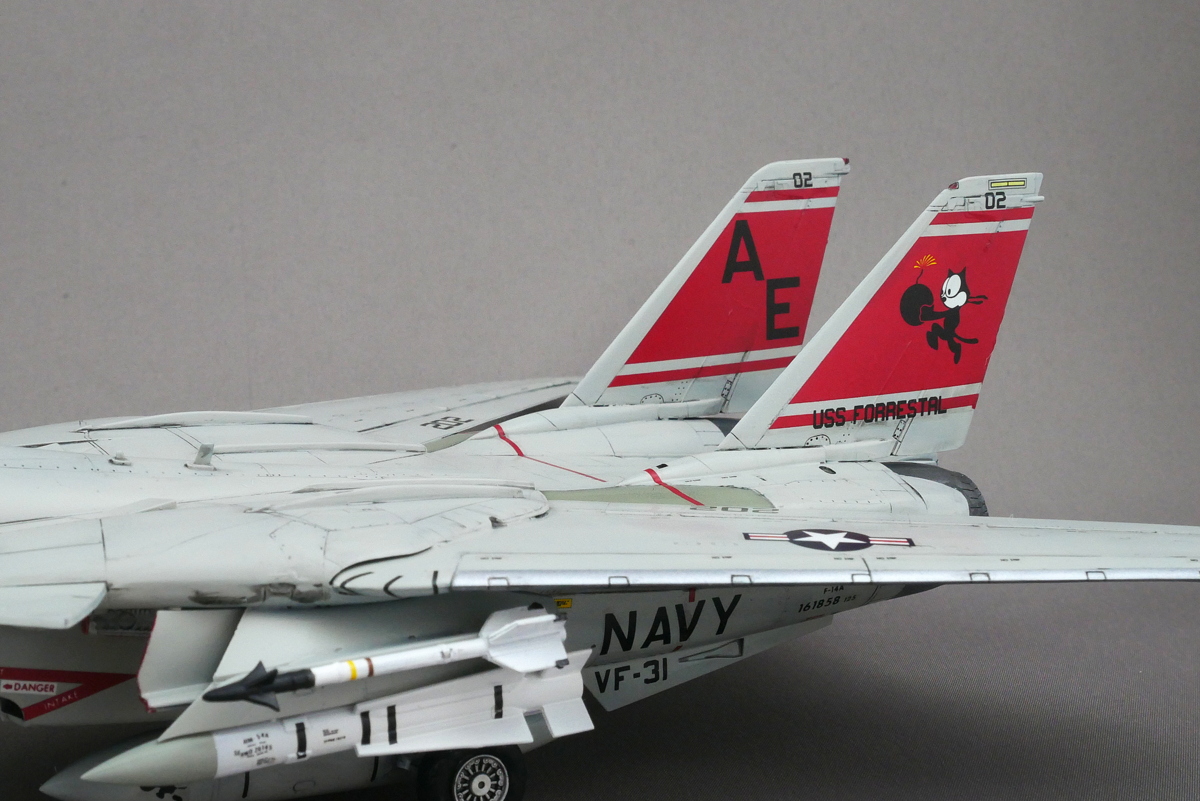
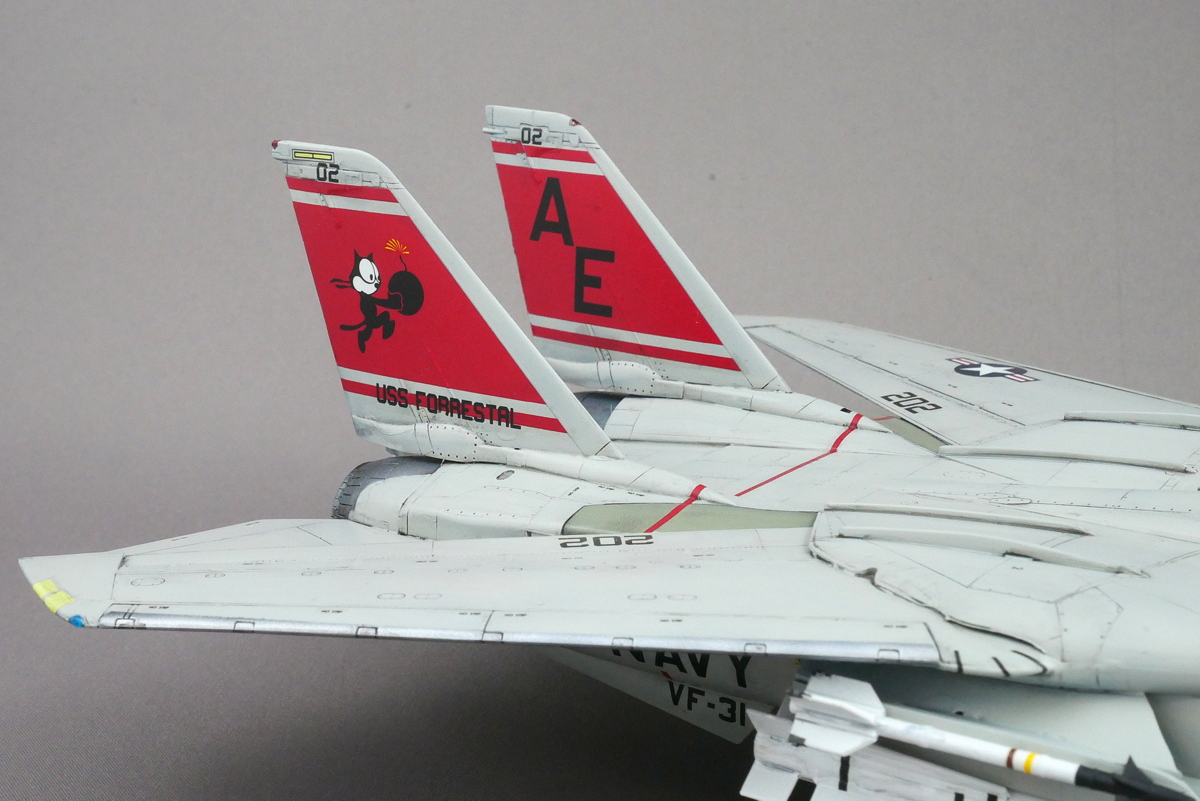
Since there are four markings to choose from, I made it with the U.S. Navy 31st Fighter Squadron VFA-31 “Tomcatters.” It is characterized by the picture of the American cartoon character, Phillix with a bomb as a motif of a black cat. It was on the aircraft carrier Forrestal. By the way, the first catapult launch test was conducted on the aircraft carrier Forrestal.

The F-14 Tomcat, whose last aircraft was decommissioned in September 2006, this VFA-31 Tomcatters was the unit that operated F -14 until the end.
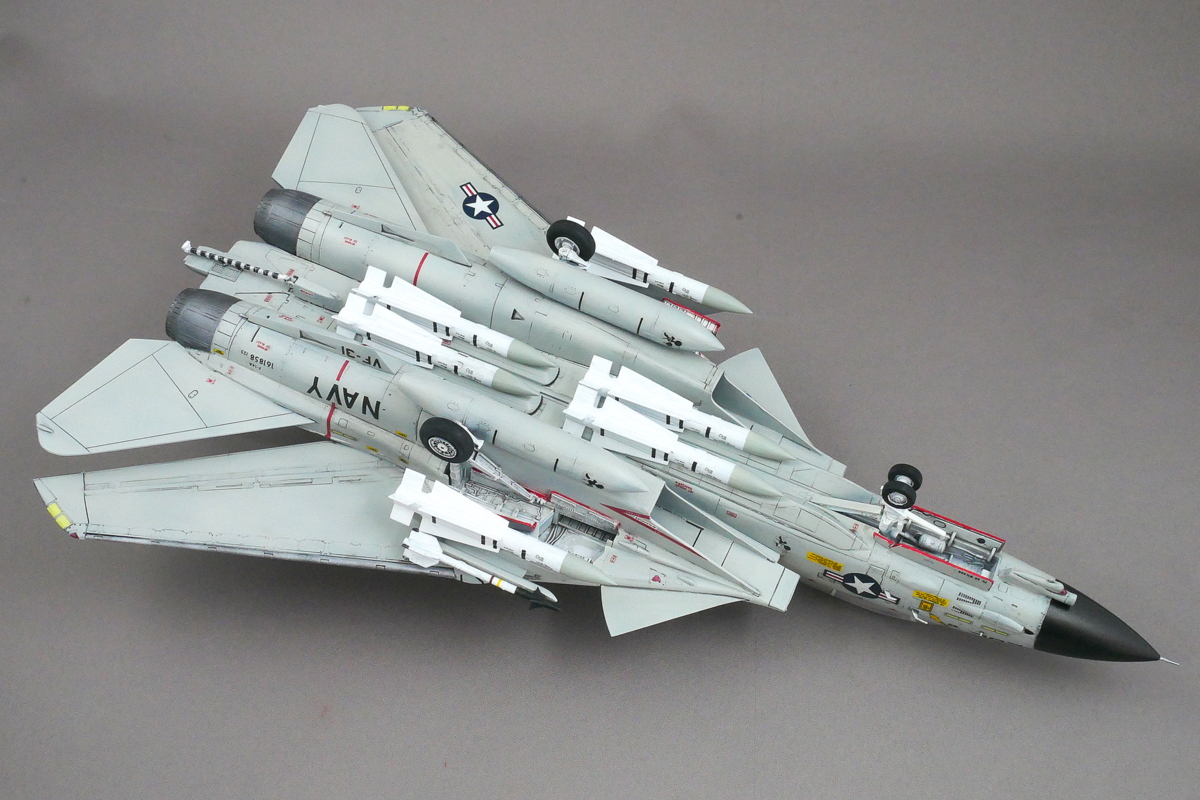
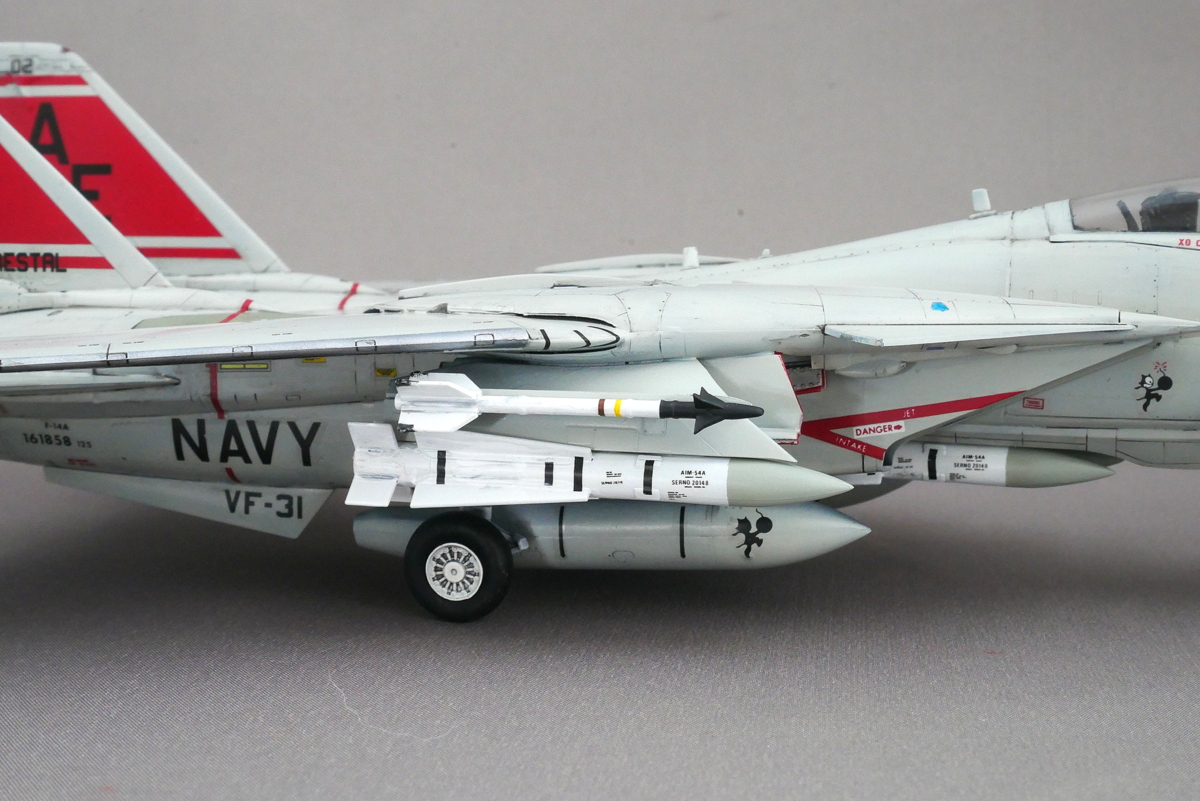
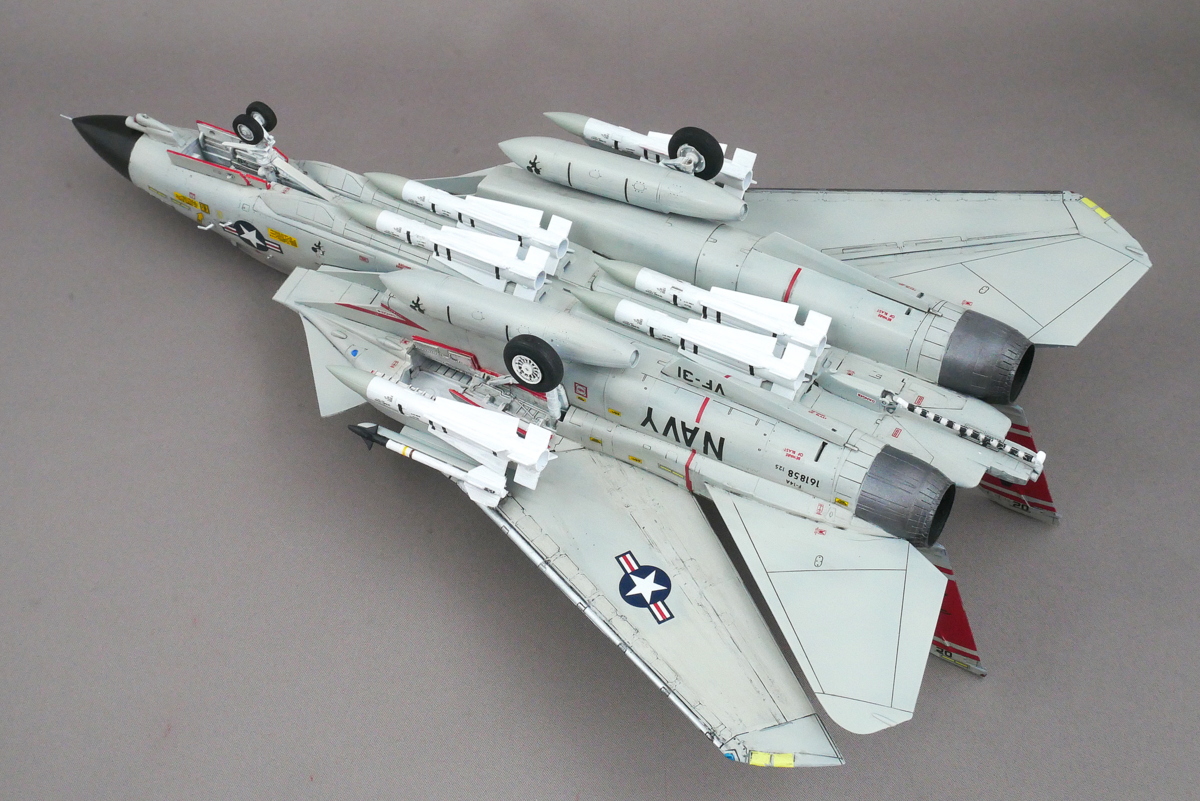
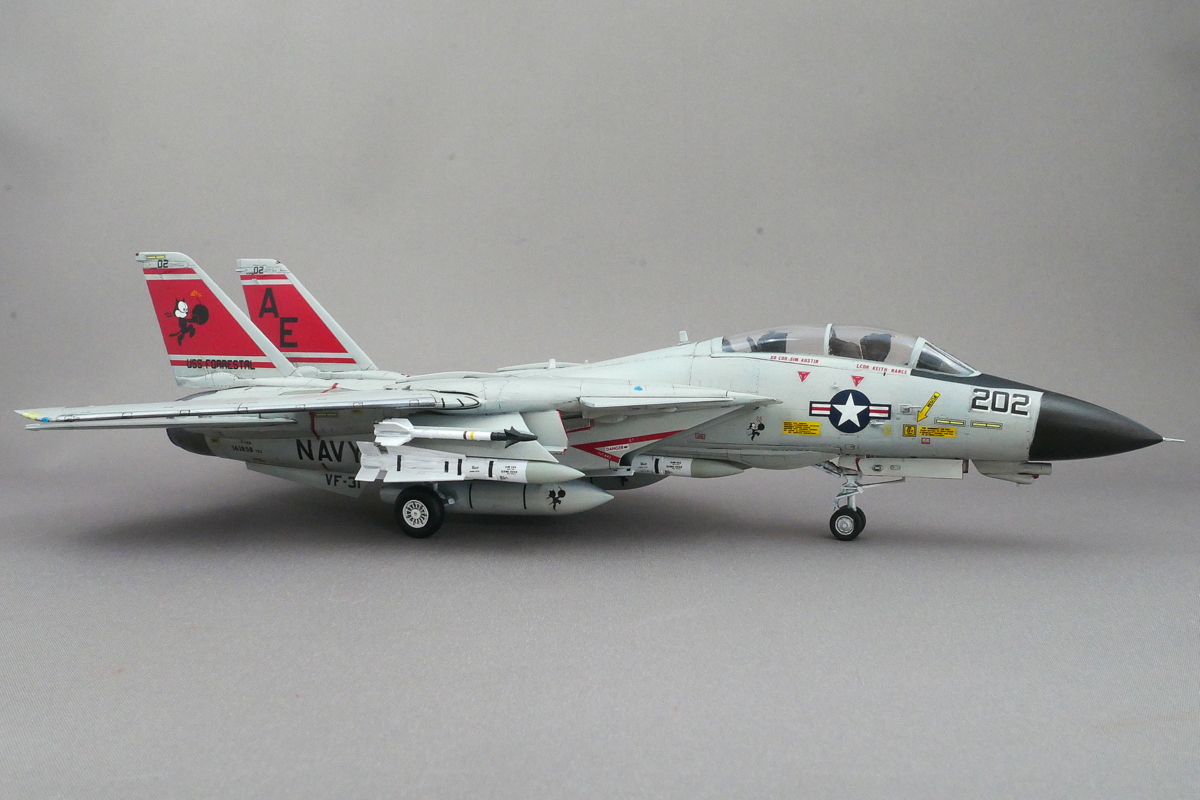
This time, I used the 1/72 scale Air Craft Weapon III U.S. air-to-air missile set, sold separately by Hasegawa. 6 AIM-54 Phoenix and 2 AIM-9L Sidewinders. This combination of missiles seems to be a standard armory for the fleet air defense mission when the maximum amount of Phoenix missiles are loaded. I think it looks better with decals.


The Phoenix missile under the fuselage was firmly fixed with a lot of super glue.
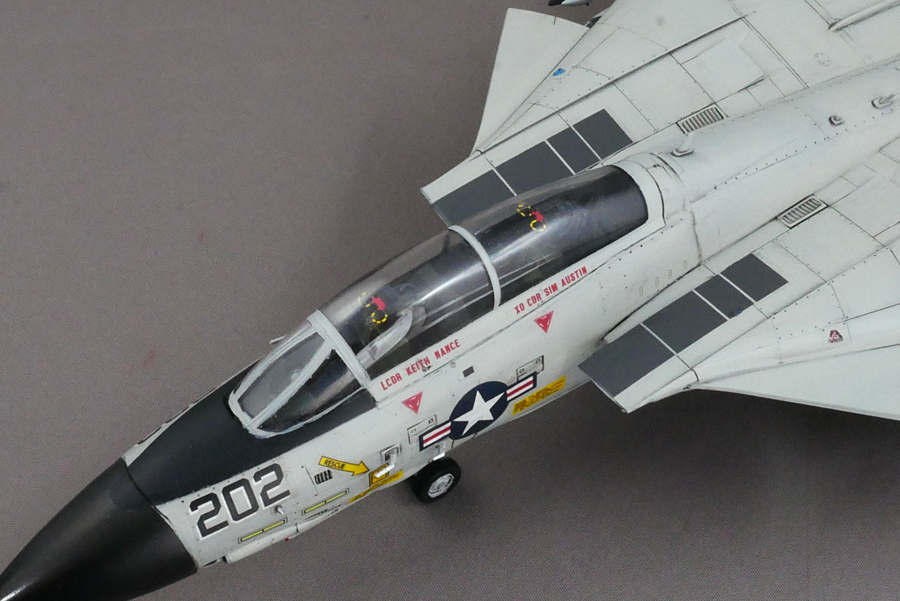

I can see the cockpit screen through the canopy, so it’s cool.
Speaking of F-14, my generation cannot forget the movie Top Gun. I remember it was a big boom. I guess I was a high school student then. I think that movie brainwashed many young people.


What was difficult about this F-14A was that it was a little hard to tell, and it was completed while I struggled. It’s been a long time since I built a modern jet plane, which might be why I didn’t know how to do it. I couldn’t make many minor adjustments, but I think this is enough. There are many manufacturers, such as Fujimi, Finemolds, and Doyusha. I don’t know much about current fighter jets, but I’d like to make one if I feel like it.
(2022/04/09)

 Ausf. E/F Tristar 1/35")
コメント