
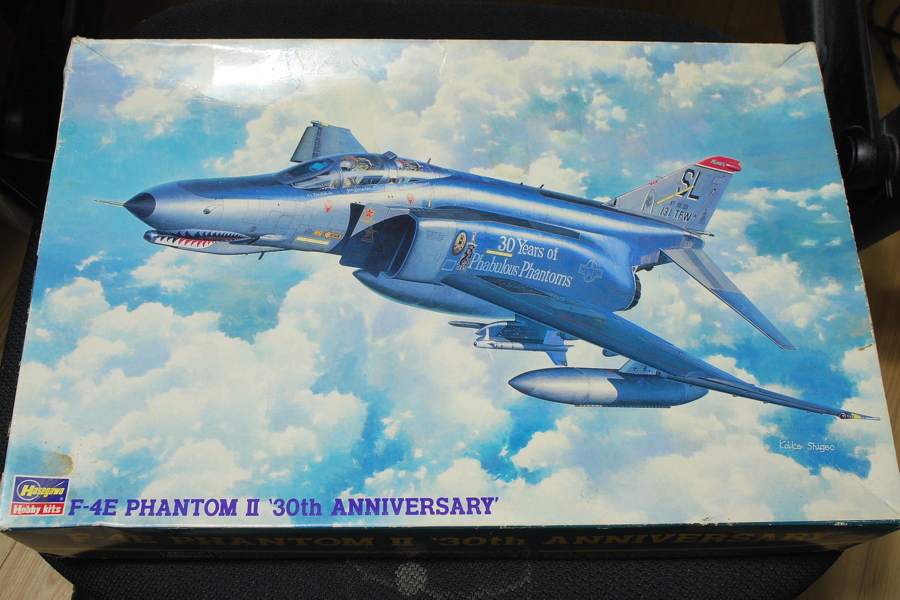
 I started to build a modern fighter after a long interval. Probably it’s my first time of F- 4E Phantom II. I had been stocking for quite a while, and the boxes became terrible.
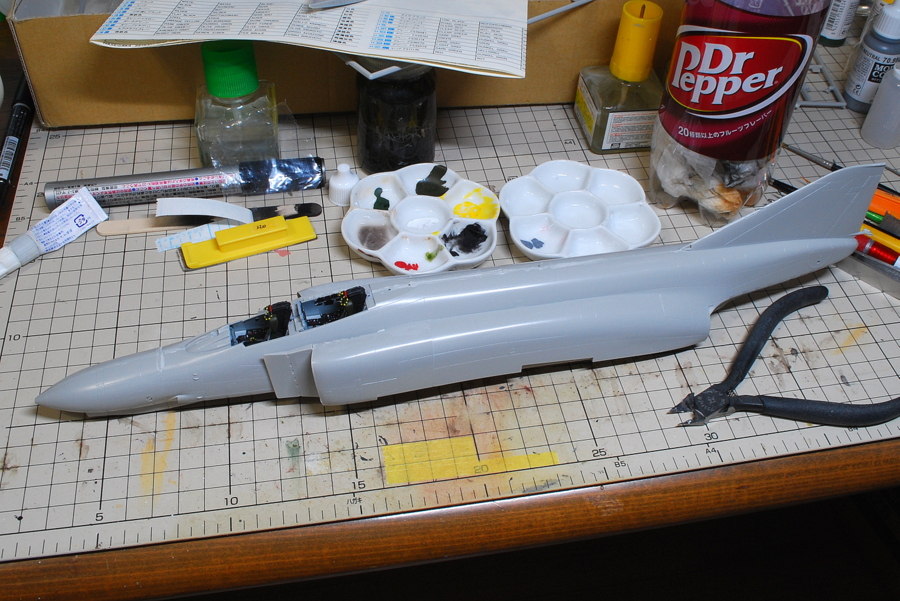
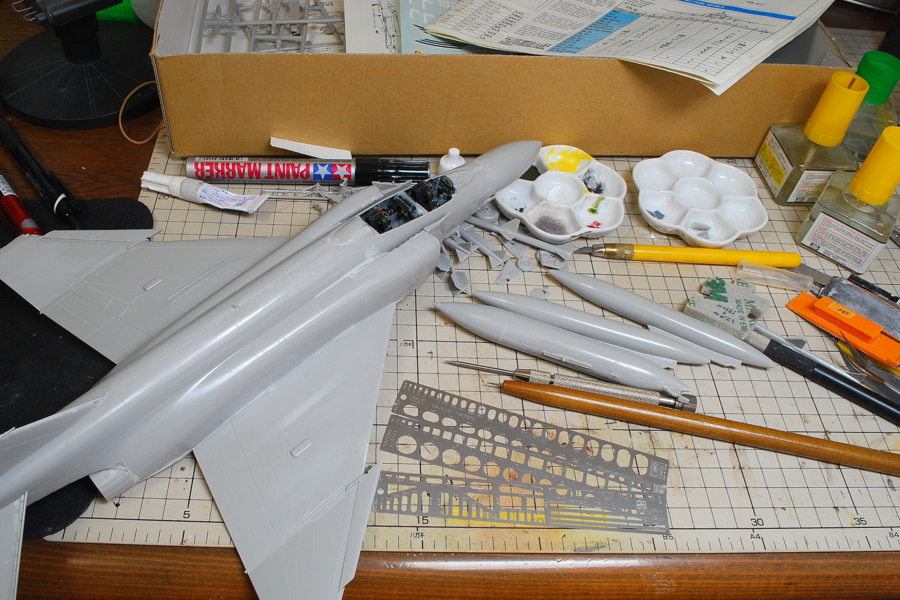
 Phantom II is big on a 1/48 scale. It was slightly distorted when combined with the left and right fuselage, and it did not suit well. I kept it for a long time, so I’m unsure if strange power has been added or if it has from the beginning. I could compare it if I made the same kit of Hasegawa several times. I think it has probably been a distortion if crimping firmly strongly. I think that the distortion will be corrected if I crimp it firmly.
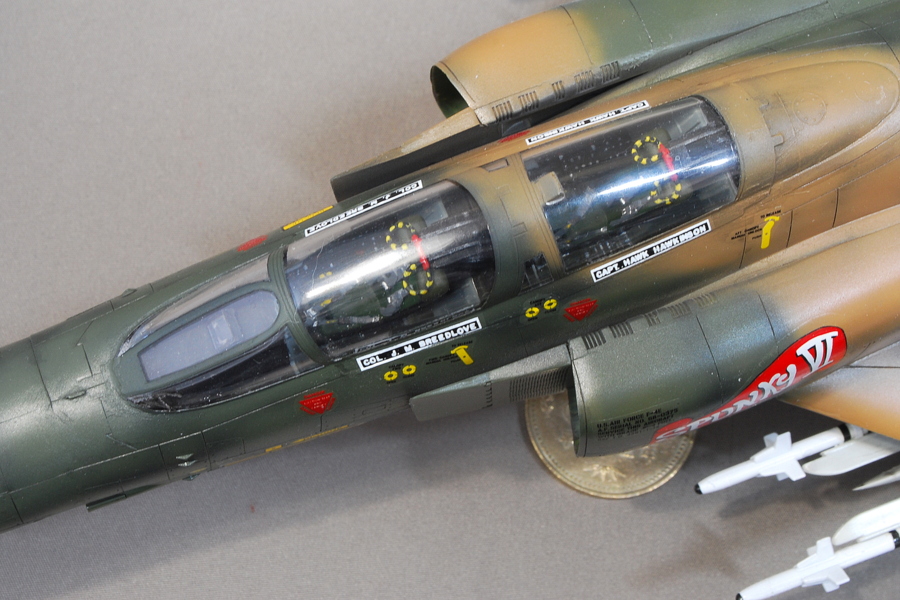
 Because it is an old kit, the mold of the cockpit panel is splendidly done, but there was no decal. It is all brush painting. I like cockpit decals as it looks good and is easy to stick.
 I injected the adhesive evenly and glued it firmly. It seems no problem as it is not much distortion.
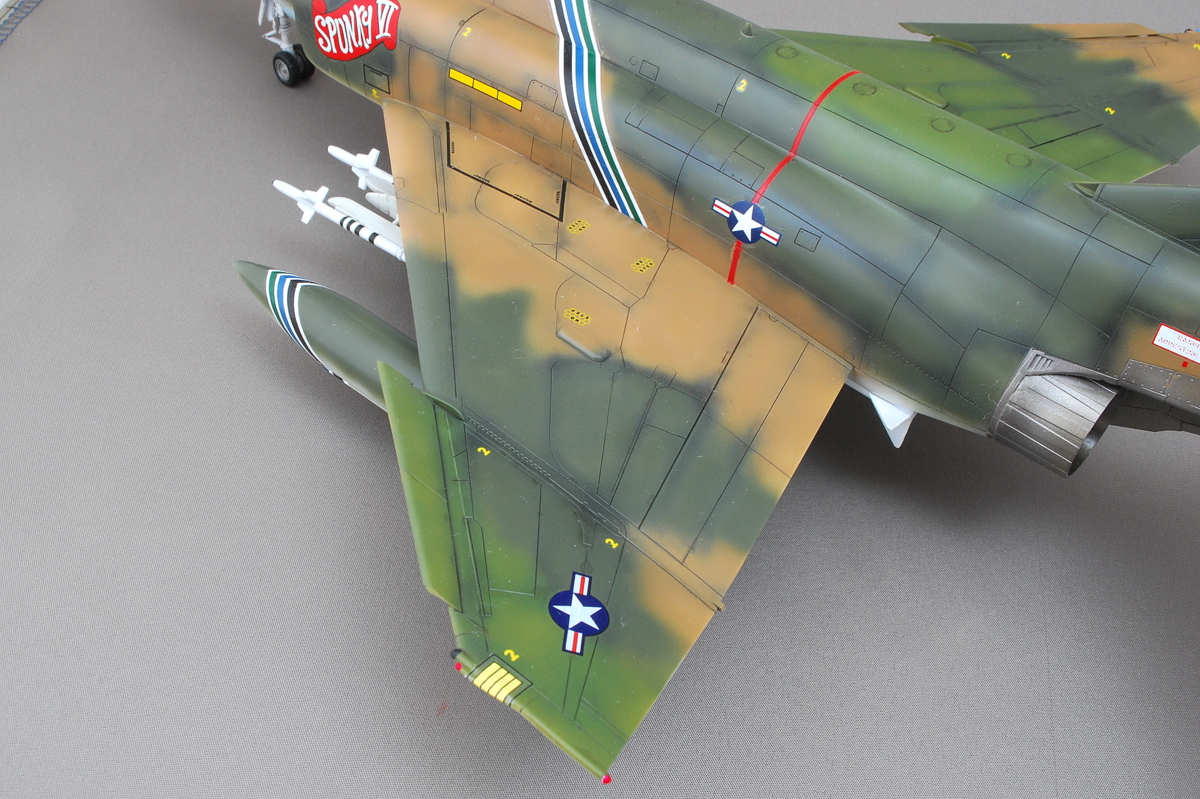
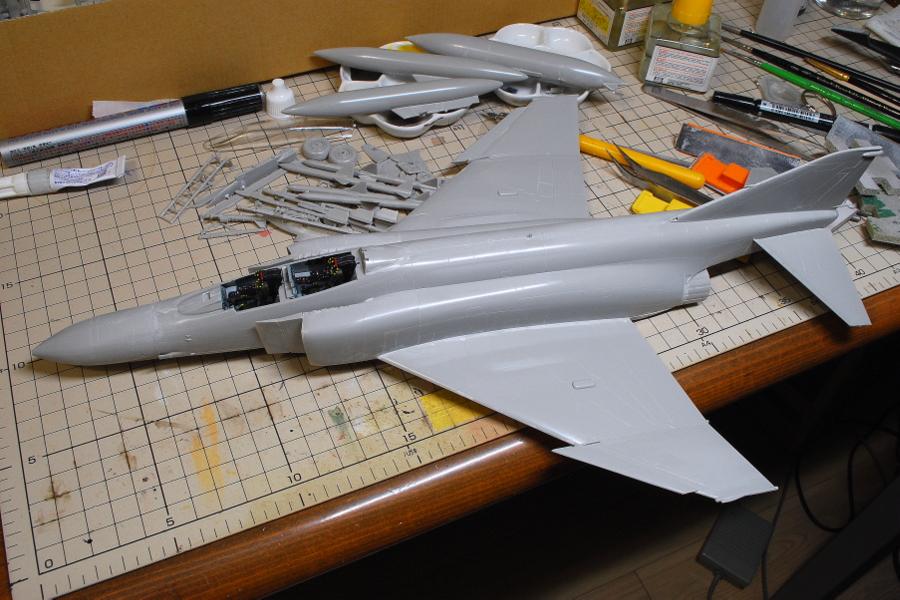 The bottom angle of the tail wing is 23 degrees. It needs a delicate angle adjustment; it looks like this when looking at actual photos.
(4-October-2017)
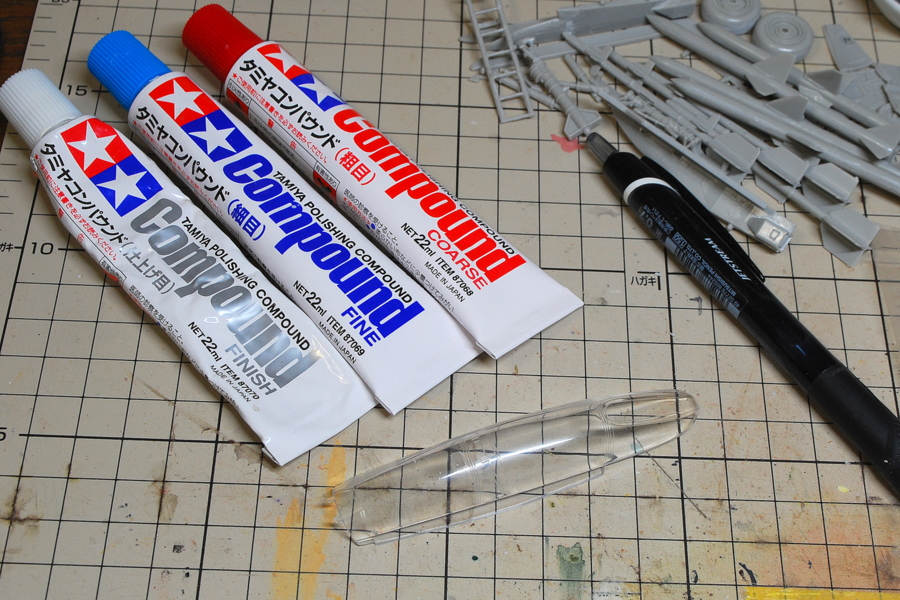 One of the selling points of this kit is this one-piece canopy. If you make the canopy in the closed state, it seems easier to make than the clear parts divided into four. I was polishing with a compound as it was a bit scratched. I wouldn’t say I like this kind of work very much. I have no perseverance, so scratches are left in half.
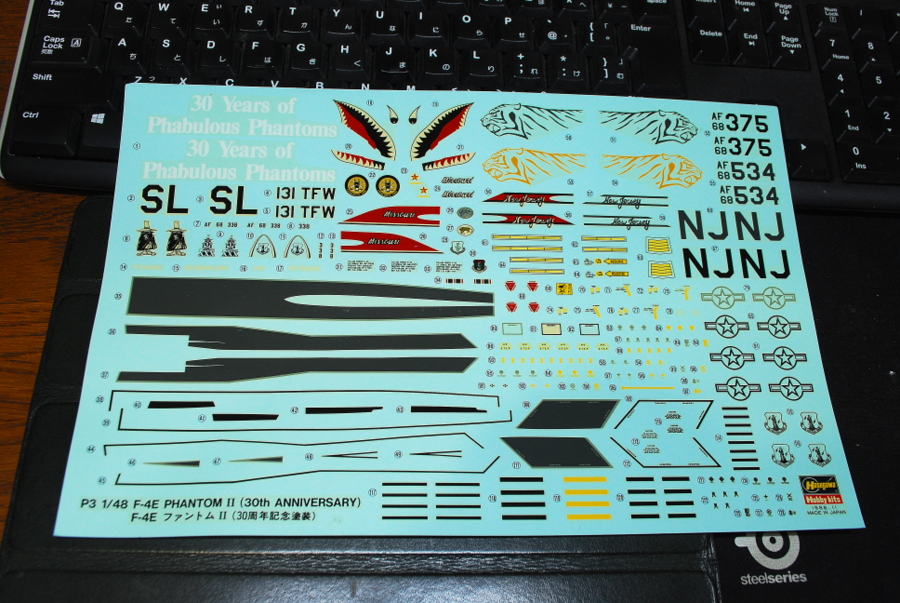 I wanted to paint camouflage paint after a long absence, so I changed to this. Since the decal was yellowed, I experimented with direct sunlight to improve yellowing. When it is irradiated too much, it rustles and shatters in water, so it is needed to moderate. At this point, there are no options for the 30th-anniversary painting. Perhaps getting only a decal of about 1,000 yen with customer service is possible.
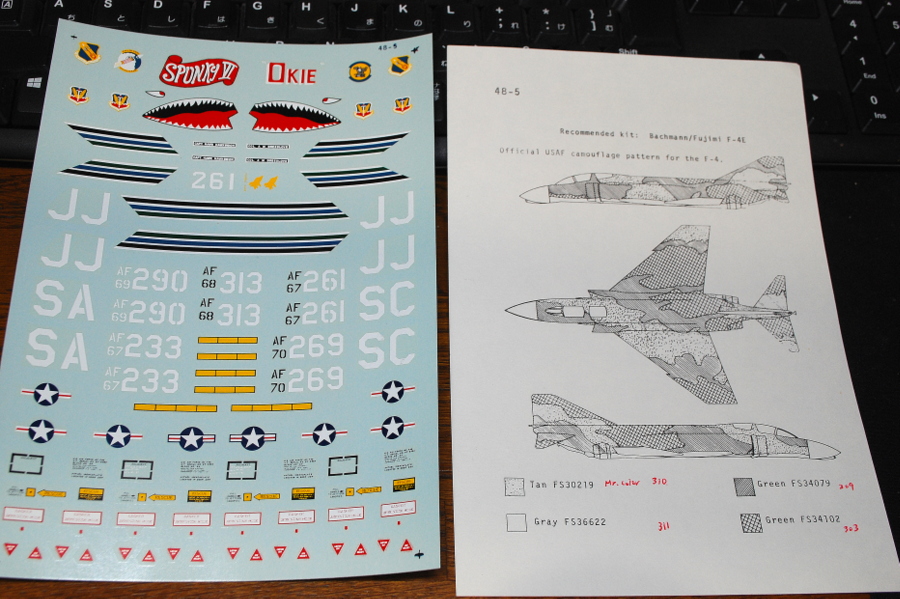 So, I used a Microscale Decal and tried to select a marking from this. It was not included small decals, but it seemed like the minimum necessary change. I want to complete it somehow by using Hasegawa’s caution decals. However, the description of this Microscale is rough and difficult to understand. Since these items are purchased by Phantom II mania, it is only the minimum necessary information, and after that, the modeler searches and interprets oneself.
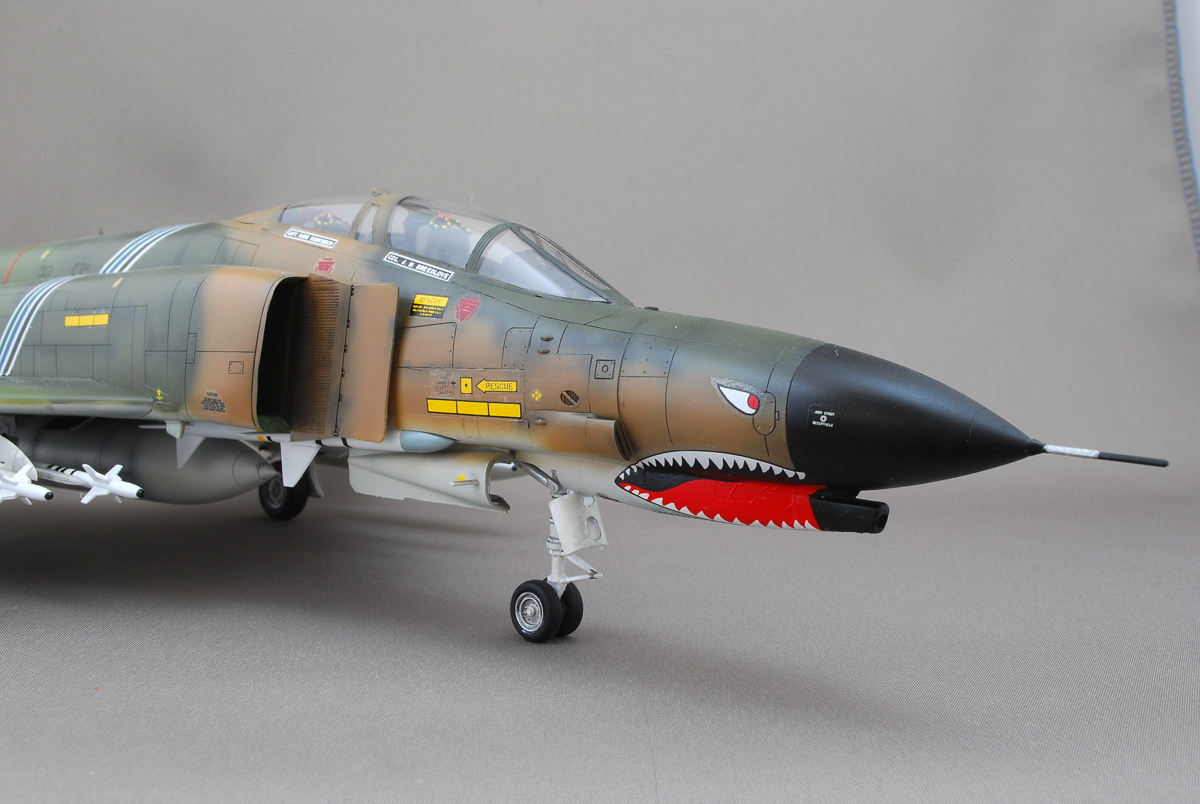
 Many people are crying at the yellow tint of the Hasegawa Decal. Has it improved recently? If it improves, I think the rank of Hasegawa is two steps up me. No, of course, I always thank Hasegawa. When the decal is irradiated with sunlight for several hours, the white part is impossible, but the rest is changed to usable. Shark teeth are yellowing compared to the characters on the keyboard. Or maybe it is not white from the original. It is unnatural for only the shark tooth to be yellow.
 I carved the whole panel lines, including the disappeared by filing. Perhaps some of the parts are very old. I tried to connect them delicately and carve them straight in anyway I could connect them. It is camouflage paint, so worrying so much is unnecessary.
(06-October-2017)
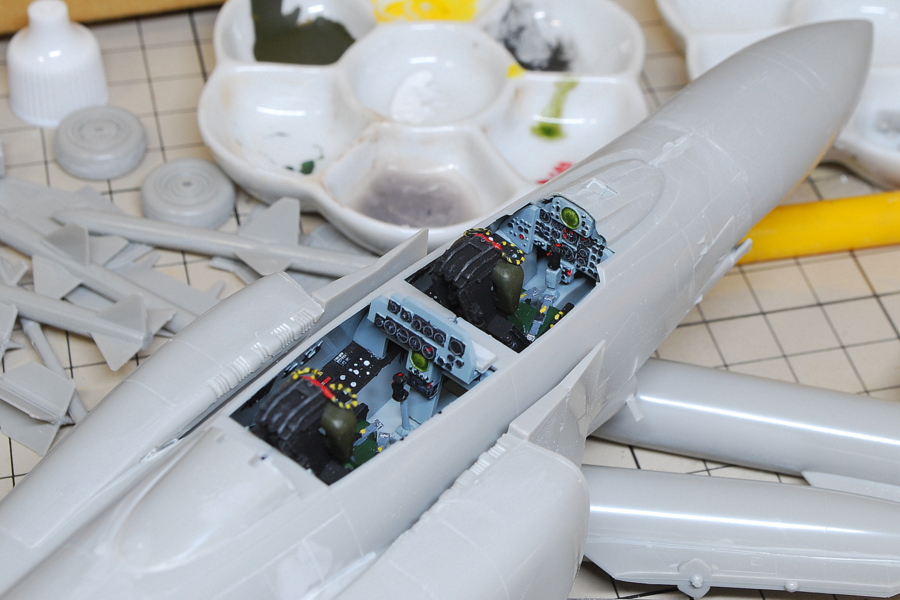
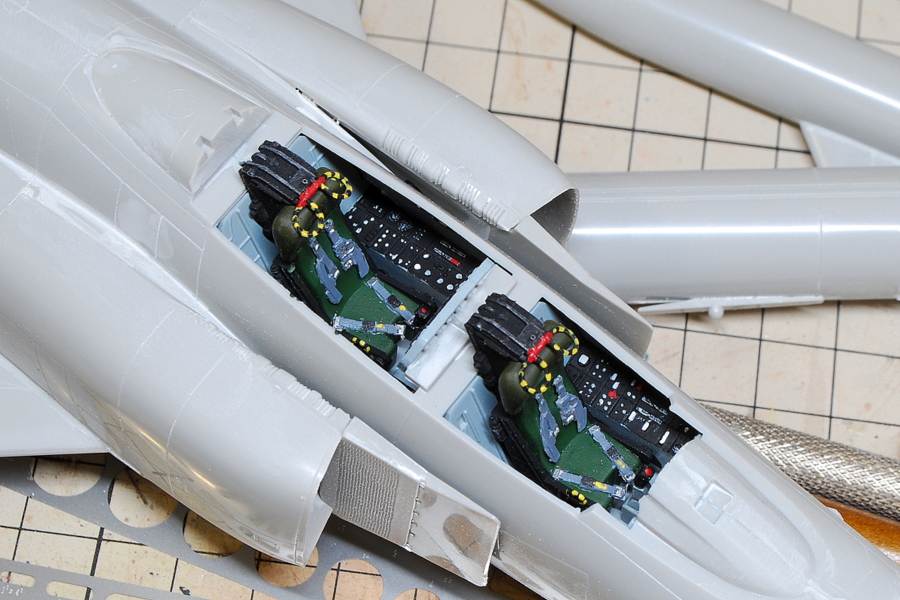 The cockpit is like this. I tried to add seat belts and paint small panels as fine as possible.
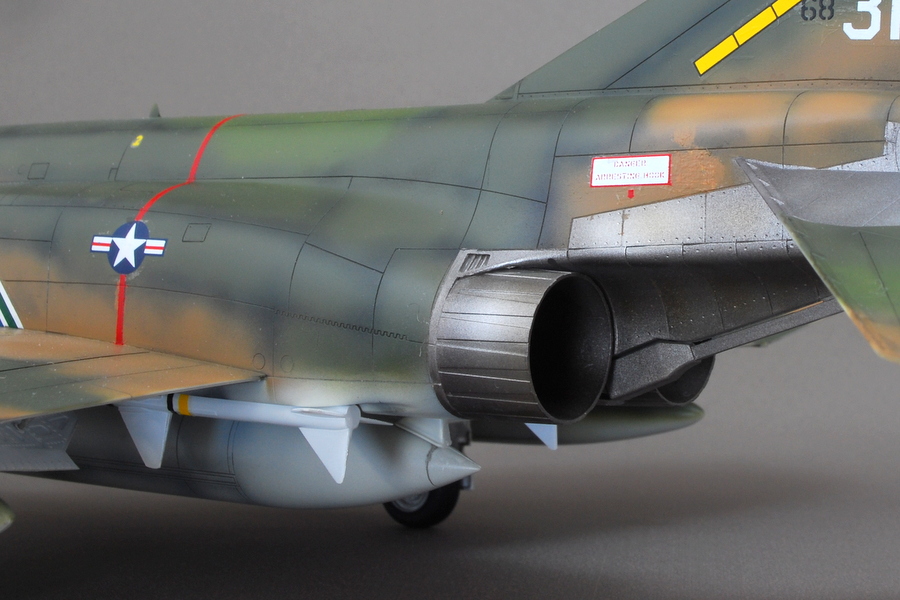
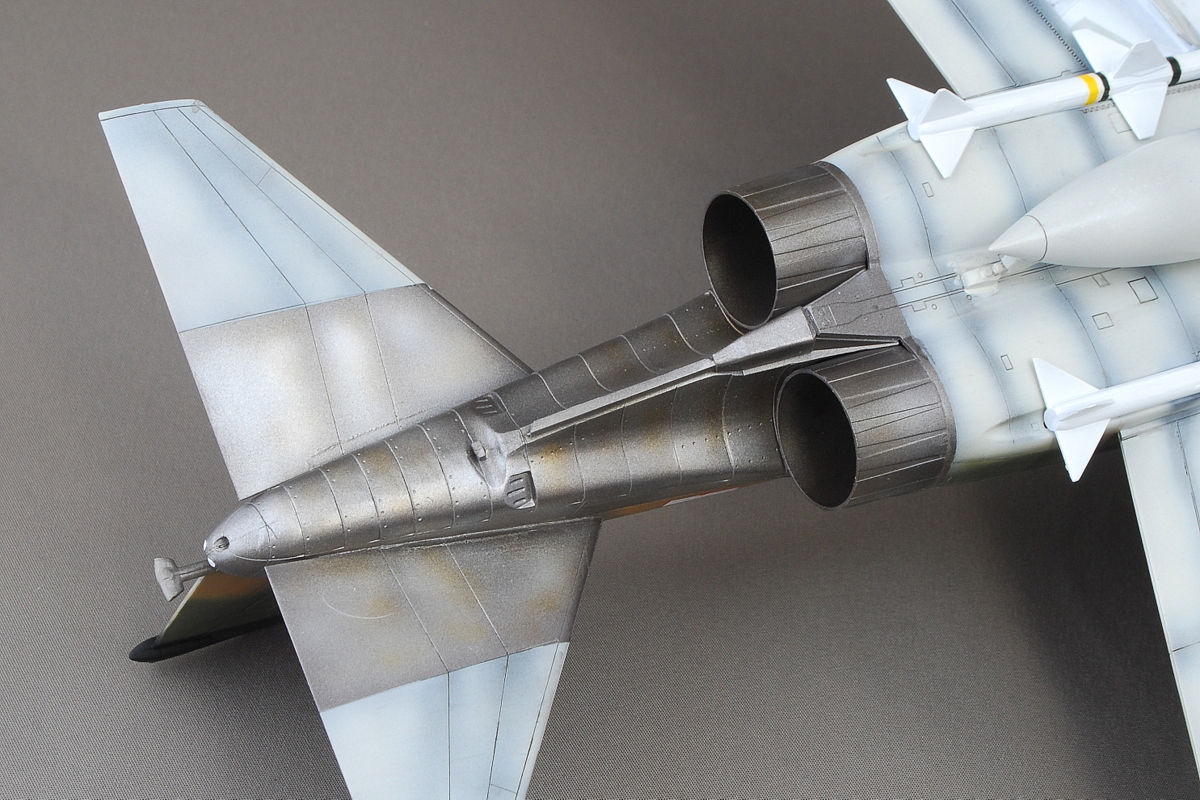
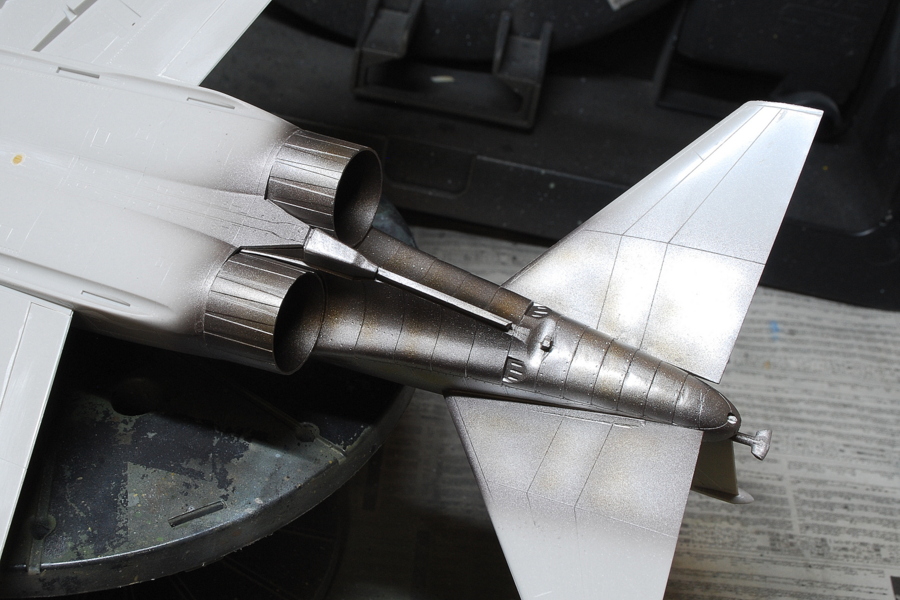 Metallic paint around the engine nozzle. I want to blow the Silver at the end. This is how I thought about painting order. The truth is that I don’t want to do much masking on the metallic surface.
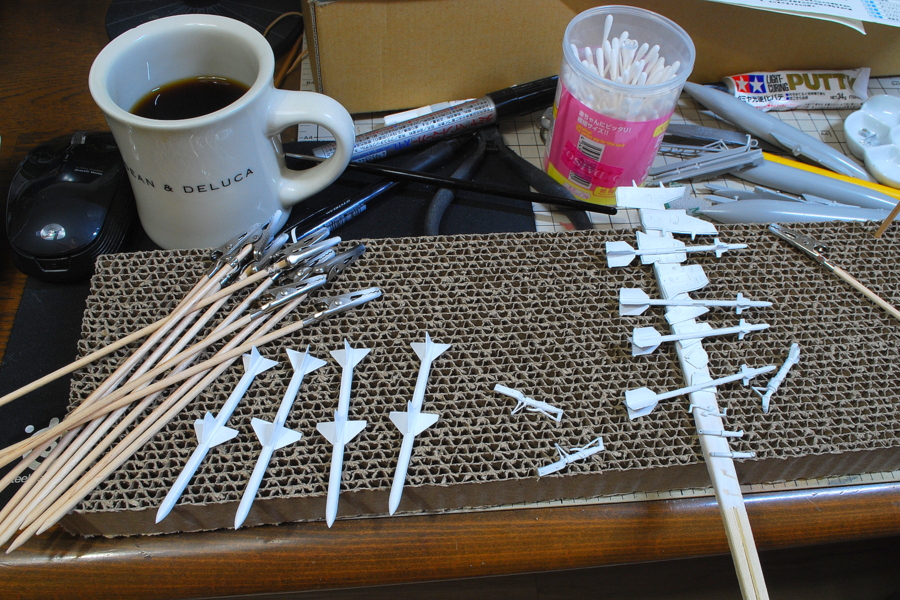
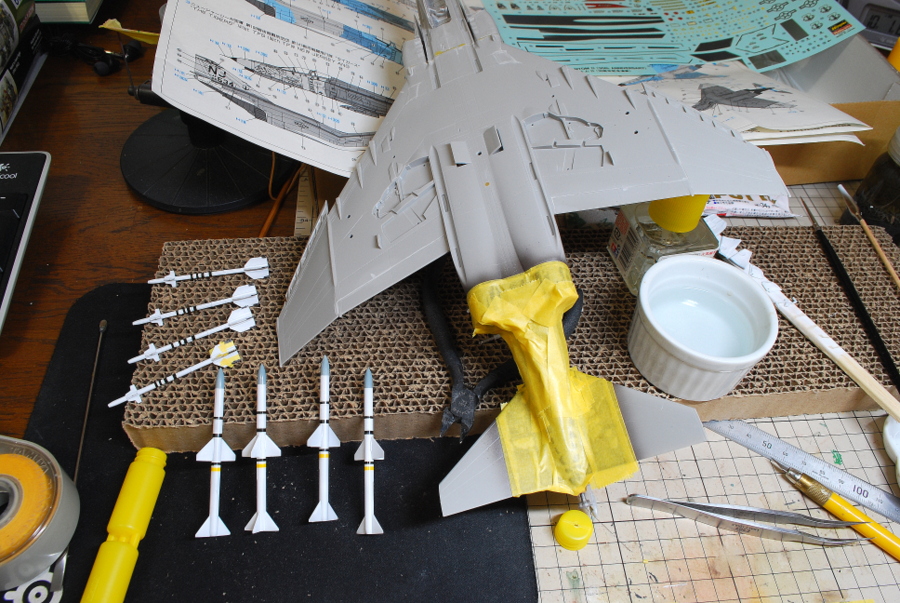 I don’t have paint #311 gray FS36662, the color of the aircraft’s bottom, at hand. I have to buy it. For the time being, I’m painting missiles and sticking decals… Now I’m preparing to mask the jet engine and ready for basic color painting.
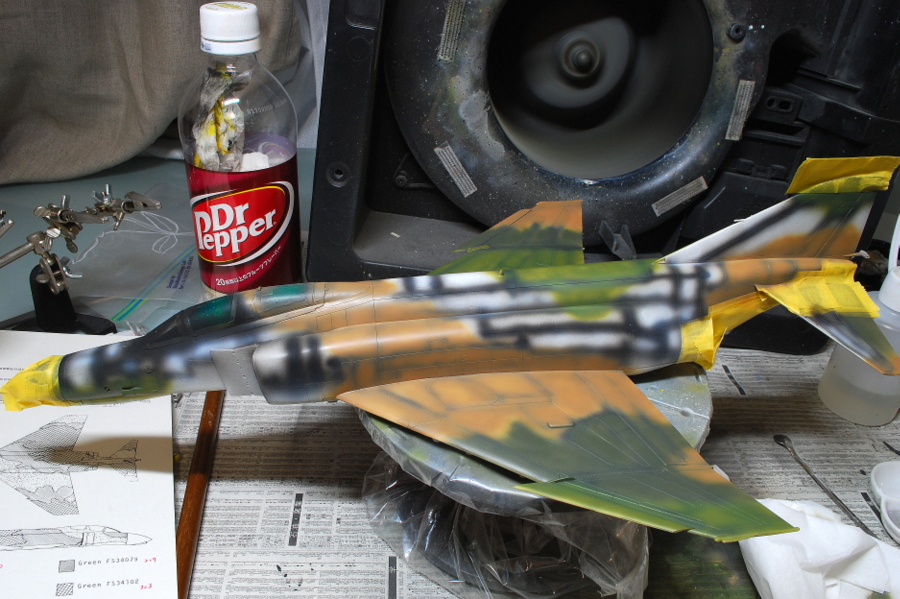 When I use too much shadow, using two colors of green like this three-color camouflage, the coloring border becomes very difficult to understand. After all, I do not have much shadow effect because of repeatedly blowing over and over.
(09-October-2017)
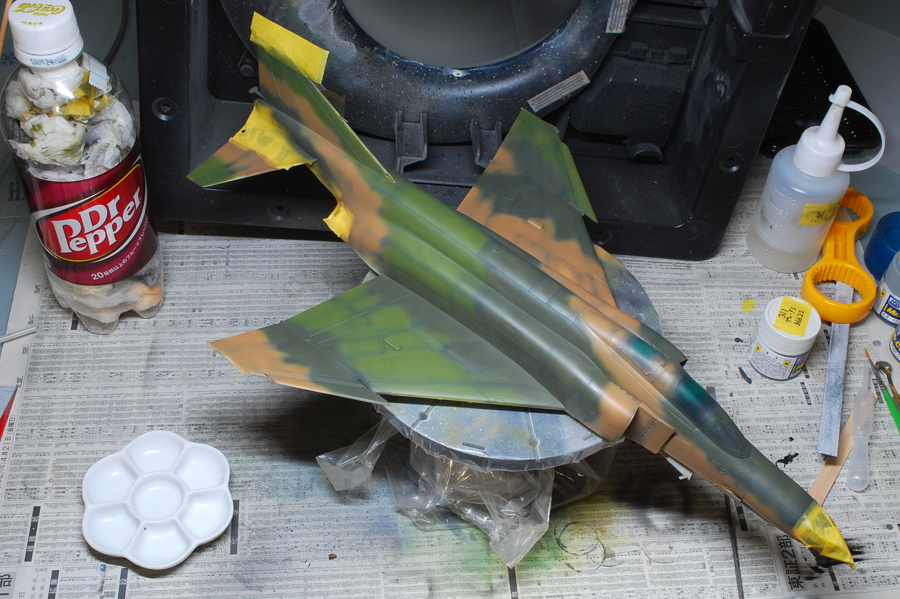 Well, the three colors of camouflage and fuselage underside are finished. The atmosphere of the courageous appearance of the Vietnam War came out. Three airbrushes were entirely operated and painted gradually by narrow blowing, so I didn’t mask except the engine and nose. Four colors in total with tri-color camouflage and gray on the lower side. It’s convenient to use four airbrushes simultaneously, but I think one of my brushes, 0.5mm is too thick. It seems to be in a painting posture like a multi-armed deity. Cleaning up all the airbrushes is troublesome. It is completed after sticking decals and attaching landing gears and missiles; it is halfway to completion.
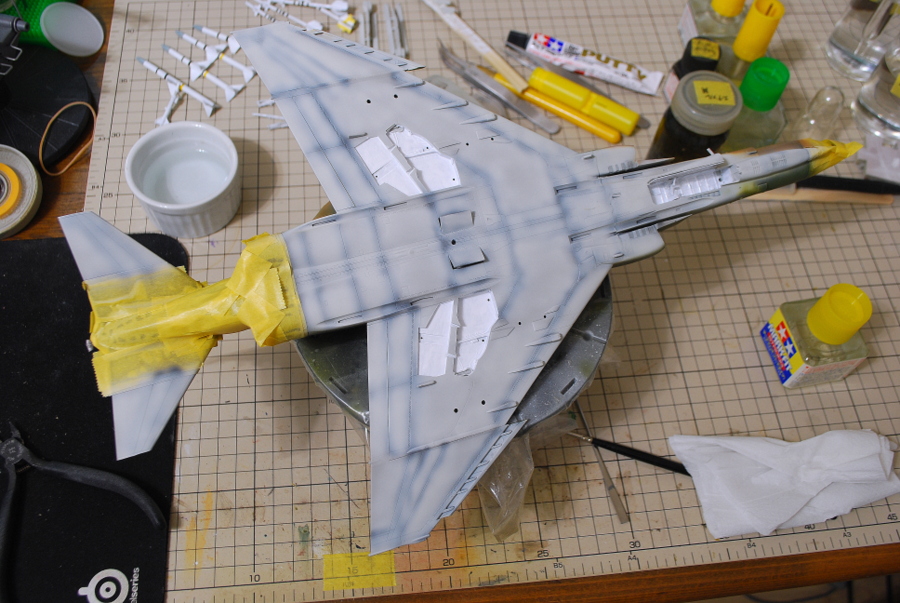 I thought it was OK, even if the landing gear compartment at the bottom of the fuselage was still gray. Since the color tone differs from white, I painted white later.
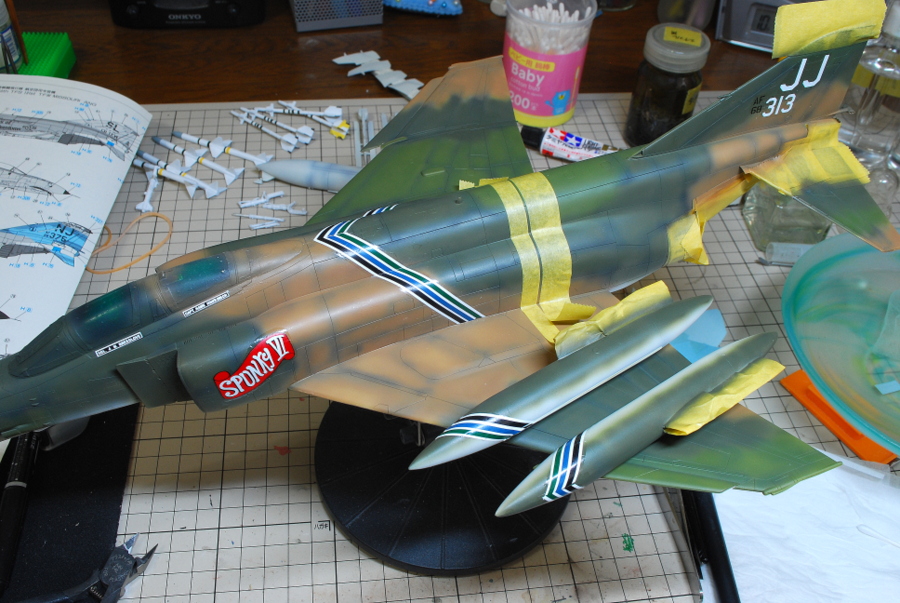 I could choose from five kinds of marking in the Microscale Decal. Marking the stripe was the first hope, so I stuck with these. If it fails, it is possible to change to other choices on the way. Retouching of the surface is necessary but somehow succeeded. The red line in the center of the fuselage should have also been included in the decal. I thought it was straightforward to stick the decals of this belt, but in reality, it was pretty tricky to work and hard to fit the patterns and the curved surface.
 There are unexpectedly many parts on the bottom of the aircraft to be installed after painting. I have to retouch the adhesive marks later. But I think it’s getting better.
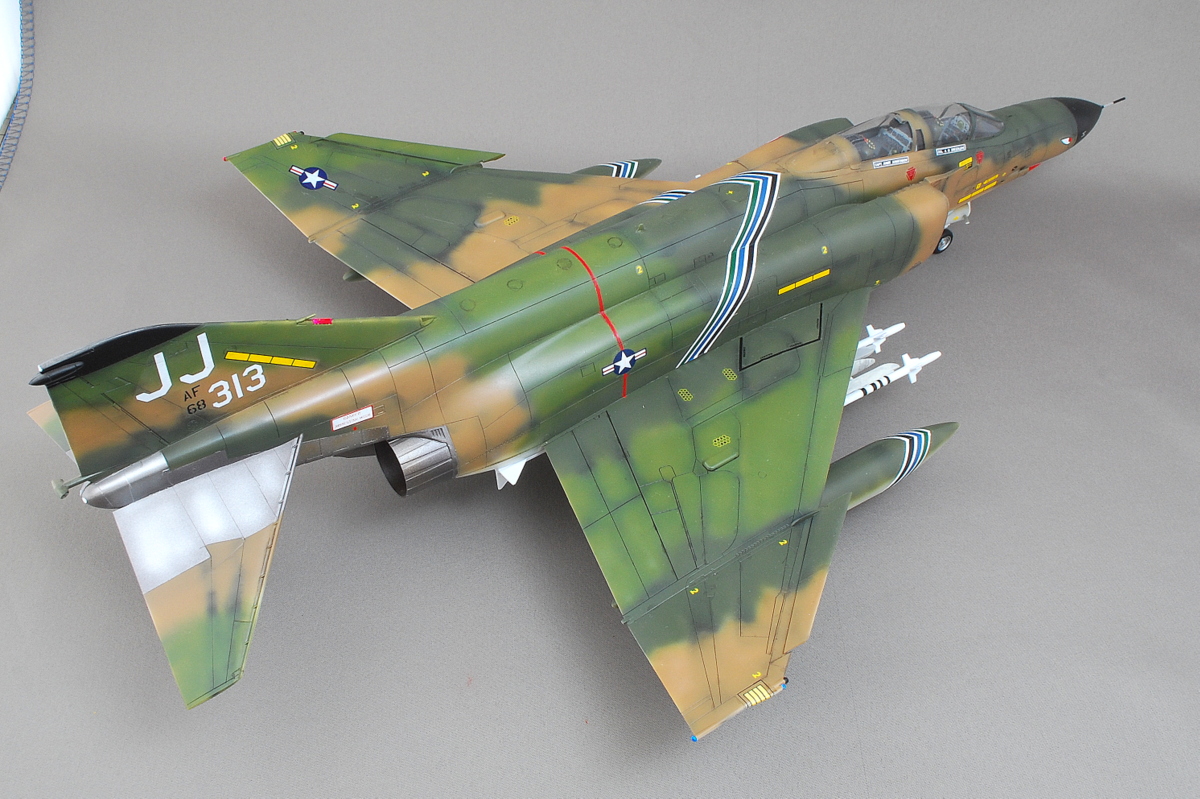
 Phantom II, I started to make it easy feeling, and I was surprised at this size, but it was completed anyway. I thought the F-4 Phantom probably would not be big after completion, but I checked the length that was the same as F-15 Eagle and F-14 Tomcat. It might be able to complete the F-15 with the same difficulty.
 Considering the decal, there are many adjustments to change the painting pattern. I think there are quite a few mistakes for that. I did as much as possible with materials I could use now.
 Silvering has occurred in some places, such as the decal on the tail wing. After all, is it better to blow clear once after primary paint? I thought that it was no problem with a semi-gloss overcoat. One of the silvering reasons I could not use Mark Softer so aggressively is because it is rather delicate decals. I did not use the decals sold separately, so I did not understand the feeling.
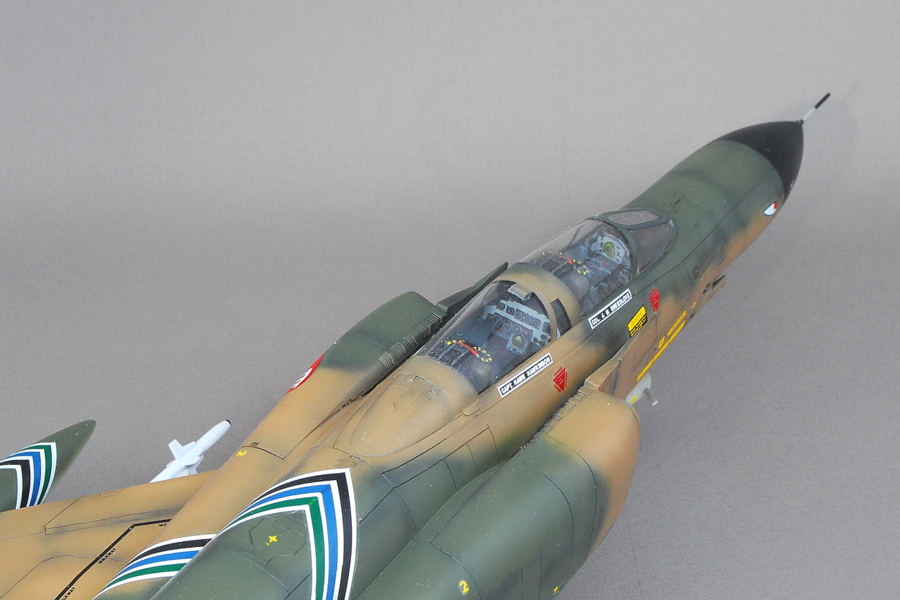
 I was satisfied with the cockpit by painting it with a brush to a good part.
 Unfortunately, when the canopy masking was peeled off at the final stage, the leftmost side of the tip was slightly whitened. Perhaps the adhesive flowed in during gluing, not painting. I mixed black and clear enamel paint, made a color like clear smoke, and recovered. It became a little better.
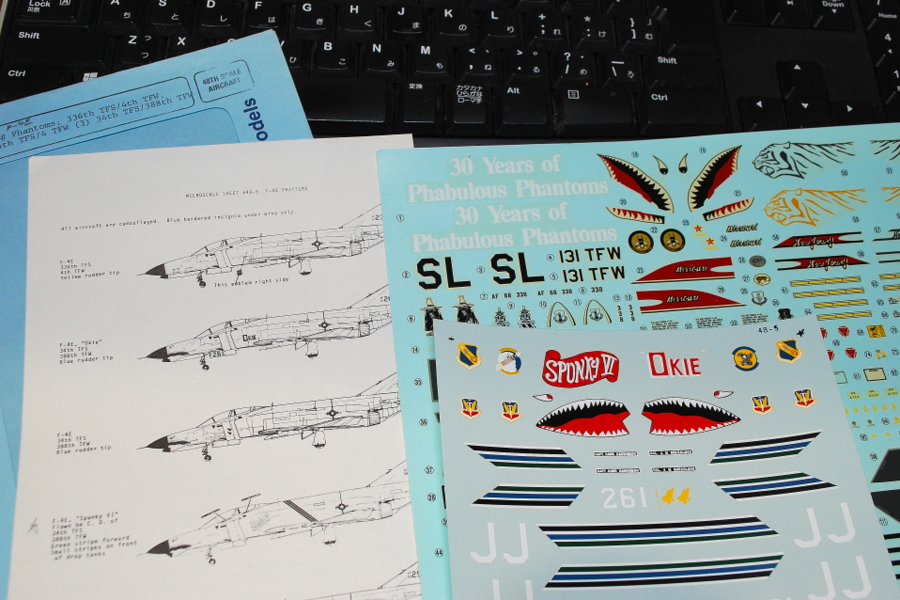
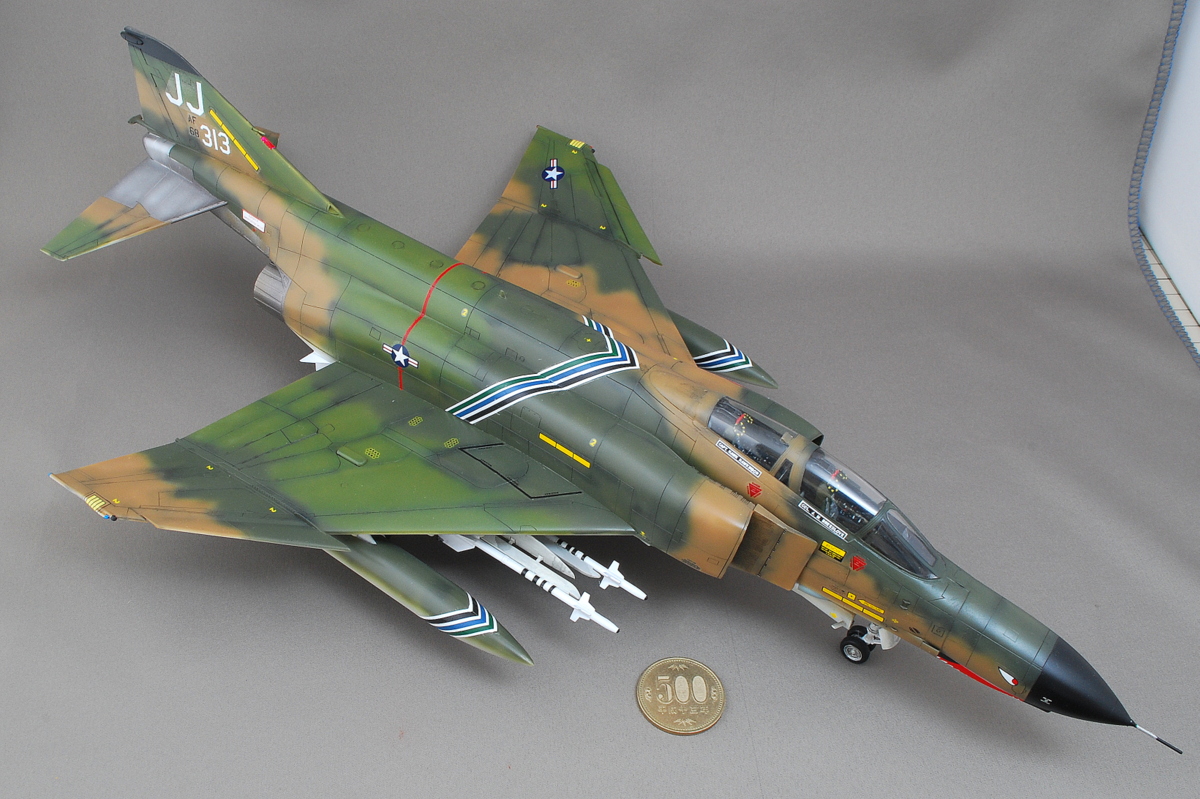
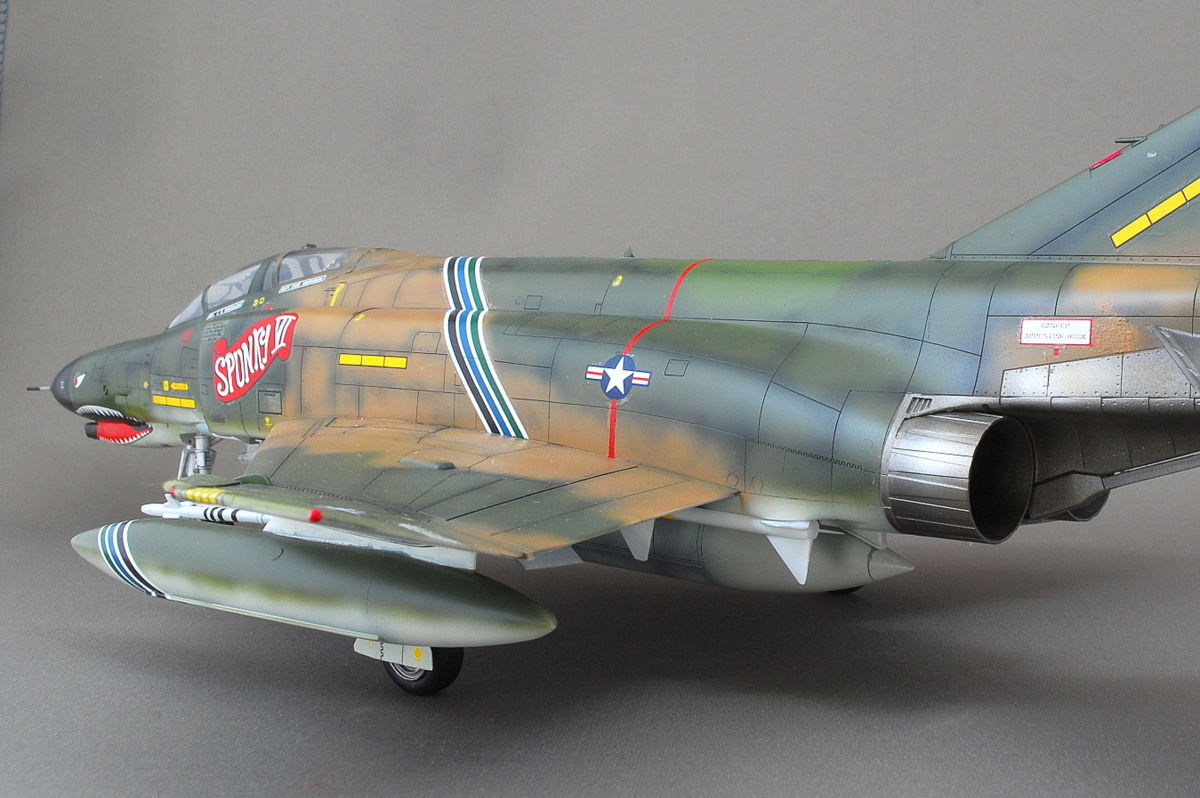
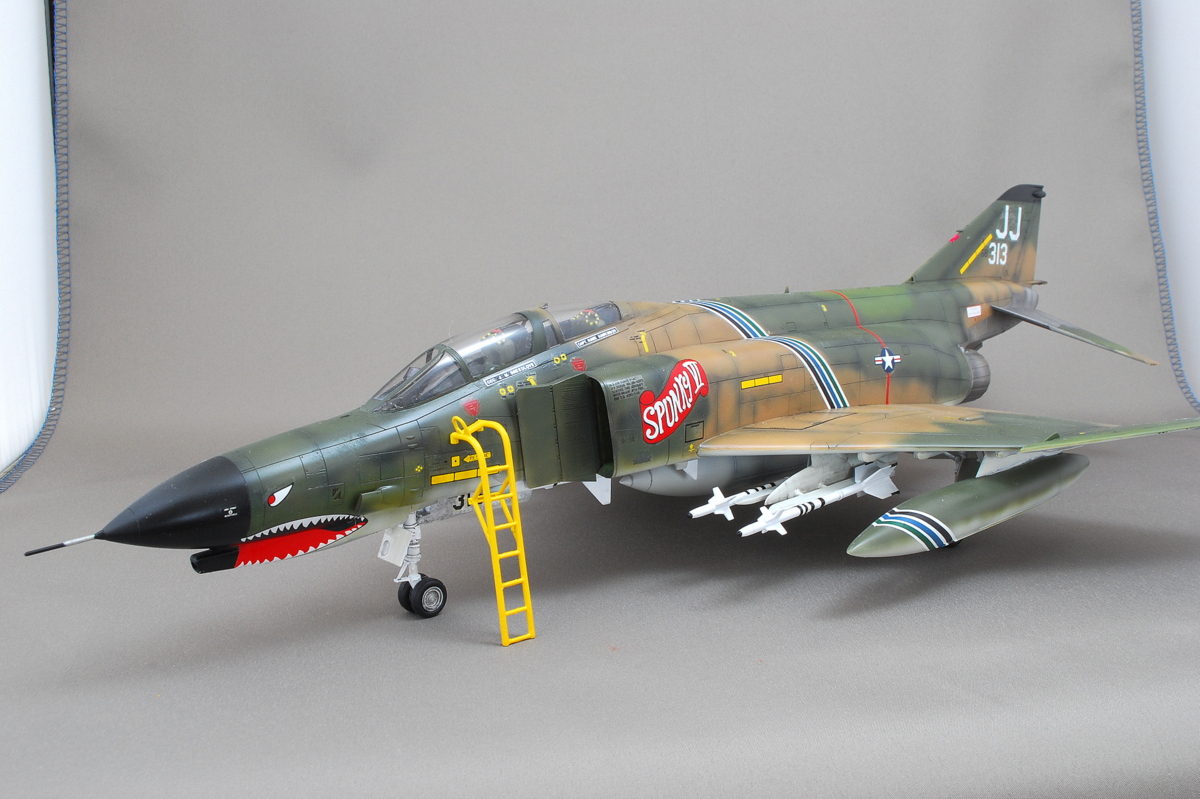 The marking was “Spunky VI” F-4E Phantom II – 34th TFS / 388th TFW Korat RTAFB Thailand. During the Vietnam War, this team had air-to-air and bombing missions from Thailand’s Korat US Air Force Base. The 388 TFW was characterized by the shark teeth marking. This is a reasonably flashy marking. I wonder if it reduces the effect of camouflage paint.
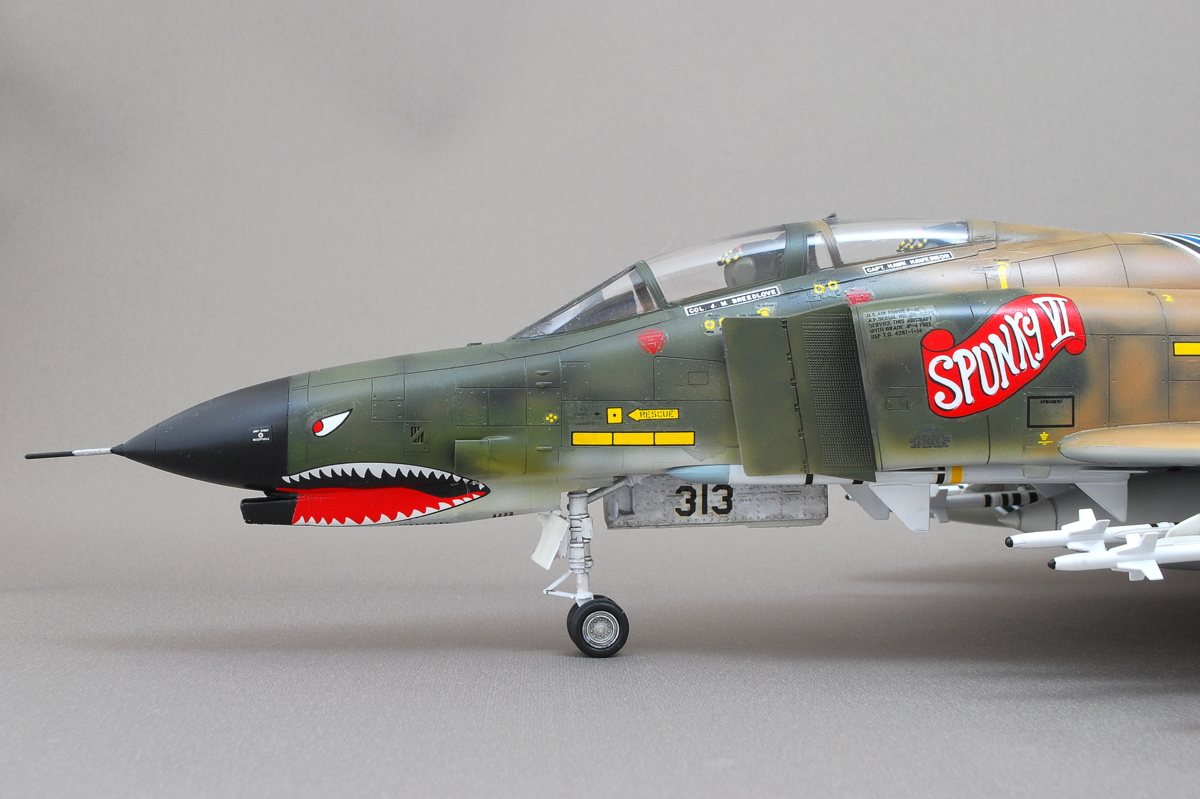 There is no detailed explanation in the Microscale manual. There is a part judged from Hasegawa’s painting manual, etc. It may not be an actual painting. But the camouflage paint of the phantom and the shark teeth are pretty good, and I like them.
 I thought it was not easy to understand the two green colors of tri-color camouflage for a while. It would be nice to know the difference between the two colors by overlapping the colors with the airbrush many times.

 I wouldn’t say I liked this marking of a Sherman tank as childish. After making Phantom II, it is pretty good-looking enough to make it again.
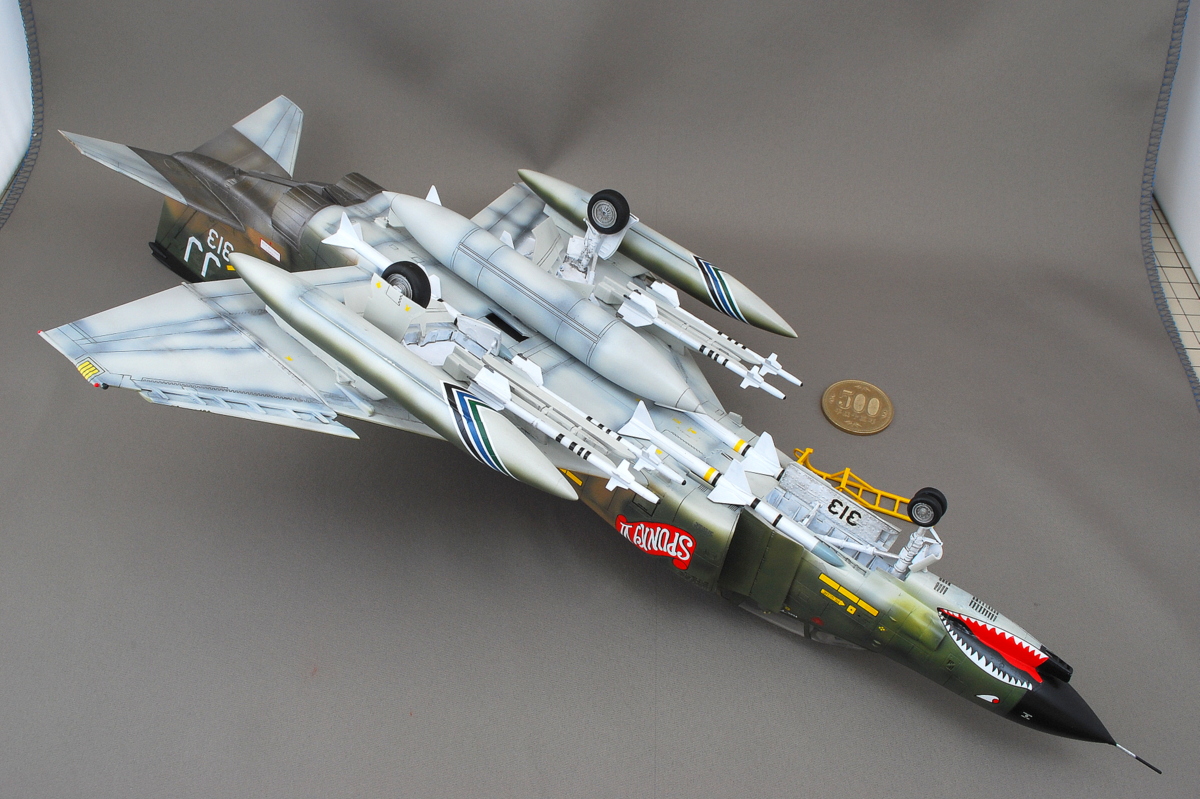 Weapons are four Sparrow air-to-air missiles and four Sidewinder short-range air-to-air missiles.
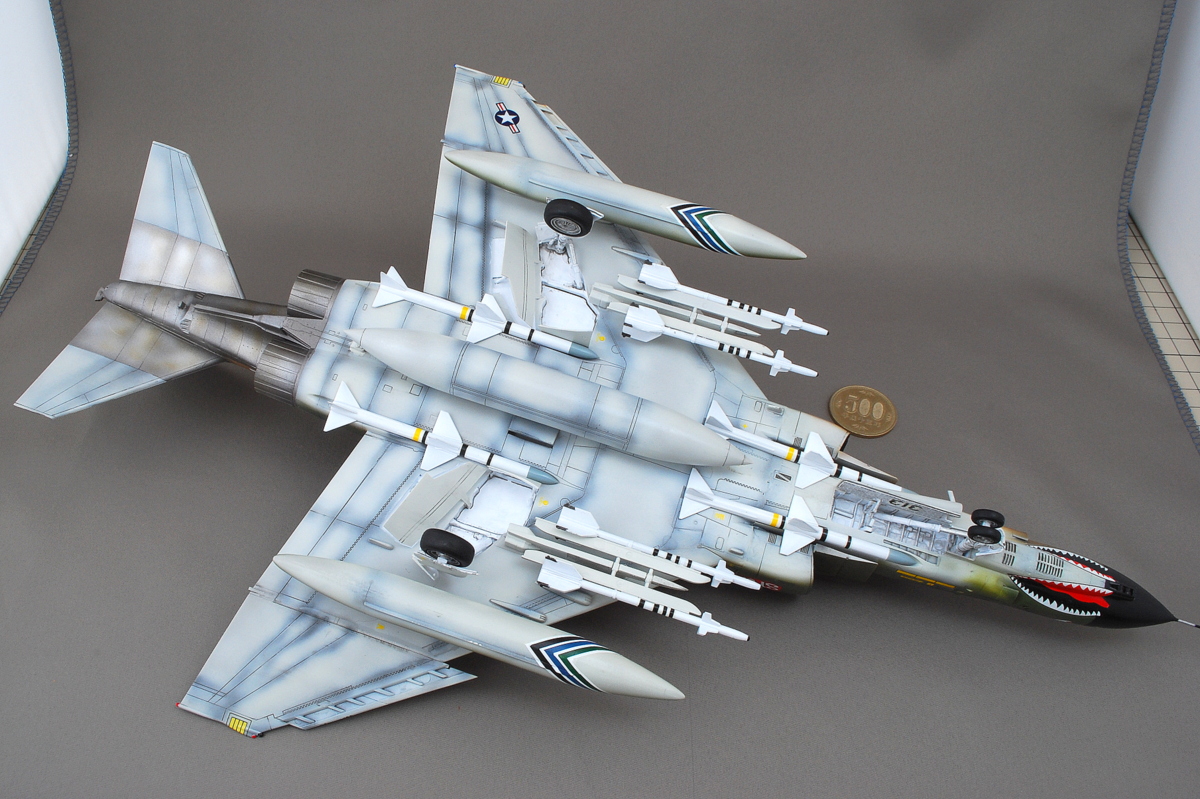
 Regrettably, the decal has become slightly wrinkled when coating the whole body, and the pinout marks, such as missiles, have not entirely disappeared. I want to pay close attention when I make an airplane model again. Strangely, there are a lot of things to notice after completion.
 I managed to finish it as it was, and I feel I’ve worked better. I think camouflage painting with an airbrush finally went well.
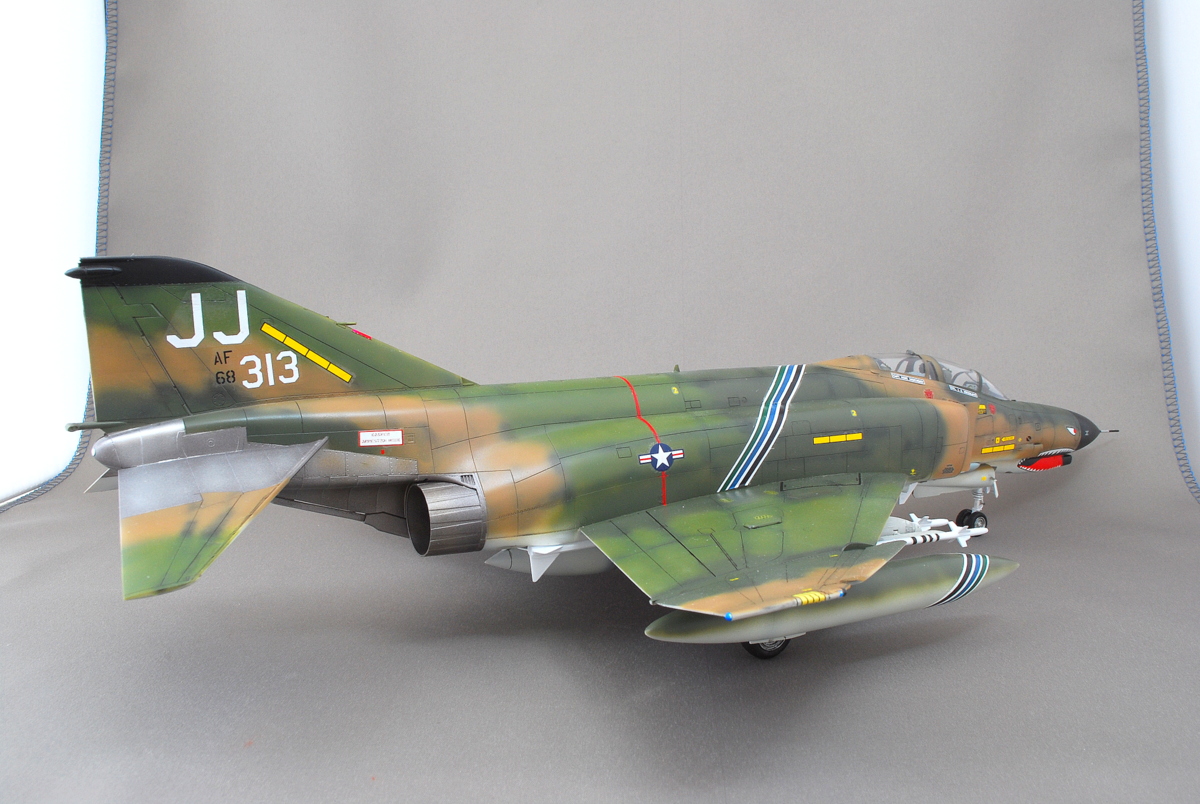 I thought F-4 was big when I took the photo. The Eagle and Russian Flanker I made earlier was a 1/72 scale. I have Revell F-15E; maybe it’s almost the same size as this model.
(12-October-2017)

I am interested in models of tanks, airplanes, ships, military figures, I build them little by little when I feel like it. I am also interested in the history of war. My starting is Tamiya’s Military Miniature series in elementary school.
From elementary school through university students repeatedly suspend and restart my modeling, it’s about 25 years of this hobby’s history.
From February 2007 I was quietly doing a site called “Miniature-Arcadia”. It is being transferred to this blog with the same name from December 2016. My update pace is uneven, but please come to see me here occasionally.

