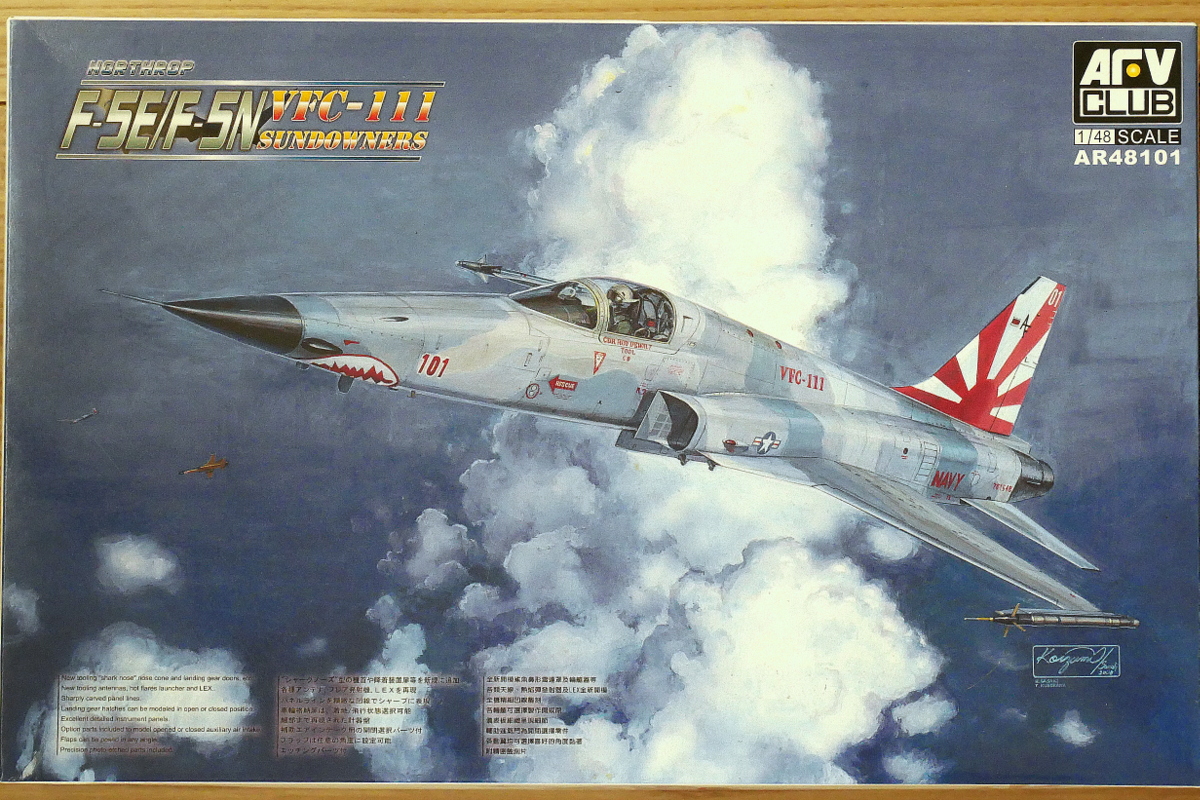
This time, I will try to make an airplane plastic model of AFV Club for the first time. It’s a US Navy F-5N fighter.
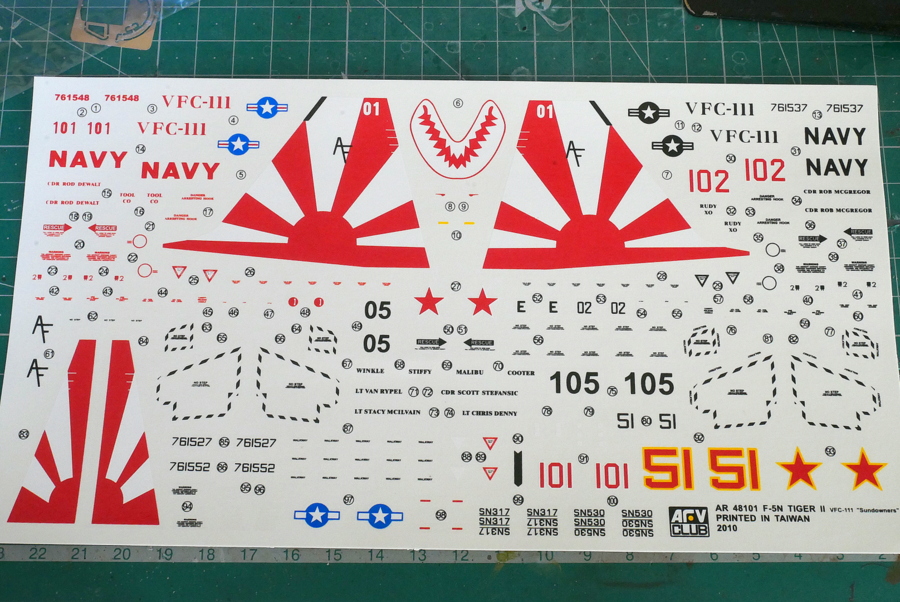
It has pretty fancy decals. I bought it about 4 years ago, so I think the decal is still fine. The half-track I made a while ago was probably because I had been piling it for a while, and the decal deteriorated a lot, but I hope this is not a problem. It’s hard to find a substitute for these characteristic decals, but even in the worst-case scenario, Microscale liquid decal films are available.
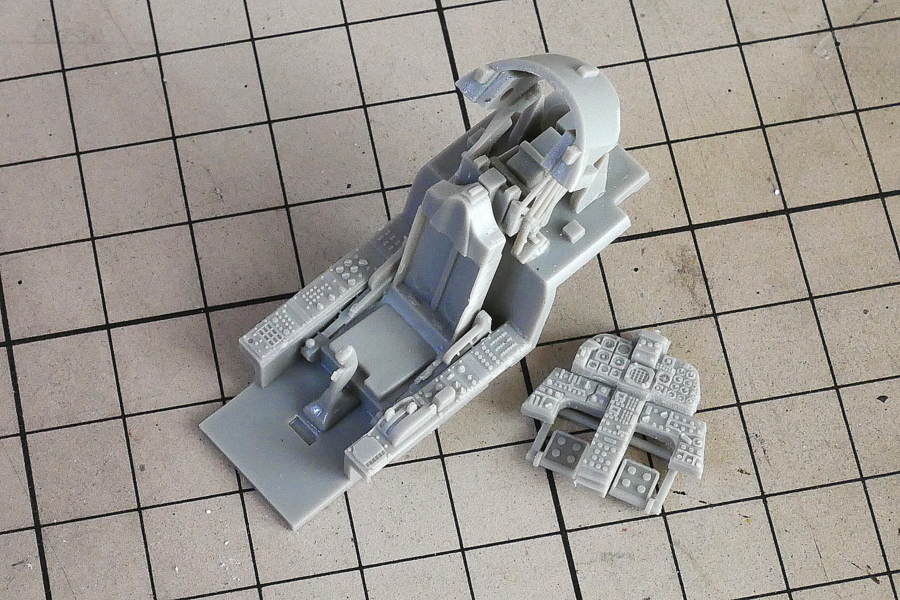
The cockpit has a fine mold. It would be better if there were cockpit panels and side panel decals, but handwriting seems like a lot of work.
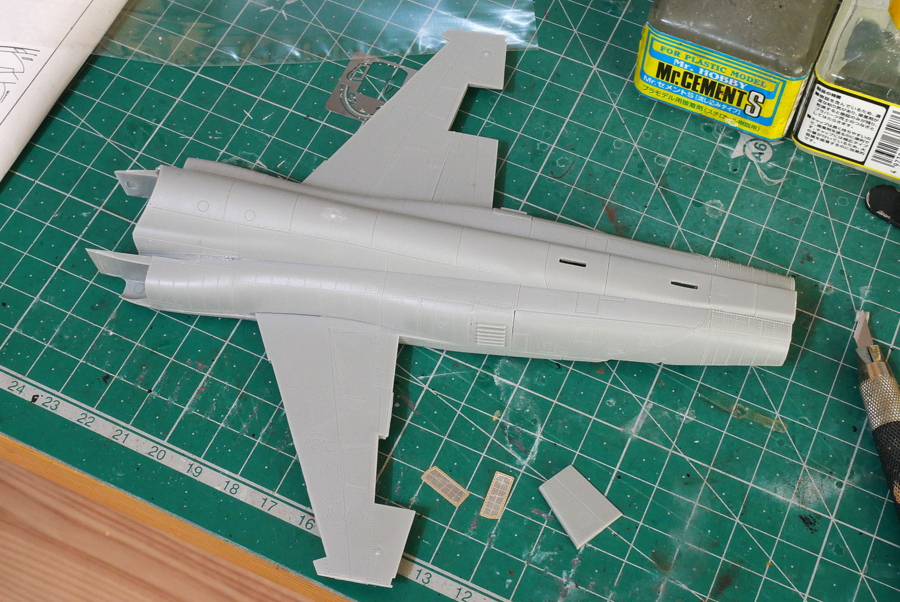
As for the impression of the whole aircraft, I think the fine panel line with the mold is just right. The AFV club kit reproduces the finest mold in AFV and cannon with plastic parts. This is my first time making a plane plastic model from the same manufacturer, and it looks amazing with a similarly high level of reproducibility. It’s a kit that looks like an AFV Club.
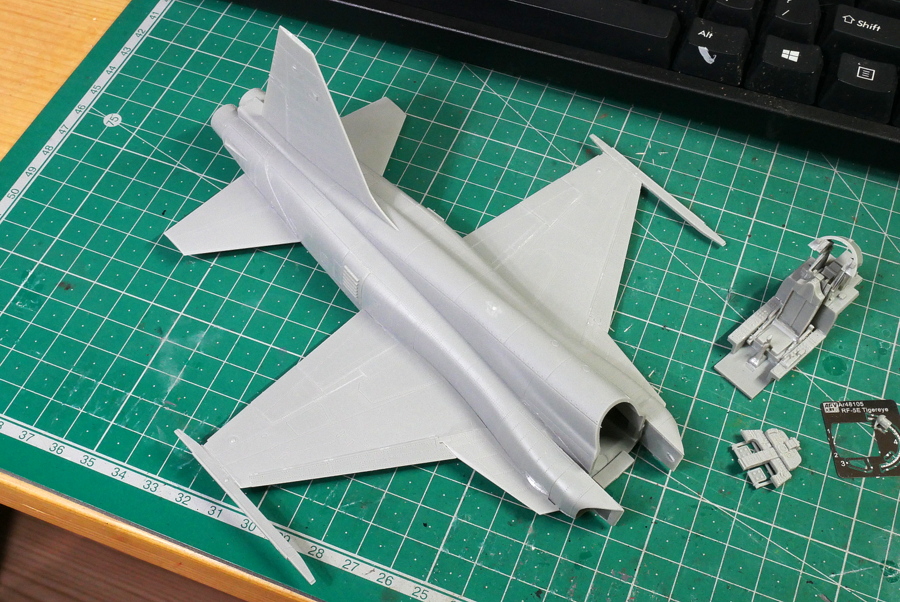
Well, it doesn’t seem to have changed, but I glued many parts. I put off painting the cockpit because it was cold and painful when I opened the window. Then the rear part of the aircraft was finished first. The nose, including the cockpit, will be glued to the fuselage later, so I wonder if the assembly method is similar to that of a Hasegawa F-14 Tomcat. With this, there will be a lot of parts.
(2024/02/02)
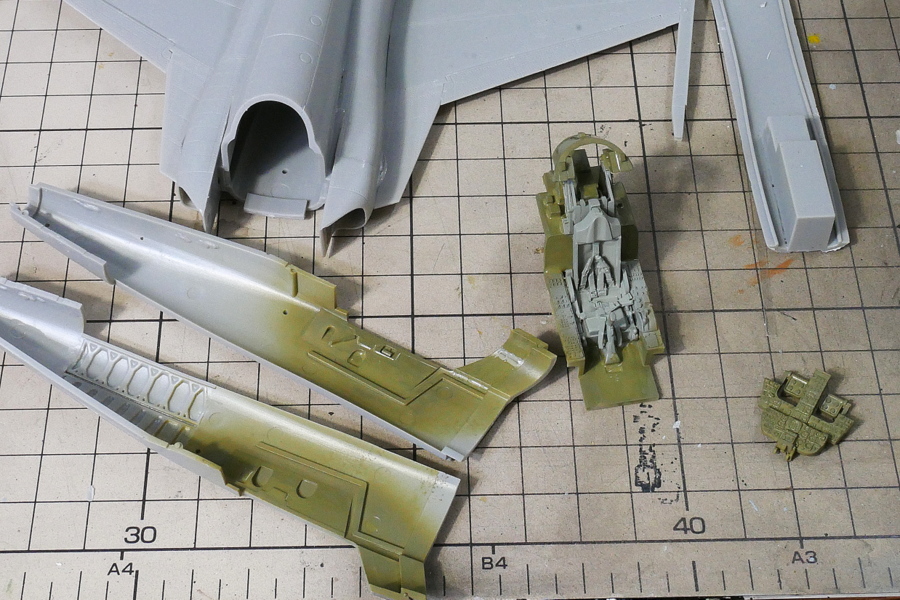
The aircraft’s interior was painted in Creos C23 dark green and the seats in C25 dark gray. In Japan, the price of Creos paint has been raised considerably, which is sad for a modeler.
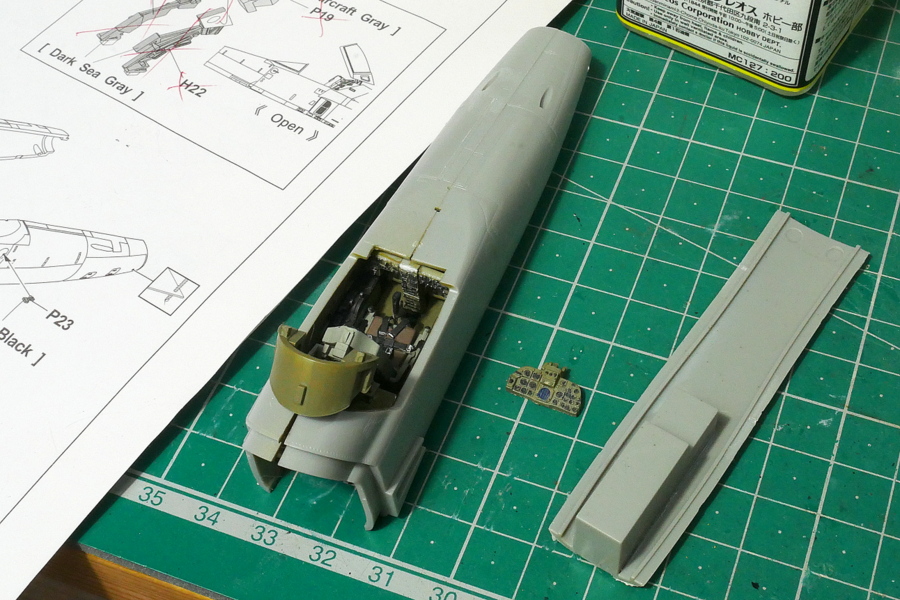
This kit did not come with a cockpit panel decal. It is cumbersome to brush everything. I love decals. Considering the quality of AFV Club’s tanks and AFV kits, I didn’t think that the seatbelts of airplanes had etched parts. It was surprising and disappointing. I couldn’t help it, so I used a third-party seat belt and tried to put it on like that.
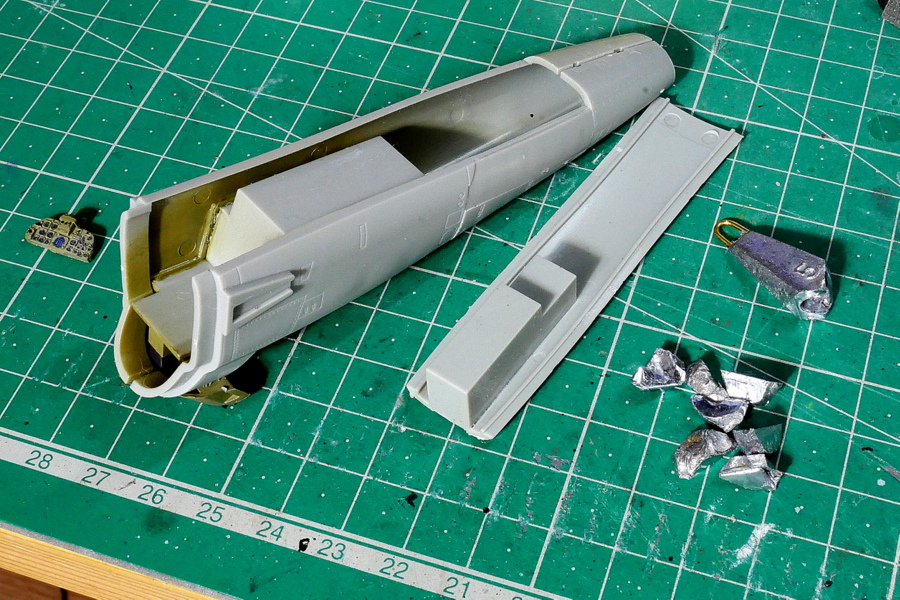
I thought it would be too heavy for a whole fishing weight, so I decided to put a finely chopped one in the nose. This aircraft doesn’t seem to have a very heavy tail, so I think I can decorate it properly without adding weights, just in case. If it’s a jet plane, I can’t help but think about the problem of the rear part being too heavy.
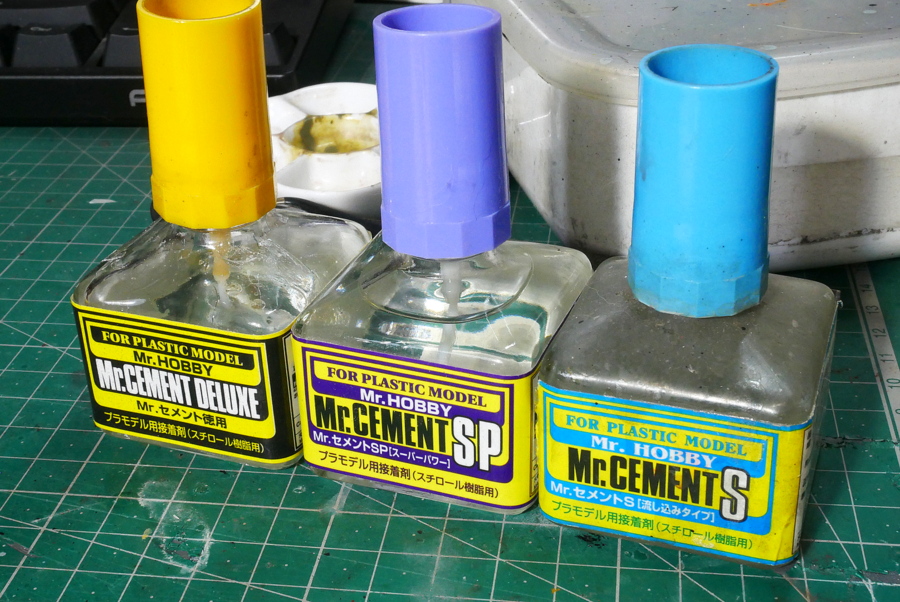
The protrusion on the back side of the cap where the blue cap plastic model adhesive brush was inserted broke from the root. I bought a different adhesive. A purple cap superpower. This is extremely volatile and I think it melts plastic powerfully. It’s easy to use and smells great. It is probably highly volatile, so it will be gone soon.
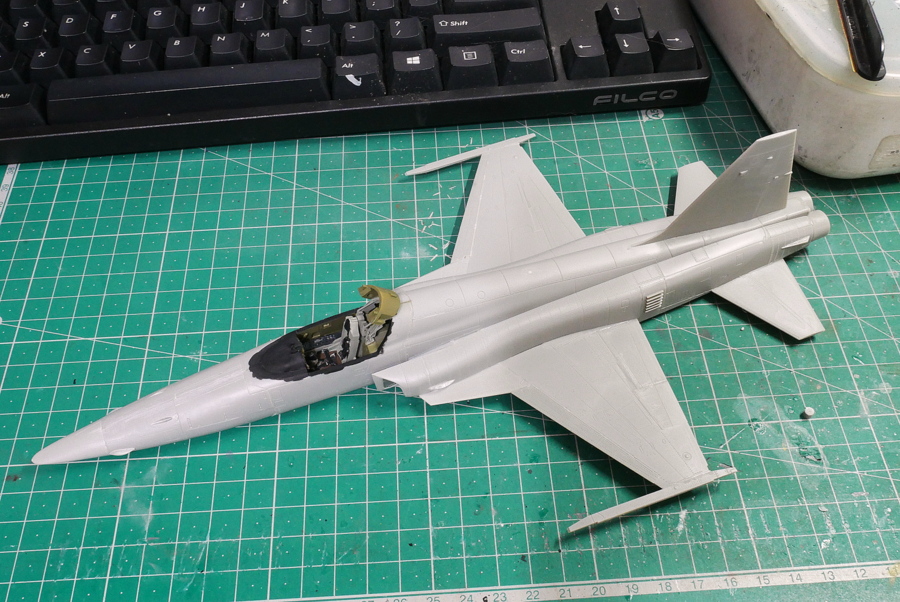
The assembly of the fuselage is almost completed. The sharp streamlined form is cool. I can’t decide whether to paint it after gluing the legs.
(2024/02/05)
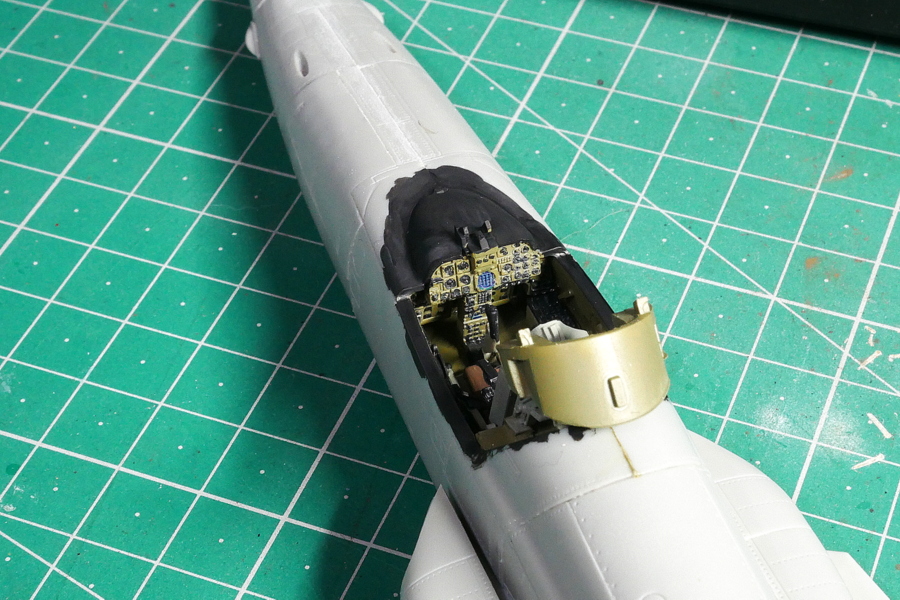
I appreciate the fine mold inside the cockpit, but I can’t paint the meter needle very fine. Let’s say it’s OK like this.
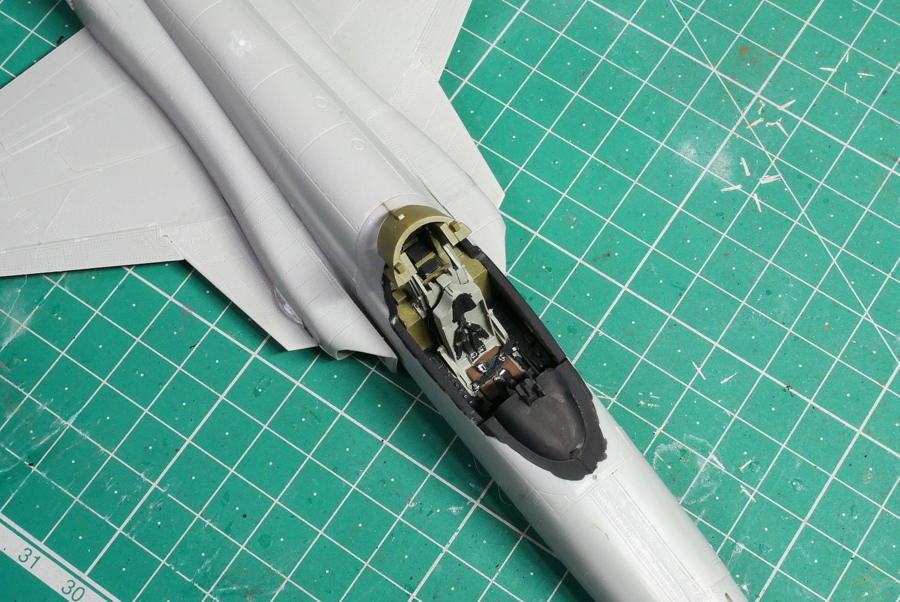
It seems that the cockpit edge is better colored inside than flat black, so I will paint it again. I don’t really care if it is set with the canopy closed, but this time it is open, so I painted it with a color that has a high probability of being correct. The instructions of the AFV Club don’t have much details.
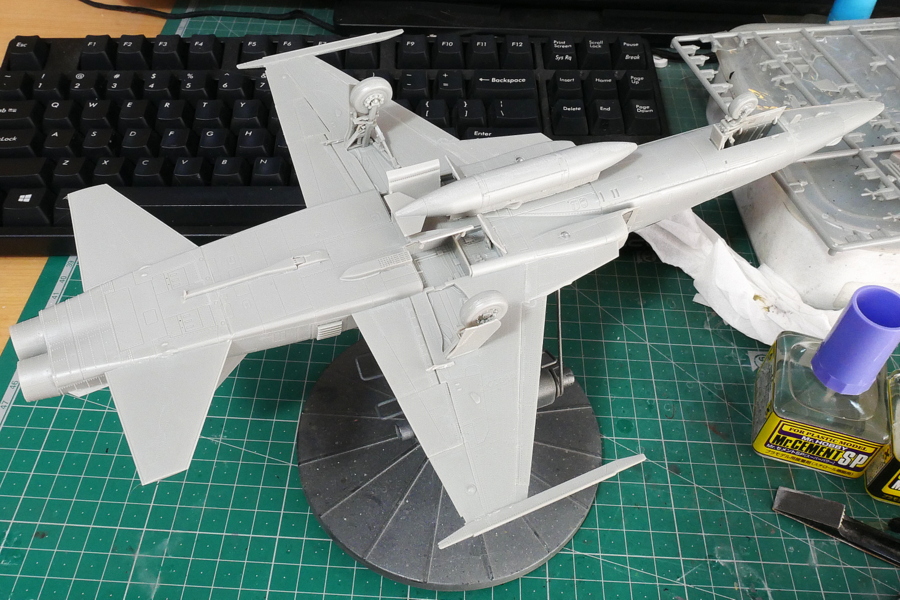
In the end, it would be hard to install many parts later, so I assembled almost everything before painting. There were many small parts of the landing gear.
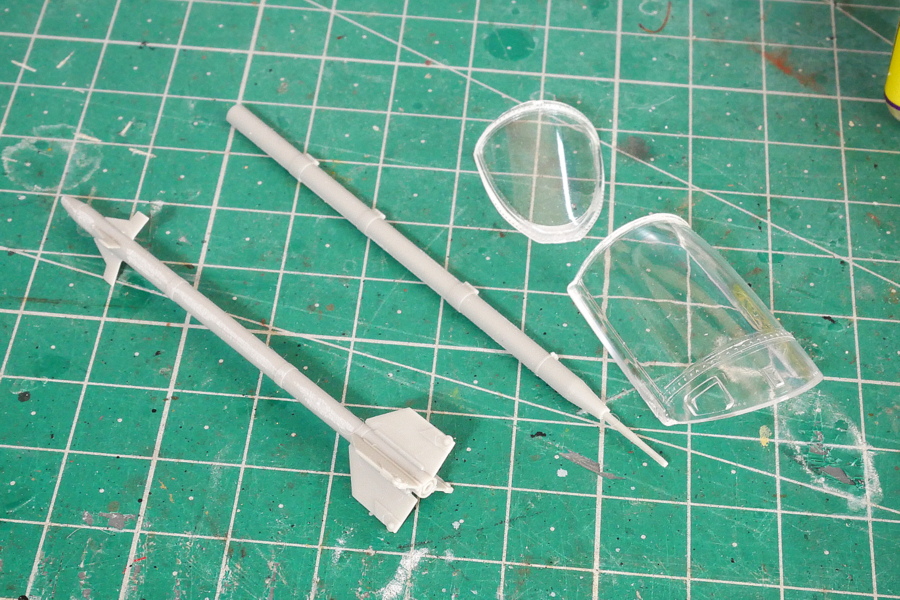
I have made some Sidewinders such as Hasegawa and Hobby Boss, but I think the one attached to this AFV Club is the easiest to assemble and the mold is finer. This is awesome! There may be more amazing third-party quality, but this is also precise. Since I only use one, I will have to save the other one for some time. But if it is an odd number, I may not have a chance to use it. I didn’t think much about what came with the kit, but it varies depending on the manufacturer.
(2024/02/07)
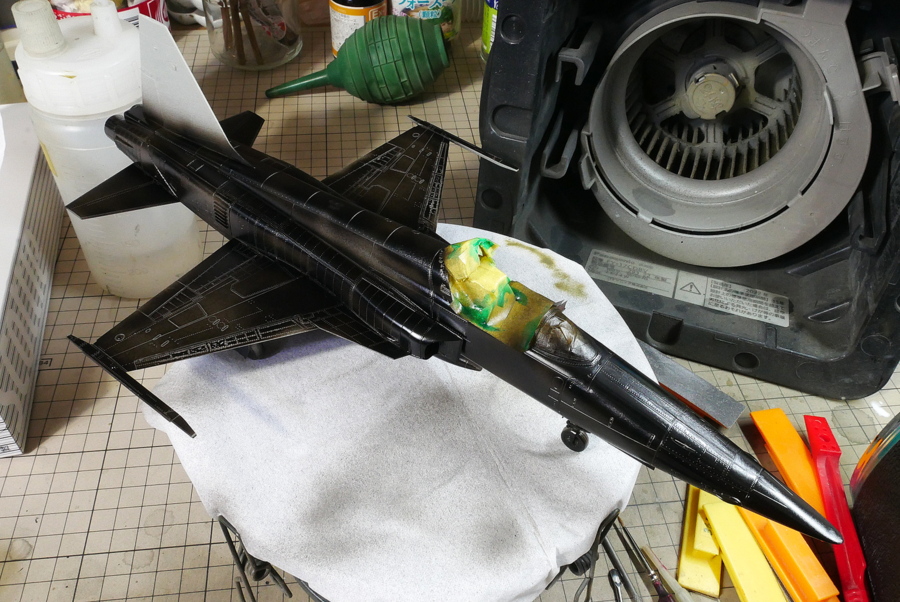
The painting process has finally begun. With the masking of the cockpit, is difficult to mask because it is open state.
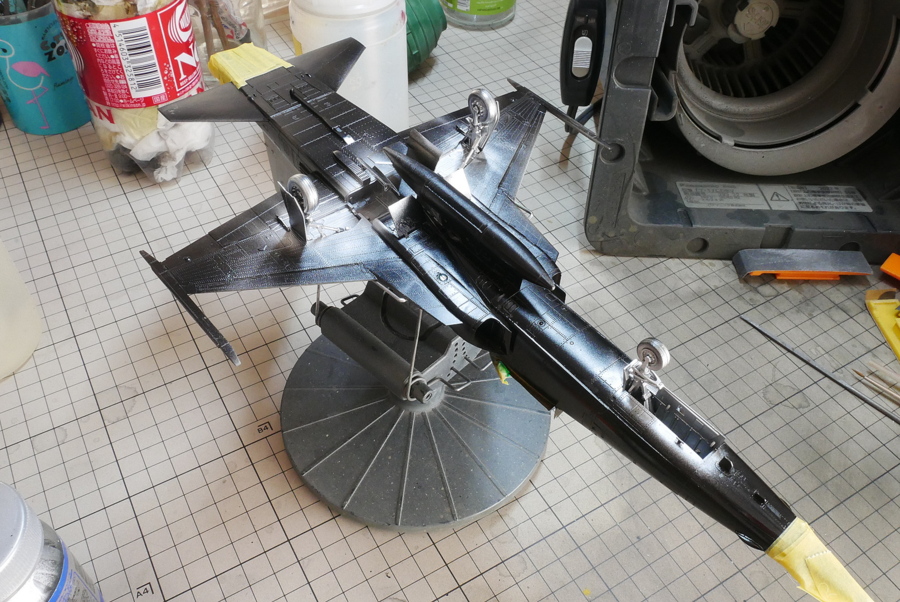
The black part of the nose and around the jet engine nozzle are painted and masked, and the landing gear is airbrushed with silver paint.
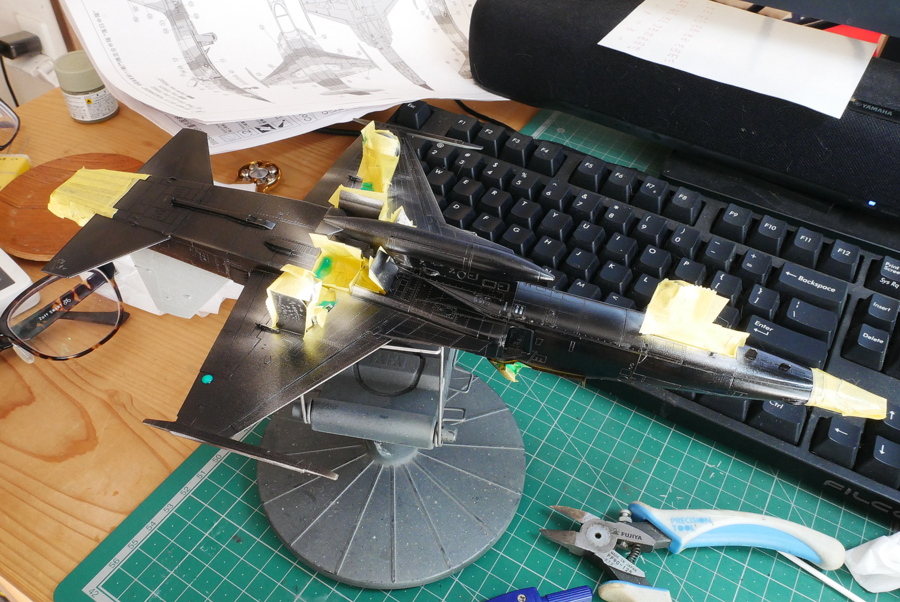
The landing gear is not perfectly maskable, but I think it is a little easier to work than brushing from the beginning.
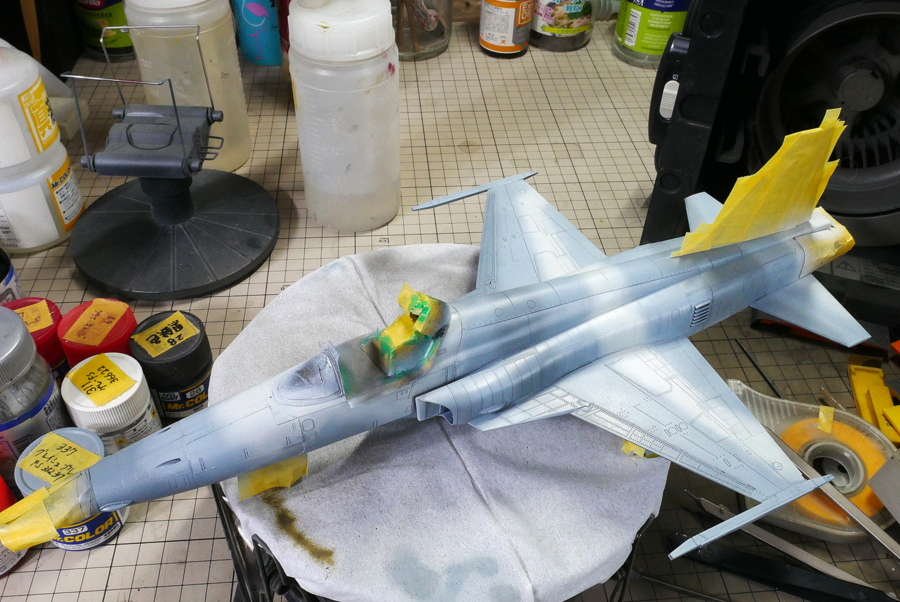
I have forgotten how long ago I went to the gray type of tricolor camouflage. The colors of these tricolors are similar, and it is difficult to understand the pattern even while painting with an airbrush. Except for the vertical tail decal, there are many plain decals, and I think the impression doesn’t change as much after all of them are applied. I feel like the camouflage paint determines the model’s performance. Difficult.
(2024/02/10)
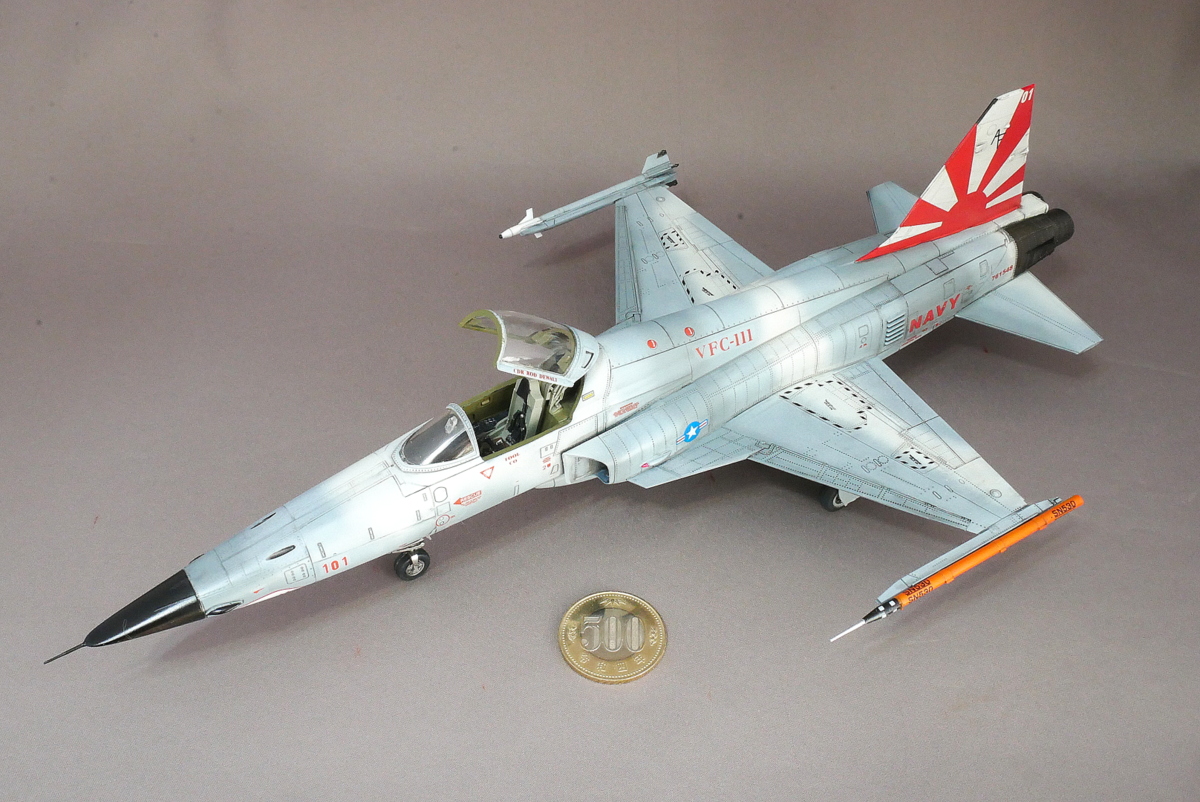
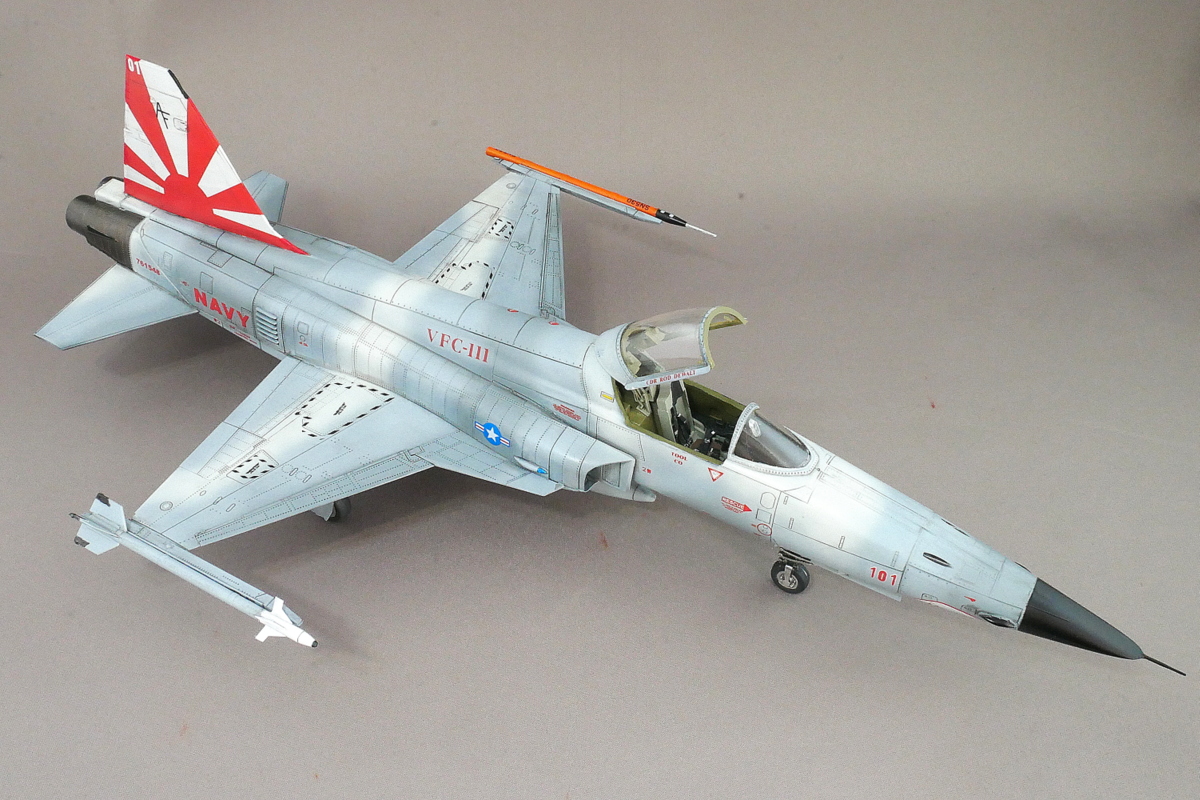
The F-5N fighter has finally been completed. The F-5N is an improved version of the F-5E. The U.S. Navy purchased the F-5E, which was retired in Switzerland, upgraded it to an F-5N, and commissioned it again as an aggressor. An aggressor is a fighter jet that acts as an adversary to the training of another unit. Perhaps to fulfill this role, the F-5N has paint that imitates enemy aircraft. There was also a mark of a Soviet plane on the decal that came with the AFV Club kit.
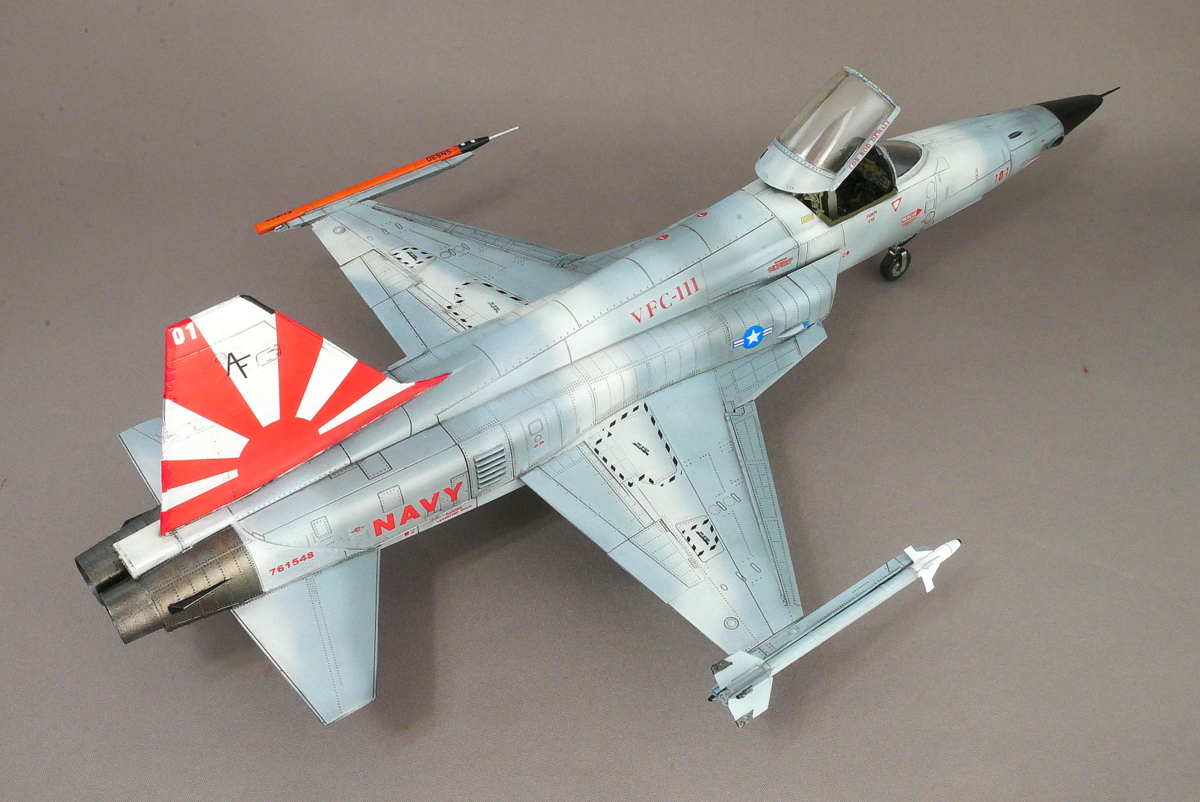
This time the marking is VFC-111 Sundowners. The aggressor unit. It was founded in 1942 and is at war with Japan, so I think it is named “Sundowns” because it means to defeat Japanese planes. In the beginning, it’s a symbol of actually striking down a fighter. However, it was around 1966 that they started using the marking like the Rising Sun flag like this kit, so there would have been no anti-Japanese sentiment around that time. I think it means that they started to use it because they like showy markings like a shark nose and it is related to the sun. Come to think of it, I think I’ve seen a flashy Rising Sun flag on a U.S. military helmet… Only movies, I guess.
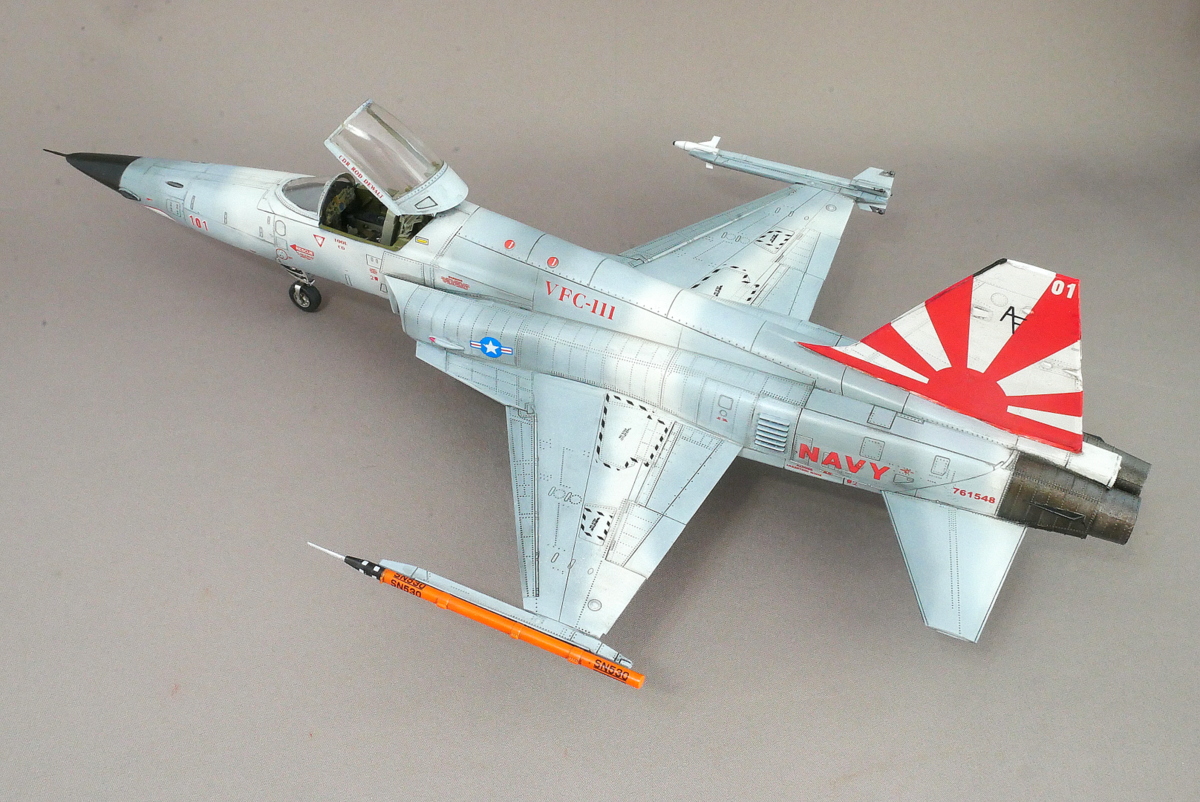
I thought it was a plain blue-gray type aircraft, but besides the tail, the main large decal is red, so it looks quite flashy when the decal is finished. It’s interesting because of the change.
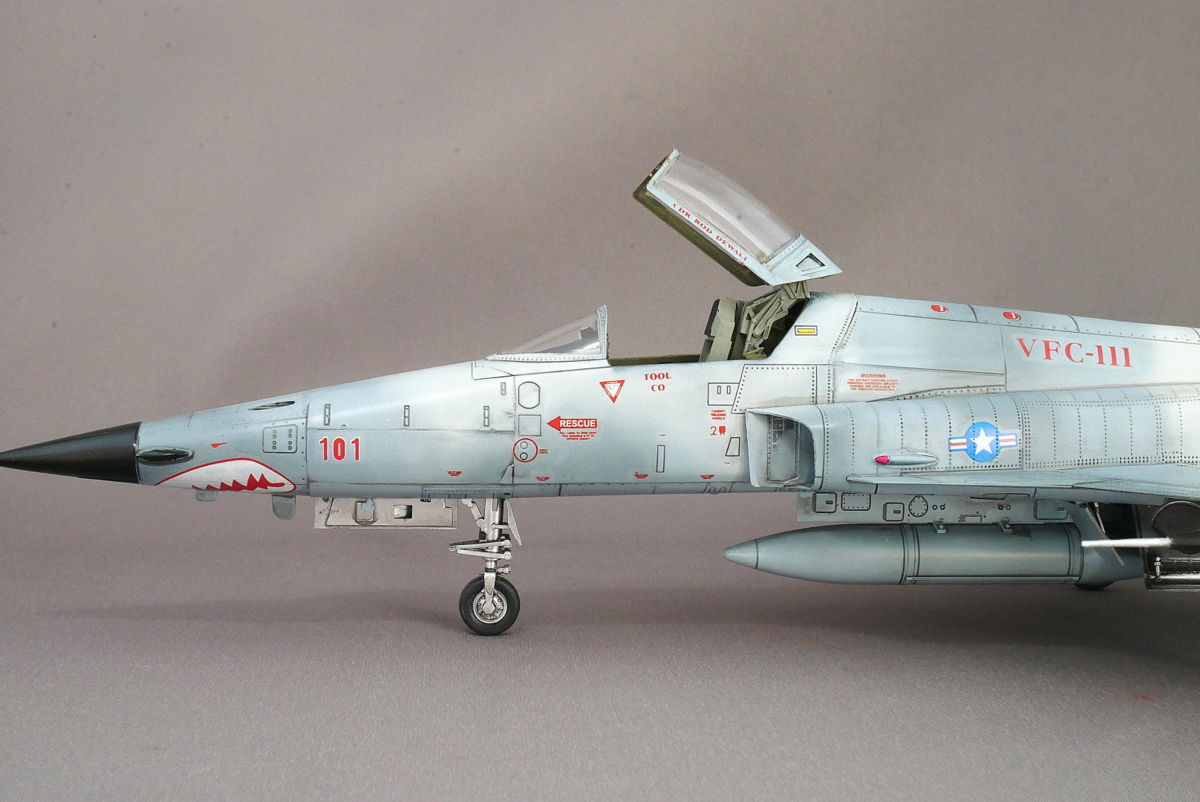
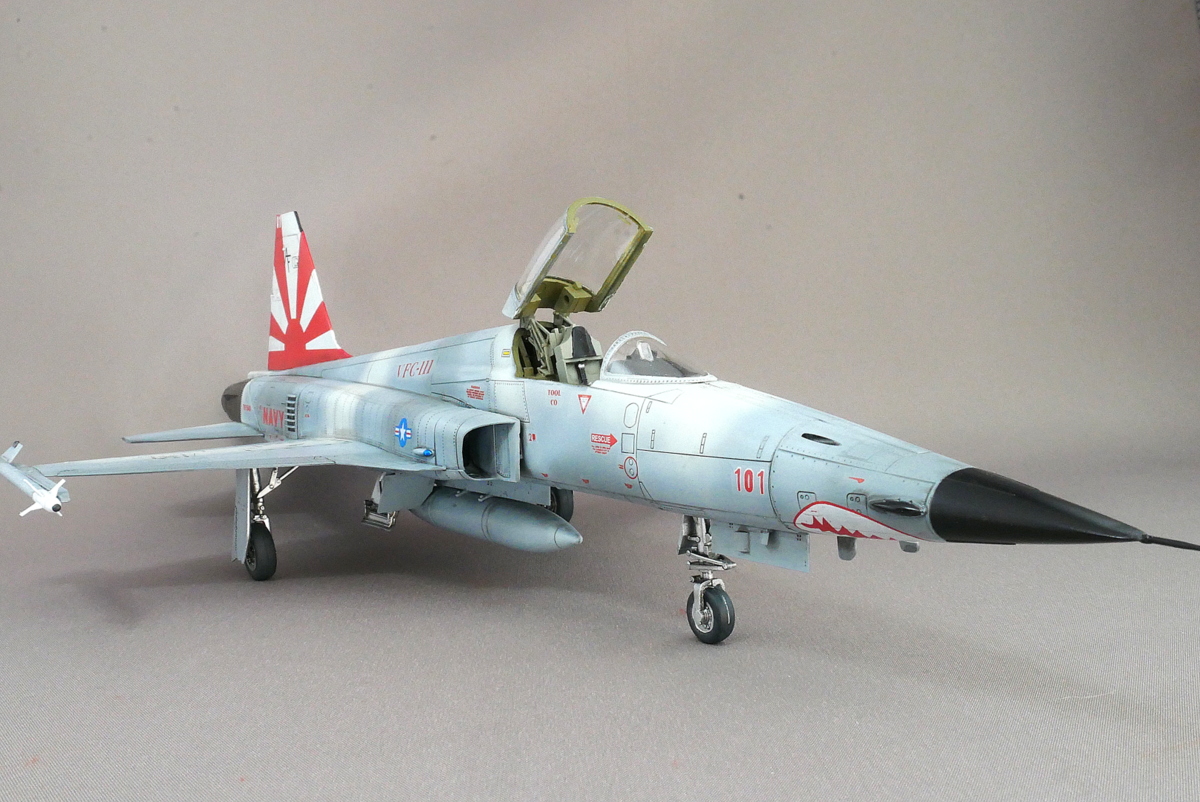
It was a little difficult to assemble the nose. It took a long time to get the cockpit seat to sit upright in the center from the front. The part may have been misaligned. It was also difficult to connect the nose to the aircraft because there was a little gap. The part reproducibility is amazing because the mold is fine.
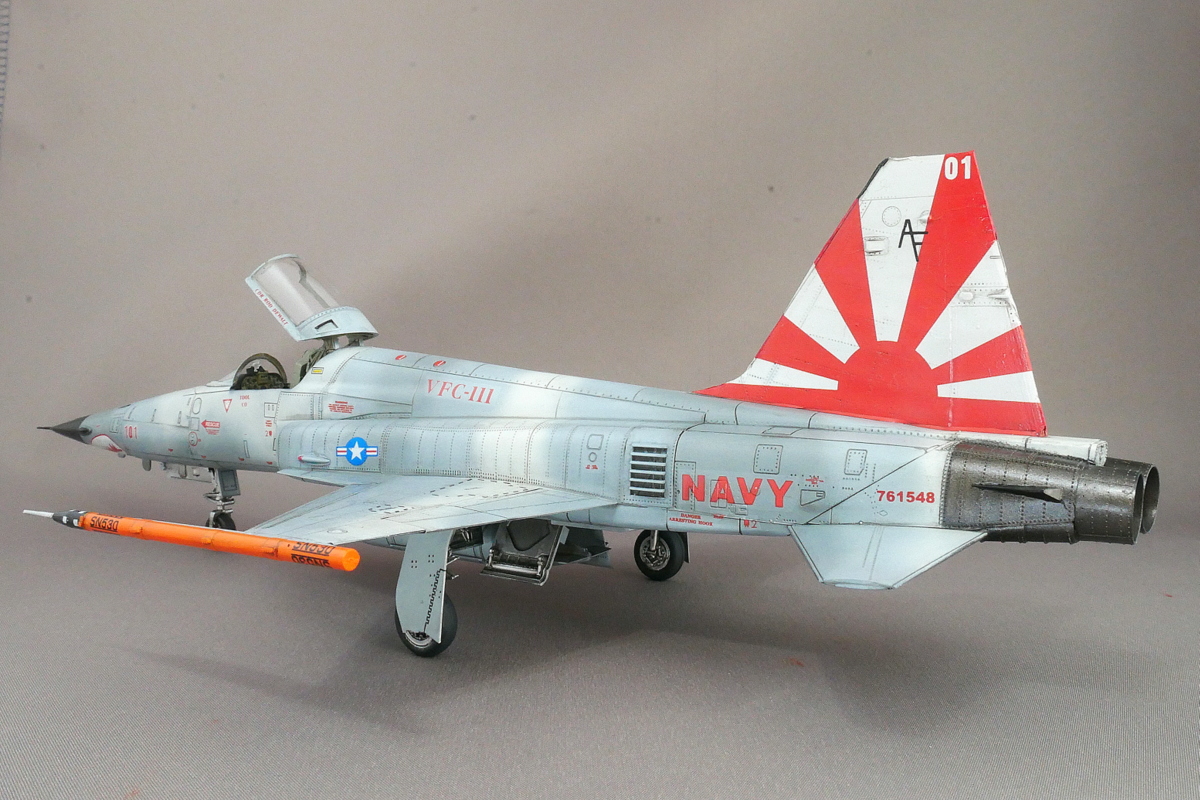
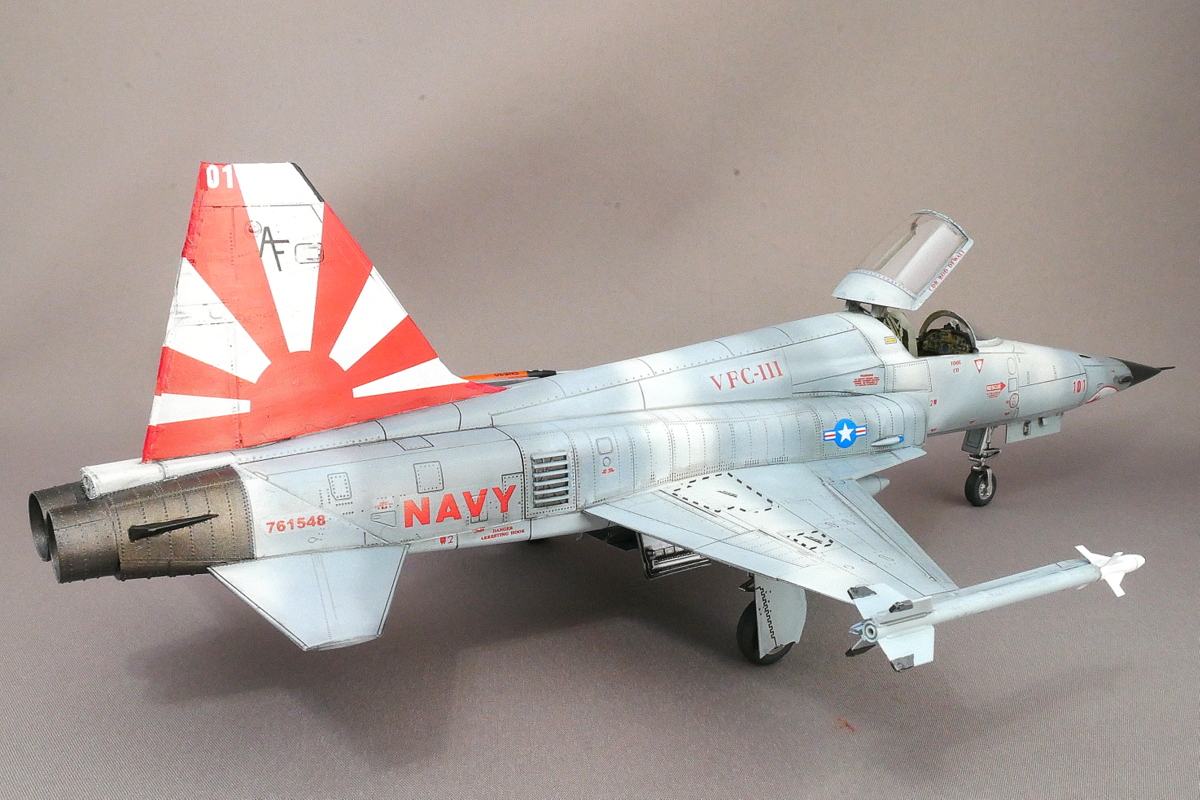
The decal of the tail like the largest Rising Sun flag is bigger than the tail, so I folded it a little. A powerful decal softer is required. I had to retouch the unnatural part with a brush, and I don’t think it looks so bad.
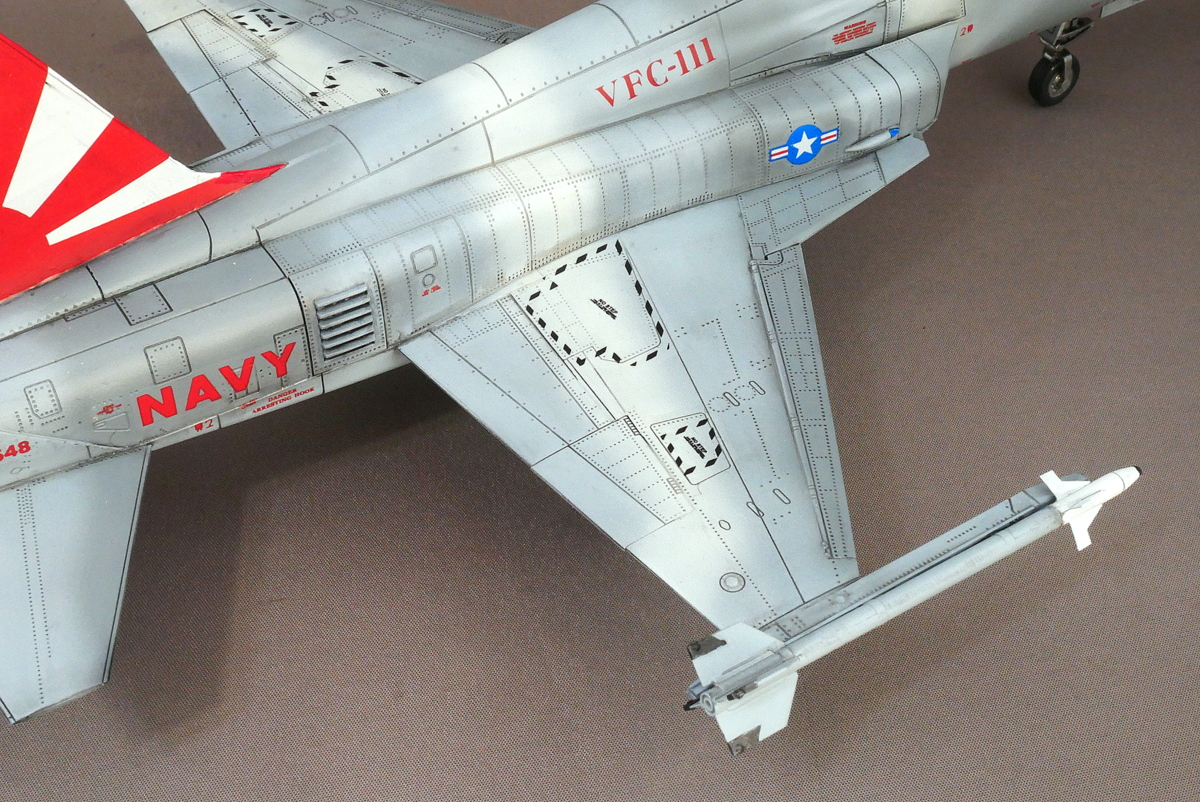
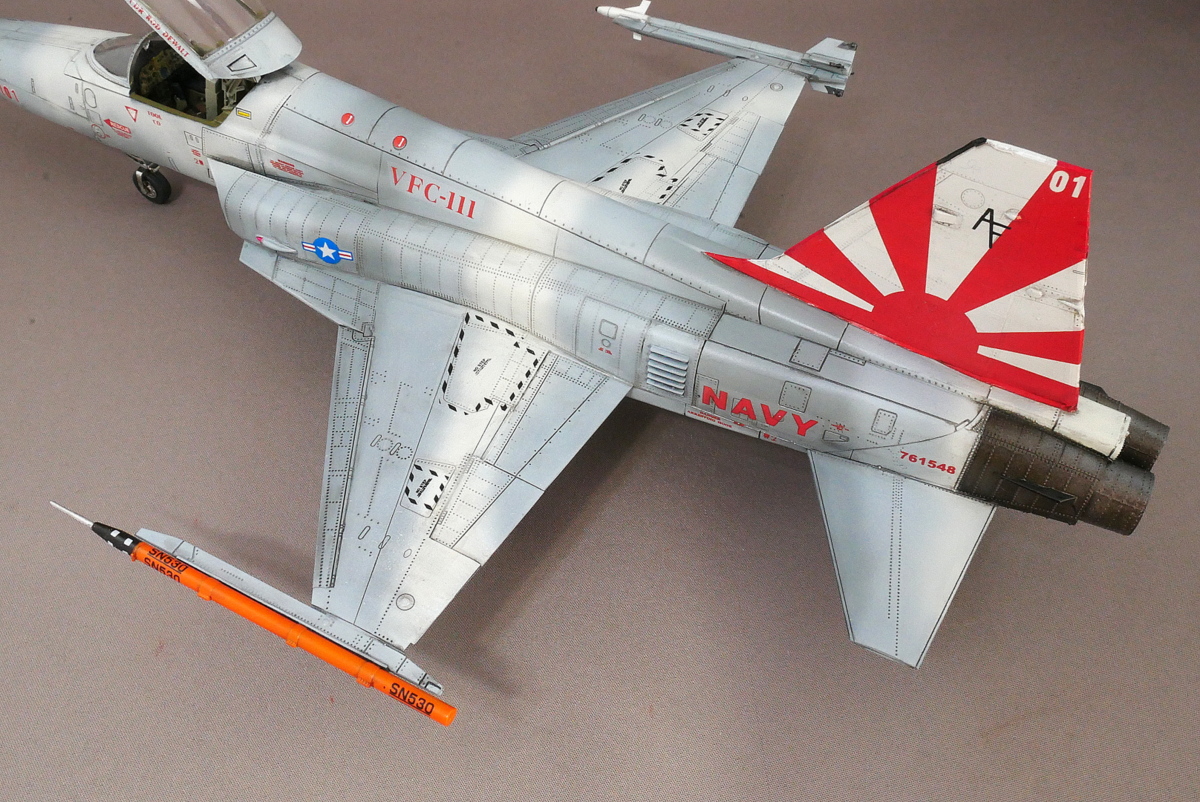
The ACIM pod is attached to the end of the left wing of the aircraft, apparently referring to the Air Warfare Mobility Measurement System. It can transmit data to the ground in real-time about the movement of the aircraft during air combat training. The shape is strange for a missile, and I was wondering if it would fly properly, but it was a kind of precise measuring instrument. The latest models, like the F-35, seem to be stored inside the aircraft.
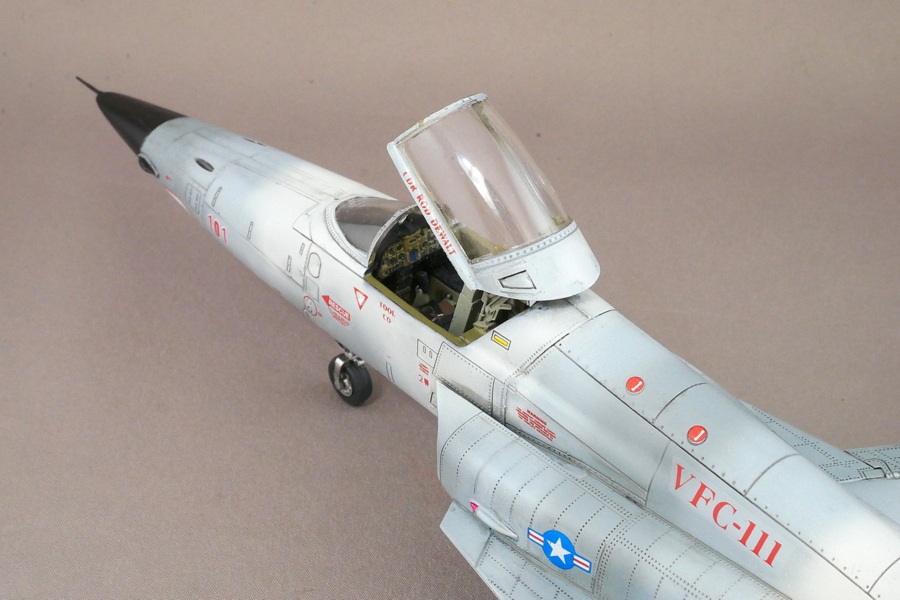
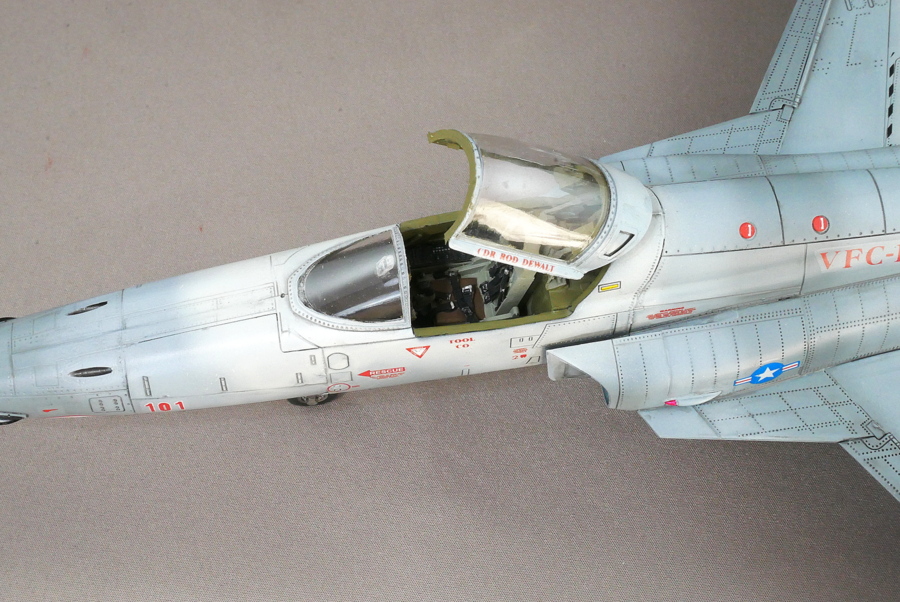
I assembled it with the canopy open. Because this kit seems hard to assemble in a closed state. It’s easy to break when it’s open, and I don’t have the style to build the inside of the cockpit so much, so I like to build it in a closed state.
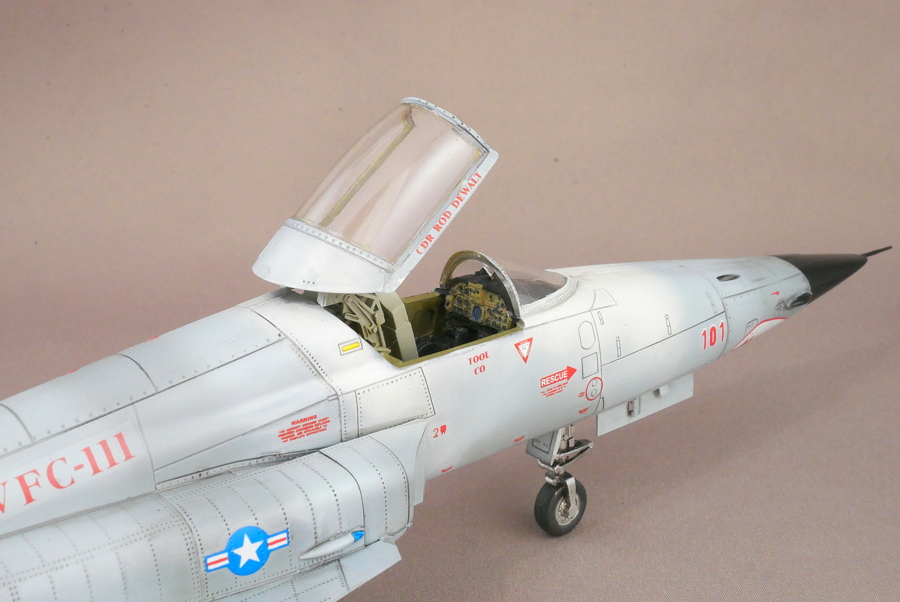
Well, I can see the fault, but I can also see the fine mold of the cockpit panel, so I think it’s okay.
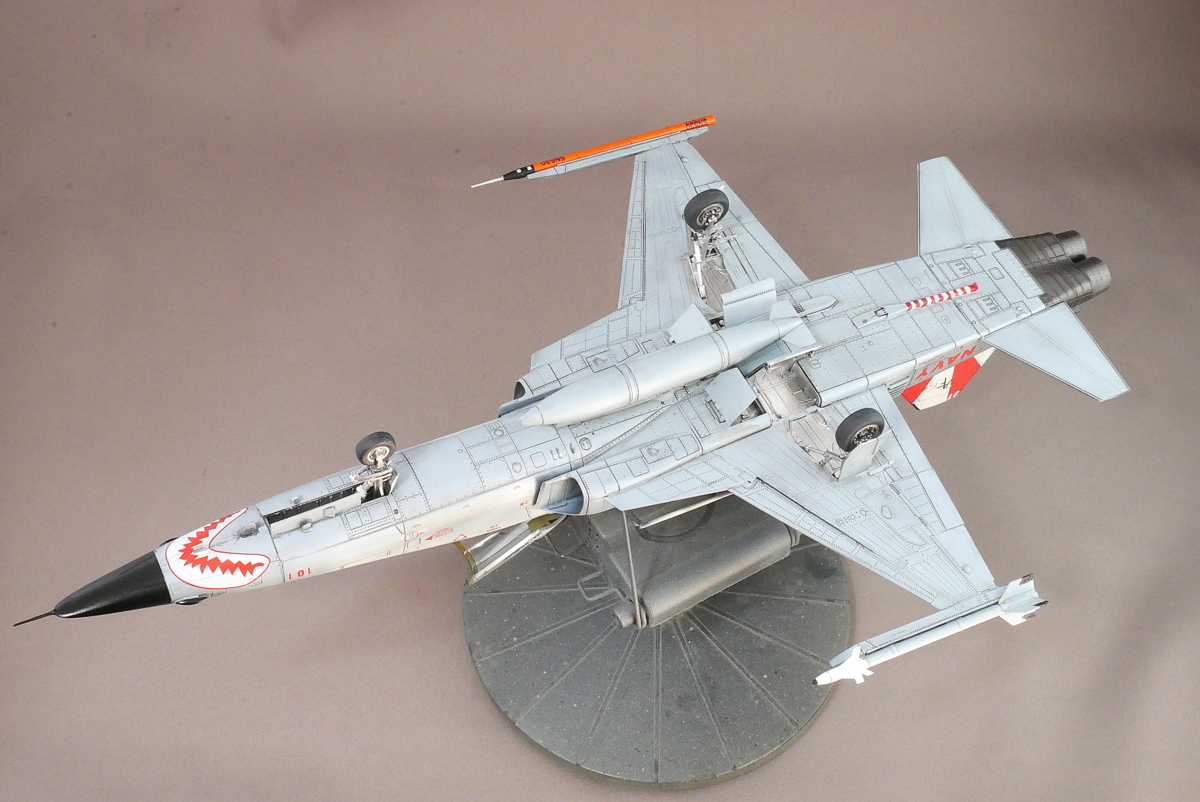
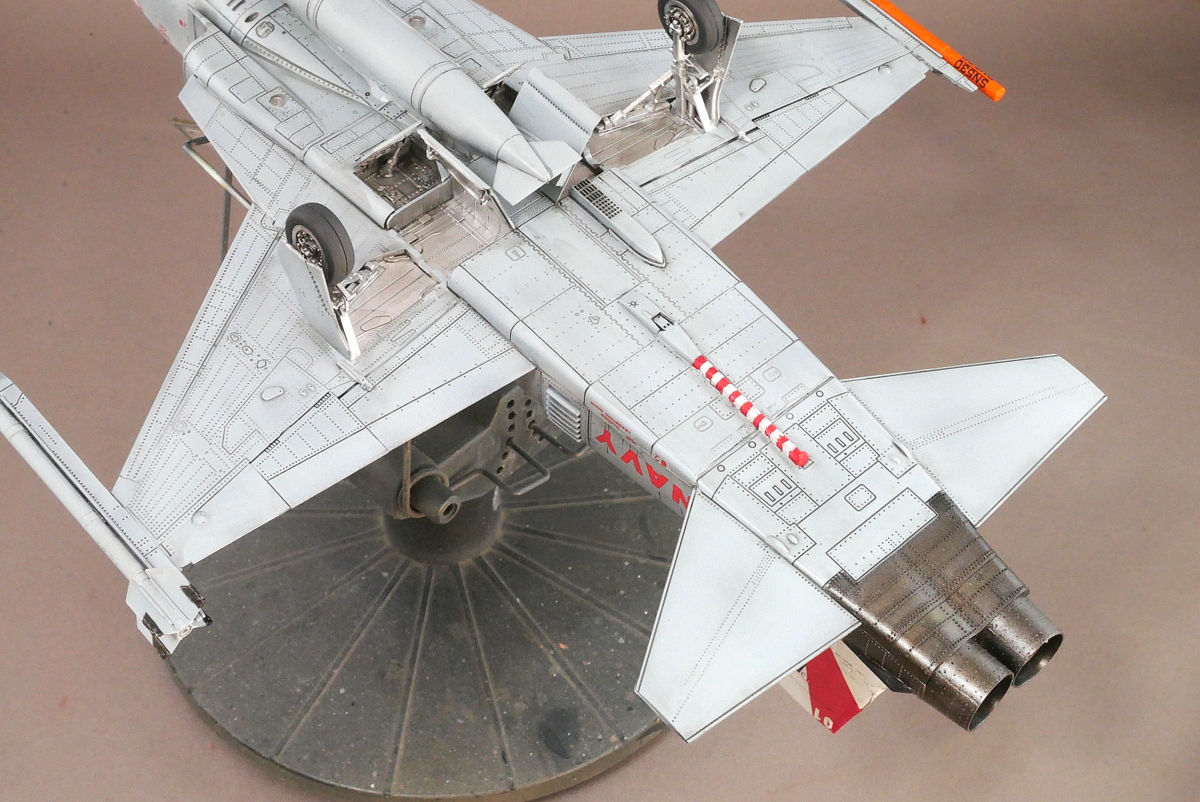
I couldn’t paint the stripes on the landing hook beautifully. I masked it, but it wasn’t good. Decals are easier and better.
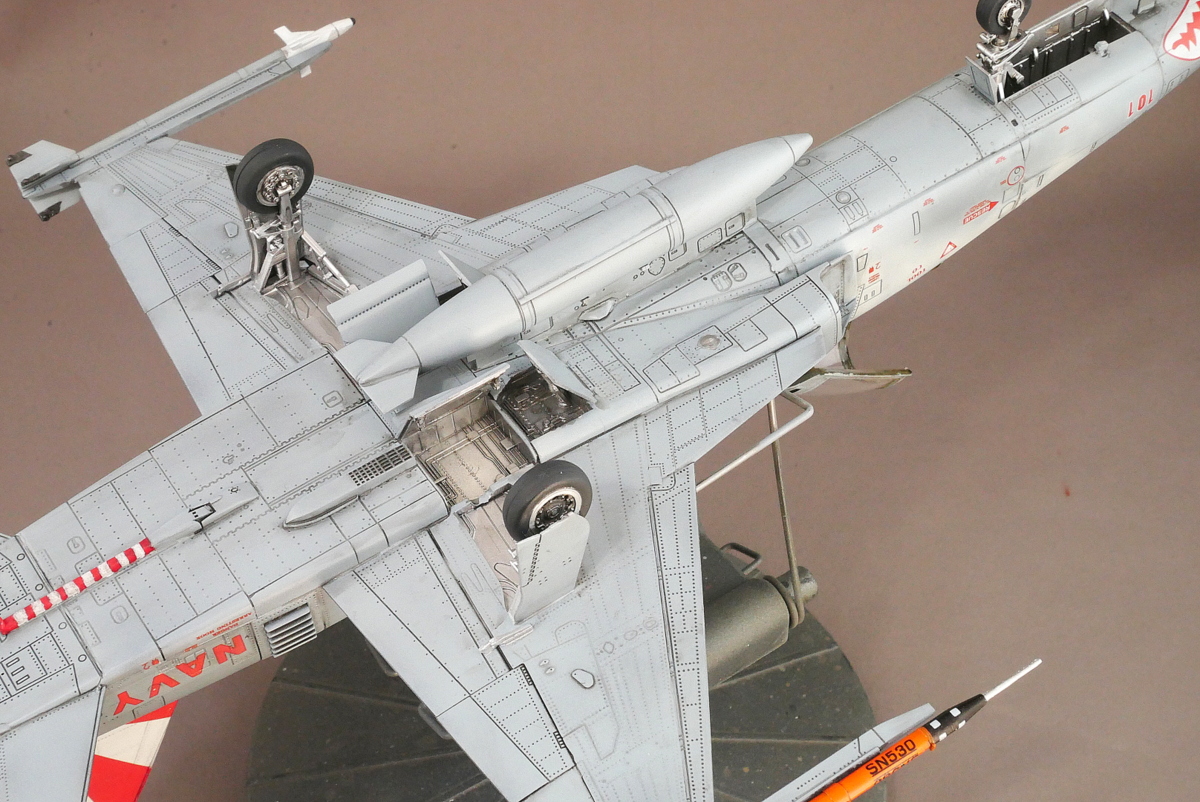
The overall panel line of this kit is very well carved and the inking goes very smoothly. There was no problem without redigging with a needle.
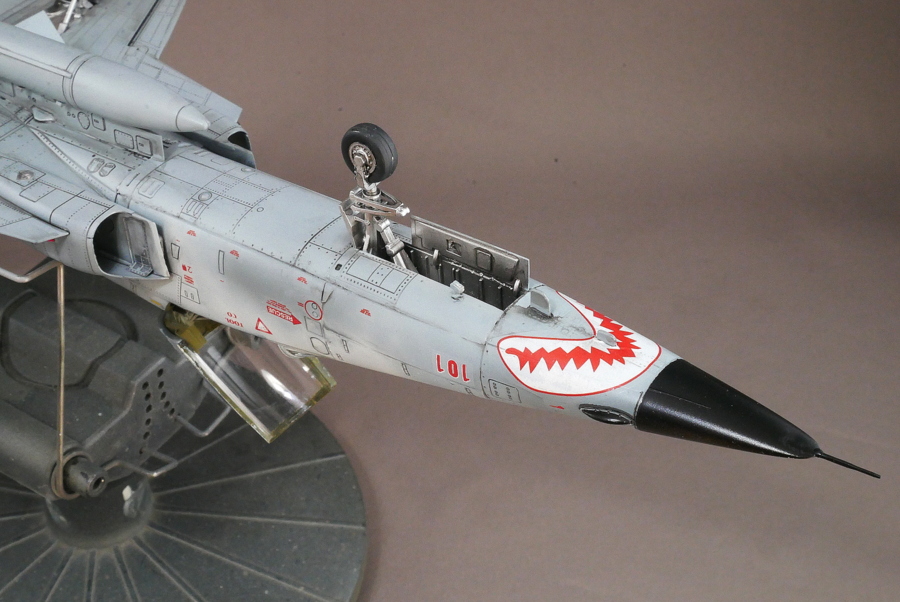
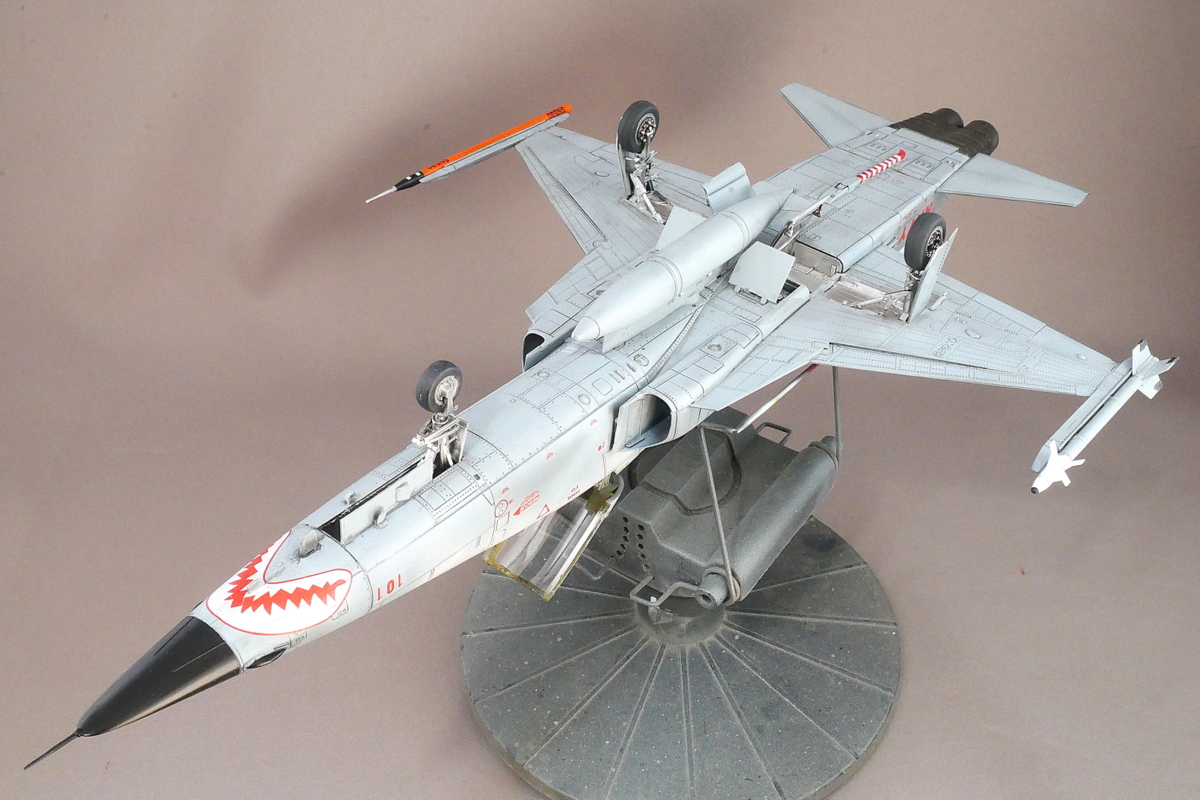
This aircraft has the US nationality mark only on the left and right. Usually, it’s on the underside of the wing.
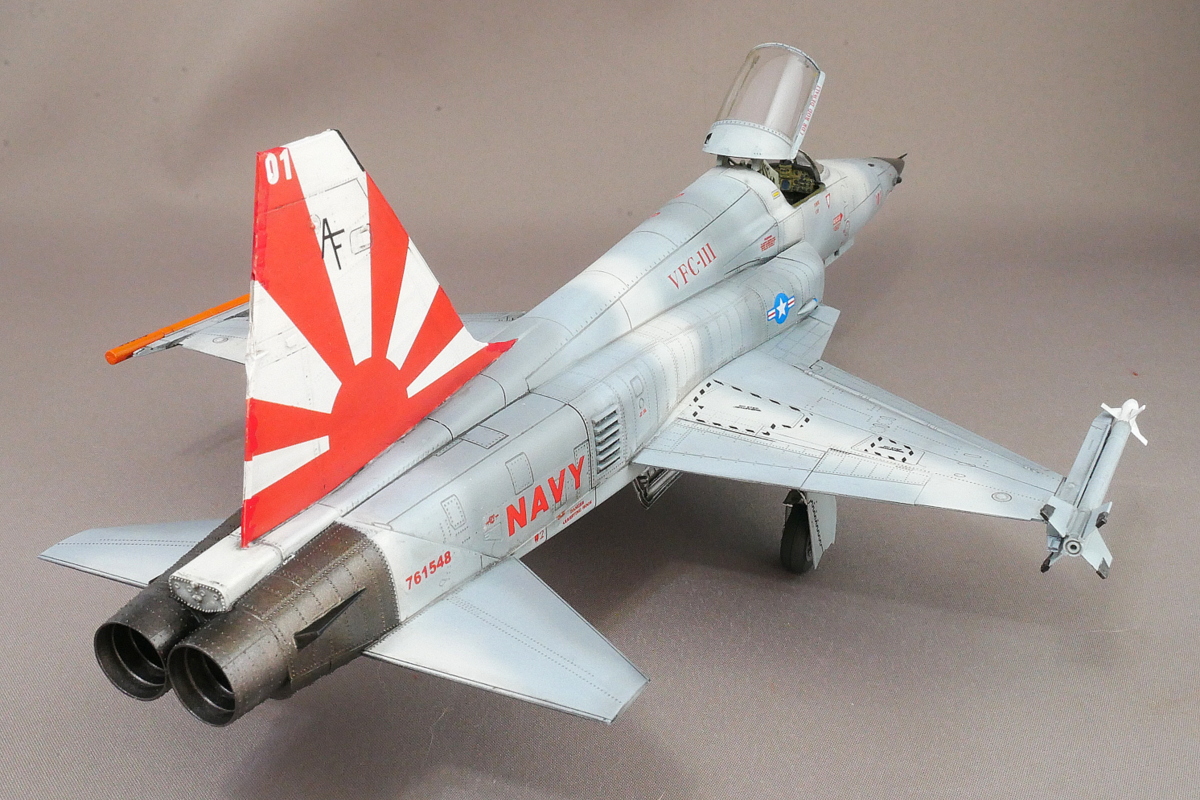
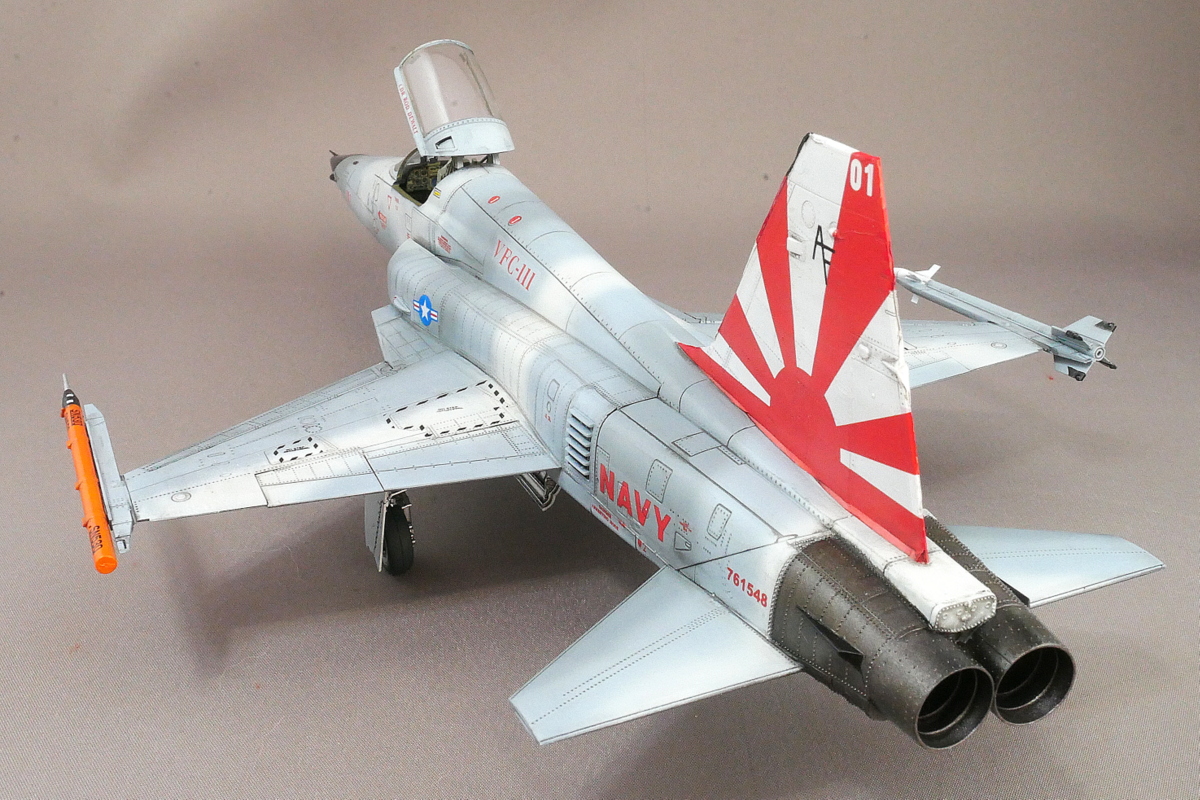
There were a lot of parts for the wings and fuselage, so I was worried that they would come together properly at the end, but I’m glad that they finally came into shape. The F-5 is small but fast-looking and cool.
(2024/02/15)


コメント