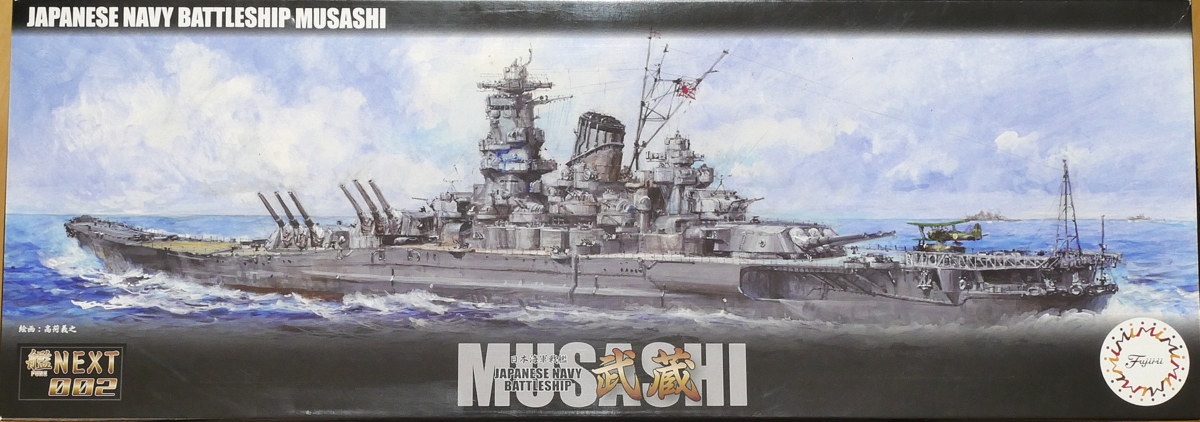
I started making Fujimi’s Next Series battleship Musashi. I think this kit’s been talked about a lot before. While I was purchasing paint for the aircraft that was being assembled, I somehow built a warship. I felt it would be difficult to do this later if I stopped it in the middle while installing the etched parts.
I don’t want to increase the number of plastic models assembled because I might move again recently. We were looking for a property where we could live with cats before, and this time we are looking for an area where my wife prefers to live near the sea. I’ve moved about 15 times, so I’m Nomad. But there are a lot of plastic model piles, so I wonder what to do. Before I lived in the present property, it was full of closets, but now there are many under the work desk and in the corner of the room. I bought them a lot this summer. If I want to reduce the pile, I will sell it to someone else or make it without buying anything, or both. I haven’t sold or disposed of old and new kits for the past ten years, but I think it’s about time I reached my limit.
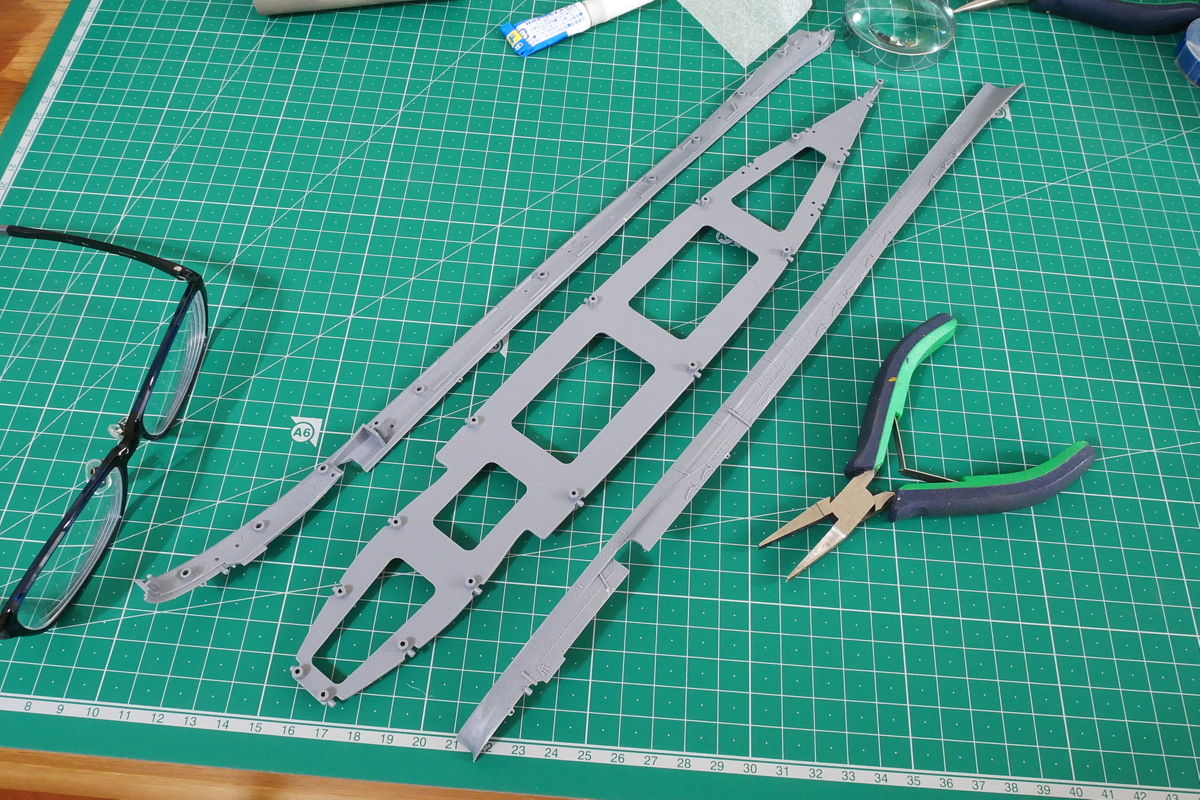
It has a snap-fit bump that fits one by one, but this is the first assembly work, so I feel a little uncomfortable. I think it’s the first time since I built Bandai’s Gundam plastic model more than 15 years ago. It was a long time before I opened my blog, and Zaku was unfinished, so I disposed of it. I don’t think Snapfit suits me. I use a lot of glue to assemble it, but what about other modelers?
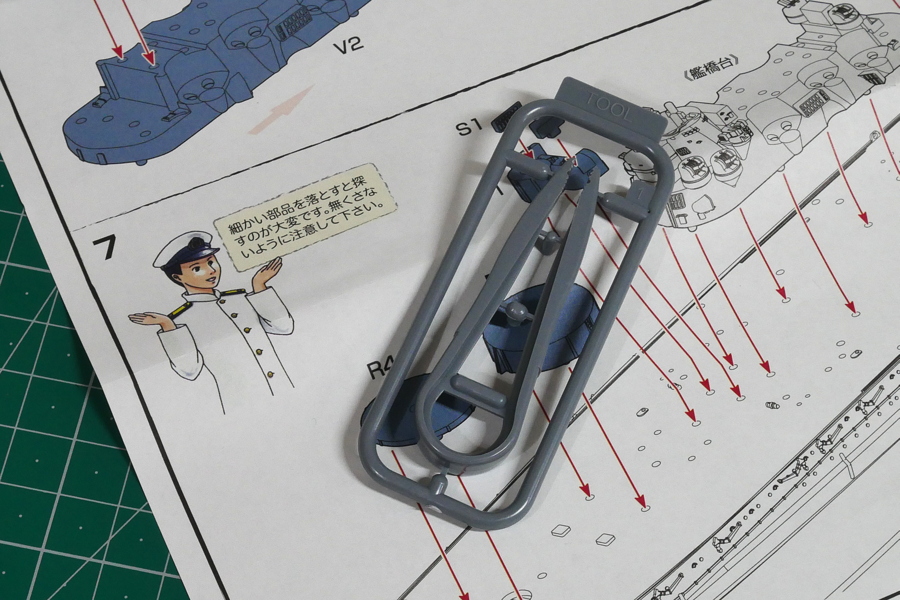
Plastic tweezer tools were included in the kit. I felt the manufacturer was thinking a lot to make beginners interested in this field. I guess I can use the tweezers after cutting with a nipper. I’m thinking of adding etched parts this time, so I don’t need this.
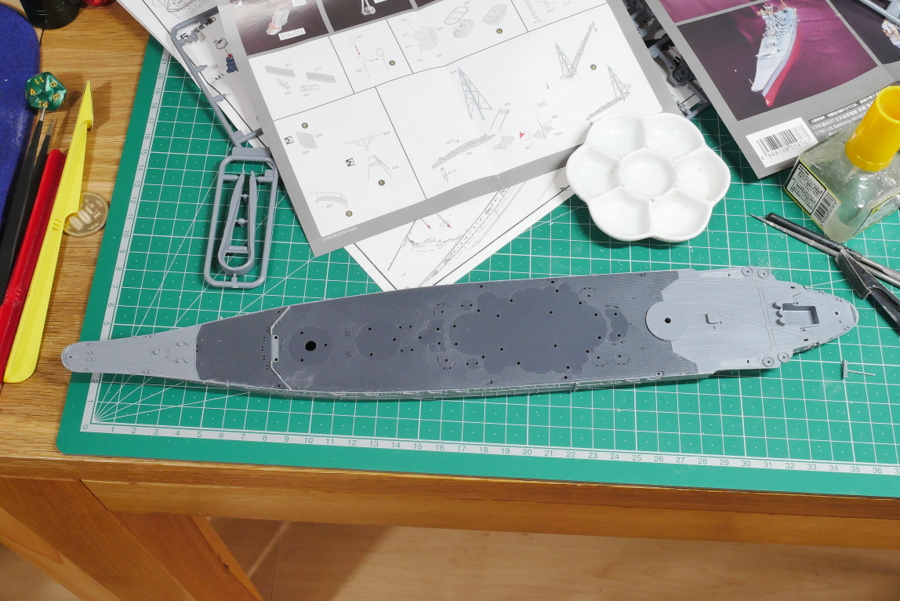
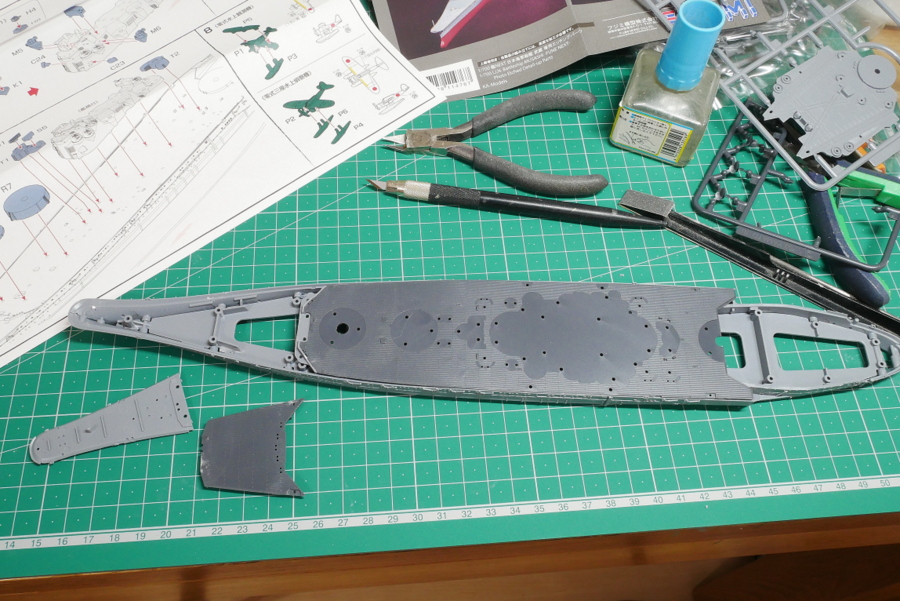
I almost installed the upper deck. Some parts were scraped because the etched parts were used. The position of the flagpole at the tail end will probably be damaged if it is attached, so that I will take the last one. The deck of the Battleship Musashi at the time of the Battle of Leyte was dark, so the deck parts were colored dark gray. Amazingly, plastic models don’t require painting.
(2021/10/21)
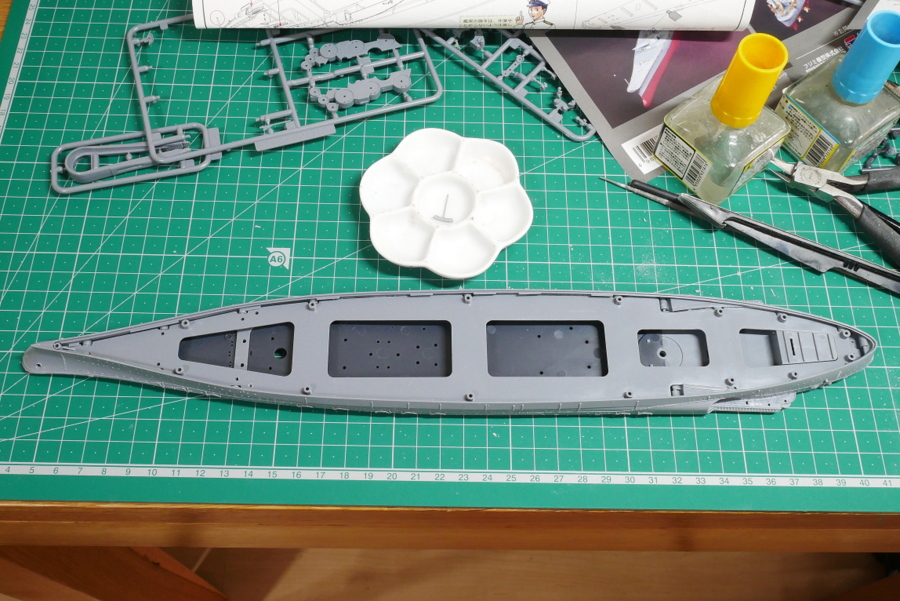
It’s like this from the bottom. Even though it’s such a large piece, it’s not warped and is placed on a perfectly flat desk. Great.
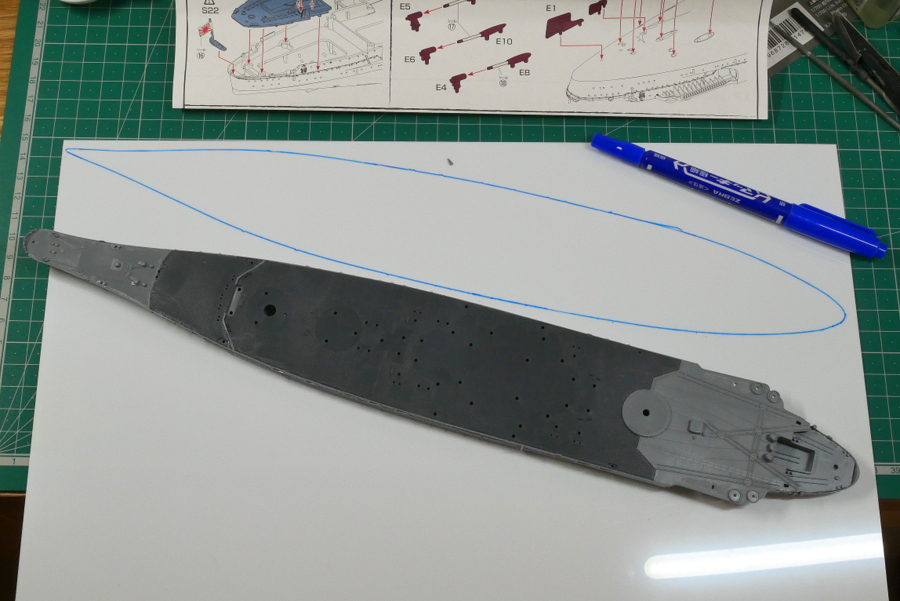
I didn’t notice it because it was my first time building the Fune-Next series. I was wondering if I could make it into a waterline model, but it would be like that if I removed the bottom parts, but I feel uncomfortable because the bottom part is empty. I decided to cut and paste the plastic board. I could put a piece of the board on the bottom of the ship.
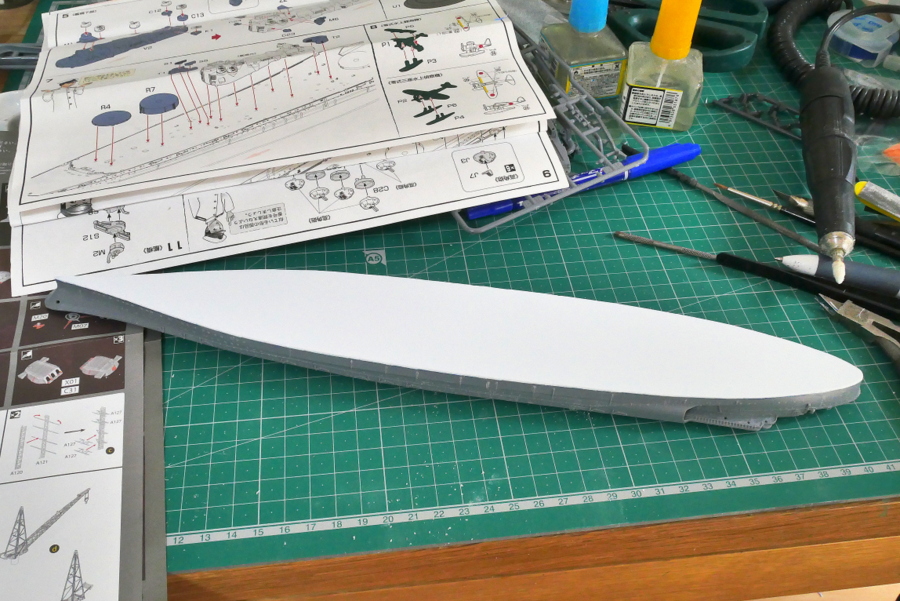
Well, the white bottom is attractive. I thought I finished it carefully, but some parts are rough.
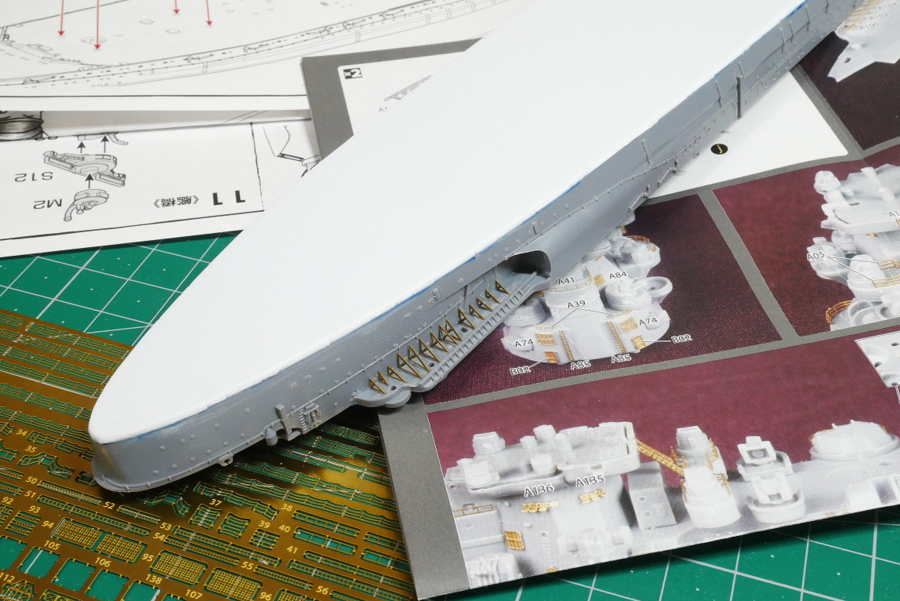
These are etched parts on the lower side of the rear deck. There are many, but it is still a warm-up exercise.
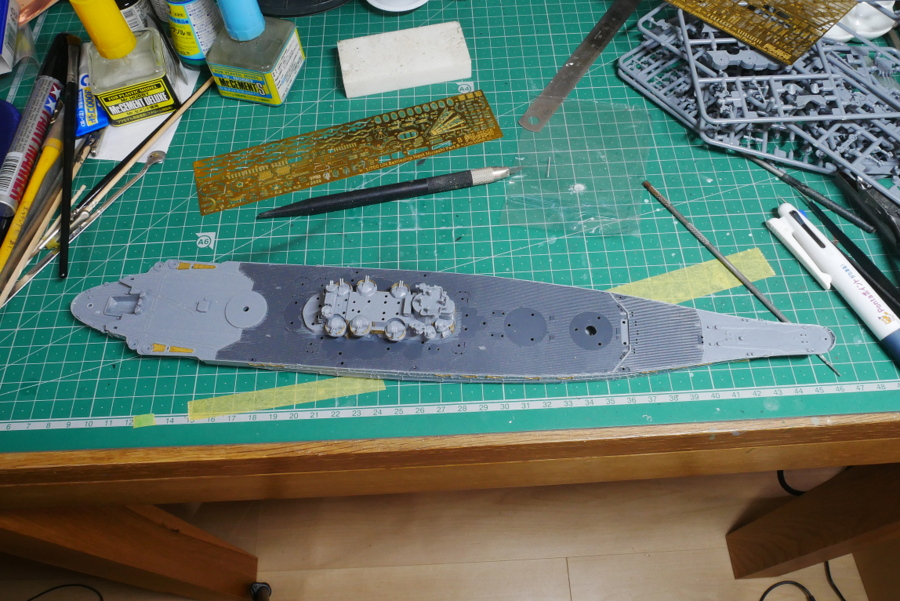
To fit many etched parts in the ship body, the Fune-Next series seems to have a lot of pieces together so that even beginners can quickly assemble them. It is troublesome that there are many parts to cut and shave. To be honest, I prefer the concept of the Toku series.
Ultimately, I decided to live near the beach, a little away from the Tokyo city center. It’s so close to the beach that I may be able to live a healthier life by jogging or riding a bicycle. I don’t know because I have been indoors for a long time. Moving is troublesome because there are many models in stock. If I had known it a year ago, I wouldn’t have added hundreds of stocks like this. In Japan, people who work at financial institutions are more likely to be forced to move to prevent corruption.
(2021/10/24)
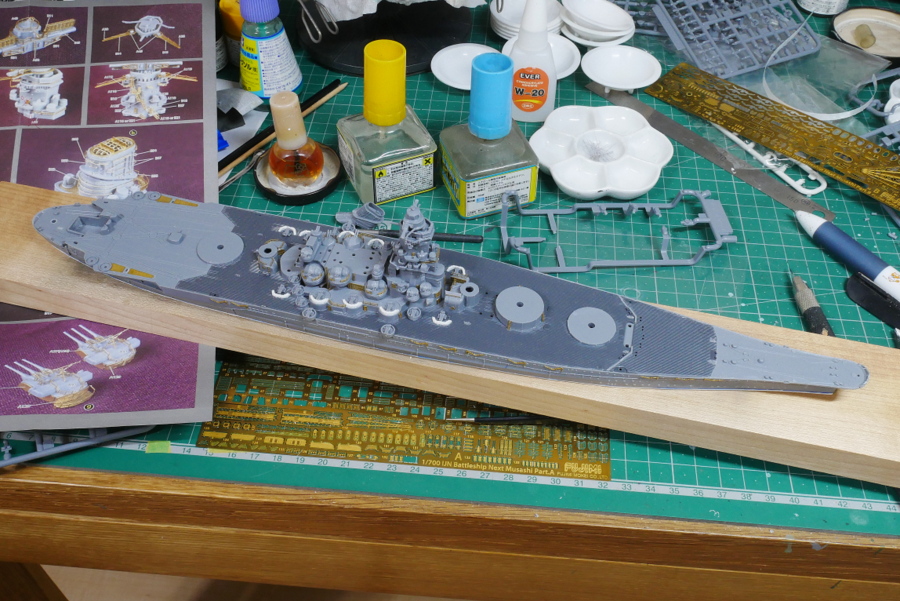
I’m not going to use a deck seal this time; I think all parts are painted. Keep the upper structures glued together. I’ll be in trouble later…
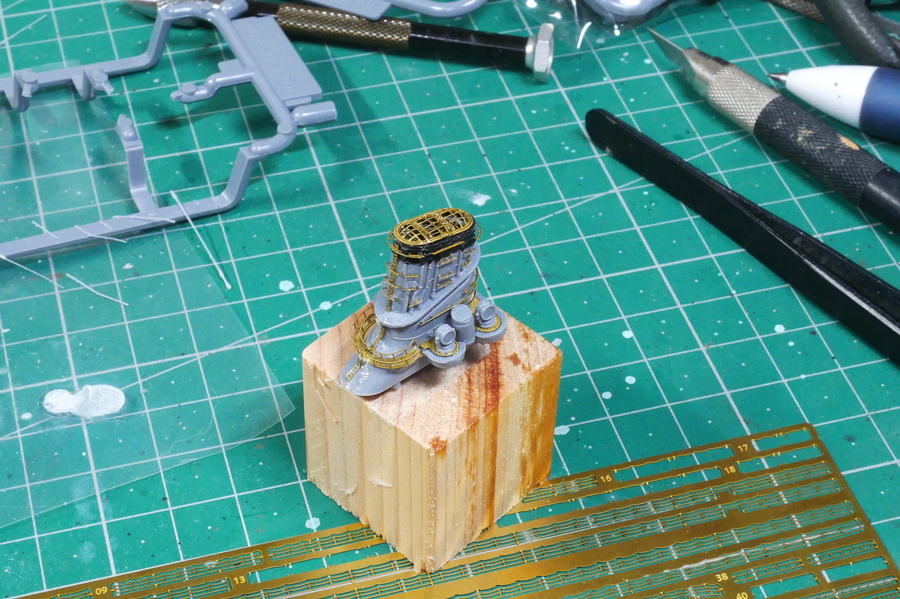
It is a good amount of work to assemble a funnel when it comes to using etched parts. This time, there is no loss of parts, and it is relatively smooth.
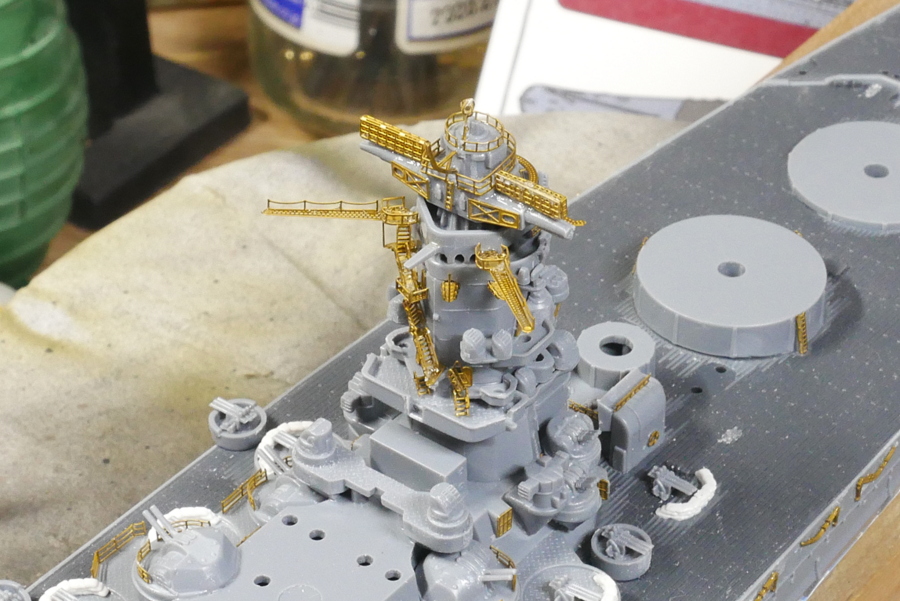
I think the works of the forward bridge are one of our most tense places. Some parts are too detailed to catch up with, but the details of Fujimi are excellent, as they can be reproduced at 1/700. Replacement with etched parts such as No. 21 electronic probe (square mesh radar), stairs, rudder, signal flag yard, etc., improves precision.
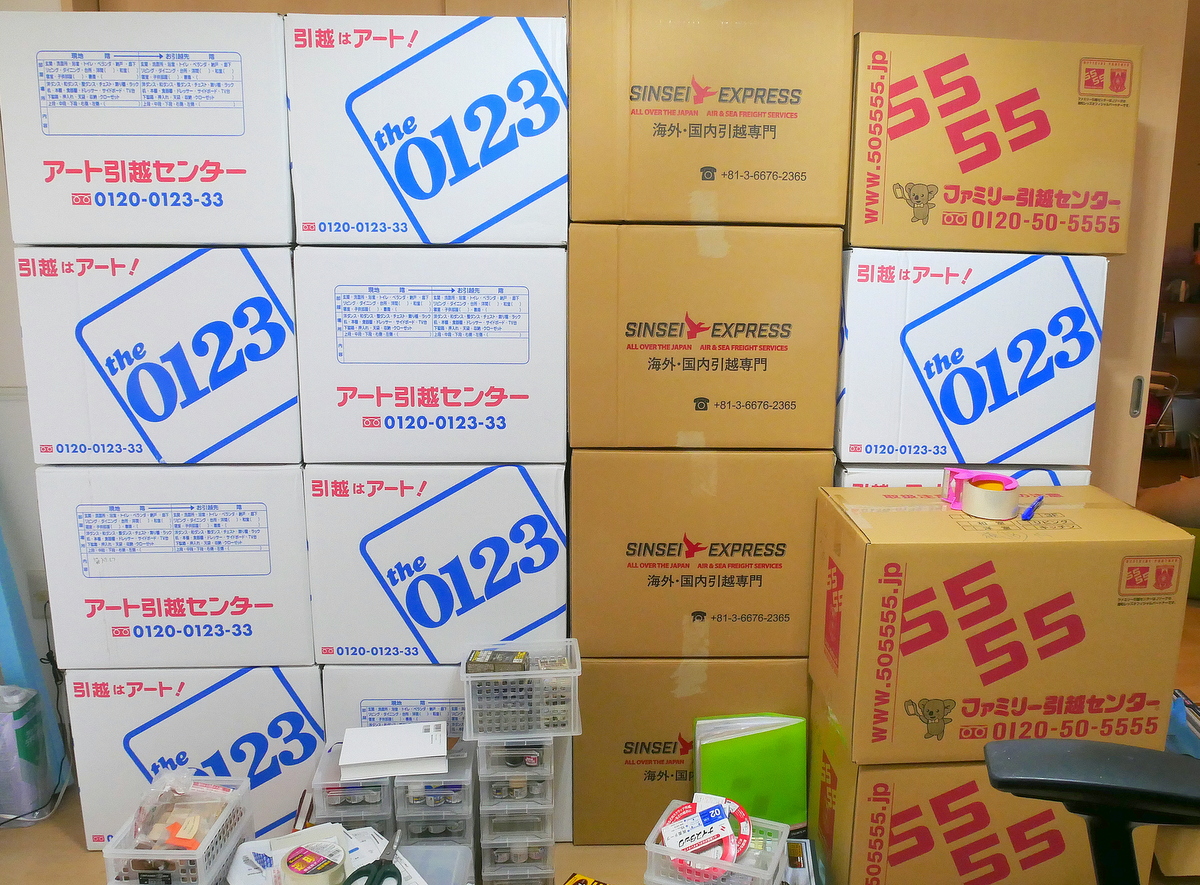
I packed my plastic models in a box while preparing to move, and I ended up with just under 20 pieces in a big cardboard box. Personally, and in my wife’s opinion, this is far too much. I have succeeded many times in the sneaking mission to prevent my wife from finding out from the entrance to the closet in the innermost room, but this moving work always reveals it. There are many genres, such as AFV, aircraft, ship, and figure. I can only say that it had accumulated before I knew it. I can’t get it anymore if I don’t buy it now. But in the future, I would like to keep them in one or two boxes. I want to go back to when I started making models, buying one package, and building it with excitement.
(2021/10/30)
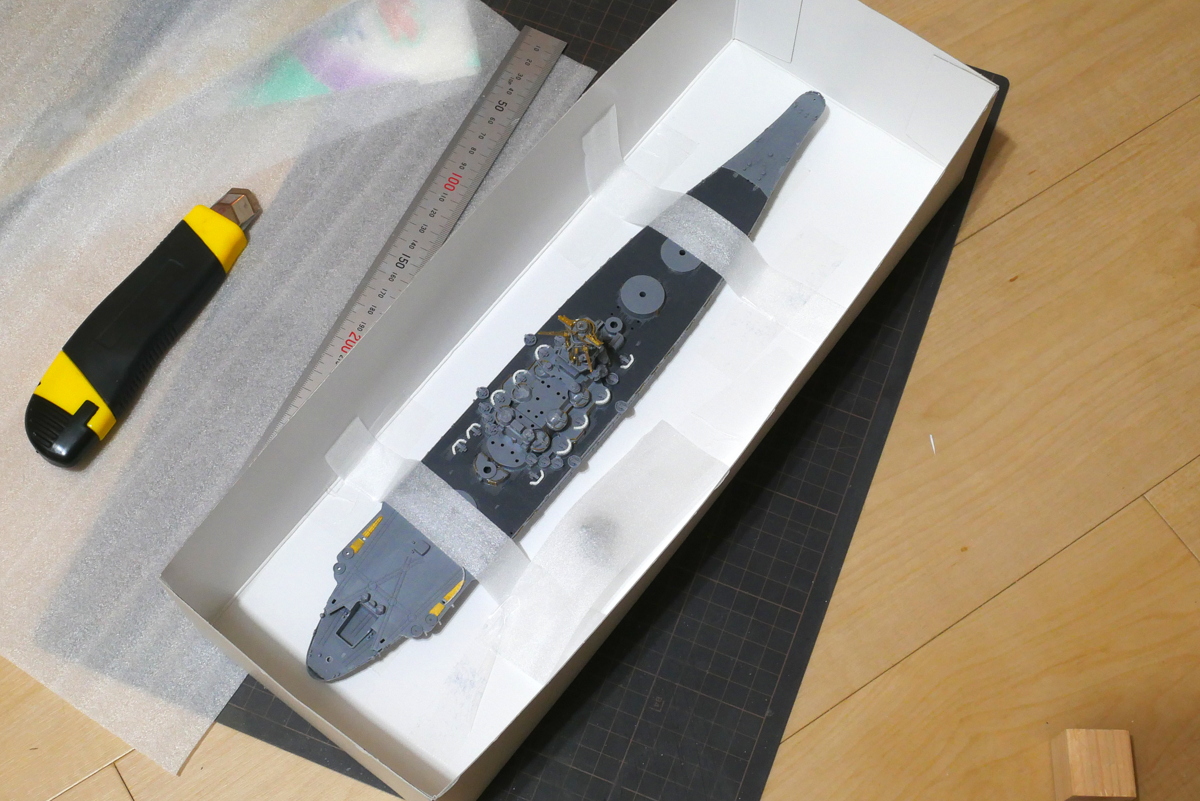
The Battleship Musashi was also stored in the dry dock because I would move about a week later. I am lucky to be able to use the box of the kit as it is because it is not full-hull and not so high.
The dry booth, the ventilation fan for the paint booth, and the compressor are so big that it is difficult to pack them. Packing is hard when I have fishing gear, road bikes, and other irregular sizes that can’t fit in a box. I may not be able to update the website for a while.
(2021/11/06)
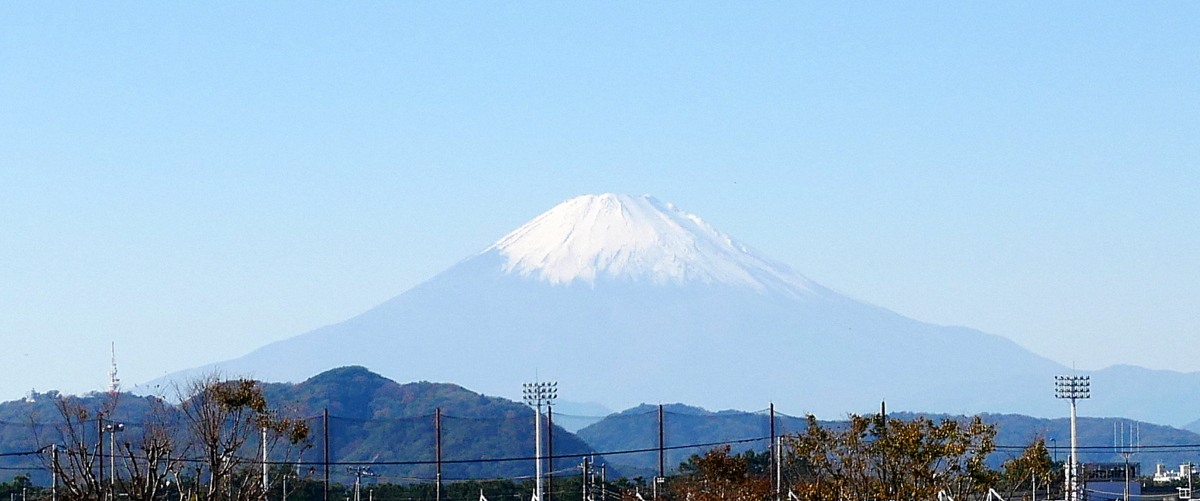
Well, I just finished moving all the stuff. A traffic jam on Friday afternoon made it hard for me to carry my baggage late. It’s hard on a moving day, and the next day is also pretty untidy. The leader and other moving company workers were very professional, and the work was careful and fast. I took a short break and saw Mt. Fuji from nearby.
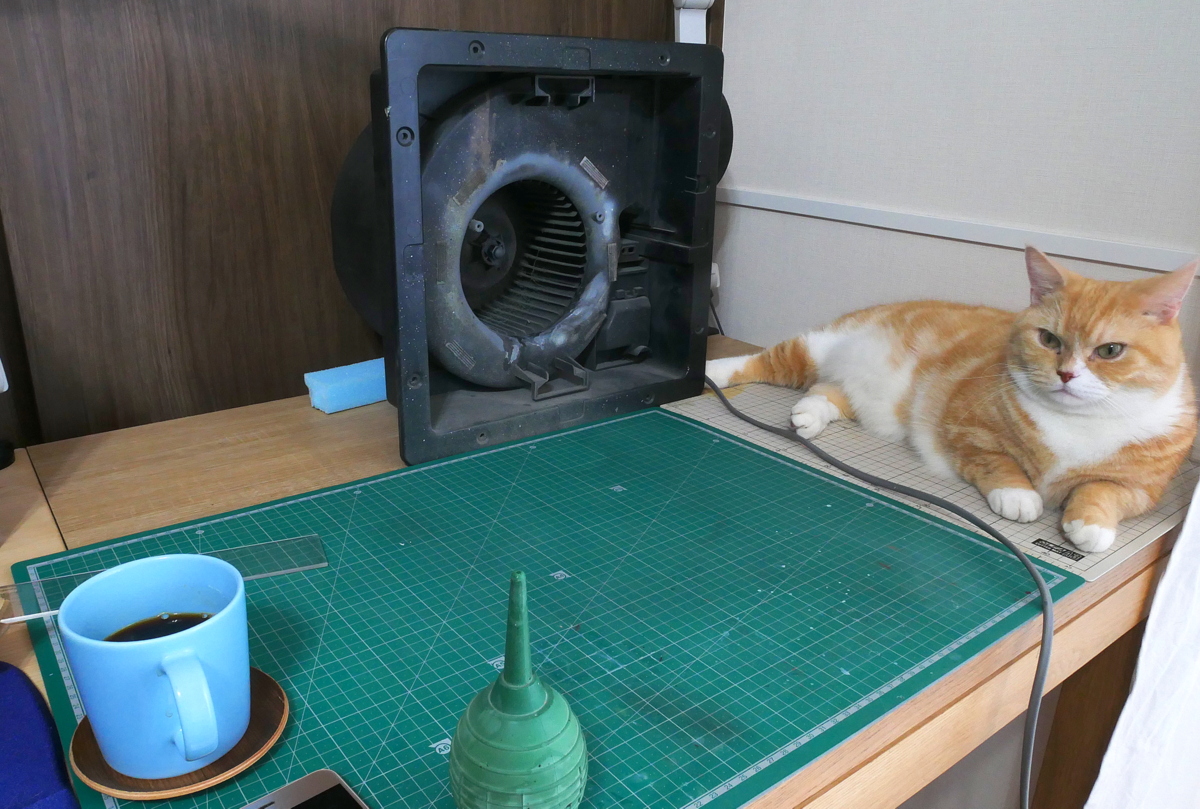
I didn’t throw away the work mats I used before, so I put them together. I think it will match the size of a desk, so I will make it in a workspace like this for a while. I want to change my desk to a bigger one when the room gets tidy, and the number of plastic model piles decreases, but I don’t know when it will be.
(2021/11/13)
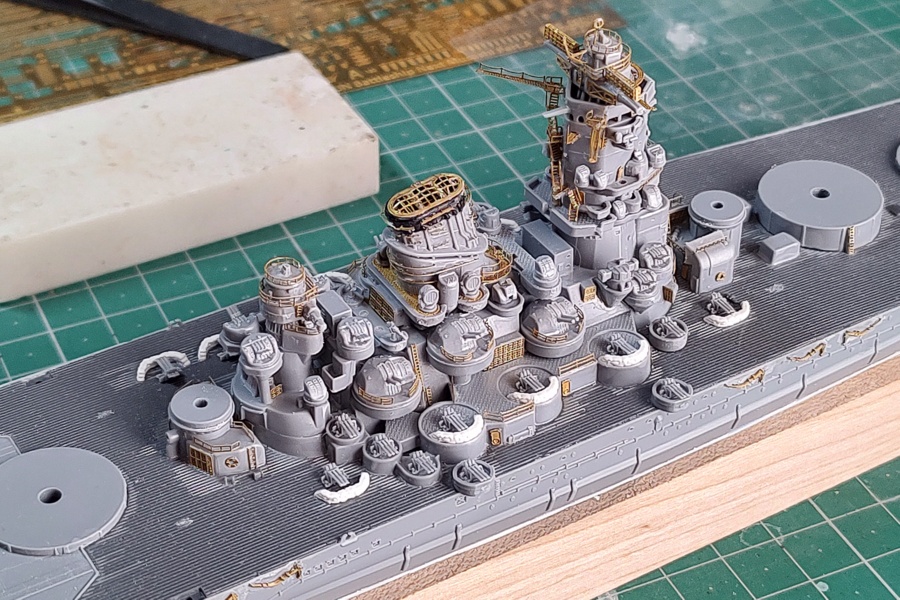
I am still assembling the structures on the deck. When the chimney was built and bonded, some of the etched parts came off and were rebonded. So the rear bridge is in the process of attaching the etched parts after bonding, which is also a good and a bad thing. Is it because I put too much force and didn’t know how to fit the parts well?
I took a photo with the new smartphone camera. I have been using a smartphone for more than four years, and I felt the limit, so I renewed it. I wasn’t sure if I should buy Google’s top-end rank Pixel, but I purchased Motorola’s Edge 20 because of its moderate price and performance. The benchmark is 29000 old Zen-Phones and 524000 of this phone, which is 15 times. That’s why applications that used to fall off work so well this time.
(2021/11/25)
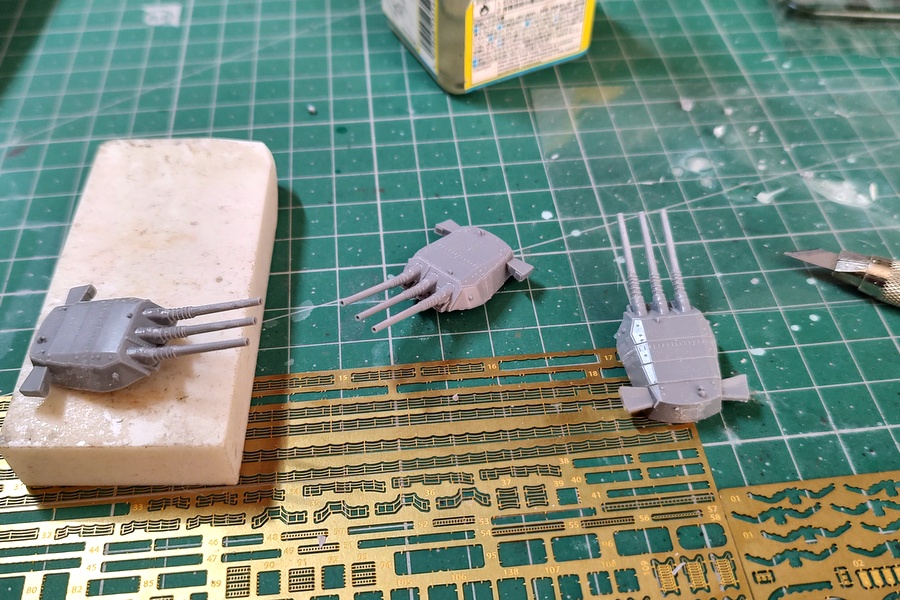
This primary weapon is the best feature of the Battleship Musashi. So I was finally able to assemble these. Various parts are scraped to install etched parts.
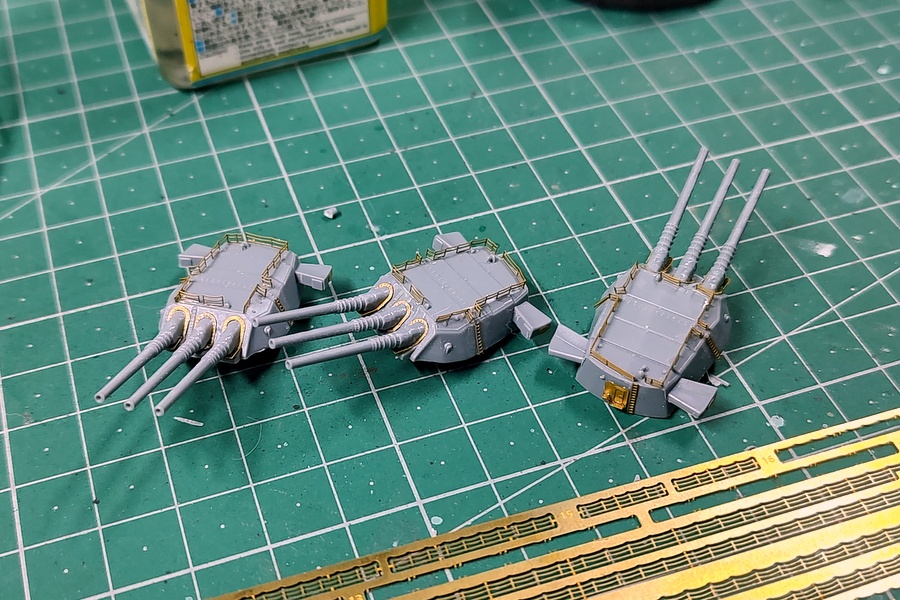
There was a hole in the main gun from the beginning. When I attach the handrail to the top of the turret, I feel a sense of accomplishment.
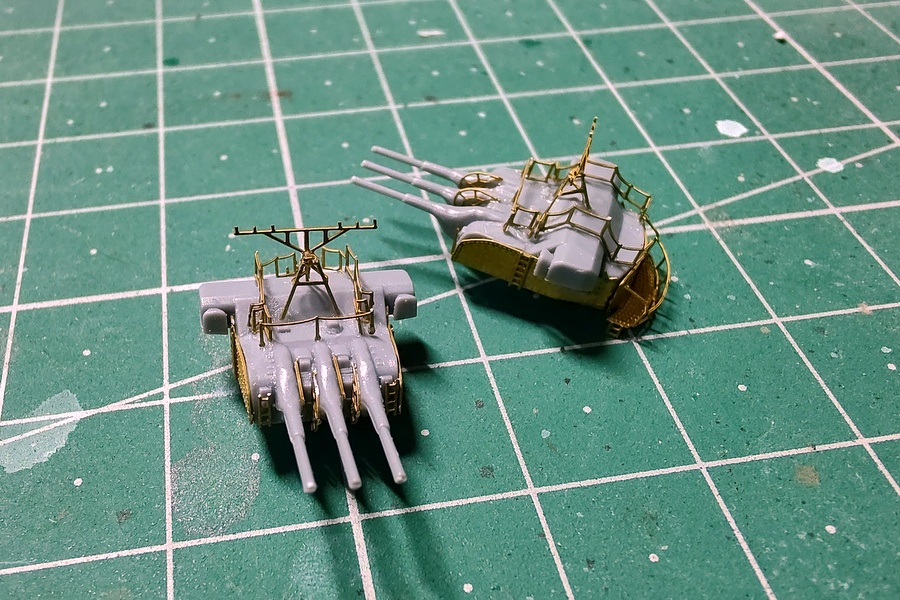
It was unexpectedly difficult to assemble the Battleship’s secondary armament, including the etched parts. When I move the turret, I am afraid that small pieces will come off. Should the main gun and the secondary gun be attached to the hull?
(2021/11/29)
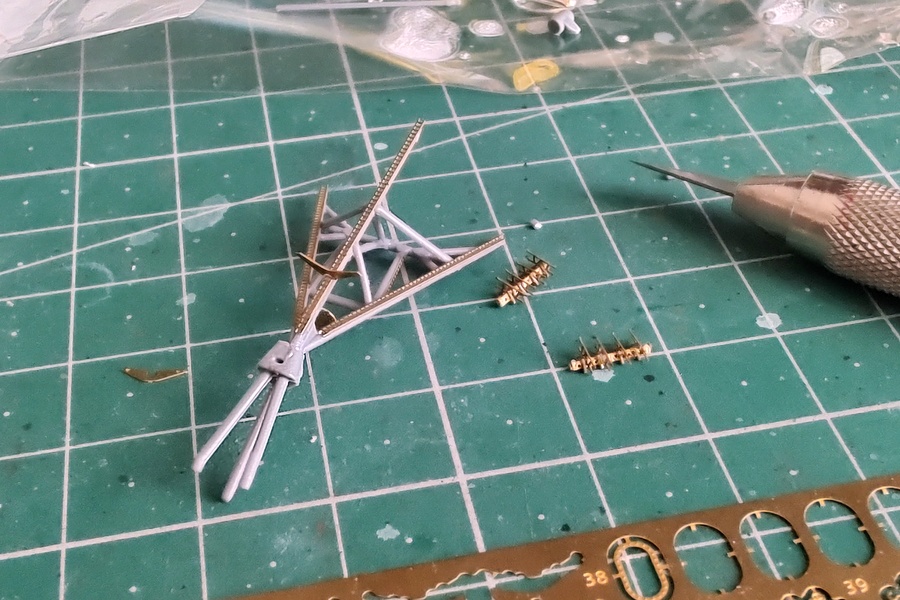
I’m building a mast for the Battleship Musashi. There are so many small parts that I feel like going crazy.
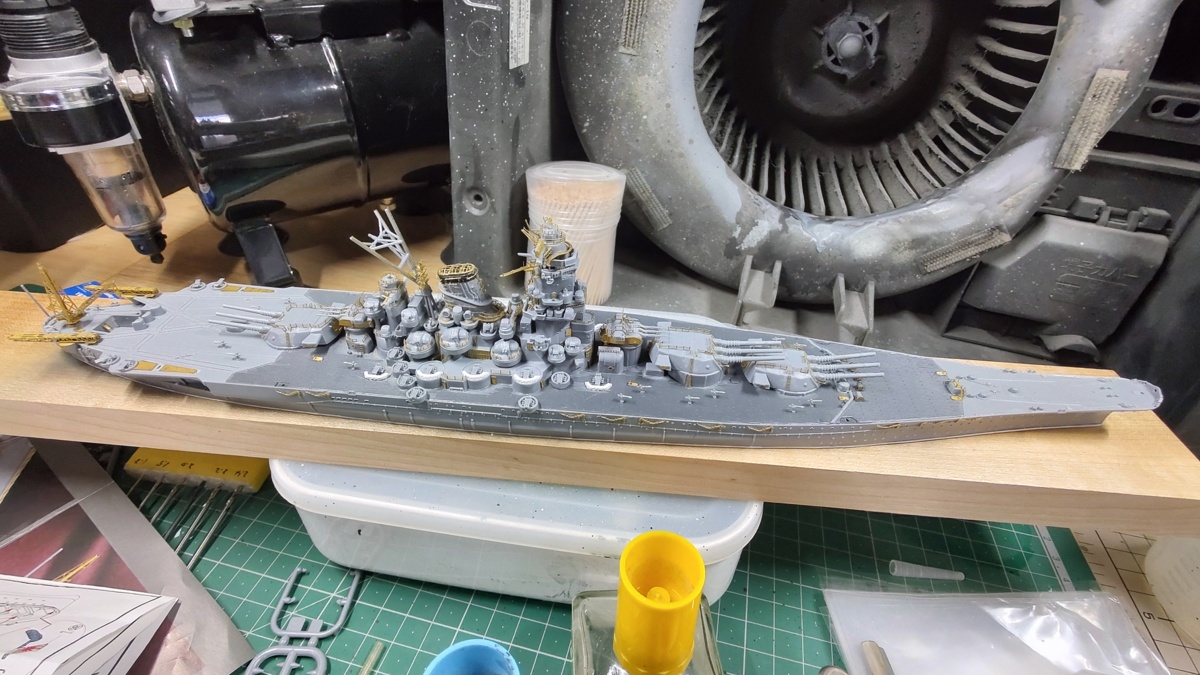
Secondary and primary guns were attached, and the structure of the rear deck was assembled using etched parts. I still have a lot of work, such as installing handrails and making carrier-based aircraft, but I can see the goal slightly.
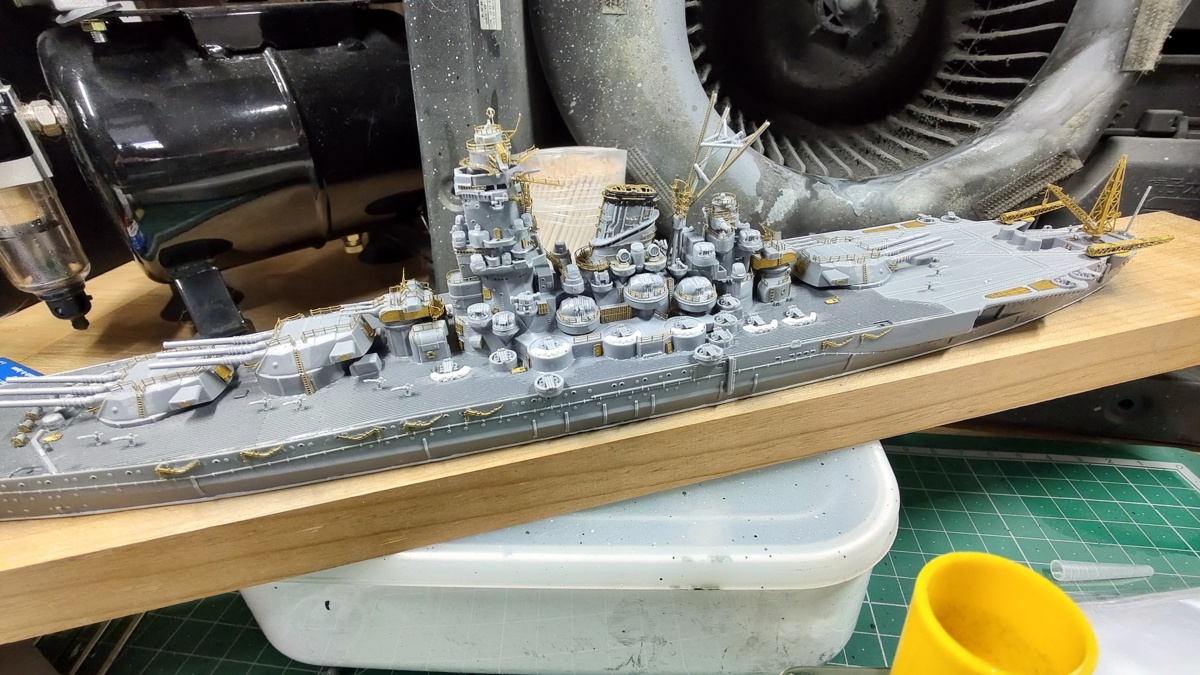
It’s a snap kit, so you can assemble it just by fitting it. I used a lot of glue to make only plastic parts. In my case, I built etched parts in various places, so instant adhesives are essential.
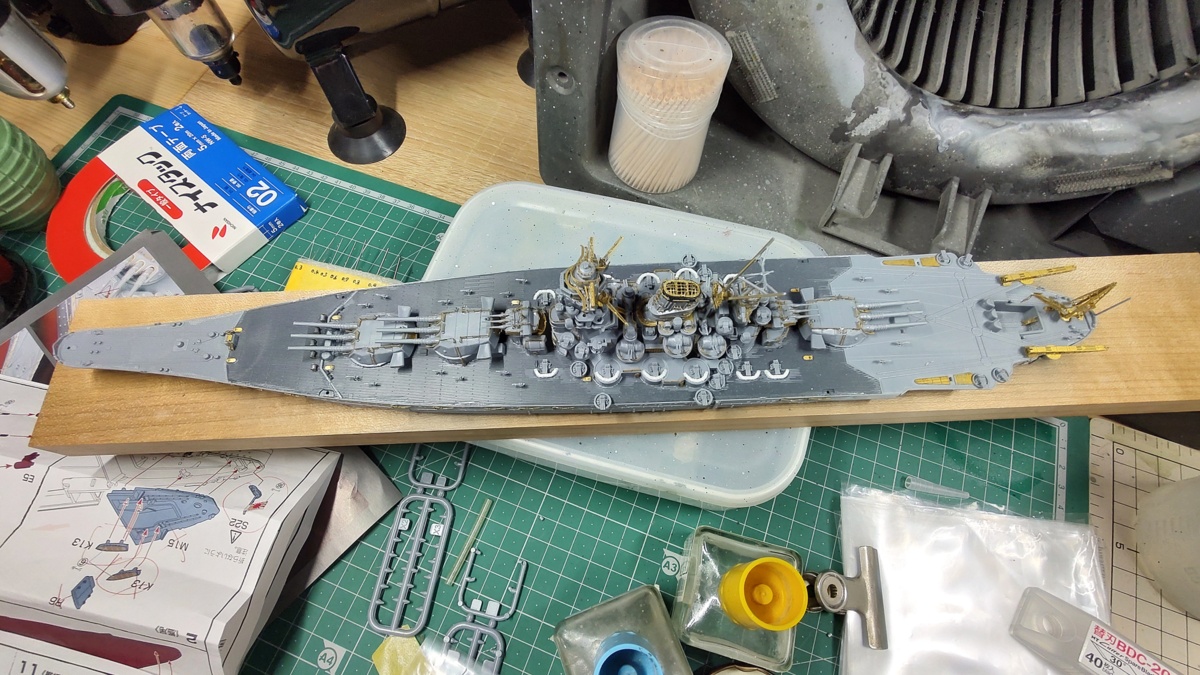
Battleships Yamato and Musashi are mighty because of their wide width.
(2021/12/02)
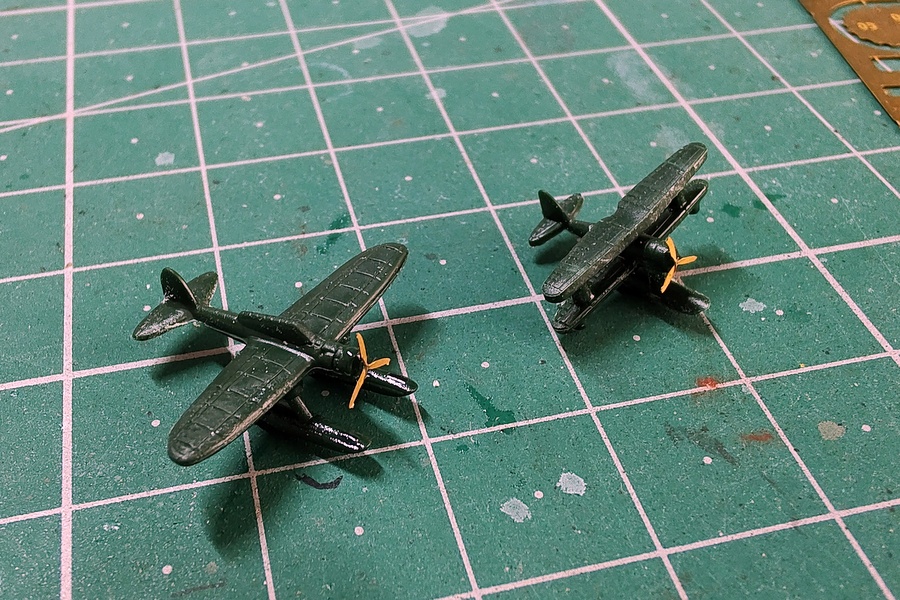
The etched parts of the carrier-based aircraft were prepared only with propellers, so it was much easier to assemble than the Toku series. There was a hole in the back of the plane, so I closed it with putty. The pillar of the biplane was cylindrical, so I thought this might not be good, so I flattened it, but it didn’t work so well. There is a fine mold on the surface of the main wing, and there is a sense of precision around that.
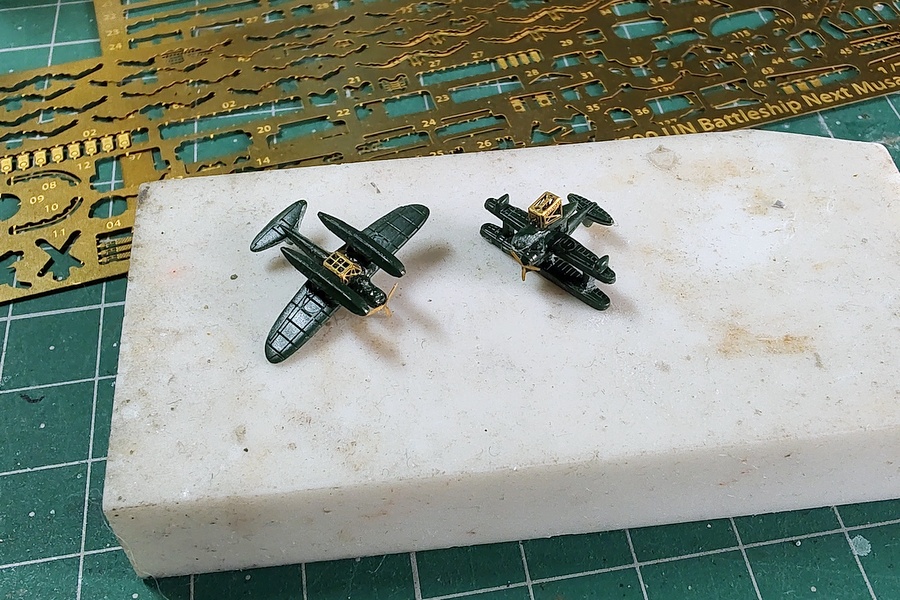
It’s like the amount on which a carrier-based aircraft is placed on a catapult. This time, it’s fixed to the plane’s underside with an instant adhesive.
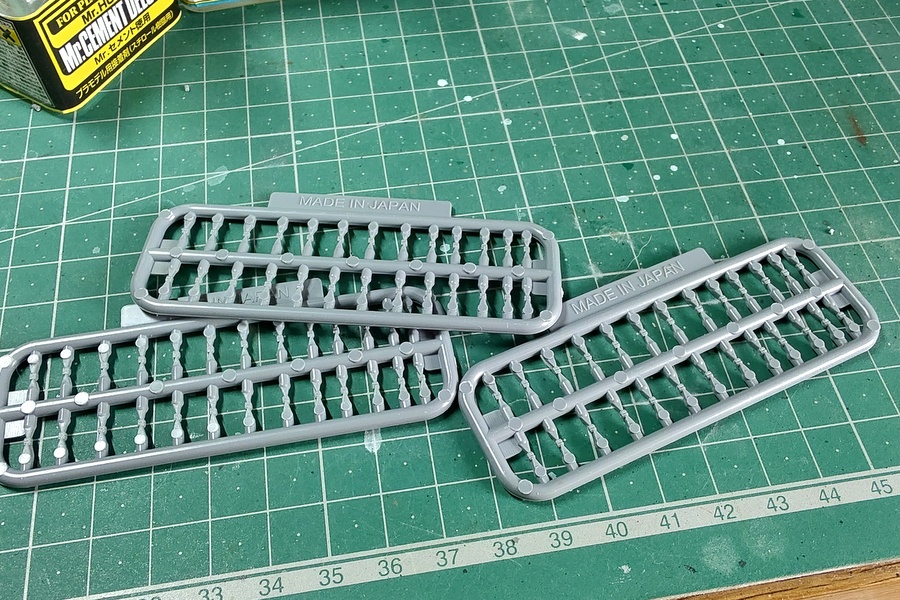
Many machine gun ammunition boxes were attached to the Fune-Next series Musashi kit. Maybe it’s to create a tense atmosphere on the deck before the final battle.
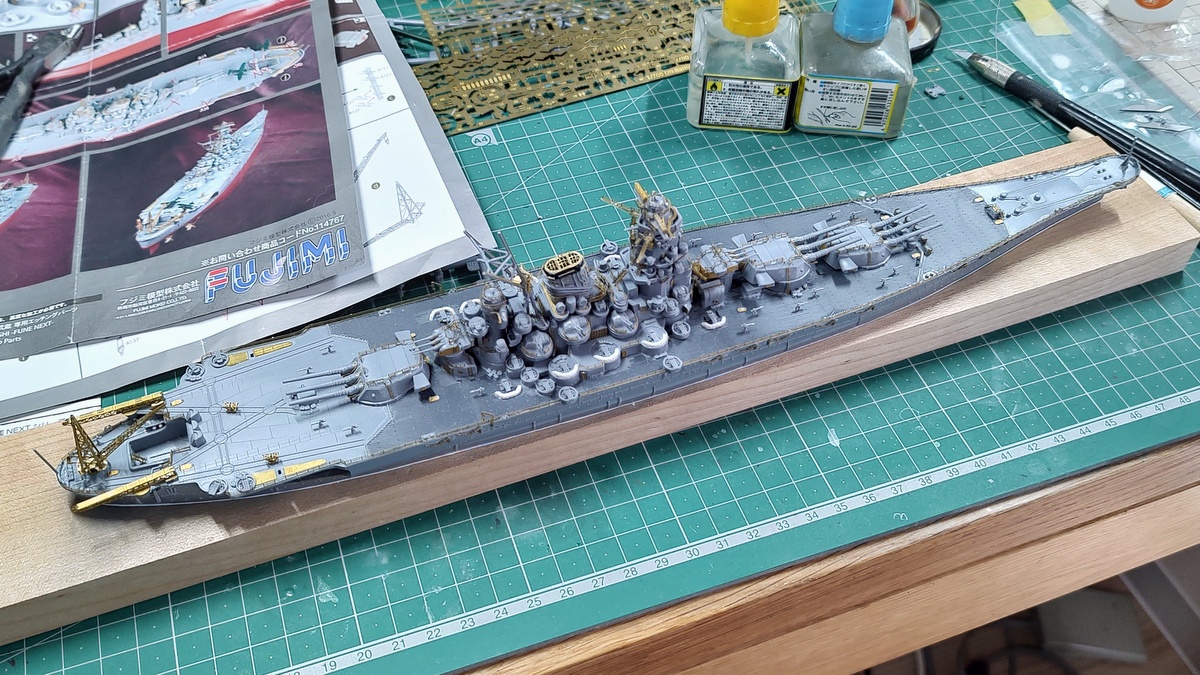 For now, the assembly is completed. At first, I wondered if I could finish assembling correctly, but I managed somehow. I think I will make a little antenna works after painting if I have the energy. Before that, I need a little more effort to start painting.
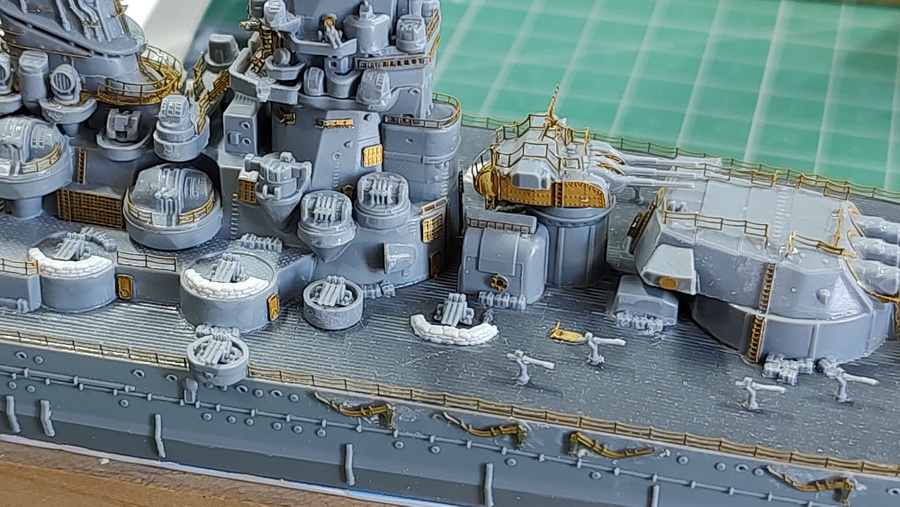
I took these several pictures freehand on my smartphone. It was pretty fresh because it was my first time putting ammunition boxes on the deck.
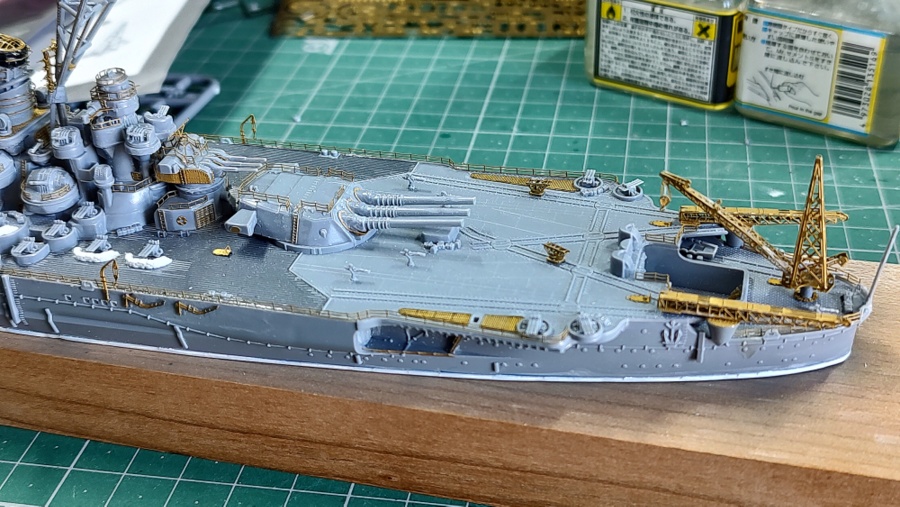
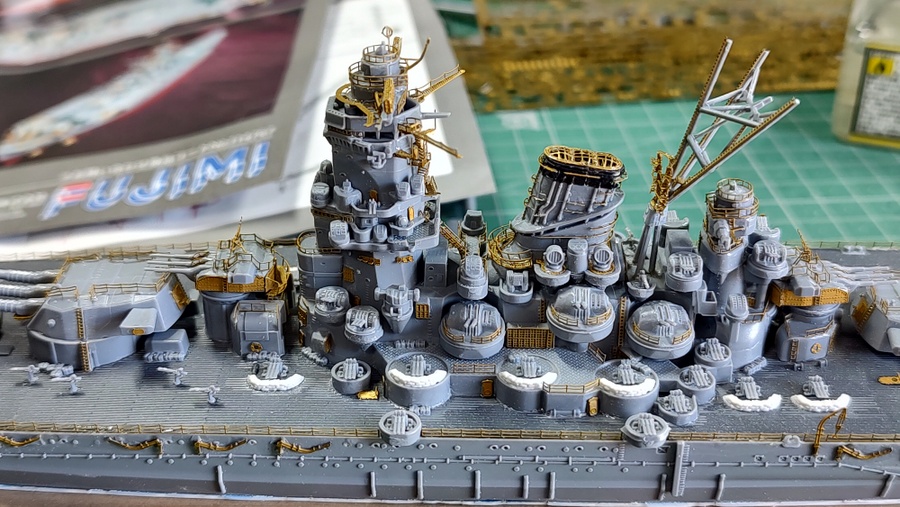
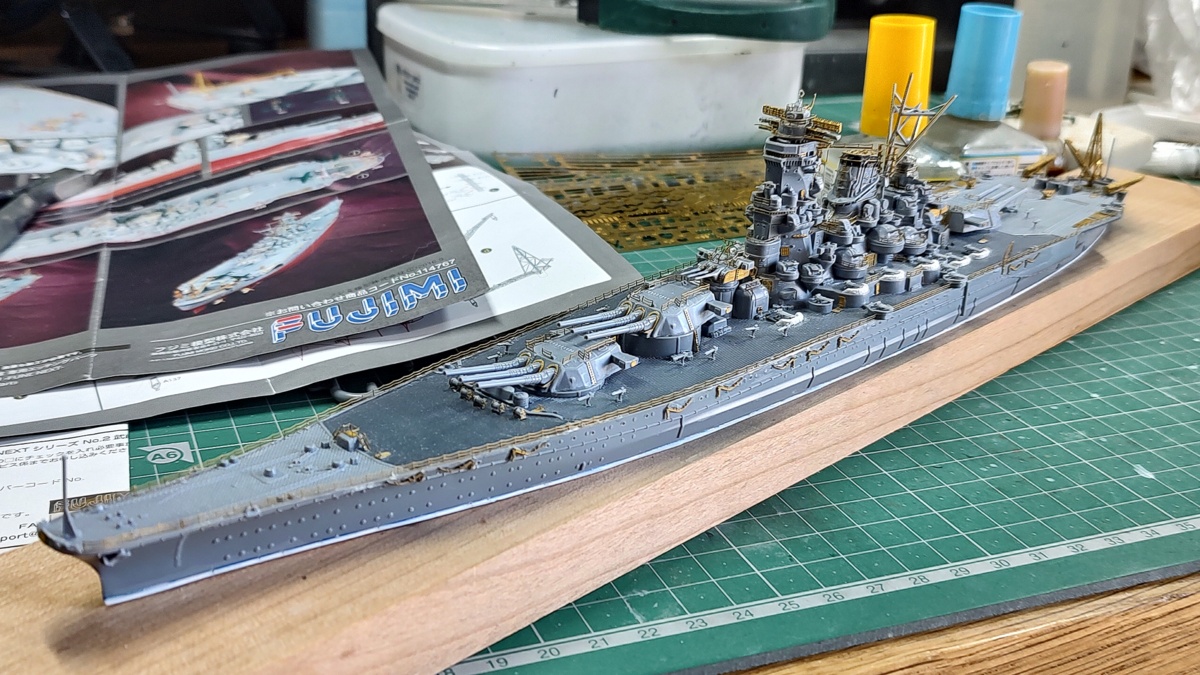
This is a picture I took with a tripod on my smartphone. Because the smartphone is a Motorola edge 20, the camera performance may not be so good. It might be a bit hard not being able to adjust the aperture.
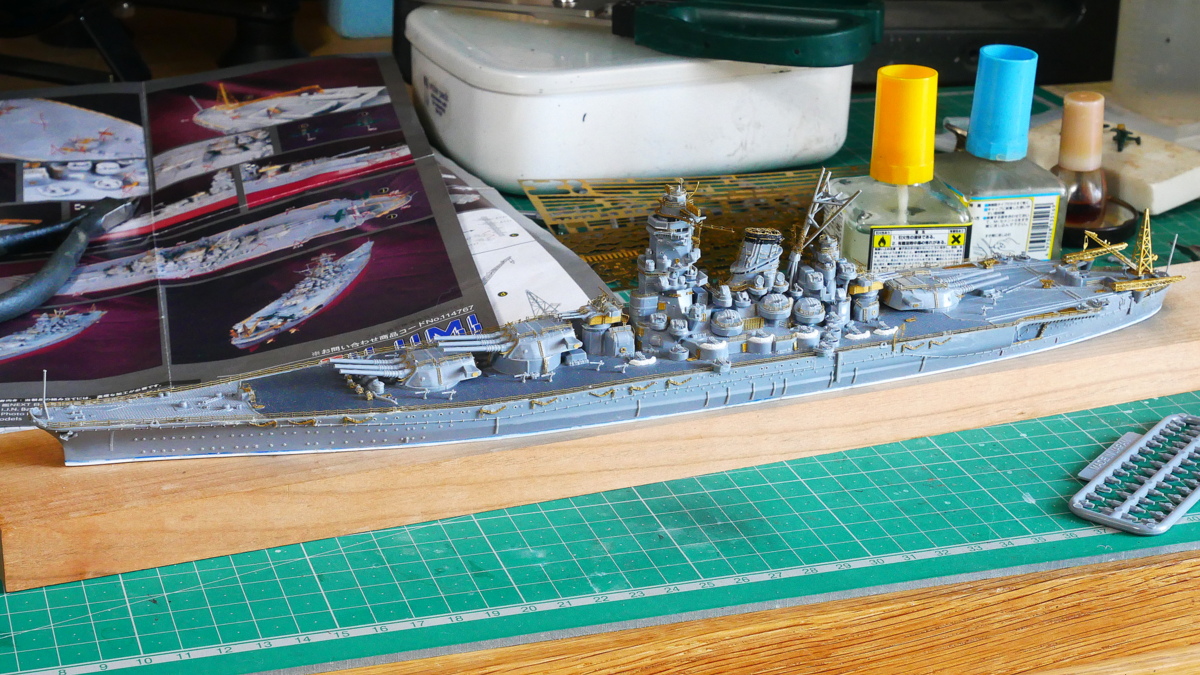
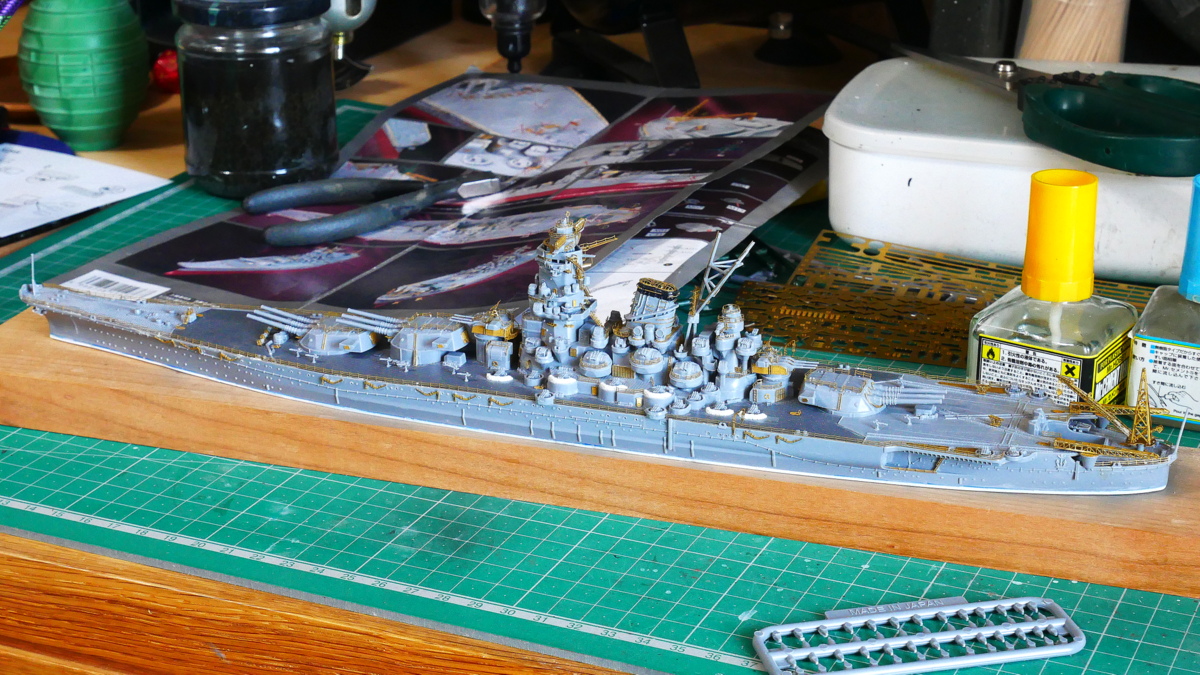
The two shots were taken with a mirrorless SLR. But it may not be meaningful if I don’t take a picture with the same composition and compare it. Anyway, I want to start painting work as soon as possible.
(2021/12/12)
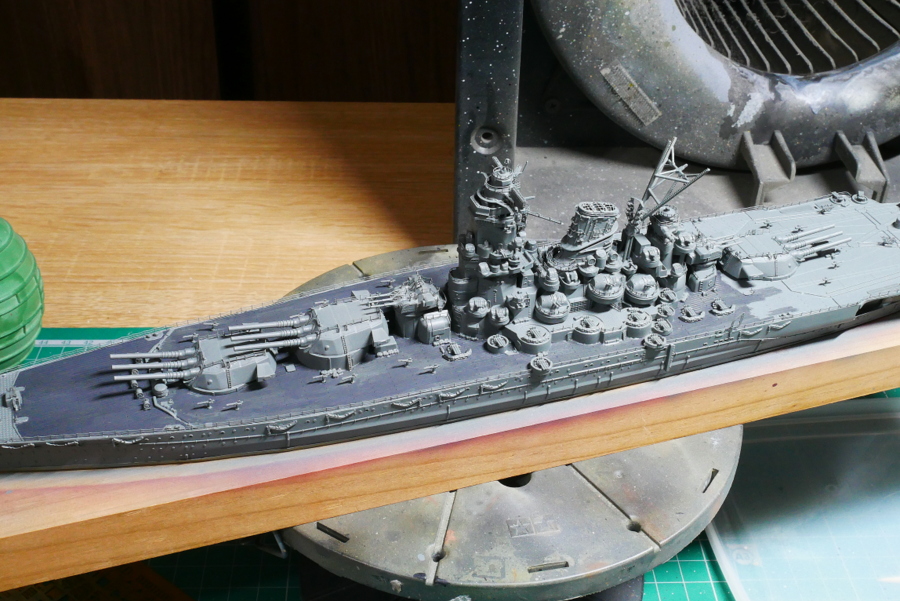
It has finally started painting. The deck is being painted with a brush.
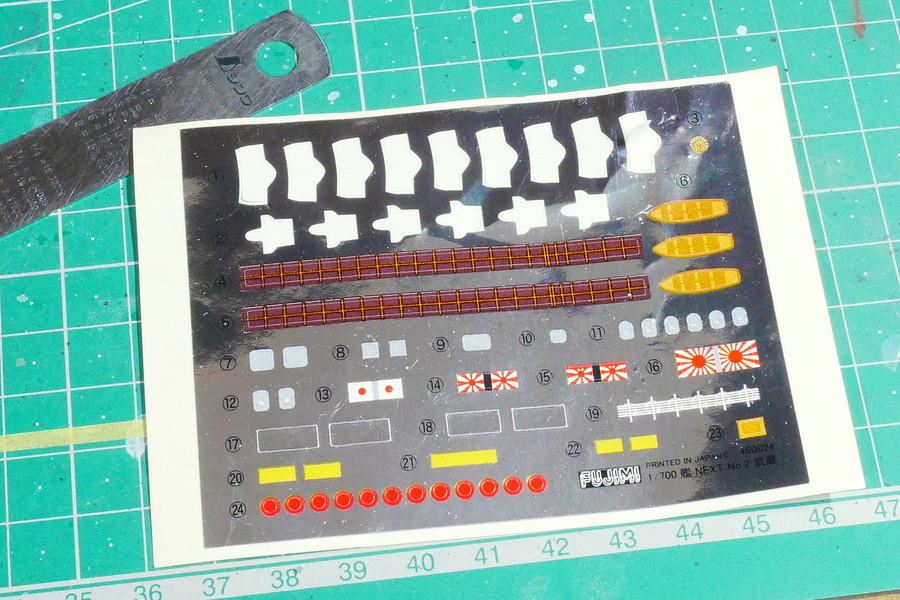
The kit of the Fune Next was not a decal but a sticker. It was a blind spot. This seal is a little like aluminum foil, so I think it can be stuck smoothly to some extent, even if it is curved, but I am concerned about its thickness when it is stuck in various places, such as the deck. Seals are not suitable for modelers who are familiar with decals. I wanted it to be a decal, or maybe it could have been both. I think it’s impossible because the cost will increase.
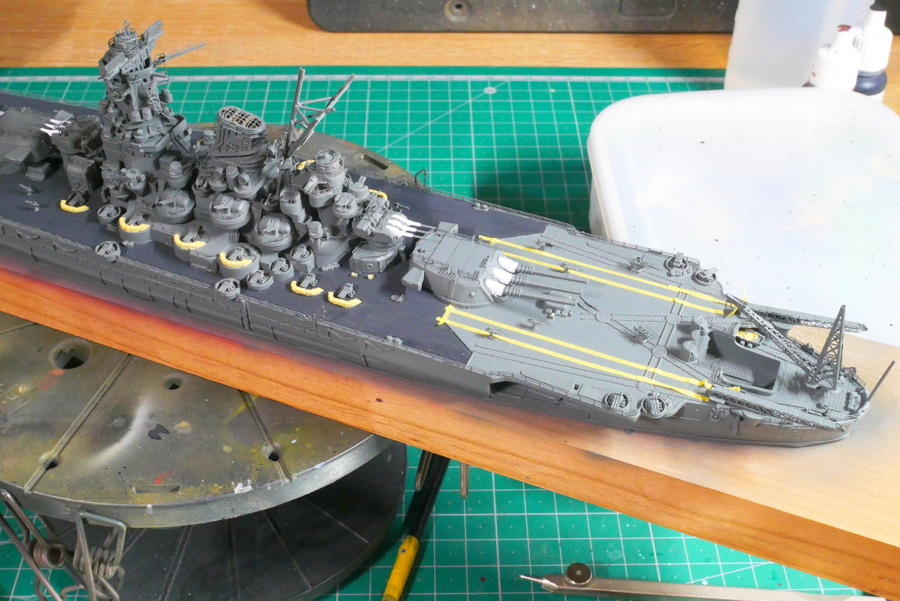
I had already started painting the details, so the masking work of the air deck part of the rear carrier-based aircraft was troublesome, but I decided to proceed with painting with a brush for now.
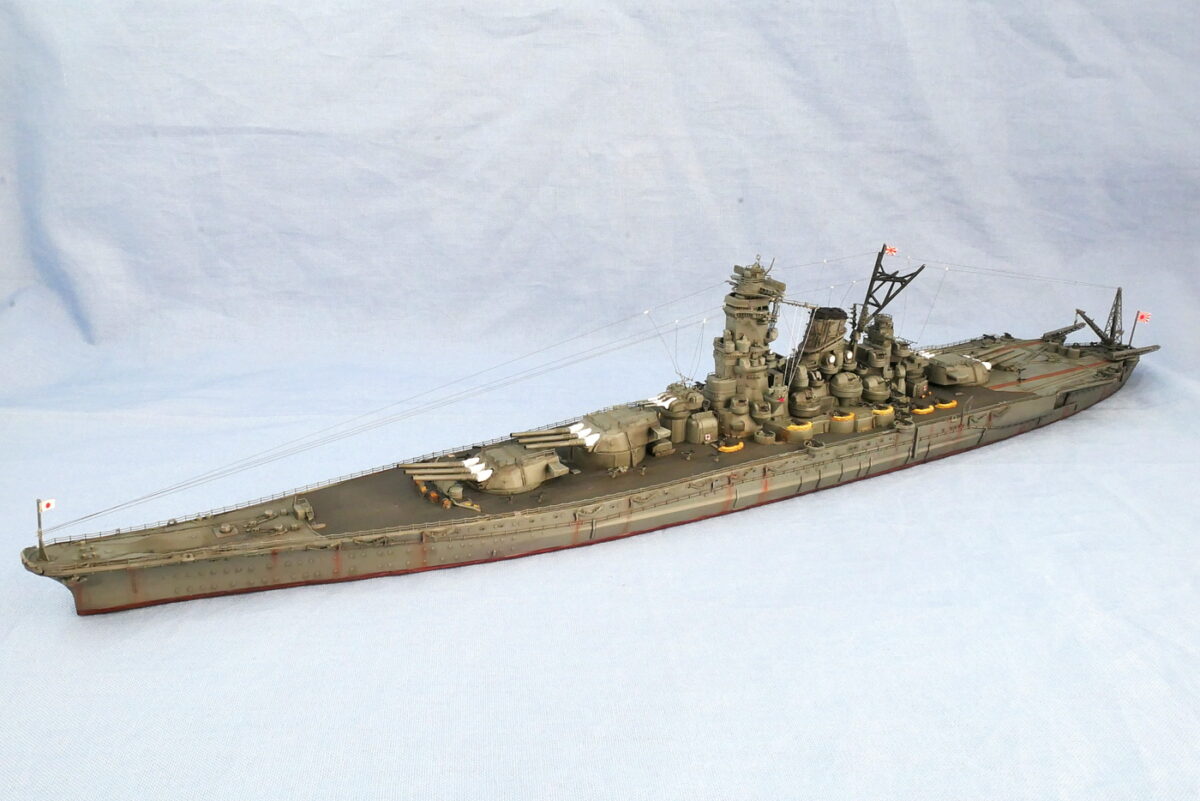
The Battleship Musashi of the Fune Next is finally completed. I’m tired from doing so much detailed work. I found many old games when I moved in the middle or cleaned up my belongings while moving work. I bought more than 10 of Toho Project’s barrage shooter games, installed them, and played with them.
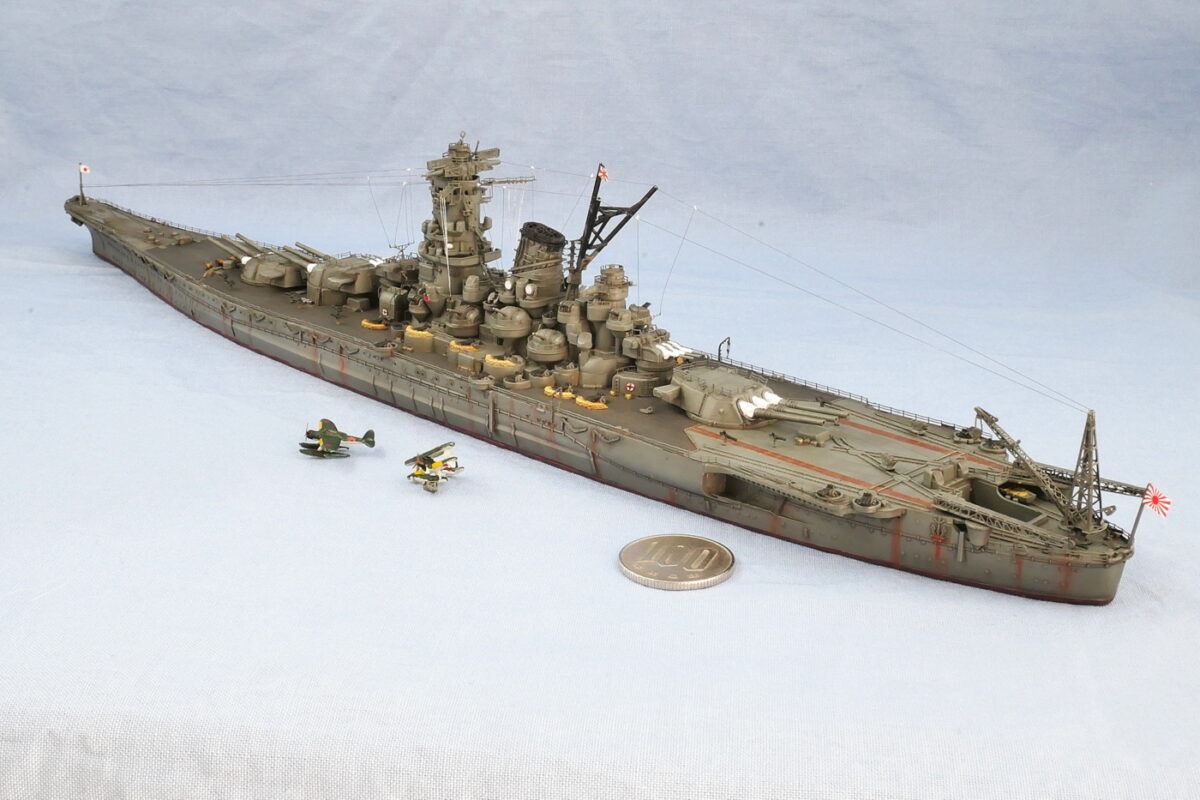
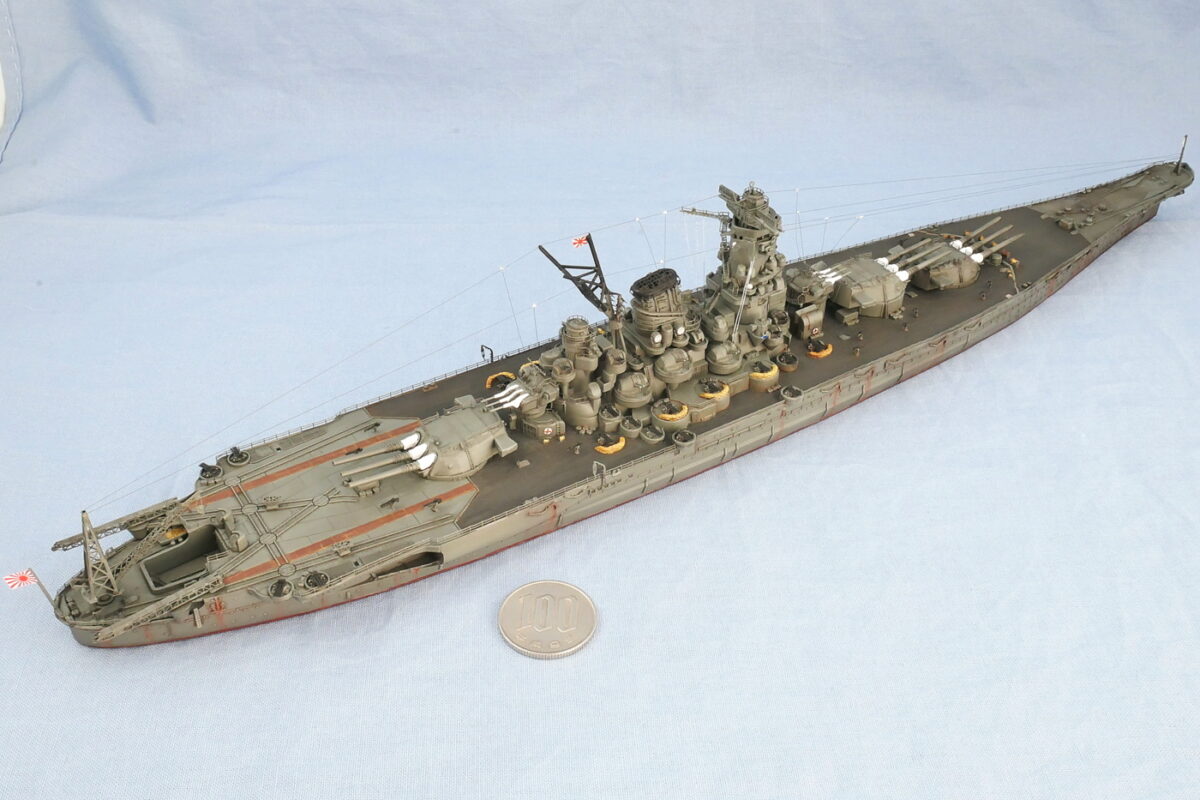
As someone who has been using glue to assemble a regular plastic model for many years, this snap-fit kit was complex. The mold seems to be better than the previous special series, such as Yamato and Musashi. I made a unique series of Yamato at the start of the war before, and the mold is undoubtedly finer than that kit.
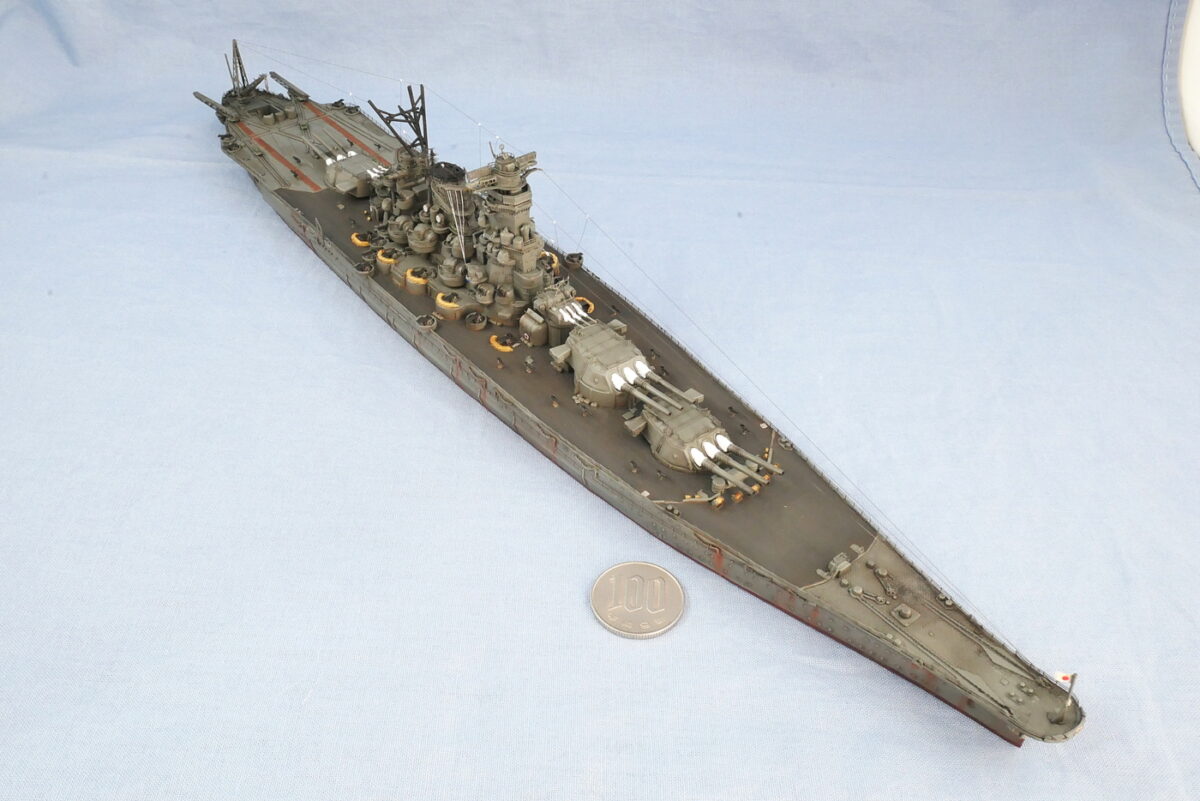
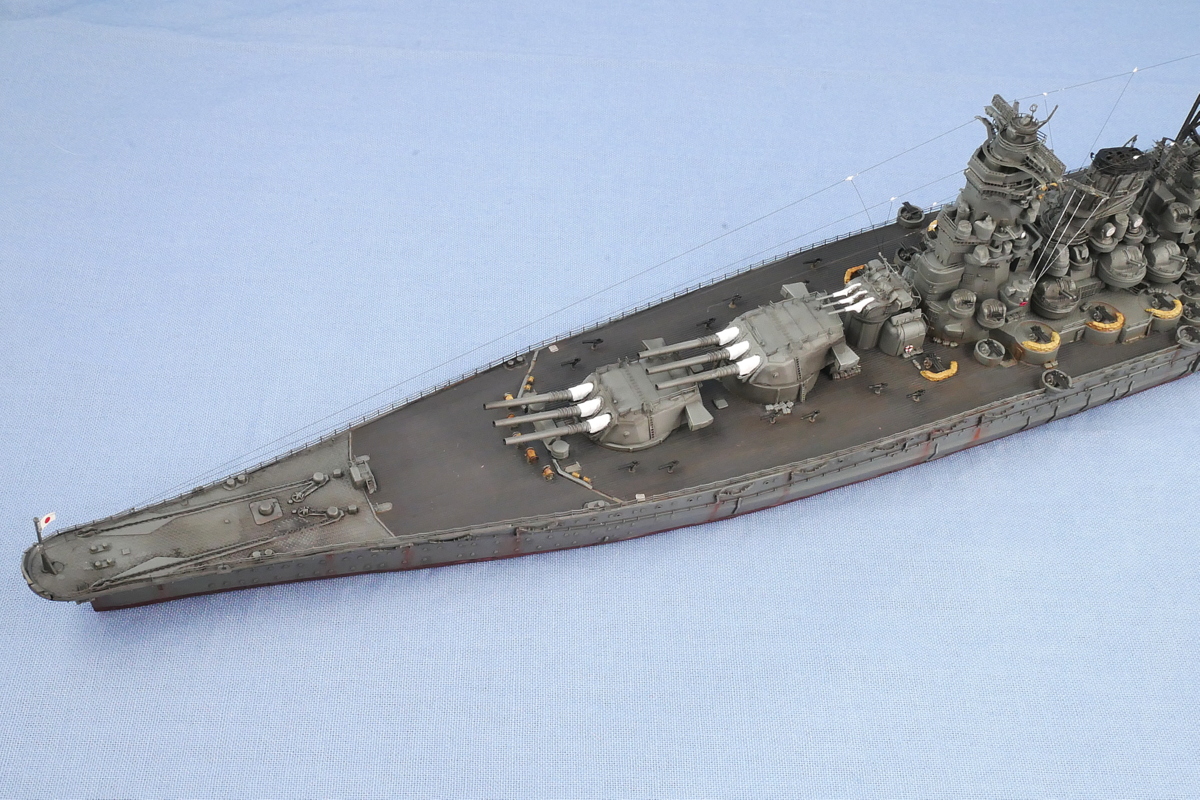
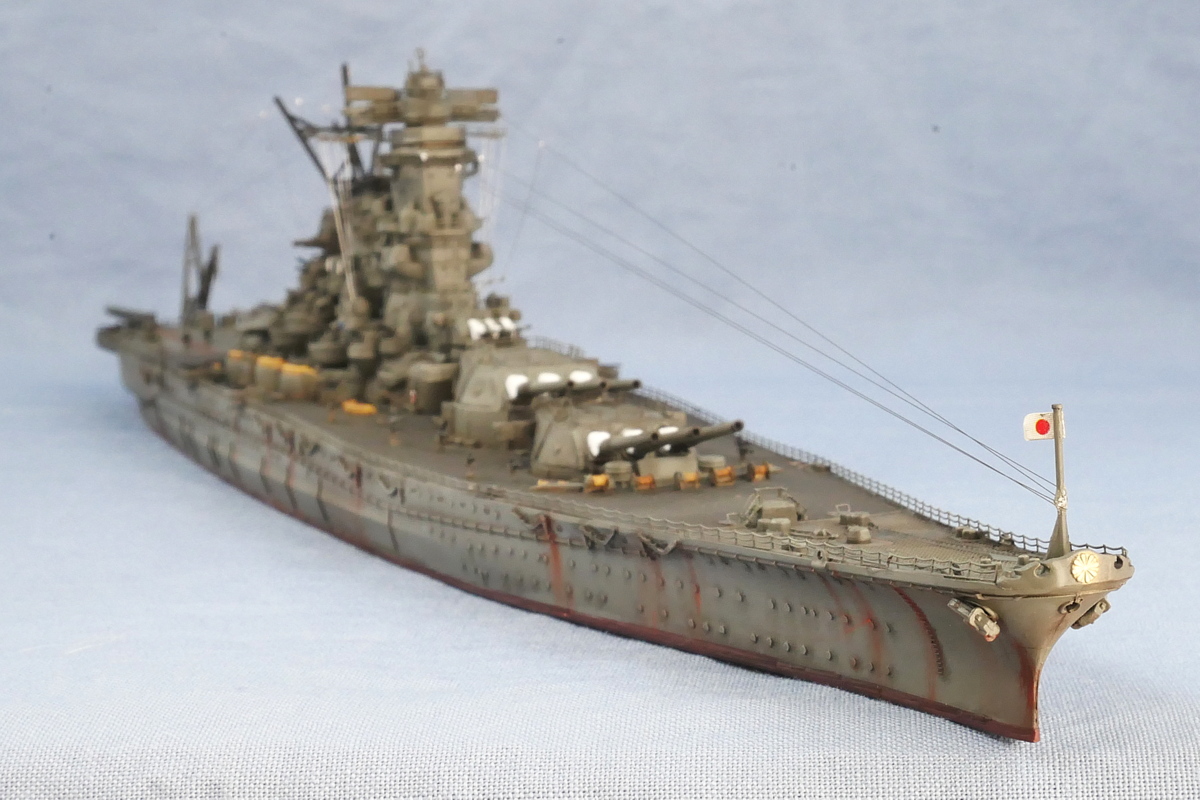
There is no water slide decal in this kit, so I wouldn’t say I liked the seal, so I finished it with a brush as much as possible. The only part that uses the seal is the flag of the Japanese national flag and the yellow band on the wing of the seaplane. When I use it, the stickiness of the seal is relatively strong, so it may not be a problem. The mold of the seaplane is much worse than the mold of the ship itself, so the level difference of the yellow band seal doesn’t bother me now. If the concept of the kit is focused on easy production, it may be unavoidable.
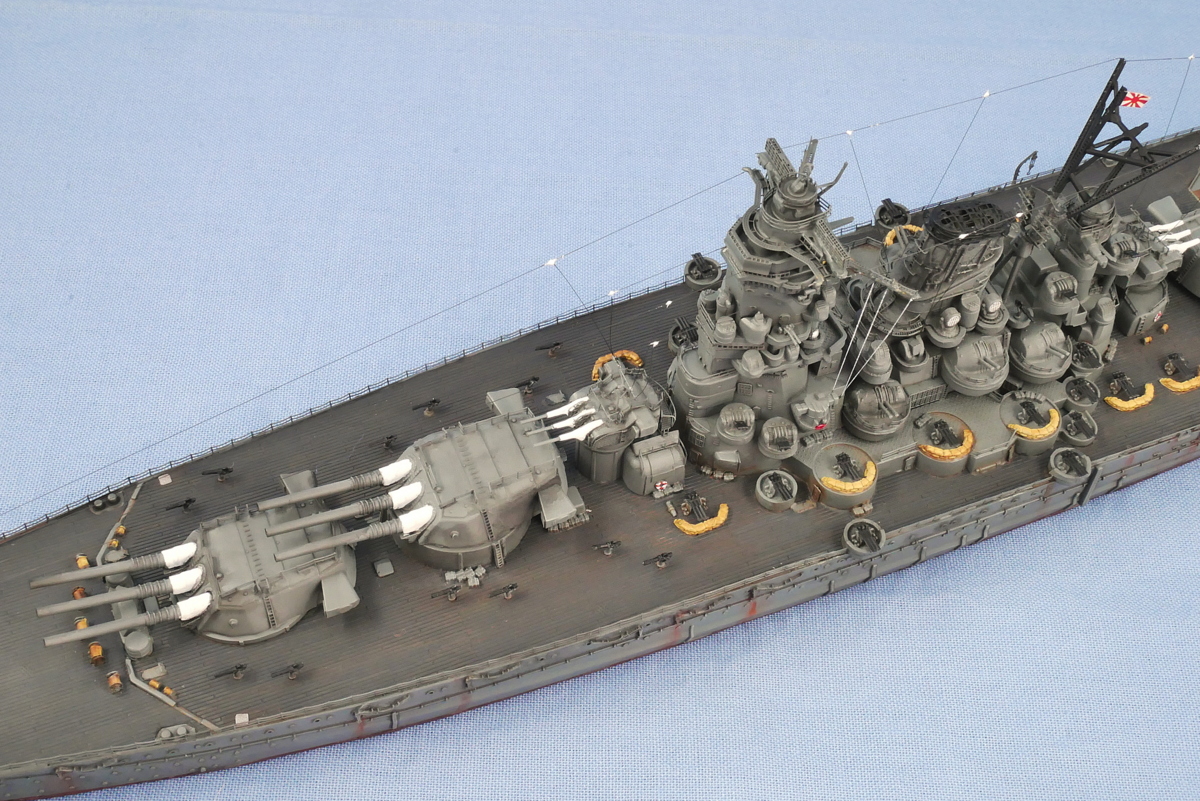
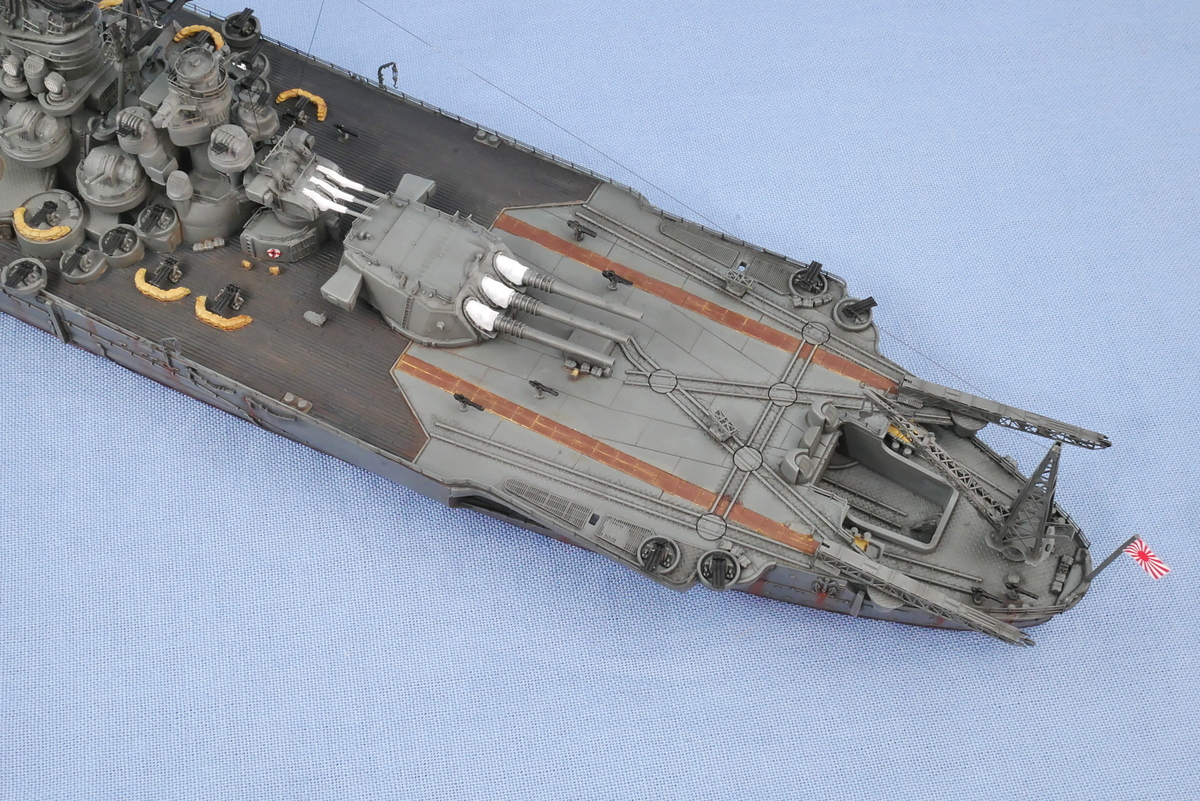
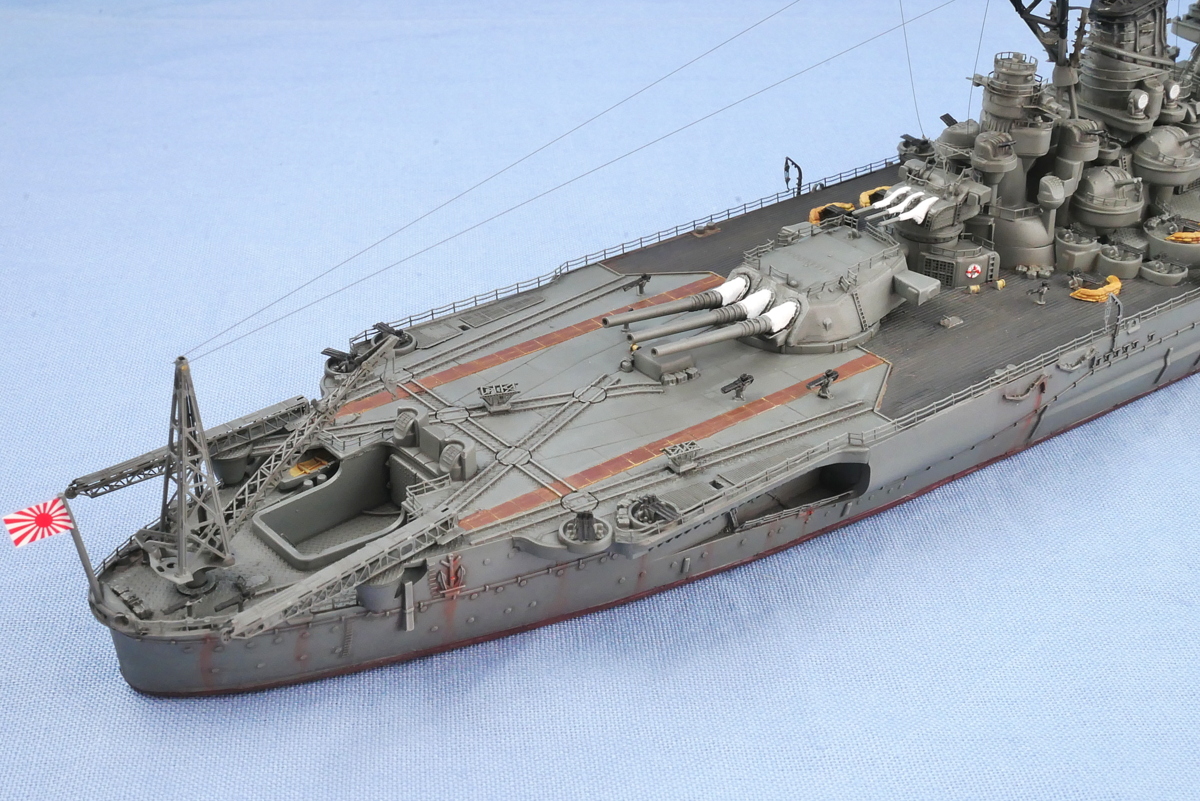
The brown belt is brush-painted.
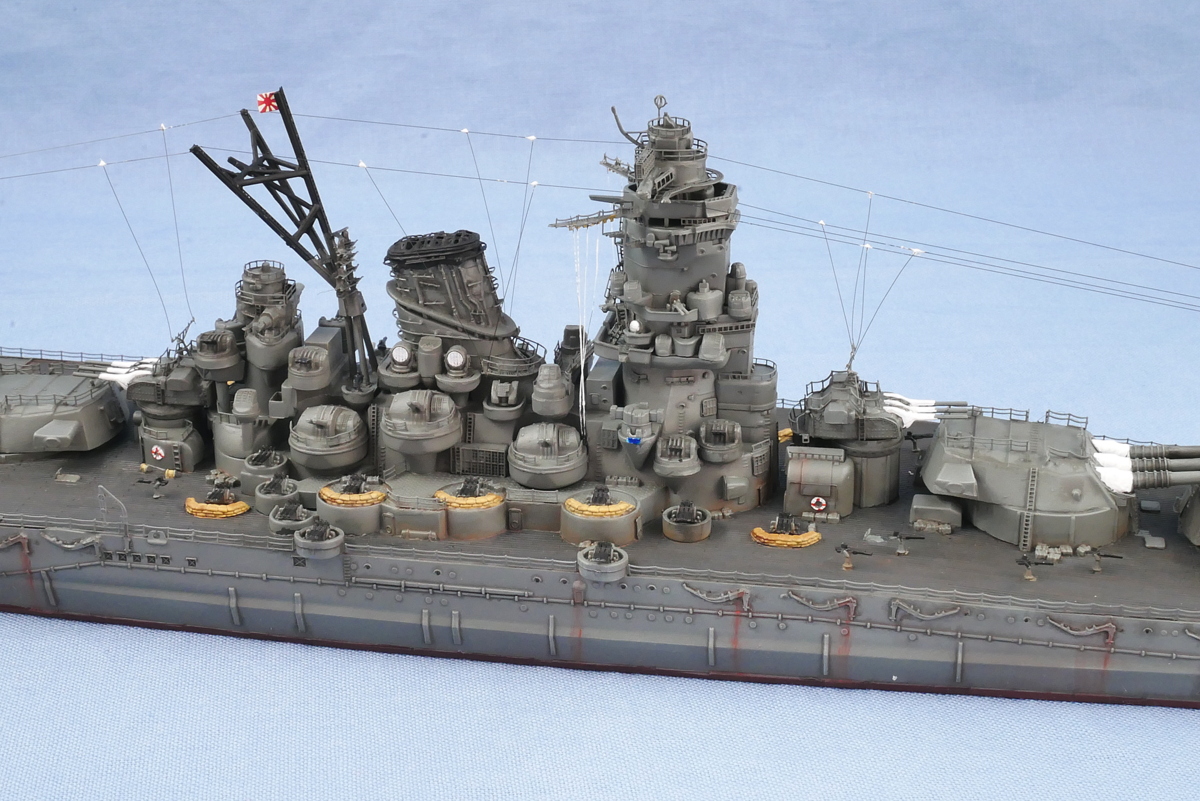
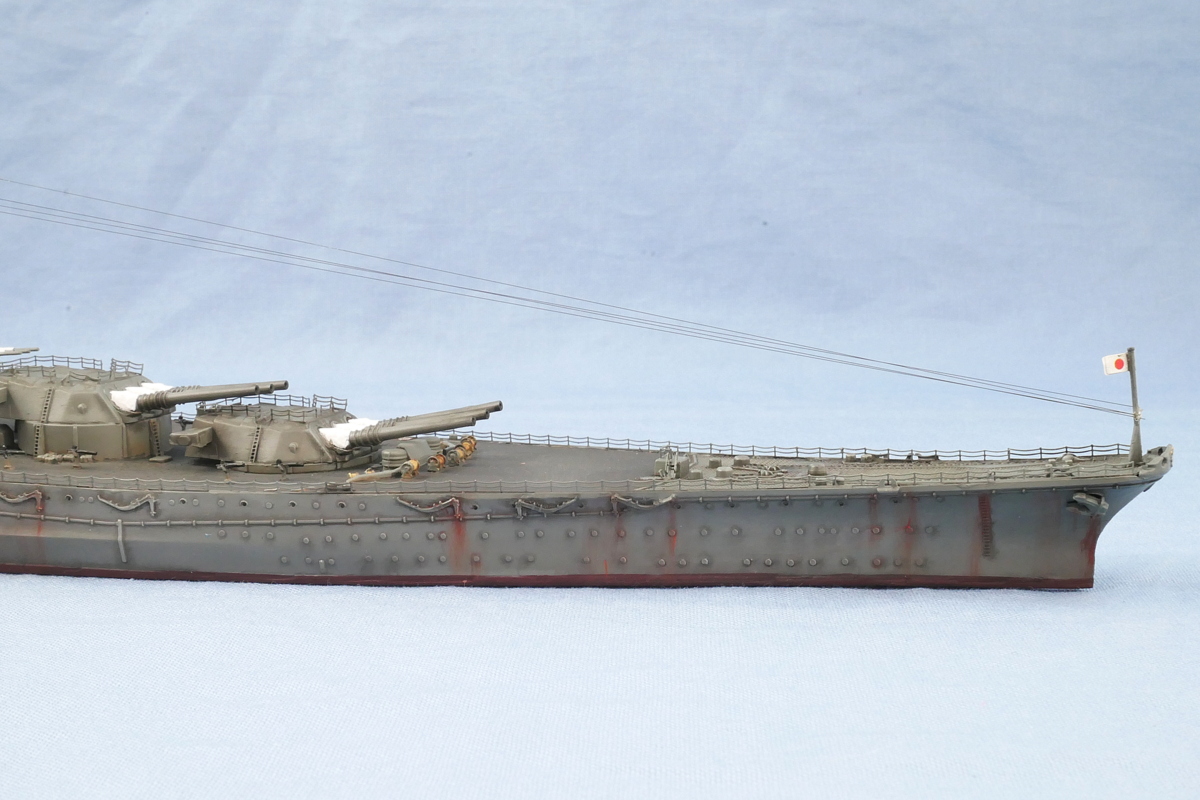
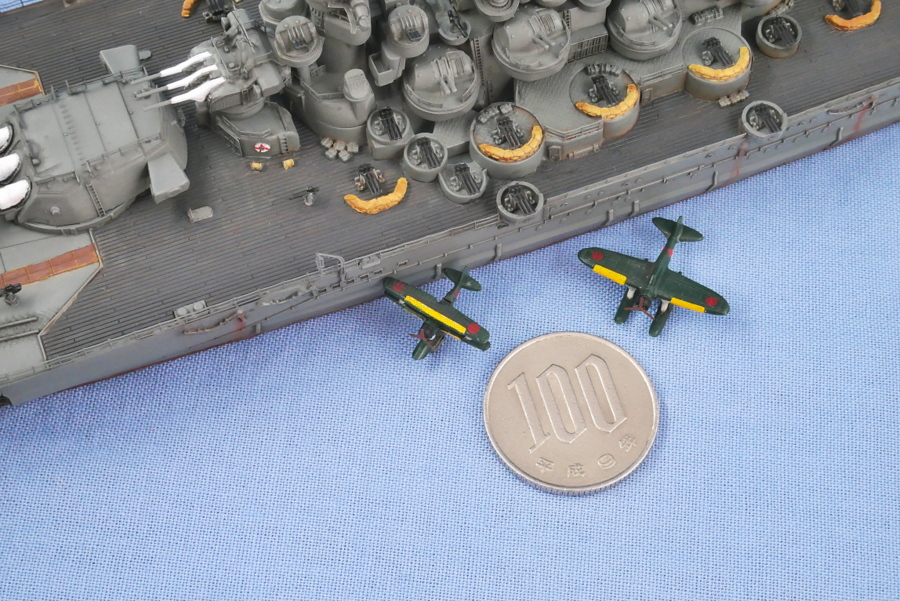 The sandbags stacked around the anti-aircraft machine gun are excellent. The ship’s color is gray, and it is not noticeable, but there are ammunition boxes for anti-aircraft machine guns in places. This is also good.
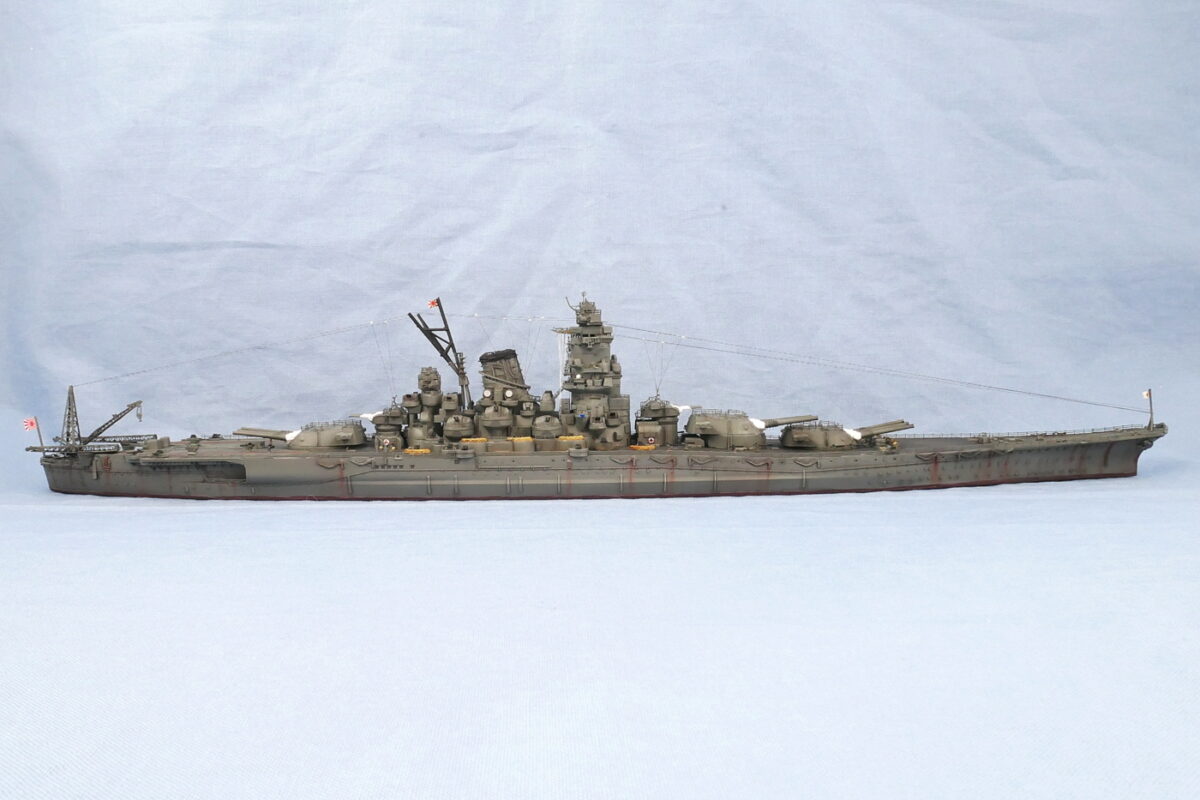
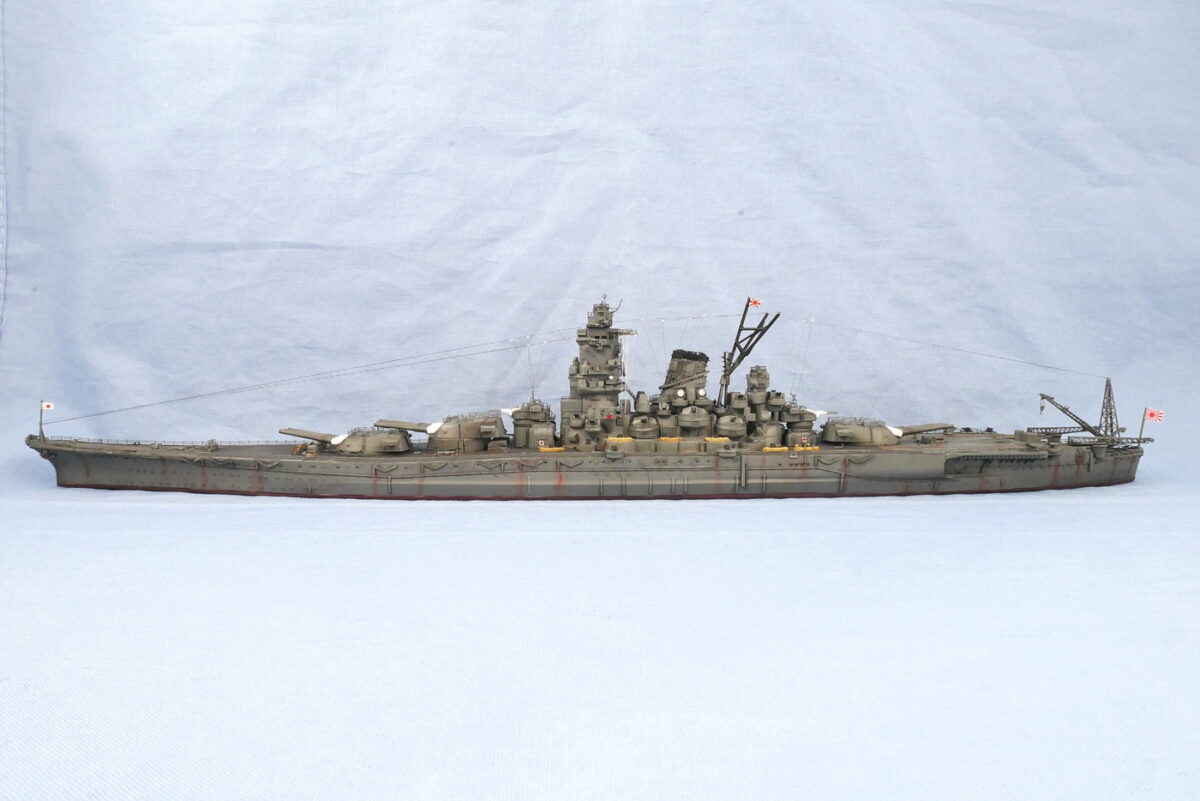
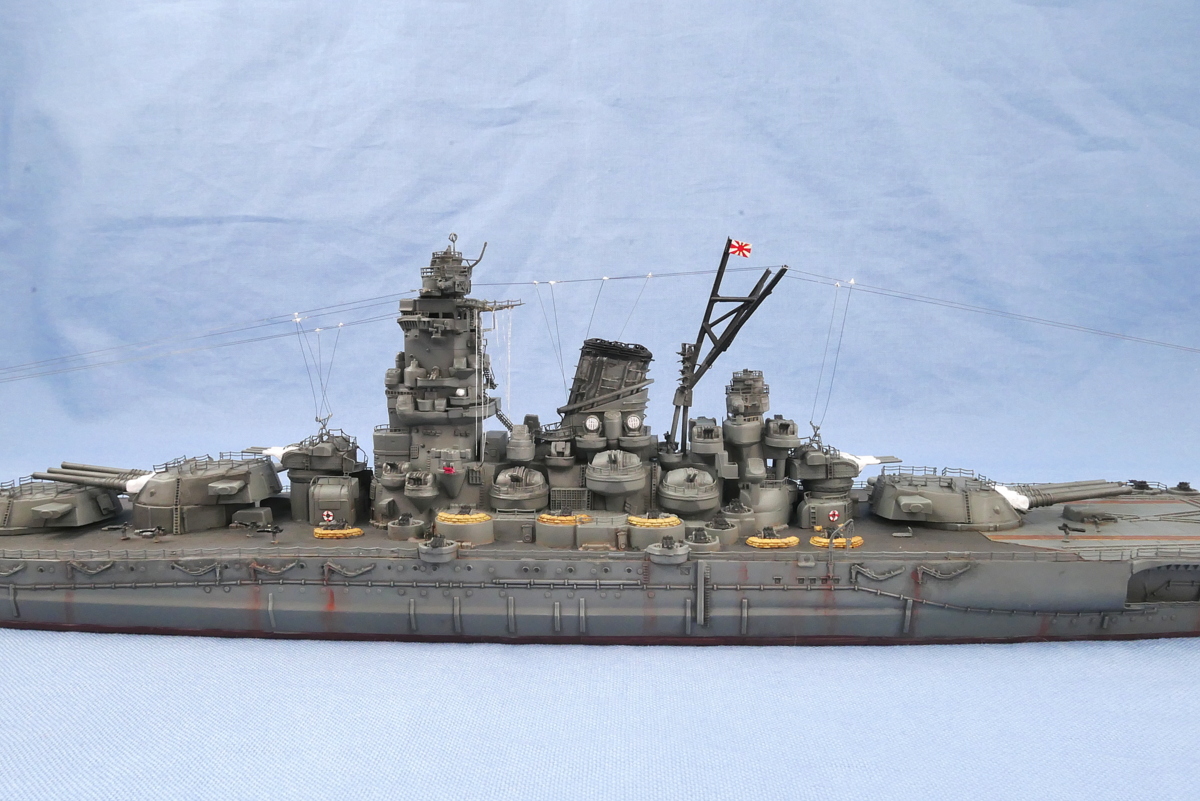
The antenna uses a fragile black fishing line. As always, the last antenna work has run out of energy.
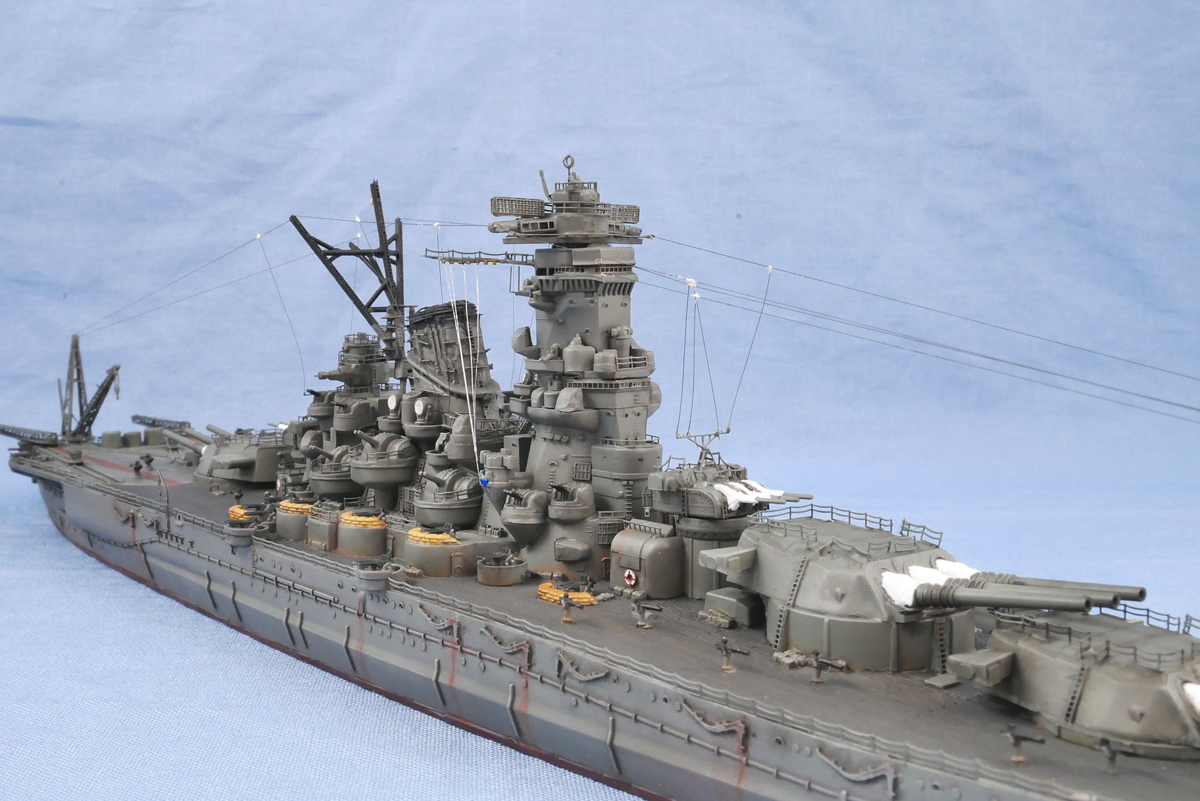
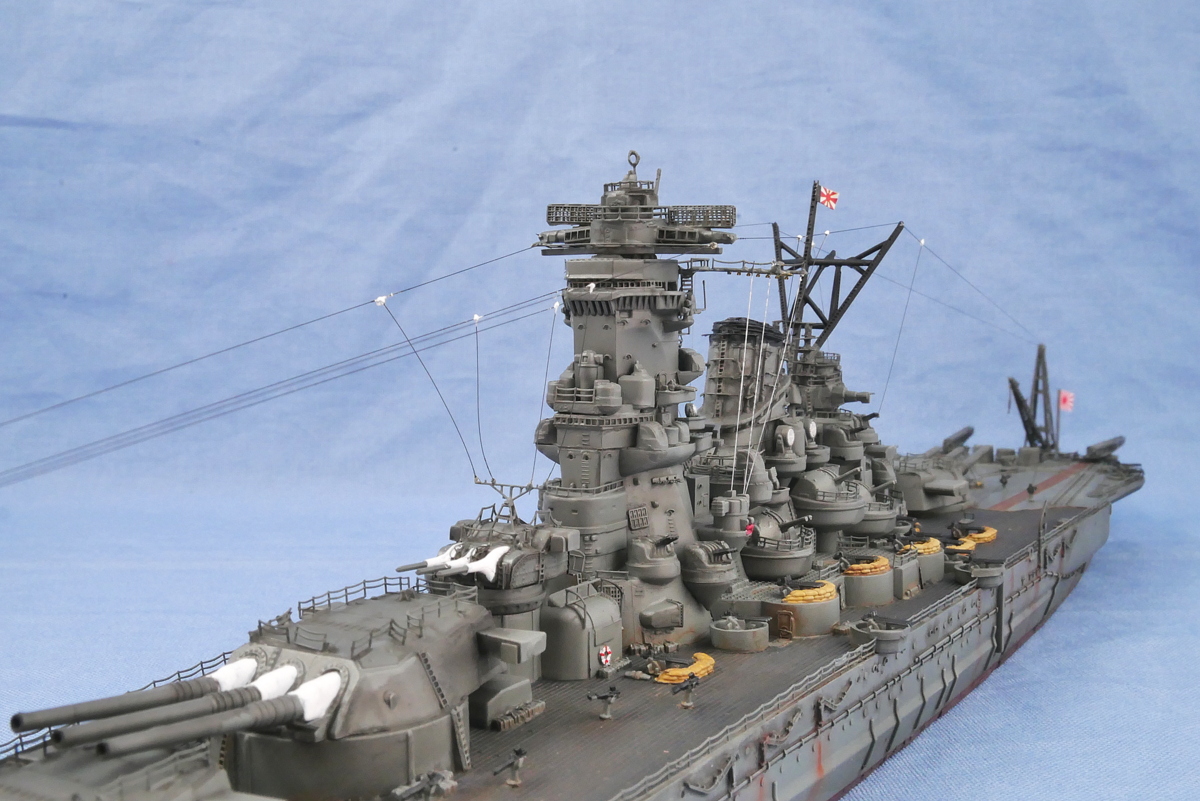
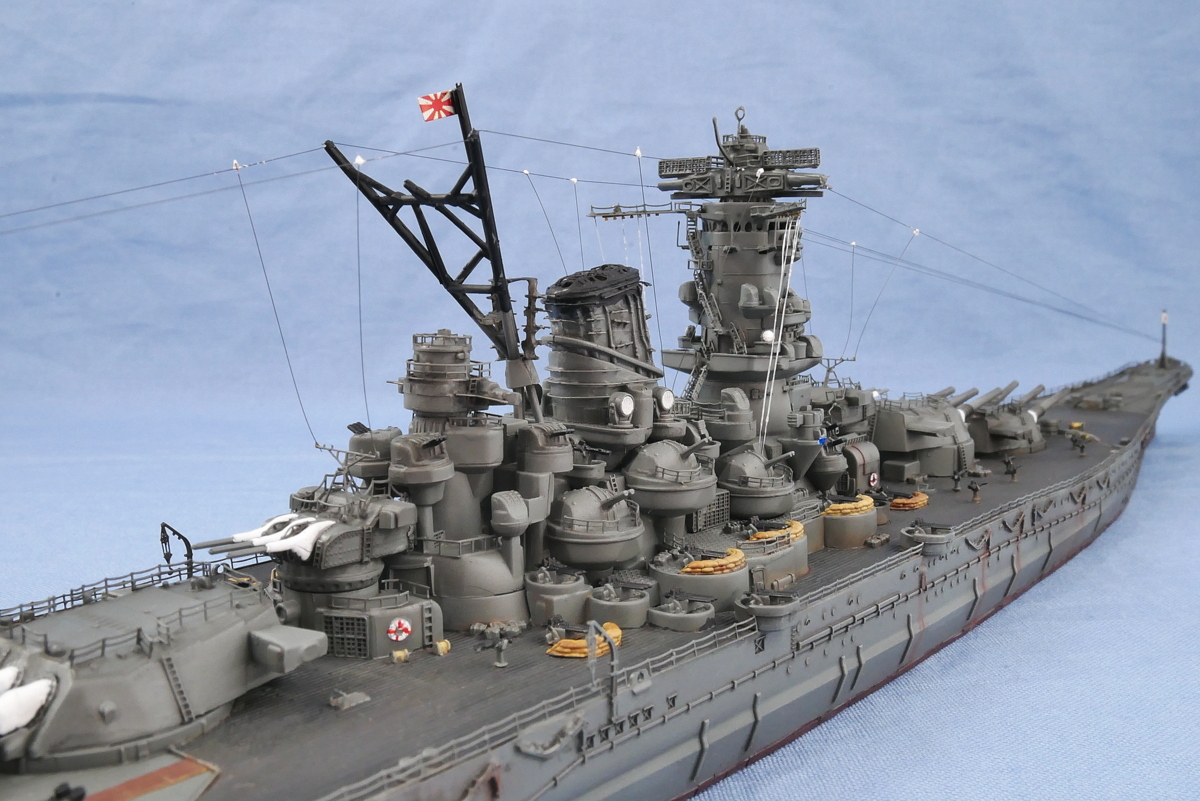
The etched parts manual of this kit battleship Musashi is pretty easy to understand.
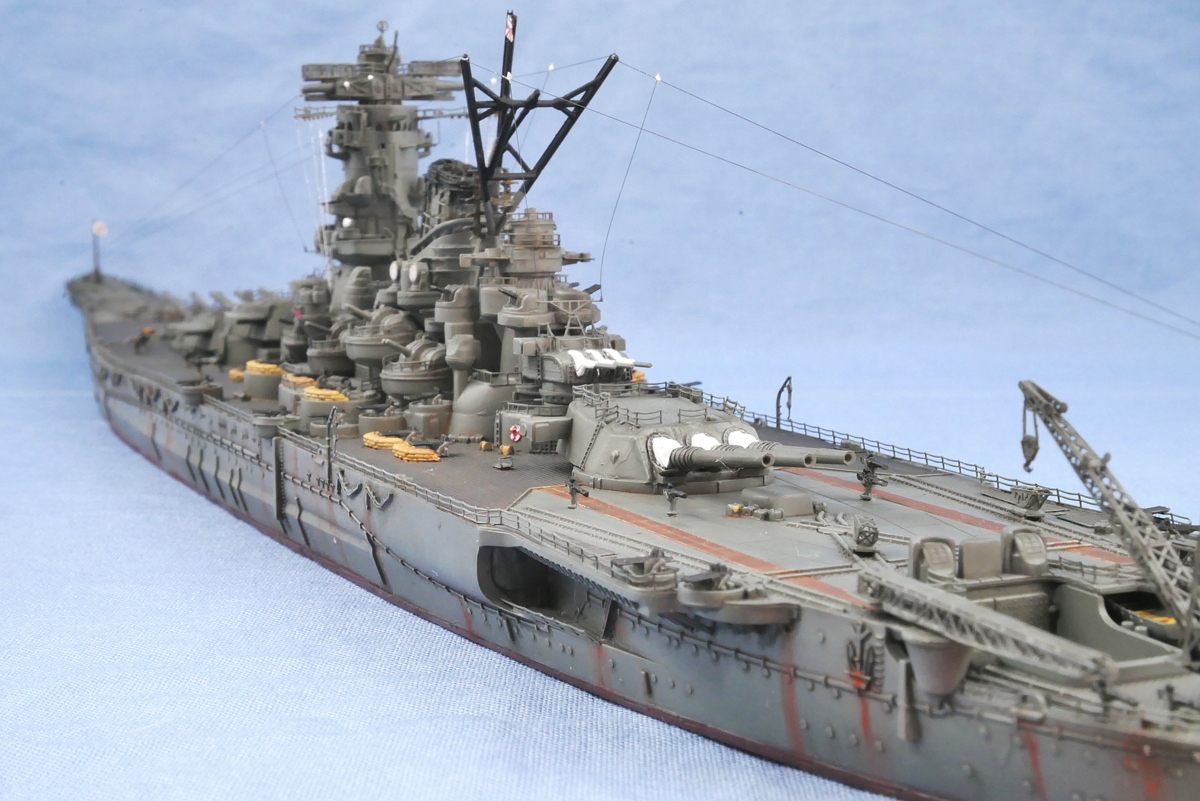
I was wondering if I could finish it on the way, but I am glad it took shape somehow.
(2021/12/27)


コメント