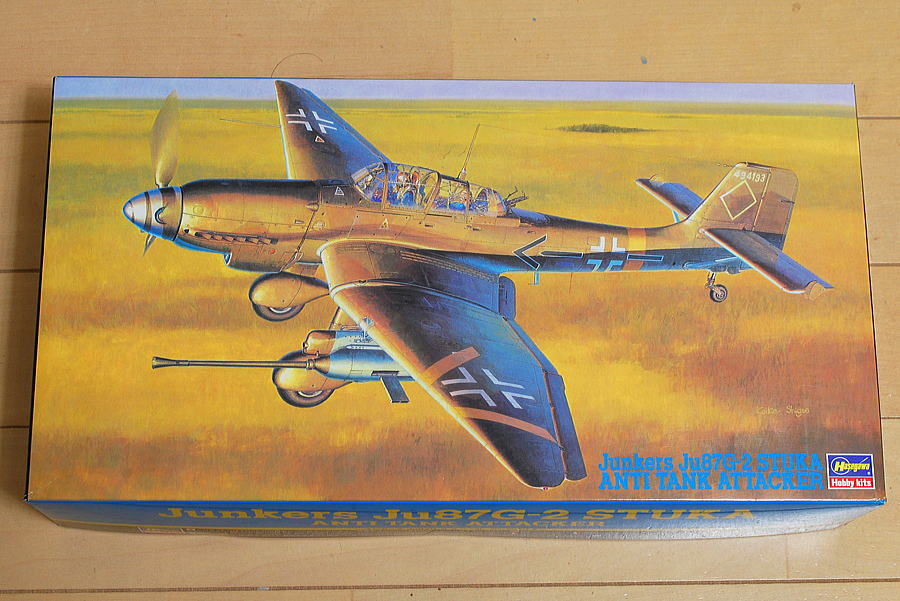
 Recently, I often built a model of the aircraft, this time trying a Hasegawa after a long interval. It is a Stuka dive bomber. It’s better to say it’s an attack aircraft for amounting to the cannons.
 I should have glued the cockpit interior panel together accurately here, It intervened with the cockpit floor, and it wasn’t easy to build this module in the fuselage smoothly. I shaved the cockpit floor side a little, and it was put together by force, in case of me.
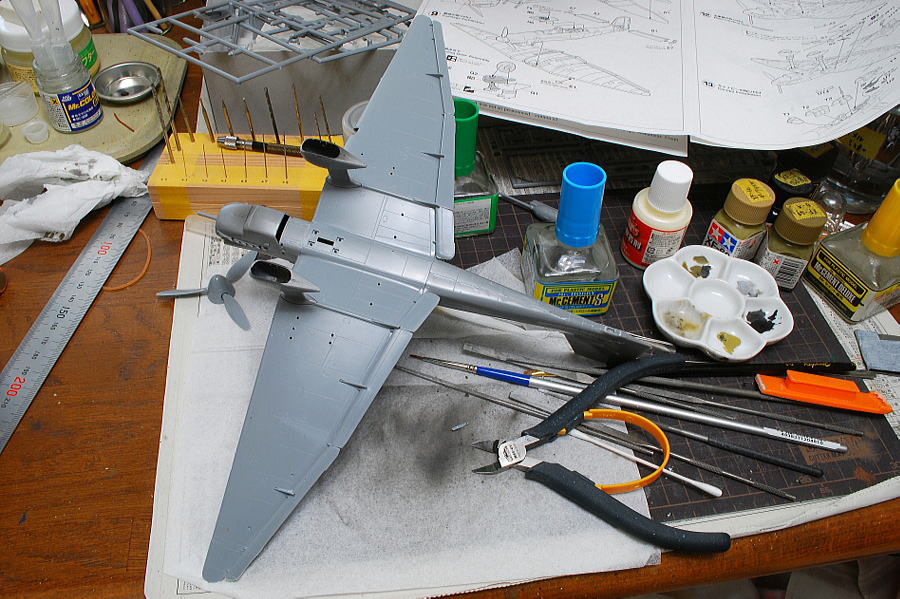
 This huge wing. I drilled holes in the place of the mount place of the cannon.
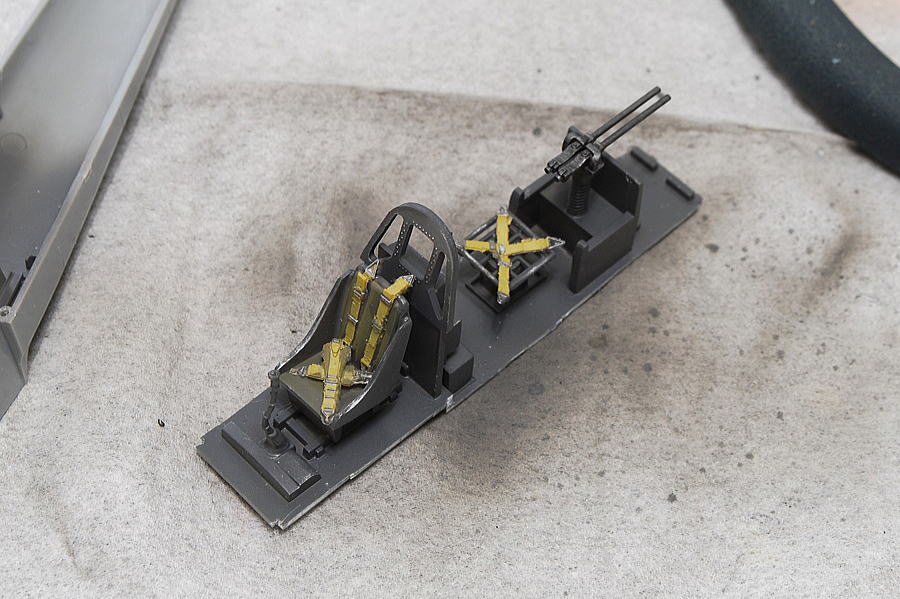 Because the area of the seat was not enough, I added a seat belt of a third party to a pilot seat and a machine gun seat. It becomes the accent and is a good feeling.
(08-March-2016)
 Speaking of which, In Japan, one of the manufacturers released the World War II Fighters series, a total of 80 planes, 1/72 scale. When such a finished product is released, the person making a model seems to decrease. I am sure it will be spectacular once all is completed. It’s about USD 1,500 for the total collection. I wonder how many people in Japan would complete them.
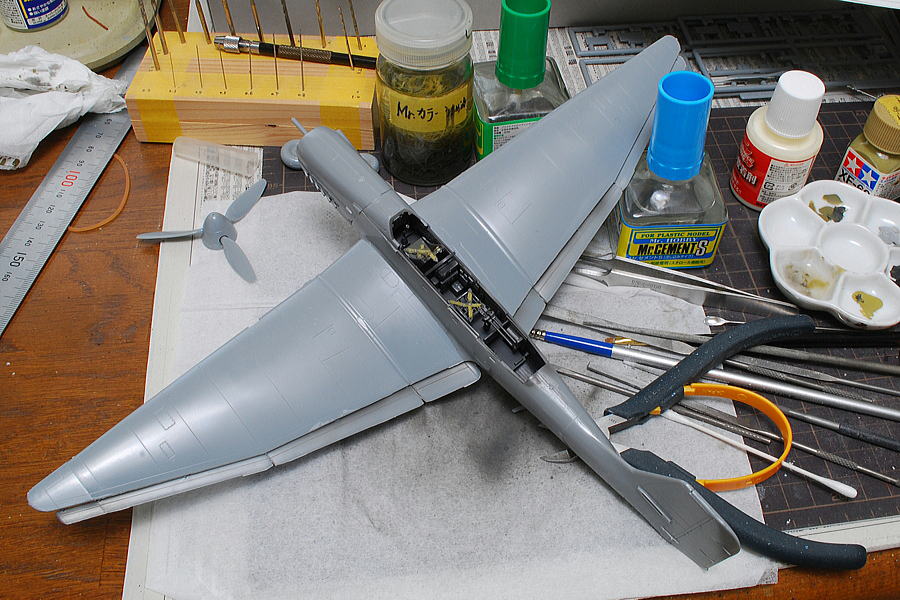 Though I struggled, a cockpit was built in this Stuka body. I think the body of the Stuka is very slender.
 The canopy fitting to the body is suitable. It seems complicated that the rear machine gun and some other parts are built-in.
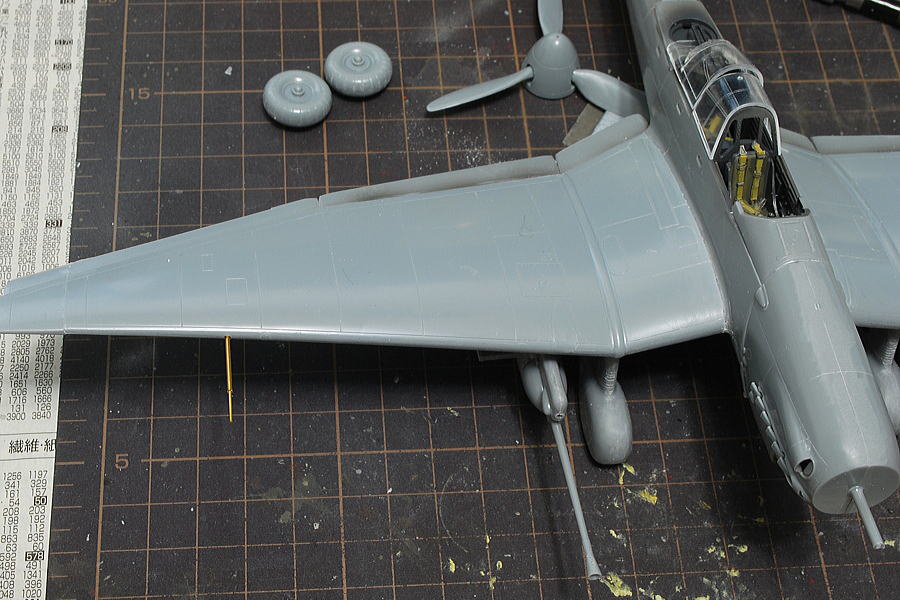 As for saying a Stuka tank buster, the 37mm cannons are the appeal point. However, these parts were not satisfied, the muzzle was not opened mold, and the hole on the side of the flash hider mold was almost faded. I wasn’t very pleased that the best-selling module was in such a condition. But I would like to support Hasegawa. It is an ancient kit now.
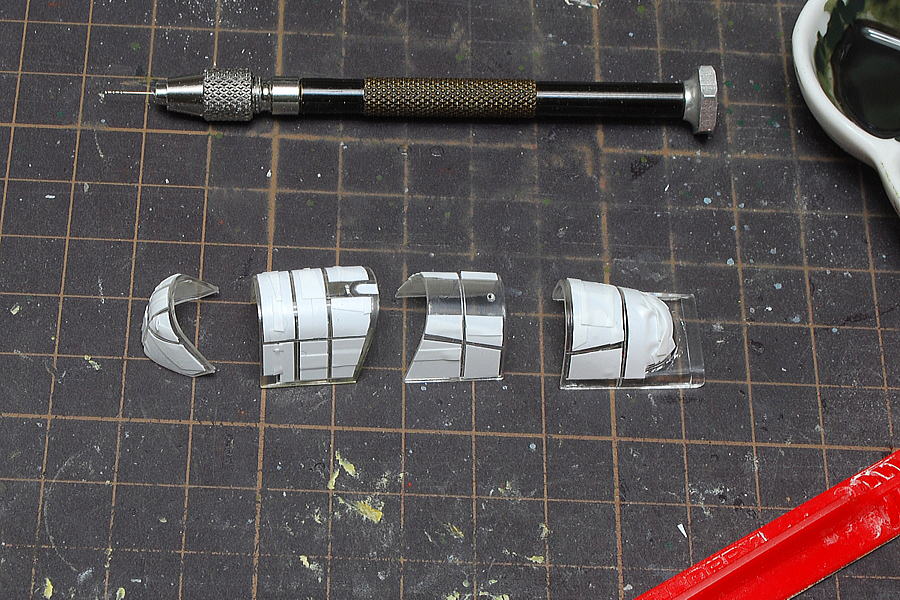 I tried using the masking tape for the curved surface released from Tamiya. Tstandardmal masking tape was enough for these small windows; I would like to check the feeling. Because it stretches a little like the vinyl, it is likely to fit well on some degree of the curves.
(17-March-2016)
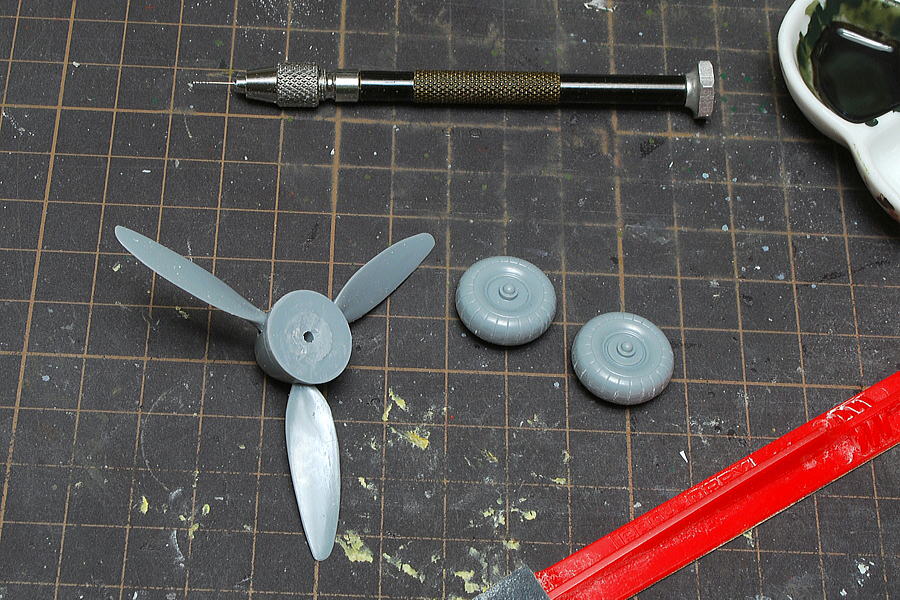 Between a spinner and the main body, I think there is a little gap. I sharpened the inside center of the spinner. That reminds me, I forgot to work a propeller movable smoothly when blowing.
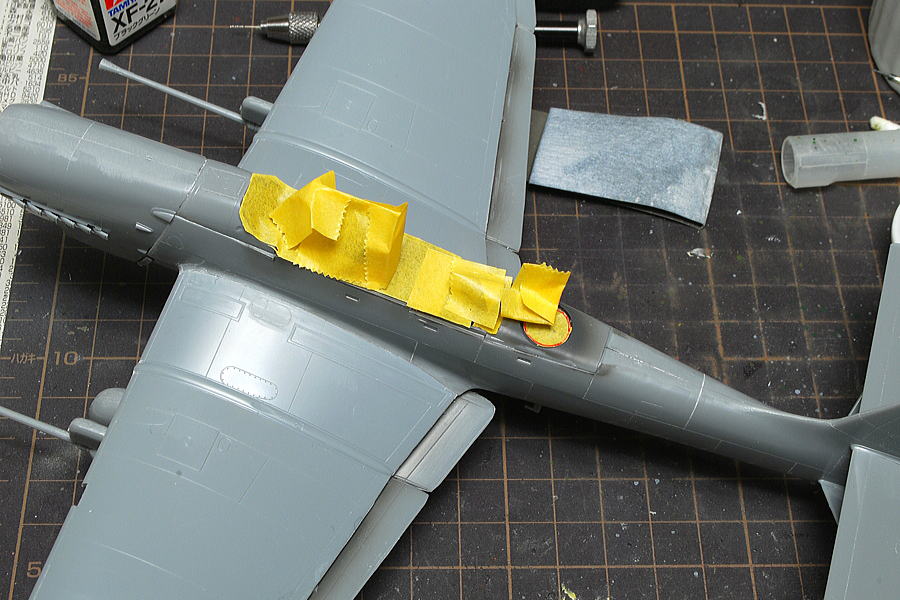 Now I’m sanding the surface and re-carved the mold; the next is painting. The adhesive strength of the tape on the canopy declines when I leave it too much, and the masking tape seems to have been peeled off; I want to paint it early.
(20-March-2016)
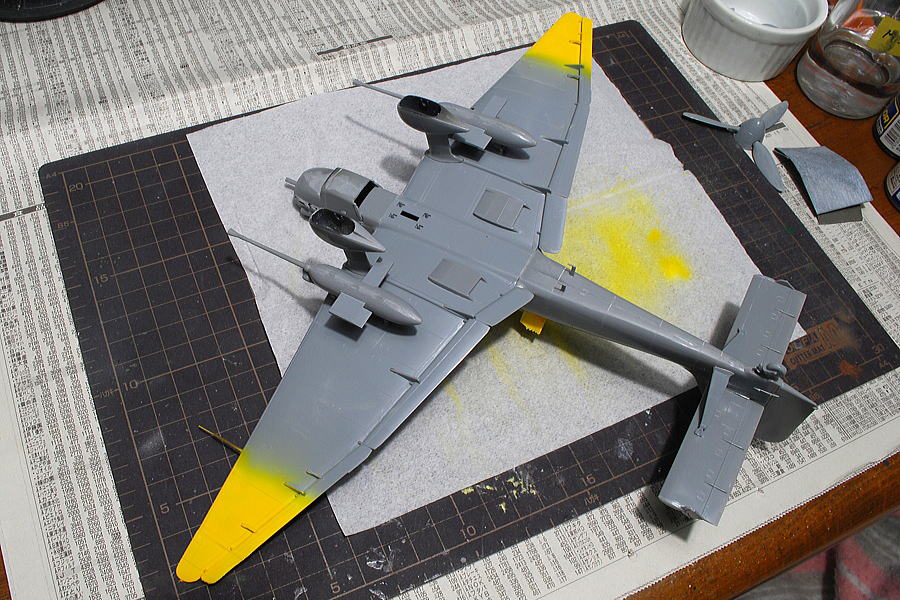
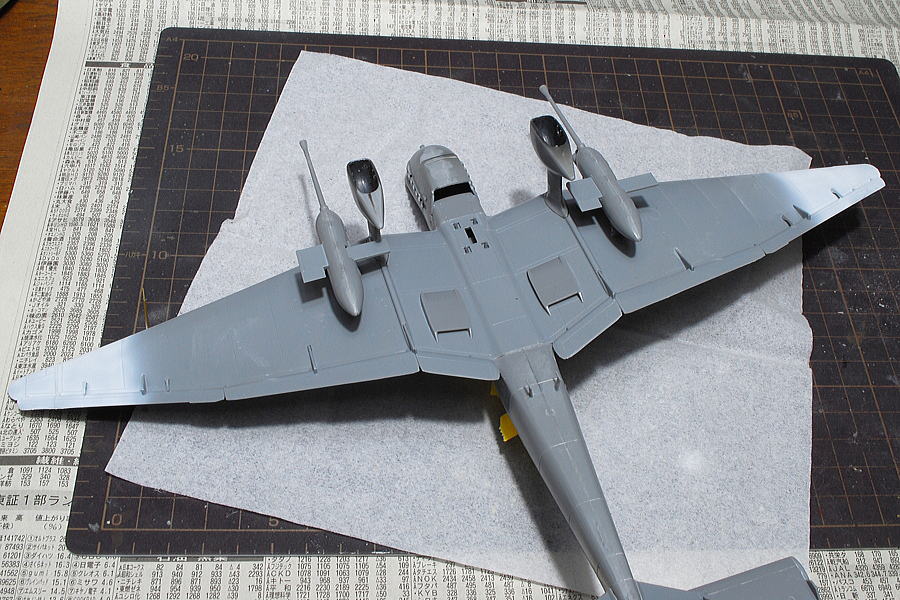 I painted white for the base color to have vivid yellow.
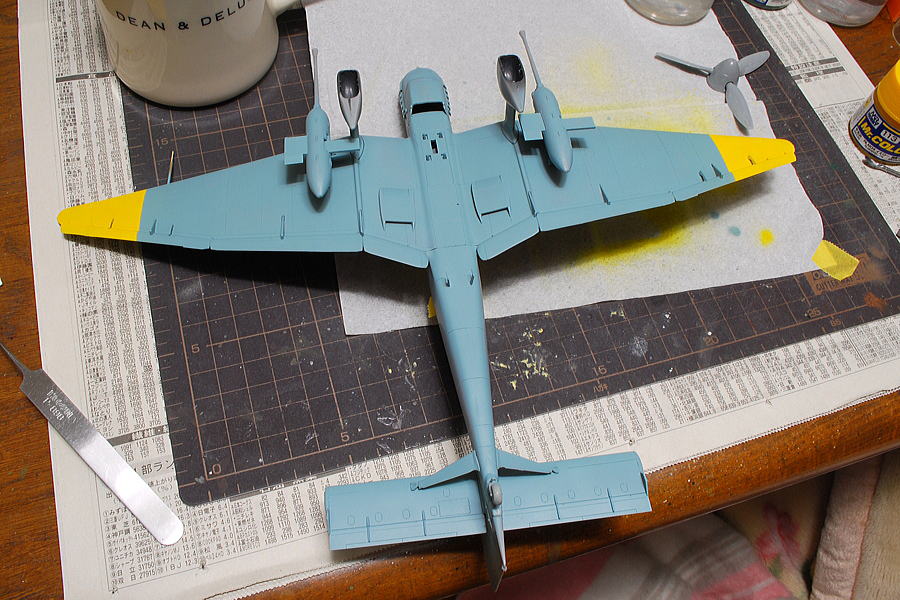 I used the RLM65 light blue of Mr. color No.115.
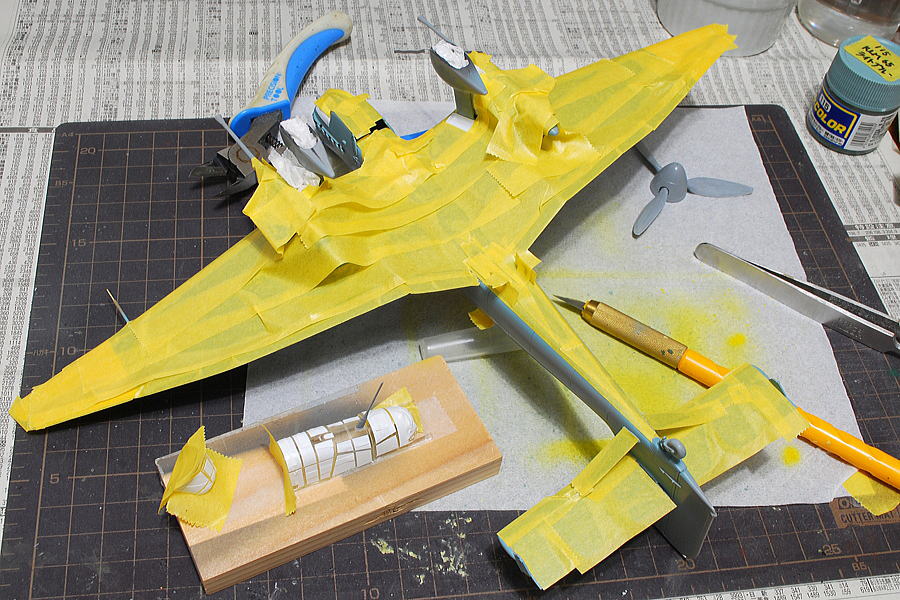 I think it takes much longer for masking and uses up tape; the blowing time is not long. I cannot paint neatly when I skimp.
(22-March-2016)
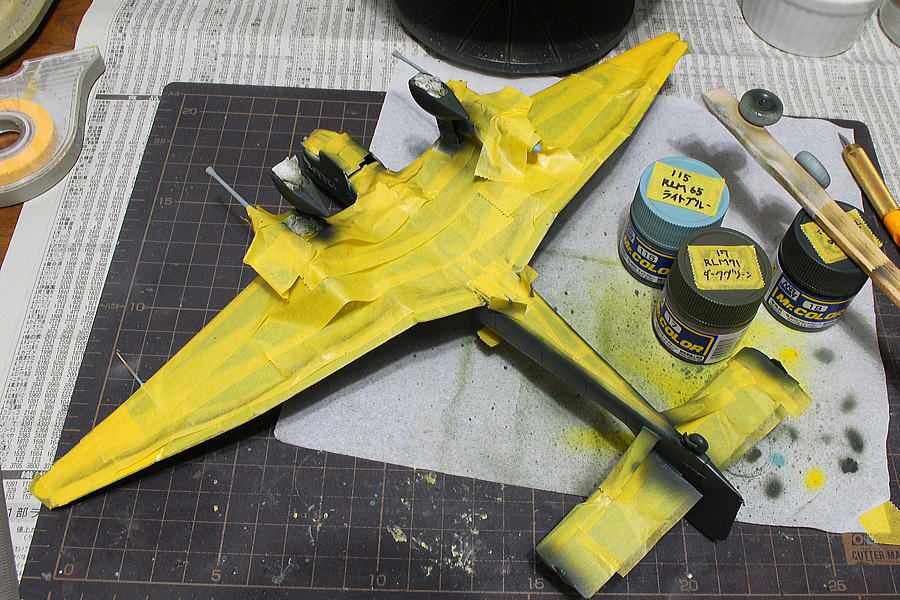 Maybe it was better to glue the legs and machine guns to the body after painting.
 This time, I tried to blow the worn-down colored effect in camouflage color. I intend no heavy weathering.
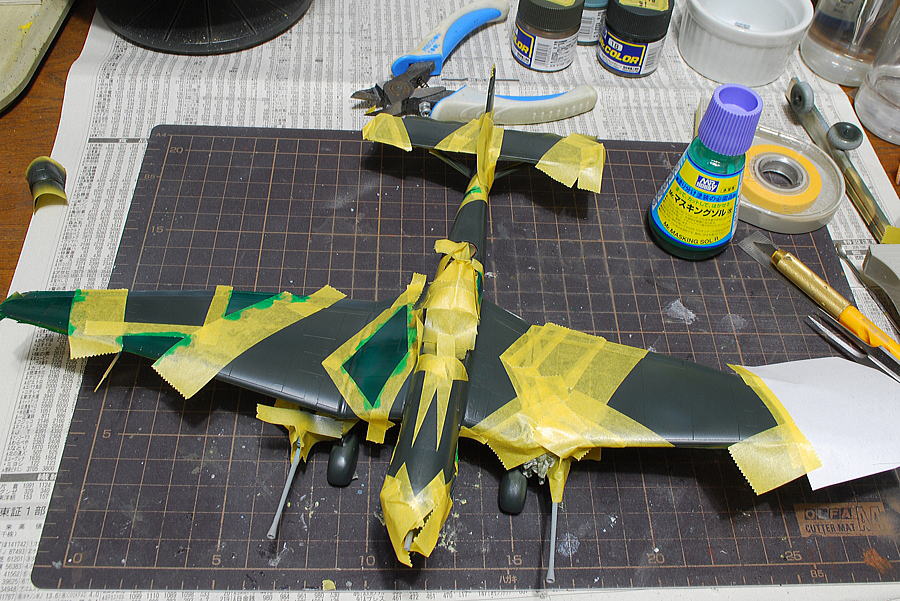 I used wasted paper and masking sol to save the masking tape, but the tape is the best.
 It isn’t easy to mask the pattern completely, same as the HASEGAWA instruction; anyway, I could finish up the straight-lined camouflage, one of the features of the WWII German airplane.
 These decals should have a little darker print generally. I repainted the thin yellow part here and there. I leveled the writing brush spots with sandpaper and sprayed them in the semi-gloss coating; it did not address a severe problem.
(02-April-2016)
 I have completed the characteristic Stuka anti-tank gun loading with inverted gull wings and fixed spatted undercarriage.
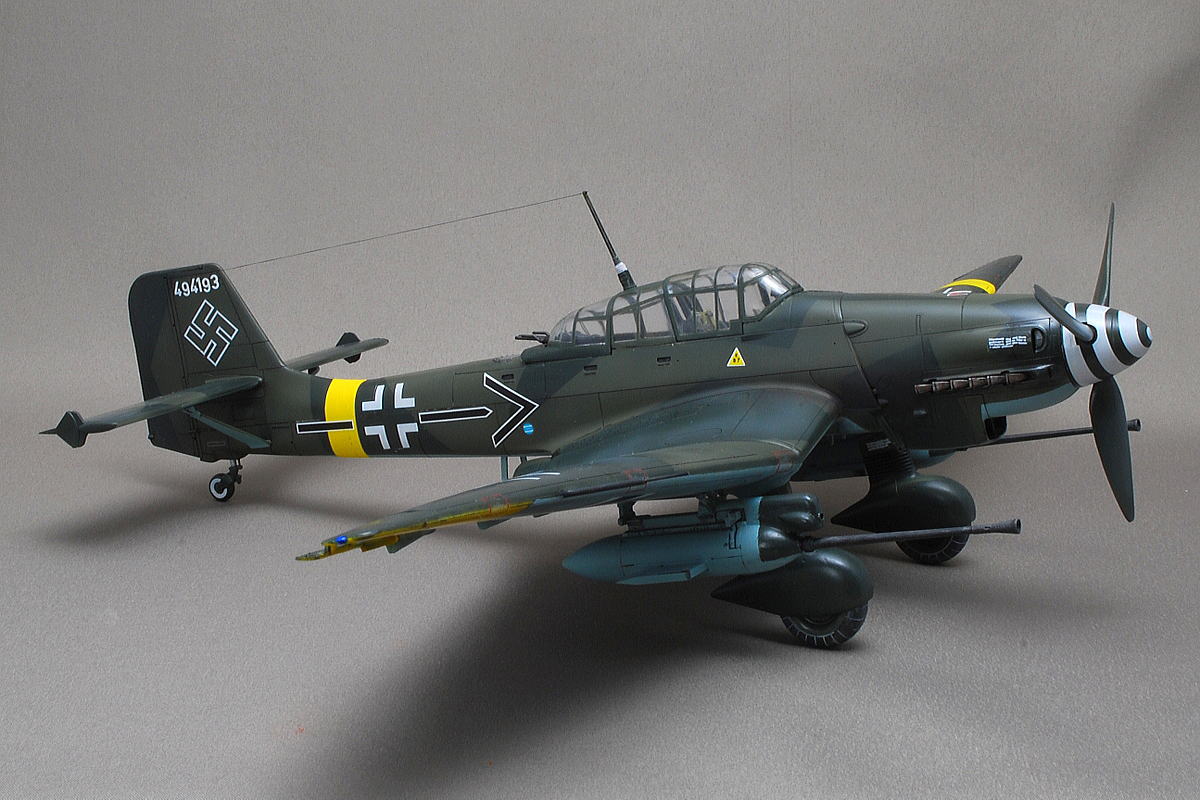 The 37mm cannon was equipped with 12 armor-piercing shells; the total was 24 shells. This tankbuster performed an effective attack on a large number of Soviet tanks.
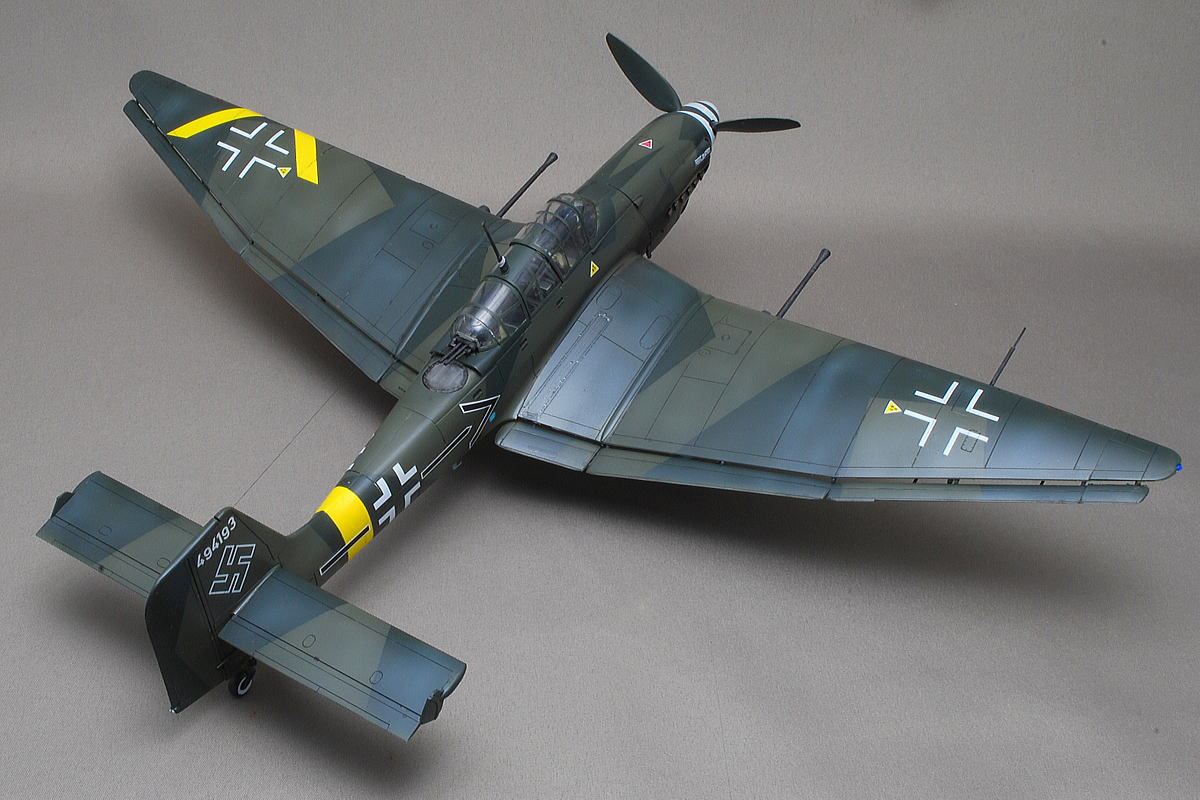 However, the heavyweight equipment was the cause of lacking stability, and the steering was quite tricky.
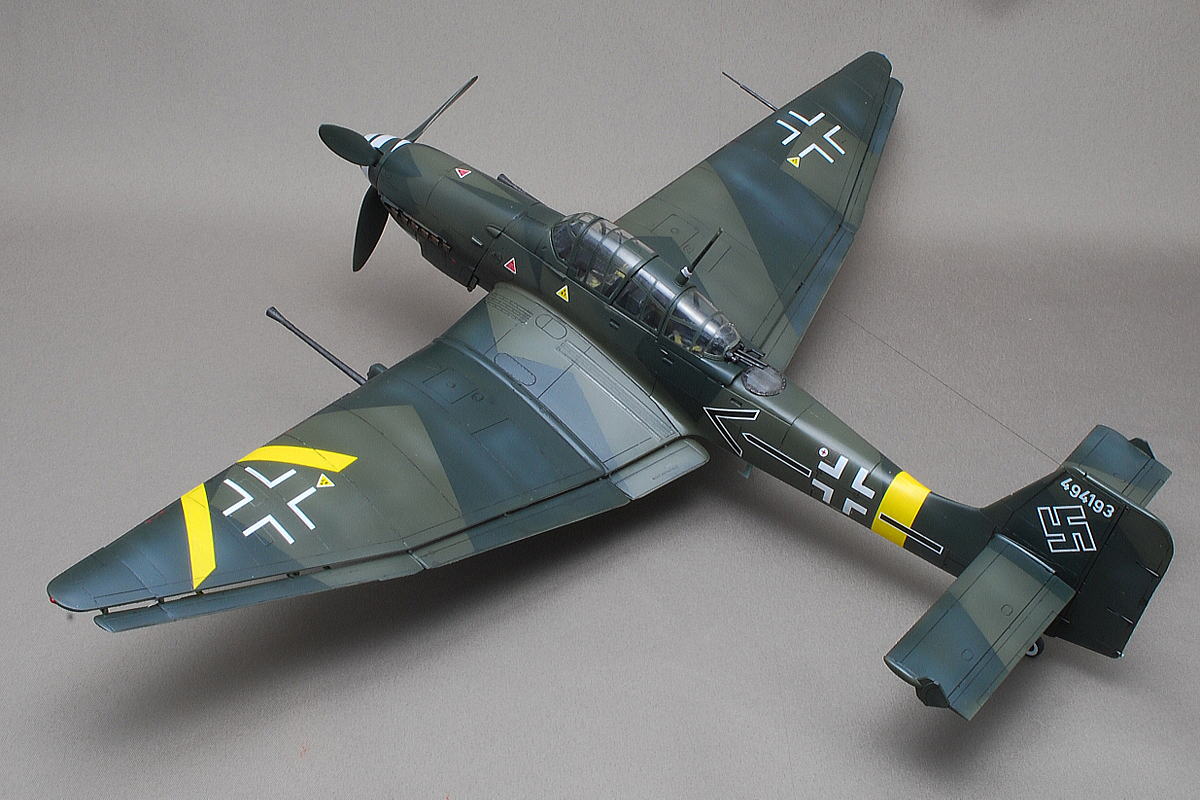 Although it was an old design, Stuka was used until the war ended, and 6,500 or more were produced.
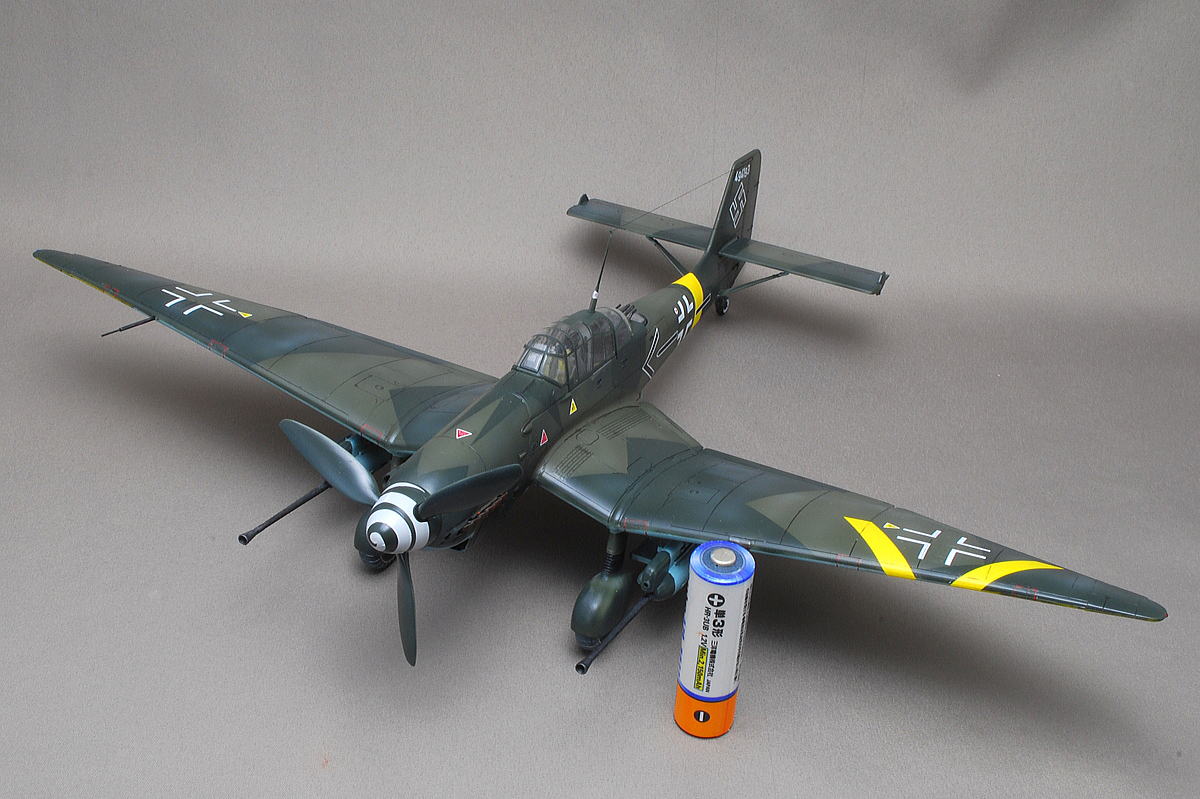 The camouflage colors were similar to the last Messerschmitt I made. It is sober colors, so I think the decals are essential.
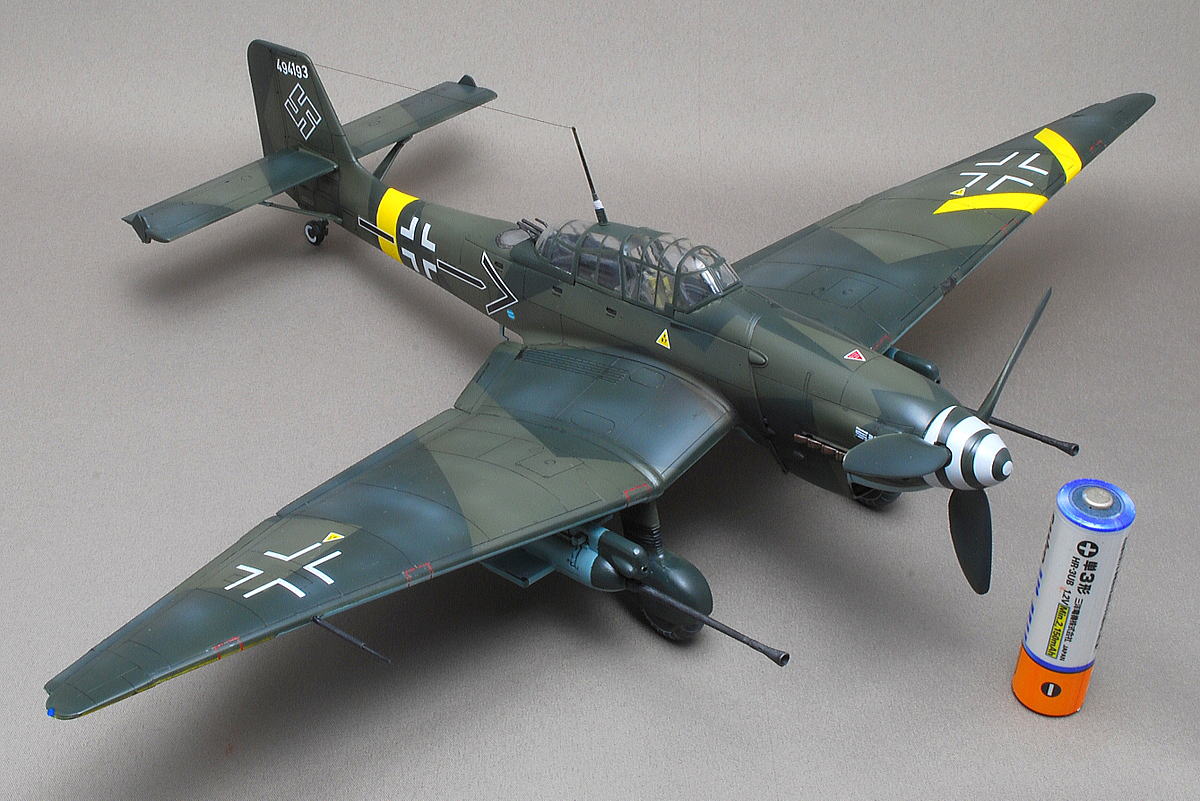 The marking is Luftwaffe Kdr./SG2 (2nd Ground Support Wing). Stuka was slow, and the air combat ability was low, so they switched to the Focke-Wulf Fw190.
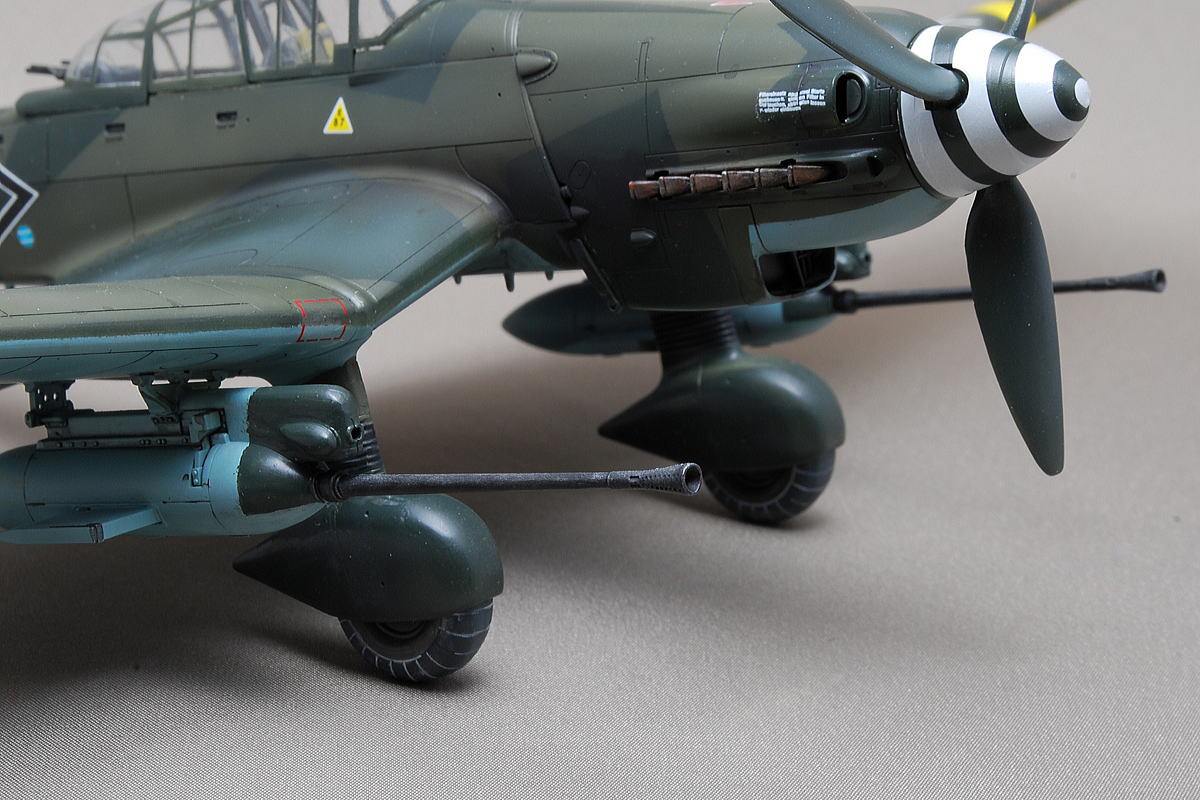 I opened the muzzle of the 37mm gun and the flash suppressor’s tiny holes.
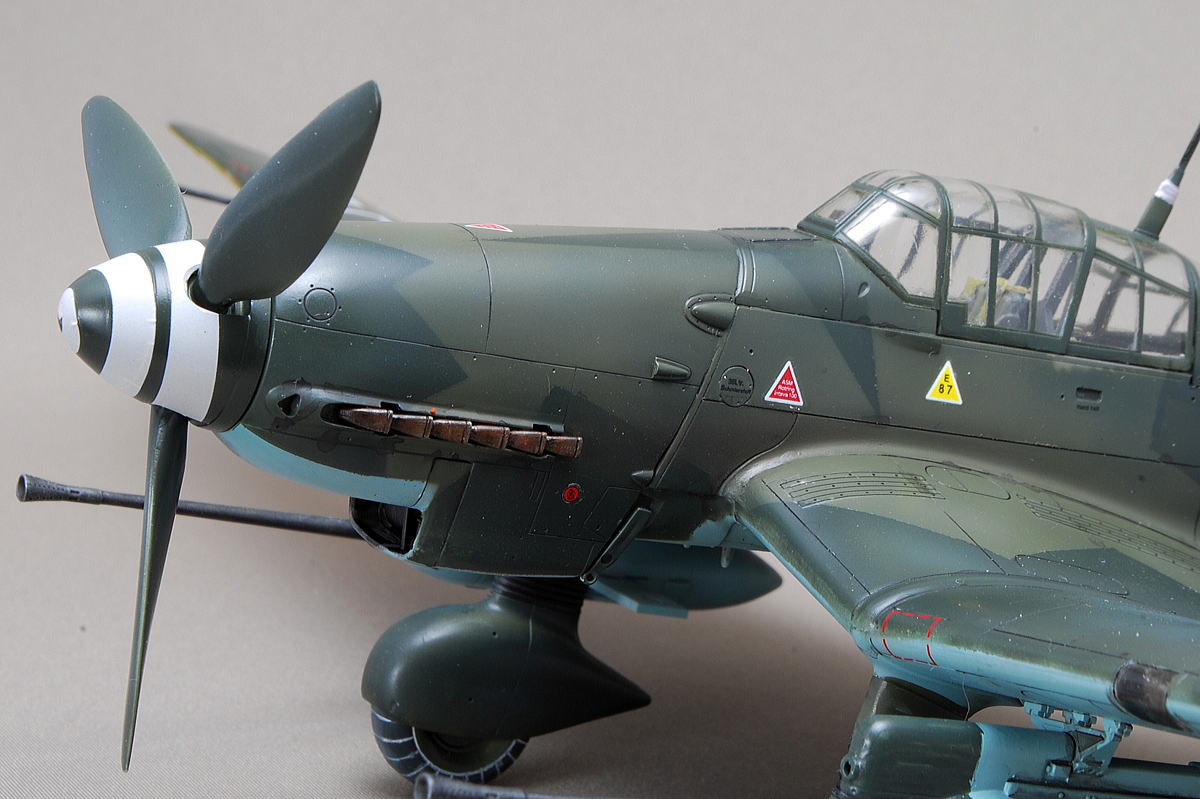
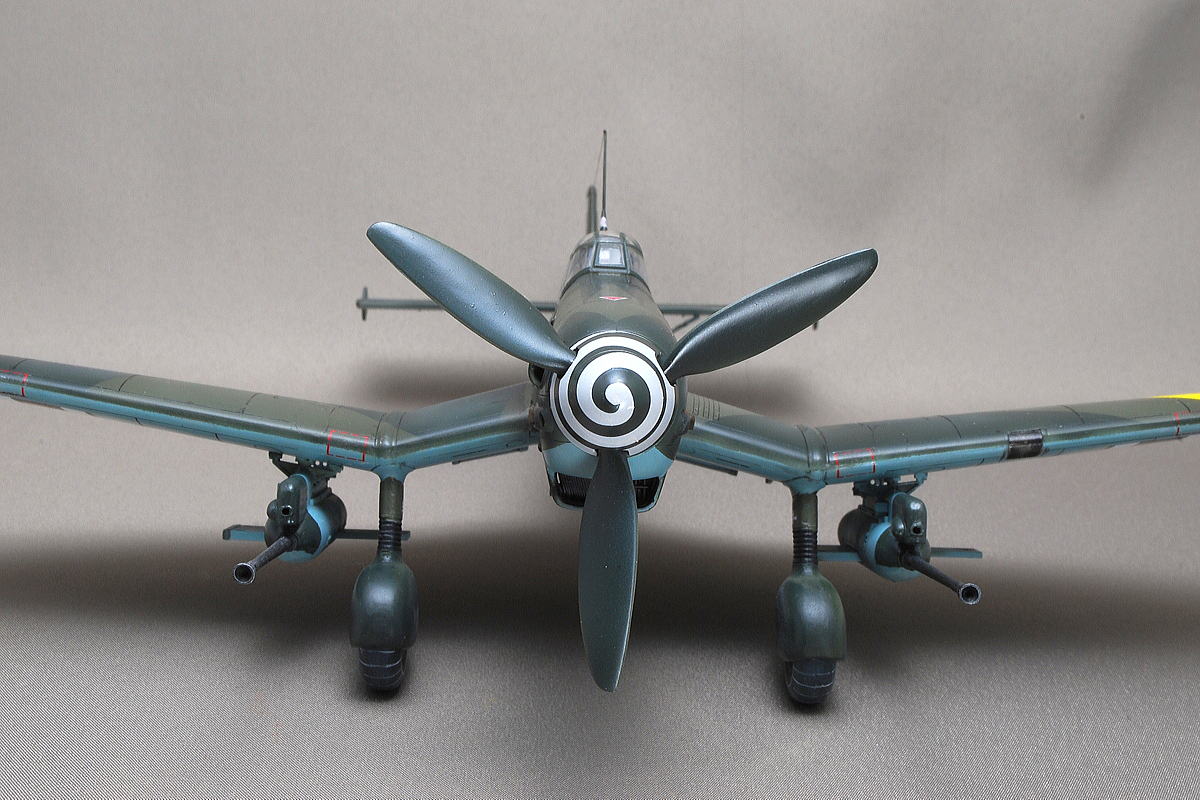 It is difficult to put the spinner decal neatly. I used the decal to fit very much, but it had slightly wrinkled.
 Because the landing light inside was empty, I fitted a clear plastic part. When the inside was seen, it was so unattractive looking I painted it with clear gray, like a smoked painting. Slightly seeing looks good.
 I could set up a metal wire antenna tightly, so I’m relieved. This is quite difficult.
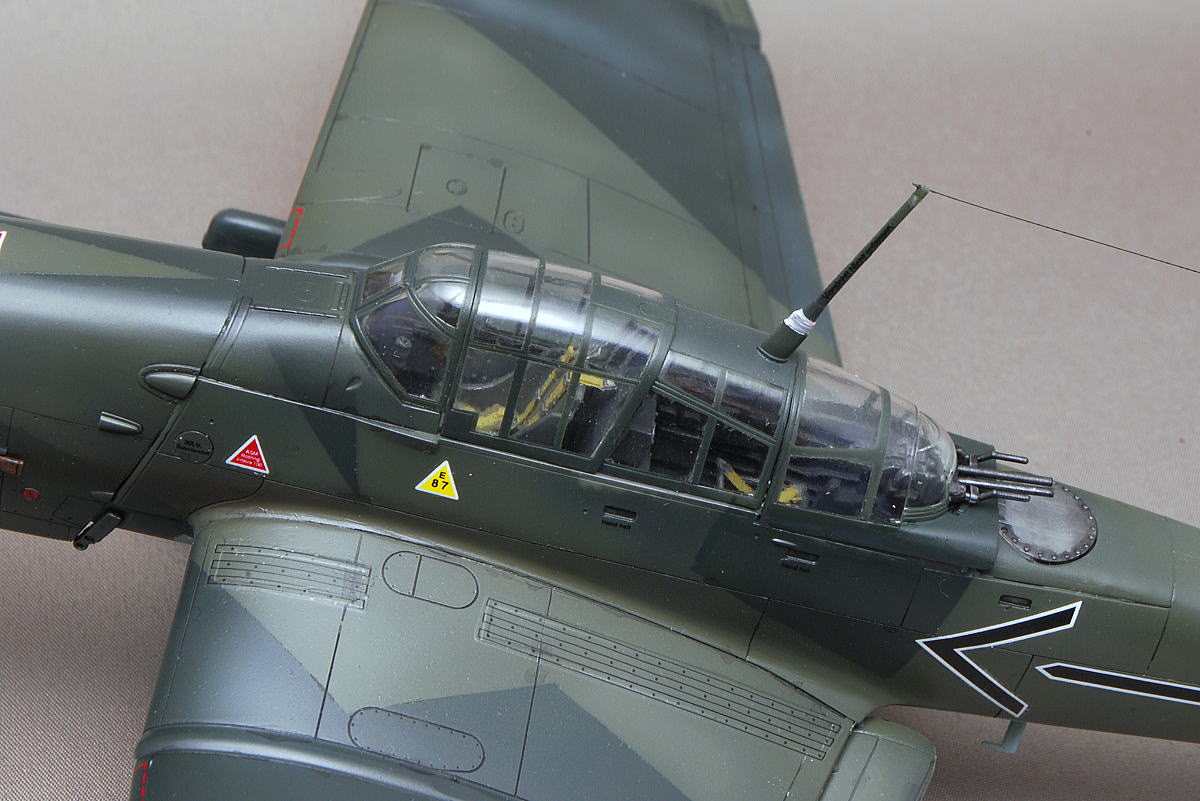 Because the canopy was finished neatly, I saw the seat belt of the cockpit inside very well.
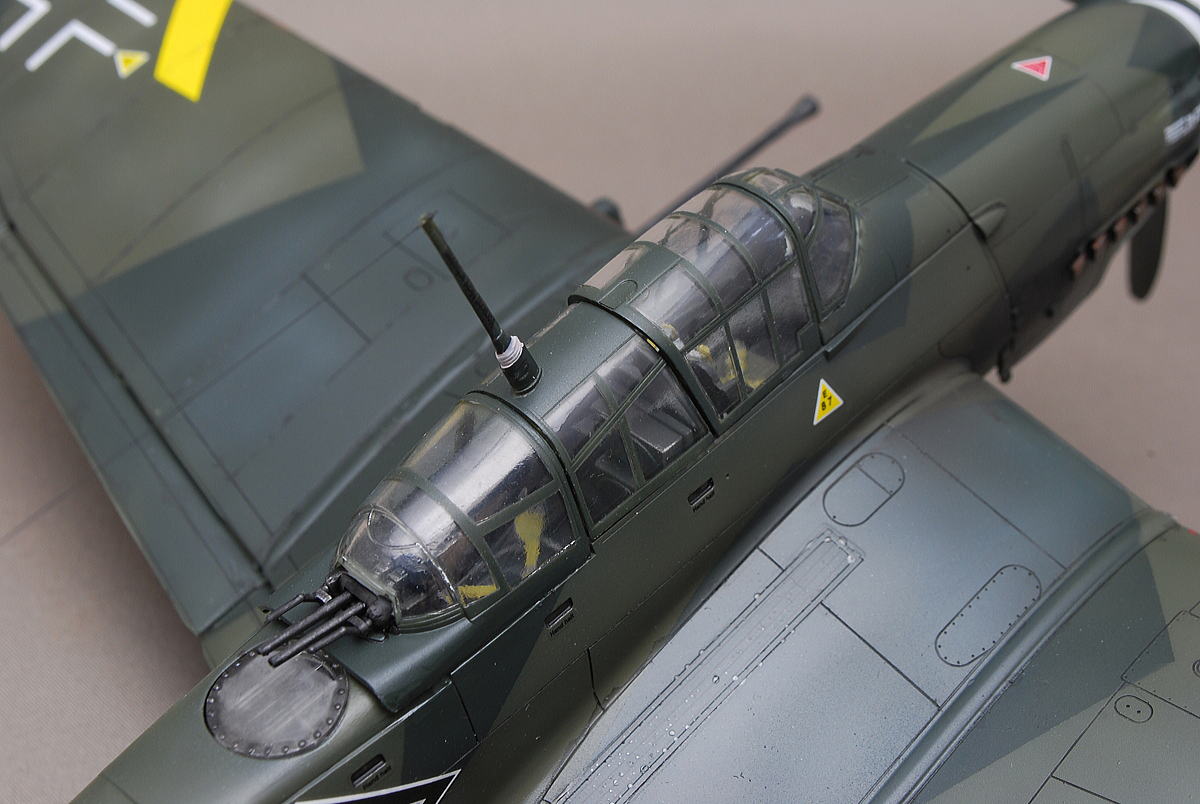
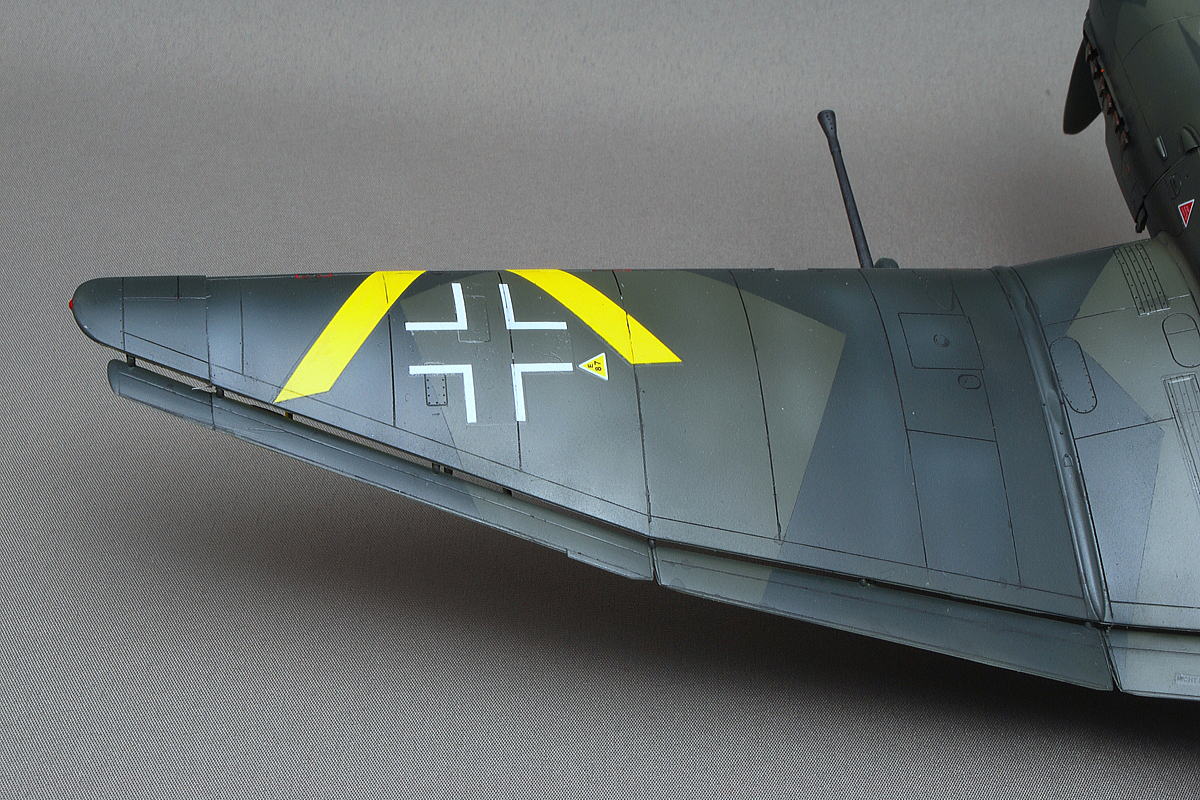 I did the inking very dark color on the dark camouflage colors.
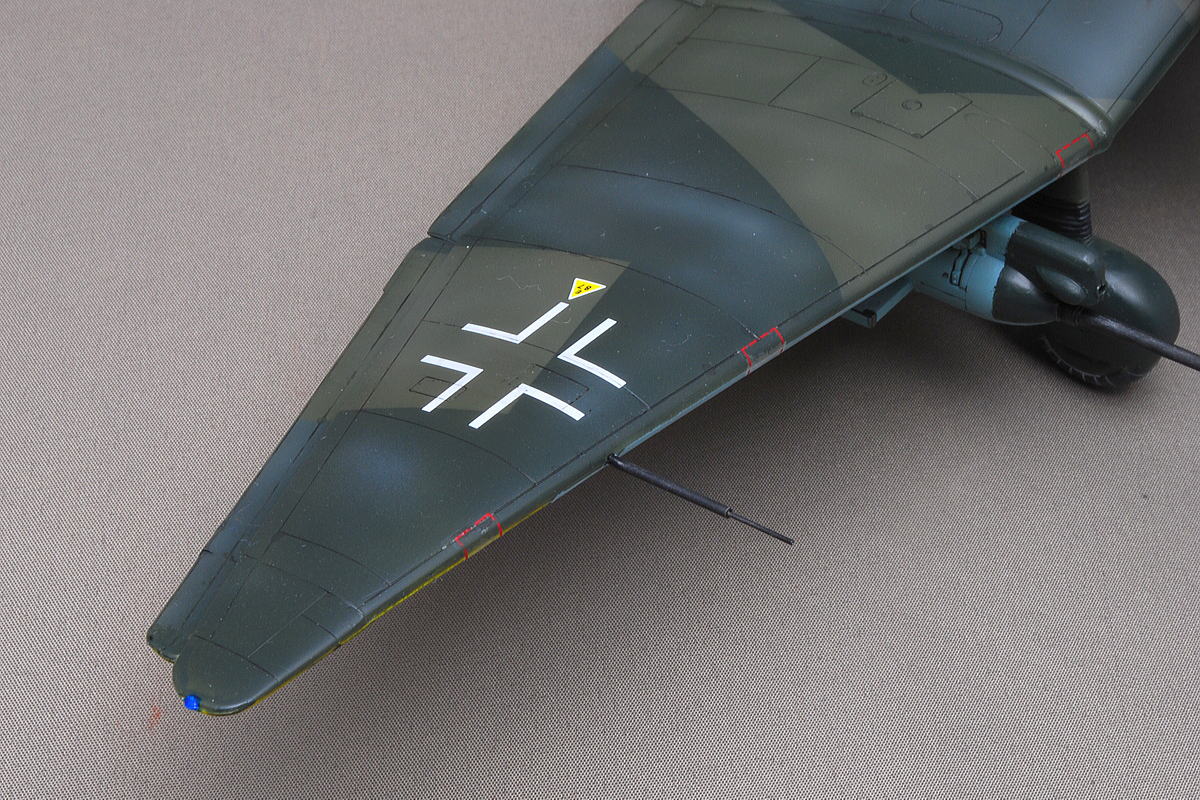
 This kit has only one kind of marking. If other marks are included, it is more fun.
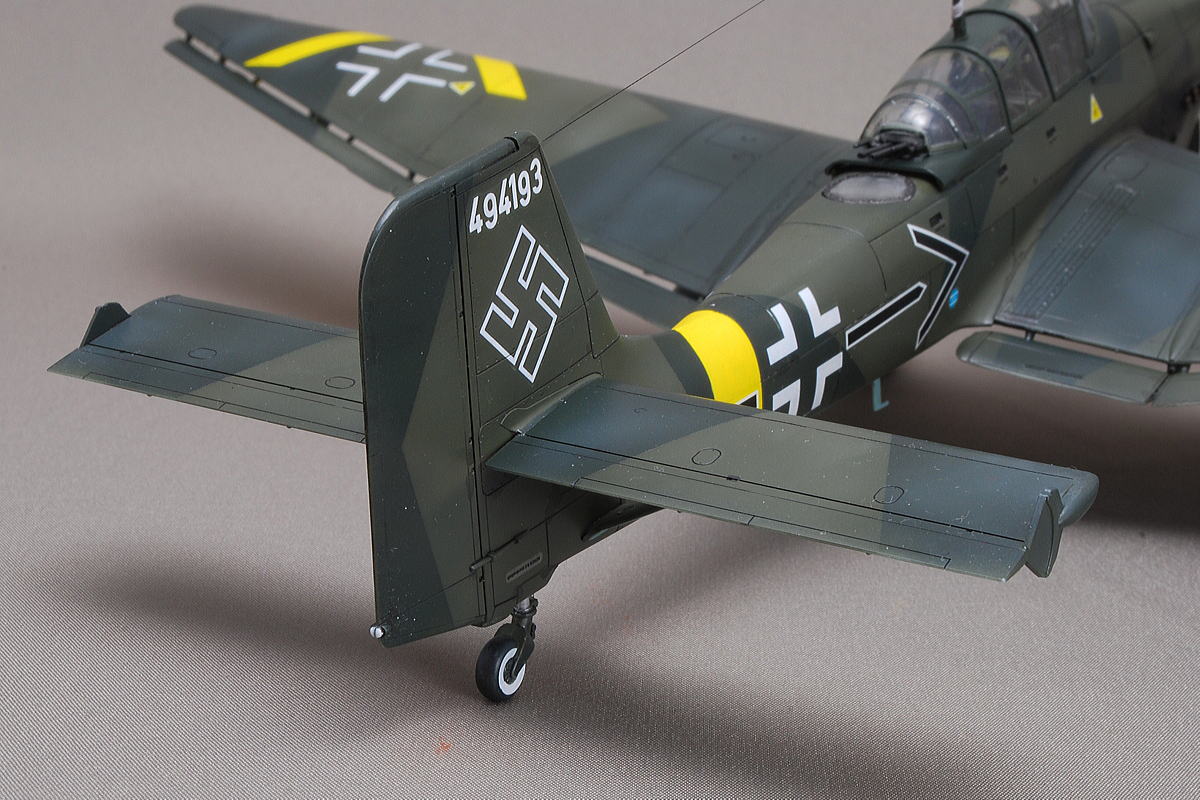
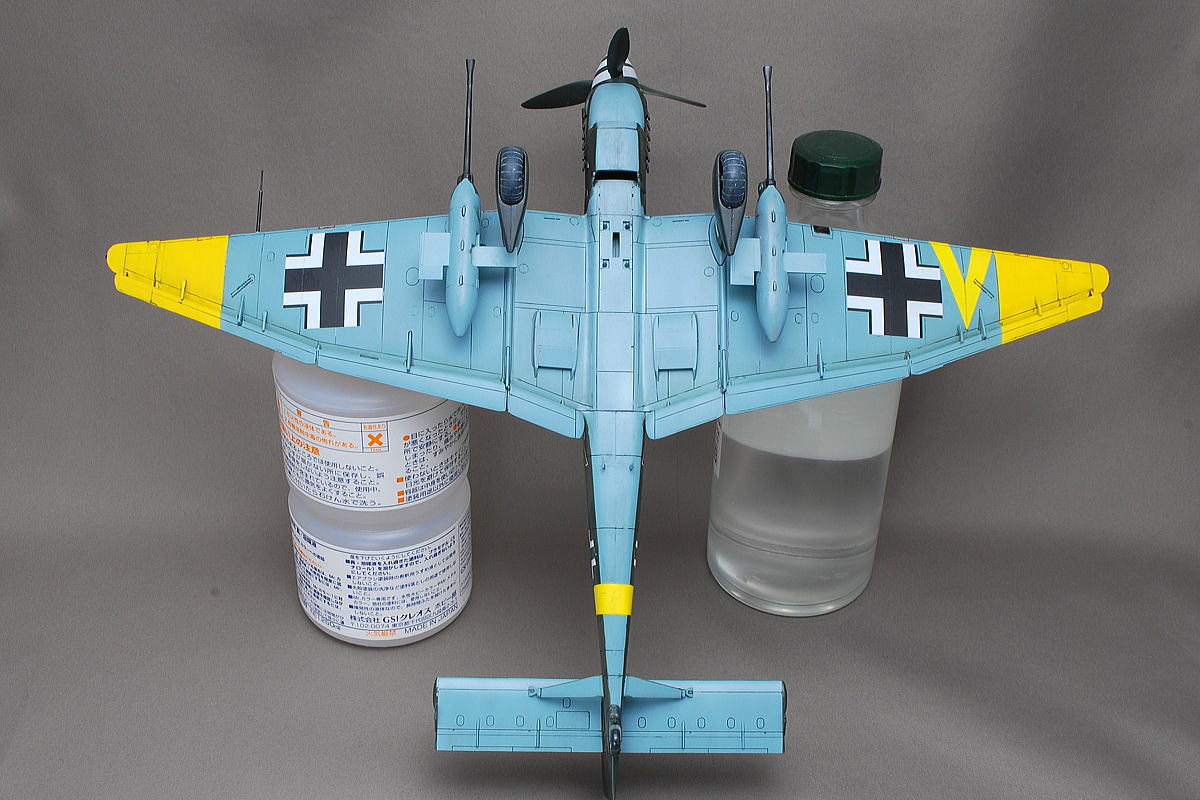 The body’s undersurface is light blue and yellow. It’s a refreshing coloring.
 I did inking lightly on the undersurface, too.
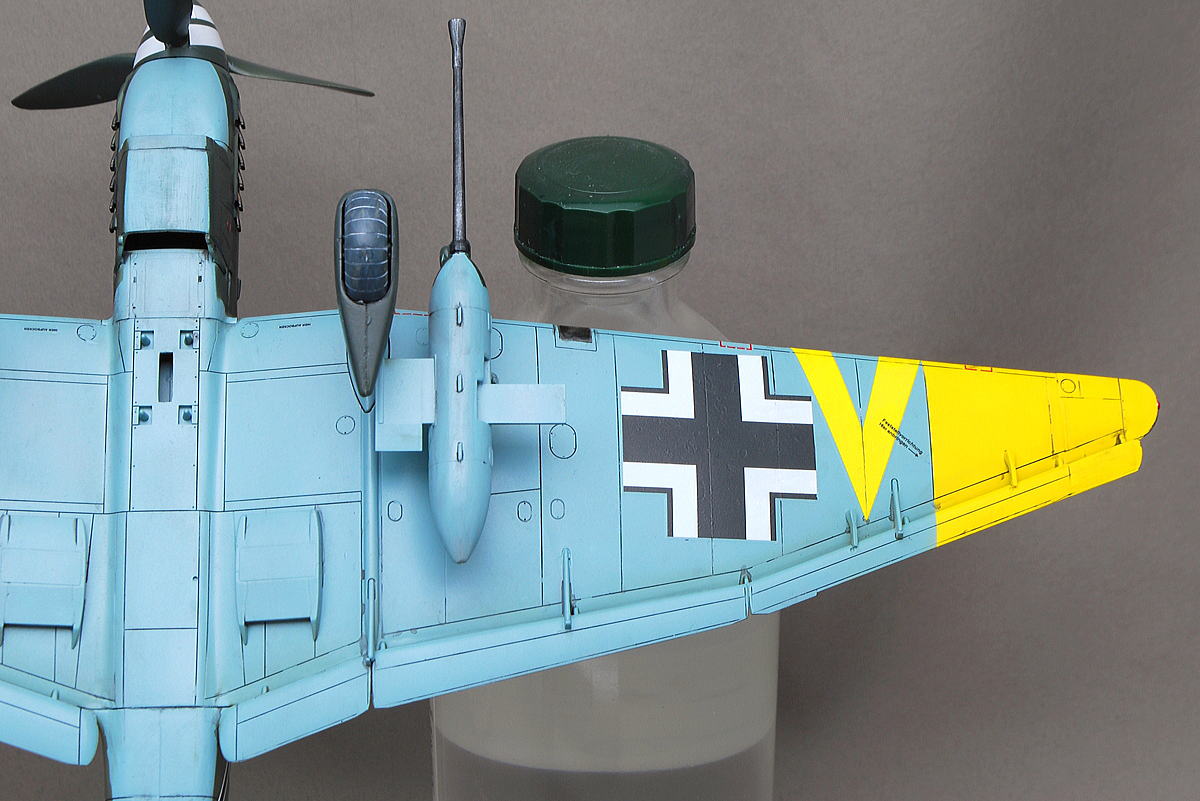 The tire mold has emphasized the details to flow in beige color.
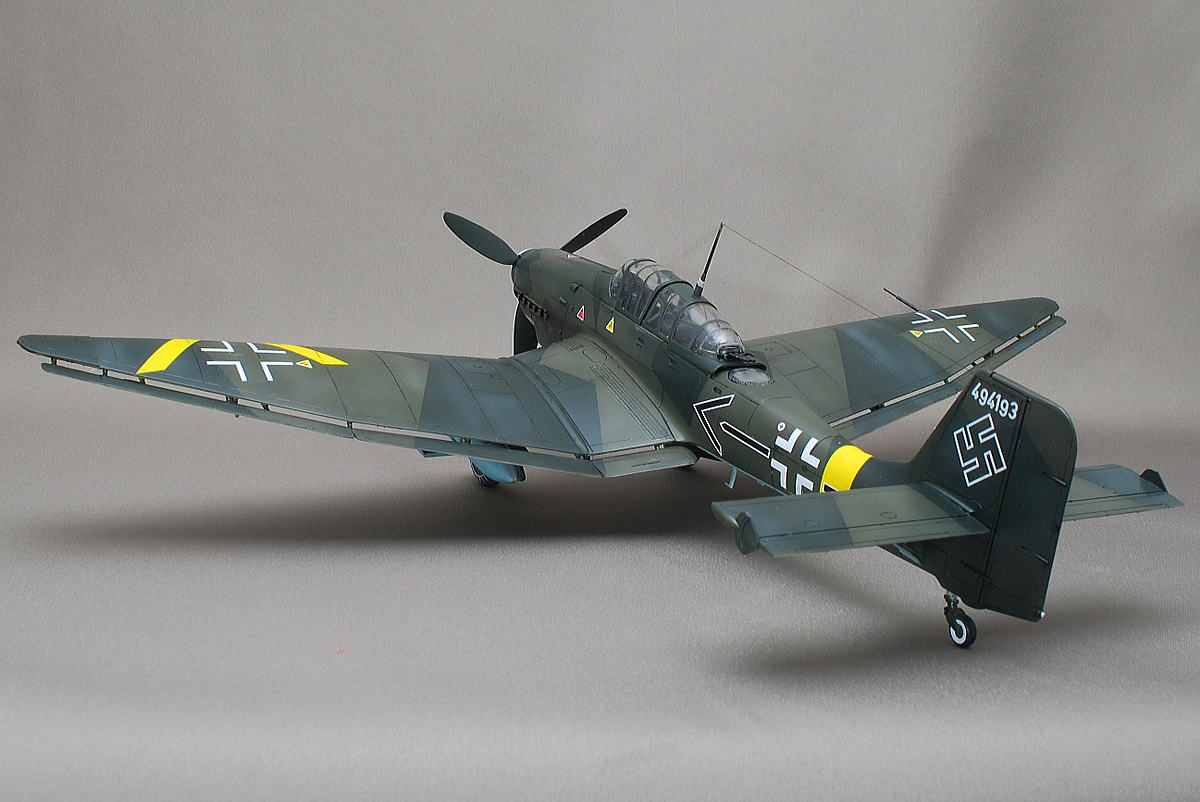 I intended to wipe off the extra paint neatly, but some remained. My naked eye is not reliable? I must have cleaned it very carefully if the modeling did not have so much weathering.
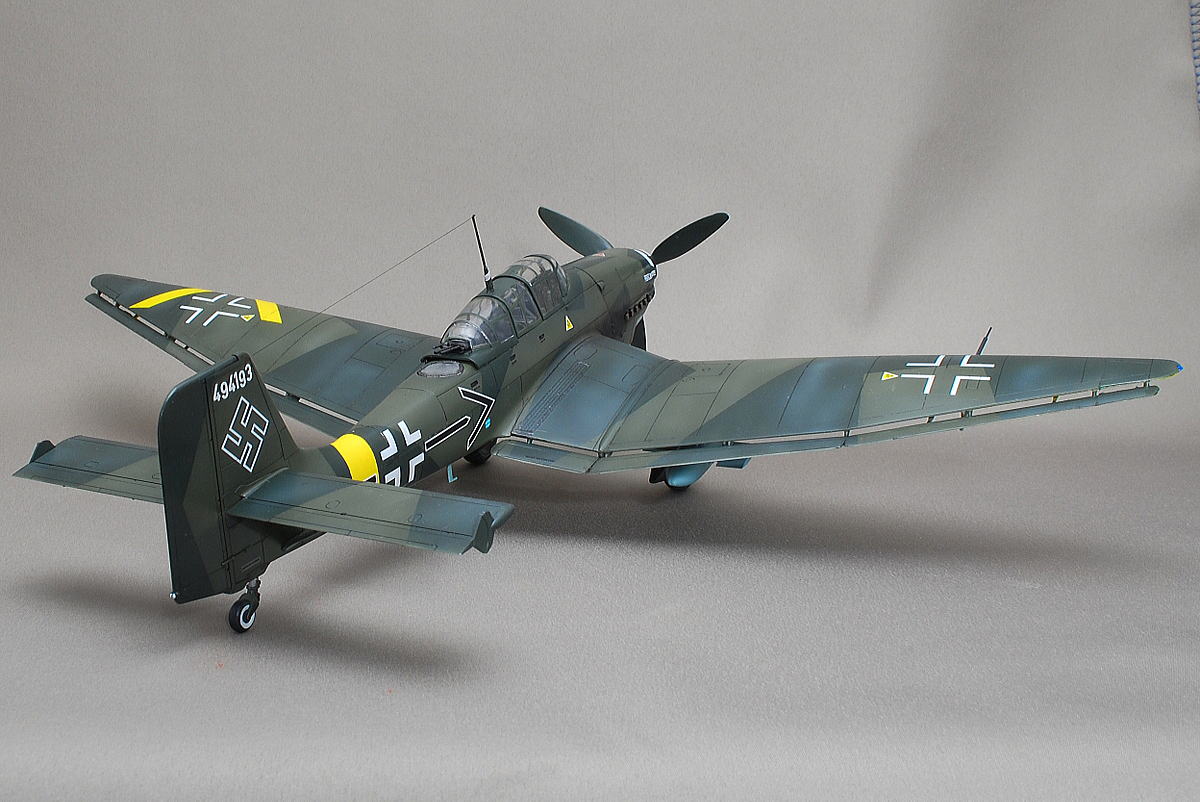 I thought it wasn’t so cool with a retro design when having begun to build. After completion, it’s powerful and very wonderful. The gull wing-like both hands were extended. It’s an elegant and beautiful silhouette.
(04-April-2016)



コメント