
It is quite a popular Tiger tank. I made it from April 2008 to July 2008.
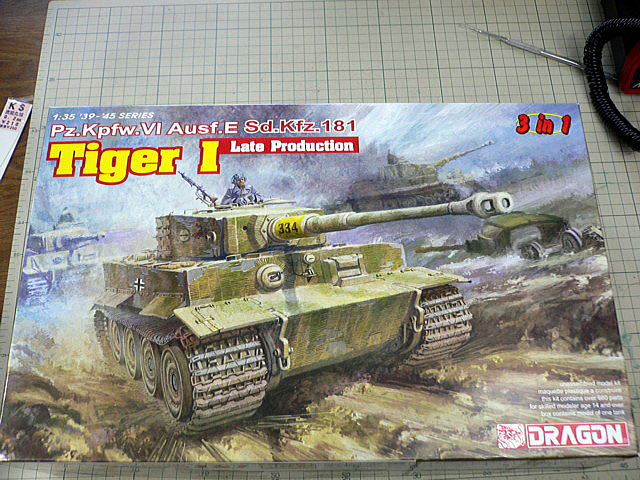 Tiger I is the most famous tank of the AFV model fan.
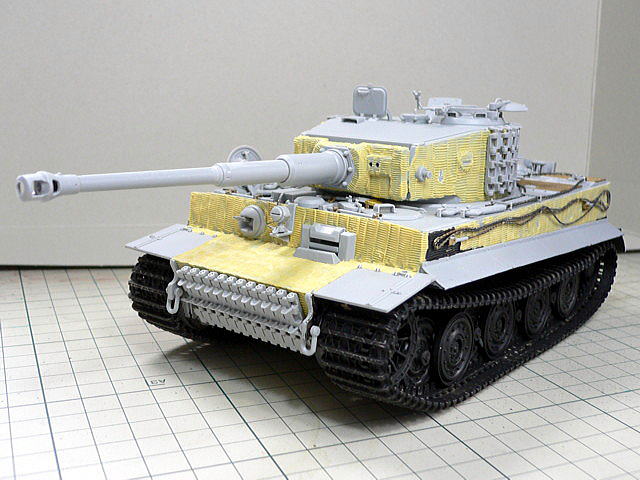
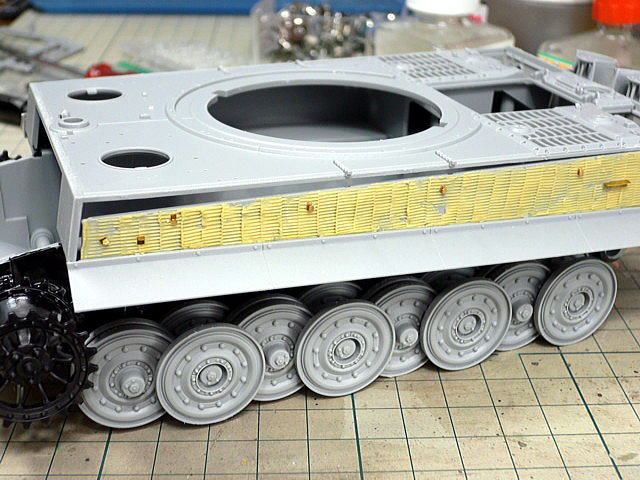 Roller coating is interesting and able to complete Zimmerit Coating very fast.
 It’s the second time in used the set of Modelkasten coating set.
(2008/04/13)
 I could do it well though the back of the body was complex. There is a compressor for painting under the exhaust cover.
(2008/04/19)
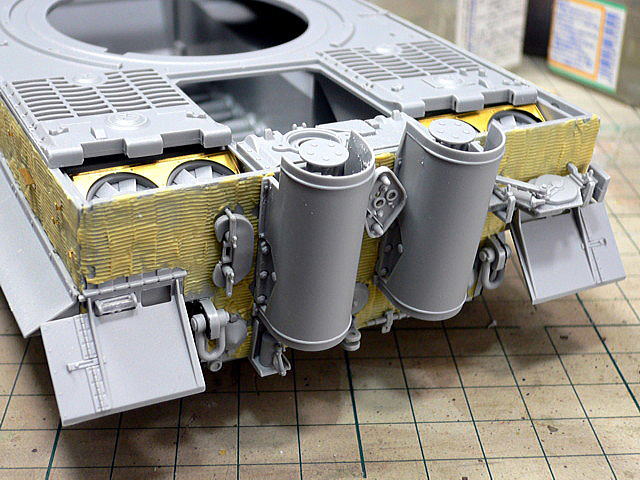
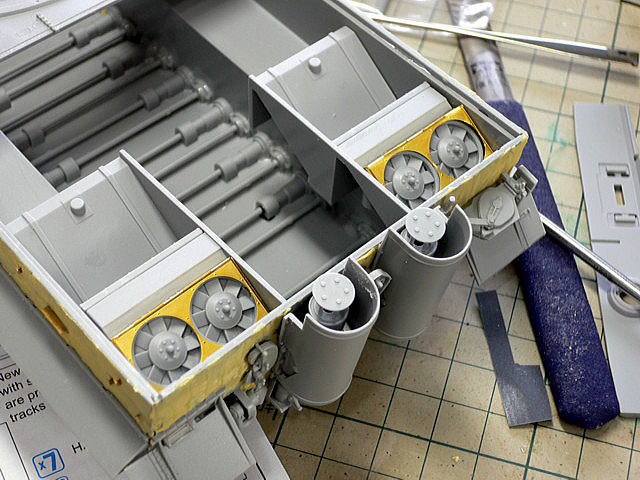 The fuel tank with the cooler fan of the engine.
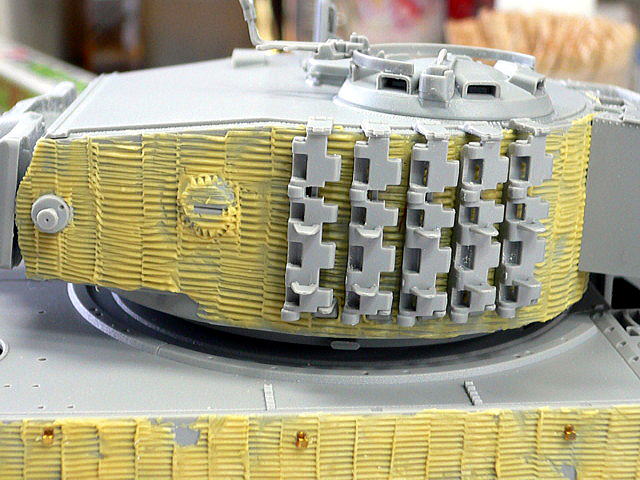 The row of a spare caterpillar is good-looking!
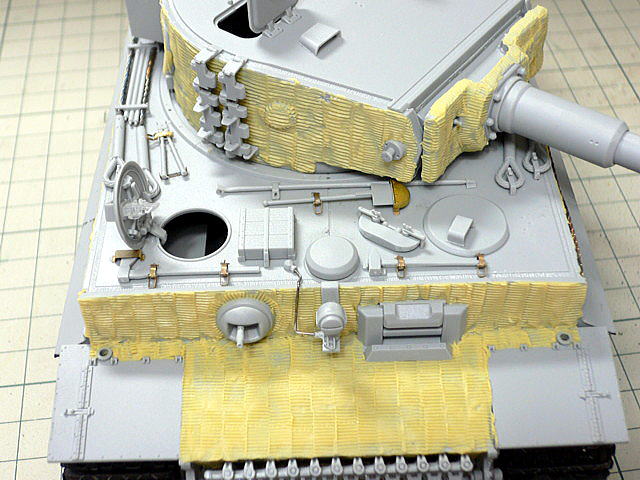
 I will correct the overflowed coating later. I opened all the hatches for 2-3 tank crews later.
(2008/04/29)
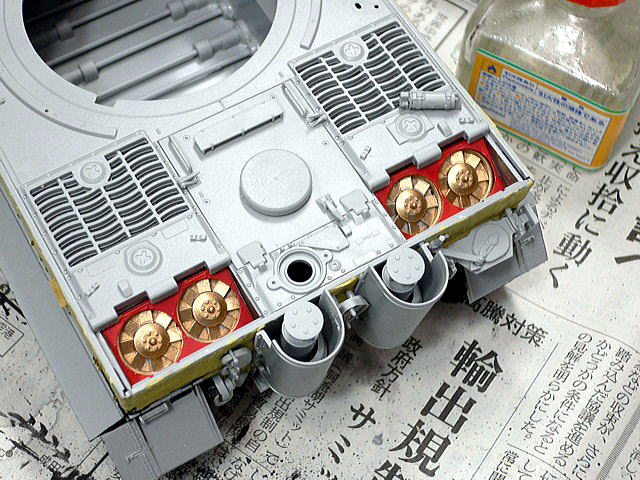 Are there cooler fans? Anyway, I painted them. But maybe when I cover it, it’s almost invisible.
(2008/05/11)
 It is because of the angle, quite good-looking though its tall height impression. Since it was a belt-type caterpillar this time, it was considerably difficult to apply a loosening pose. I used the instant adhesive very much.
(2008/05/11)
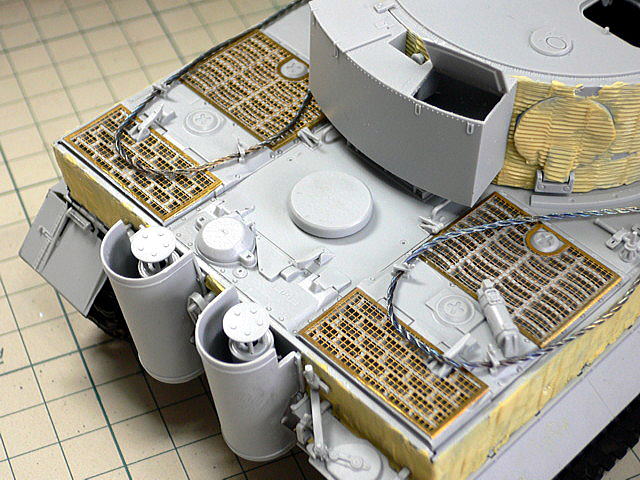 Photo-etched parts on the back are of high quality. It is easy to fit the wire on the body after annealing. After all, we can not see the cooler fan painting at all.
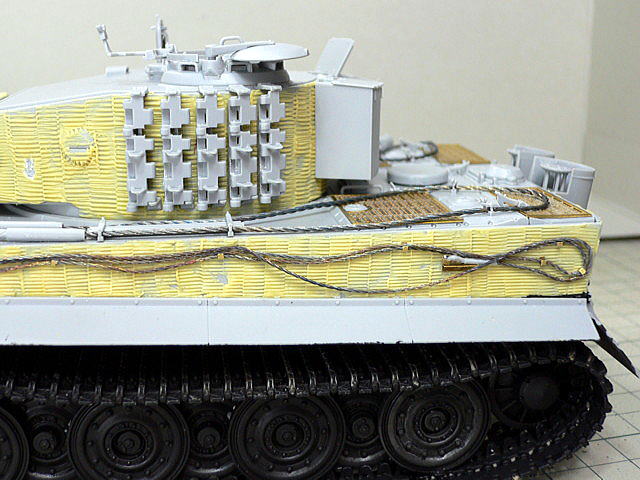 The wire rope on the body side looks like it is hung down by gravity. I painted the lower side of the body in mat black in advance.
 The attachments of the front side parts were photo-etched parts. Maybe Aber’s photo-etched parts are of higher quality, but I suppose it’s good.
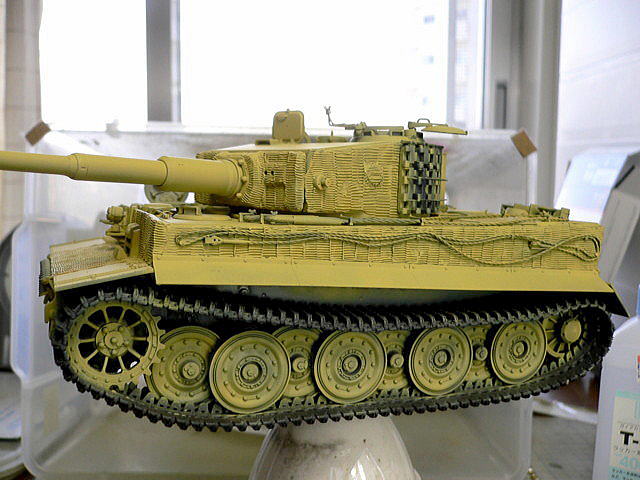 Basic painting in dark yellow.
(2008/05/18)
 It is a standard three-color camouflage painting. I will make colors settle down though it is too bright for a moment.
(2008/05/20)
 Commander and gunner before dressing uniform. It will be possible to adjust later, though there is a space in some places.
(2008/05/31)
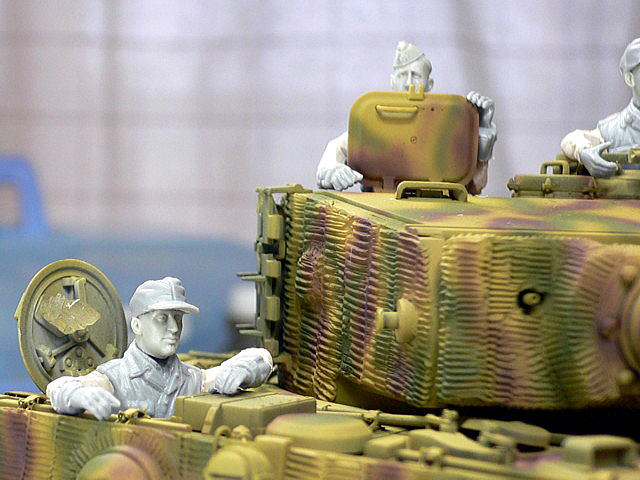 I decided to board three crews after all. I will dress them in a camouflage uniform. It’s becoming a vivid vehicle when three crews are in the hatch.
(2008/05/31)
 I used the “Shinsengumi” decal for the camouflage uniform. It’s a very handy decal; it does not take much time to paint.
(2008/07/21)
 Tiger I is one of the core curriculums of the German army tank fans. Tiger-I produced about 1350 tanks between July 1942 and August 1944.
Fifty-six caliber 88mm gun strongly annoyed the Soviet and Allied armies.
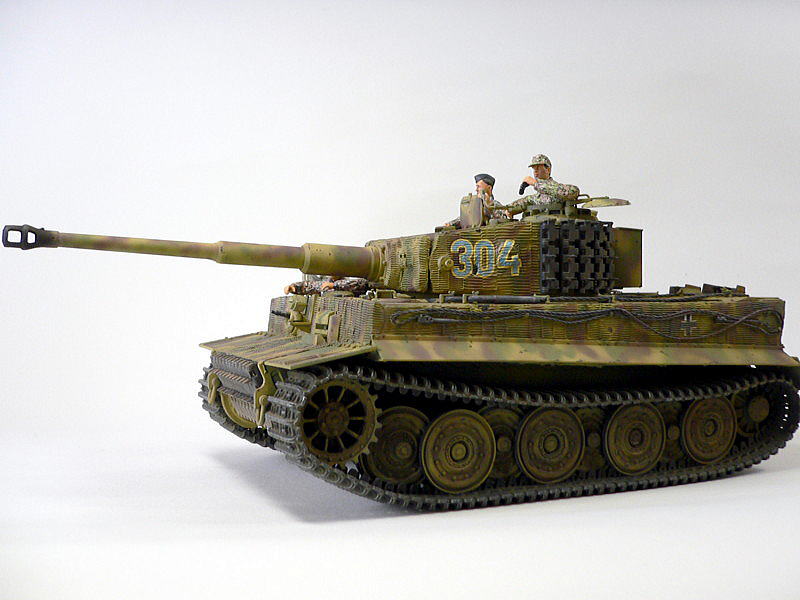
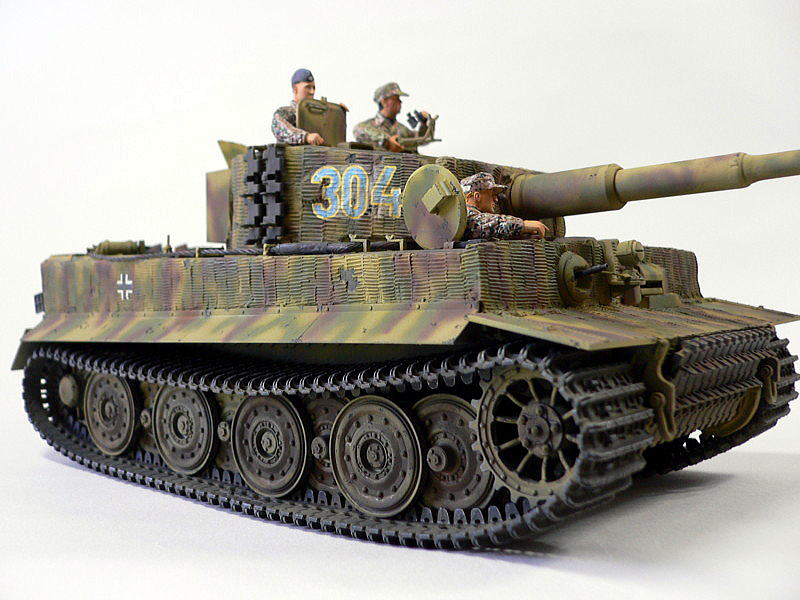
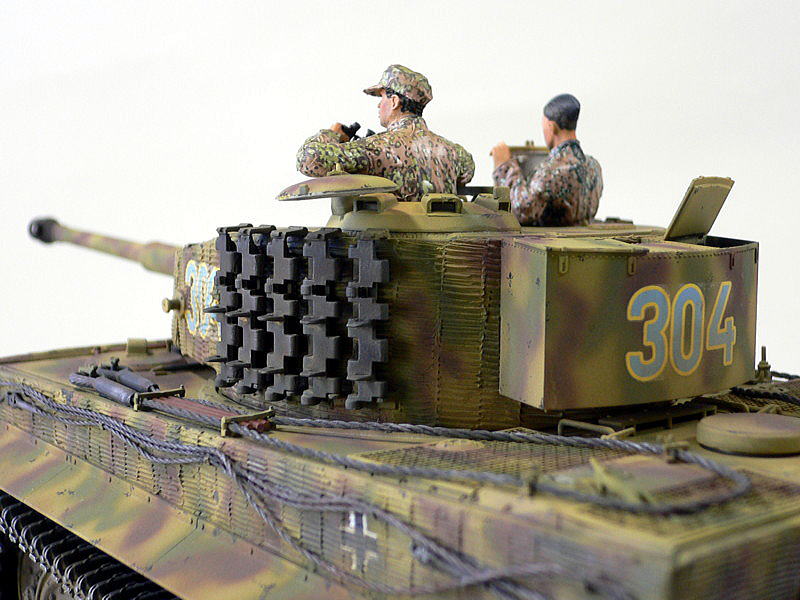
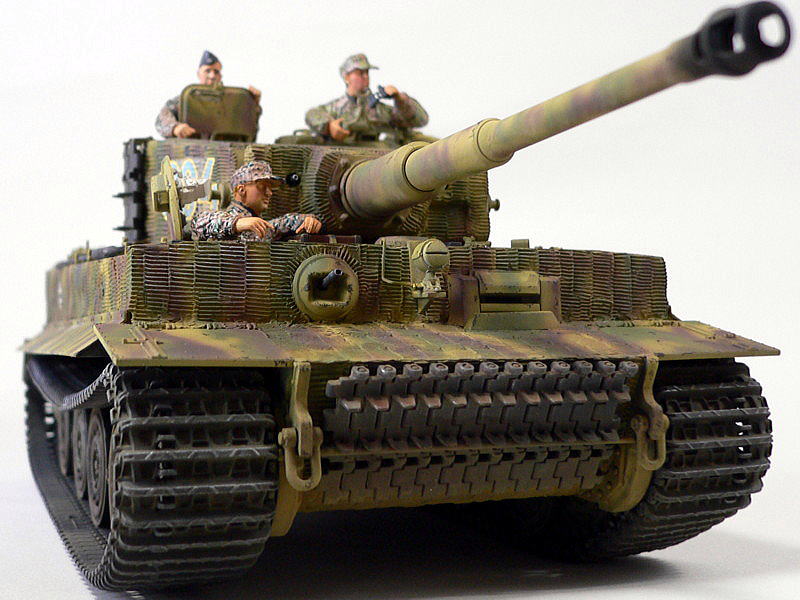 This time, Marking was 101st SS heavy tank battalion. Blue and yellow Marking is attractive. This battalion had been organized in the spring of 1944; it was deployed in Normandy. It is a battalion that famous ace Michael Wittmann belonged to.
 The latter term type is a substantial change that the trank roller became steel-made; it was produced after February 1944.
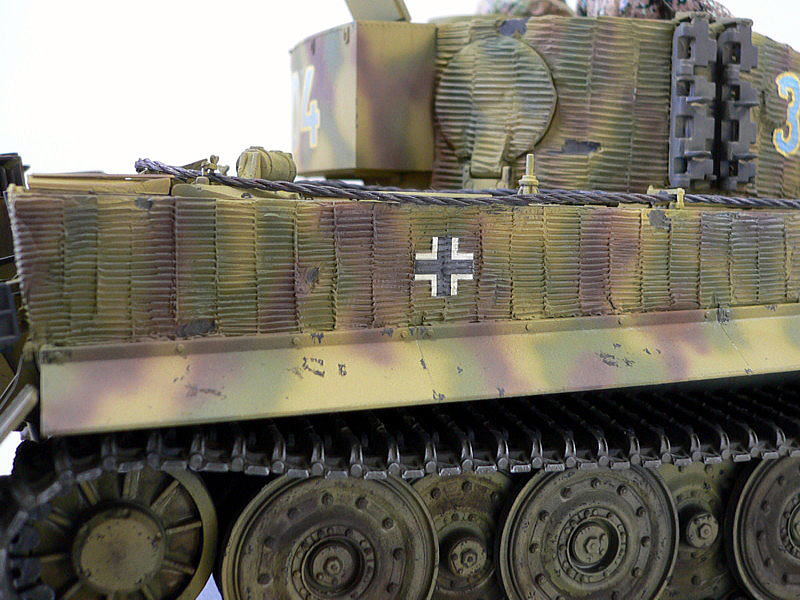 I painted where the coating had started peeling off in the gray.
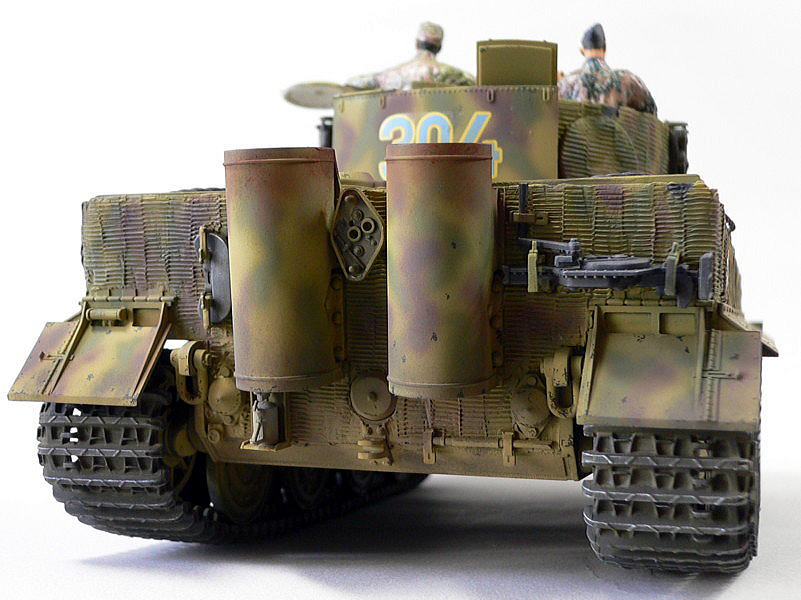 The cover that concealed the red burnt exhaust muffler was painted rusted.
 We can’t see any change in tone in the photograph though I put the change on the painting of a spare caterpillar.
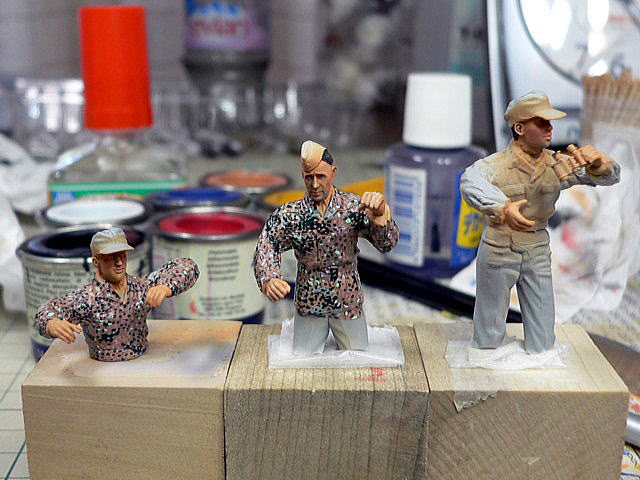
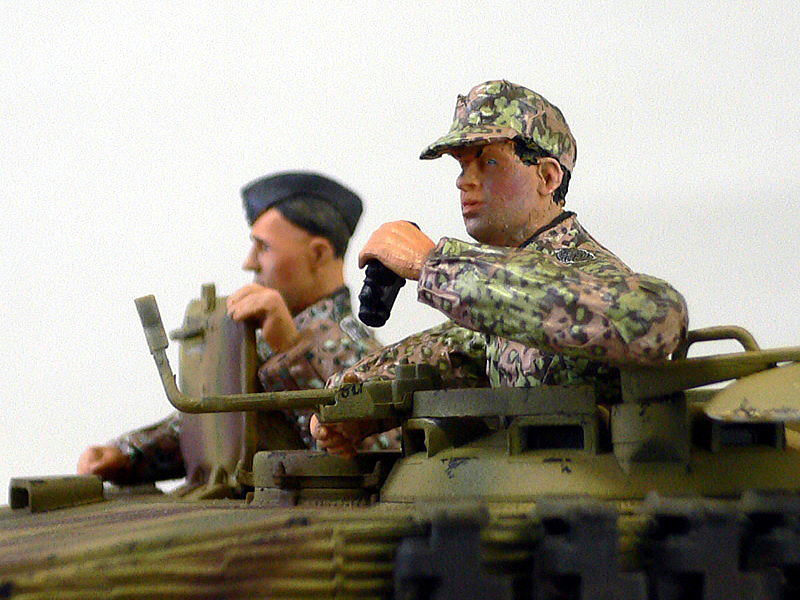
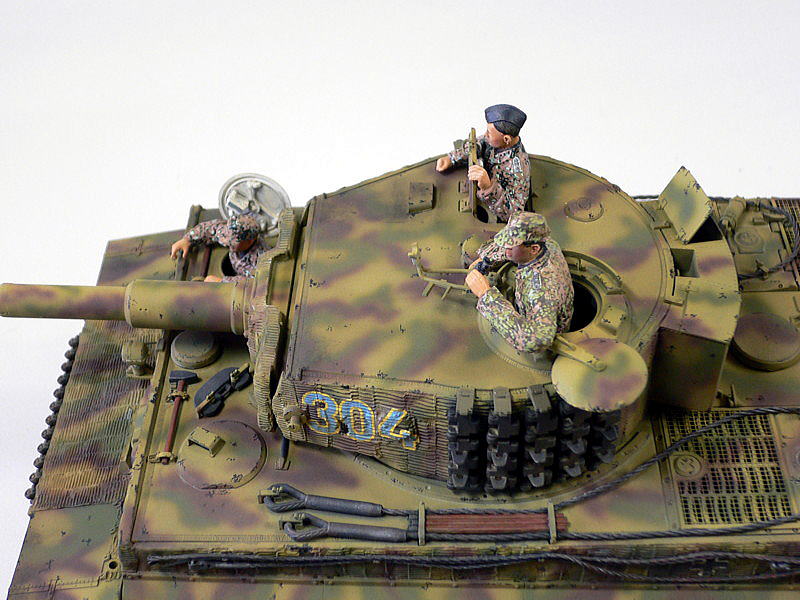 I painted the camouflage uniform for all three crews this time. I used the Tamiya decal set of insignia and the Shinsengumi camouflage decal for their uniform.
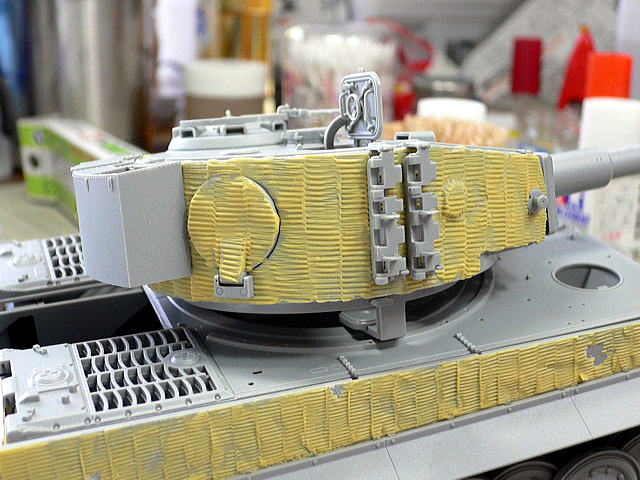
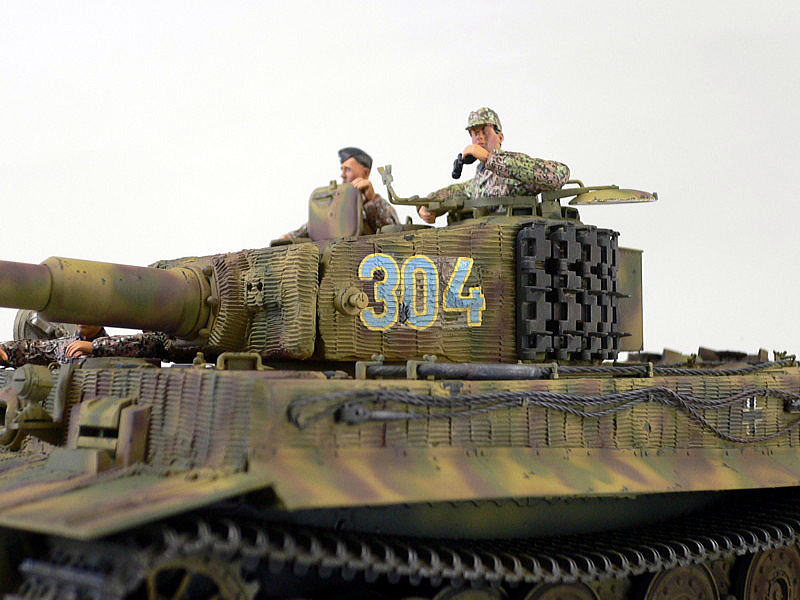 The angle from here is dignified. It was challenging to fit the number decals on a Zimmerit Coating; silvering is occurring.
 When zooming up… The wrinkle of a camouflage decal-like natural fabric wrinkle.
 The chipping work made me sleepy but more complicated than every time. I painted this spare caterpillar rusty, dusty, and considering the iron quality of the material.
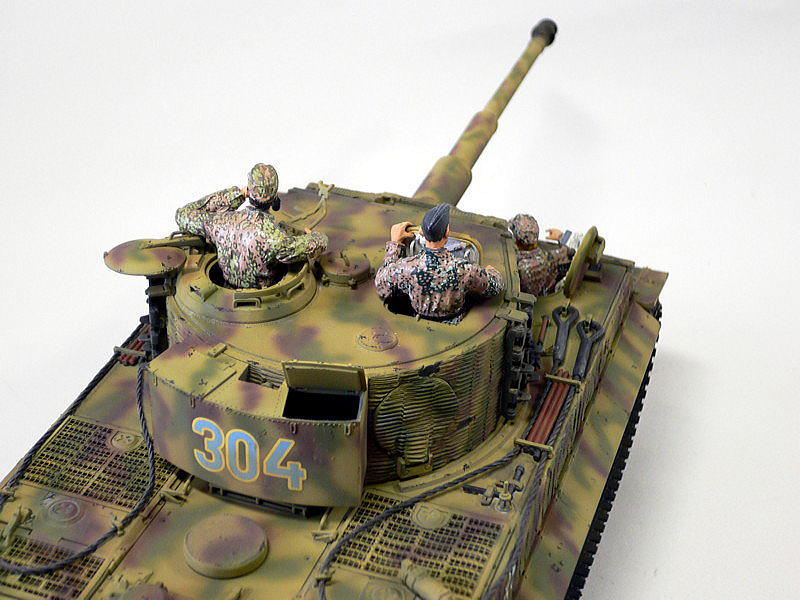 It seems effective when seeing from a long distance when the tank and crews are in camouflage. At least, I think the black uniform is discovered easier.
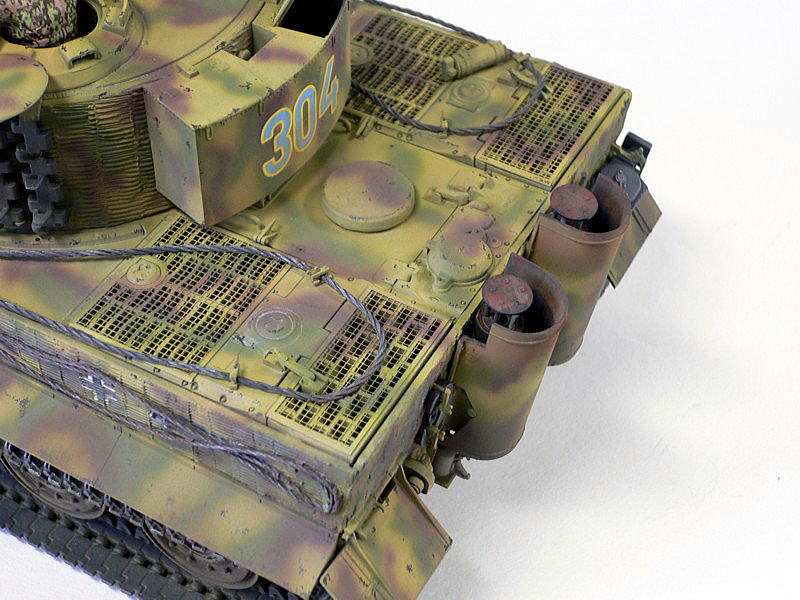 The exhaust muffler was burnt.
 I think it is a nice photo from here. All crew is in this frame. The Zimmerit Coating and figure making is a good experience for me. There were many processes to reach the completed goal.
Let’s challenge the cat families of King Tiger, Panter, etc., next time!
(2008/07/27)


コメント
Phenomenal build! How did you paint the exhaust?
-Eric
Hello. The exhaust was painted in black and then washing was done by melting pastel with aqueous thinner. By the way, your site, aircraft seat-belt work is outstanding!