It is the Stug. IV assault gun of the Smart Kit. It was built in November 2014. I added work Zimmerit coating on this body.
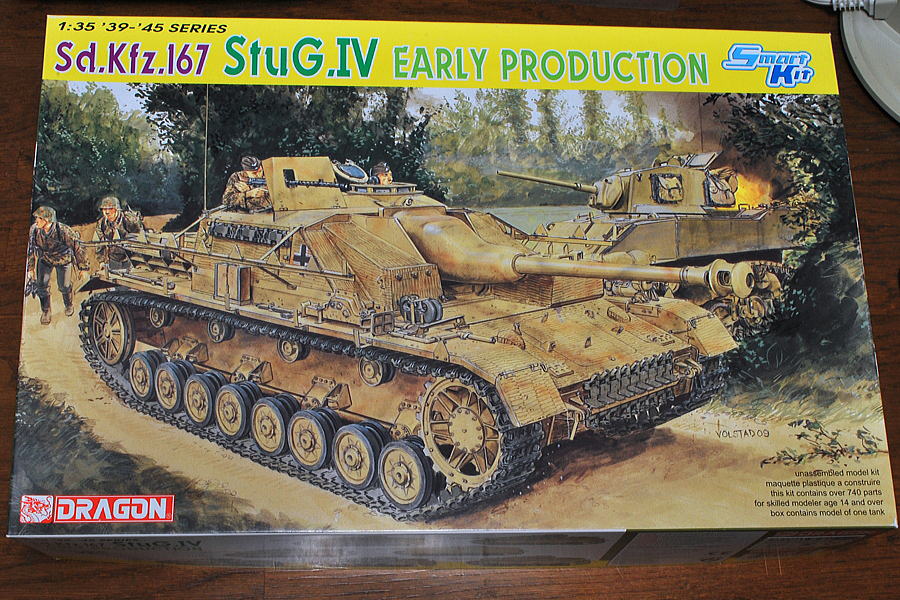 This is Stug. IV Early Production type. It’s included fewer photo-etched parts than the premium edition kit, but keeping preciseness, easier to make.
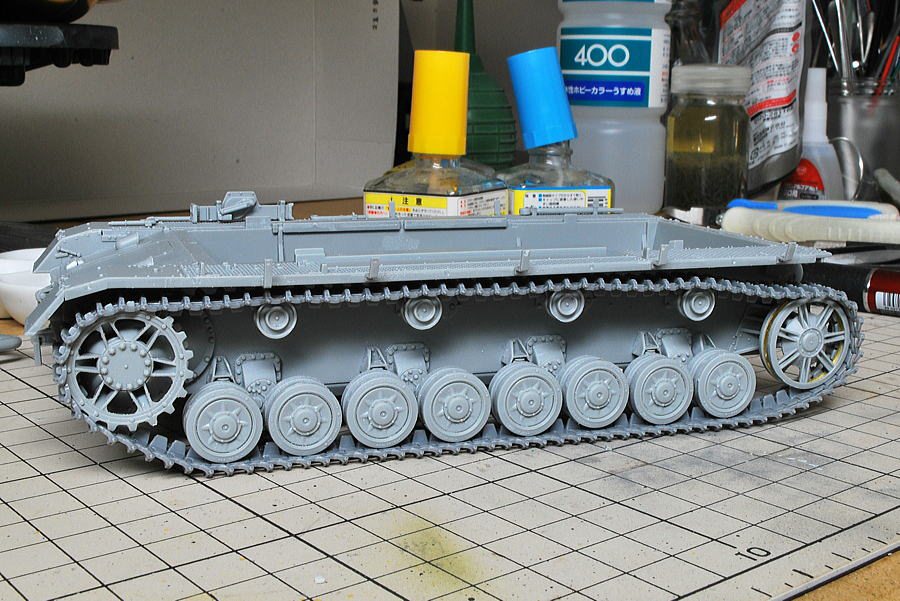 Magic Tracks are brilliant whenever I make them.
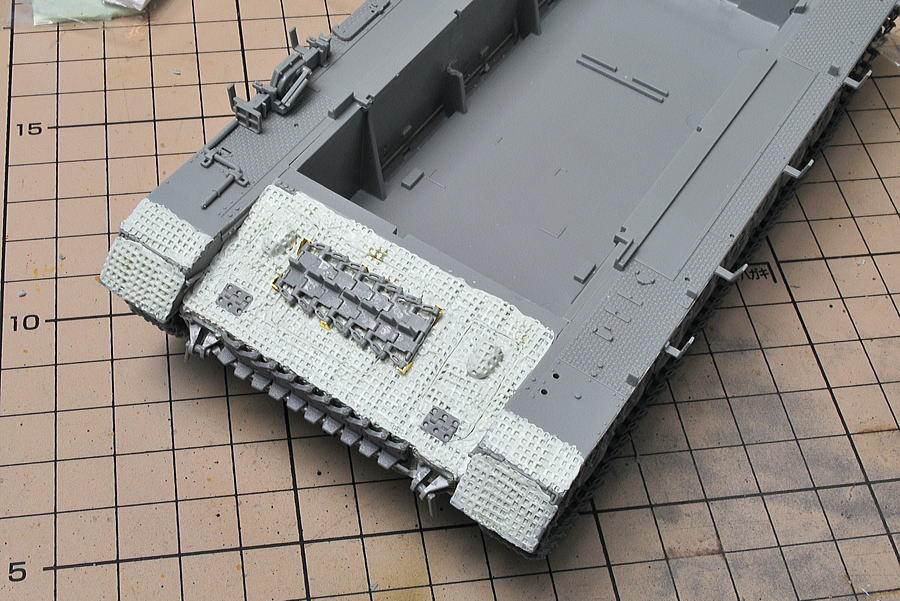 I have a waffled pattern Zimmerit Coating Roller in my set; I tried this. In my image, the waffle pattern was used many times for self-propelled antitank guns. I have not made a square pattern on this tank on the waffles but looking very nice.
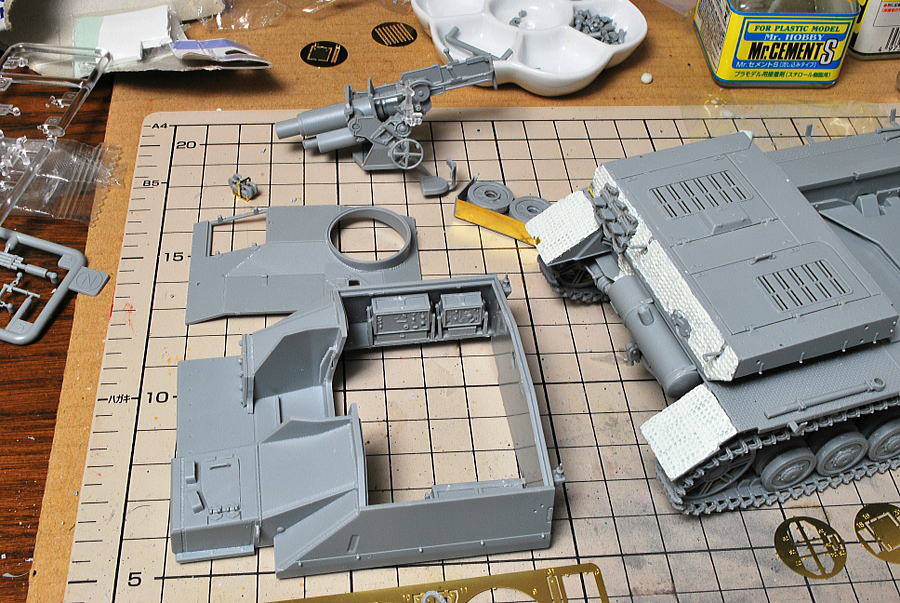 There is radio equipment inside.
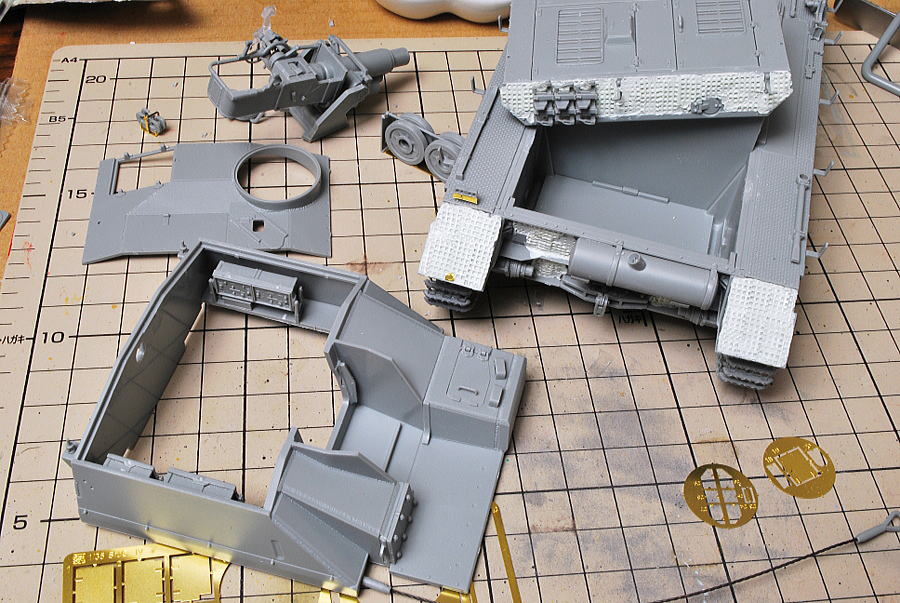 And on the other side, also the radio.
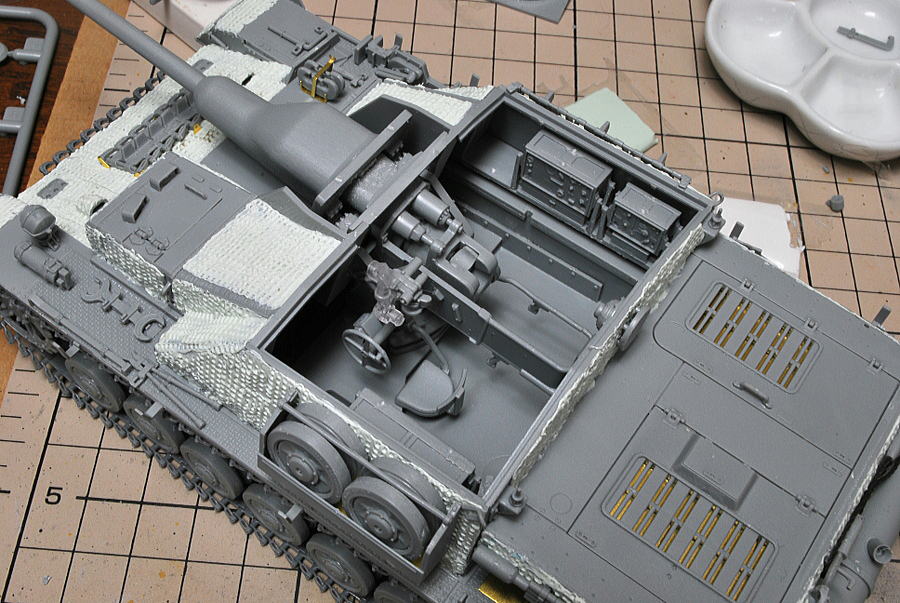 I molded Zimmerit, coating many small faces. Before closing inside, it’s a ceremonial shot.
(24-October-2014)
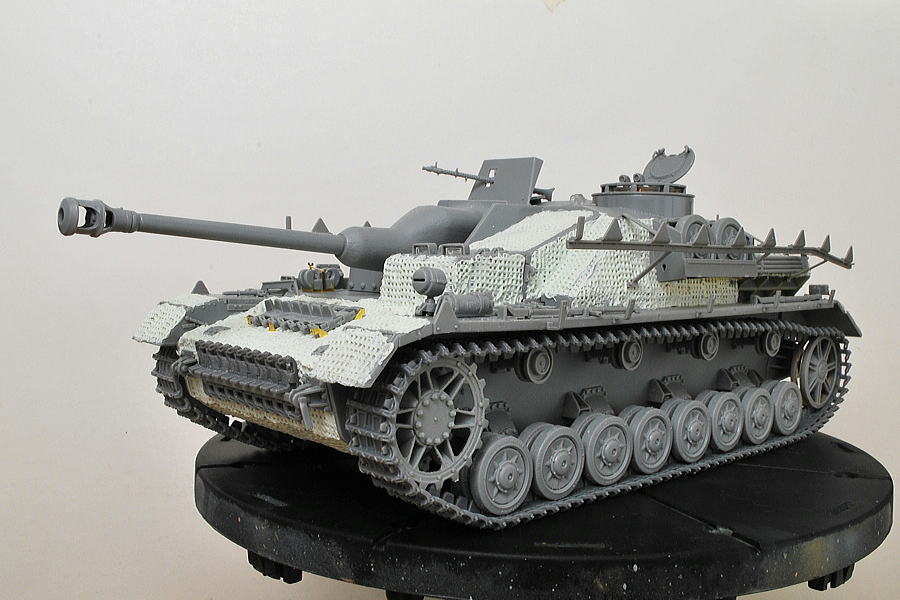 I completed the assembly. Vehicle height is low and good-looking.
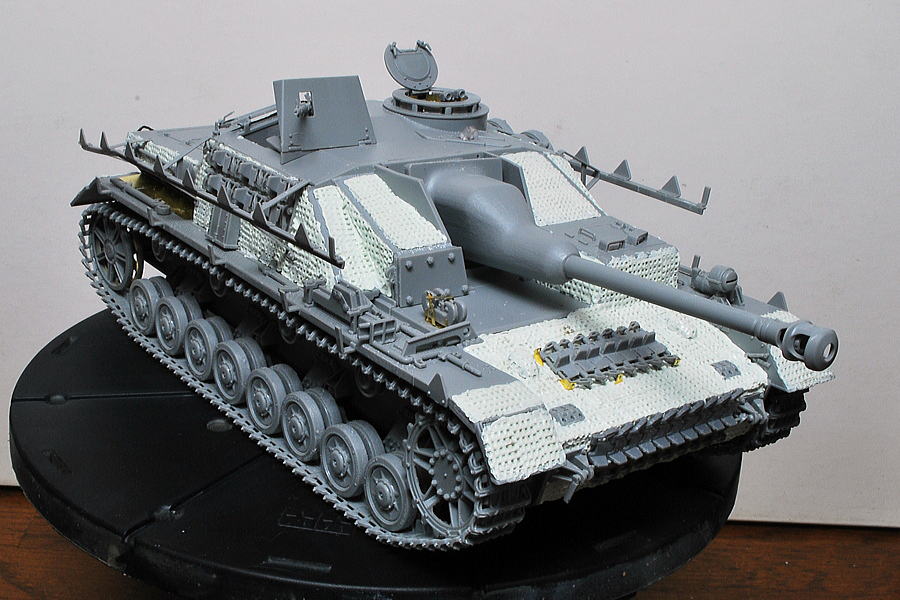 This tank has many OVM (on-vehicle material) as two spare caterpillar belts on the front armor, six tracks on the right side, some tracks on the rear, and spare road wheels loaded on the left side. Many materials are the eye appeal of this tank.
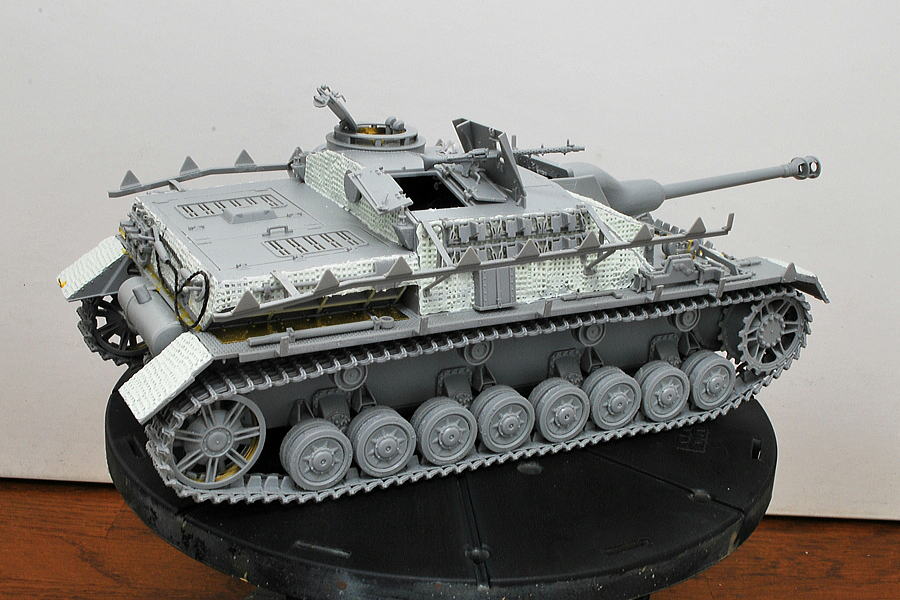 Now that I’ve taken excellent work (maybe) to the Zimmerit coating manual, I dismount both sides of Schurzen (side armor) for Zimmerit to show up.
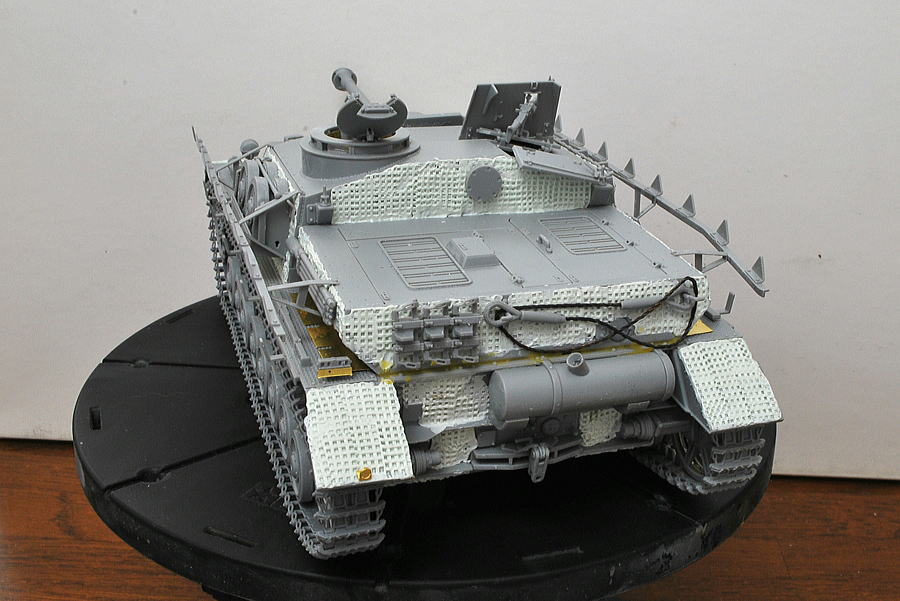 This kit has not had so many photo-etched parts and easy assembly compared to the Tamiya kit; of course, it’s more complicated.
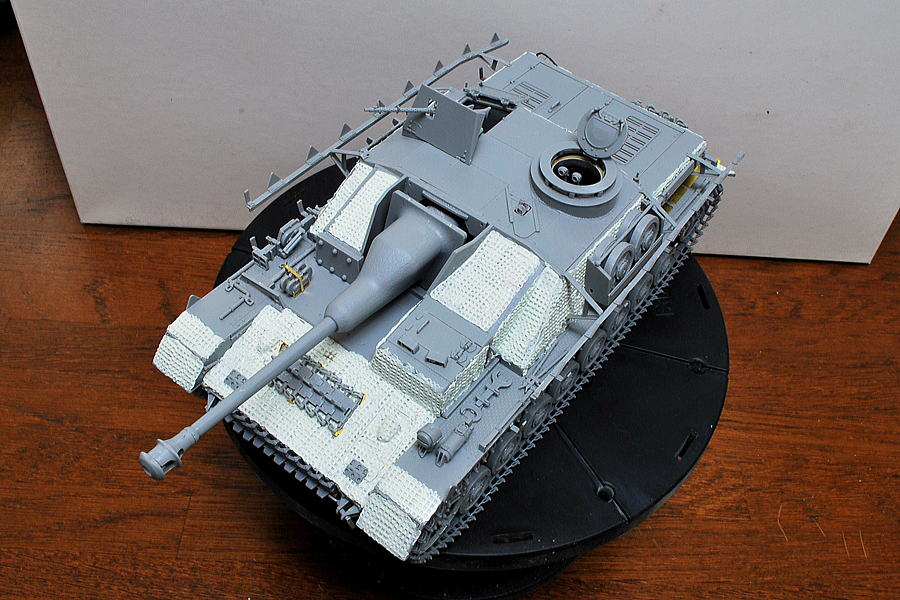 This kit is requested to assemble a couple of modules first and finish up assembling later (at the first side fender and attached OVM assemble, later middle and rear upper tank module, the last whole assemble including gun and gun mount). In the last process, I need to adjust all joints. It’s essential to check the trial assembly. While coating putty and adjusting assemble is a little tricky.
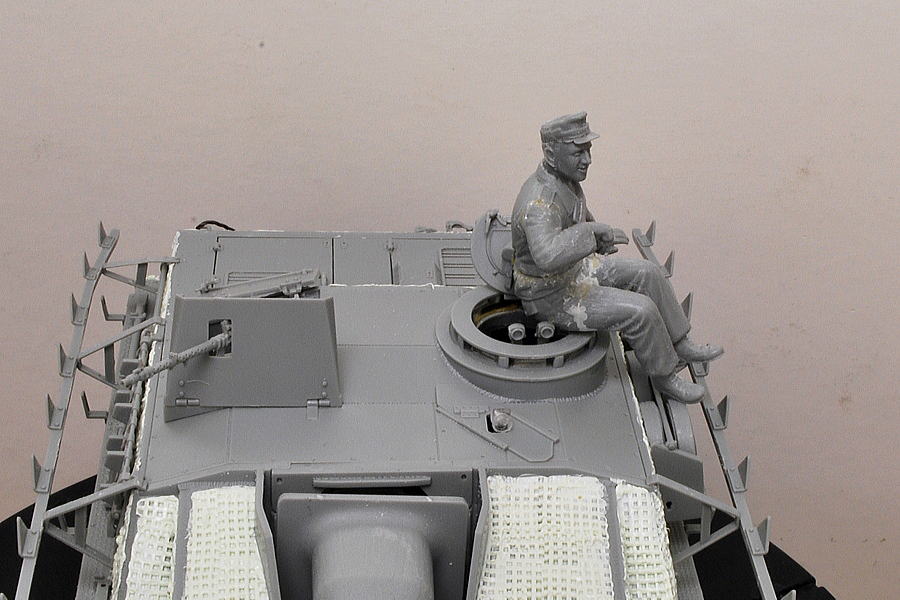 I attached Dragon’s figure. I need to adjust both legs’ angles to set up on this tank’s side.
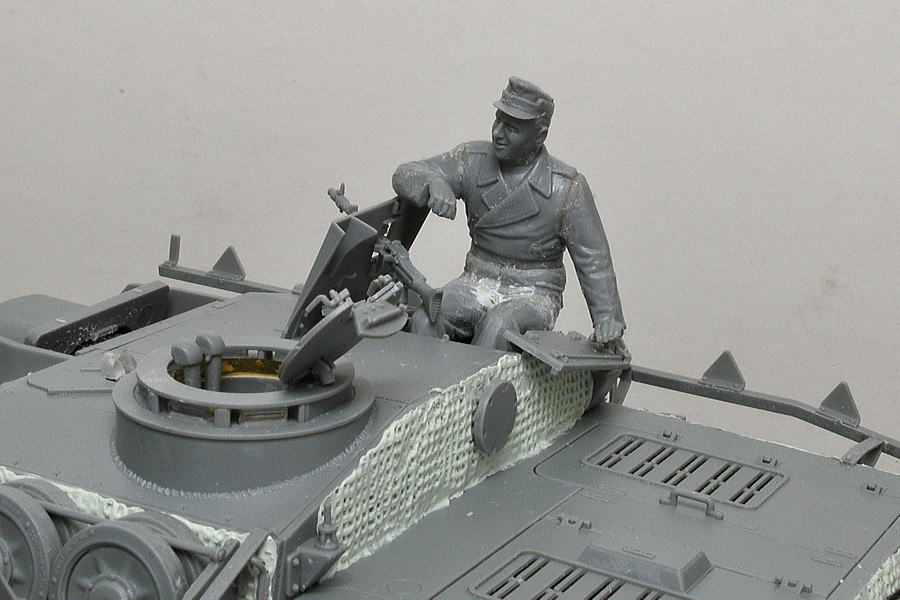 This is the ideal position. Hard to make him sit on both legs in the tank fighting compartment.
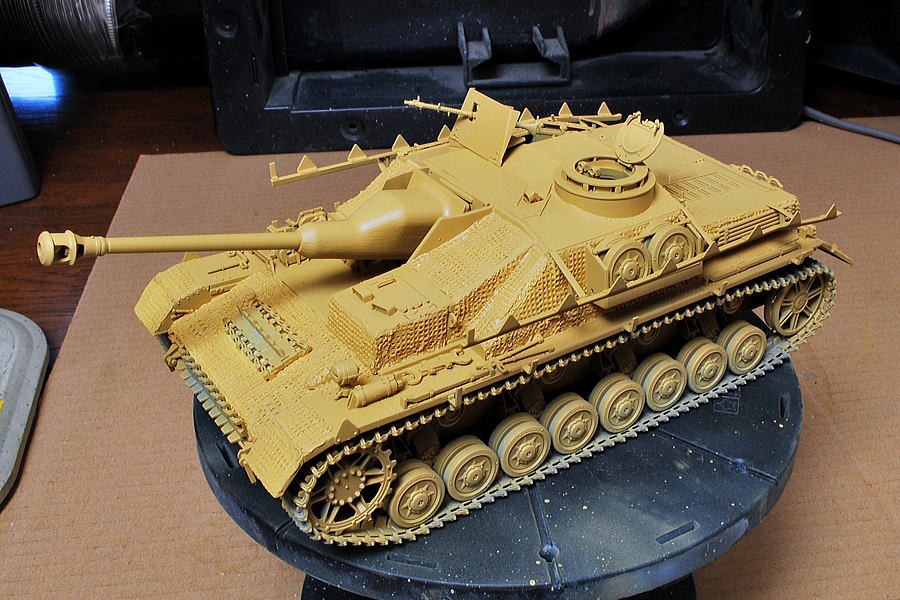 Firstly blew, the base color dark yellow.
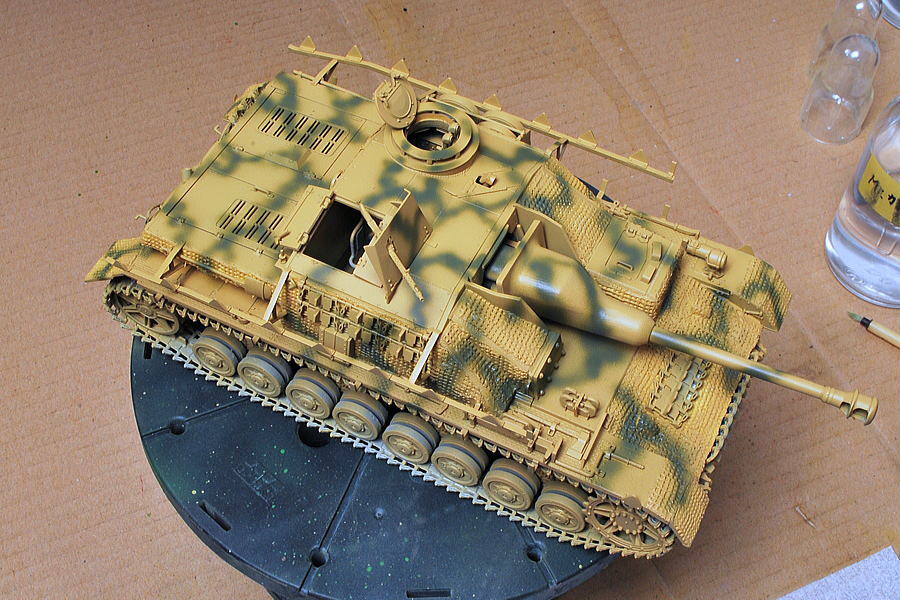 Dark green camouflage pattern. I like two-color camouflage like this, but it’s the same as the latest finished-up Panter. So I decided on standard 3-color patterns.
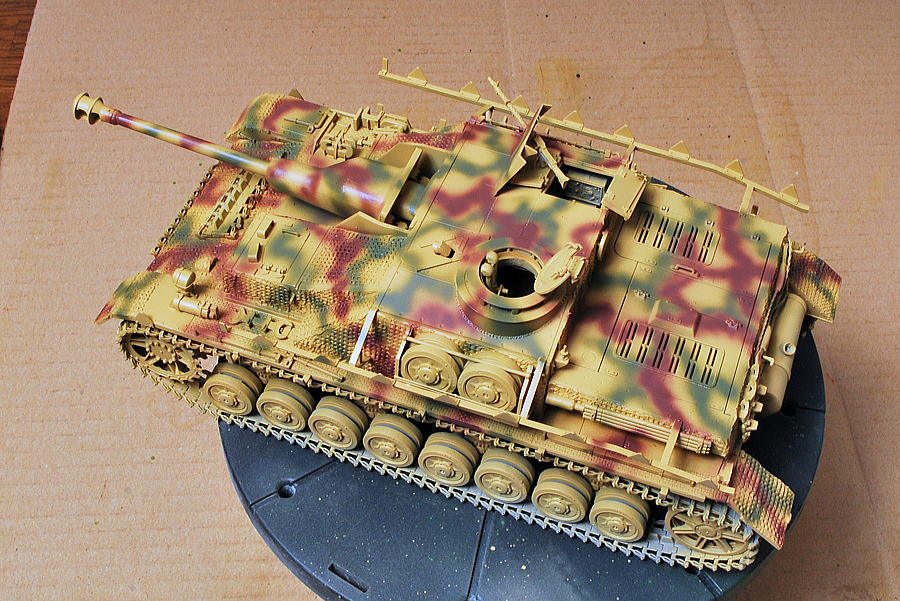 I blew red-brown and adjusted three colors balance. After painting the caterpillar and many other OVM, next is weathering.
(2-November-2014)
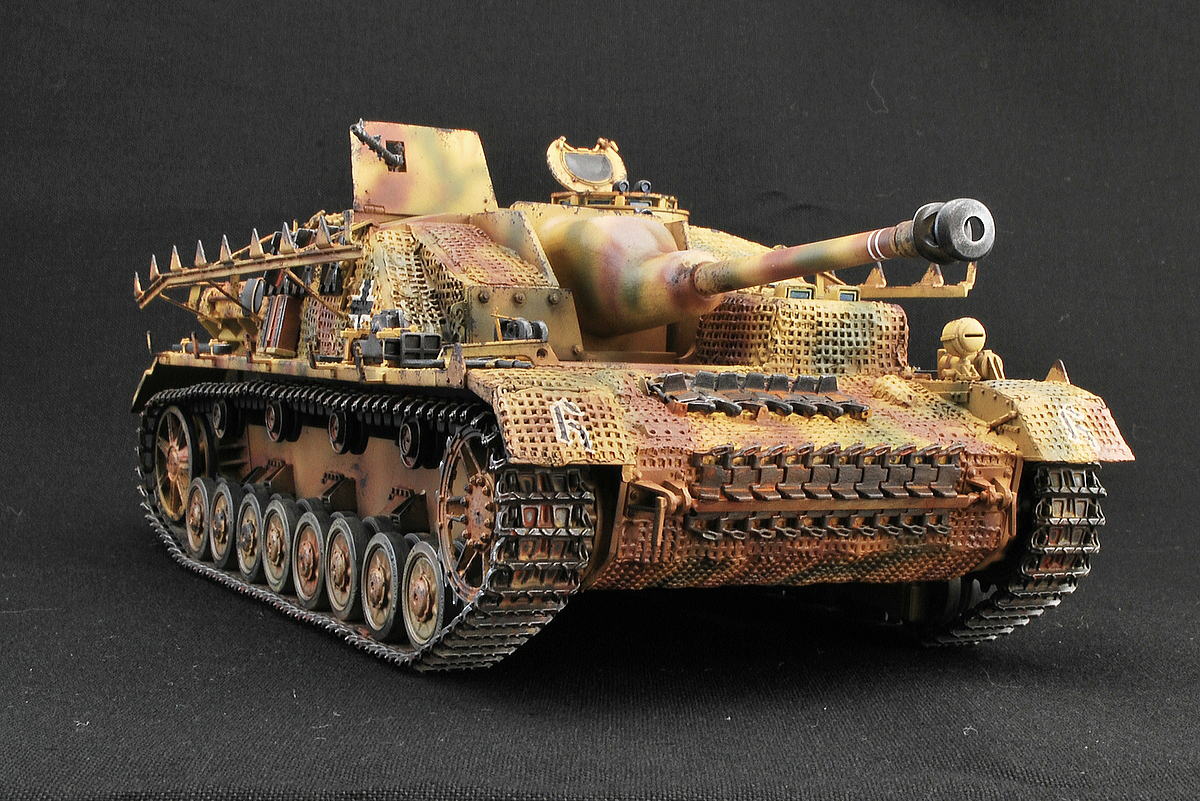 I completed Stug. IV. It was used from early 1944 until the end of the war. Armed 48 calibers 7.5cm antitank gun. The total production was approximately 1,100 vehicles, operated by 4-crew.
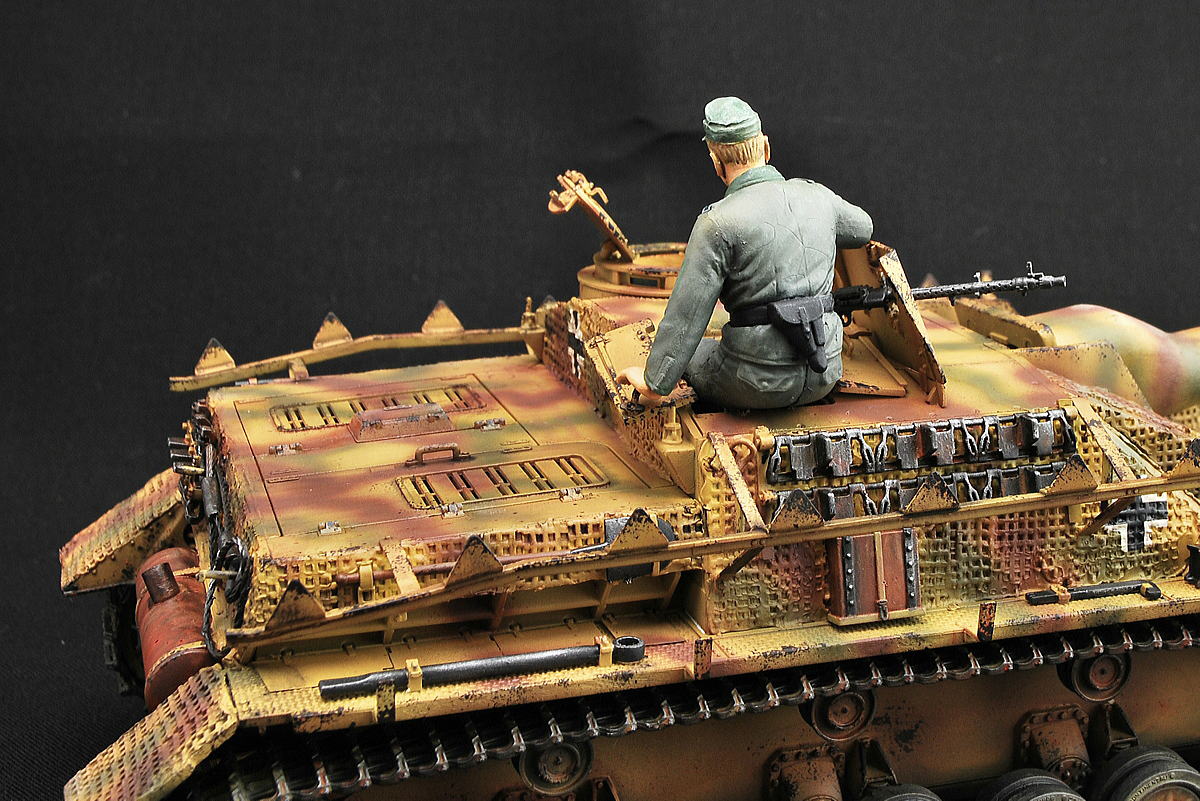
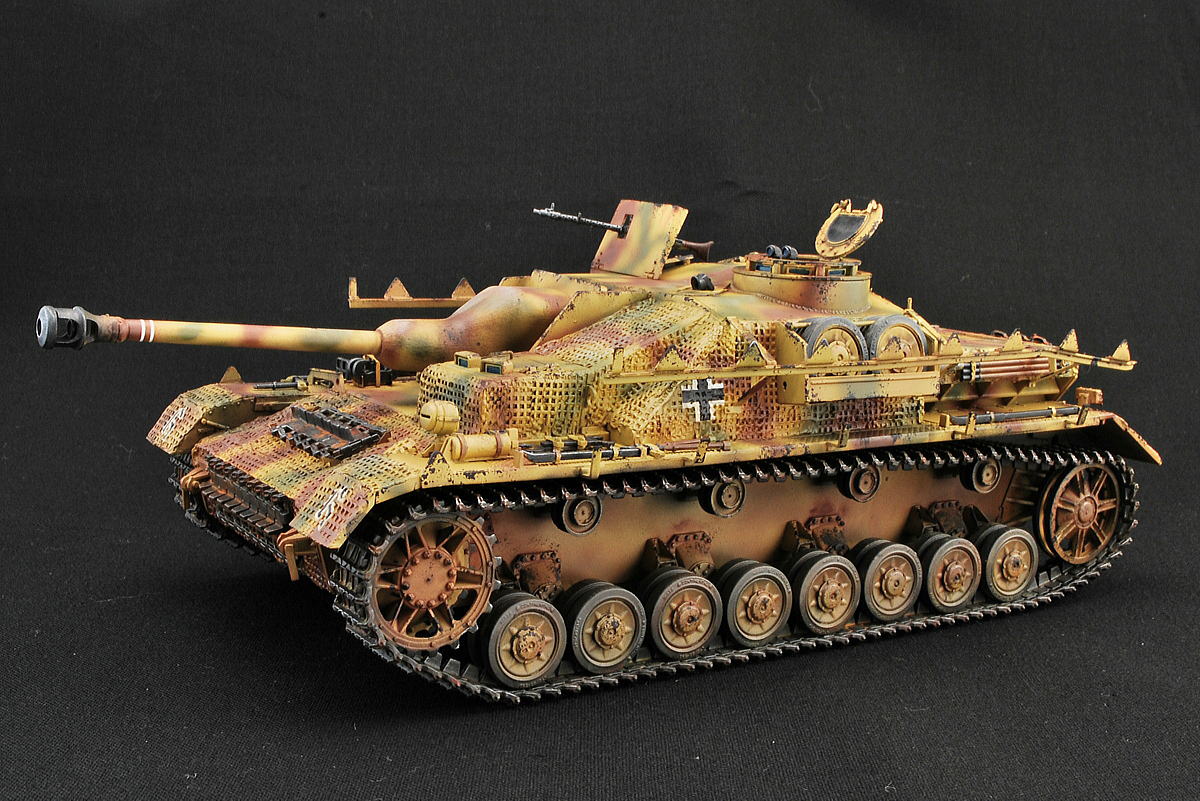 I washed slightly harder to show up a pattern of Zimmerit Coating, a waffle pattern.
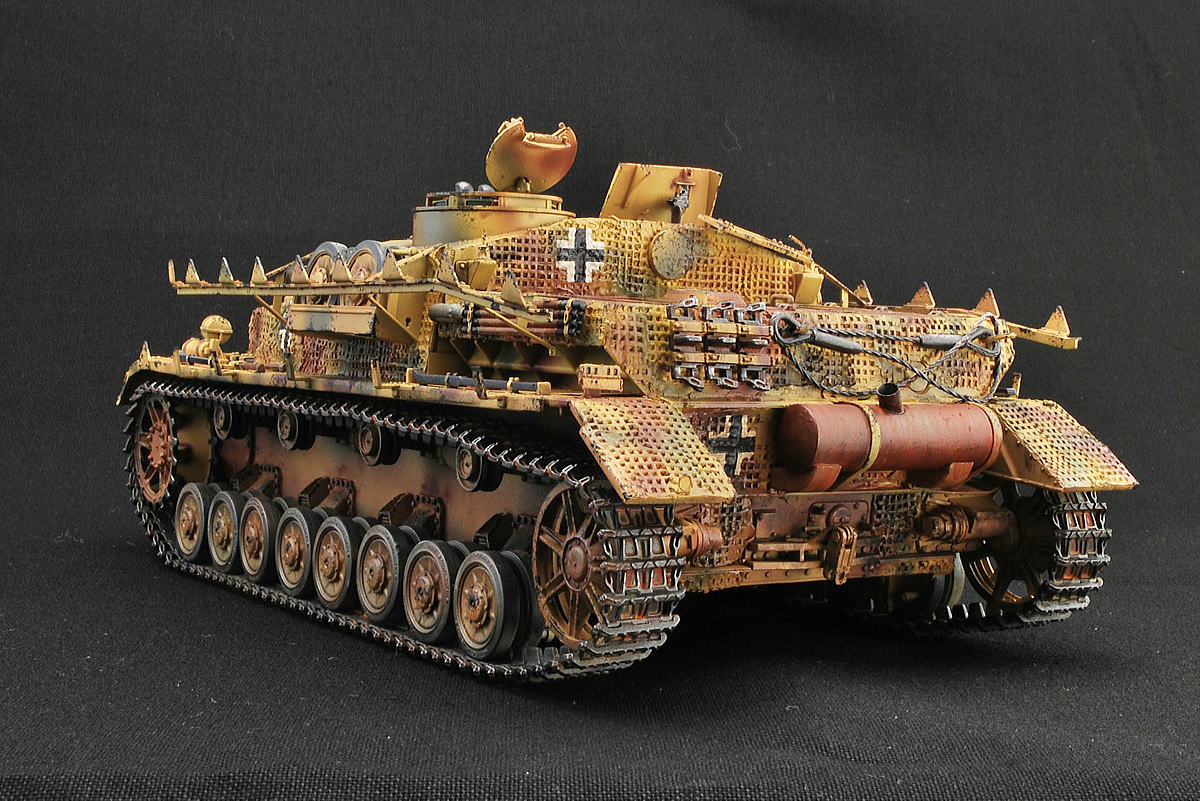 Around the chassis and caterpillar tracks, I have been painting it with dust color this time.
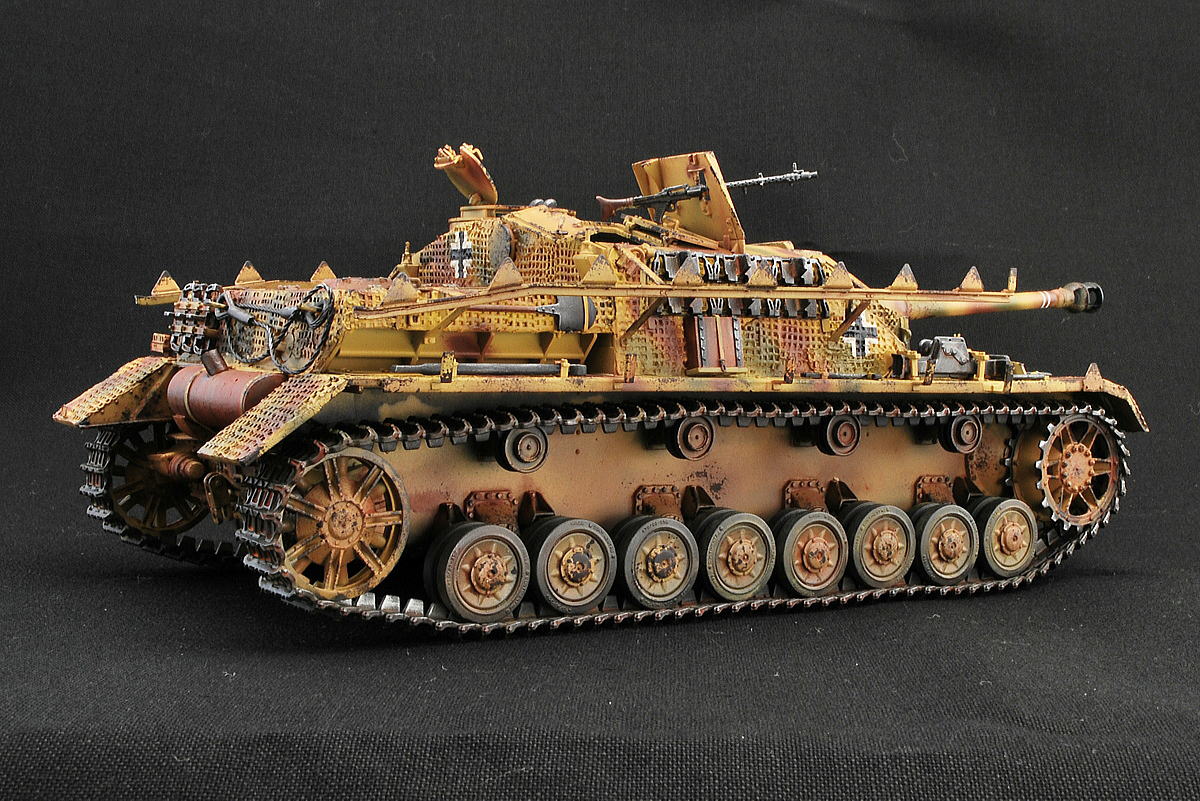 I painted the metal parts elegantly to harmonize with the mild dust weathering.
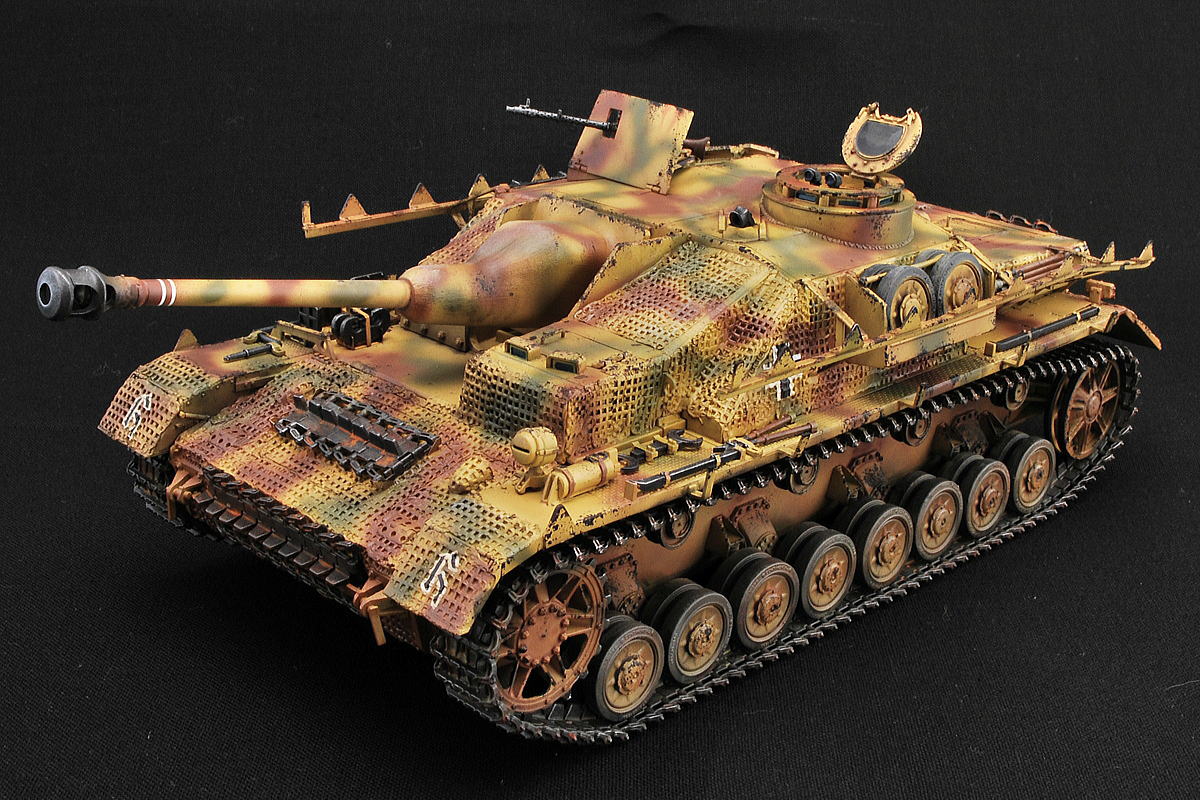 The marking seemed to be a self-propelled gun brigade in Ukraine in 1944, but I don’t know it well. The mark of the fender is alphabet H.
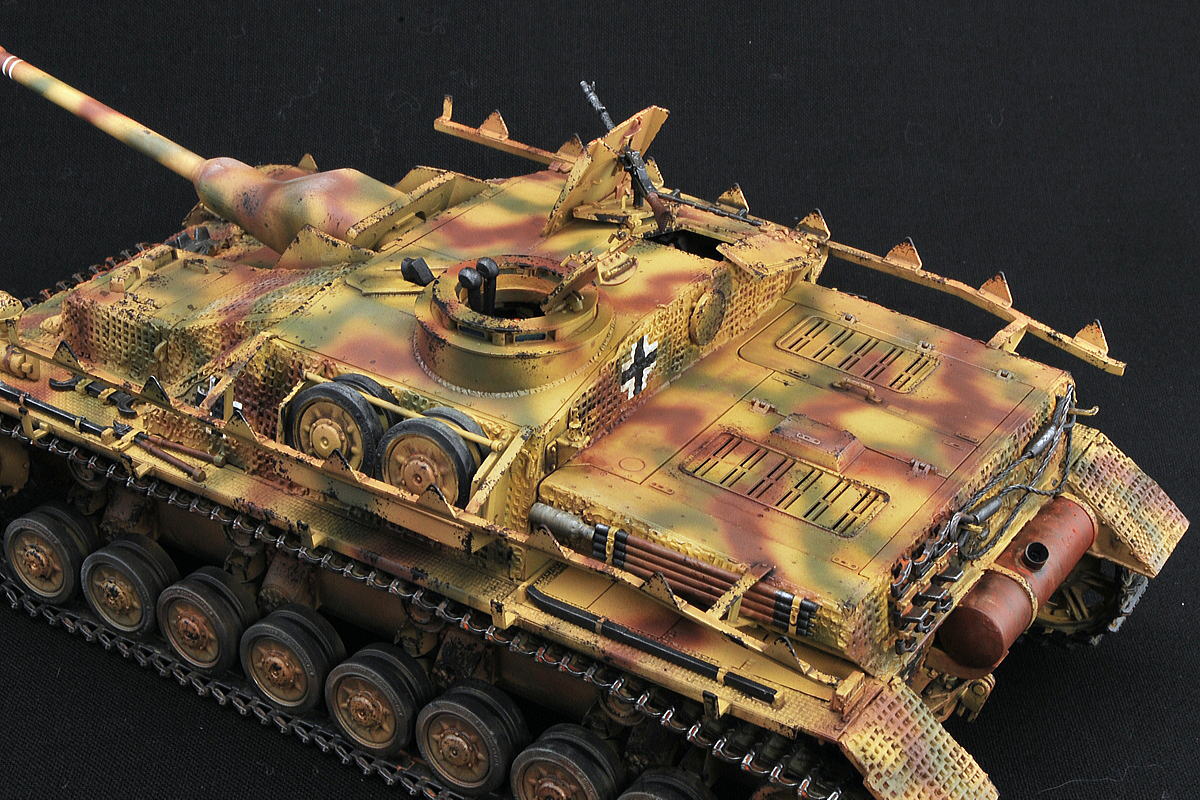 Oh, yes, I took these photographs in black back. The gray one that I always use becomes dirty and is washed. Is the black screen quite cool though it shows dirt?
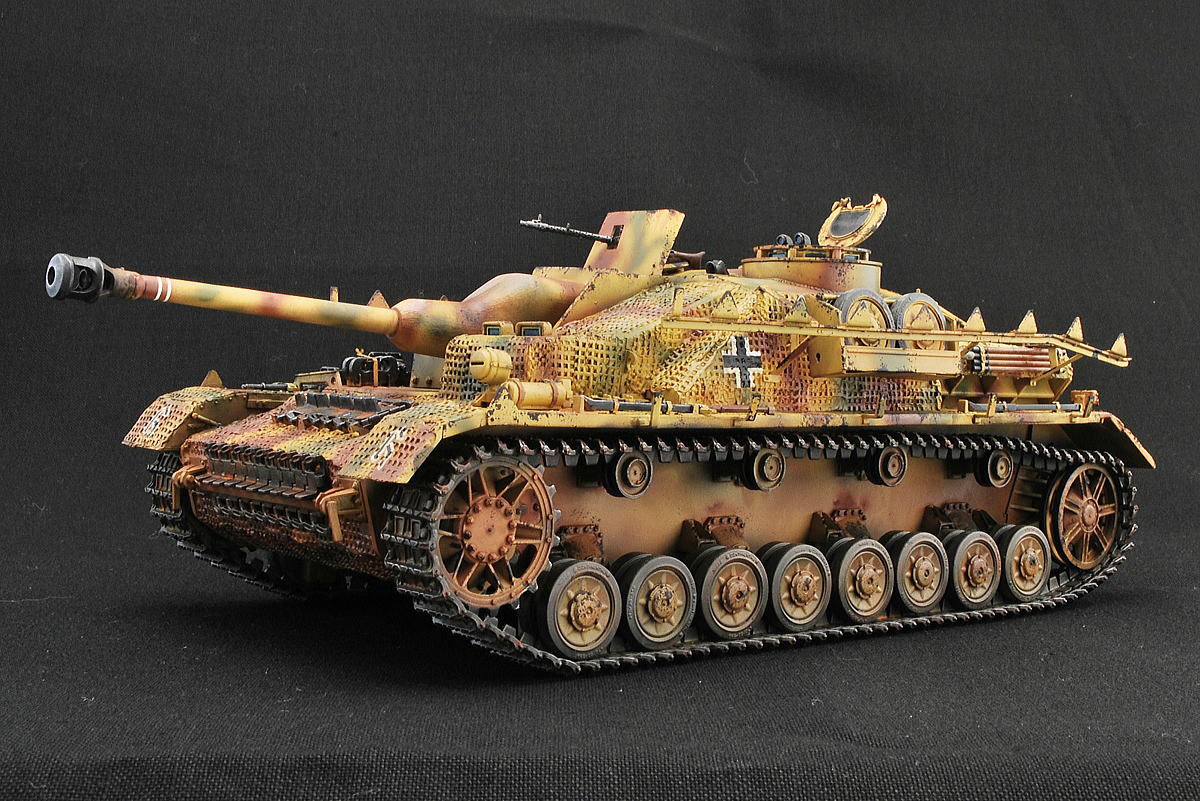 Because I spent a lot of decal fitting of Tamiya and Creos, all decals fitted on uneven coating surface perfectly. I thought they melted, but they were all safe.
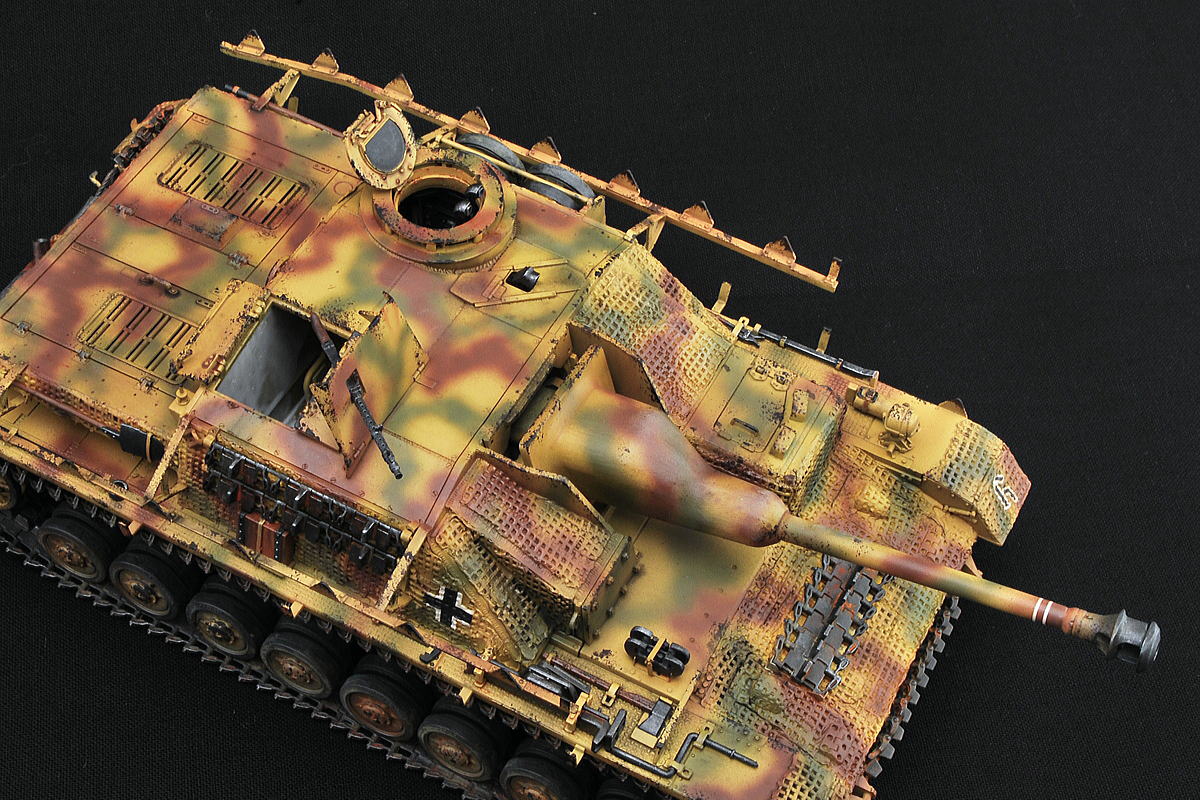 I painted the body inside white. Almost invisible after one crew make sitting.
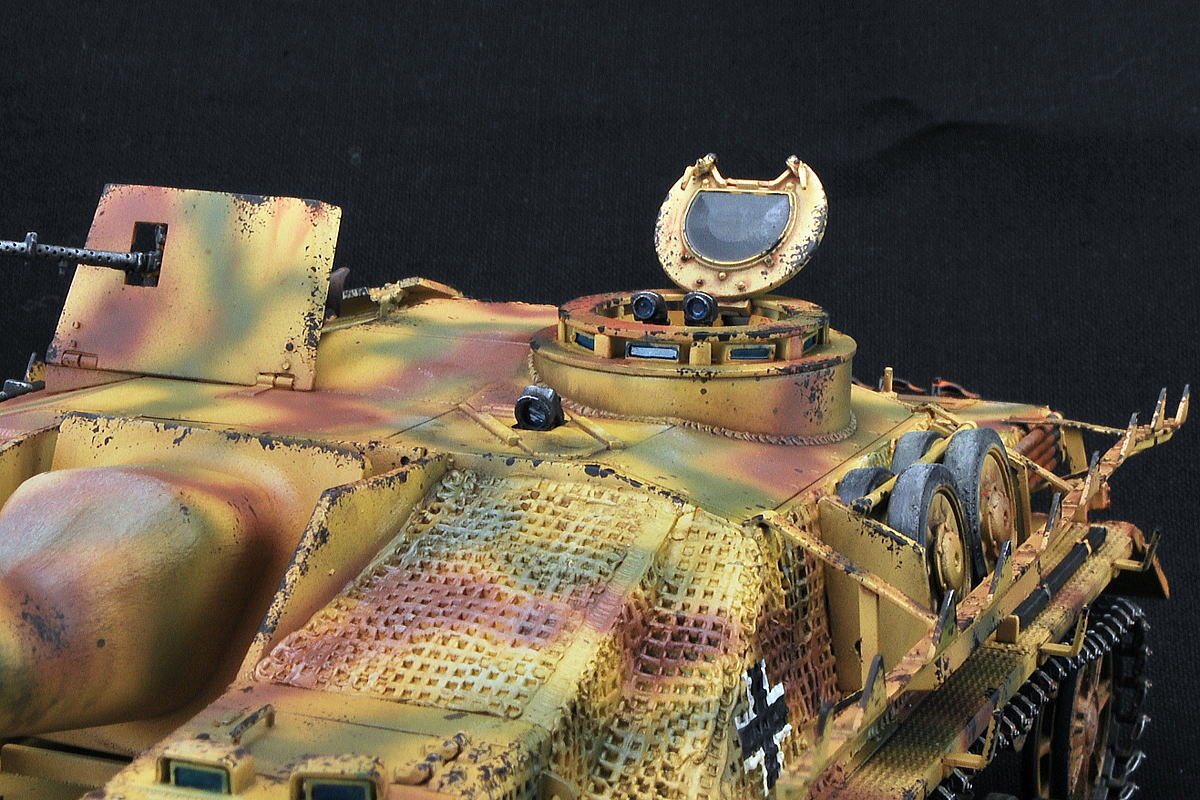 The binoculars and the periscope lenses were painted clear gloss finish.
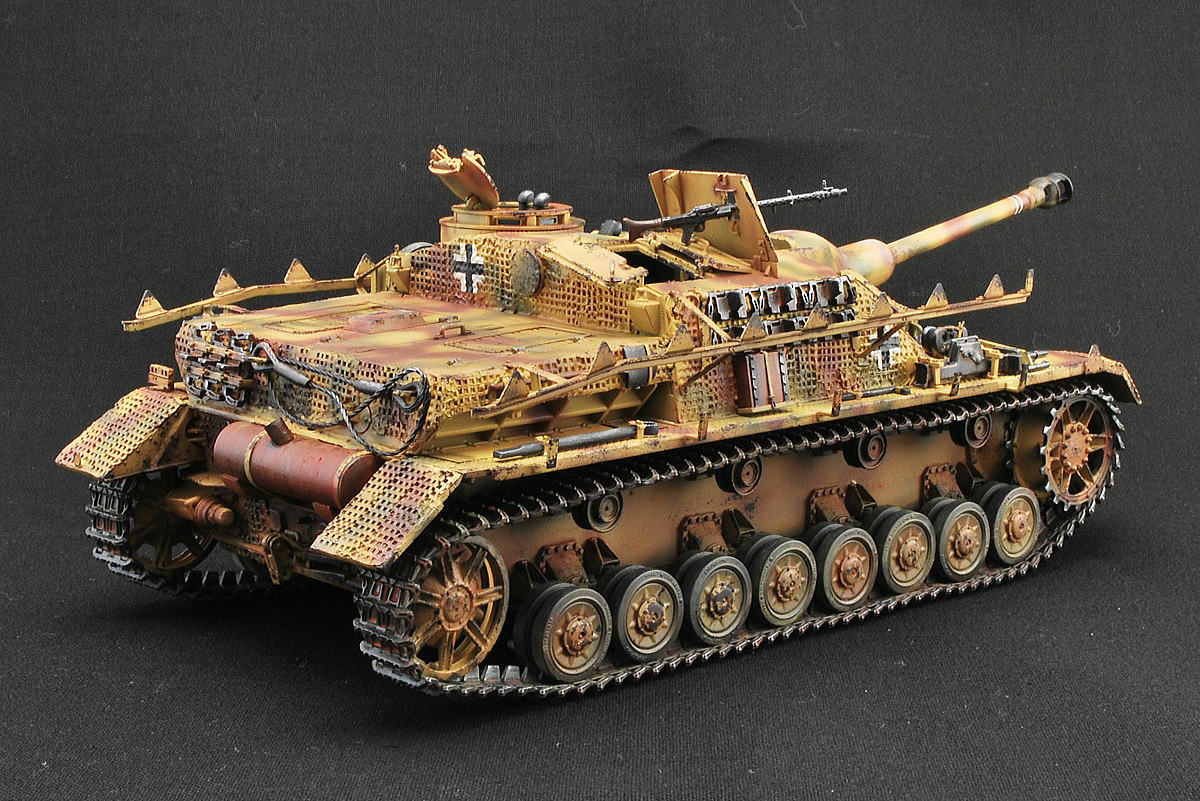 I did not attach Schürzen to show coating and many outside accessories this time. The prop is relatively thin and seems to be weak. Would it be enough strength that several pieces of iron plates were supported?
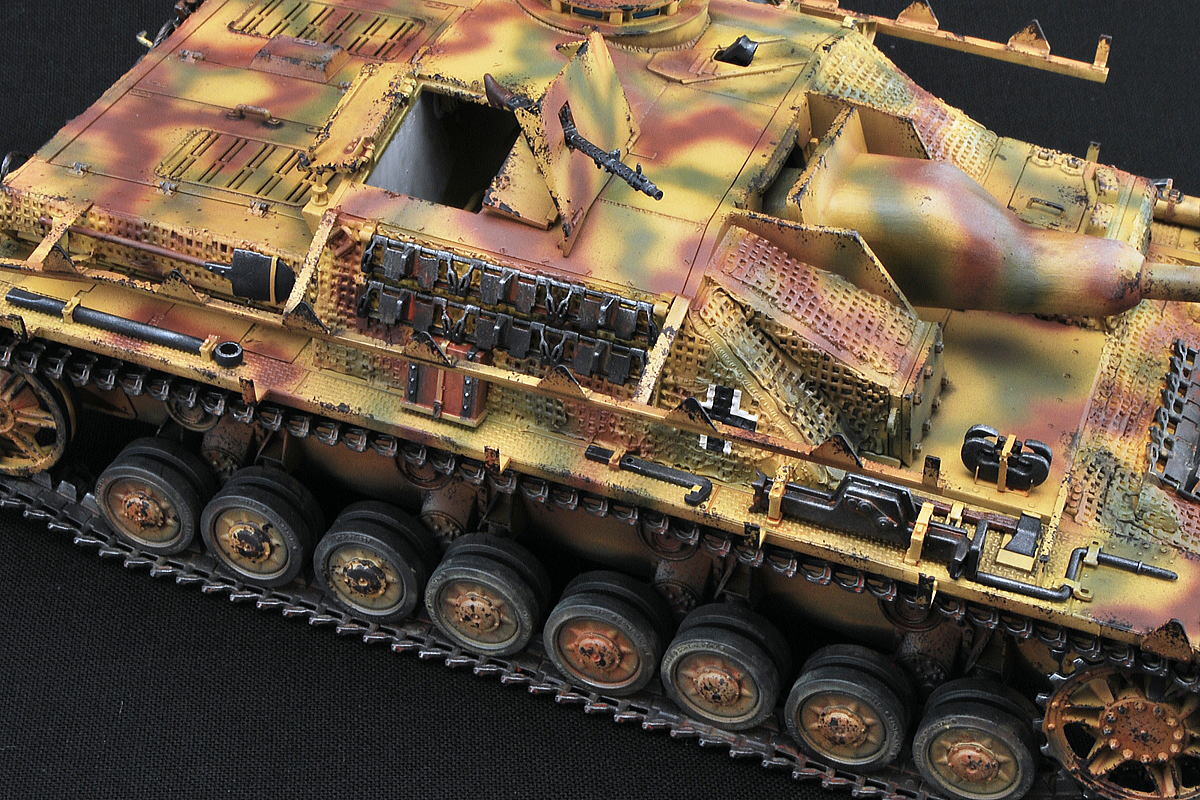 The Schürzen hooks were painted like coatings come off and were rusty.
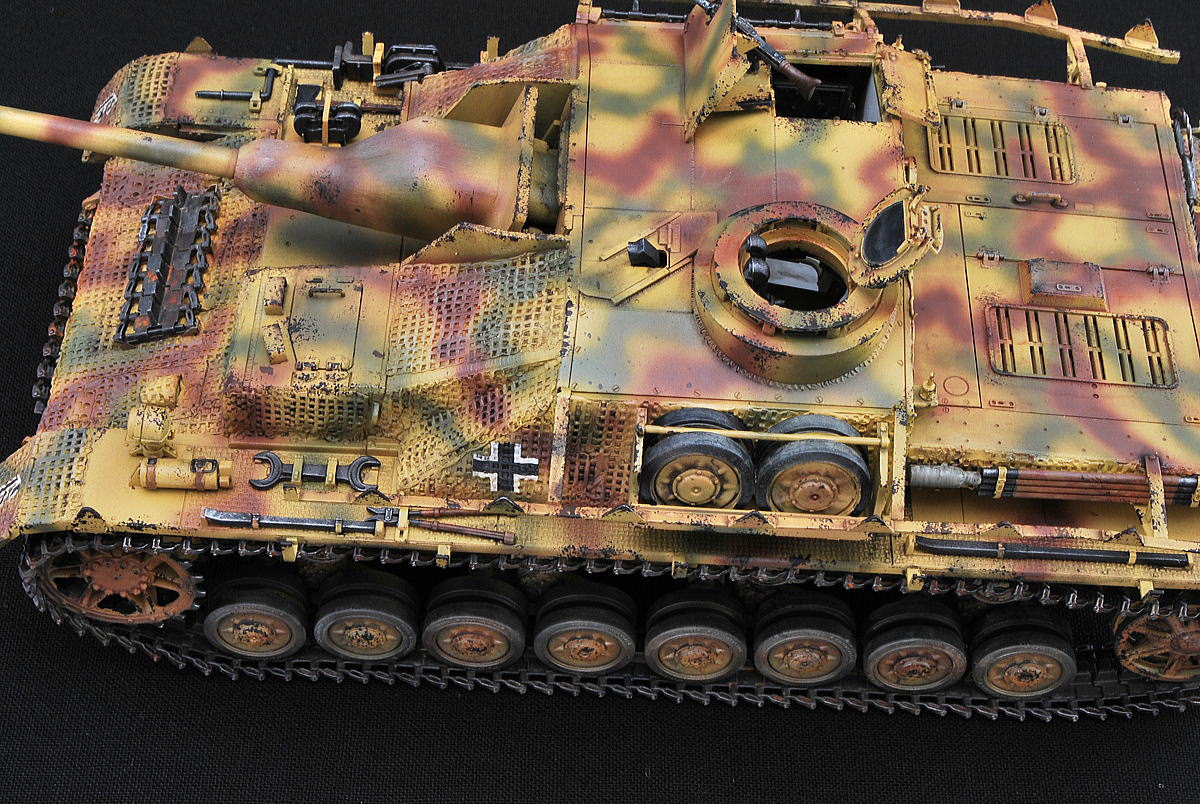 The gun barrel moves only a little up and down. I think the real vehicle battle was many situations in ambush. It seems to be difficult to destroy the enemy if they sneaked around.
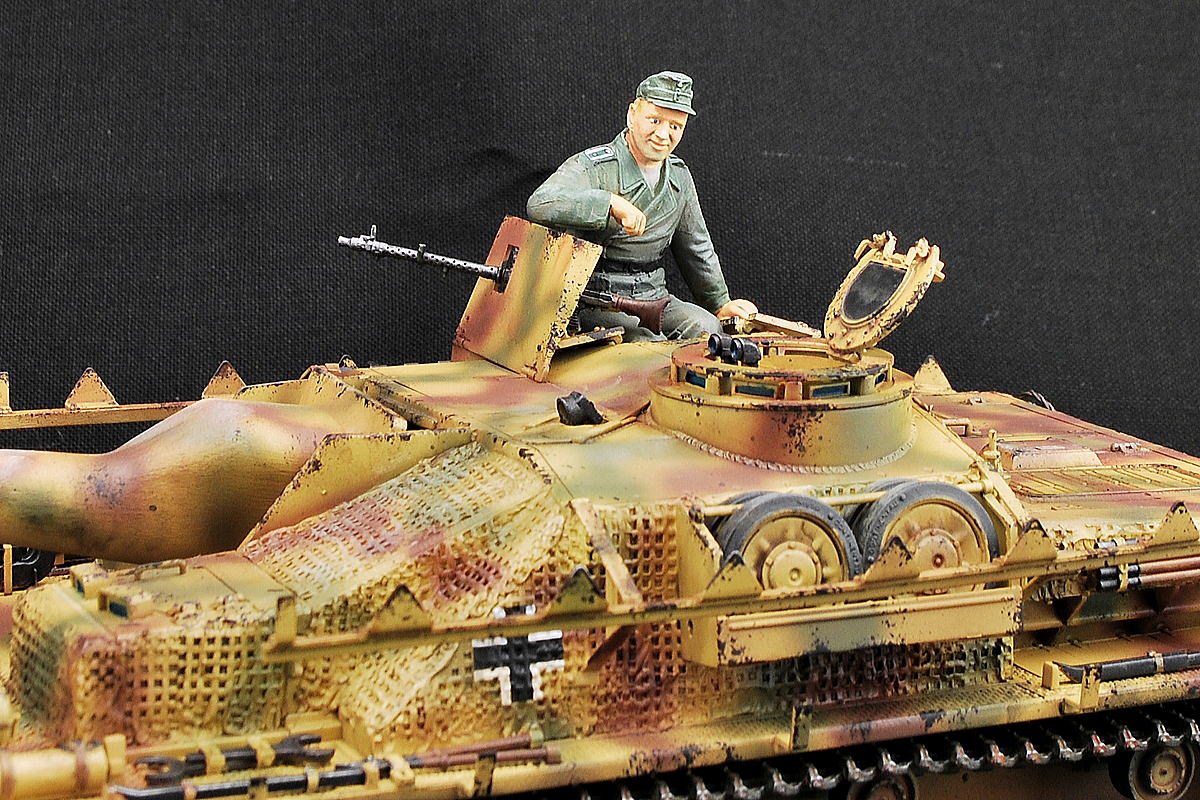 The photo is a little too exposed. Anyway, I choose one tank crew sitting.
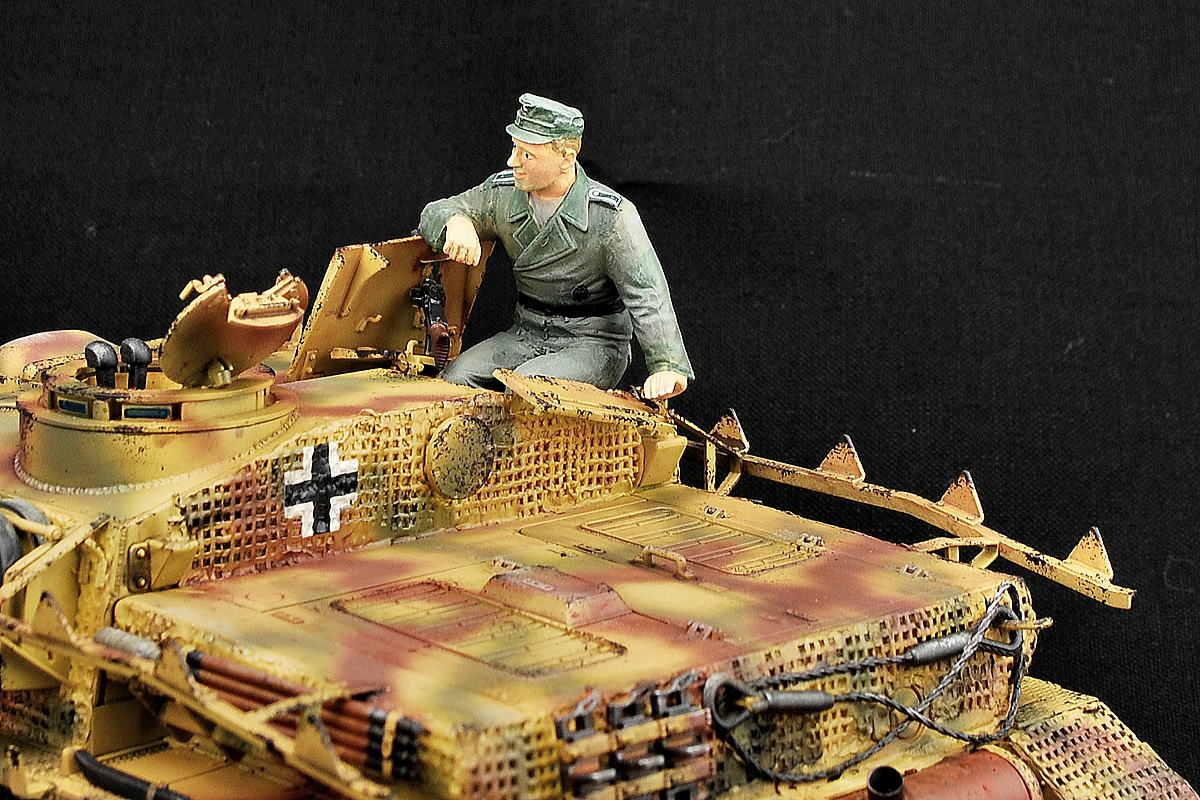 I adjust the pose for fit here sitting. The left hand is holding the hook of the hatch.
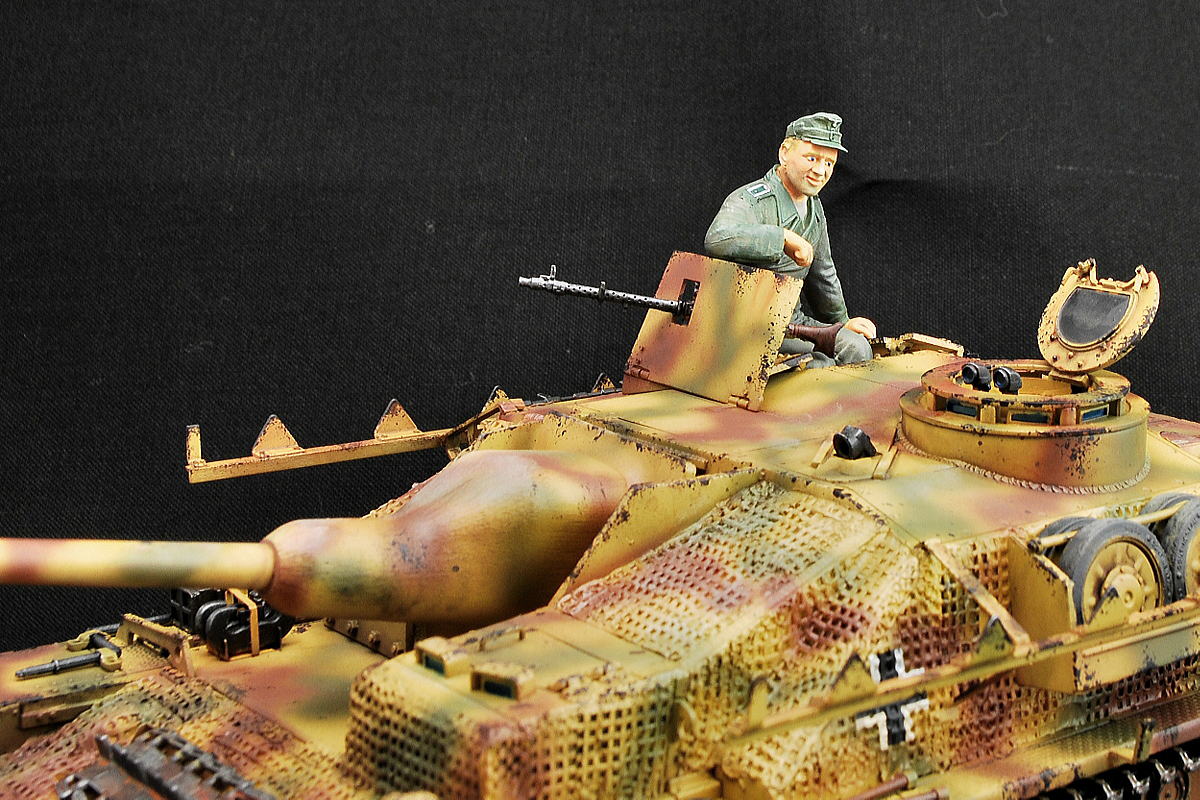 Well, though it’s the old Dragon’s figure, I think it may not be so lousy painting. It is challenging to paint with the dark place of the wrinkle of clothes.
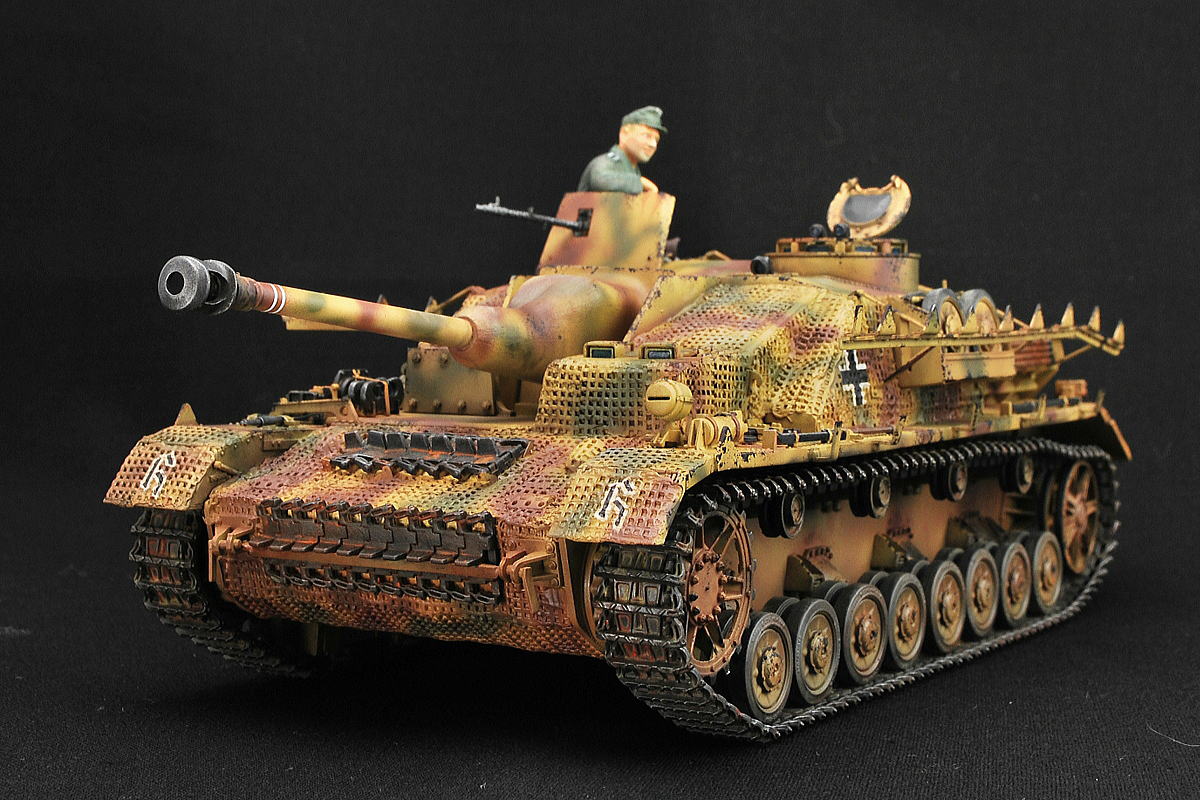 I thought it was easily completed because it doesn’t have a gun turret, but it was hard to assemble even if I left out the coating. There were many outside vehicle accessories. The paint finish-up is more elegant than my other works. Maybe the effect of the black screen? :-))
(05-November-2014)



コメント