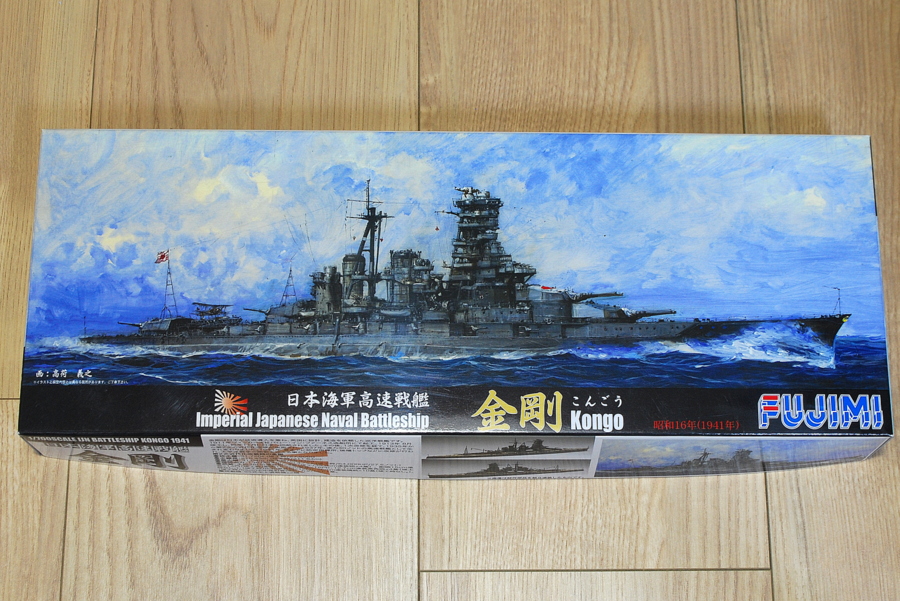
 I started to make a battleship for the first time a little while ago. In elementary school, I made a Nichimo 30cm series, Battleship Mutsu, but this was really like a toy, so this Kongo is an accurate scale model for me.
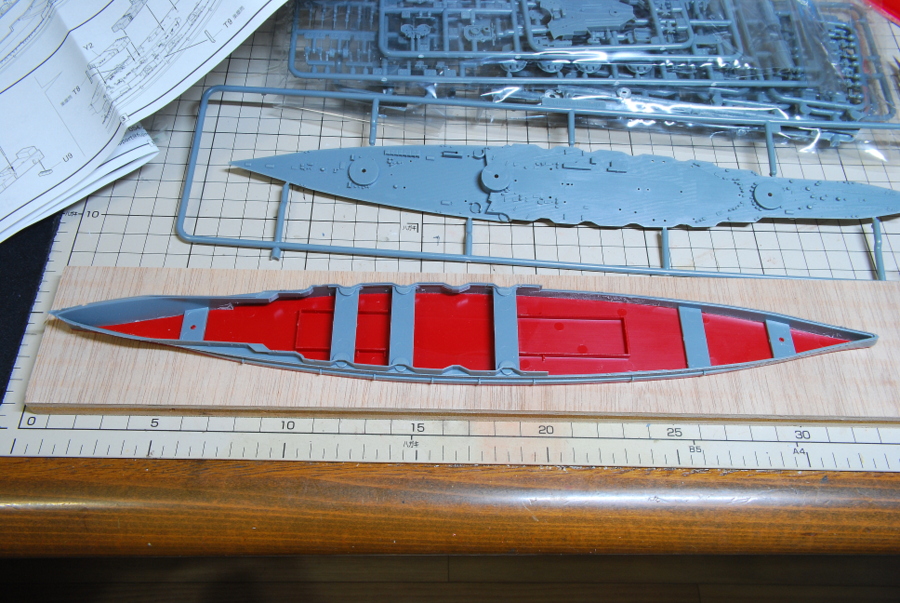 The bottom of the ship and the main body deck are bonded first. I put a lot of metal weight in the body to increase weight. It is to avoid a lot of projections damaged by the tall bridge and chimney falling. It is an unknown world; I became cautious.
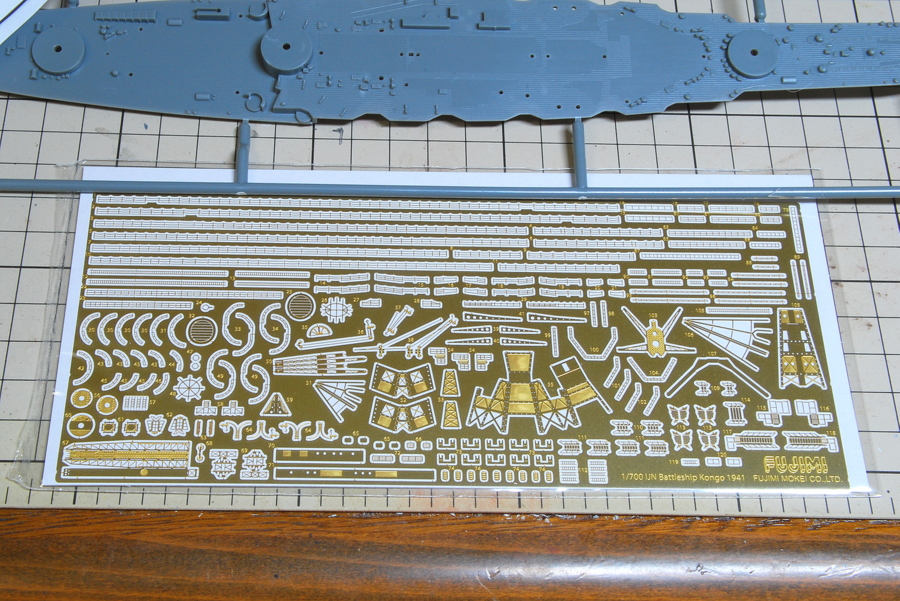 Looking at the photo-etched parts, there are many additions to handrails, etc. There are plastic parts replacements, but I guess it was not as much as I imagined. I hope to assemble photo-etched parts; it’s not very complicated.
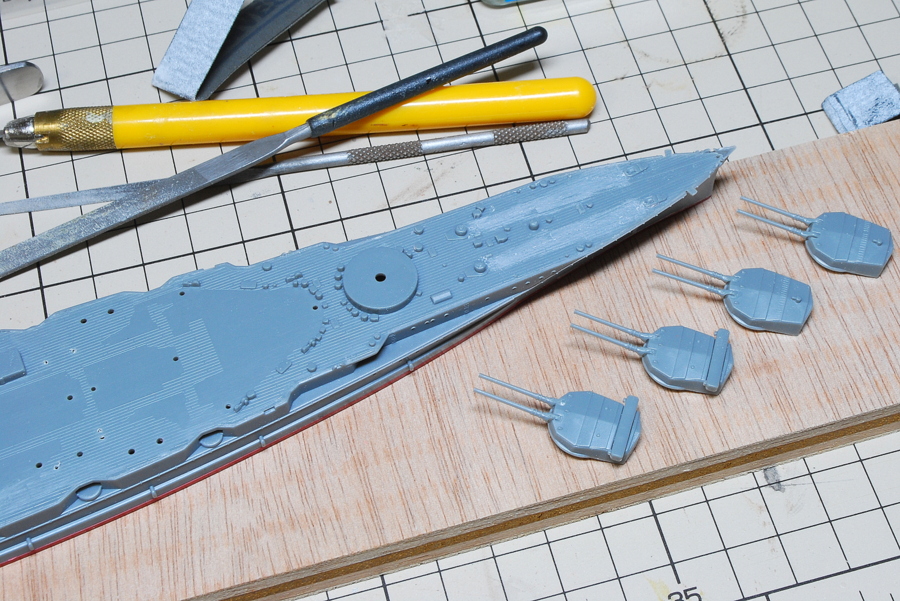 I scraped the anchor chain in the meantime. I don’t think much about the rest…
(09-August-2017)
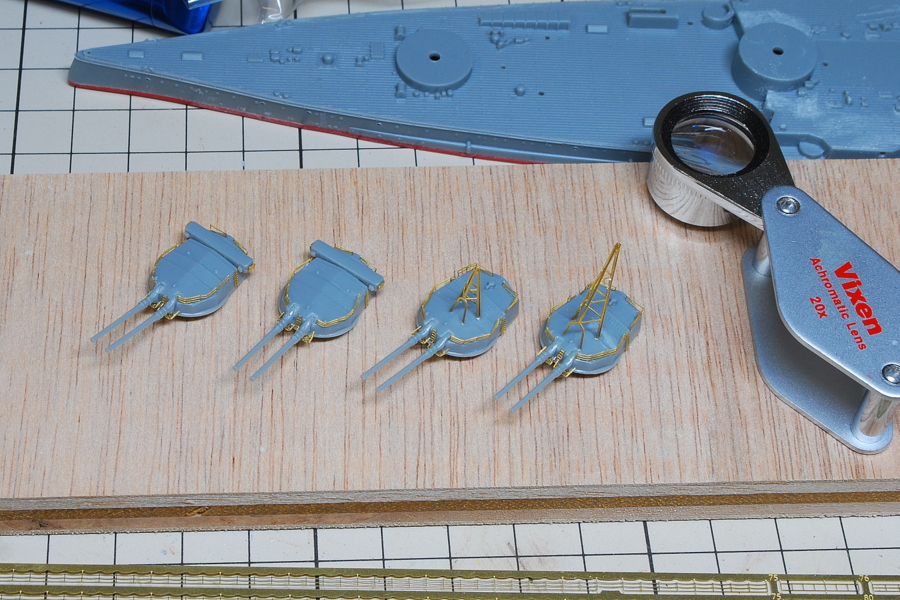 The turret No. 1 to No. 4 assemblies, including the photo-etched parts, was completed.
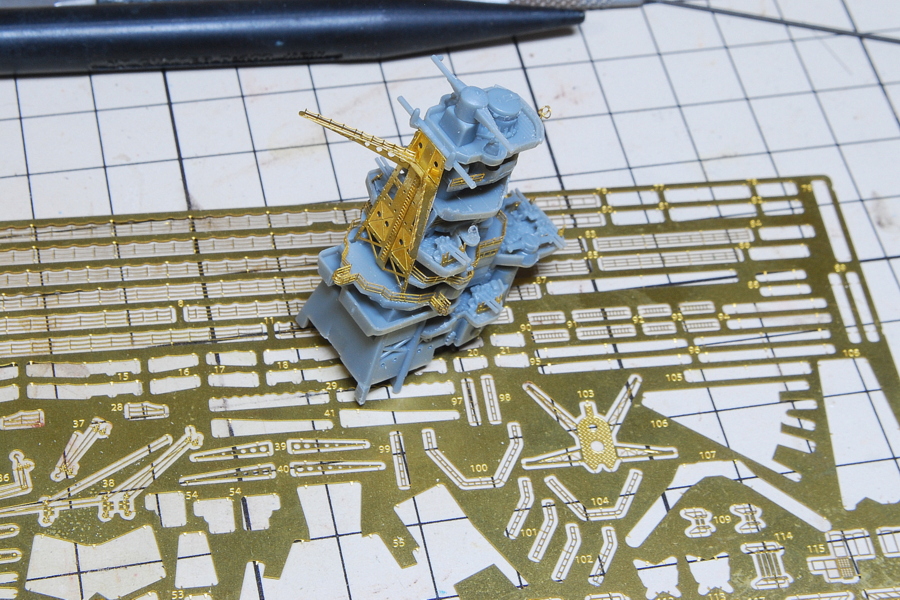 The bridge is almost done. There are many difficulties, such as handrails.
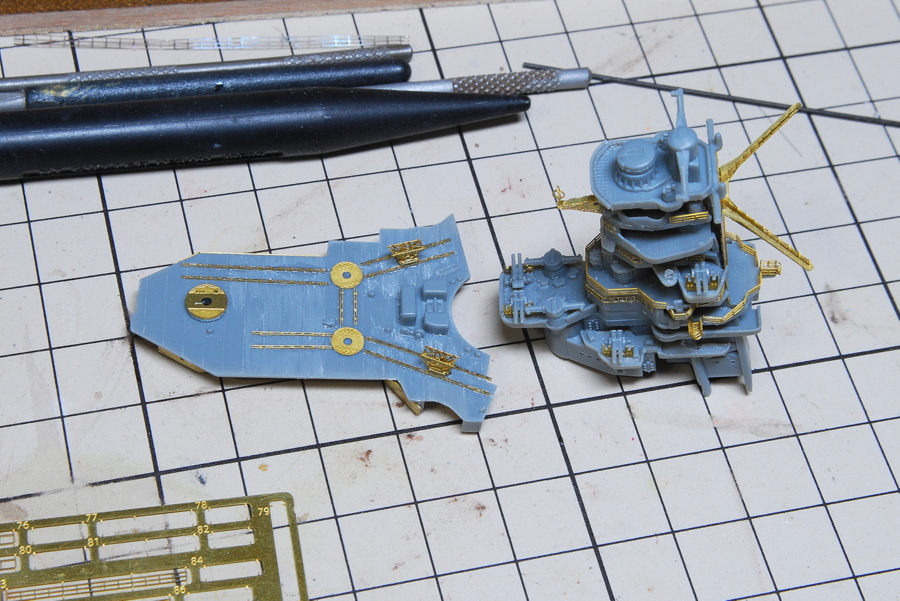
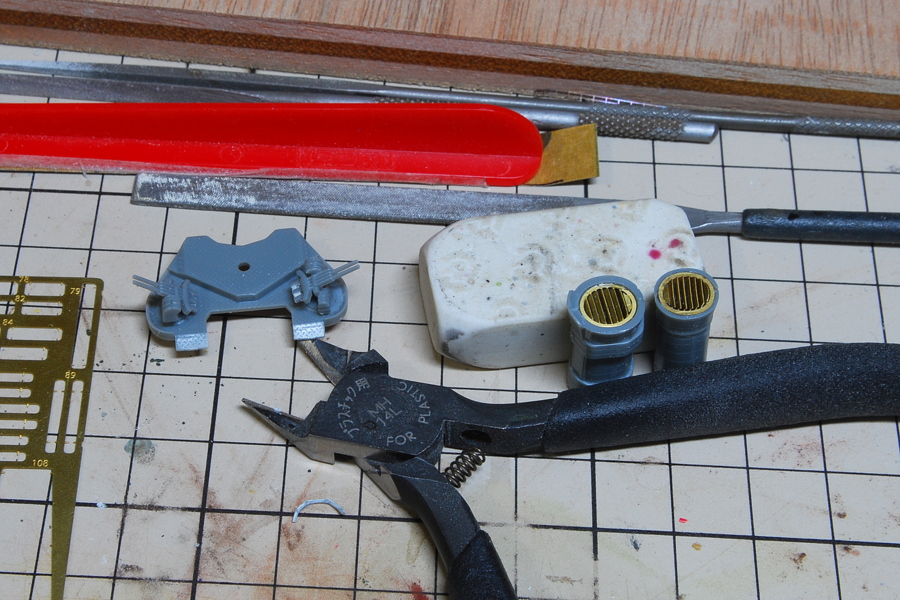 There are slits in the exhaust outlet of the chimneys. They are like this when small bars are bent diagonally.
(11-August-2017)
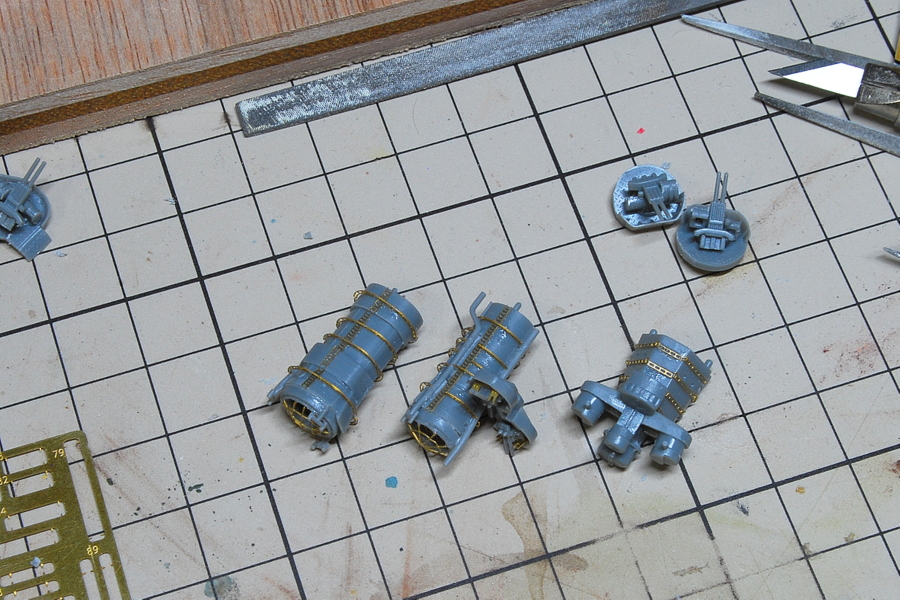 The photo-etched parts are used abundantly in chimneys and others. By the way, I had mistaken the parts of the turrets with the photo above. I will correct it later.
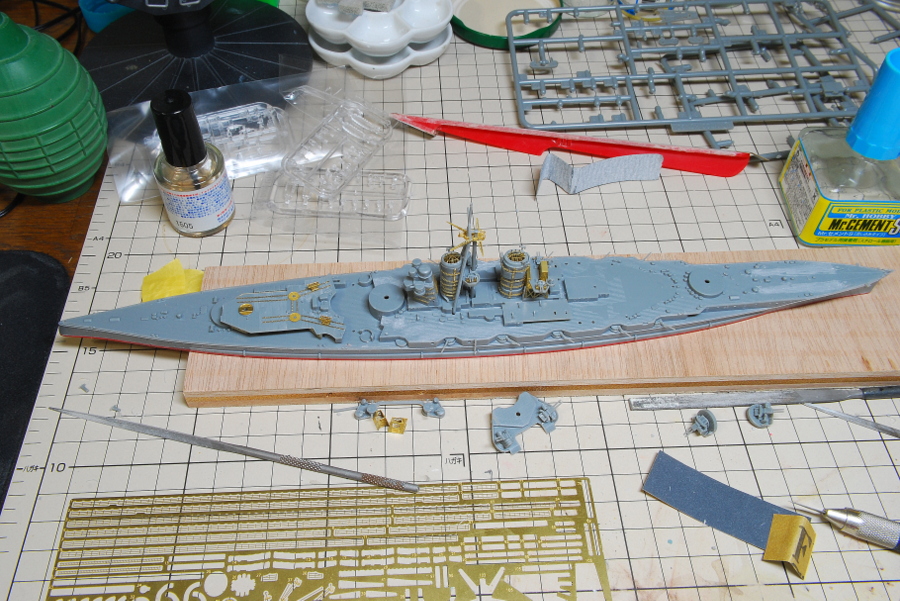 Although the structures on the deck have not been glued yet, I am worried that they will fit correctly, confirming it occasionally. It seems to be OK for now.
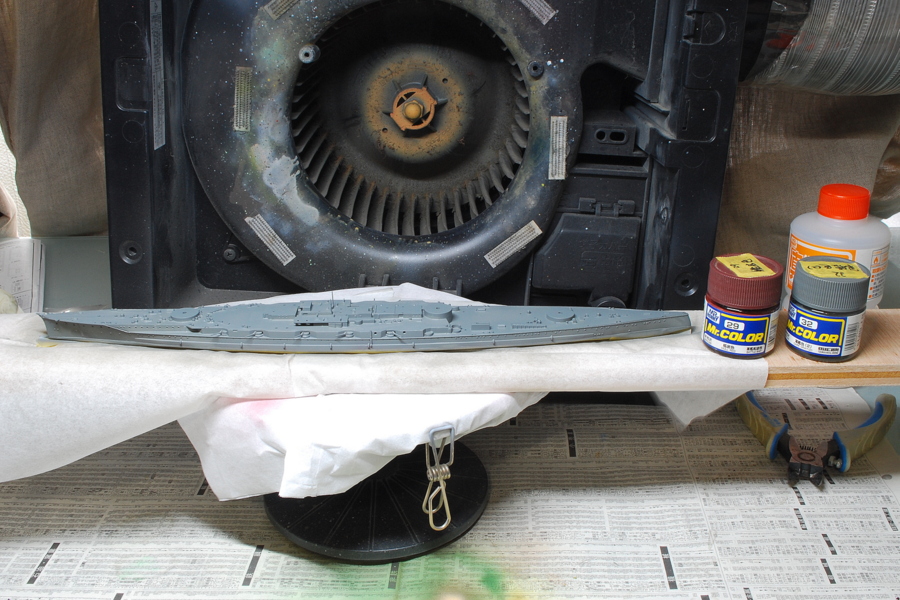 Even if hesitating, there is no help; I entered the painting process now. It is the ship’s hull red and IJN ship’s primary color.
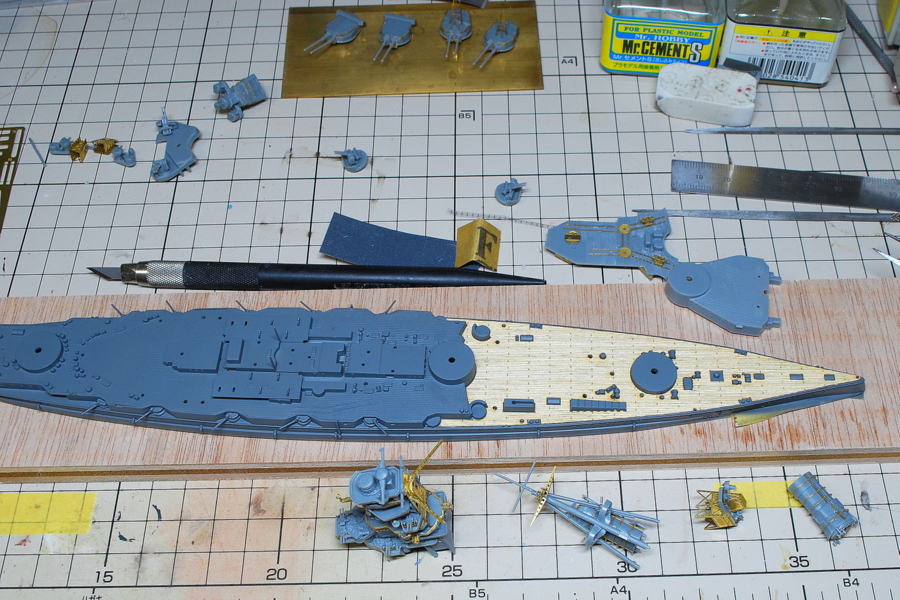 When sticking a deck seal, the appearance changes significantly with some work, so it is exciting. I’m getting excited!
(14-August-2017)
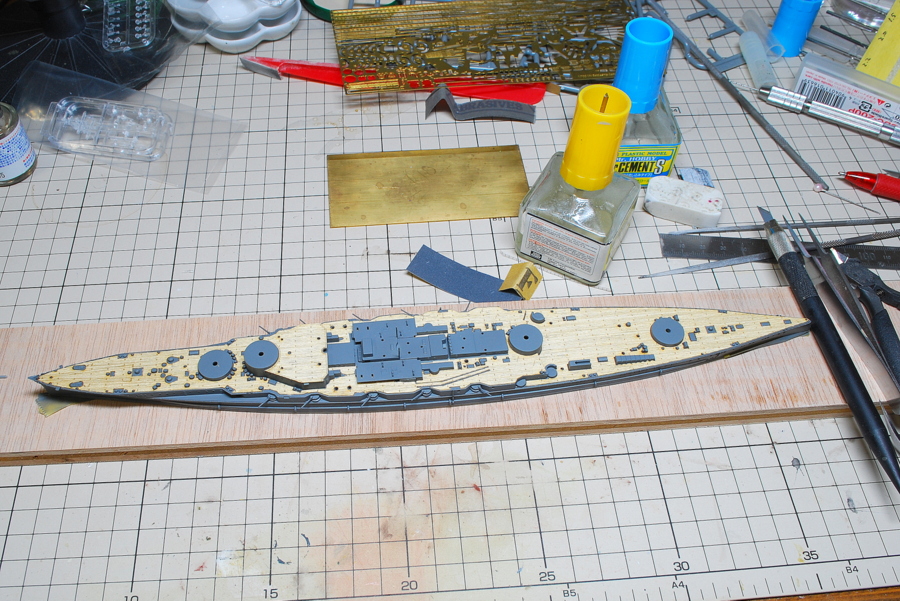 Because I attached the tables of the motorboats first, it wasn’t easy to stick the deck seal. When using a deck seal, it should be glued at the beginning of making. But I think that it worked pretty well for the first time.
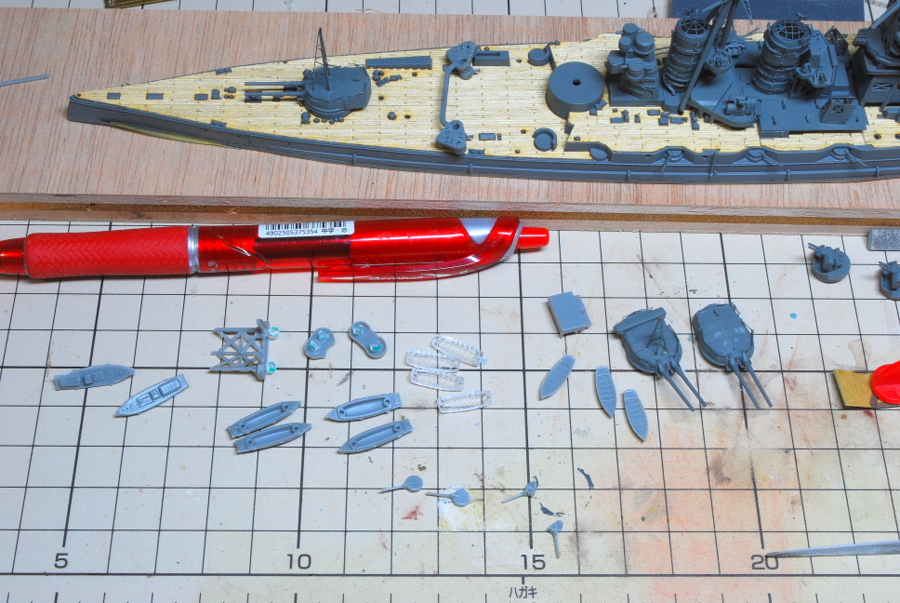 It is halfway under construction work. The searchlights were masked in the glass part. I planned to attach them after assembling, such as searchlights, an 11m motorboat, a 12m motor launch, and a 9m cutter.
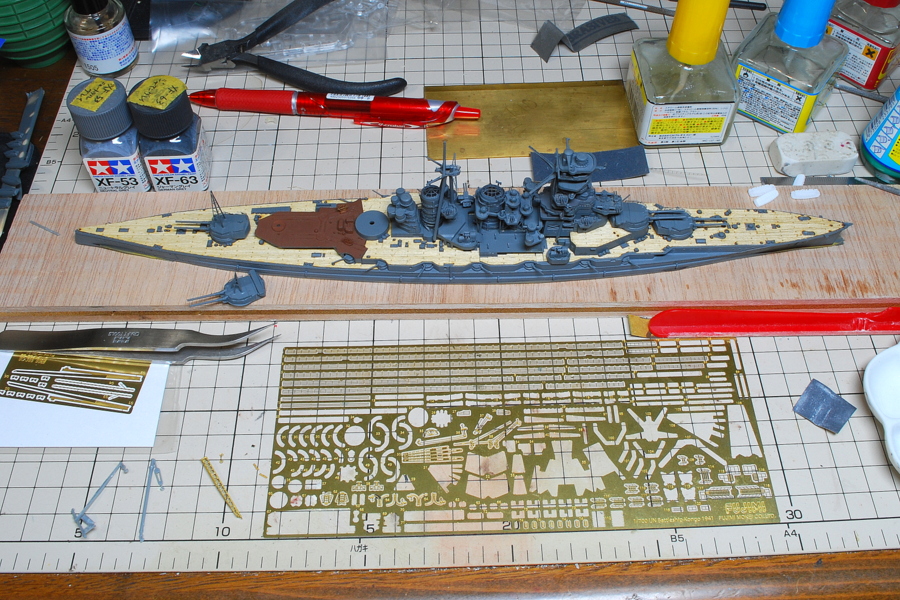 The large parts are installed roughly. At this point, I felt quite a sense of accomplishment, but there was still much work to do. The attainment point of completion might differ from the person, but it would be better to do more detailed work. But somehow, I wanted to make another model…
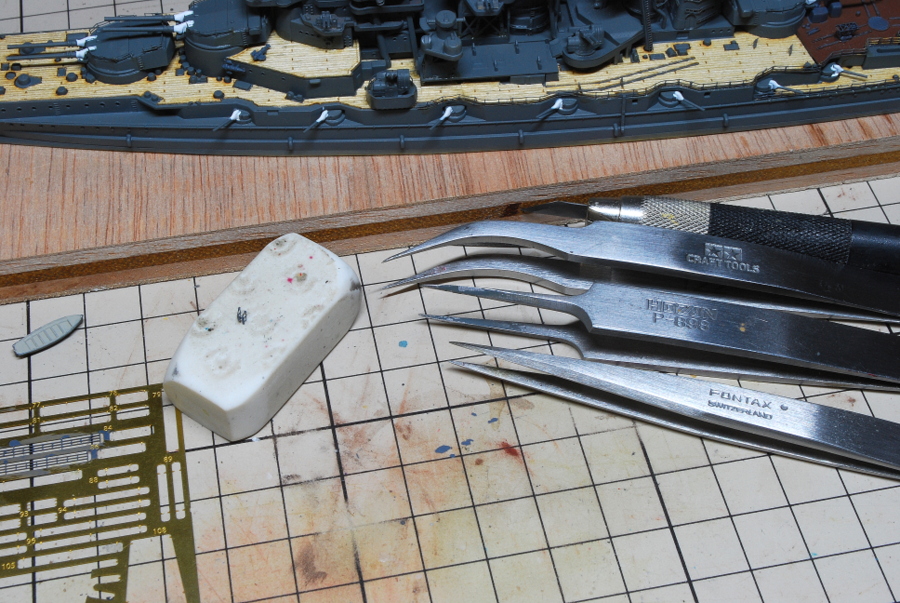 Up to now, I have had five tweezers I have chosen in a mood. The photo-etched parts assembly of the 1/700 scale ship model requires a very pointed tip. I used the Tamiya and Hozan with metal file finishing and sharpened them. Although Fontax tweezers are very easy to use, even Tamiya and others can adapt to this work after customizing them by myself. The canvas at the base of the turret, the painting is overflowing.
(19-August-2017)
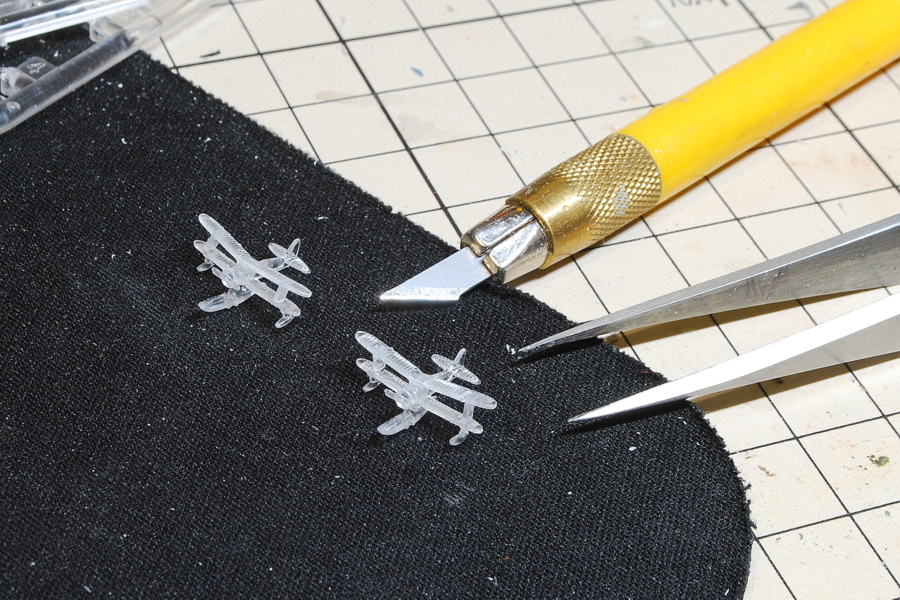 Kongo has two Nakajima E8N catapult-launched reconnaissance seaplanes. Fujimi’s 1/700 aircraft parts are very well made. They are clear parts.
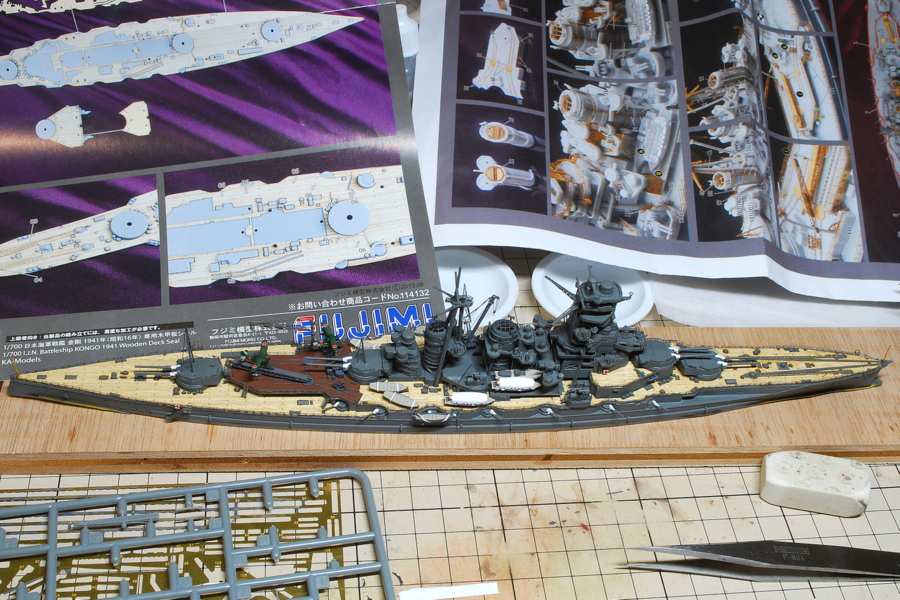 I almost finished attaching the parts. I will do a detailed painting from now. Even so, I have not painted the linoleum part of the bridge yet. It is not very good as a process.
(27-August-2017)
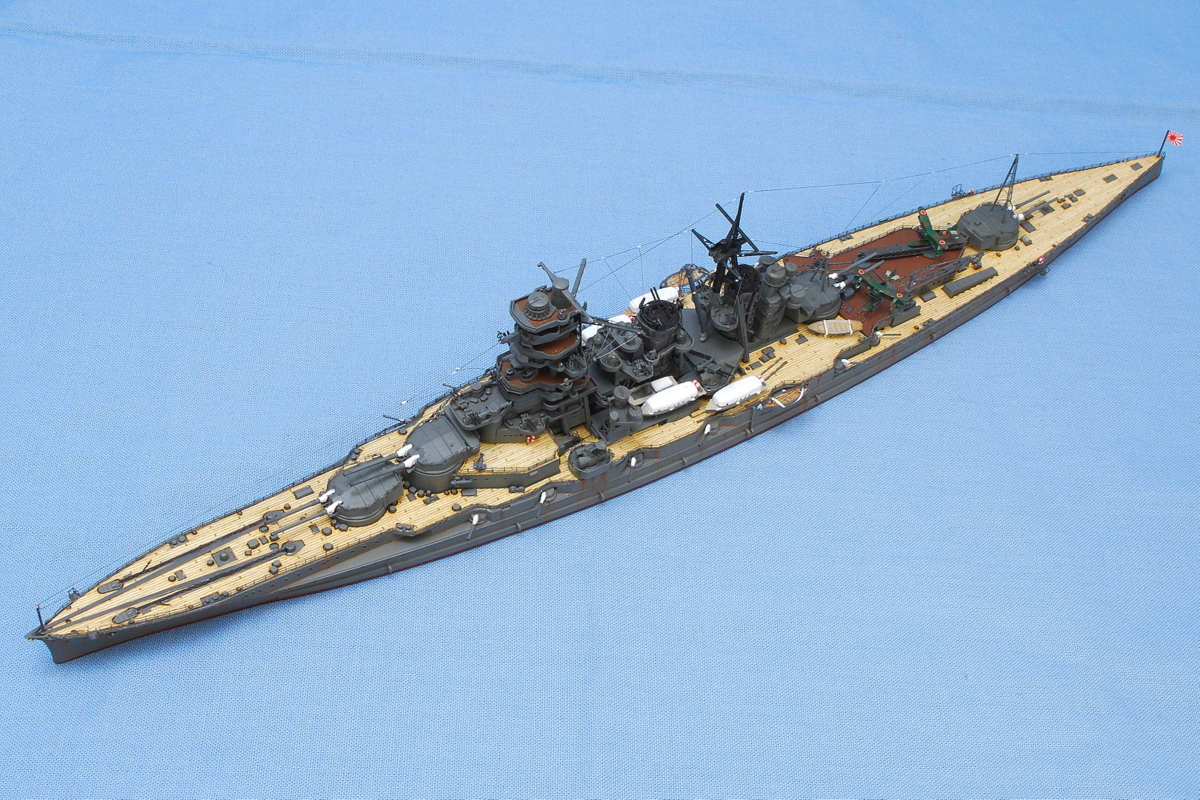 Battleship Kongo was built at the Vickers shipyard in the UK. She was a returnee. After that, the Same type of ship, Hiei, was built at Yokosuka Shipyard, Haruna was built at Kobe Shipyard, and Kirishima was built at Nagasaki Shipyard of Mitsubishi. The name Kongo is derived from Mt. Kongo, placed in Osaka and Nara prefecture.
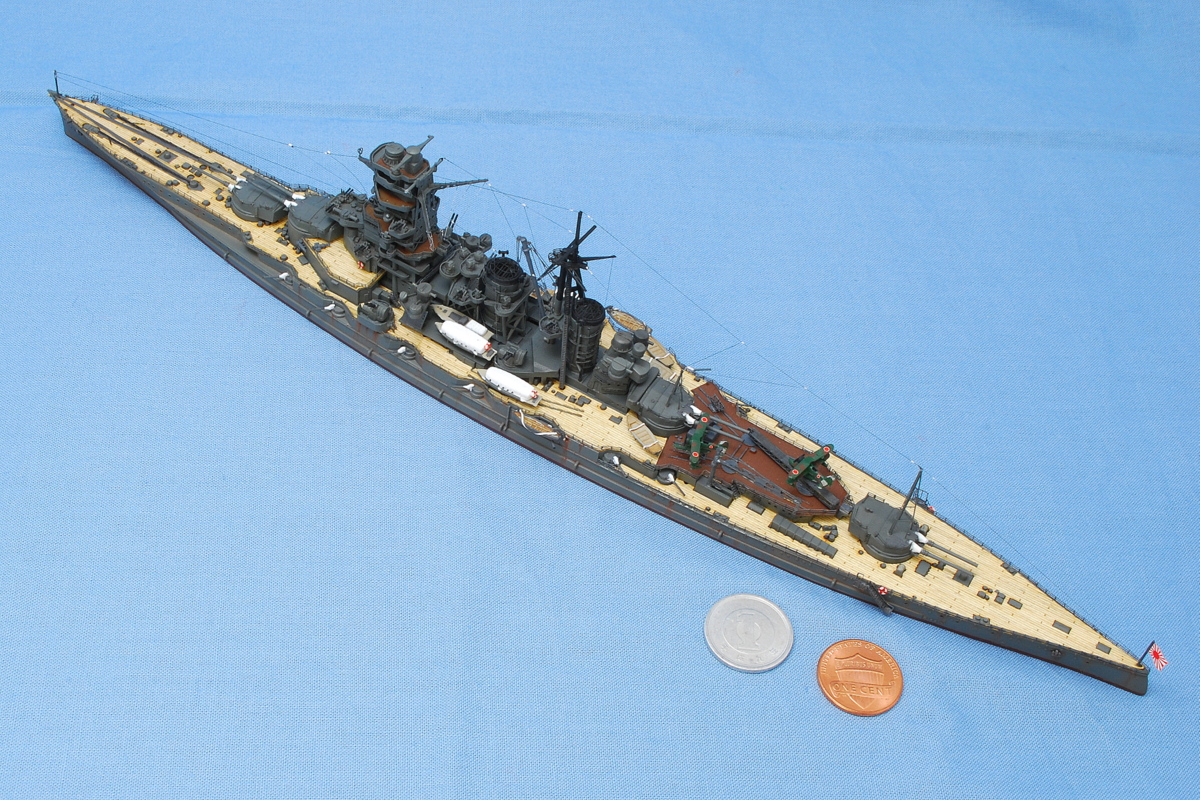 Japan was an enemy party with the UK in the Great East Asian War; during the Russo-Japanese War, we had a Japan-UK alliance, and we learned battleship construction technology and others from the UK. British warship construction technology is world-leading.
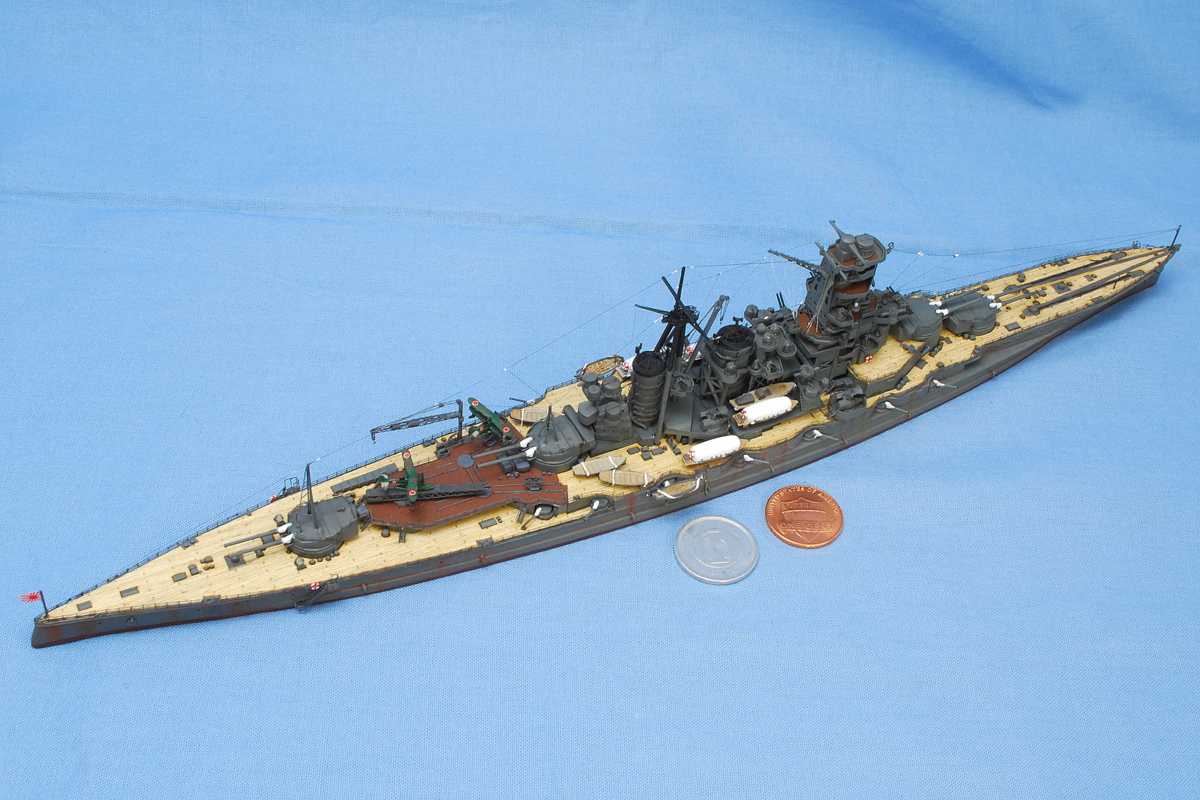 Commissioned: 16 August 1913
Displacement: 31,720 long tons
Length: 222 m (728 ft 4 in)
Beam: 31 m (101 ft 8 in)
Speed: 30 knots (35 mph; 56 km/h)
Complement: 2,367
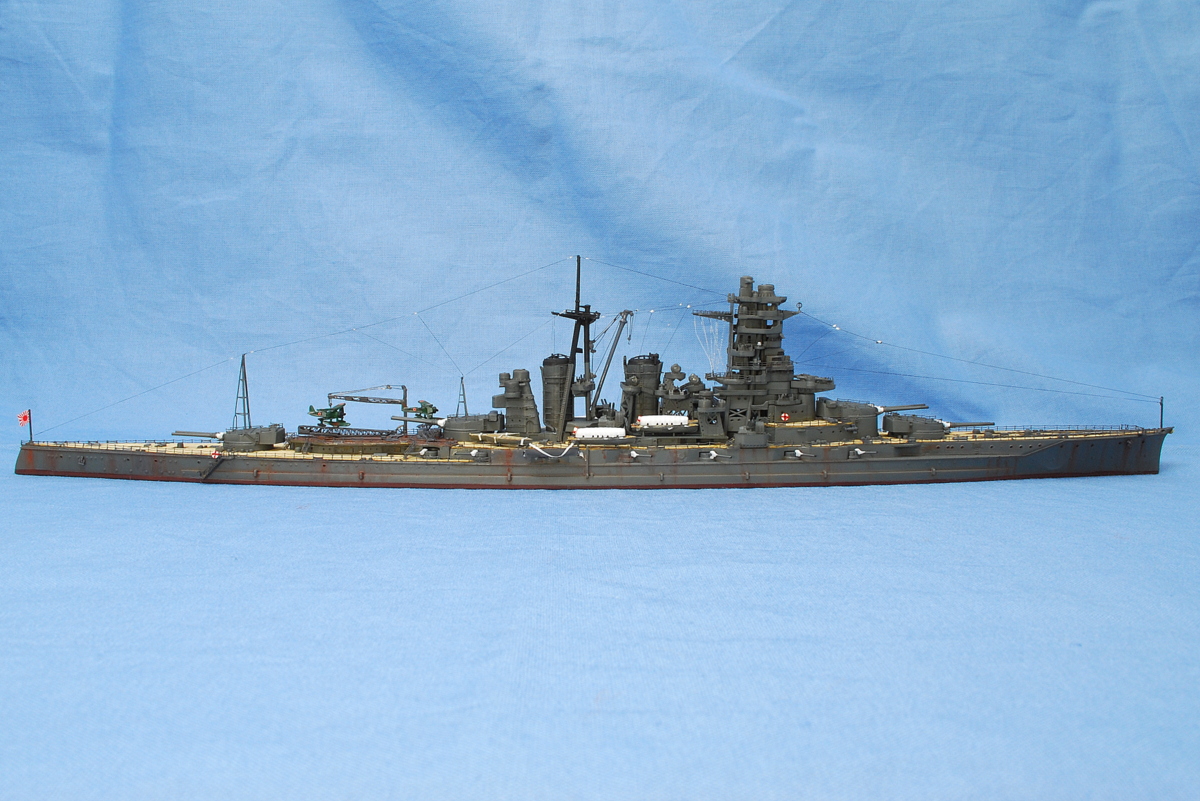 Armament:
8 × 356 mm (14 in) naval gun (4×2)
14 × 152 mm (6 in) naval gun (14×1)
8 × 127 mm (5.0 in) guns (4×2)
20 × 25 mm Type 96 antiaircraft gun (10×2)
catapult x 1, Nakajima E8N(catapult-launched reconnaissance seaplane) x 2
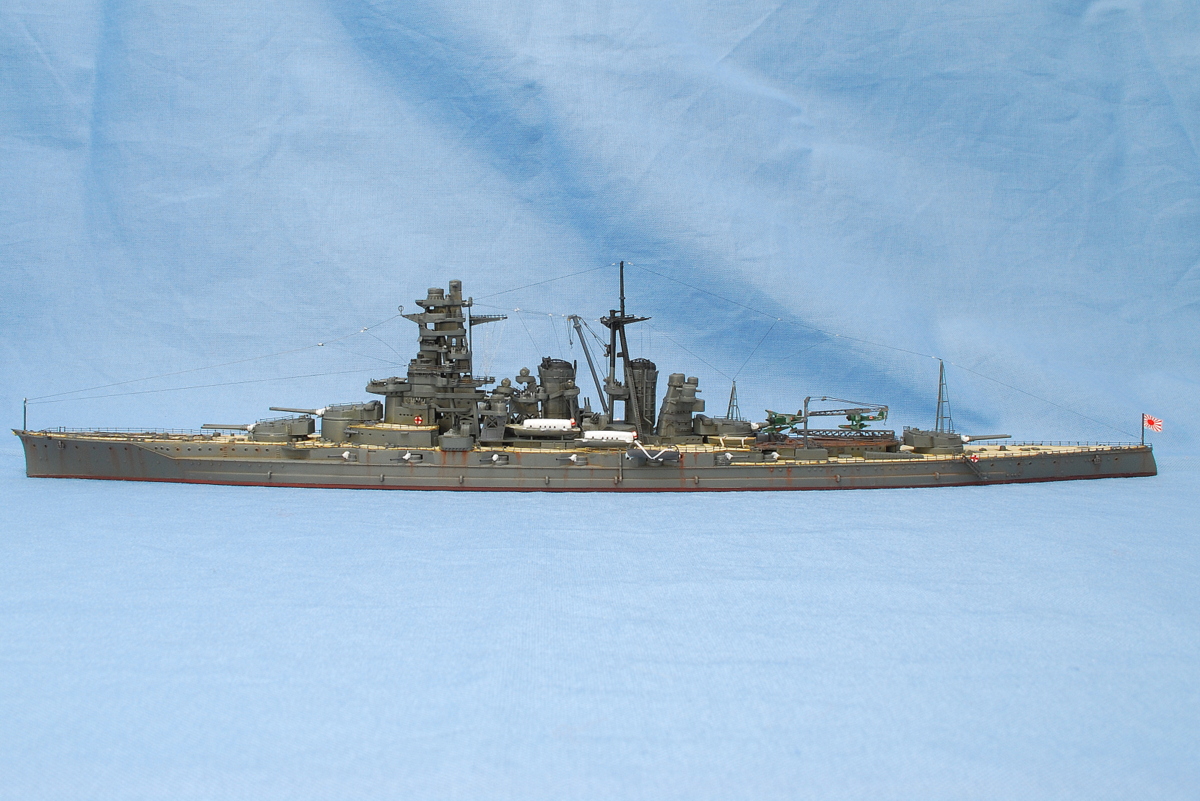 The whole was painted with Mr. Color. The details were painted with aqueous acrylic and enamel paint. They were lightly expressing rust and washing.
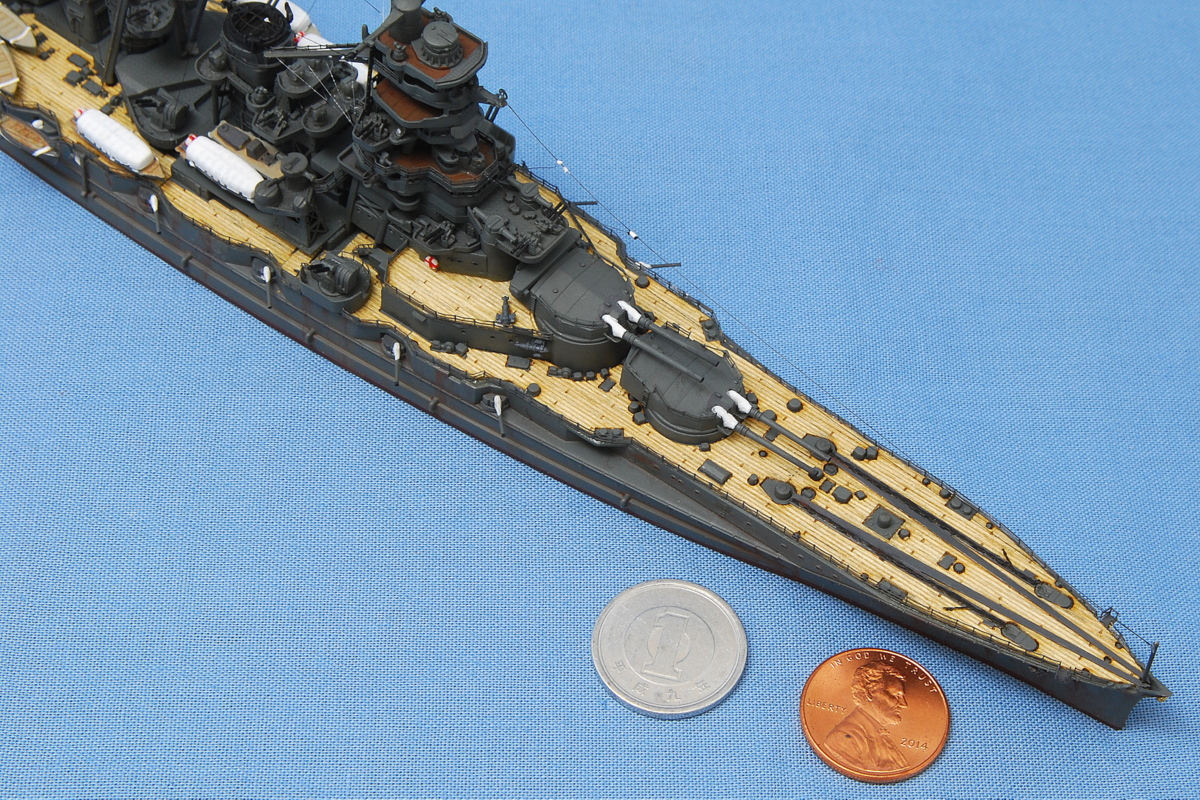 Between the base and the turret, I adhered to them because no gap was not good-looking. If I try to move it forcibly, it may be able to come off the railings from the turret; I think that the turret will not be touched after completion.
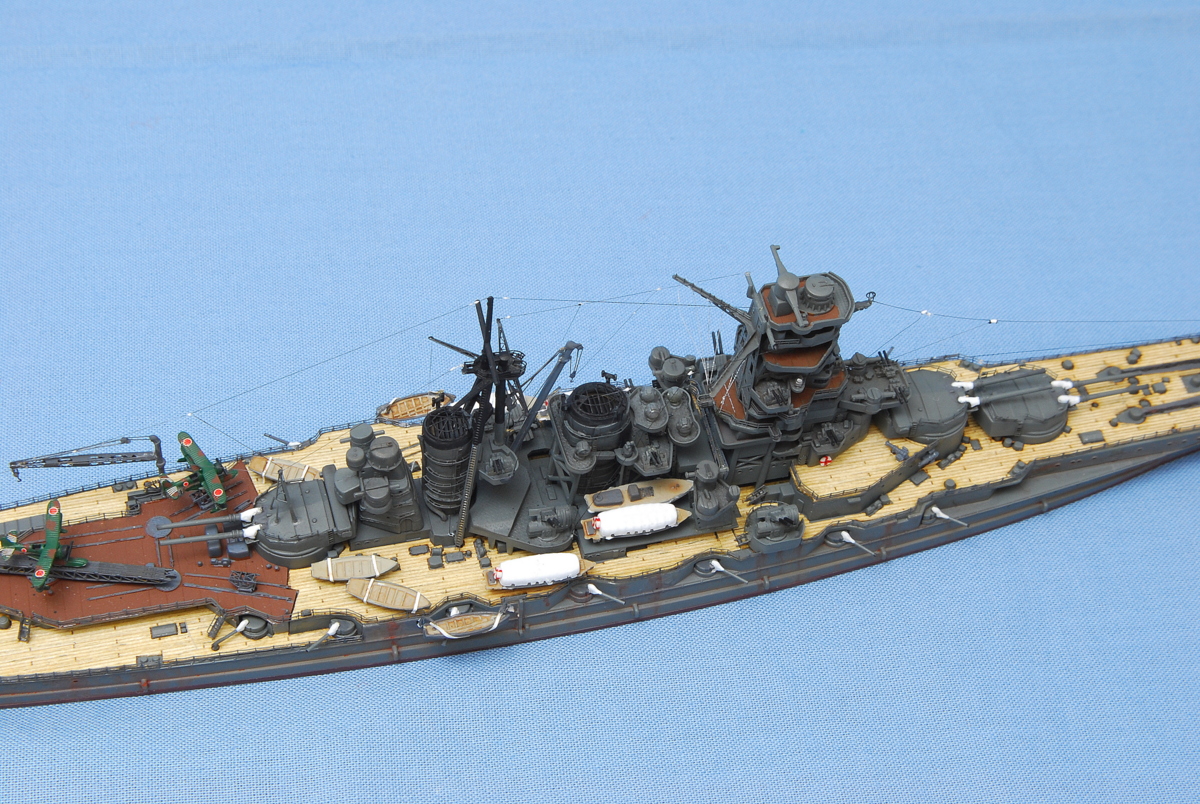 This boat has a capacity of 35 people. There are 4 12m motorboats on the deck. There are other short boats, but there are not enough to save the whole crew. Previously, when a large-scale ferry marine accident in a nearby country, there was a lack of lifeboats installed or a tight binding so that it could not be used. In the case of the Japanese Imperial Navy, I wonder if the necessary number of boats was not equipped. The parts of the hood of this boat are clear and ordered to paint white. It seems like a campus hood with small windows on both sides. The battleship model of Fujimi after a specific time has made the detailed mold very well.
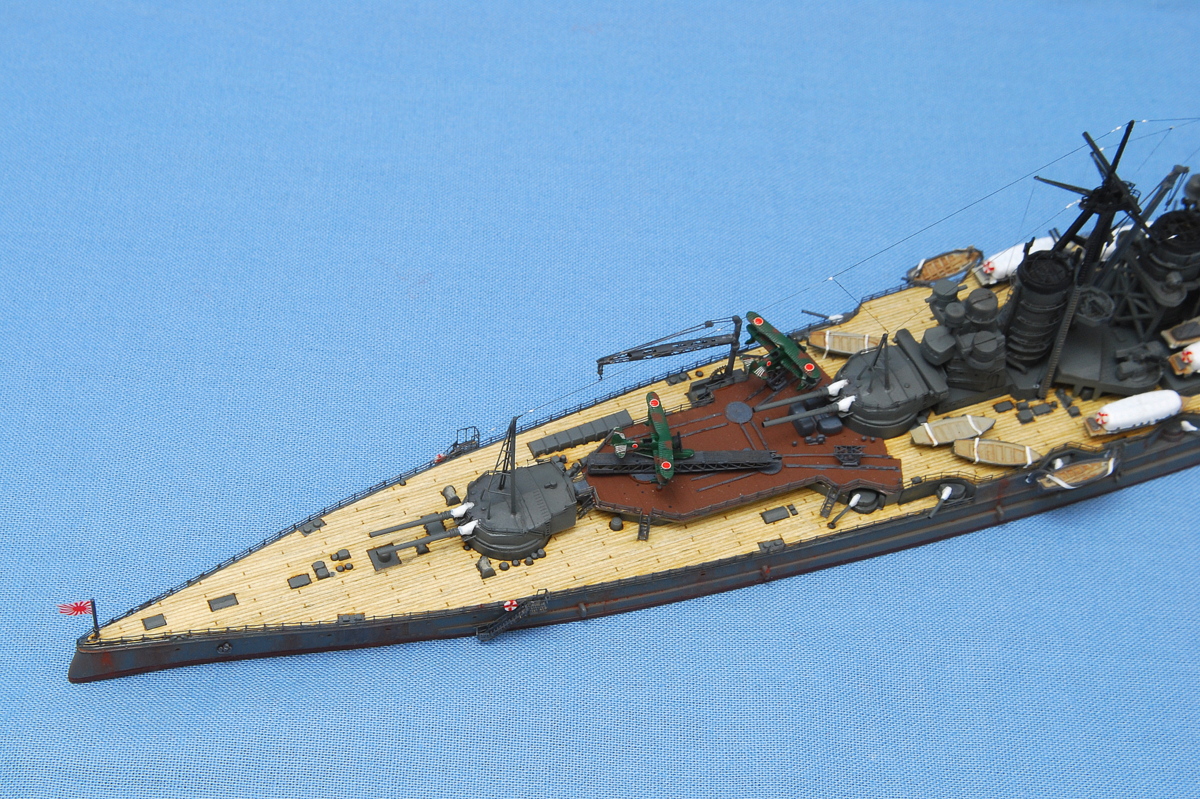 As a drawback of my own, I did not grasp the setup of the ship model, and I am not accustomed to handling the photo-etched parts, so I felt like the work would last forever in the middle of the assembly. And the hand stops on the way… The adhesion after the painting will complete faster if the parts are arranged well. It’s also fun to be close to the completion of the trial and error.
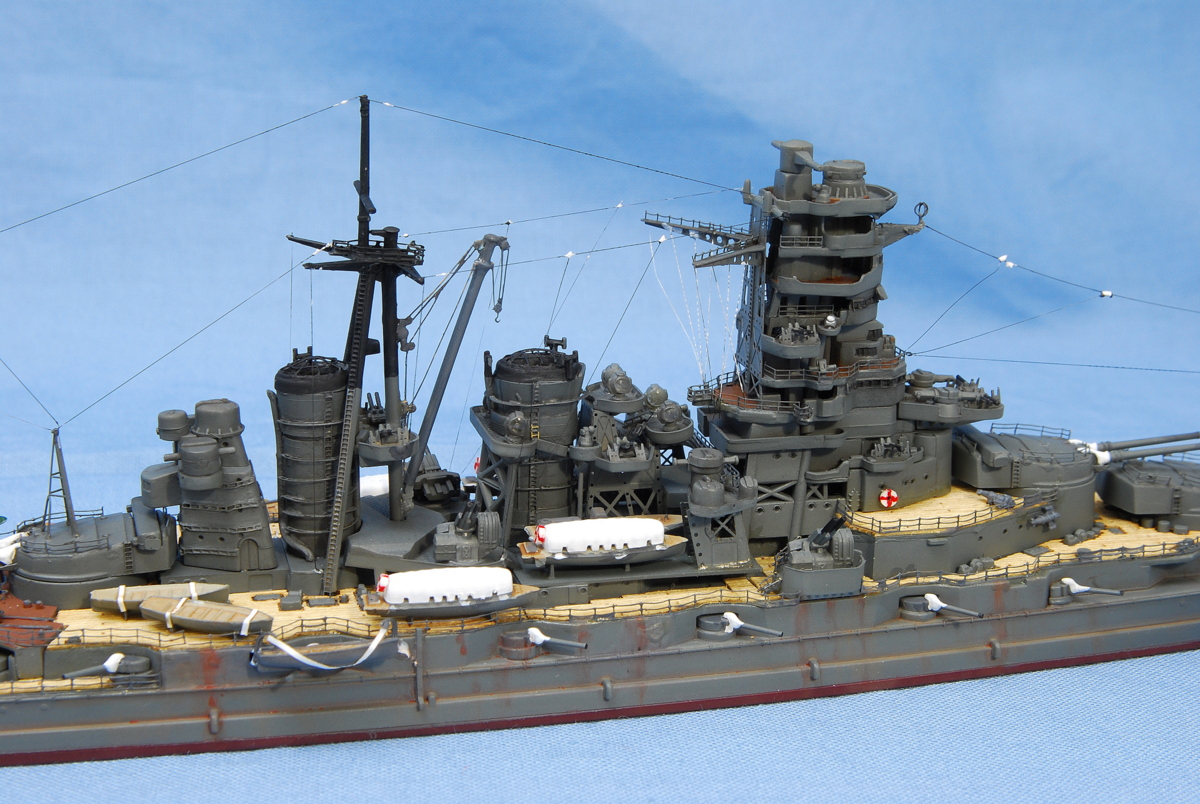 The searchlight made of clear parts did not shine so brightly even if the masking was peeled off. It might have been better to have painted silver from the back. Still, it looks somewhat natural because it is shiny under the light.
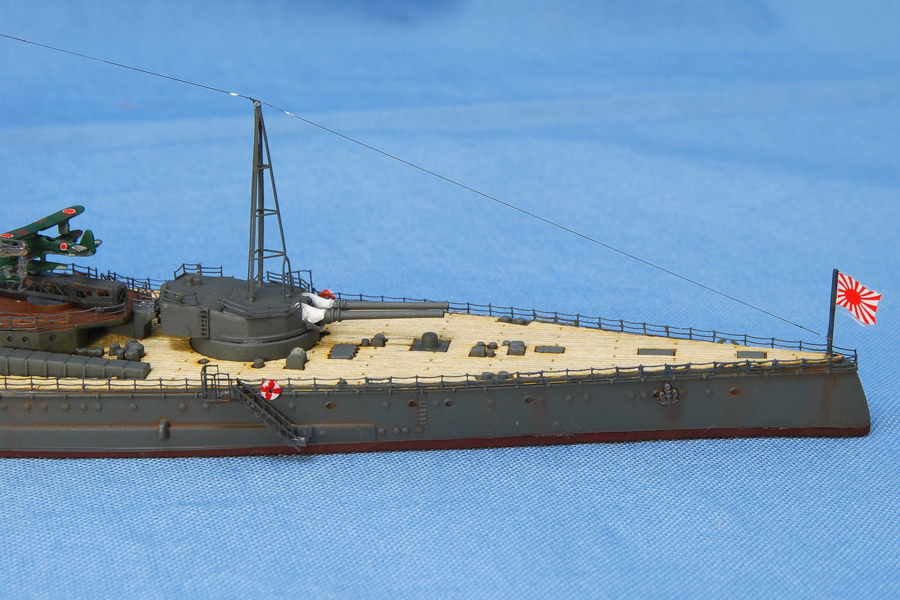 The deck seal is a good advantage without masking, but I use a little care in the installation work of the small parts. The beautiful deck seal may be dirty when installing delicate parts such as handrails and painting with a brush. Stain risk is less likely to be fixed by instantaneous glue after the handrail with metal primer and ship color is painted.
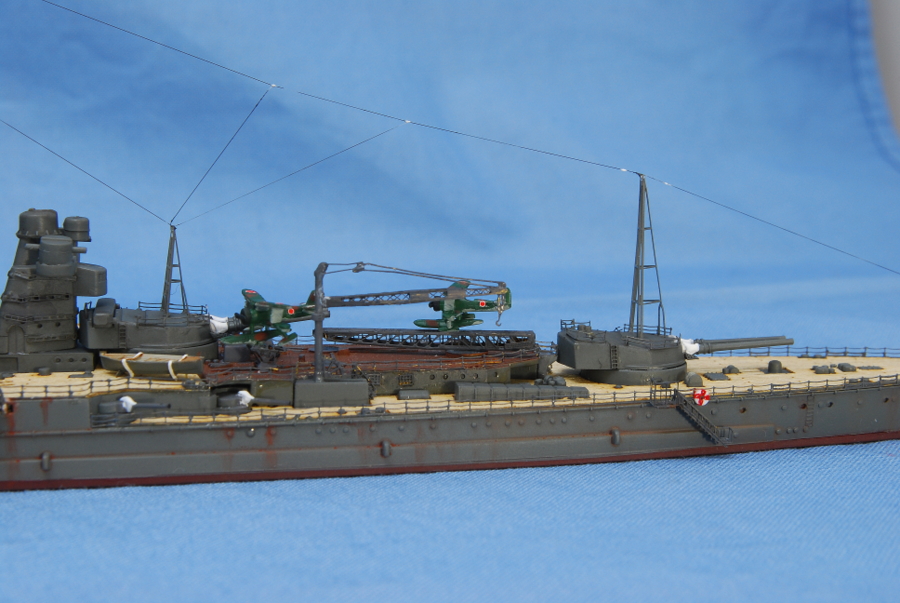 Fujimi’s Kongo instructions it’s easy to understand. I feel much more comfortable than the Yukikaze I made last time. I don’t know the details up-point of the ship model so well, so this kind of detail-up set is appreciated. Perhaps there are many points where the precision sense rises, like handrails and bridges. The crane work failed, I recovered it with a thin fishing line, but the shape collapsed. It may be that somewhat failure became inconspicuous when painting the hull color. Has the failure been hidden when painting the hull color?
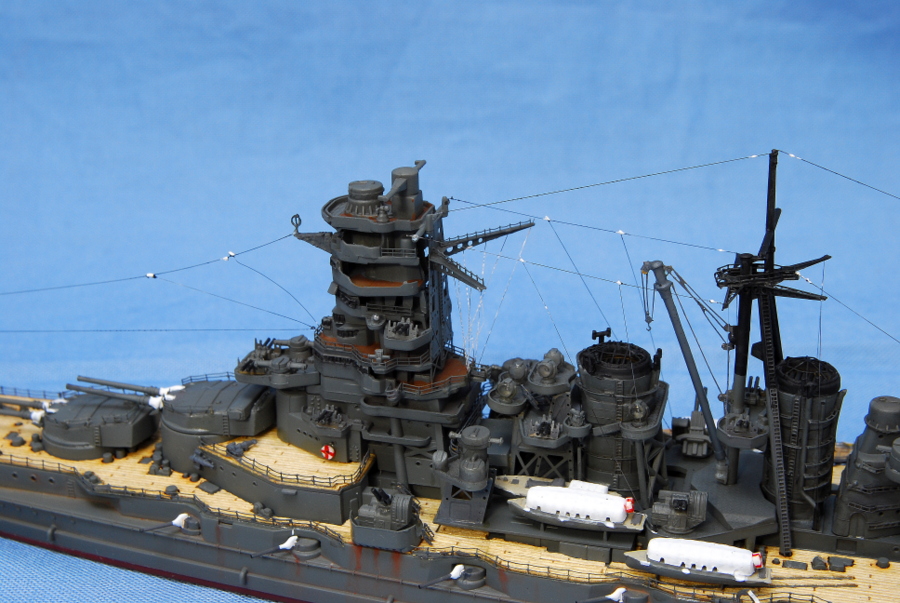 I could not put too many antenna lines; some have been bent.
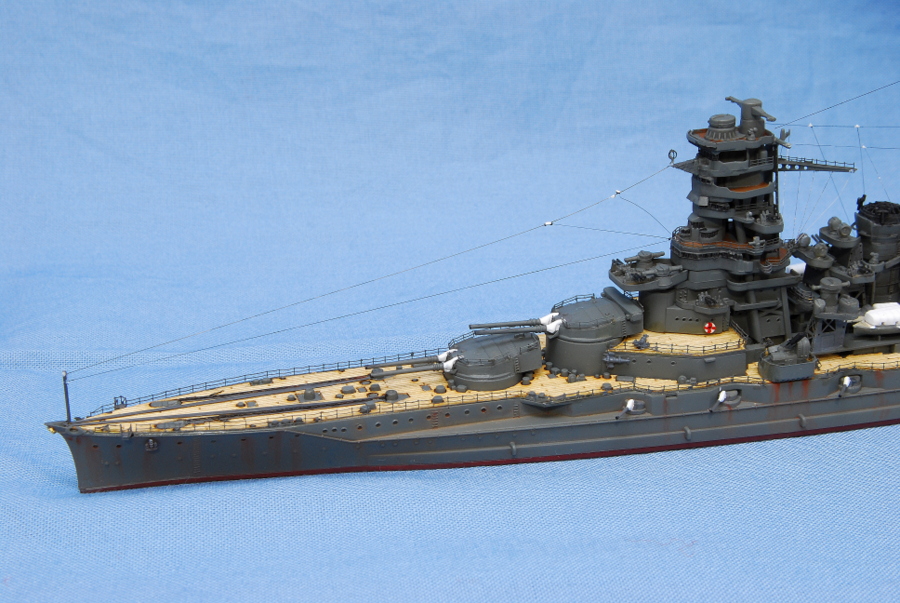 For the anchor chain on the deck, I used Fujimi metal parts. Since this is the first battleship, I tried using all the parts of Fujimi. To make it more realistic, you need a sold separately delicate chain.
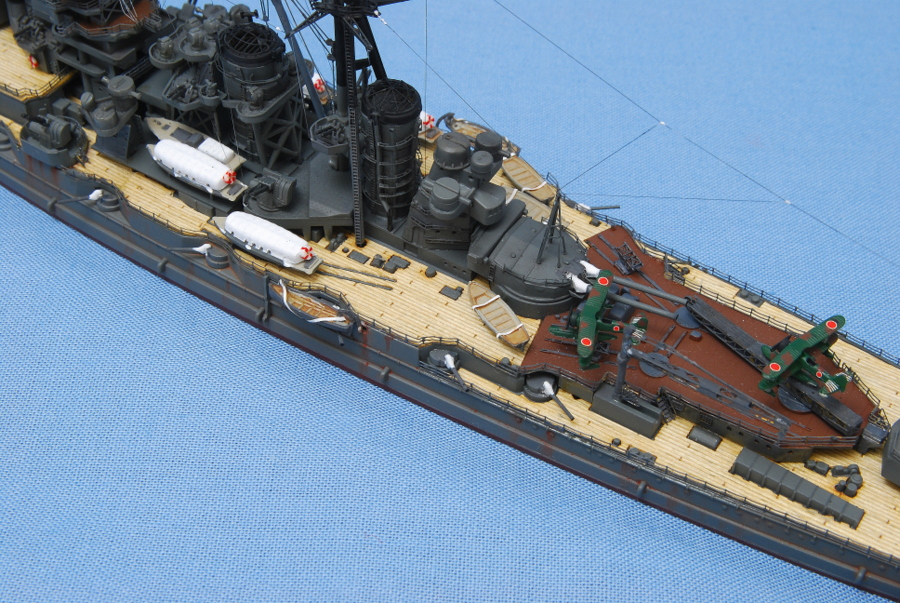 The deck seal takes a little money, but it is very appreciated because the texture of the wooden deck comes out with a little effort. I’m going to be guilty conscience like cheating somehow, but the result is alright. The deck seal is also kept firmly in my stocks of the battleship even if I say something…
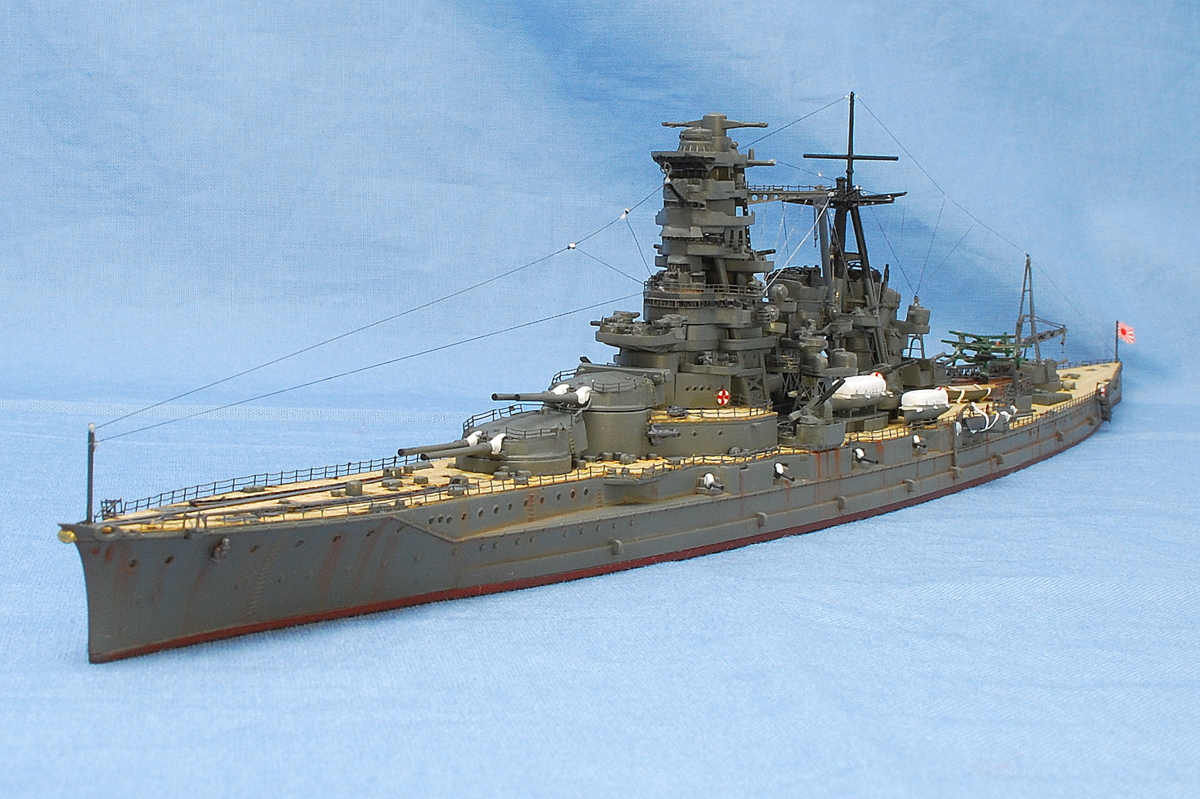 There are no bow and stern flag poles of metal parts. I used brass wire. And since I lost the chrysanthemum emblem of the bow, I made it myself from the plastic runner. Only the loss of parts is a feeling of self-hatred.
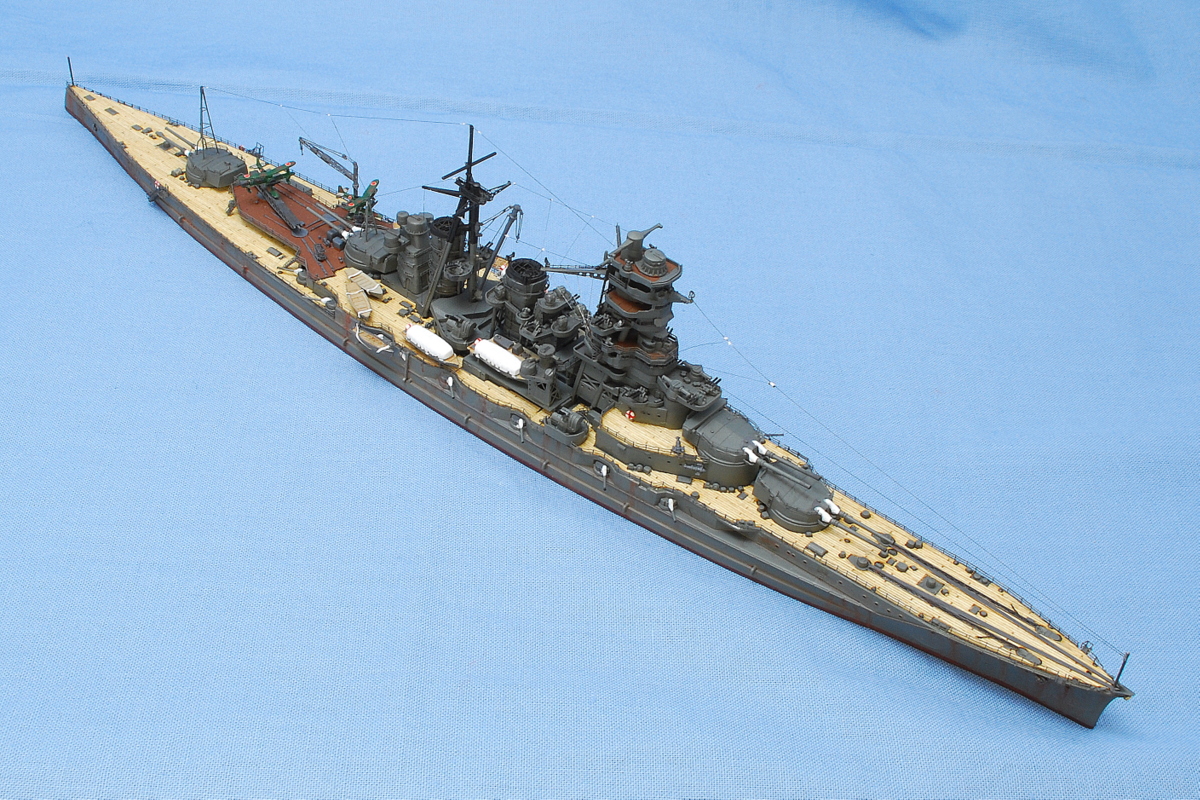 Once I make it by struggling, the ship’s shape feels stuck in my mind. More than just looking at the photos, the model work experience impresses me with the shape of the Kongo-type battleship.
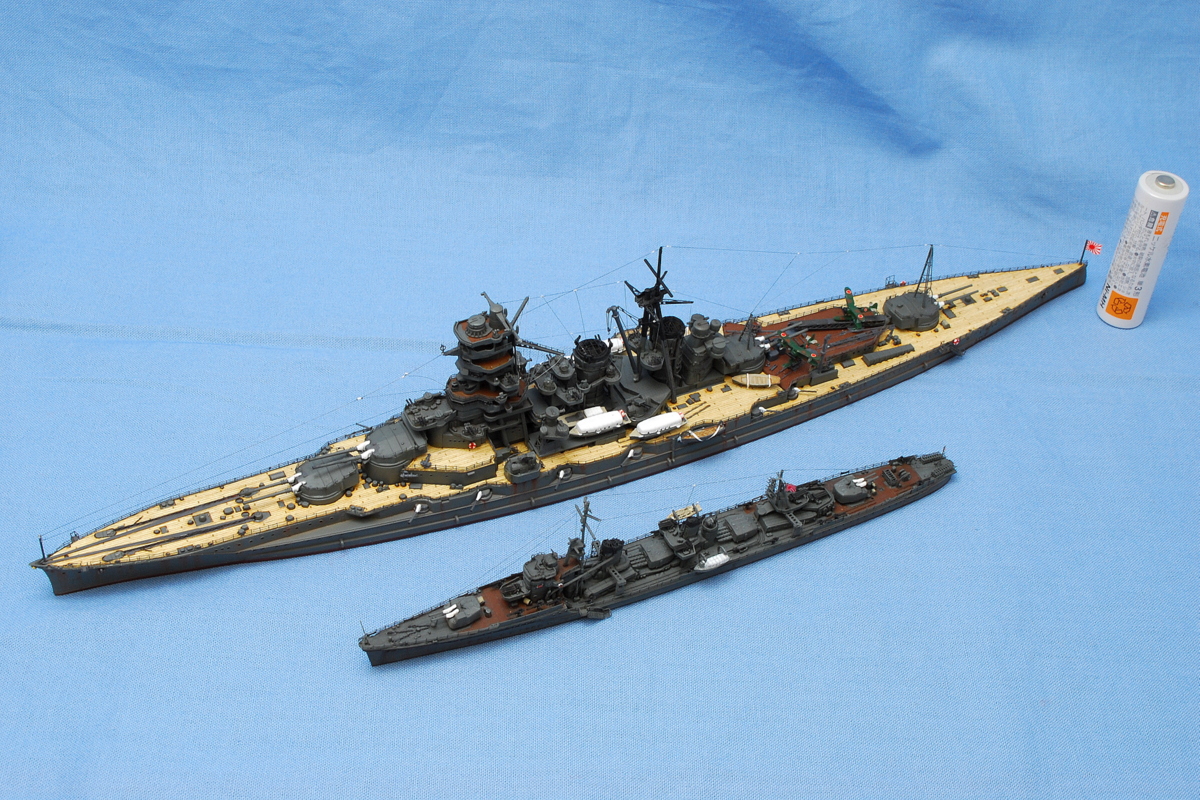 I tried shooting side by side with the destroyer Yukikaze I made before. The battleship is dignified and has a stately style.
(31-August-2017)


コメント