It is a German military bike kit with one figure. It was built in January 2015.
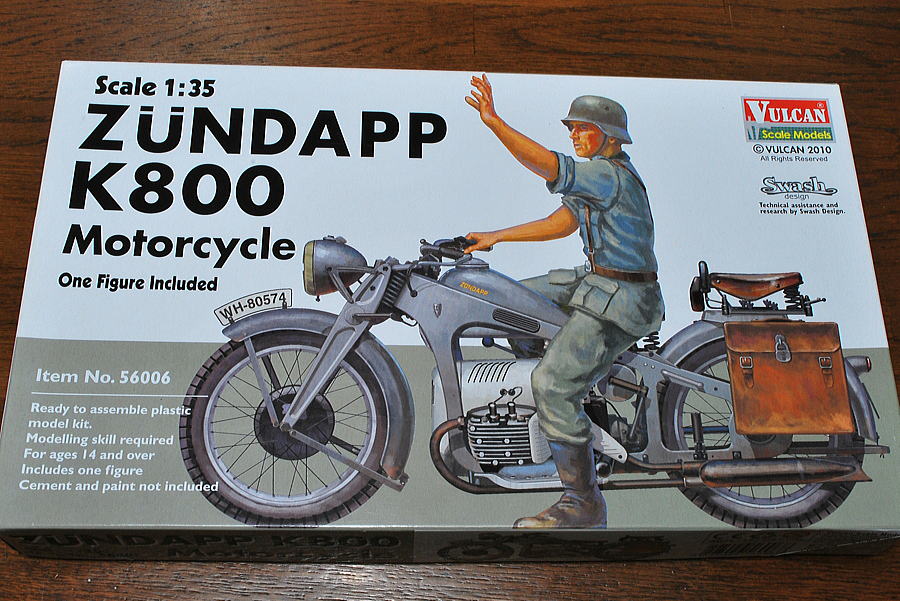 Though the antiaircraft tank had not been completed yet, I have started a model of a military motorcycle.
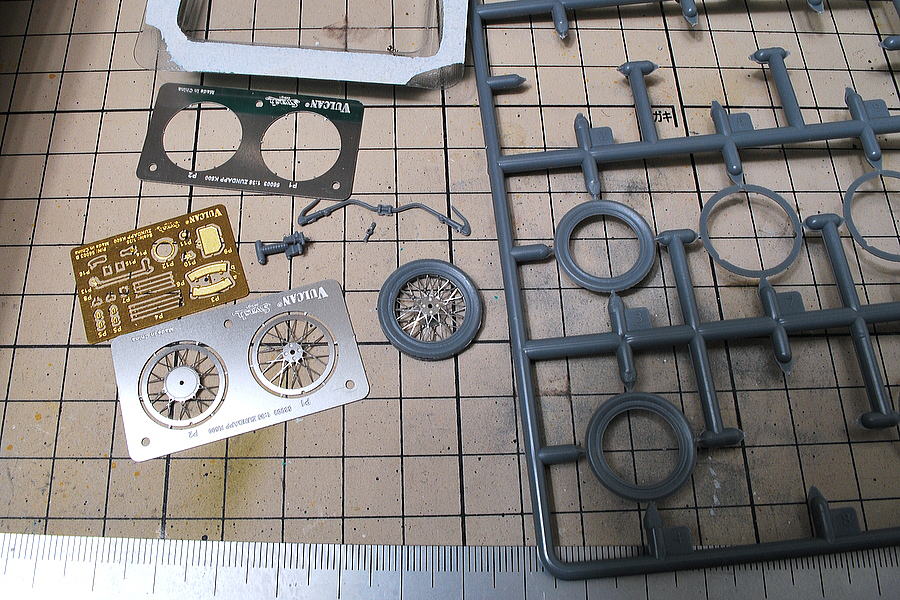 This kit has practical photo-etched parts and is used to the best point; assembling is fun. The etching of the wheel is of excellent quality.
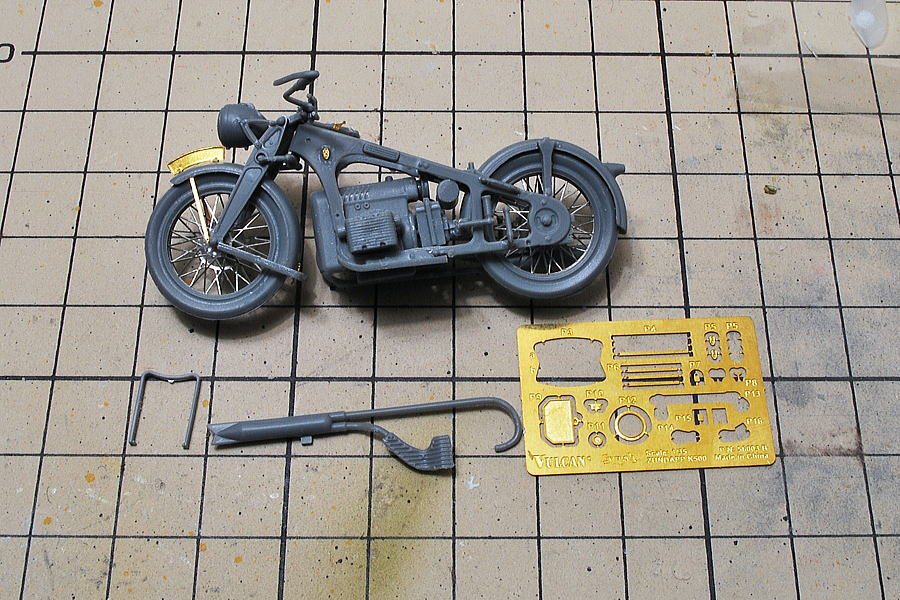 No need to struggle with many tiny photo-etched parts. Though the plastic is soft, I assembled it with caution.
(11-January-2015)
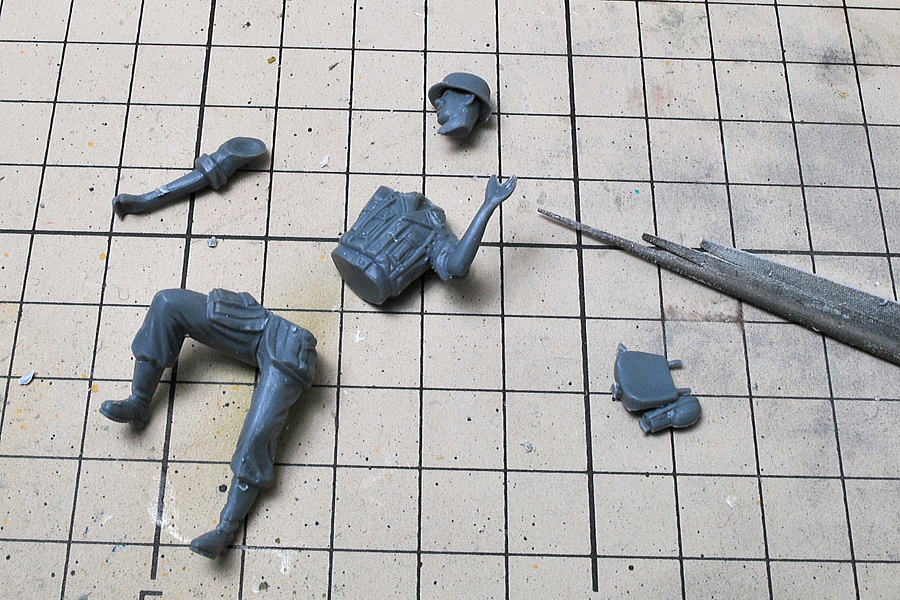 It’s a normal-quality figure. It is filing and adjusting each part.
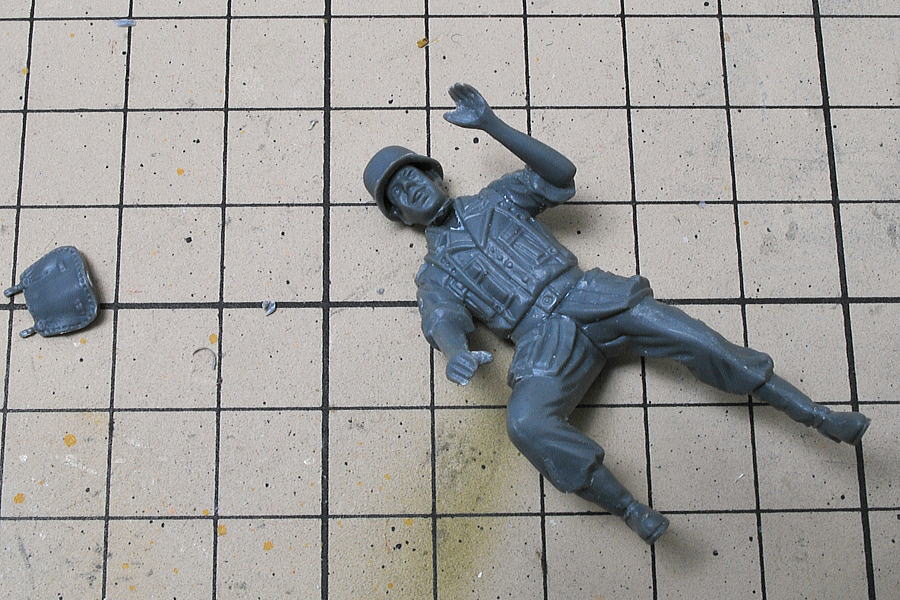 I revised the angle of this face parallel to the ground or a little upward if I just attached them. The motorcycle soldier looked down unnaturally.
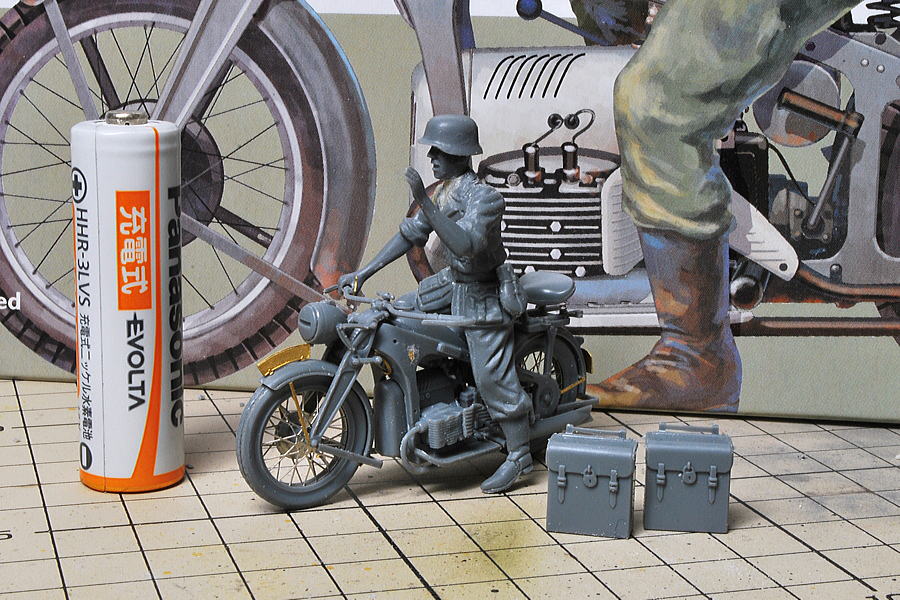 Assemble military motorcycle Zundapp K800 was completed; the trunks will be attached later, after painting. These trunks’ molds are sharp, especially the key and strap belts.
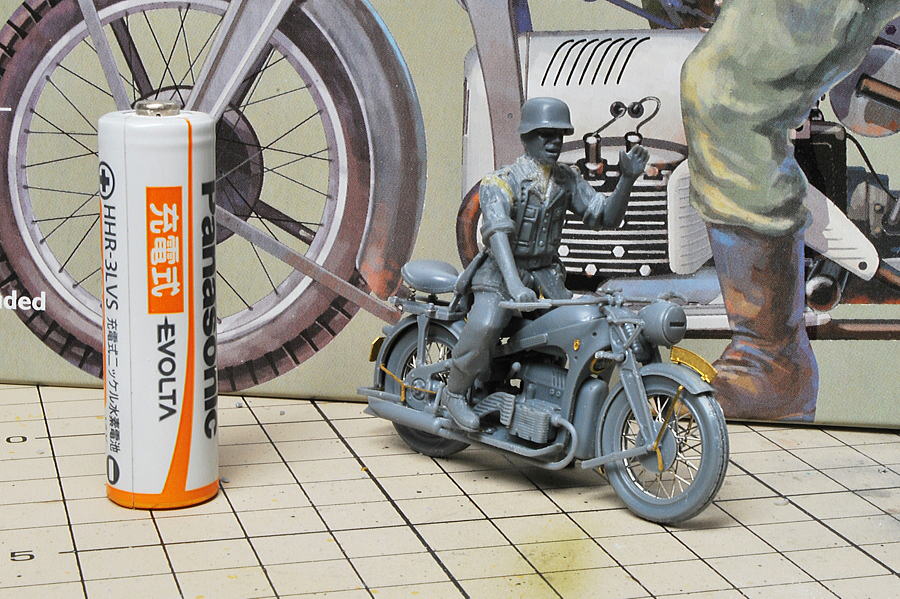 I don’t intend to glue the figure and the seat together. I had trouble harmonizing the right hand with an accelerator grip. It is difficult to unify with the natural pose.
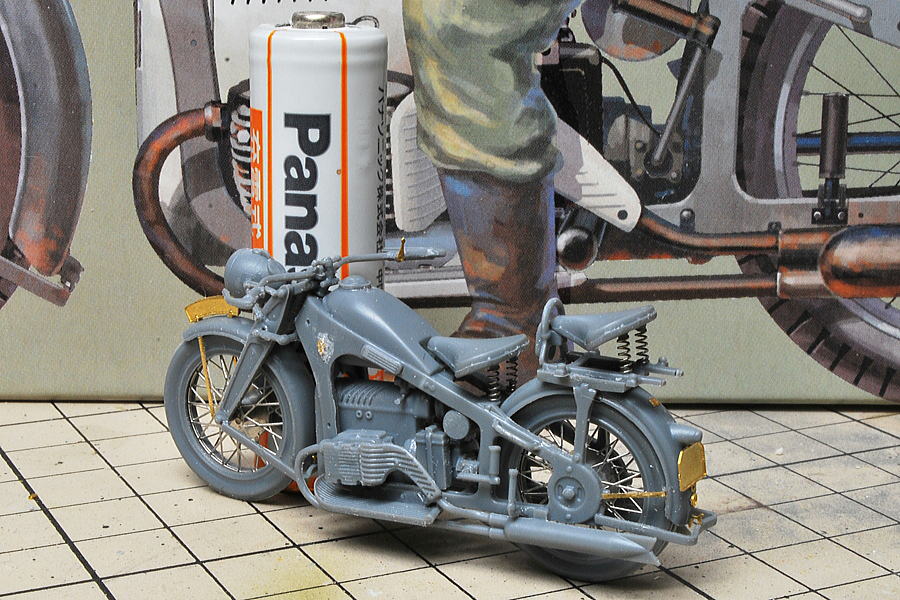 The springs under the sheet are remarkably realistic.
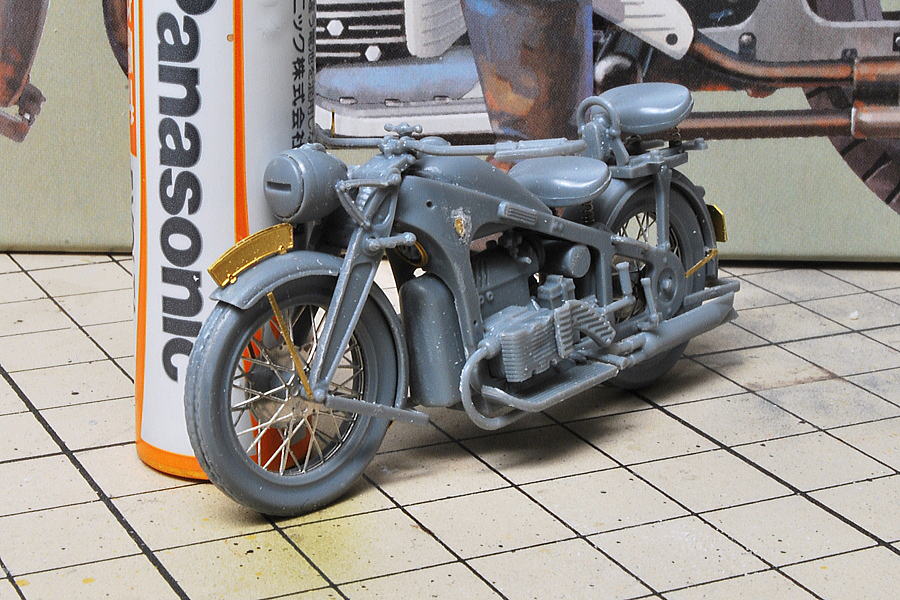 The left side, around the emblem, became messy. The others were assembled well, though there are many small parts.
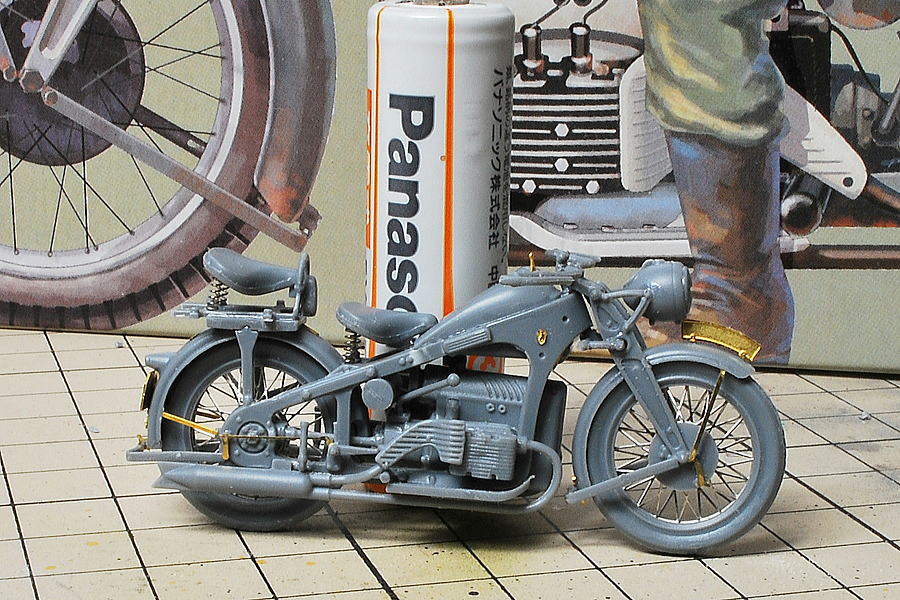 I only assembled it straight from the box, which increased the pleasant feeling of the photo-etched parts effect. I felt nostalgic for the days of primary school. I have made a similar military motorcycle model released from Tamiya.
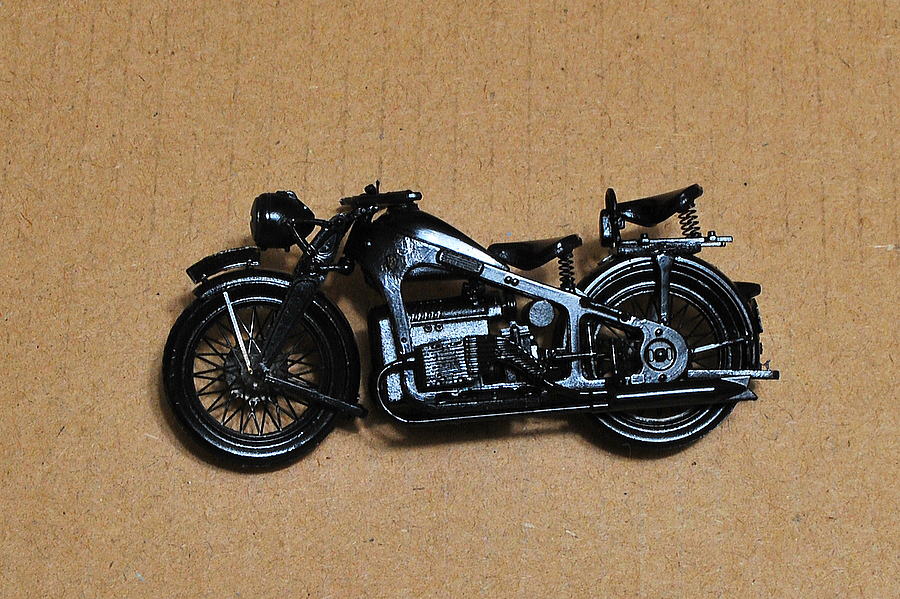 Firstly, I painted black to test the hair spray technique on the small model.
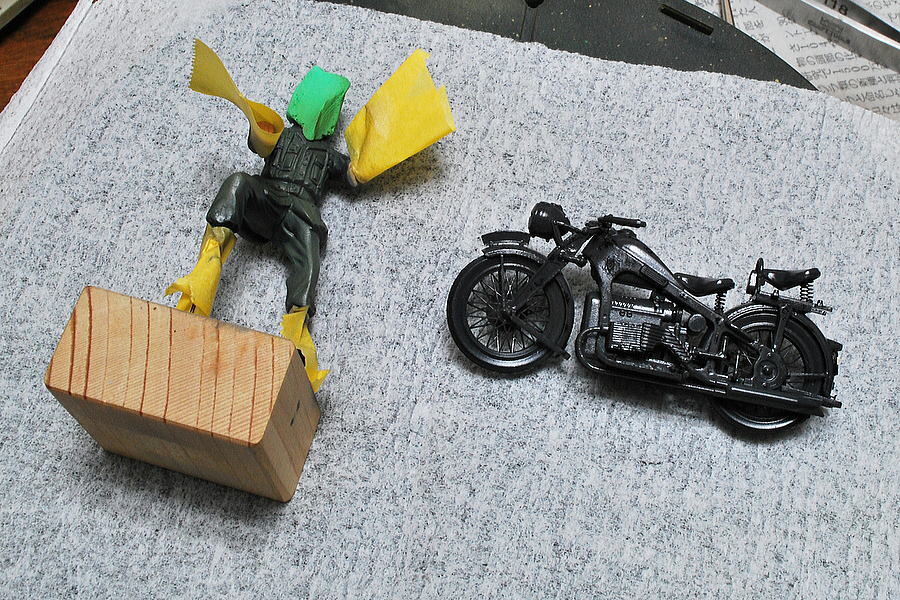 It is masking of skin area with tapes and a kneaded eraser, like a “half-life” monster…
(22-January-2015)
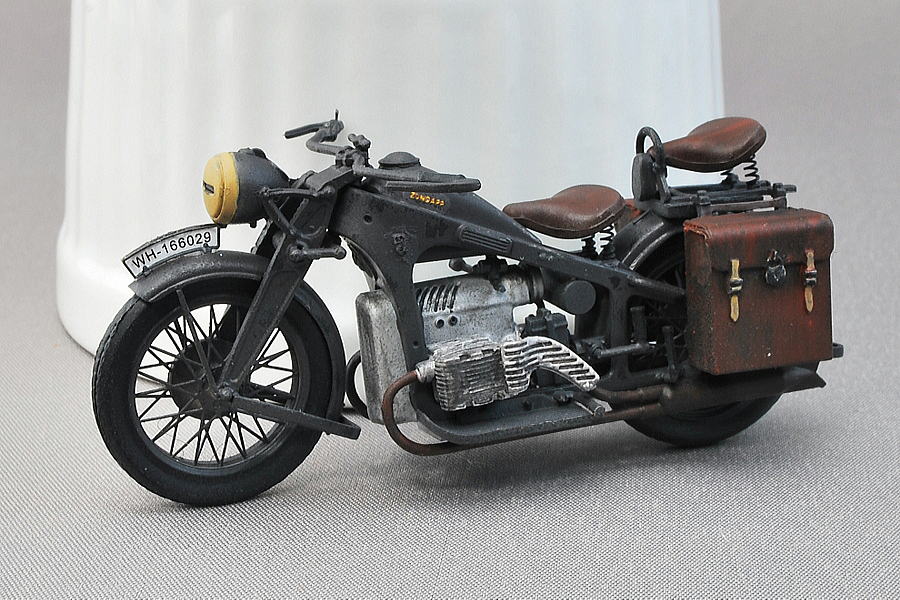 My Zündap military motorcycle was completed. German military mainly used BMW and Zündap motorcycles for military use in World War II.
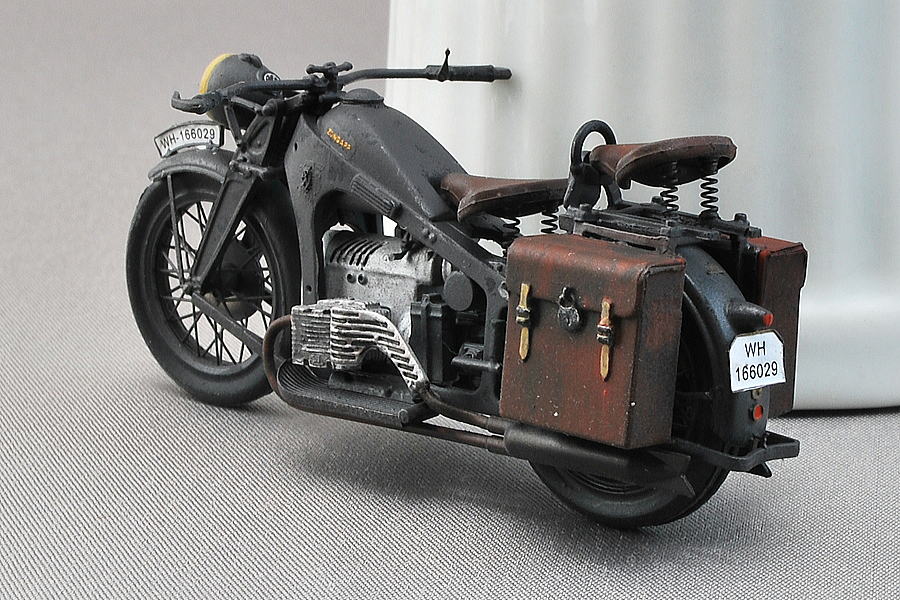 I tried the hair spray method to this small kit, firstly blowing black paint over it, painting in German gray, peeling off this gray, and exposing black like rust.
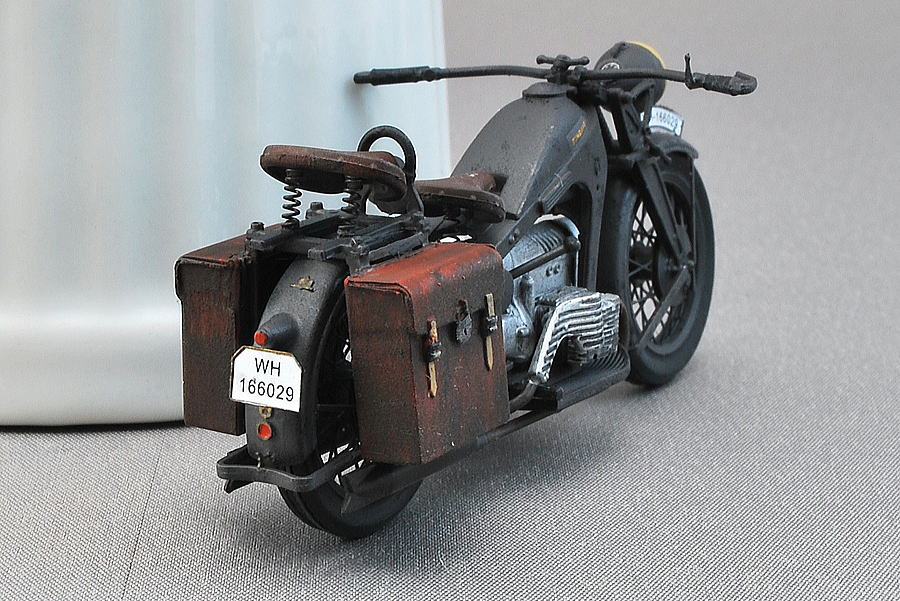 Black and German gray are similar and do not have a significant effect.
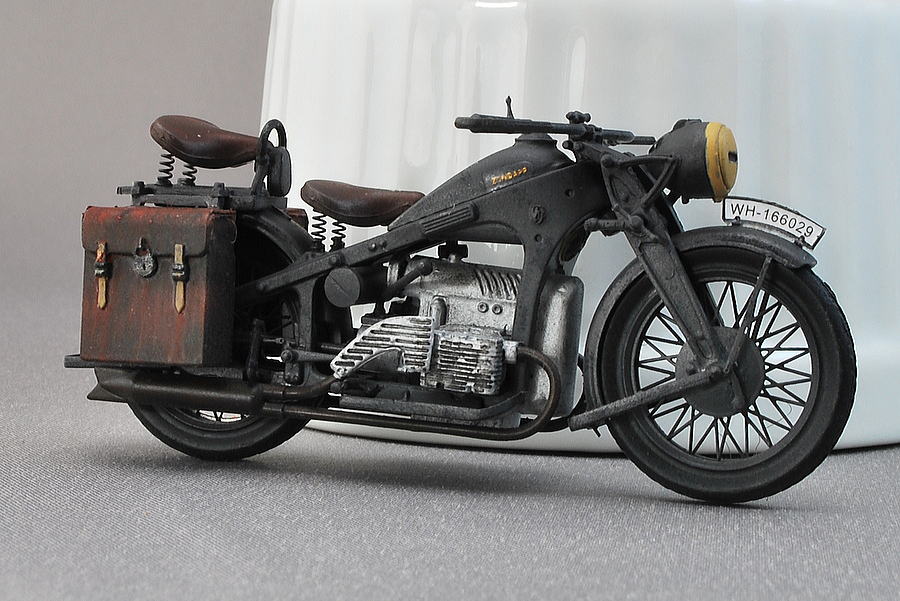 The last step is blowing flat clear, but some decals have a little silvering.
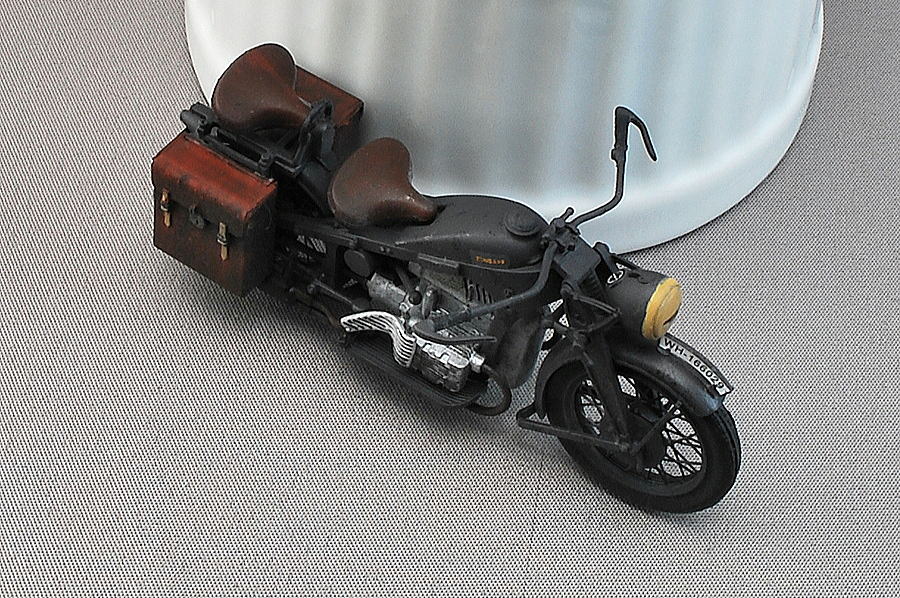 This handle is thin and easily broken; it must be careful handling.
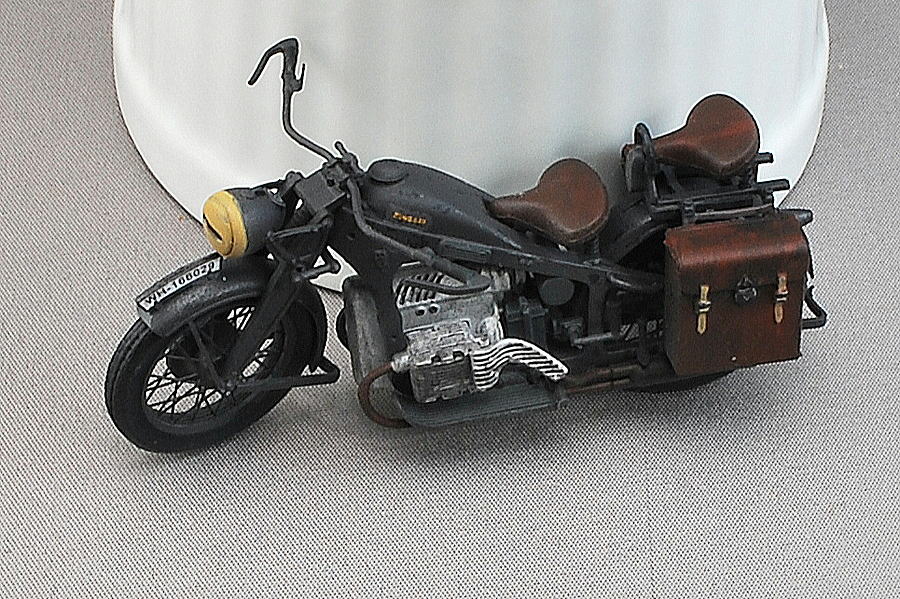 The leather seat and the side trunks are painted dark brown and black, washing and blending.
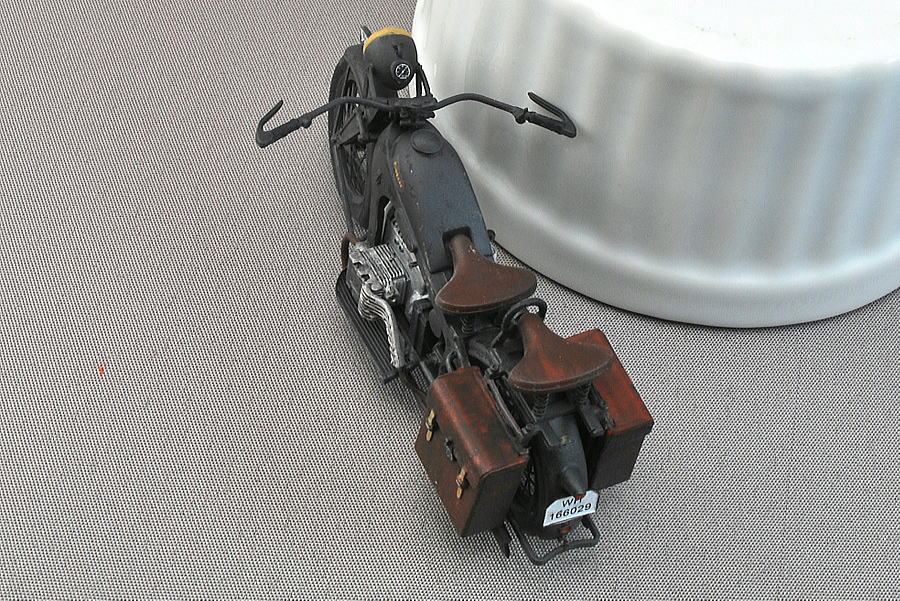 I don’t want this much rusty. Light weathering is excellent, I think.
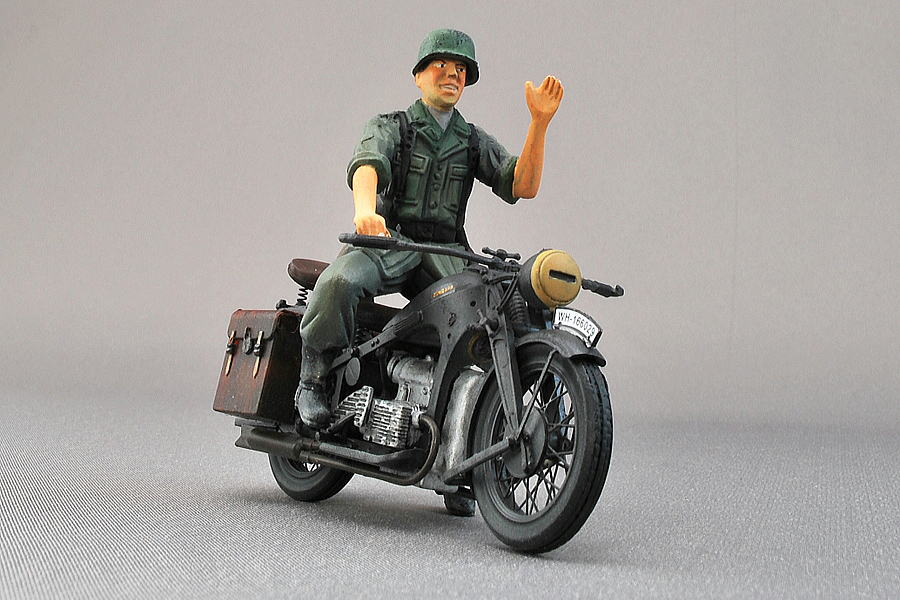 My target of this figure’s face is like box art but very different… Aggressive expression. I tried to draw a blood vessel on his arm.
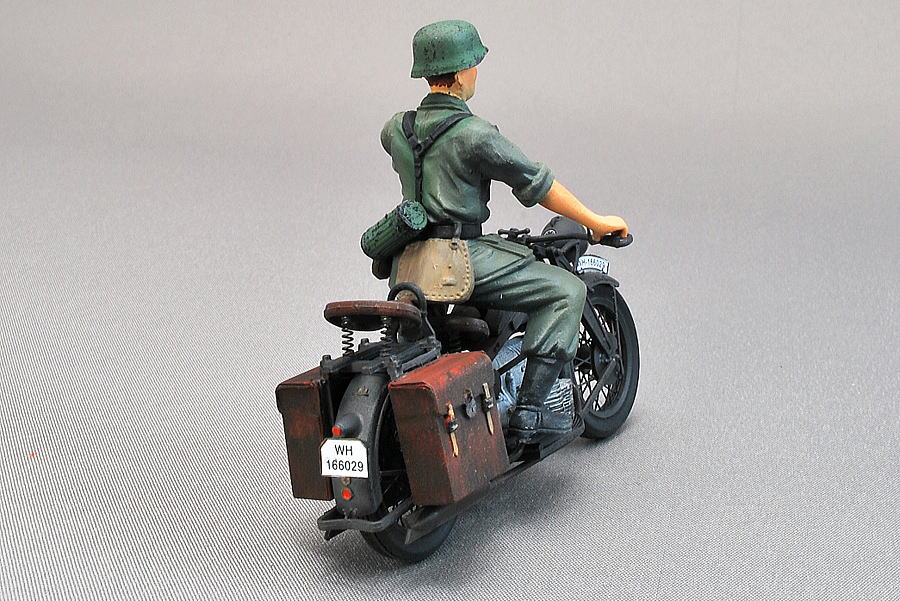 There is no comment on the gas mask case in this instruction manual. I attached it on his back anyway. In case he is wearing the motorcycle coat as an everyday driver, I attached it to his chest, but this time the position is like the photo because it’s a standard military uniform.
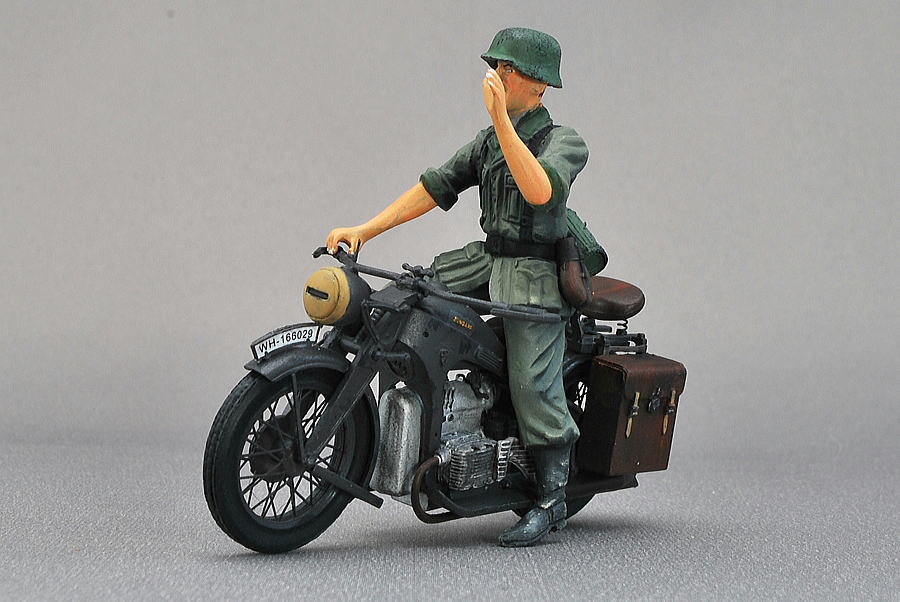 I painted chipping on his helmet. The uniform was dry-brushed after blending some shadows.
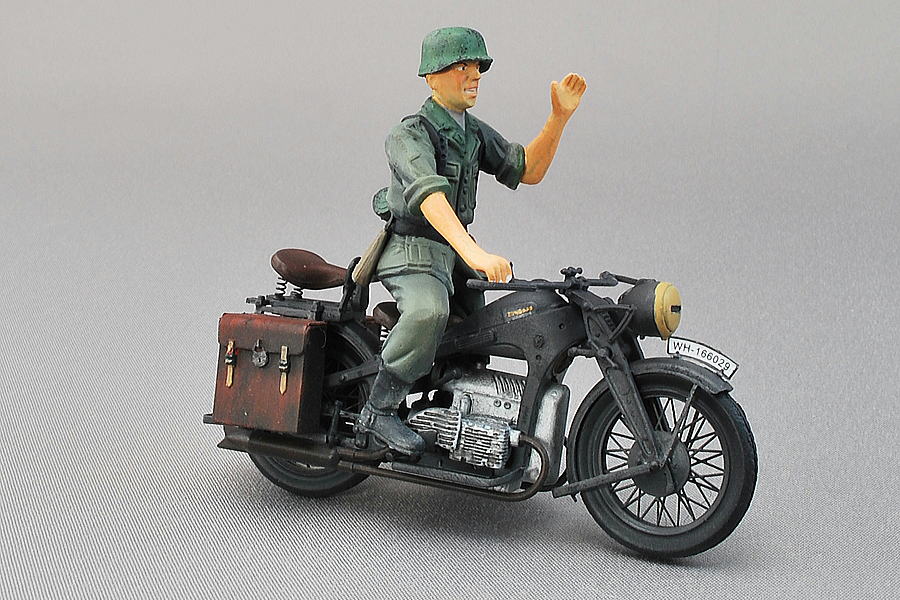 It was unexpectedly hard to combine a motorcycle with this figure. Because I may want to stand only on a motorcycle, the figure was only put on the saddle.
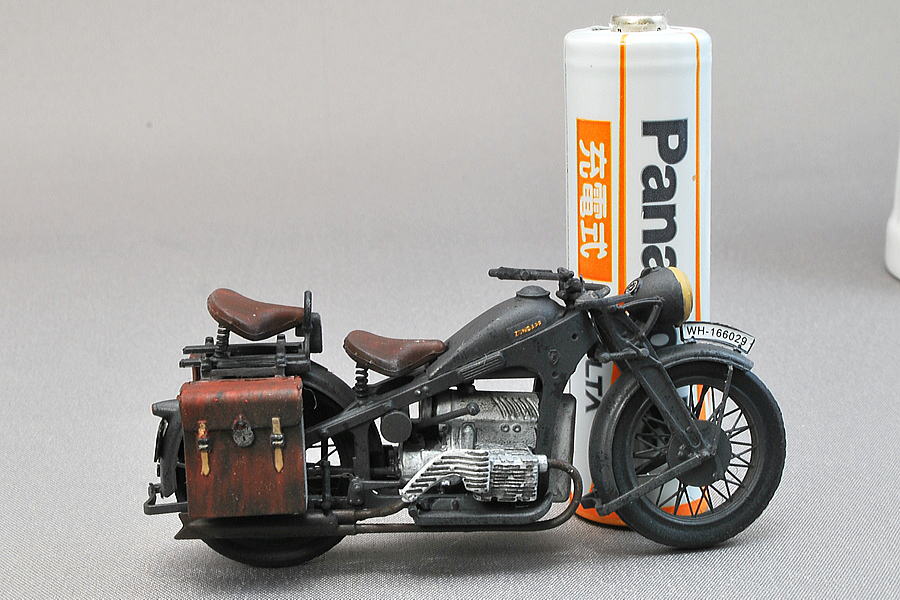 It is a motorcycle model, different from a tank. A motorcycle plays a supporting role when it is placed aside from the main battle tank. But this detailed kit has many excellent parts and has value to assemble.
(28-January-2015)


コメント