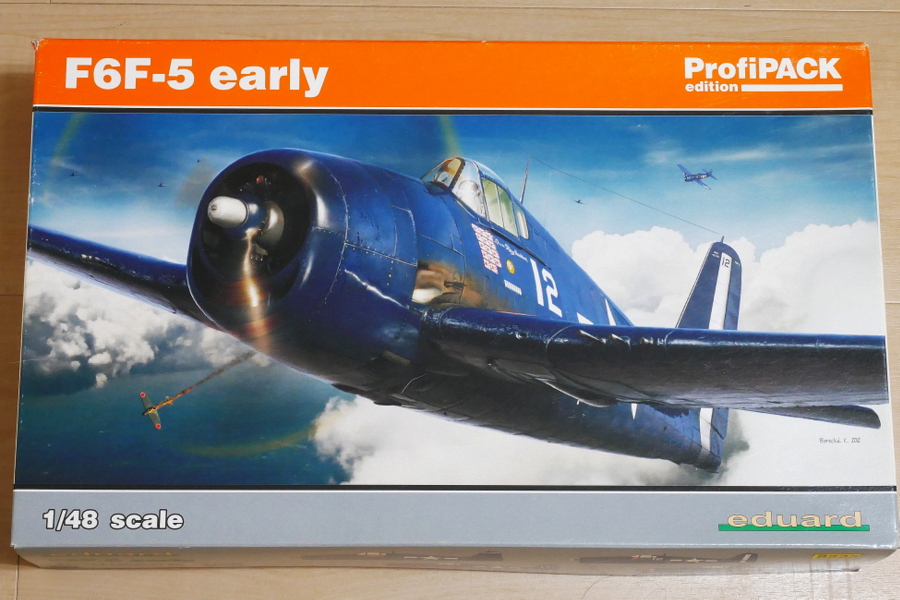
 This Eduard Hellcat Profipack series comes with many photo-etched and color photo-etched parts. There are a lot of plastic parts, so it is suitable for advanced modelers. After reading the assembly manual, I don’t feel like making it. It’s too detailed.
Well, maybe I’ll mark this aircraft as the Minsi III, the Hellcat of the Essex aircraft carrier that the ace pilot was on. I will expand the image and show my will to build it.
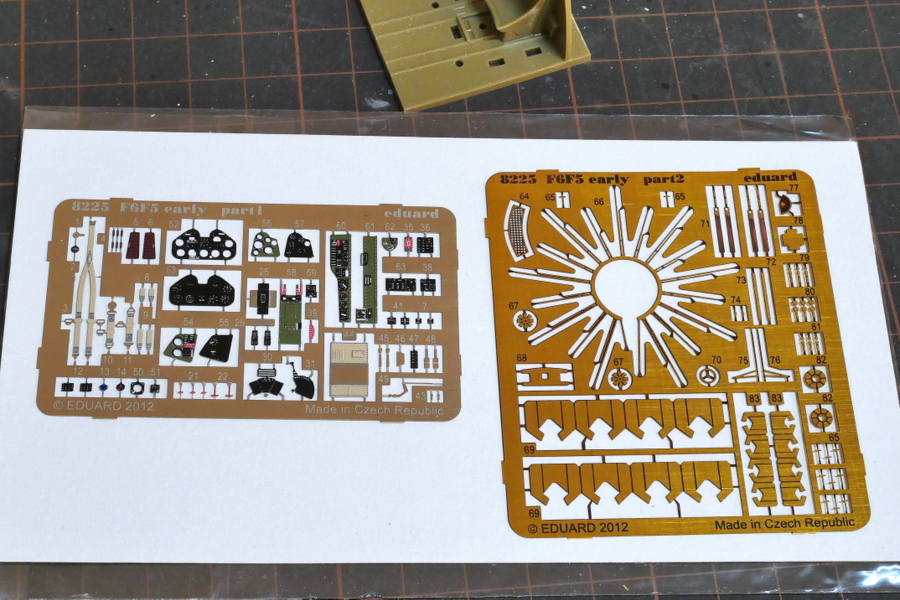 These are the photo-etched parts. From what I can see, there are many parts of the cockpit and the mounting hardware of the explosive device. I don’t need very detailed parts, but I will try my best this time.
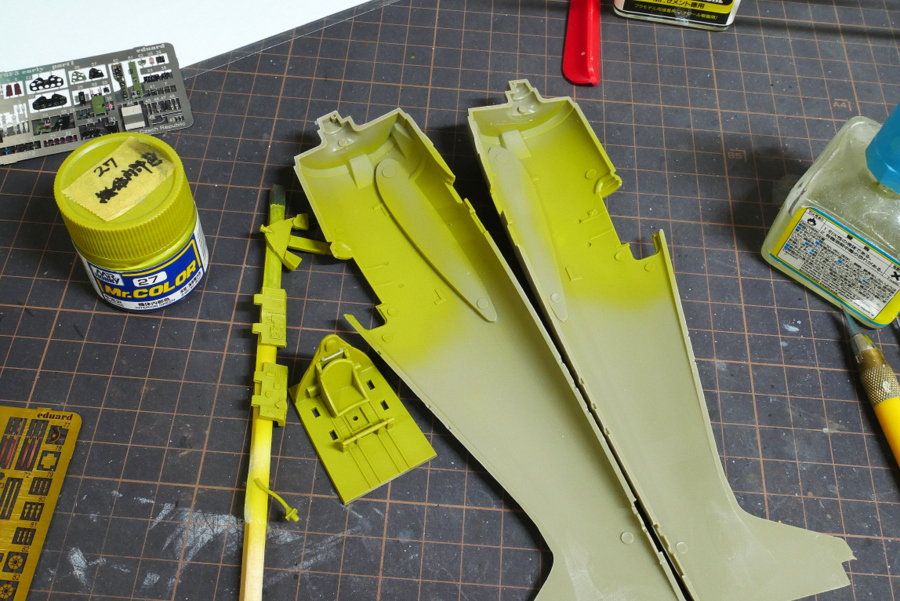 Before I attach the color photo-etched parts, I have to paint the interior color of the aircraft on various parts. I am trying to finish spraying this color as few times as possible while staring at the instruction manual.
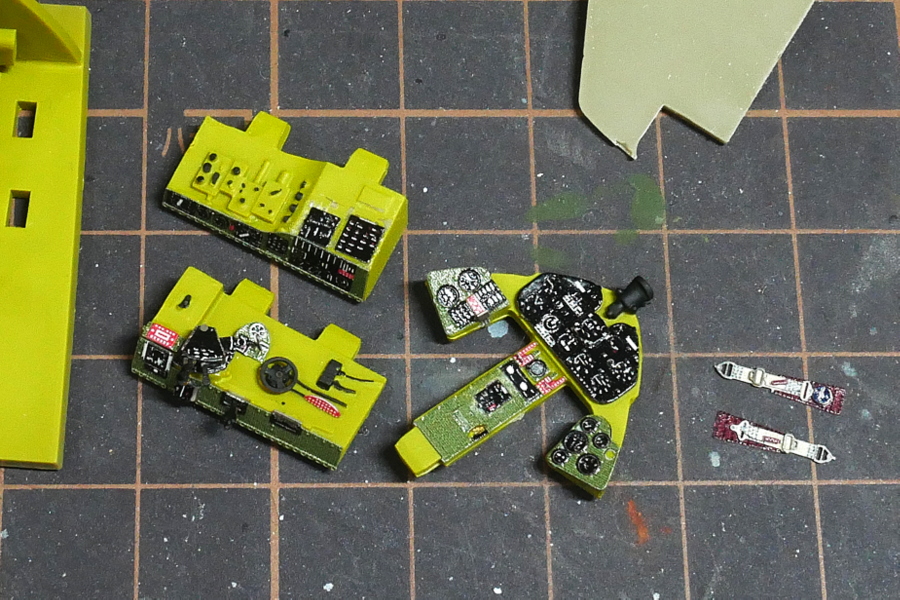 I usually make a cockpit with a stance that I wish I could reproduce a little. The inside of the cockpit is important, but I like to consider the overall color. I like these color parts because they don’t need to be painted separately and have a precise feeling.
It seems that Yodobashi Akiba has many unopened sections, such as the hobby section. If I go to Akihabara now, I could play as Steins; Gate (scene of the main character standing alone in an empty town), but there are still some people. When I watch the news, people walk around in Akihabara. Even if a restaurant closes its business voluntarily and goes bankrupt, no one will praise it, and the word “self-restraint police” is popular in Japan. I wouldn’t say I like it. Is it bad to loosen the restrictions a little?
(2020/05/06)
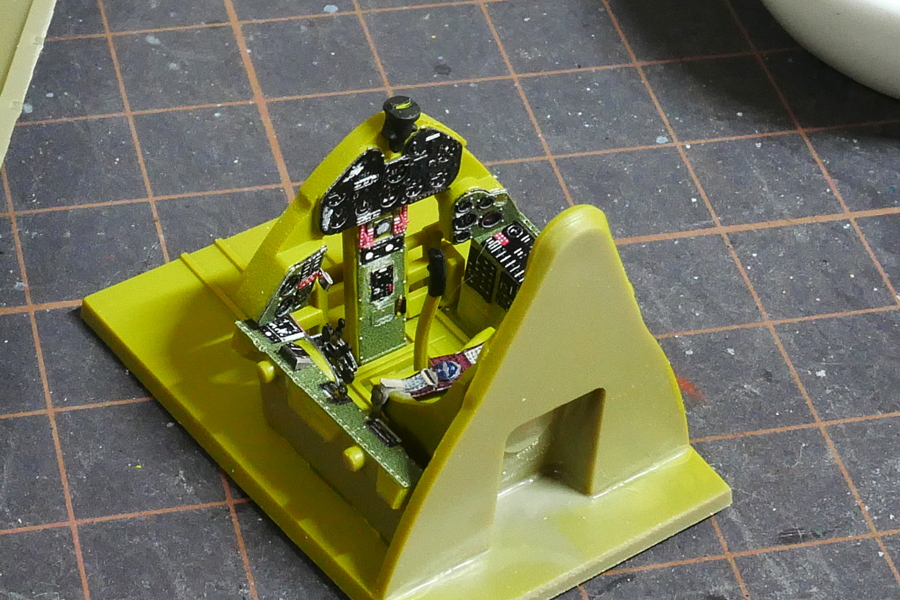 It is pretty good because the needle of the meter is drawn.
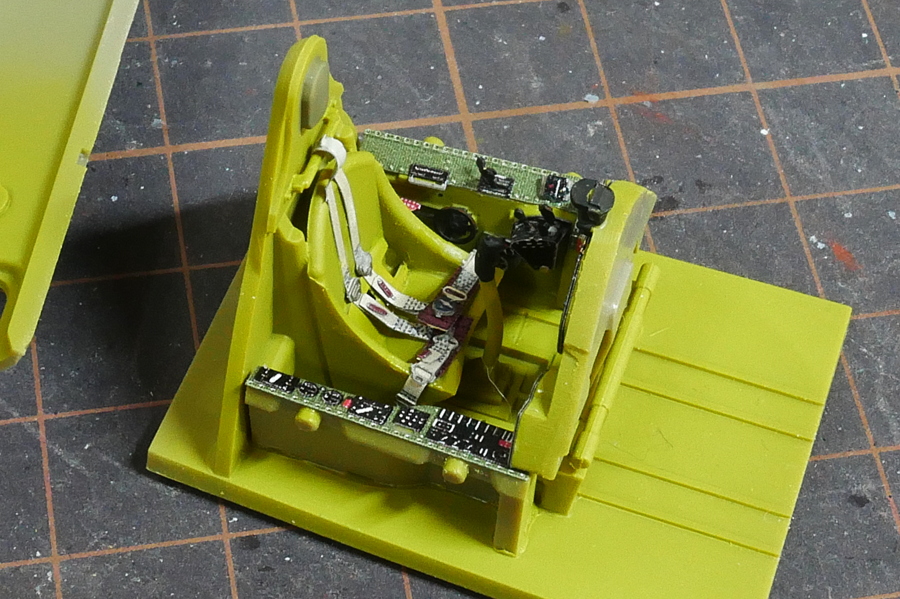 Even the small parts of the seat belt are printed.
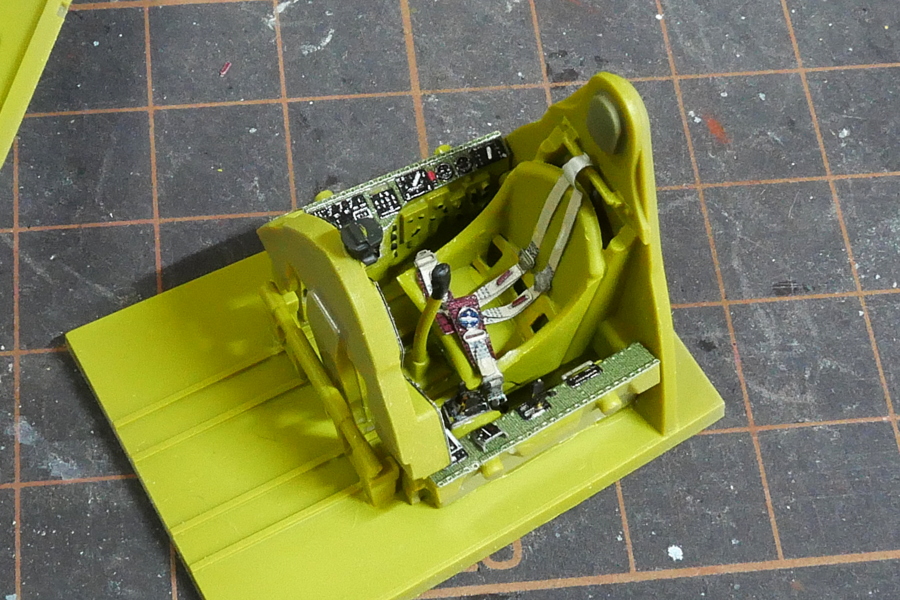
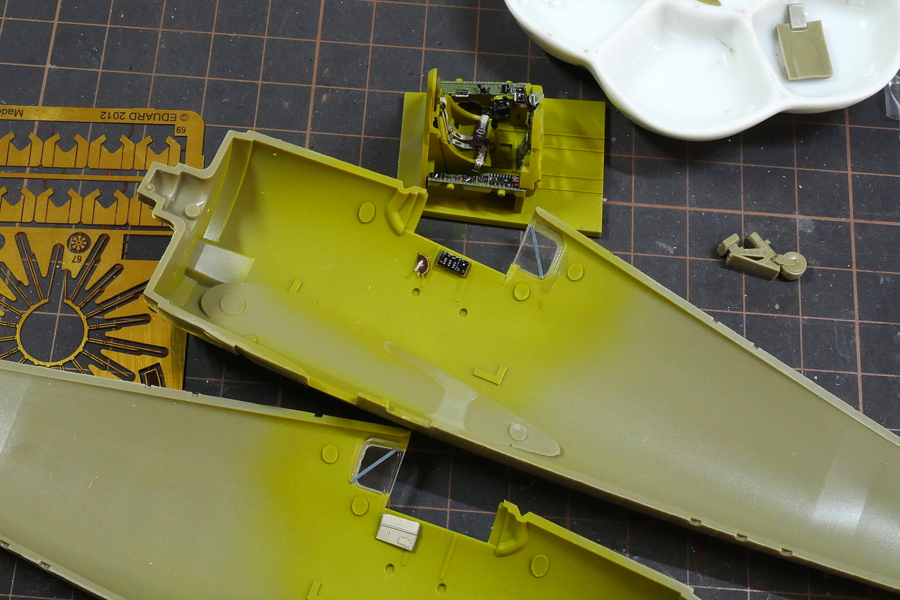 There are some etched parts on the inside of the body, so I glued them together.
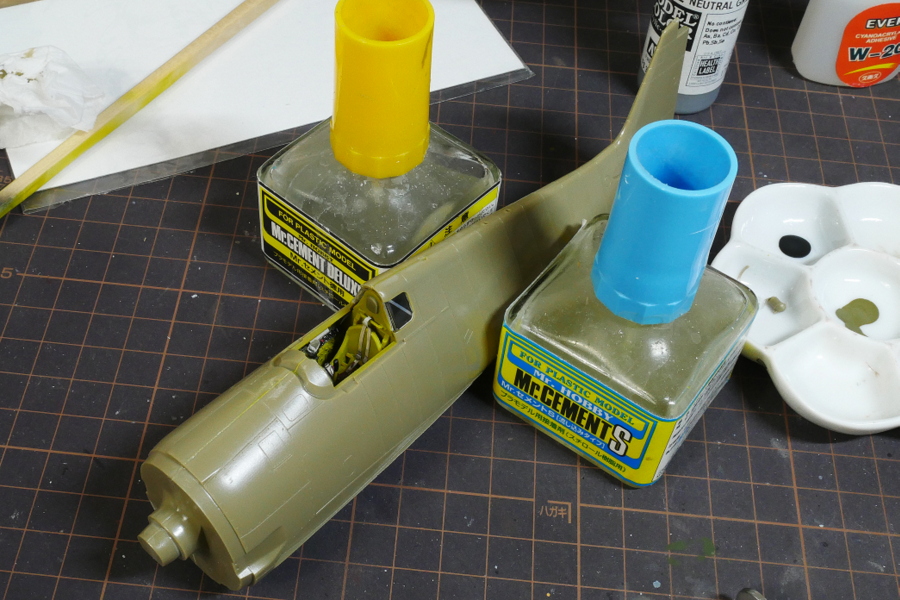 The left and right sides of the aircraft’s body parts are glued together with a built-in cockpit. The cockpit isn’t that big, so I wonder if I can see inside well after completion.
(2020/05/08)
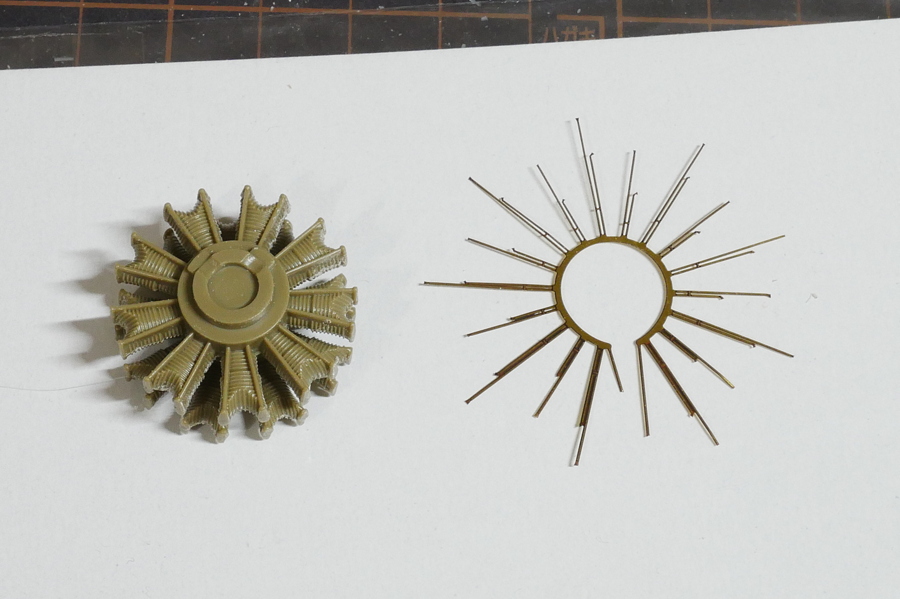 A photo-etched part is provided for wiring to the engine.
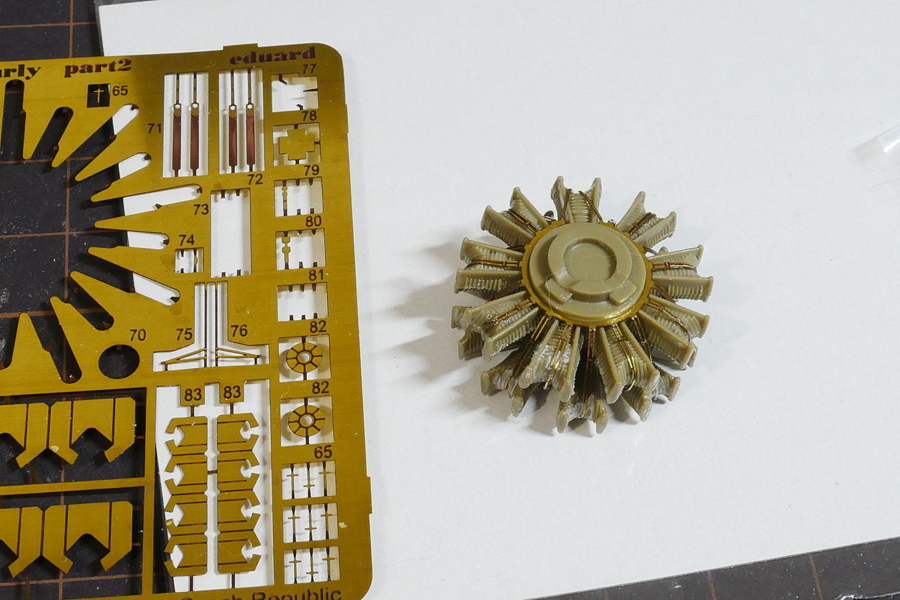 The parts got dirty with instant glue. It looks like this when it is glued.
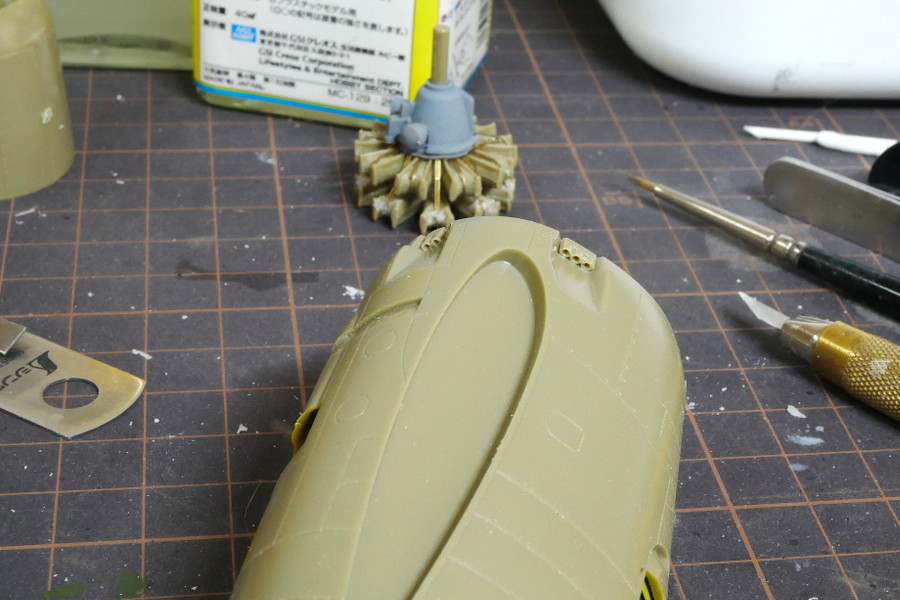 The exhaust mufflers are blocked, so I made a hole lightly. It is a little tricky because there are about 10.
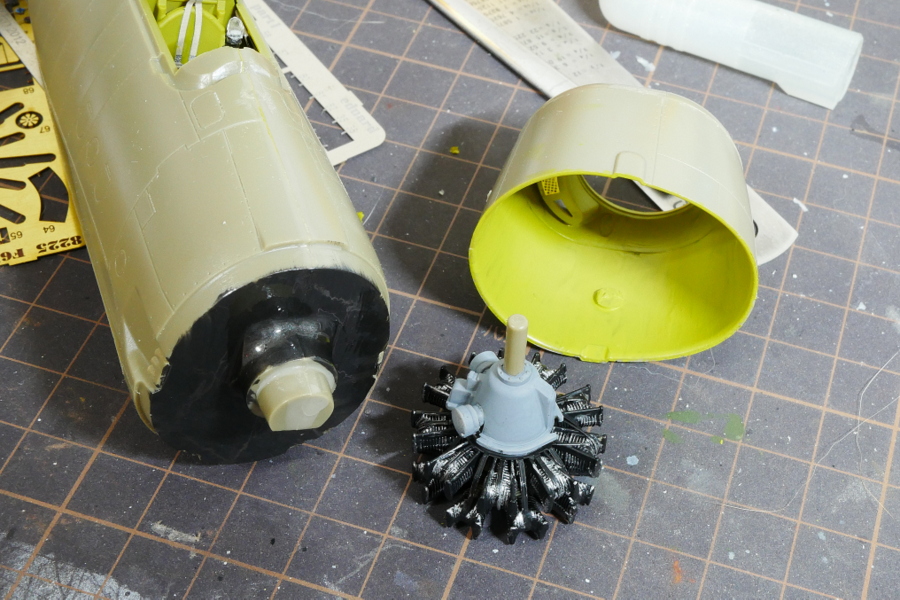 I’ve almost finished painting the engine, so I’ll try to glue it.
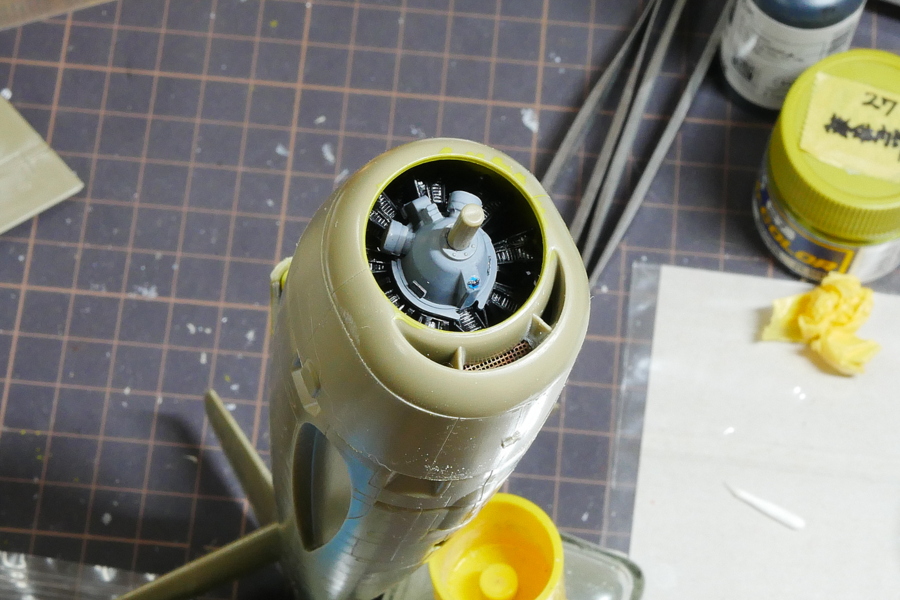 It’s like this. Amazingly, there is an emblem part.
(2020/05/11)
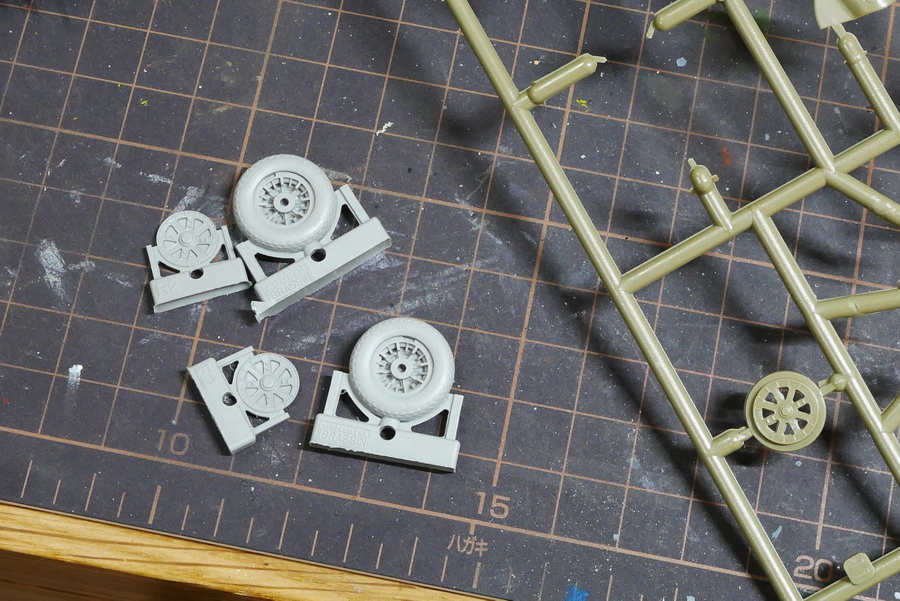 There were tire parts made of resin. This one seems to be better molded than the original injection tire parts.
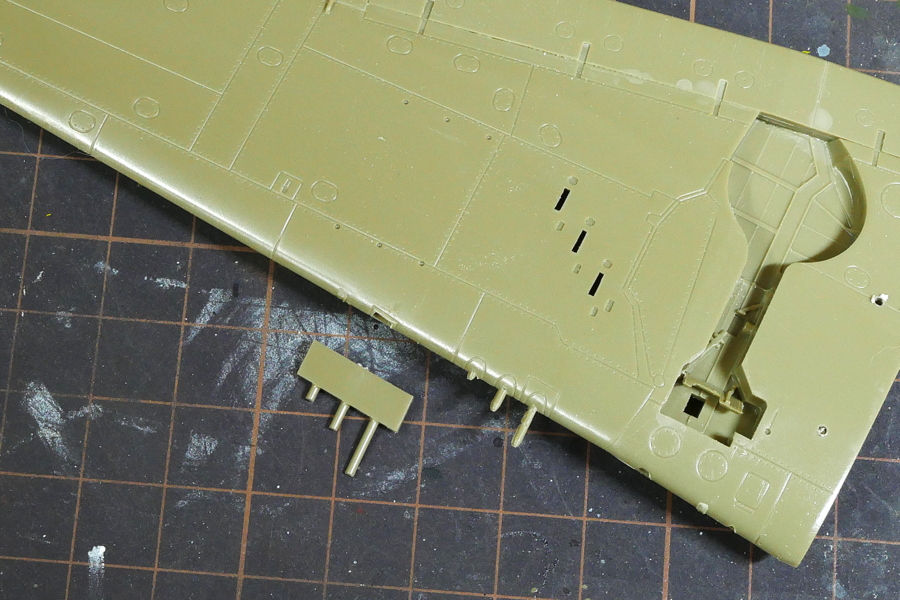 There are also two types of machine guns.
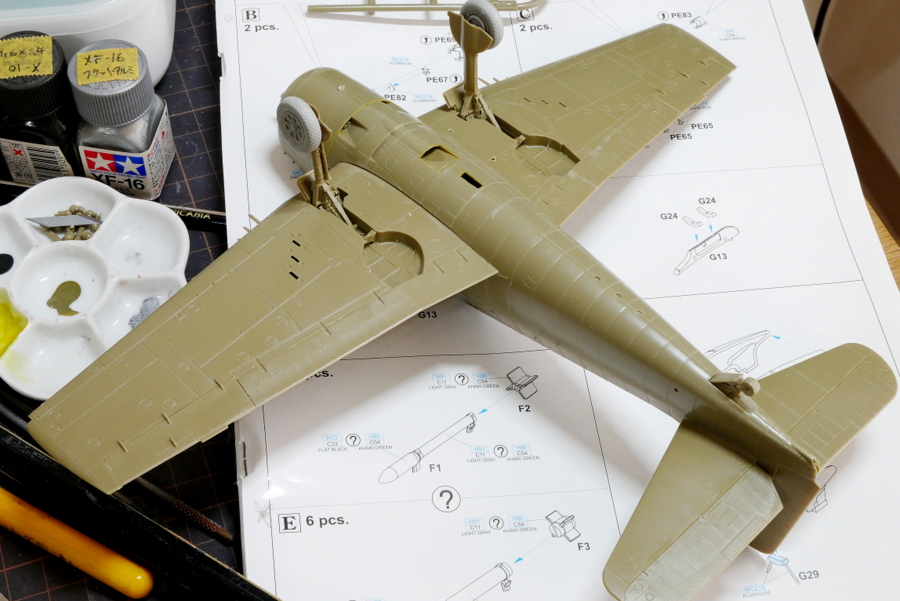 I finally put it together roughly. Since there is a little gap between the main wing and the fuselage, it would be better to make the gap on the lower side because adjusting later will be less troublesome. I’m a little worried about the strength, so I added instant glue to make it strong.
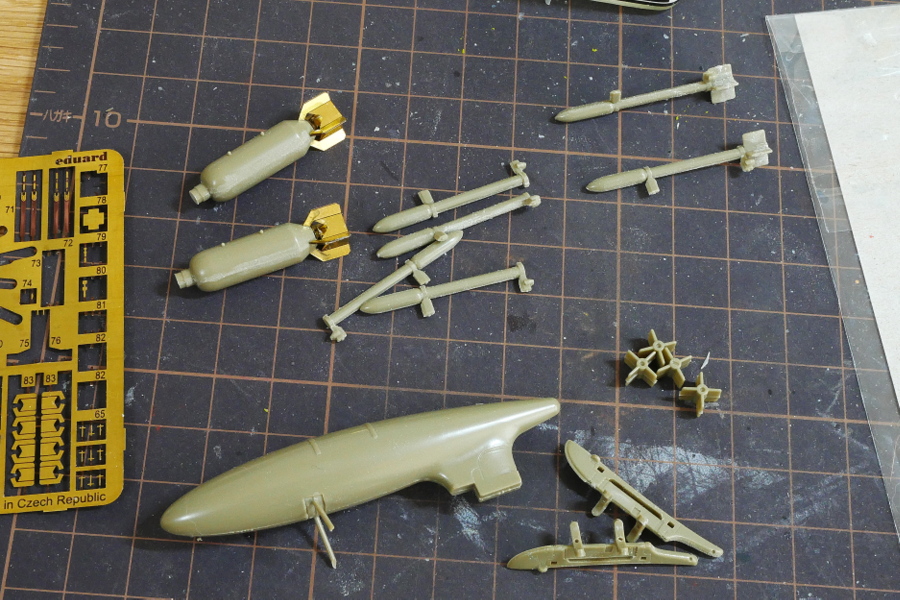 Now I’m making rockets and a fuel tank.
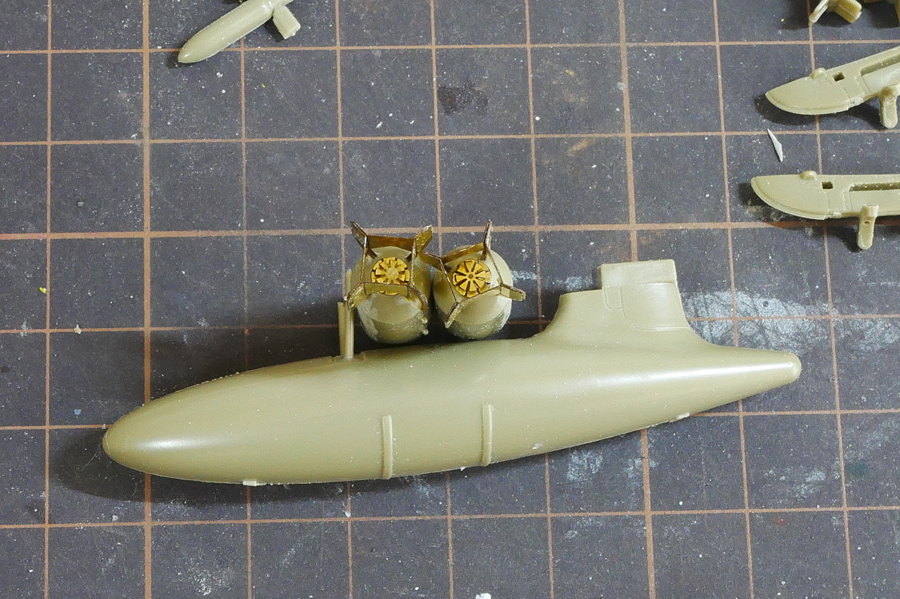 The bomb was reproduced with excellent parts in the back. There are many small parts like this, so it takes time to assemble.
Maybe because of the new virus epidemic, they were having a sale on online game sales, so I belatedly started Watcher 3. The “Brad and Hardcore” game level is pretty tough without prior knowledge. It was so difficult that I could see it being thrown halfway. It isn’t easy to level up and get many skills.
(2020/05/13)
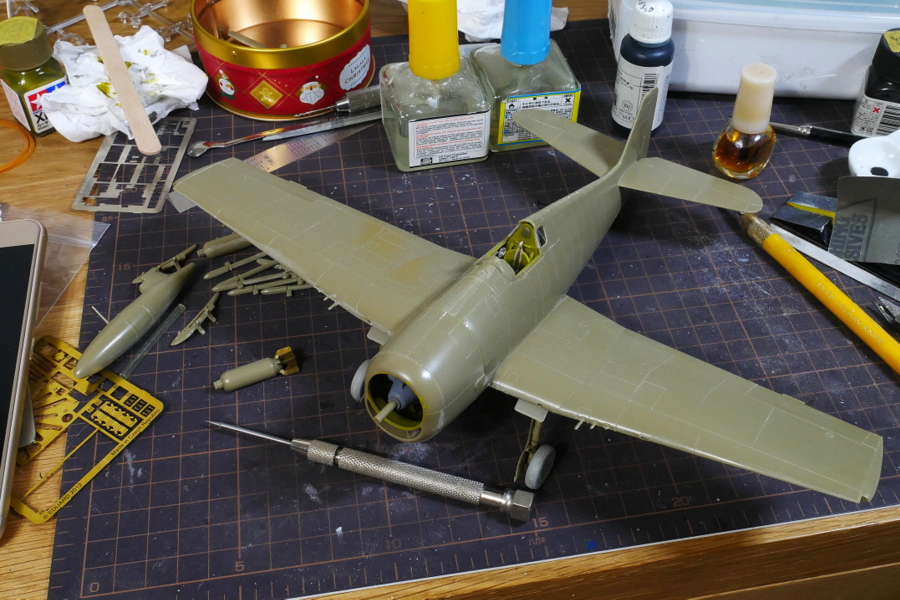 The panel line is slightly carved with a needle. There are quite a lot of lines, only significant lines. I have often used this Mineshima precision needle for the past few years. I use it by baking and sharpening it with a metal file. I also have a Creos line chisel, but it needs some tips. In the end, it will settle down to my taste.
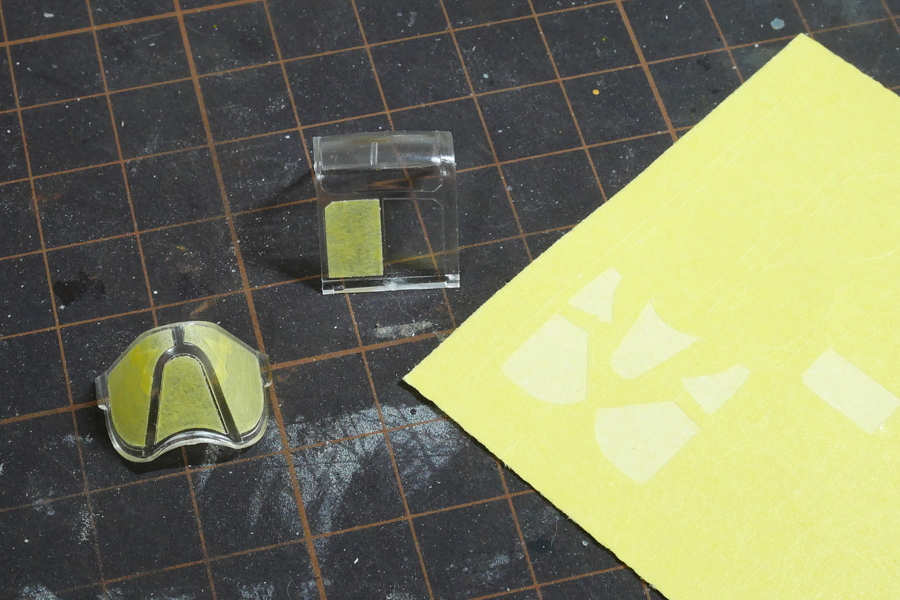 Masking tape for canopy. It is unnecessary, but it would be great if available. This time, it is not a detailed canopy, but there are some curves here and there, so I could easily mask it with the tape attached from the beginning.
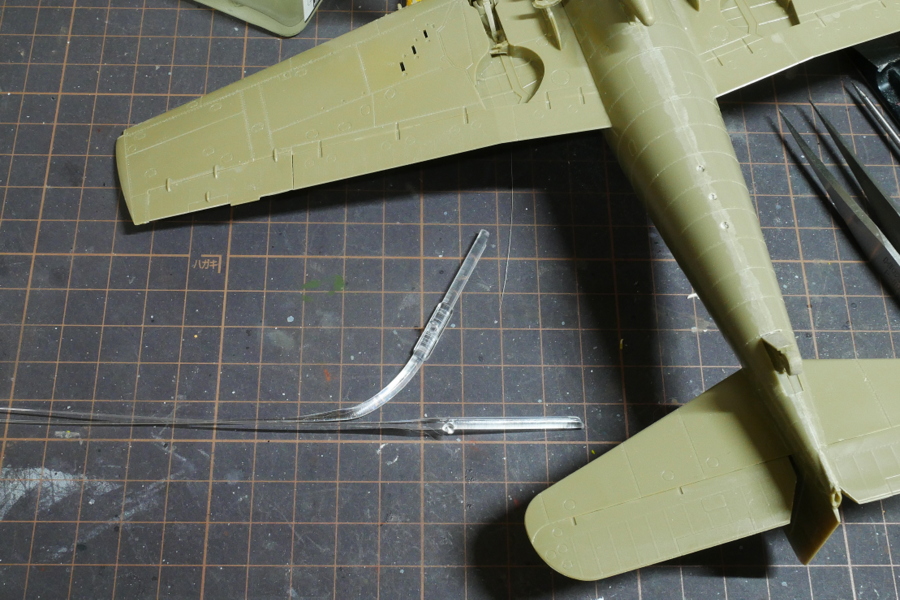 This kit uses many clear parts on the top and bottom of the body. Some parts are finer than sesame seeds; I lost them as expected. It can’t be helped, so that I will process it with a stretch runner.
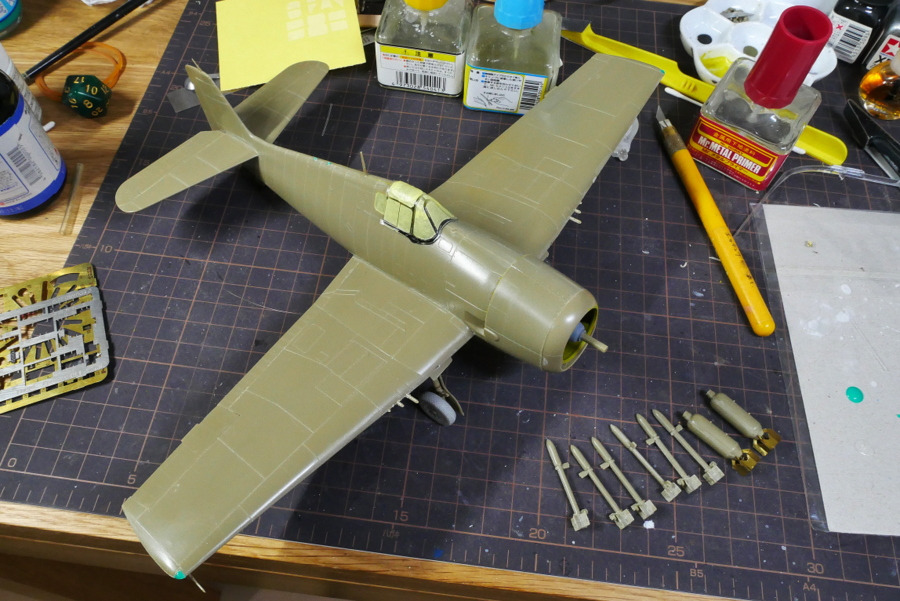 This is the part to be painted for now. And there is a propeller.
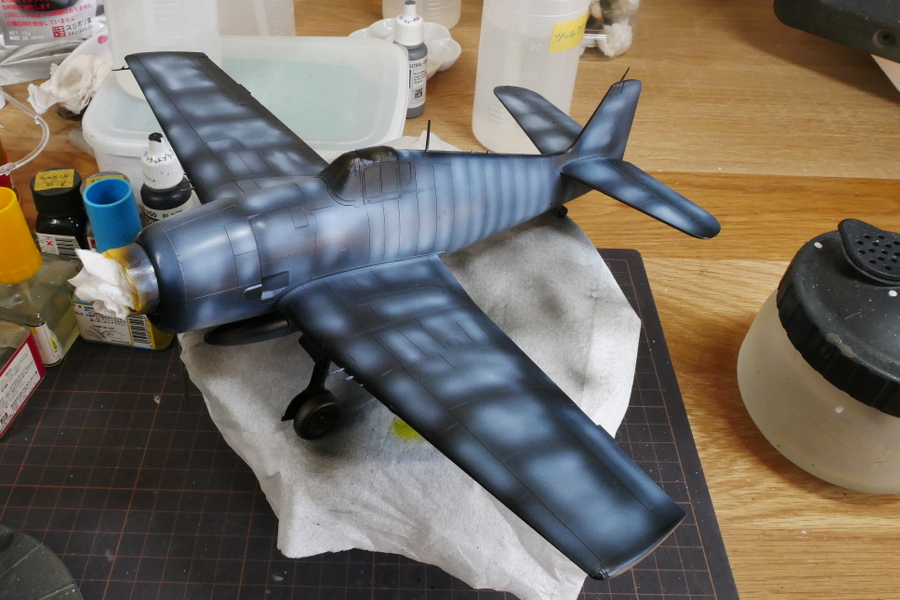 This F6F-5 is painted in a single color with a color-fading effect.
These days it’s hot, like midsummer, so I bought T-shirts in the mail order to ZOZOTOWN. I don’t want to go out with a mask in midsummer. There will be a sunburn shape on the mask.
(2020/05/16)
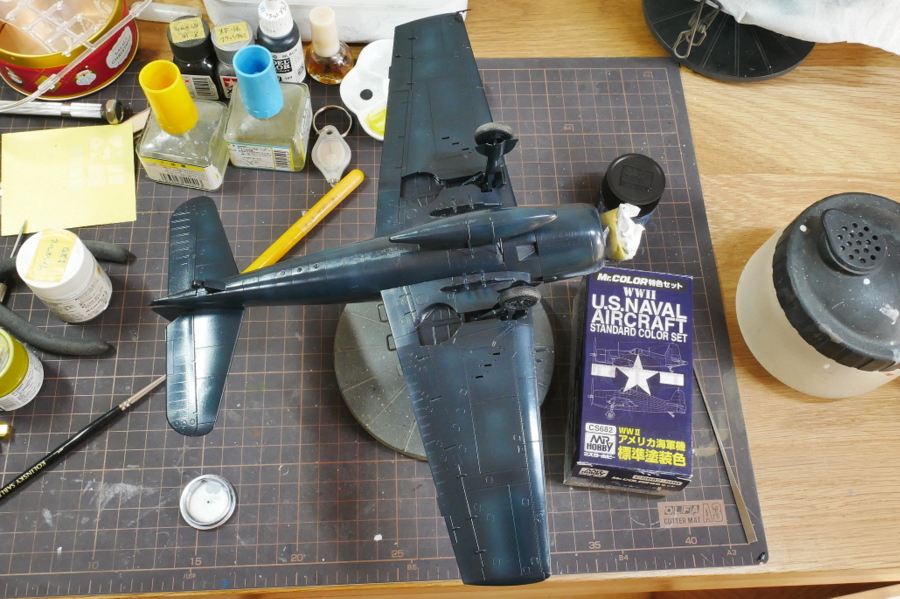 I have Creos US Naval aircraft standard color set, so I painted C365 FS15042 gloss sea-blue.
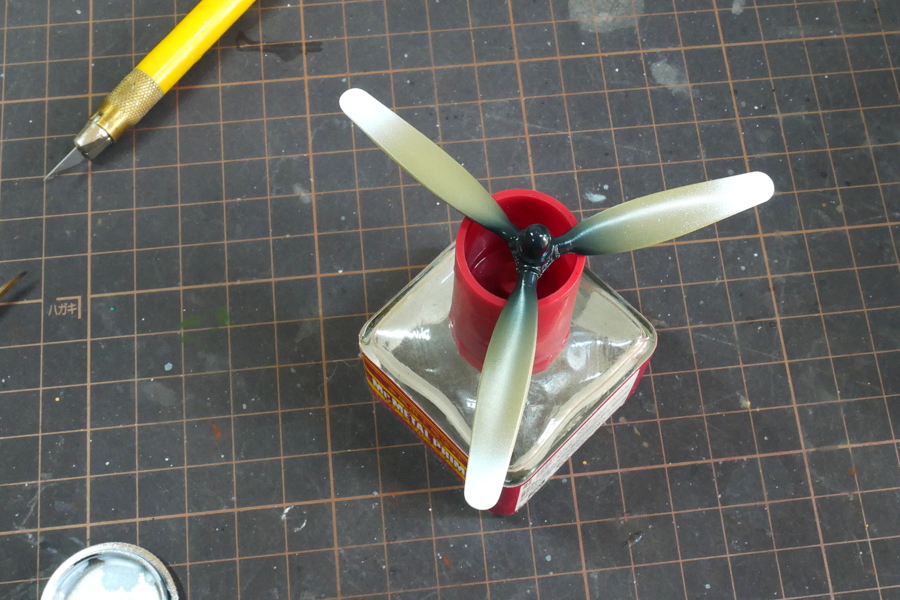 The propeller is also being painted. I put white on the yellow part first to help the coloring.
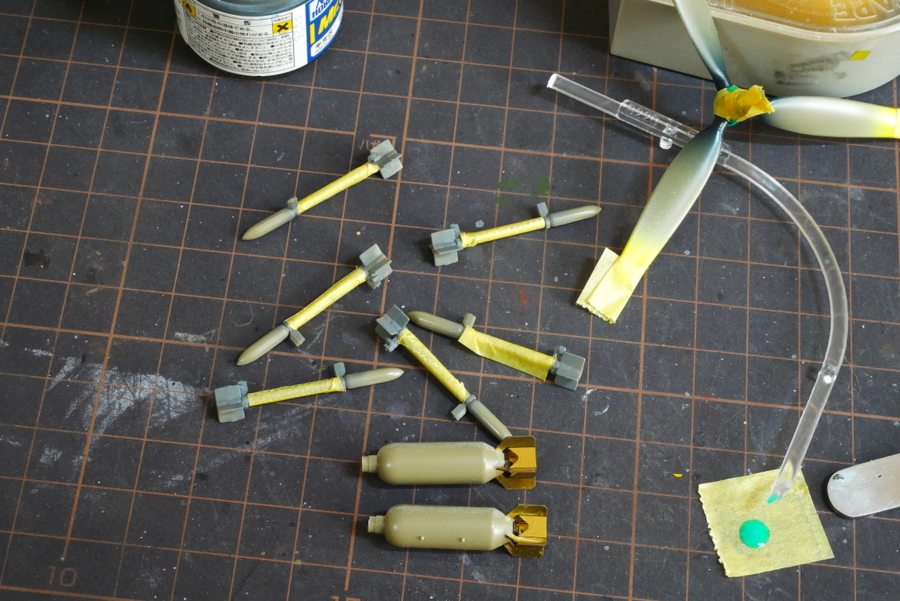 The rockets are painted in two colors, gray and dark green, and they are painted separately with masking tape.
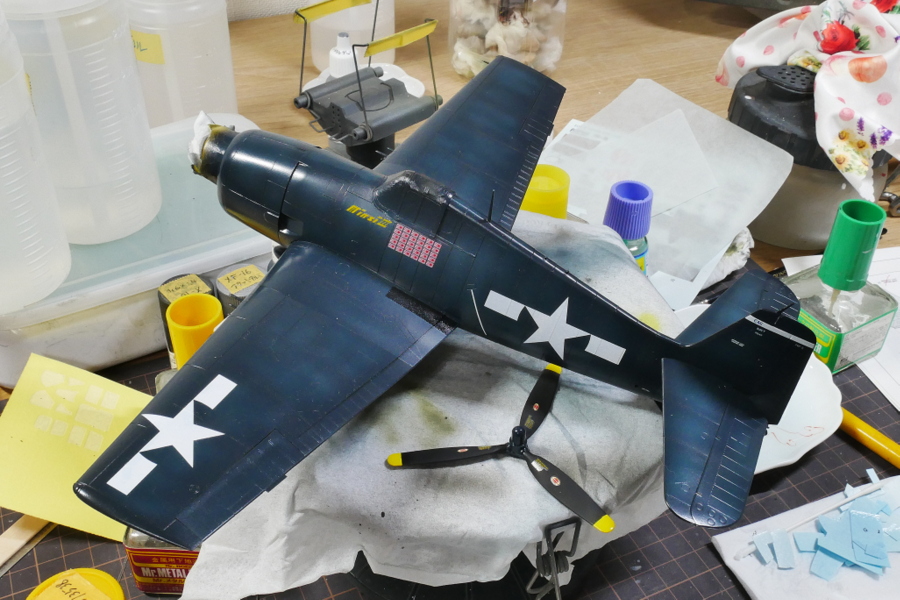 The white decal color with the Eduard kit is a bit lighter. Is it because I put it on a dark blue fuselage?
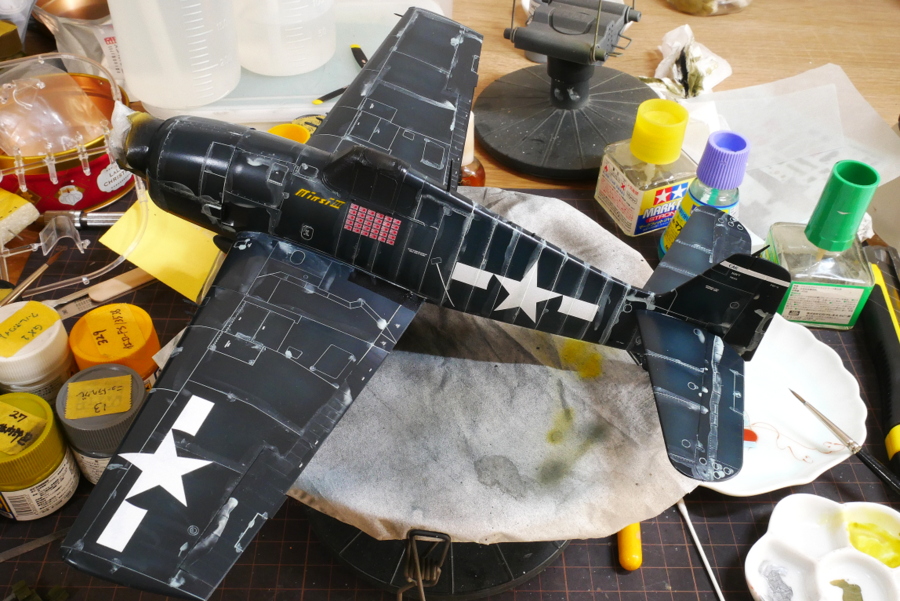 It’s quite a dark body, so I’ll try to use the panel line with light gray inking. It’s hard to wipe it off if I do it too much.
(2020/05/19)
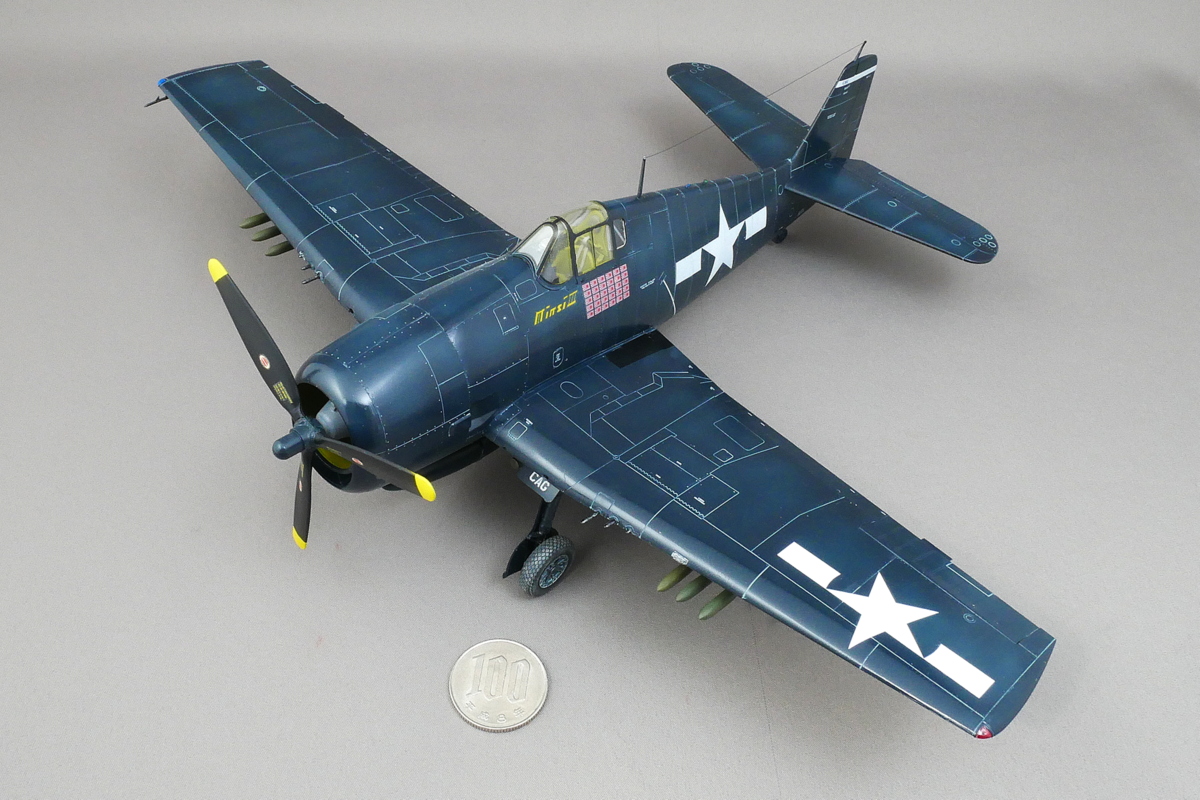
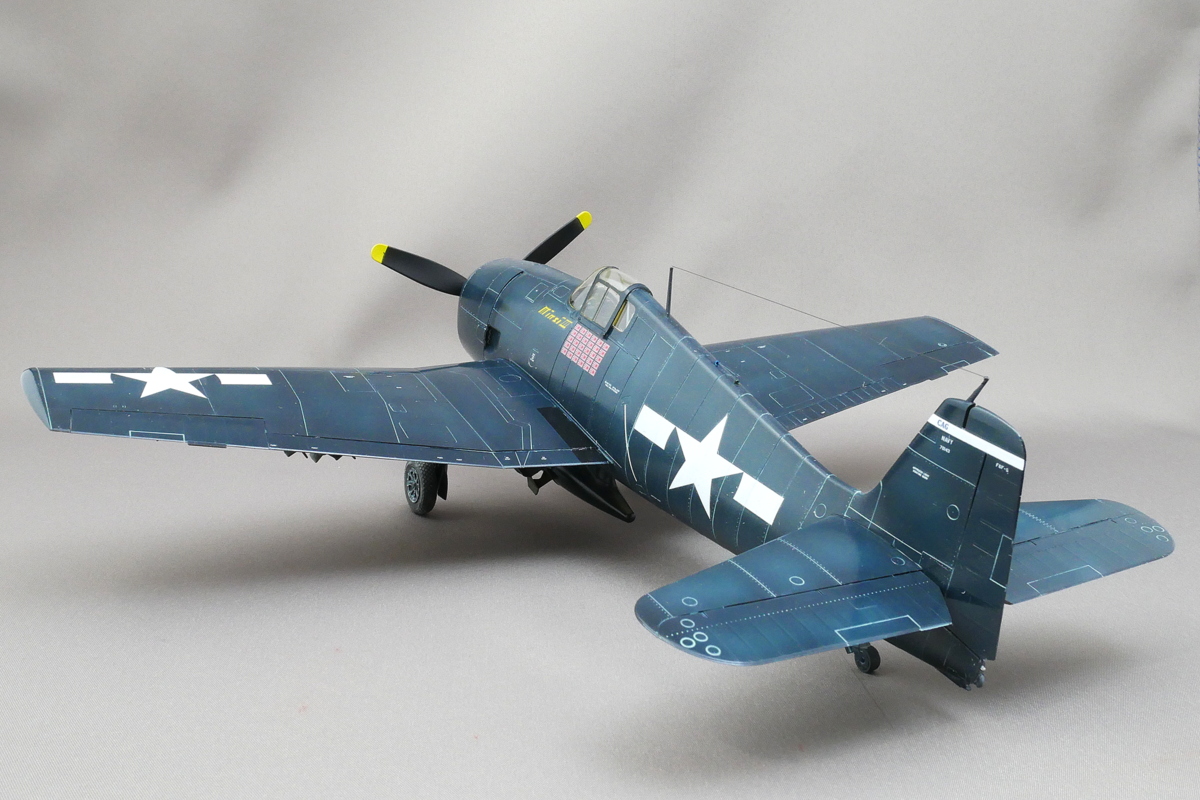
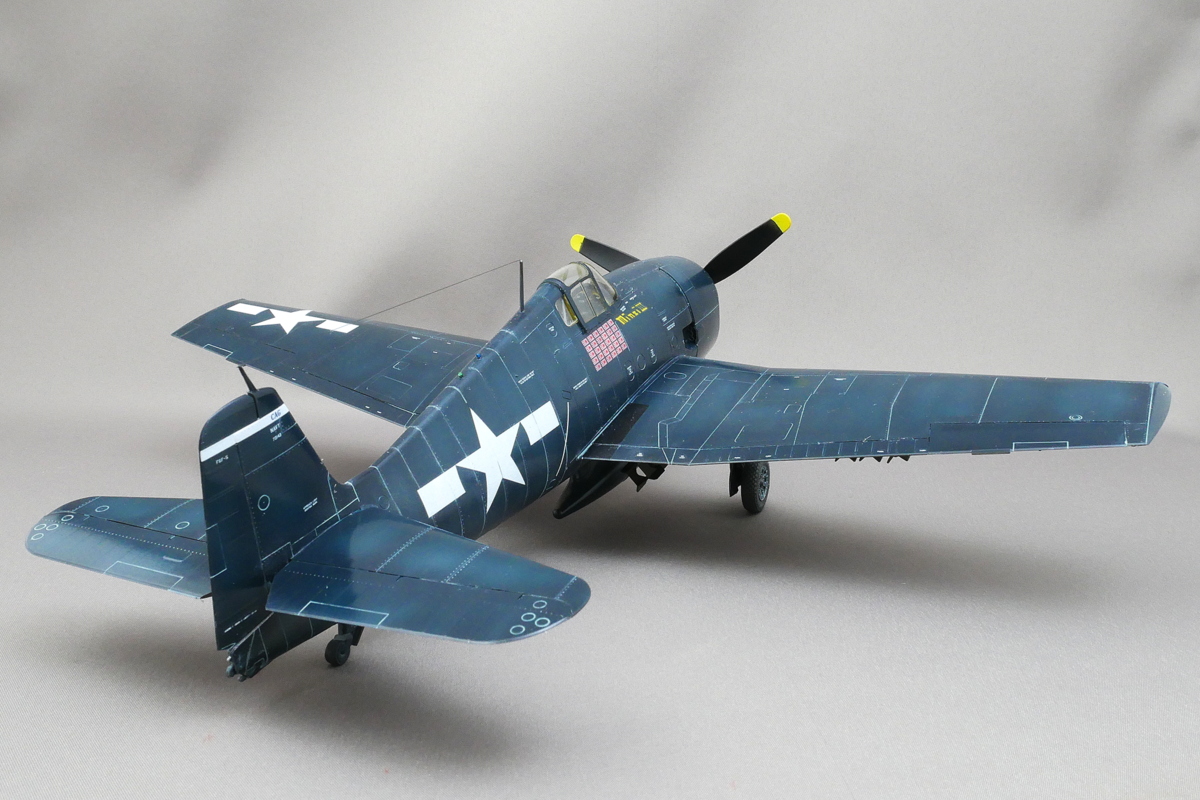
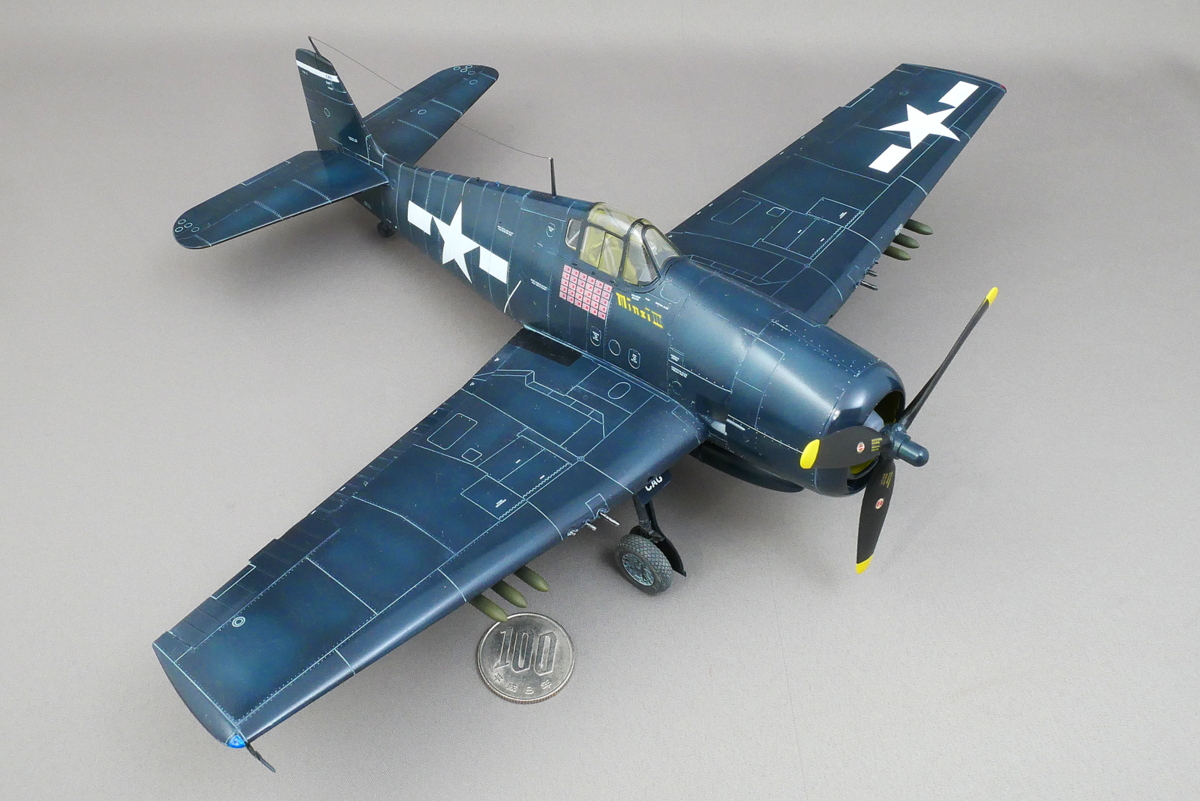 The F6F -5 Hellcat has finally been completed. The F6F Hellcat is the successor to the F4F Wildcat and a major U.S. Navy aircraft during the second half of World War II. It is equipped with a powerful engine of 2200 hp, and although it is a large body, it has been able to make the remaining capacity of the cockpit bulletproof.
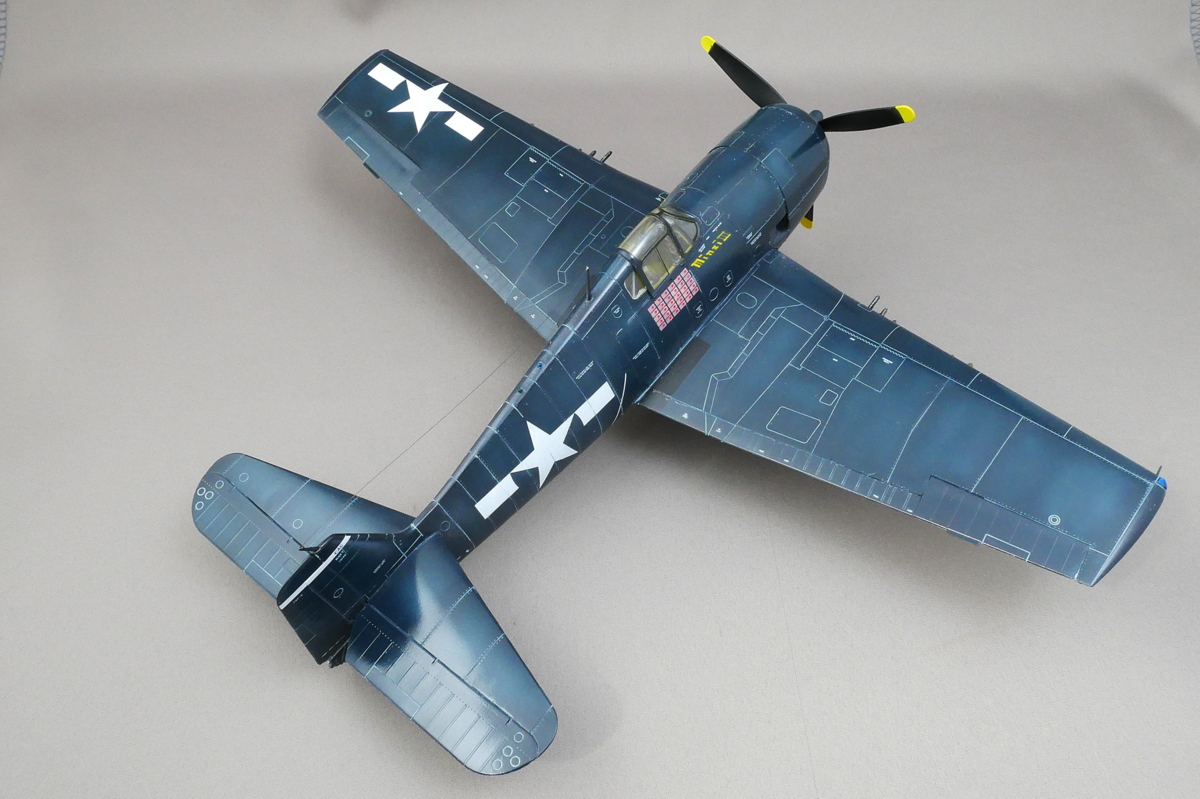
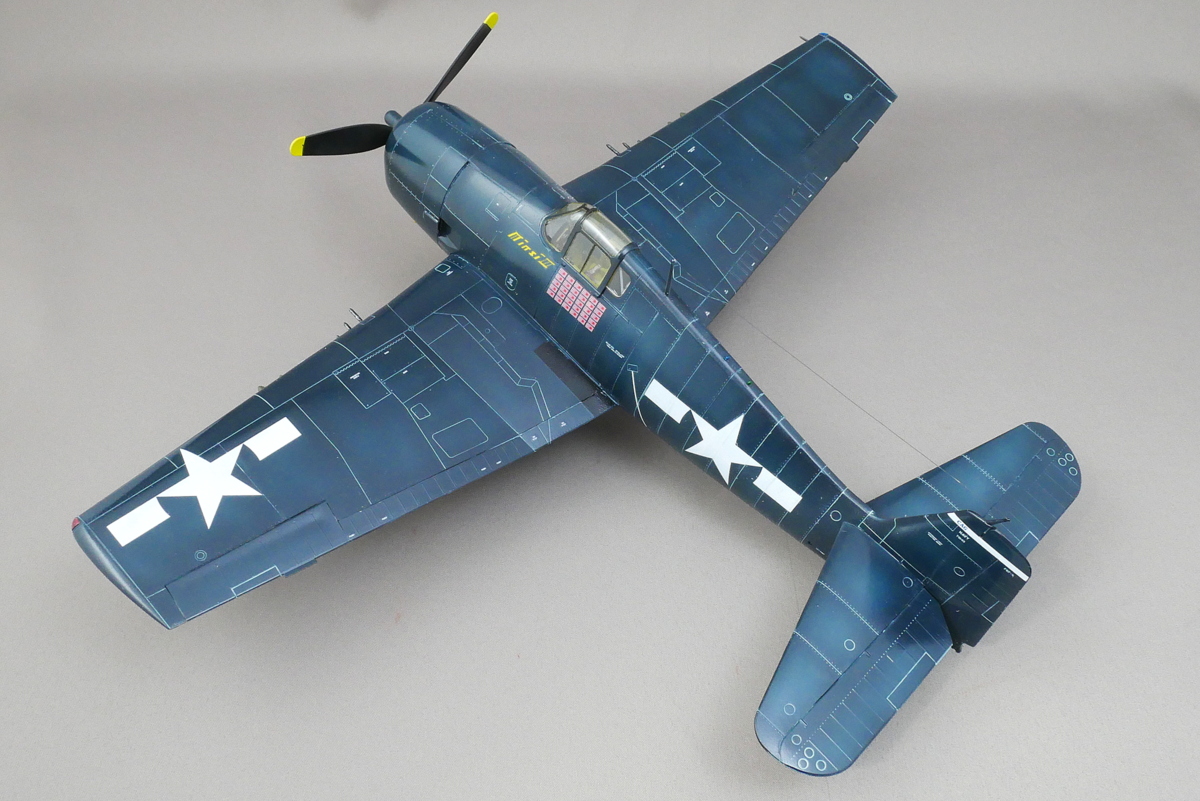 Armed with six 12.7 mm Browning machine guns. Six guns are quite strong firepower.
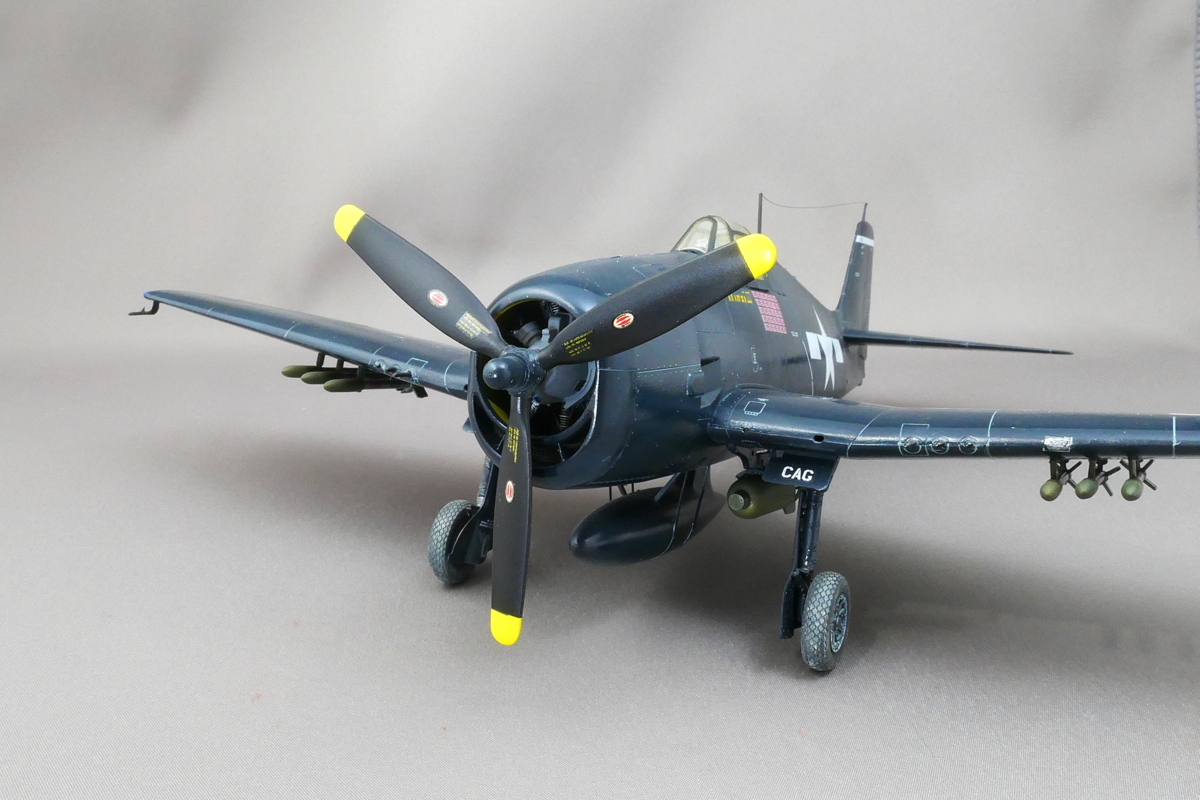
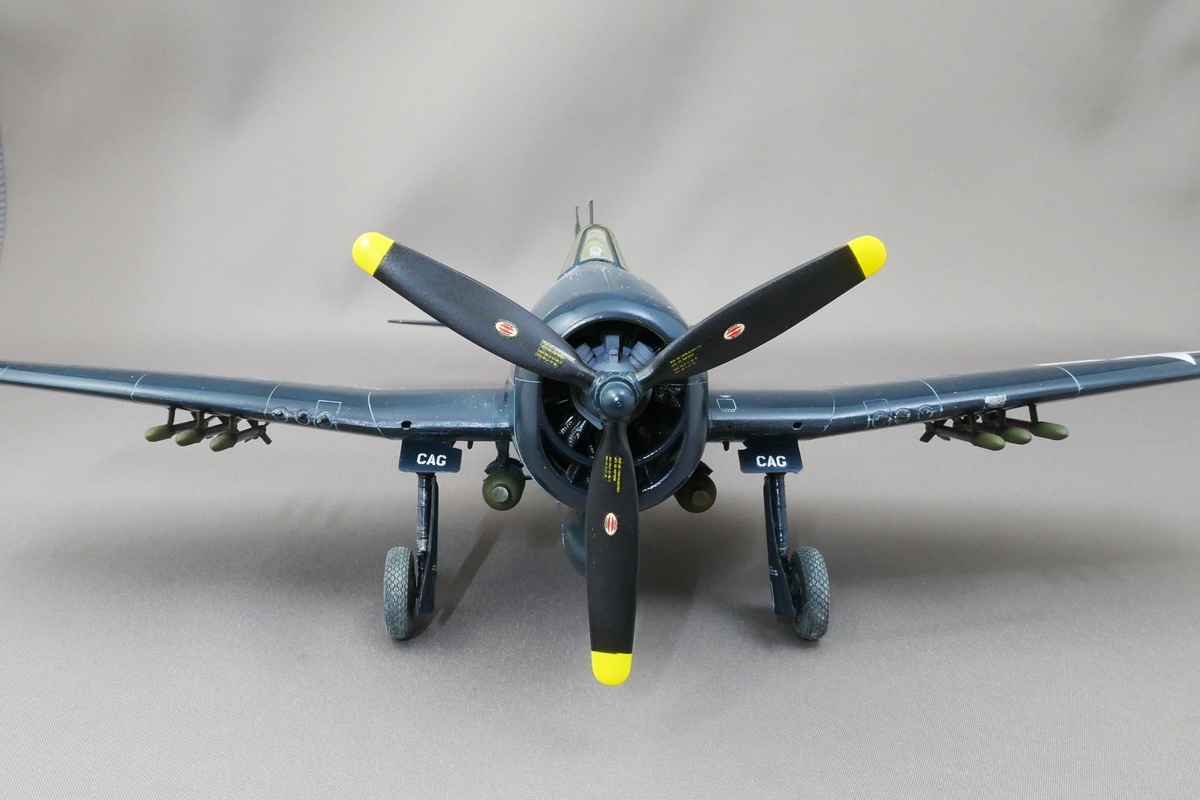 The total production of the F6F was about 12000. In the Zero fighter, which can be called a rival, the engine performance was limited, so they made it extremely lightweight and improved the individual dogfight skill of the pilot. U.S. fighter aircraft were designed differently in Japan and the United States because they increased their survivability by allocating the margin of their high-powered engines to their defensive capabilities.
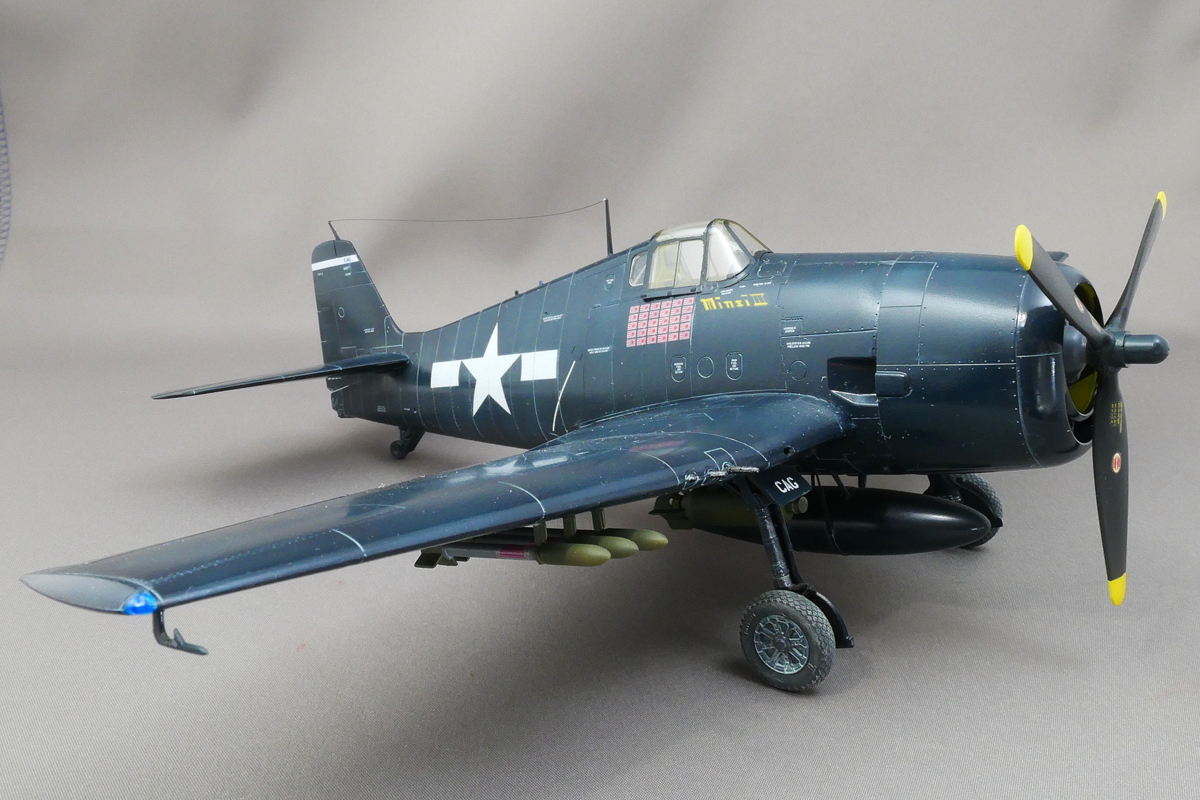 The marking is ‘Minsi III.’ This Eduard explanation said the following. David Mccampbell commanded Carrier Air Group 15 and was the most successful fighter pilot in the U.S. Navy. Flying this plane, he managed at least twenty of his 34 kills and twenty ground victories. During the Great Marianas Turkey Shoot on June 19th, 1944, he shot down seven Japanese aircraft, and on October 24th, another nine against a large Japanese numerical advantage. He was twice awarded the Congressional Medal of Honor. ‘Minsi III’ was lost in December 1944 in an accident flown by another pilot.
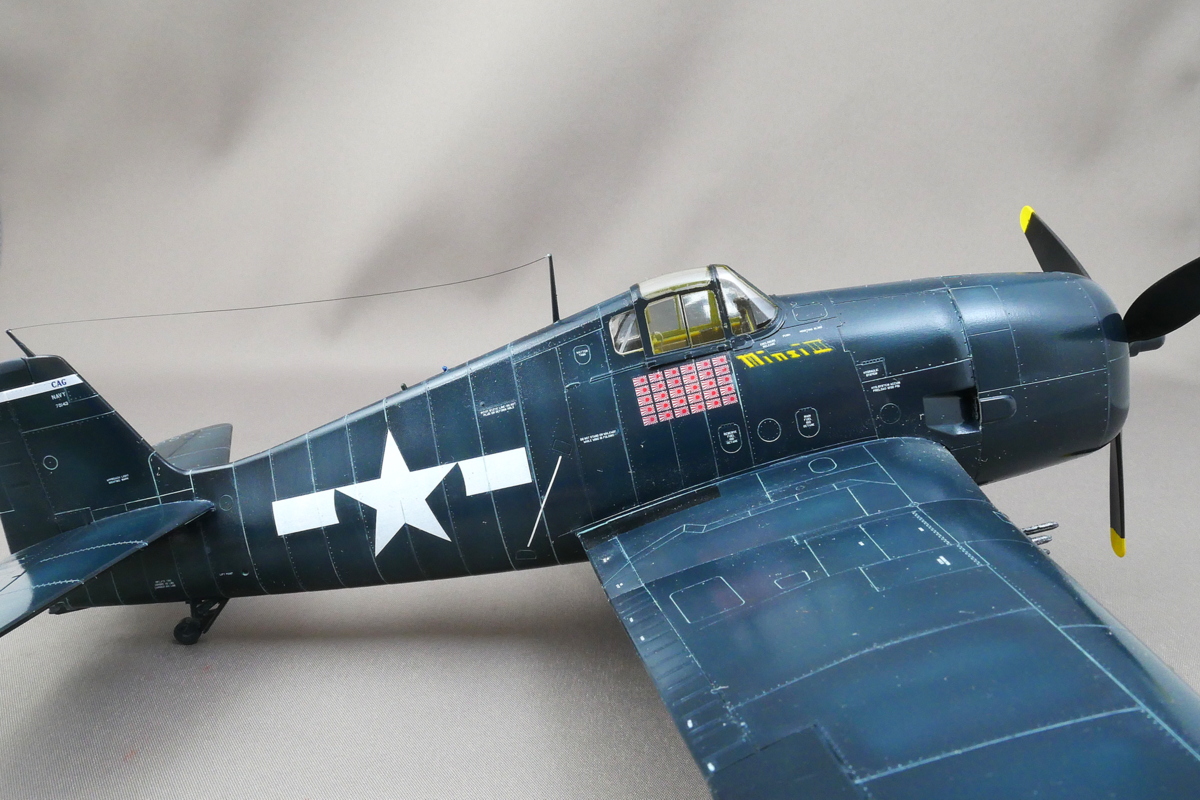
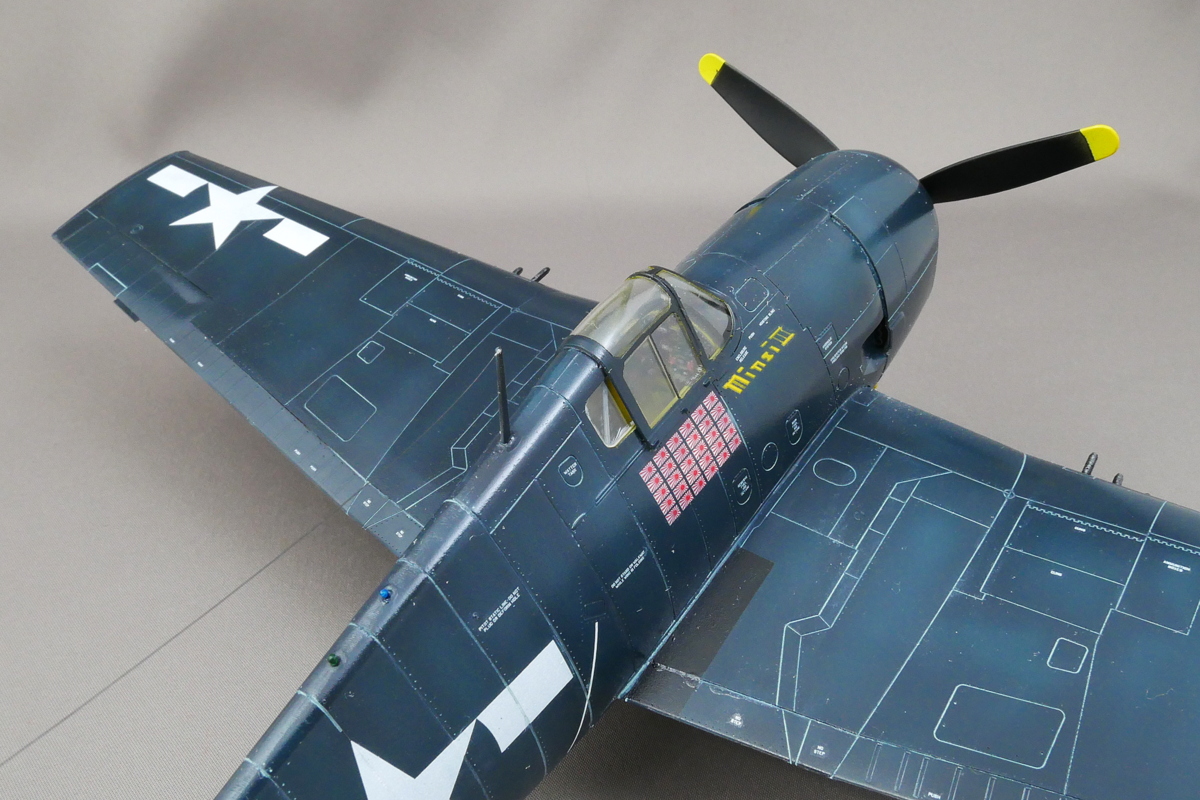 It had a lot of caution marks compared to the other WWII reciprocating aircraft kits. It’s white letters, so it stands out when I put a small letter sticker on a navy blue airplane. As a model, it is good that the precision improves.
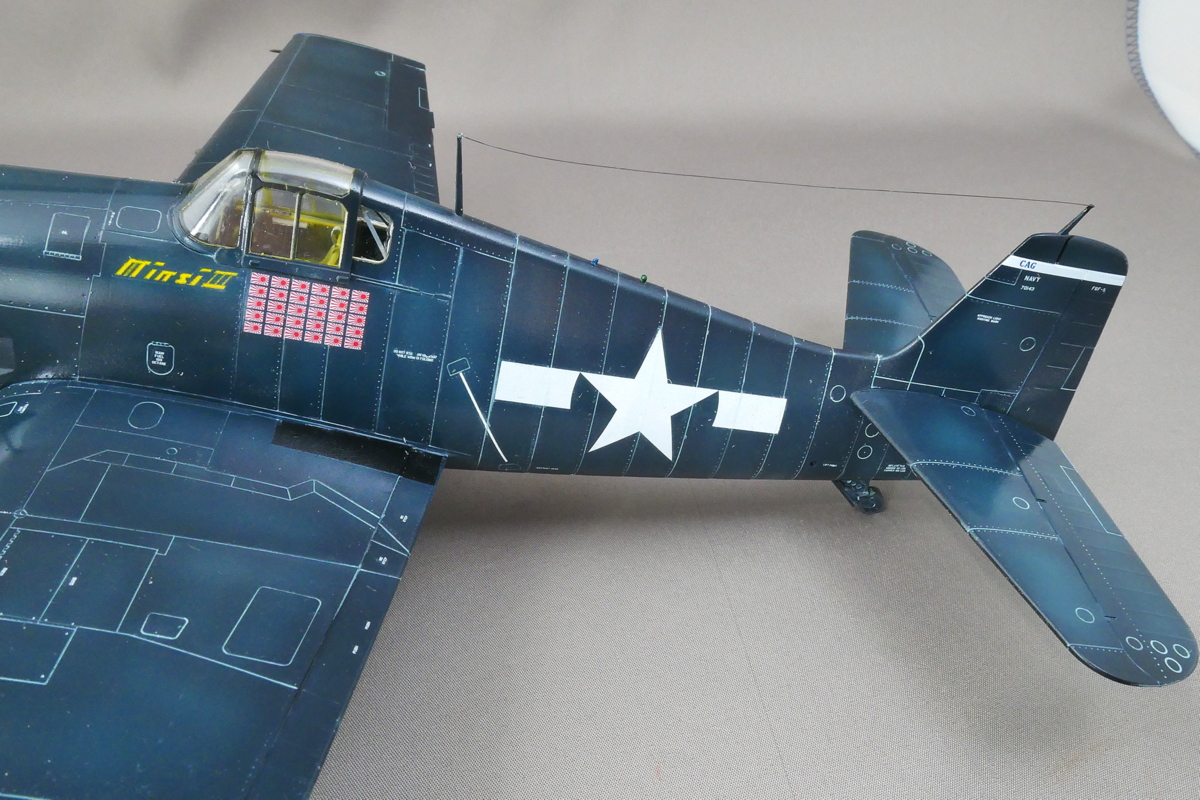
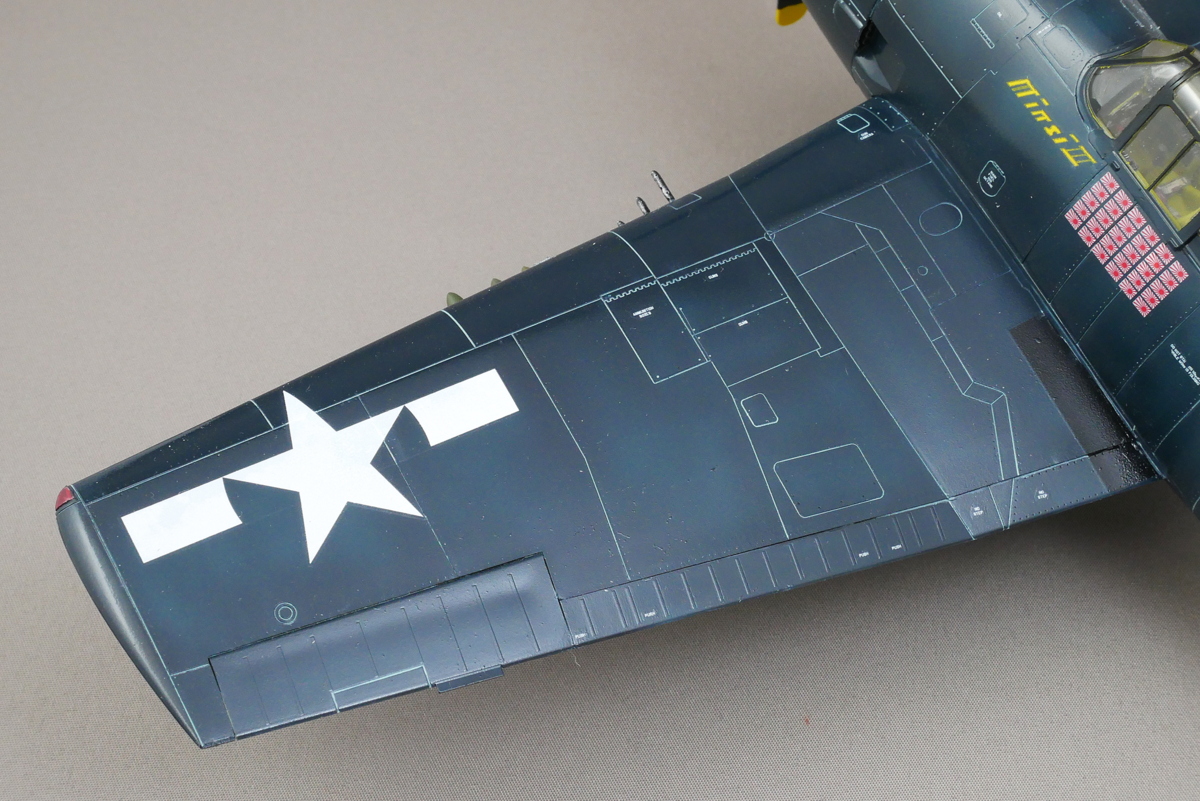 All the fuselage colors are dark blue this time, so I tried to use light gray for the panel line emphasis.
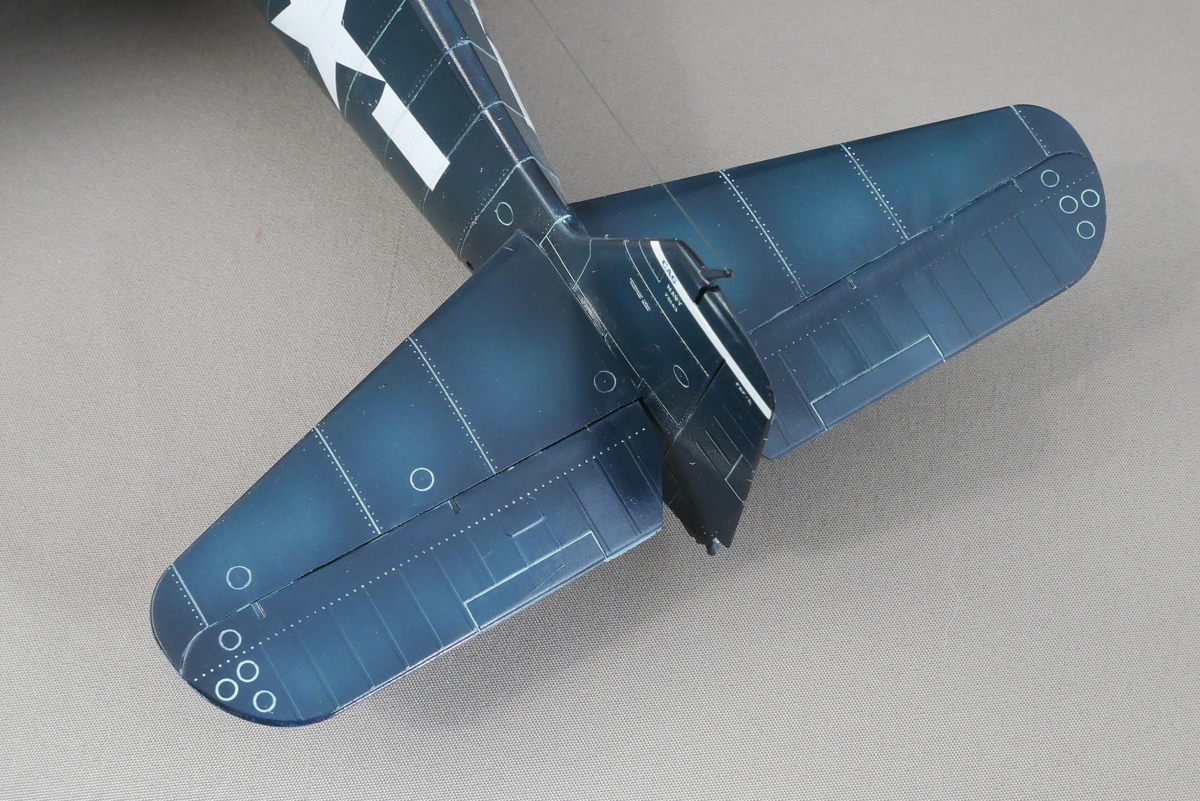
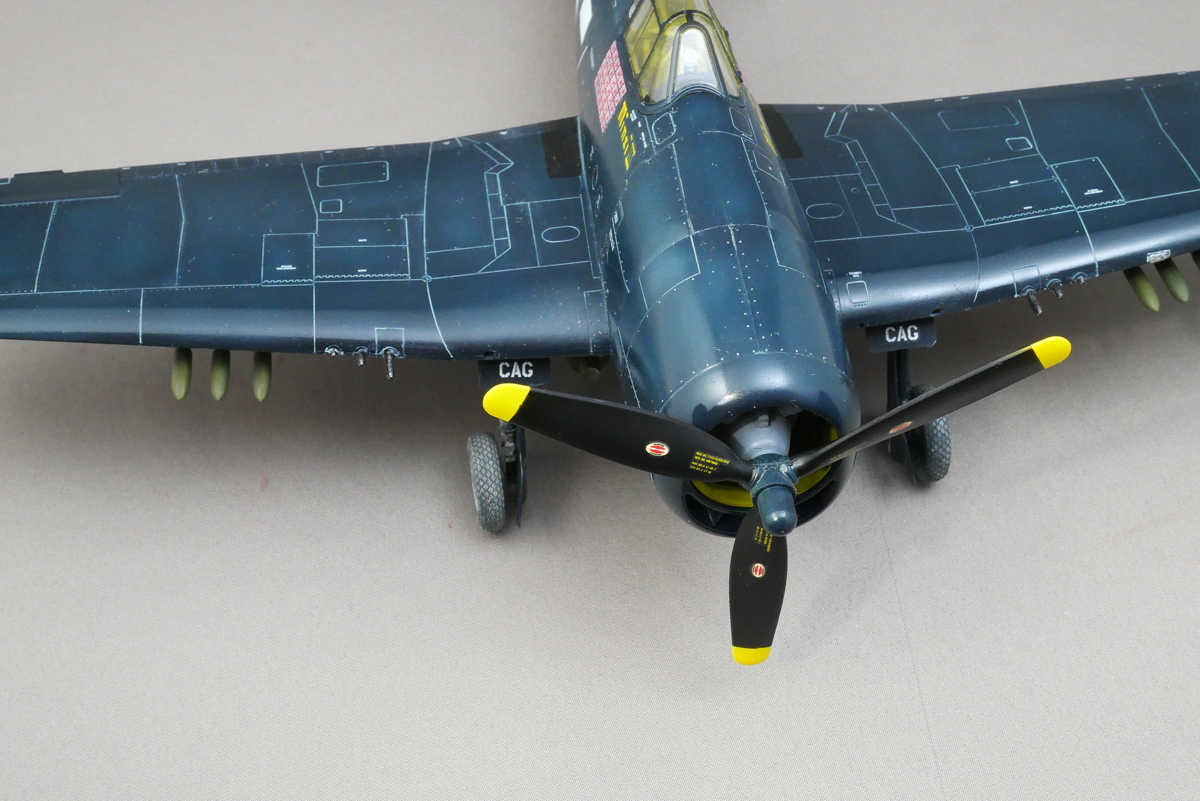 I think I did too much weathering around the tire, but knowing the tread pattern well is good.
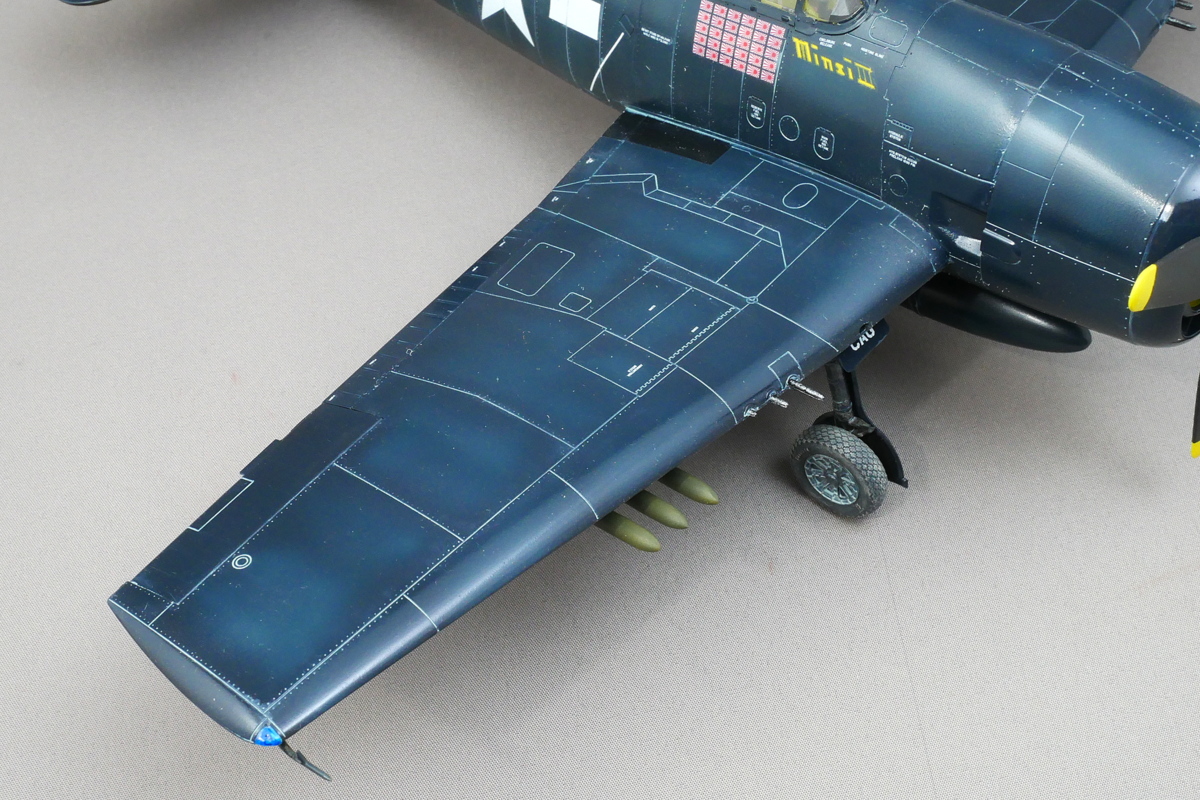
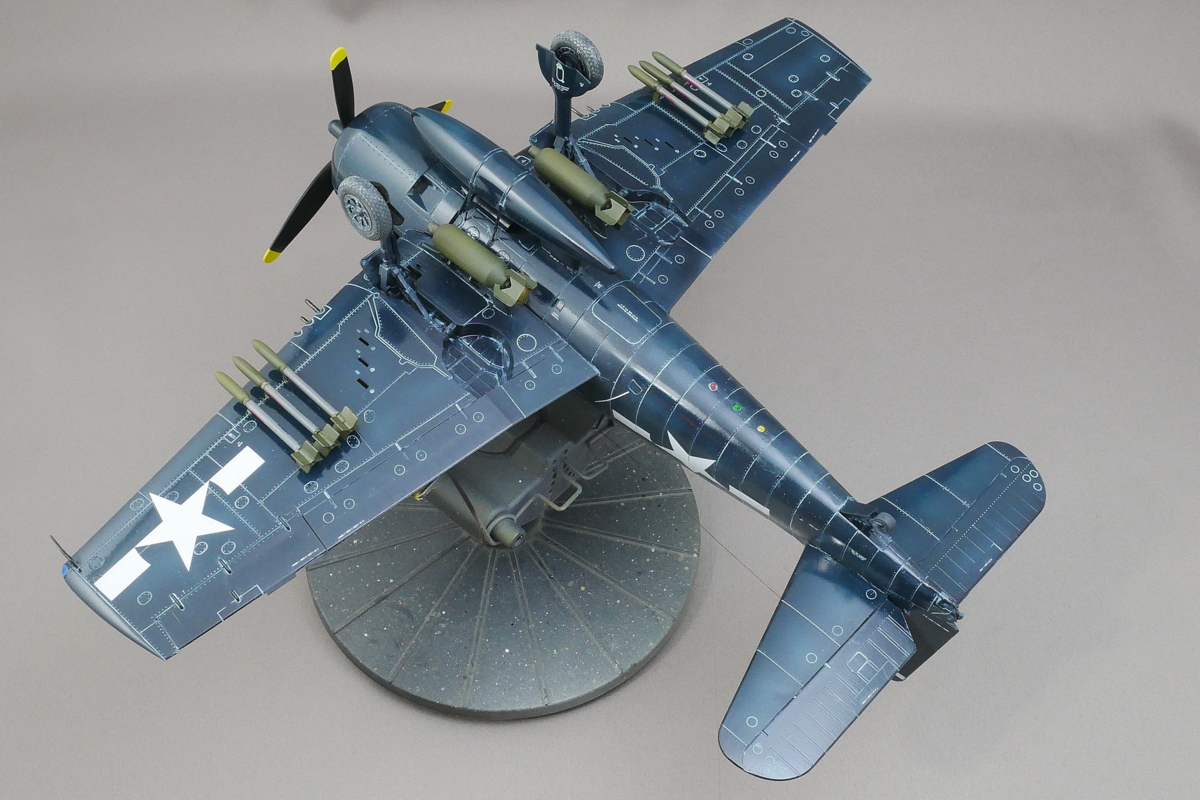 The bottom of the aircraft looks like this. A fuel tank and six 5-inch FFARs of air-to-ground rockets could also be used for anti-ship missions. I could choose 500 lbs and 250 lbs bomb, so I chose 500 lbs this time.
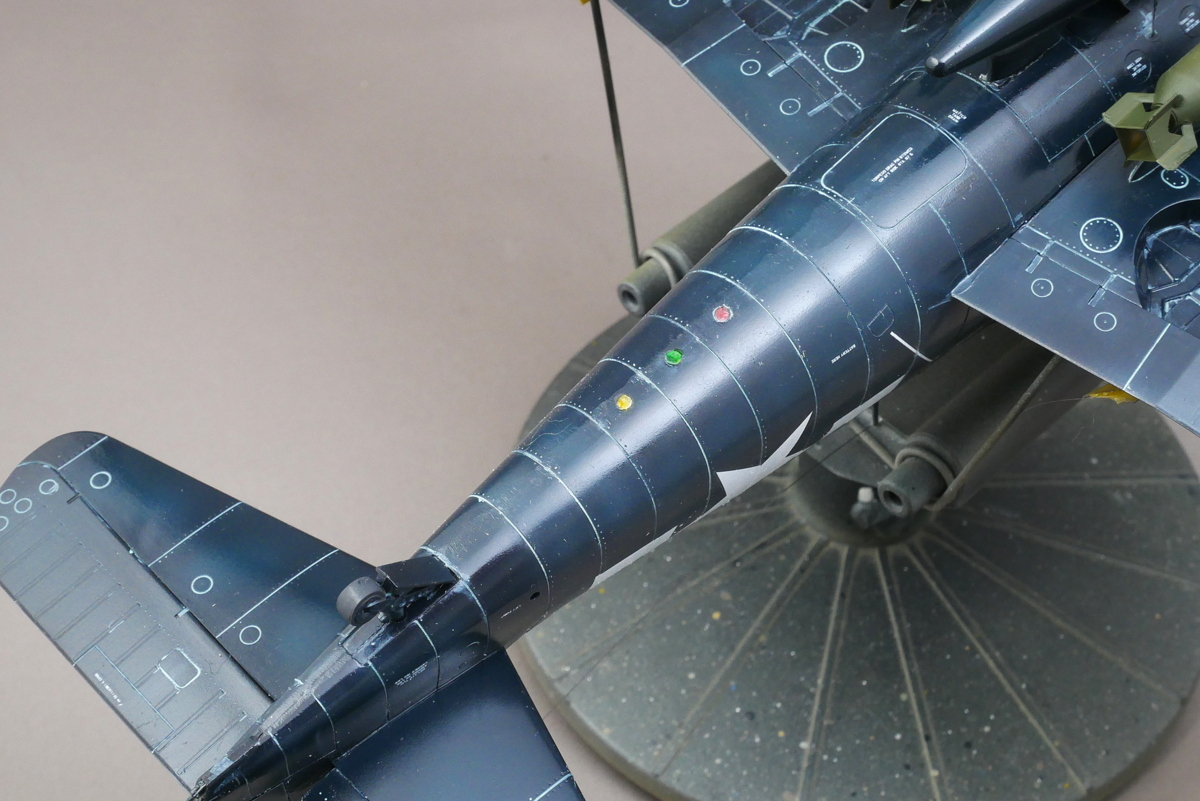
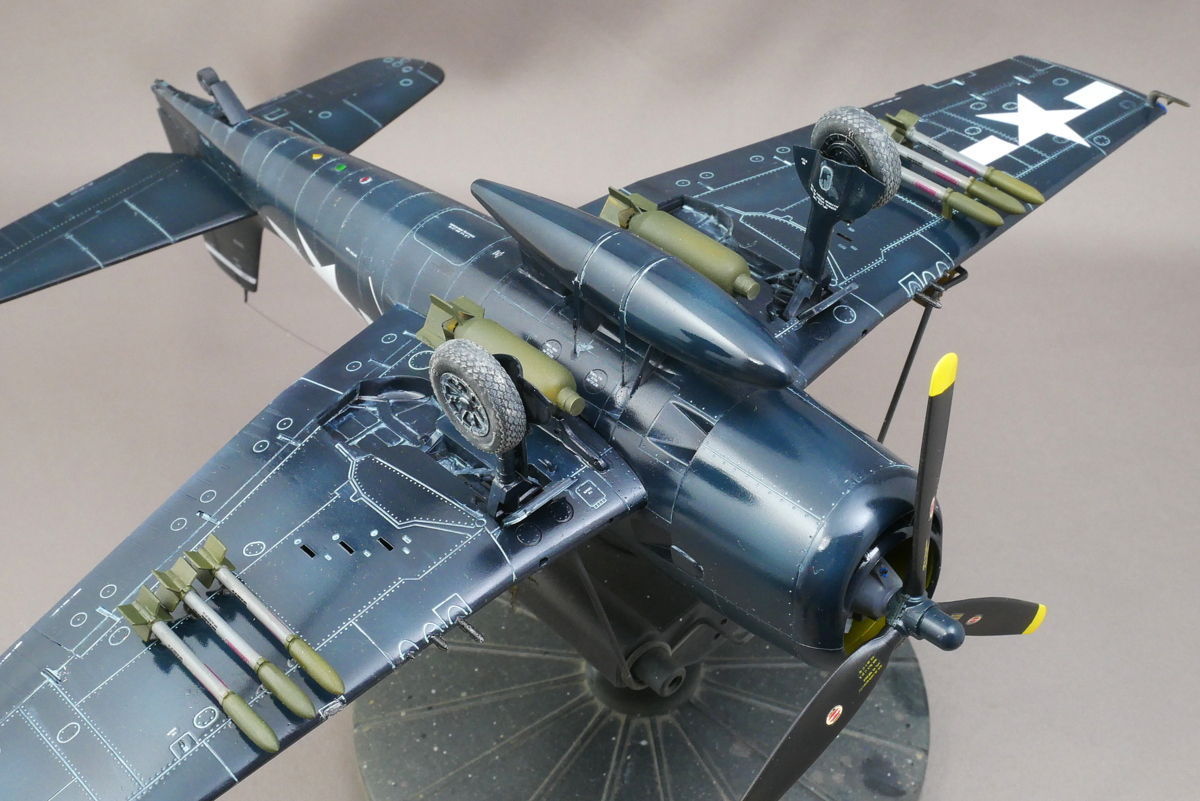 It would have been better to be more glossy, but maybe a thick glossy blue coating and the gradations disappeared. Ah, but it’s just a matter of using a clear coating.
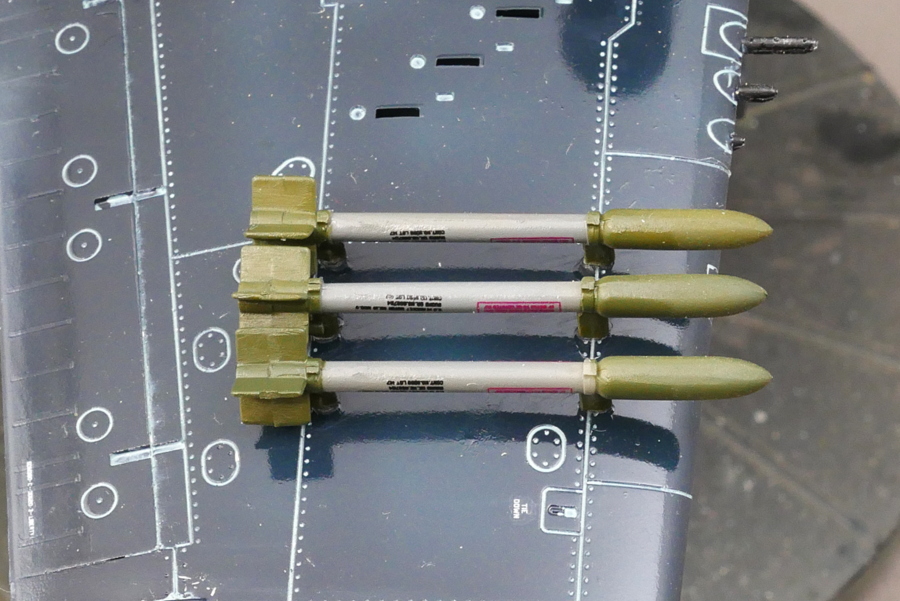 There was a fine decal on the rocket.
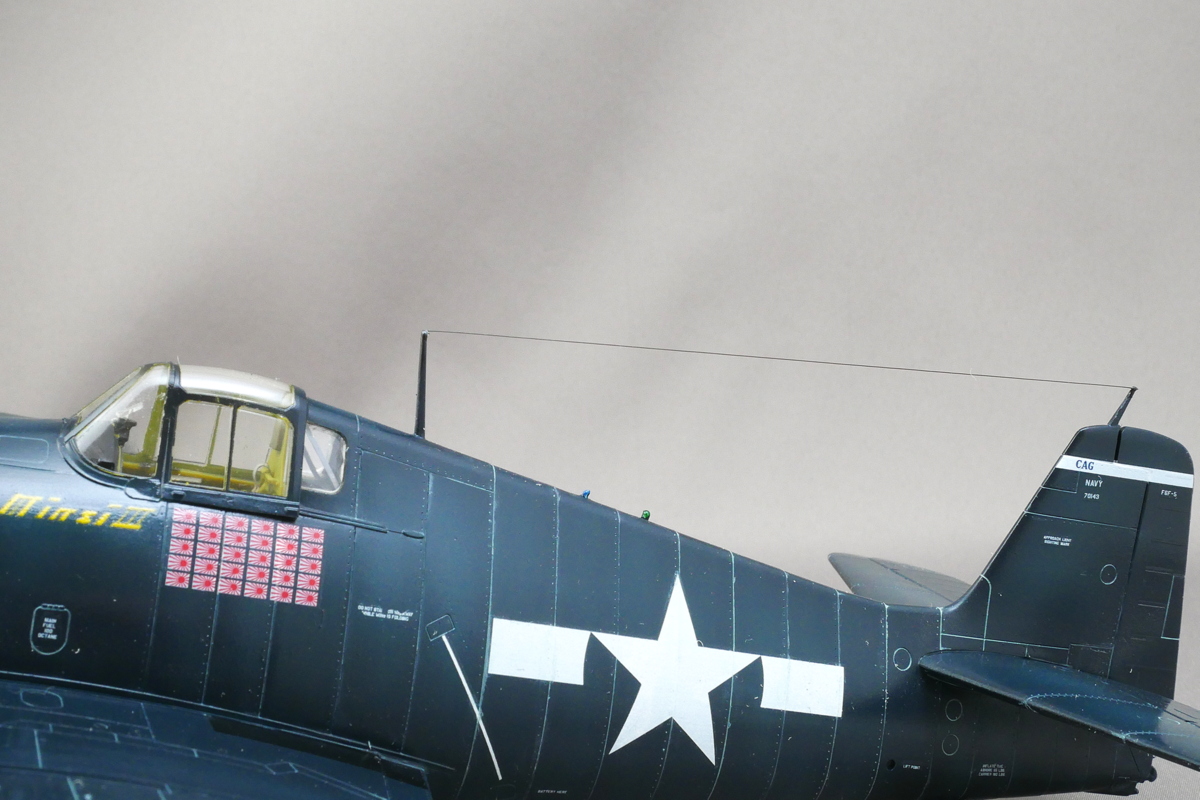 I used a black fishing line to stretch the antenna. When I noticed it was a little loose, so I re-stretched it. I like ship models to have loose antennae. It is pretty challenging to have the antenna wire of a reciprocating aircraft with tension.
 When I made the Profipack kit of Eduardo, Polycarpov before, the body was small, and the parts were few, so I didn’t have much trouble. Depending on the kit, it is quite heavy modeling. It was challenging but fun modeling.
(2020/05/27)


コメント