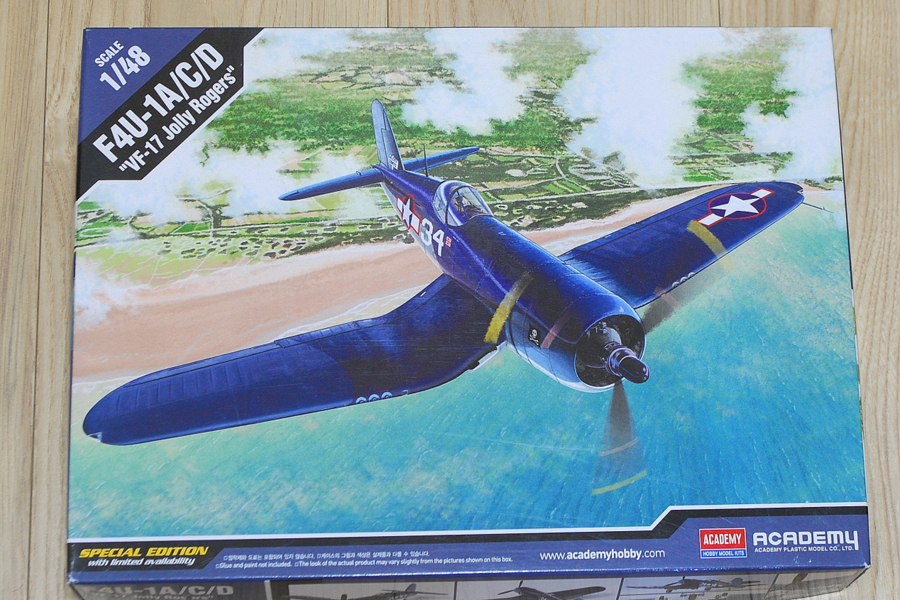
 It is the Academy’s Corsair. I think the kit itself is old, but I bought it because of the beautiful decal of Cartograf. I have never made the F4U Corsair once in the past. What kind of feeling is it? I want to build something perfectly modeled like a 1/32 scale of Tamiya.
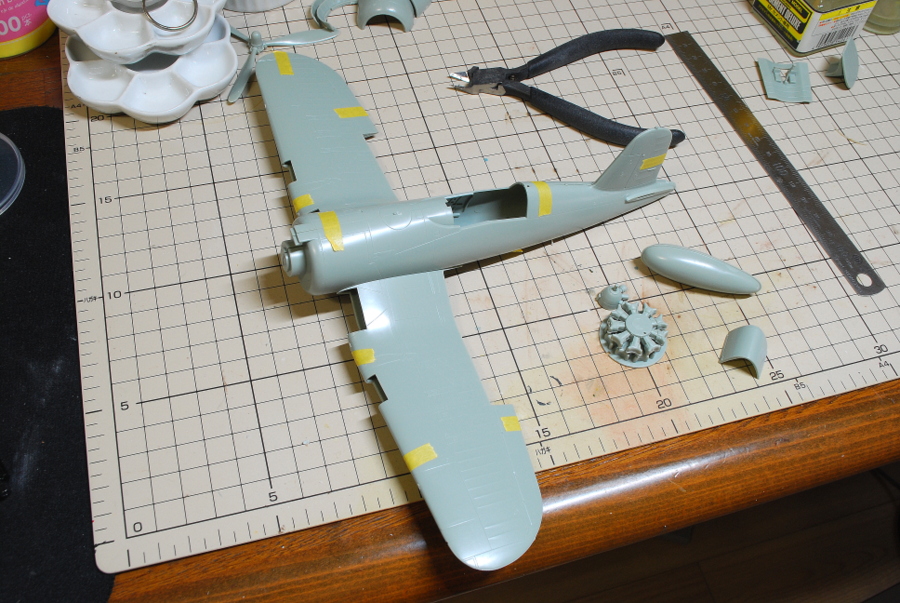 It was temporarily assembled and checked variously. It seems I will advance without so much putty fix working.
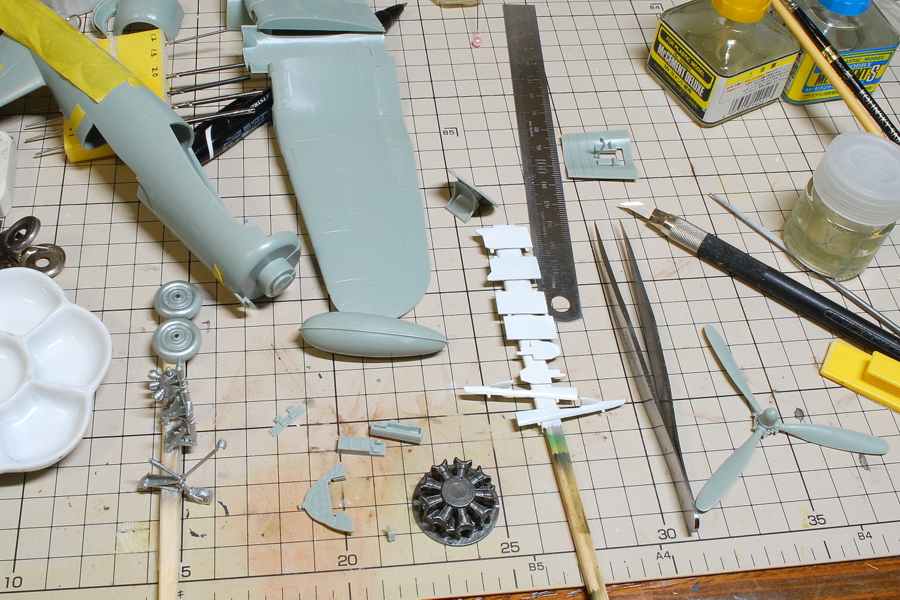 This time I will change the mood and paint small parts as much as possible with an airbrush. I am thinking about the order of painting and assembly.
 Now I’m using the paint FS 34151, the interior color of the aircraft, zinc chromate type I. Despite saying an efficient order, I forgot to paint inside the engine cowl. It’s not too much trouble; wash the cup lightly and put the other color paint in. I currently have four airbrushes. Custom Micron 0.23 mm of Anest Iwata, and GSI Creos 0.5 mm, 0.3 mm, 0.2 mm. There is a risk that I forget to clean while leaving the paint if there are multiple pieces; I have to be careful. Later maintenance is troublesome when the paint hardens.
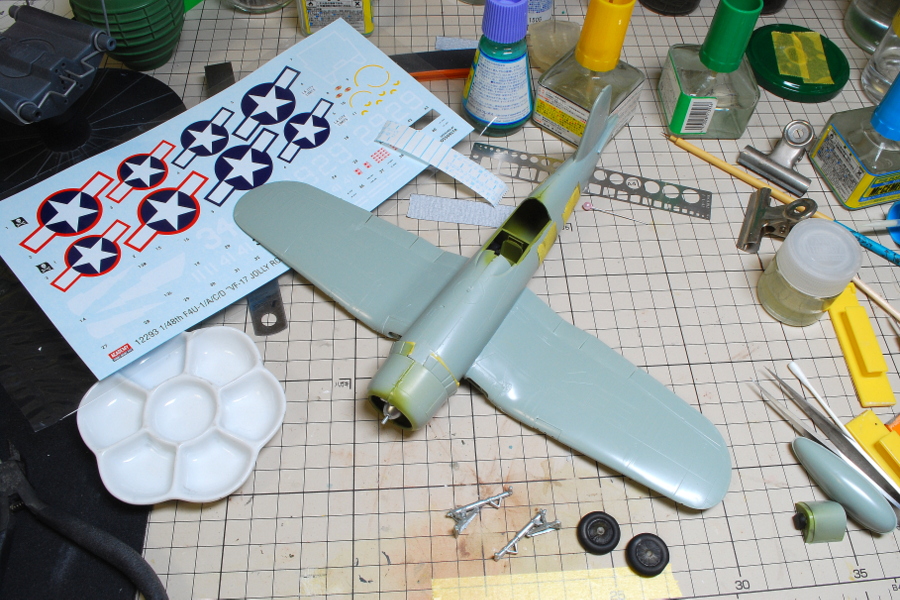
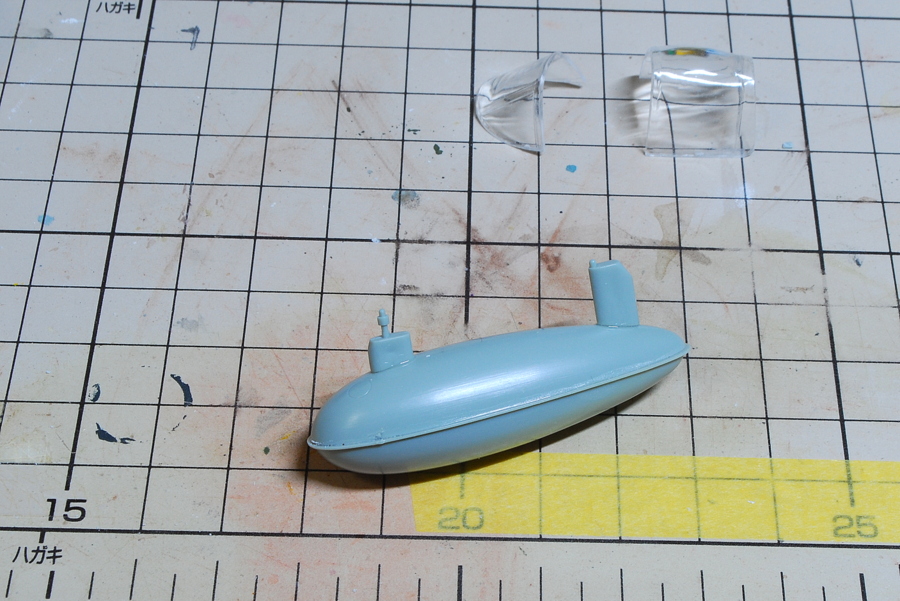 I wonder about the mounting parts of Corsair’s drop tank. Maybe the Academy’s manual is wrong. I installed it by the original judgment because it does not stick parallel to the fuselage as it is in the manual. Perhaps the Tamiya 1/32 scale seems like this, so I guess this is OK.
(09-July-2017)
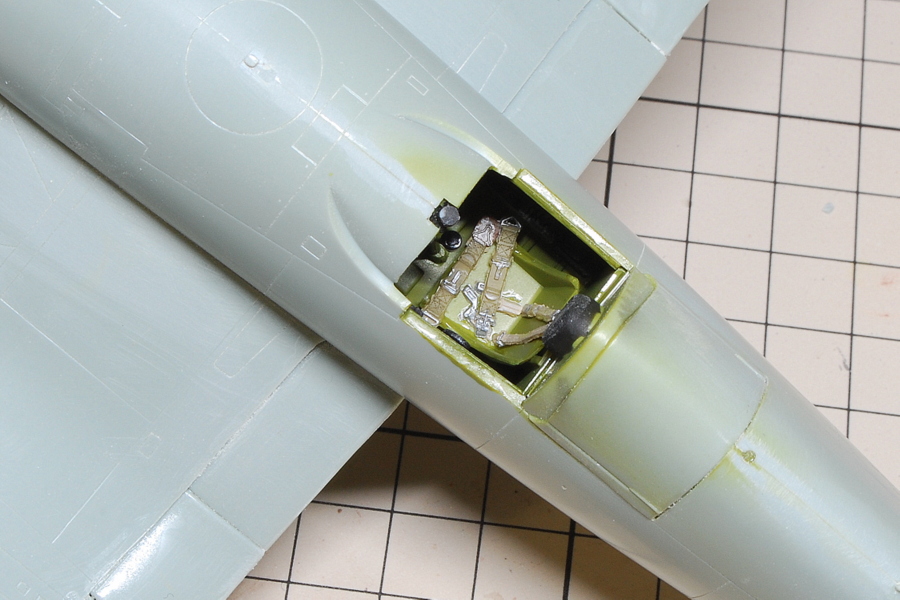
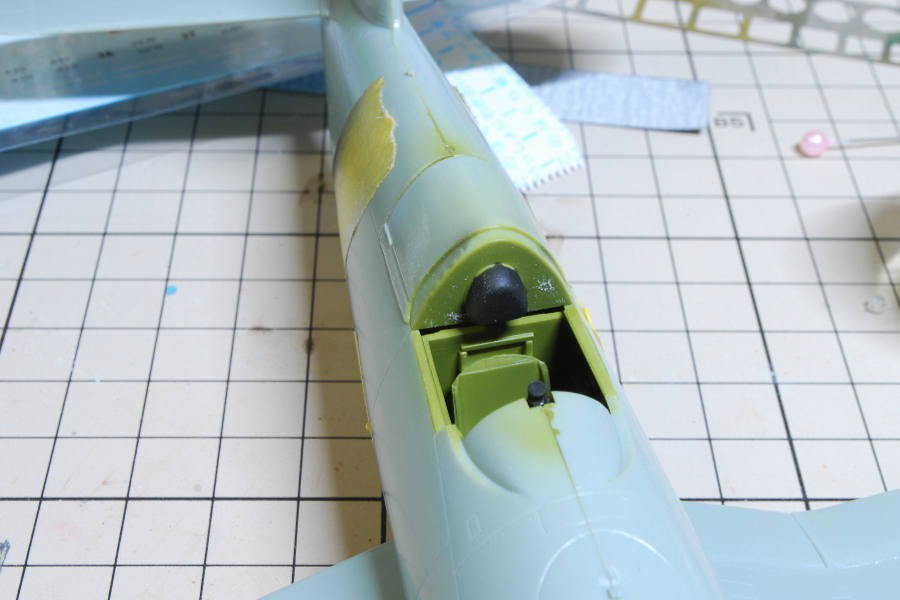 After installing the cockpit parts of the rear panel, there was a gap in the ballistic board of the seat. I have to fill this indeed.
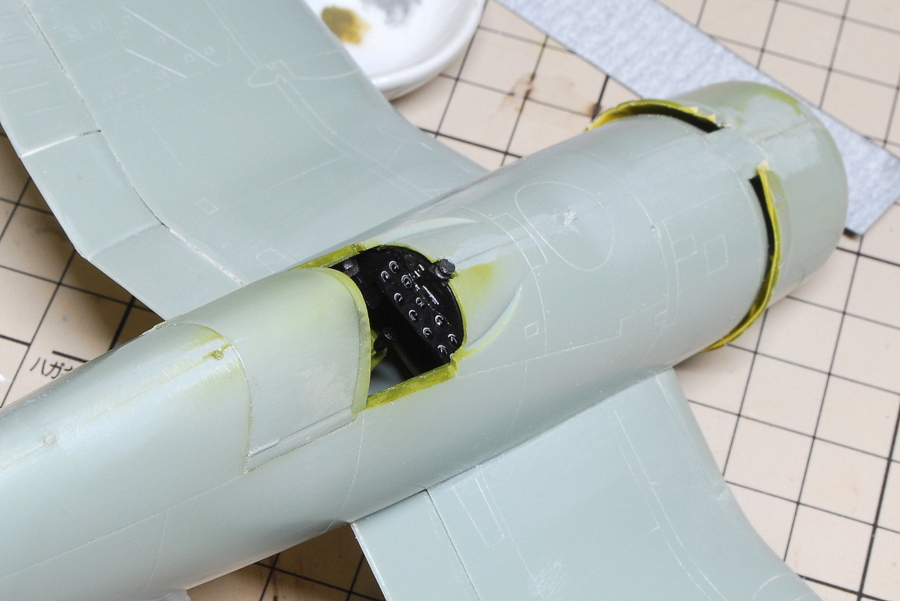 Just stick the instrument panel decal, and it will look better.
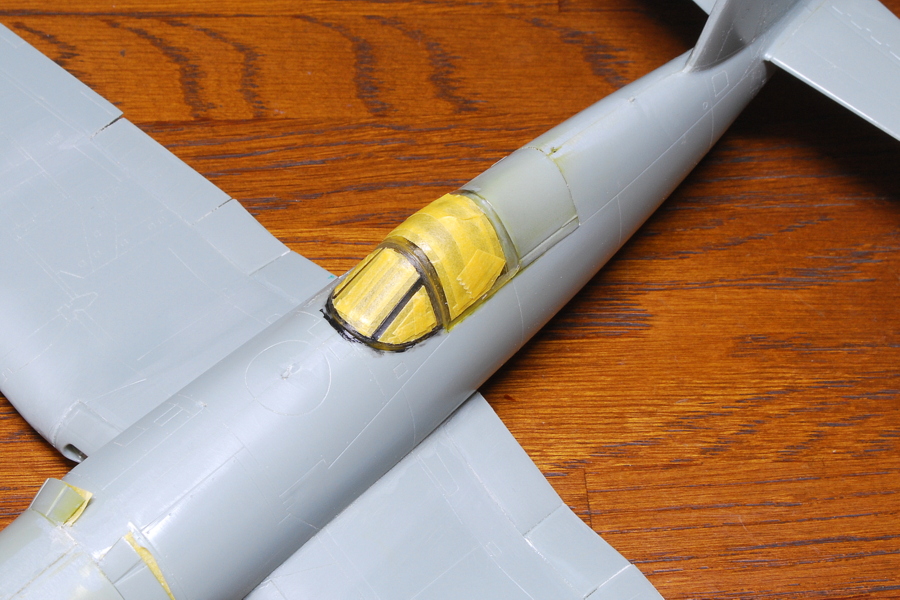 It is an easy task compared to the canopy masking of a twin-engine German fighter, which I built last time.
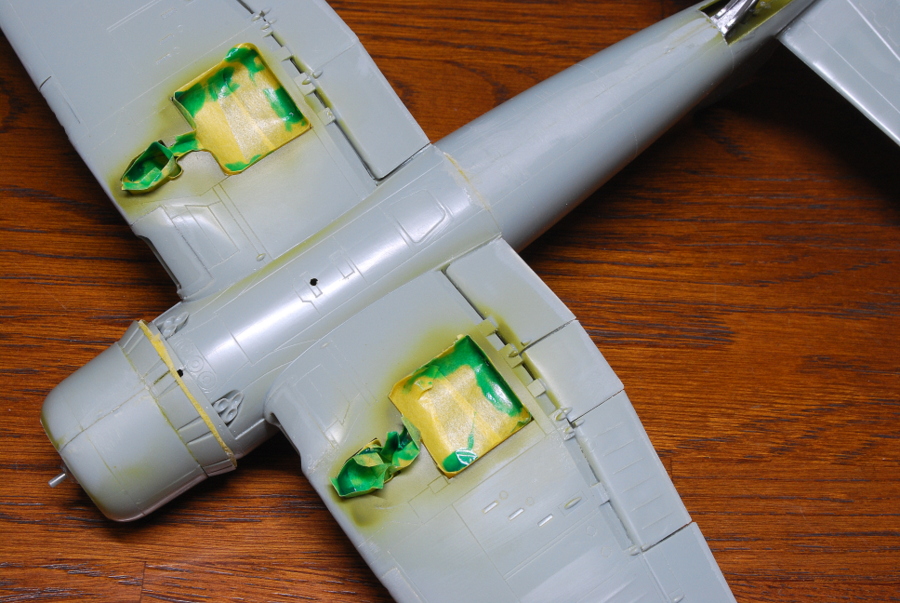 I will work on the whole painting by masking various parts precisely. I like how I paint the landing gear compartment later without masking, but which one will be efficient and beautiful finally?
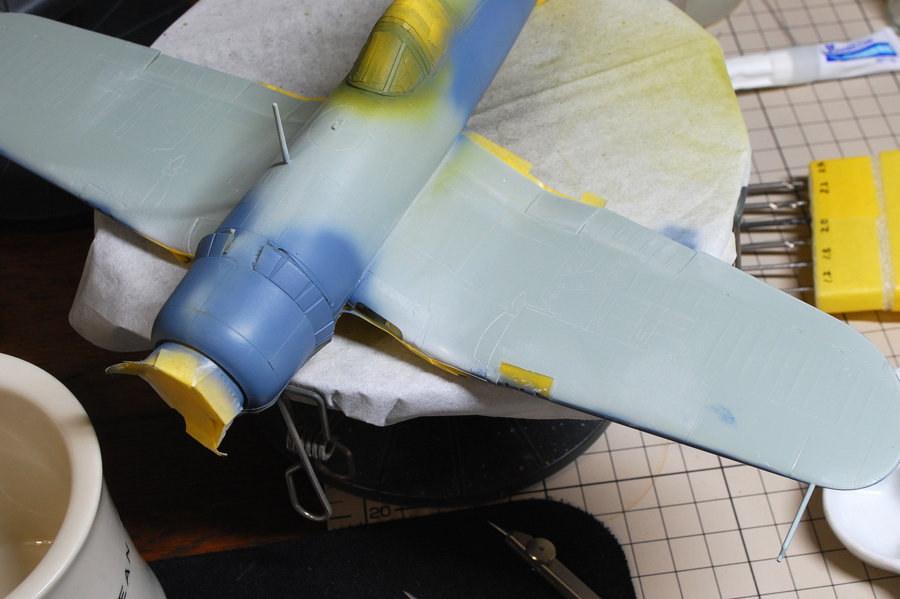 It was a bad fit with the main wing and the machine gun, the large step was made, so I fixed it with putty.
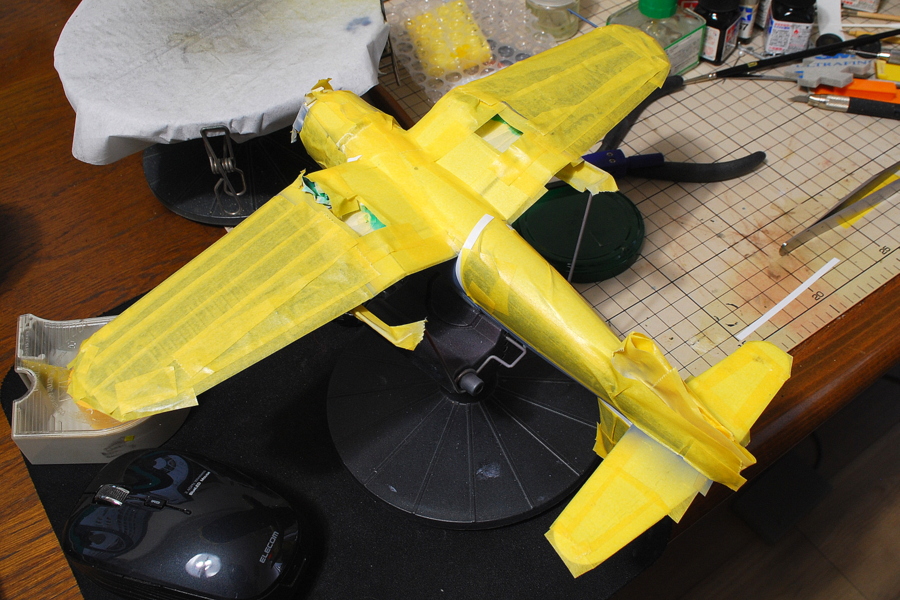
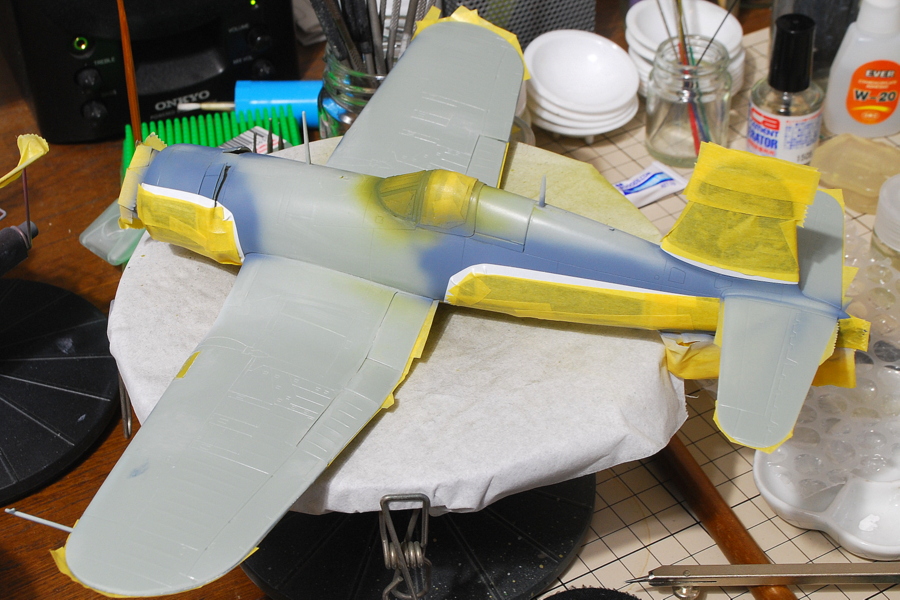 This time, the color boundary line was finished cleanly. Overall, it will be painted separately with masking.
 Well, the other day, I bought the Steam game controller and wireless headset at Amazon, but the day was the sale once a year, and I could hardly wait for the goods to arrive. It is unreasonable to wait for the shipment. Though the controller is not a sale item, the timing was terrible. I think that it would take soon to arrive if I order a little earlier. Mouse, keyboard, headset, and controller are all wireless, so comfortable. Recently I’ve been playing games. Well, I do not need a controller to play STEINS; GATE…
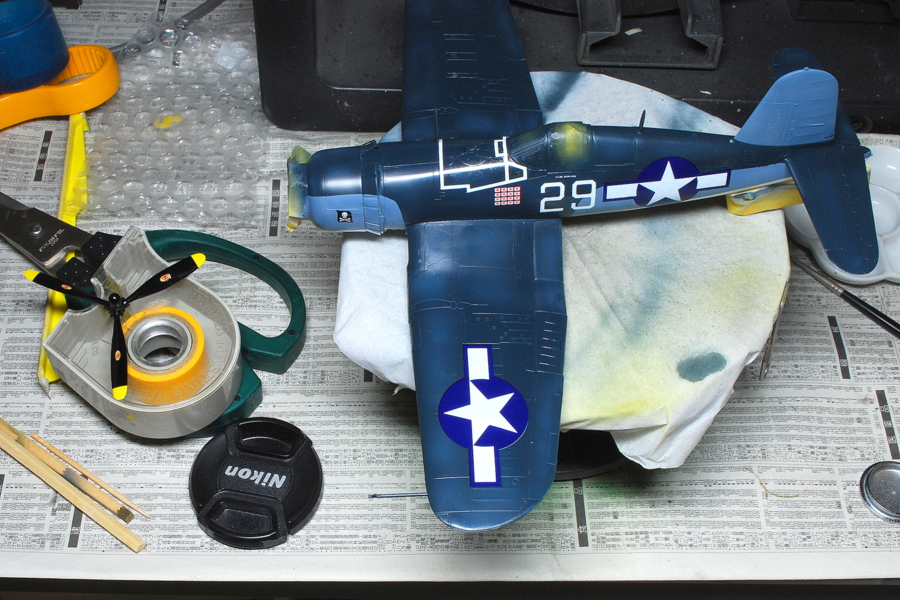 I’m pasting decals and drying them. I want to proceed earlier, but I will clear the coat after drying it a little more. I don’t have trouble coming out later. I almost finished pasting the decals; maybe it will be completed a little more.
(15-July-2017)
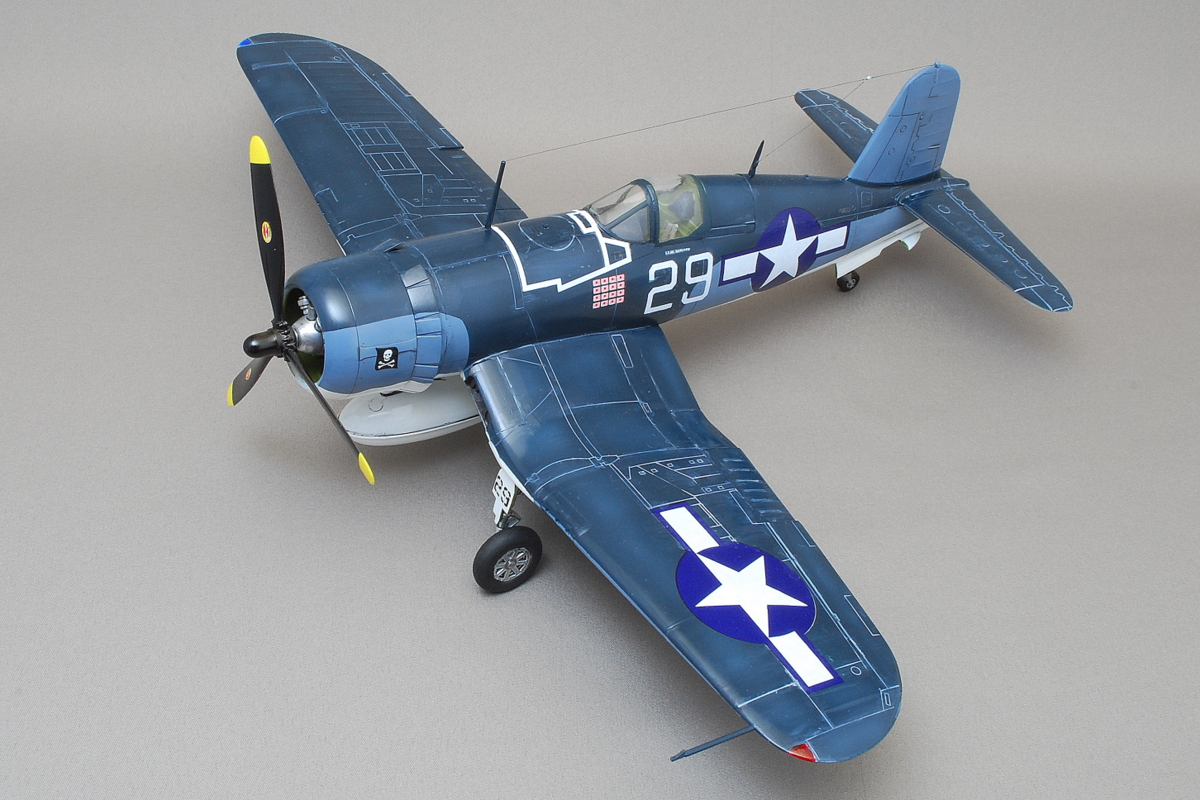 This Academy’s Corsair kit can be assembled by selecting 1A, 1C, and 1D. There are differences, such as a 12.7mm machine gun or a 20mm machine gun. This time I made a type equipped with a 1A 12.7mm machine gun. The right and left total of 6 guns are pretty powerful firepower.
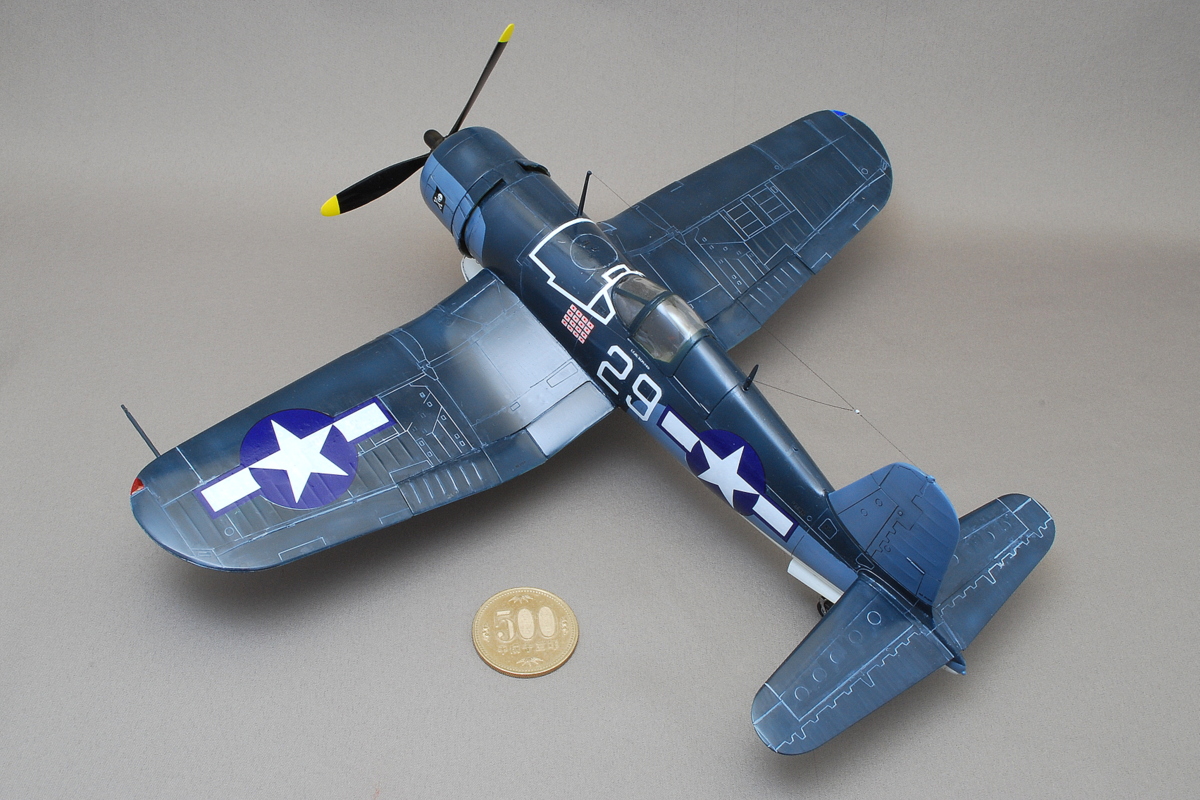 The bubble-type canopy with fewer window frames than the previous type is adopted, and a good view is secured.
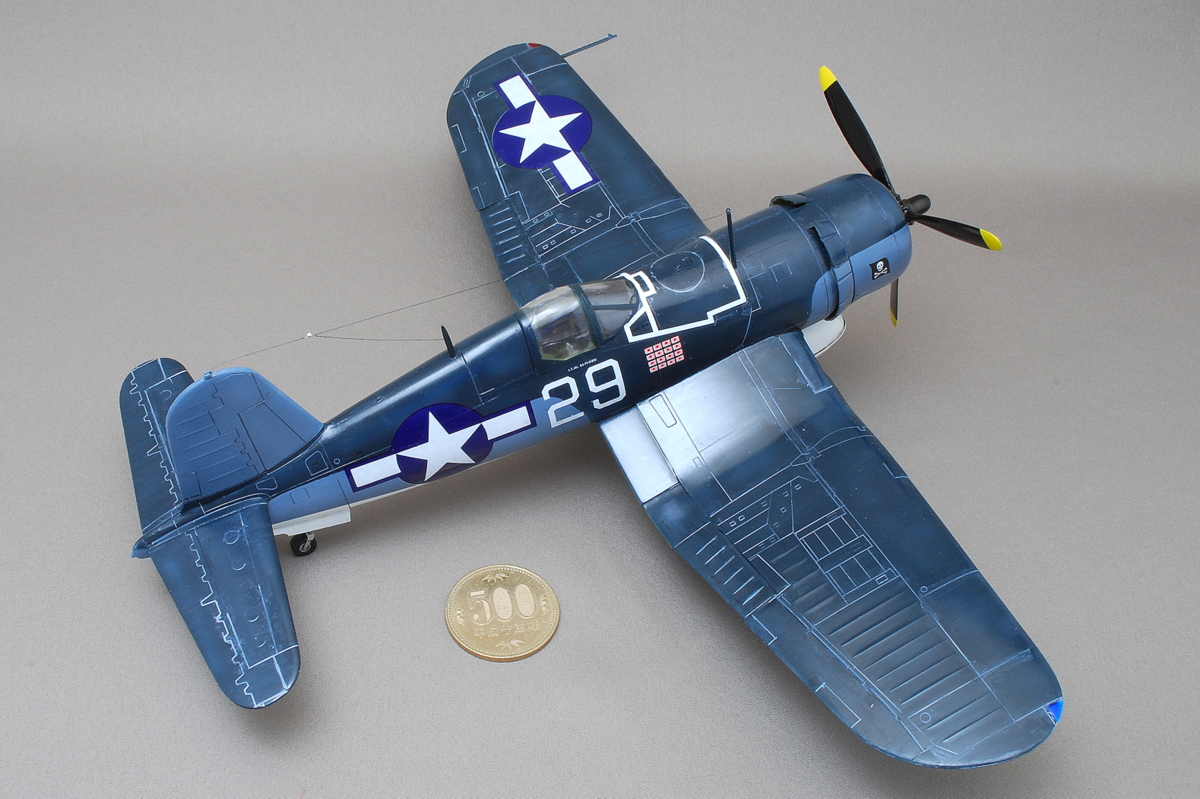 The marking is Bougainville, Papua New Guinea, VF-17 17th Fighter Squadron Jolly Rogers in February 1944. After that, it is a traditional marking that is handed over to the US Navy’s 61st Fighter Squadron (VF-61), 84th Fighter Squadron (VF-84), and 103rd Squadron (VF-103).
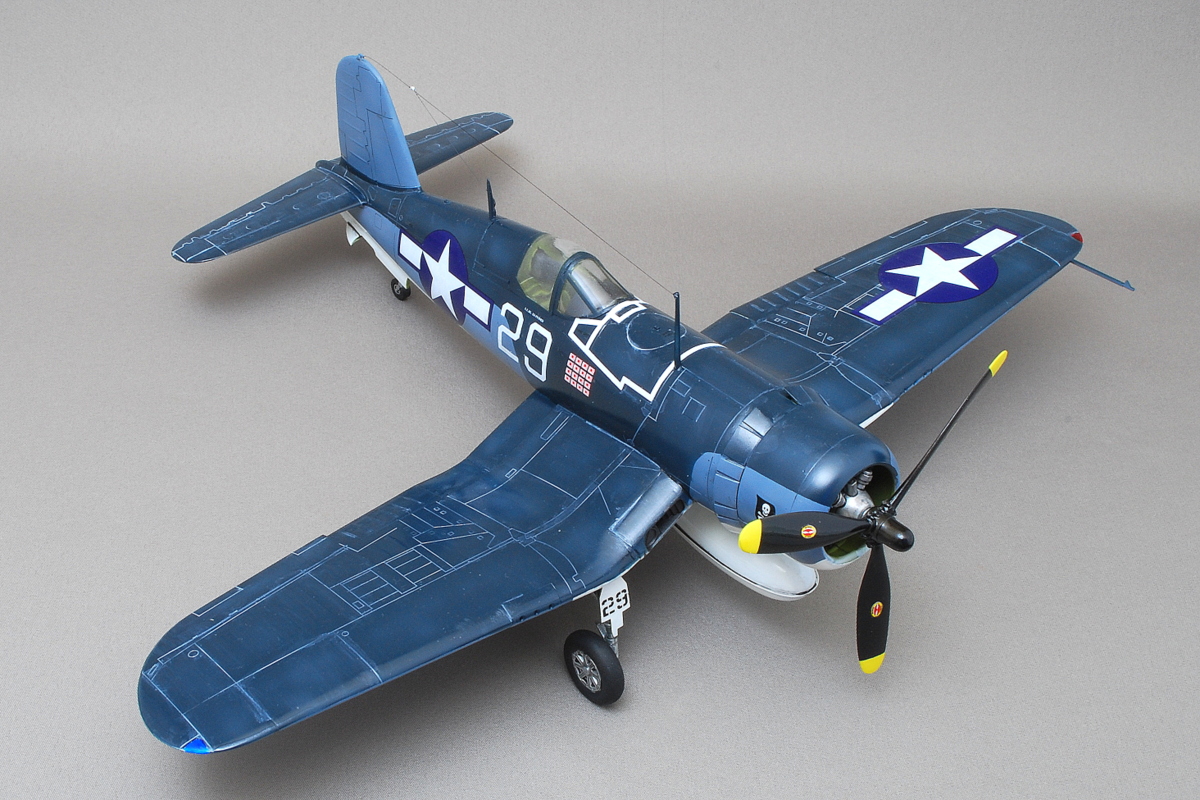 The kit seems to be a copy of Hasegawa in the 1980s; I do not know well because I have never assembled Hasegawa’s kit. Overall, it is a bad part of the fitting. The fitting of the small parts attached to the main gull wing is not good. I suppose it is a pretty old mold kit; it’s hard to build. The decal’s color is perfect, matching the gloss finish paint.
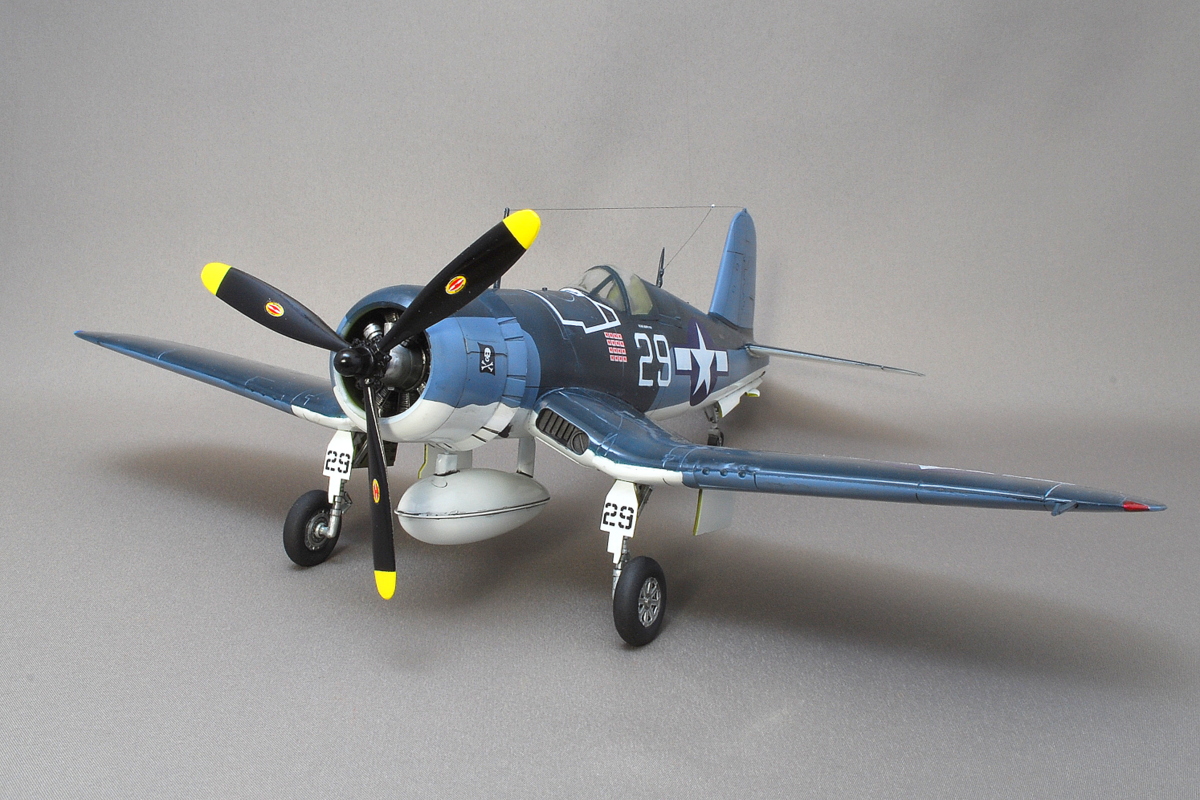
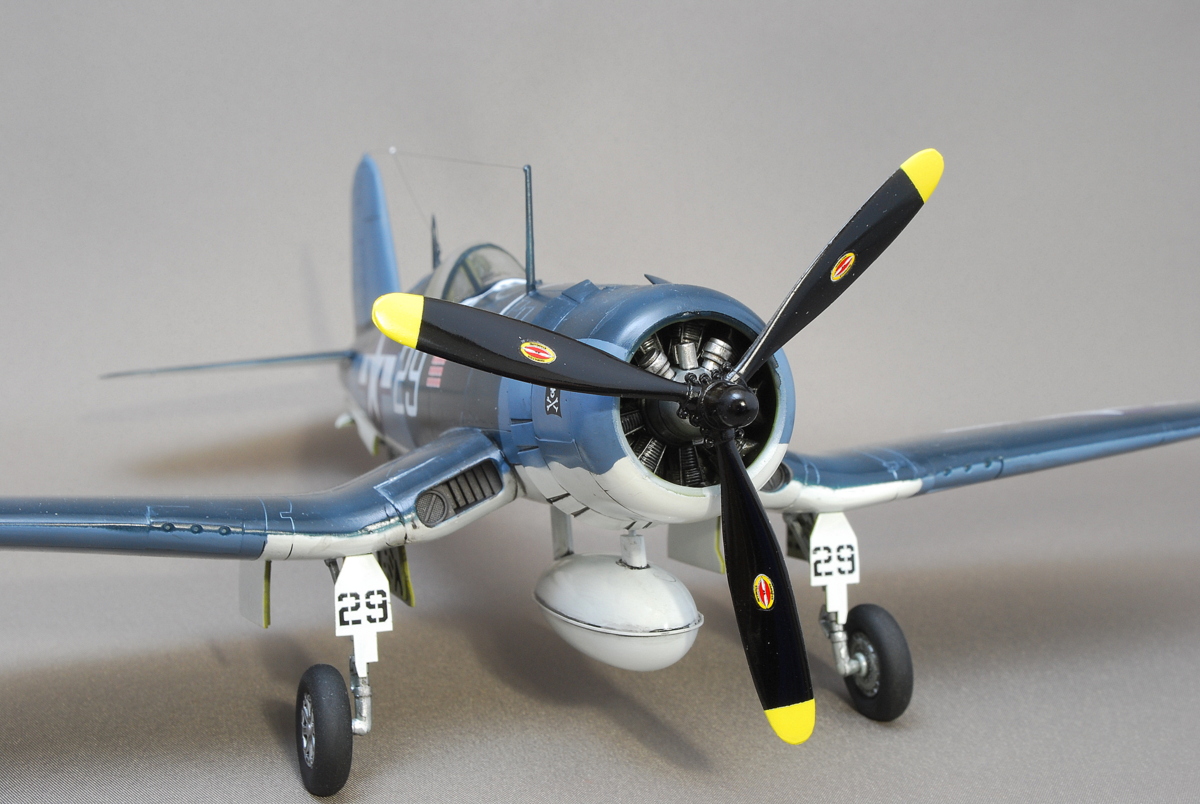 I can not see it unless I close my eyes too much, but I painted the engine with chrome silver and a black iron and inking with black. I like the markings of the propeller unexpectedly fine.
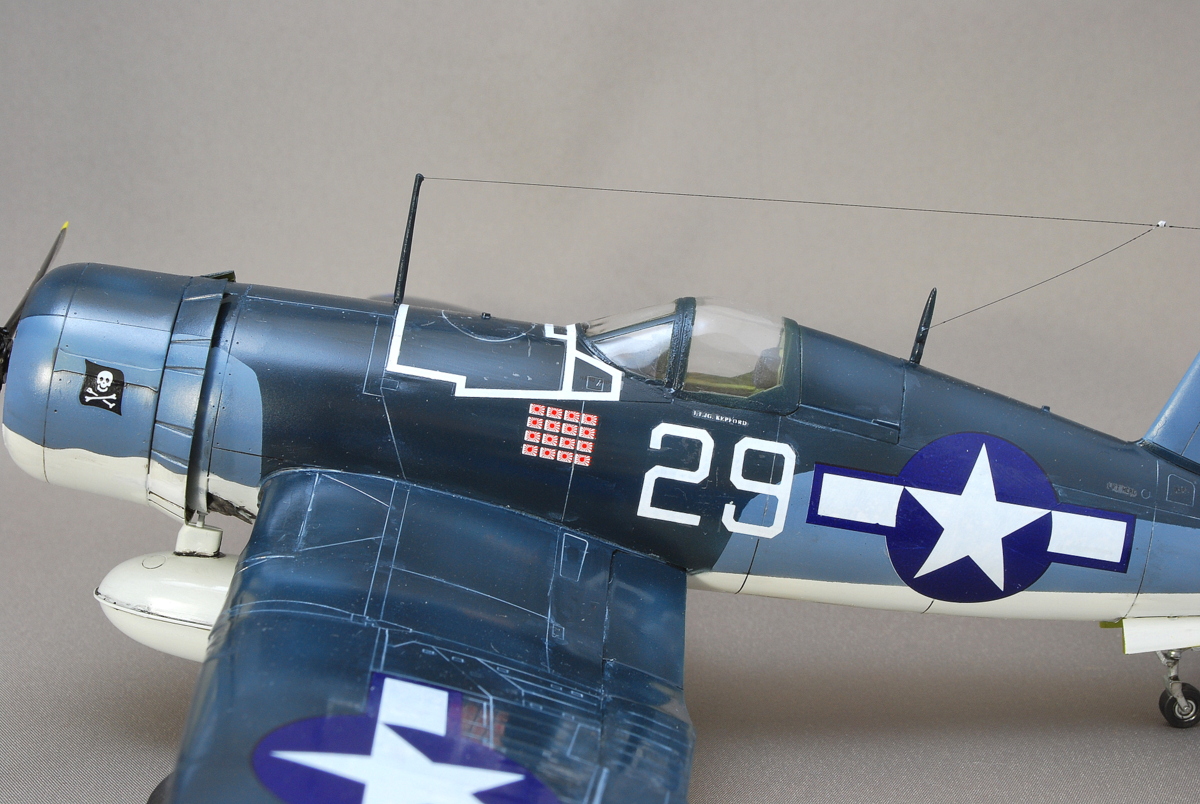 The painting was gloss finished. It may be about 75% gloss in some places.
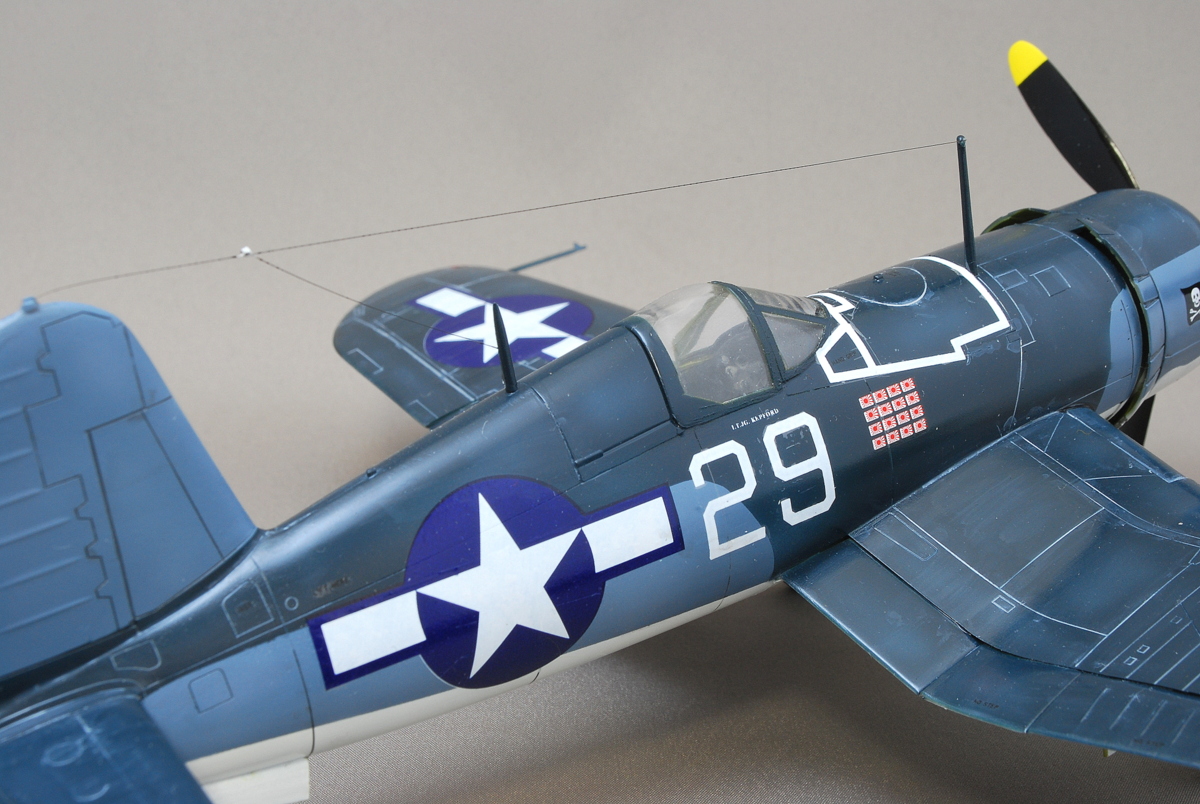
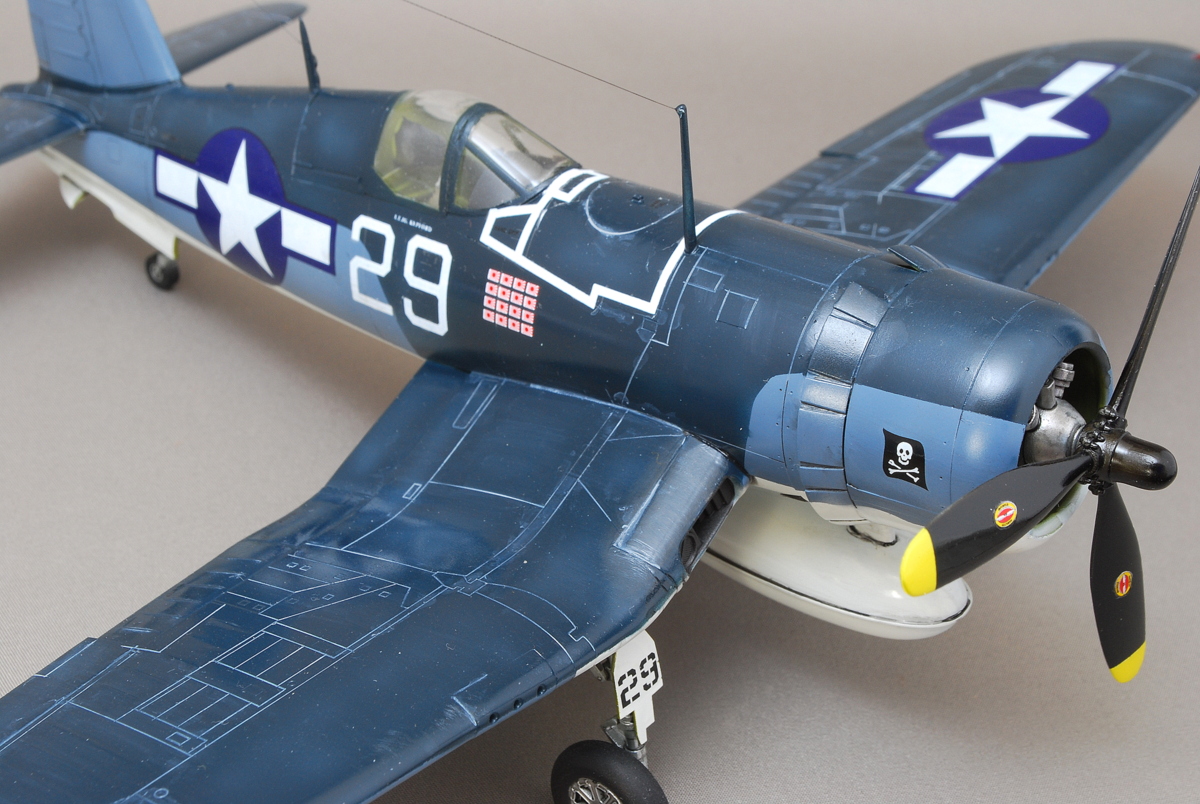 Even so, he is an ace pilot. The same kill score decals are attached with a pair. I pasted them under the left and right canopy. Is the kill mark usually drawn on the left and right?
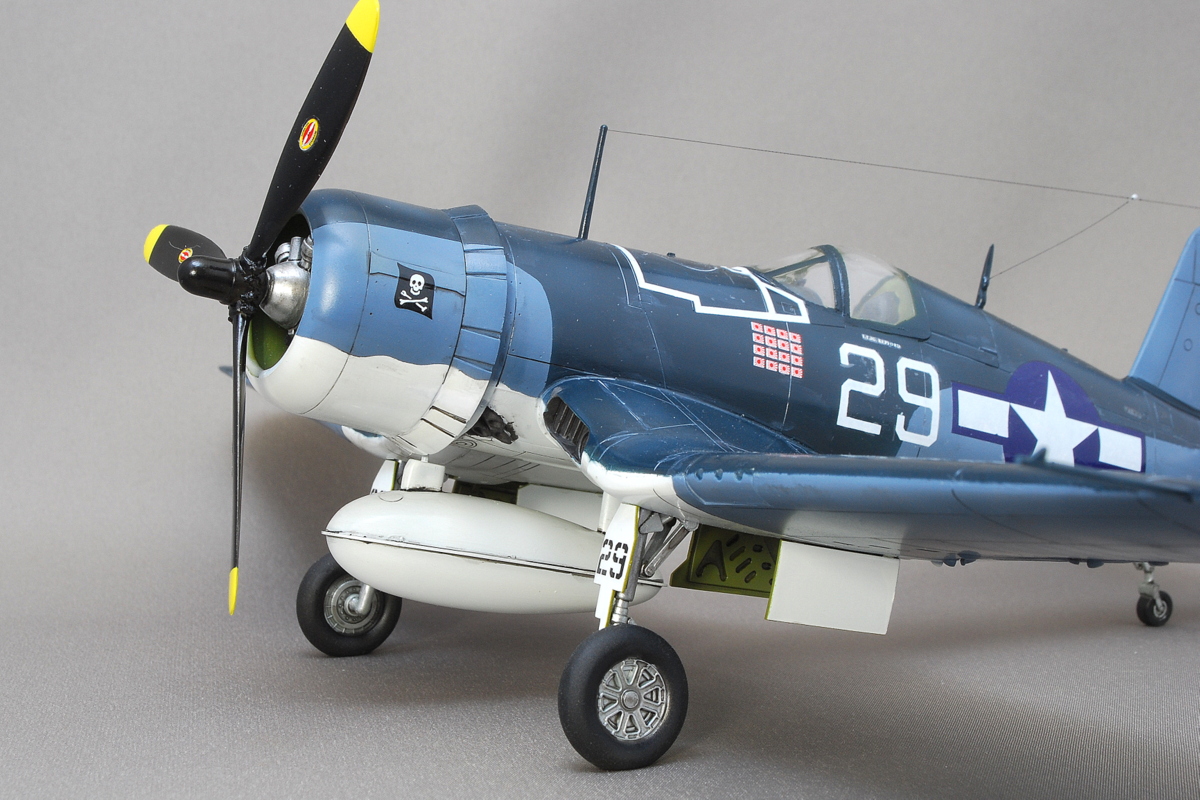
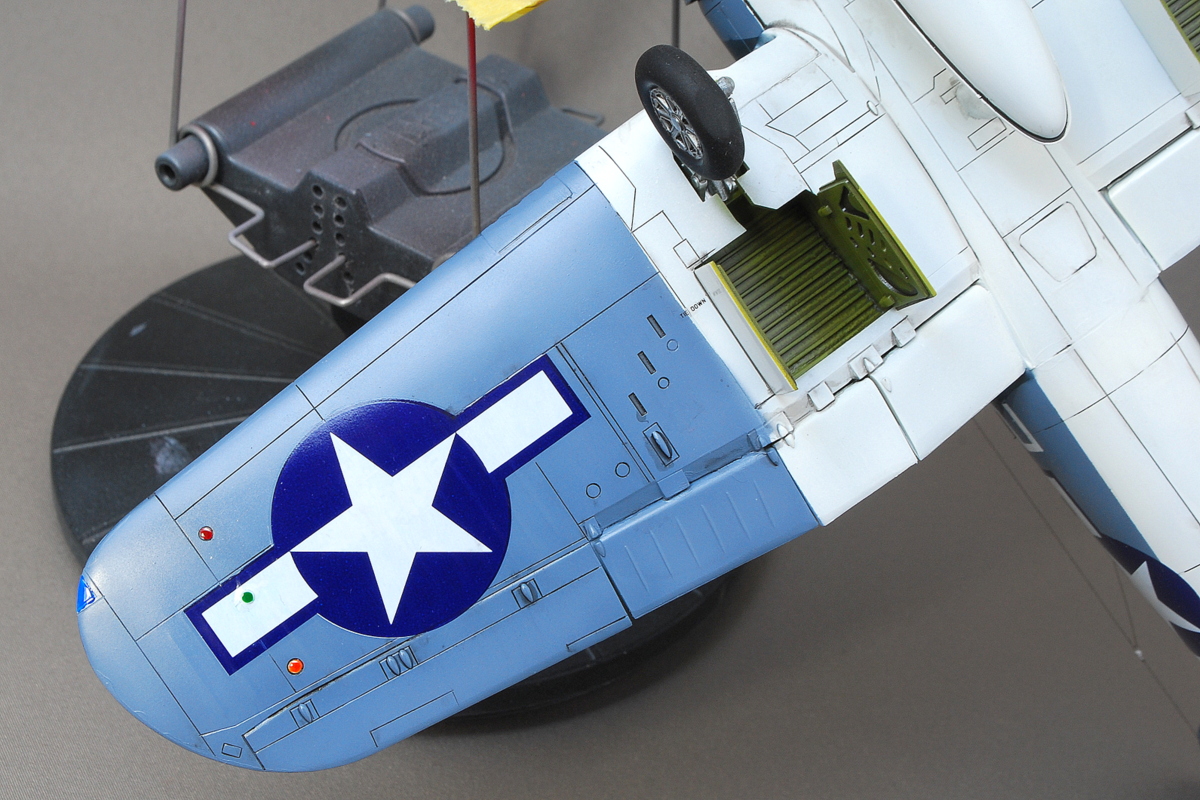 The bottom of the fuselage is FS35164 Intermediate Blue and FS17875 White, two colors. There are orange, red, and green lights.
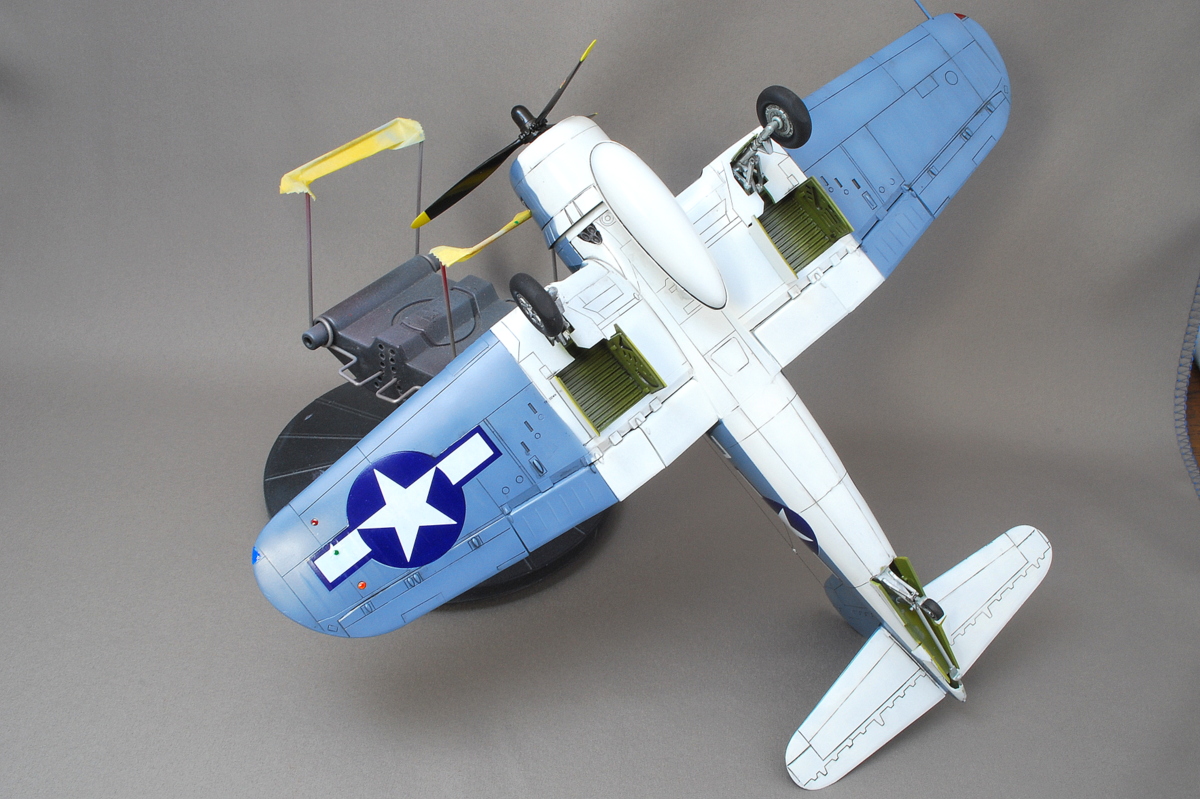 I feel it is enough to do weathering, only inking in the case of gloss finishing. I did not do too much extra washing or clean finish up.
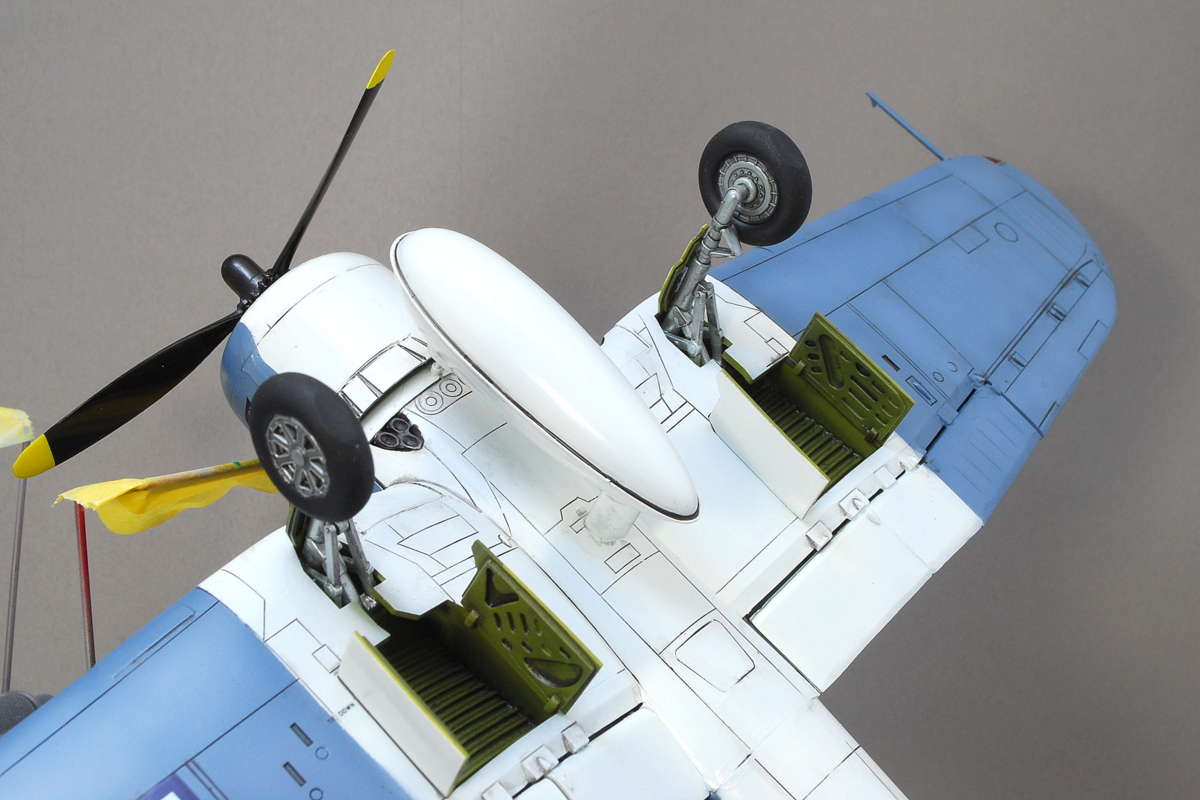 Overall, I used the WWII US Naval Aircraft standard color set of Mr. Color’s unique color. I think it isn’t easy to make this myself. This beautiful aircraft has an excellent three-color balance of dark blue, light blue, and white on the underside. I think it’s more user-friendly. Hopefully, I can say it to other unique color sets. I want Creos to sell these colors separately retailing.
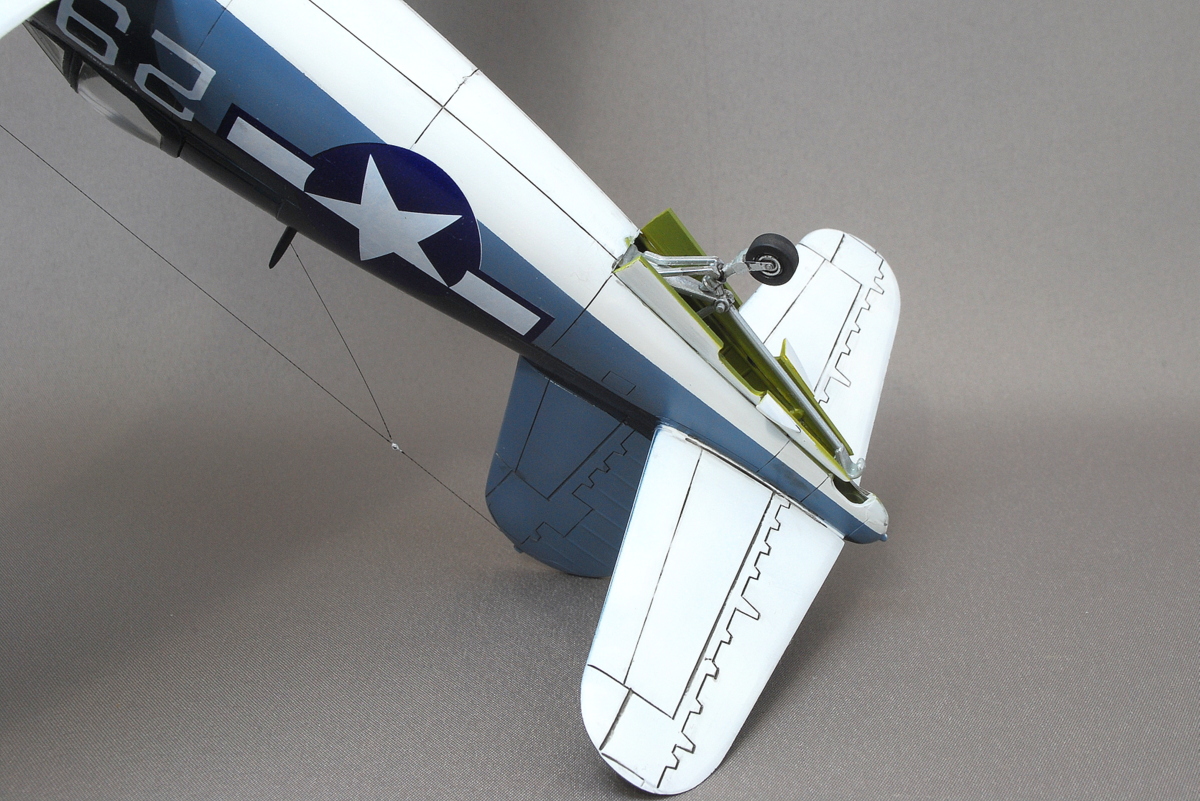
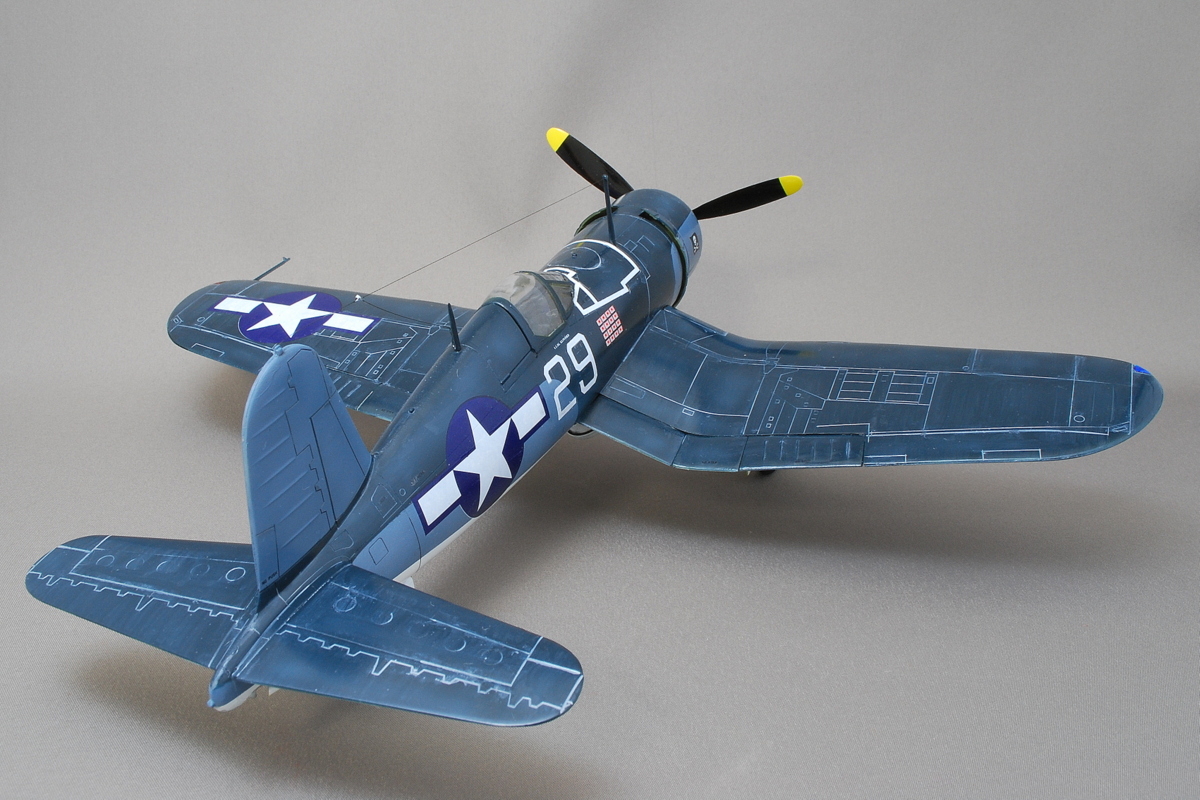 It seems the decal’s white is a little thin if it is a dark color; if I improve this, there is the only way to paint the nationality mark with the airbrush. There is a tiny gap in the printing seal of the nationality mark.
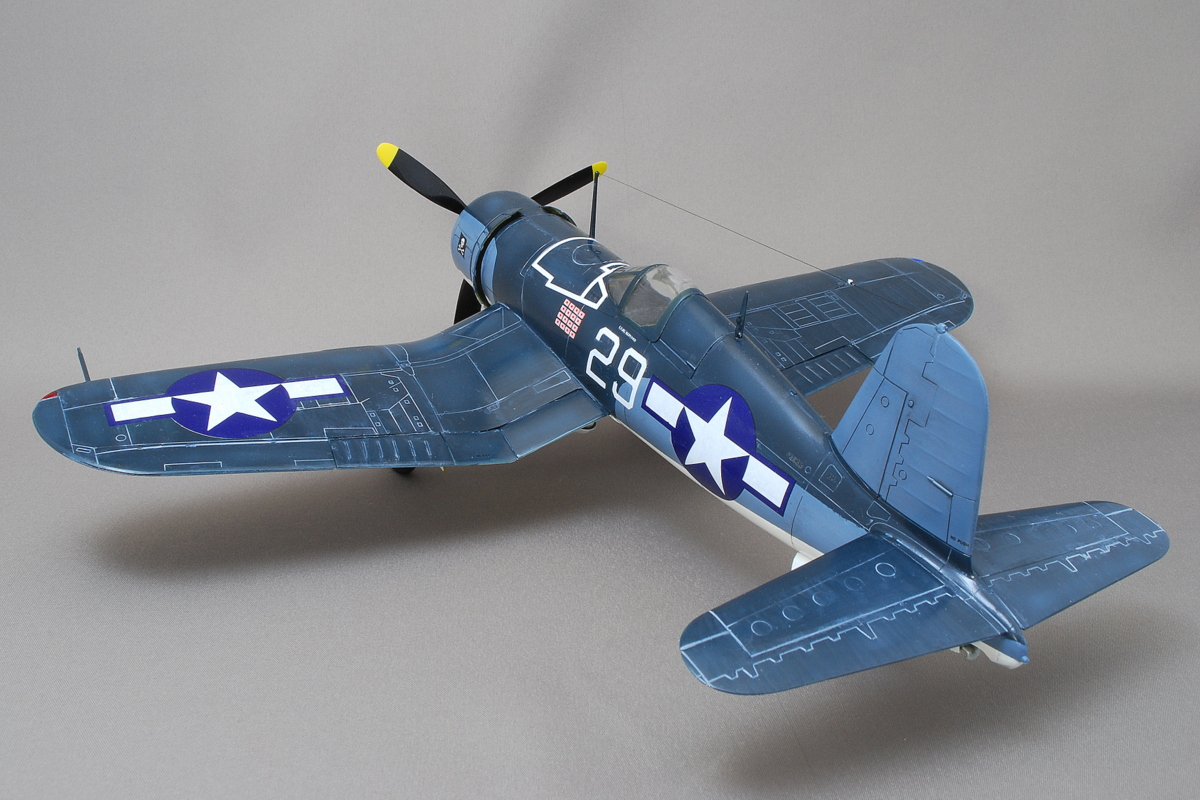 There is roughness when looking at the details. Maybe I think the color tone is good and finished in a pretty nice atmosphere. It would have been challenging to make these blue aircraft colors if I had mixed them myself. It was a correct answer using a set of Creos…
(18-July-2017)



コメント
I’ve been studying all of your Japanese fighters in great detail. They are all extraordinary! Congratulations. You can find me on Face book as “William Derek Updegraff” or you can reach me a wderekupdegraff@gmail.com. I live outside Washington, D.C. The next time you are in town, I’d be honored to buy you lunch and tour with you any of our grand museums!
Best regards,
Derek Updegraff
Thank you for your encouraging comments!! Maybe, did you read the article from the Udvar Hazy Center? That museum is truly amazing. If time permits, I wanted to take a couple of days watching slowly. I also make an airplane model from time to time so please come and see here again.