
I was inspired to make a plastic helicopter model for the first time in a long time, so I picked up a Monochrome US military helicopter I bought a long time ago.
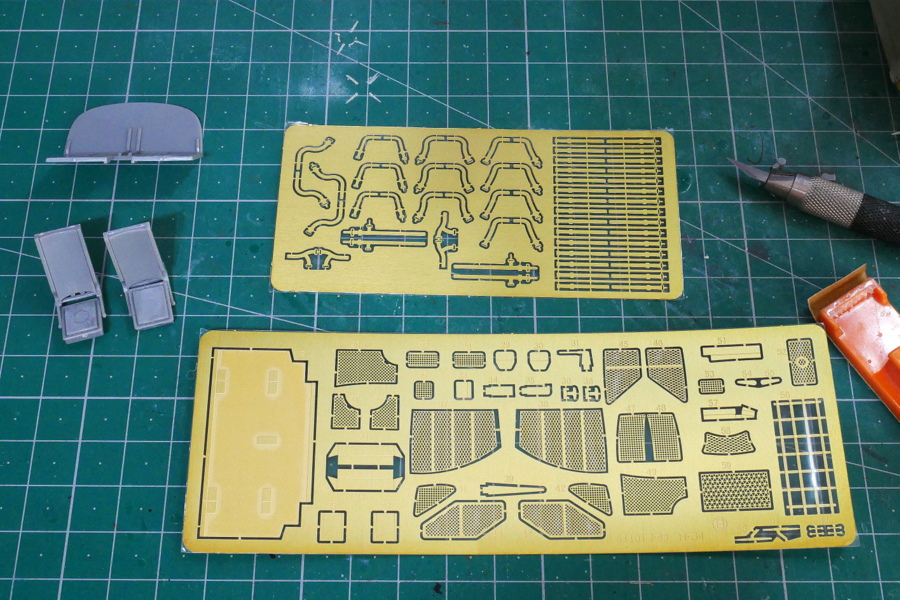
There are quite a lot of etched parts. Roughly speaking, it is a seat belt and various parts of wire mesh.
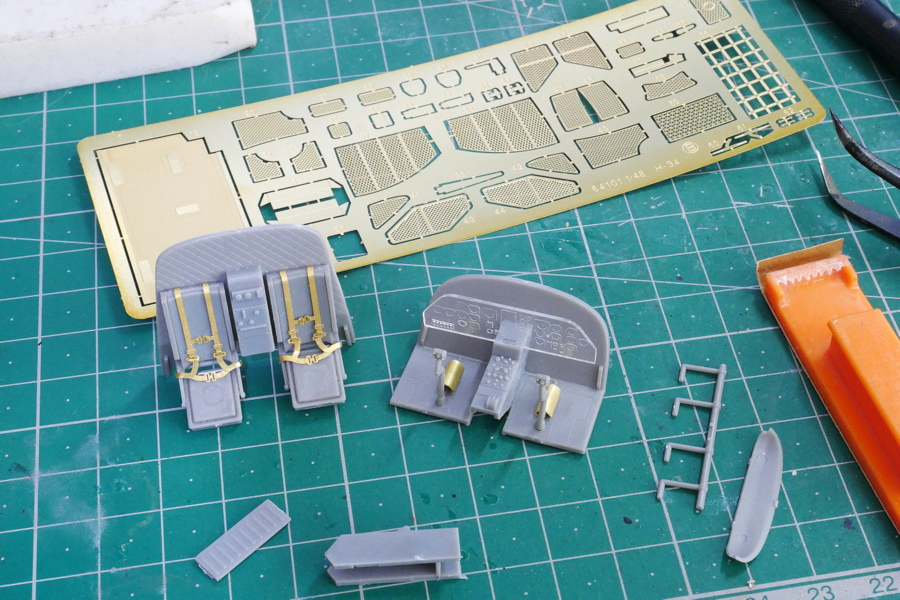
The cockpit is relatively nice. Why is the meter part a clear part?
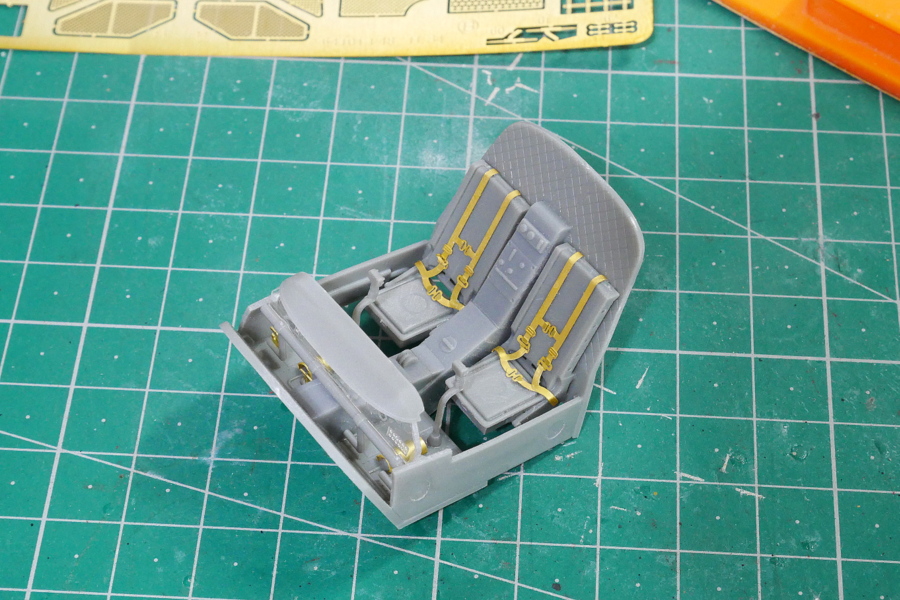
There are two seats parallel in the cockpit.
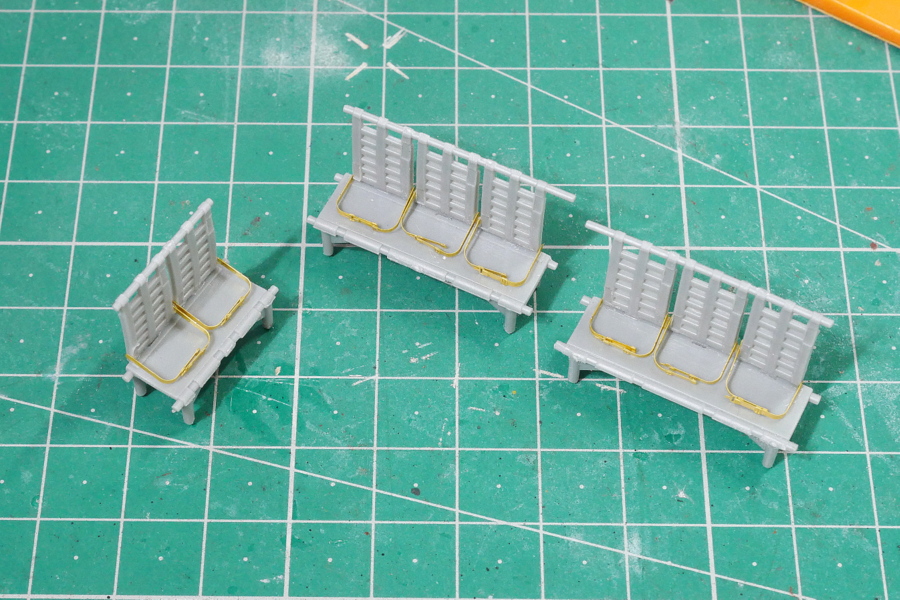
Seats for eight passengers will be installed in the back seat. It has a seatbelt etched parts.
(2023/11/19)
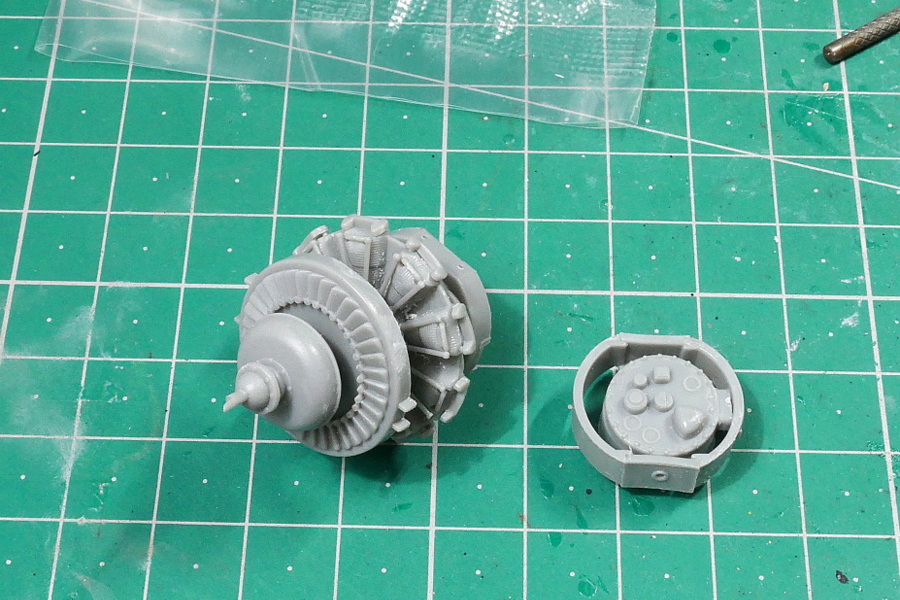
The engine fits in the round part of the nose. It’s reproduced pretty well.
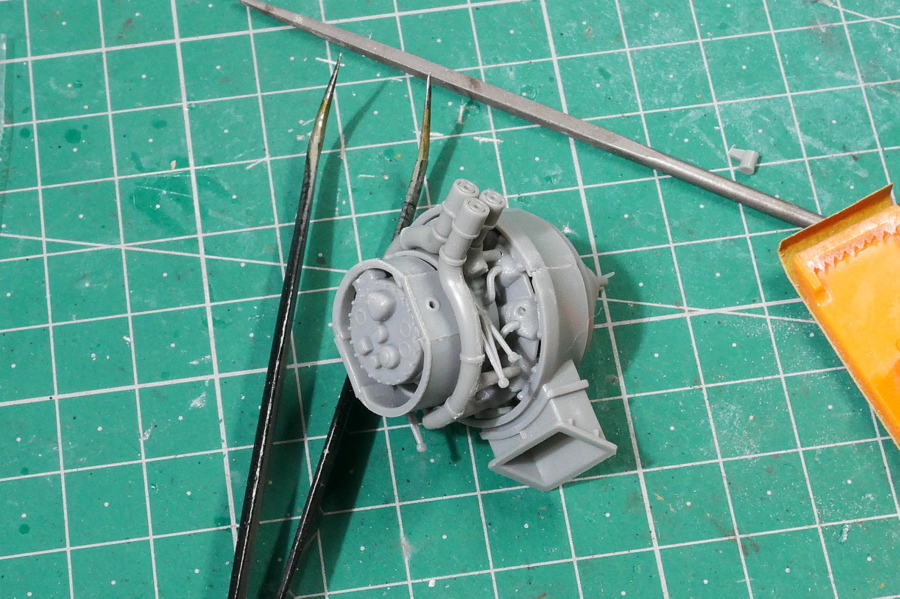
There are also pipes around the engine and an exhaust vent. I don’t think I’ll be able to see much around here after I assemble.
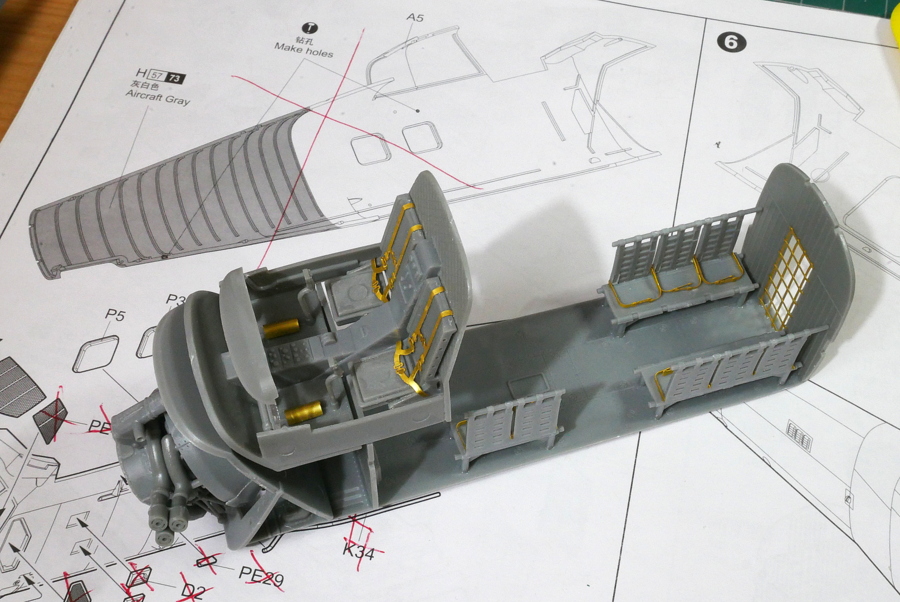
Is there a cockpit right above the engine? It looks pretty noisy. No wonder pilots often wear big headphones.
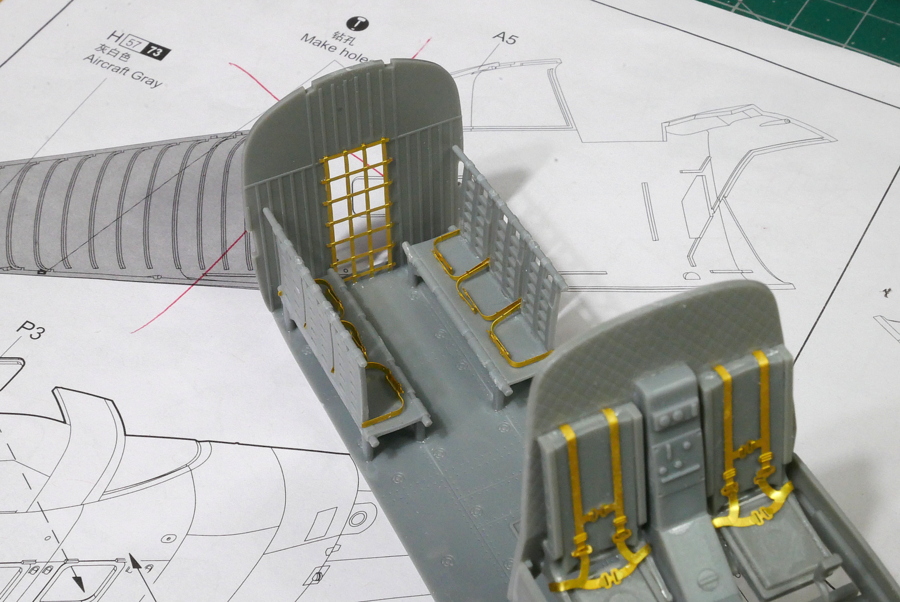
The net separates access to the back compartment, which looks military.
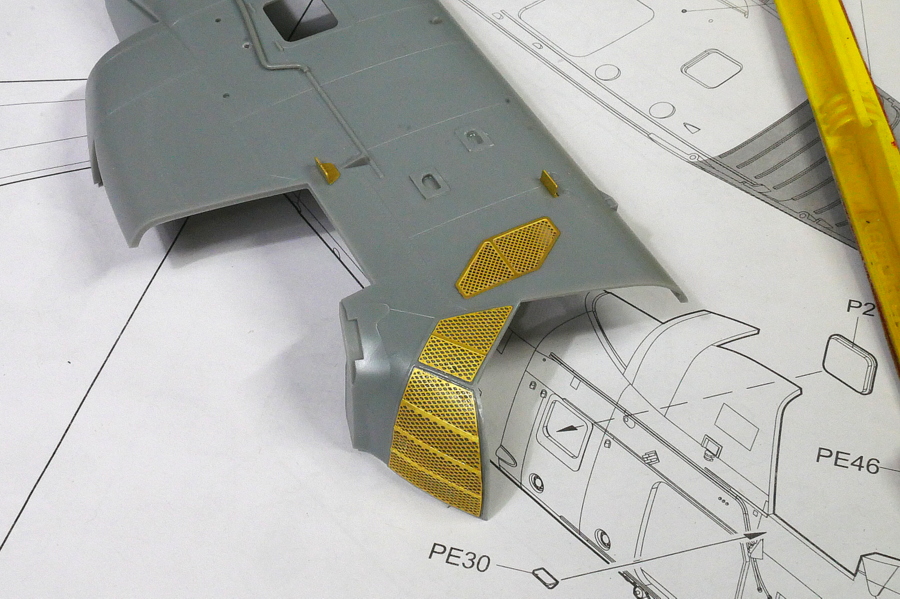
I’m working on the outside. The exterior also uses a lot of etched parts so that it may look realistic.
(2023/11/21)
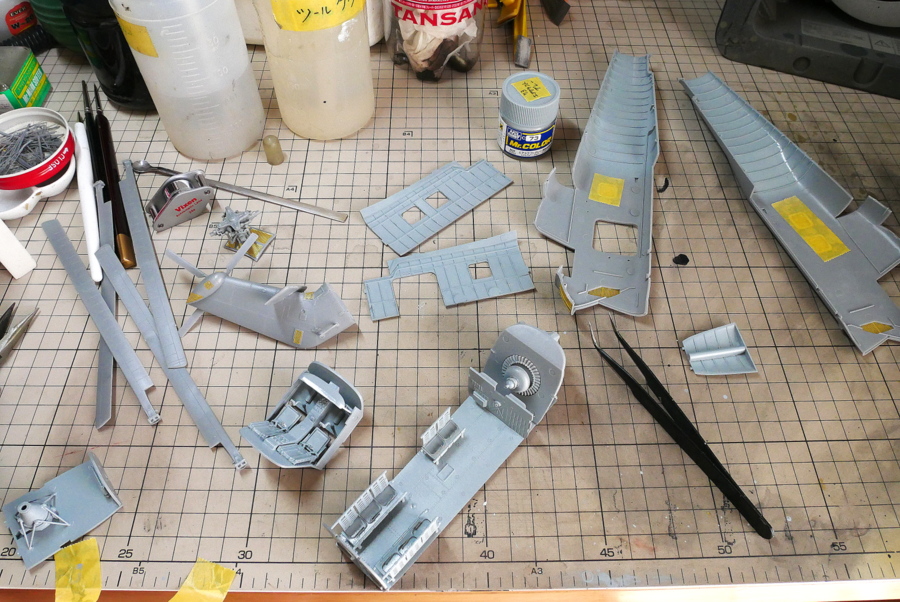
I got the paint I was out of, so I went ahead with making the model after a long time. The part that couldn’t be seen at all was designated as painting, so I blew an airbrush just in case, but when I closed the door, it couldn’t be seen that much.
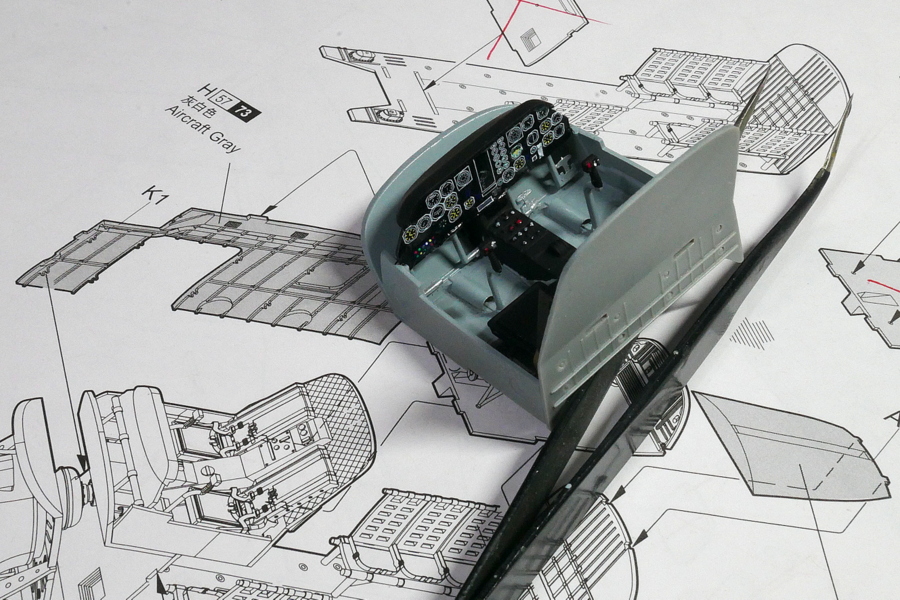
I put a decal on the cockpit panel. It shows relatively detailed instruments, so when it can be seen through the canopy, it may be quite realistic.
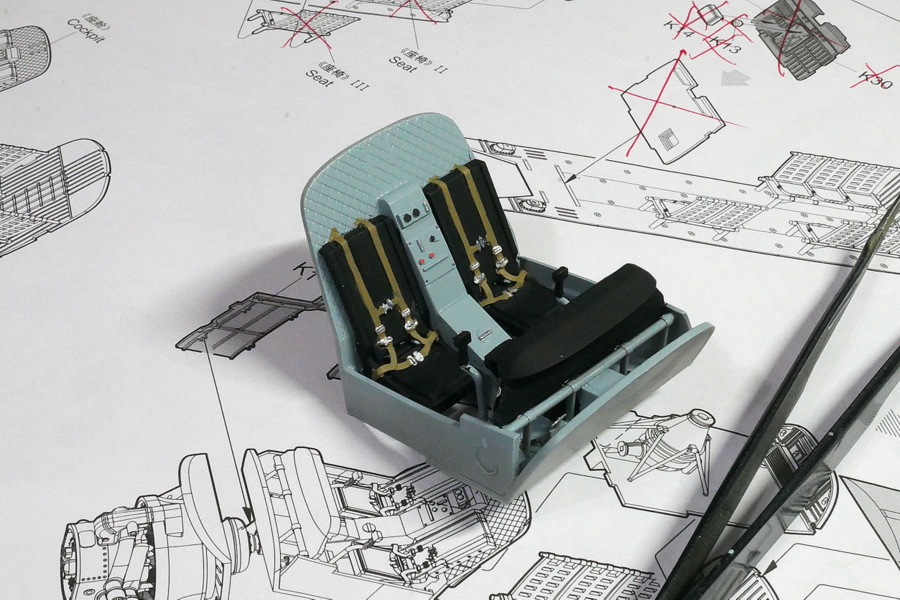
I painted the seatbelts of the etched parts. I don’t really know which part is black and which part is gray, but I would like to try something like this.
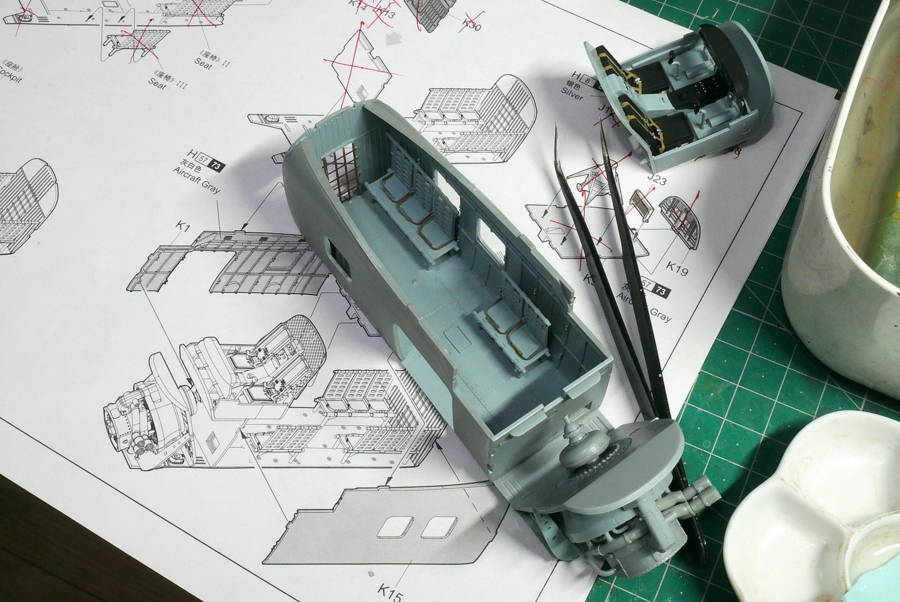
I thought the seat was strapped and the back was khaki, but the manual said grey. This time, I will close the door, so I will just paint the safety belt and go easy.
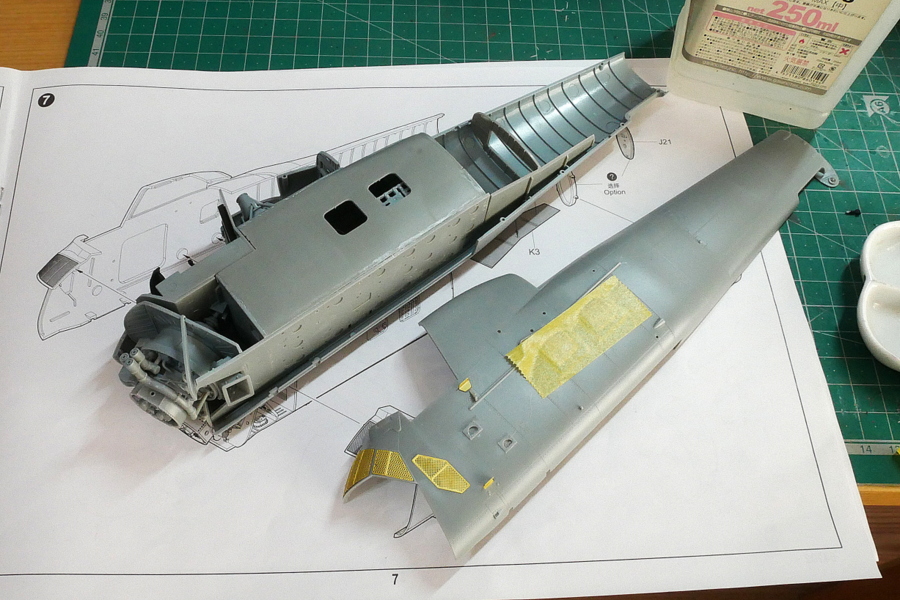
It is very difficult to stick the left and right sides together. I think I did well on my own. The part where there is a little gap is filled with putty to make it less noticeable, so I think it is a passing grade.
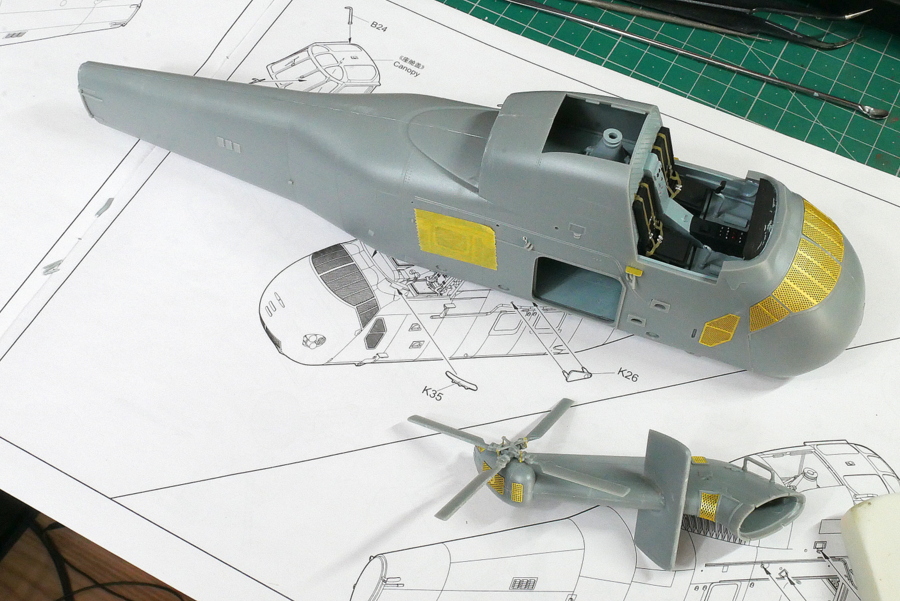
Stick the left and right together, and now just before the tail is glued. This part can also be folded. It is fun as there are many processes which are not in the usual airplane plastic models

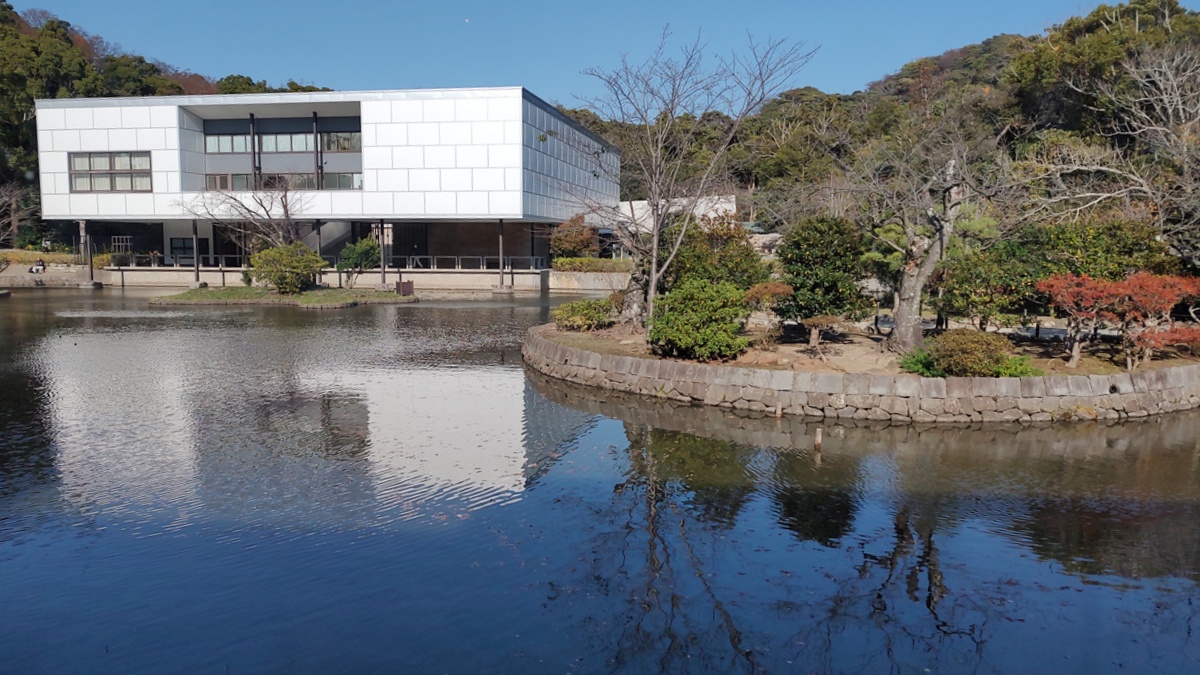
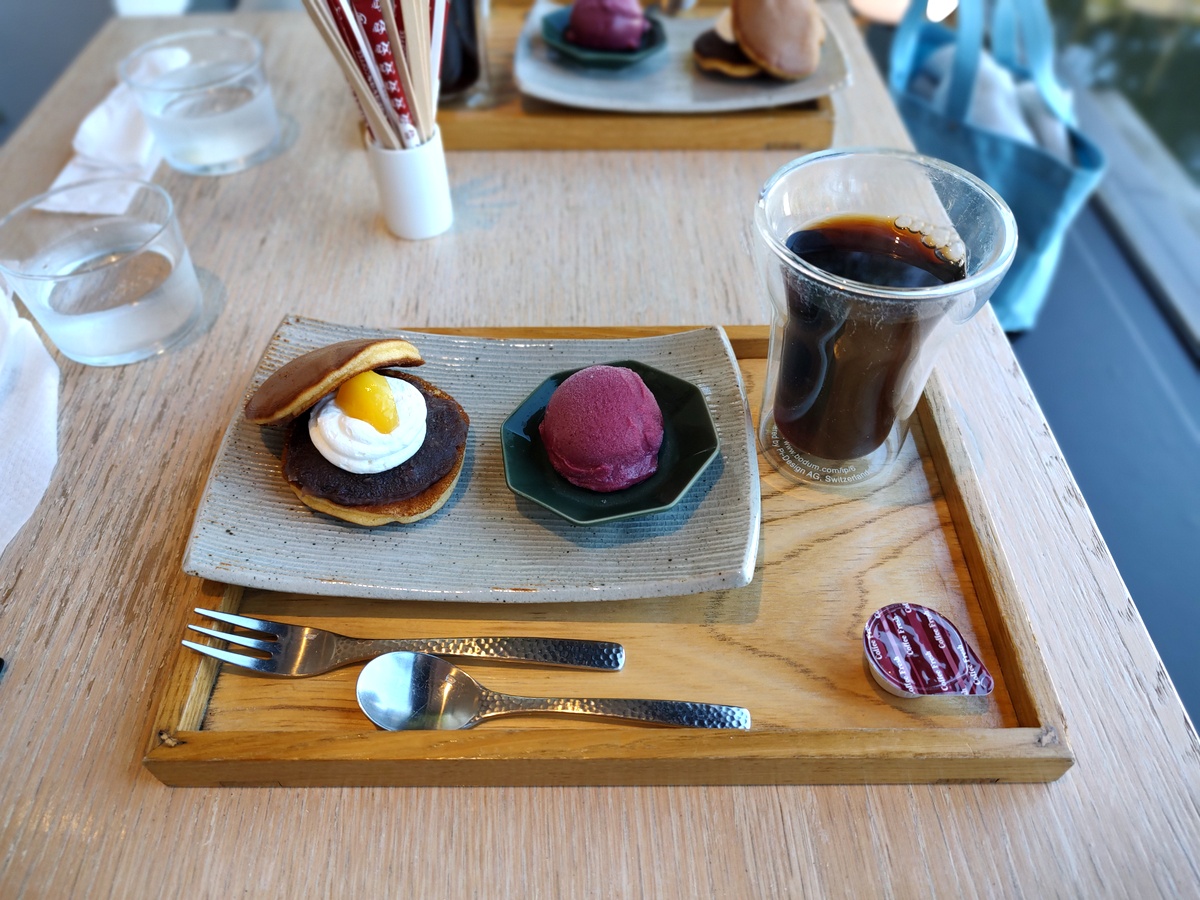
Friday was the last warm autumn sunny day, so I took a walk around Kamakura and Kita Kamakura. I also wandered around Genjiyama Park, so it was a good exercise. I was walking with my wife talking about living in Kita-Kamakura or Zushi, but the road is quite narrow and there are many hills, so it seems difficult actually. The area around Kamakura is full of tourists, and there are many people and cars in the back alleys. And that includes myself. Chigasaki is good, but I also want to live in Kamakura.
(2023/11/26)
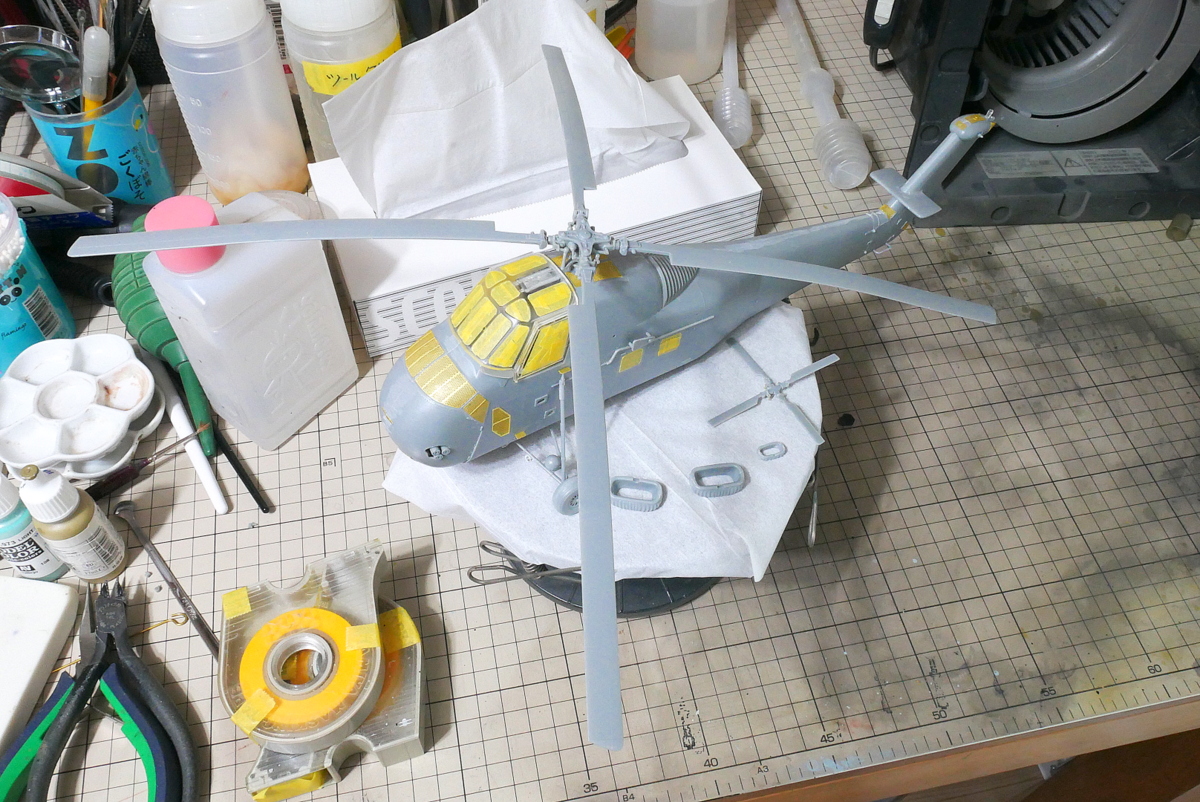
Assembly before painting is almost complete. The small rotor at the back came off. This doesn’t have to turn so I’m going to glue it sturdy later.
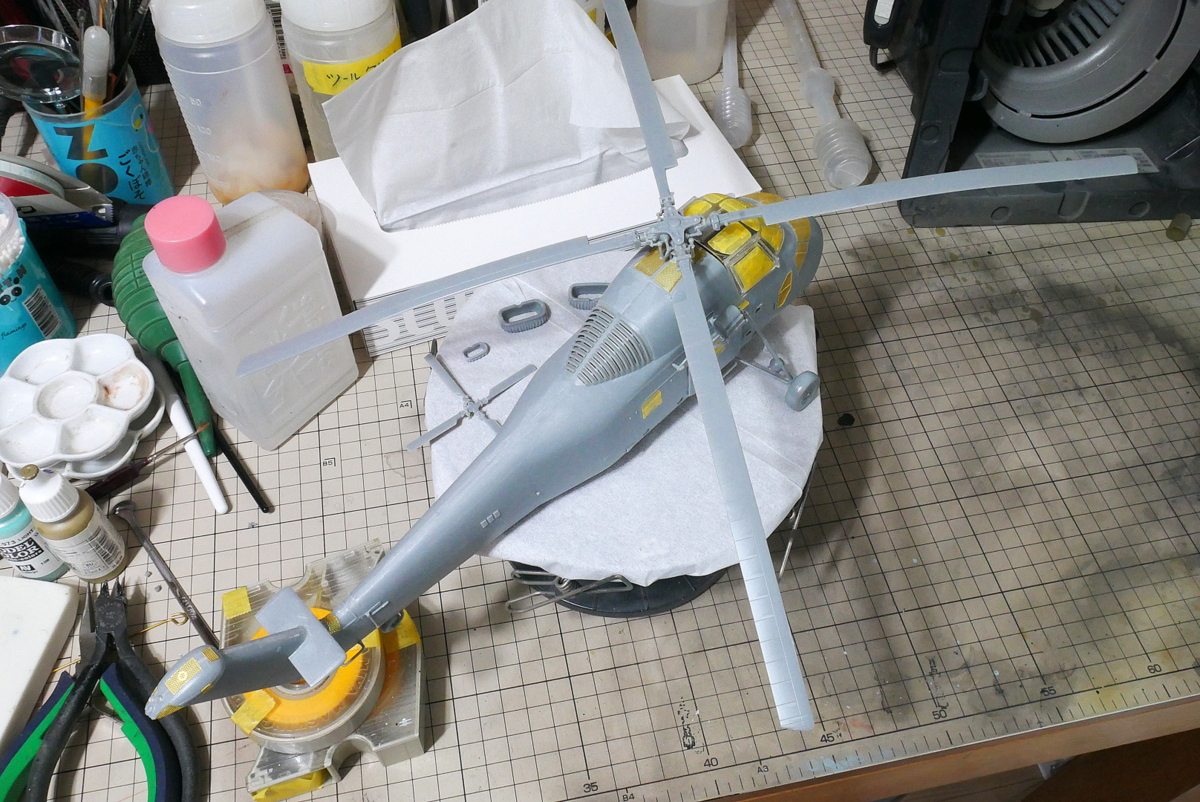
It’s a helicopter plastic model that I’m not used to making, so it looks like the assembly was completed before I knew it. It is strange.
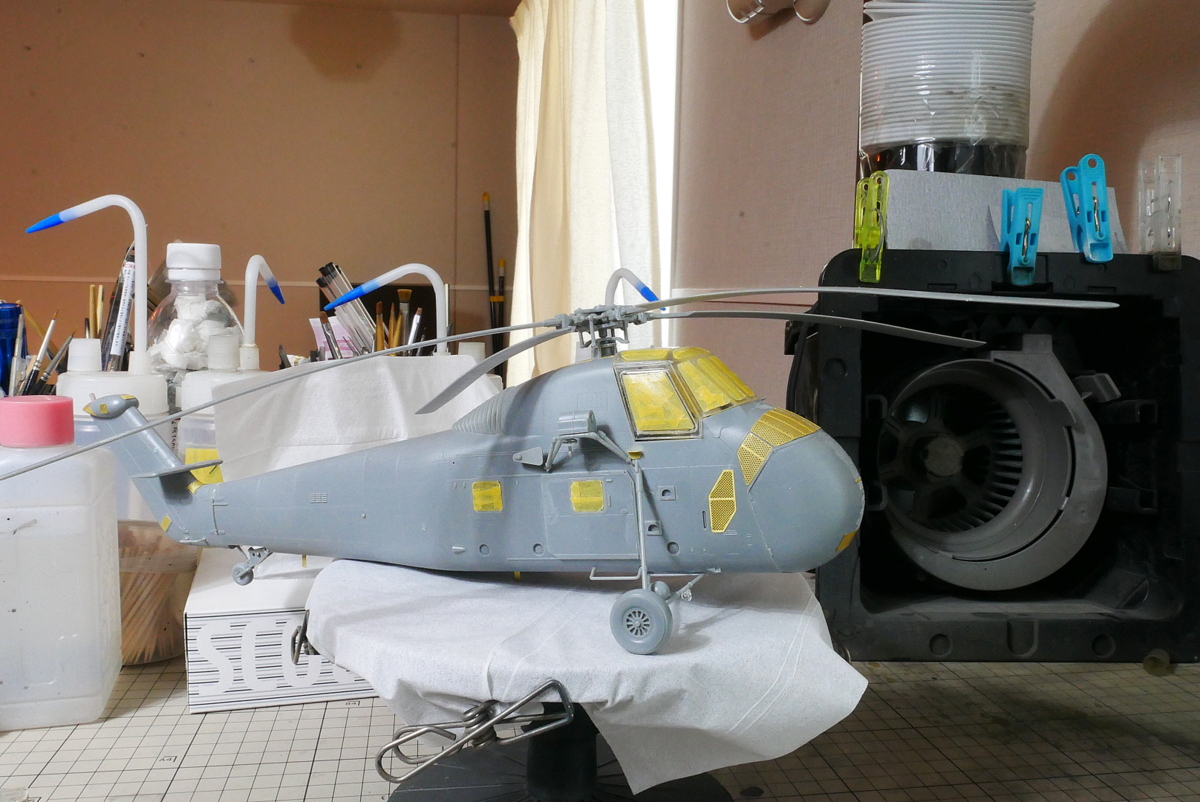
Since all the corners of the windows are round, it is rather difficult to attach the masking tape. It was finely adjusted with a sharp design knife.
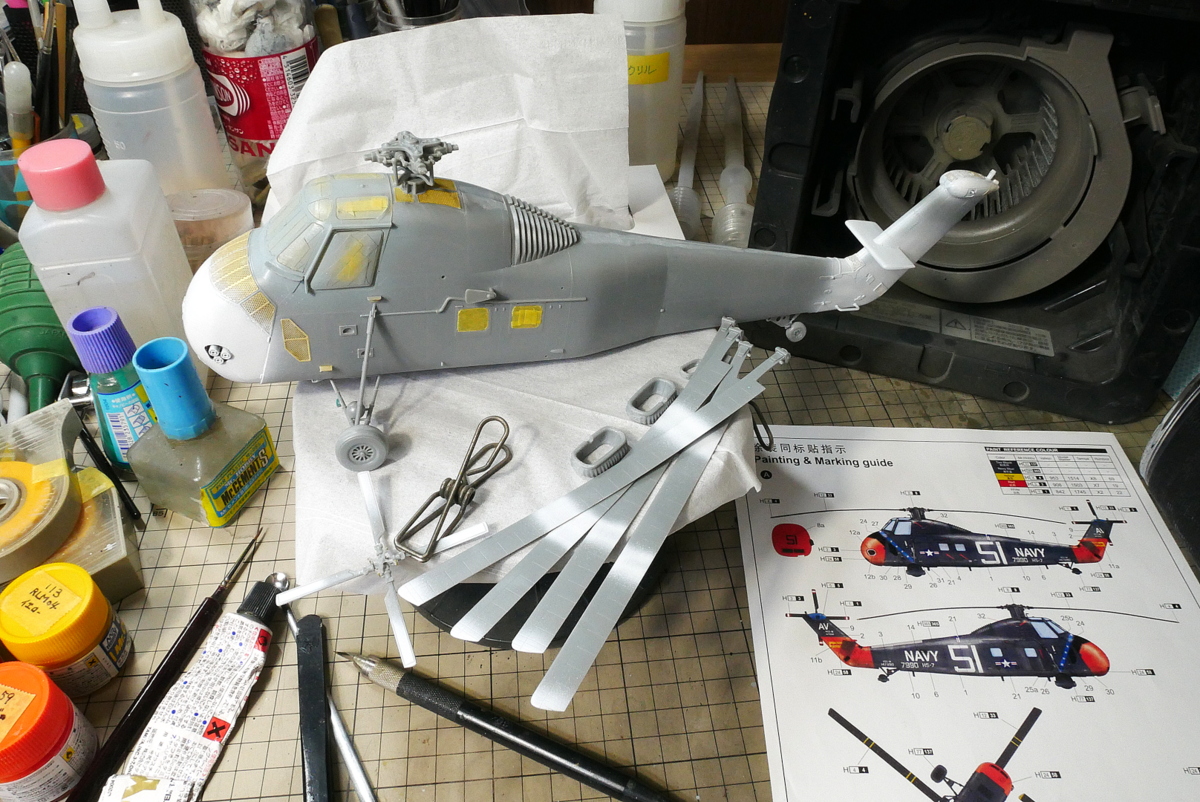
There are many colors of orange, yellow, and blue, so I blow white first to improve the coloration. It takes a lot of work.
(2023/11/30)

I haven’t made much progress, but I started painting bright colors. Orange, yellow, and red are in various parts.
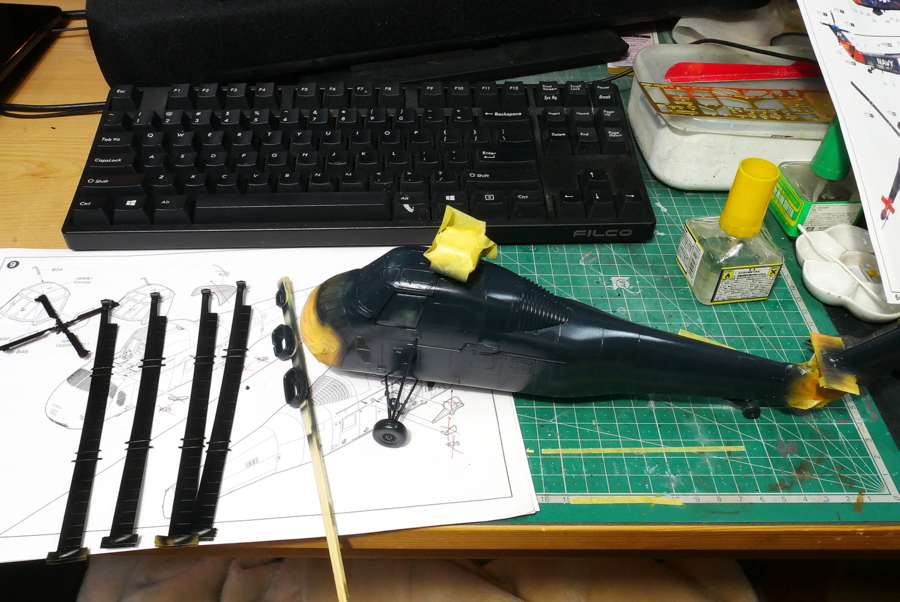
After detailed masking, the main color Gross sea blue was blown. Masking work is also quite cumbersome. But I think it blew pretty well. The 1/48 scale is large even if the rotor is not glued. I’m a little worried because the supports holding the wheels are weak.
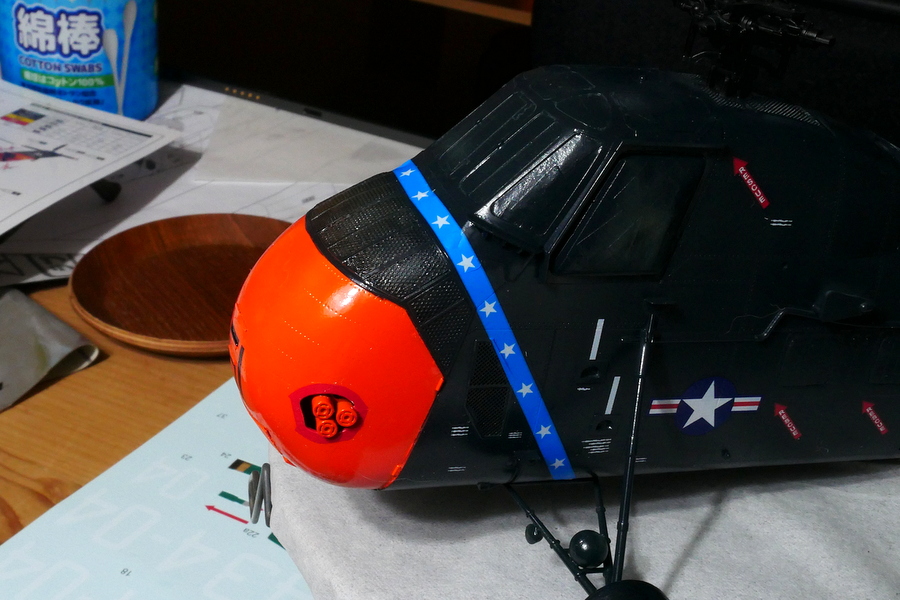
The area around the hole surrounding the exhaust vents should be painted red. I thought brush paint and masking might not work, so I cut the red part of the leftover decal thin and stuck it on. It will be fine with a retouch of orange paint on the small parts.
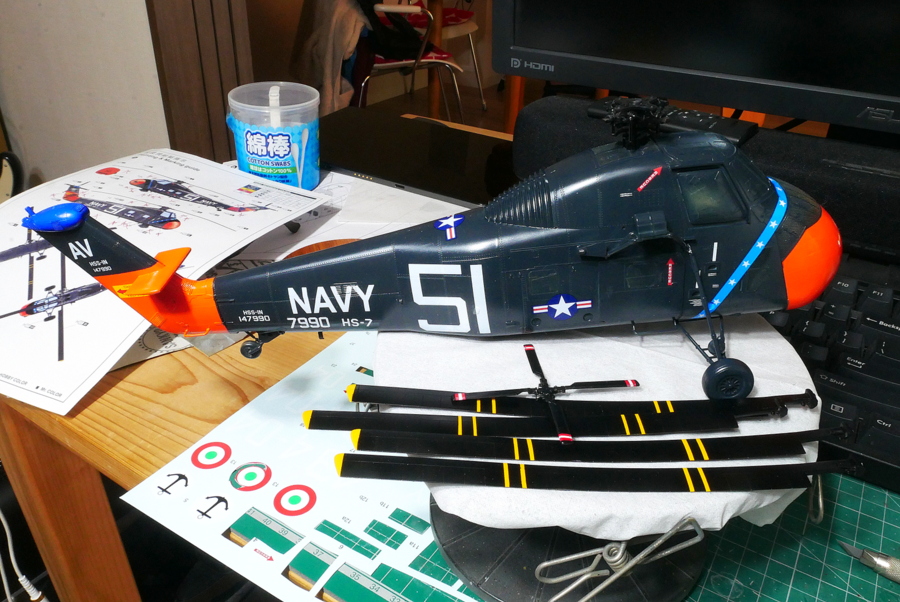
All the decals are stuck on and waiting to dry. I think it’s almost finished. I can’t decide whether to do weathering or not. Even if I inked the panel line in black, it wouldn’t stand out in dark blue. Some happenings, such as the paint running out and the compressor breaking in the middle. After not making it for a while, the work has finally progressed to this point.
(2023/12/10)
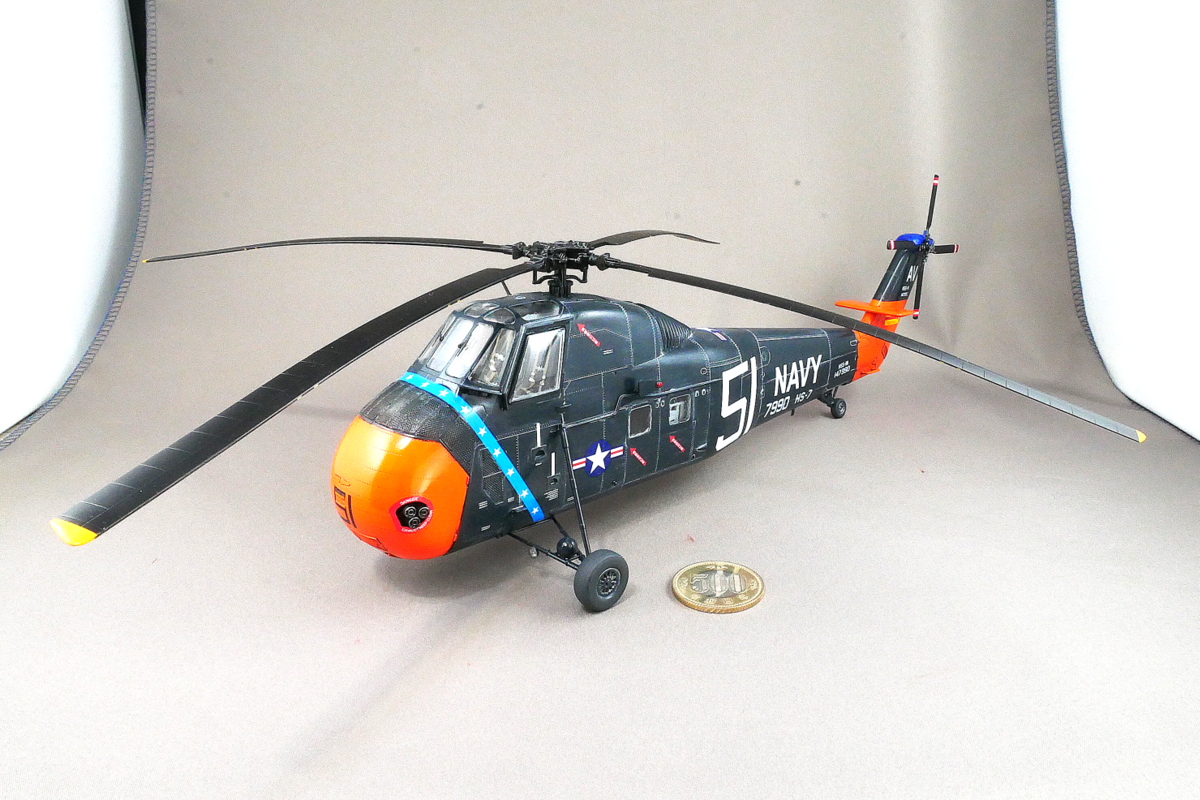
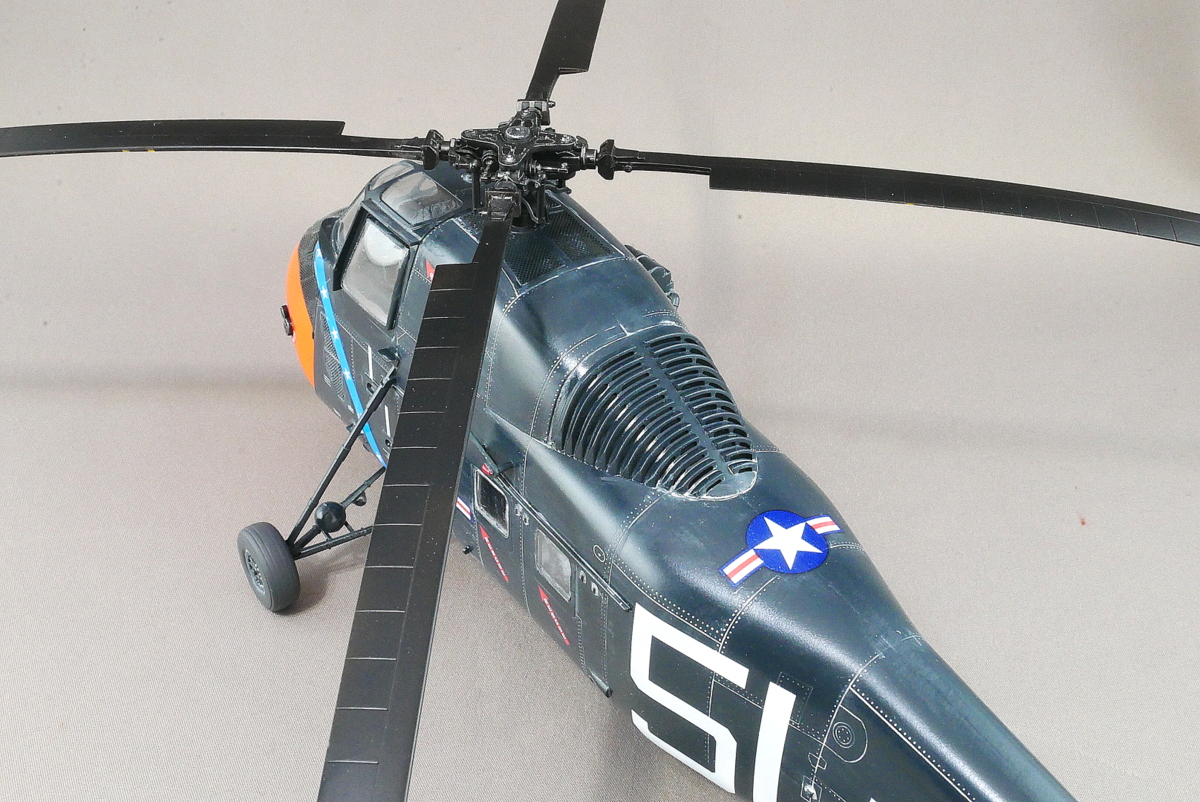
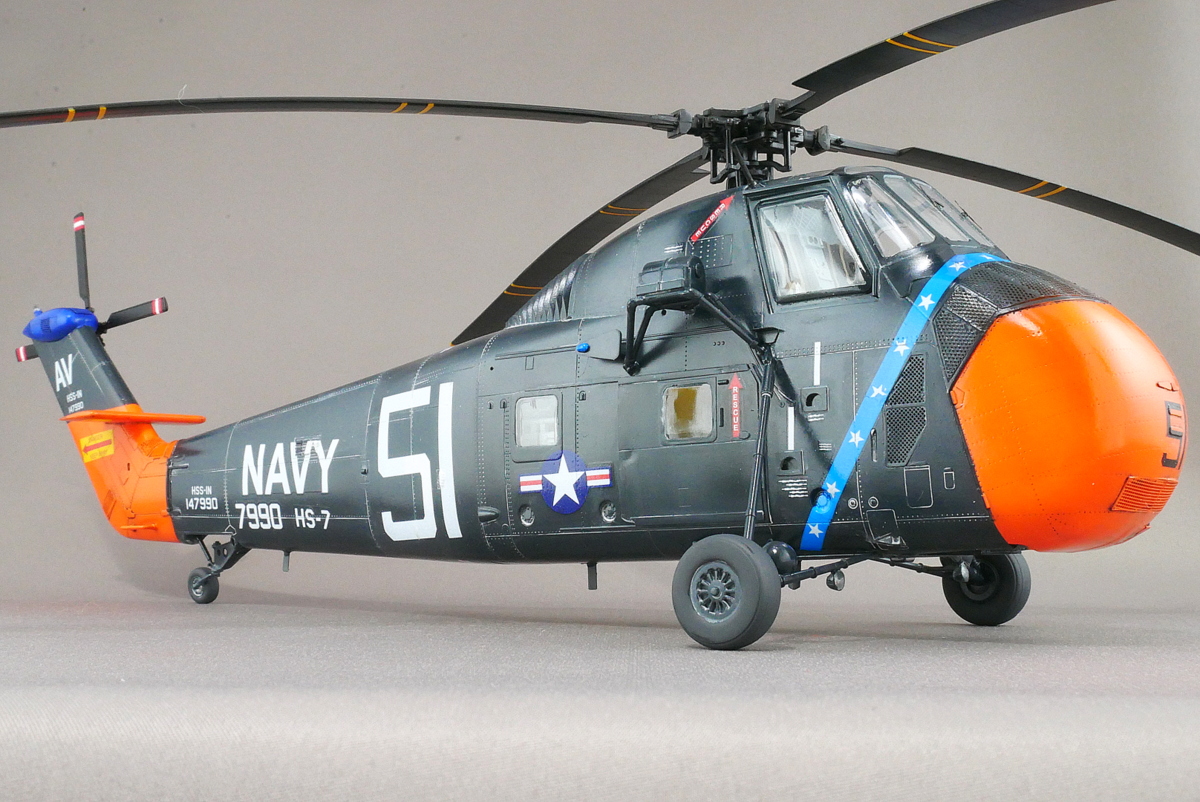
Sikorsky’s HSS-1N helicopter is finally complete. In the middle, the H-34 became the official name, the anti-submarine aircraft was named SH-34, the multi-purpose aircraft was named UH-34, and the transport aircraft was named CH-34. Maybe the Sikorsky S-58 helicopter is a more common name.
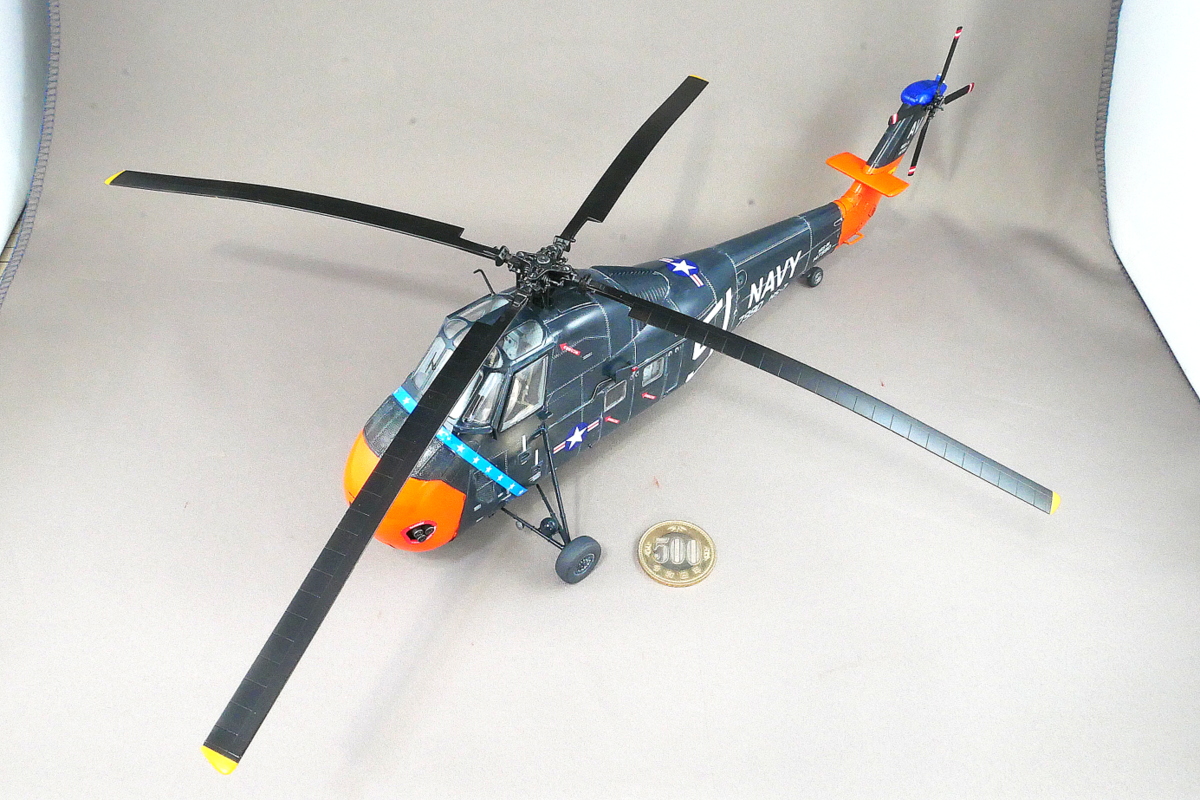
If the main rotor is installed, it will be quite big. For now, I think I’ll attach it when I take pictures and remove the blades when I display it on the shelf.
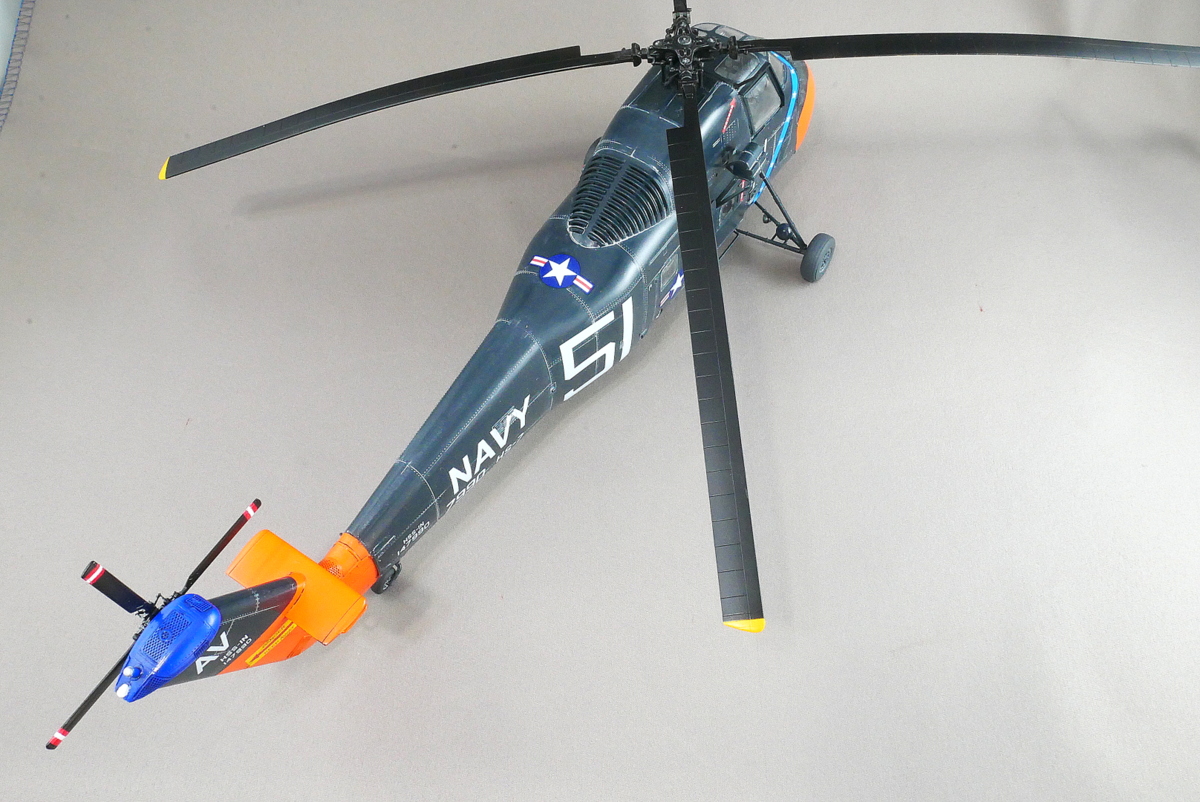
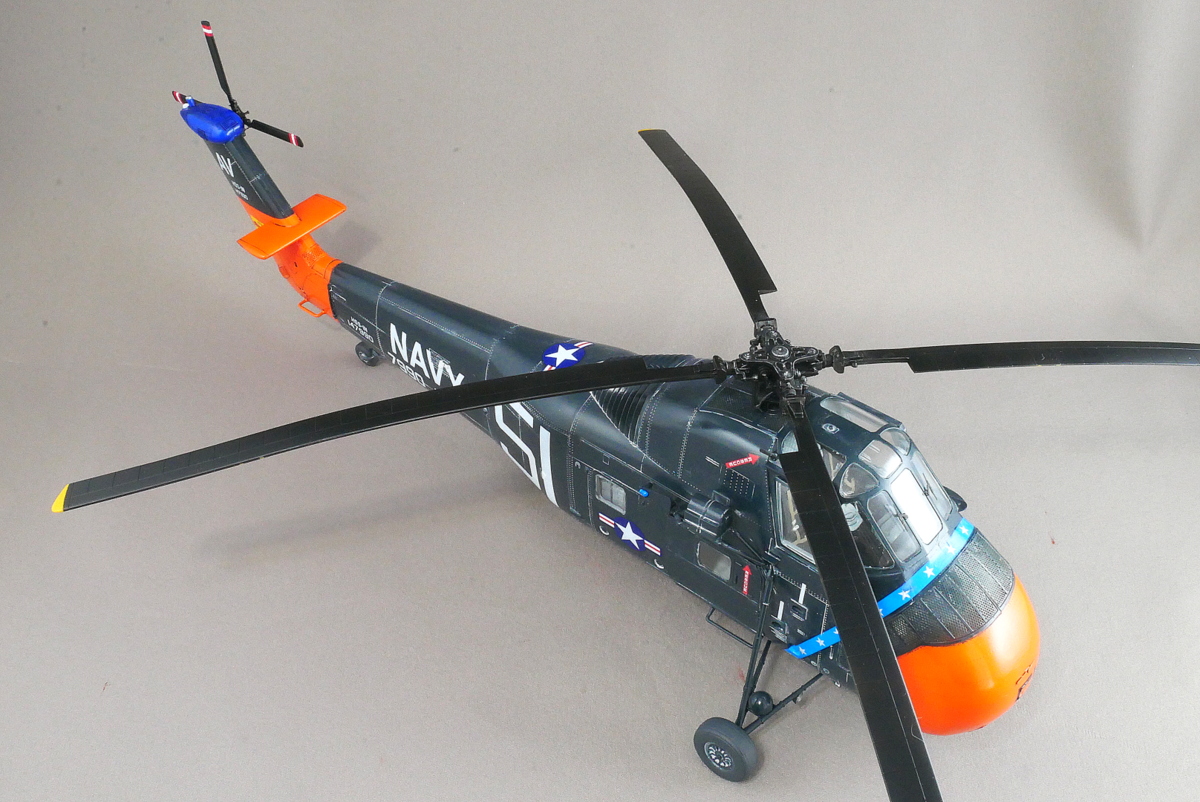
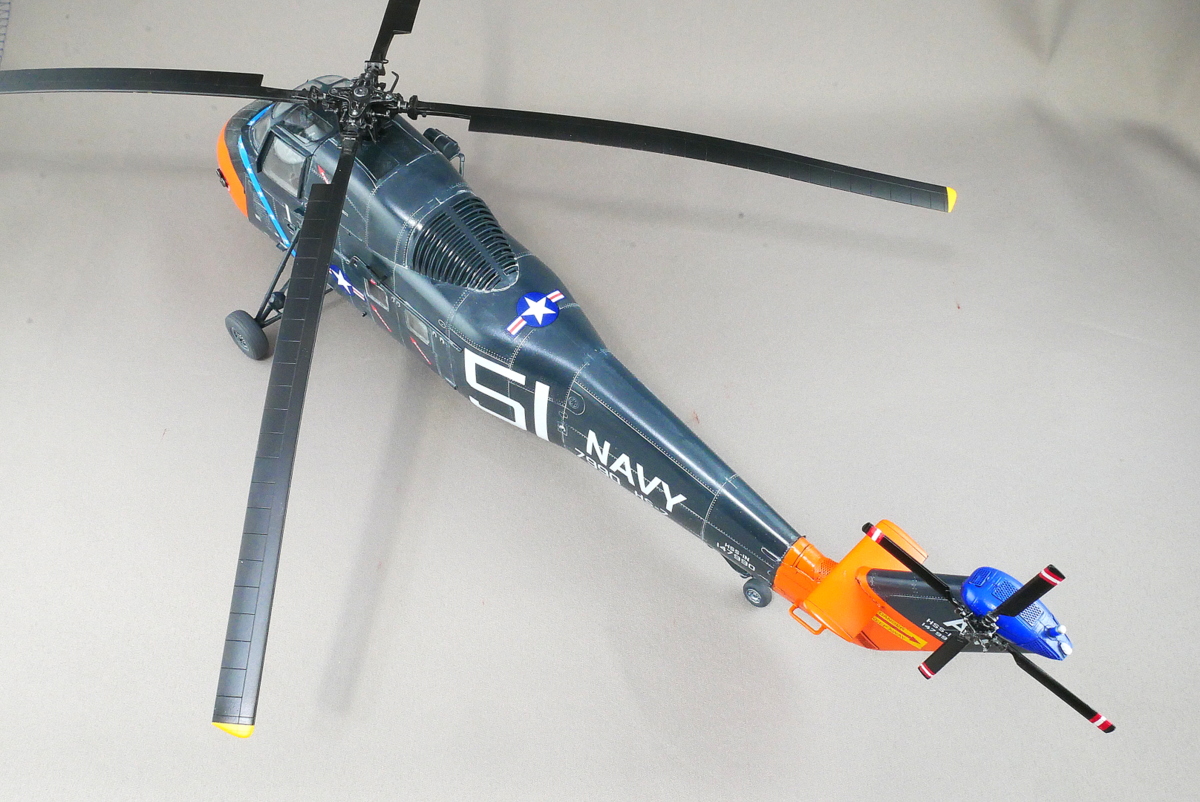
The main color is gloss sea blue, and the nose and tail rotors are painted orange. Since there are many rescue missions, it must be painted in a noticeable color. By the way, in the Trumpeter’s manual, the orange part is designated as C58 yellow-orange, but I think orange number C59 is more appropriate. It’s just my personal opinion.
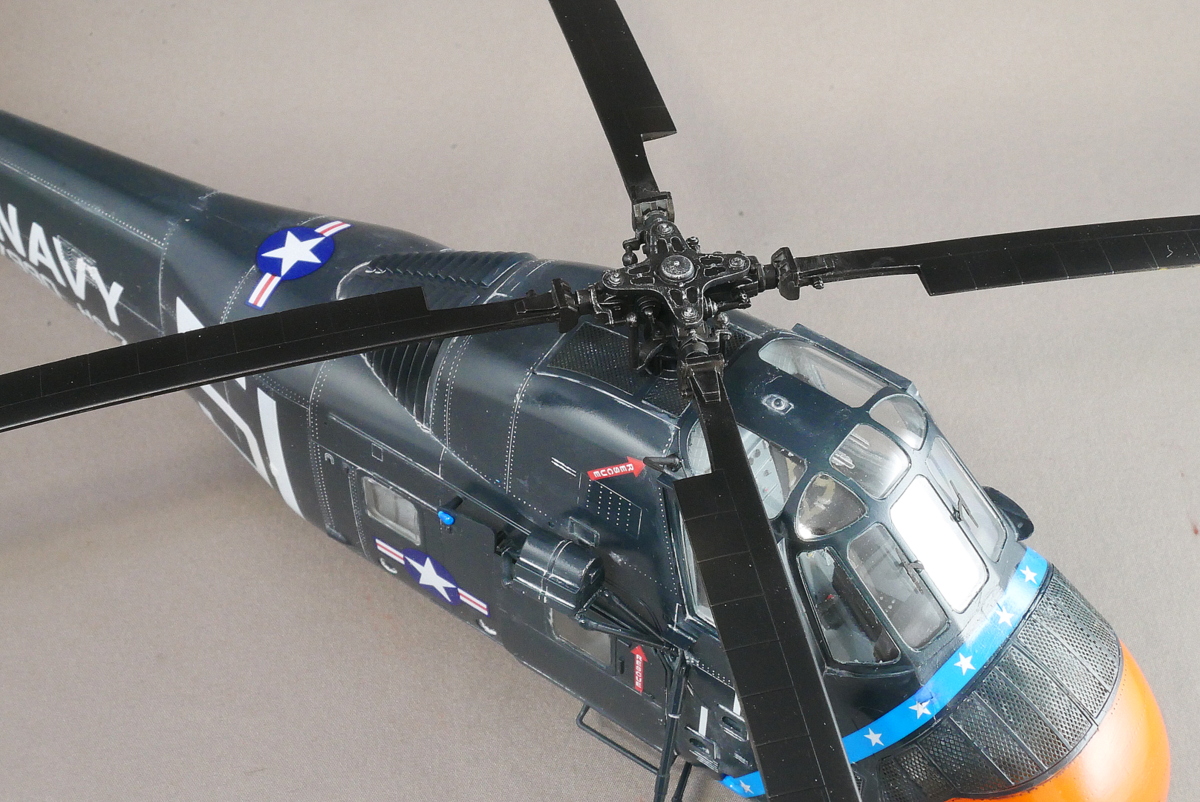
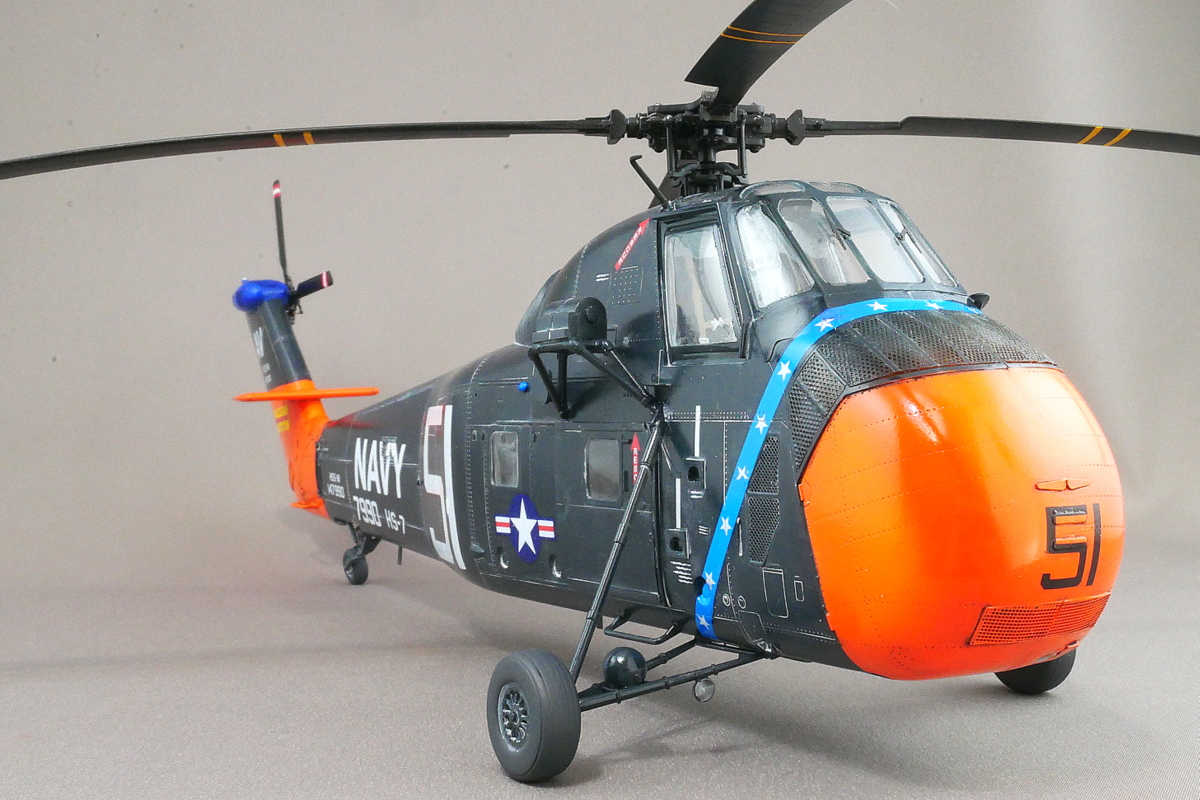
Even though I have to use a lot of colors, there are only a few places where decals are provided, so I end up having to do some masking and paint little by little.
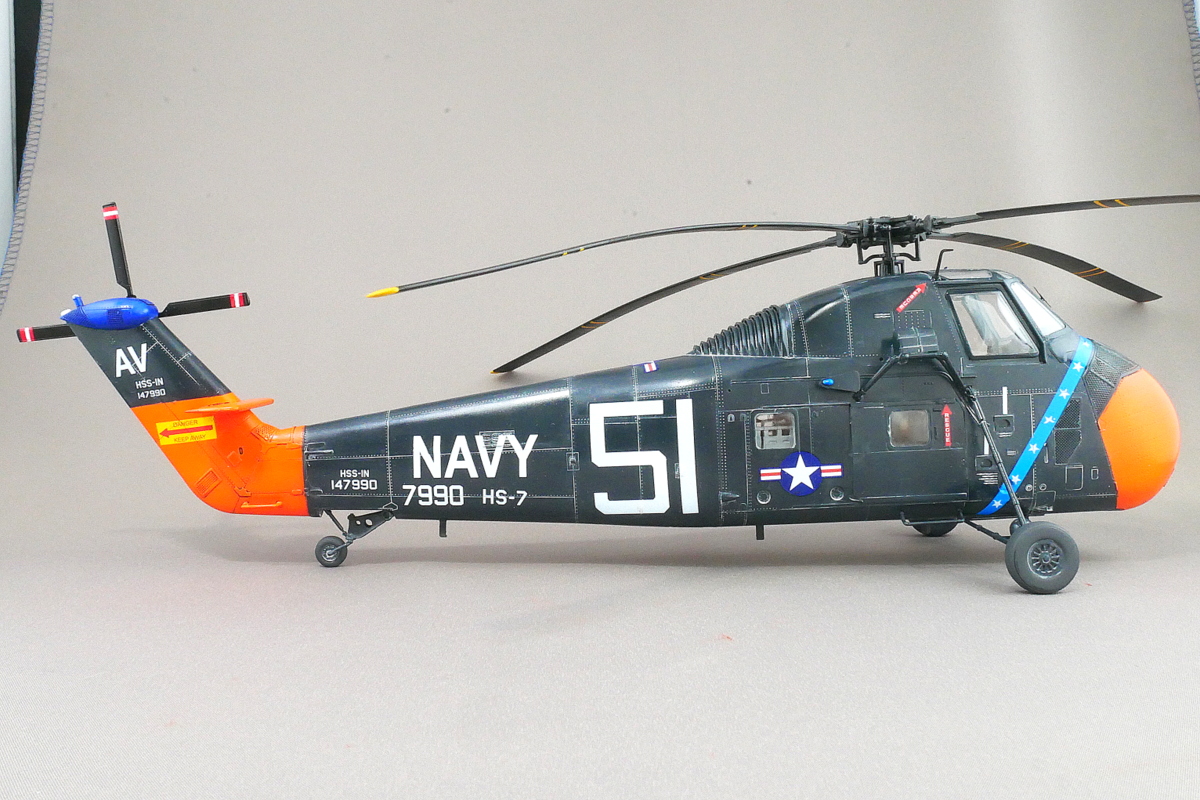
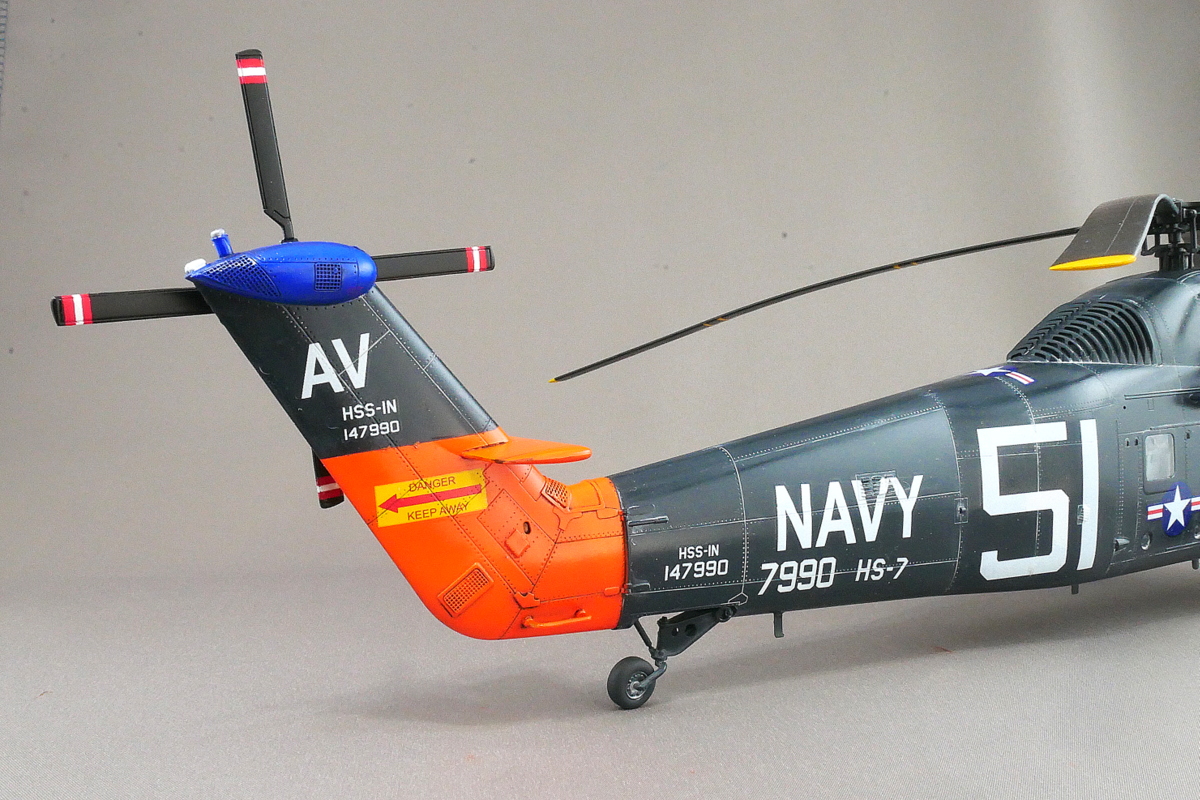
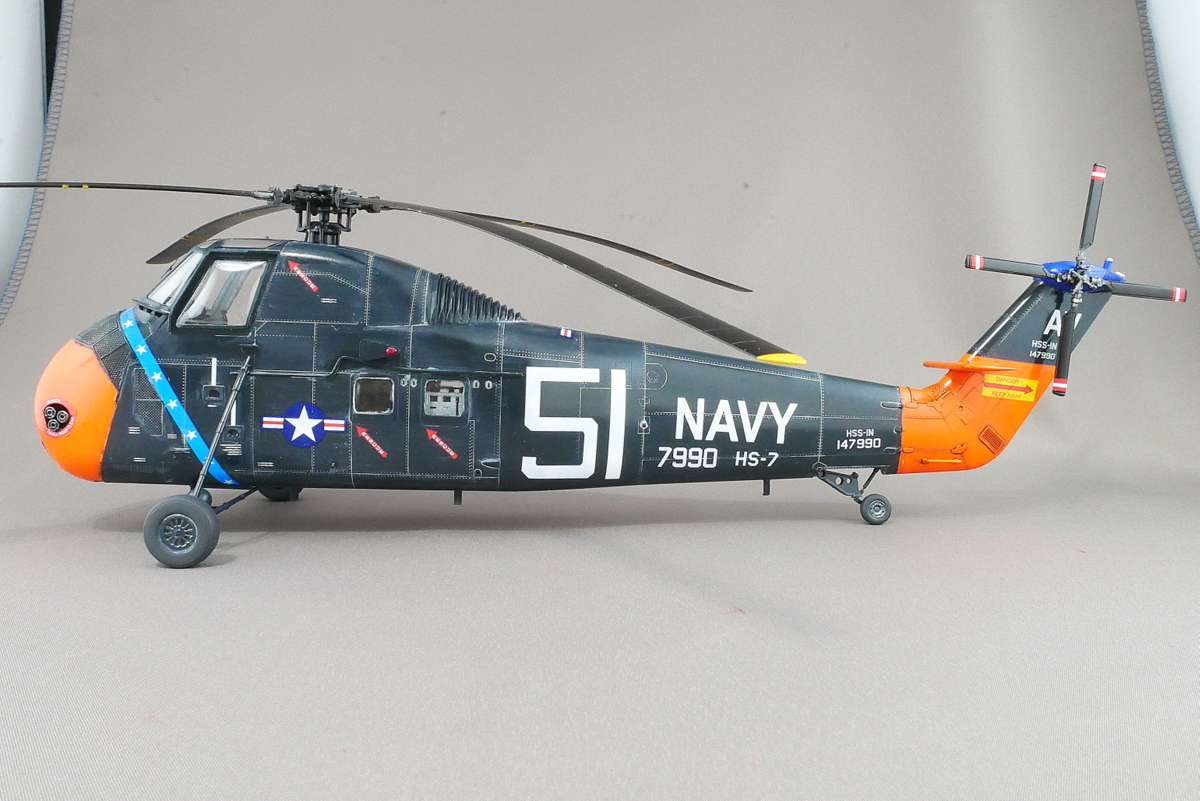
The marking is a CVS-15, US Navy Sikorsky HSS-1N Sea Bat from the 7th Helicopter Anti-Submarine Squadron (HS-7) “Big Dippers” on board the USS Randolph. HS-7 was assigned to the aircraft carrier anti-submarine group 58 (CVSG-58) aboard Randolph for deployment in the Mediterranean Sea from June 7, 1962, to August 31, 1962.

It was also used in Japan, so I wanted to make it with the markings of the JMSDF. There seems to be a 1/72 scale kit
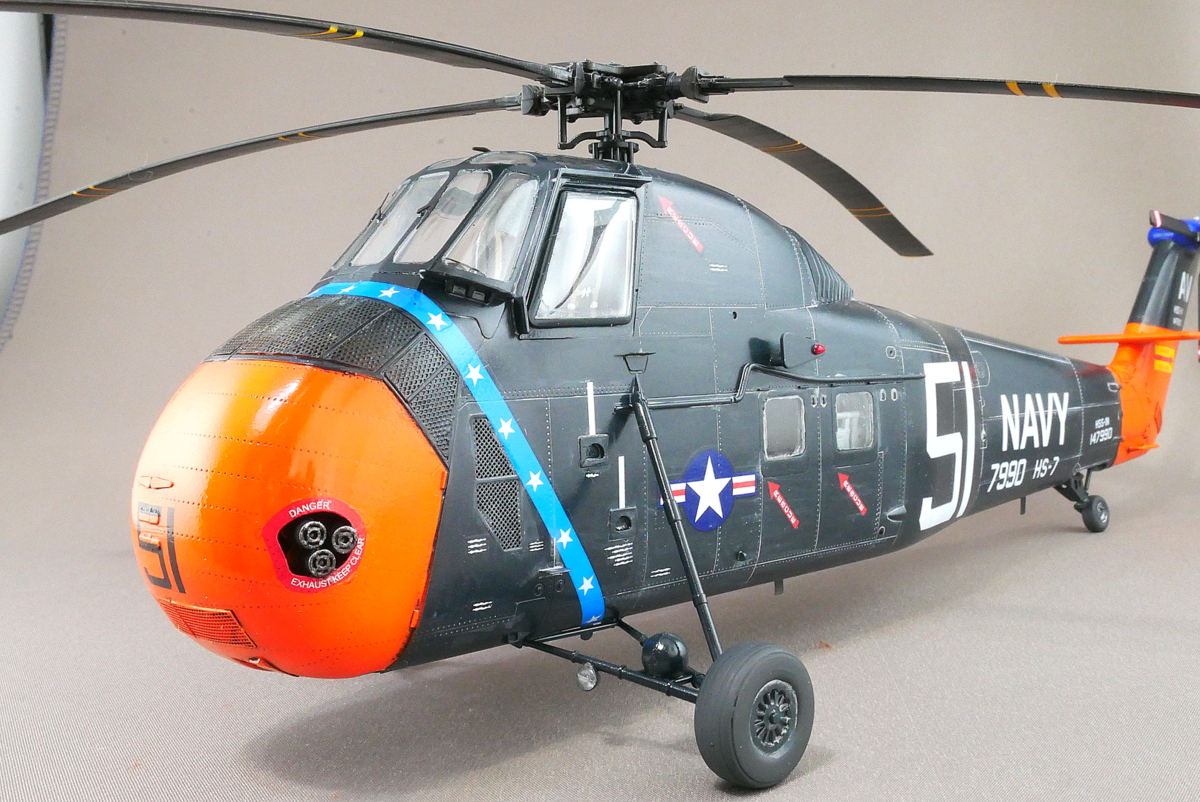
I used light washing to highlight the panel lines. The blue part is light gray, the rest is blackish paint. Well, it might be better to wash it and have some dirty parts so that it looks natural.
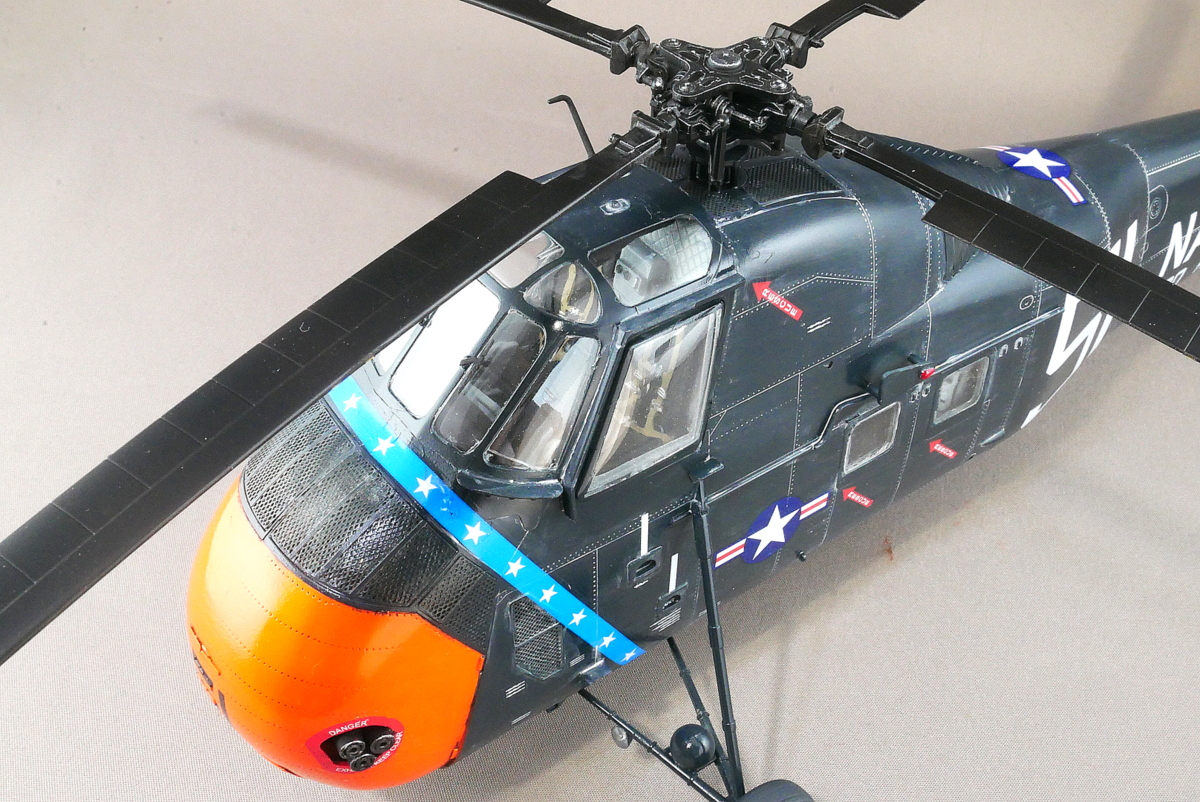
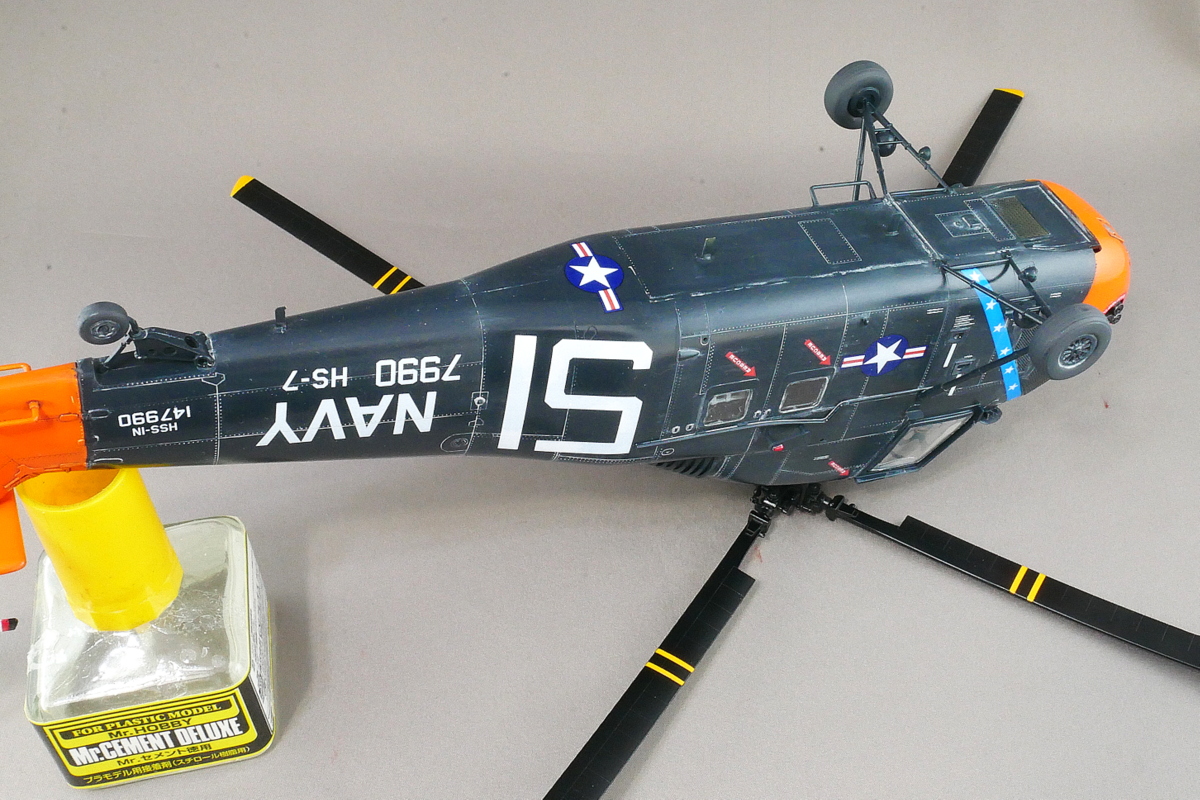
It wasn’t in the manual, but there was an extra nationality mark, so I put it on the bottom of the plane. Maybe this is right. It would be inconvenient to look up from below and not know which country the plane is from.
The helicopter plastic model itself took a little bit of time, and I thought I’d stop making it because I lost motivation, but I’m glad I managed to finish it.
The APC-002D compressor of Airtex which I used for 4 years broke in the middle. It’s hard to fix it because the air doesn’t come out even though something is turning inside, so I bought a new one. The APC-002D was also small and good, but it was noisy until the air filled up, and it got hot quickly, so it wasn’t very convenient. It only lasted four years, so it’s not durable? Honestly, I wish I had a bit more because I didn’t use it even once a week. The APC-007B Silent II by Airtex, which I had used for more than 8 years before that, was quiet and I wanted to buy it again when it was reproduced but at that time, the connection between the tank and the hose was cracked and in no condition to repair. I got a license for gas welding when I was in high school, but I can’t repair it by myself, it’s dangerous, and I probably can’t.
In the end, my next purchase was a low price Chinese-made AERO CROSS made by aurochs, a quiet air compressor. I think this is enough as long as I want quiet. The main airbrush nozzle is 0.02, so it doesn’t need much pressure. Until now, I have been reluctant to operate the compressor in the early morning, at night, or when my family is in the next room because of the noise, but I don’t mind if it is quiet. The noise of the fan in the exhaust booth bothers me more. It came with an airbrush, but I didn’t need one so far, so I took a spare one. But five or six airbrushes piled up. The new compressor is fine if it’s durable, but what happens? It has become a good time to have inexpensive and quiet small products on the market.
(2023/12/13)



コメント