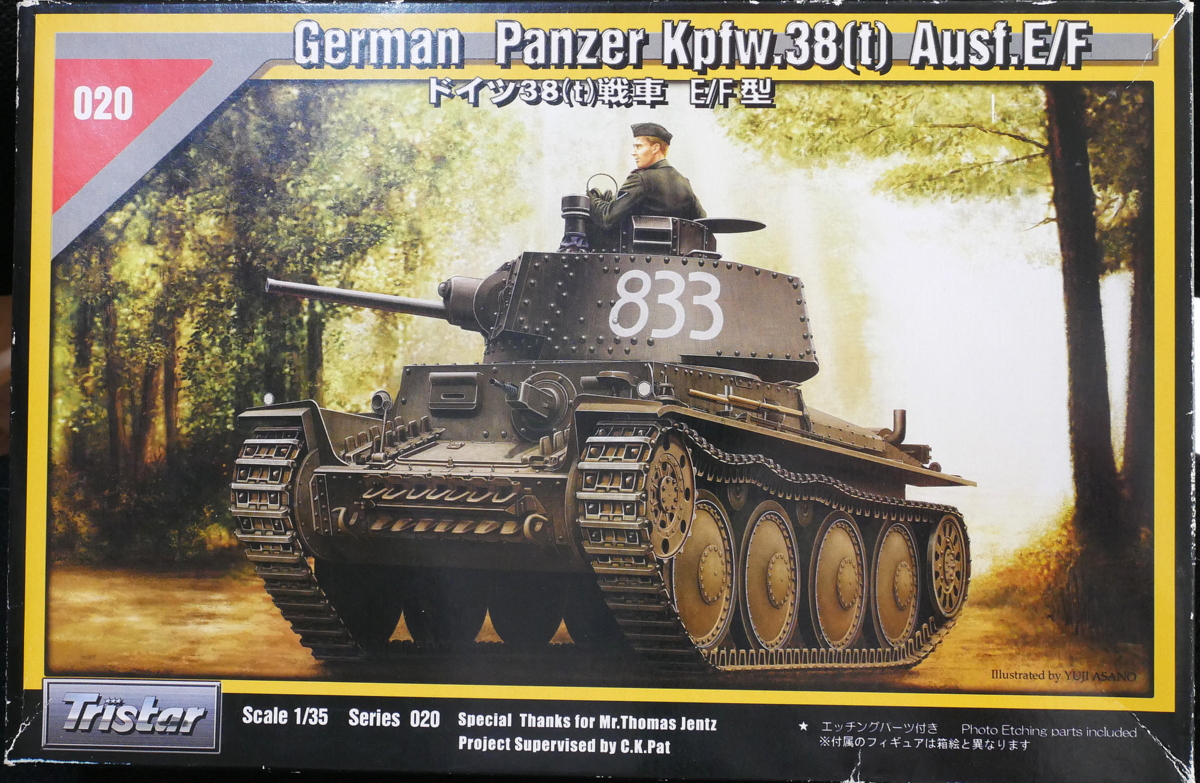
It was cold recently, so I didn’t feel like continuing with the airbrush painting of the airplane model, so I put my hands on a different kit. Both will be half-finished, so isn’t it good?
It’s a fairly old kit, but I’m going to make a German 38(t) light tank. The Tristar kit has small parts, but it seems to be good. Now that Tristar is out of business, I think you can buy what is currently released by HobbyBoss. At that time, I was worried that they were struggling after being intentionally batted many times by Dragon. I think the manufacturer had the greatest passion for kits. Now, 38(t) has been released from Tamiya, which I had longed for, so it might be a delicate choice. Especially for Japanese modelers. I also want to build a Tamiya 38(t) tank, but I would like to finish this first.
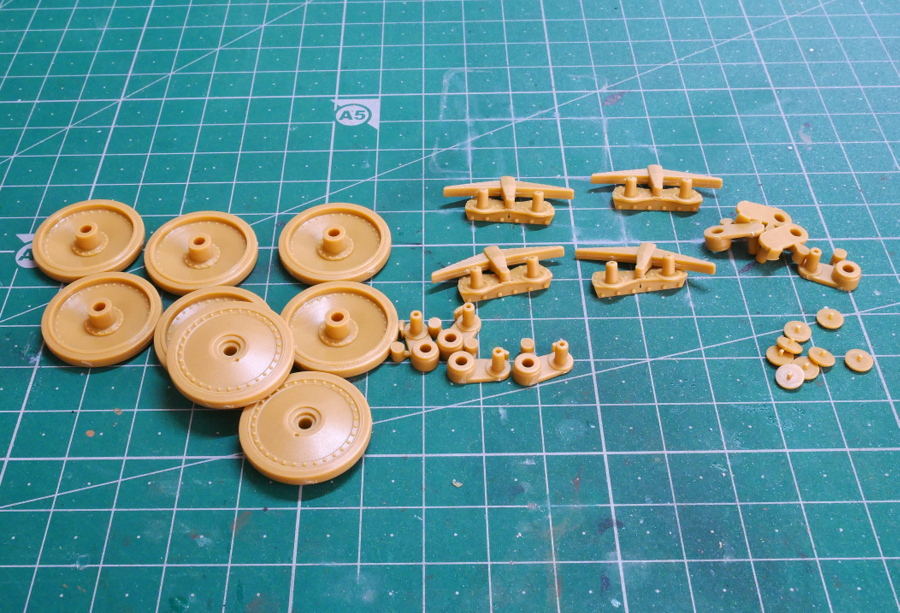
I wondered if I’ve ever built around here; I’ve built 38(t) based anti-aircraft vehicles and self-propelled anti-tank artillery. There are many moving parts, but if you add a little adhesive, it will harden, and if you only apply a little, it won’t be strong. I will pour a lot of glue and fix it when I decide position.
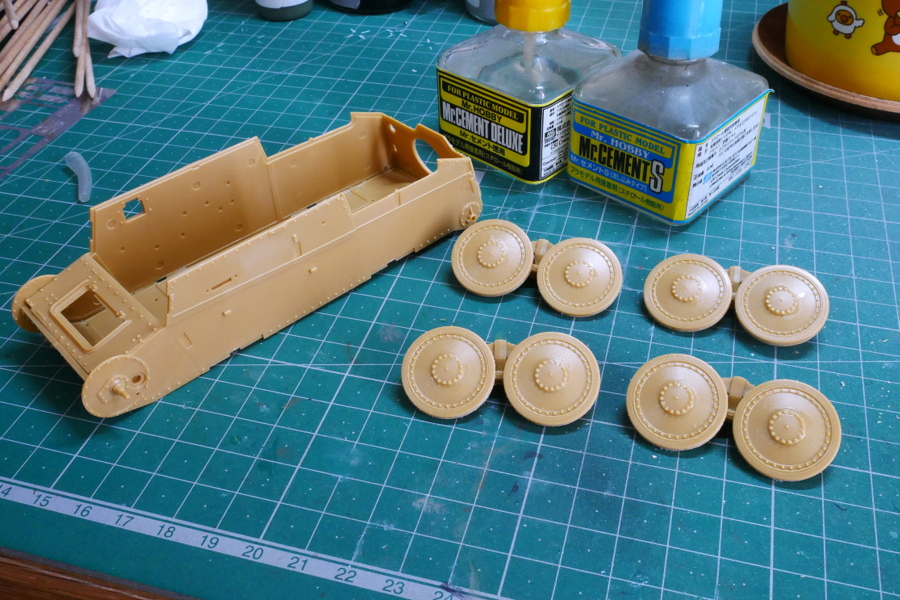
The body of this kit is also a box-build type. The adhesive between the suspension base and the chassis is not so tight, so I am concerned if it is angled or parallel.
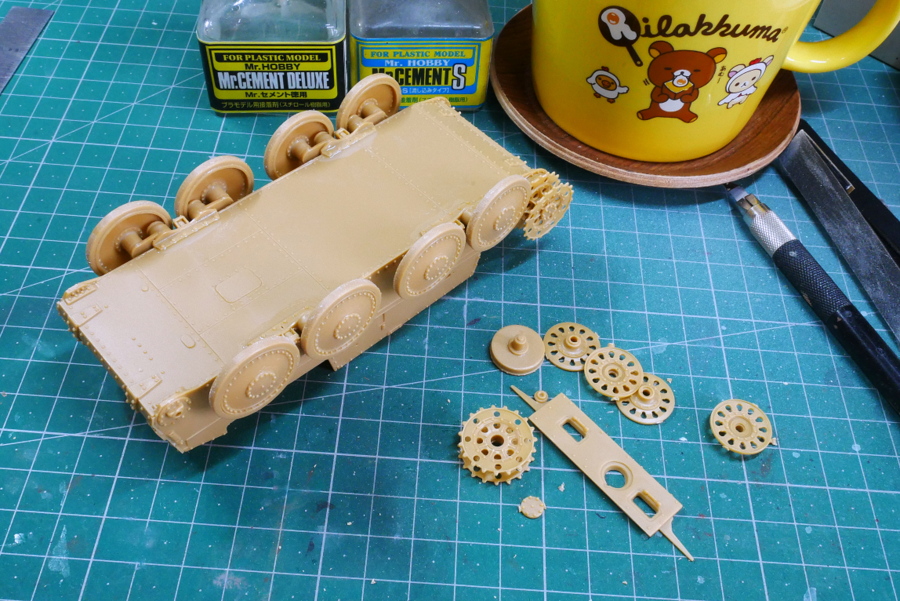
The mold looks very fine and pleasant. It is made strong by adding superglue, such as the adhesion of road wheels. There are many parts with delicate and thin parts, such as the driving wheel. The maintenance of the mold seems to be complicated.
(2022/03/24)
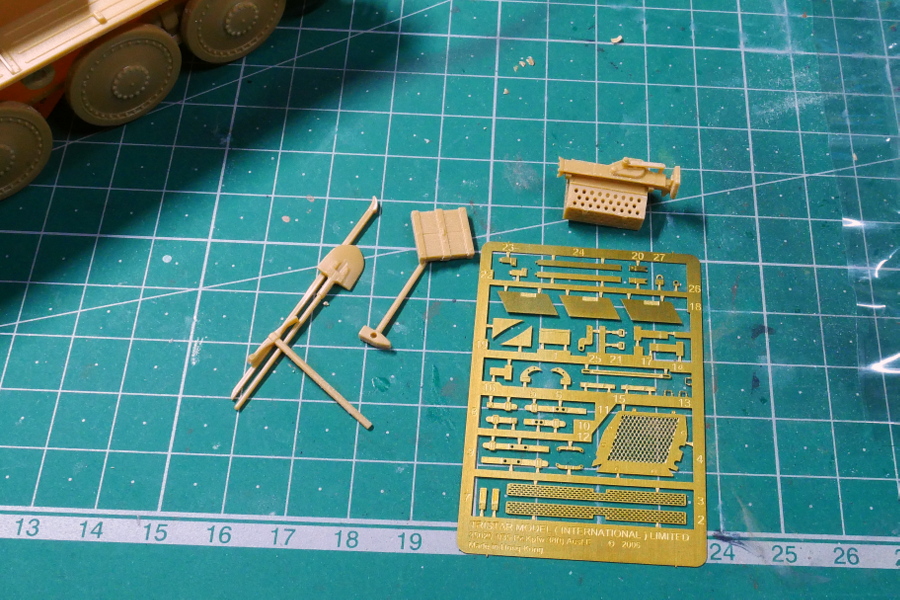
A little etched part is attached. Depending on the choice of opening and closing the hatch, some may not be necessary. I thought all OVM clamps were in the German Army, but there are also belt-shaped etched parts. I wonder if the way to fasten is different because the original is a Czech tank.
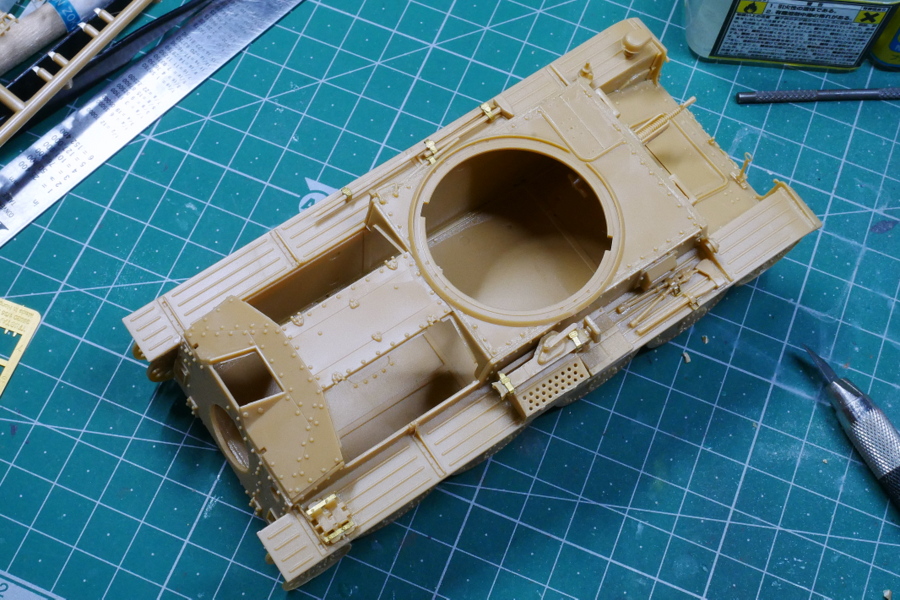
Dissonance will come out if I do it carelessly, like the chassis box. So far, I think the parts have been fixed. Although there are a few etched parts, these parts are practical.
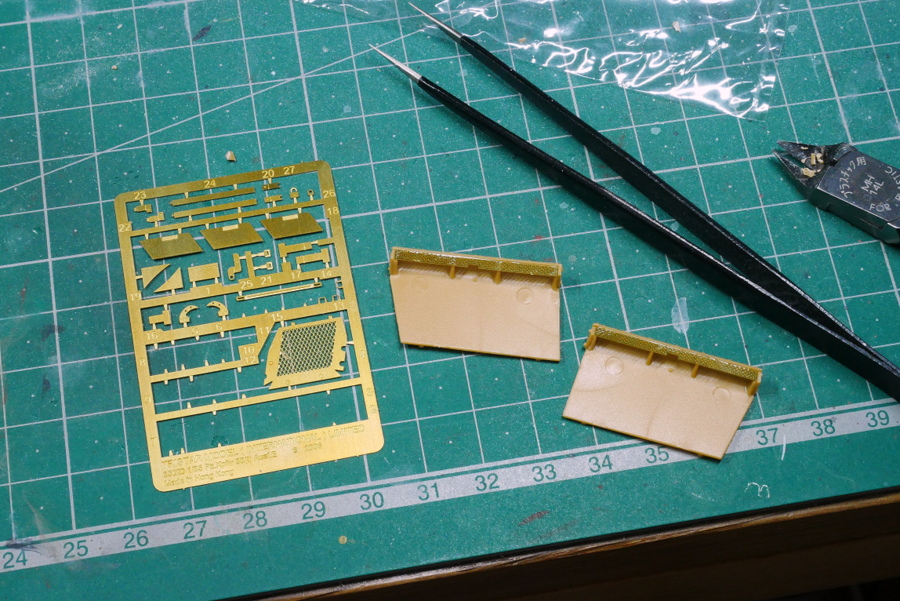
There was an etched part under the engine cover. I can’t see this at all. But if you open the cover, it may be effective. In that case, we might use parts sold separately to reproduce the interior.
(2022/03/28)
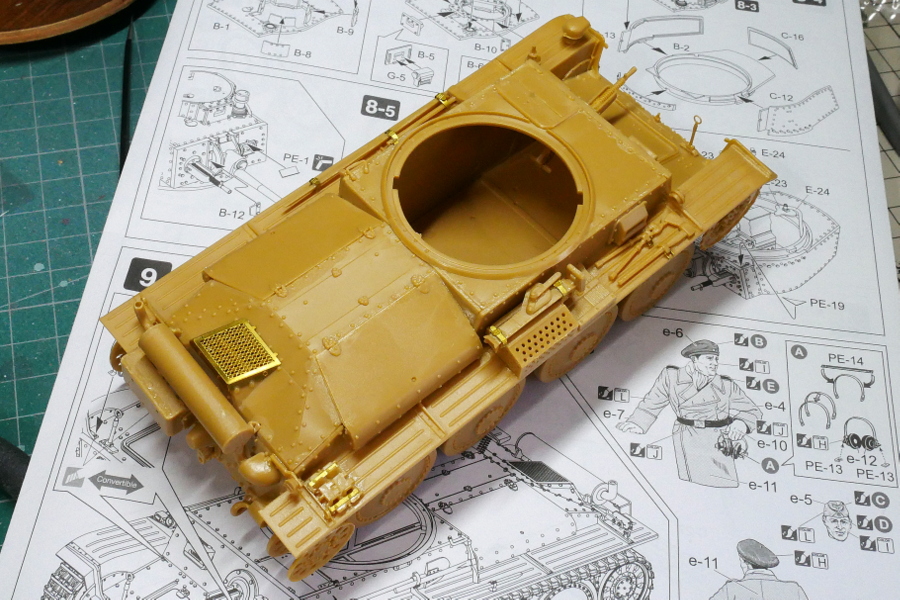
The body is finished. It was hard to assemble because there were many small parts, such as the vehicle’s rear.
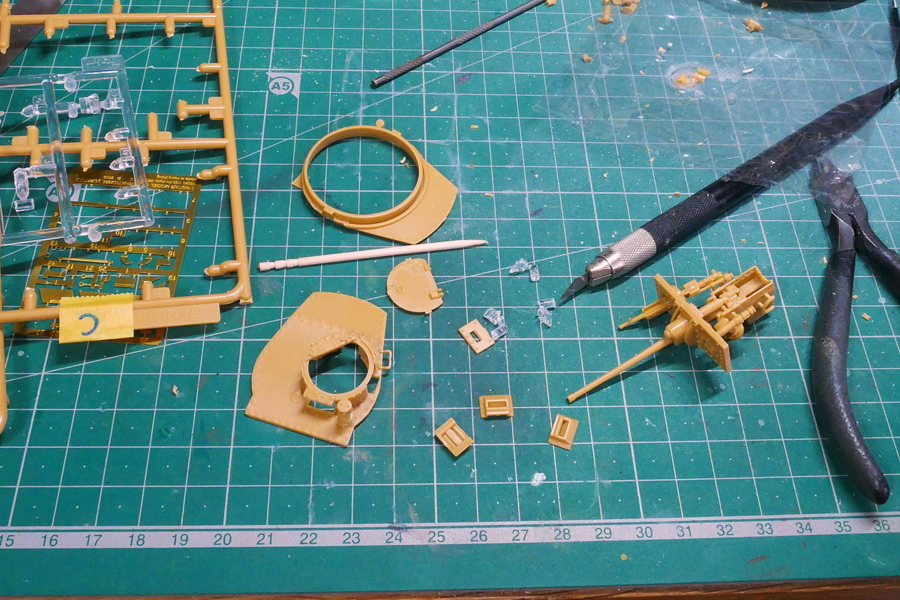
The turret has started being assembled. This also has many small parts. There are a lot of small parts inside the main gun, but you can’t see them when completed, so I think it would be better if they were roughly shaped without being so careful. I used all the parts. In addition, this kit seemed to pay attention to the details of the backside of the viewing window of the tank.
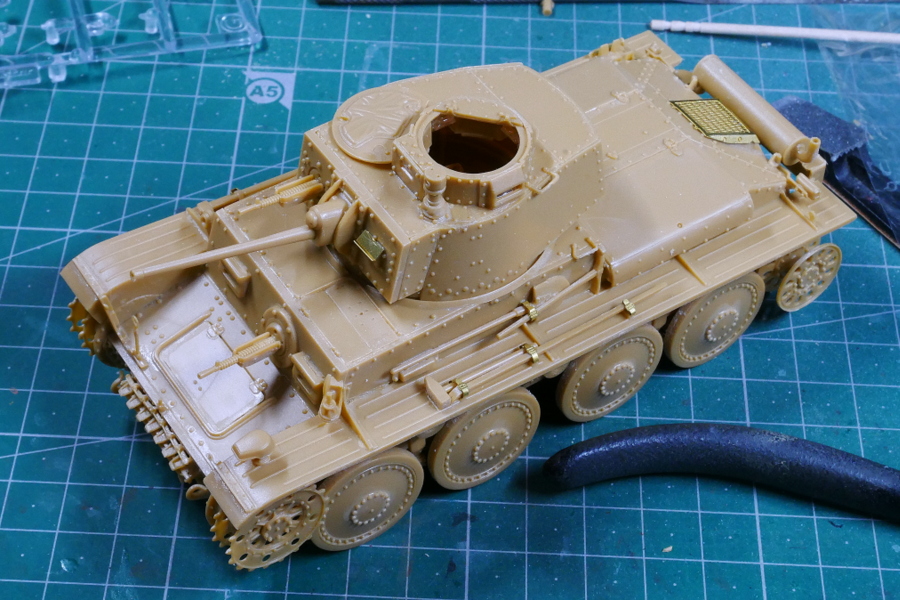
I’ve almost finished assembling the whole tank. This tank features steel riveting. The other thing is the connected track. If it is riveted, the strength may be weak, but welding techniques were not widespread then. In the case of riveting, if we replace only the iron plate with a hole, it can still be used. But the devastation of the tank that was hit by the shell, from the pictures and the images, is tragic now and in the past, so I don’t think it’s possible.
(2022/04/08)
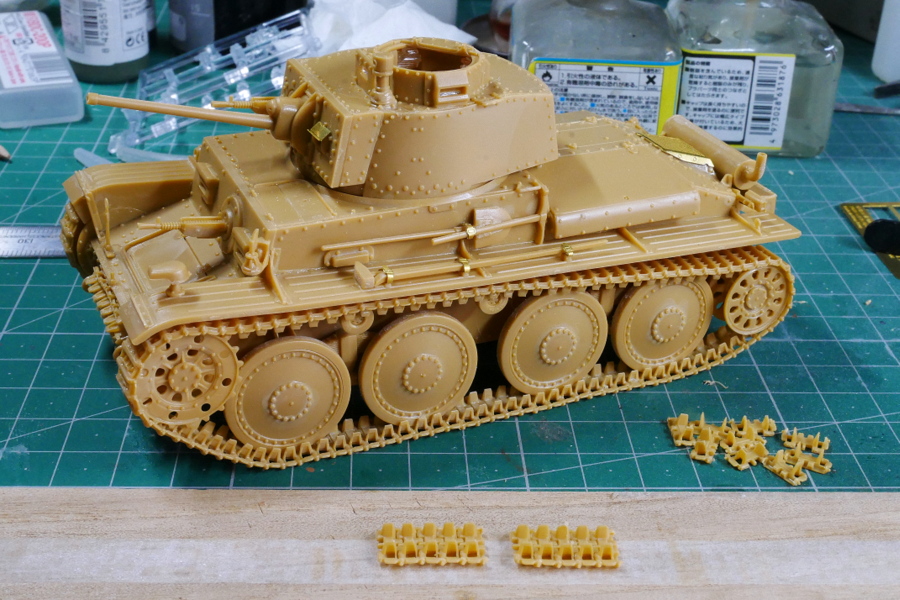
This time, the assembly of the connected track is the last. I want to put a lot of extra tracks on the front of the tank, but I don’t know how many pieces are left, so I’m worried I don’t put most of them on the tank. In the past, there was a kit that was not long enough, even if I didn’t use it for the spare track. In that sense, it might have been risky to use the number of pieces for the front.
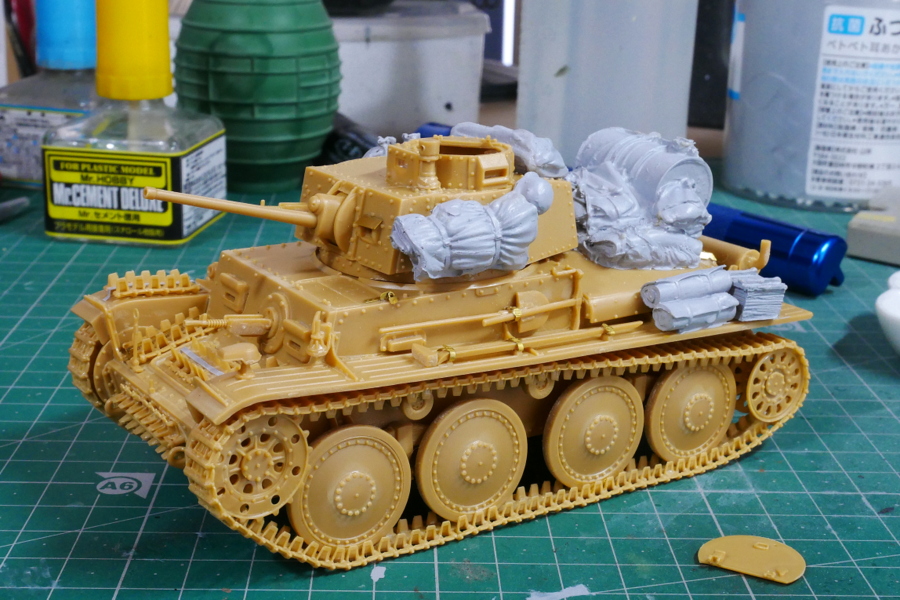
I placed the extra track parts in various places as a spare caterpillar. It may be unnatural to put a heavy thing on the fender. But I think it would be cool to put various things on it as a model. Maybe I should add a slipping strap with a plastic plate or something later.
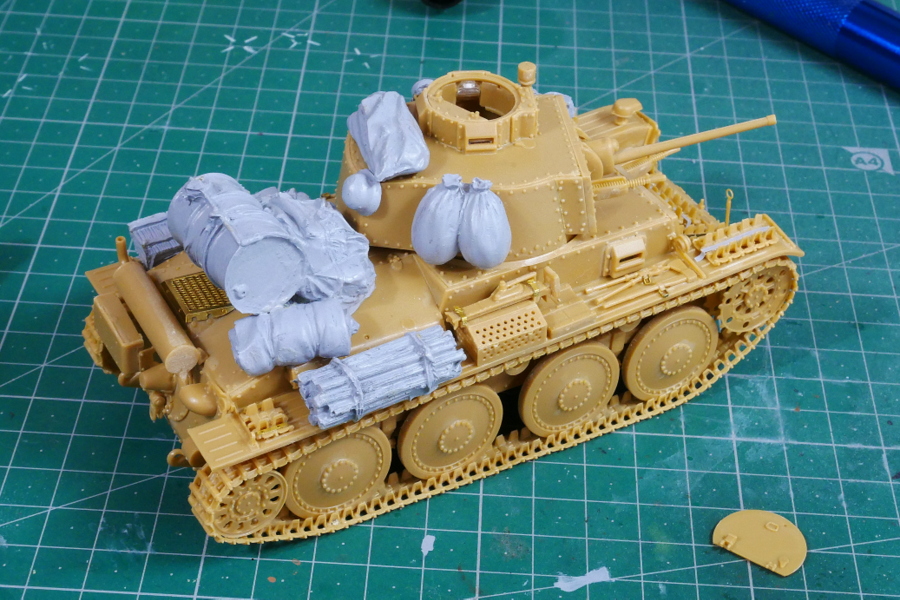
On the back of the tank, I put things like drums, sleeping bags, mats under the sleeping bag, canvas sheets, wooden boxes, and a bunch of tree branches that I don’t know if they’re going to be used for firewood or a track stack. If I put it too much, the turret won’t turn, but it’s still OK.
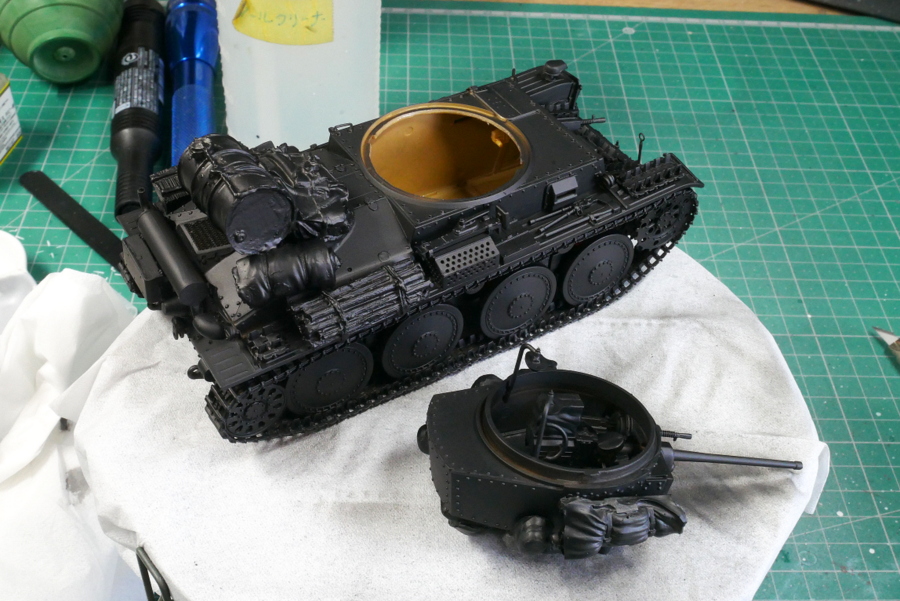
As there was a gap in the space when I put various things on, I again used matte black as a primer.
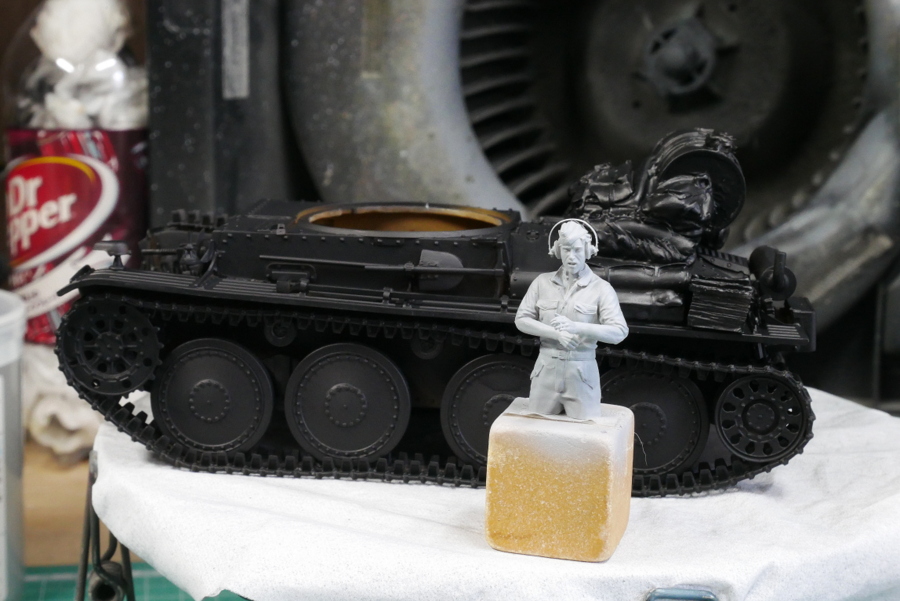
This kit contains 2 German tank crew with berets which are pretty valuable; I think they used to wear ordinary caps when they were on the 38(t) type F. I’ll keep this figure and use it when I make something; I don’t know when. I thought so, but one of them had a garrison cap. So I was thinking about loading Tamiya’s figure set first. I ended up with a German tank soldier in summer clothes from Panzer Art.
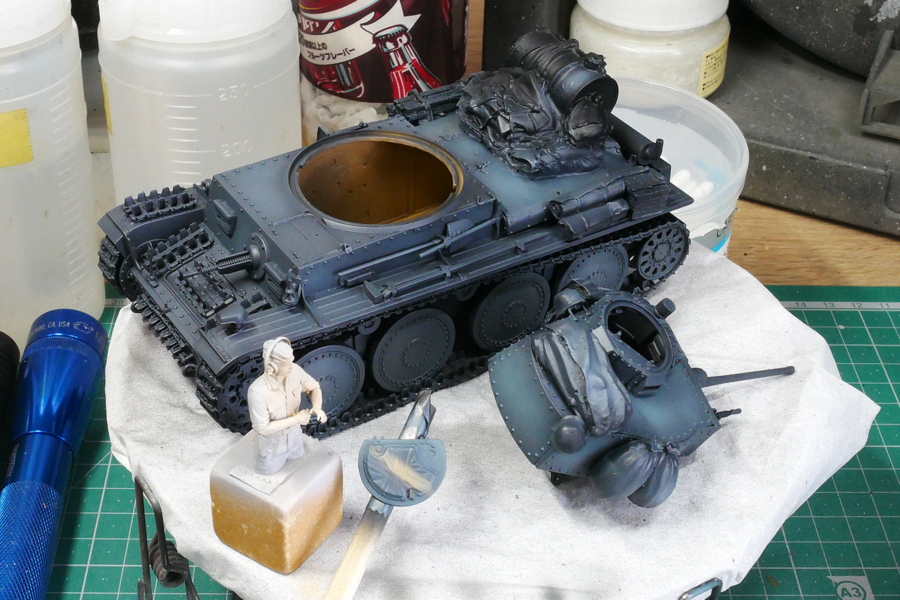
I just painted the color of the tank body German gray. Because the body is small and various loads are attached, the area of the armor plate of the tank is reduced. I don’t think I painted much.
Something went wrong with the airbrush during painting. Even though the button is not pulled on the back, I noticed that the paint is still out when I push it straight down. Adjusting the position of the needle does not fix it. I thought the nozzle was broken, so I looked at it with a magnifying glass, but it’s not like that. After all, when I was disassembling and cleaning the nozzle, there was a rather large obstacle on the tip of the nozzle, It was piled up, and the nozzle and needle fit well, and the paint didn’t seem to be locked in. I think it’s because I’ve been focusing on the quietness of the compressor recently and skipping the maintenance of the airbrush.
(2022/05/06)
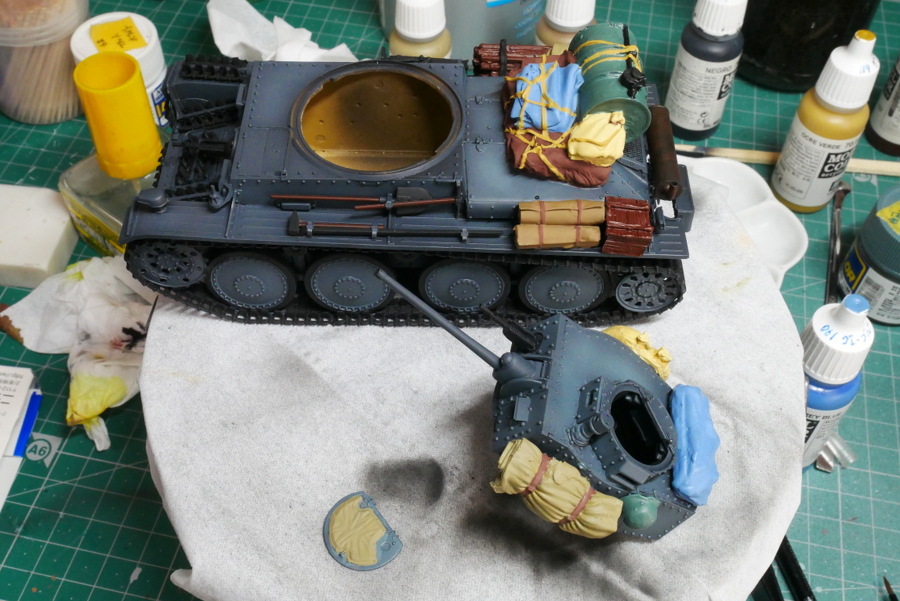
Oops, I was so excited that I put the luggage on it, and it was stuck to the place to put the decal. I was thinking of leaving it open until just before. I prefer to see the decal rather than load the luggage.
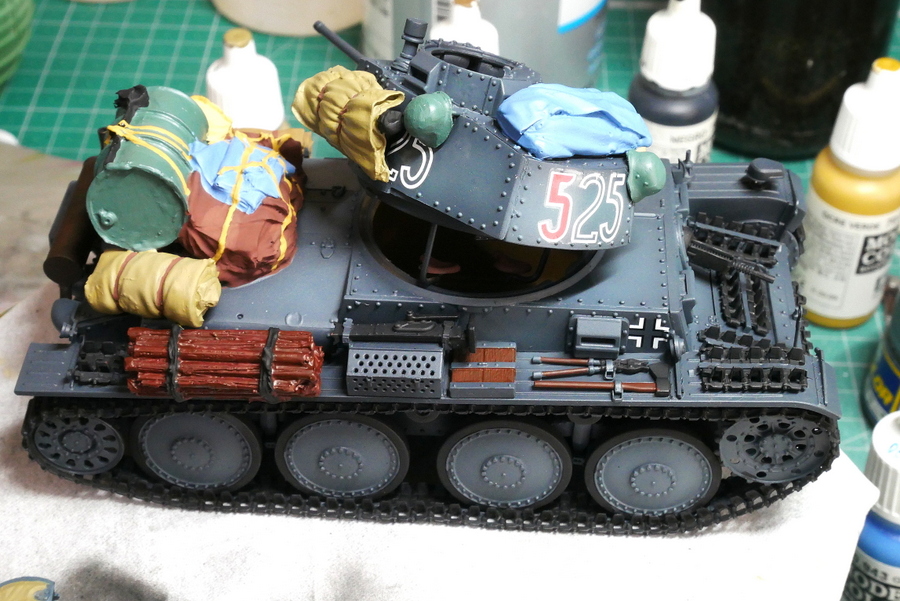
For now, I tried to put only a big decal on the part I could see after cutting and pasting.
(2022/05/12)
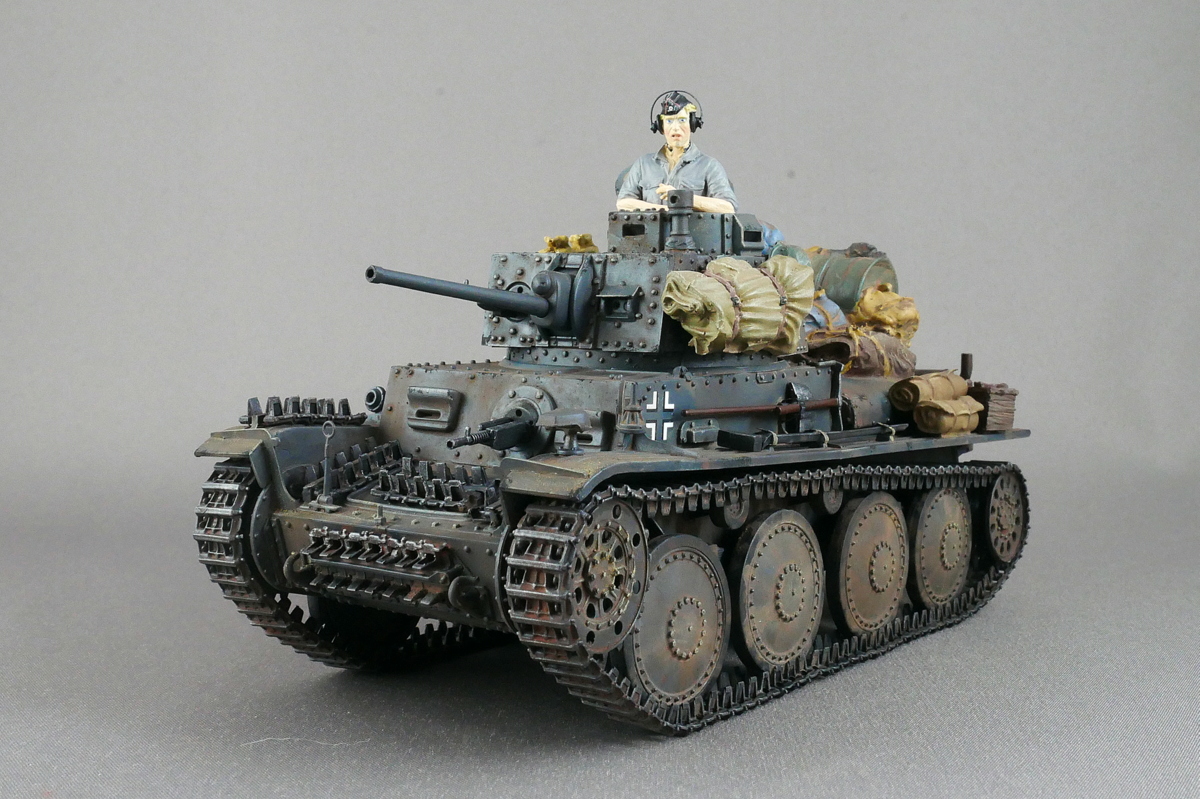 I was late because I tried other kits on the way, but finally, a 38(t) light tank was completed.
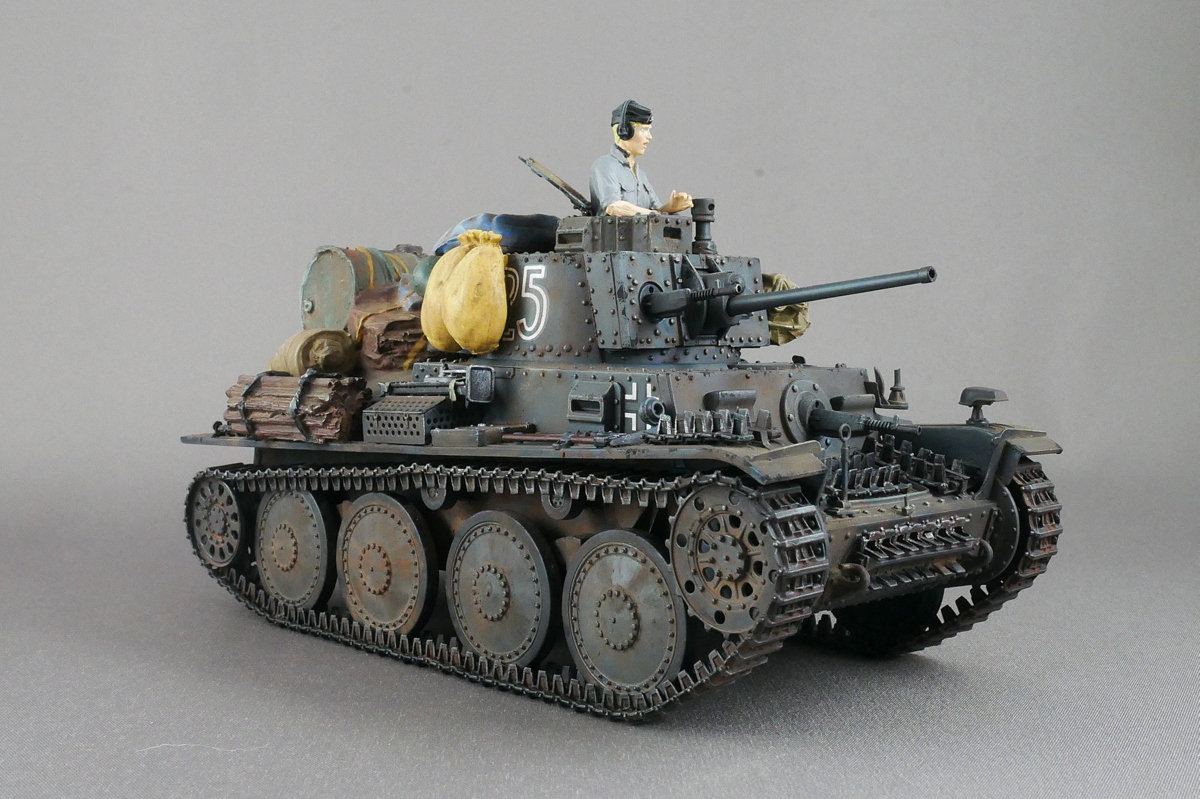
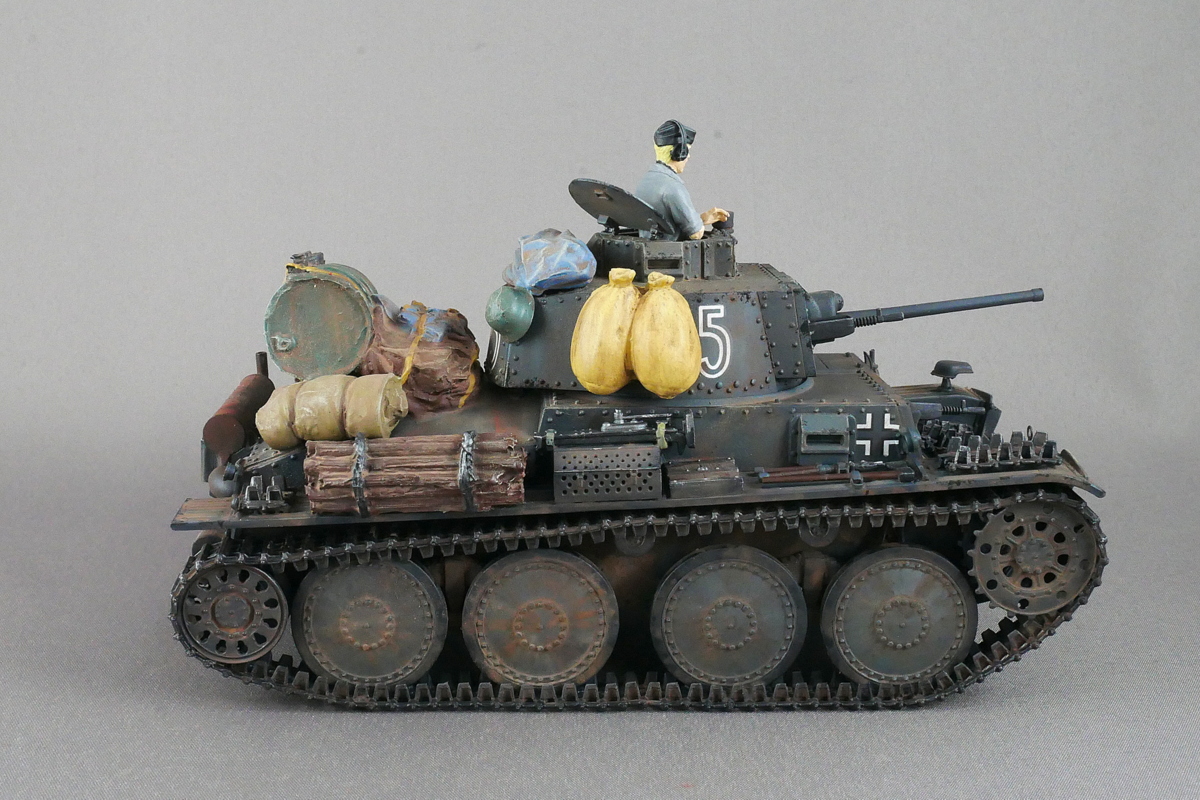 This time, the decal is hidden by the luggage, so there are places where it can’t be seen much. Marking was the 7th Armored Division, the 25th Regiment. It was the Russian front in 1942. The marking number can be seen only at the back of the turret, and both sides are partially hidden by luggage.
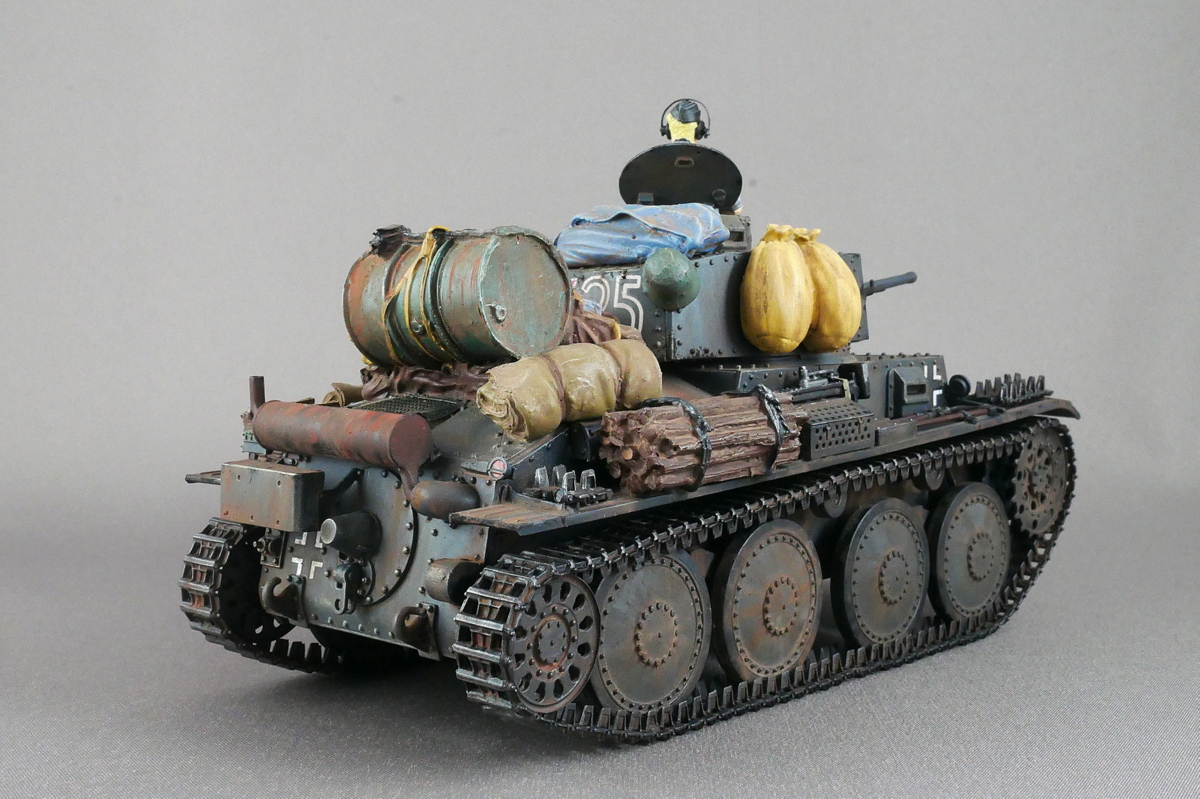
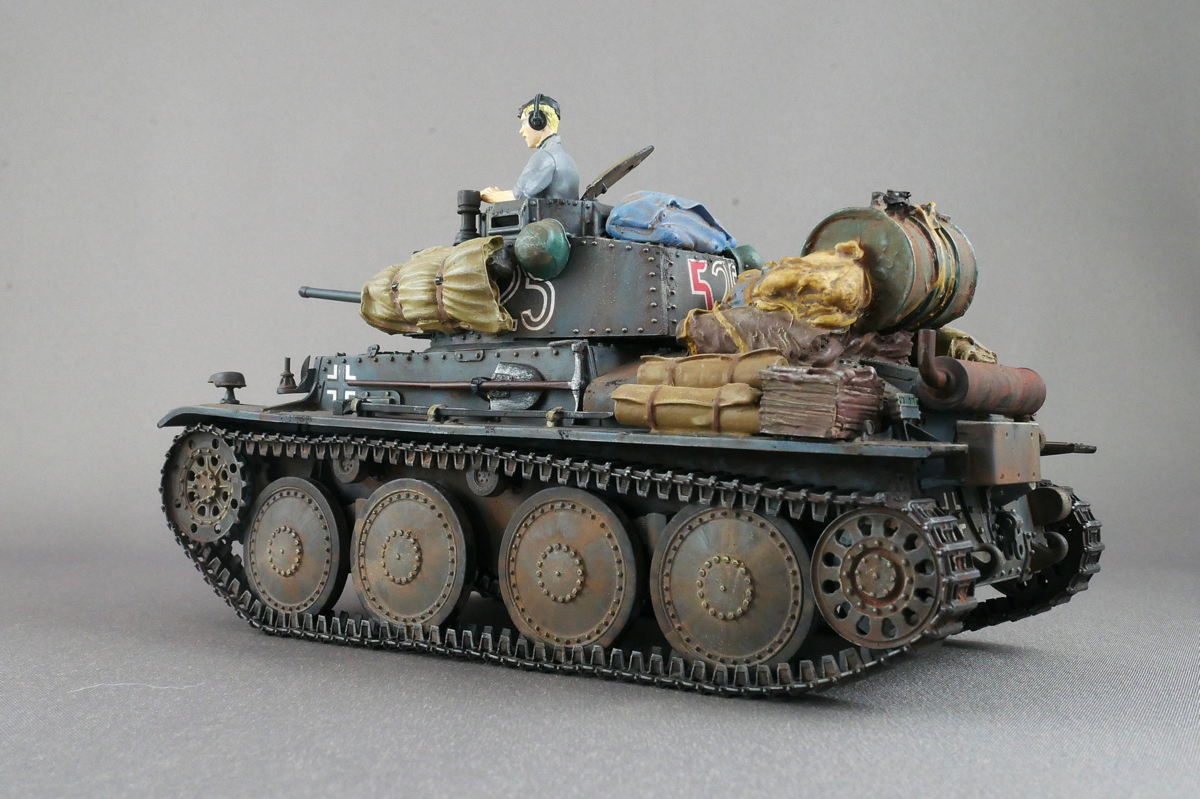 Czechoslovakia originally developed this 38(t) tank. Due to Germany’s repeated territorial expansion policies, Czechoslovakia was finally annexed by Germany, although at first, it was only in Sudetenland. Accordingly, the tank was officially adopted by the German Army.
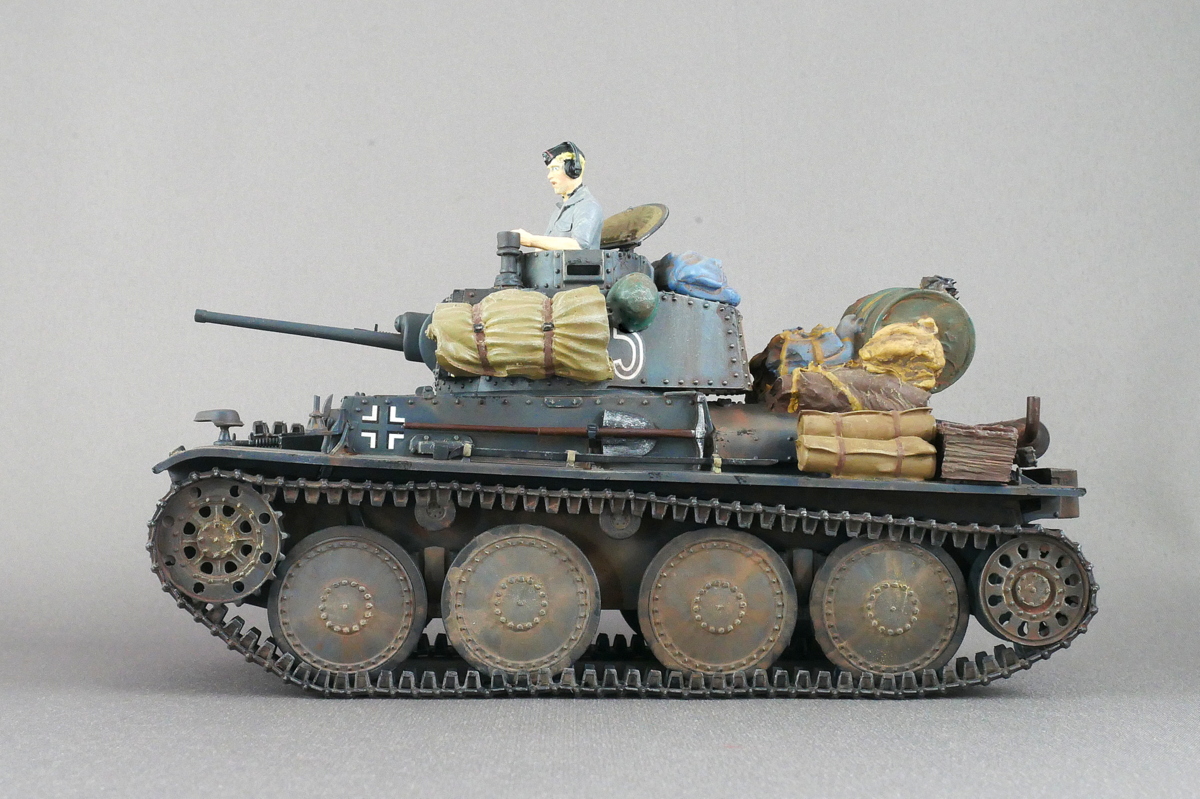
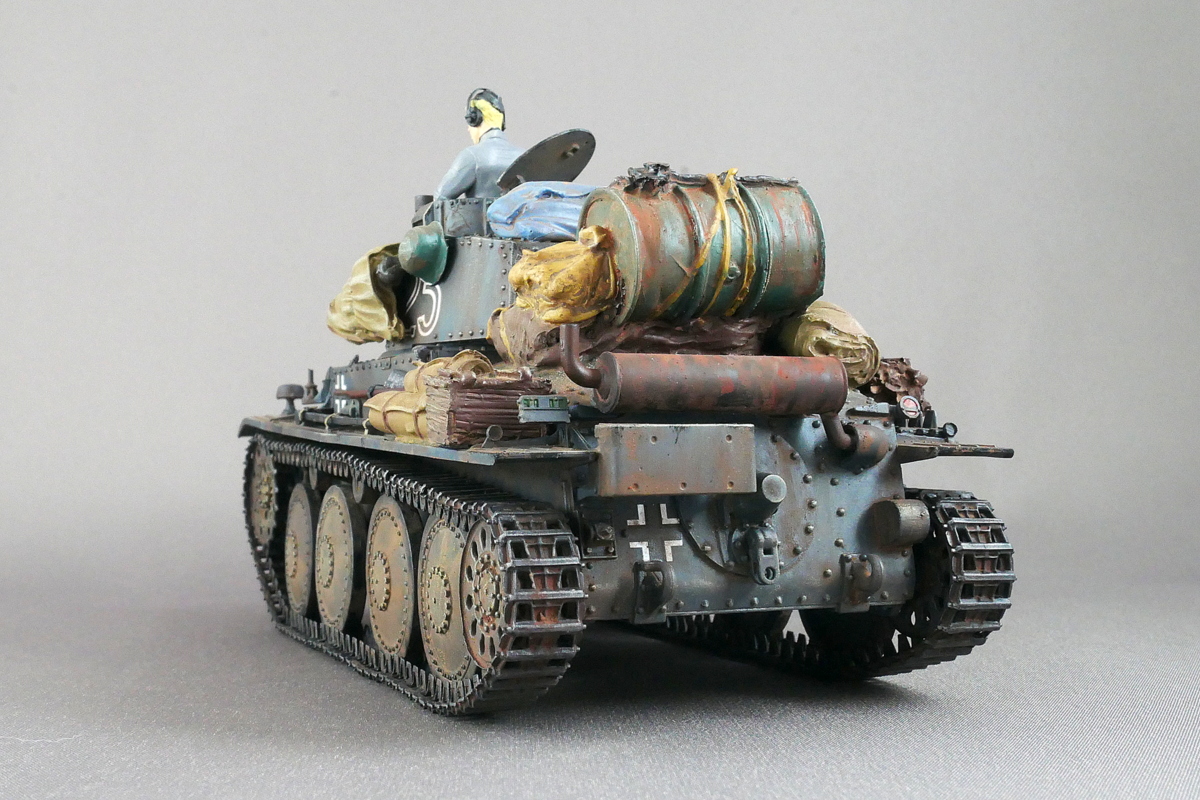 The front armor of this 38(t) type E is strengthened compared to the initial type A. It looks like the number of rivets is decreasing.
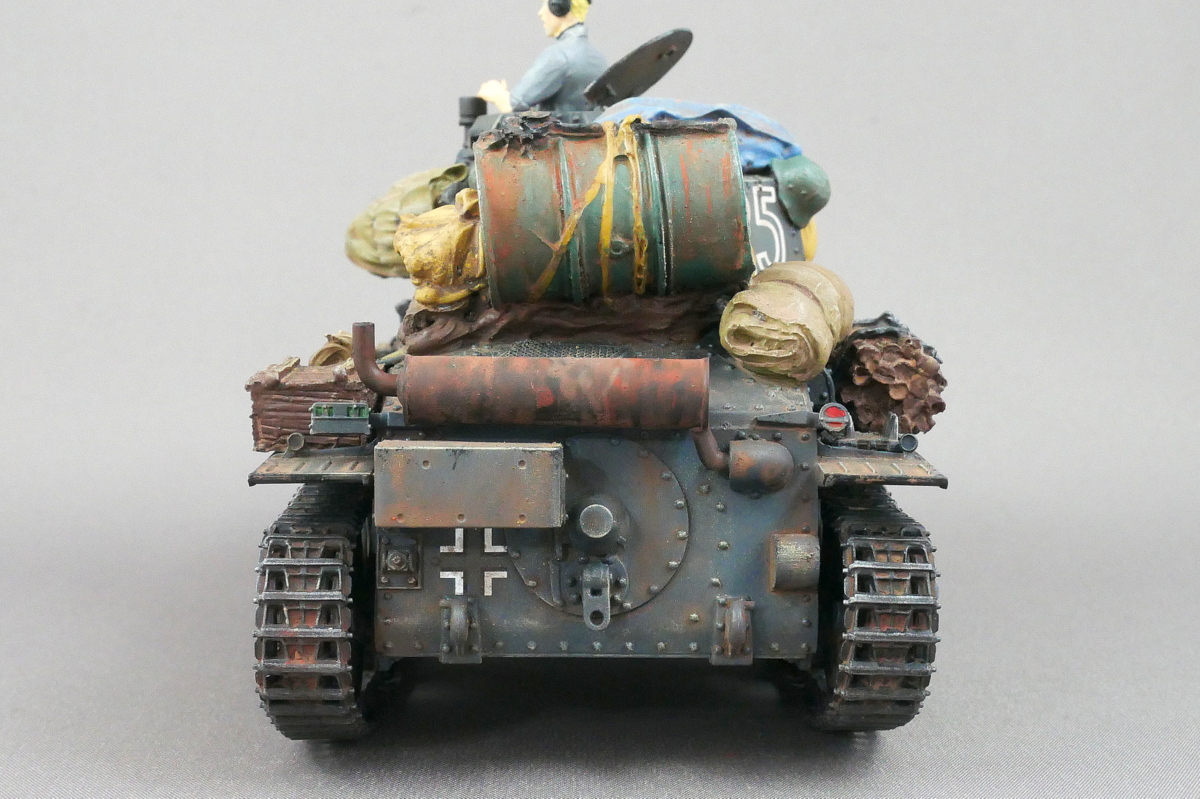
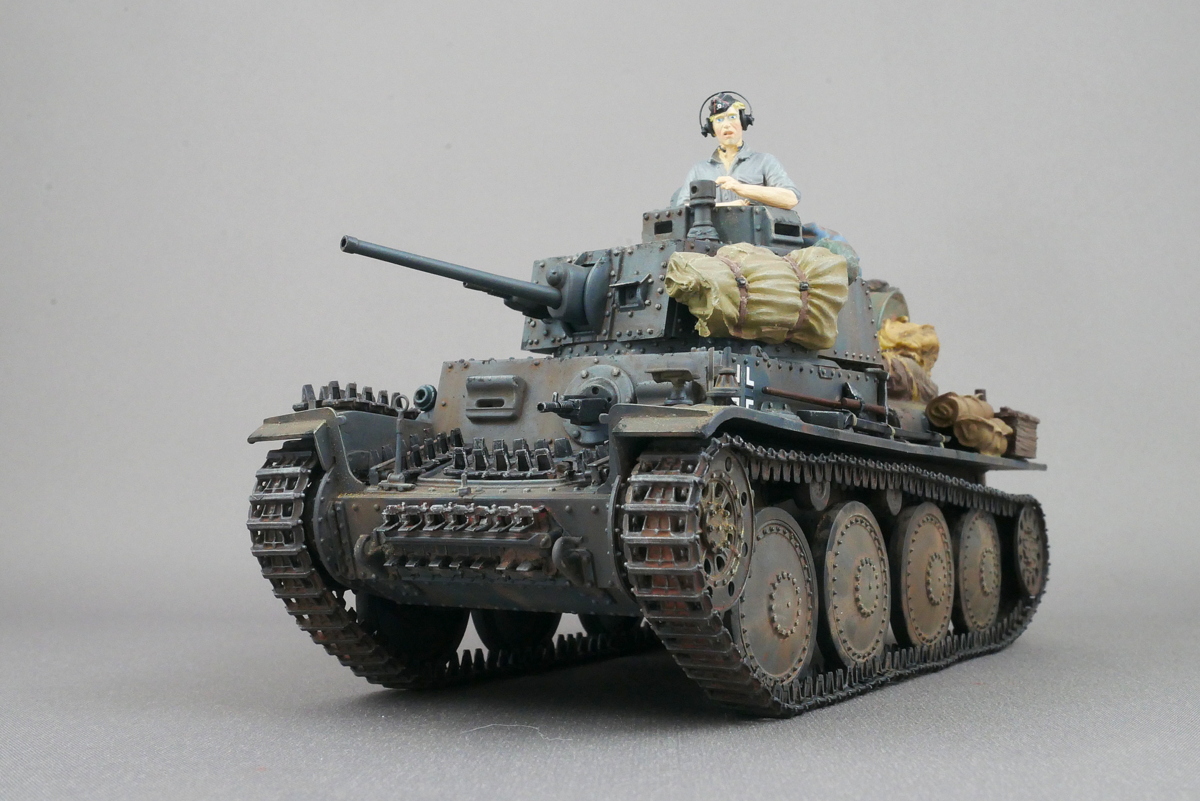 When the Eastern Front, fighting with Russia, becomes the main battlefield, the firepower of the 37 mm guns of the 38(t) tanks is insufficient, so the vehicles are converted to self-propelled anti-tank vehicles and anti-aircraft tanks.
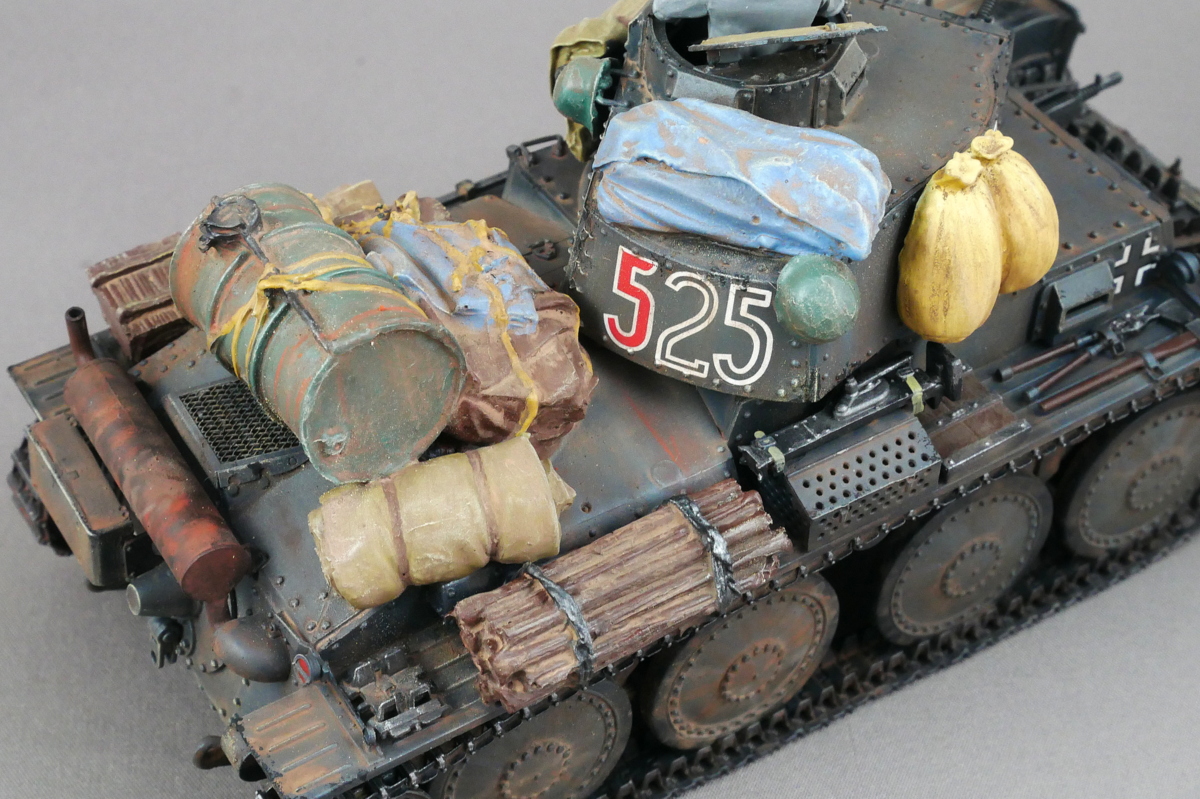
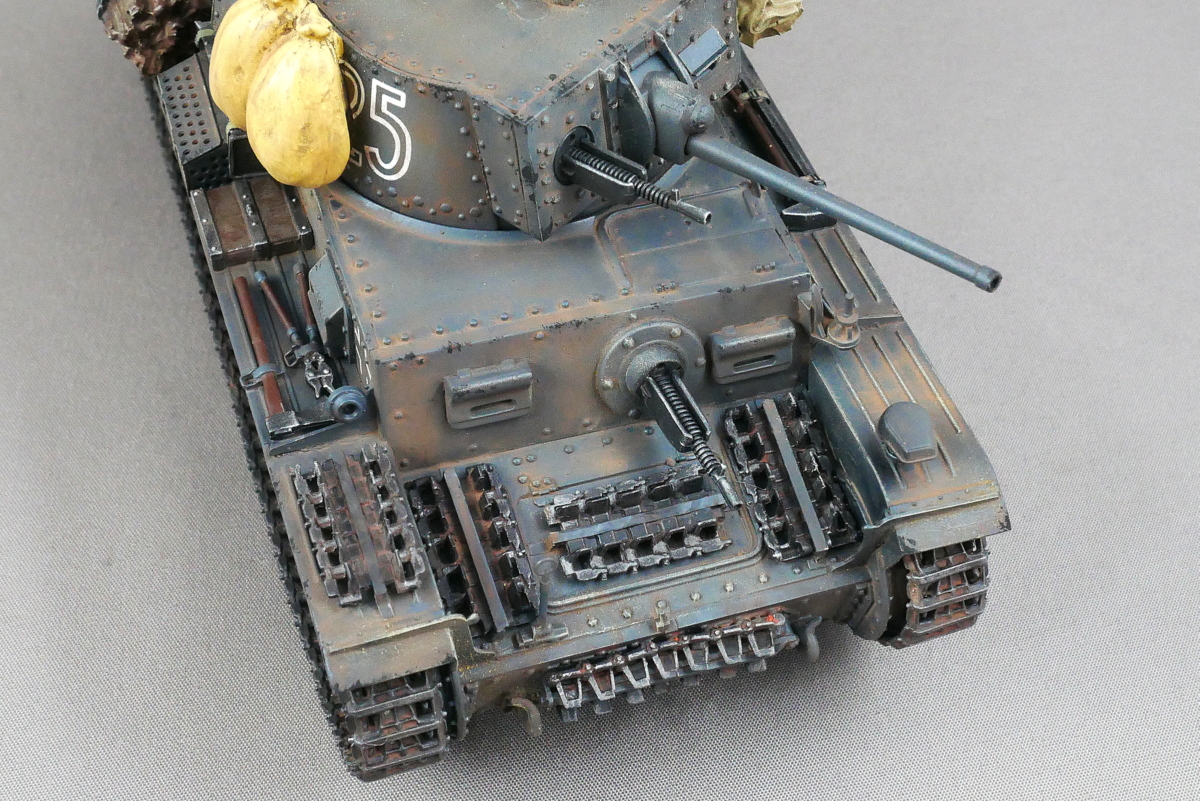 The primary color of this painting is a little bluish, even like a German gray. The German gray in the number 300s from Creos has a color taste I prefer.
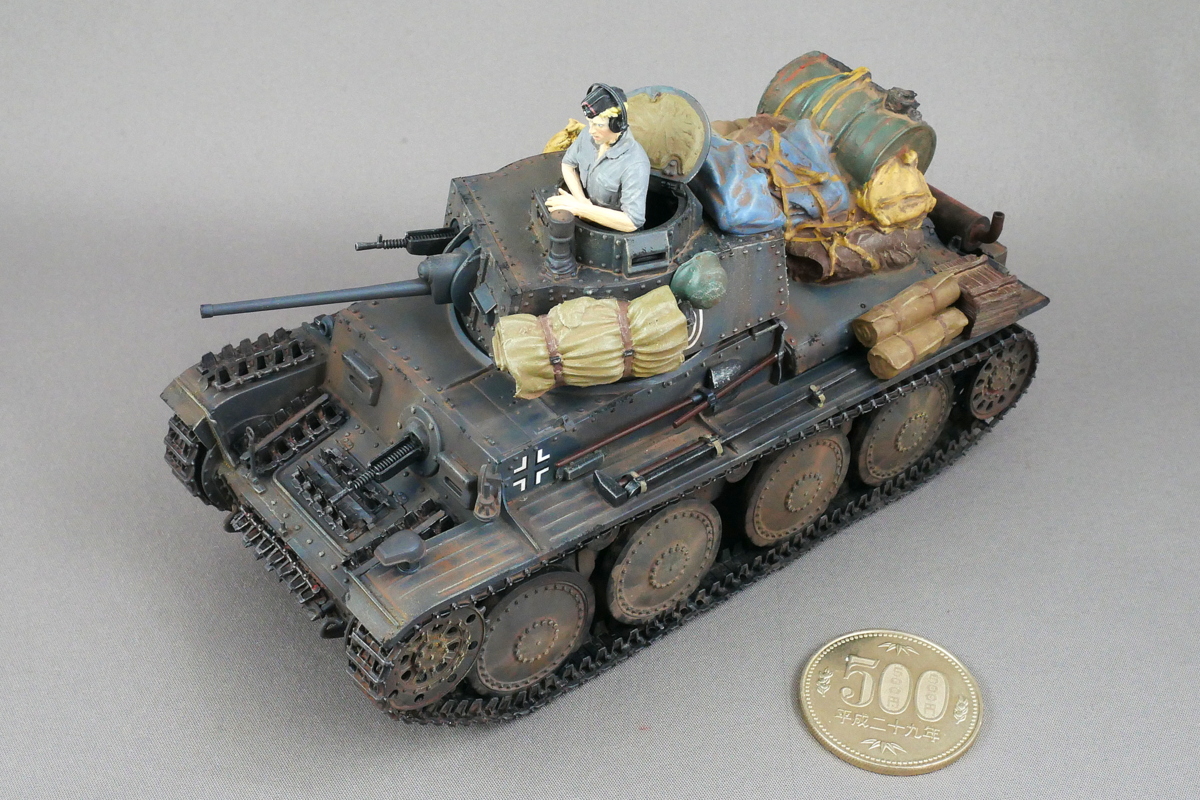
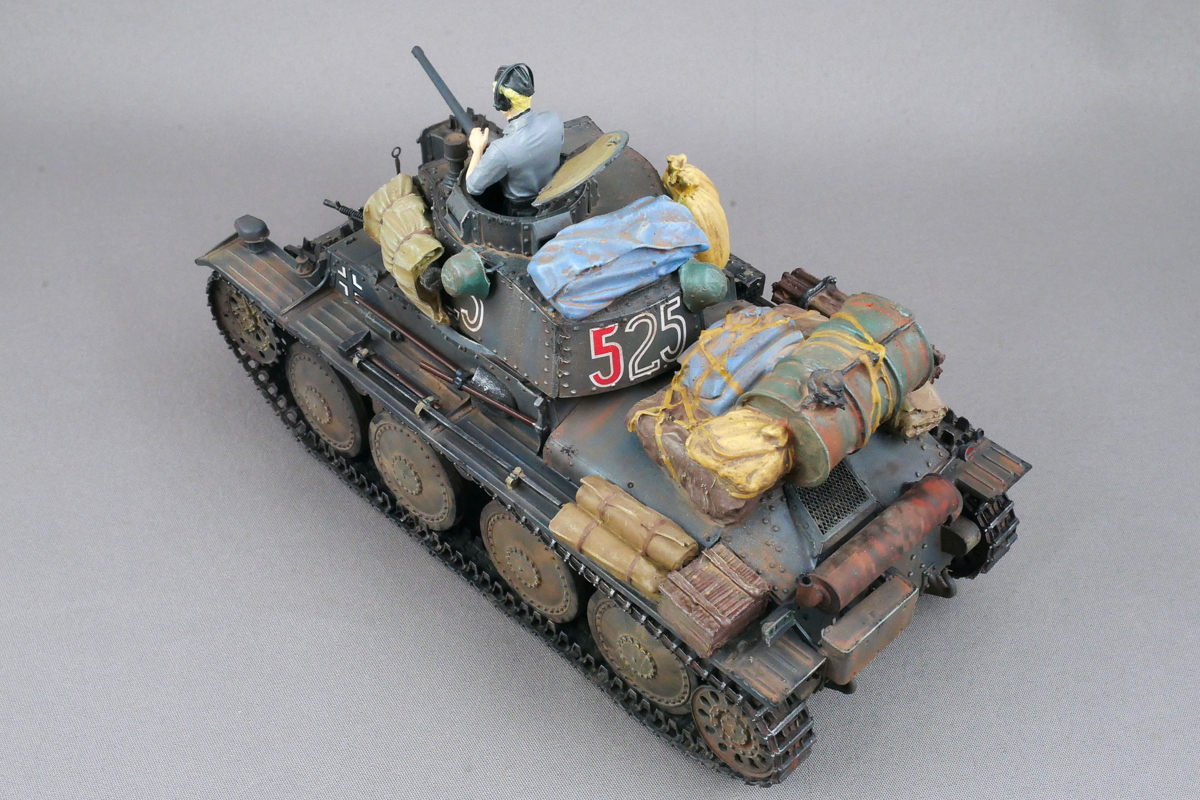 The gloss of the load came out when I was brushing, and I thought it was different from what I imagined. I guess it became calm after I sprayed matting spray. If I load too much, it will be hard to paint later.
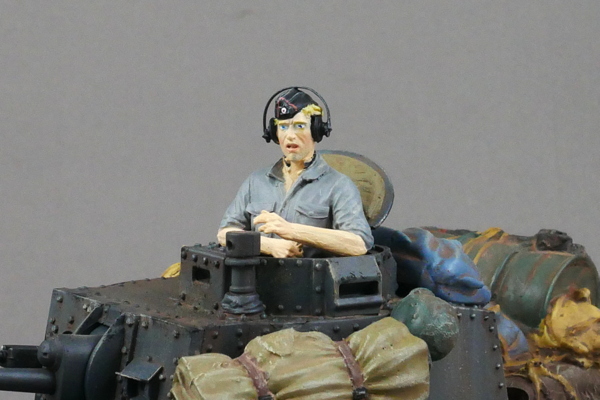
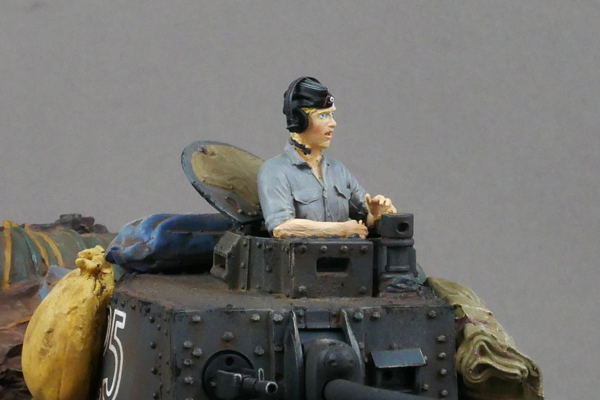
 The tank crew wears summer clothes on the Russian front. Usually, it is the uniform of the usual black tank crew uniform, but he is rolling up his shirt this time. There may be several types of shirts, such as gray or bluish. I painted it light gray this time.
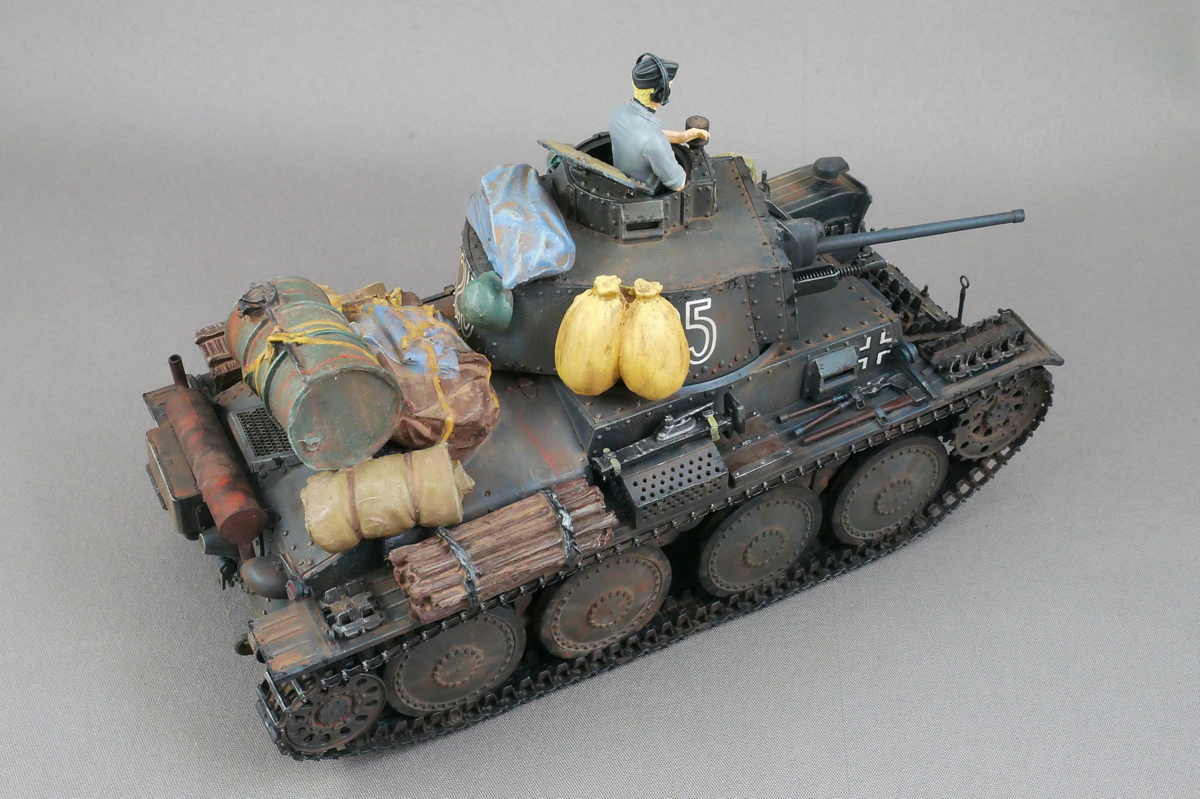
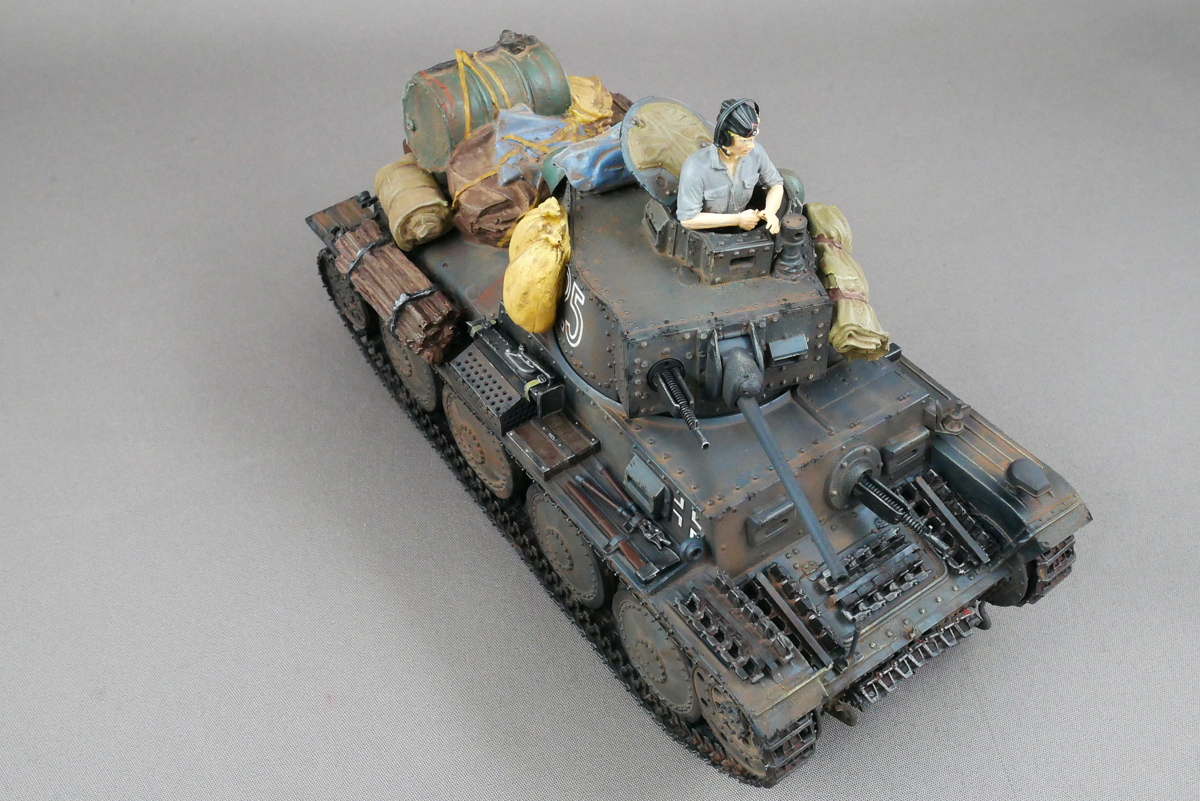 Czechoslovakia developed this 38(t) light tank to protect itself from Germany, the potential enemy. Still, it became a valuable weapon for the German Army without ever fighting with Germany. Along with the Panzerkampfwagen II light tank developed by the German Army, it was an excellent tank that supported the early German armored forces.
(2022/05/15)


コメント